Pesach Craft – Kos Shel Eliyahu
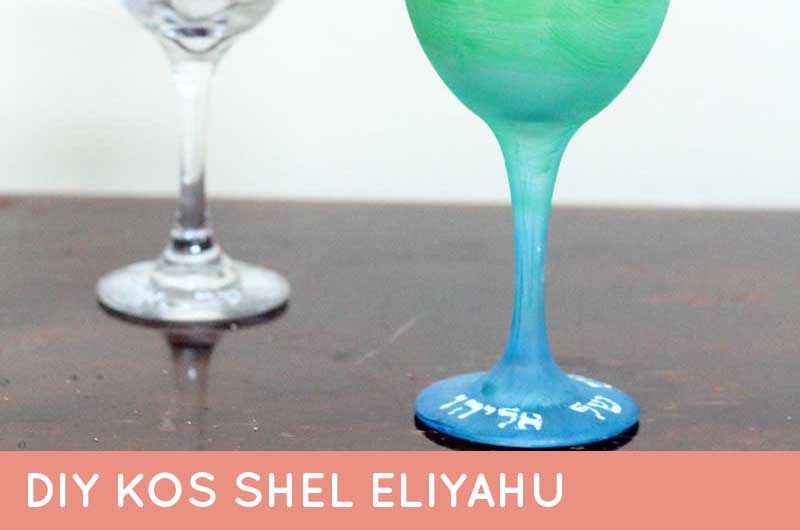
Make this beautiful Kos Shel Eliyahu craft for your Pesach Seder. This simple Pesach craft is a great DIY gift or a more relaxing way to contribute to your own Seder while you take that break. It can be done by any age group – kids, grown-ups, or anyone in between! Disclosure: this post contains commissioned links.
I love the art of glass painting – you can do basically anything with it! Since I’m a Plaid Ambassador for my main blog, Moms & Crafters, I received some really cool glass paints in the hopes that some day I’d craft with them and share my ideas. I played around with them, painting some jars as practice in the past few weeks, and so when I was looking for a cool Pesach craft, I decided it’s time to pull them out.
Glass painting is simple: choose the finish and color of glass paint that you prefer, decorate, and bake. You don’t have to bake glass paints – I find that it’s pretty durable without, but baking it makes it dishwasher safe, and allows it to really become part of the glass. Since my oven is not currently Kosher for Passover and we don’t ACTUALLY use the Kos Shel Eliyahu much, I decided to skip the baking on this one.
A pretty Kos Shel Eliyahu serves as another beautiful centerpiece to add to your Pesach table. It can sit in the center for the majority of the meal and is only filled towards the end.
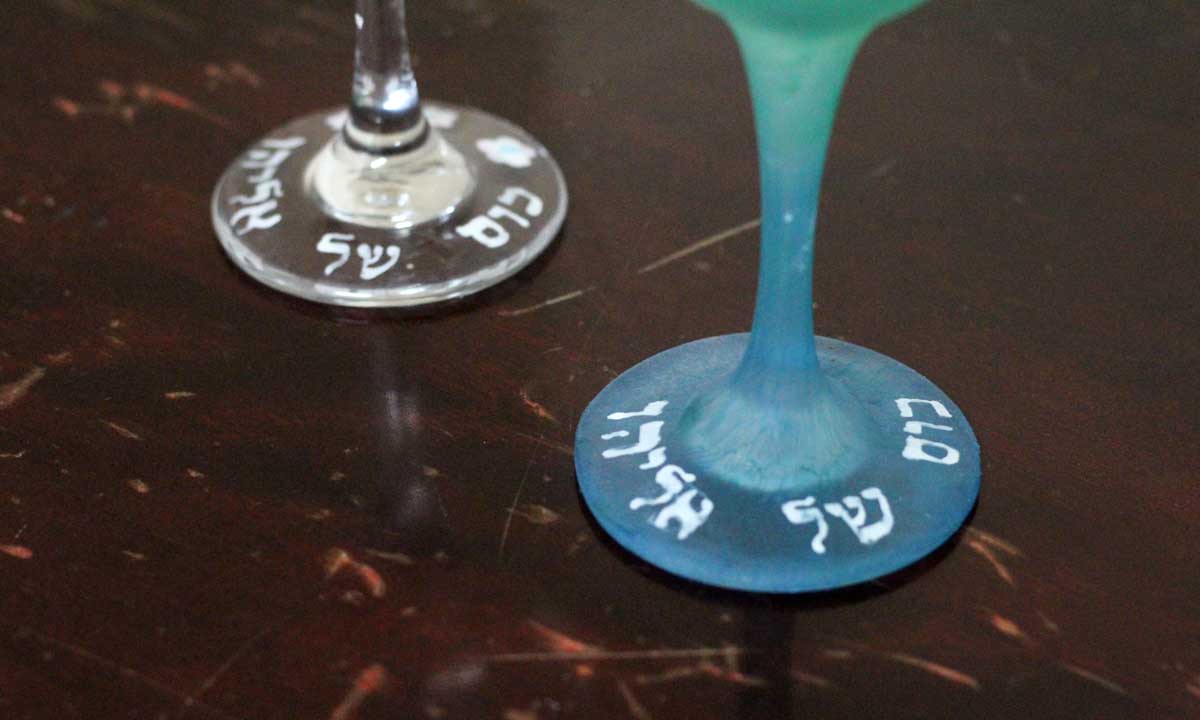
I designed a template for those of you who want help with the lettering, but it’s totally optional – you can make this craft without it! You can even leave off the lettering and just decorate a beautiful wine cup for Eliyahu Hanavi. Or, if you want to make this for all the guests at your seder just keep the paint away from the lip of the glass.
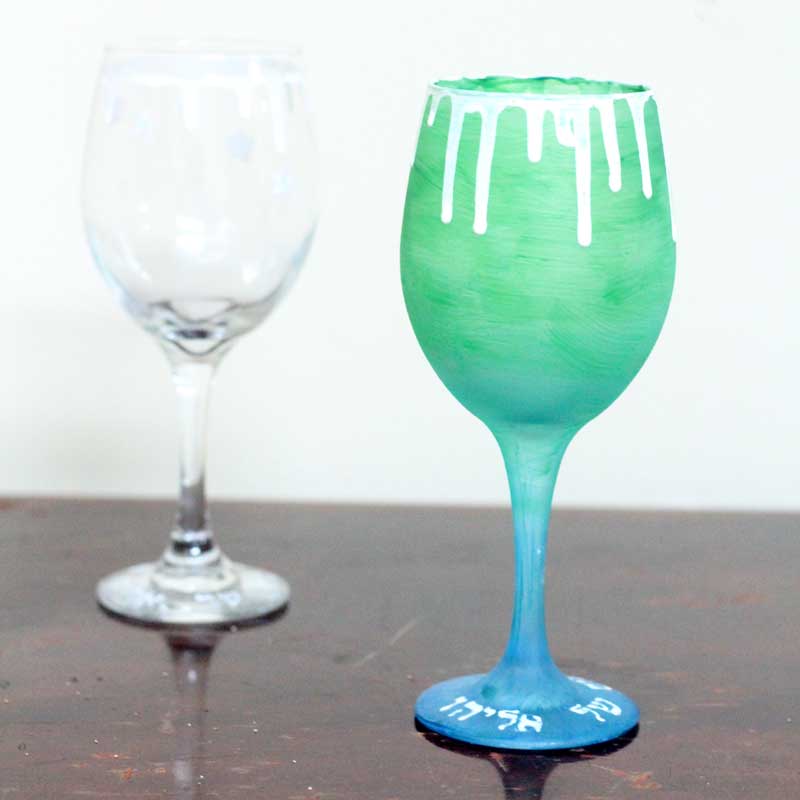
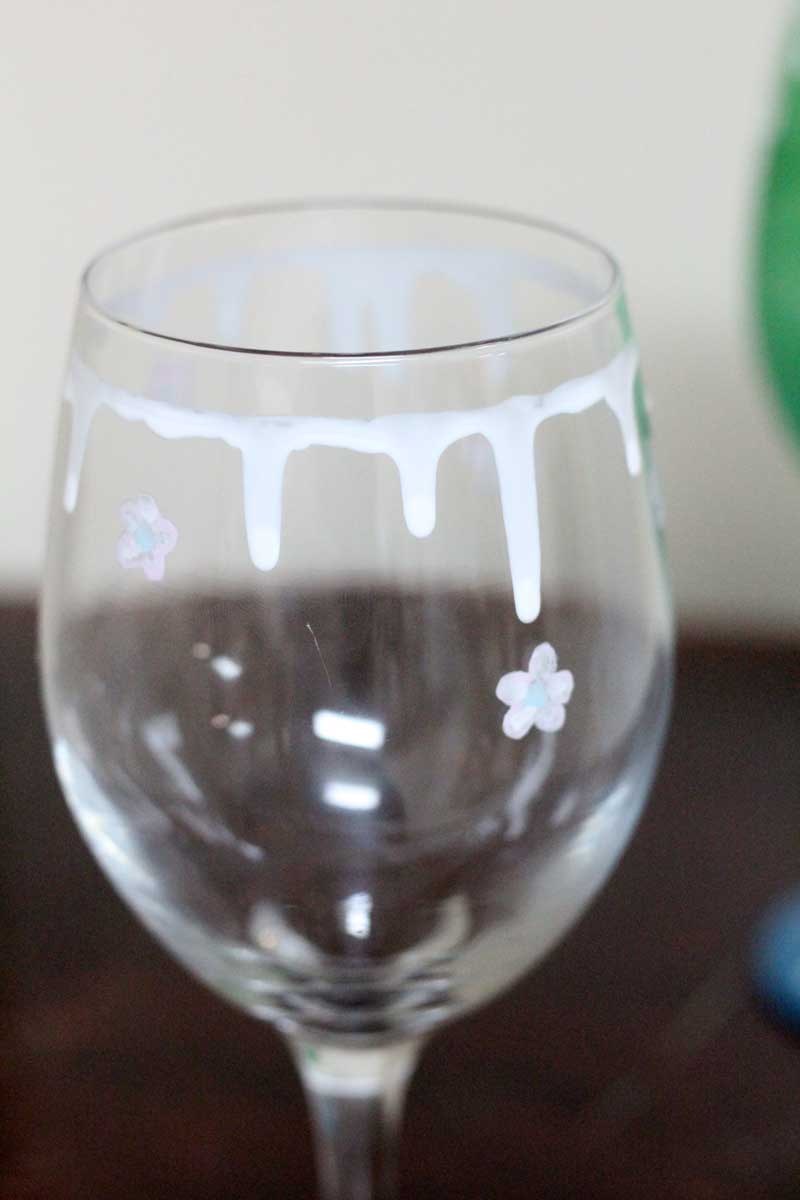
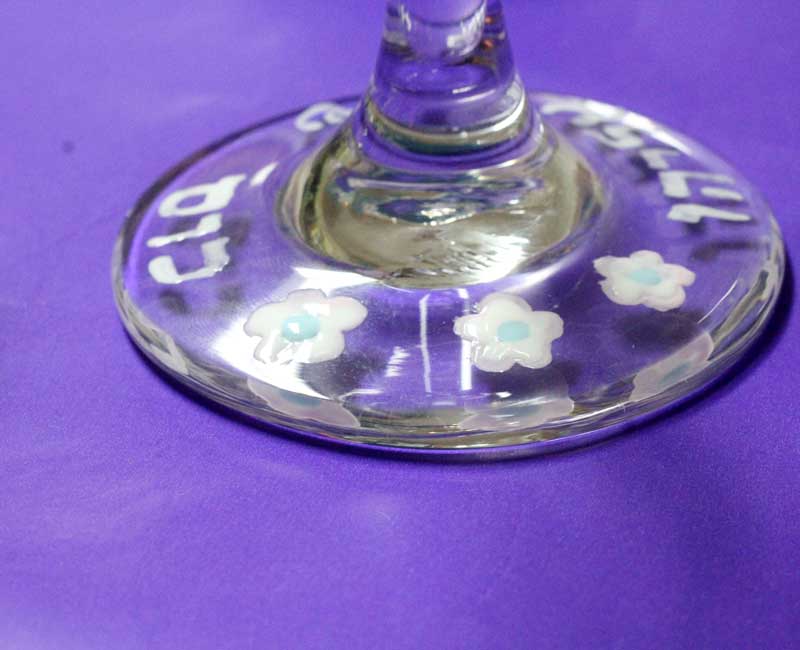
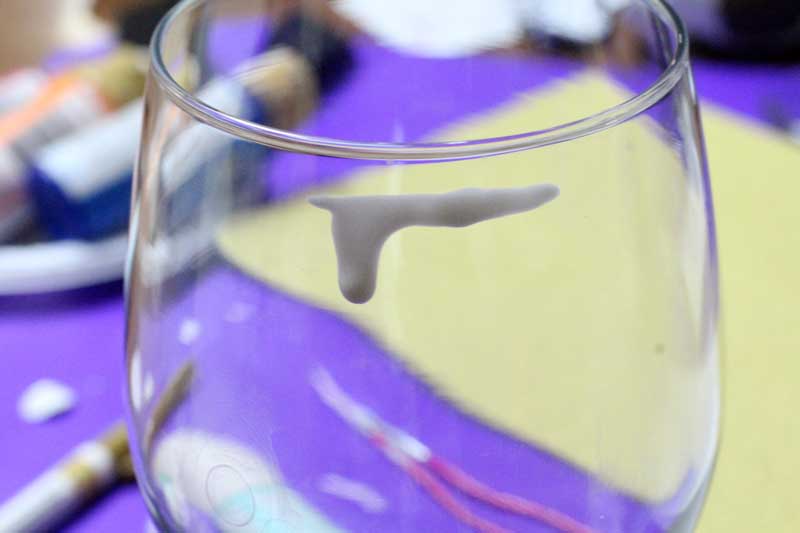
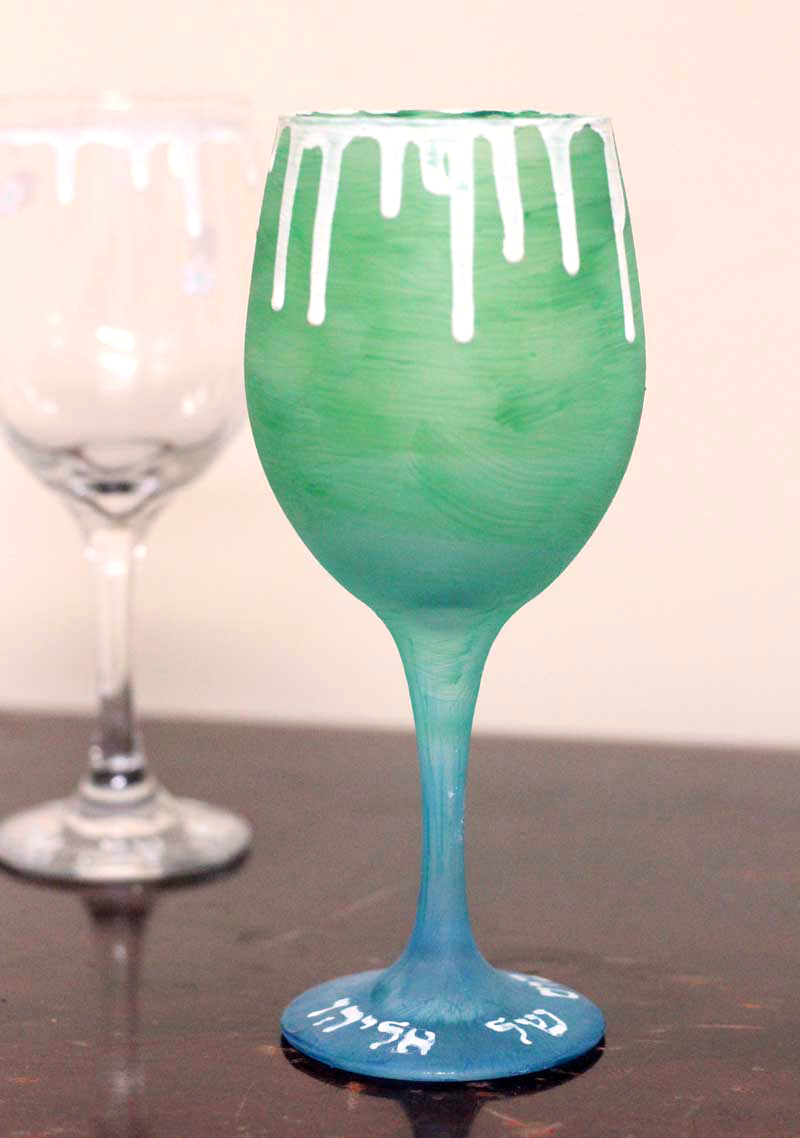
Part of successfully painting glass is knowing the texture and consistency of your glass paints. For one of these, I used Martha Stewart Crafts Milk Glass Paints. Those are much more watery and opaque. I wanted something quirky on this, so I used them to drip around the edge of the glass (yes, that was on purpose from the start!). I also used this for the flowers, and for the lettering on both of the glasses.
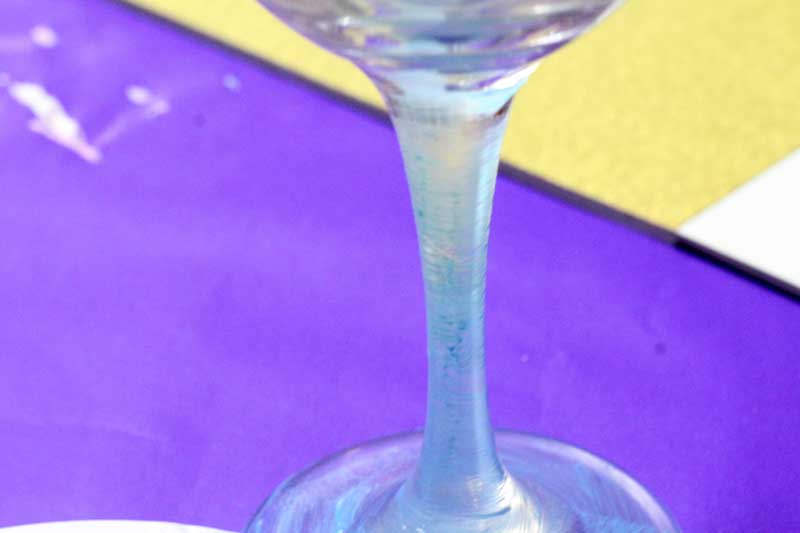
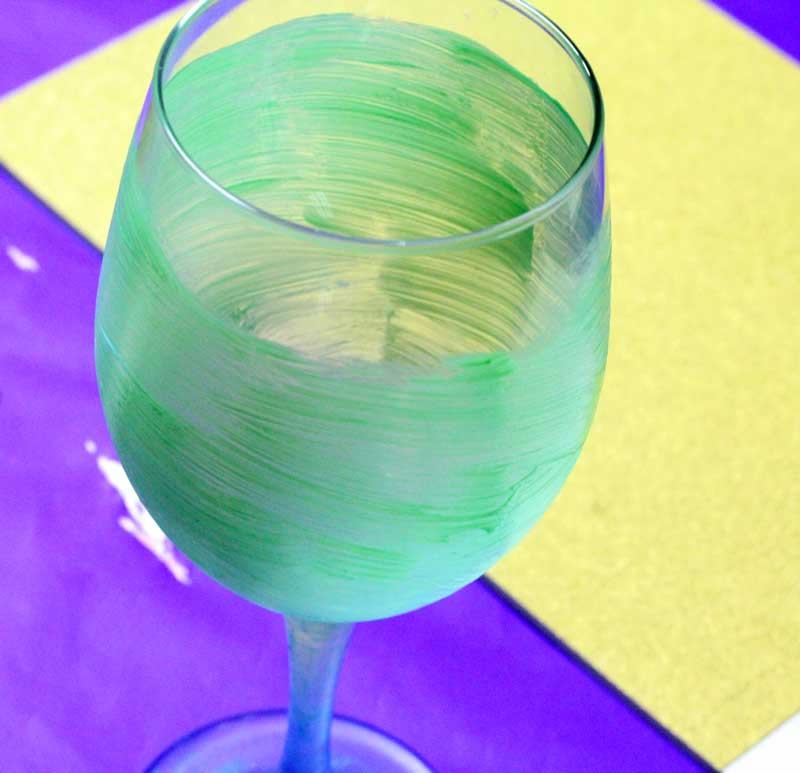
On the beautiful sea colored glass (how appropriate for a Pesach craft?!) I used Martha Stewart Crafts Sea Glass Paints in three beautiful shades. Since this one is translucent, I found it to be better for covering larger areas as opposed to adding tiny detail. I blended the three colors to create this ombre.
Follow along with my designs, or keep this as an open-ended Pesach craft. Either way, it’ll look beautiful on your table!
What you need for this Kos Shel Eliyahu Pesach craft:
- Assorted glass paints
- Foam paintbrush for covering large areas smoothly
- Fine paintbrush for detail
- Wine glass (template is designed for those with a 3 inch base)
- Optional: the template. Print it below – enter $0 in the “price” field and contact us if you’re having trouble downloading it.
How to make a Kos Shel Eliyahu Pesach craft:
Pesach craft flower version:
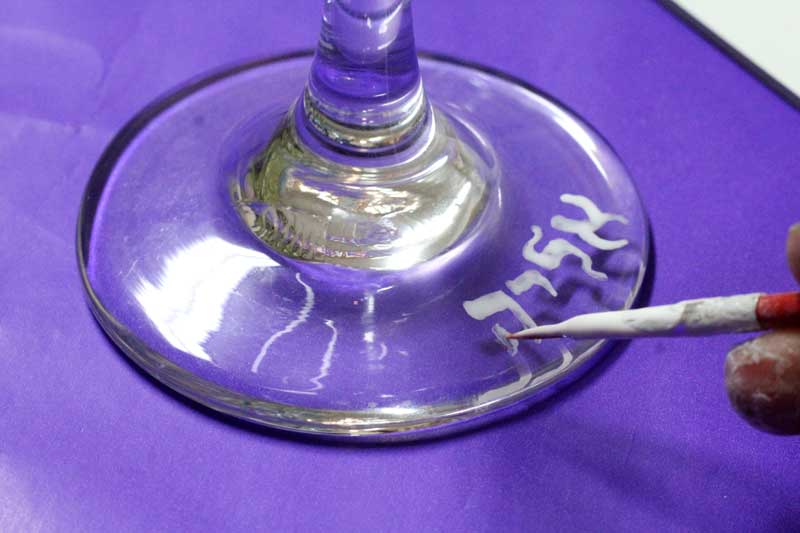
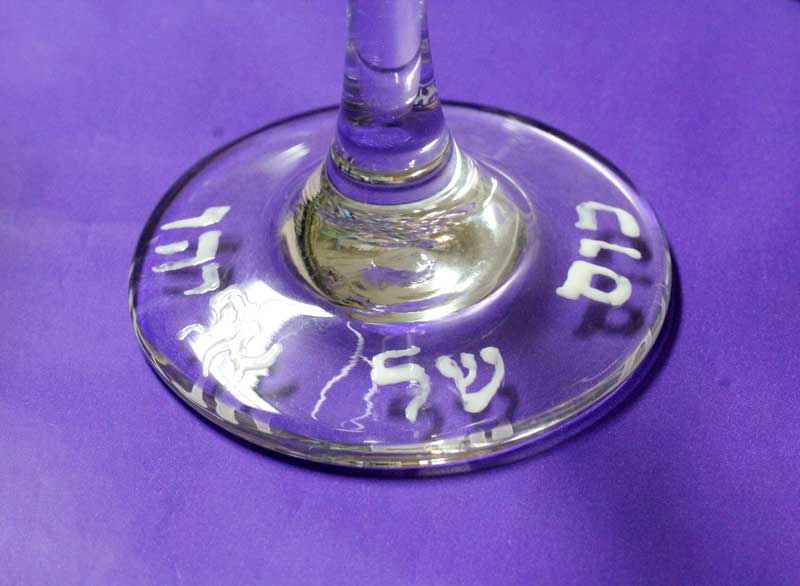
1. If you’re using the template place your glass on the circle and trace the letters – otherwise, freestyle them like I did. If you make a mistake, you can wipe it off right away and it’ll all come off, so keep a paper towel handy.
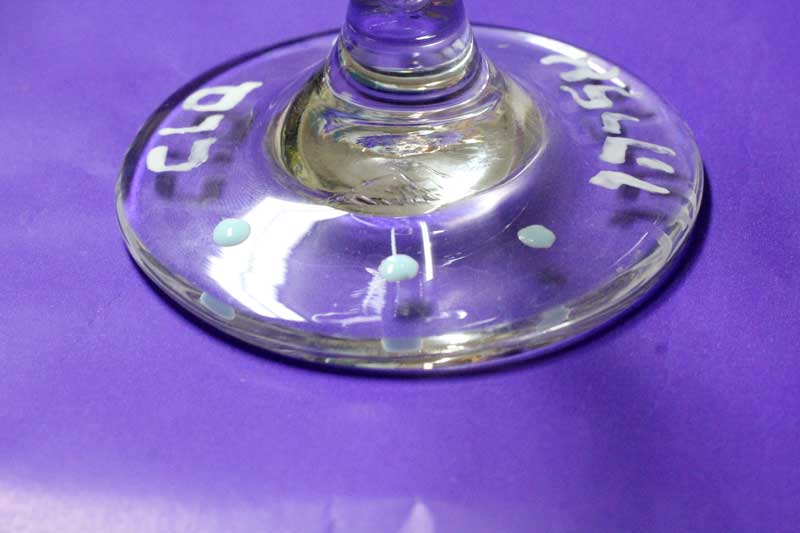
2. To make flowers around your base, start with dots placed at even intervals to space them apart well.
And then add your petals.
3. To create the dripped edge not quite at the lip, load your brush and create a line around, letting it drip. If you want to add a drip, just add a dot in milk glass paint along the line. Add more flowers around the drips.
Optional: bake your glasses according to paint package instructions.
Want to make your Pesach prep easier, your seder table more beautiful, and your kids’ happier and busier? Get the printable Pesach bundle today for 75% off the full value! It’s full of 30+ cleaning and menu planners, kids’ games, coloring pages, and activities as well as cool seder table decorations! 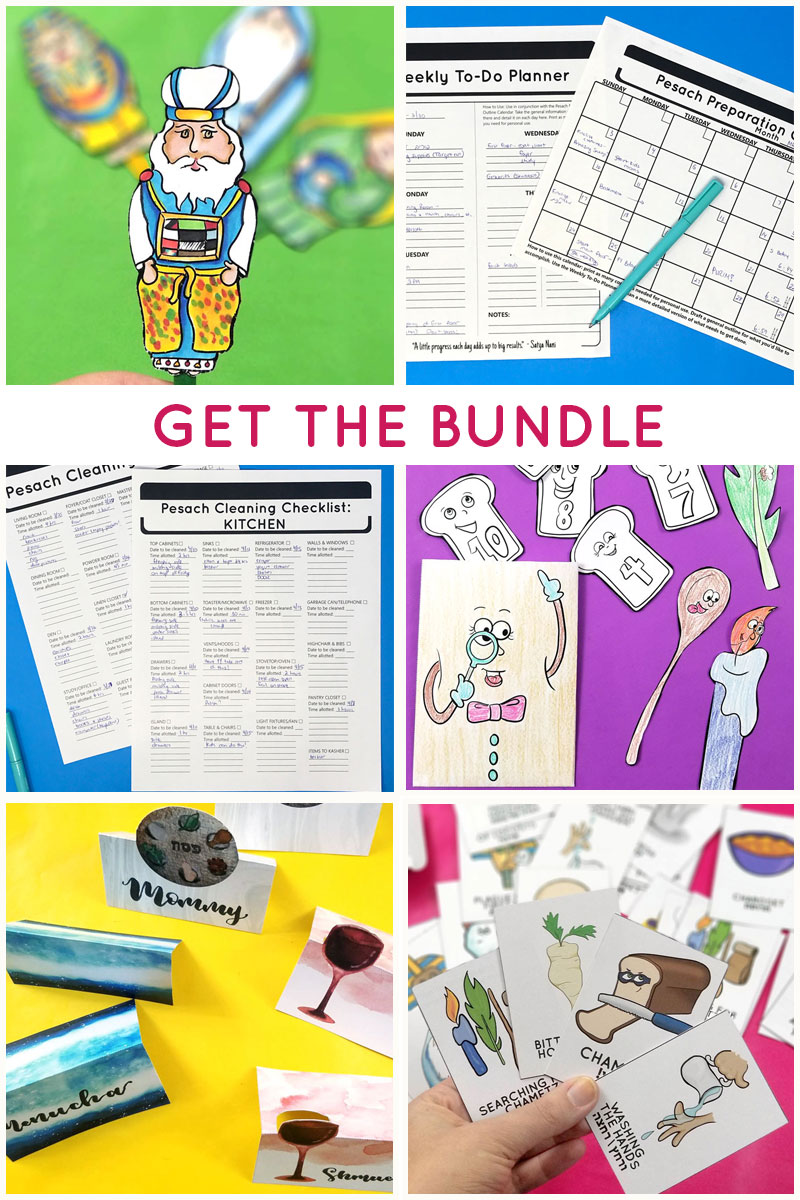
Pesach Craft sea glass version:
1. Pour your sea glass paints on a palette or plate in the order you plan to create the ombre.
2. Start applying the paint with strokes in the same direction.
Continue working, being mindful of your brushstrokes since they’ll probably show somewhat, blending each color with the next by overlapping them slightly.
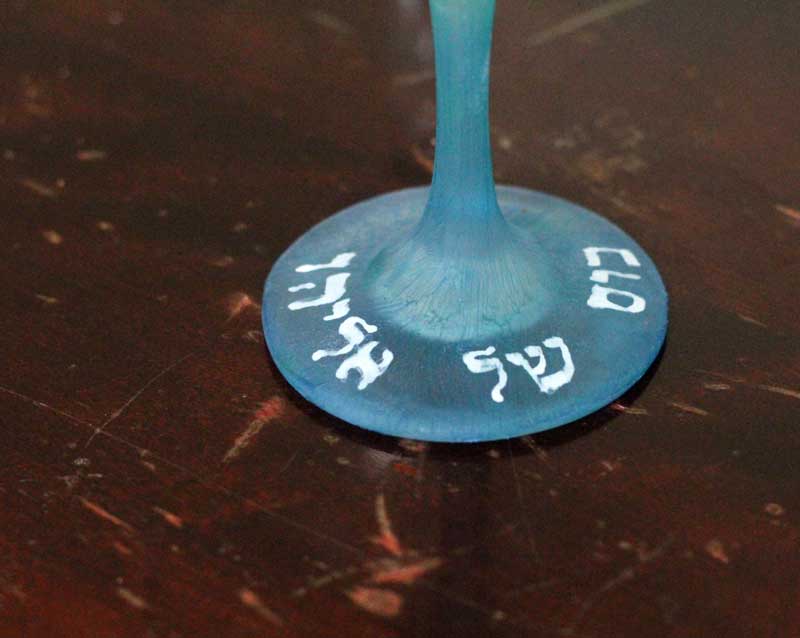
3.If you’d like, you can allow it to dry and do another layer. I added the milk glass paint drip to this one around the rim (just be careful not to drip inside). And I finished off with the words “kos shel eliyahu” around the base.
Optional: bake according to package instructions.
Happy Pesach and enjoy! And please share in the comments below: what is you favorite Pesach craft?
[show_boutique_widget id=”695252″]
