DIY Air Dry Clay Menorah (Flame Tested)
Craft a DIY air dry clay Menorah that anyone can make – preschool through adult! When you’re done, you can check out how to make a dreidel out of clay too. This post contains affiliate links.
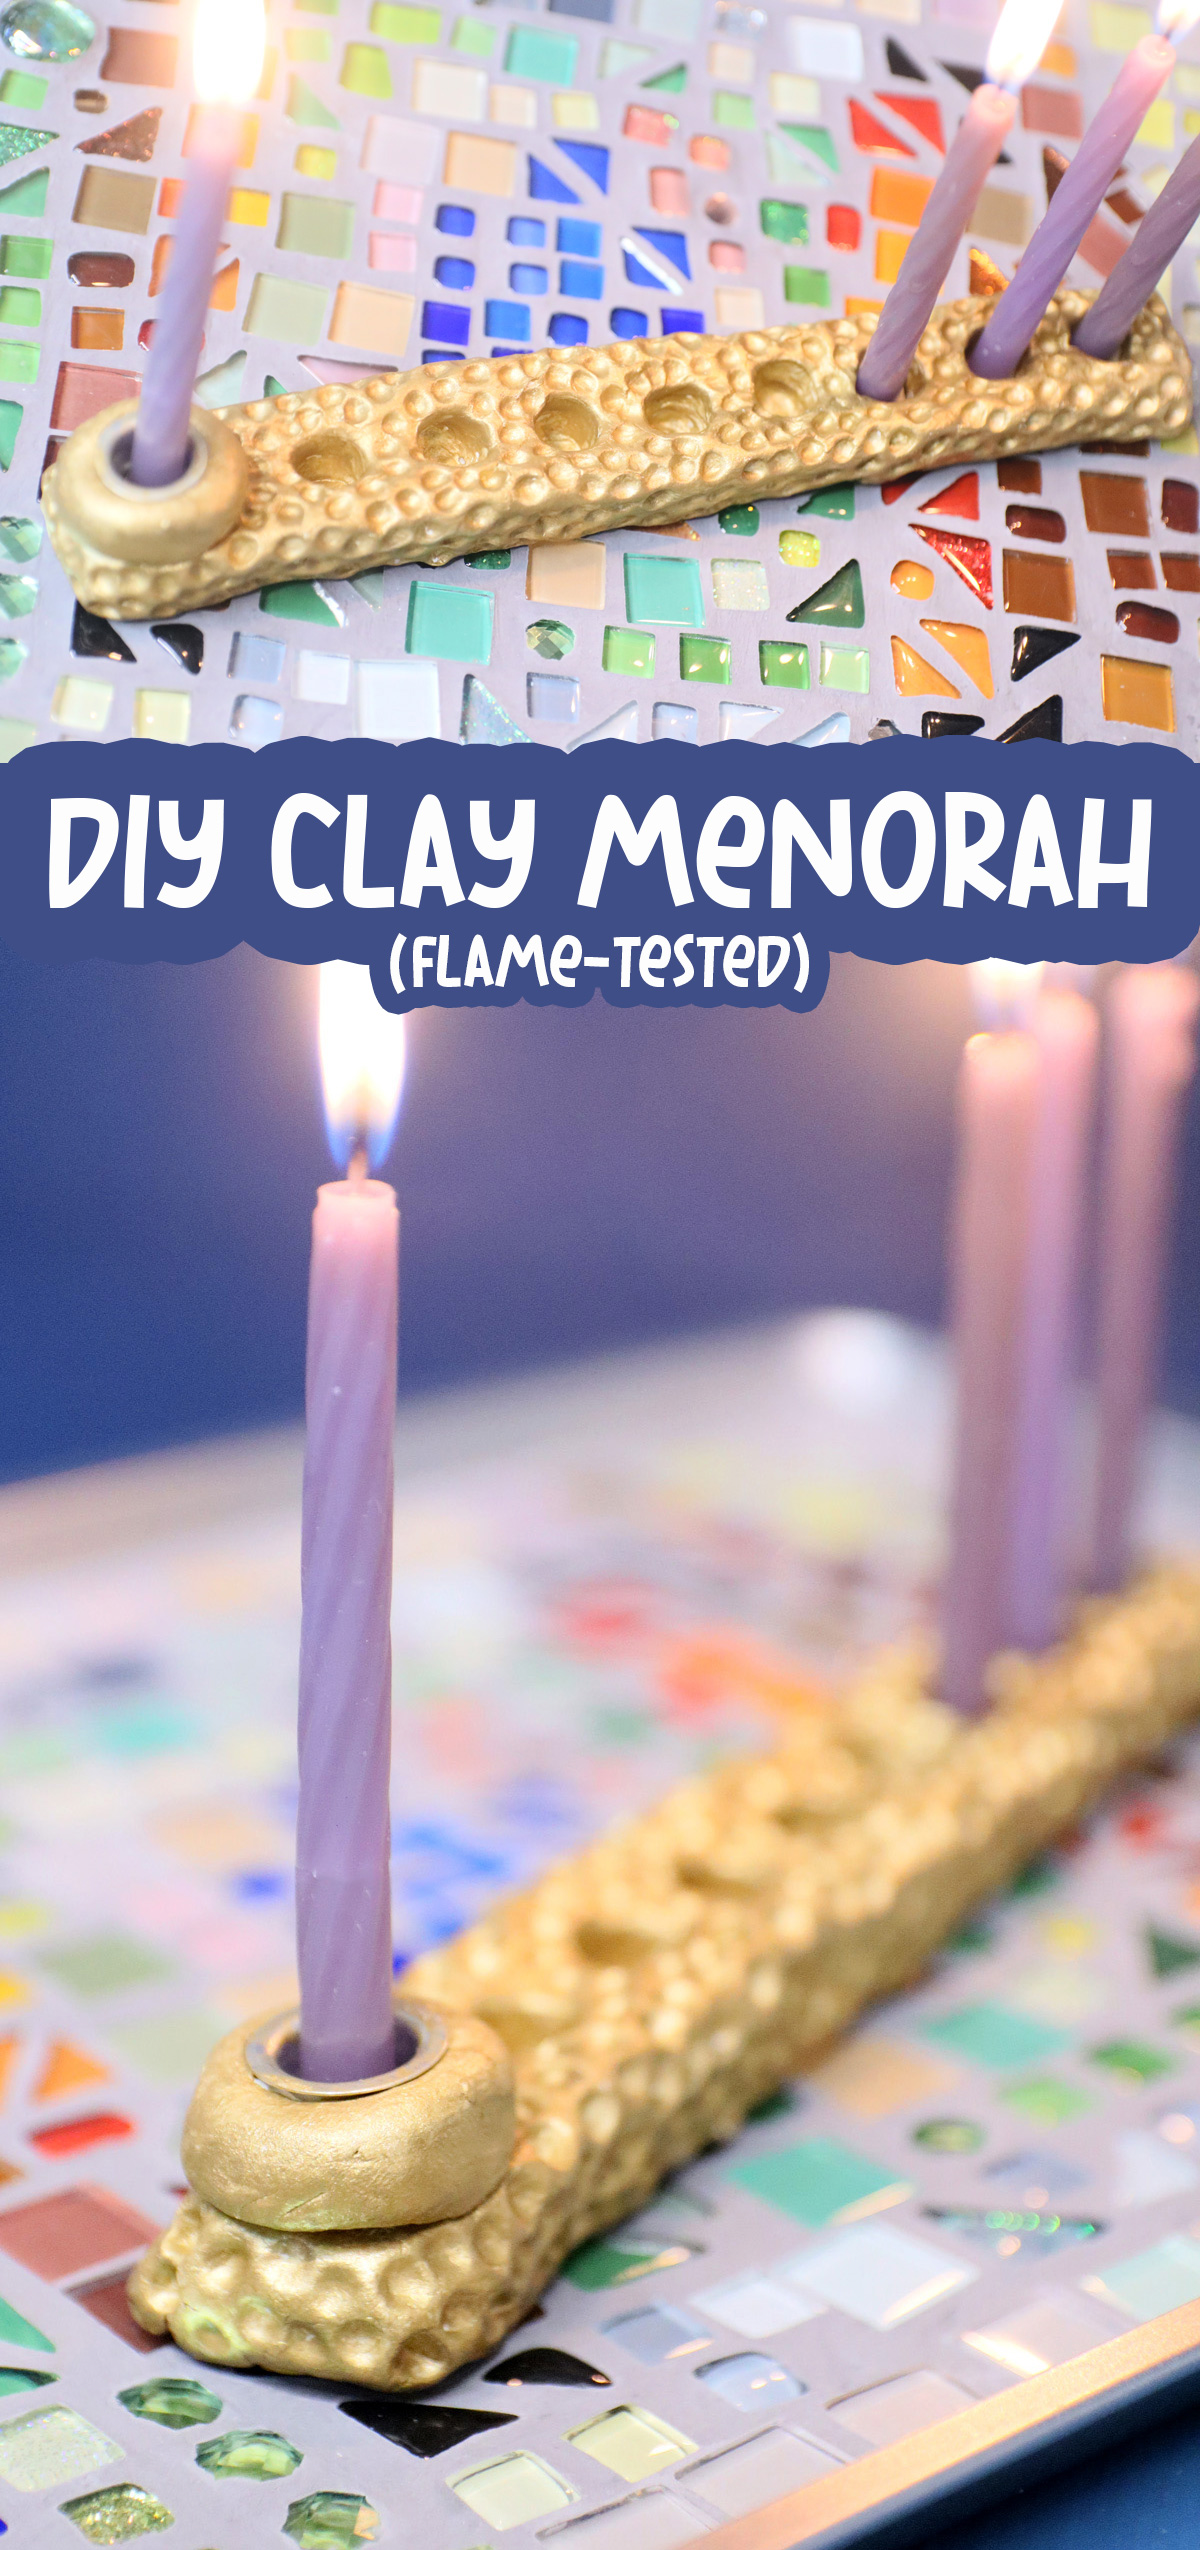
Clay is magic Roll it, pull it, dry it, paint it, and wham… you have your own real working Menorah!
This is a craft that I am so looking forward to sharing for one major pressing reason: virtually anyone can do it. More on that to follow…
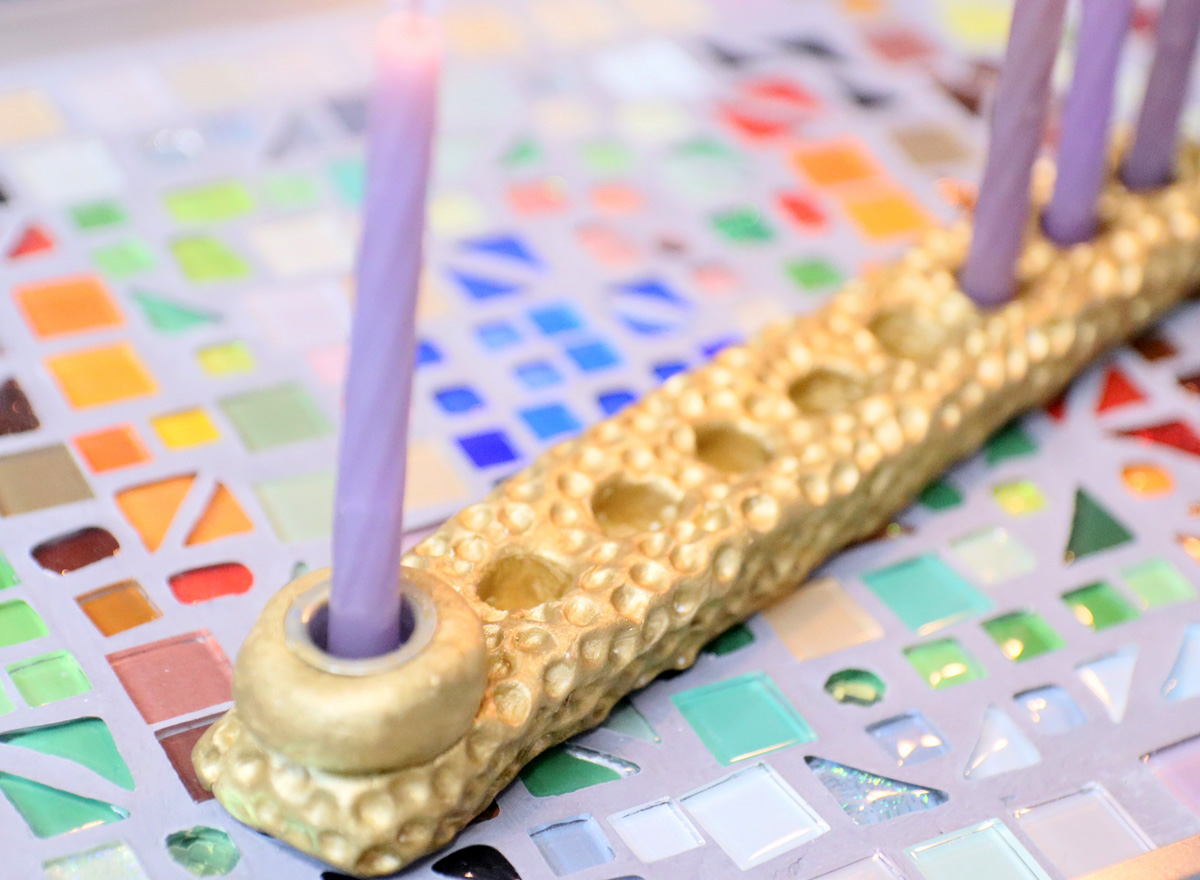
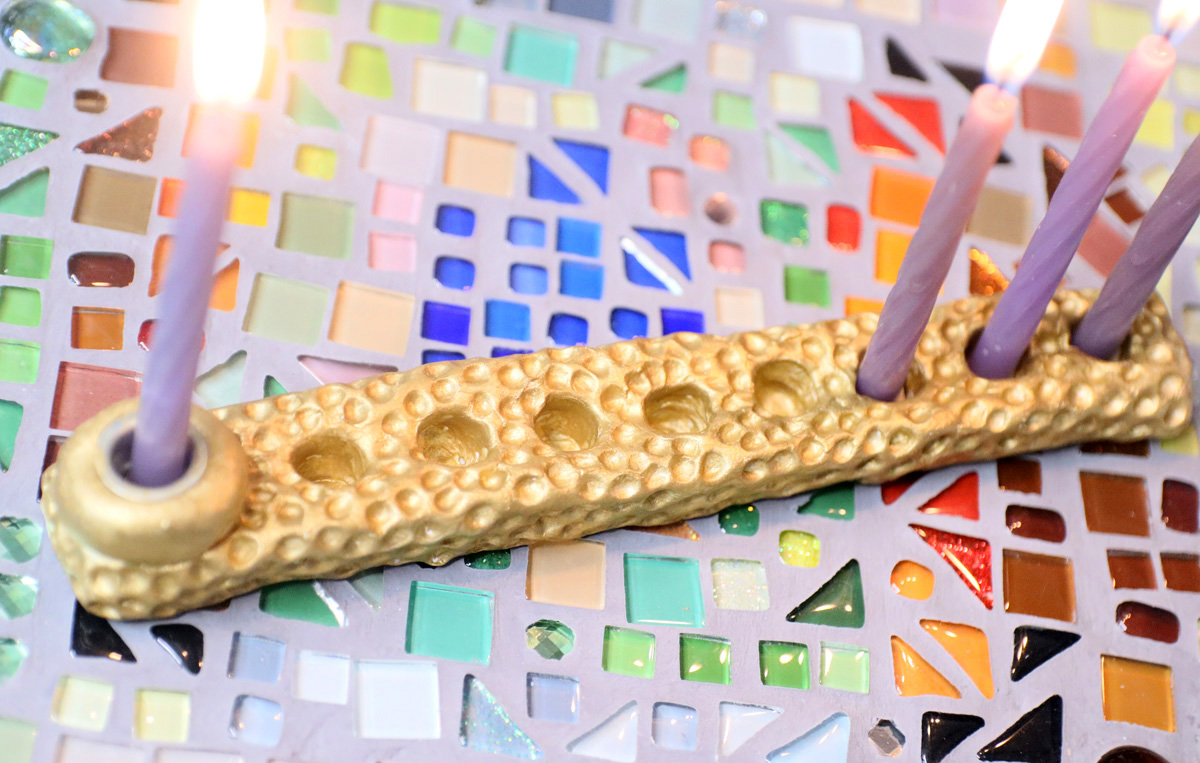
There’s no pride quite like lighting your own Menorah. Kids wait for the day that they can light their own, but they often start crafting them well in advance. For that reason I’ve shared DIY “candles” that kids can use to safely light – and it’ll work with this DIY air dry clay menorah too.
But did you realize just how gorgeous a DIY Menorah can be – one that anyone can craft? Whether you’re a kid or adult, you don’t need major skills to make a DIY air dry clay Menorah that looks fabulous, and I’m here to share my tips and tricks, and of course, a step-by-step tutorial.
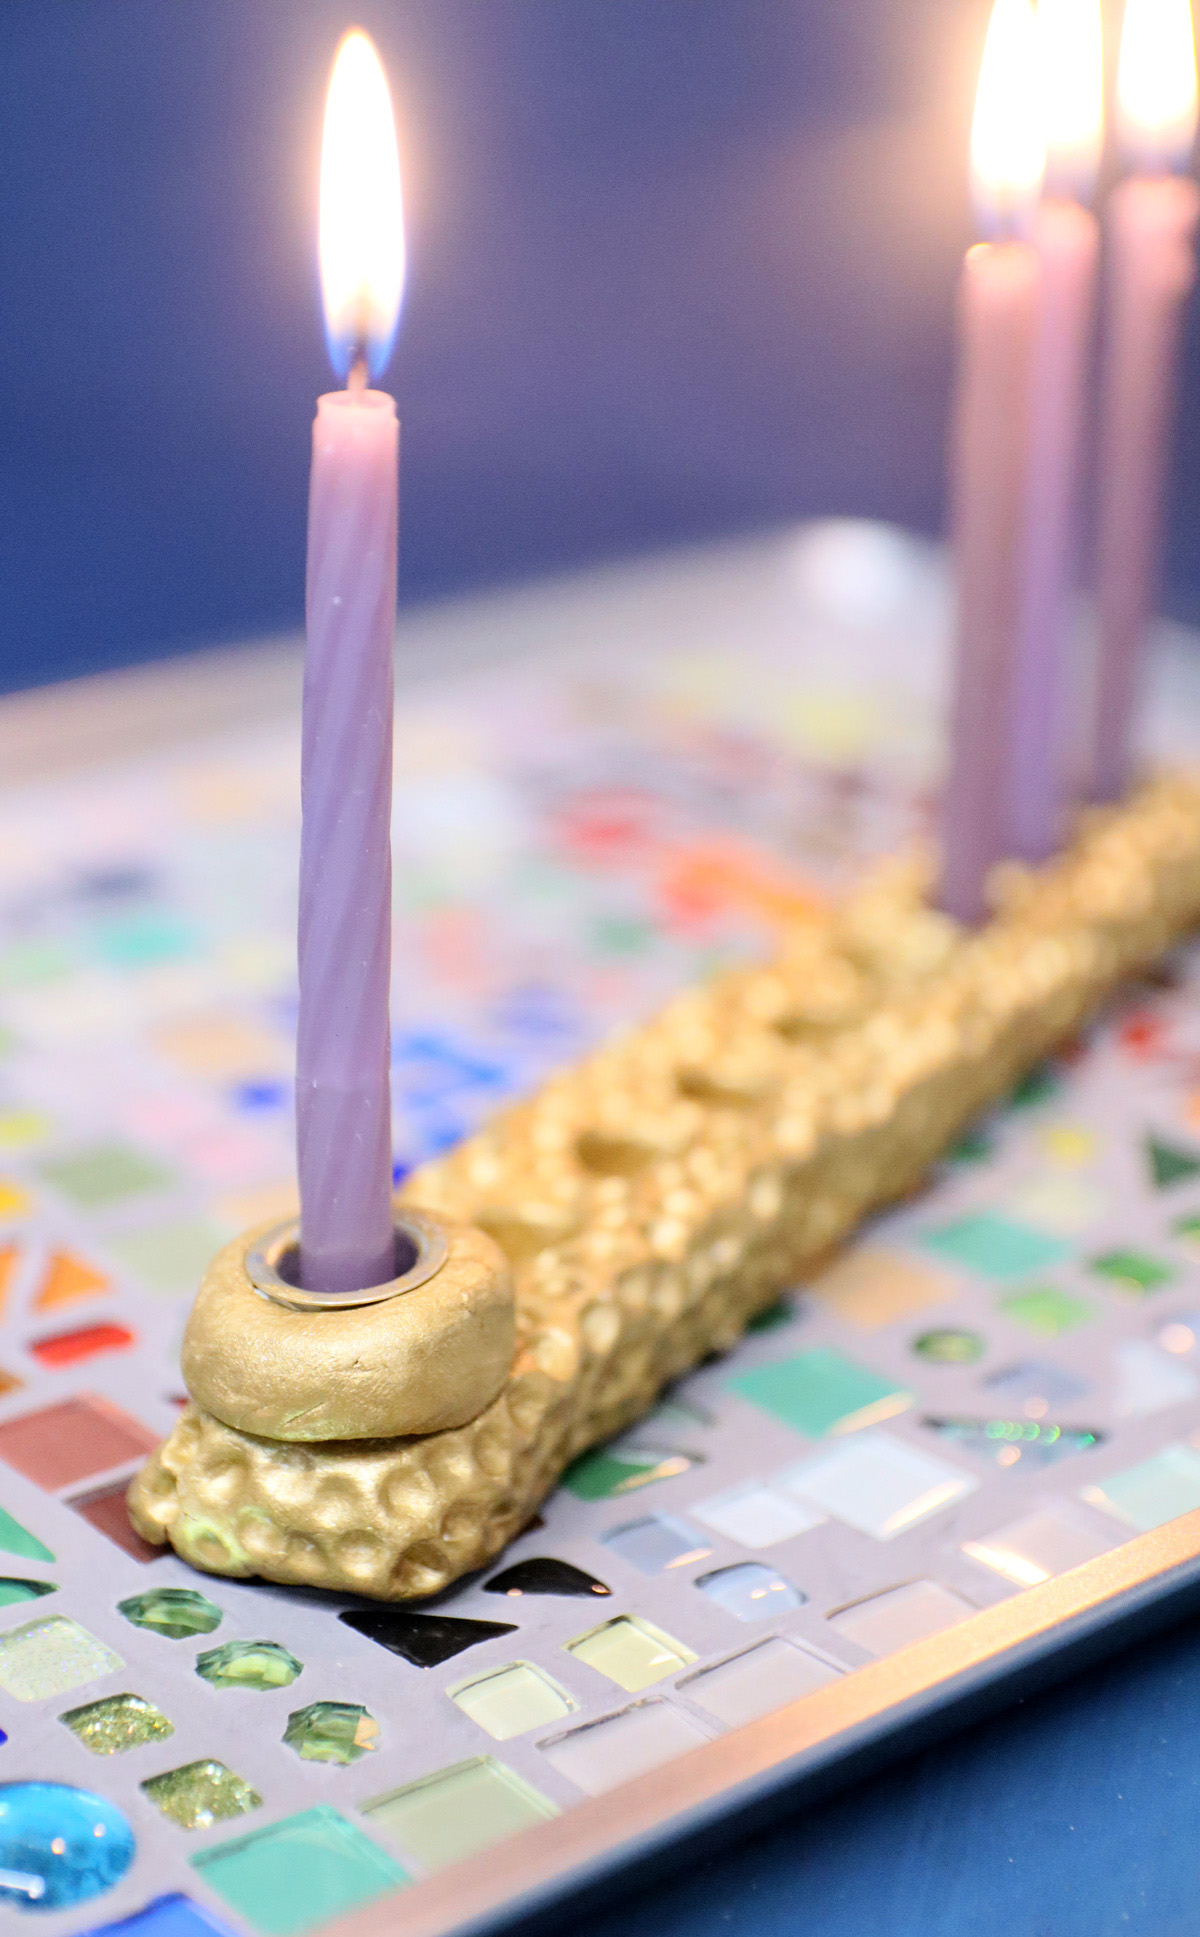
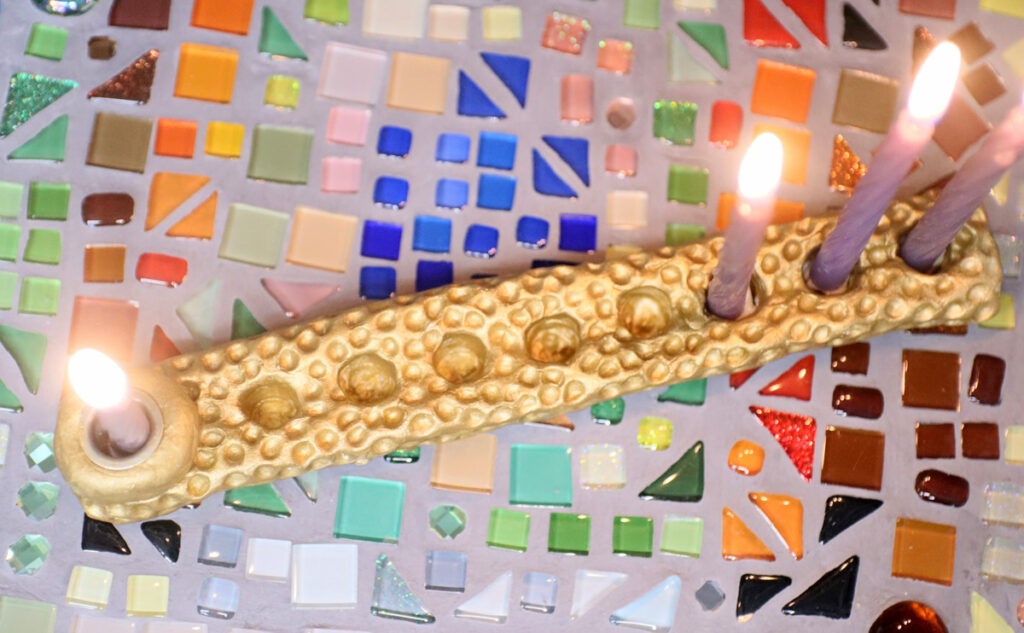
And yes, if you’re wondering about that gorgeous mosaic menorah tray in my photos, the tutorial for that is coming right up!!
But first, the nitty gritty.
Tips & Variations for crafting a DIY air dry clay Menorah
The goal of this preface to my actual step-by-step tutorial (found a bit further on) is not to tell you about my Grandma and long-ago memories, but to share important tips for crafting this and to answer some critical questions you might have.
Is air dry clay fire-safe?
This is the first question that needs to be asked. Most of us know the frustration of kids coming home proudly with the wooden menorah their kids hammered together in school… wondering if we can get away with not lighting it or if we’ll need to stand close by with the fire extinguisher.
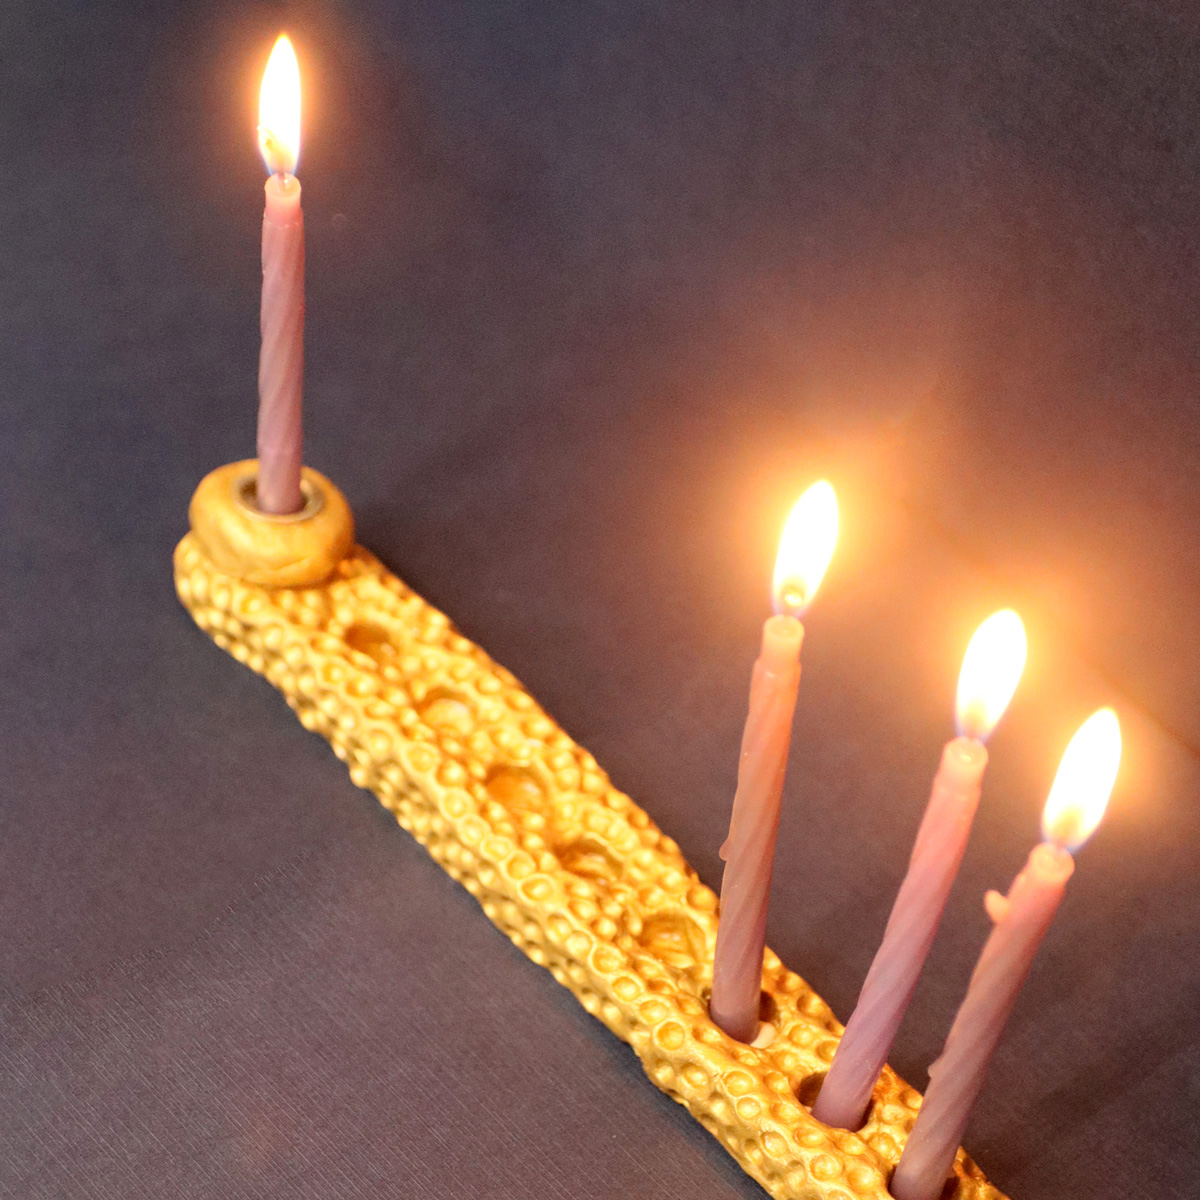
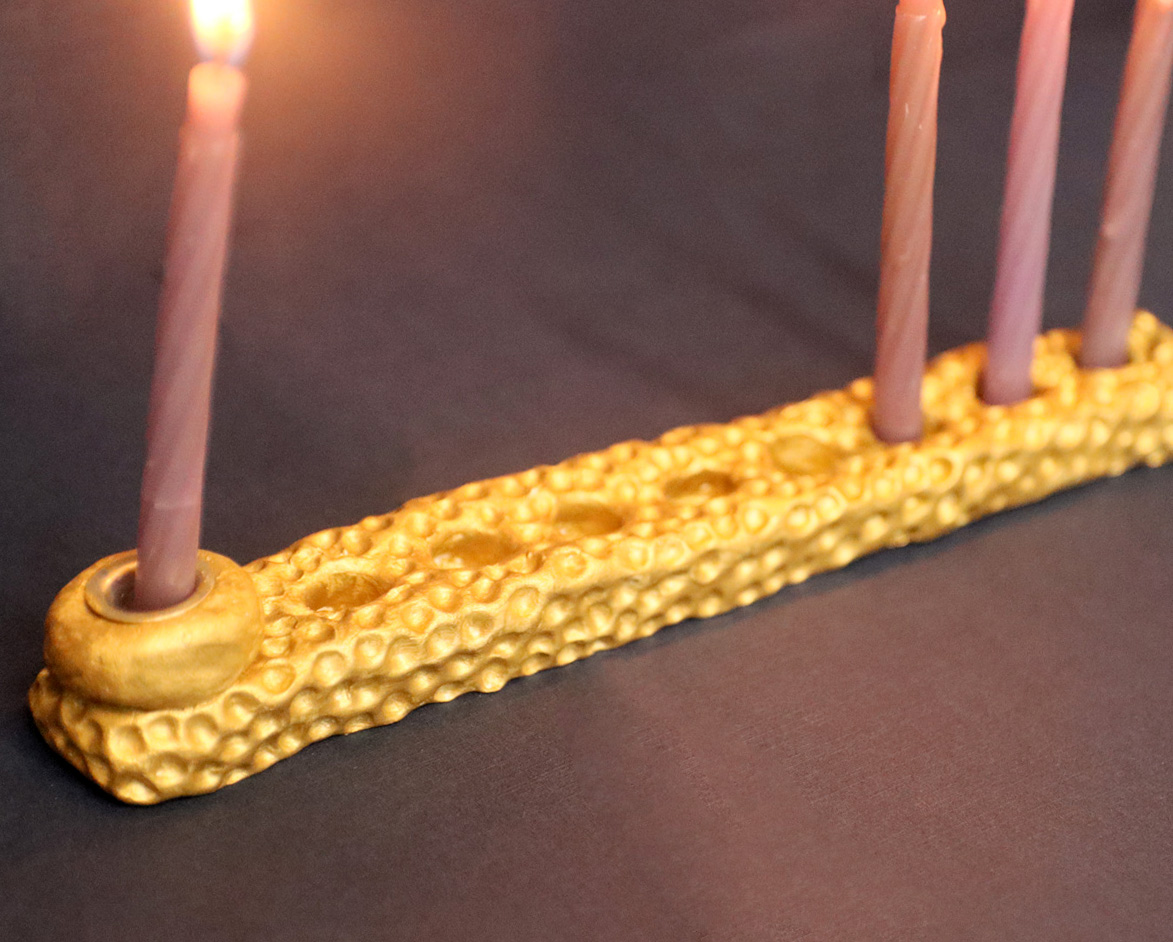
It’s important to know that not all air dry clay is safe to use for making Menorahs. Some brands are flammable. Most likely it’ll char if something gets onto it, but won’t burst into flames. But I wouldn’t risk it.
Years ago, when I was making these DIY clay candle holders (look familiar?) I went through a lot of the hoops of figuring out the concept of crafting things like this. At that time, I did a lot of research, including reaching out to companies to ask about flammability of their clays.
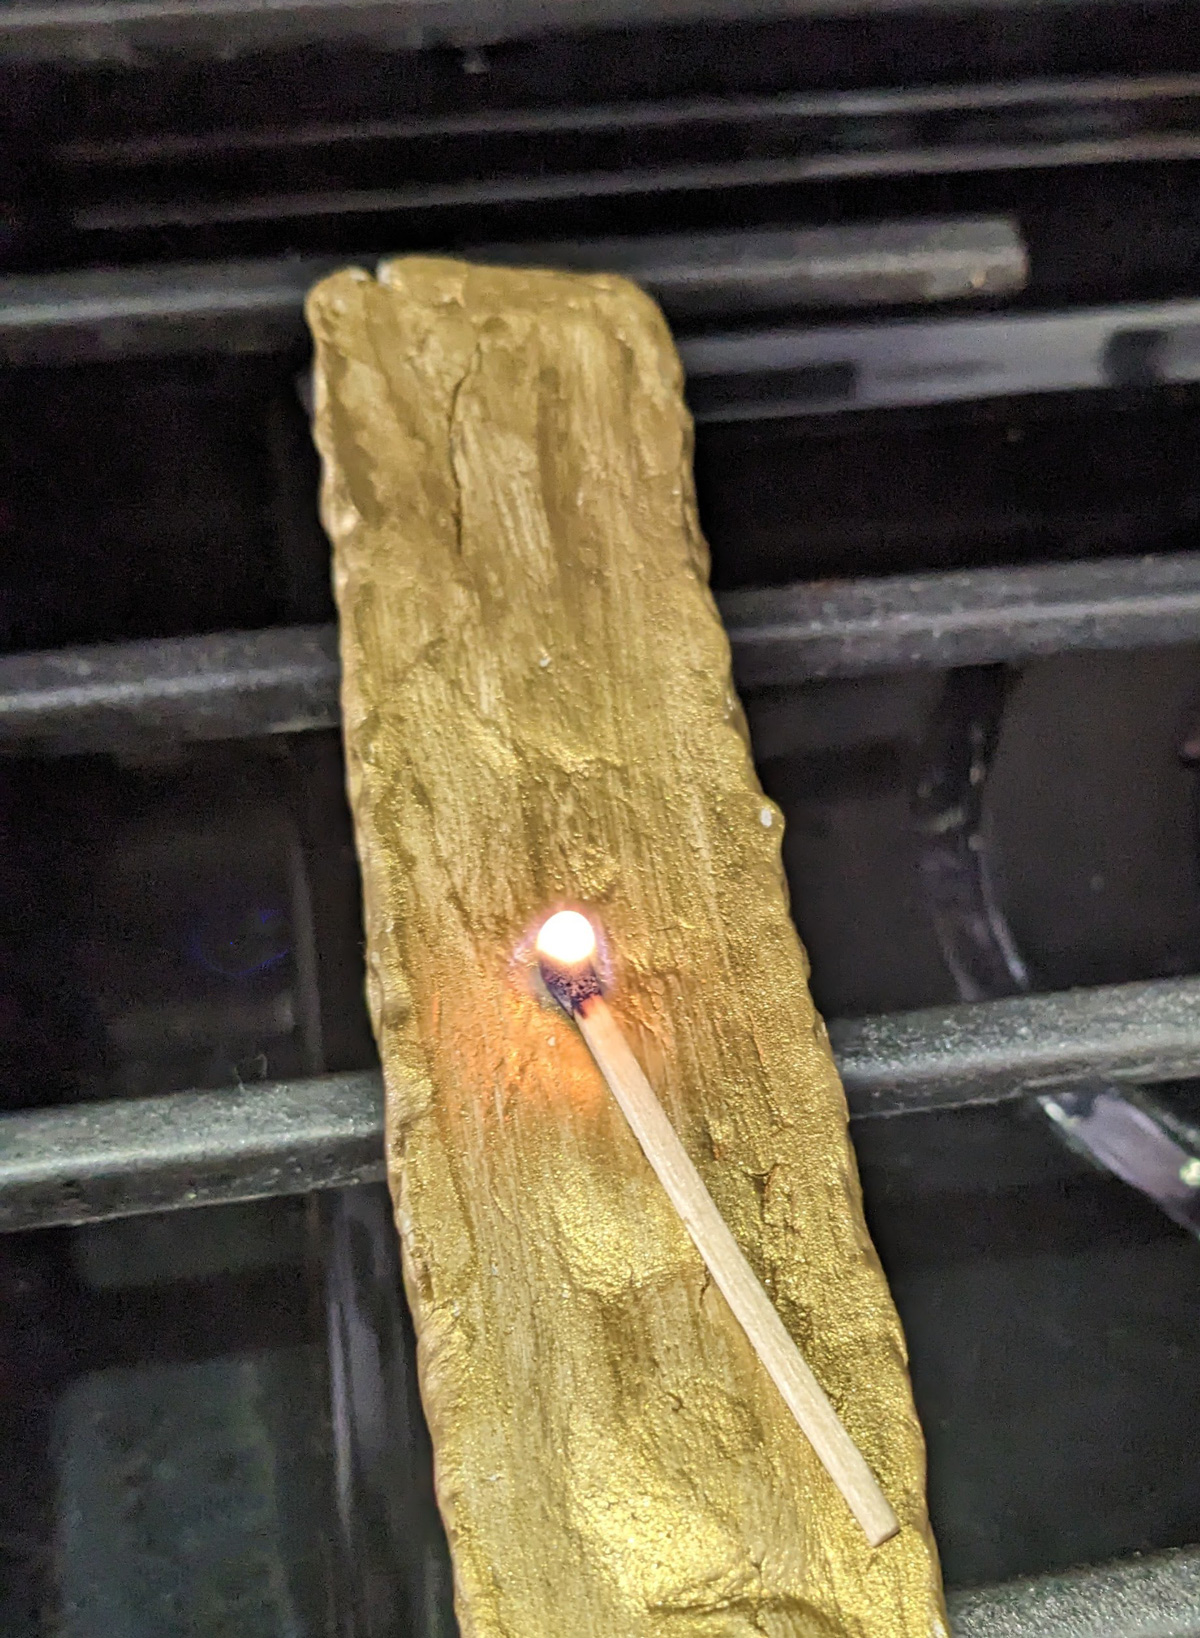
DAS was the only brand that could really tell me that their clay, after it’s cured, should be flame safe. But I didn’t take their word for it – I literally lit a match to it – a few times.
Please don’t repeat, and no, I can’t take responsibility for safety of outcome (feel free to test yourself in a controlled environment with a fire extinguisher handy) but if you’re going to make this, I recommend making sure you use a safe clay, such as DAS air hardening clay.
On that note, if you’re using paints and finishes, you probably want to make sure those are safe too. Water based paints and finishes should be safe. I had the brilliant idea to add a gilding wax type product and looked into it – and nope, those things wouldn’t be safe.
So, in a nutshell, when buying supplies for a DIY air dry clay Menorah, make sure what you’re getting won’t catch fire if a candle falls.
And of course, place it on a non-flammable tray or similar surface.
Different ways to finish your Menorah
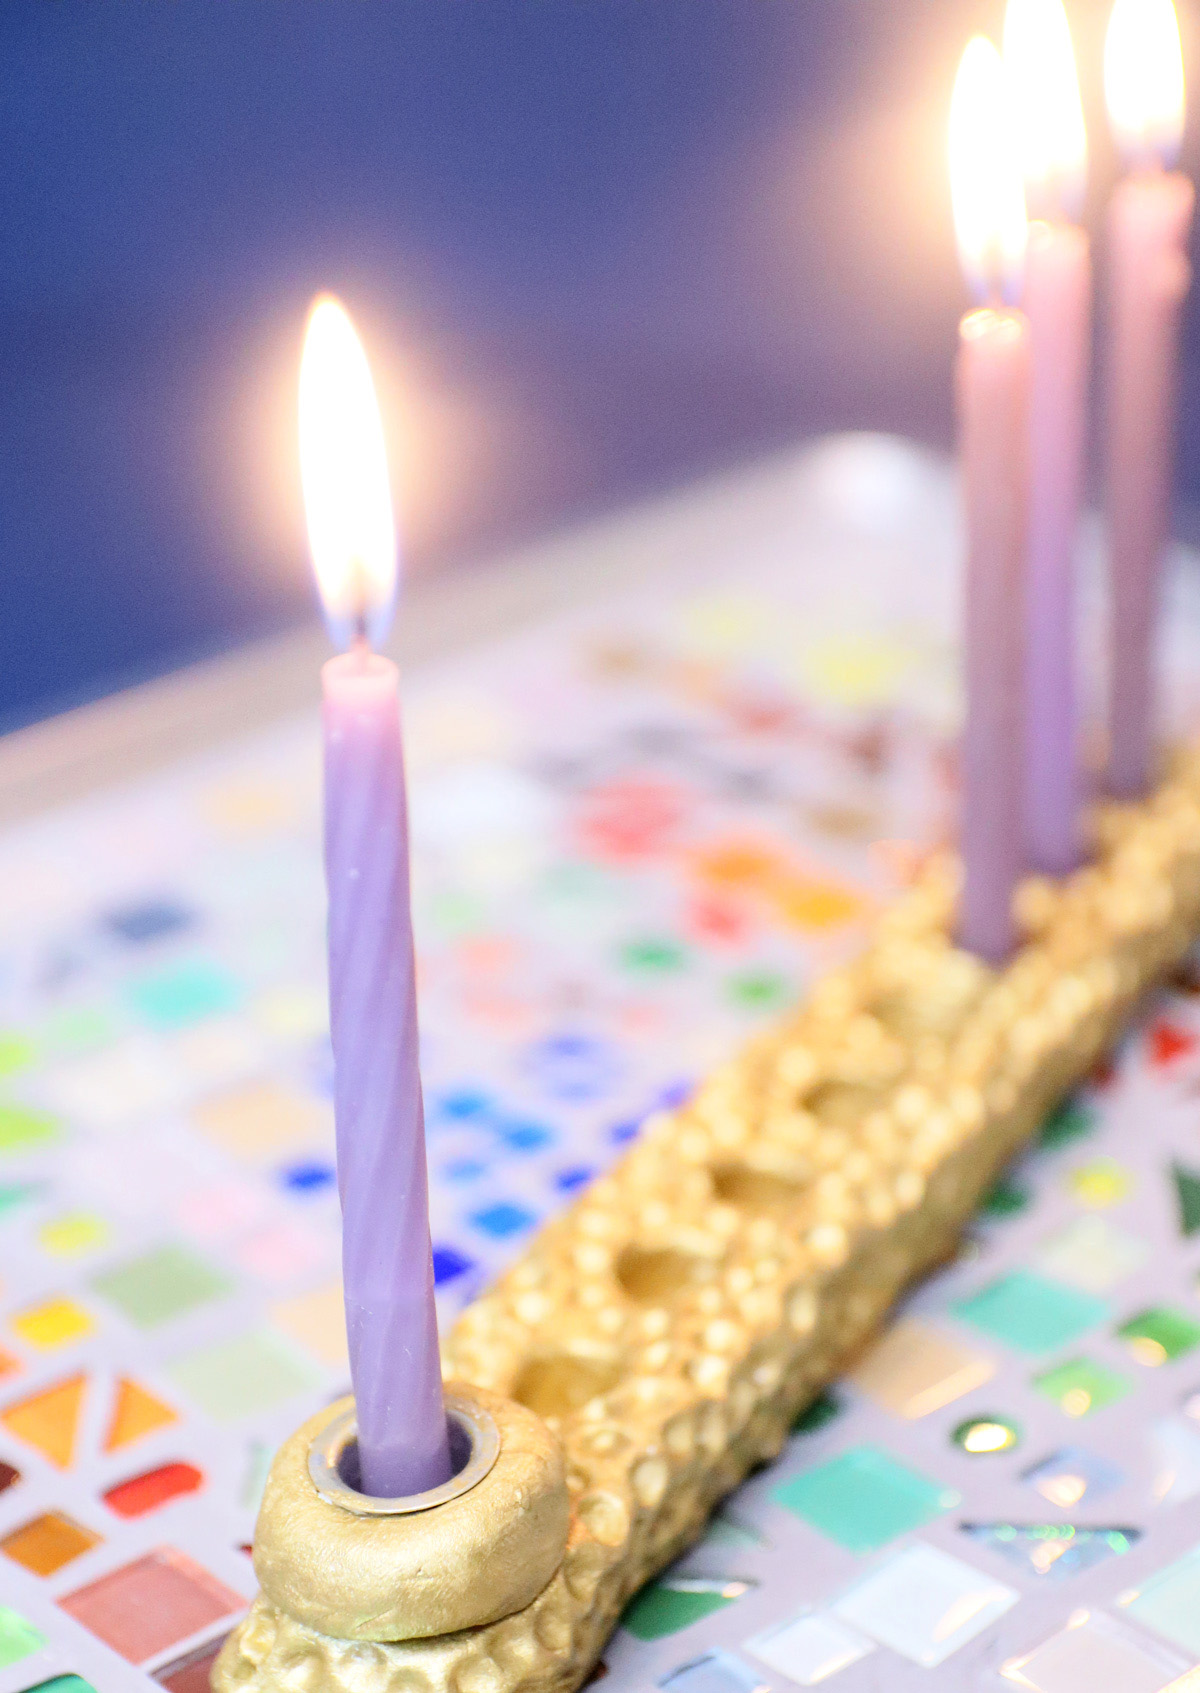
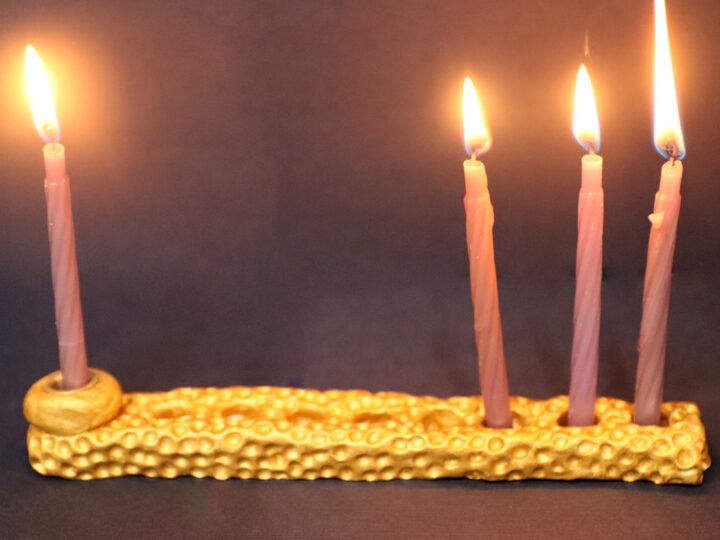
As you can see, I finished my Menorah using gold paint (this one is from FolkArt’s Brushed Metal collection). Again, however you do it, make sure the finishes you choose are water based.
I also paused and took some photos of my Menorah before I painted it. That clean, ceramic look can be so lovely.
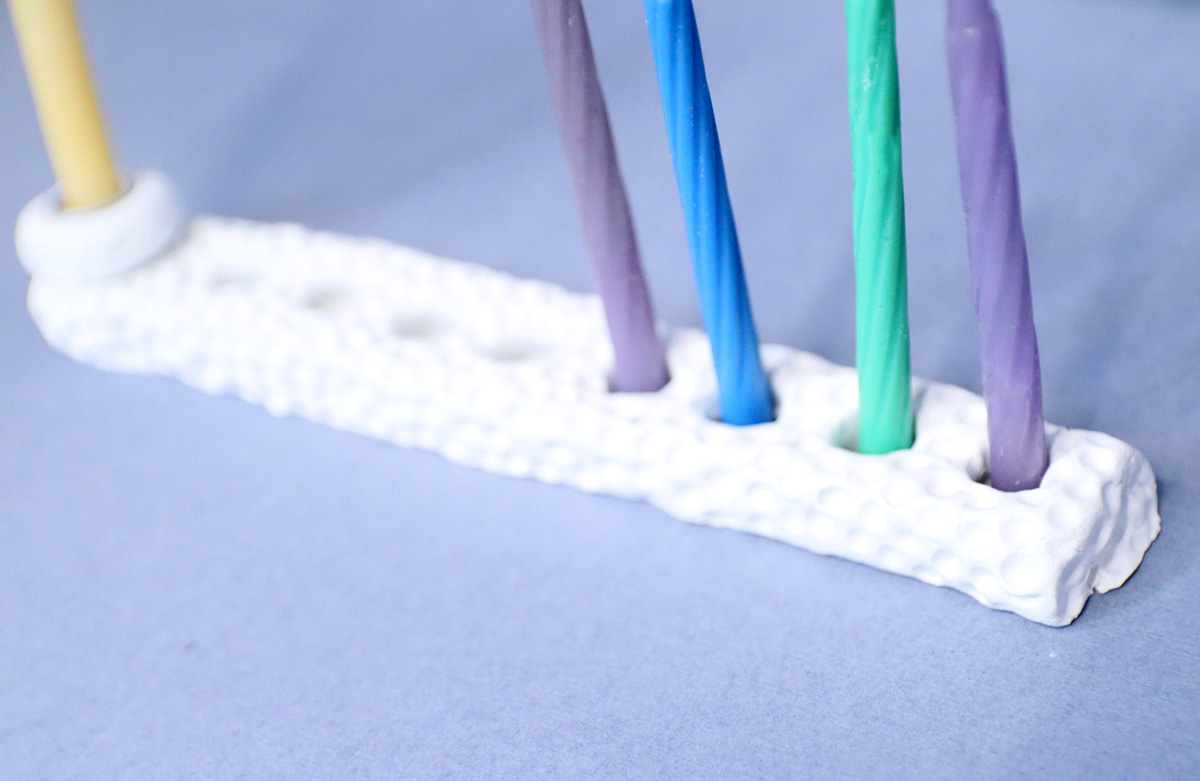
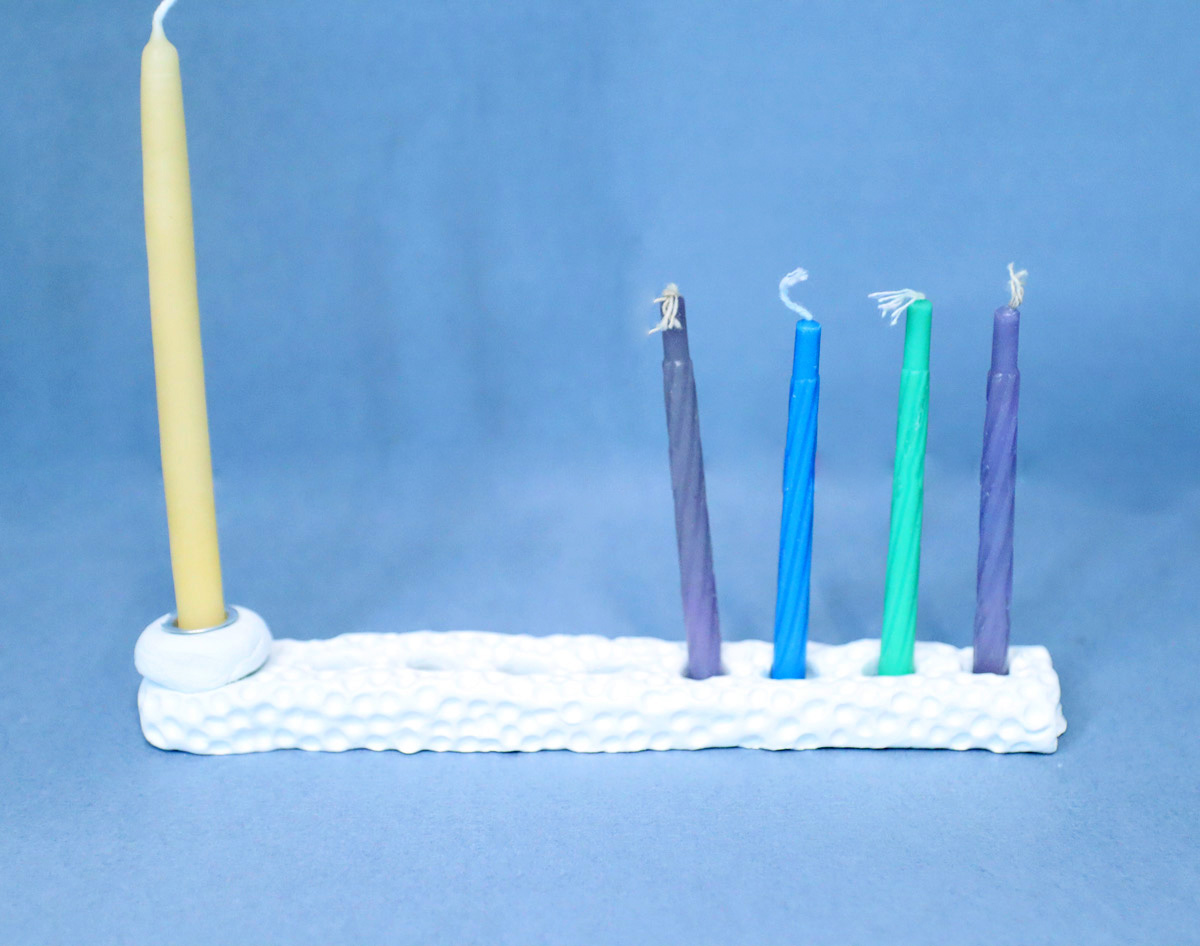
To create that gorgeous hammered look, I used the ball-end tool from my clay sculpting tools to simply make small marks. I simply sat, relaxed, and worked in a slightly methodical – but mostly random – order.
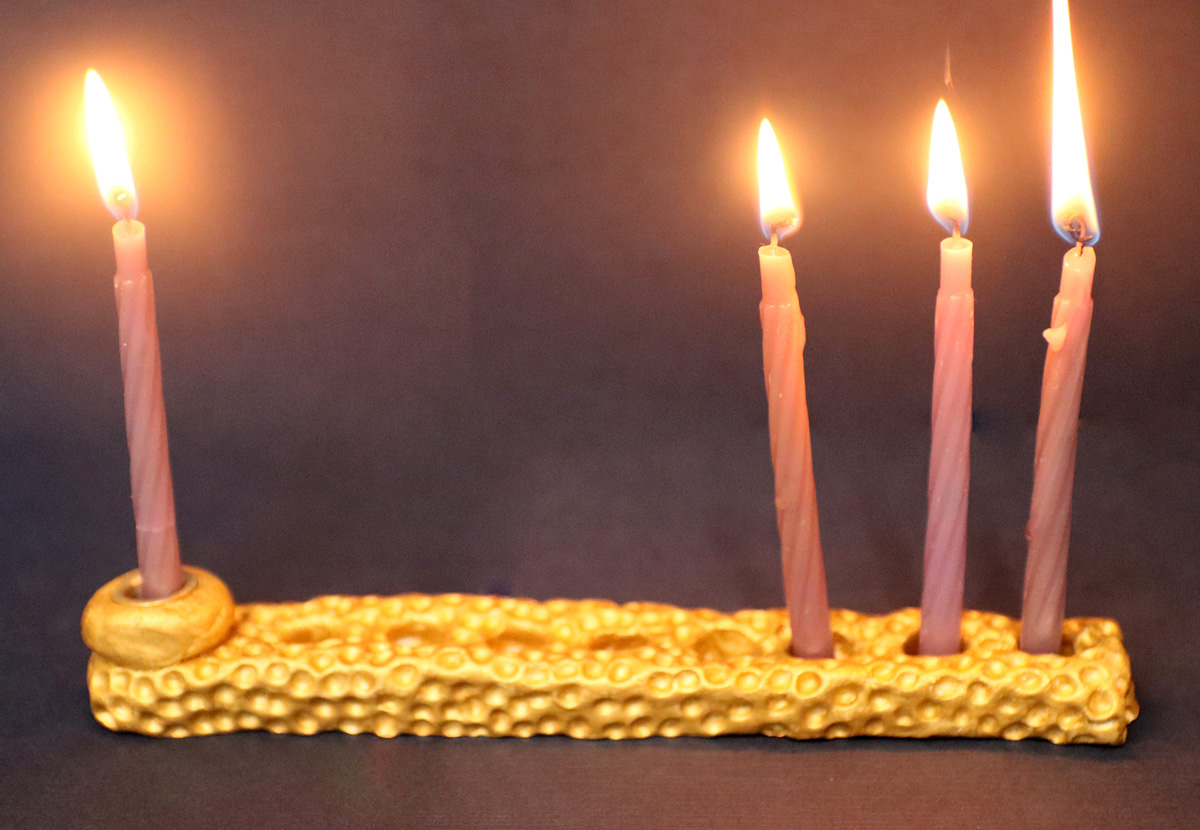
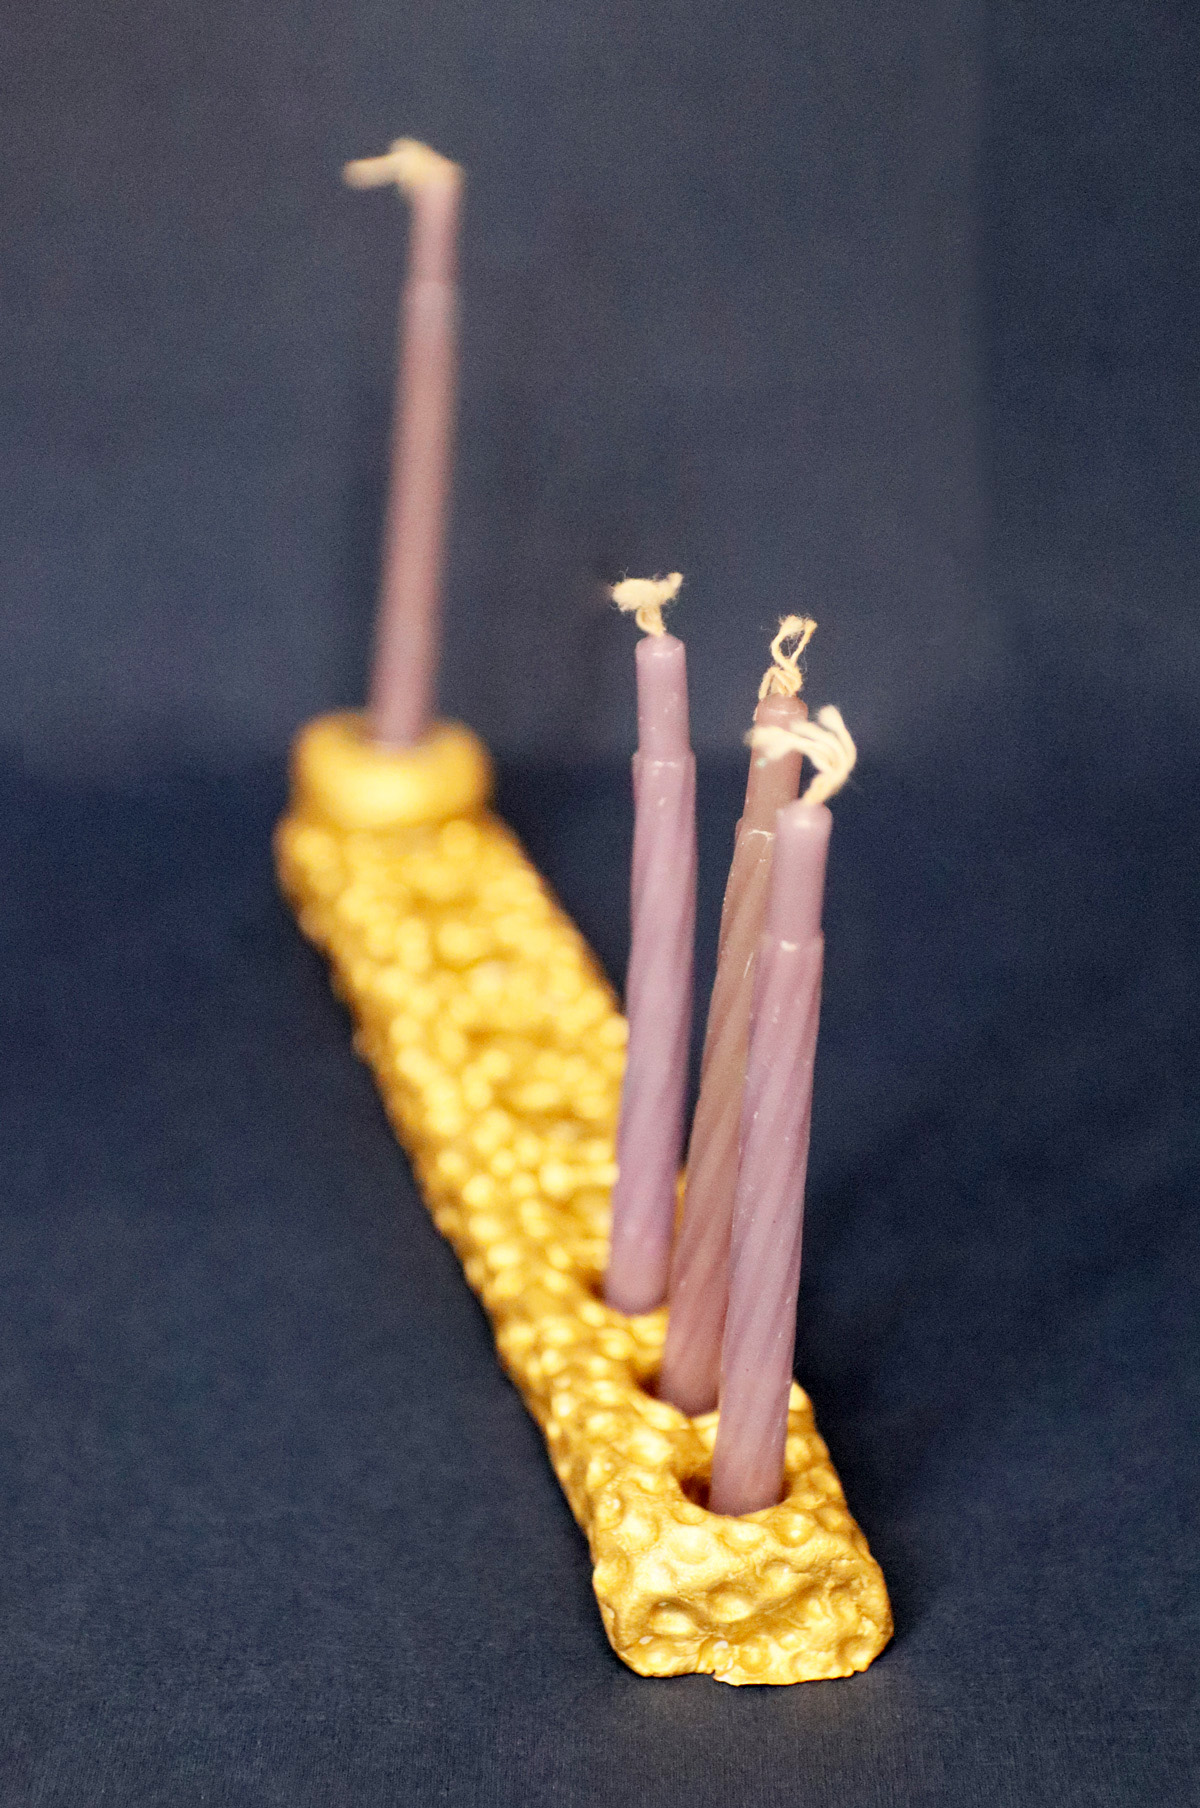
There’s another detail you might have noticed:
The Shamash has a candle cup in it, and the others don’t. One of the big challenges with crafting this is measuring out the size of the holes to make for the candle. On my first try, I simply poked in the candles, wiggled them around a litle (clay shrinks) and pulled them out. It shrunk too much.
On my second try, I used candle cups, poking them in and then pulling them out. But to see if the clay will crack around it (due to shrinkage) I did leave the Shamash cup in place. It did not shrink.
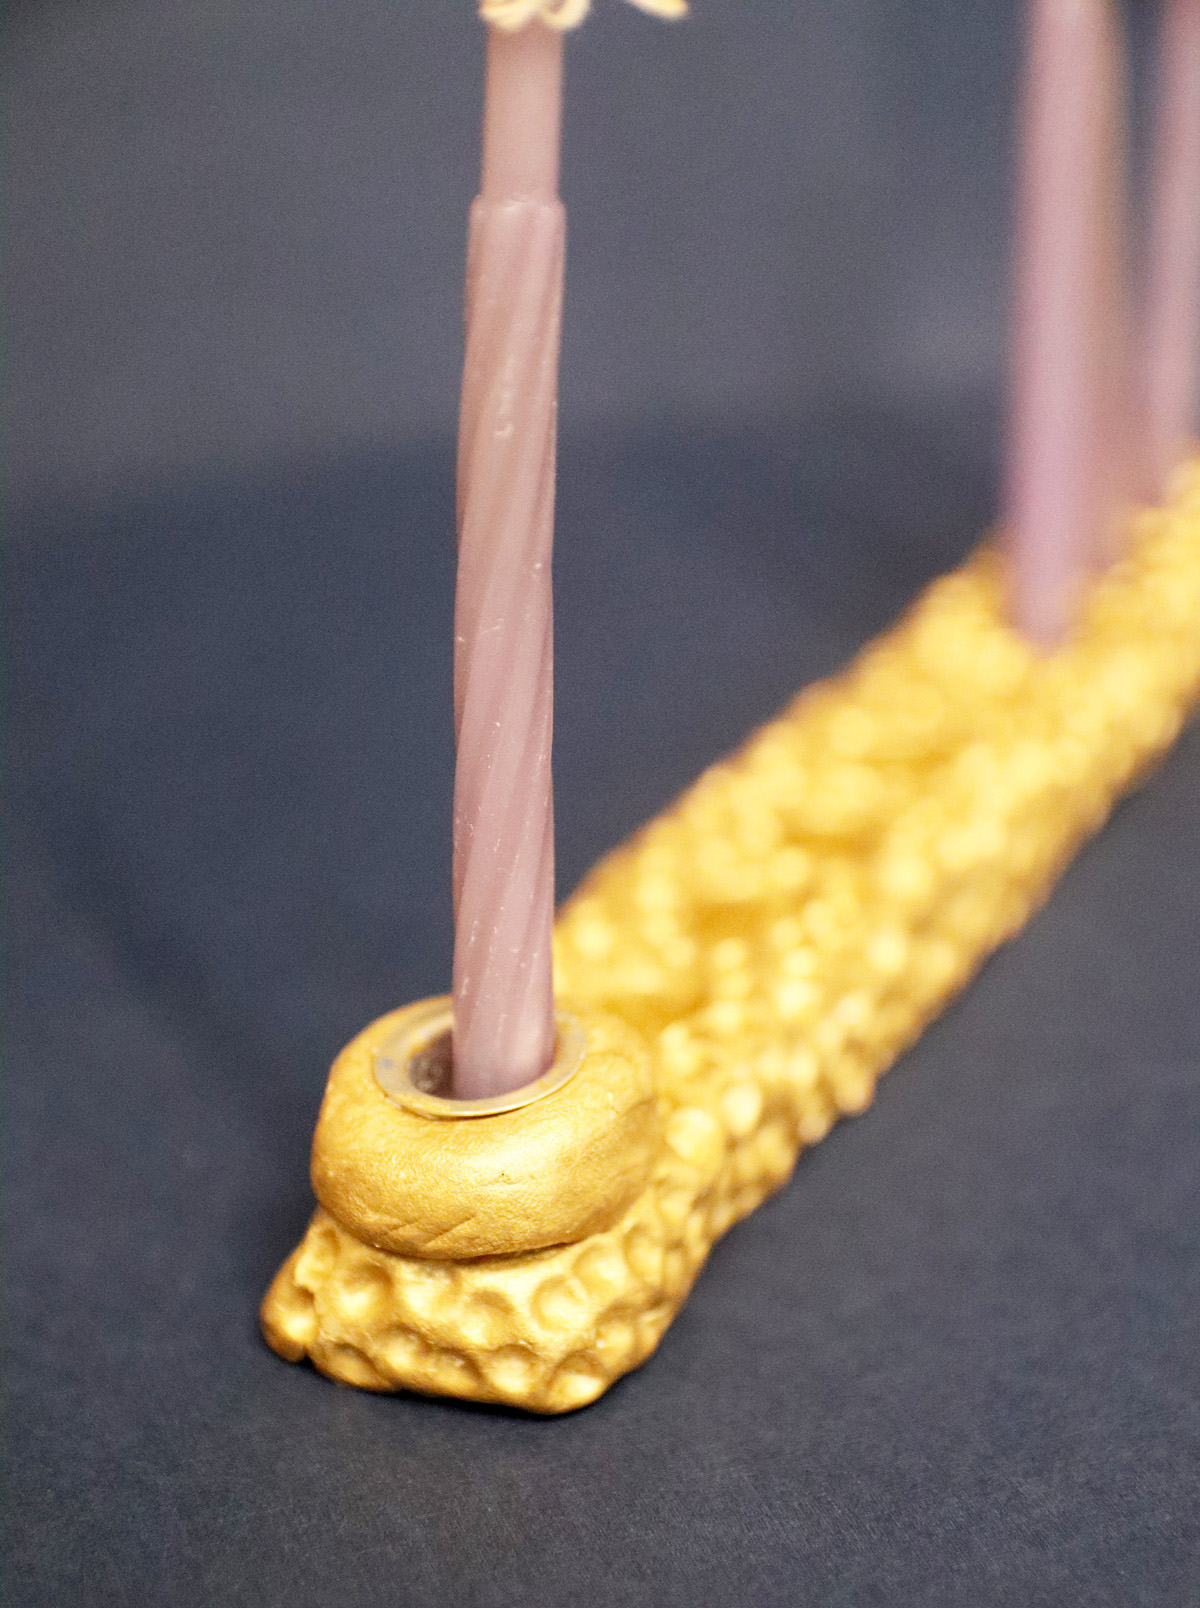
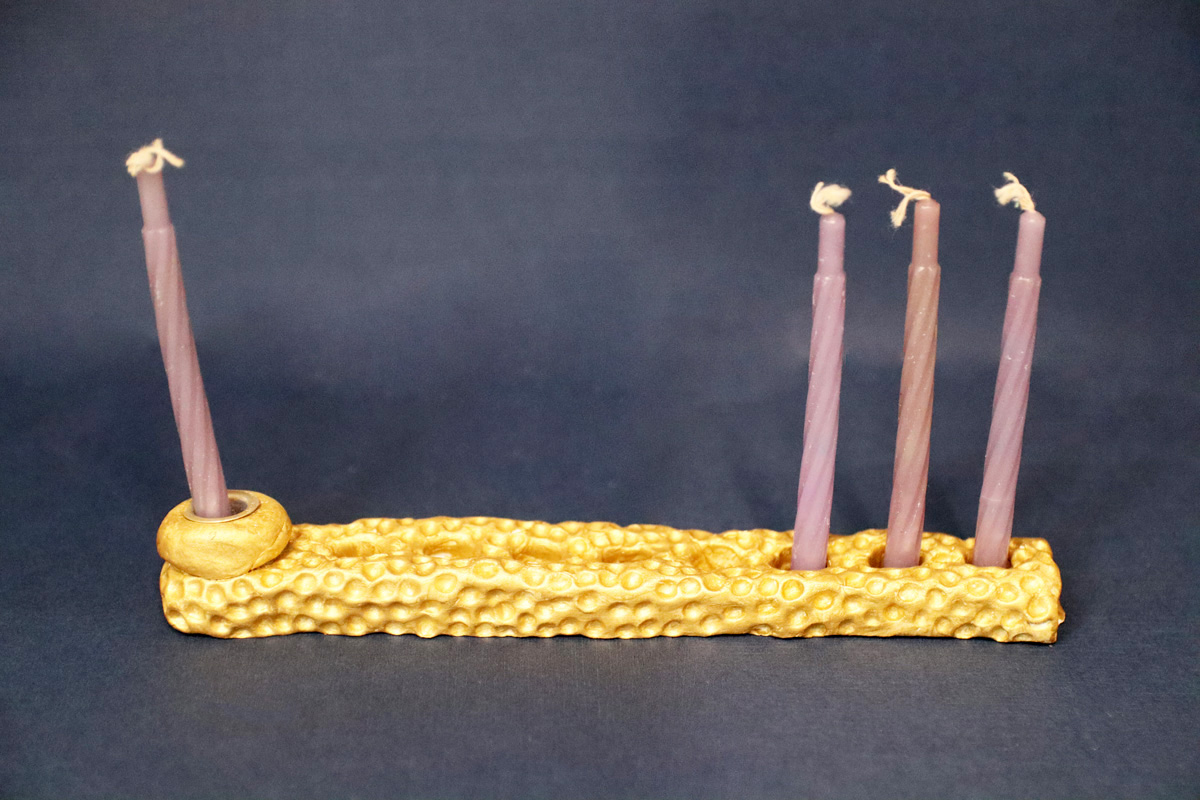
On our subsequent tries, we’re leaving the candle cups in place, even though it makes the project a bit pricier. It’s the nicest, most polished way of doing it and it wasn’t easy to pull them out – it left nail marks. These cups are a bit large for the cheapie Chanukah candles, but they work beautifully with a small square of foil jammed in, which makes cleanup easier anyway.
They also fit small, narrow oil cups.
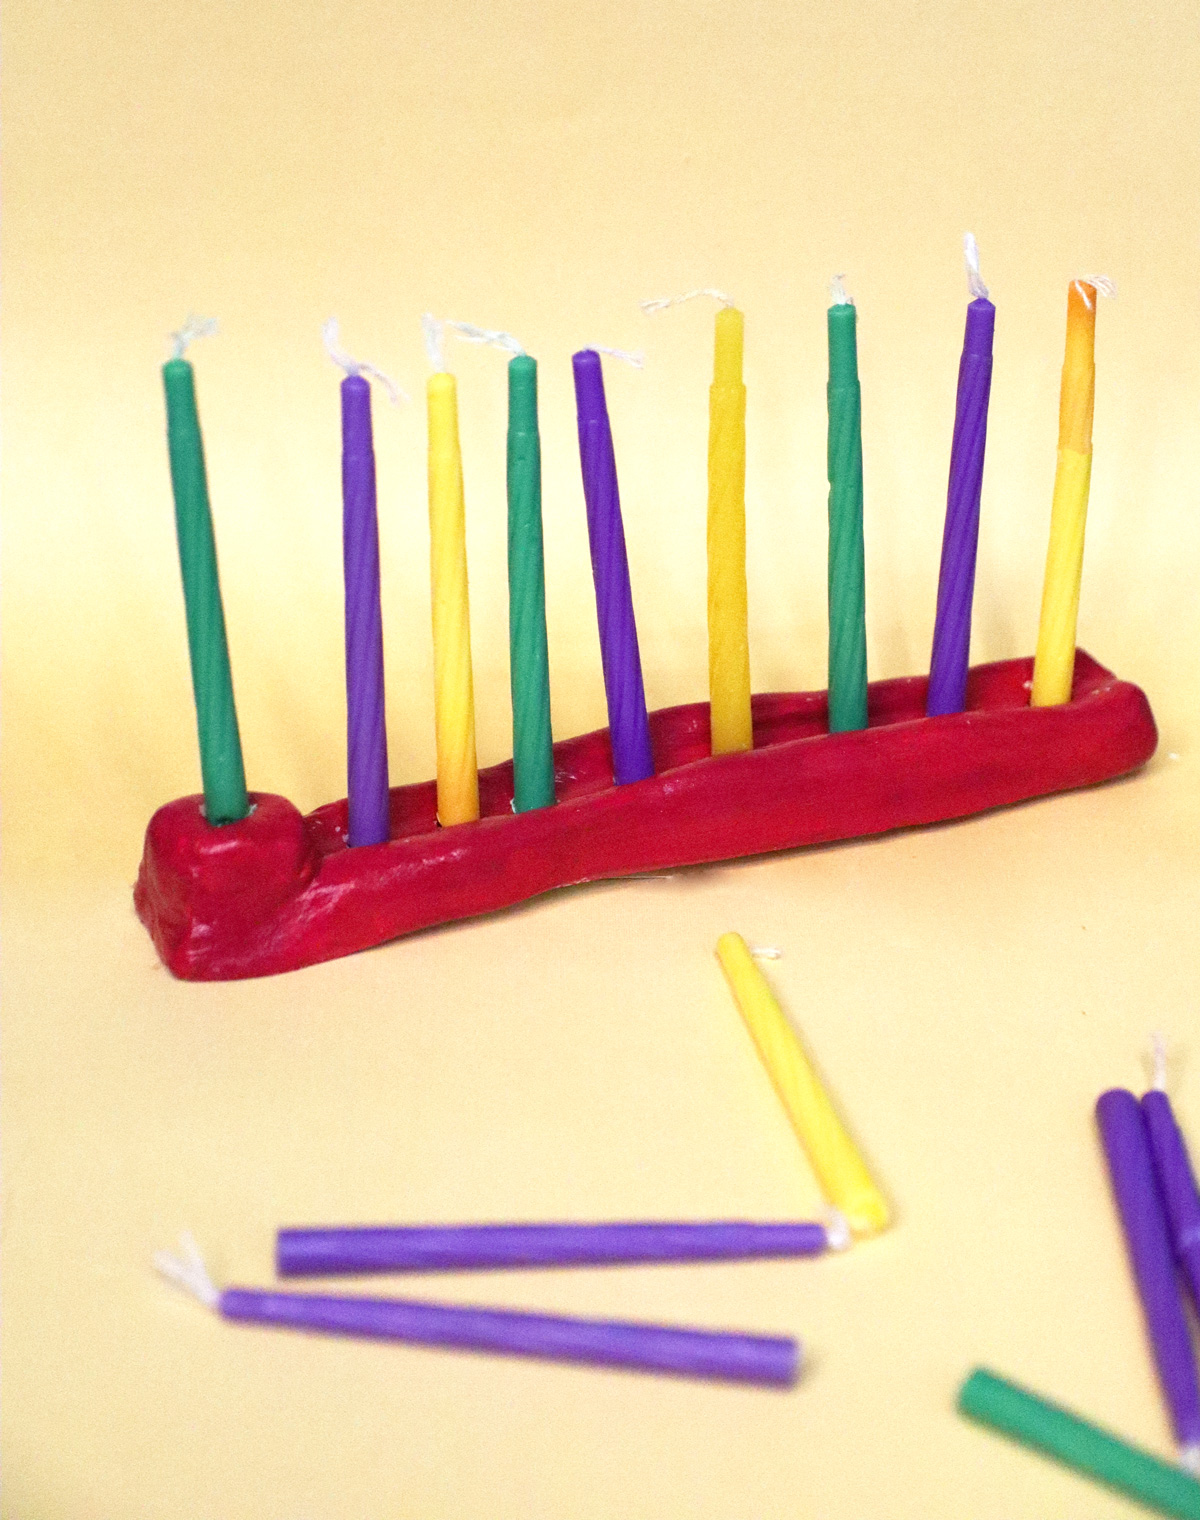
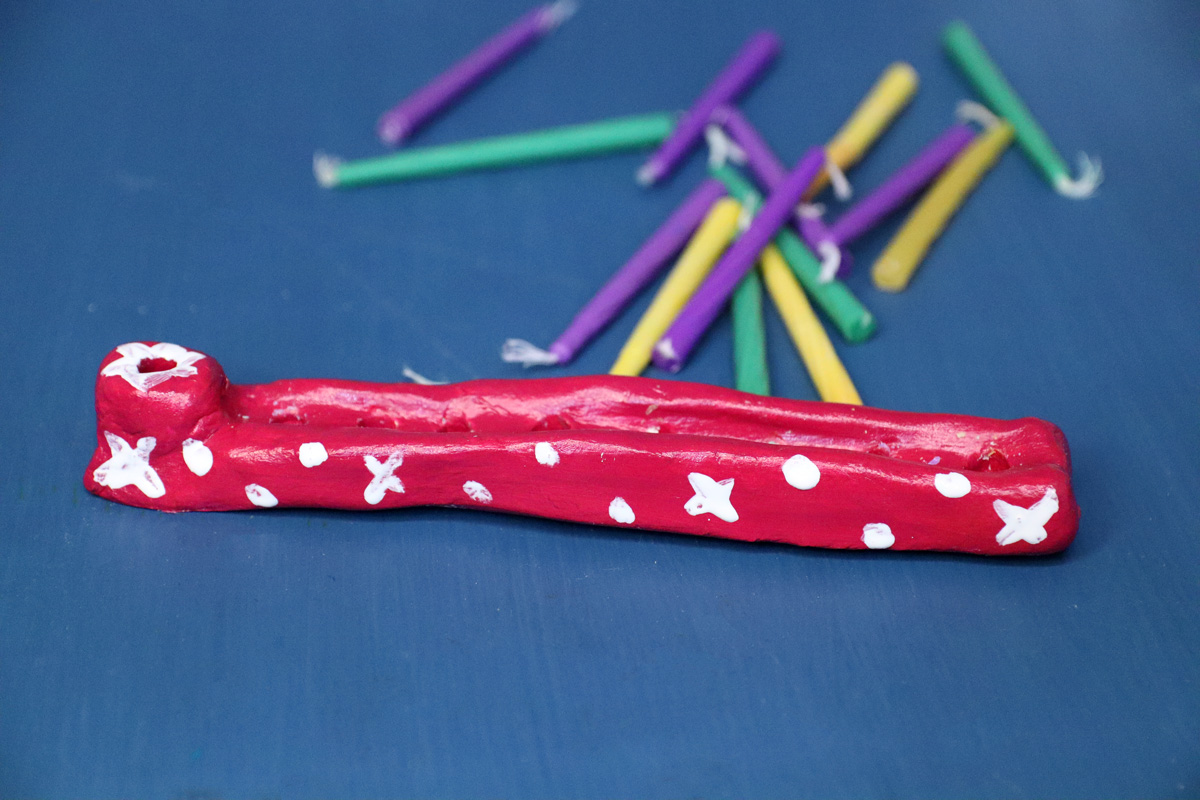
On my first try, I also skipped the whole hammering bit, and smoothed on the Shamash portion instead of leaving it in place. The Shamash that was created as a separate ball needed gluing after it dried (no biggie). This one didn’t.
This was also painted with a standard craft acrylic with some fun embellishments. I also molded a “well” with my fingers for the candles to sit in.
This is just to show you the different ways older kids especially can be creative when making an air dry clay Menorah.
Making it with preschool-age kids
But what about preschoolers?
I’ve been running Sunday craft groups for A and her four-year-old friends and so I tested if this is a project that she can do with minimal guidance.
I showed her how to gently pull apart the clay and then roll it to make a snake. We skipped smoothing it with water (I thought she might go too crazy with it – I might reconsider that). I showed her how to flatten it a little and then pinch up one end to make it higher. She did most of it on her own with minimal guidance.
When pressing in the candle cups, I did instruct her to poke her finger in and use that to press the cup into the clay. Taking out the cups is quite challenging and so we’re leaving them all in.
We still need to paint it, which should be an no-brainer. This can easily be done as a two-session craft – and I WILL be doing it with the group.
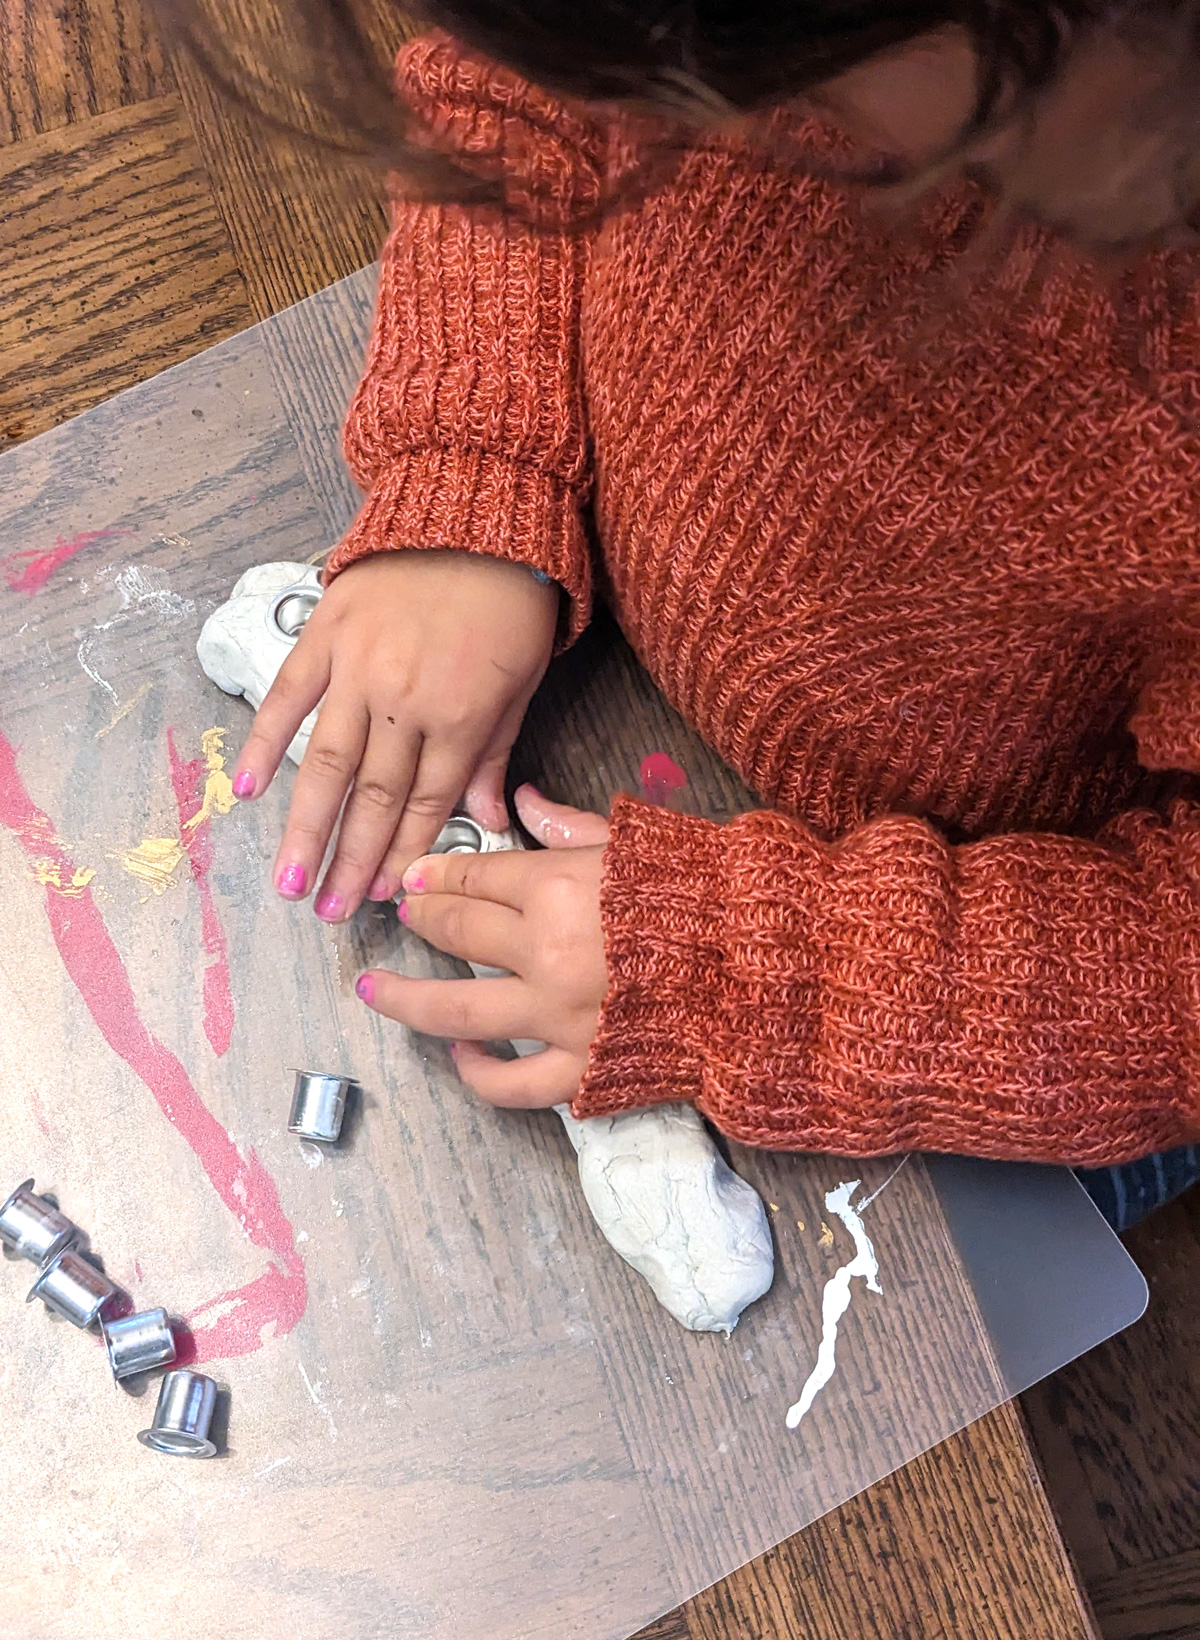
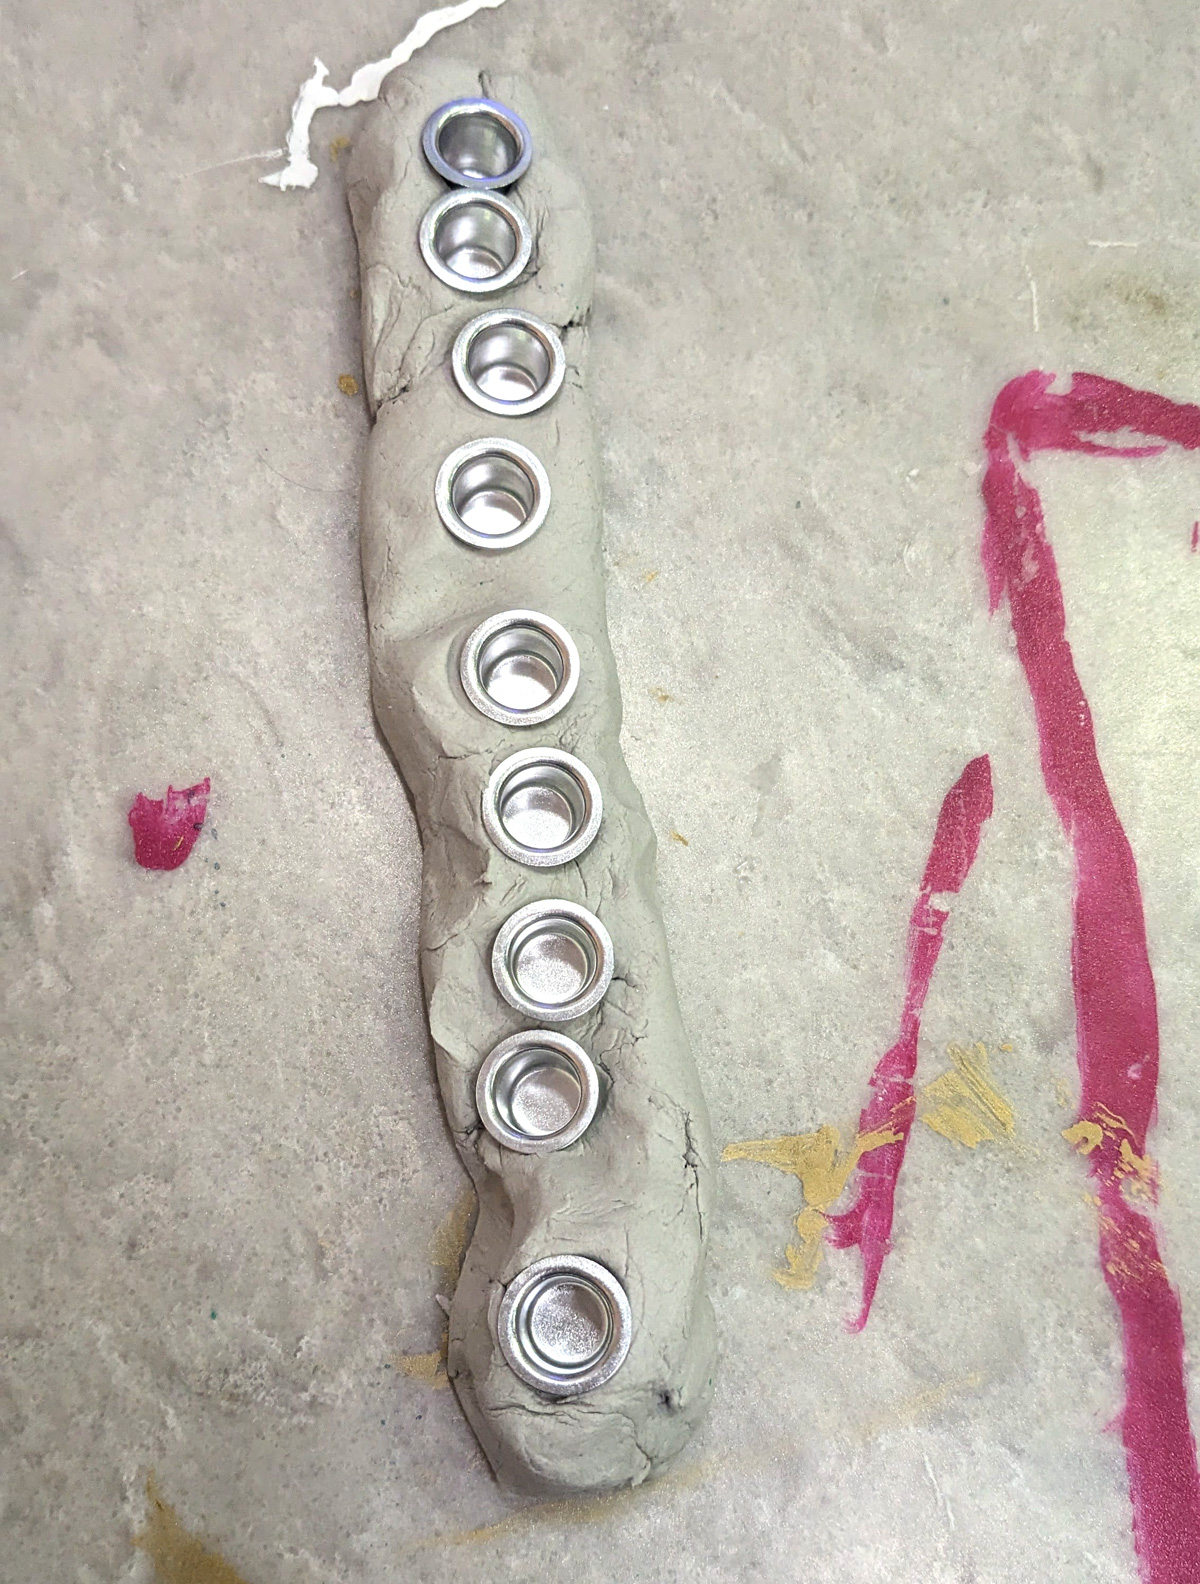
I did straighten out the cups a bit after she placed them in (when she didn’t see) but it took 30 seconds and she doesn’t know the difference.
How to make a DIY air dry clay Menorah
Now for the step-by-step! I always share here how I made it – but you can definitely switch it up!
Supplies
- Air dry clay – I recommend DAS. I used about 1/5 of the 2.2 lb package
- Water based paint – I used FolkArt Brushed Metal Gold
- Paintbrush
- Candle Cups
- Clay tools (optional, more for adults carefully crafting than kids doing it pinch-pot style.) I used DAS’s set for the round tool and the rolling pin and metal brush were from my own stash
- Jar with water for smoothing
- Tip: use plastic cutting boards to protect your surface
Process
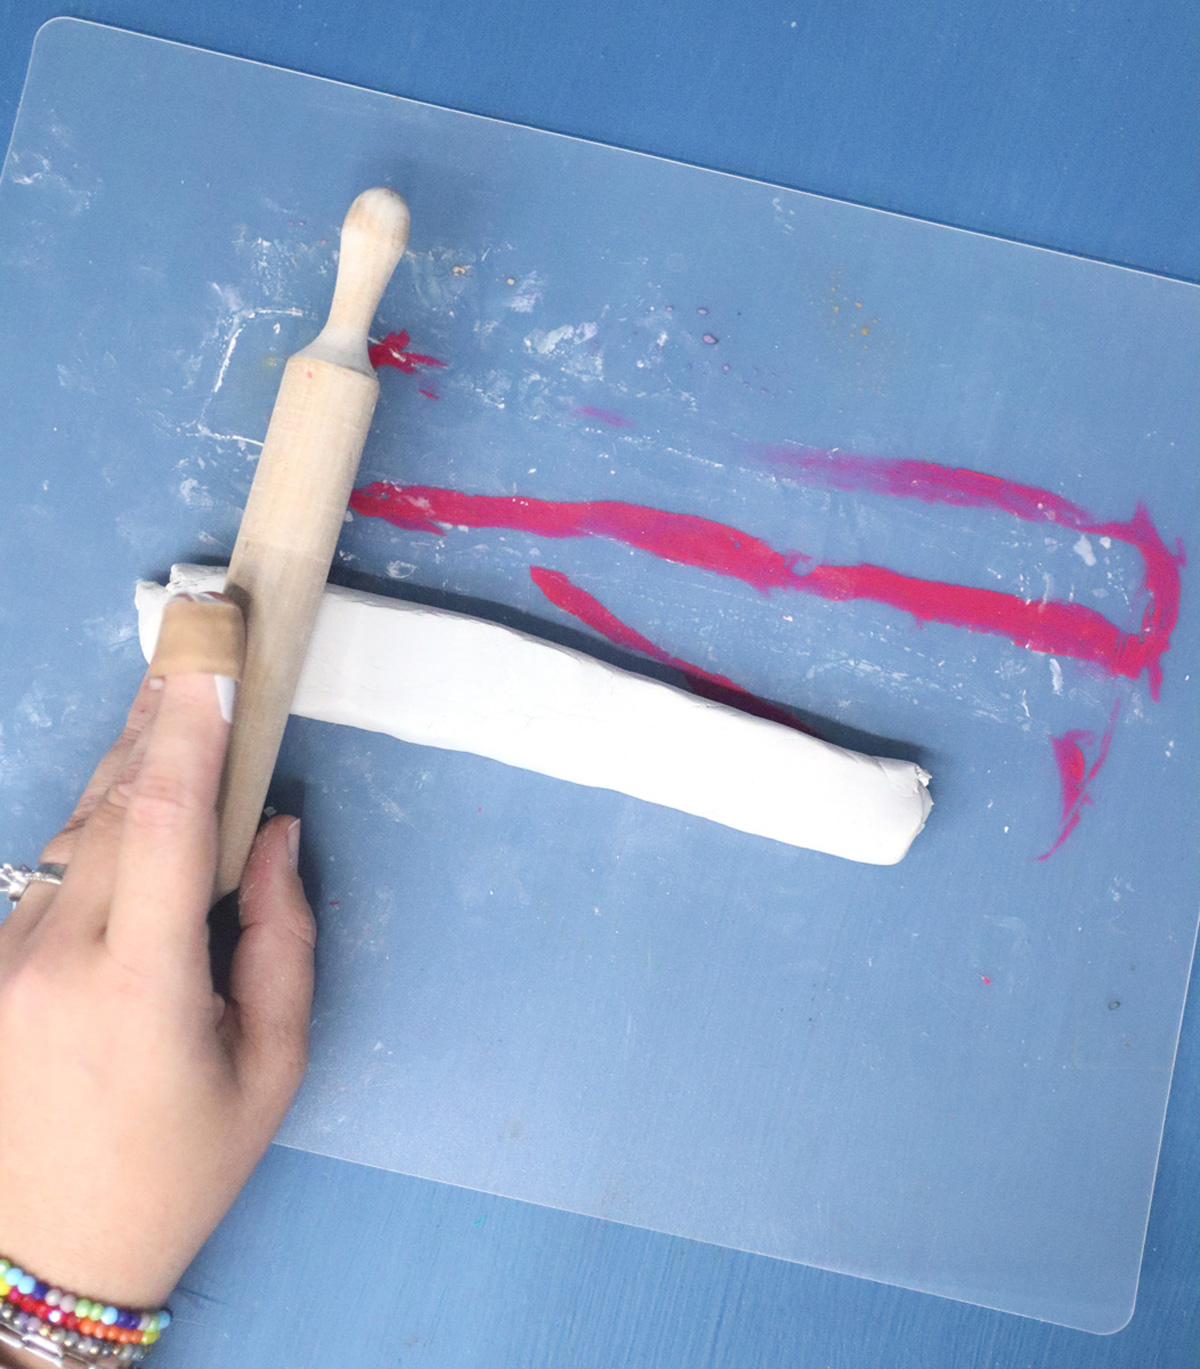
1. Roll out your clay with your hands to form a roll. It should be large enough for 9 candle cups with a bit of space in between. Flatten it slightly with a rolling pin.
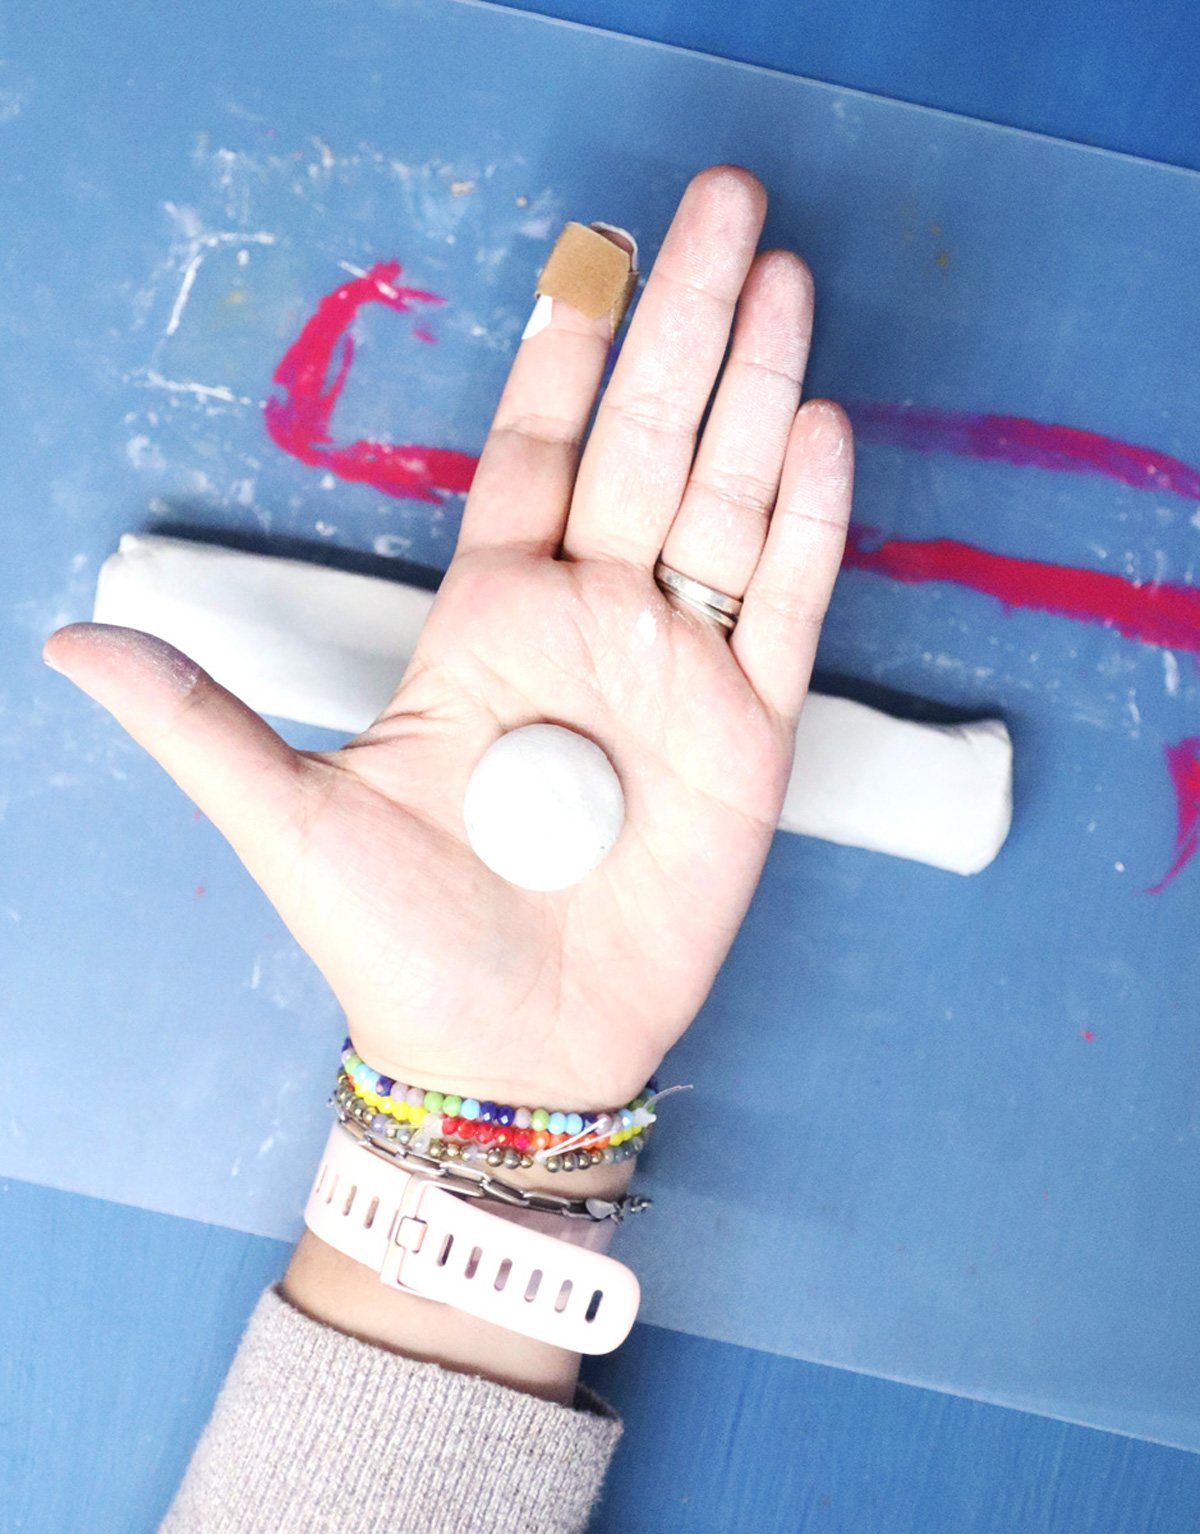
2. For the Shamash/elevated “helper” candle, roll out a ball of clay and flatten it. It should be a tiny bit larger than the main Menorah’s narrow side.
Alternatively, simply scrunch up a small portion of the side and smooth.
3. Use water to smooth all your surfaces, getting rid of creases. Do this by dipping your fingers and using minimal amounts of water and pressure to smooth them out.
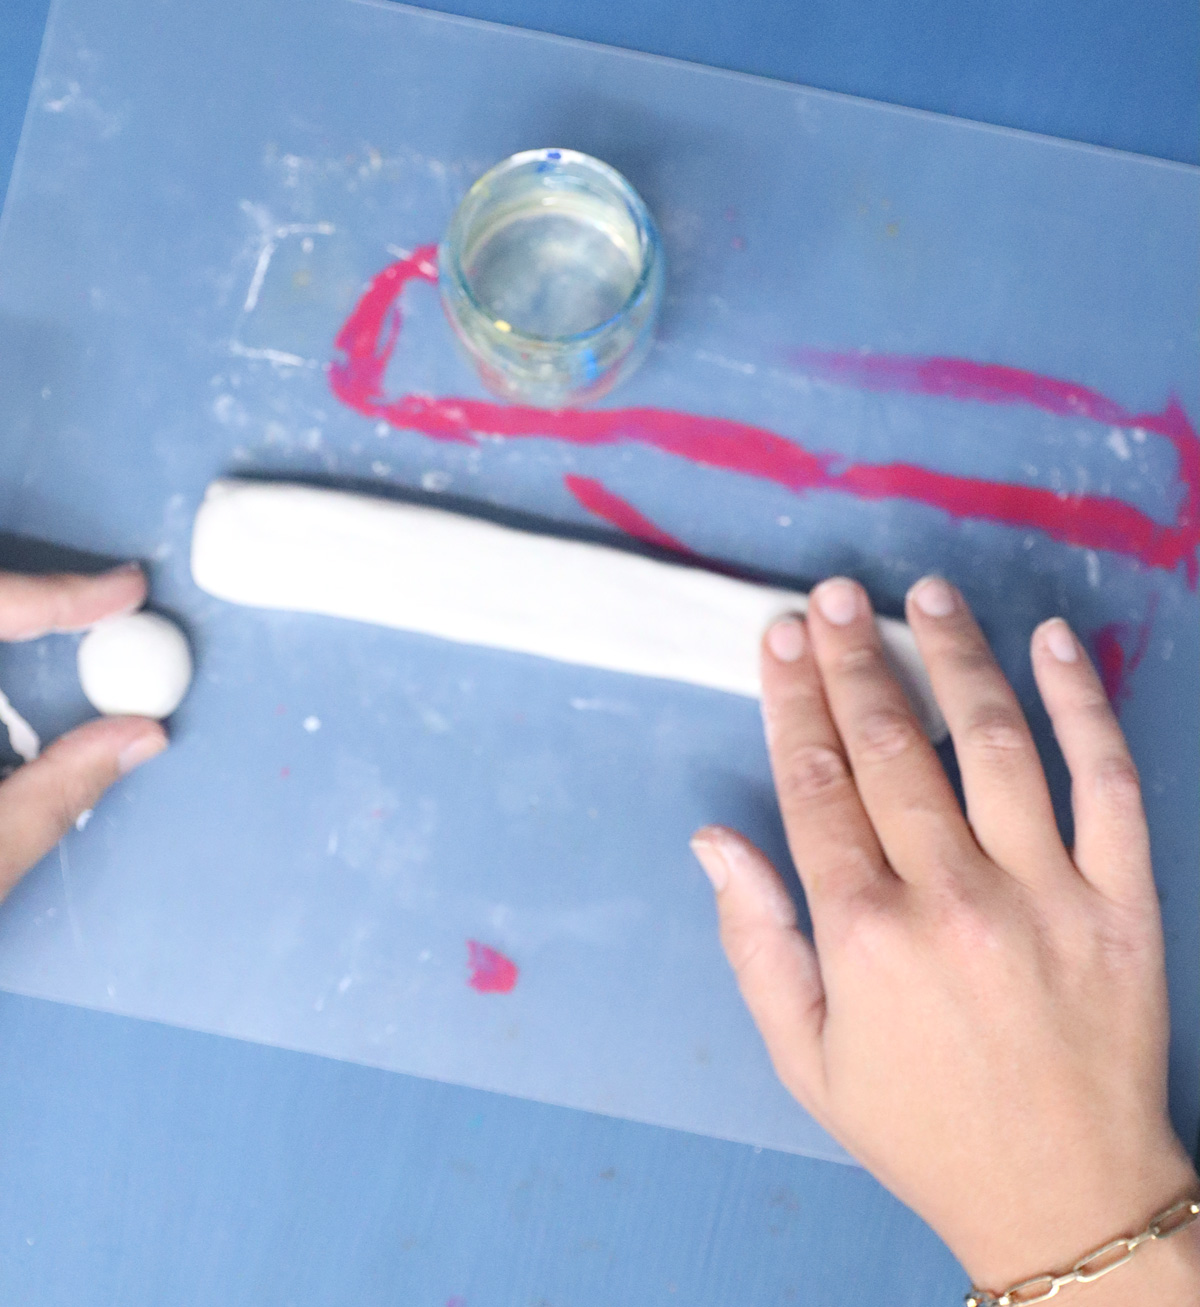
4. Scratch up the surface of your Menorah and Shamash add-on in the area where you need them to connect. Place it on top with a bit of pressure to connect it.
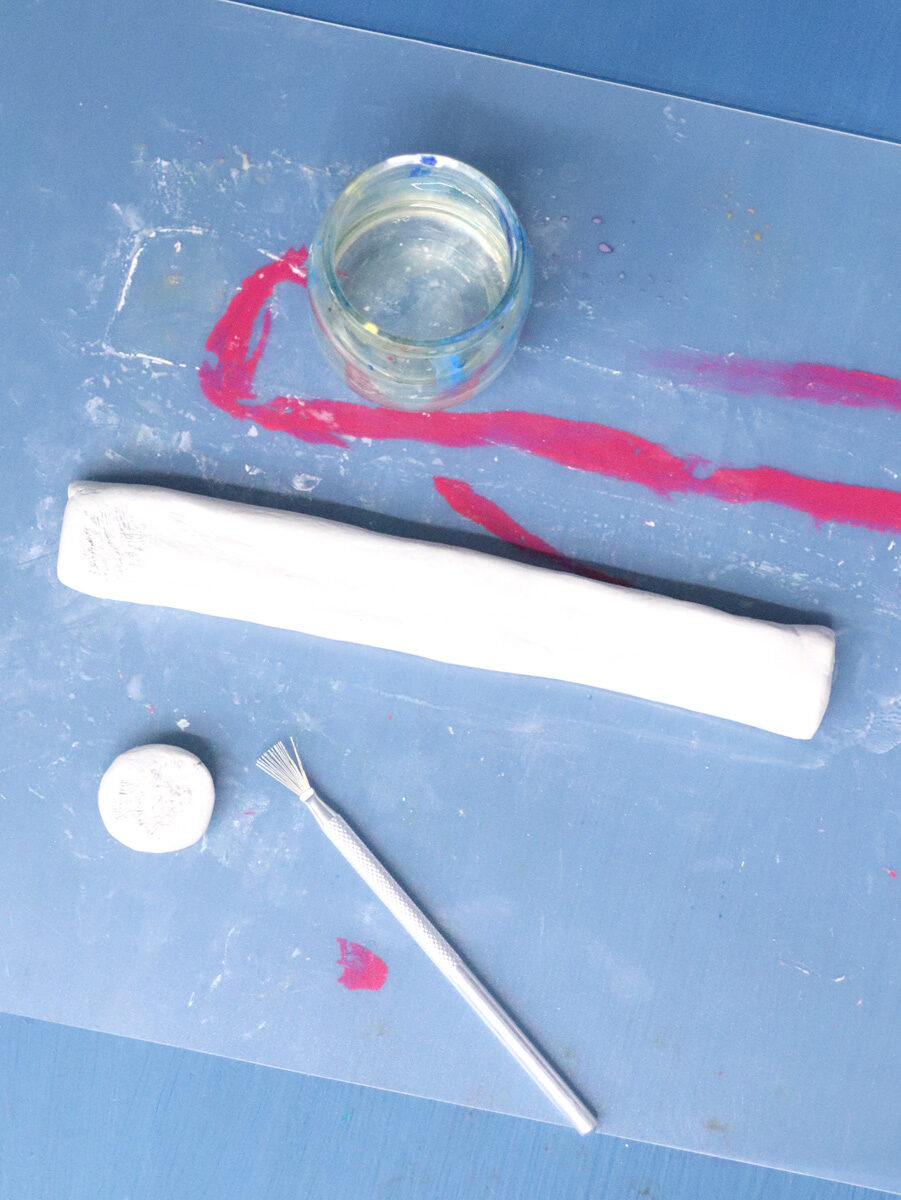
5. Arrange your cups, placing them evenly spaced on top of the main Menorah base.
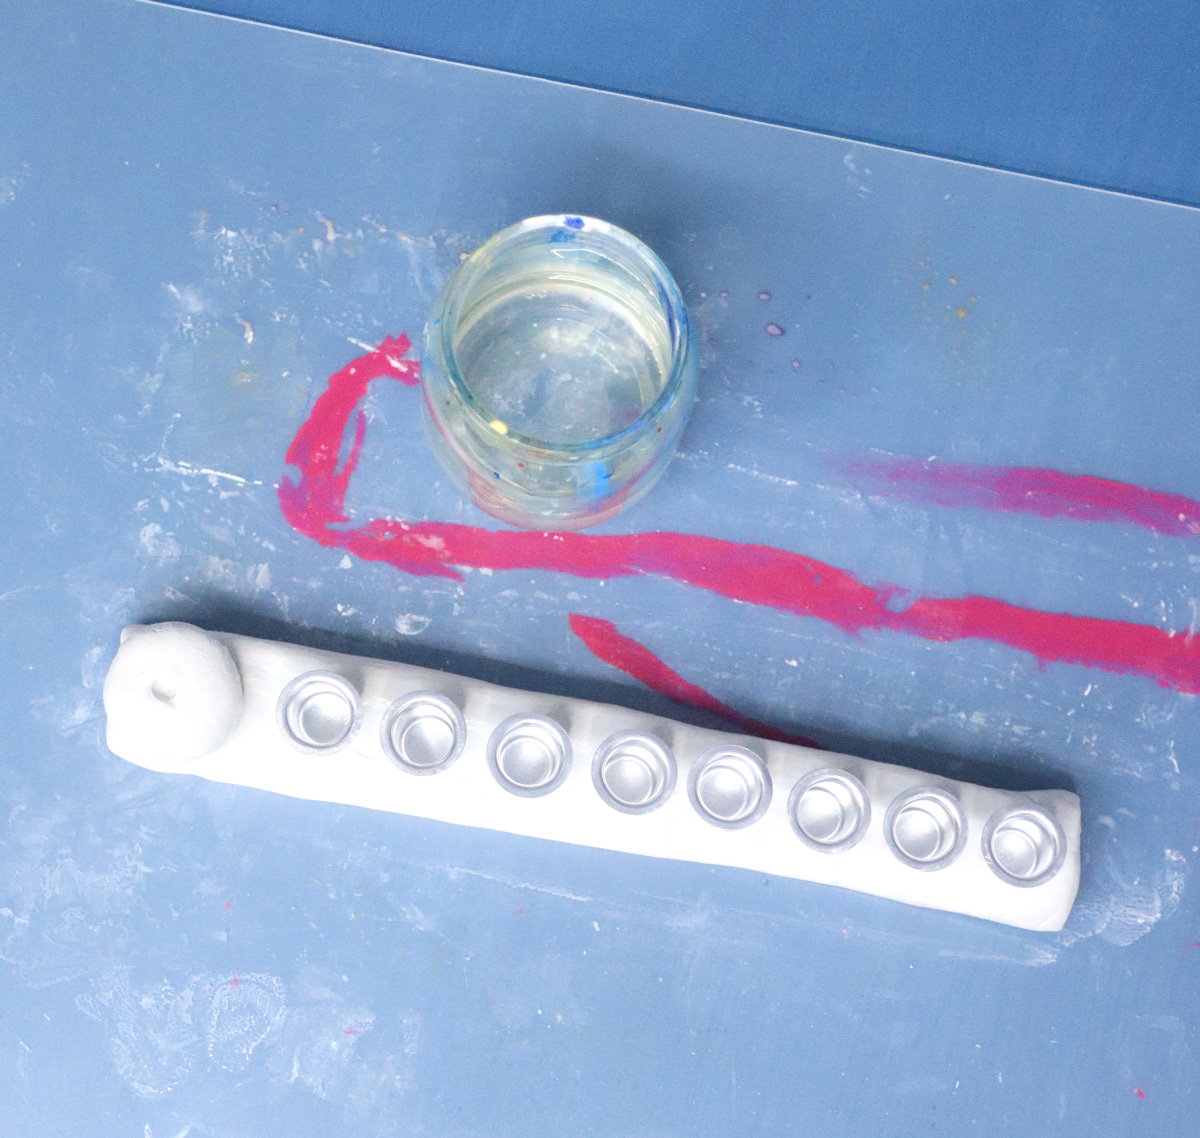
6. Press them all in to make a slight indent, so you don’t lose the placement. Then, one at a time, press the cups in. I removed mine, but I don’t recommend doing that.
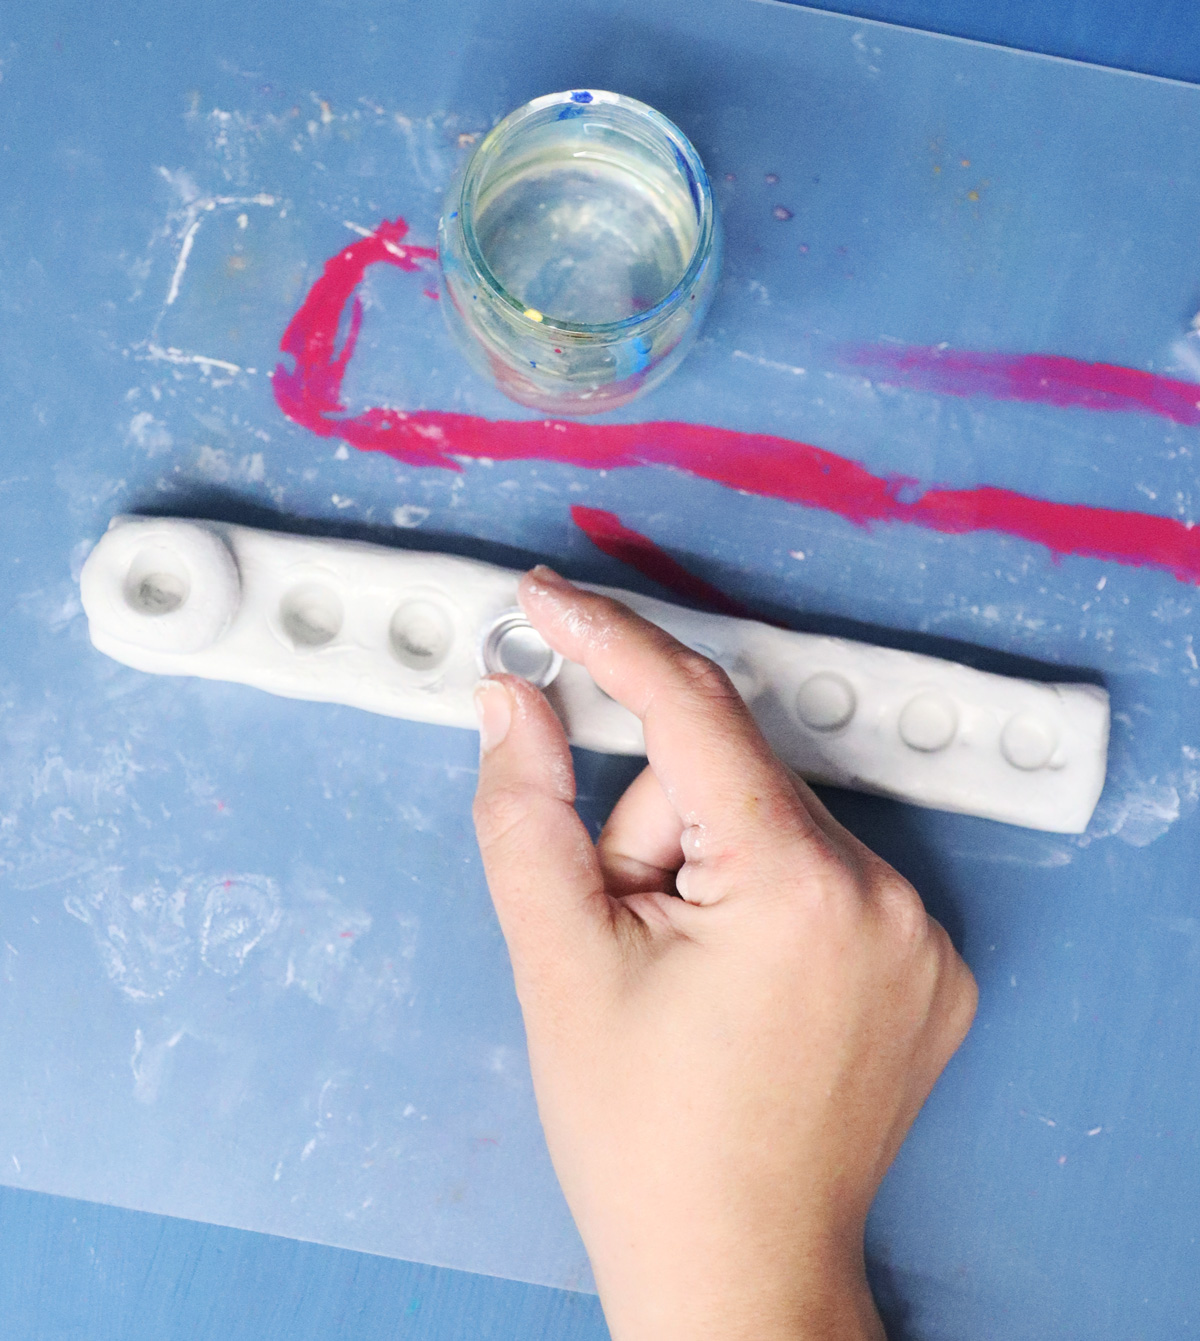
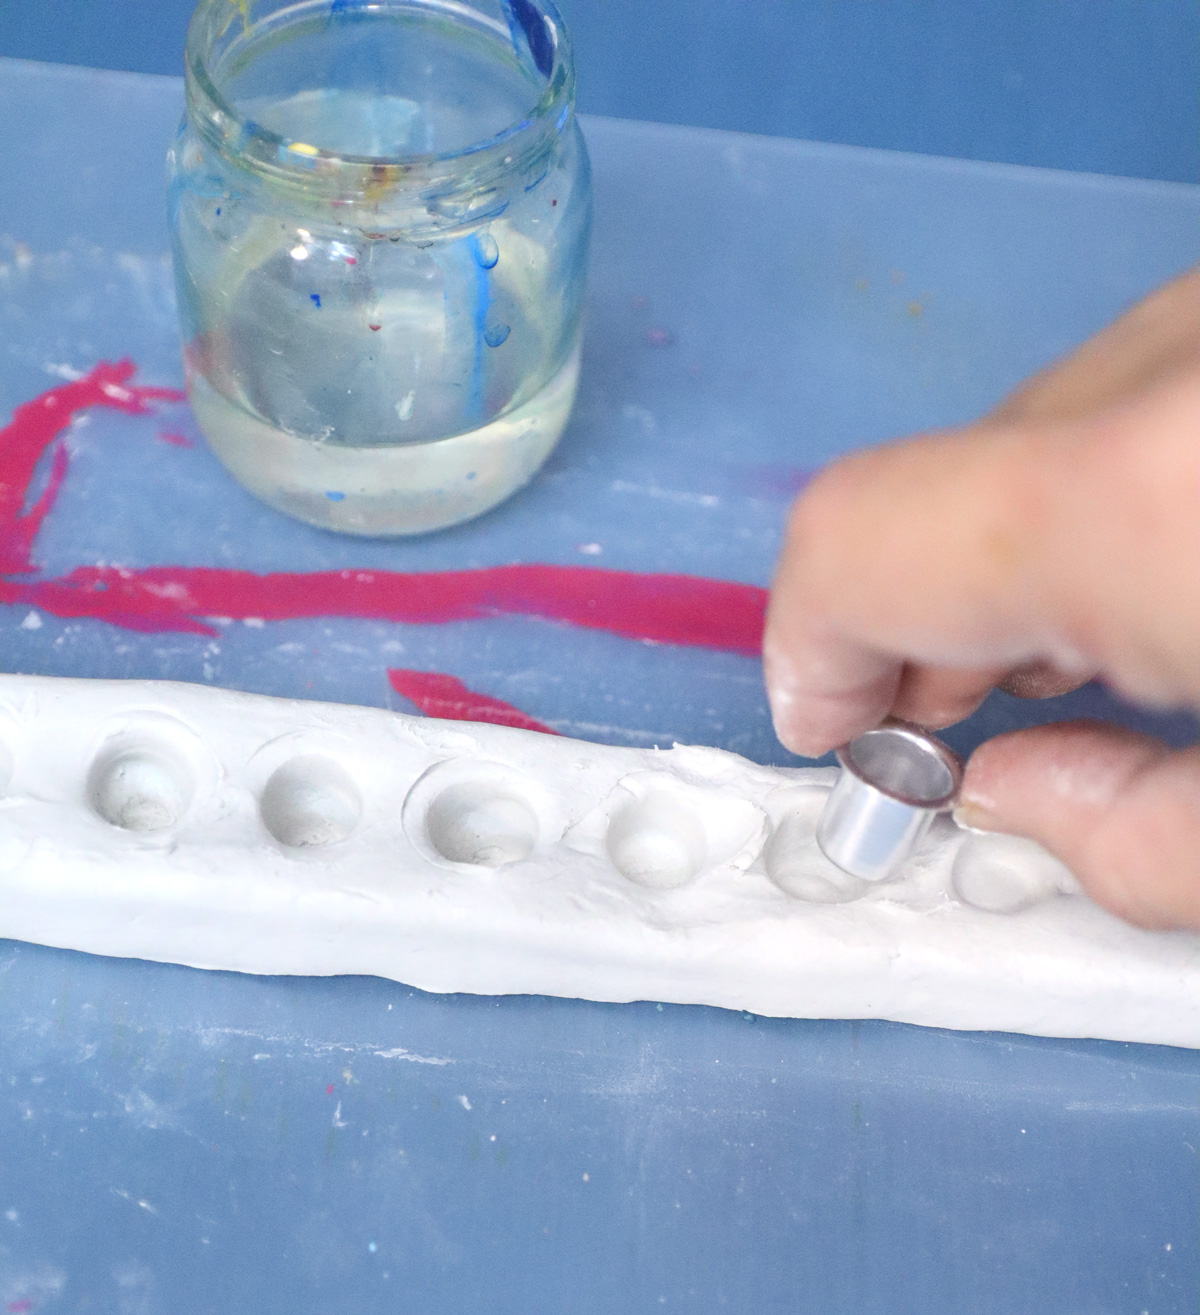
7. Add any texture you’d like – if you’d like.
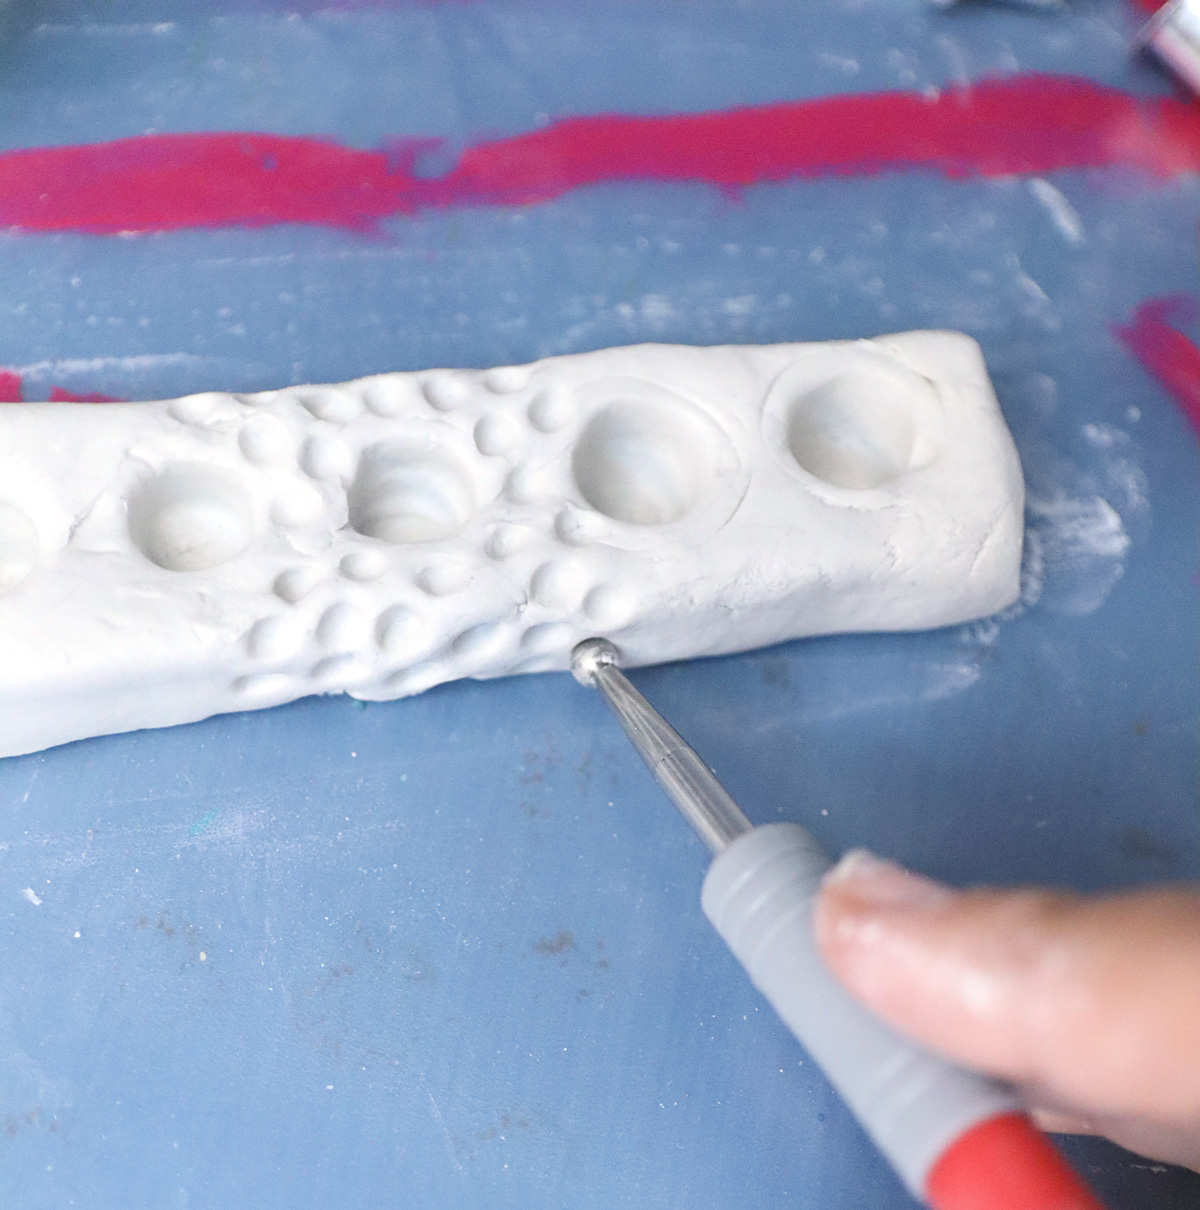
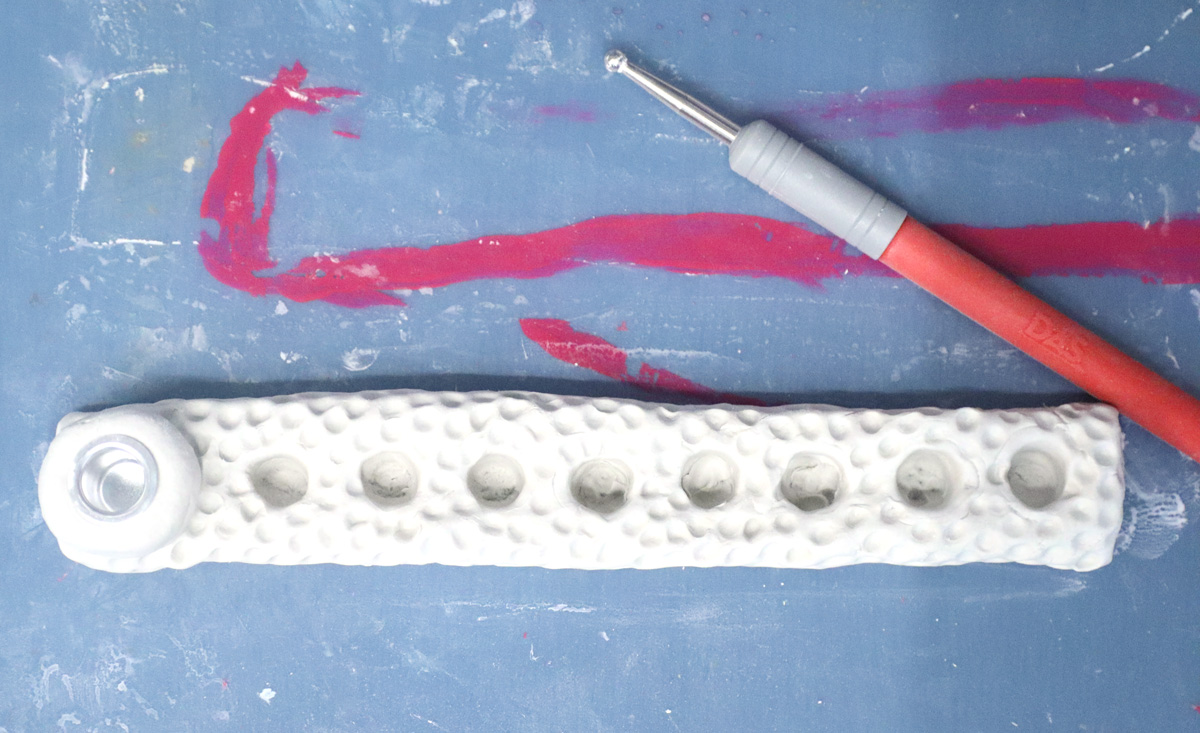
8. Allow it to dry completely. I gave it two nights. One night I let it dry right-side-up and then I flipped it over and let it dry from the other direction.
When it’s totally dry, give it a coat of paint (or don’t).
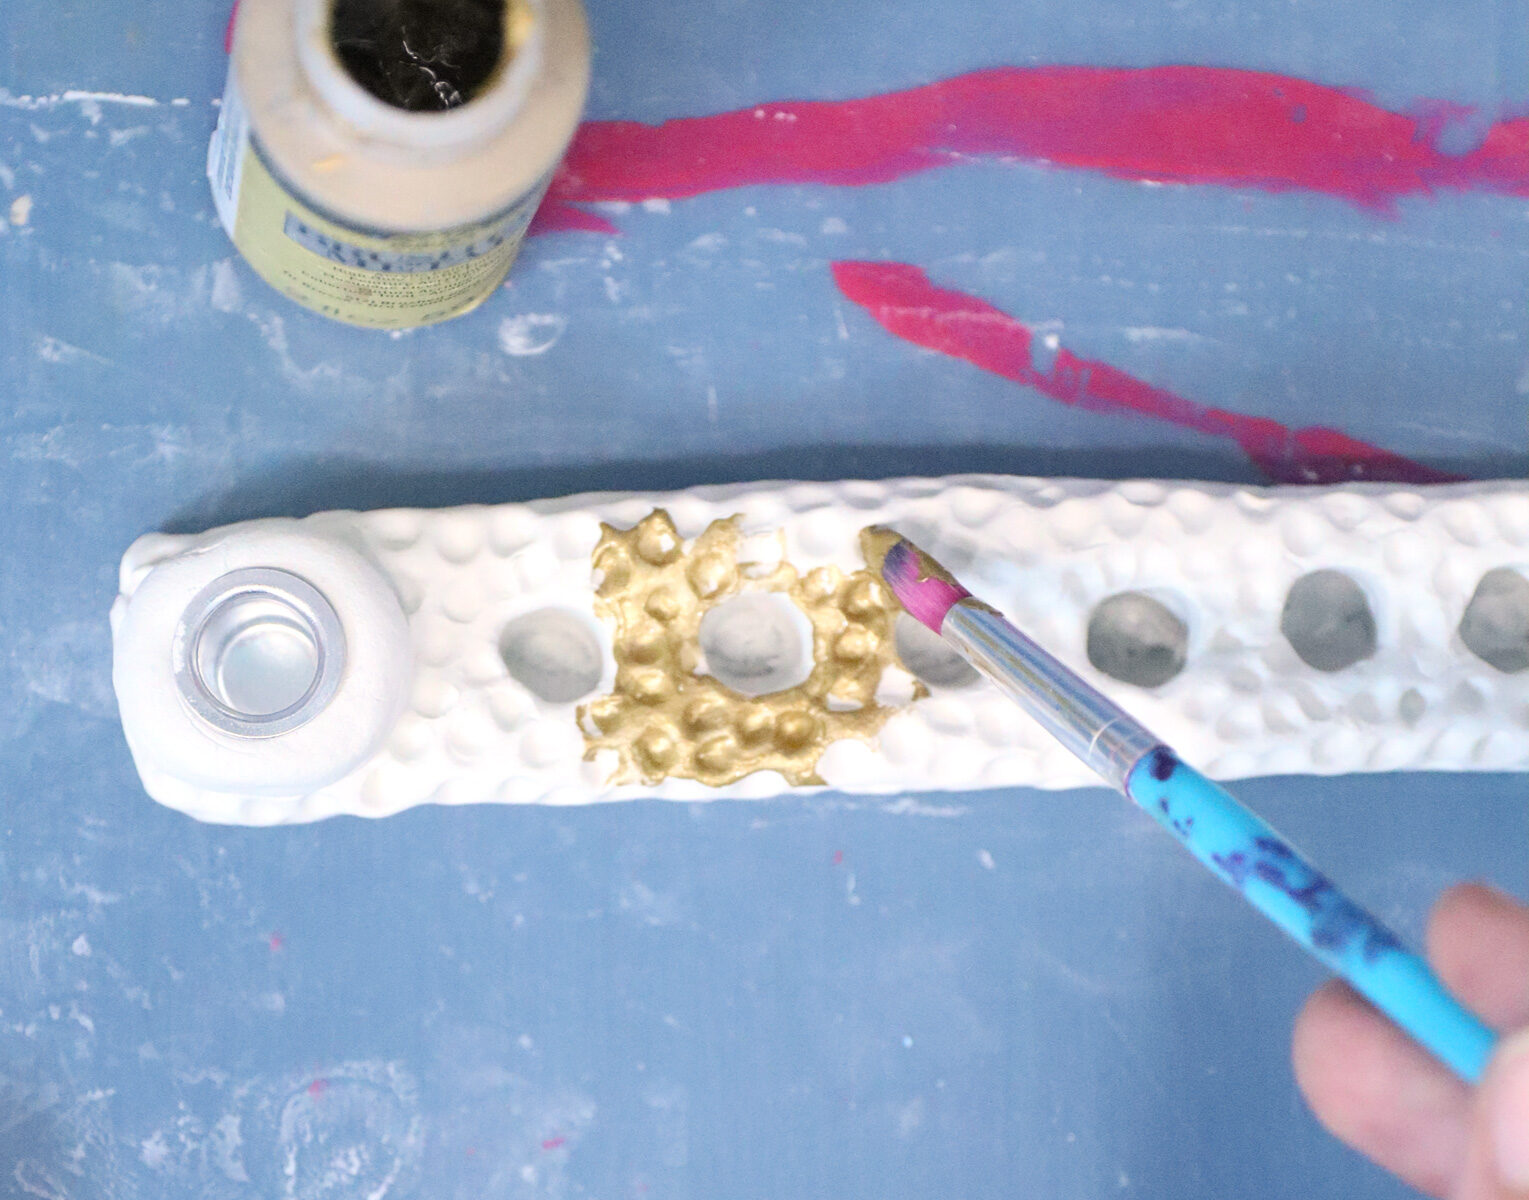
Your air DIY dry clay Menorah is complete!
How to make a Hanukkiah from Clay
Craft this beautiful flame-resistant Hanukkiah (Hanukkah Menorah) from clay! It can be crafted simpler or more elaborately, depending on kids' skill level. Go crazy!
Materials
- Air dry clay - I recommend DAS. I used about 1/5 of the 2.2 lb package
- Water based paint - I used FolkArt Brushed Metal Gold
- Paintbrush
- Candle Cups
- Clay tools (optional, more for adults carefully crafting than kids doing it pinch-pot style.) I used DAS's set for the round tool and the rolling pin and metal brush were from my own stash
- Jar with water for smoothing
- Tip: use plastic cutting boards to protect your surface
Instructions
1. Roll out your clay with your hands to form a roll. It should be large enough for 9 candle cups with a bit of space in between. Flatten it slightly with a rolling pin.
2. For the Shamash/elevated "helper" candle, roll out a ball of clay and flatten it. It should be a tiny bit larger than the main Menorah's narrow side.
Alternatively, simply scrunch up a small portion of the side and smooth.
3. Use water to smooth all your surfaces, getting rid of creases. Do this by dipping your fingers and using minimal amounts of water and pressure to smooth them out.
4. Scratch up the surface of your Menorah and Shamash add-on in the area where you need them to connect. Place it on top with a bit of pressure to connect it.
5. Arrange your cups, placing them evenly spaced on top of the main Menorah base.
6. Press them all in to make a slight indent, so you don't lose the placement. Then, one at a time, press the cups in. I removed mine, but I don't recommend doing that.
7. Add any texture you'd like - if you'd like.
8. Allow it to dry completely. I gave it two nights. One night I let it dry right-side-up and then I flipped it over and let it dry from the other direction.
When it's totally dry, give it a coat of paint (or don't).
Notes
I tested this with DAS air dry clay which is not flammable. Use water based paints only - no gilding wax or similar products. Always exercise cation and never leave flames unsupervised.
You can skip the painting and leave it with a white ceramic look. You can add texture or skip that step.
Clay shrinks, which is why you don't want to just poke candle holes. You can place the candle cups or pull them out - but I do recommend leaving them.
Your air dry clay Menorah is complete! Who will you be crafting it with? Comment below!

There are candle cups in different sizes. What size will hold a standard Chanukah candle?
I’m sorry Rochelle – I just saw this now as it was buried in a heap of spam. I hope you worked it out okay! I looked specifically for those labeled for Chanukah candles.