DIY Tzedakah Pouch
Make a simple sewn DIY tzedakah pouch for your little one – or partner up and create it together! Disclosure: this post contains affiliates links.
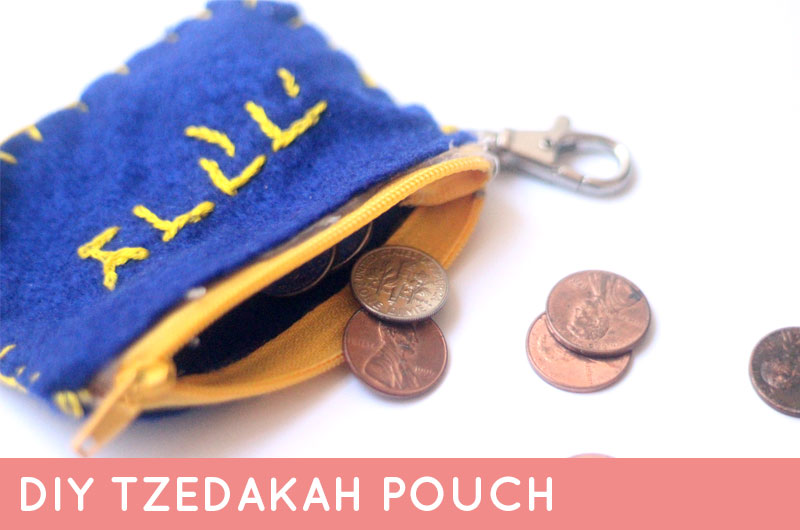
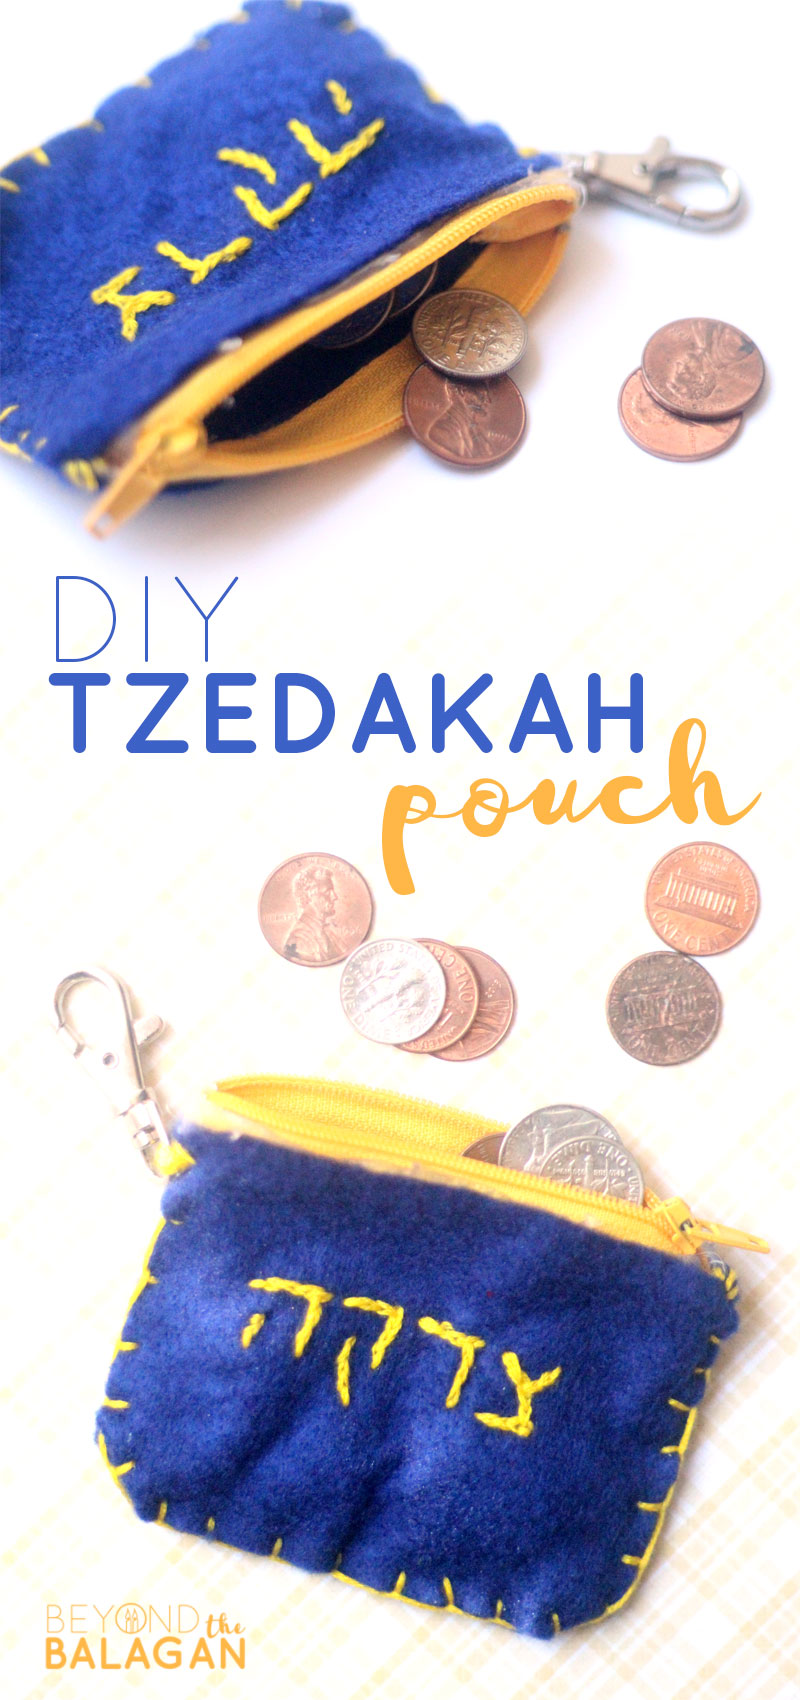
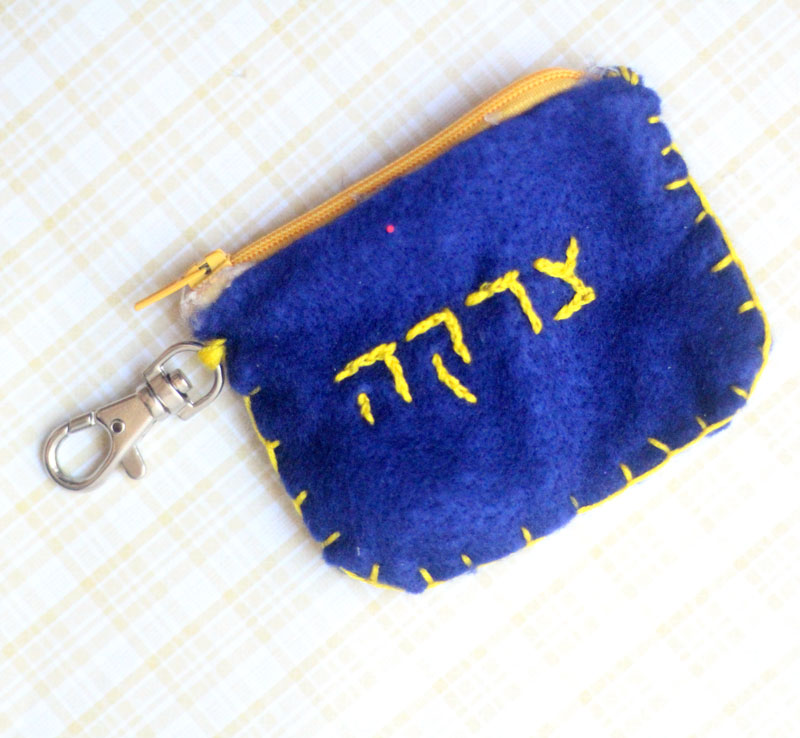
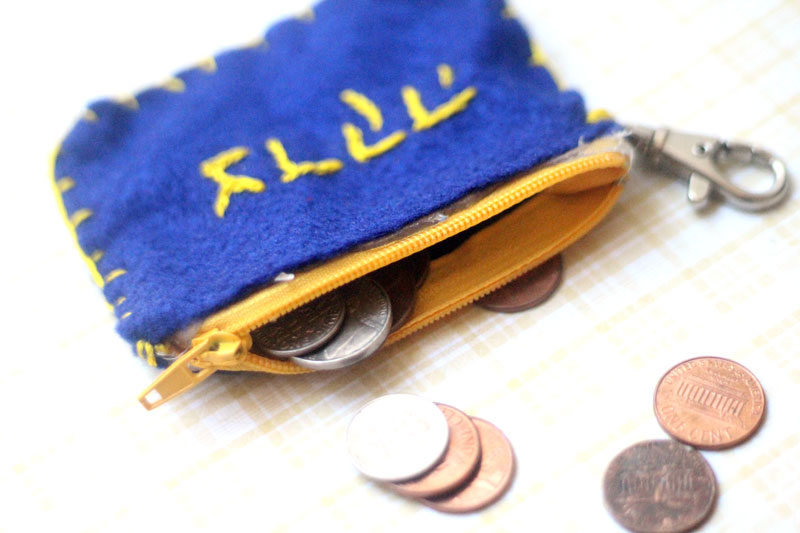
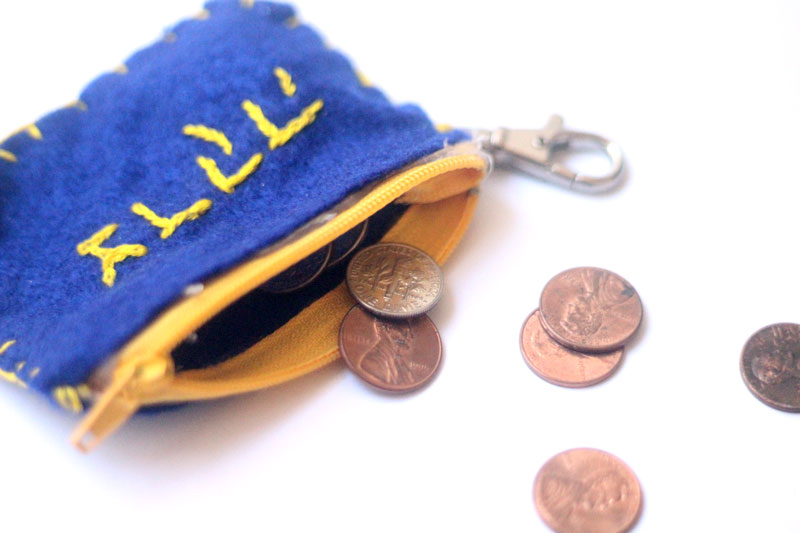
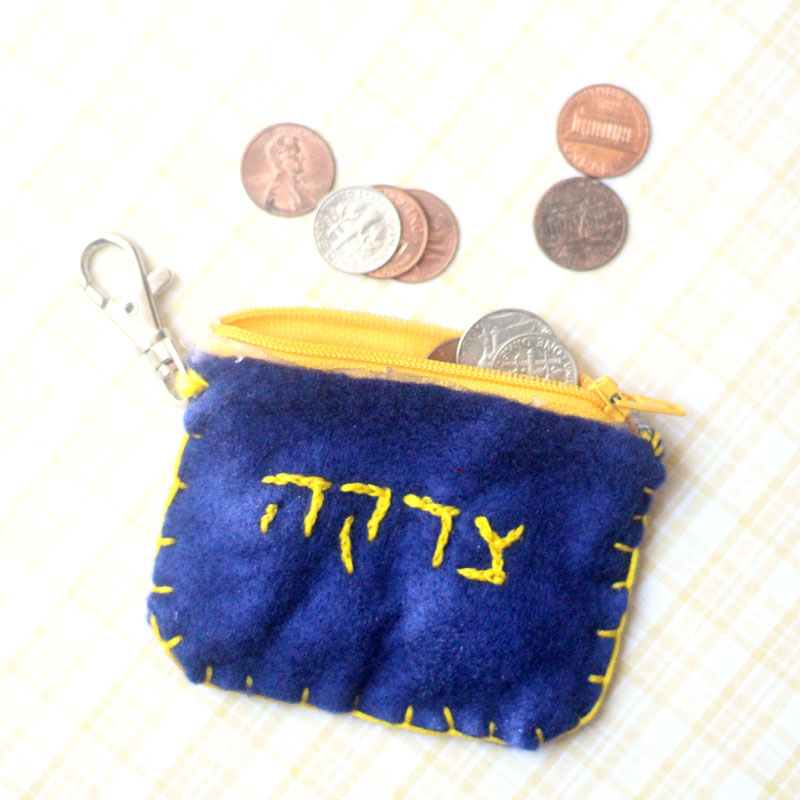
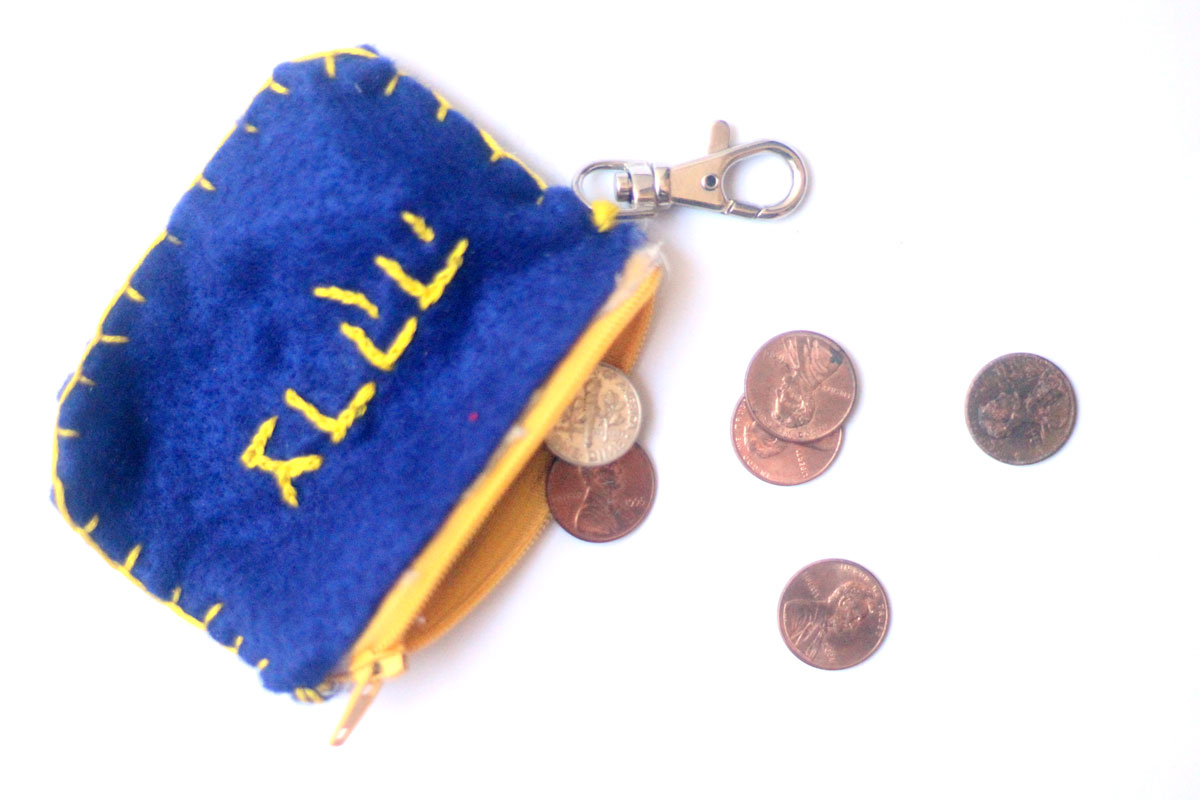
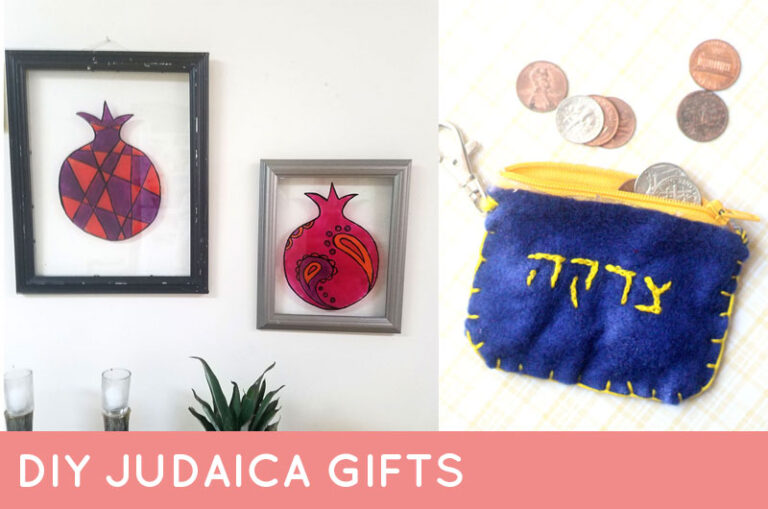
I made this adorable little coin purse as a tzedakah pouch keychain for M to take to school.
I think it’s a sweet way to upgrade the act of giving charity and create a little more excitement around it.
You can make this craft for your little one as a perfect back to school gift. It also makes a perfect beginner sewing/embroidery project and teaches some basic stitches.
Big kids who create this can use it to stow away 10% of their allowance/babysitting money for maaser.
Write the word “tzedakah” on it, or add your child’s name.
The key to making a great felt coin purse is to choose a nice, soft felt. Stiffer ones will feel like paper. I find that they are less like fabric and tear more easily too.
Choose your child’s two favorite colors to coordinate and work from there! I made this with a zipper, but alternatively, you can cut one half 1cm. longer than the other and make a fold-over tab with hook and loop closure, like I did on my fidget spinner case.
What you need to make a DIY Tzedakah Pouch:
- Soft felt – scraps or samplers can work too! Read reviews for softness…
- Embroidery thread in a contrasting color
- An embroidery needle
- A light colored gel pen
- Fabric scissors
- A keychain
- A zipper
- Hot glue gun (optional)
- Alternative: Hook and Loop closure
How to make a DIY Tzedakah Pouch:
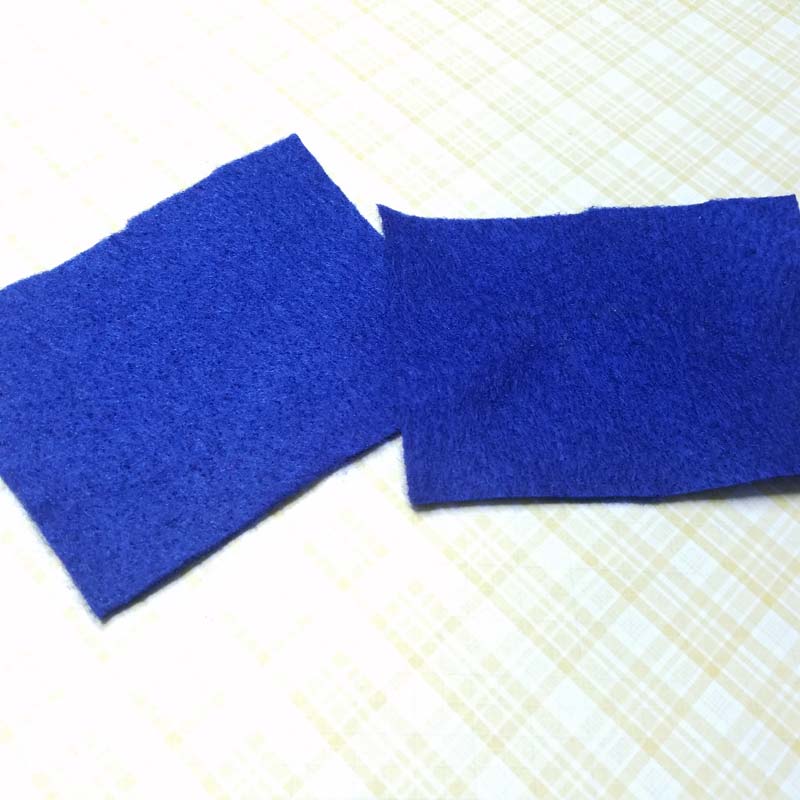
1. Cut two pieces of felt to size
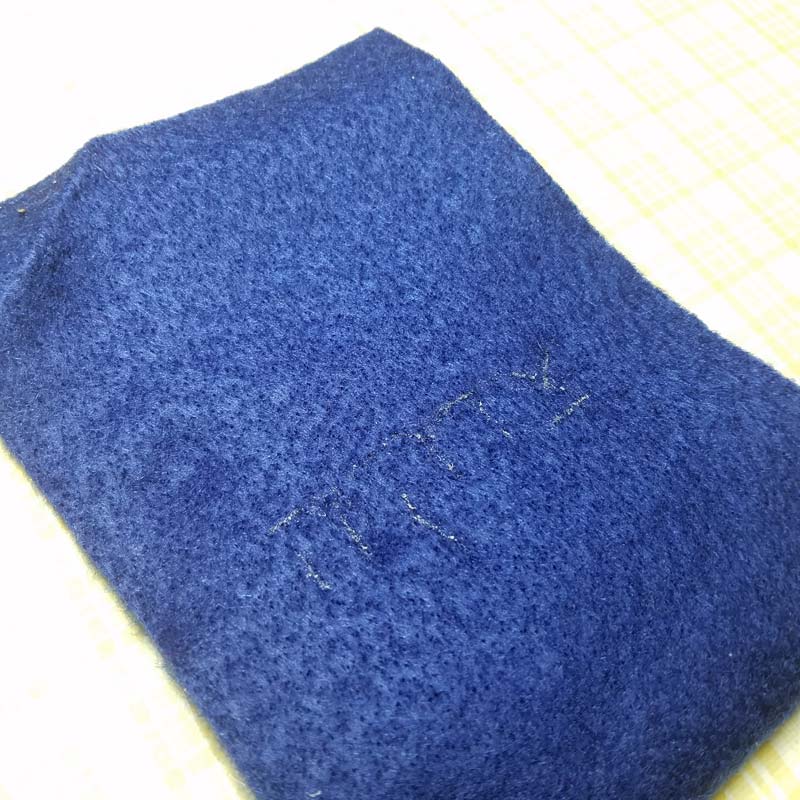
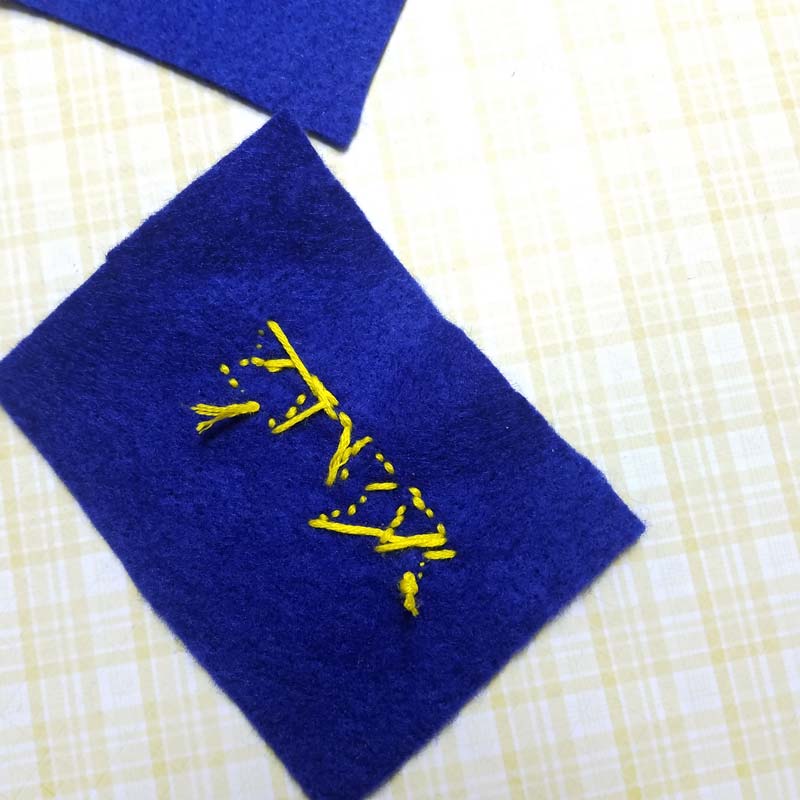
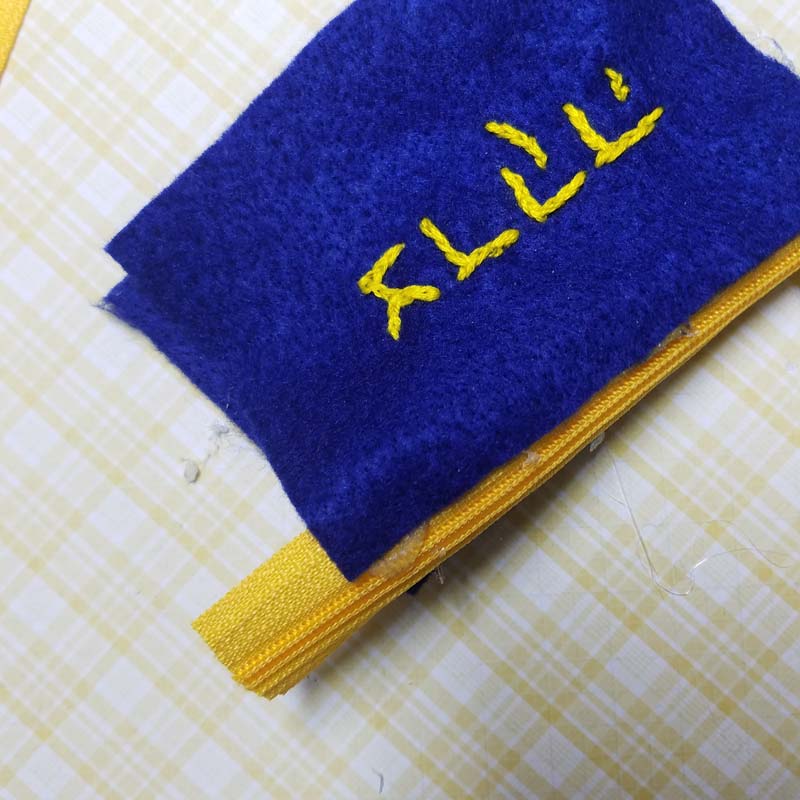
2.On one, outline your text using a gel pen.
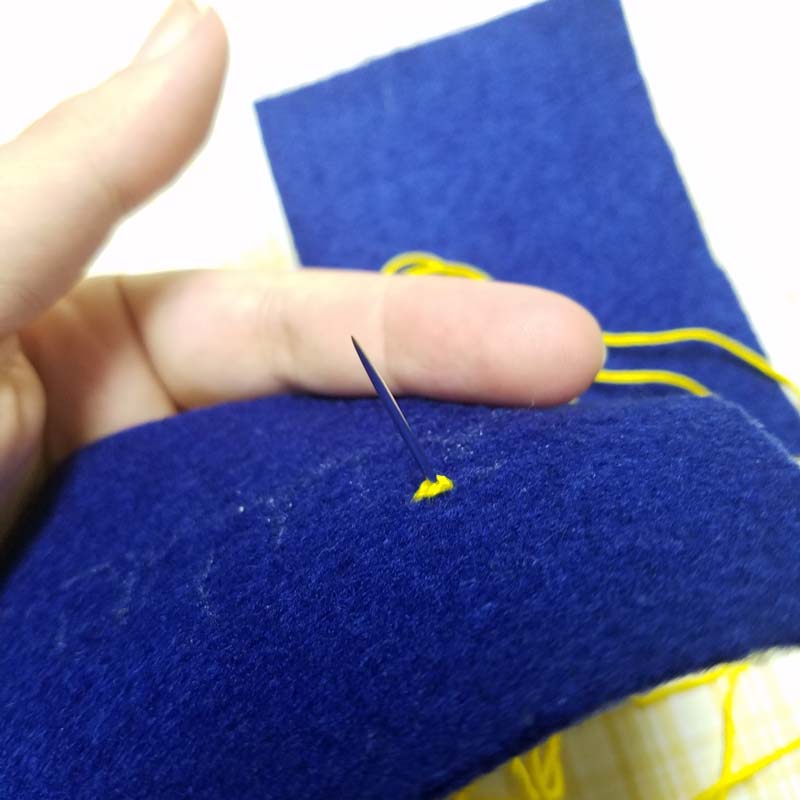
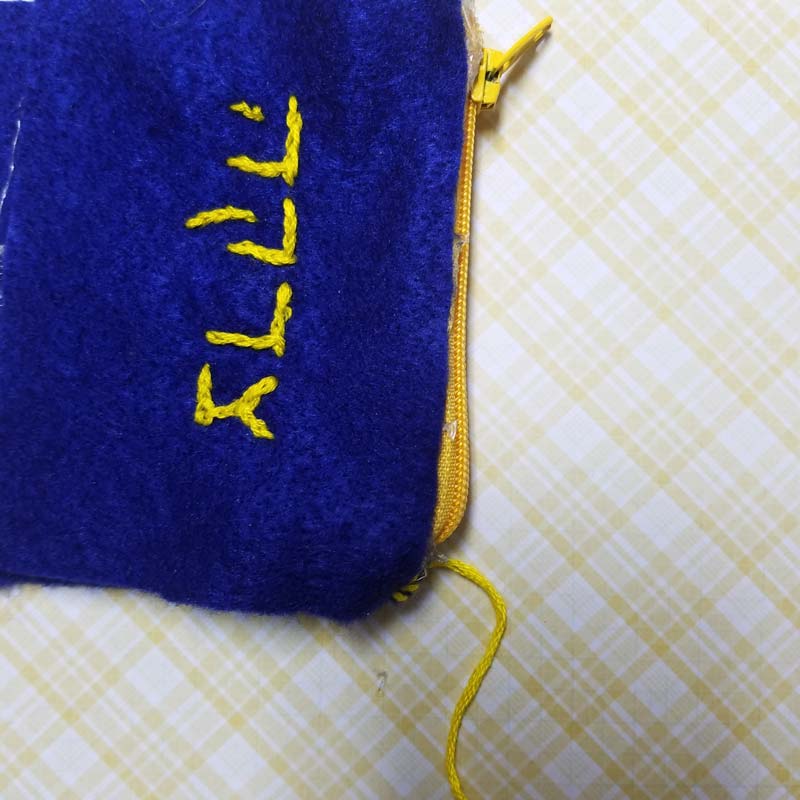
3. Embroider your text using a split stitch.
4. Finish off and knot your thread in the back.
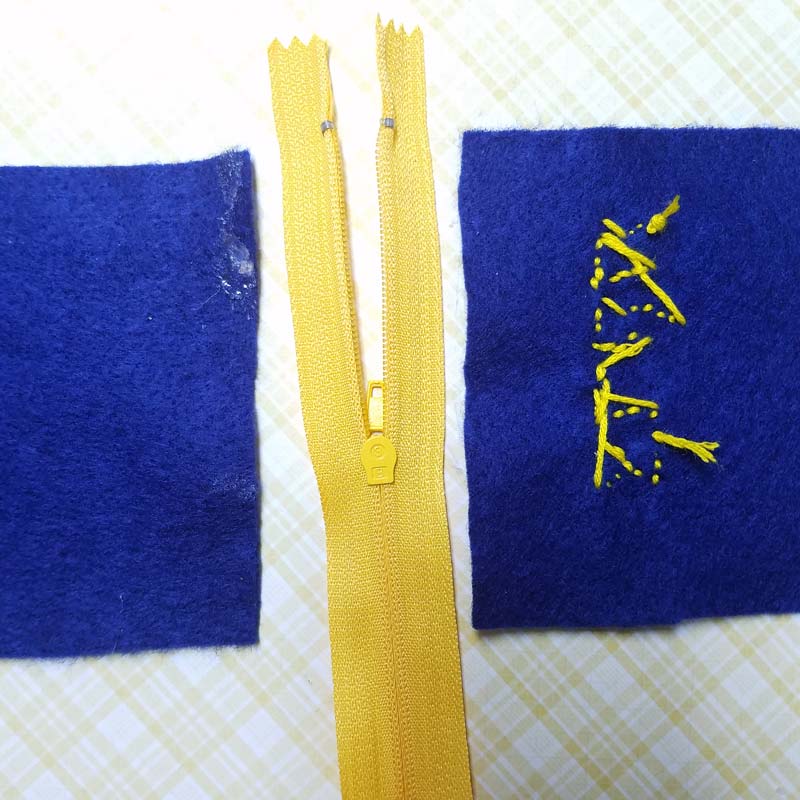
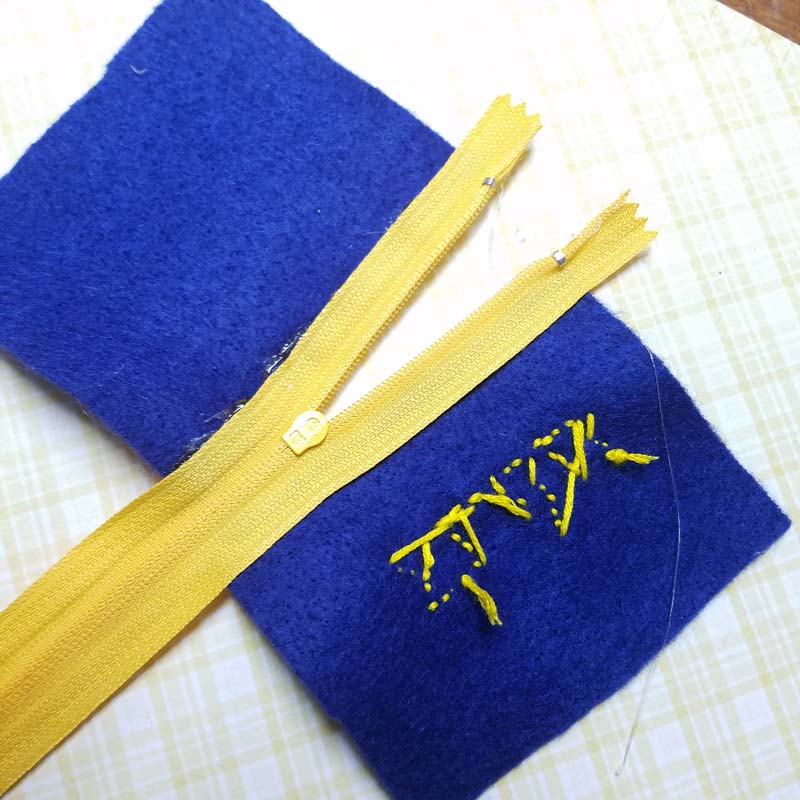
5. Lay down the front and back of your Tzedakah pouch so that the tops face each other, and the inside faces up. Trim your zipper to size, open halfway, and place in the center.
6. Glue your zipper in place. Make sure that you don’t glue too close to the track so that it can open easily.
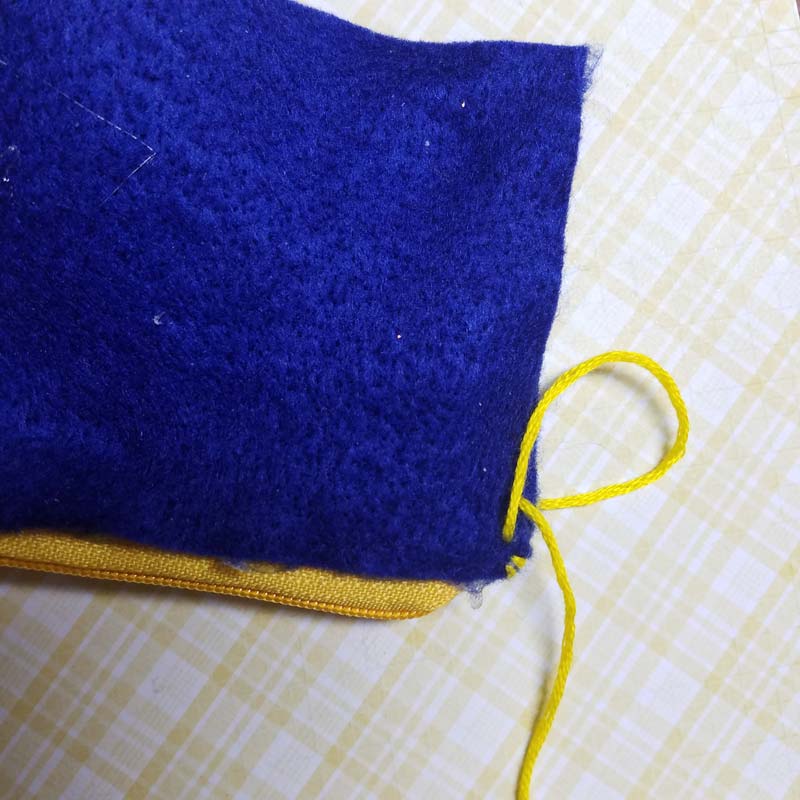
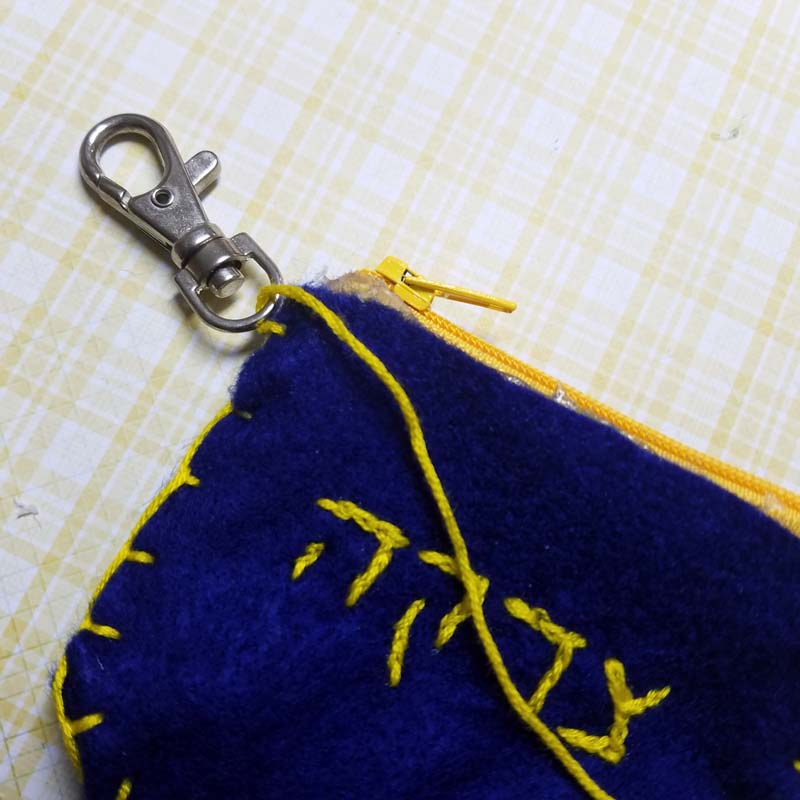
7. Start by tucking in the “tail” of your zipper, and tucking in the corners too. Stitch a few times to hold it in place.
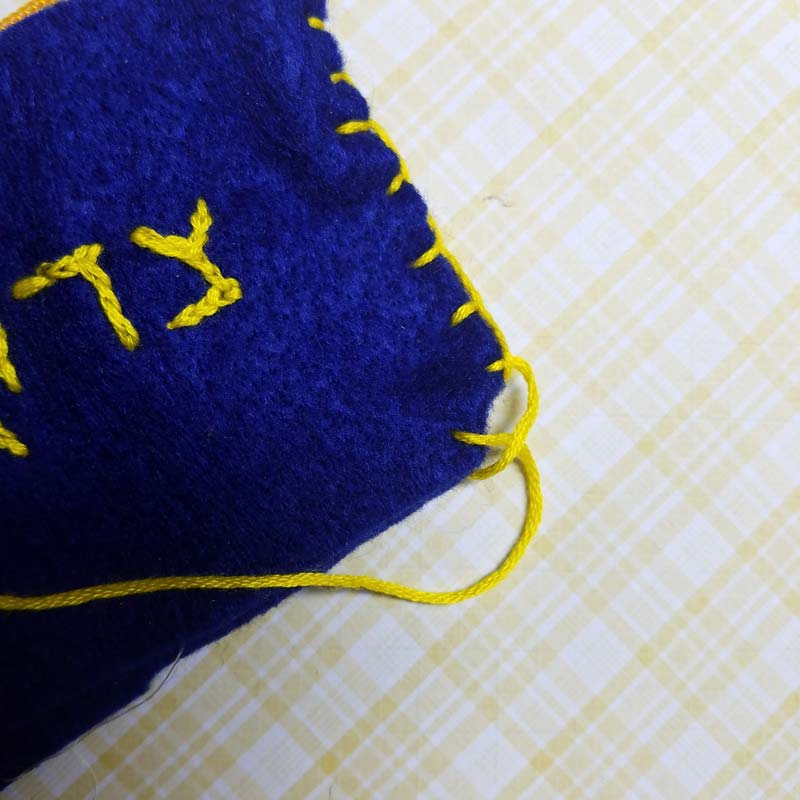
8. Begin sewing a blanket stitch around the perimeter of your Tzedakah pouch.
9. Tuck the corners in when you get to them and simply continue stitching around.
10. When you are done sewing around, and have finished it off, sew on your key chain or clip.
Your DIY tzedakah pouch is ready to use!!
What are your favorite ways to encourage kids to give? Comment below!



How has it held up over time? I worry that the glue will give out due to the weight of the coins and, well, young children. 🤣 I’d be inclined to give it a quick stitch on the sewing machine.
Oh, definitely sew it if you sew!! I made this before I had my machine set up (I think) or maybe I just wanted it to be accessible to the less crafty?
To answer your question: it held up for the year for sure. He probably still has it stashed somewhere but it’s no longer in circulation.