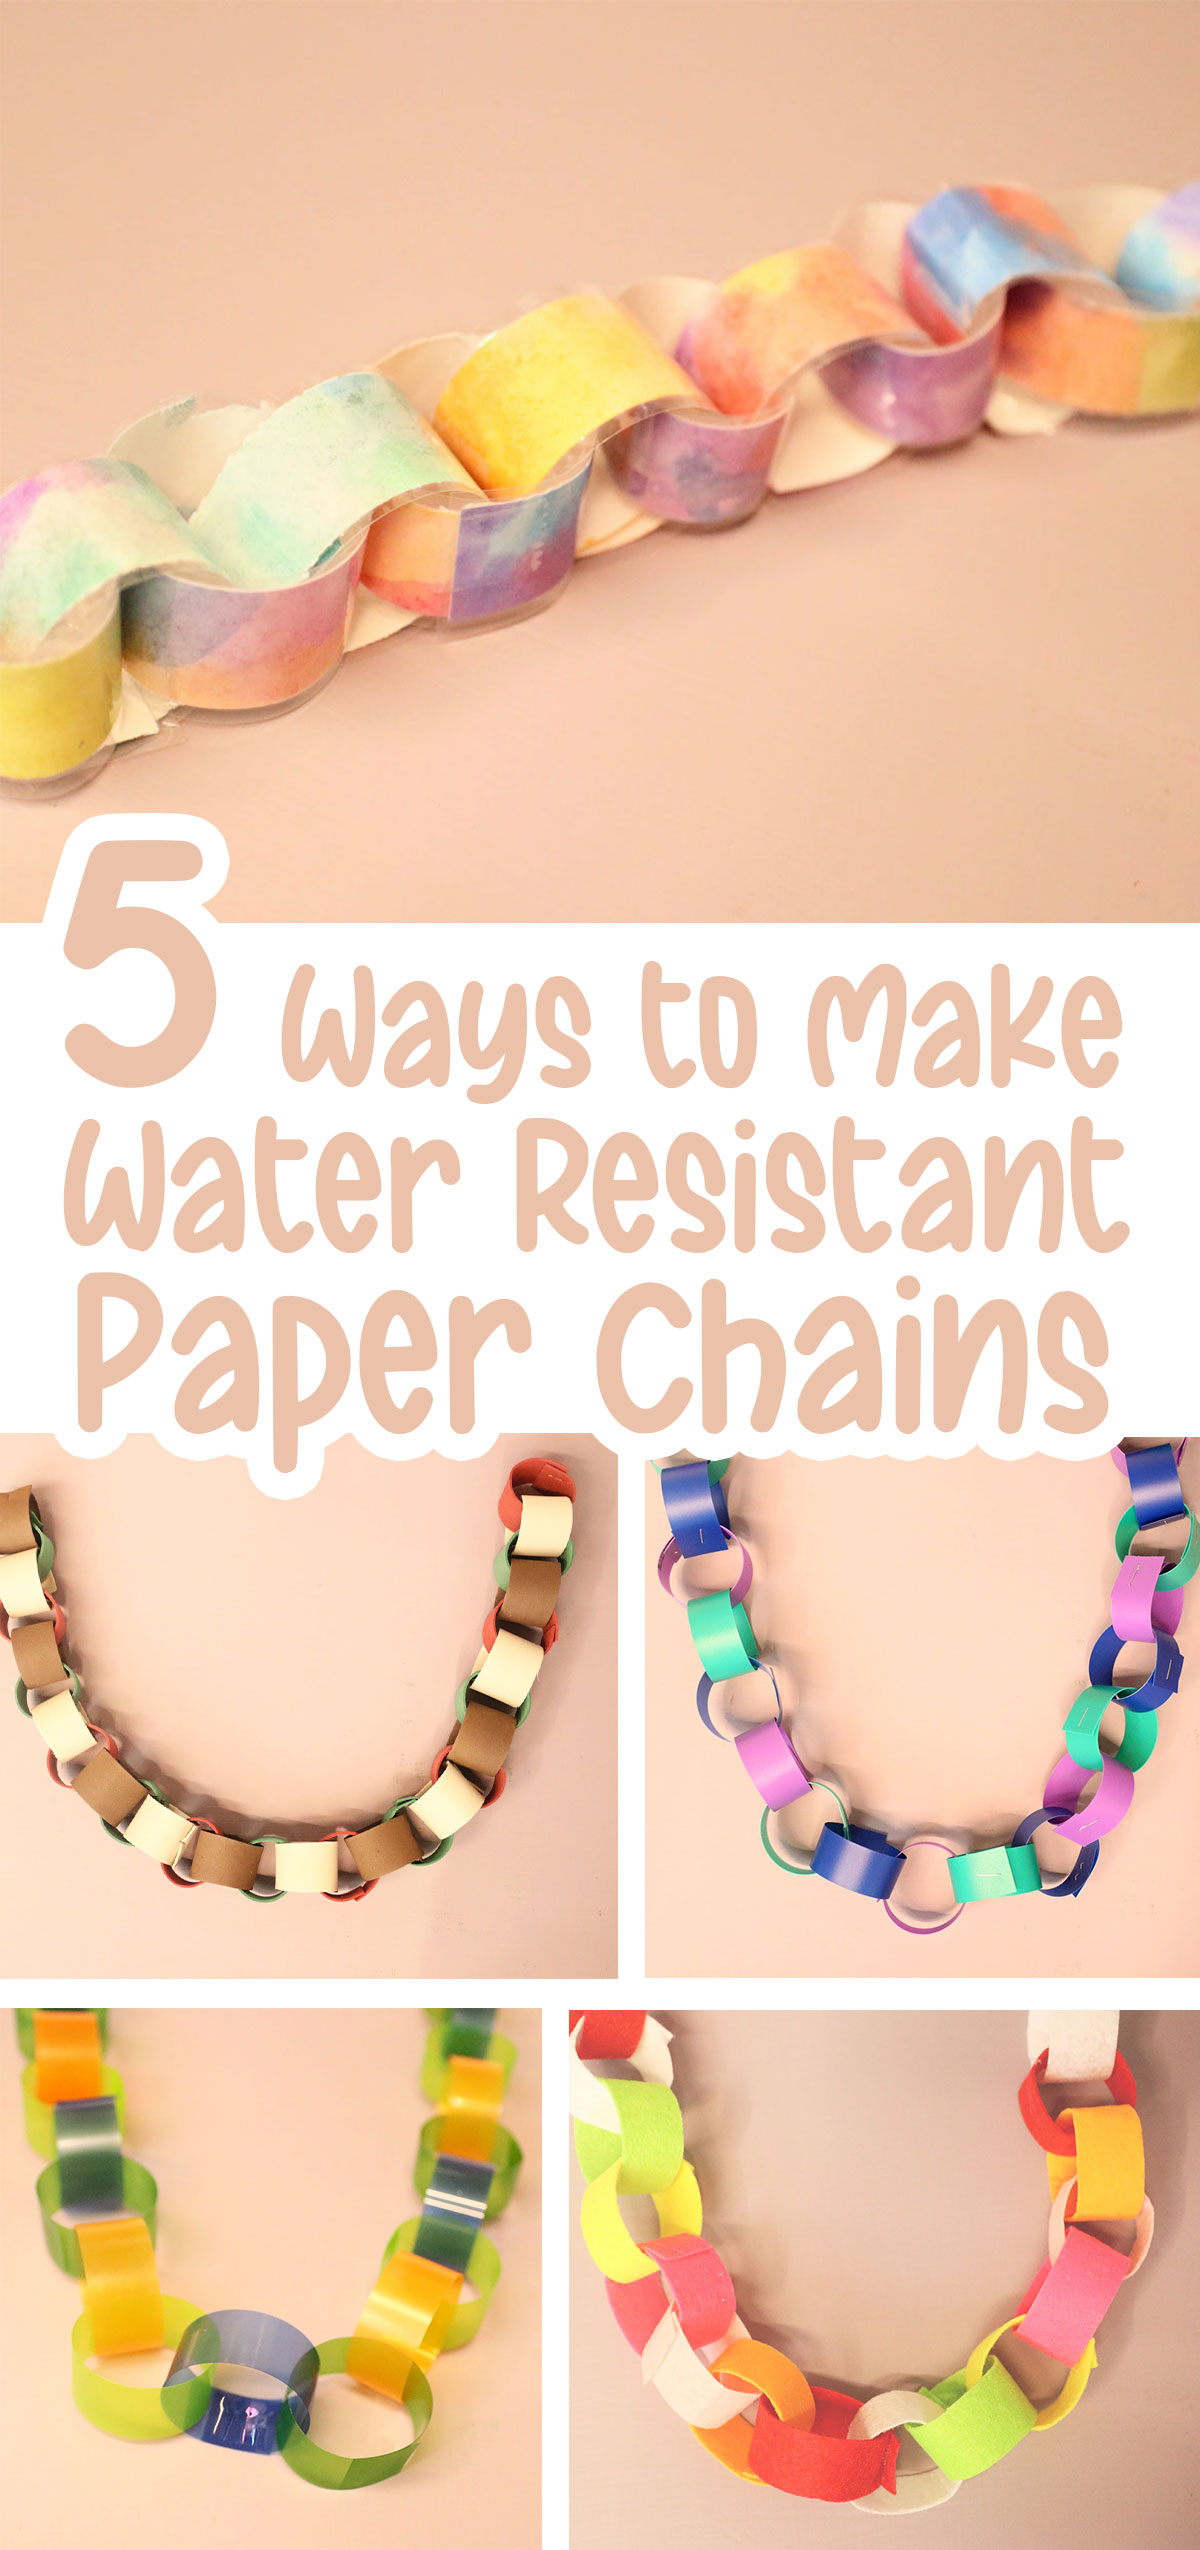
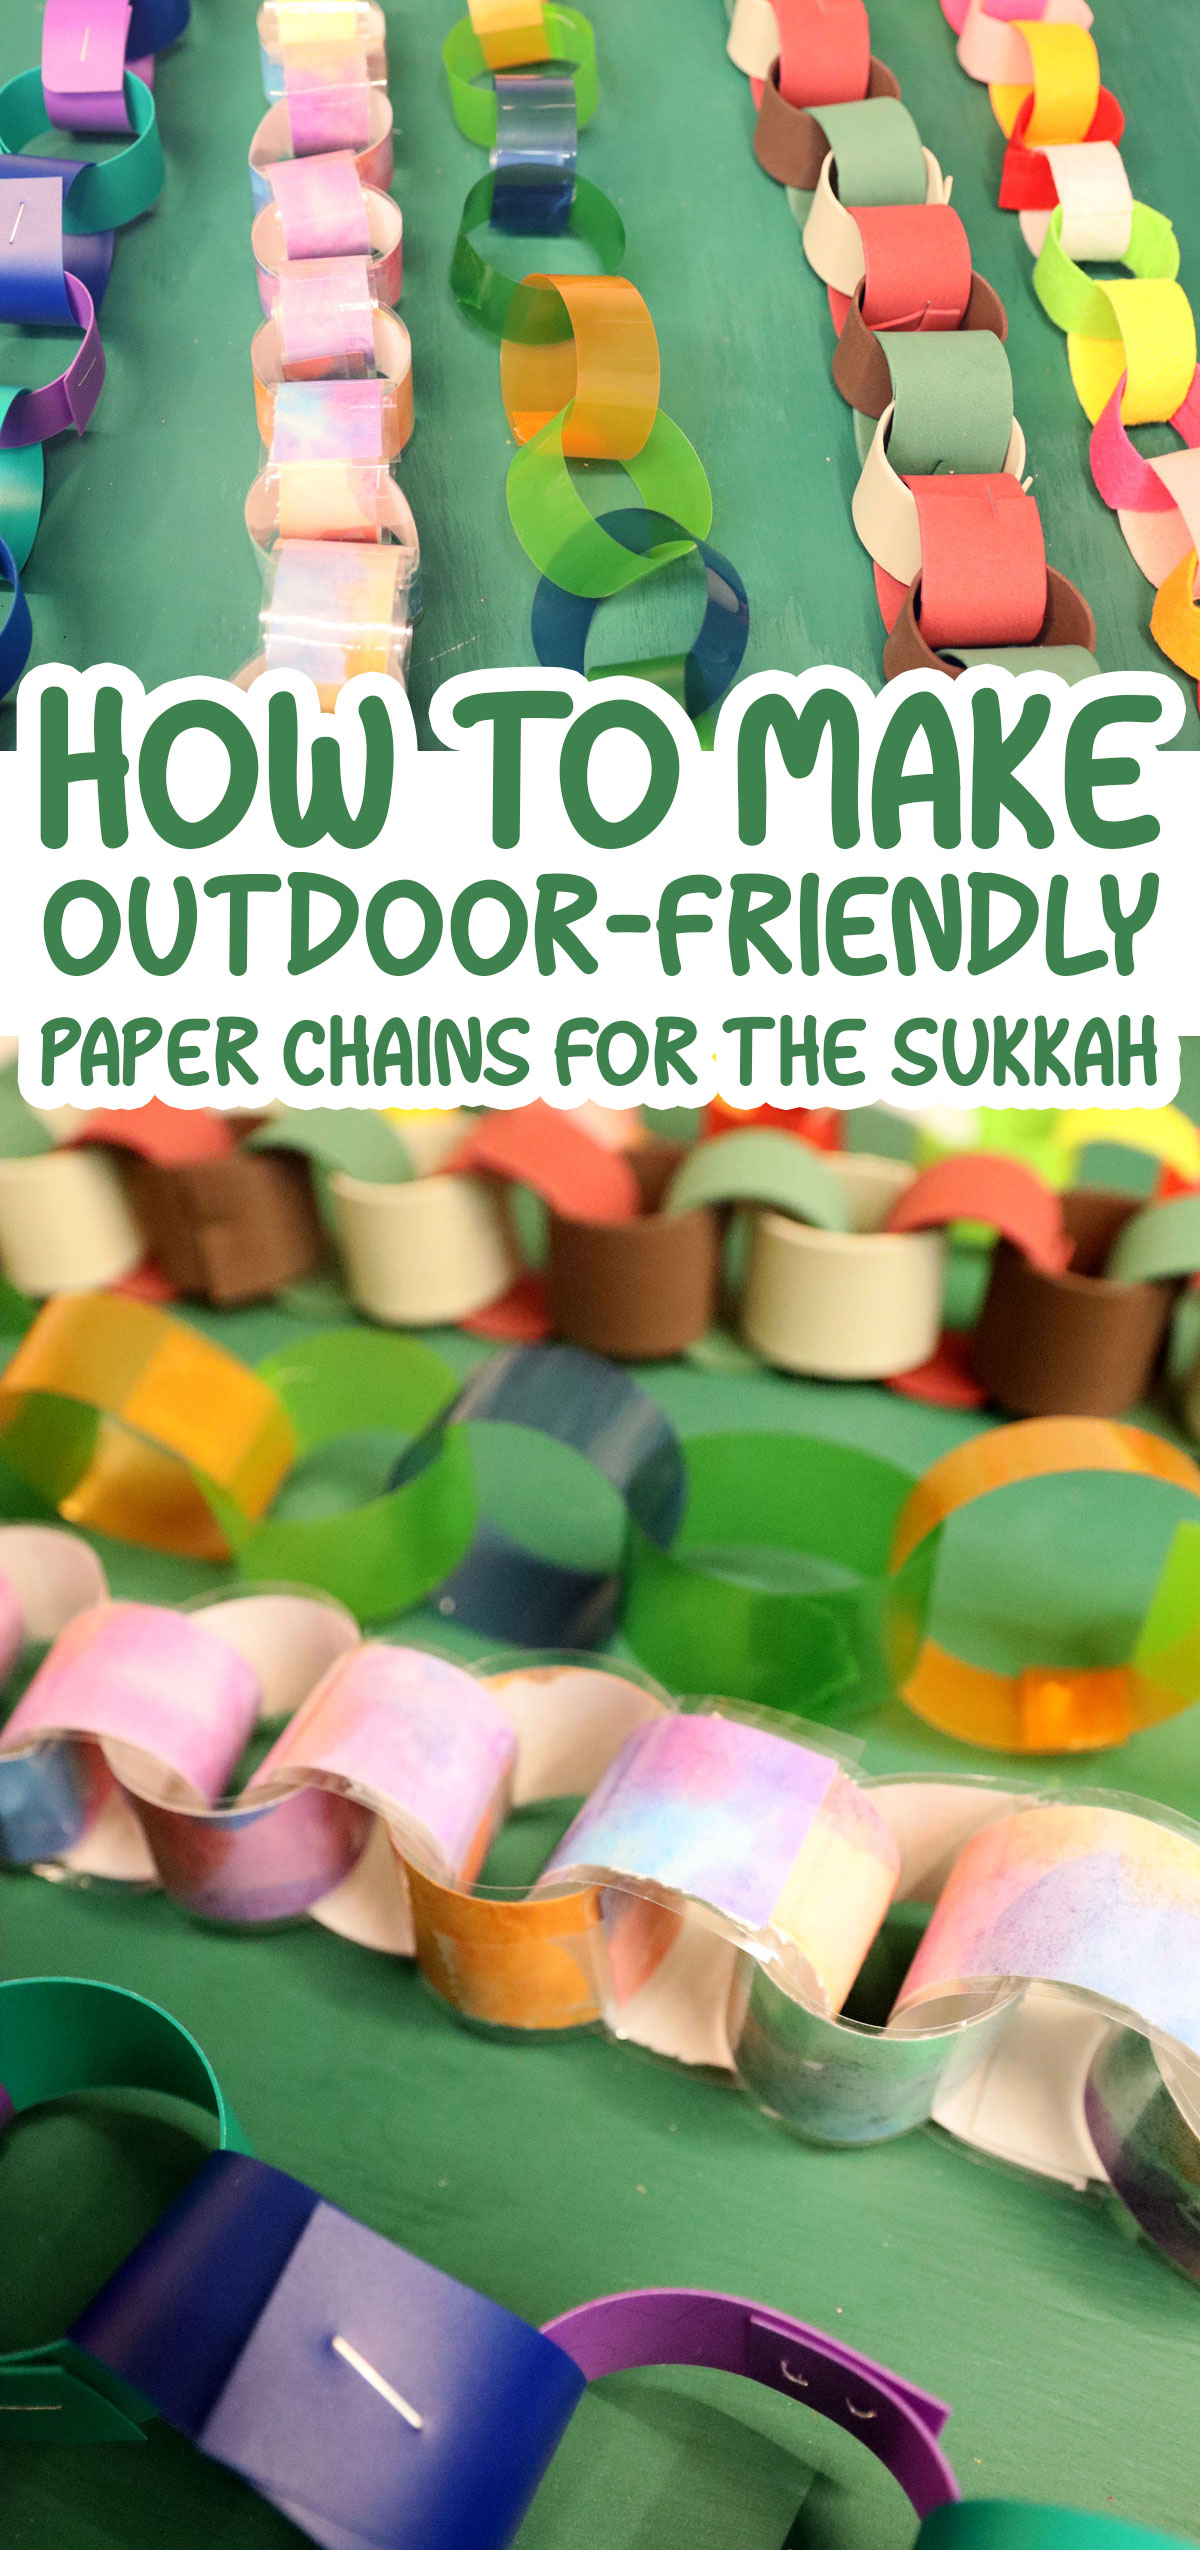
Sukkot Paper Chains – 5 Ideas for Waterproof Decorations
Craft these Sukkot paper chains using materials that won’t dissolve the second it rains! When you’re done, check out this big list of DIY Sukkah decorations. This post contains affiliate links.
Sukkah paper chains are possibly the most popular Sukkah decoration for generations – and we all have memories of soggy chains in the rain!
I decoded to go through different materials that won’t go soggy. Not all of these are totally waterproof but all of them will stay pretty throughout the holiday.

material ideas that are actually showcased here as paper chains, how they act in the rain, and similar options.
Then, we’ll explore different ways to connect the chain, with options that are stronger, and ideas that are more kid-friendly. I’ll be making recommendations based on age group and skill level.
Finally, I’m going to share a few ways to prep the strips, size factors, and more tips for nailing those paper chains.
I’ll also take you through the classic “step by step” at the end in case you do want it in that format.

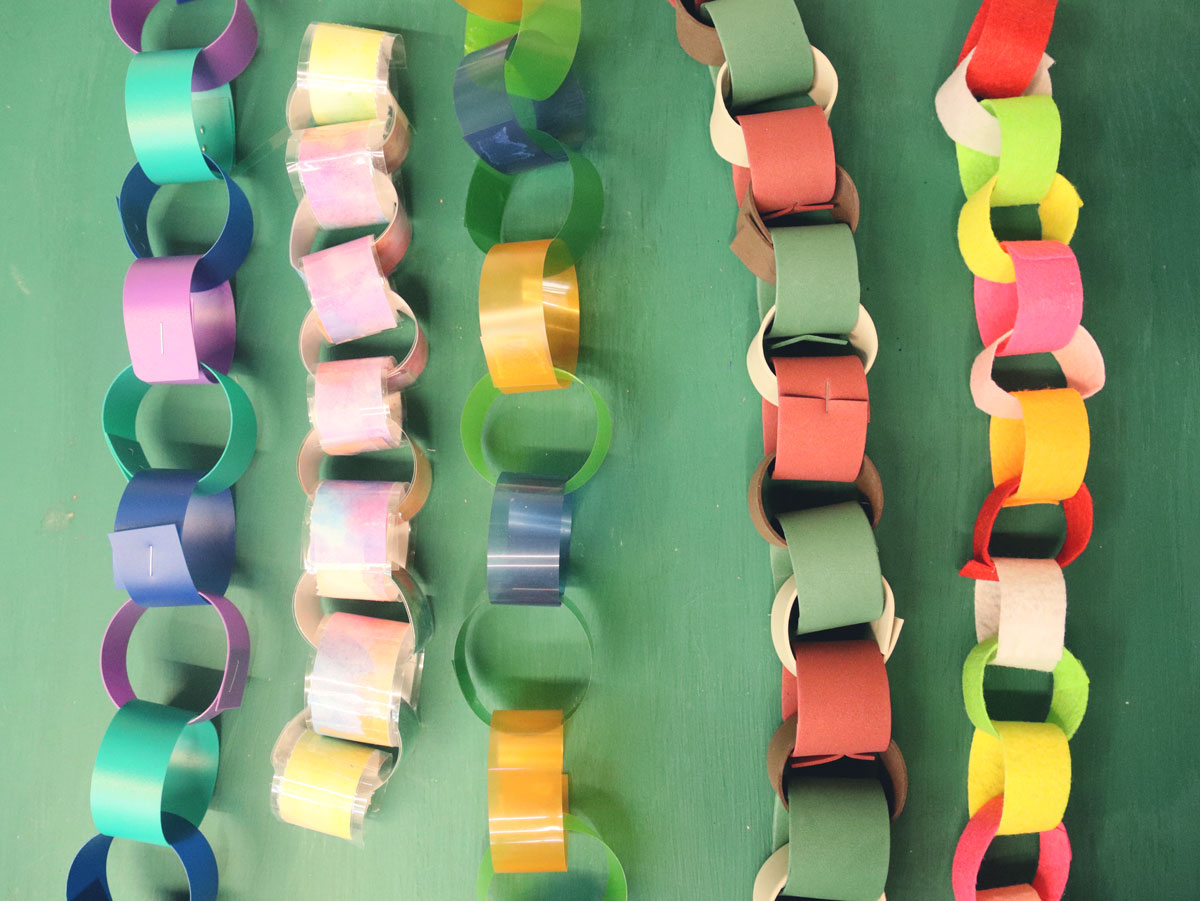
Different ways to make Sukkot paper chains that are water resistant
Materials to use
Any material that will be waterproof – that is, wipeable if wet – and is also flexible can be used to make paper chains! So think plastic sheets, for example. If you can’t wipe it but it wont’ get ruined when wet, it may be outdoor friendly, with caveats.
I’m going to share some more specific ideas below including: how to use paper, materials that are absorbent but dry well, and a few options for plastic sheet you can use.

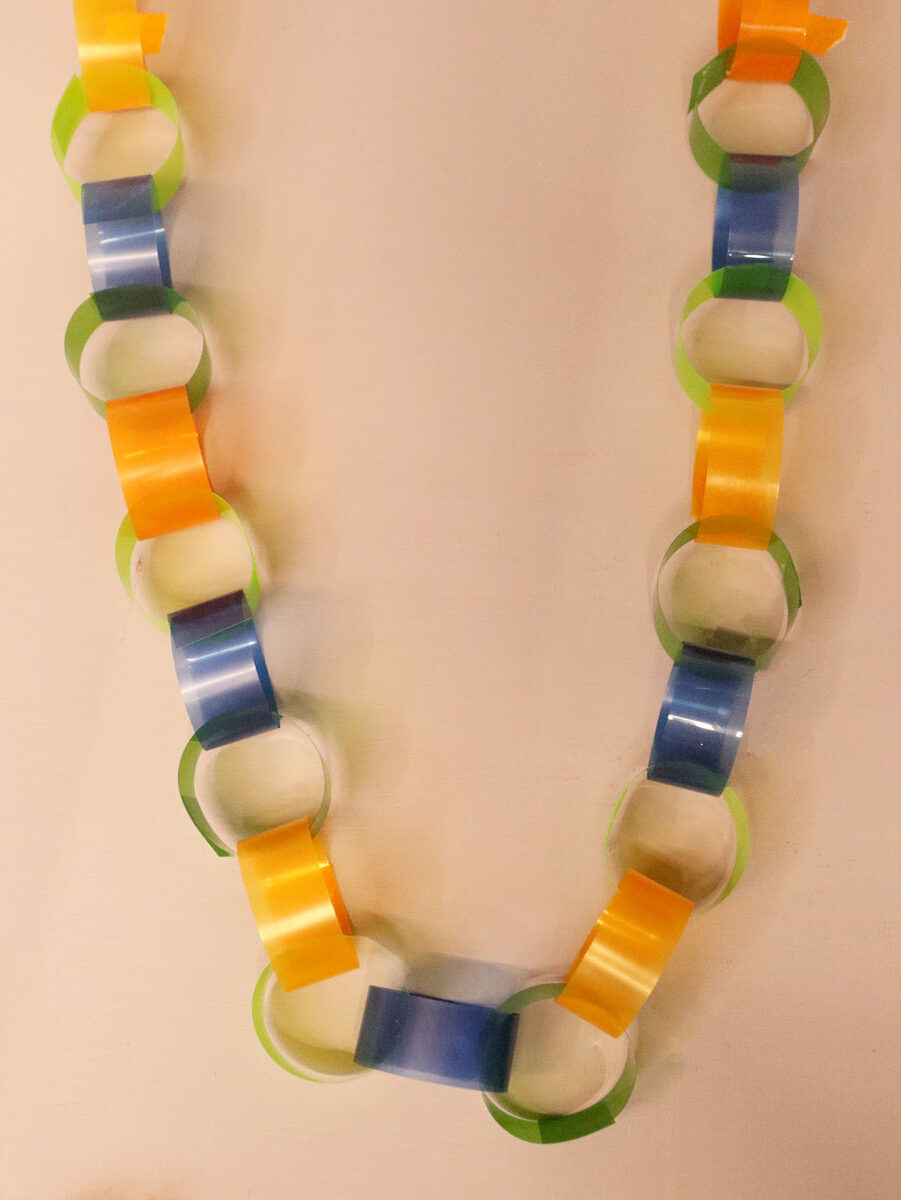
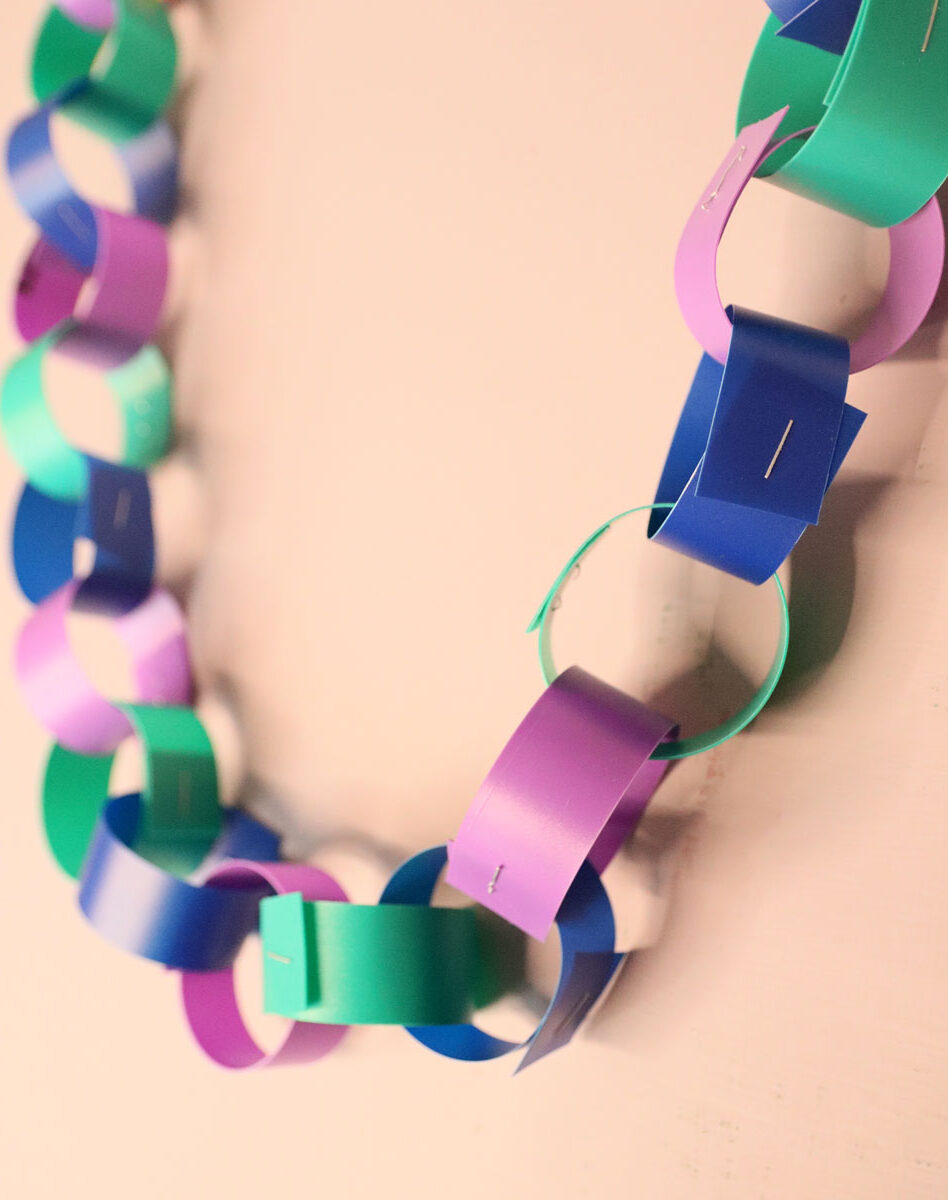
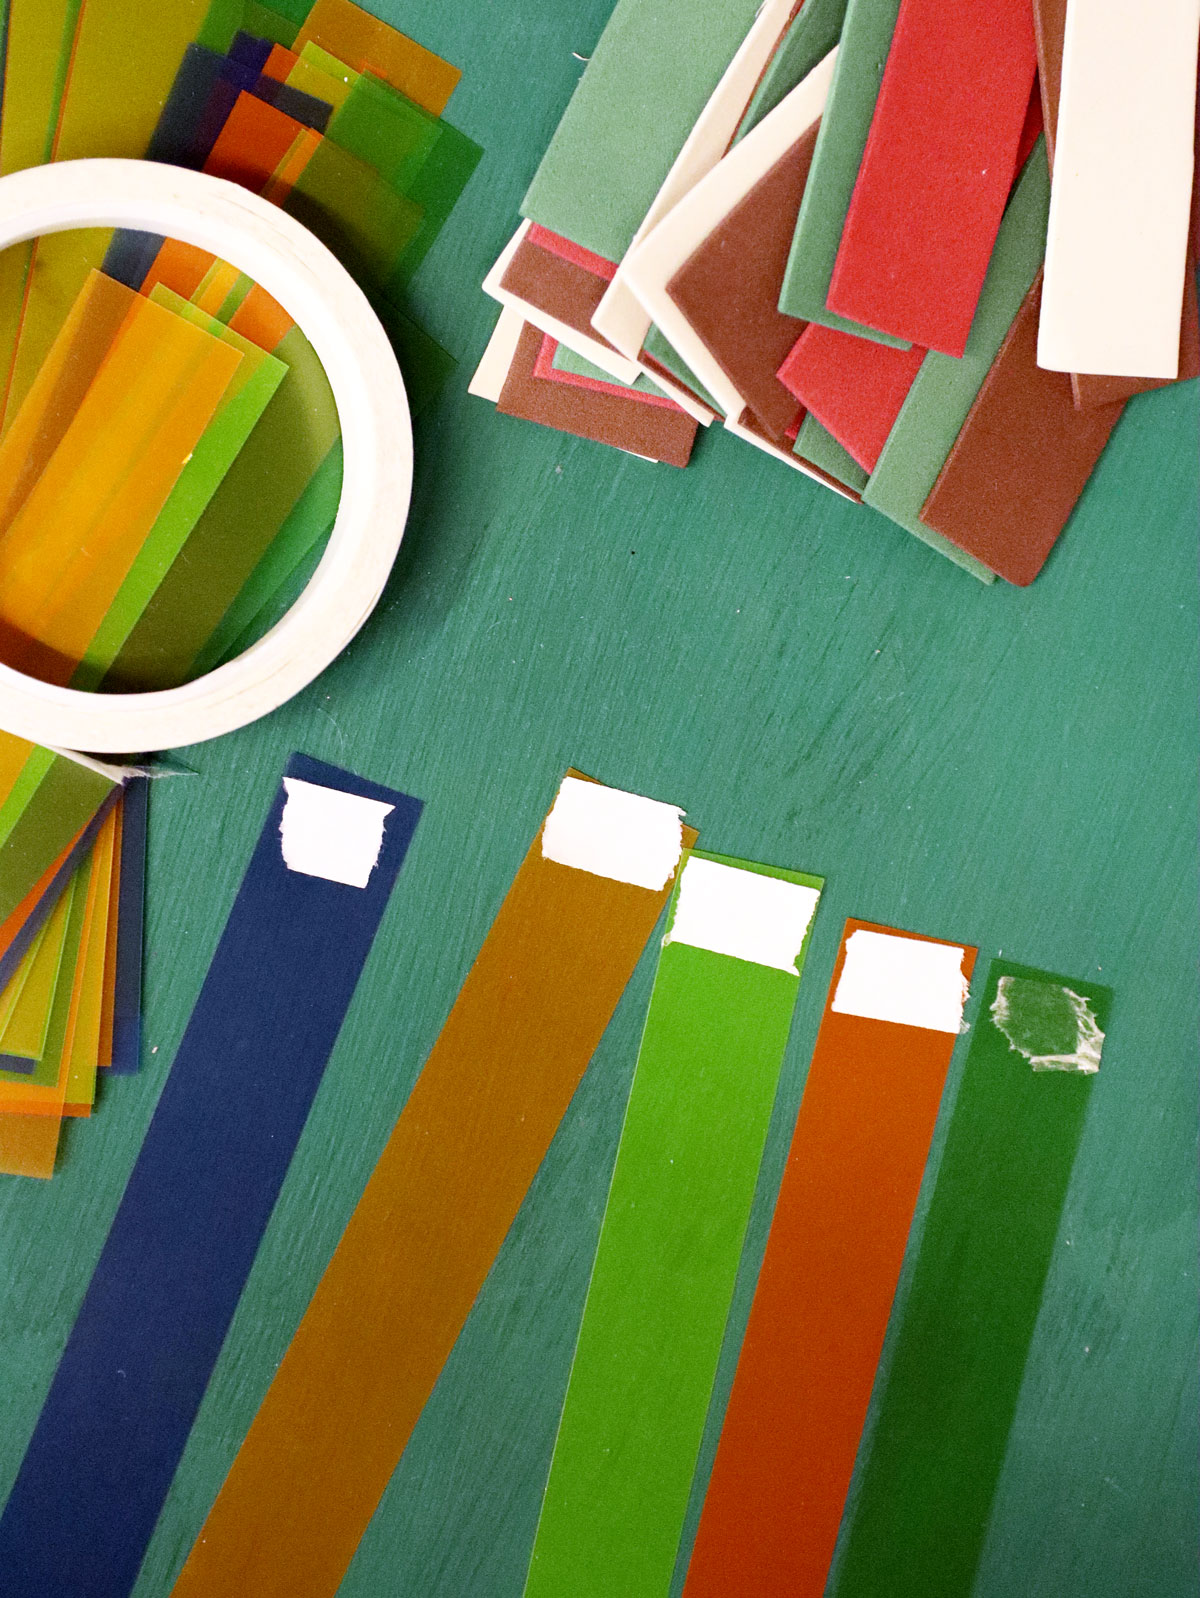
Plastics
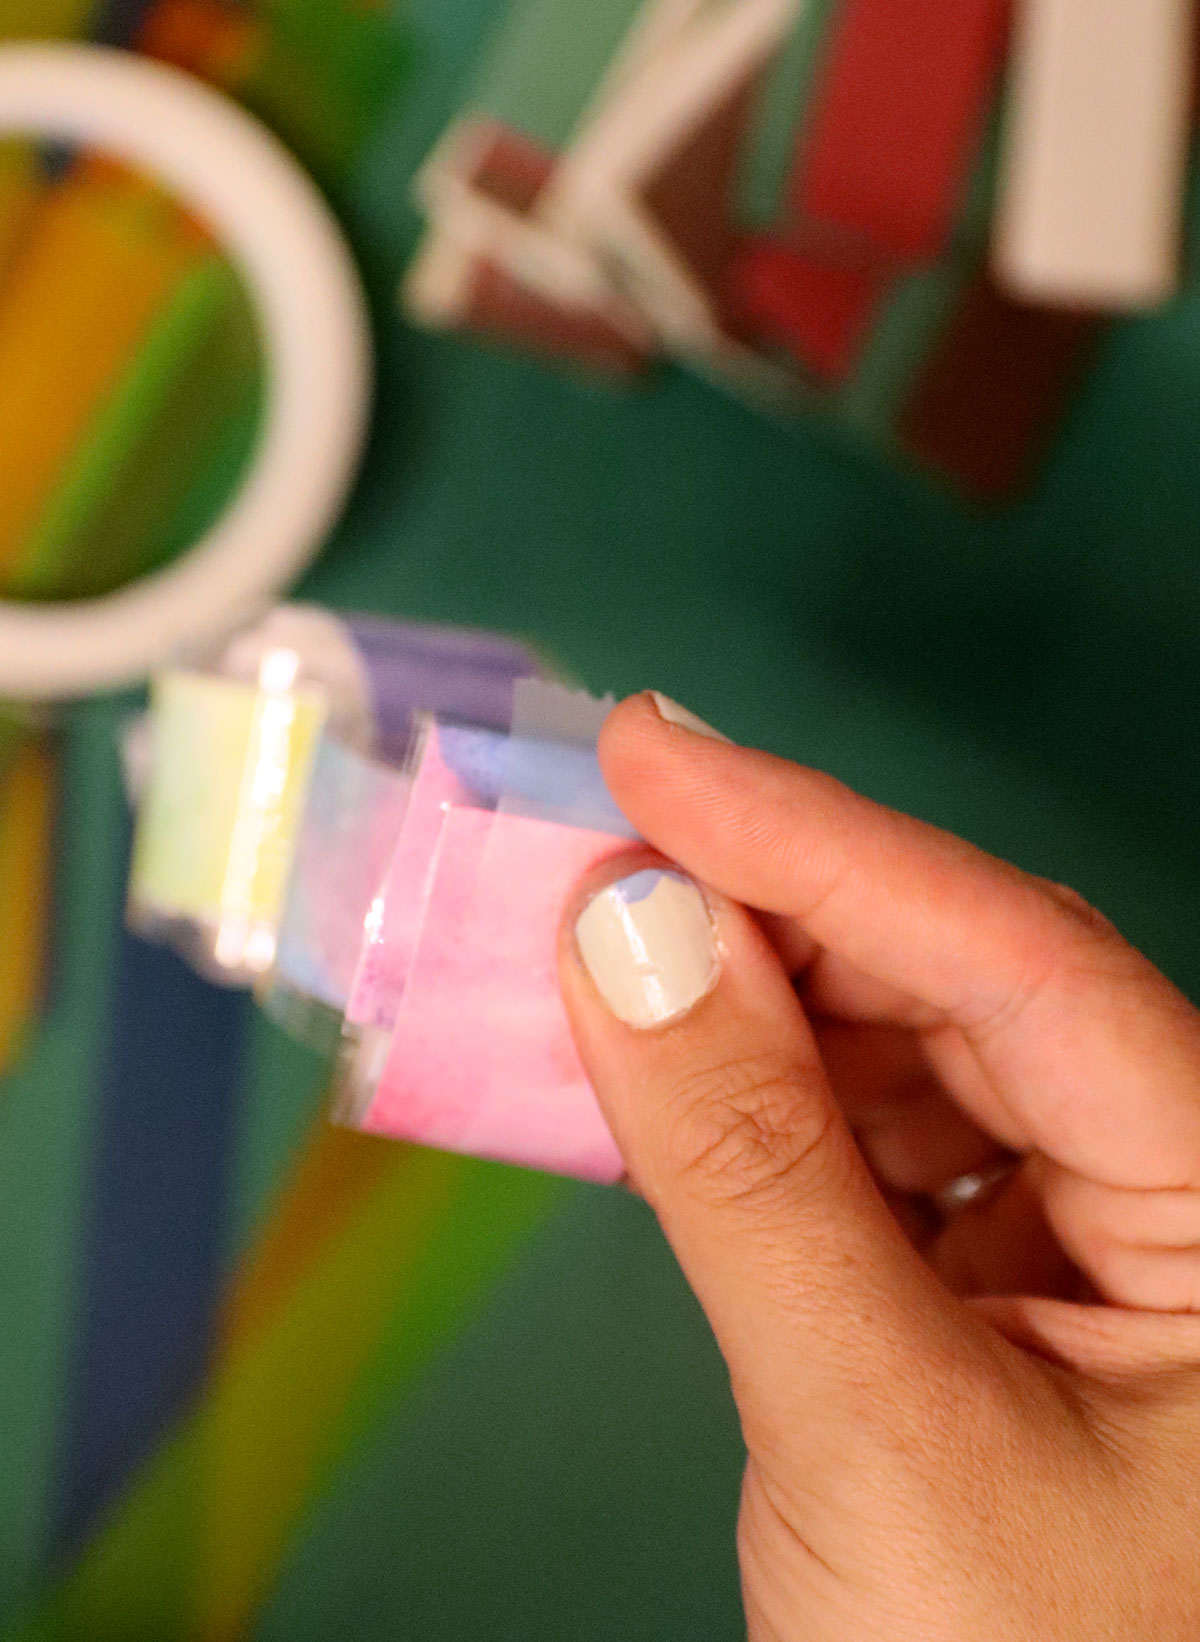
One of my absolute favorite materials to use is translucent dividers! Yes, the ones you’ll use in a binder. This is such a fun way to repurpose old school supplies. Because we all know the kids will not use their dividers again the next year – but they’re usually still in good enough shape to reuse.
The cheaper the better with this: they are usually thinner and more flexible. And if they’re translucent, even better – they’ll catch the light! But you can also use opaque dividers.
Another way to make Sukkot paper chains with plastic sheets is to reuse plastic folders. These do tend to be stiffer, and work best with longer chain strips. You can reuse most of the divider page.
More ideas for using plastic: clear acetate sheets are easy to find. Anything plastic with some structure but that isn’t too stiff is great. You can cut water bottles into rings (you’ll need to cut ever other ring open to connect it) or even cut up soda bottles!
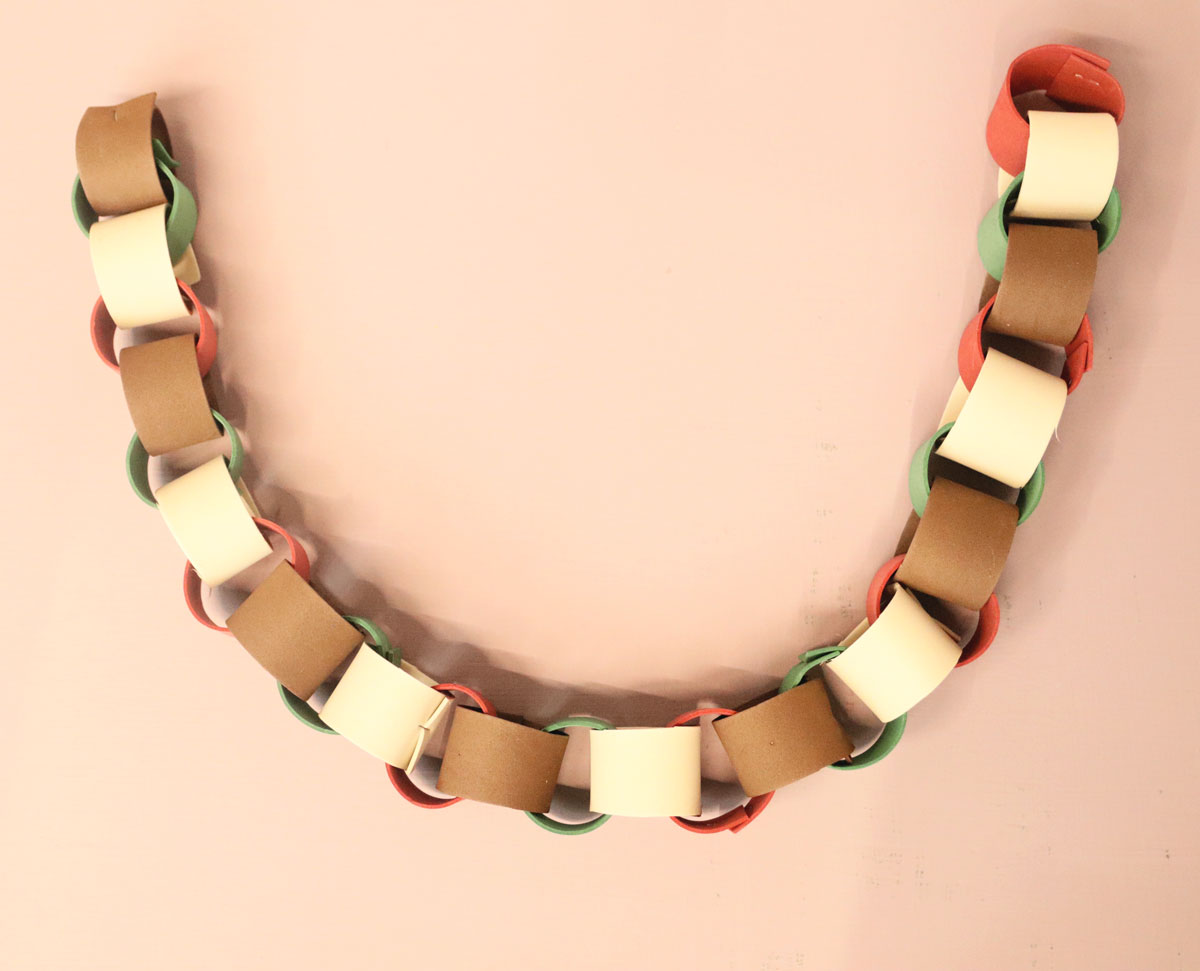
Foam
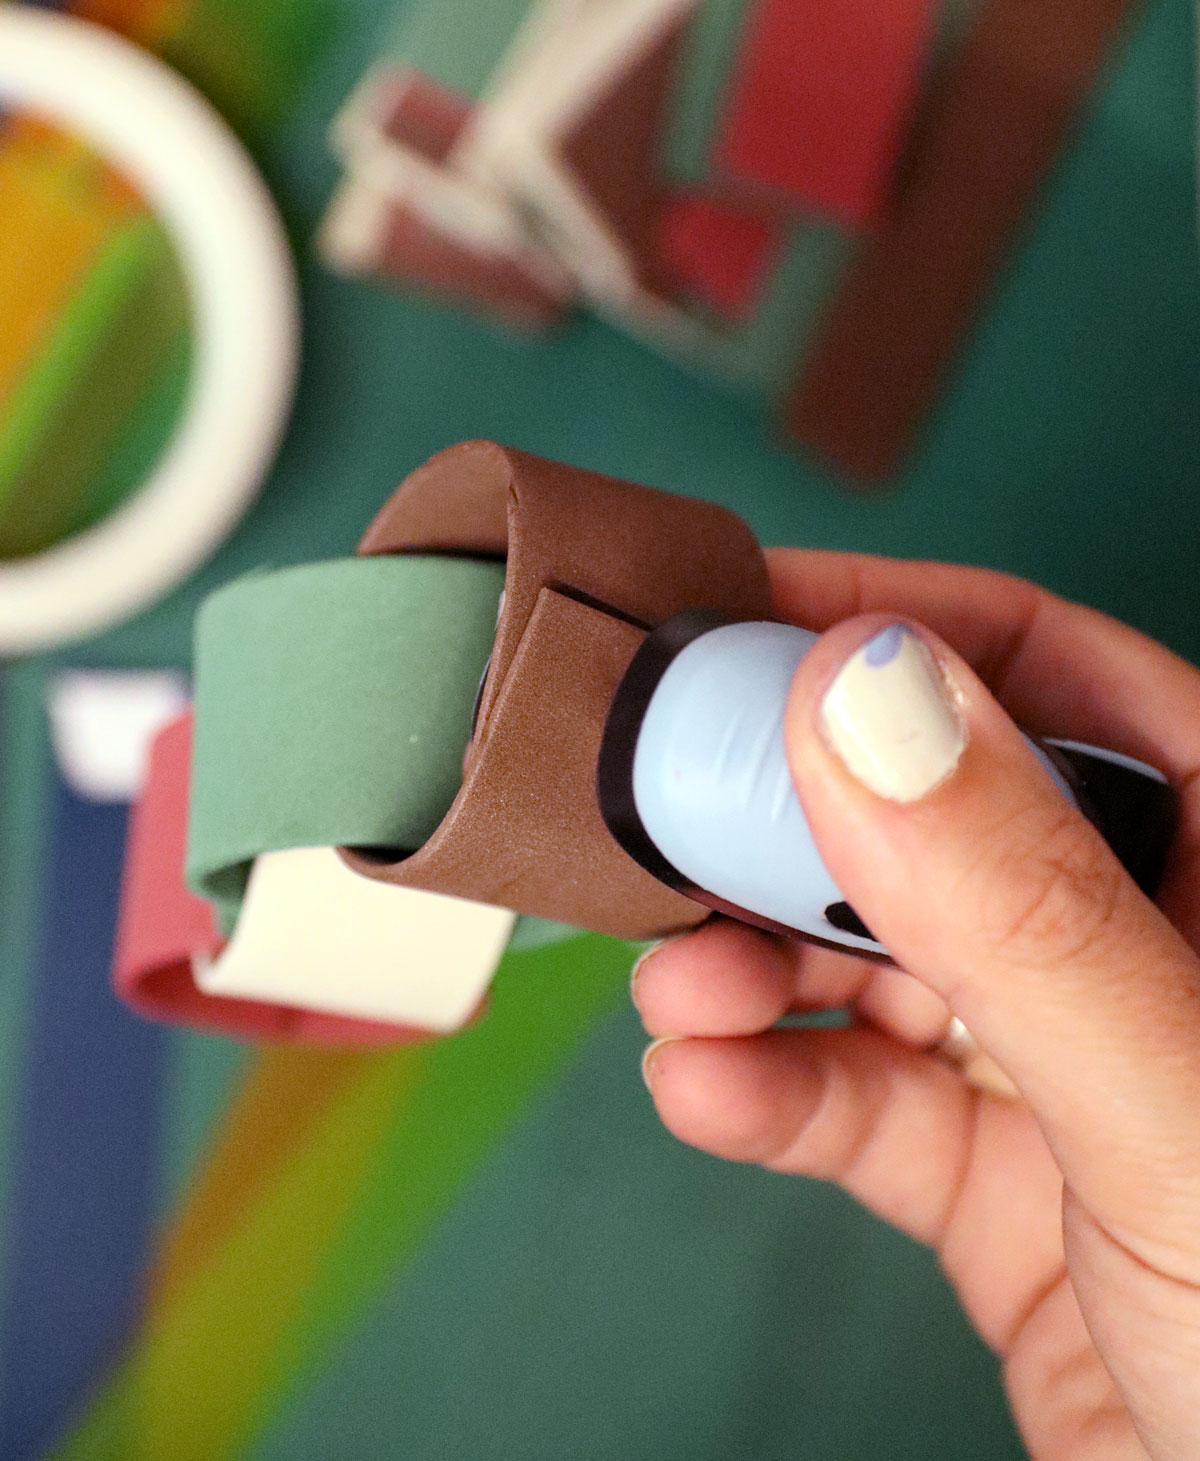
Craft foam is a very lightweight material – it’ll flutter gorgeously in the wind if you use it to make Sukkot paper chains.
It is a porous material. That means that it will collect some water, but it’s not highly absorbent and won’t get overly soaked. You’ll need to make sure it dried thoroughly before storing it, but it won’t dissolve in the rain and it’ll still look fabulous!
You may want to test your craft foam first to make sure it’s colorfast.
How to seal paper + ideas
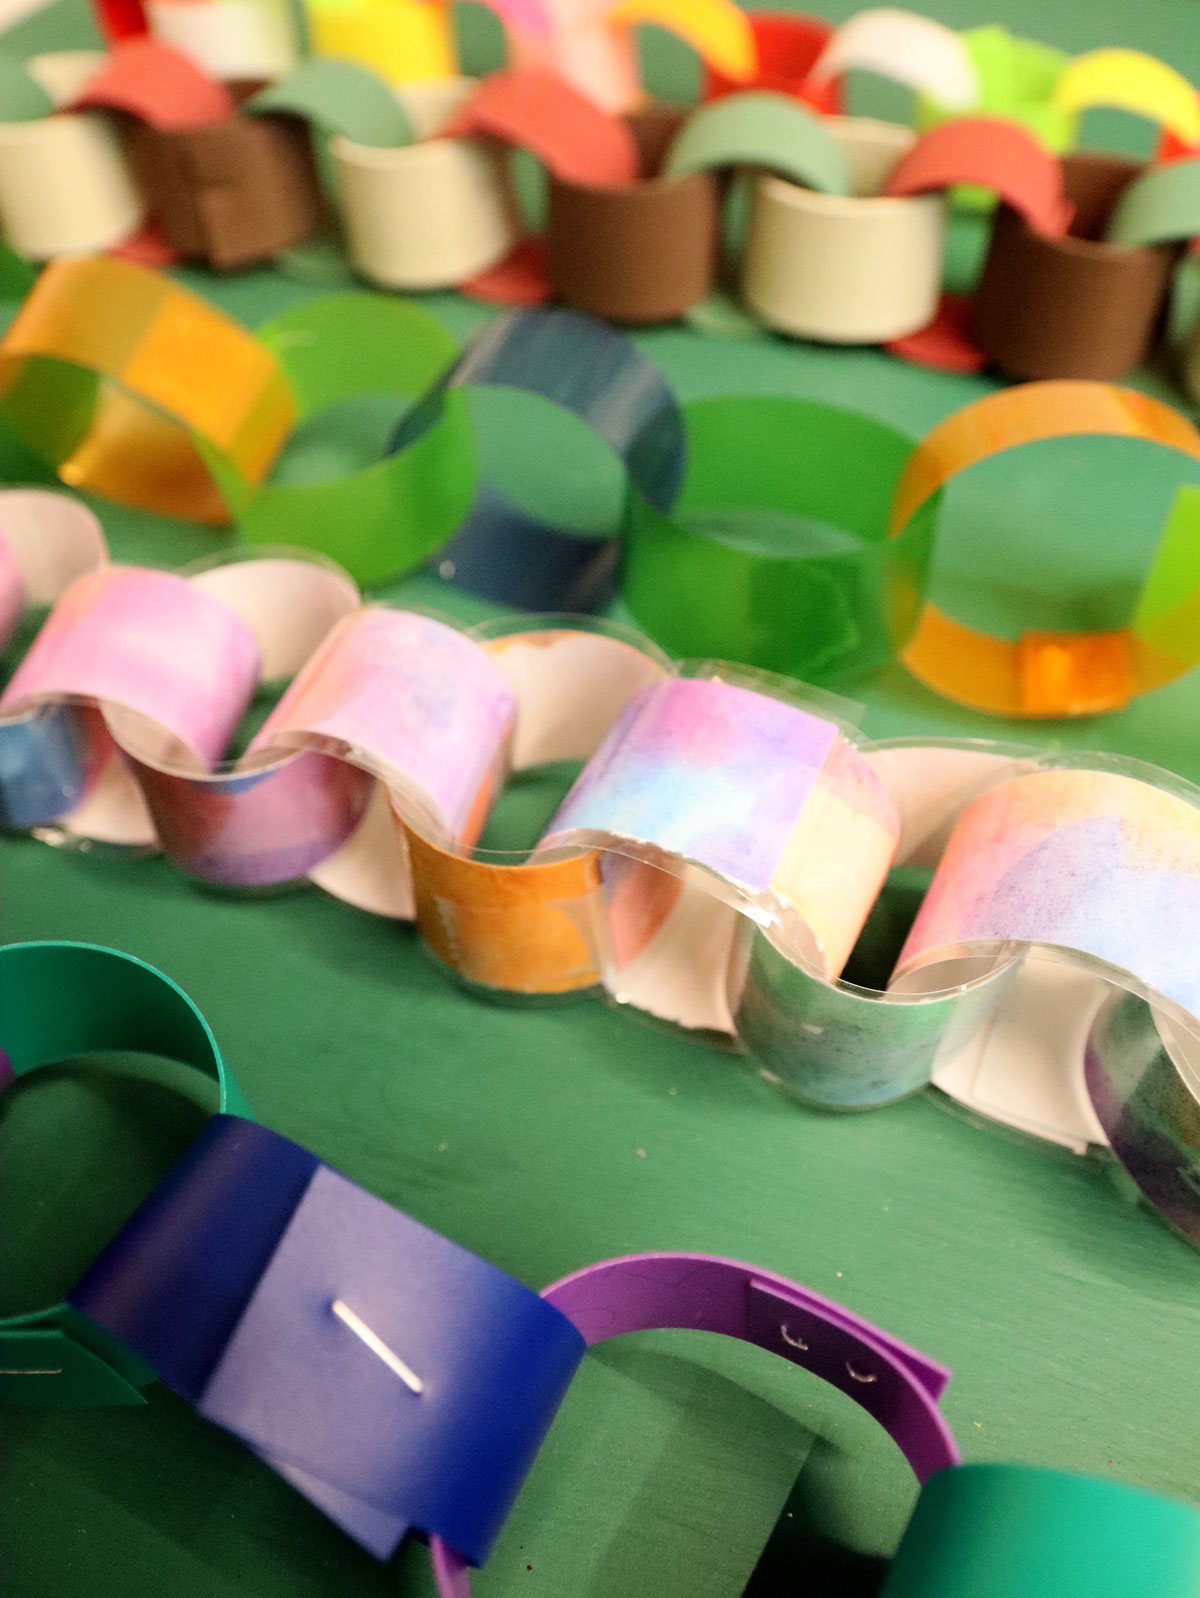
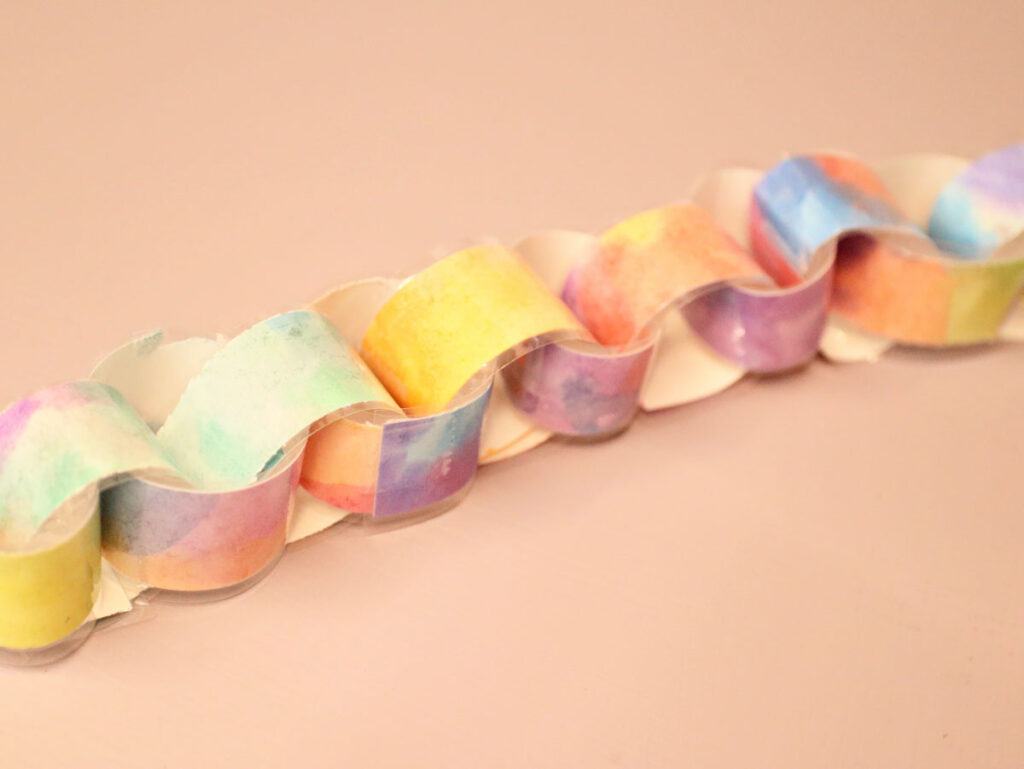
Of course, you can laminate paper to make it waterproof! There’s just one caveat: any tiny hole can render it totally dissolvable. Get a bit of water in the laminated part and it’ll turn to mush!
The trick is to laminate the chain strips after they’re cut, and connect them in a way that won’t make holes (so no staples). They can be pretty stiff, so they can be a bit of a challenge. And you’ll want to make sure not to trim your laminating sheets too close to the paper or it’ll split.
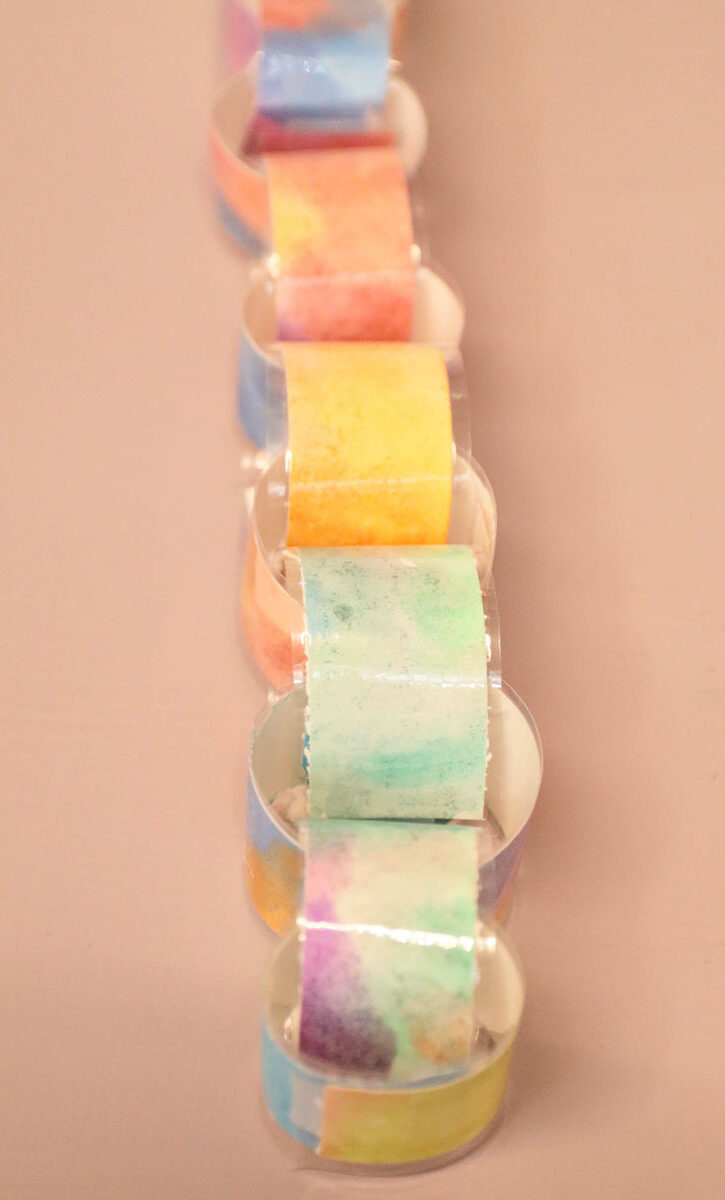
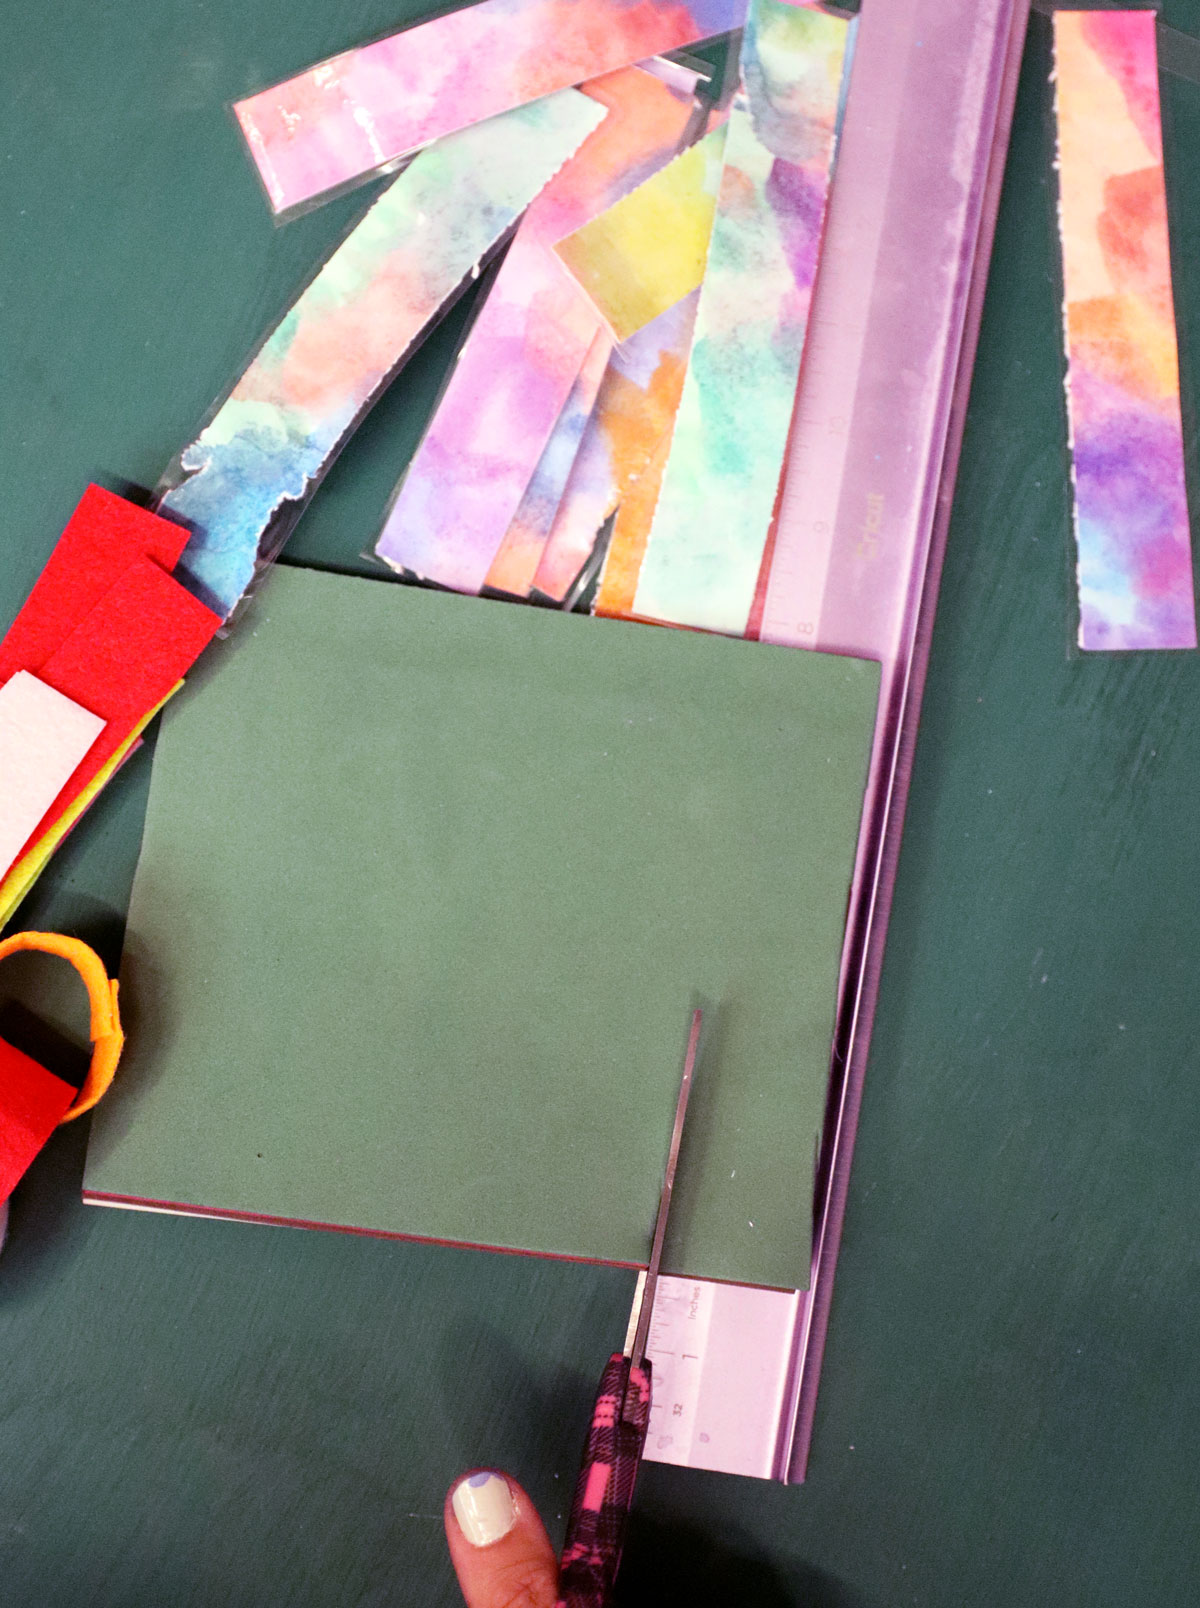
If you decide to do this, there are just so many ways you can make it fabulous! In this tutorial, I painted sheets with watercolor artwork to cut up! You can use any artwork. Or try fun printed scrapbook papers. Thinner is better since the laminating sheets already add some bulk.
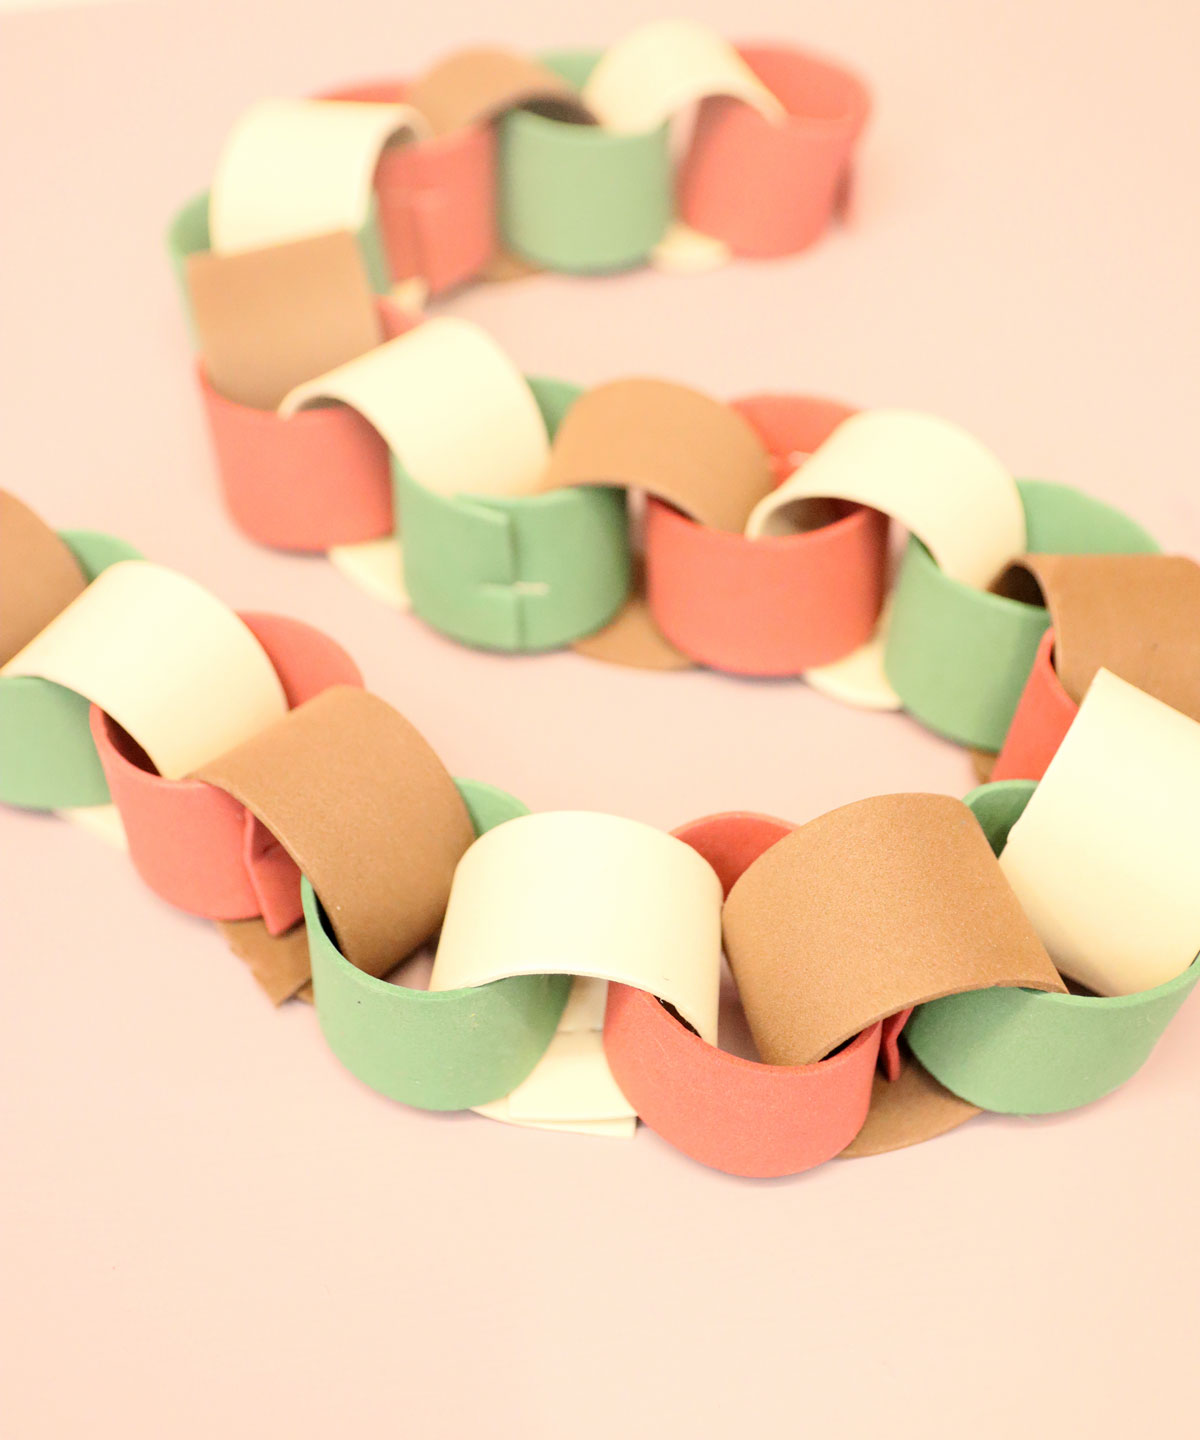
Felt
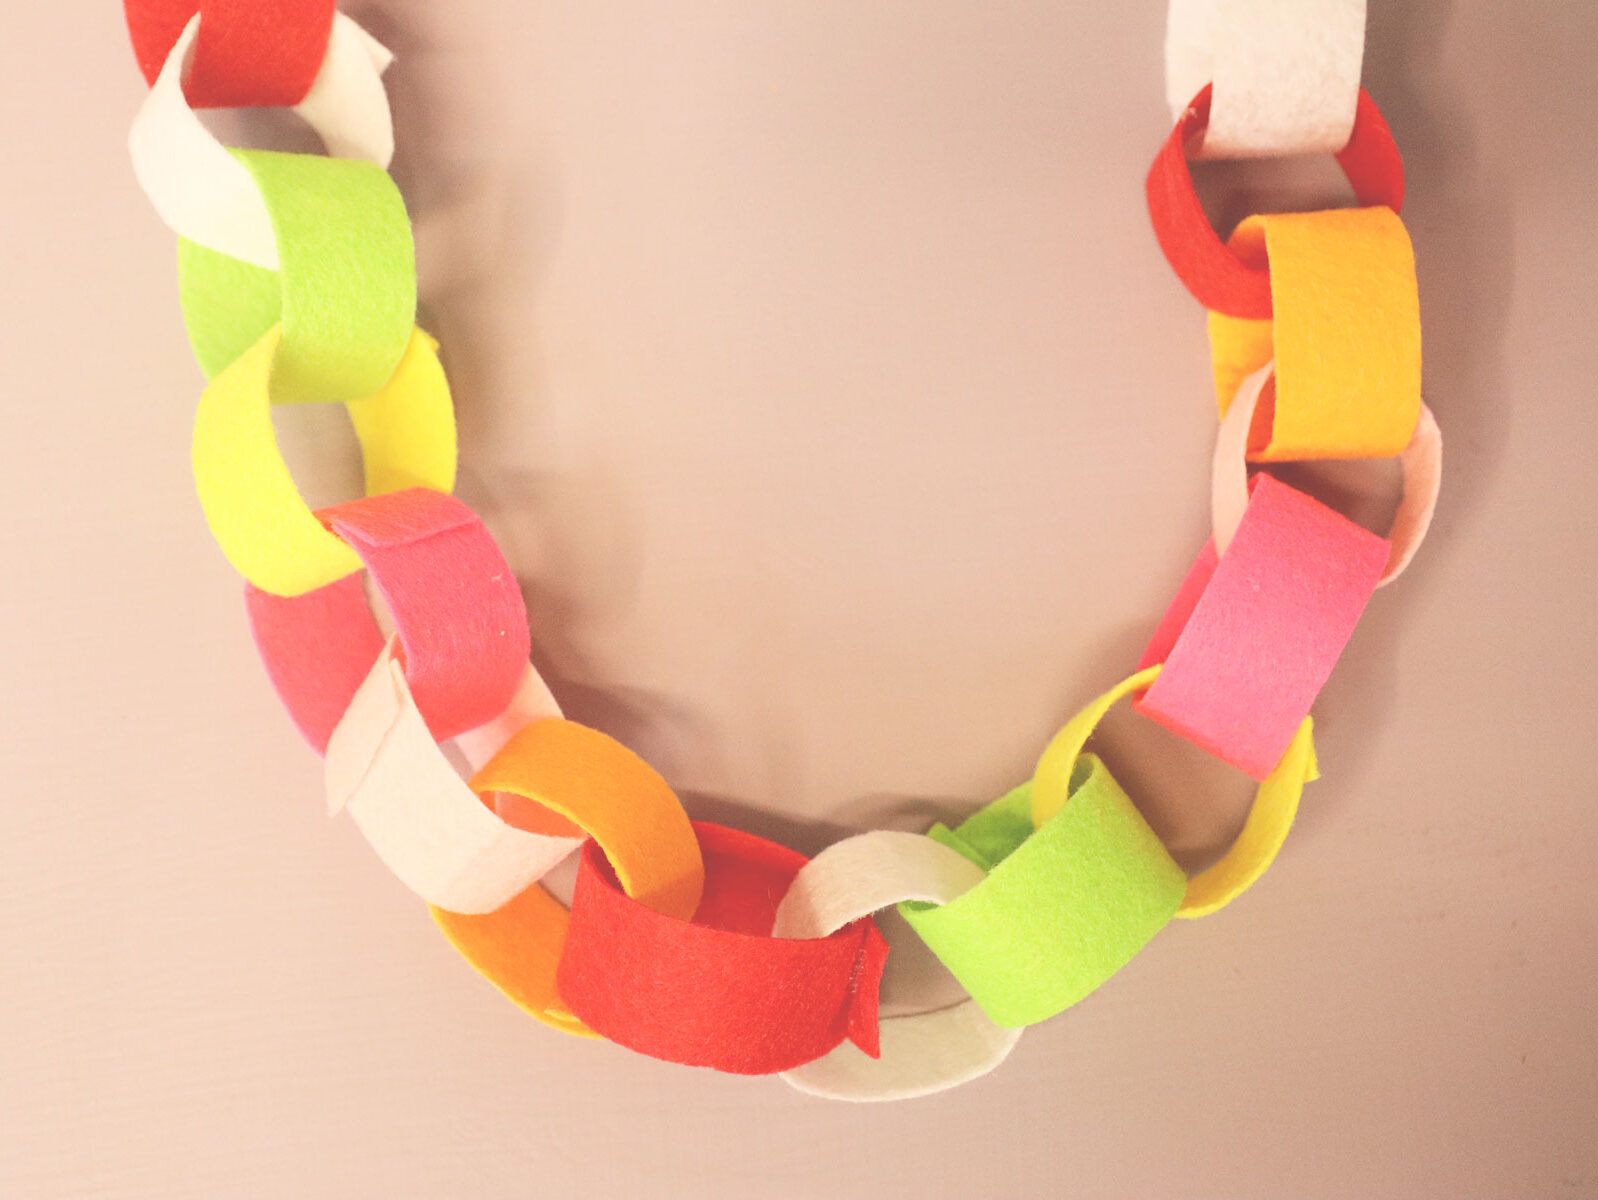
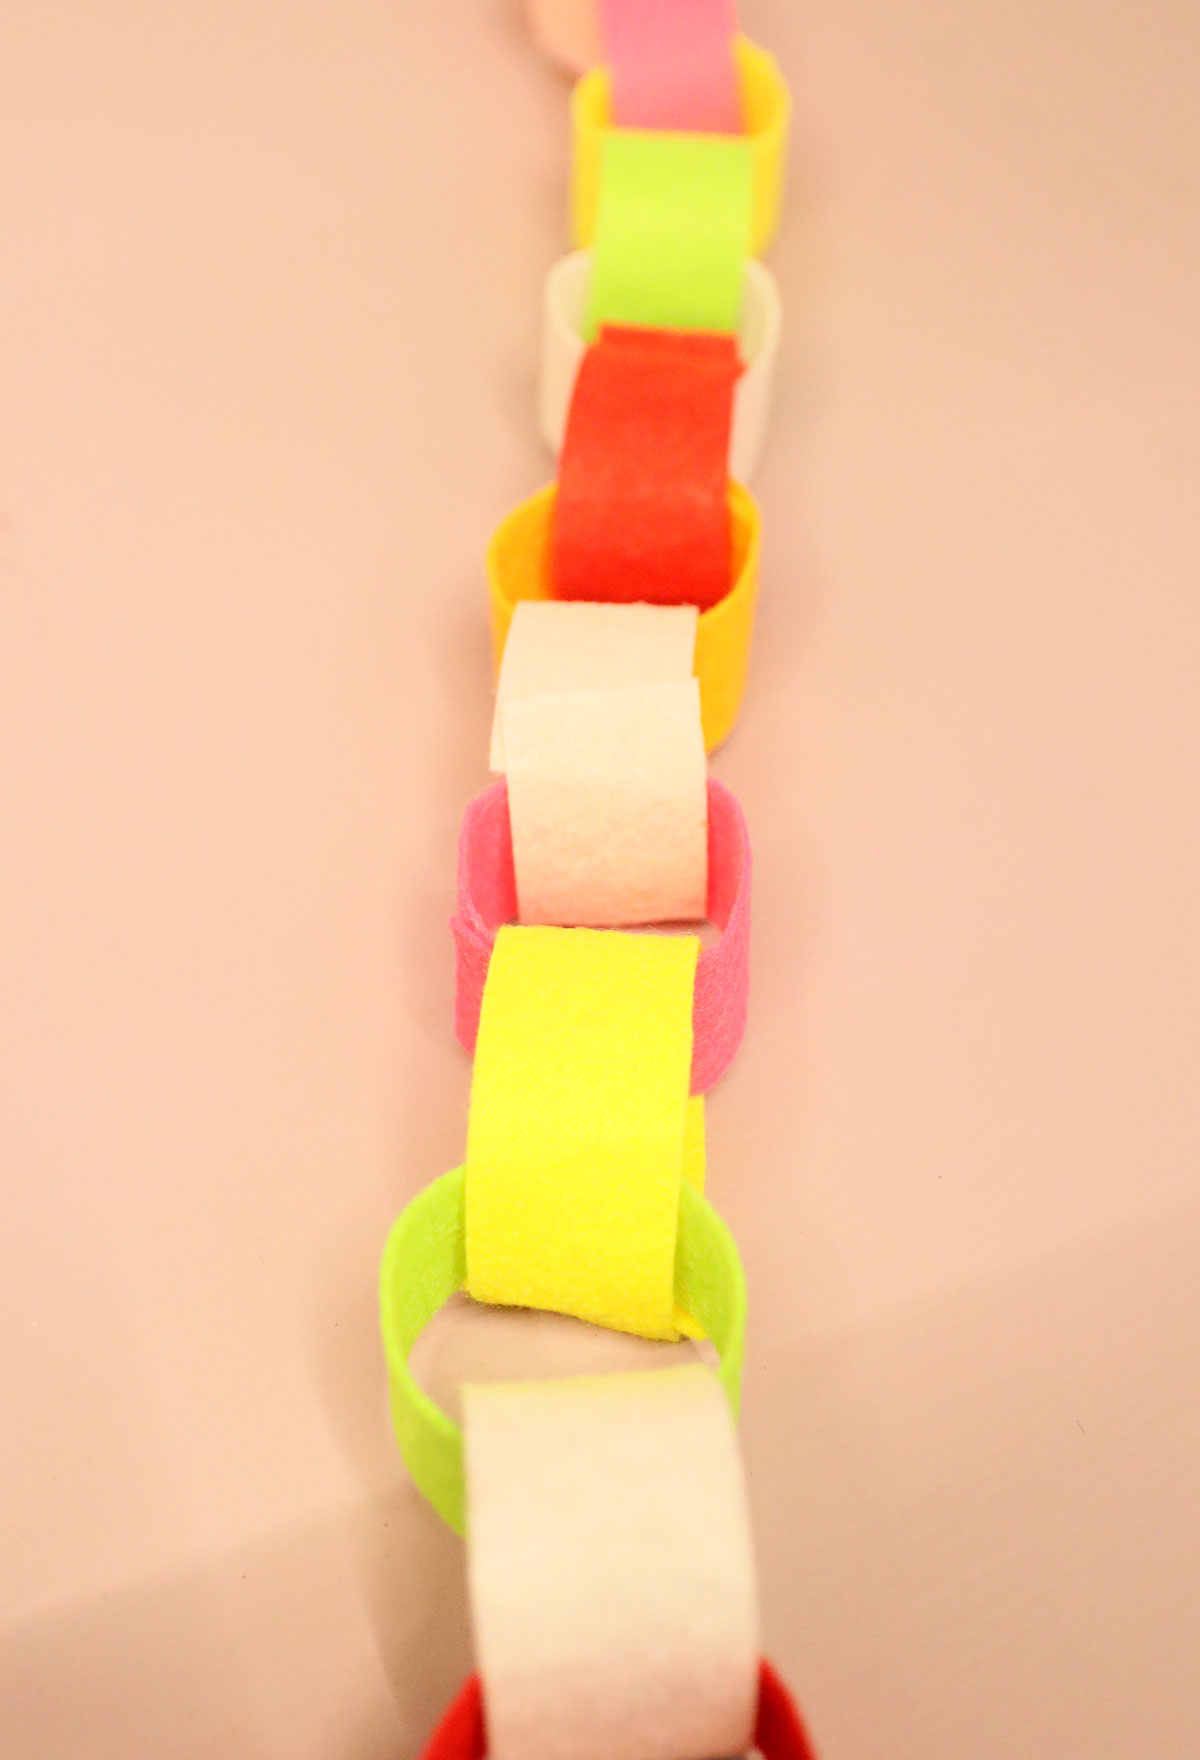
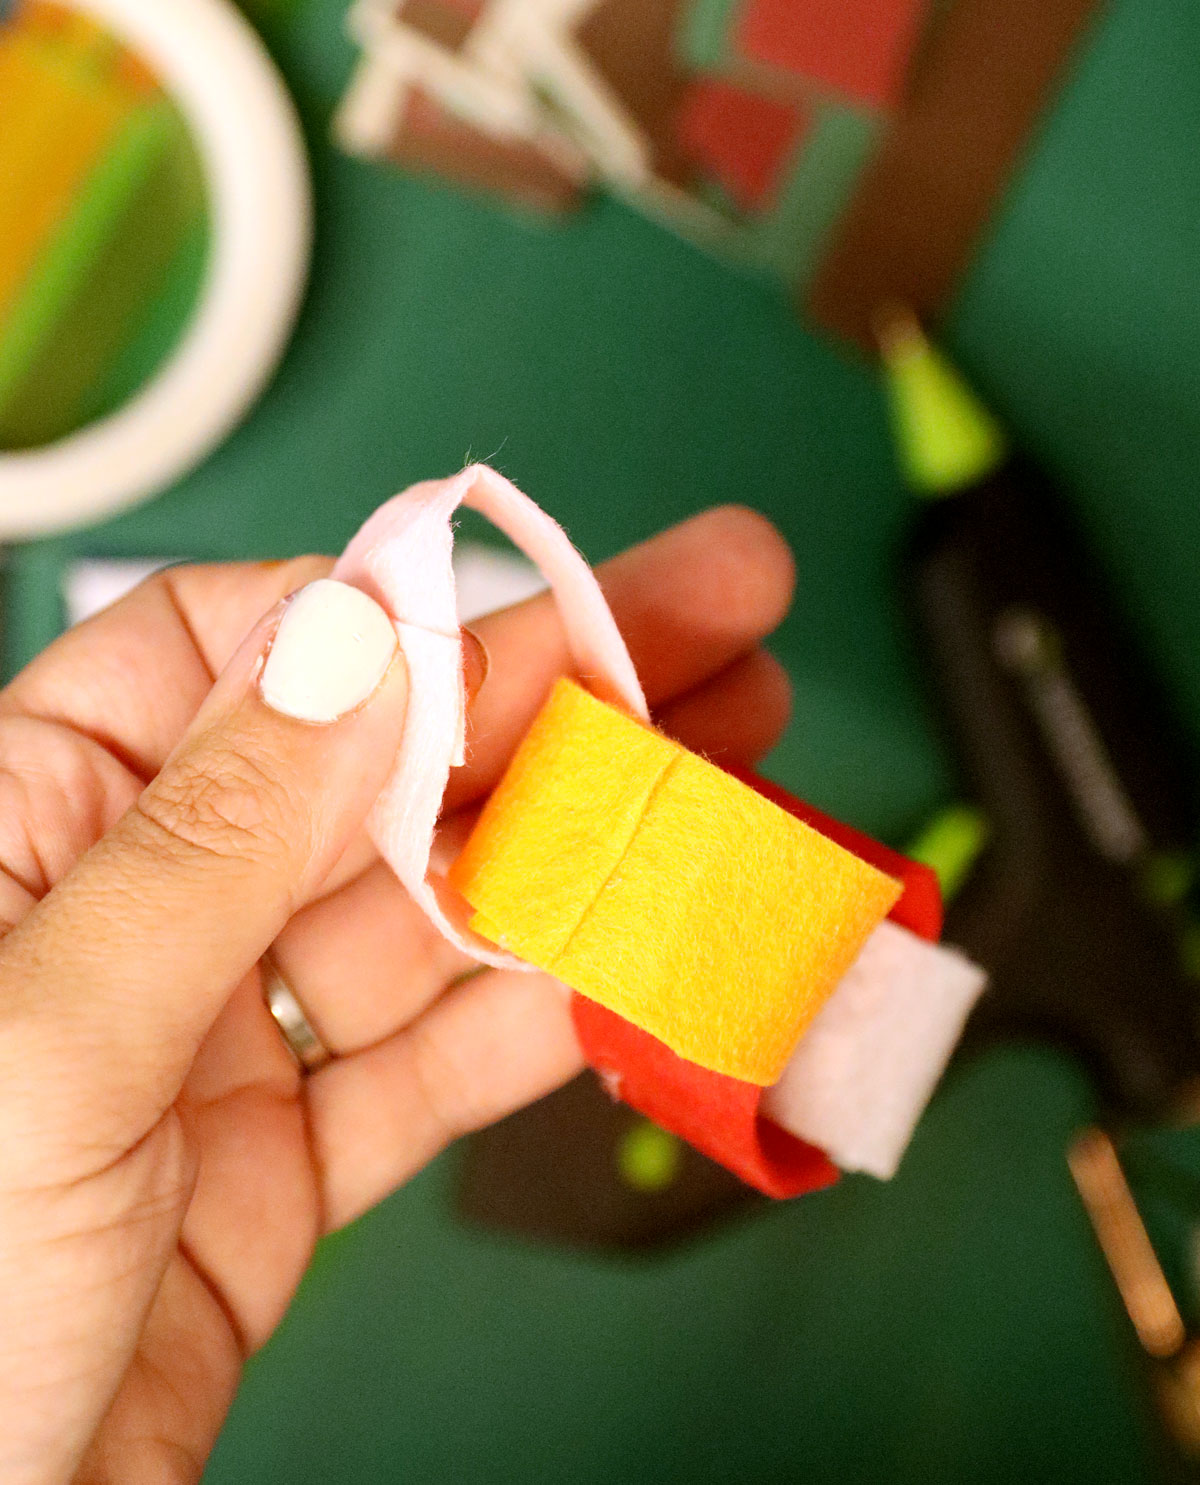
Felt seems like it would be too absorbent to use, but if you use cheap, thin, stiff felt you’re good to go! It’s made of acrylic, which is a pretty non-absorbent material, so while it will get wet, it won’t soak and drip excessively, and it’ll dry quickly.
It comes in so many color choices (I just used what I had and it’s meh but I promise, you can make this gorgeous!) Go with fall and nature-sourced materials to really up the warm and fuzzy feeling in the Sukkah. The trick to using felt is to use good fabric scissors or a rotary cutter to cut neat, sharp pieces.
Definitely test your felt for color-fastness before using it for Sukkot paper chains.
Different ways to close the rings
Part of the trick to making Sukkot paper chains rain-resistant is to connect it properly. Use masking tape and you’ll have a puddle. You need something waterproof.
I’ll be sharing some ideas below, but first: cutting tools!
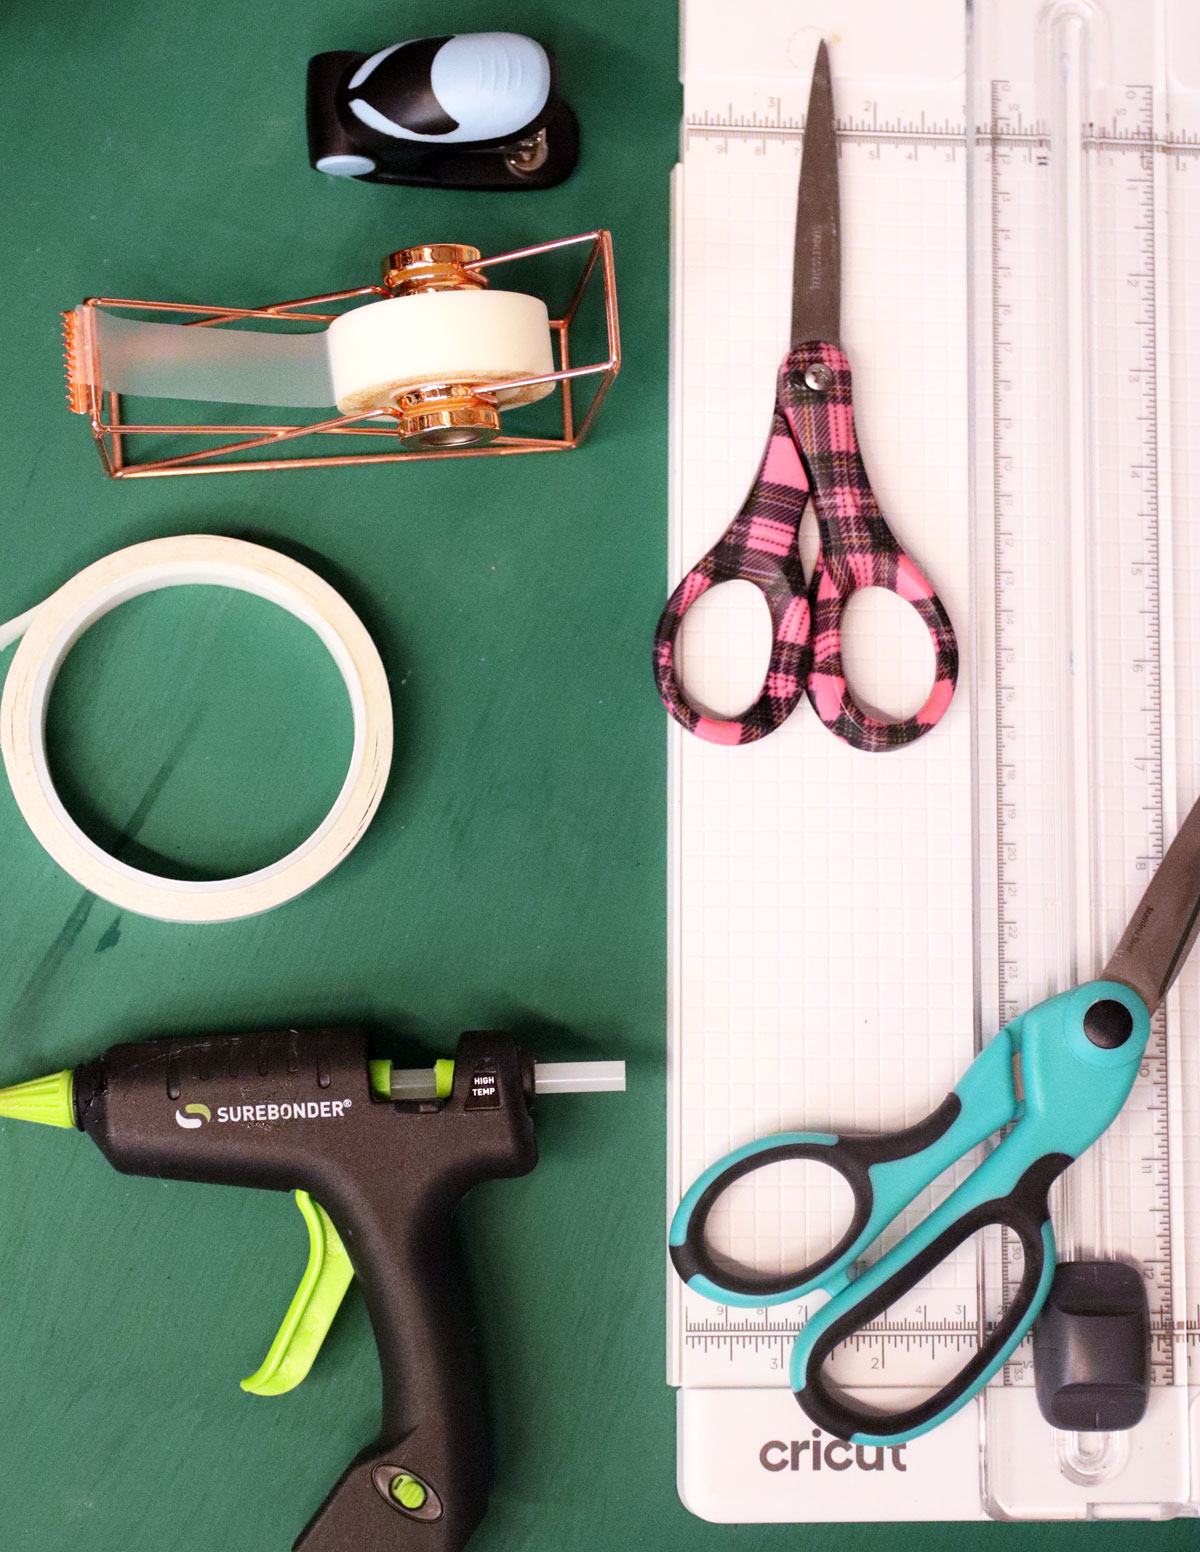
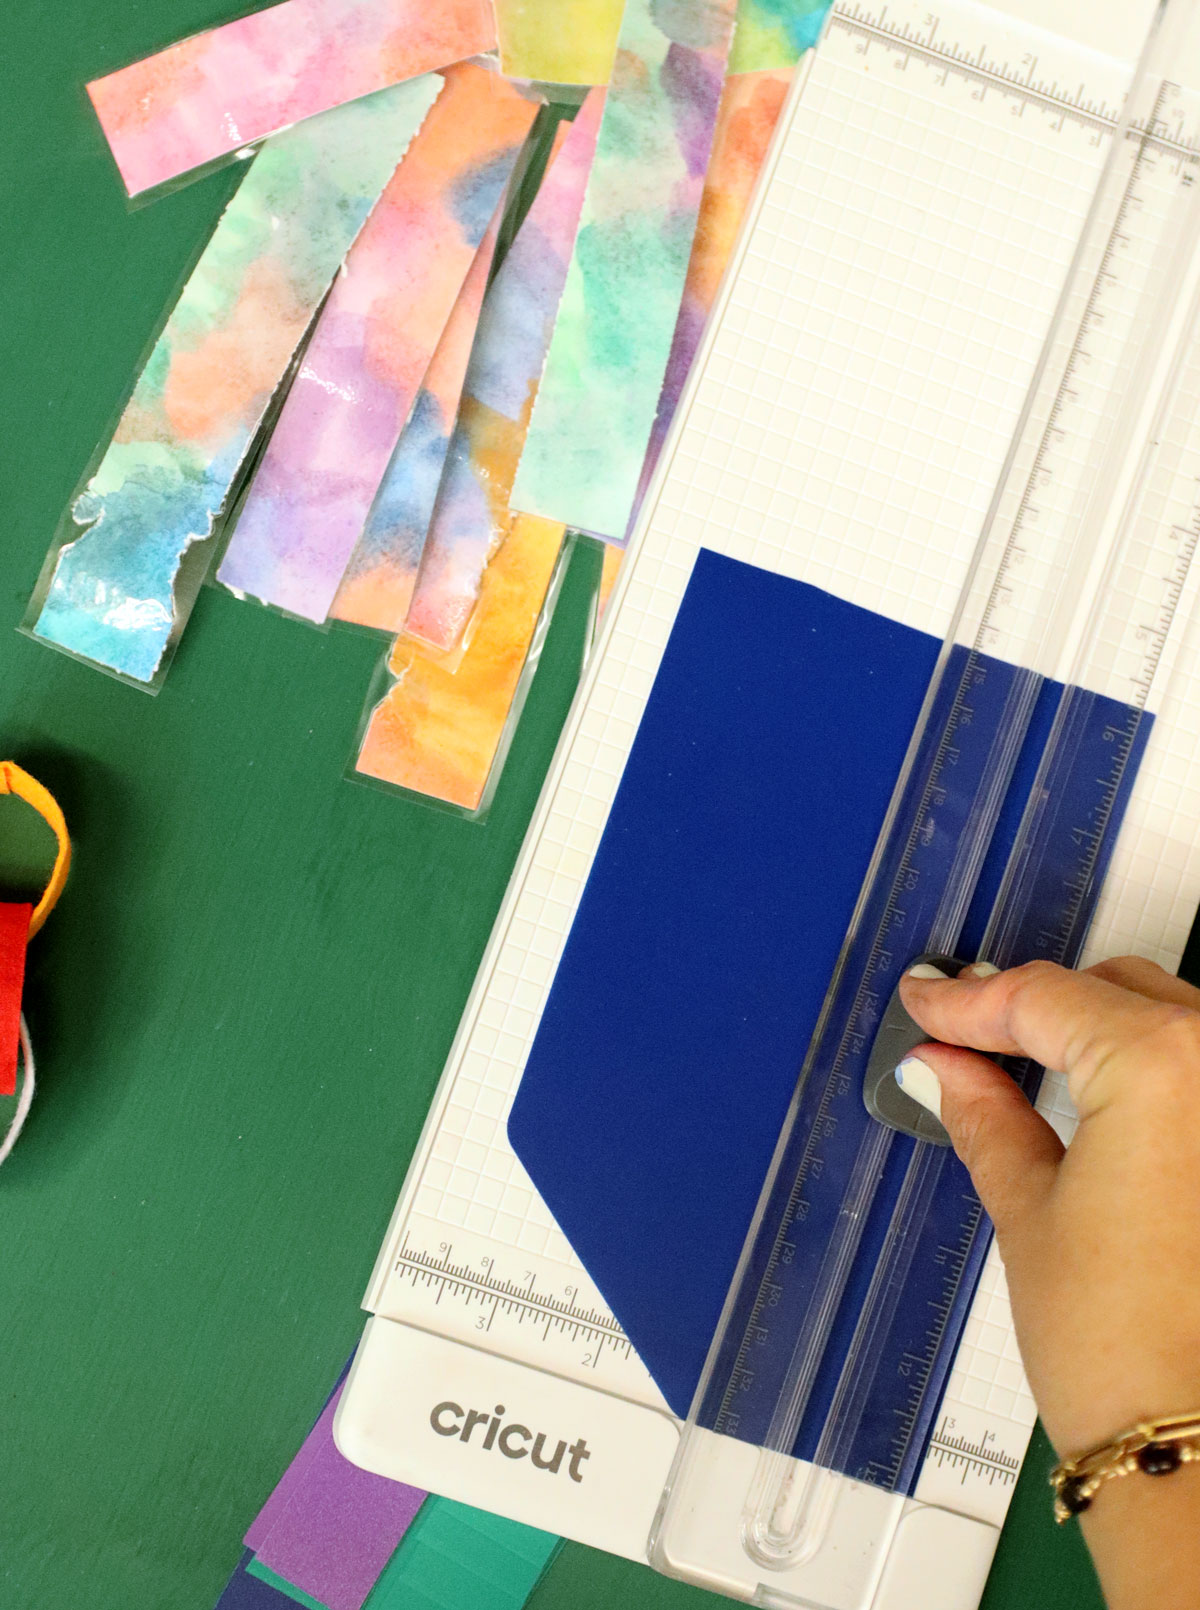
Cutting tools
I used scissors and a paper trimmer for most of these. If you have a guillotine trimmer (yes, it’s on my wishlist – such a basic but I still dont’ have it?) that can cut a stack it’ll be a huge time saver.
For felt, you want something fabric-friendly, such as a rotary cutter or fabric scissors.
Double-sided tape
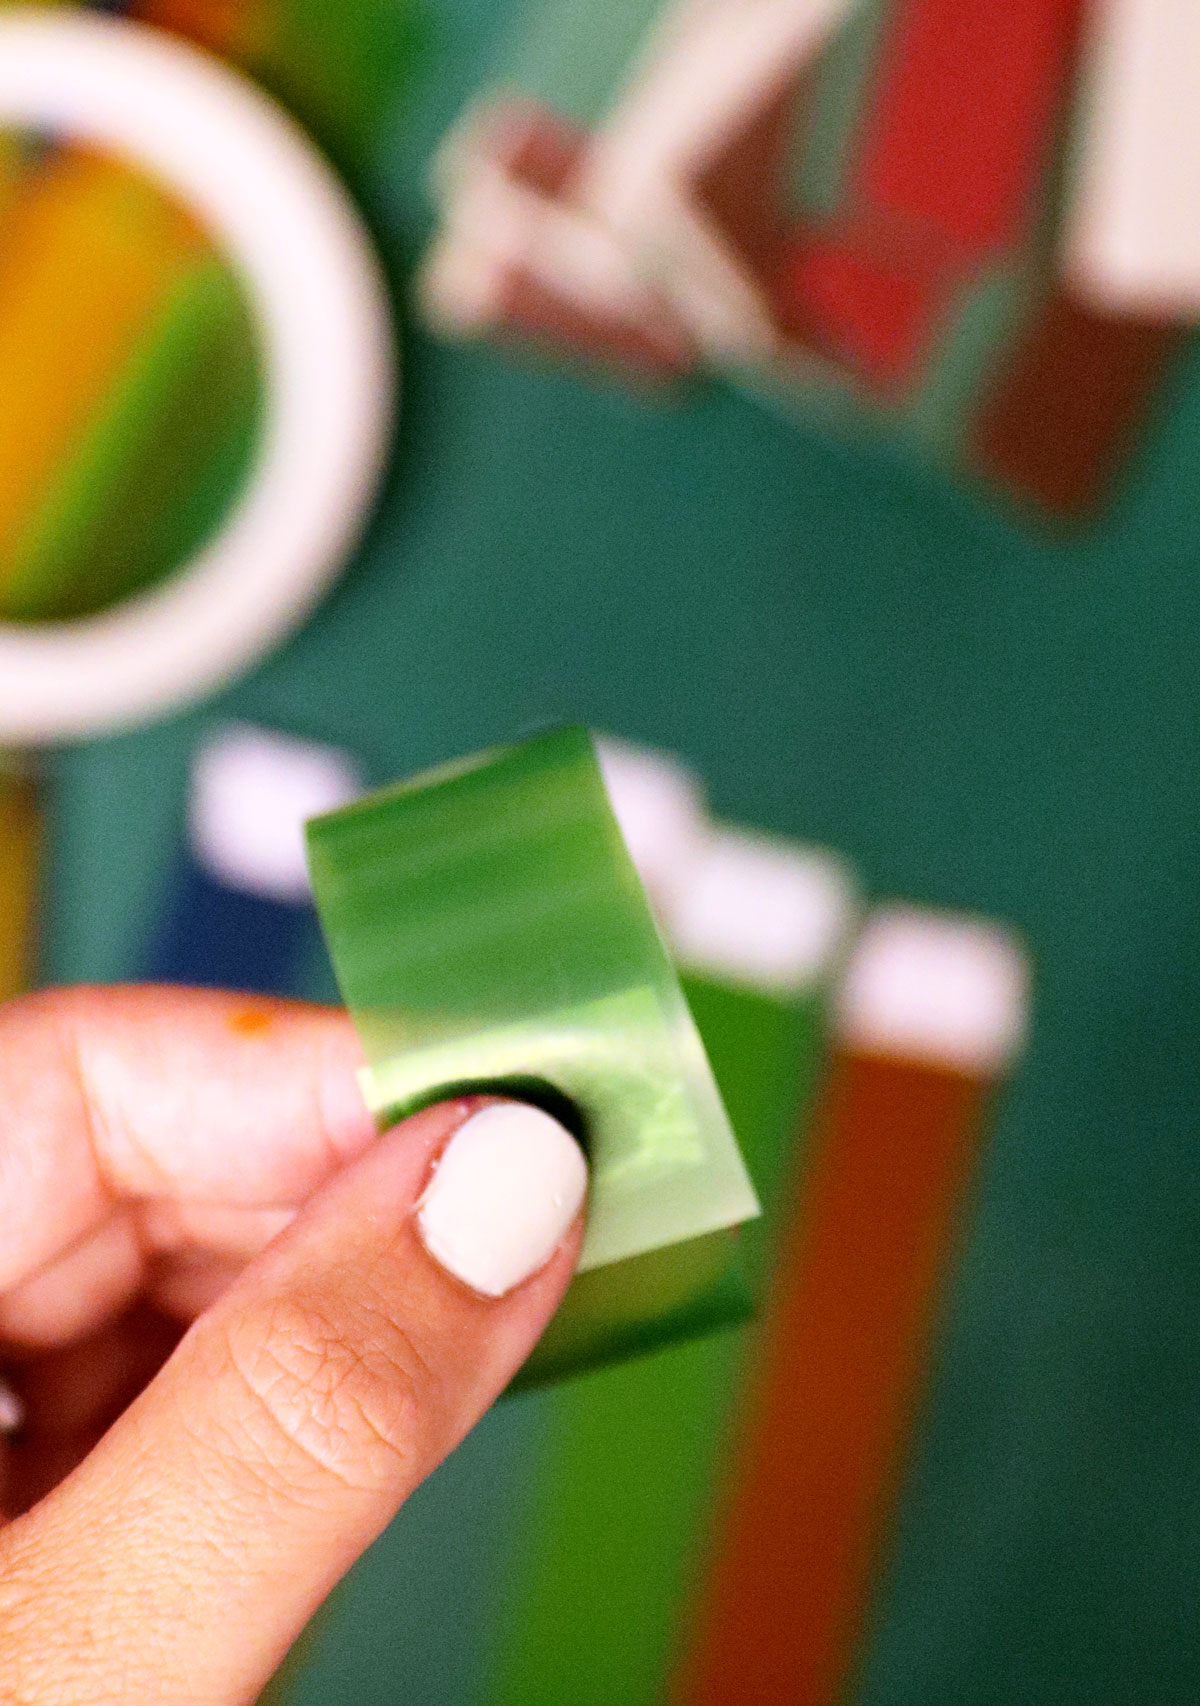
One of my favorite ways to do this is to use double sided tape. Prepare your strips with a piece of double sided tape at the end, but leave the backing on. Sit your kids down with the strips, and even your preschoolers can do it independently.
You’ll need to be mindful of which materials you are using it with. It works best with the most flexible and smoothest materials. I used it on the plastic dividers.
You also want a thicker tape, and for best durability, press down well so that water has a harder time getting underneath it.

Tape
Regular cellophane tape is not going to be your best choice, but it is an easy one for young kids. A little water seeping underneath can loosen the grip and cause rings to open.
You can use this if you mostly protect your Sukkah for the rain (but still want something that won’t become mush). It’s a pretty easy one for your grade-school age kids that are making this independently, which is why it’s on the list.
You can also go with a weatherproof packing tape.
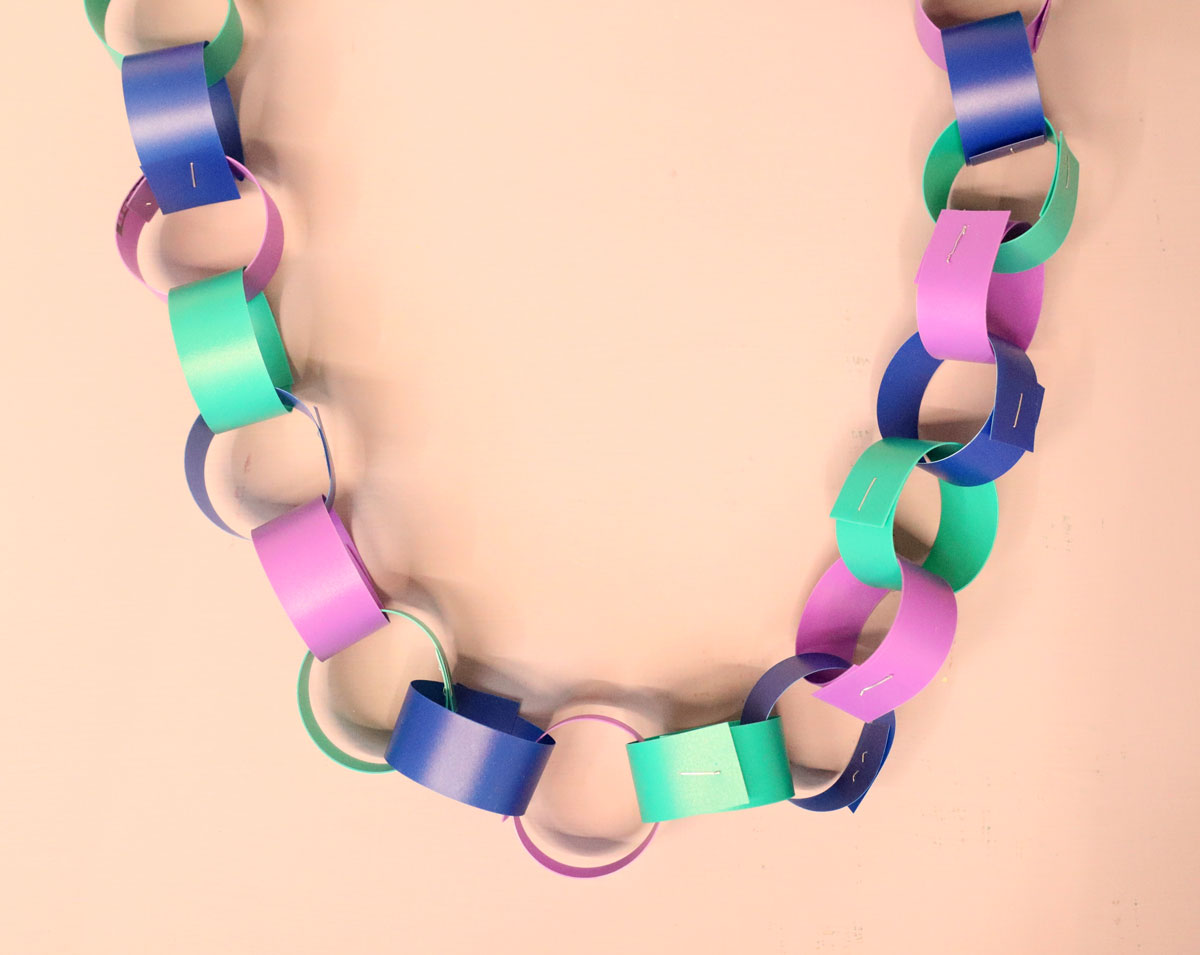
A stapler
While it’s not the most kid-friendly – or the most polished – option, a stapler is one of the most secure ways to connect paper chains. You’re better off with a full-sized stapler, not the mini one I’m using.
You’ll also have the pieces sticking up a bit – the ideal way to do this is to leave the overlap fitting the staple perfectly, and put a staple on each side (right/left) close to the edge.
Glue
Glue is not really a good way to connect your Sukkot paper chain rings. It doesn’t work for most plastics and even tacky glue is not usually water-resistant.
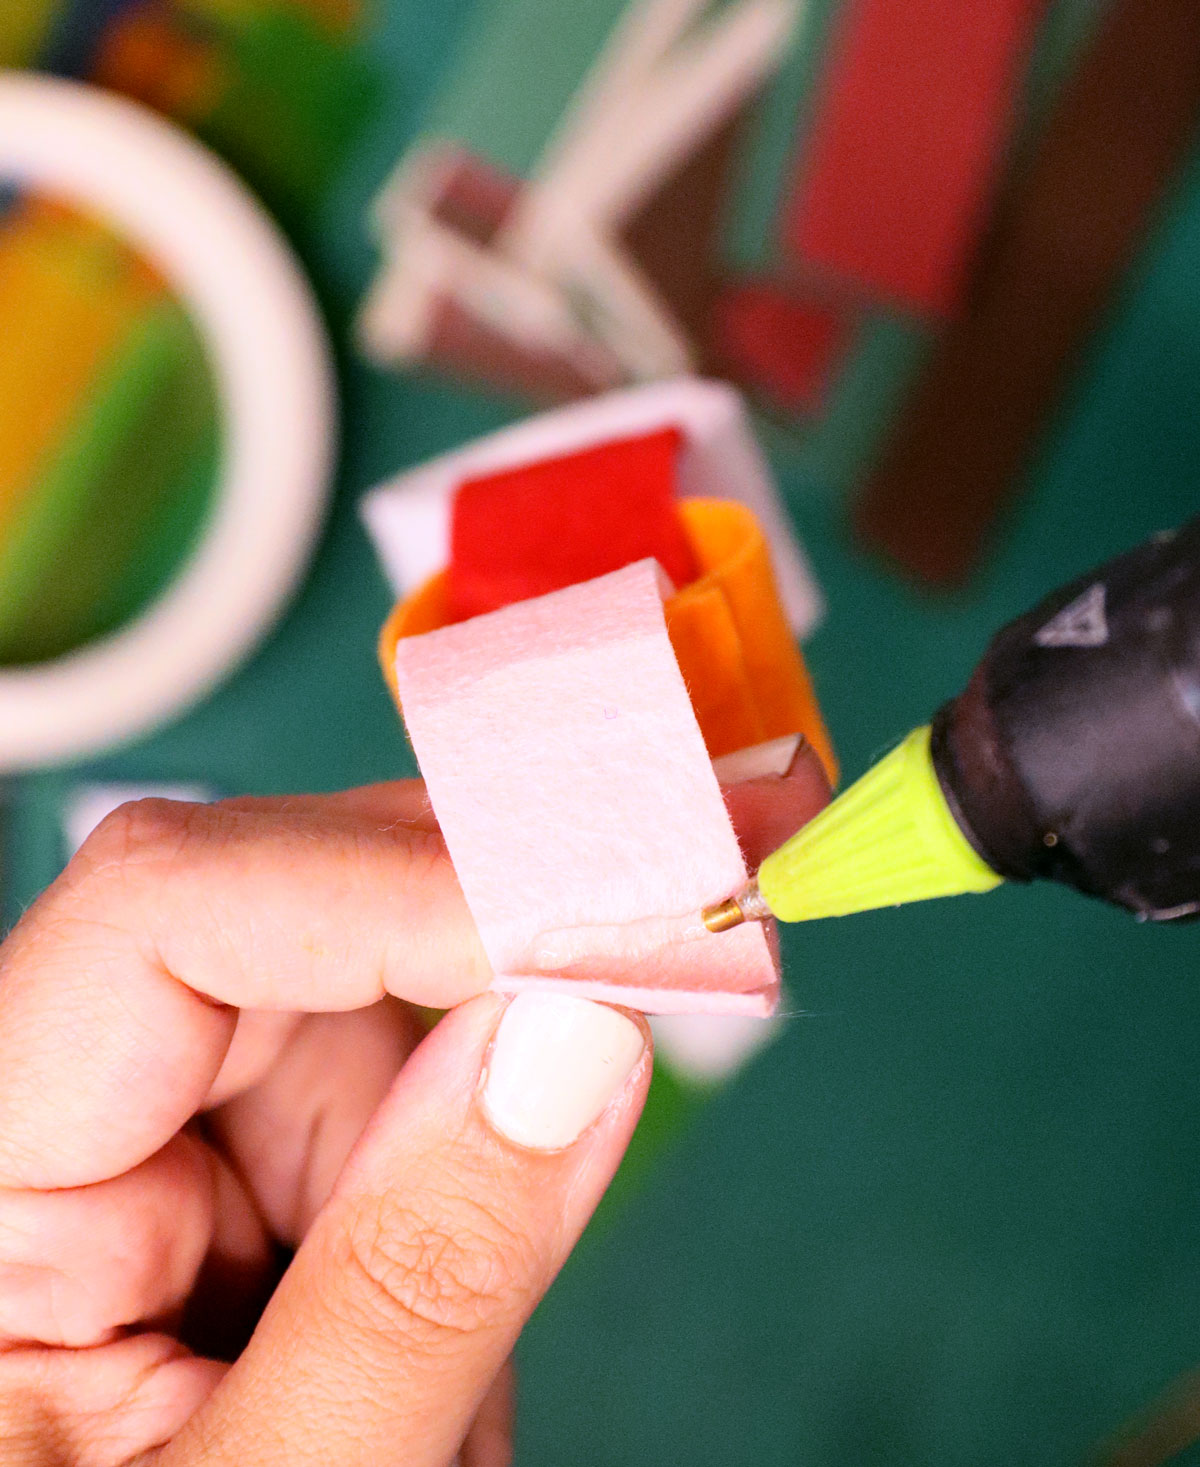
What DOES work quite well for porous surfaces is a hot glue gun. But of course, this turns it into a grown-up craft.
More tips for making Sukkot paper chains
Crafting it with younger kids
When making something like Sukkot paper chains with younger kids, I find that focusing on the process rather than the result is best. But you still want to balance that with… not turning the Sukkah to mush!
My favorite way to do this is to prepare the plastic dividers for them (although kids who really like to cut can be shown how to cut the strips). An adult should then prepare a bit of double sided tape with the backing at the end and they can then use it like a sticker.
Older siblings can also do it with younger siblings, each one taking on an age-appropriate role.
I’d recommend avoiding harder to stick materials like felt or foam with younger kids – they’ll just get frustrated.
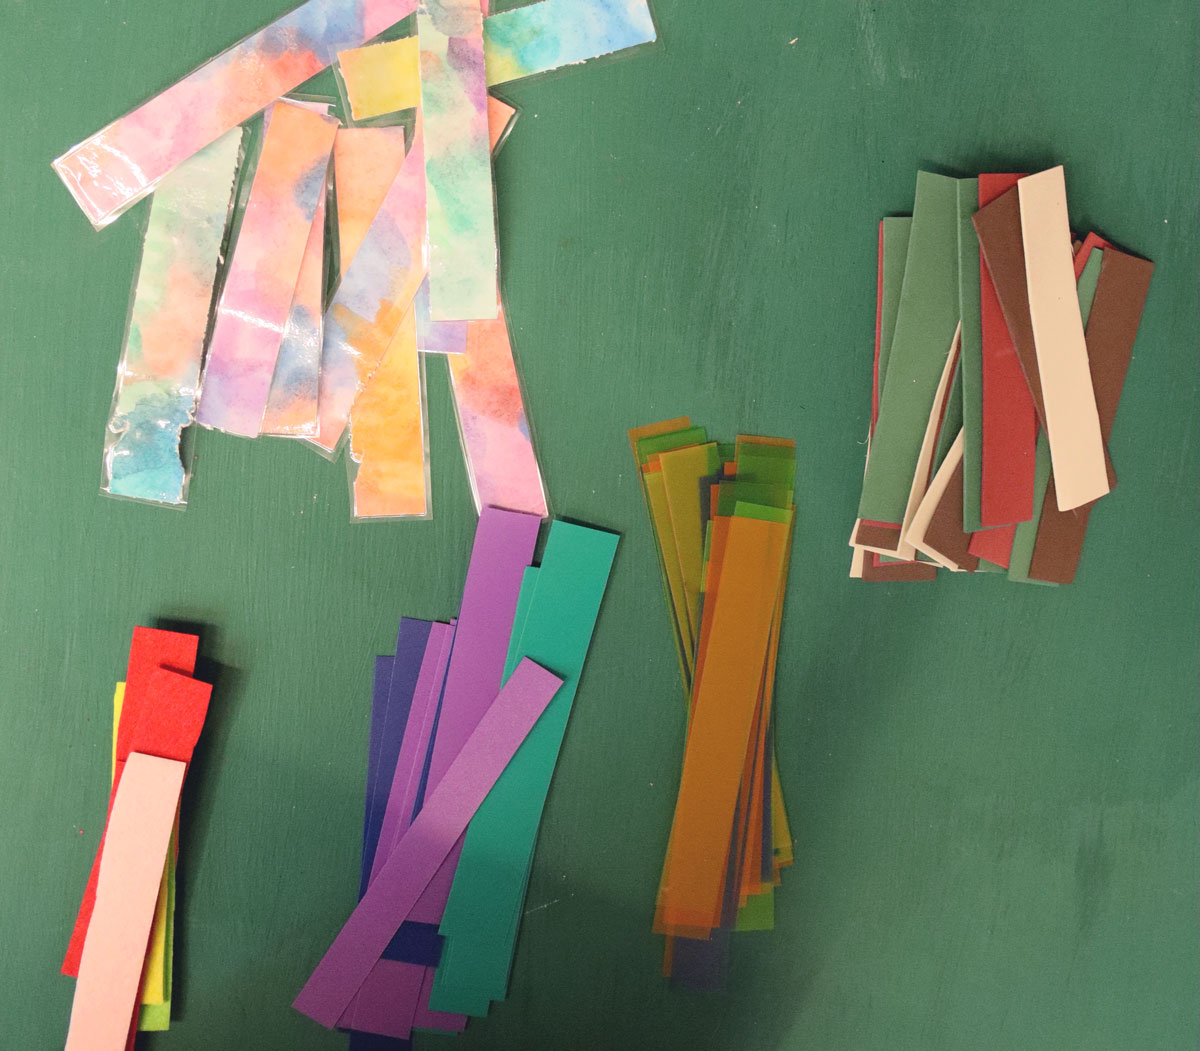
Chain strip width and length
The size you cut your chain strips will really impact the drape. I did one inch wide by six inches for most of them but you can totally switch this up.
Try longer strips for larger loops, but don’t make it wider unless you’re also making it longer, or it won’t hang nicely!
Hanging your paper chains in the Sukkah
I like to hang my chains not only on the ceiling but also against the walls! Stick to a color scheme and layer and criss-cross them for a beautifull look. Try hanging a small one high up in the doorway for a sweet little touch.
How to make Sukkot Paper Chains
You’ll need
- Water-friendly materials such as:
- Plastic dividers and folders
- Acetate sheets
- Laminated paper or artwork
- Acrylic felt
- Foam sheets
- Scissors, rotary cutter, or paper trimmer – depending on your material
- Adhesive: hot glue gun (adults), stapler (adults), double sided tape or other water-resistant tape
- Ruler
Watch the Video
Watch the full-length video on YouTube if you prefer to learn that way! Or scroll down for written instructions with photos.
Step by Step
1. Measure out your strips and mark them. Mine are about 1×6 inches for most. That’s a good middle zone but for larger loop chains try 1.5×8 inches too.
2 Cut them to size using your preferred method.
If using laminated artwork, first cut it, then laminate it, then cut it again so you don’t have open edges.
3. If using double sided tape, you can first adhere it to all your strips on one side and hand it to a kid to finish as if it’s a sticker!
4. Form your first loop. connect one side of the chain to the other to form a circle.
5. Thread the second strip in the first one.
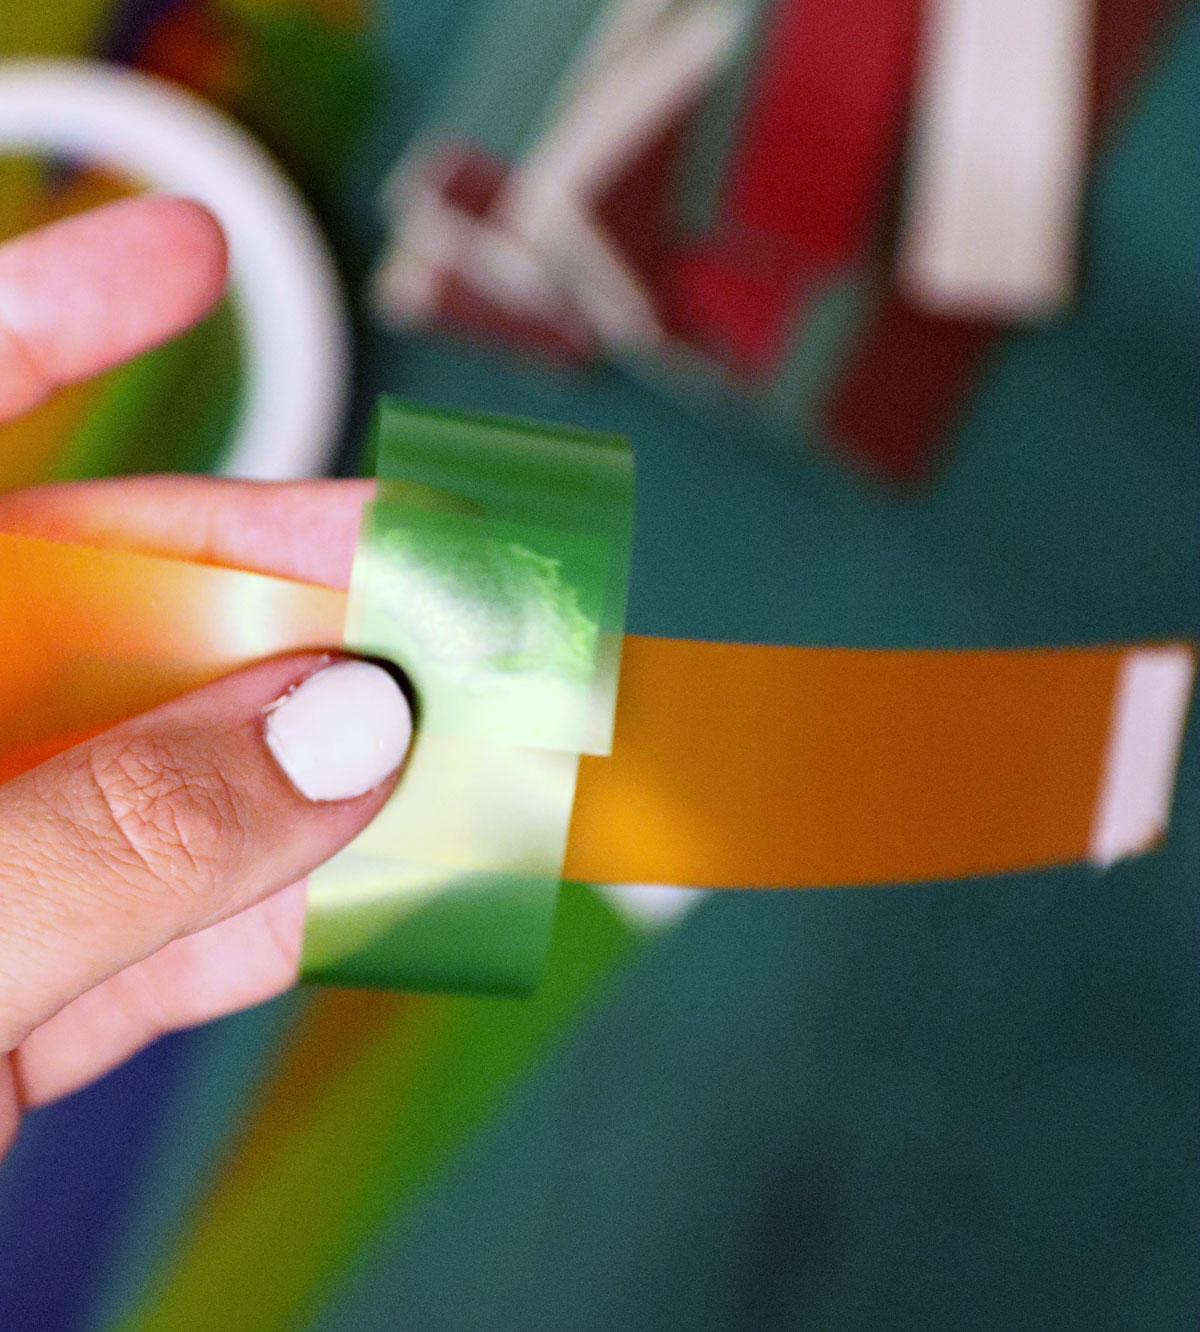
6. And close it!
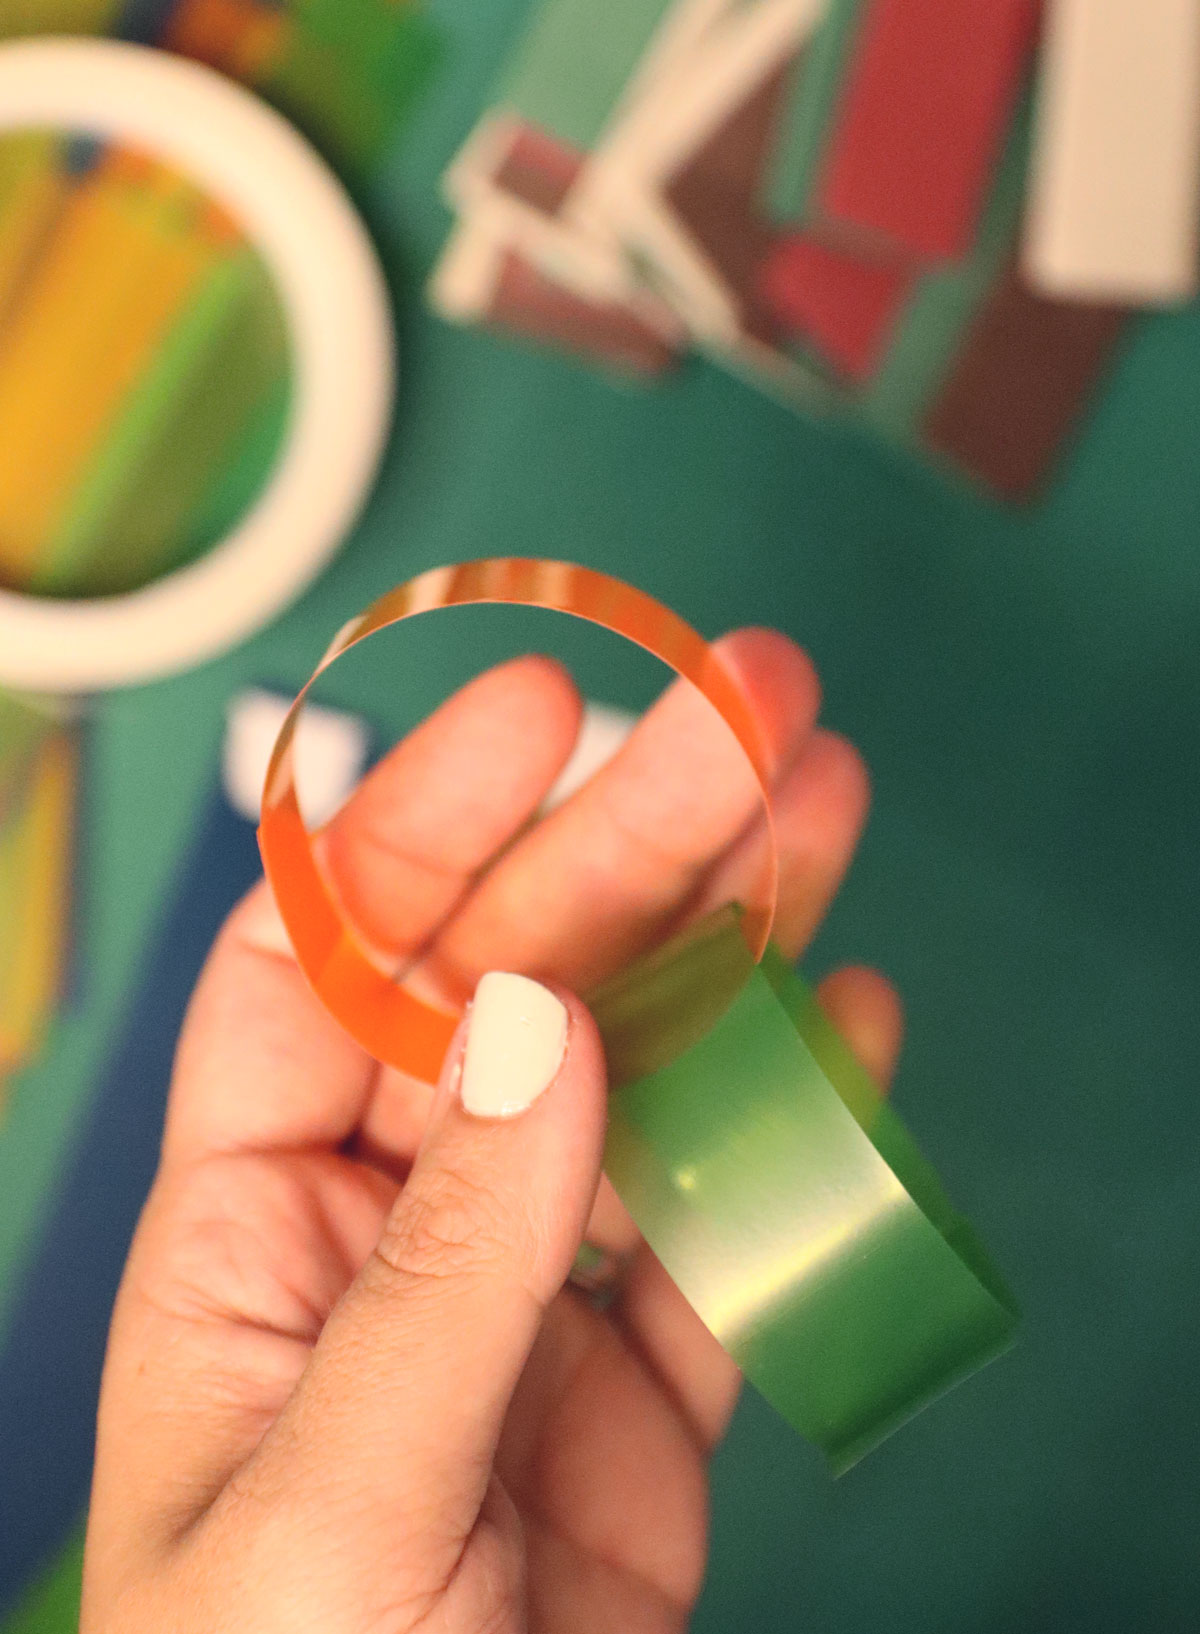
Continue this process until your Sukkot paper chains are the size you want them to be!