DIY Clay Mezuzah Craft for Adults
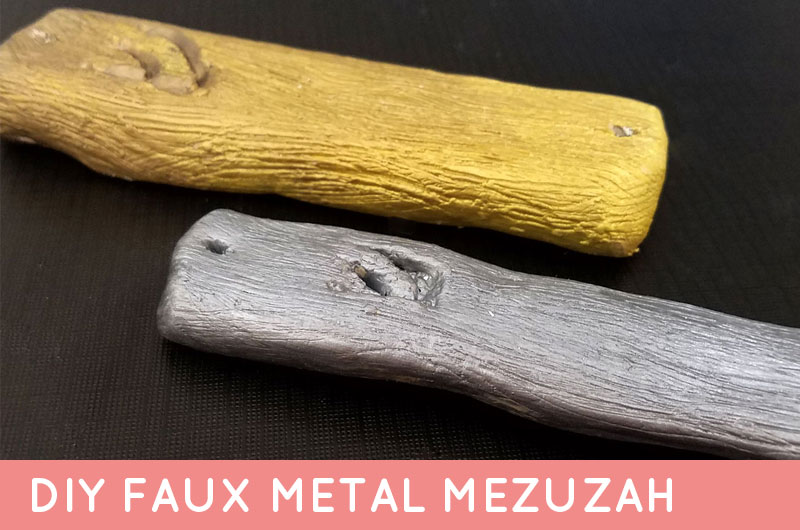
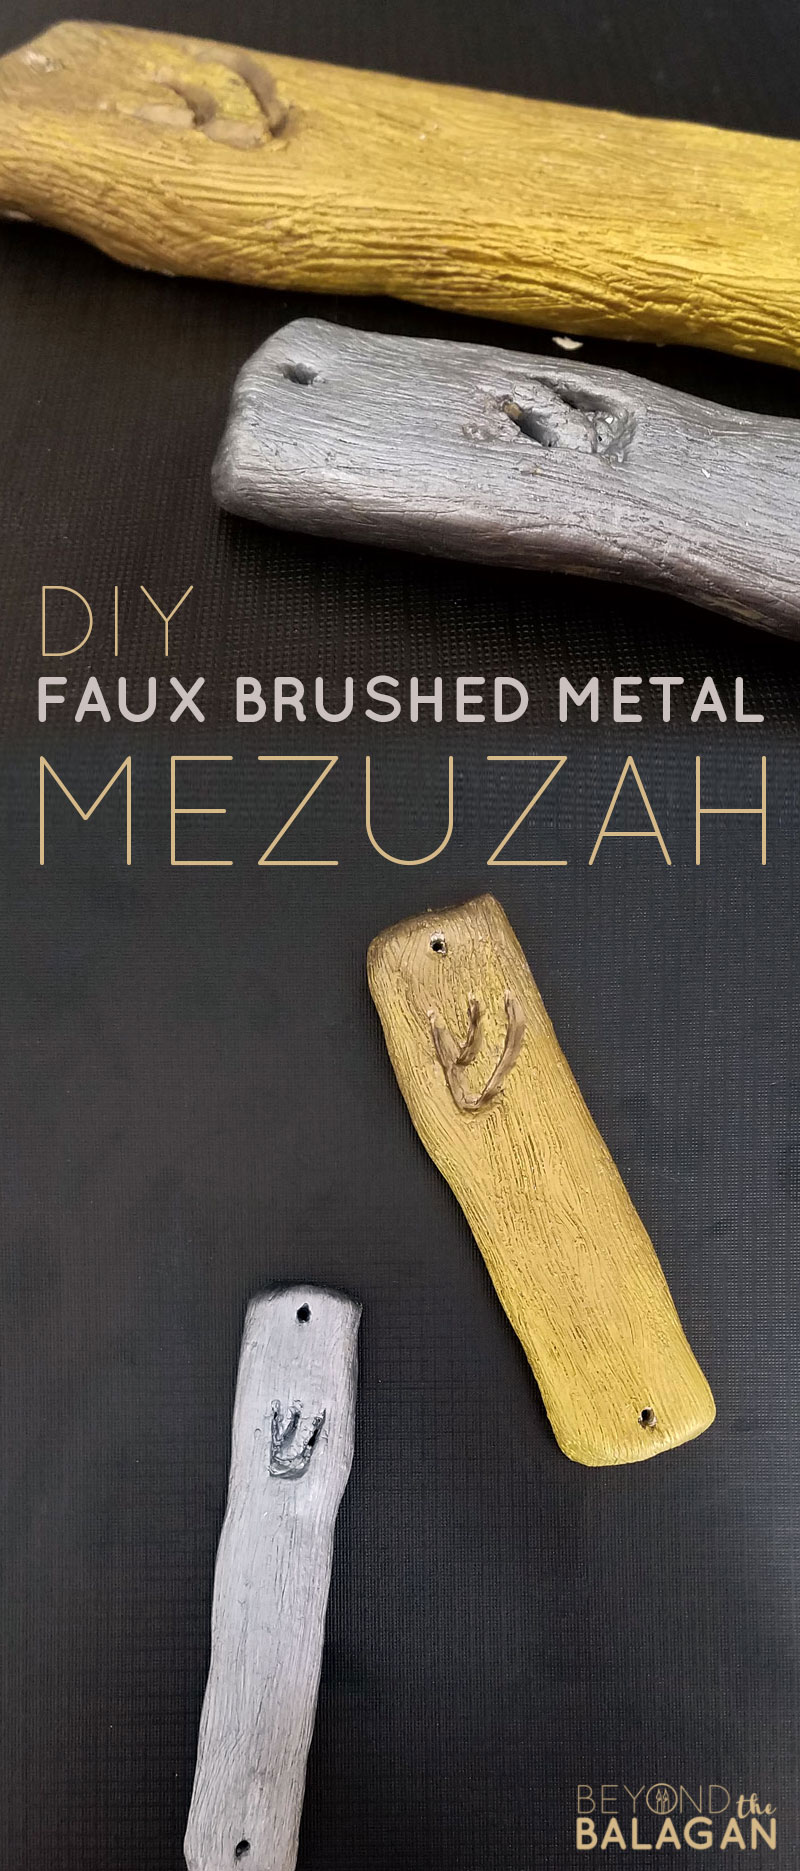
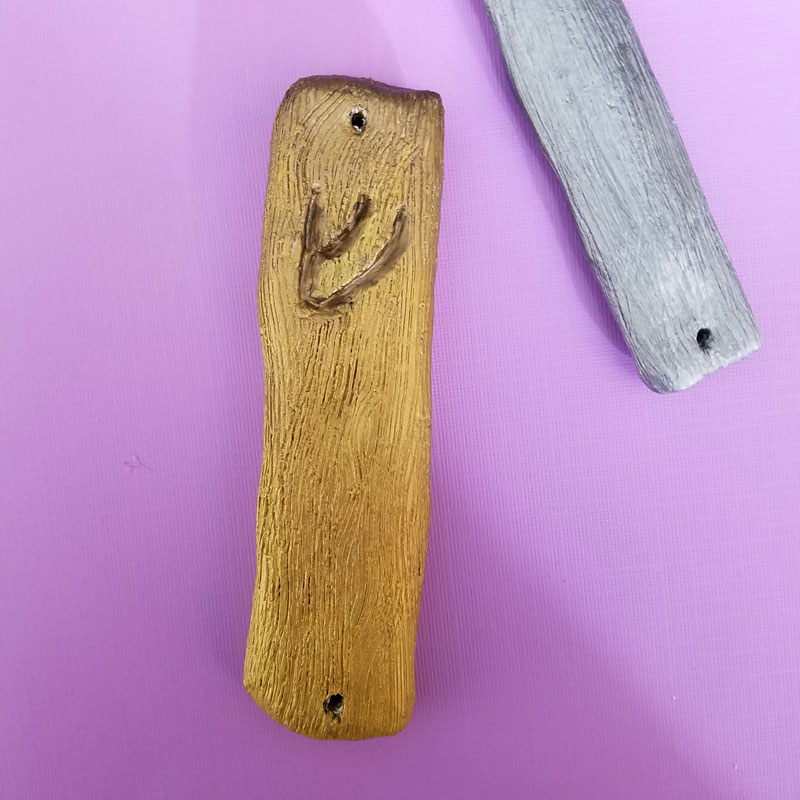
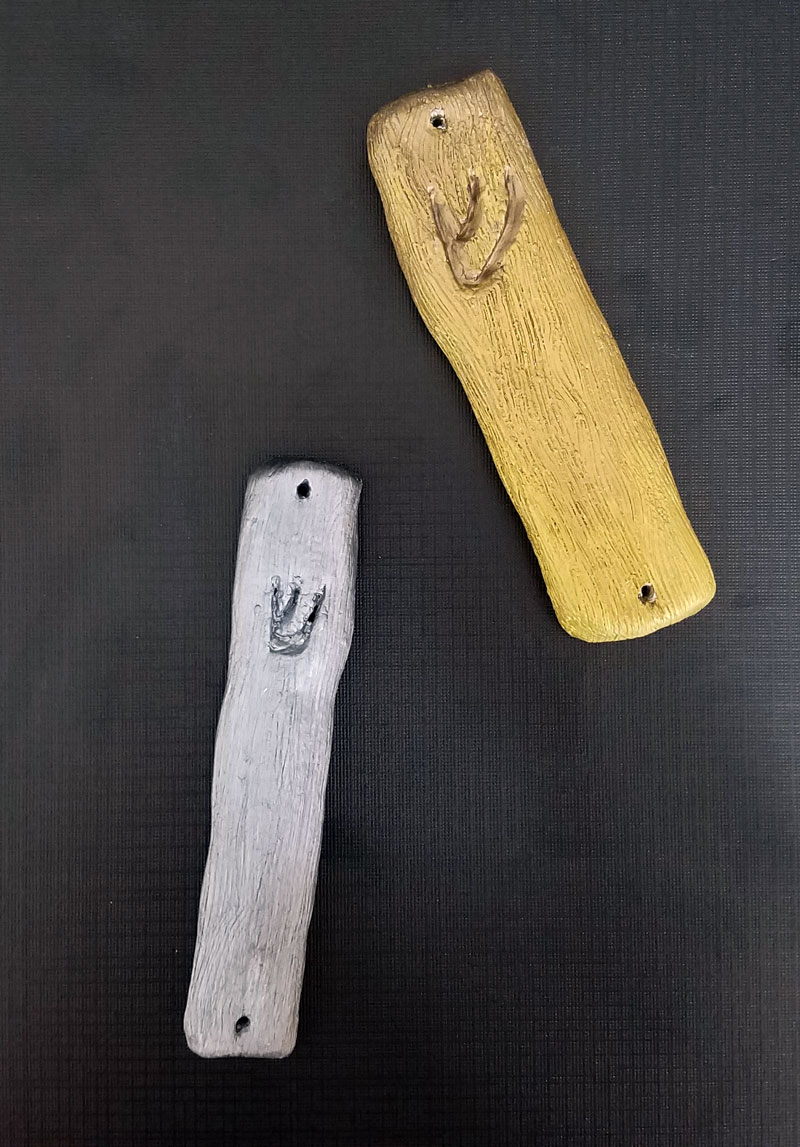
Last week I shared with you a cool clay mezuzah craft for kids – and I promised you a grown-up version. Well, here you go! The brushed metal finish on this DIY clay mezuzah craft for adults makes it look sooo sophisticated and modern. And it’s really not that complicated! Disclosure: this post contains affiliate links.
Last week, I shared with you that I tried making these clay mezuzahs a few ways.
I wanted it to be totally doable for kids, but if grown-ups can make it better, why not try?
I used a set of basic clay carving tools that made all the difference. I used them on the moist clay but some of the carving can be done on semi-dry clay too. At that point, the clay is very brittle, so you’d need to be extra careful.
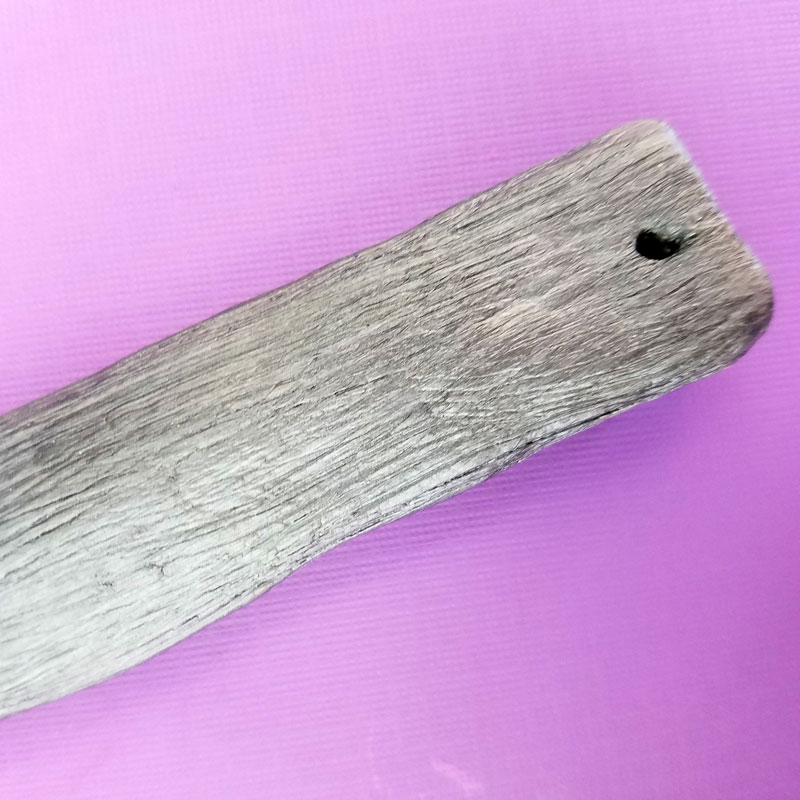
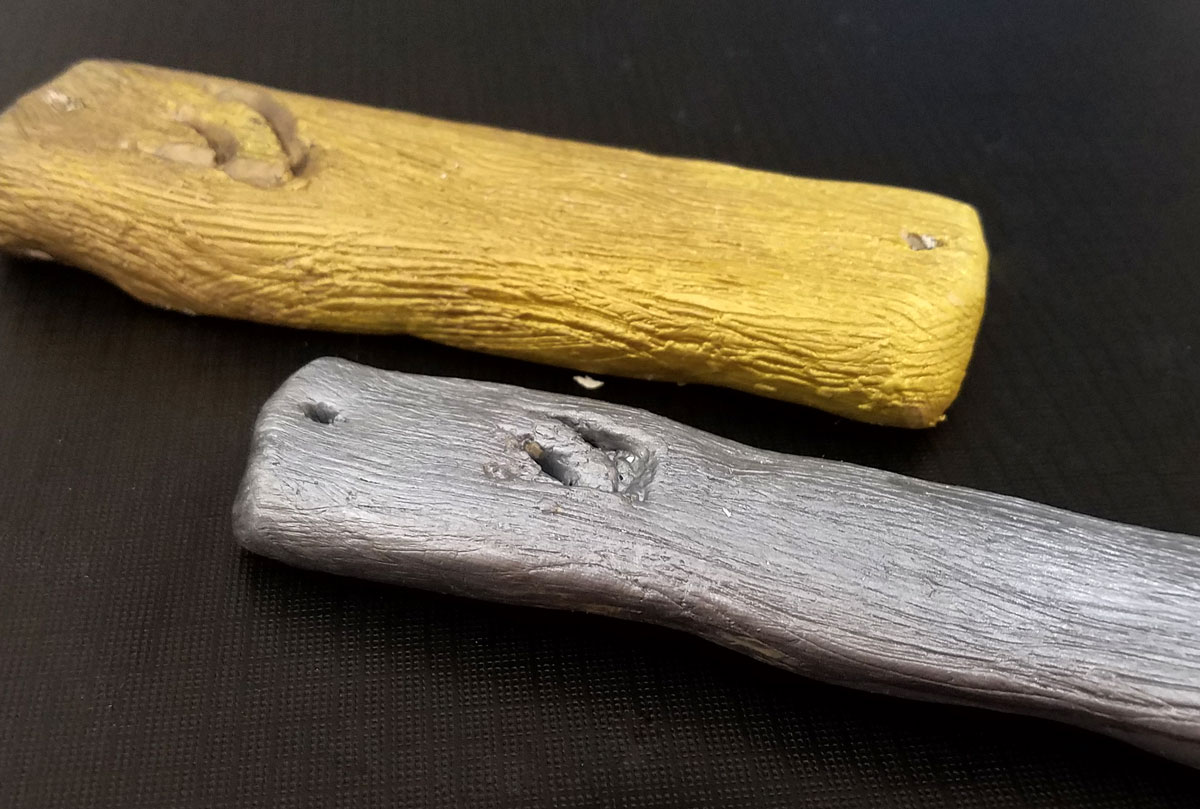
To get the brushed metal finish, I combed some strokes in using the metal brush from the kit. I also used “brushed metal” paints. With the brushed clay, I’m not positive you need a brushed metal paint – metallic paints might be enough (but I can’t guarantee it).
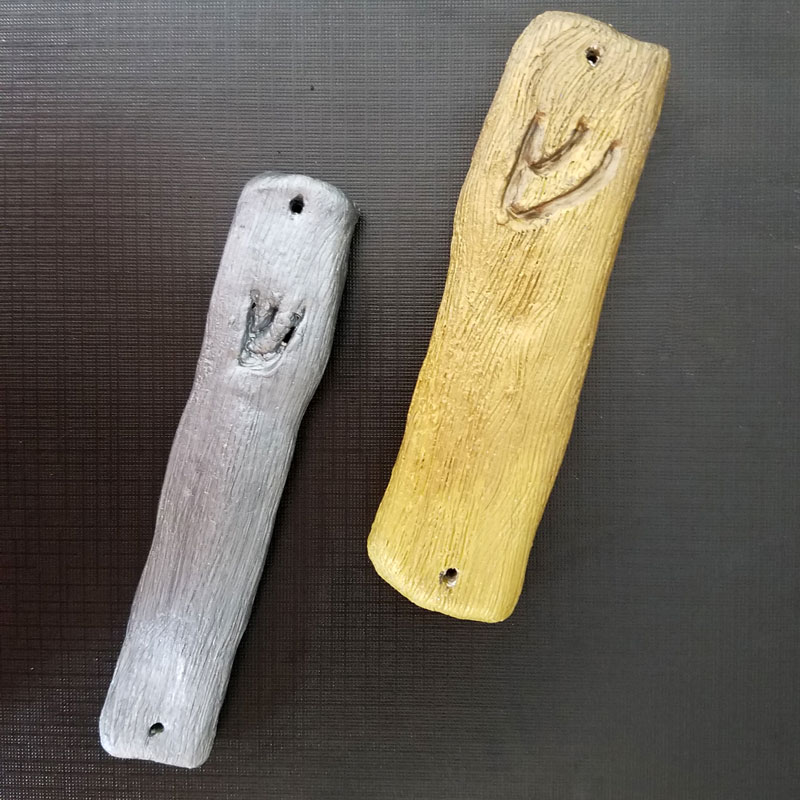
I also used varying tones of the same color to get a more natural feel on the DIY clay mezuzah, but I’m not positive it even shows in the final result, so you can definitely try without.
The bottom line is: this DIY clay mezuzah craft looks like the real deal, and is perfect for giving as a gift! Yes, it’s that polished!
Give it as a housewarming or hostess gift, or even for a wedding! It’s really inexpensive to make (especially the per-piece rate if you make a few) and the final result looks like it could have been purchased in an art Judaica store in Jerusalem.
One of my favorite features in a craft is keeping it easy to replicate – even for people who aren’t artists. This DIY clay mezuzah tutorial uses simple enough steps to follow and looks like a million dollars when you’re done.
What you need to make a DIY clay mezuzah:
- Clay – I used Crayola Air Dry
- Clay carving tools – this basic set is perfect
- Brushed metal paints – if you don’t have these, you can give plain metallics a try
- Paintbrush – I recommend something with coarse hairs to emphasize the texture, plus a fine-tipped brush
[show_boutique_widget id=”636951″]
How to make a DIY clay mezuzah:
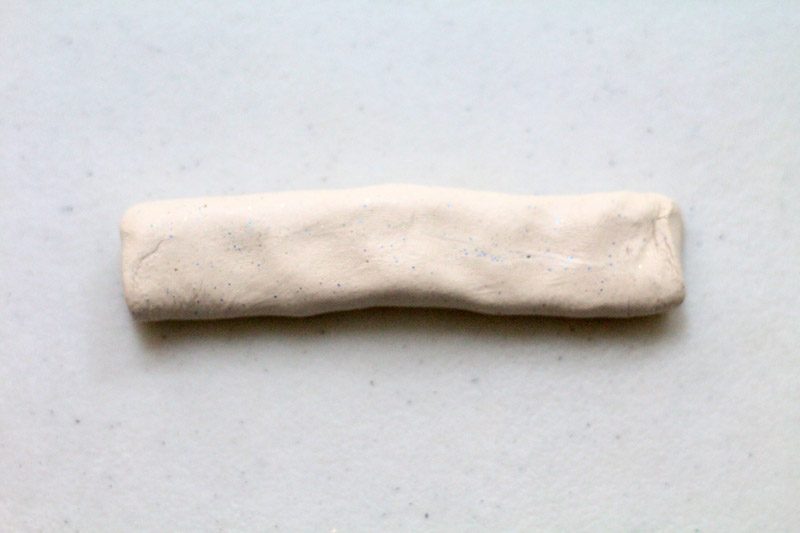
1. Roll out a flat-ish snake. Flatten your ends. Basically, make it the shape you’d like your mezuzah to be.
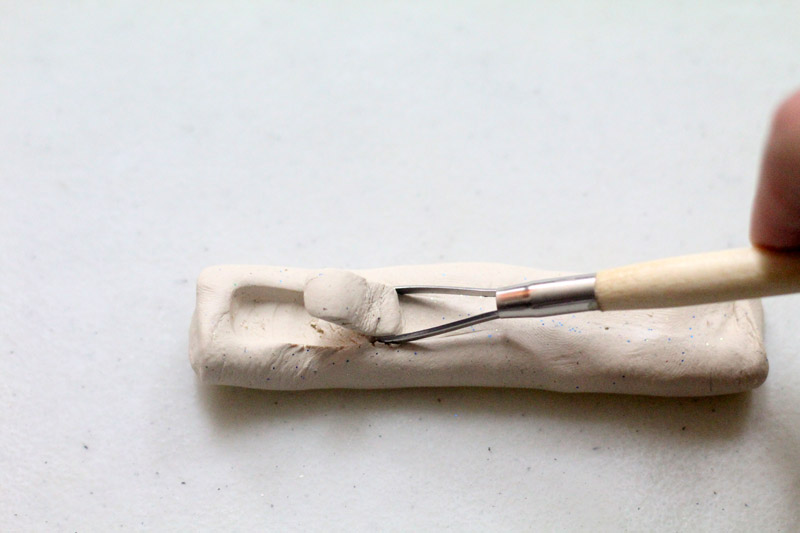
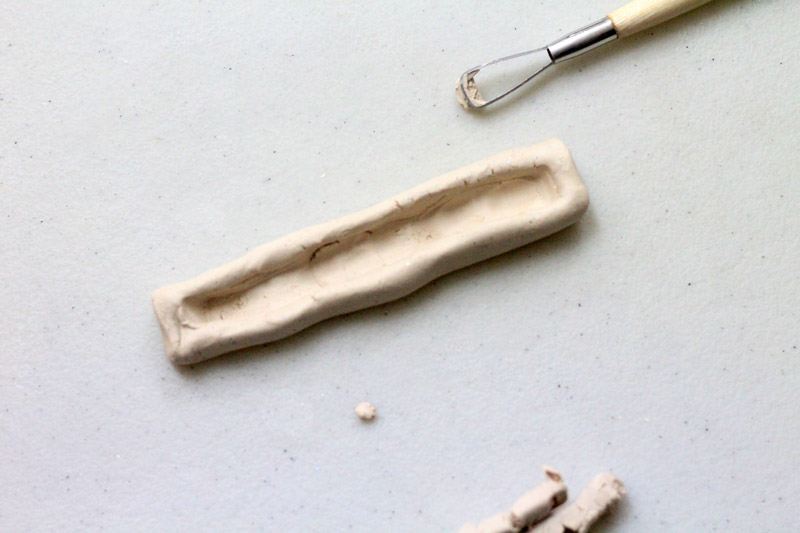
2. On the back, use the tool pictured below to slowly carve out a notch for your mezuzah. Tip: Make sure you’re making everything the right size to replace the mezuzahs you have! I made mine too small by mistake and now mine are being displayed in my bookcase instead of where they belong.
3. If you’d like you can use your fingers to tweak the shape. Using a clay tool is still helpful for removing the clay from the center and keeping the shape that you like.
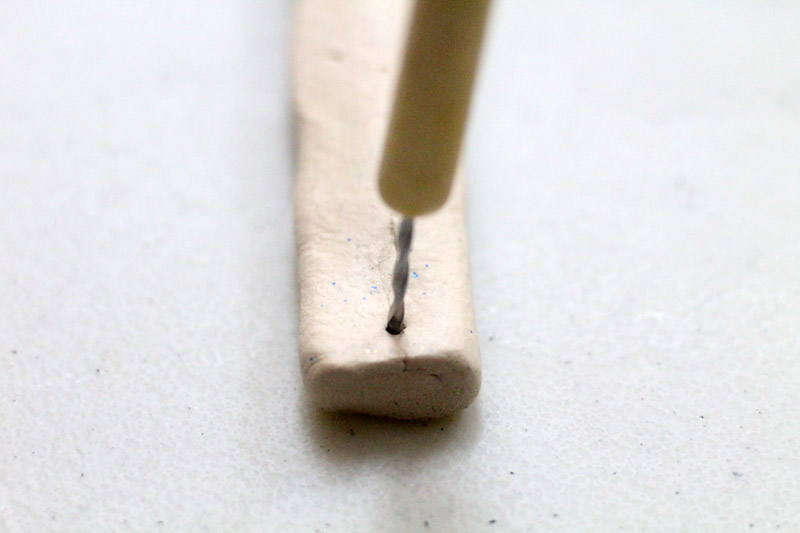
4. Poke holes in the top and bottom. Err on the side of “too big” rather than too narrow, since that’ll make it easier to hang.
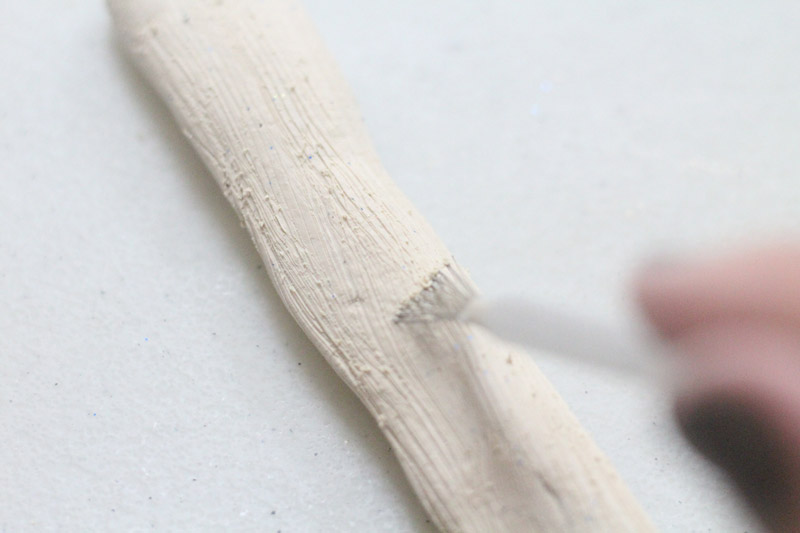
5. Use the tool that looks like a metal paintbrush to carve brushstrokes. Don’t try to go too straight -that won’t look natural. Just go downward, along the front and sides, and let your brush move naturally. Then carve out a “shin” towards the top.
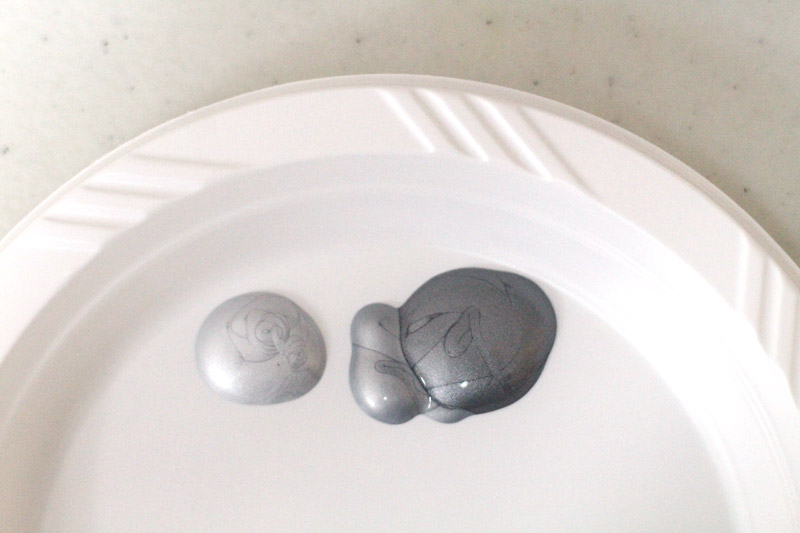
6. At this point, allow your DIY clay mezuzah to dry completely. Wipe off any “clay crumbs” that were formed when you added the brushed finish. If you’re trying to use different tones, spill a little bit of paint on a palette, otherwise you can use the paint straight from the bottle.
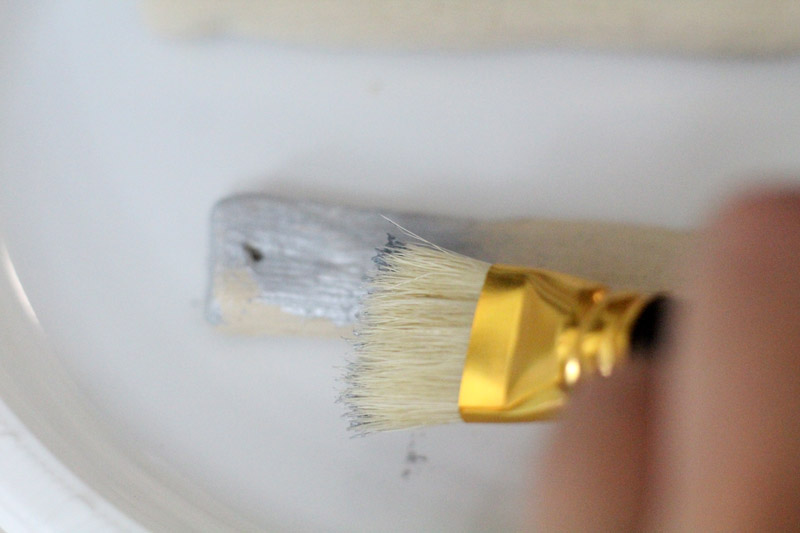
7. Brush on your paint going with the “grain” – here’s where having a coarse brush will help you get that texture to really show!
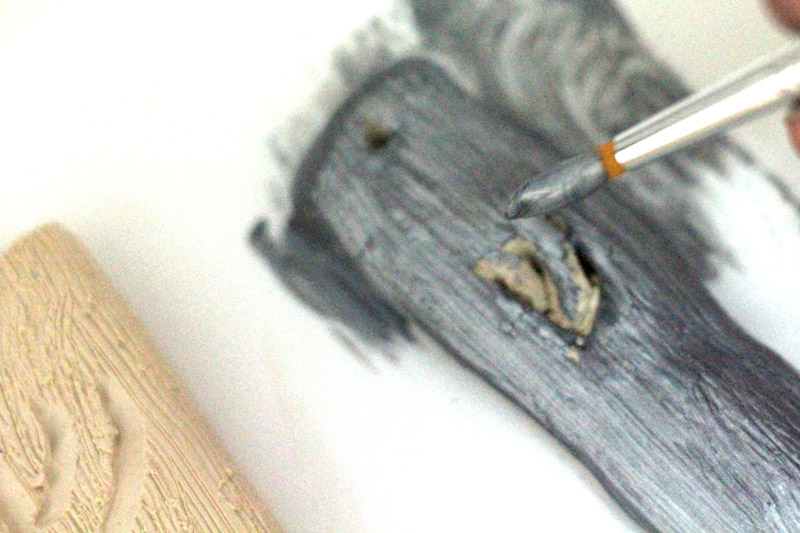
Use a finer brush to get into the cracks.
Allow your DIY clay mezuzah to dry completely before hanging. You’ll be so satisfied with the realistic look! It’s truly an easy Judaica craft that will make you happy with the result.
What will you be creating this DIY clay mezuzah for? Comment below!


I received a clay one as a gift – it has a soft velvet like interior – but came with no backing!
So my question is if you can use it without a back? If not, how do you make the back?
I came here to ask this same question! I’ve made a backing for mine out of a popsicle stick, but I’m not sure of the best way to adhere it to the clay, or make it waterproof. Thanks!
I’m sorry for the delayed response – I’ve been missing comments! You can make a back with anything flat -a strip of velvet fabric cut to size, glued on, left a bit open. As far as waterproof is concerned – I’m not sure how to do it without sealing it in permanently.
If this is used outside, what sort of finish would you use to protect it? Thanks for any info you can offer.
Hi Ginny, I’d try outdoor mod podge – a good two layers.