Clay Star Of David DIY
Learn how to make a clay Star of David without a dedicated cutter – and then turn it into fun jewelry! You can also check out this Star of David beading tutorial. This post contains affiliate links.
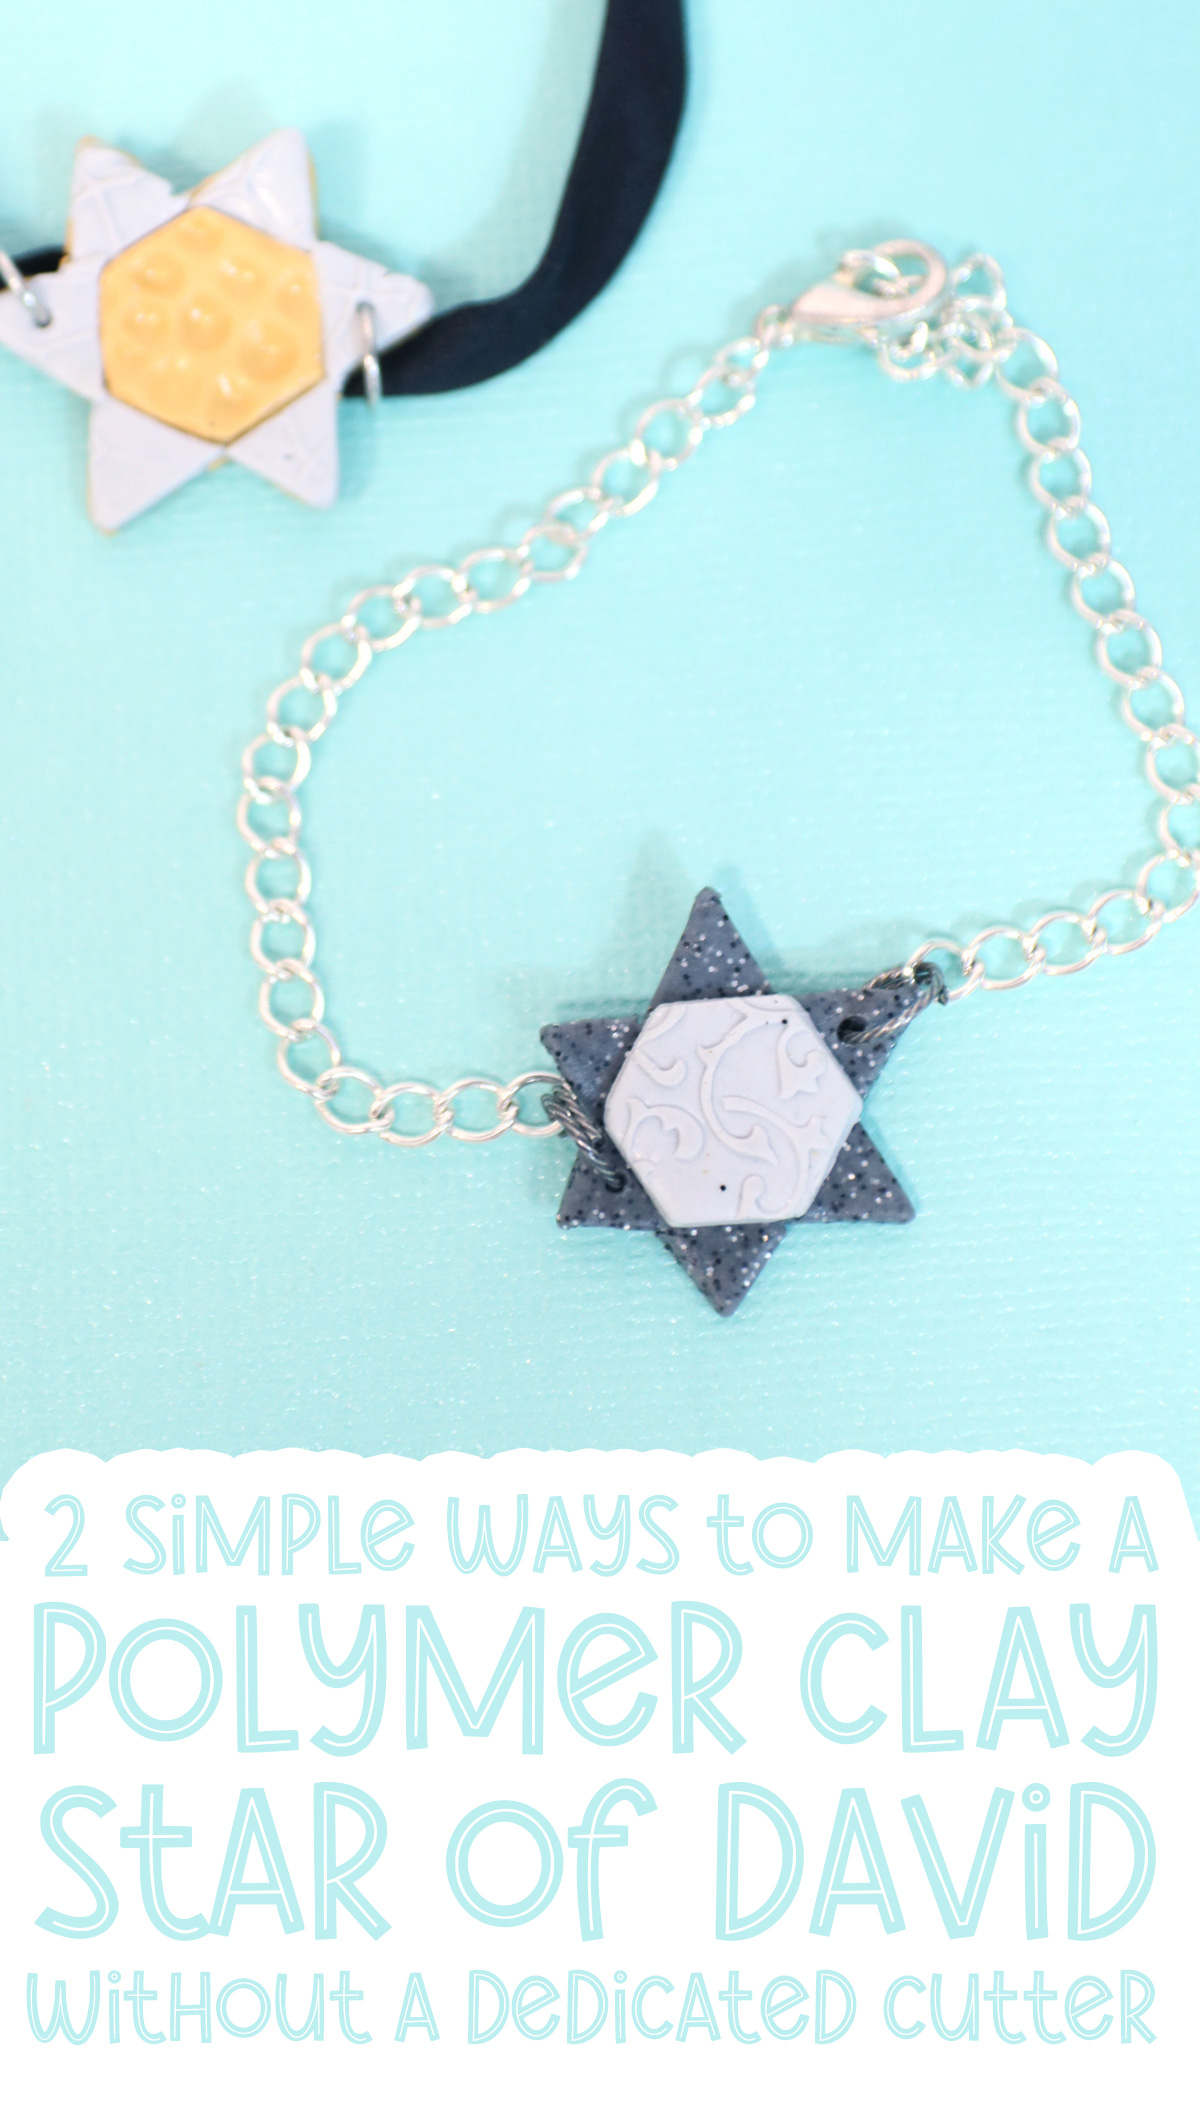
While it can be super easy to make a Star of David from polymer clay if you have a dedicated cutter to it, I wanted to share some ideas with a bit more personality, and that don’t require you to own such a specific cutter!
You will need other clay cutters. Primarily, you’ll need a hexagon, which is anyway a very versatile classic shape to own. For one of them, I also used a diamond cutter. A triangle would be a better option for this one, but I did not have one in the correct size.
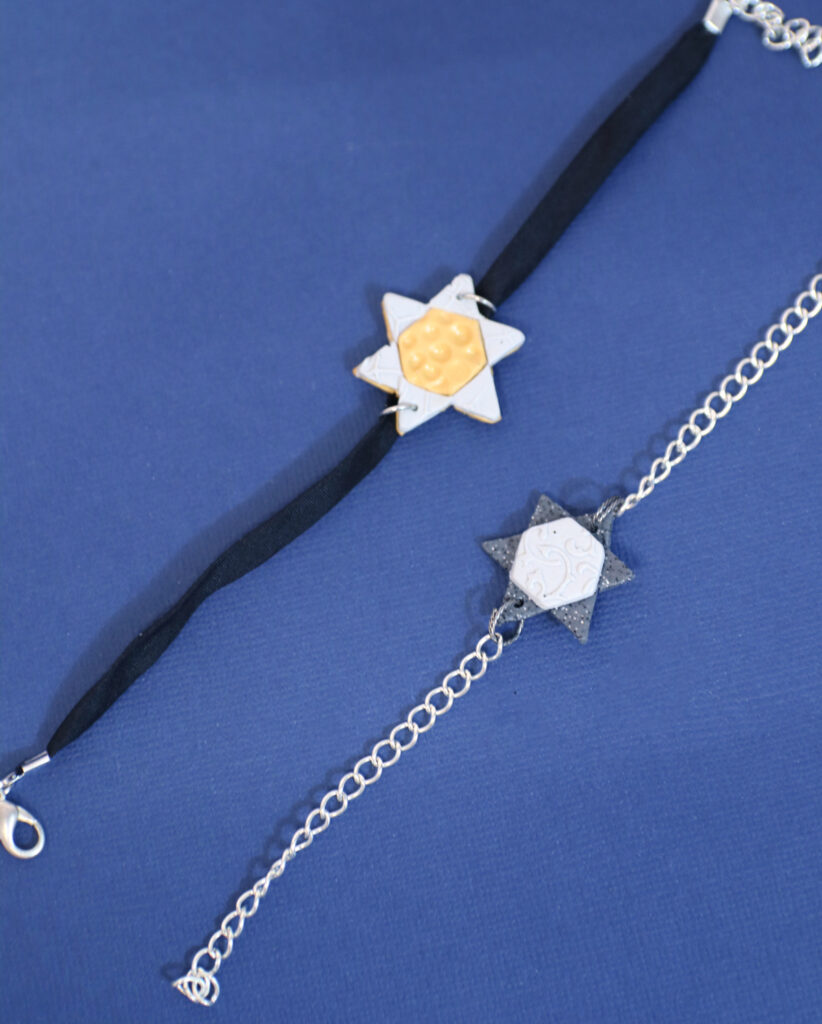
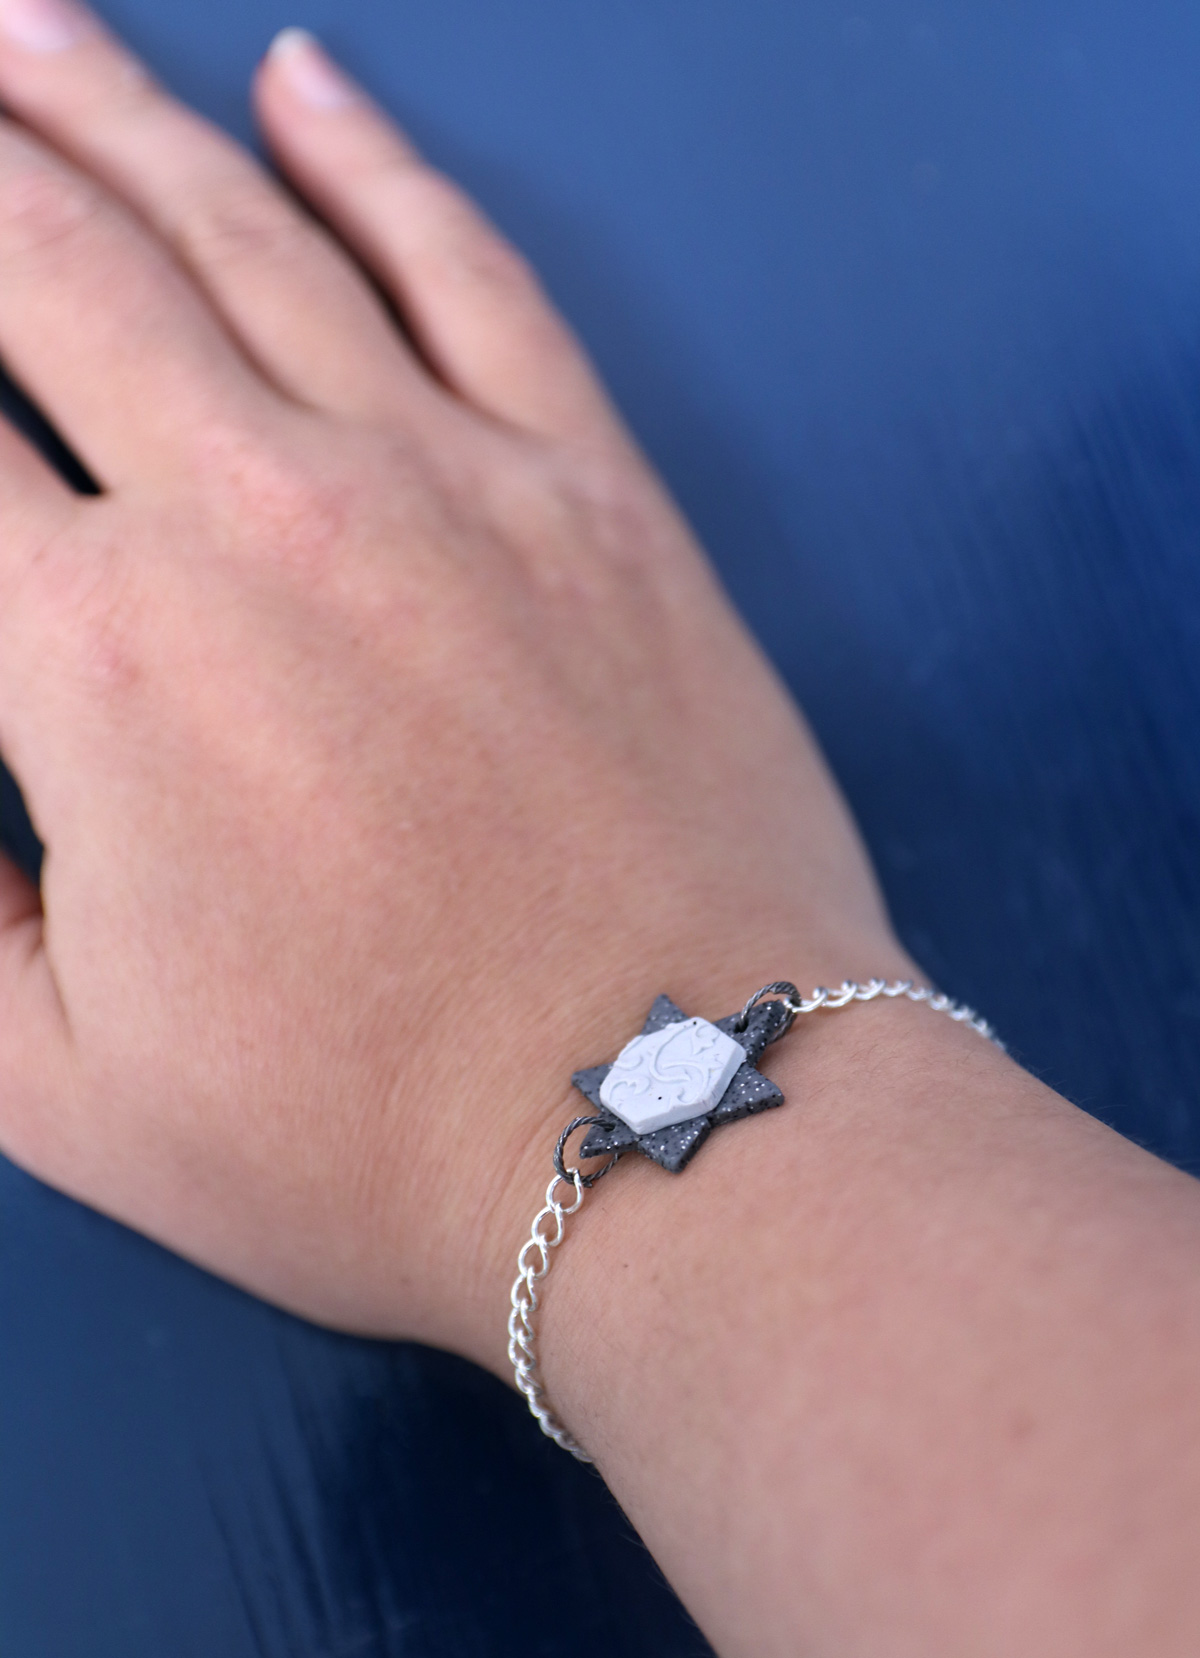
This clay star of David craft is actually fabulous for beginner clay crafting or jewelry making workshops. It doesn’t really require pre-existing skills to craft, as long as the instructor can understand the process clearly.
Behind my method for making a clay Star of David
A while ago, I made some DIY kippah clips using polymer clay. I was much newer at using clay then, and while I definitely have more clay knowledge now, I do need to give fair warning that I am still not a pro. However, I am a creative and happy to share my ideas. I do recommend that if you want to create with polymer clay on a professional level, that you learn the basics.
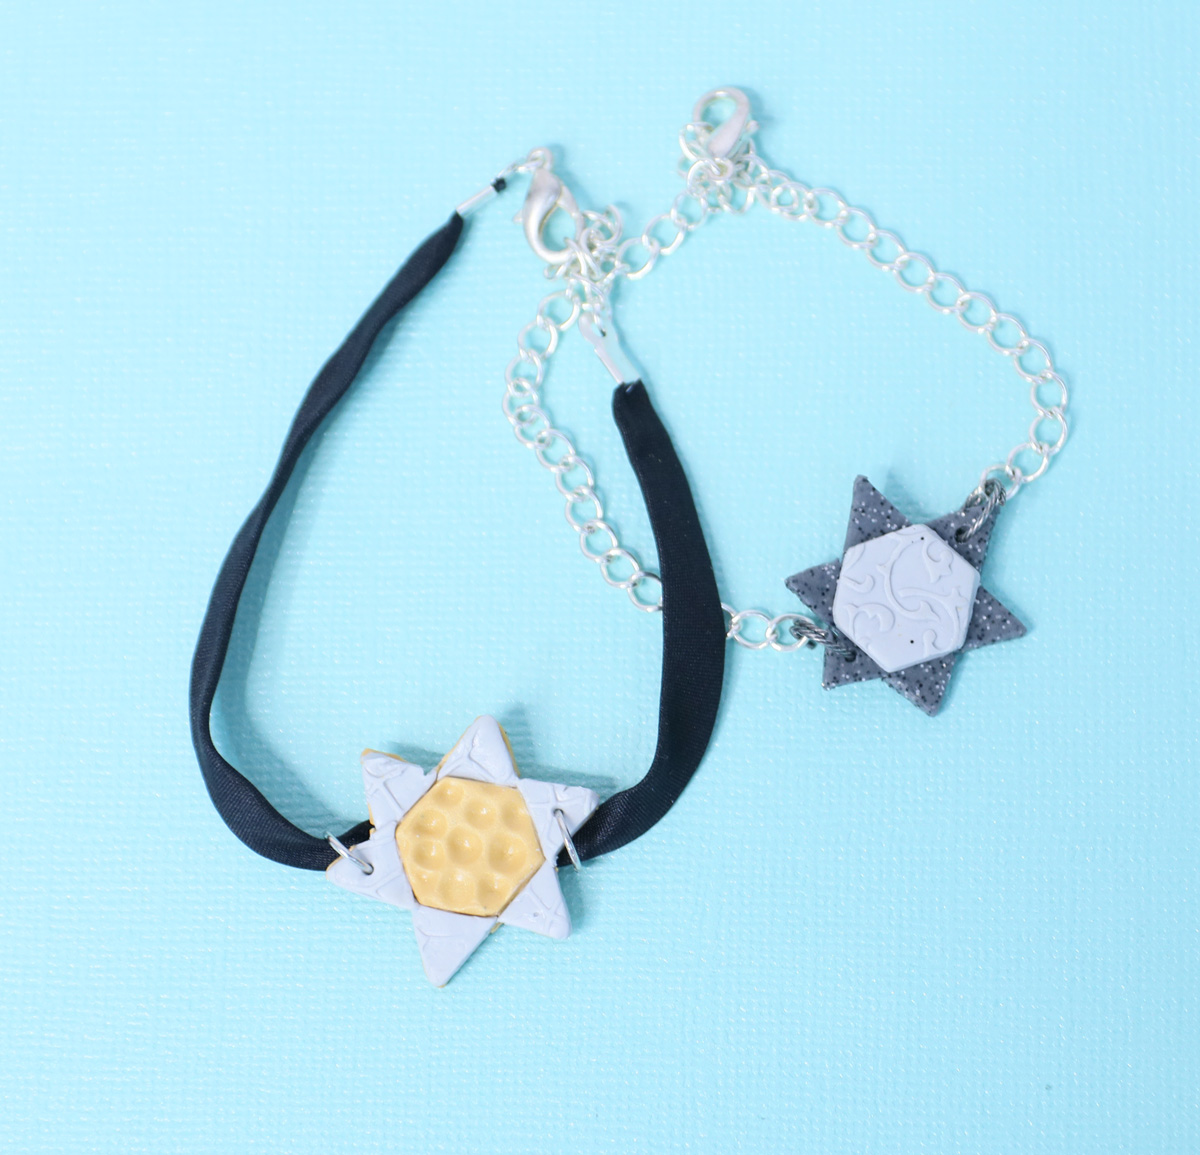
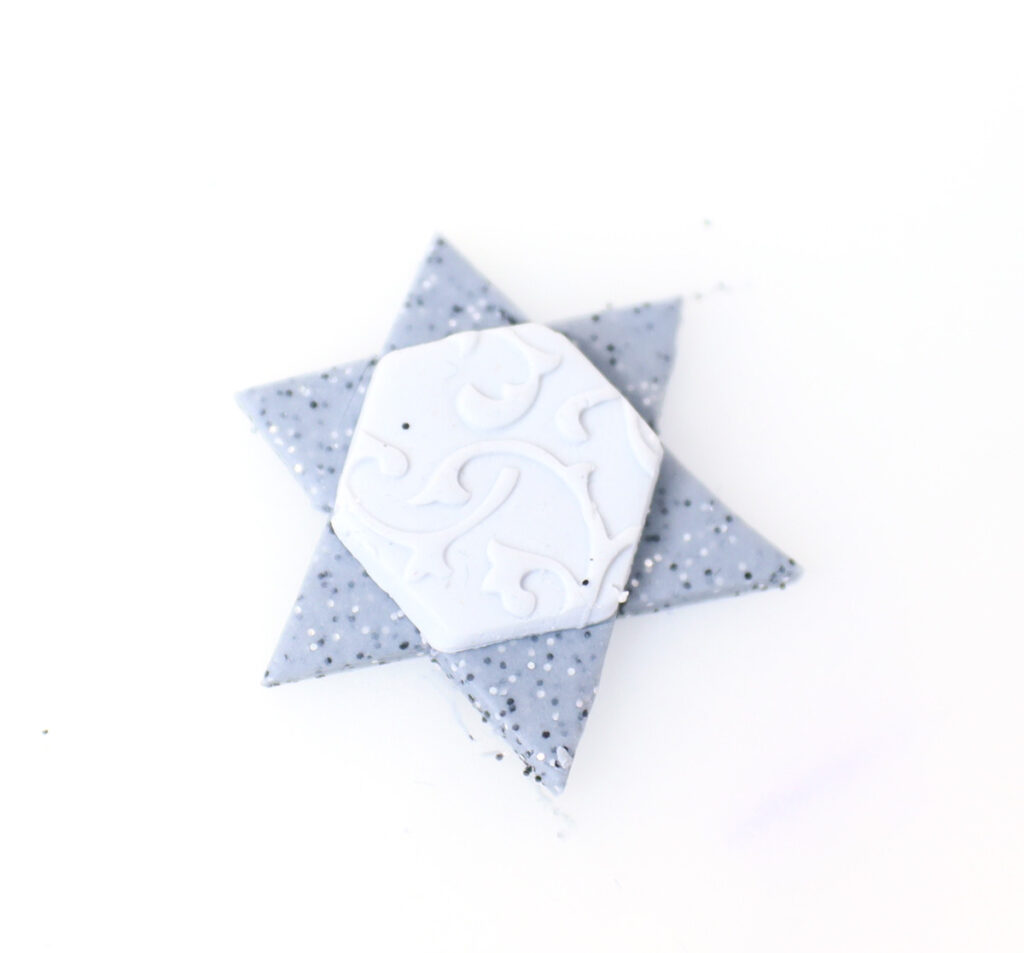
These stars were made by creating two triangles and overlapping them. This is still a great way of doing it and gives you a fun modern look.
I did not use clay cutters – or really much of any tools for that matter – to make those and formed them with my fingers. It looks beautiful and organic – and has loads of fingerprints.
The main way around fingerprints is rolling it with an acrylic roller. This smooths out the surface. So while you can definitely use a printed template and craft knife to create your design, or even form shapes with your fingers, you’ll still want to roll things out.
I have also in the past used air dry clay to make Star of David necklaces. This is also a great tutorial and more forgiving texture-wise (you can even use water to smooth out fingerprints) however it creates a much larger, less delicate final piece. Air dry clay can be brittle by nature, so you don’t want to go too thin either.
This method for making a clay Star of David allows you to get a more consistent shape and size, and avoid fingerprints. You can go quite small and add loads of fun detail.
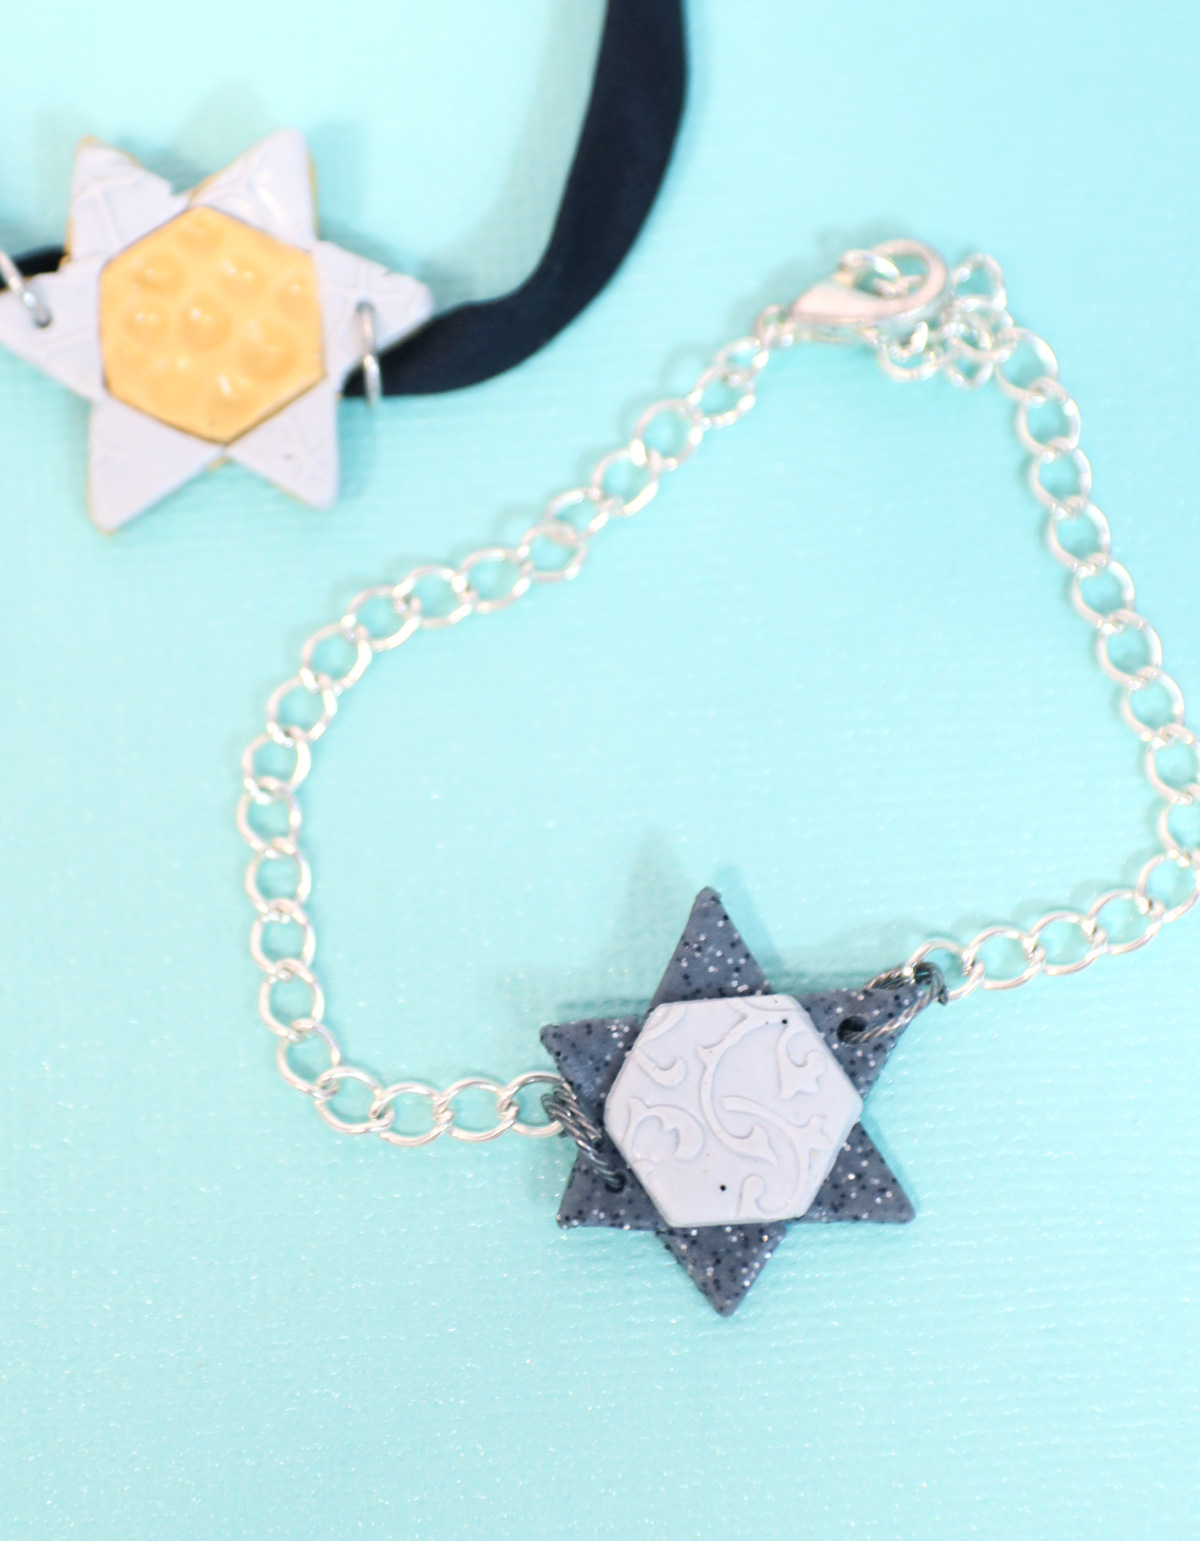
My stars are a teensy bit rough around the edges – mainly because I was working to get it to you on time and didn’t manage to sit and sand. I also didn’t finish off my clay for the same reason.
You can finish off your clay using a polymer clay glaze or UV resin.

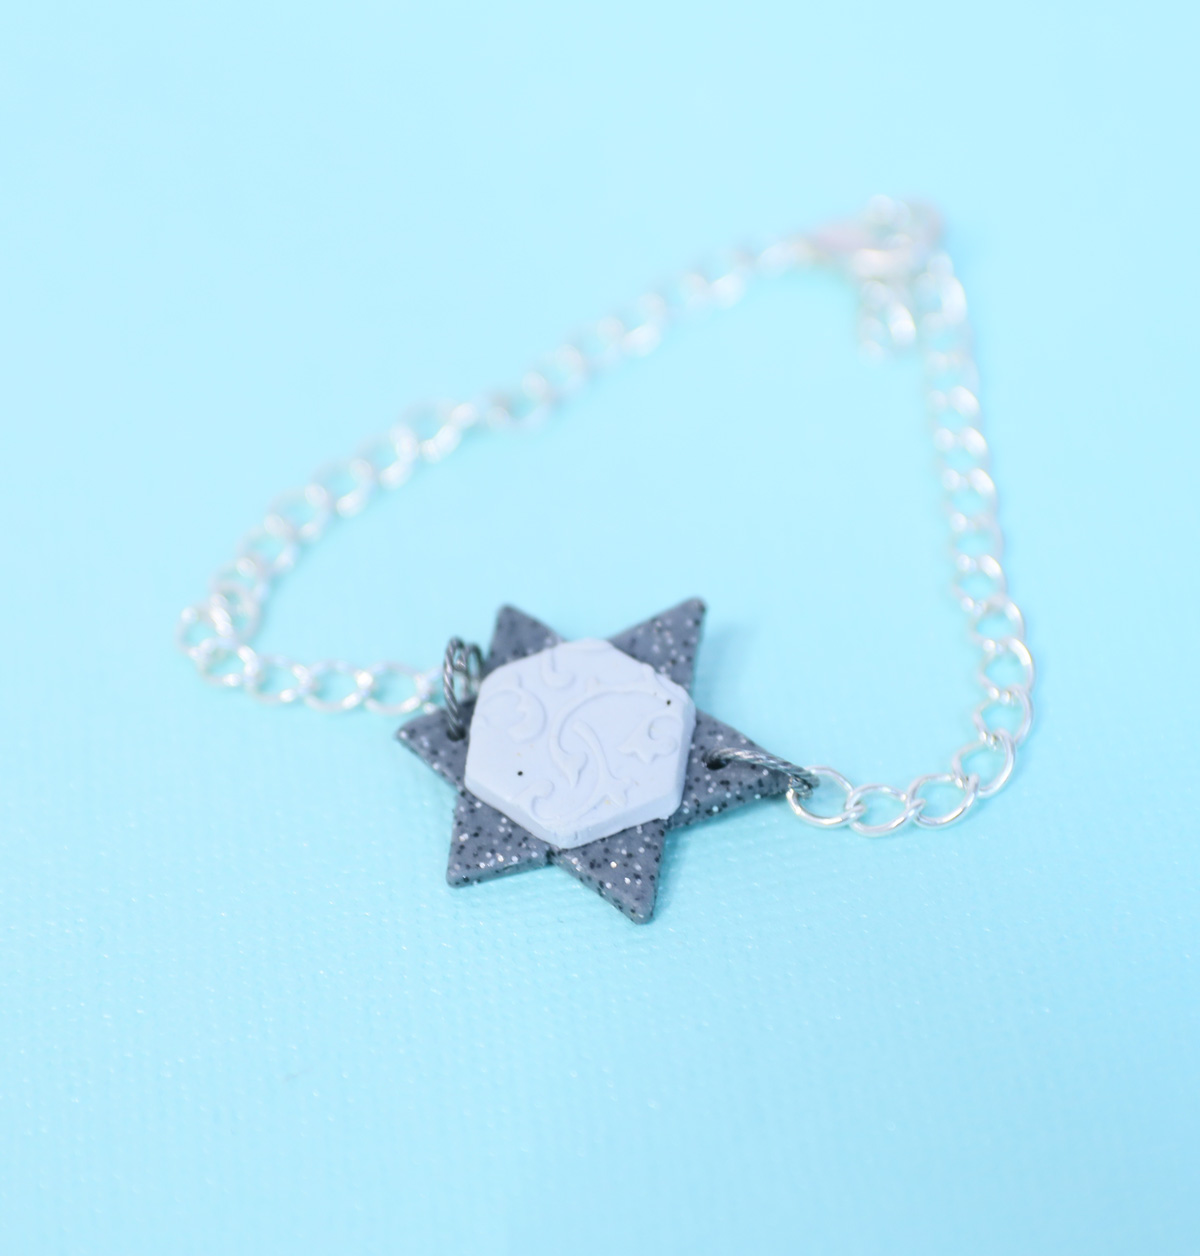
Turning a clay Star of David into jewelry
I had originally planned to share a friendship bracelet craft for Yom Ha’atzma’ut but the design needed fine-tuning so I decided to shelve it for now. So I wanted to stick with the fun bracelet vibe.
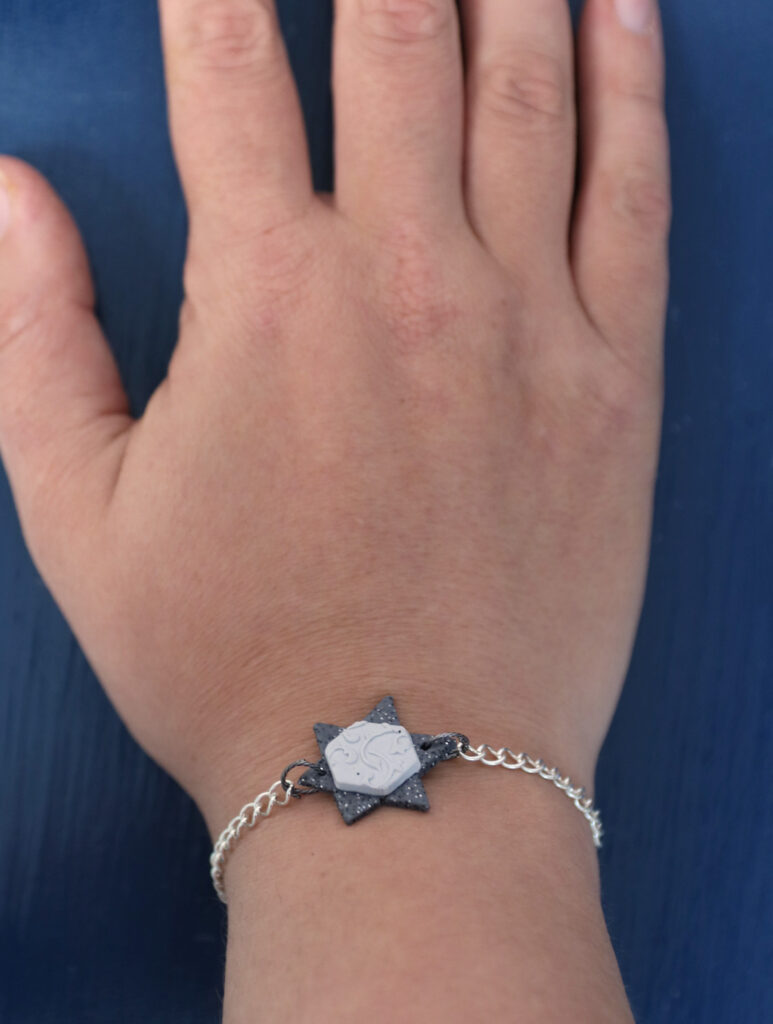
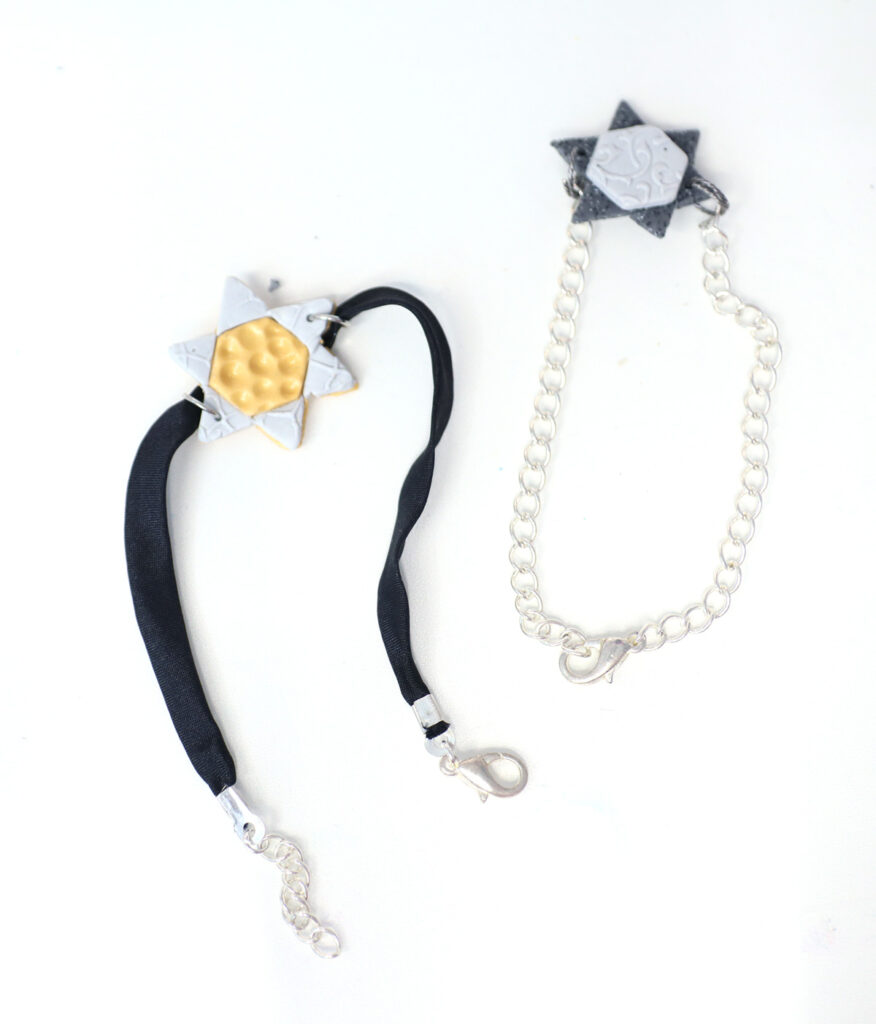
I pierced holes on each end to turn it into a bracelet. On one, I used a silk cord to finish it off. On the other, I used a more traditional and classy chain.
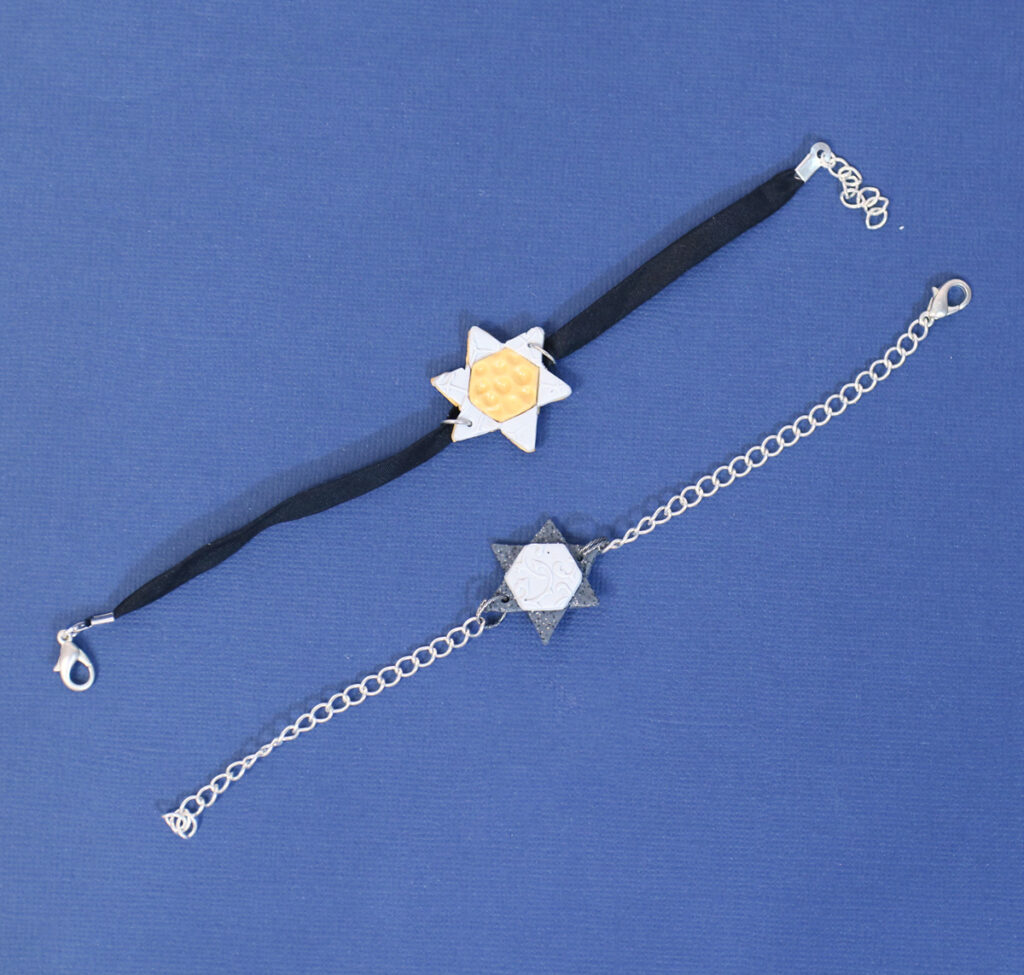
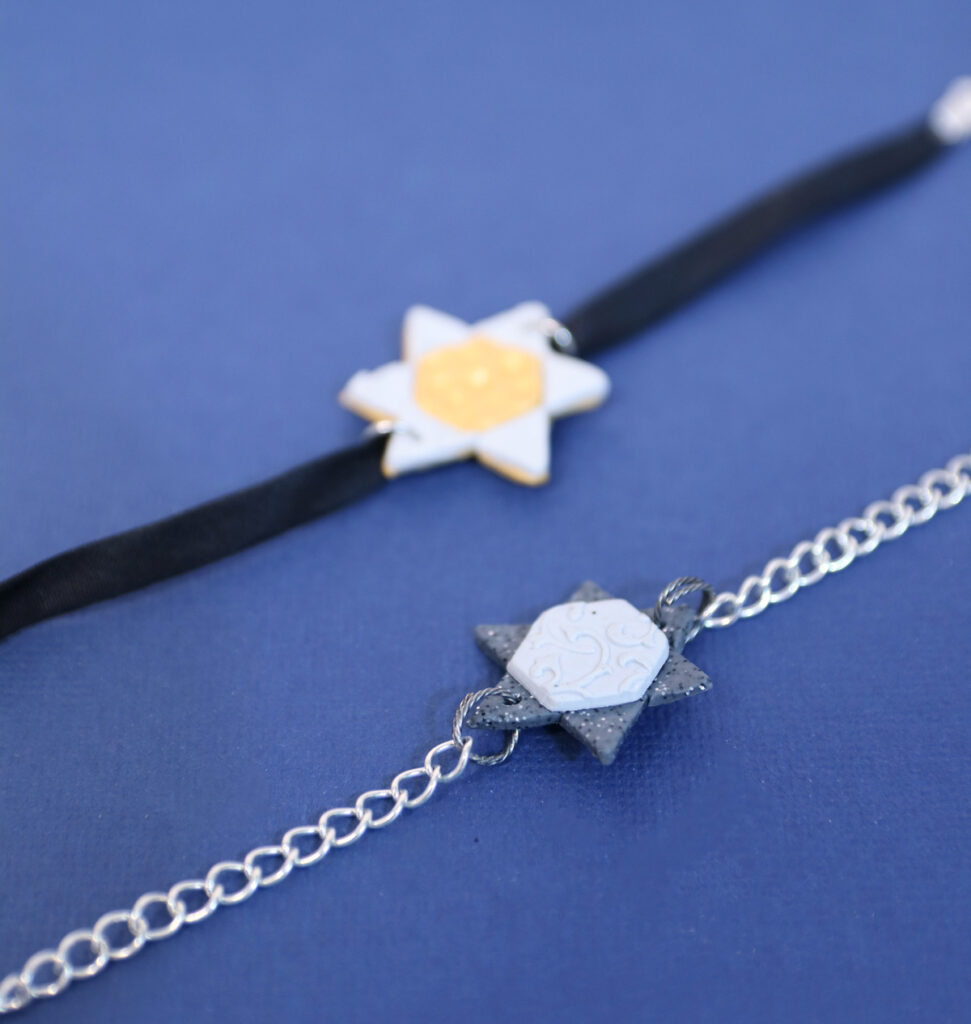
You can also turn this into other jewelry. Pendants and dangle earrings can be made using a single hole. You can also turn them into charms, but you may want to make them even smaller.
And if you manage to go really tiny, you can even make clay Star of David stud earrings!
How to make clay Star of David jewelry
Clay Matters
The brand of clay you’ll be using matters. While it can be tempting to purchase a cheap no-name brand, when making something that gets some wear and tear like jewelry, you want to choose a quality clay.
Cheap clays can sometimes be brittle and break more easily.
The exact brand doesn’t matter, but some good options are brands like DAS, Sculpey, and Fimo. I used DAS for this tutorial.
What you need
Clay stuff
- Polymer clay
- Clay glue
- Acrylic Roller
- Tissue Blade
- Hexagon clay cutter
- Optional: diamond or triangle clay cutter
- Smooth work surface (a ceramic tile, a sheet of acetate or acrylic, etc)
- Clay tools – you’ll need a pointy thing and preferably also a silicone tipped tool
- Optional: texture sheets
Jewelry stuff
- Jump rings and clasp
- Chain or cord
- Cord ends if using cord
- Jewelry tools
How to make it
Raised center star
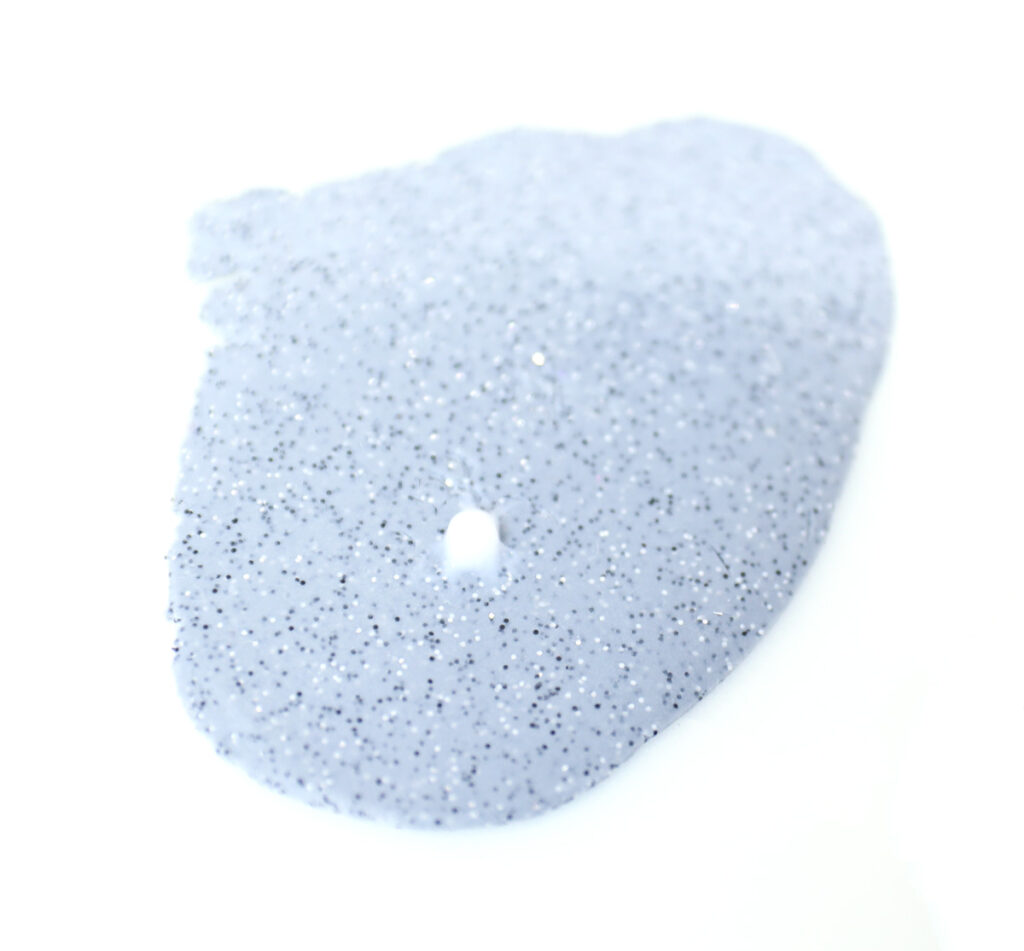
1. Roll out your main color.
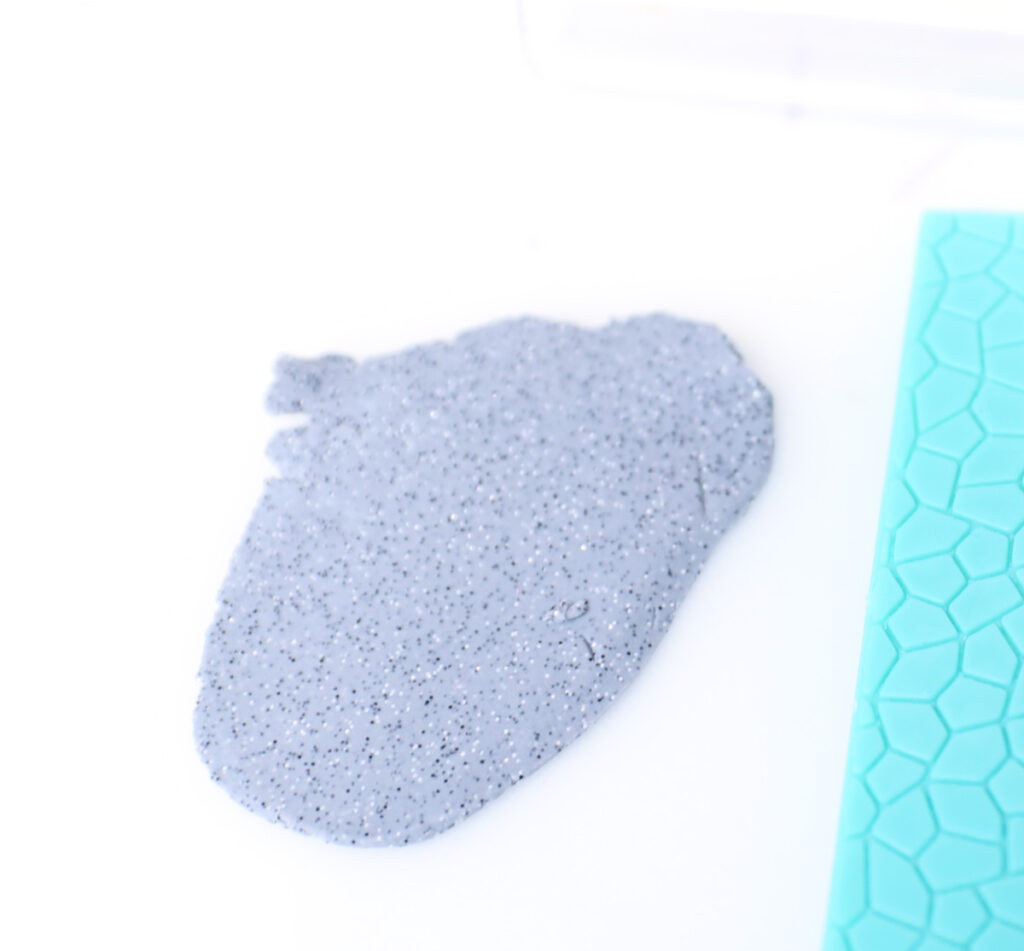
2. Roll out your center color. I used a texture sheet to add some detail.
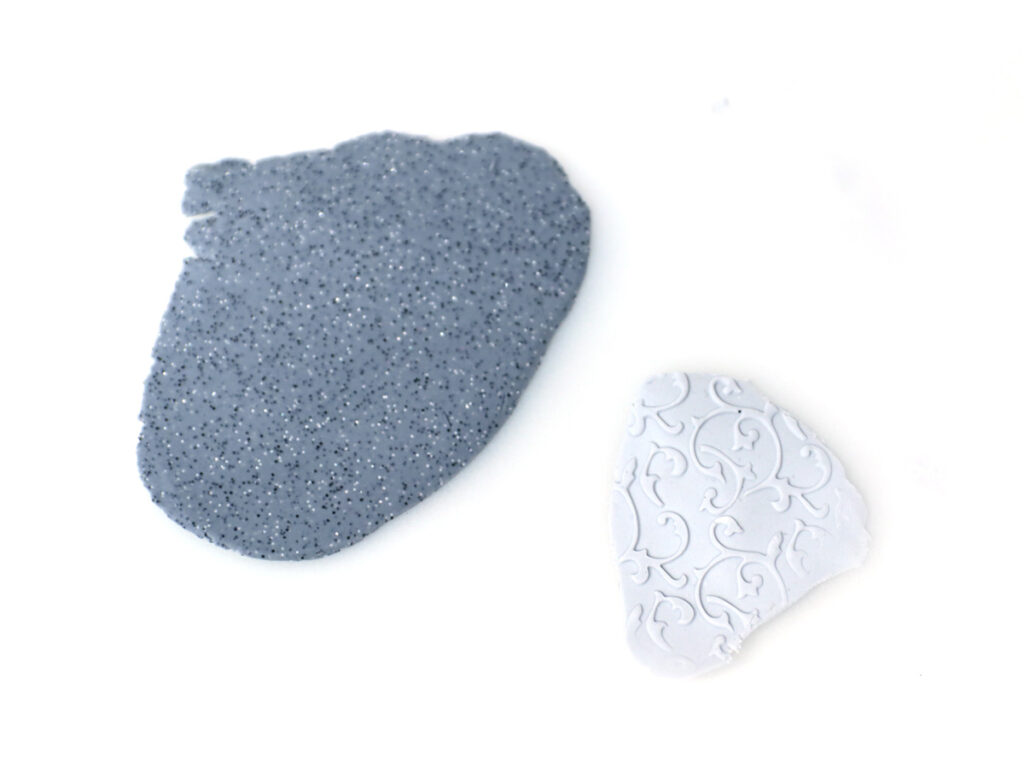
3. Cut a hexagon from your center color.
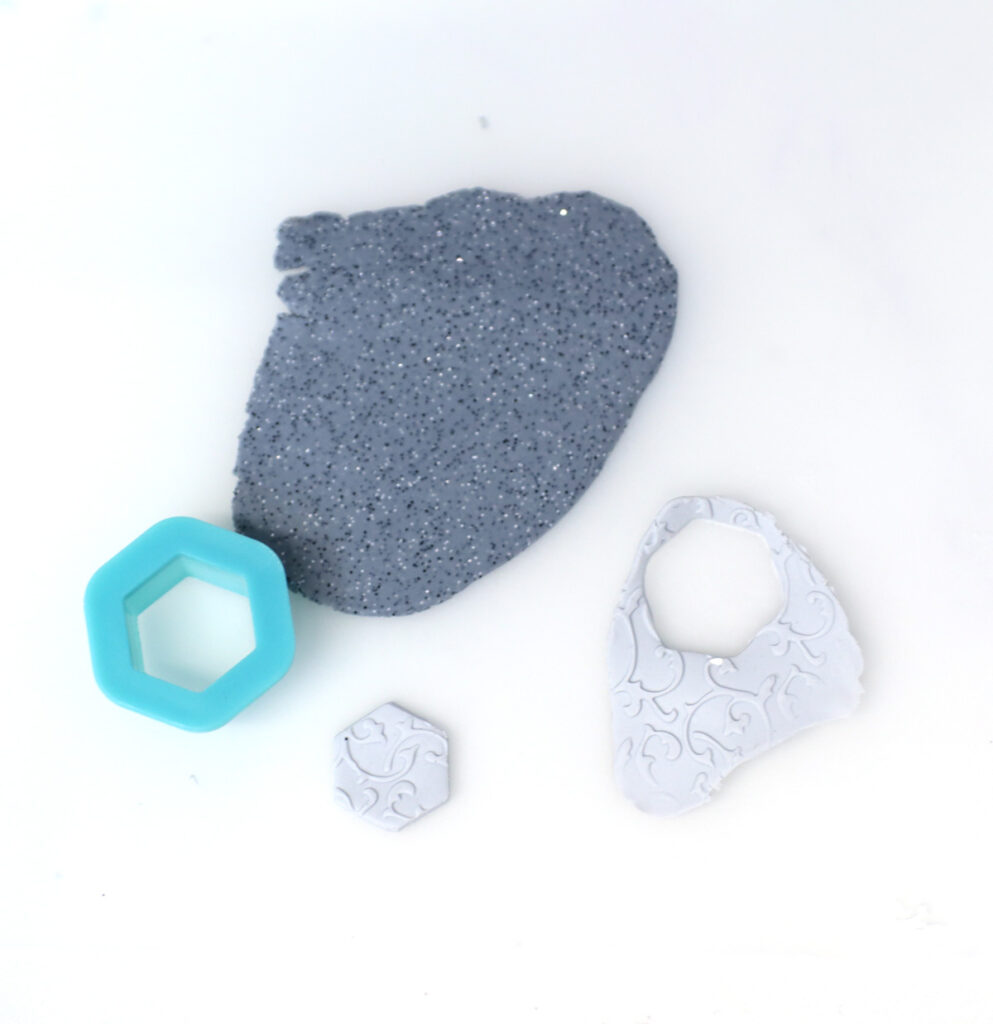
4. Apply a drop of clay glue to your background color.
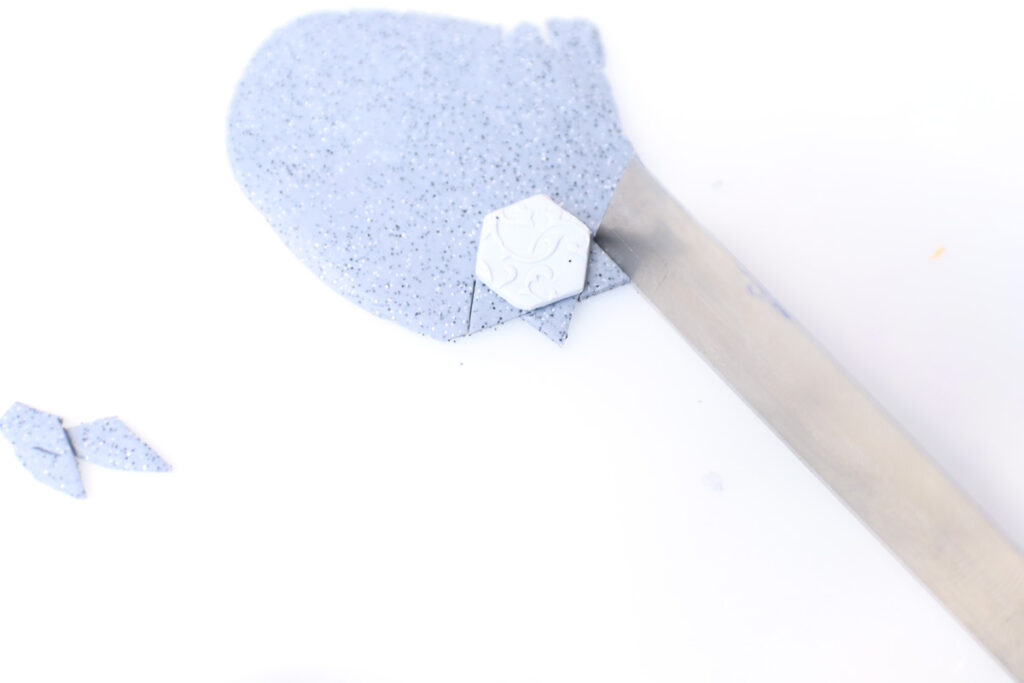
5. Place the hexagon on the glue. Be very careful not to move it as you use the tissue blade to cut. Each triangle should continue the line of a side of the hexagon. But don’t cut alongside the hexagon itself.

6. Cut at angles to continue each line a bit until it meets the next cut. I recommend turning your work surface/base as you work and not the clay itself. As you work, you can remove the outline clay if you’d like.
Your clay star of David is ready to roll. Two steps that I didn’t photograph: Use a piercing tool to make holes as needed for your jewelry. I also did soften the points a little using that silicone pointed tool.
Making a flat polymer clay Star of David
1. The point of this is mainly to show you how to work with cutters you have. It can be hard to match precisely a triangle to a hexagon shape. For that reason, this trick can help you adapt a cutter for making a star of David.
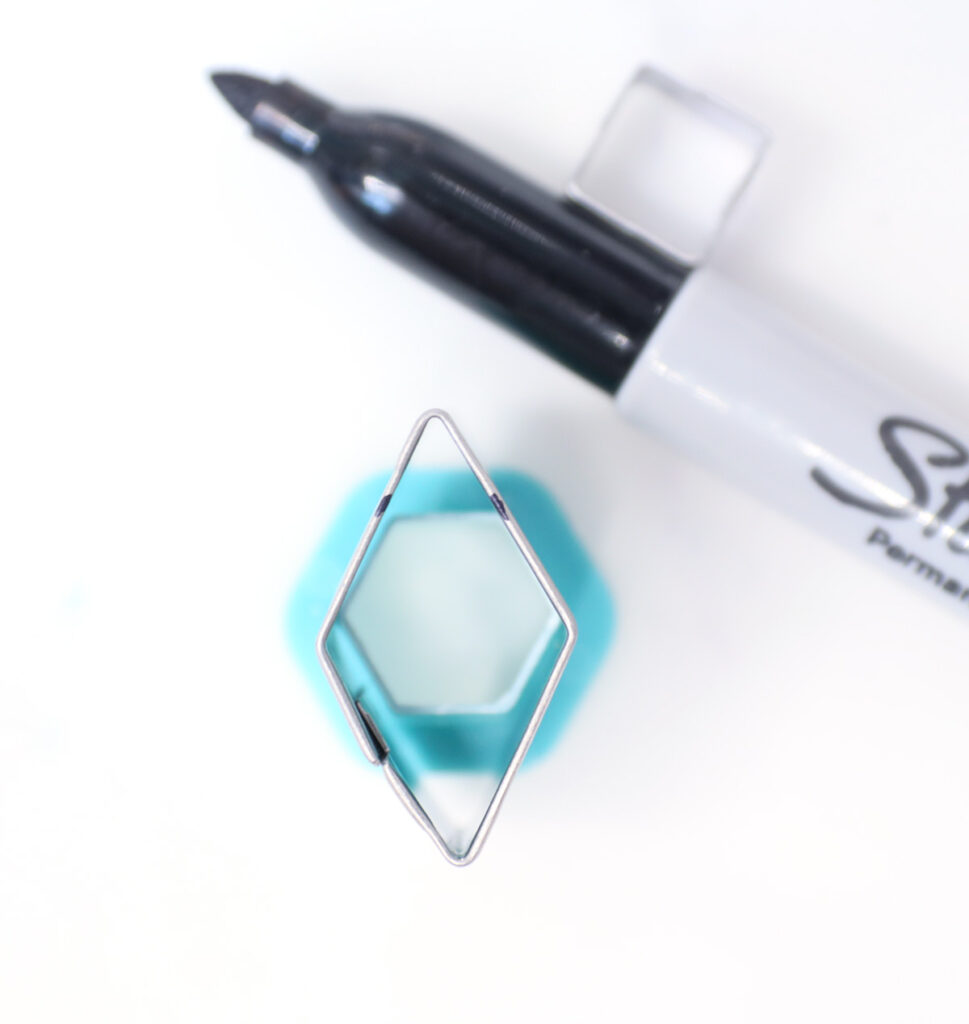
Use this trick if you have a triangle that’s too large as well. However, keep in mind that the proportions of the shape still need to make sense. For example, I considered using a square cutter too, but that would have left me with triangles that are too flat and wide. For that reason, I chose an elongated diamond.
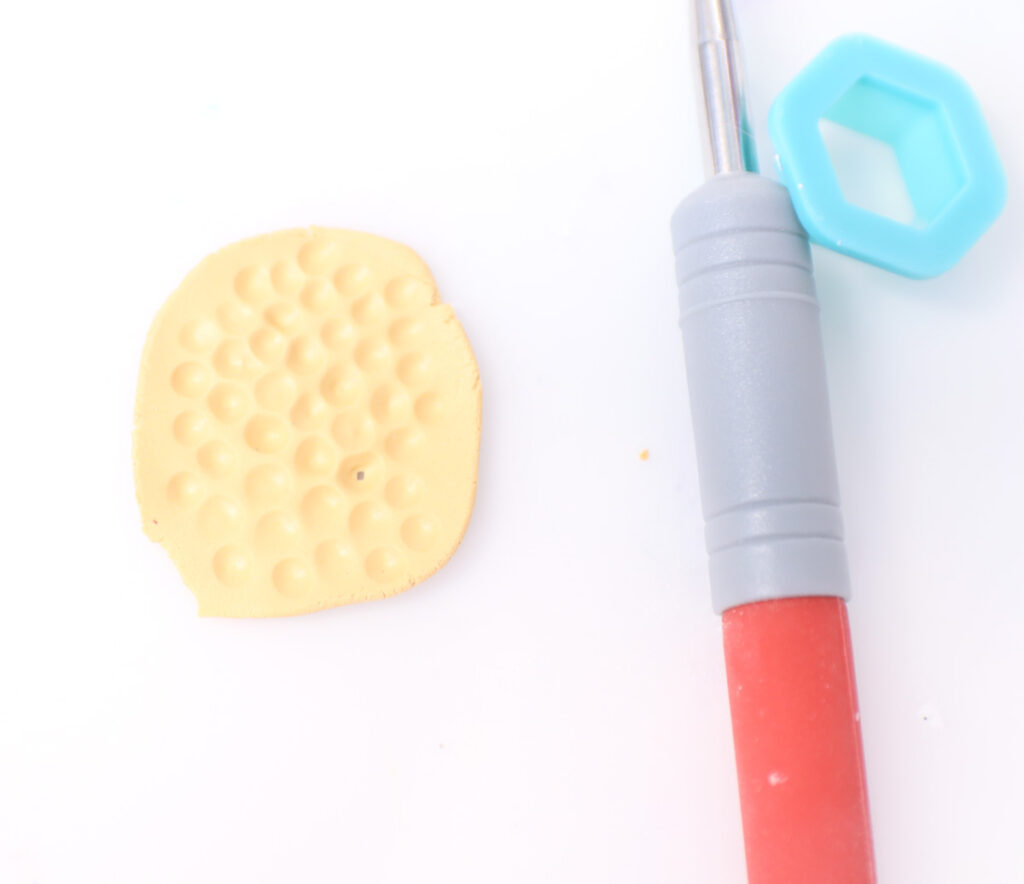
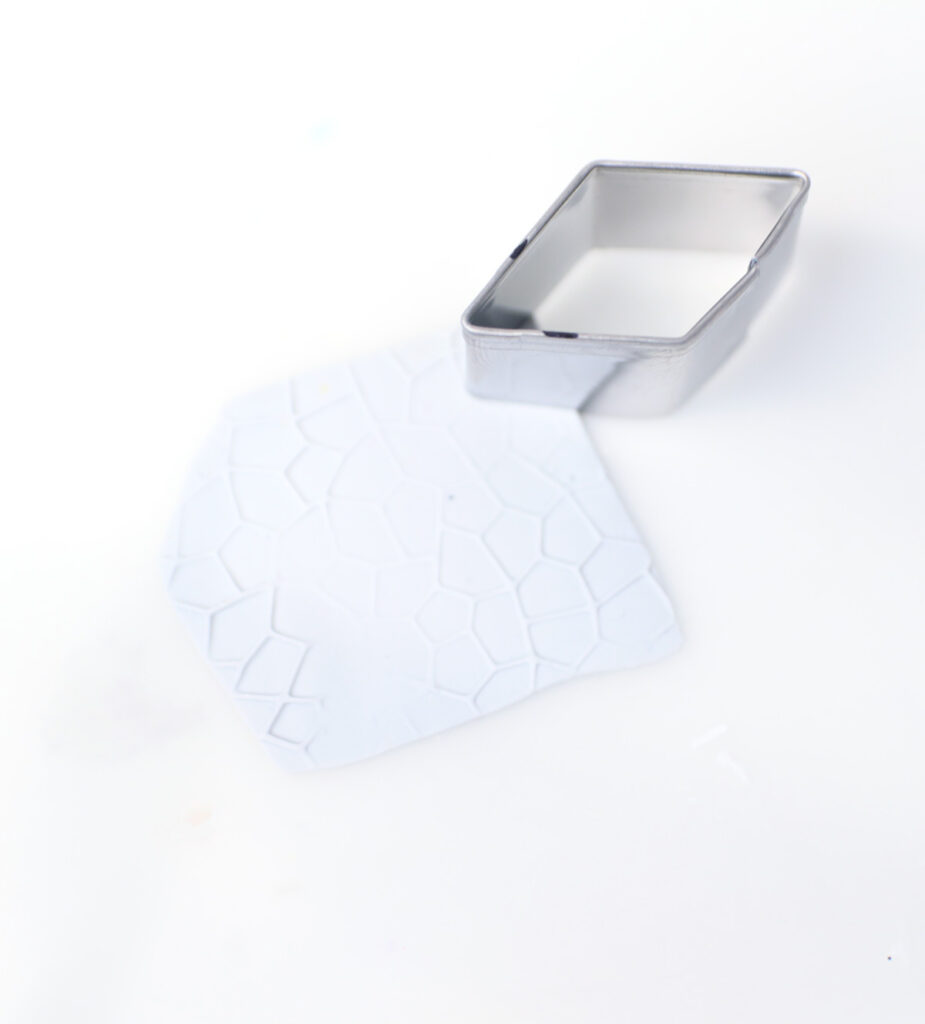
Place the diamond over the hexagon and mark the spot where you need your triangle to end.
2. Roll our your center center color. Add texture as you’d like. I used a ball-tipped tool to add a “hammered” look.
3. Roll our your triangle color. I used a texture sheet for this as well. Cut the edges so that they are straight.
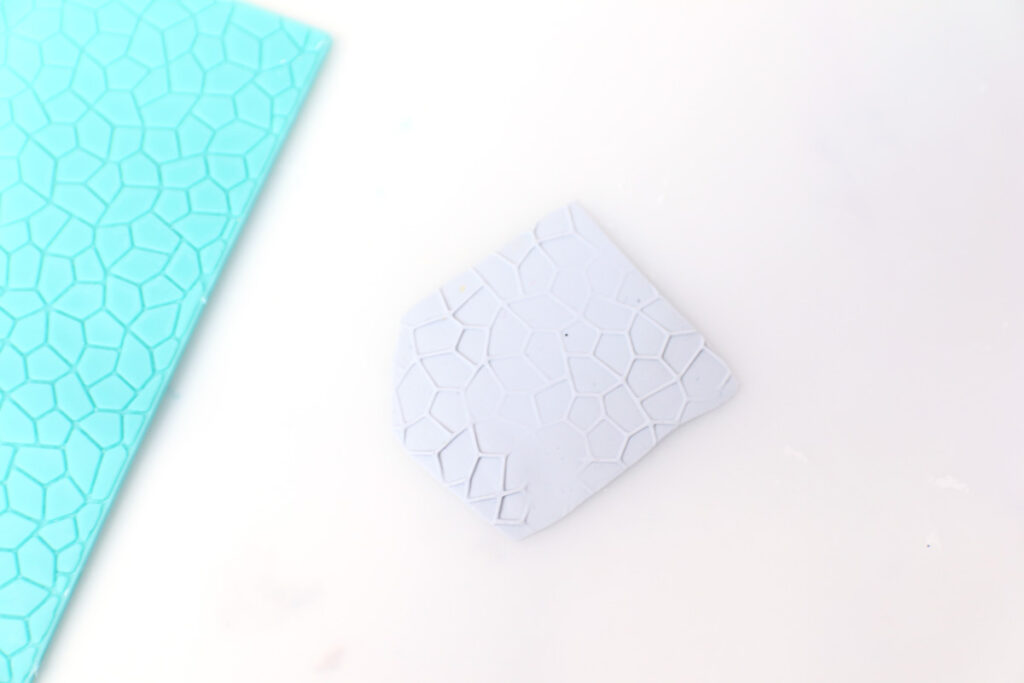
4. Use your marked cutter. Place it so that the marking is flush with the straight edge and cut only the part that you need to use. Do this for six points of your clay Star of David.
5. Roll out a base color (it can be either color that you used, but I don’t recommend introducing a third color for this.) Glue the hexagon in the center.
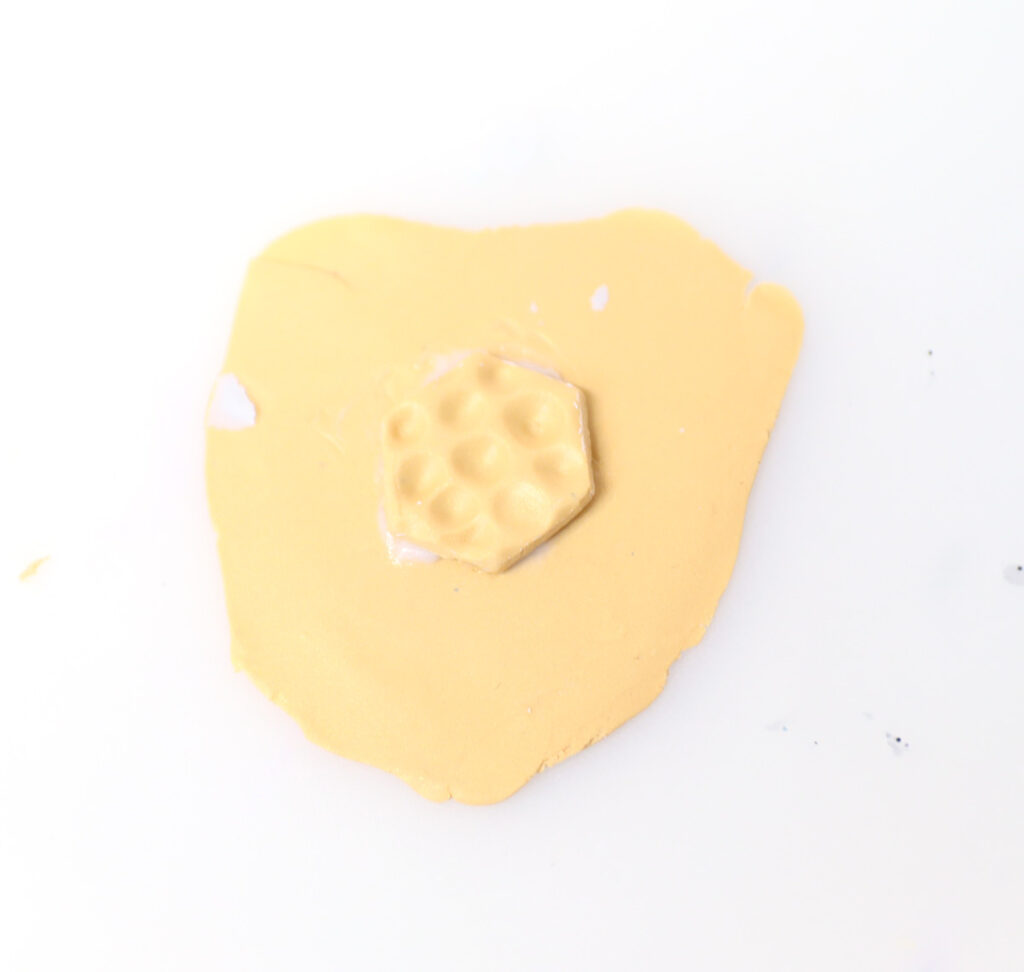
6. Glue the points on each end of the hexagon so that the rounded corner points out. You can see here that my triangles were slightly large so my final result wasn’t perfect, but it’s perfect enough for me to use myself. If you’re selling these, you’ll want to practice a few times and allow for trial and error till you get it right.
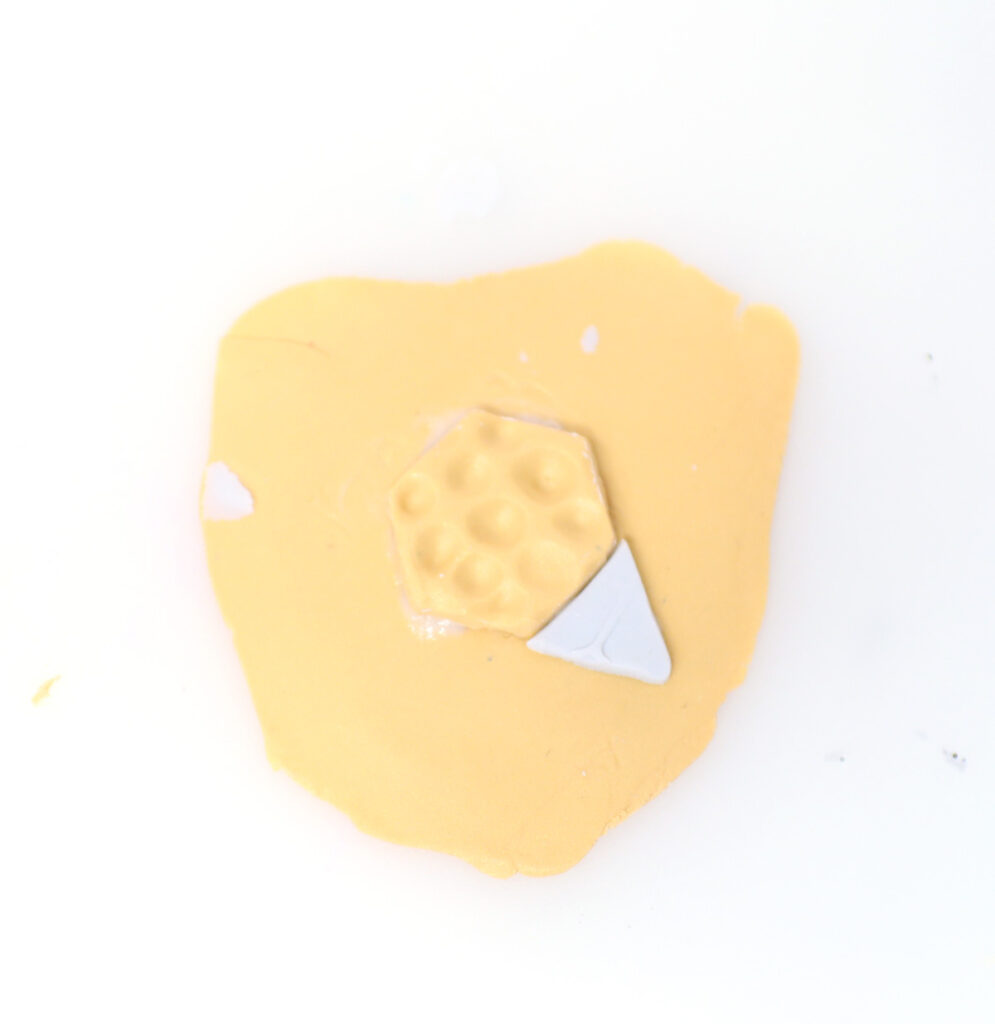
7. If needed, use the silicone tool to nudge things where you want them.
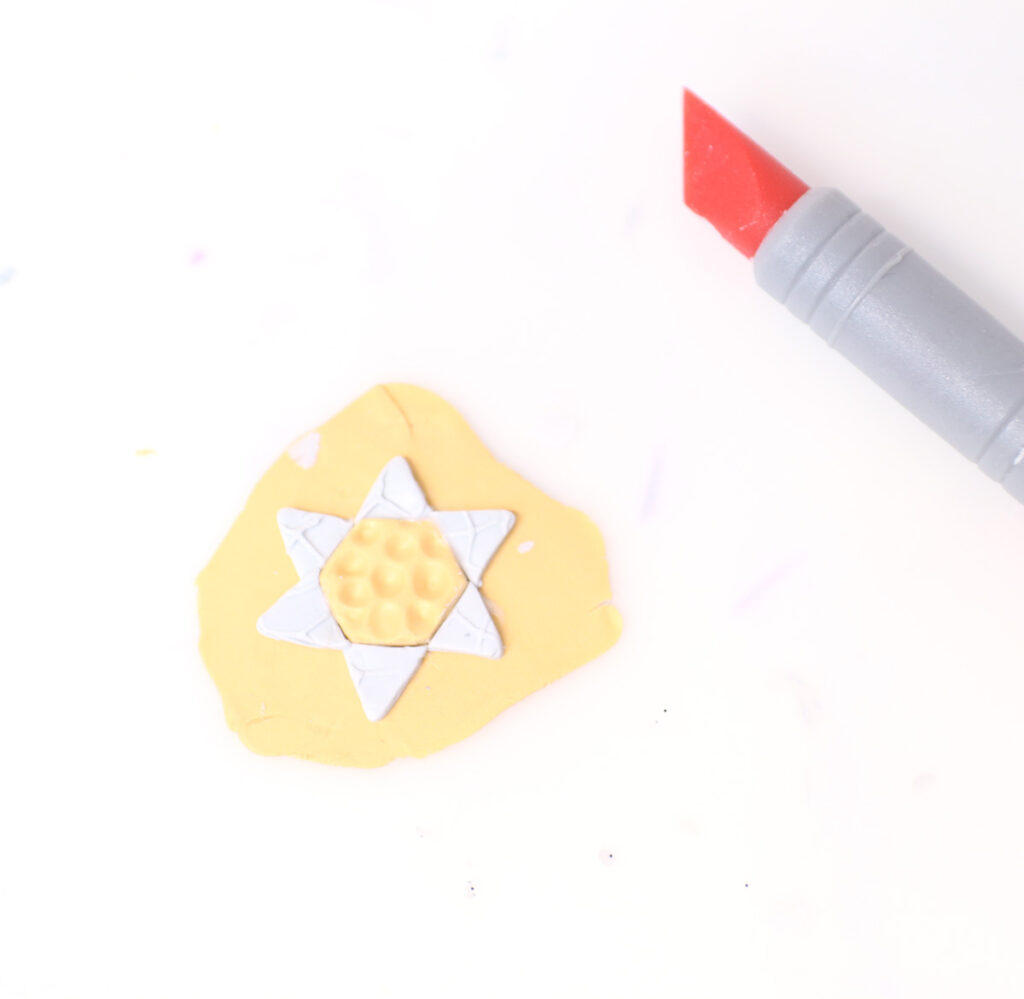
8. Pierce holes as needed. VERY carefully so that things don’t shift, cut out your Star of David from the base clay.
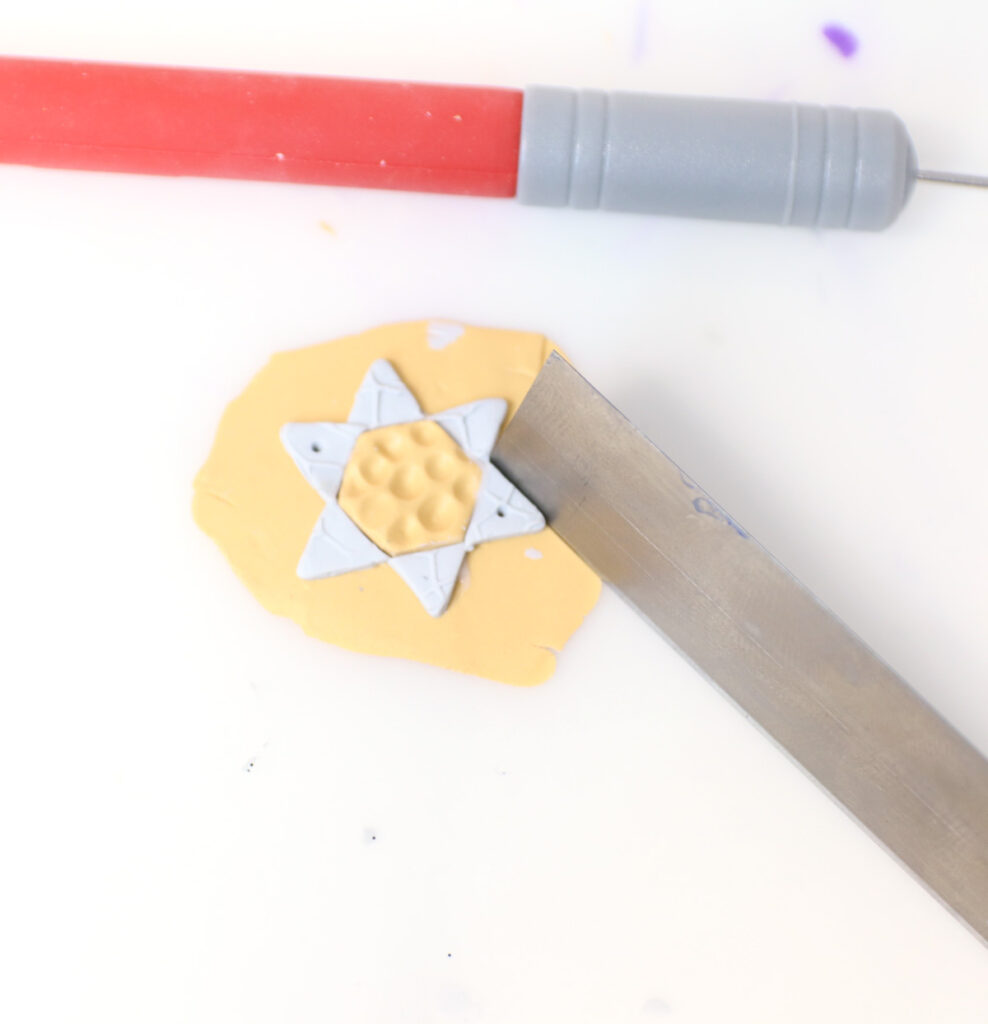
9. Use the tissue blade to very carefully remove it from the surface and place it in your oven-safe dish. You can see my cut wasn’t perfect – I was able to fix it a bit after baking.
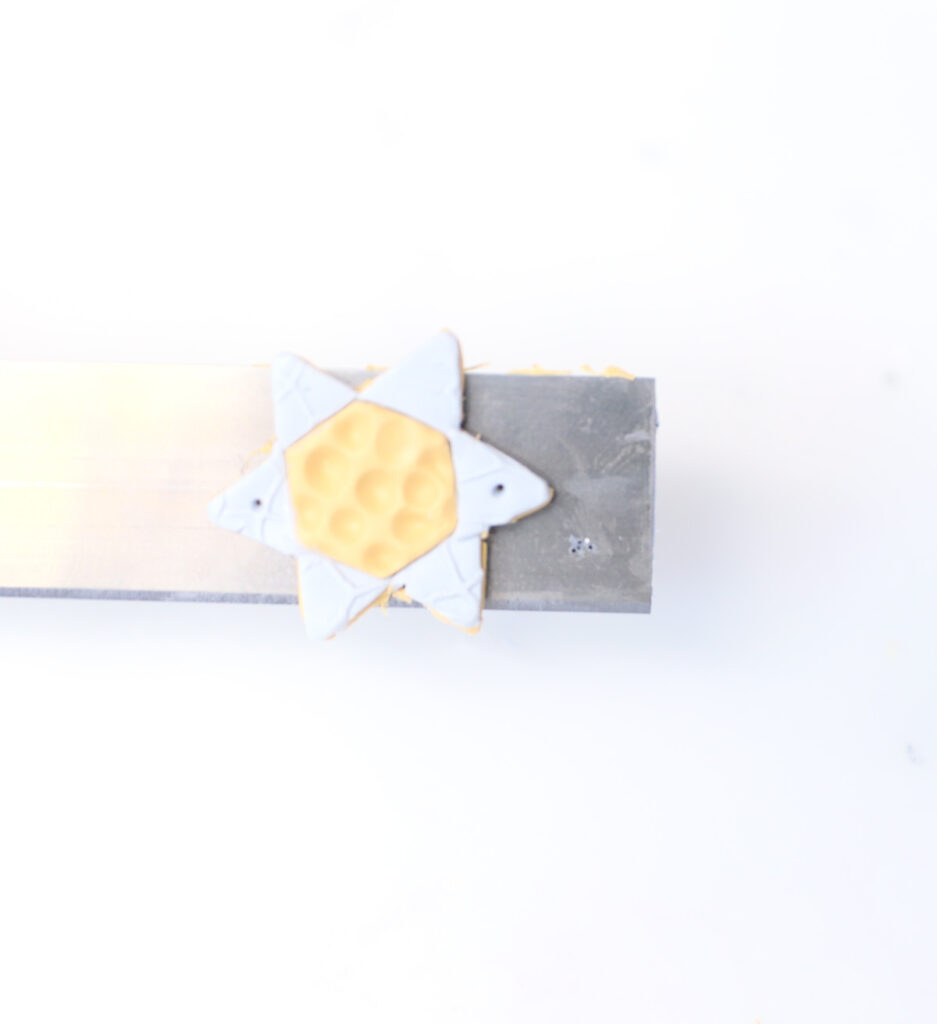
Making your Star of David bracelets
1. Bake your clay Star of David according to the clay package instructions. Seal it if you’d like.
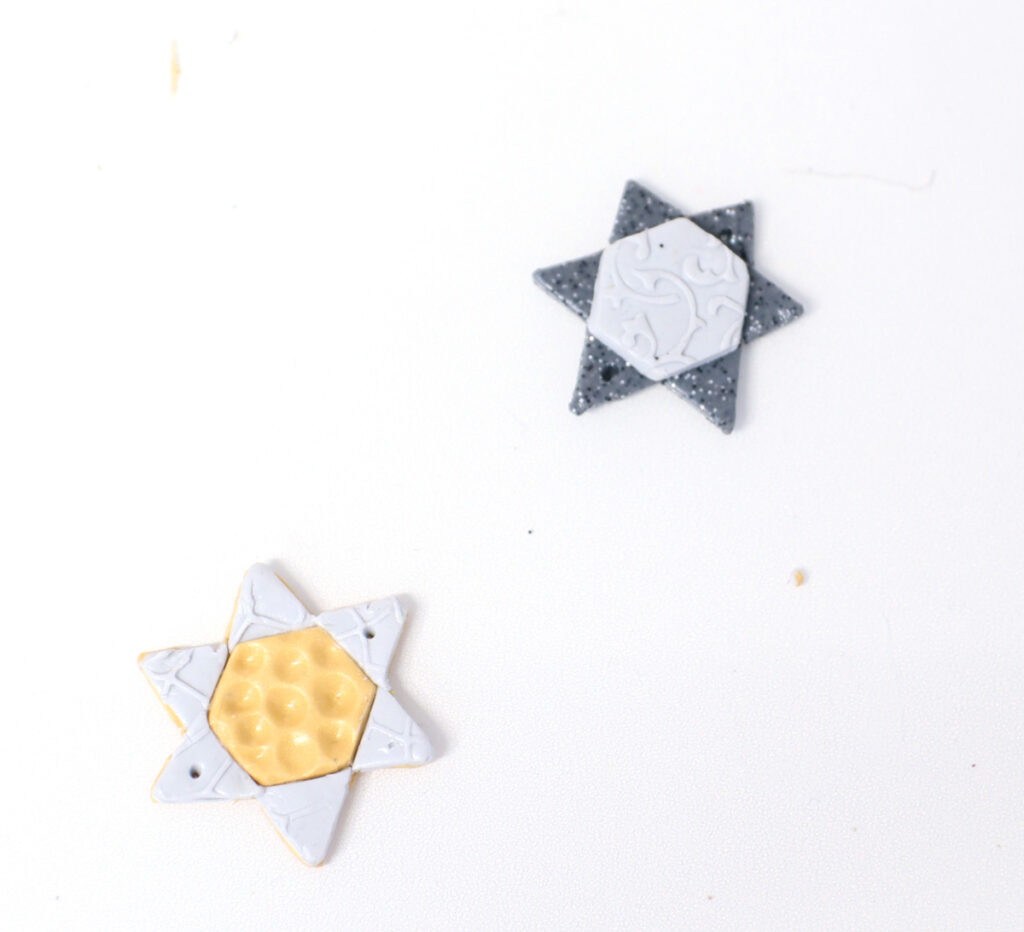
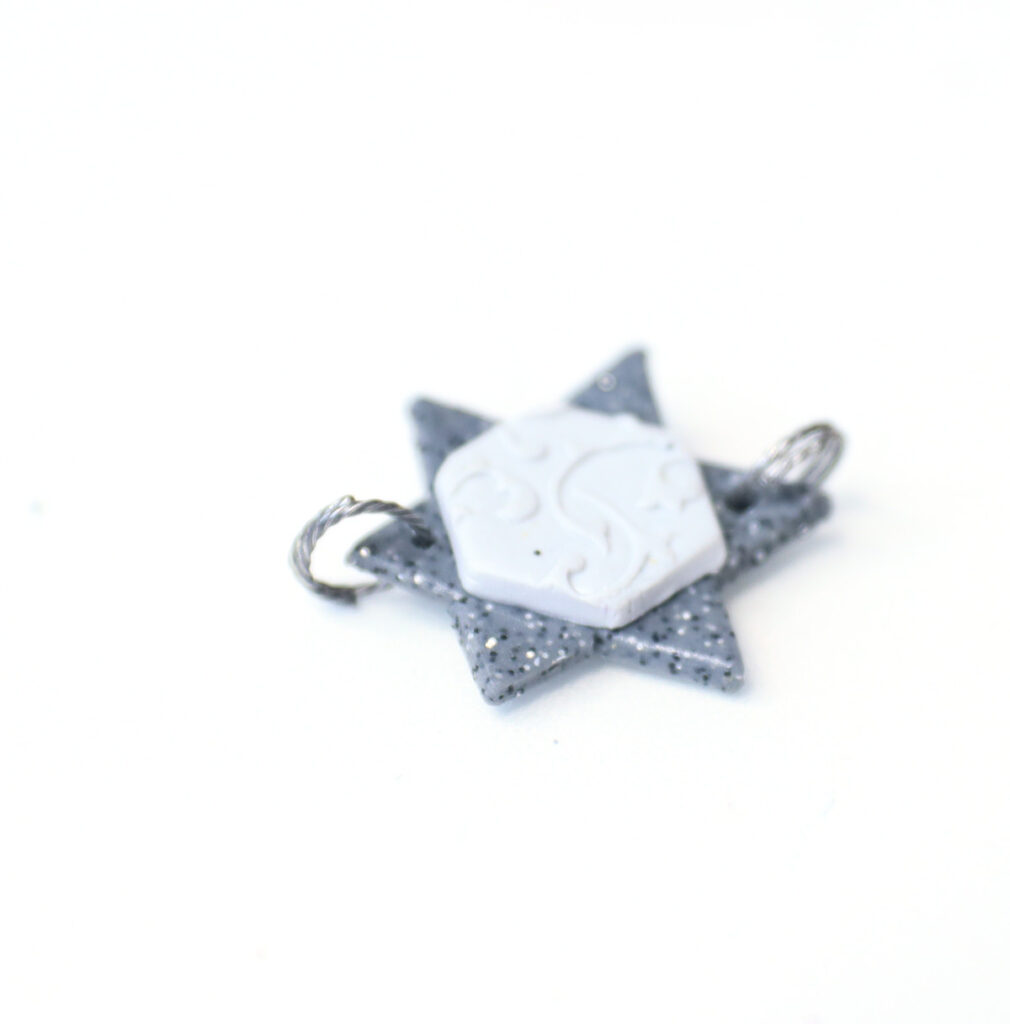
2. Attach jumprings. The ones I used on the raised center bracelet were very thin and insecure, and since I don’t solder, I instead turned the jumprings into split rings by overlapping the sides a bit.
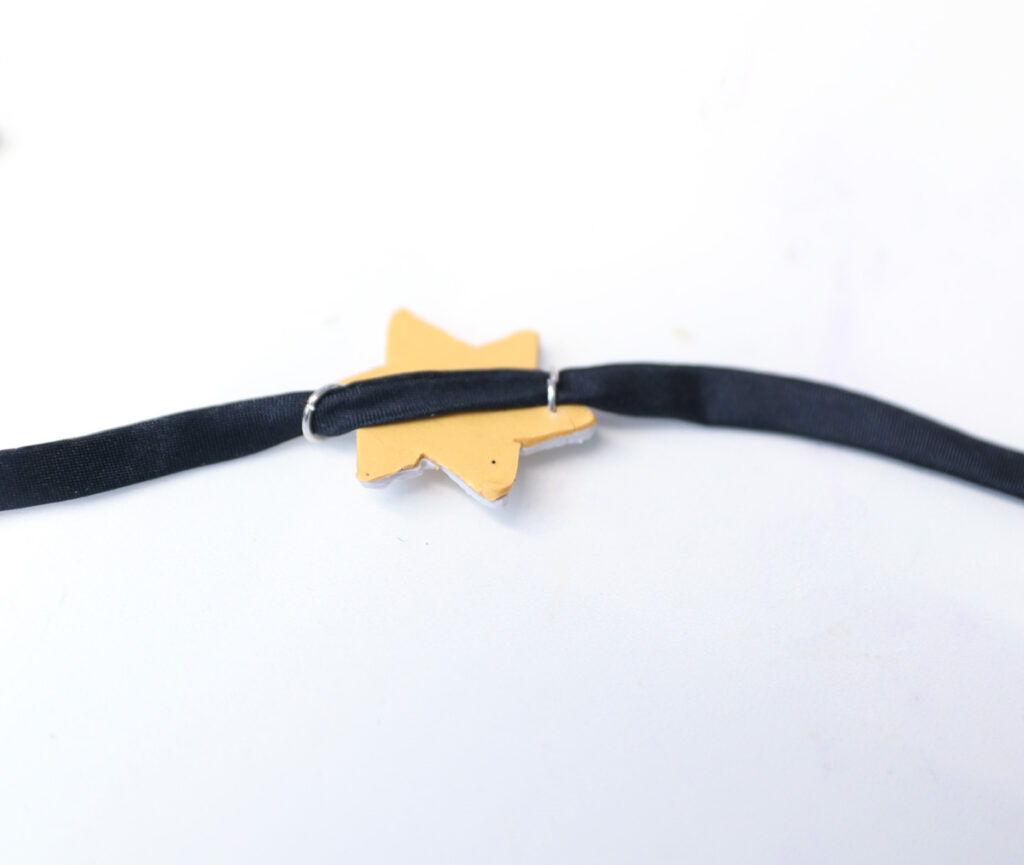
3. If attaching a silk cord: thread it through the two jump rings going across the back of your star.
4. Or just attach chains to the jump rings. Finish off with cord ends, a clasp, and a few links of chain, or a chain and a clasp.
What method will you use to make a clay Star of David? Comment below!

