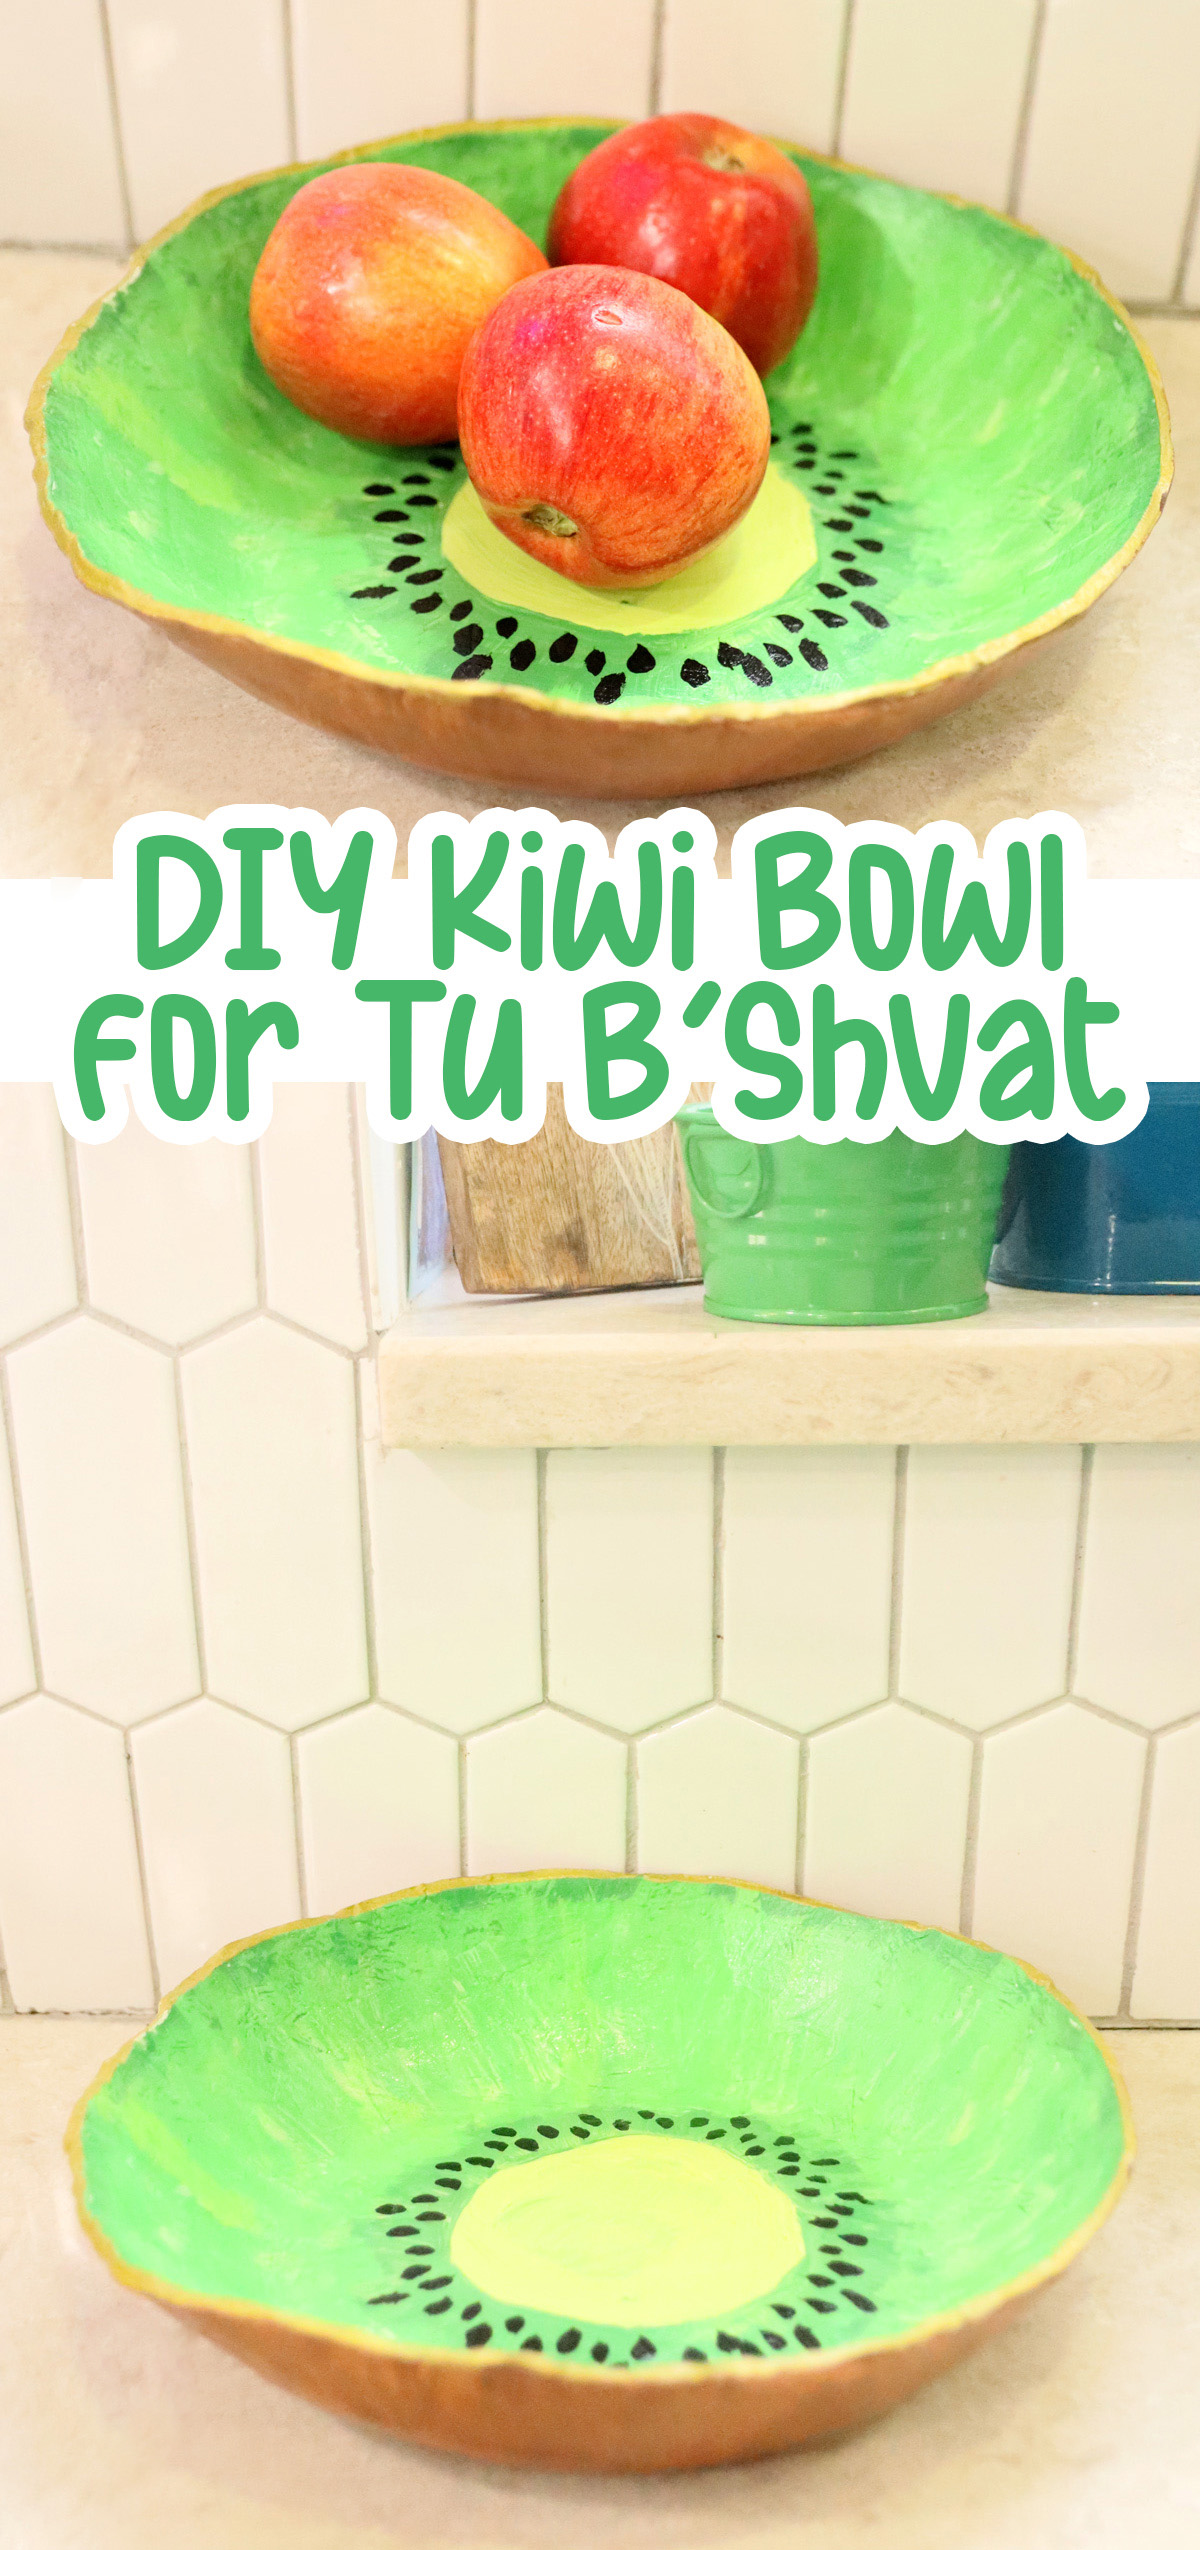
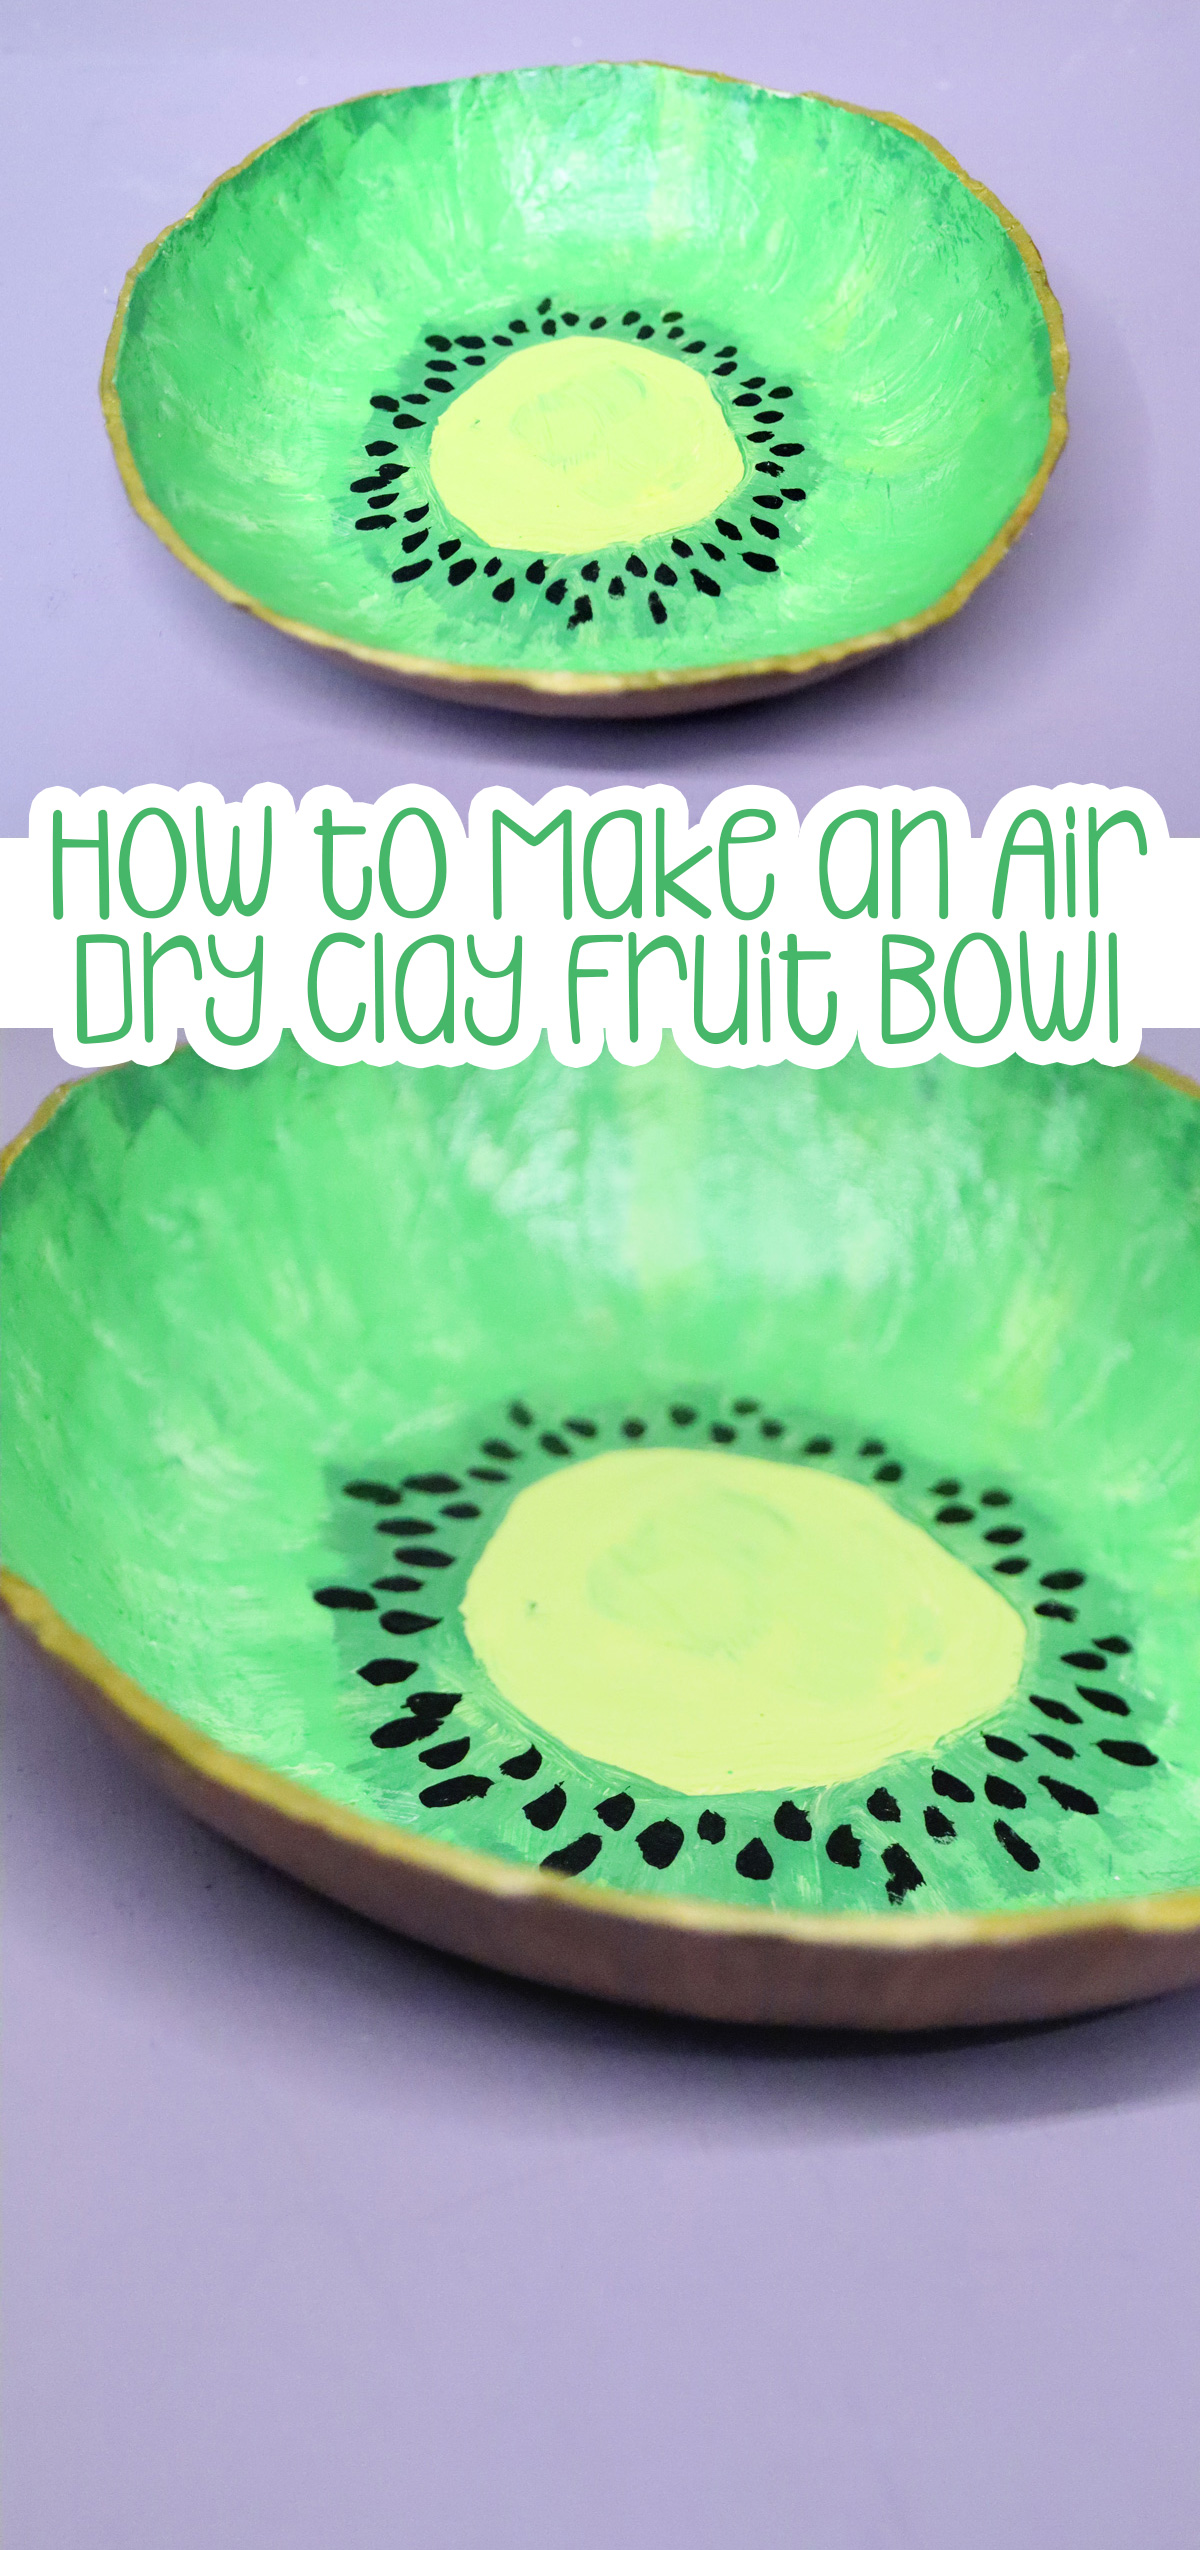
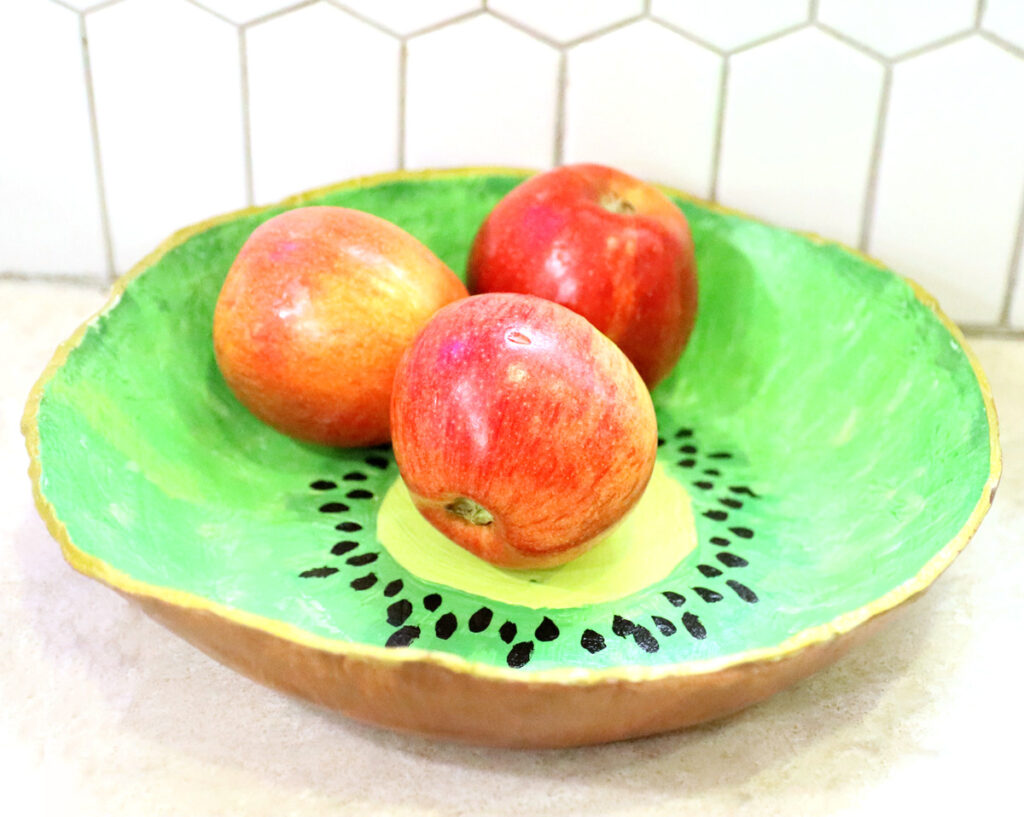
Craft a DIY Air Dry Clay Fruit Bowl for Tu B’shvat!
Craft an adorable DIY air dry clay fruit bowl – perfect for Tu B’shvat! I turned mine into a kiwi, but you can work with any fruit. Then, check out this Tu B’shvat hat craft. This post contains affiliate links.
Tu B’shvat, the birthday of the trees, is on the way! We are so excited to celebrate! I wanted to share a fun idea for a workshop-style craft – one that is a bit more of a functional end product and requires a bit more skill-learning to craft.
I thought a fruit bowl is the perfect craft for a holiday where we focus on eating lots of fruit!
Yes, it IS a beginner level craft. That is, you don’t need to have crafted this type of air dry clay project already – it can be your first. But you will need to follow the instructions carefully and learn the skills.
Of course, this craft is cool for anyone to make any time – not just for Tu B’shvat! So hop right in and enjoy this craft!
Basic Guidelines for making a DIY air dry clay fruit bowl
Here are loads of tips you may want to read through for smoother crafting – or you can just skip to the step-by-step tutorial at the end.
Food safety tips
Disclaimer: I am NOT a food safety expert, so follow this at your own risk.
When it comes to crafting, food safety can be a touchy issue. Most standard craft materials aren’t safe for food contact. However, there are workarounds.
Since this is used as a fruit bowl, and fruit are often stored in dubious conditions, coated with dubious materials, and rinsed before using, it needs a bit of a lesser degree of safety. Using a non-toxic clay and sealing it with a food safe coating (such as Alumilite Clear Cast epoxy resin) should be good enough. You’re not using it for heating food or for anything wet.
You can, of course, use food safe resin to coat it. You can even find food-safe paints to paint it with. I haven’t yet found a food safe air dry clay, but again, that’s the base layer on an item that isn’t really used in a very altering way.
Shaping tips
This DIY air dry clay fruit bowl is shaped around a large mixing bowl. This is my favorite way to make the bowl shape because it’s just the easiest.
Pinch pot methods are much more difficult. Multi-part assembly requires a lot of skill. The coil method can be cumbersome and time-consuming. So while all of the above methods of shaping clay can work, this one is the simplest. It also uses a smaller amount of clay – but is harder to control the outcome of.
The final bowl will be quite a bit smaller than the bowl you’re using as a mold. It’ll also be hard to control the exact size. Keep that in mind when choosing your bowl. It can also be difficult to remove the clay from the bowl.
My best tips for removing the clay from the bowl:
- When shaping it, don’t go too tight.
- Cover your bowl with plastic wrap. It may give the bowl some texture on the inside, but it’ll also make it much easier to remove.
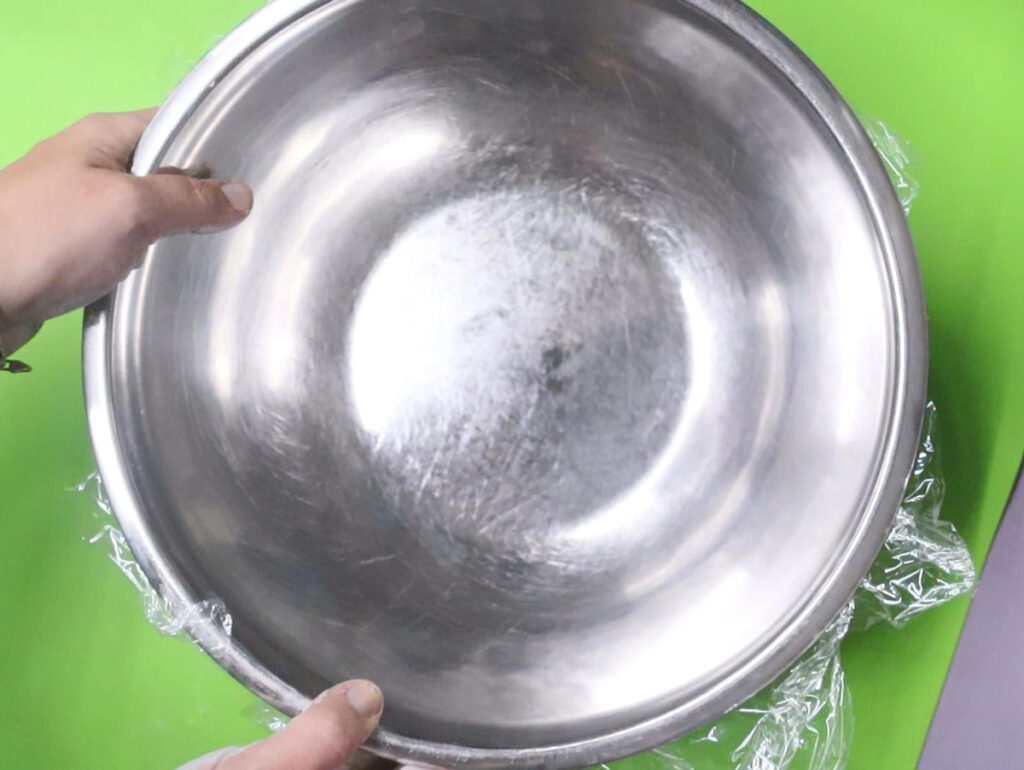
- For some reason, metal bowls work better than glass bowls.
- Partially cure (air dry) your bowl just enough that the walls will stand freely and then remove it. Air dry clay does shrink as it cures, so it’ll be less tight if you remove it early.
Painting it
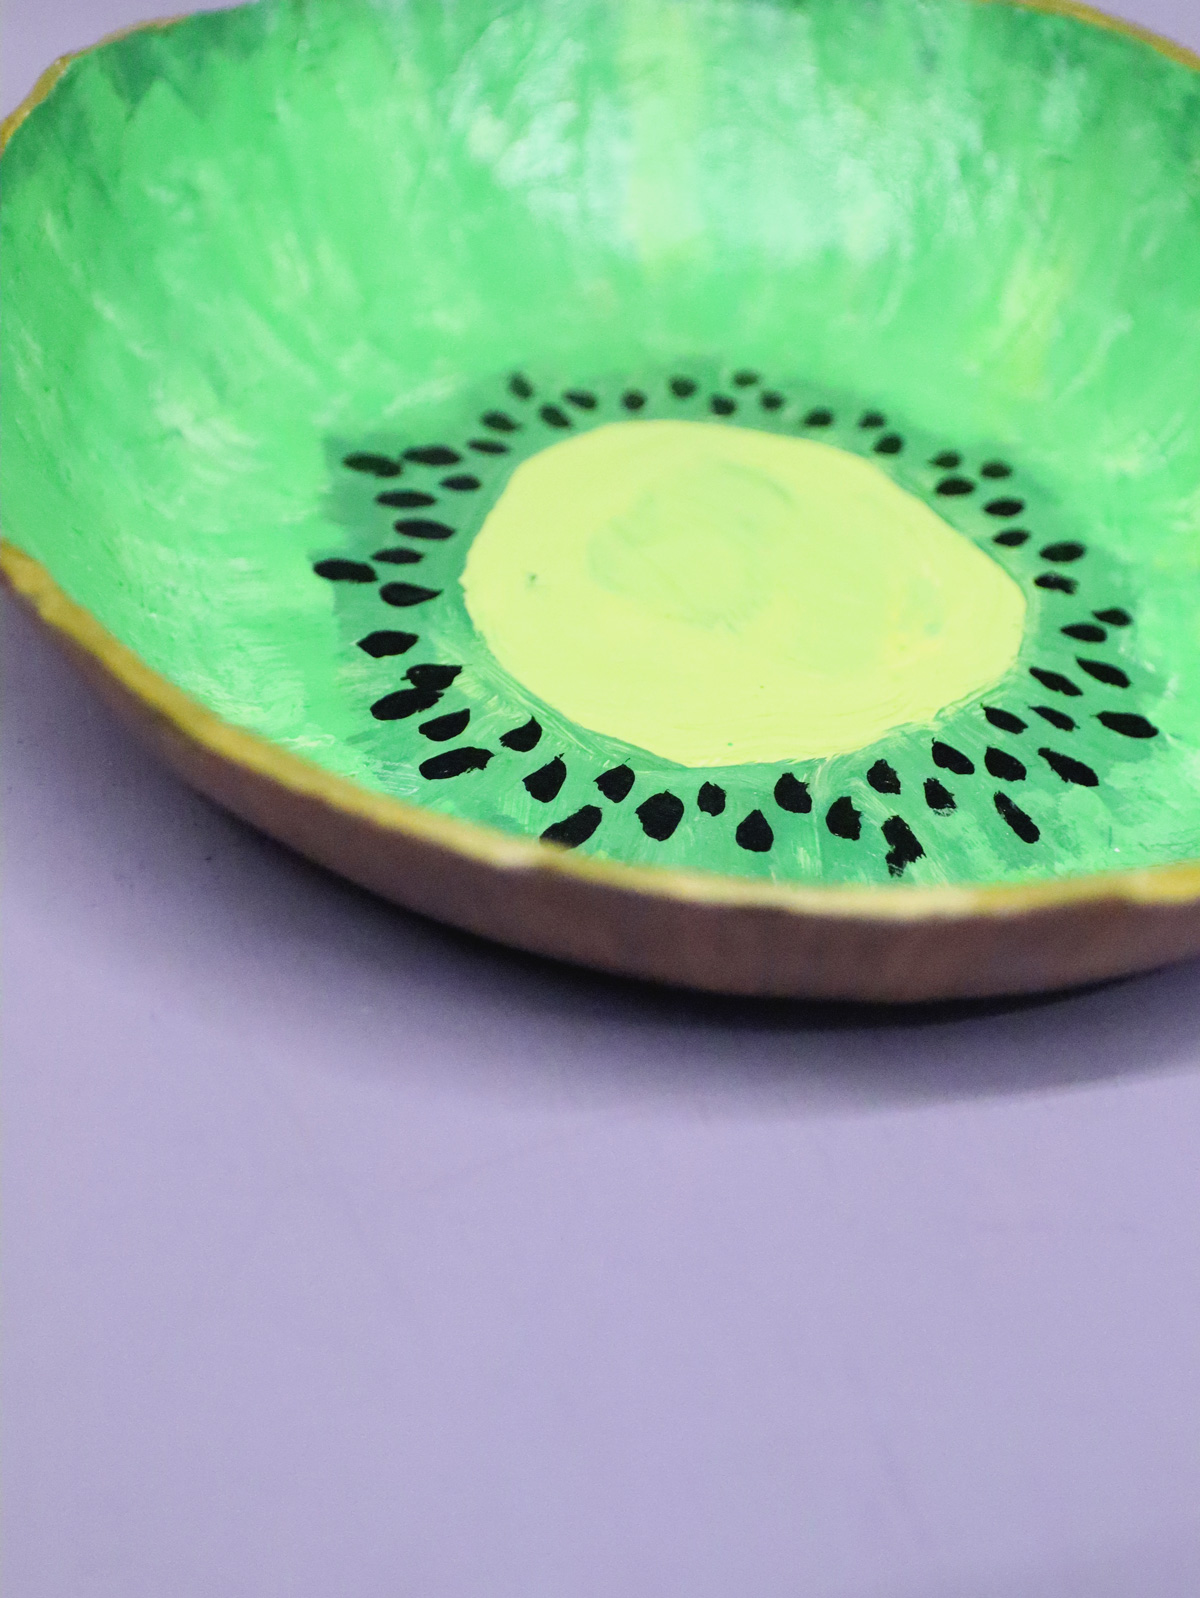
Painting your fruit bowl can be stressful. I recommend not looking too close at your bowl when you are painting it. Take a step back and see how it looks then. I reworked my kiwi bowl a LOT. I share more ideas for how to finish it below, so if you are uncomfortable with making a fruit slice, go ahead and do one of my alternate ideas.
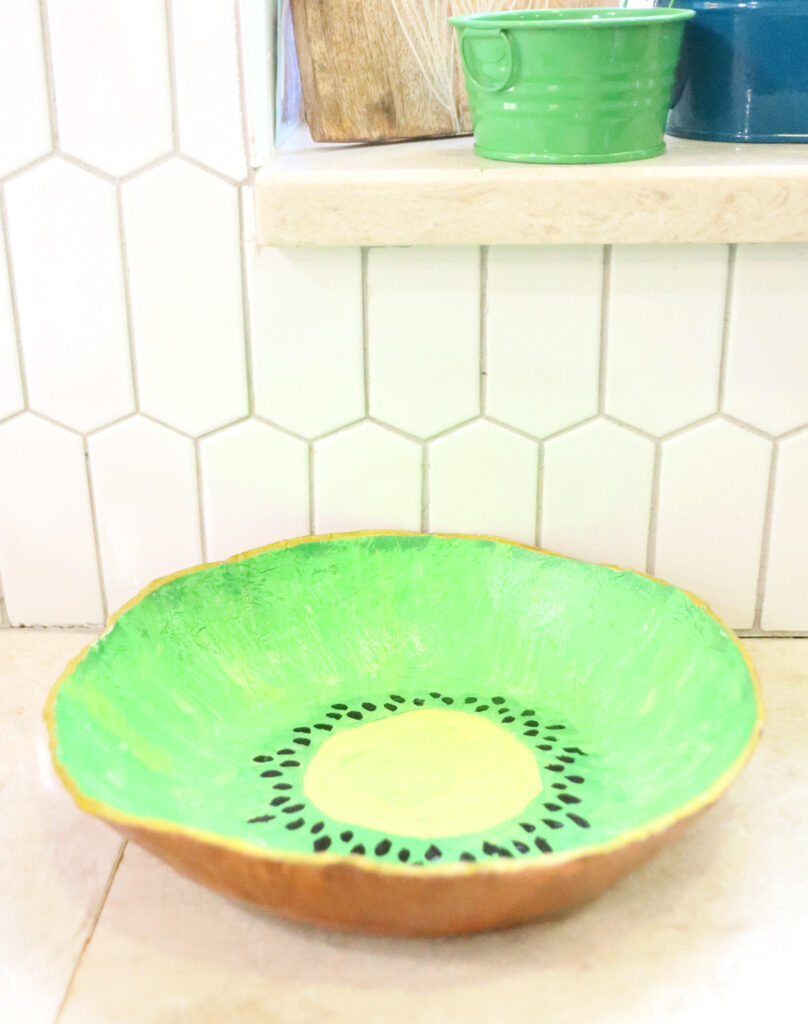
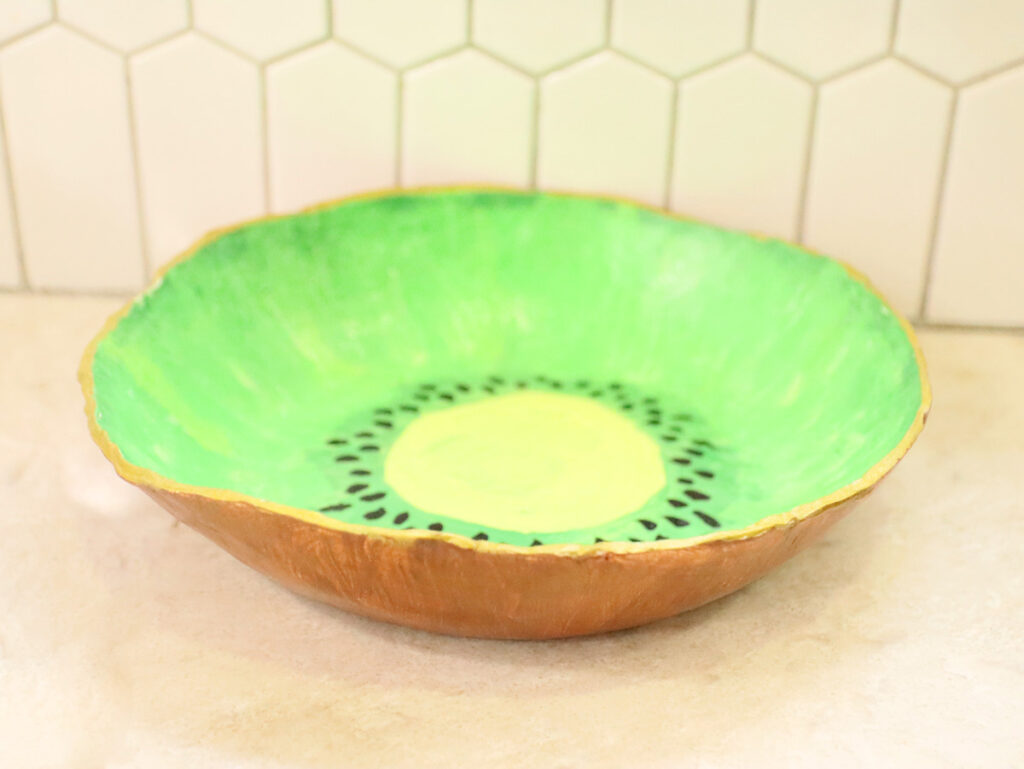
I painted the edges with a gold paint marker (mine is matte – you can go for a real chrome look with this one) to embrace the messy edge. I really like the organic look of it, and the gold marker makes it look intentional.
Sealing it
When it comes to making dishes from clay, you really do need a seal. How tight that needs to be will depend on your intended use. For a fruit bowl that sits out, and holds fruit in the peel, only a quick wipe-down will be needed.
If you’re going for food-safe, resin really is your best bet. It creates a solid seal and makes it so durable. But if you don’t want to mess with resin, you can use Mod-Podge – any hard-finishing water resistant formula will work. Mod Podge is non-toxic but not food safe. I used their outdoor formula.
More ideas and alternatives for making DIY air dry clay fruit bowls
There are so many different ways to craft this – and while I did make this as a kiwi bowl, you really don’t need to!
Cool design ideas
Beyond my kiwi, here are more ideas for finishing and designing your DIY air dry clay fruit bowl:
- Try other fruit slices! Citrus is a shoo-in (lemon, lime, etc). Give the peel (outside) some texture before the clay cures.
- You can paint any pattern. Simple designs like polka dots (dot it with a pencil eraser) are easy to get right. If you’re more skilled, try painting more complex patterns.
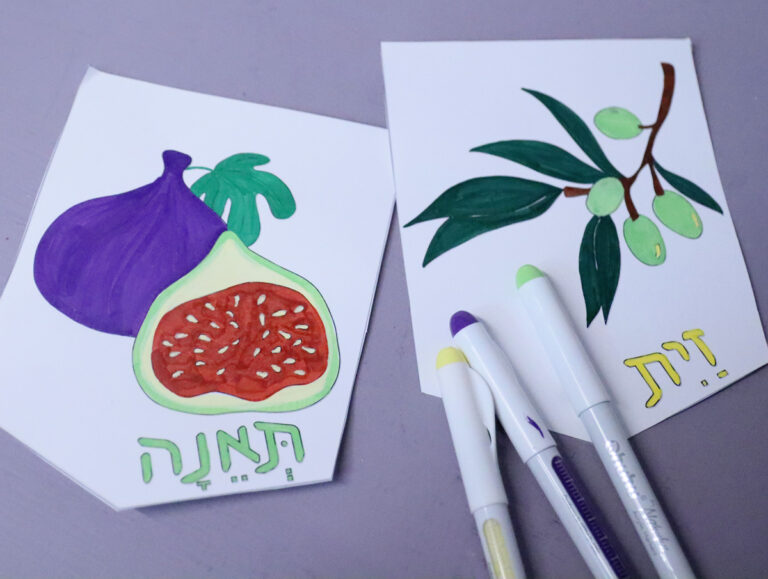
- Watercolor your bowl like I did with this pomegranate honey drip tray.
- Keep your bowl white (you can also paint it white after it dries) and add some texture instead.
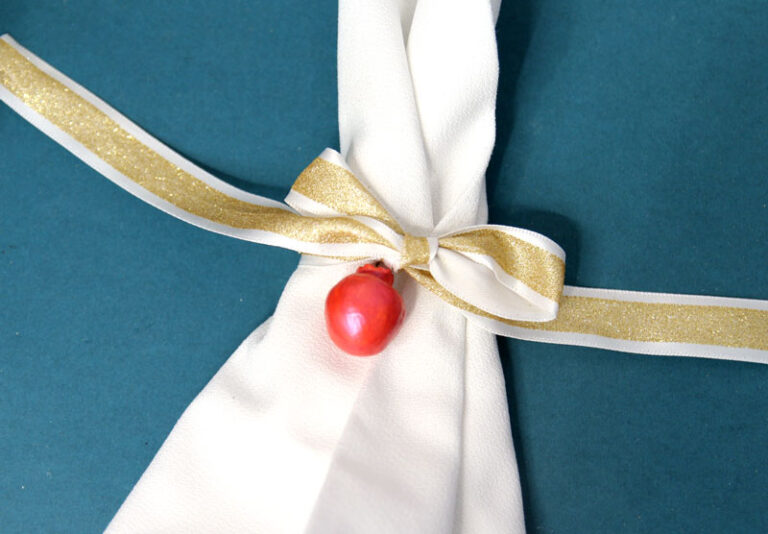
- Decoupage napkins like I did with these toilet paper roll napkin rings.

Beyond Tu B’shvat
Of course, this is a fun craft workshop for any occasion! Make fruit bowls just to have as home decor. Make them smaller as trinket bowls or dip bowls (they’ll need to be more food safe for dips). Make them larger as a tabletop centerpiece to fill with any bowl filler.
Or, craft these for other Jewish holidays! In small, they can make a cool honey dish. You can even make them for Pesach as bowls for Charoset or salt water. If you have patience to make a lot of them, you can use them as Mishloach Manot containers (just make sure you finish it simpler – such as a solid coat of cream or tan paint, or watercolor paints.)
How to make a DIY air dry clay fruit bowl
Supplies needed
- A full block of air drying clay – I like DAS brand a lot for its quality, durability, and workability
- A protected surface to work on. You can use parchment, but if you have a good sturdy silicone mat, or even a clay-dedicated silicone baking sheet, it’ll be helpful
- A rolling pin dedicated to clay
- A bowl or jar of water
- A clay-dedicated craft knife
- A metal mixing bowl to use as a mold – it should be somewhat larger than you want your bowl to be. If you only have a glass one, it’ll work too, but metal is easier to remove the clay from
- Plastic wrap – again, if you don’t want to use this, it’ll work but be a bit harder to remove your clay.
- Acrylic paint – depending on how you plan to finish it. For a kiwi, a medium brown, different shades of green, red is helpful for toning, and black.
- Paintbrushes – a good mix of sizes, flats and rounds
- Sealer – I used outdoor Mod Podge – see food safety notes above
- Gold acrylic paint marker. Preferably one that you don’t mind ruining. If you don’t want to go that route, you can use gold acrylic paint and a brush.
Watch the video
Watch the full-length video on YouTube if you prefer to learn that way! Or scroll down for written instructions with photos.
Craft your bowl – step by step instructions
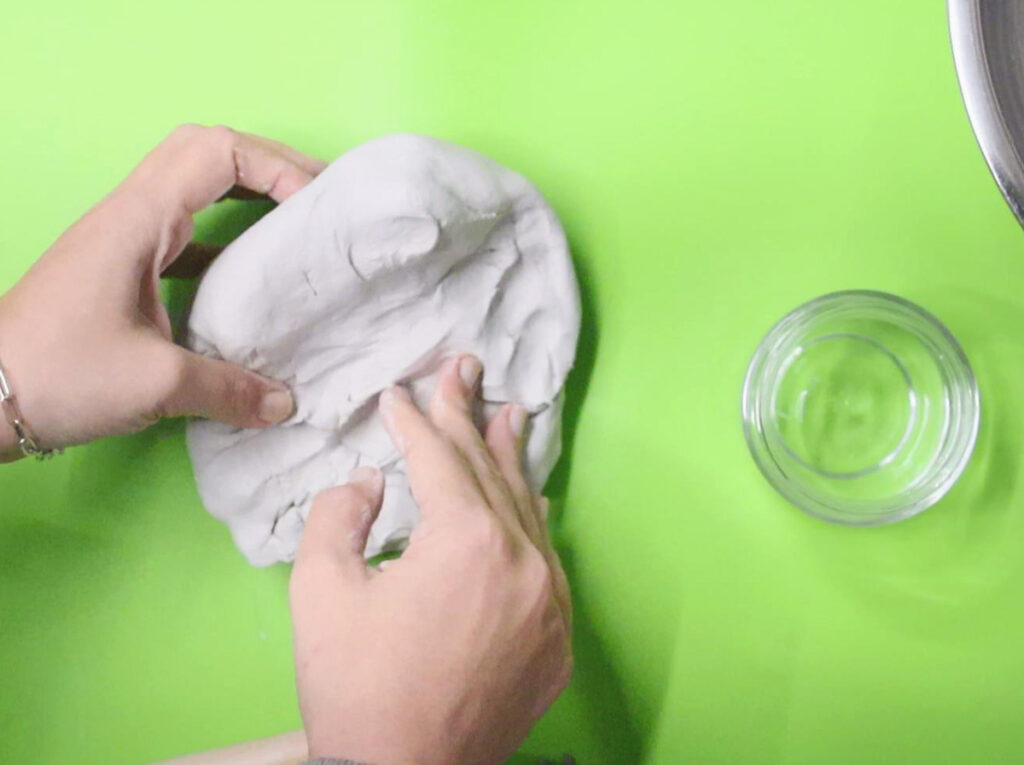
1. Start by softening your entire block of clay by kneading it for a few seconds. Form a ball and then flatten it to a pancake.
2. Start rolling out your pancake.
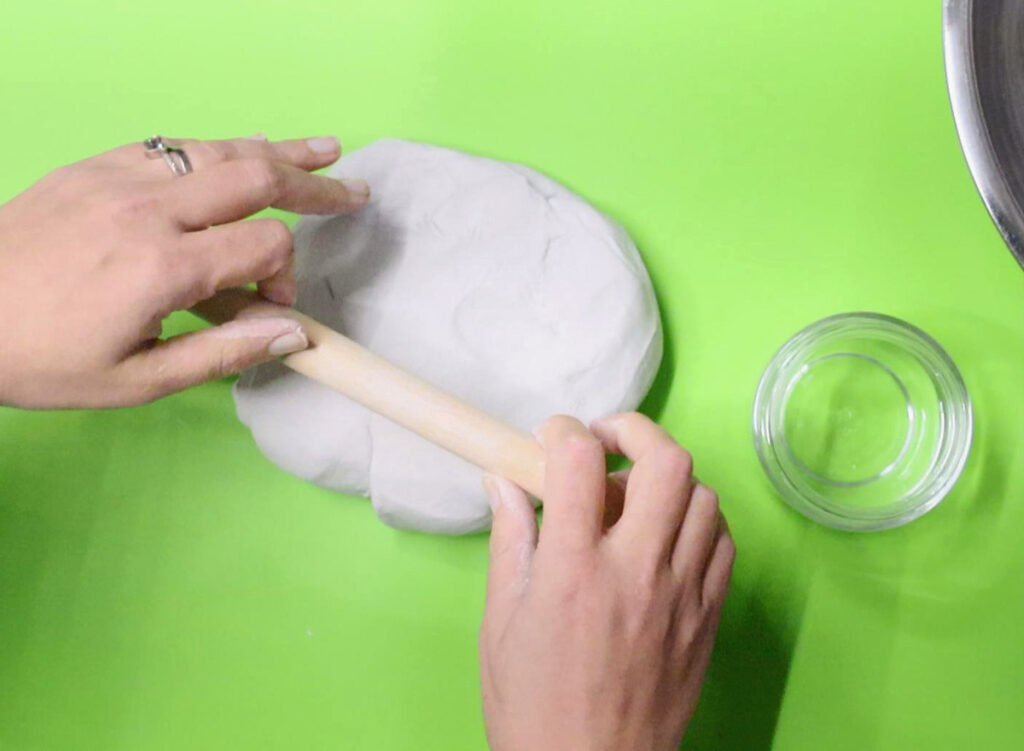
Keep rolling, flipping it over occasionally, keeping your thickness as even as possible, and using water to smooth out any cracks that form.
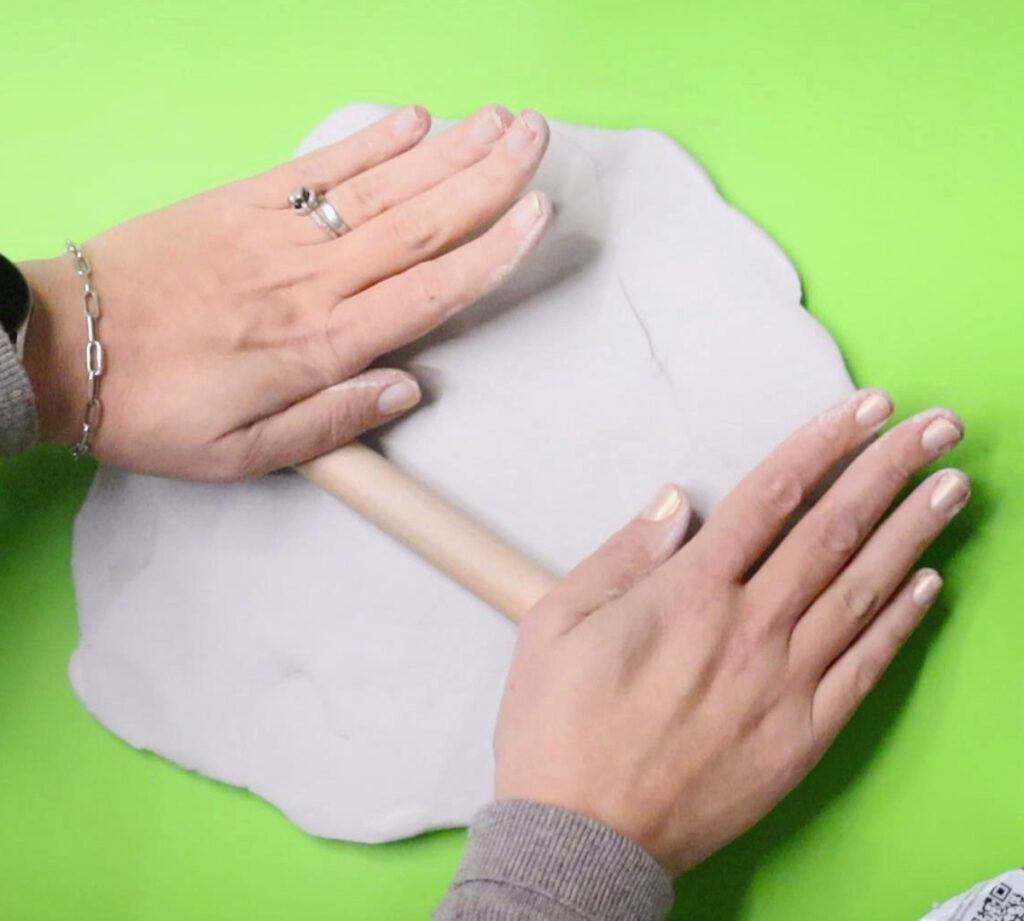
3. Keep rolling until it’s a bit larger than your bowl. It shouldn’t be so thick that it’ll take forever to dry, but it should be thick enough to be sturdy. About 1/8-1/4 inch is a good target thickness. It’ll thin towards the end so the more clay you have around the perimeter to trim the better.
4. Run your knife around the edge of the bowl to trim off the excess clay.
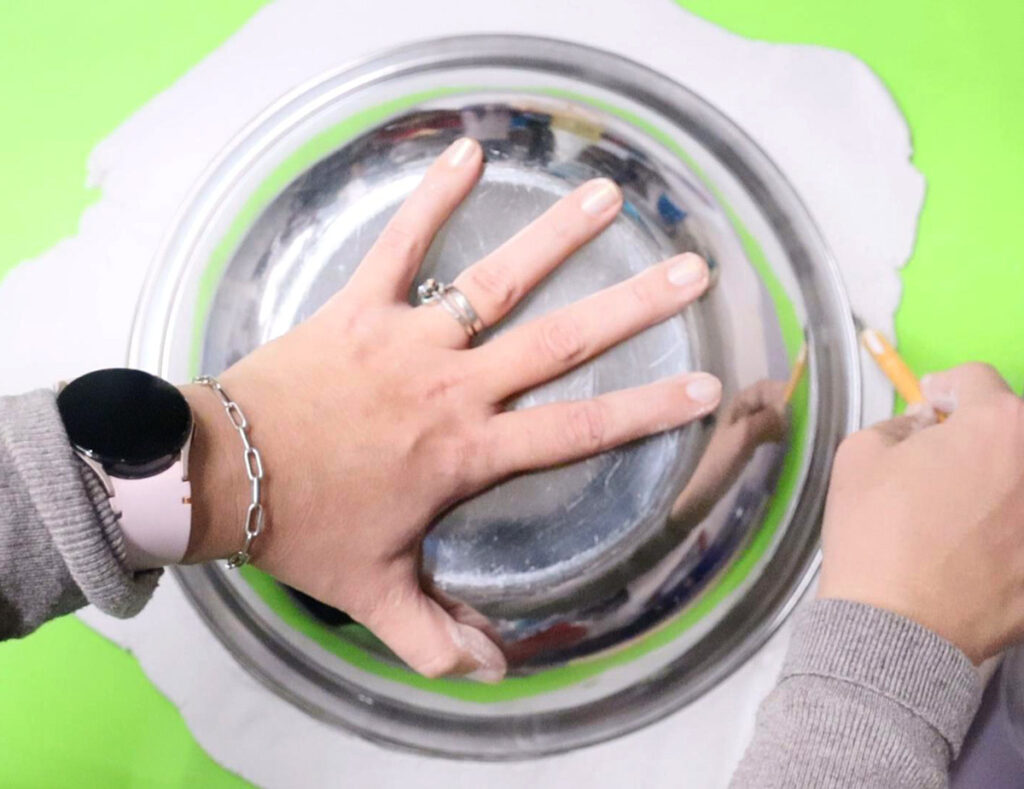
Remove the extra clay and store it in an airtight container for the next project.
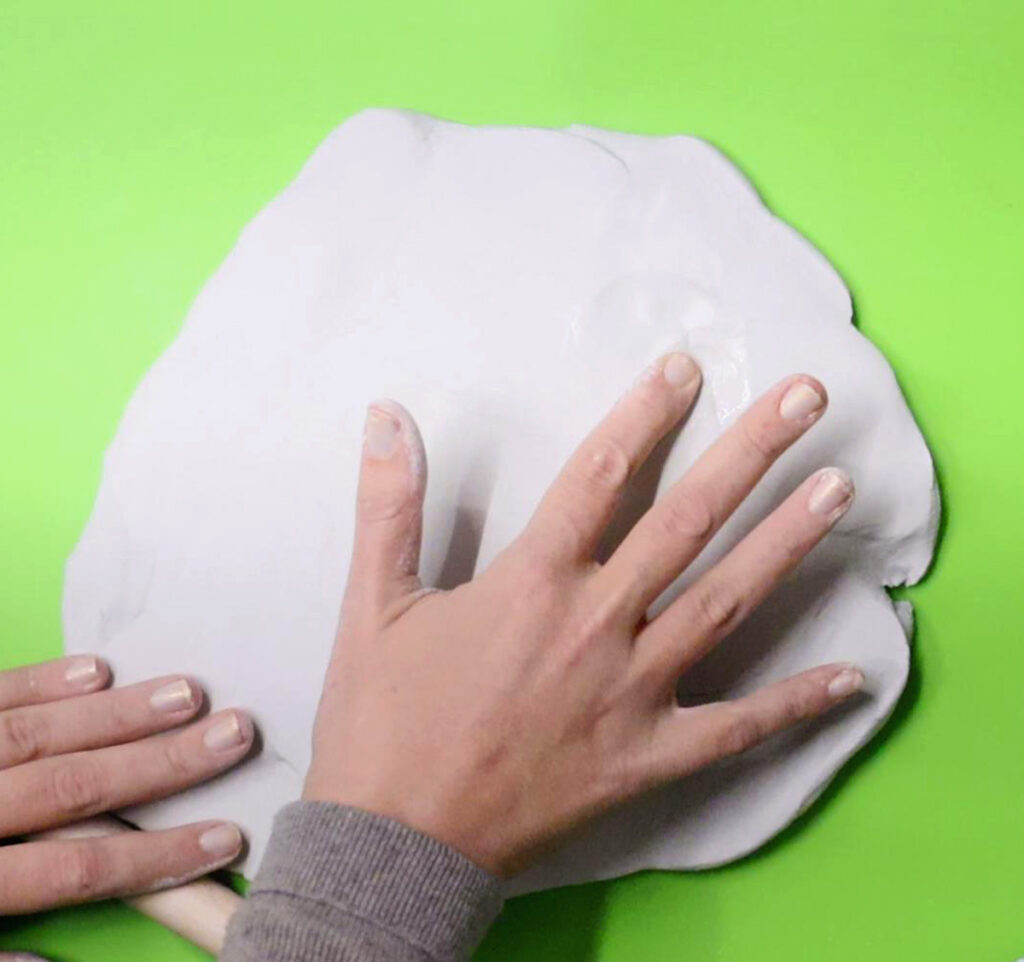
5. Smooth the edges a little if you’d like.
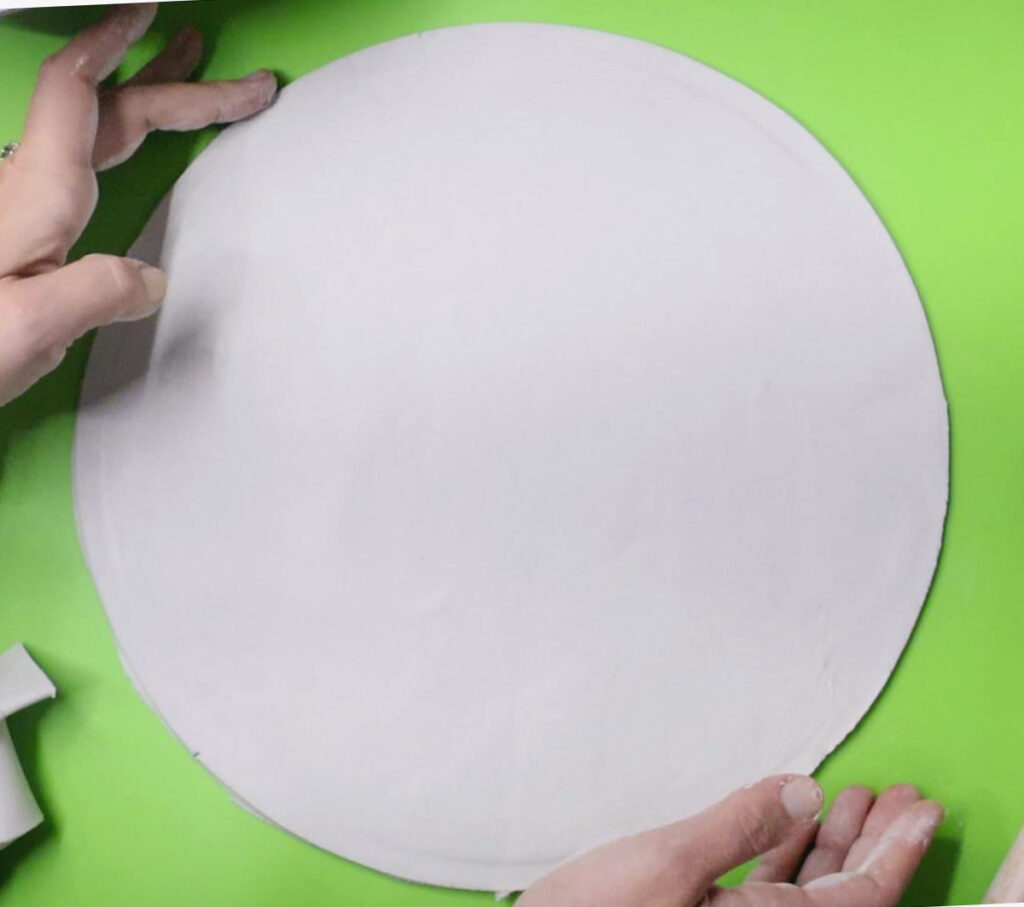
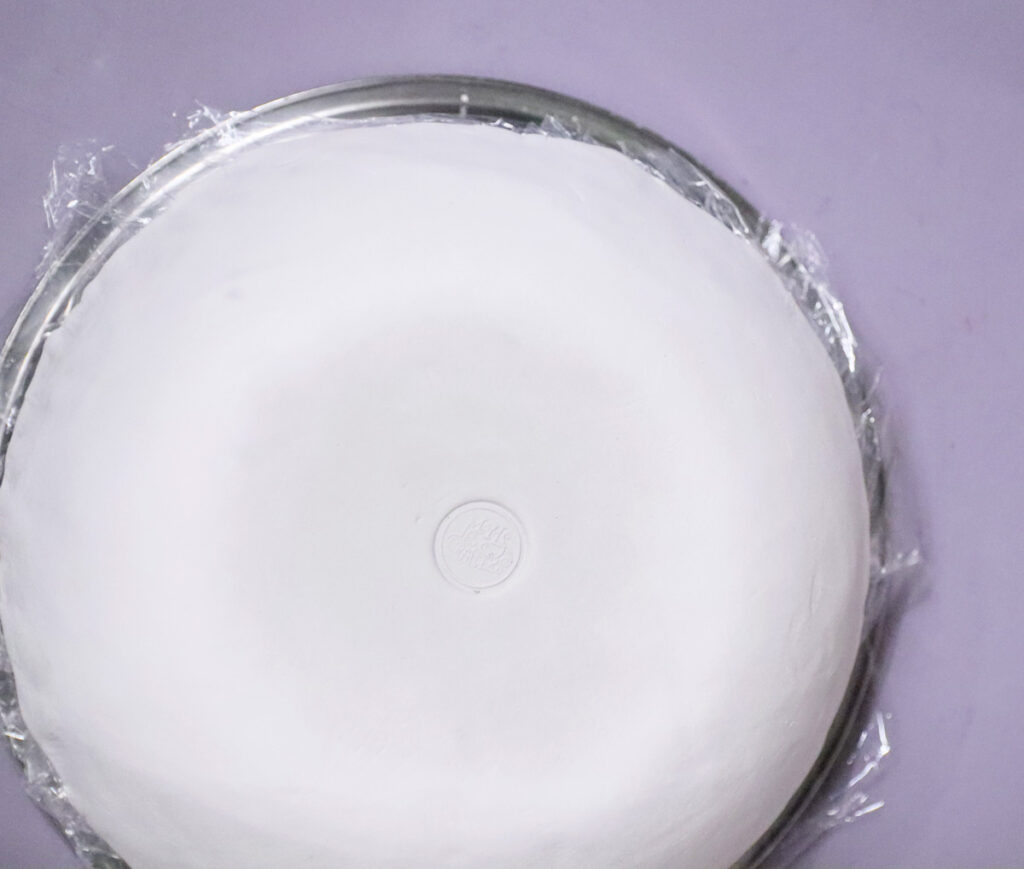
6. Cover the outside of your bowl with plastic wrap. Make it as smooth as you can – creases will need to be fixed as they’ll show on the bowl.
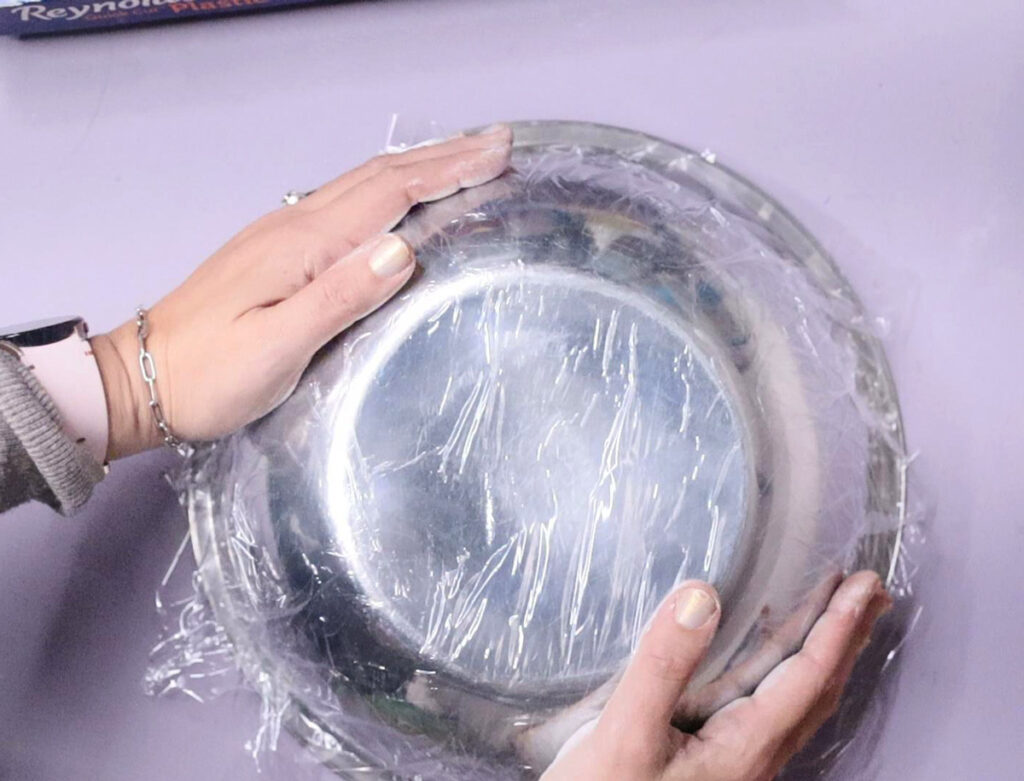
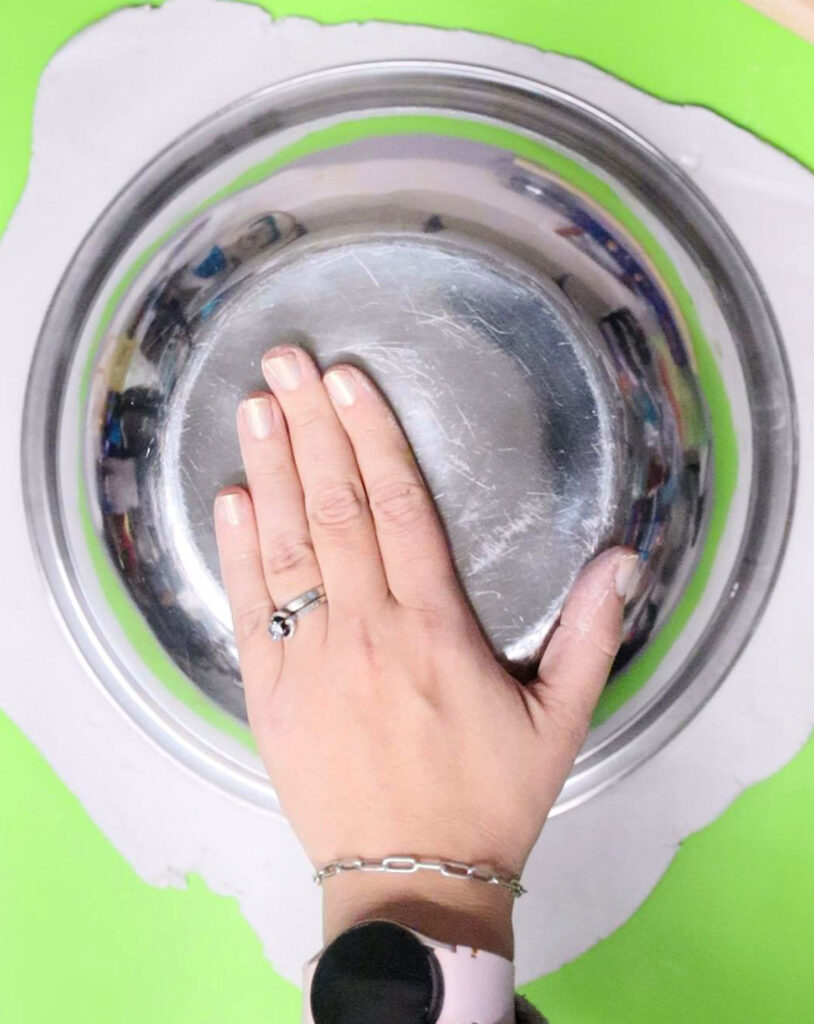
7. Center your bowl (plastic wrap side down) on your clay circle.
8. Flip your whole mat over, holding the bowl with one hand and the mat with the other – supporting each with your whole hand. If you don’t have a mat you can flip over like this, you can carefully lift up your clay circle.

9. Lift up your mat. Make sure your clay is properly centered on the bowl.
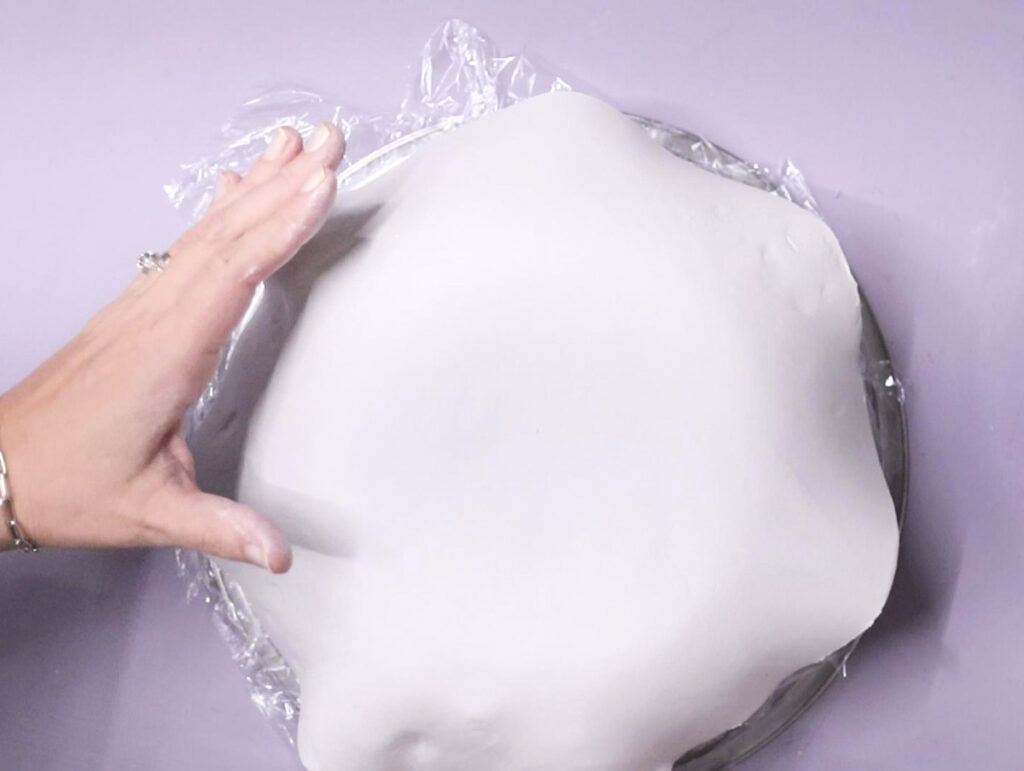
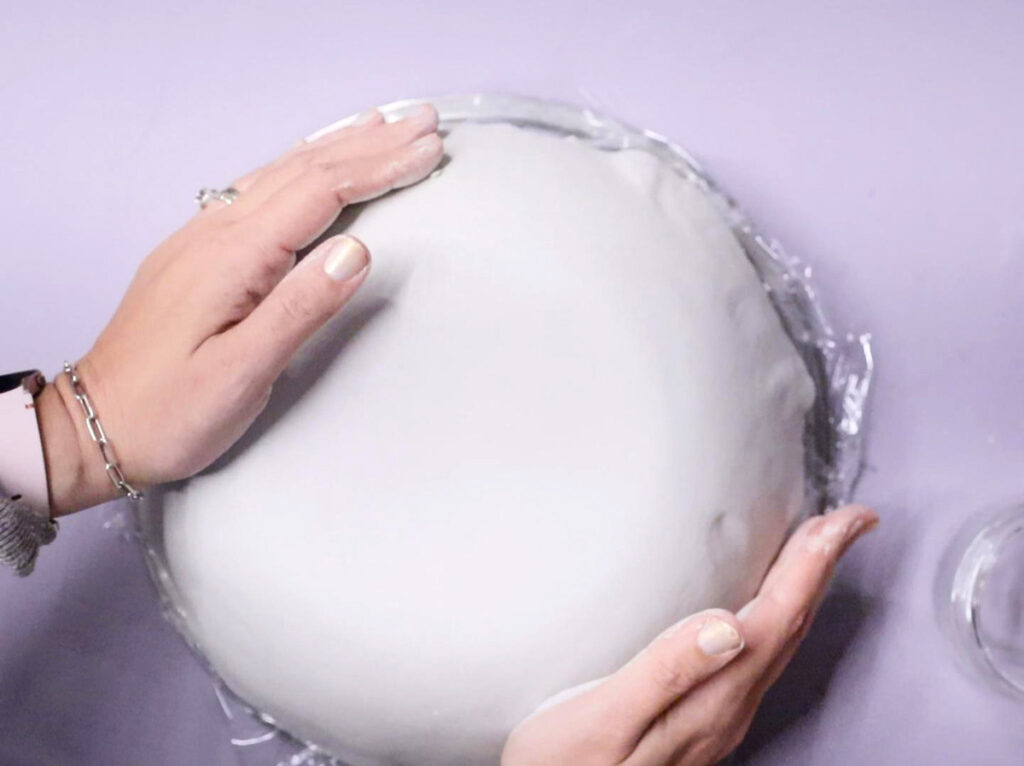
10. Carefully shape your bowl. You can ruffle the edges for a ruffle edge bowl, or carefully smooth and fold the parts to form it.
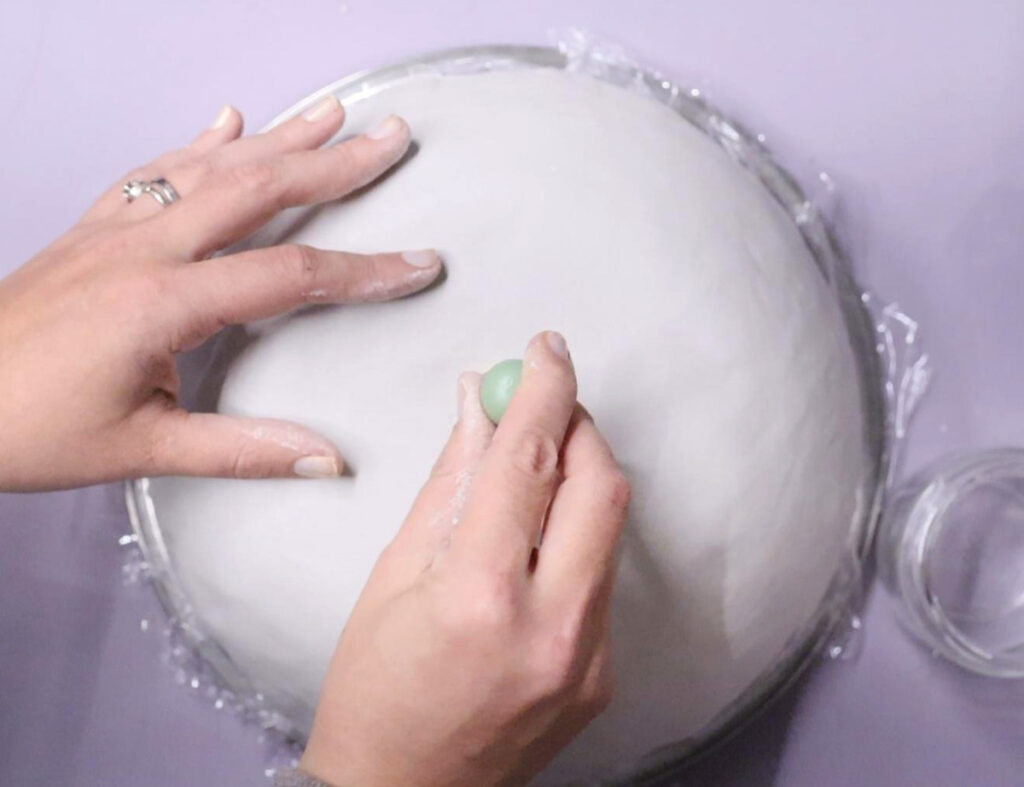
11. If you’d like, you can etch your initials into the bottom of the bowl – or stamp it if you have a stamp.
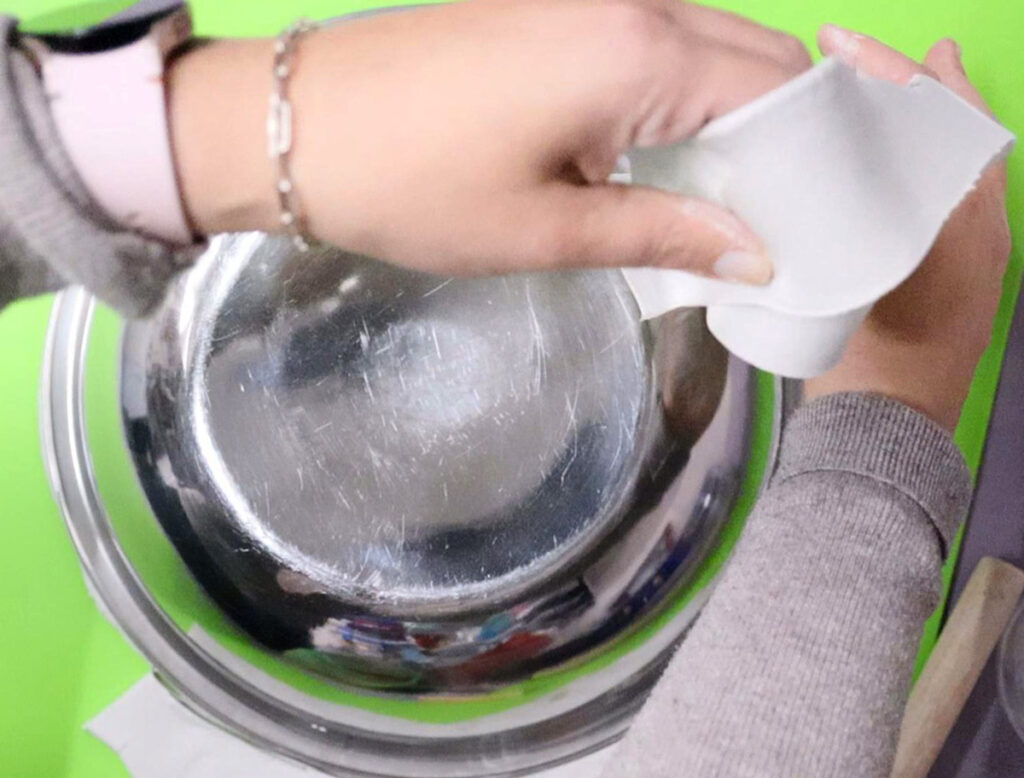
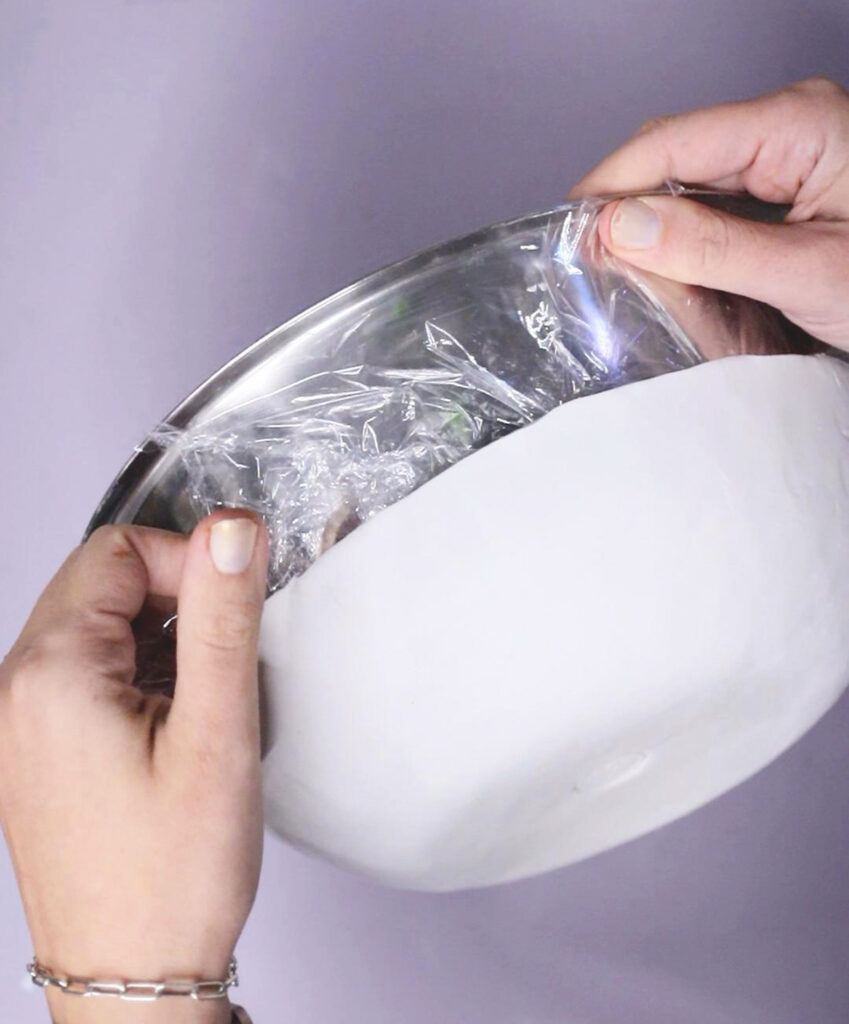
12. Let your bowl partially cure. It should be strong enough to hold its shape but still flexible. Mine sat for 7 hours in a somewhat humid and cool basement. Environment will influence the cure time, so if you’re in a dryer or warmer setting, you’ll want to check much earlier.
When it’s partially cured, carefully remove the clay from the base bowl. Slide your fingers between the two and gently nudge it off.
13. Trim around the edge of your bowl to even it out as much as you can.
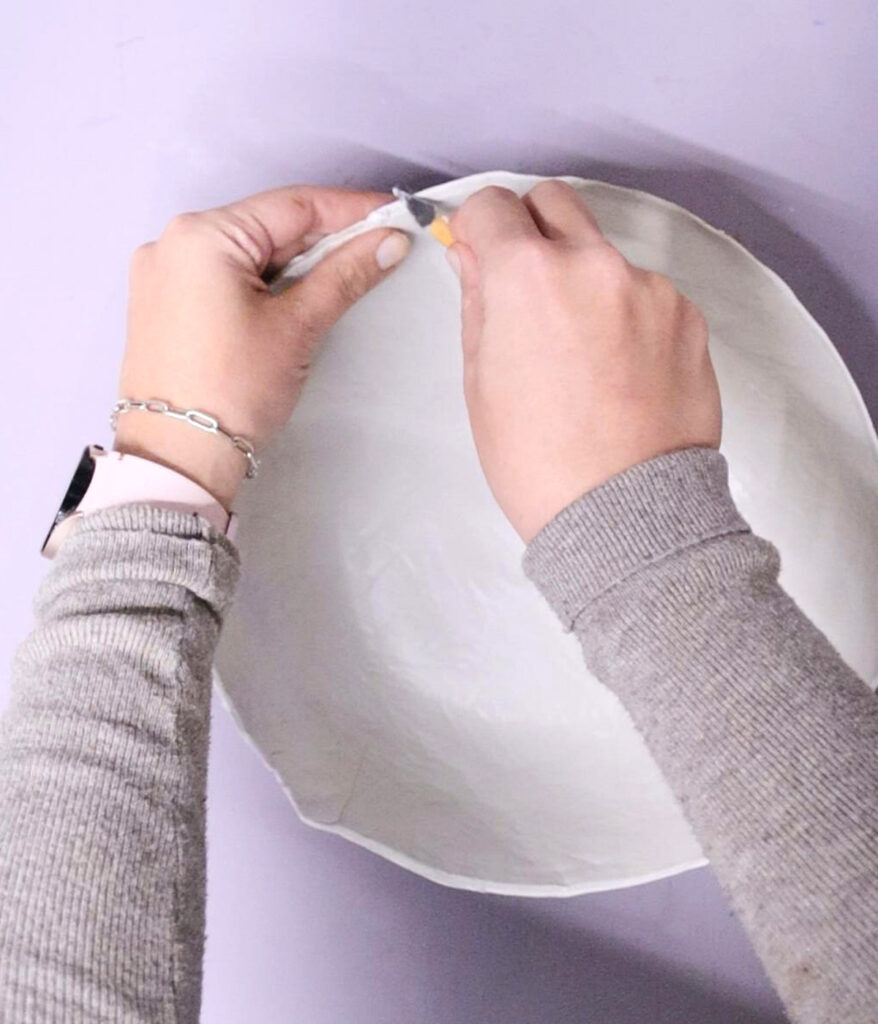
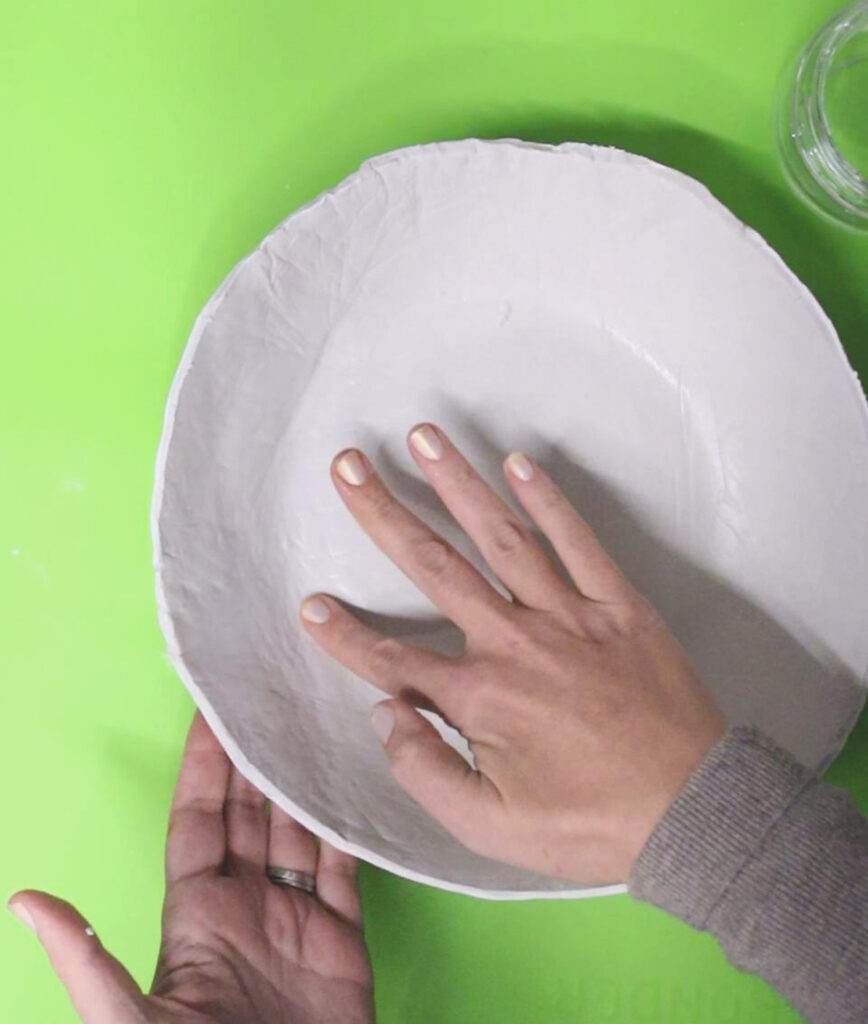
14. Use water to carefully smooth out the creases on the inside of the bowl. You may have some pretty serious ones from where it creased when you formed the bowl. The plastic wrap will have also given it some creases.
Use one hand to support the bowl from the outside, and the other to smooth things out.
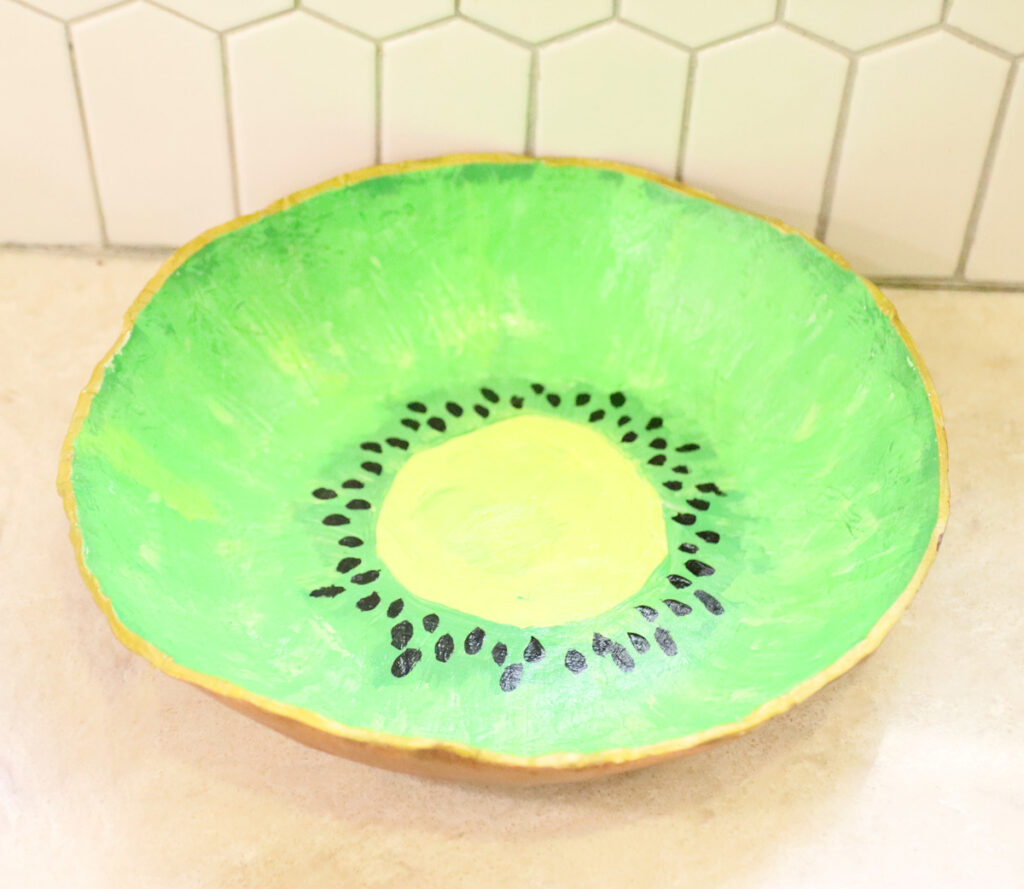
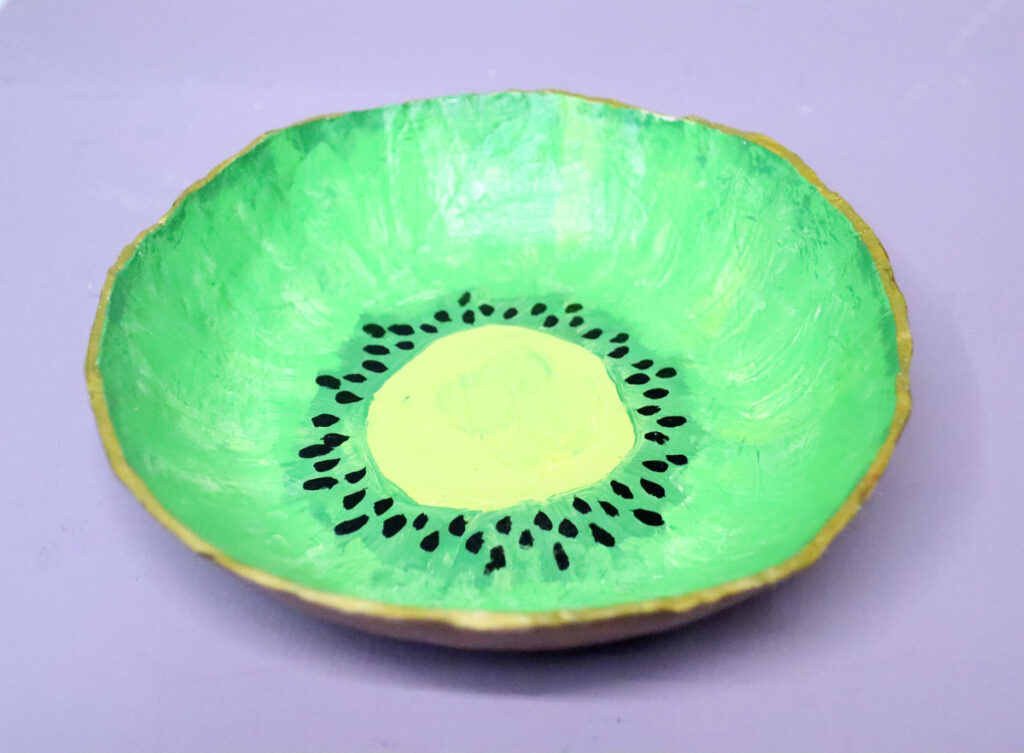
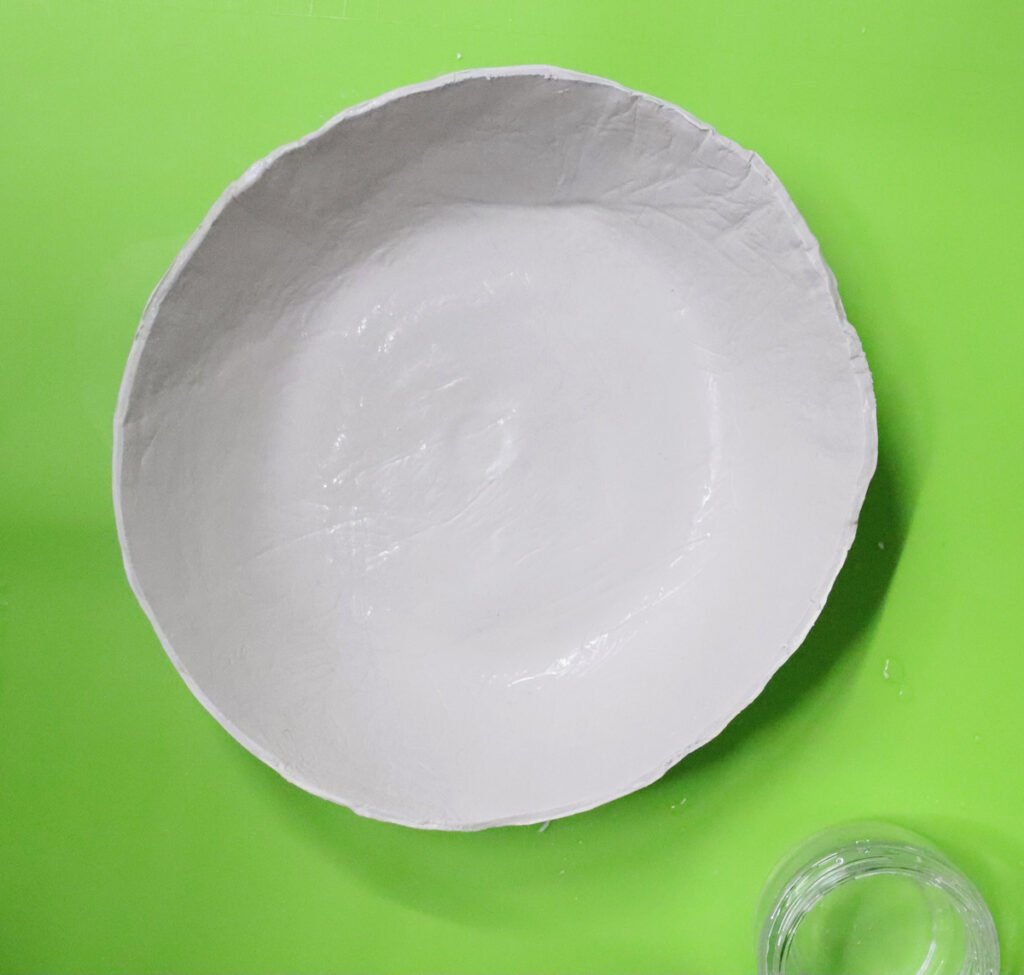
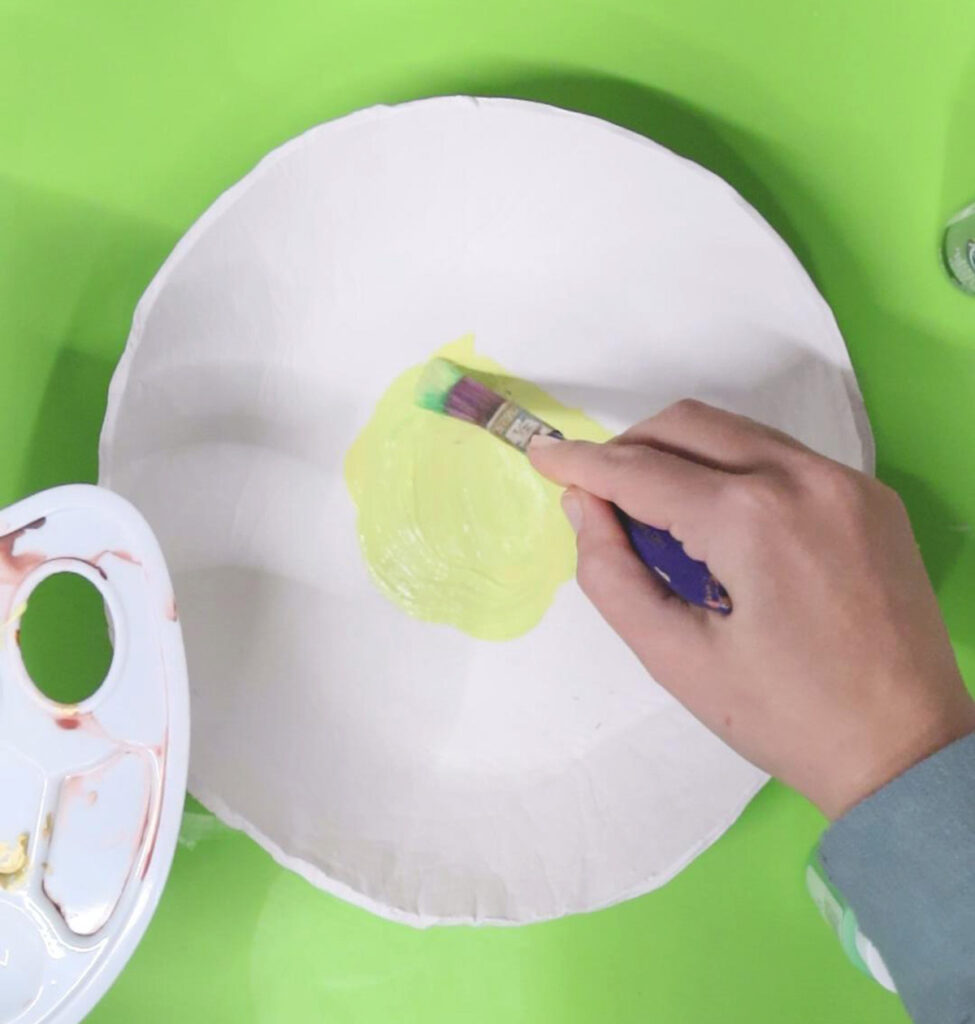
15. Allow your bowl to dry completely! Then start painting. I did a very light green uneven circle in the center.
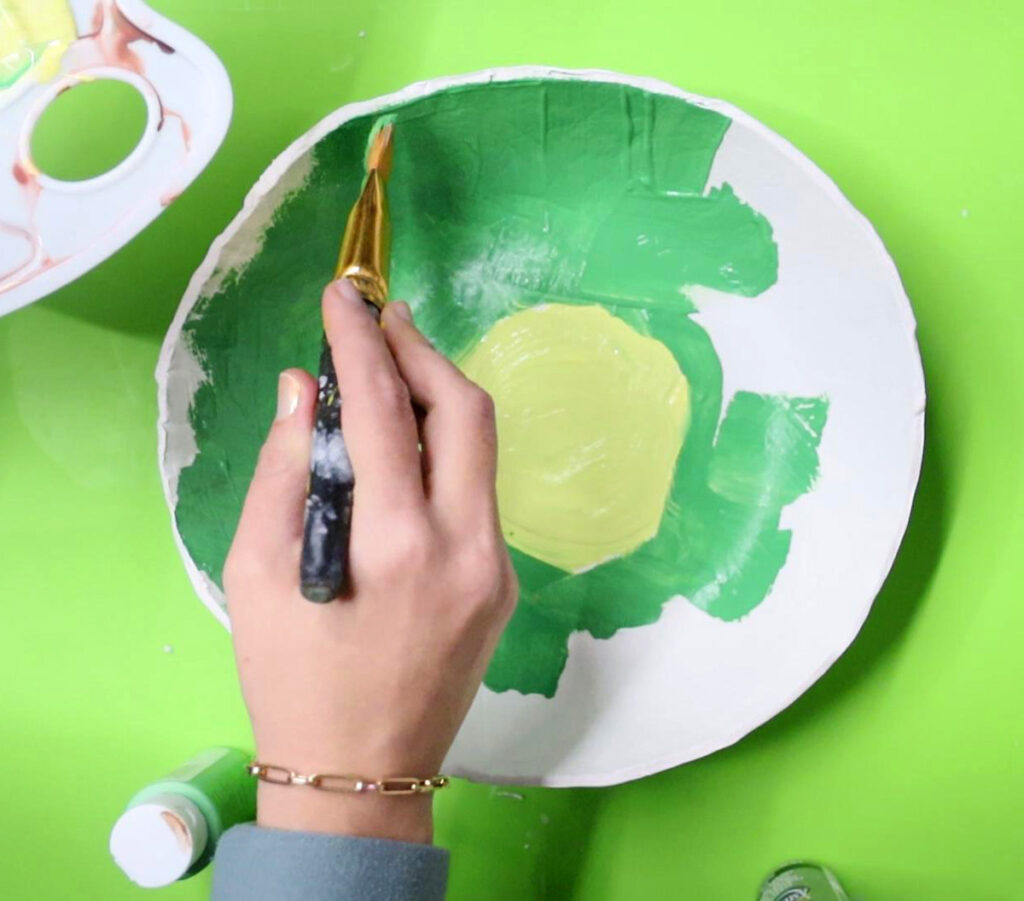
Followed by a brighter green for the rest of the inside.
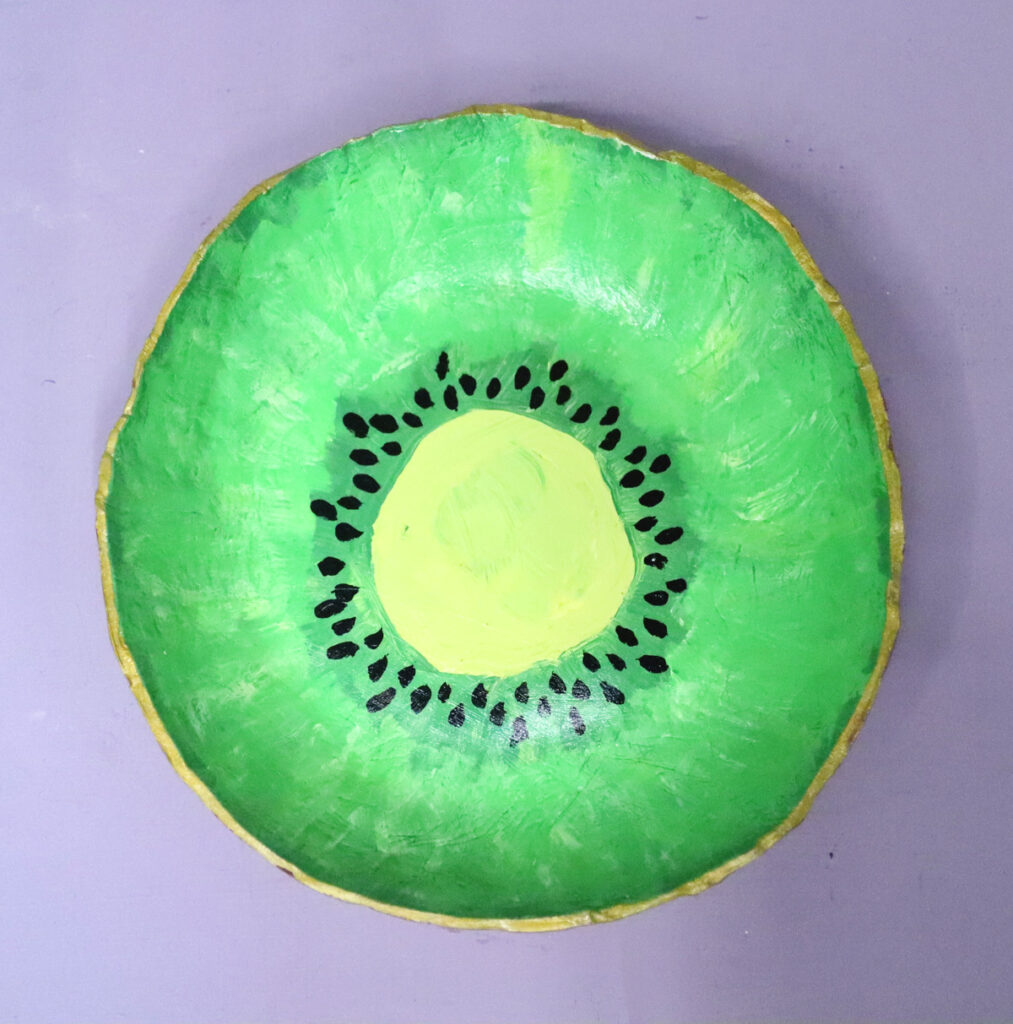
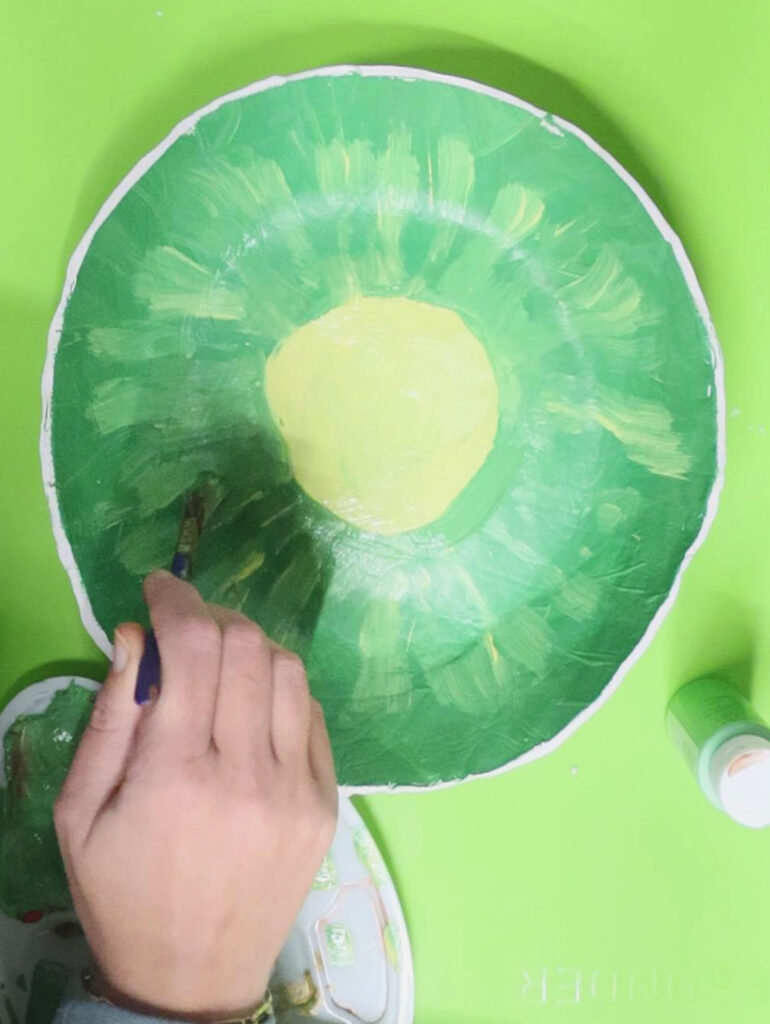
16. I painted some light green lines going outward.
And then blended them in. I did rework my painting a few times – you may prefer to ditch the lines and keep things simple.
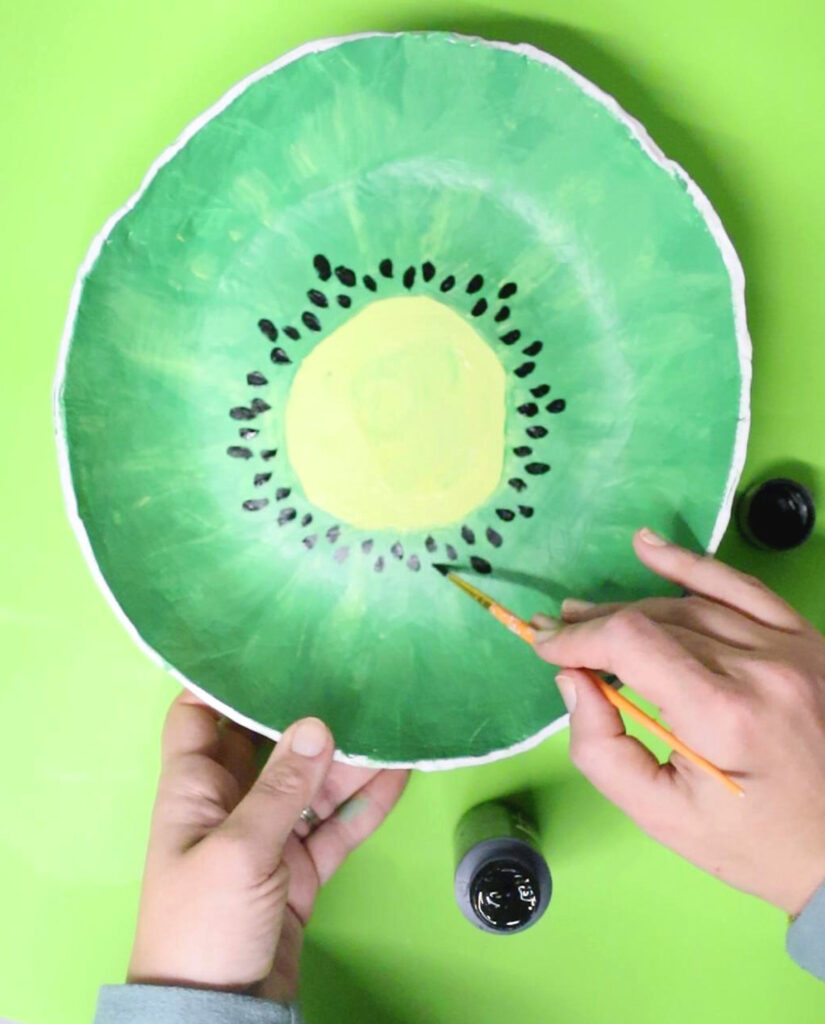
17. Add black seeds right around the light portion. A paint marker might be easier, but I used a round brush, pressing it down to widen it at the end.
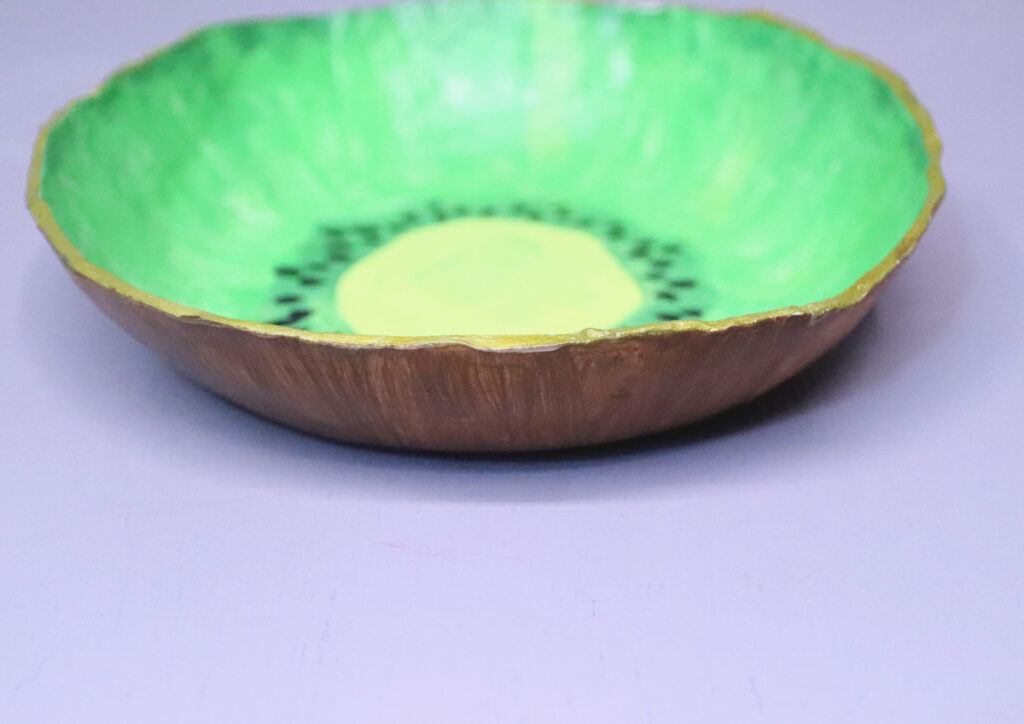
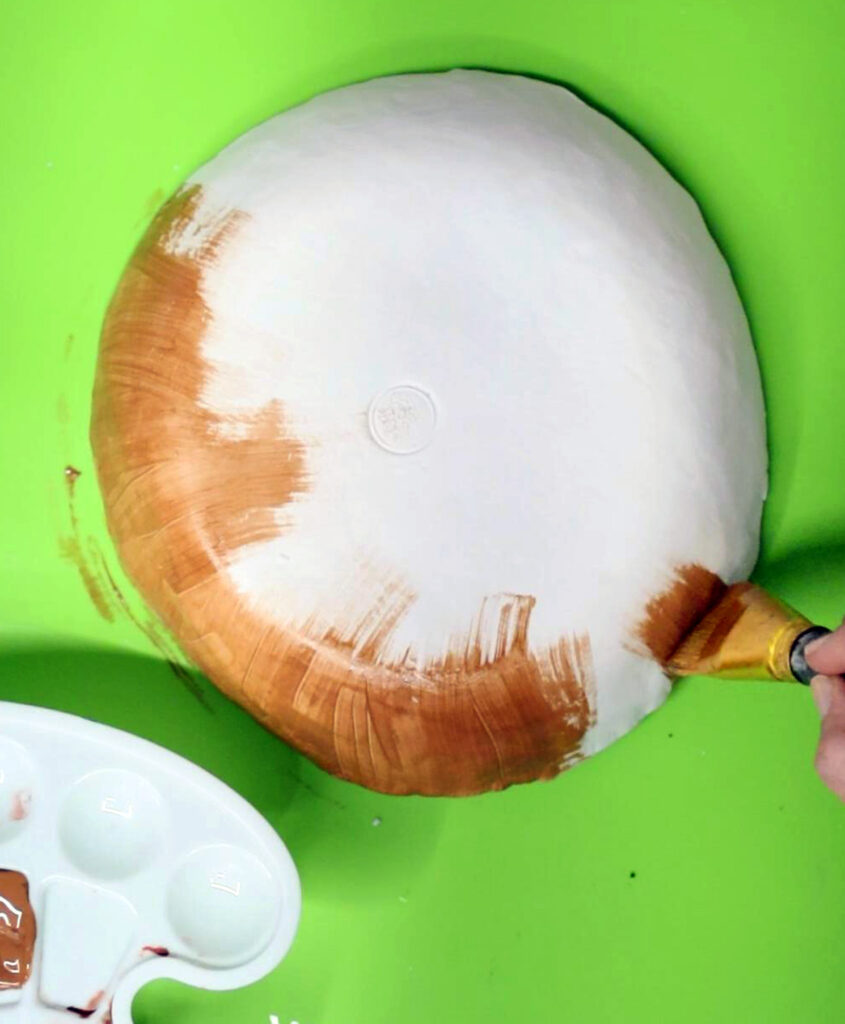
18. Paint the outside brown, using unbroken strokes from the edge toward the center.
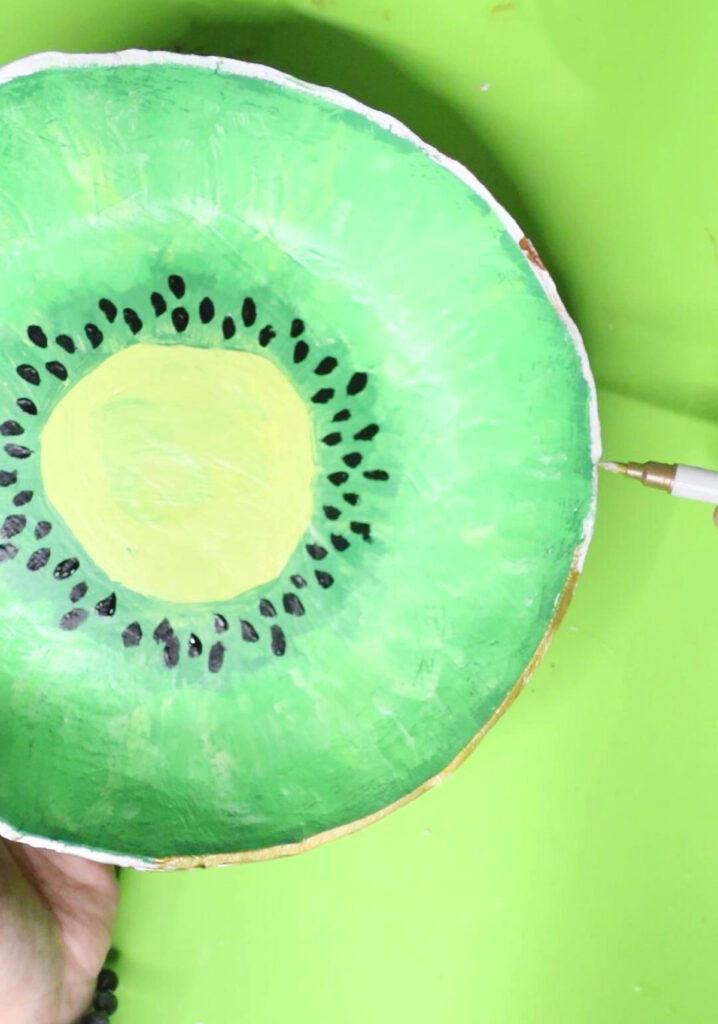
19. When your paint has dried, color the edges with a gold acrylic paint marker.
20. And seal your bowl!
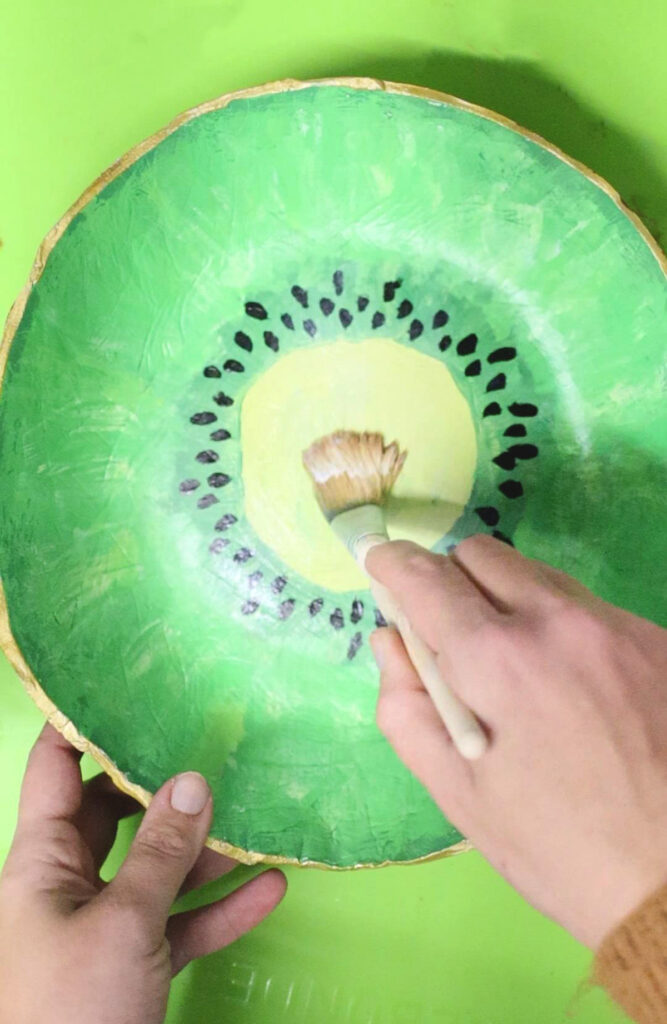
Your DIY air dry clay fruit bowl is complete! I hope you enjoyed crafting this unique piece!