DIY Felt Shofar Craft
Make this fun DIY felt shofar craft as a fun Rosh Hashanah toy for kids! When you’re done, you can check out our big list of Rosh Hashanah crafts for all ages! This post contains affiliate links.
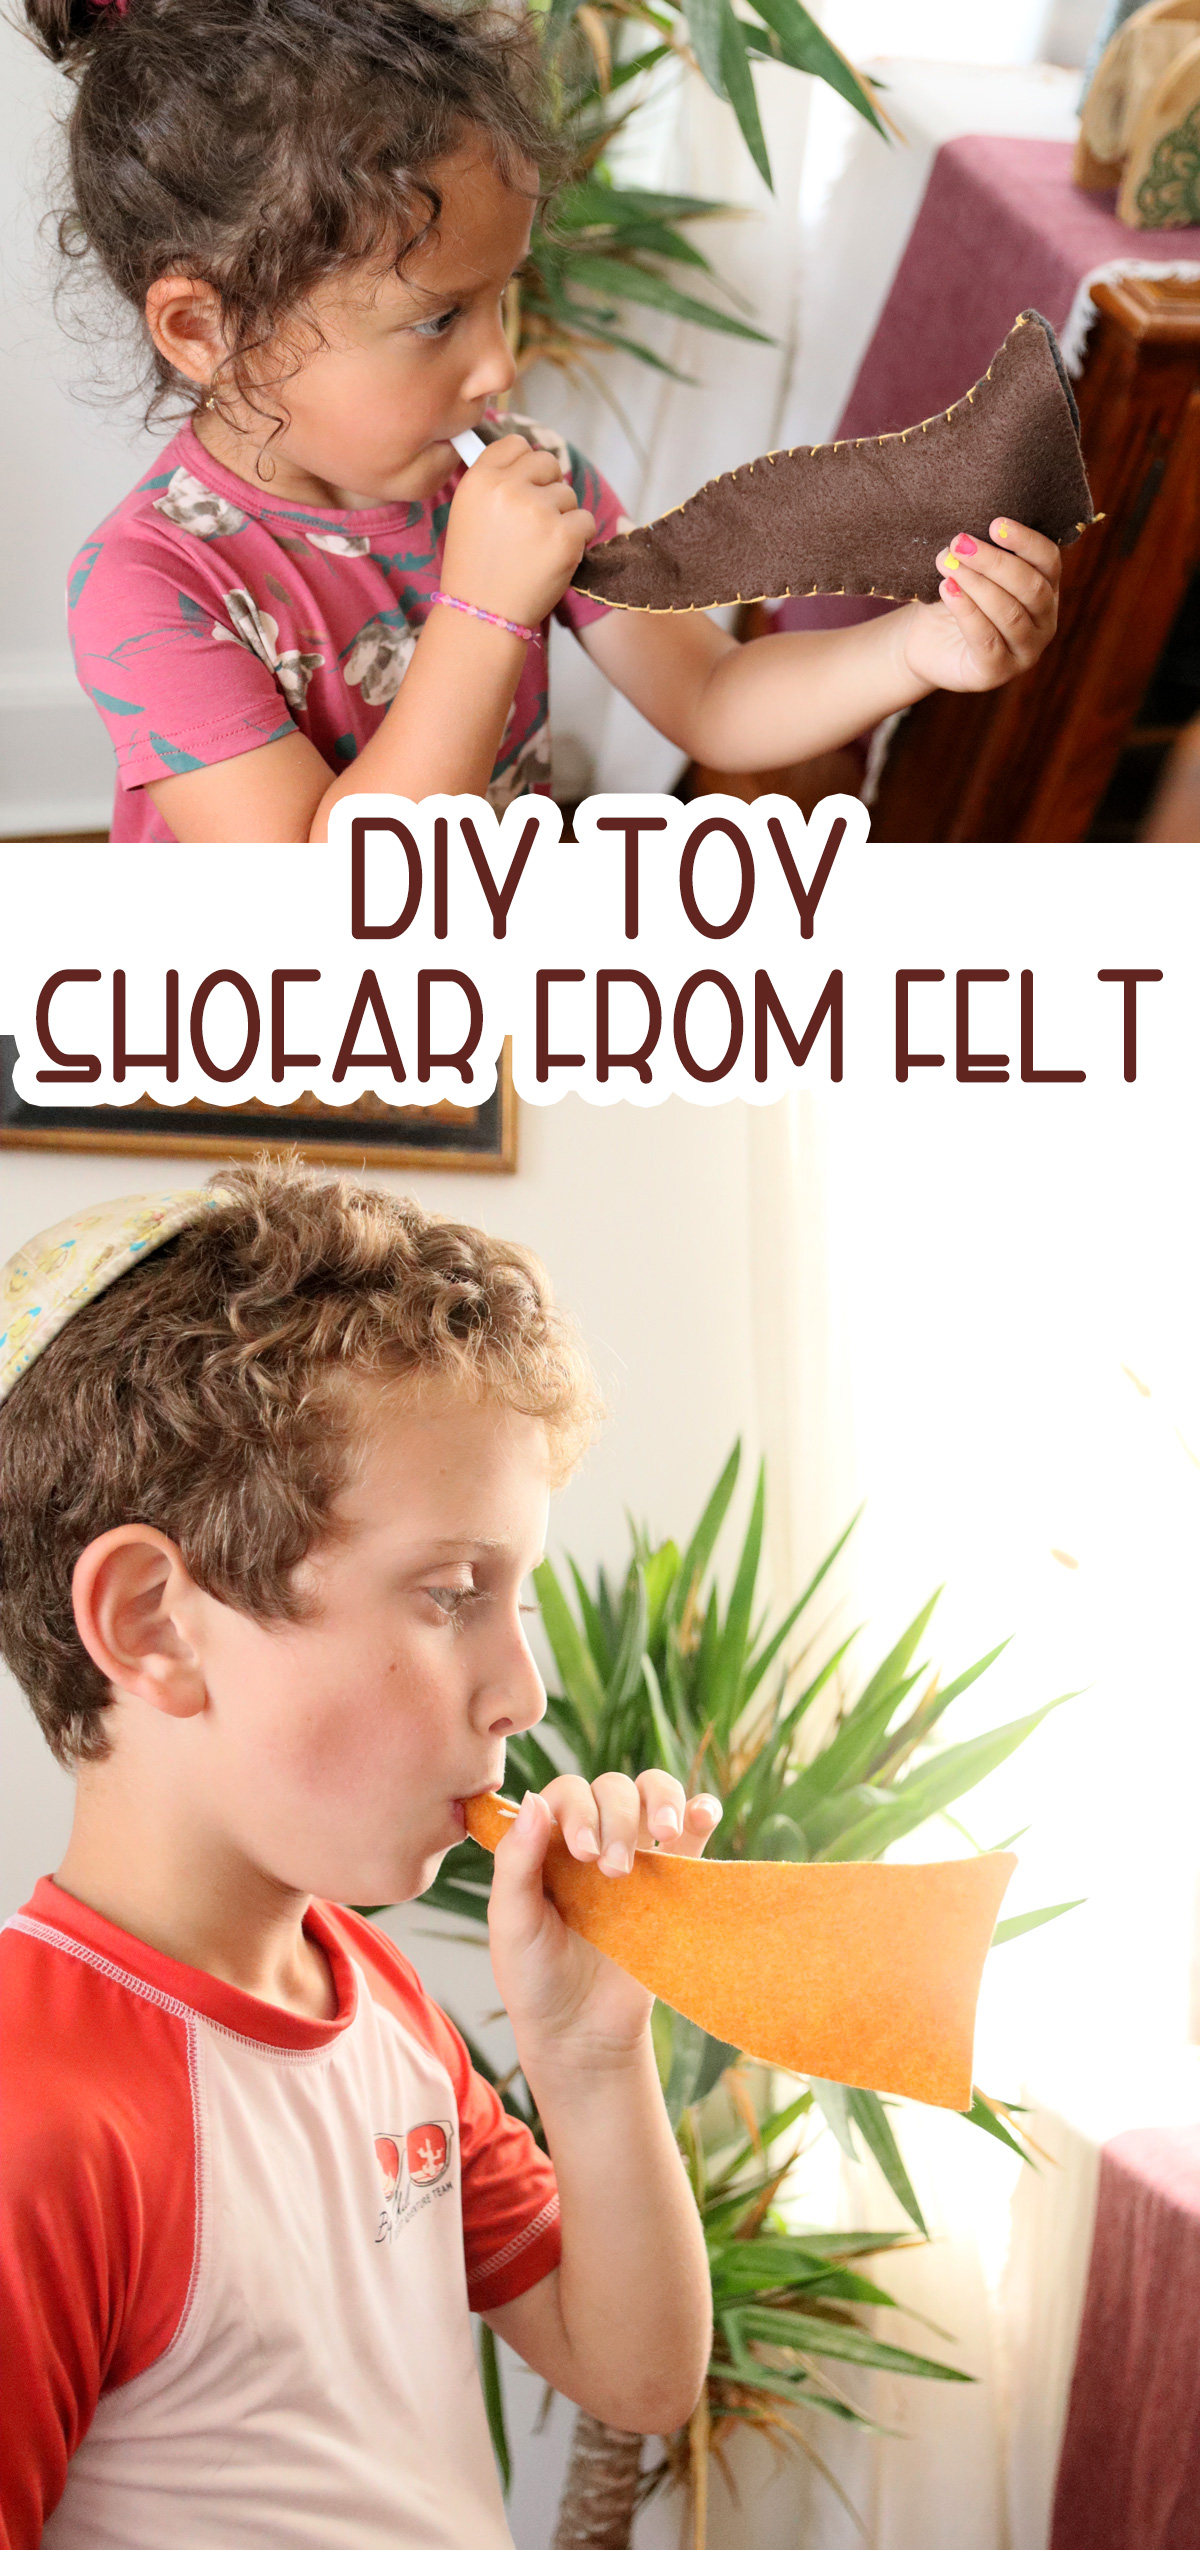
I love a good holiday themed toy that allows kids to pretend they’re the grown-ups doing the grown-up things. And while I’m THAT parent that almost bans whistles year-round, Rosh Hashanah time is when I mostly allow it (though sometimes I boot it to the basement or bedroom…)
I shared some color & craft Shofar templates with you, and now I’m sharing a fun felt version!
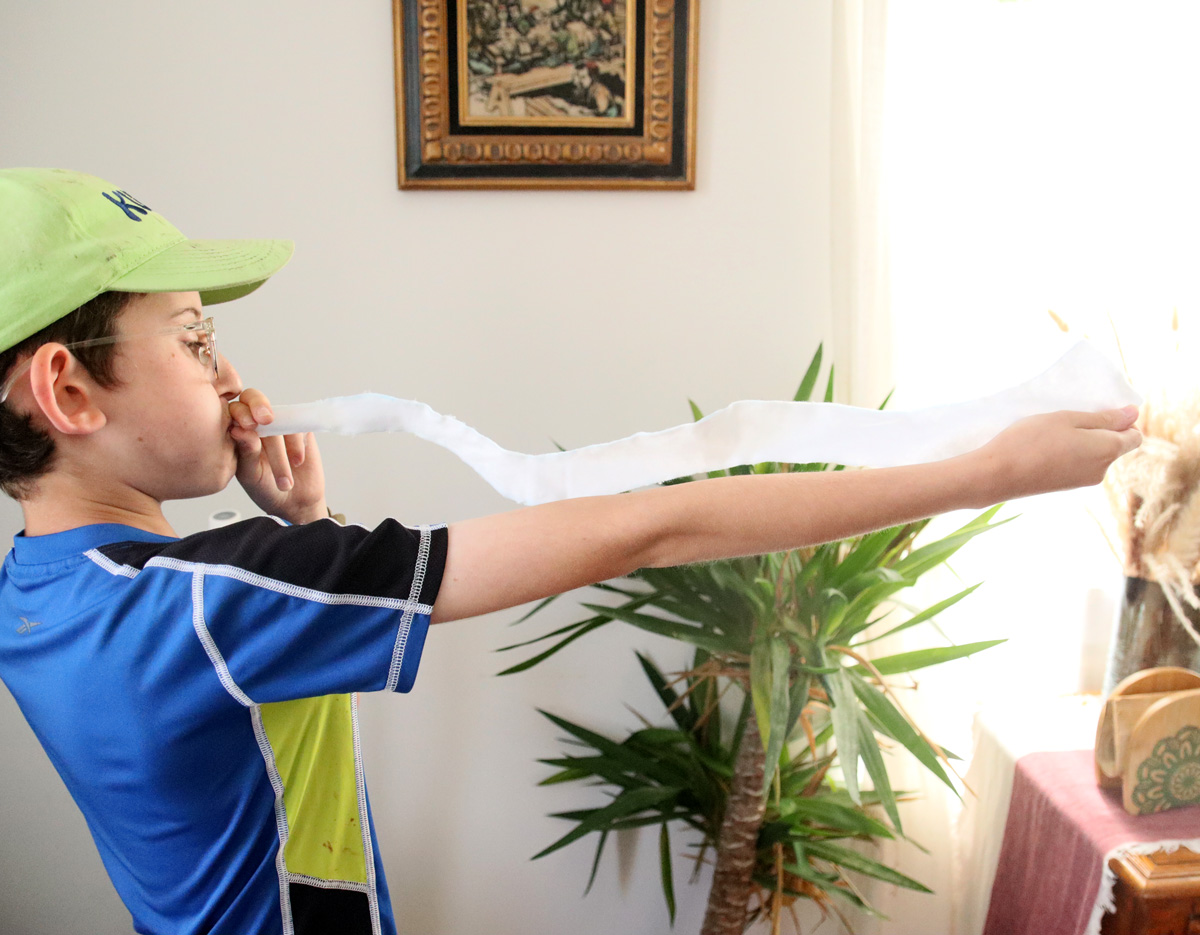
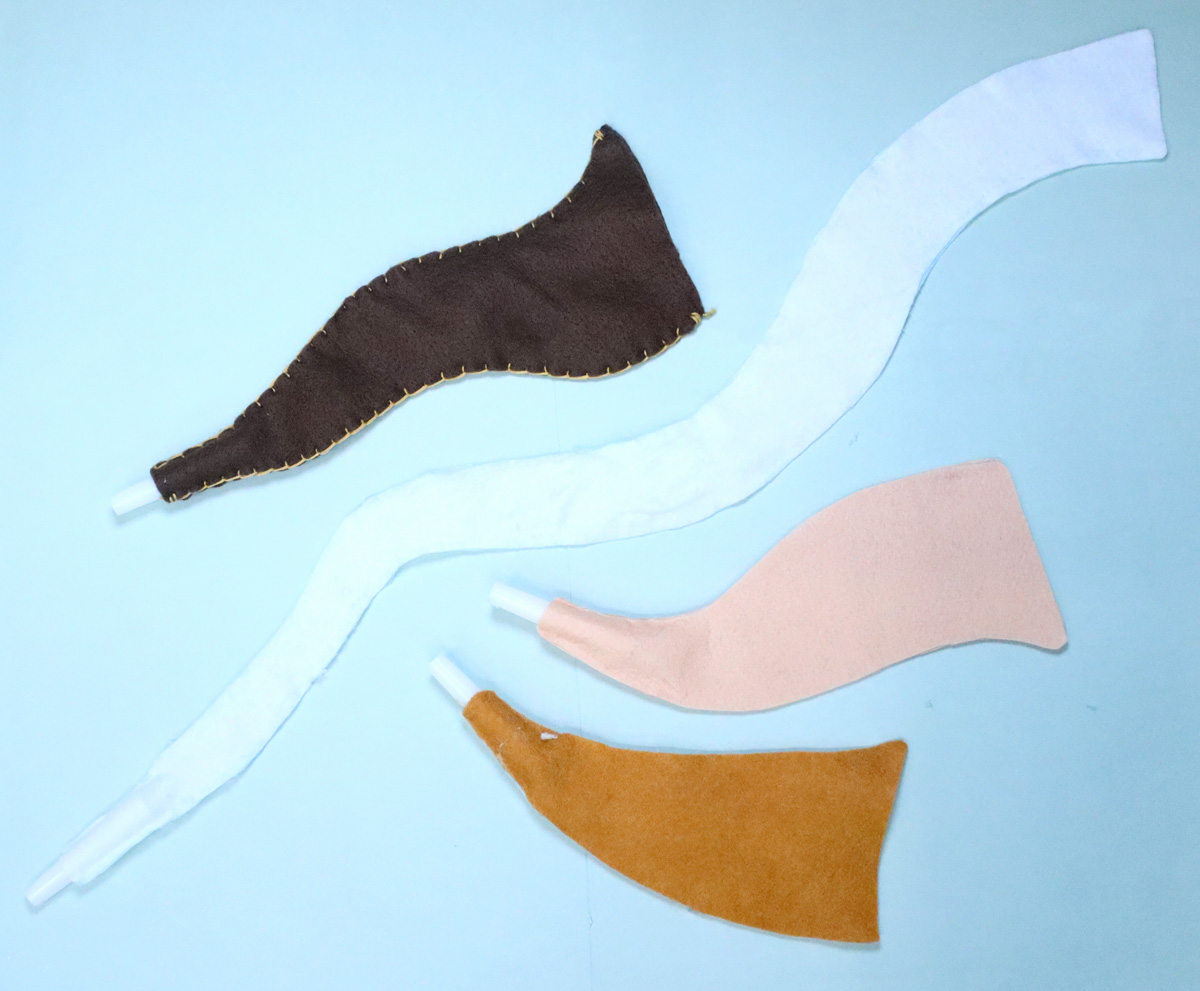
These DIY felt shofars are perfect for classroom demonstrations and showcasing different shofar shapes. I created four different styles based on “real” shofar shapes – a simple upward cone, an elbow shaped one, a smaller twist and a longer twisty “Yemenite” shofar.
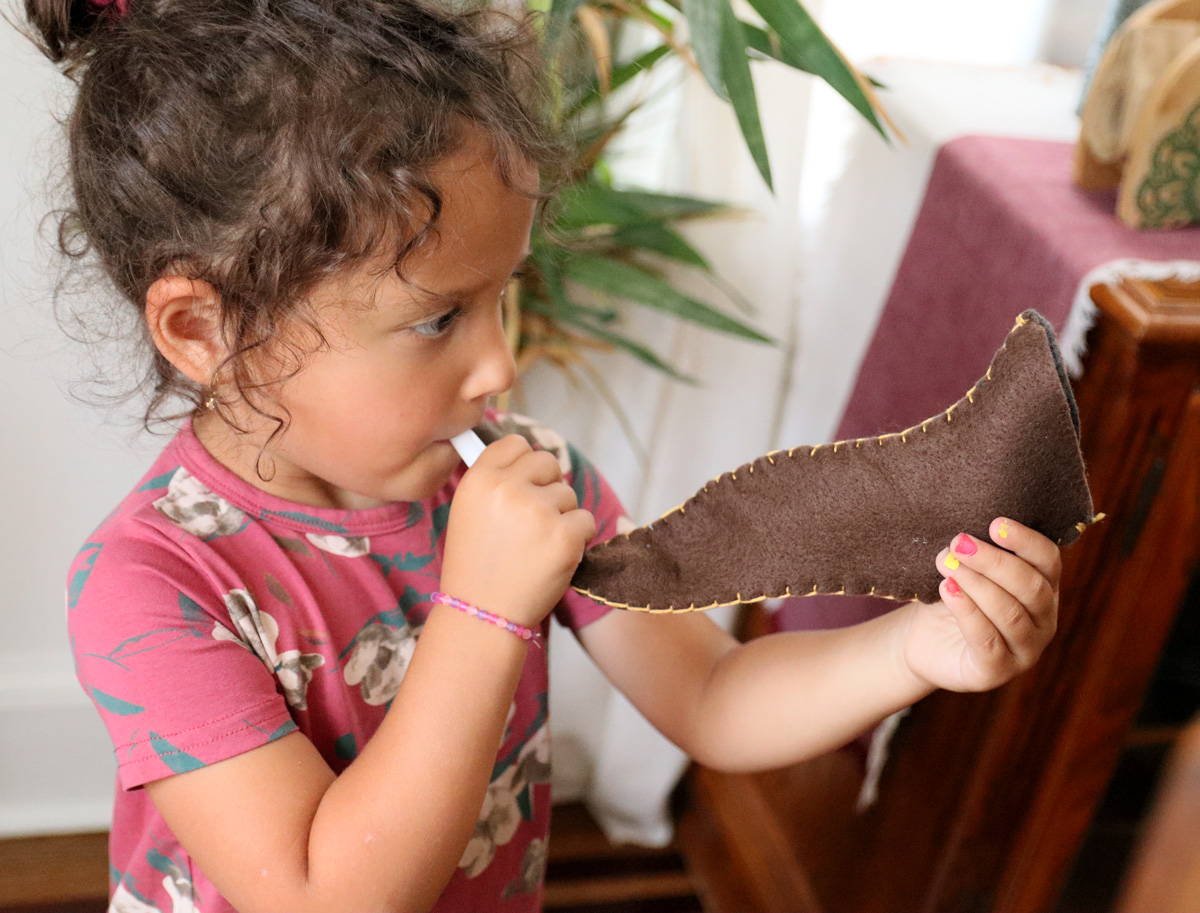
They also make great DIY toys to put on a seasonal Montessori shelf or in a seasonal play kitchen type setup. If you’re a teacher looking for some holiday-inspired pretend play for the classroom this is perfect – though you may want to address the germ-sharing aspect. You can skip the whistle and have kids make their own “too” sounds.
Download the DIY felt shofar templates
I designed this as a premium download, available for a few dollars in my Etsy shop. Purchasing these premium downloads enable me to keep this blog going, as with such a limited content niche, an ads-only model isn’t sustainable. (Note: You can technically use the free version of my color & craft shofar to to make the basic curve shape shofar – just use the outline. If using a whistle, you’ll need to widen the base a bit. )
The DIY felt shofar template comes in two file formats: PDF for hand cutting and SVG for machine cutting. The shapes are simple – I didn’t bother with my Cricut for these, but I decided to offer that option for those who want it.
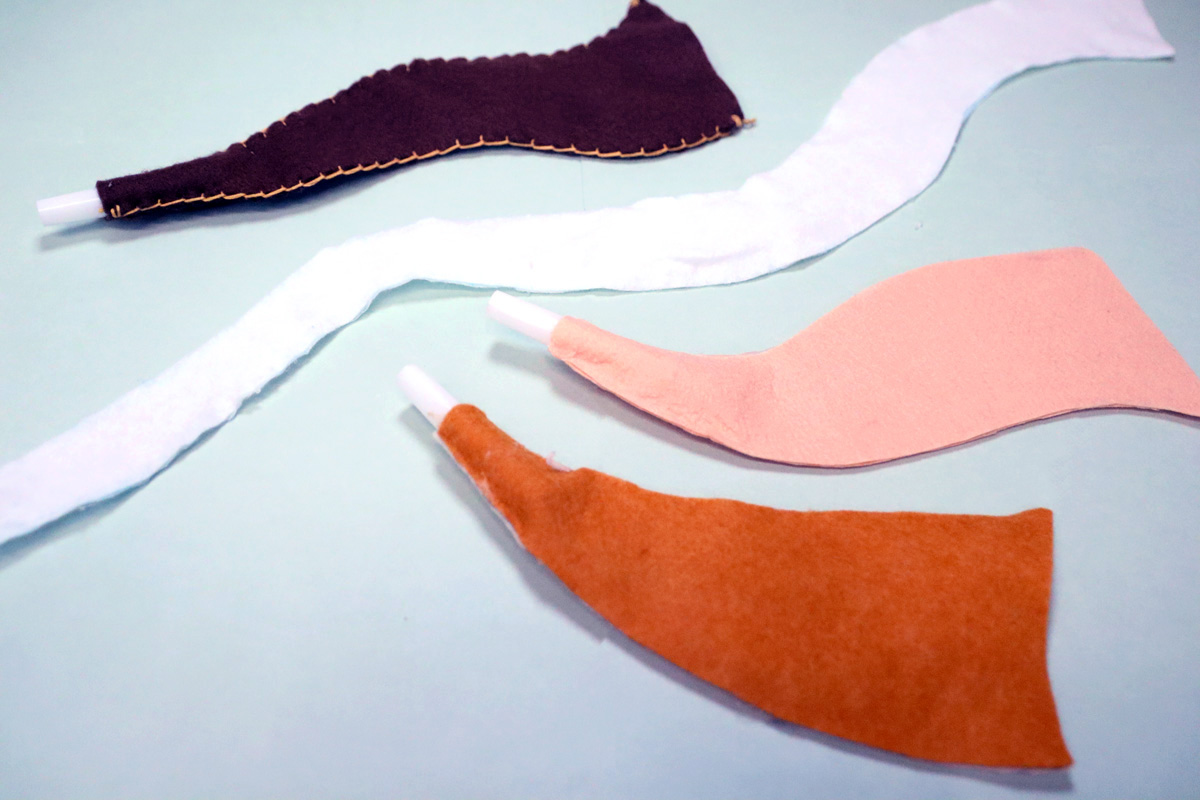
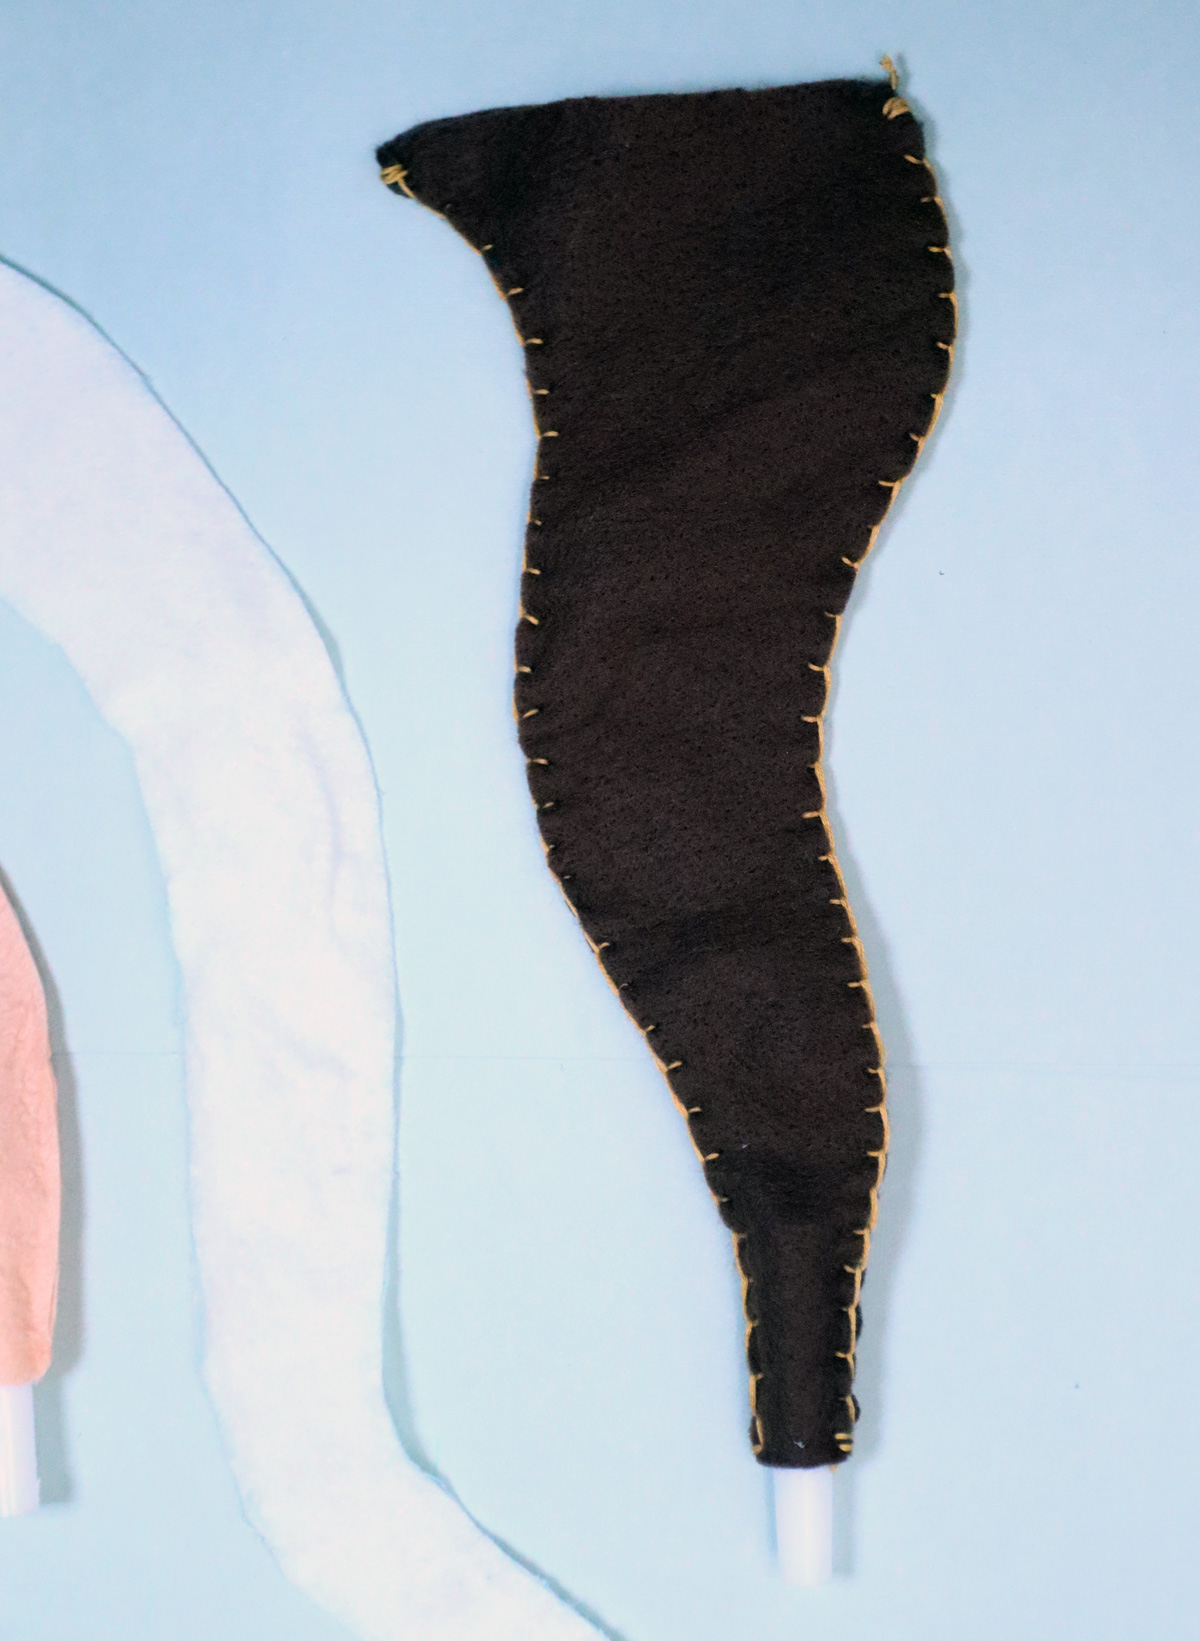
The template comes with four styles:
- A simple upward curved cone
- An elbow shape that twists out a bit at the end
- A smaller twist
- A longer twisty Yemenite-inspired one. This one is split onto two pages in the PDF version.
Tips for crafting a DIY felt shofar
Crafting with kids vs. adults
This can be crafted by parents OR kids, depending on skill level, and can be made by hand-sewing with embroidery floss (much prettier) or by gluing it (much quicker but requires precision for the whistle to fit).
When making it as a kid-craft, I recommend doing the hand-sewn version and teaching a basic whip stitch around the edge. So do it with kids who are ready to learn that!
A blunt kids’ needle won’t really pierce the thread unless you pre-punch it, so if you’re doing it with kids, they should be old/skilled enough to use a proper embroidery needle, or at least ready to learn needle skills.
If crafting with younger kids, go with the paper shofar version instead.
The best felt to use
I made this using two types of felt: soft and stiff. This craft actually is nicer with stiff felt, because then the shofar holds. However, that doesn’t sew as nicely. Plus, it needed an exact fit for the whistle, and so felt with a bit of stretch tends to craft smoother.
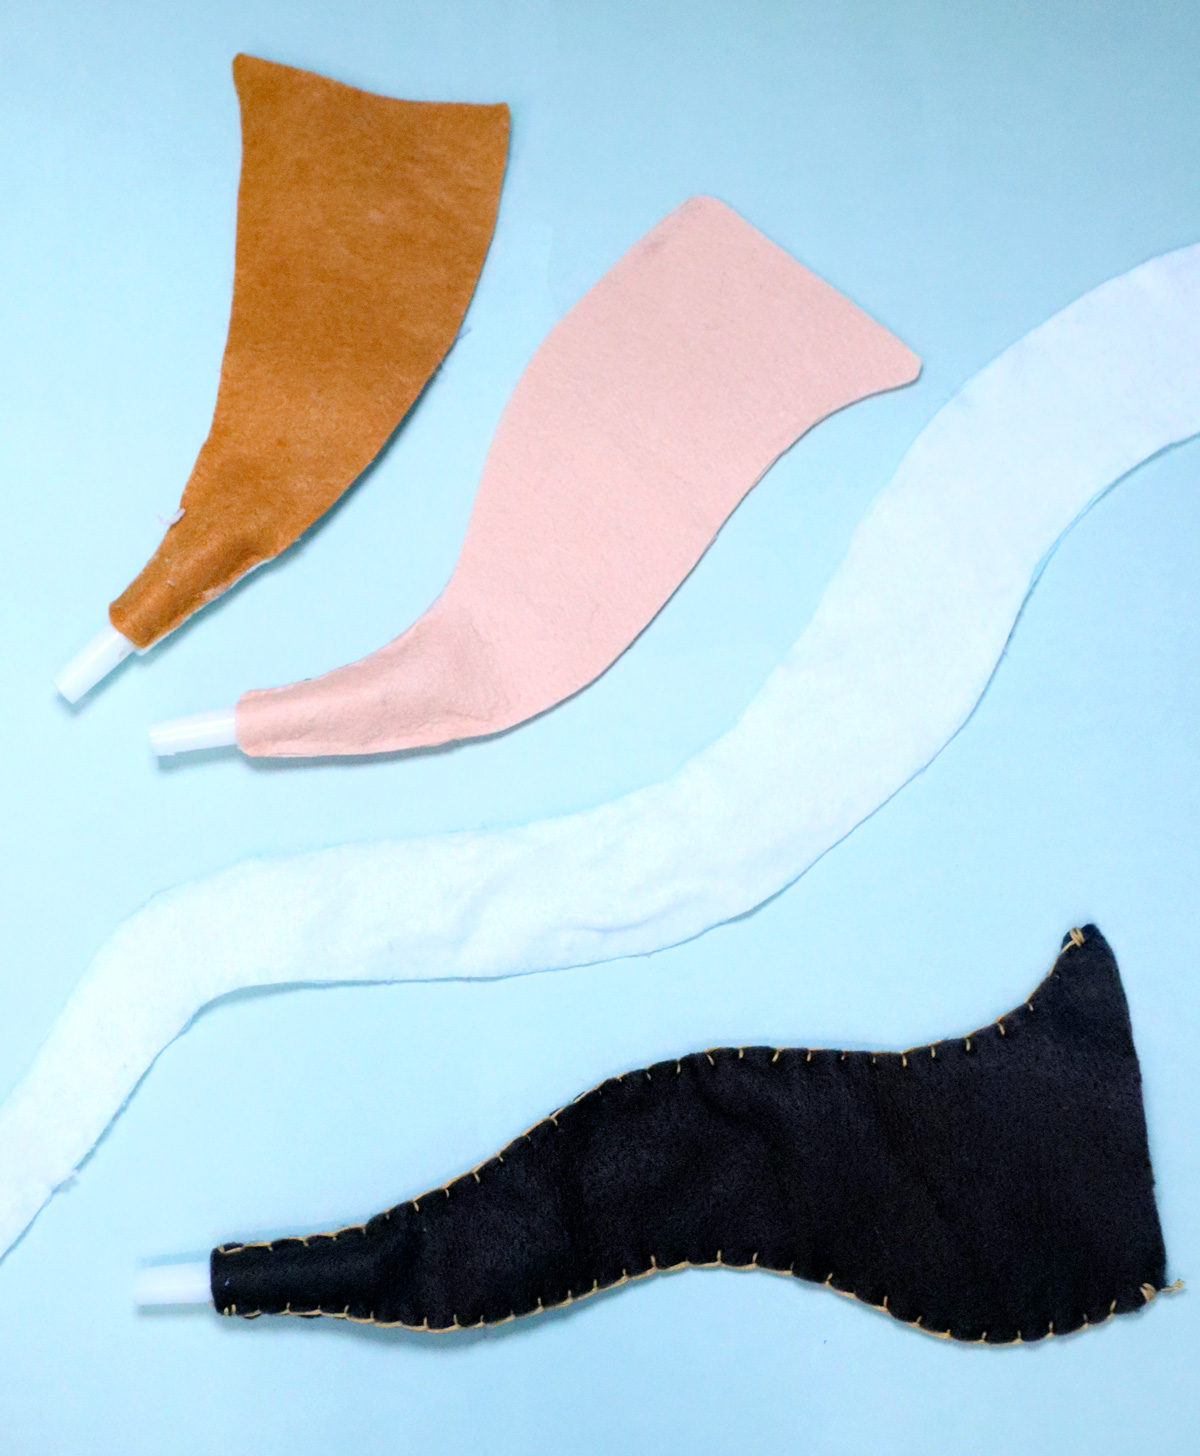
Dollar tree felt is extremely thin but soft – I used it for the long white Yemenite shofar, which needs to be held up to use. The smaller sewn ones do somewhat hold up – the small size gives it a bit of form, but it is more fun when the kid holds it up.
After I created my DIY felt shofars, I stocked up on this thick felt (for another craft, coming soon!) which may be the perfect compromise. It’s very thick, high quality and well worth the price, especially if you are making this not necessarily as a kids’ craft but as a toy you plan to keep.
I may re-craft it using that if I have a chance before the holidays start, but I wanted to share this idea with you already (and it took lots of trial and error to get the template right, simple as it is!)
Whistle or no whistle?
I was conflicted with how to craft this. On the one hand, kids just love the whistle element on their pretend shofars. On the other, it’s not like it’s the real Shofar sound, and kids are MORE than capable of yelling “too too” on their own all day… Plus, it’s still not a whistle, even if they’re yelling.
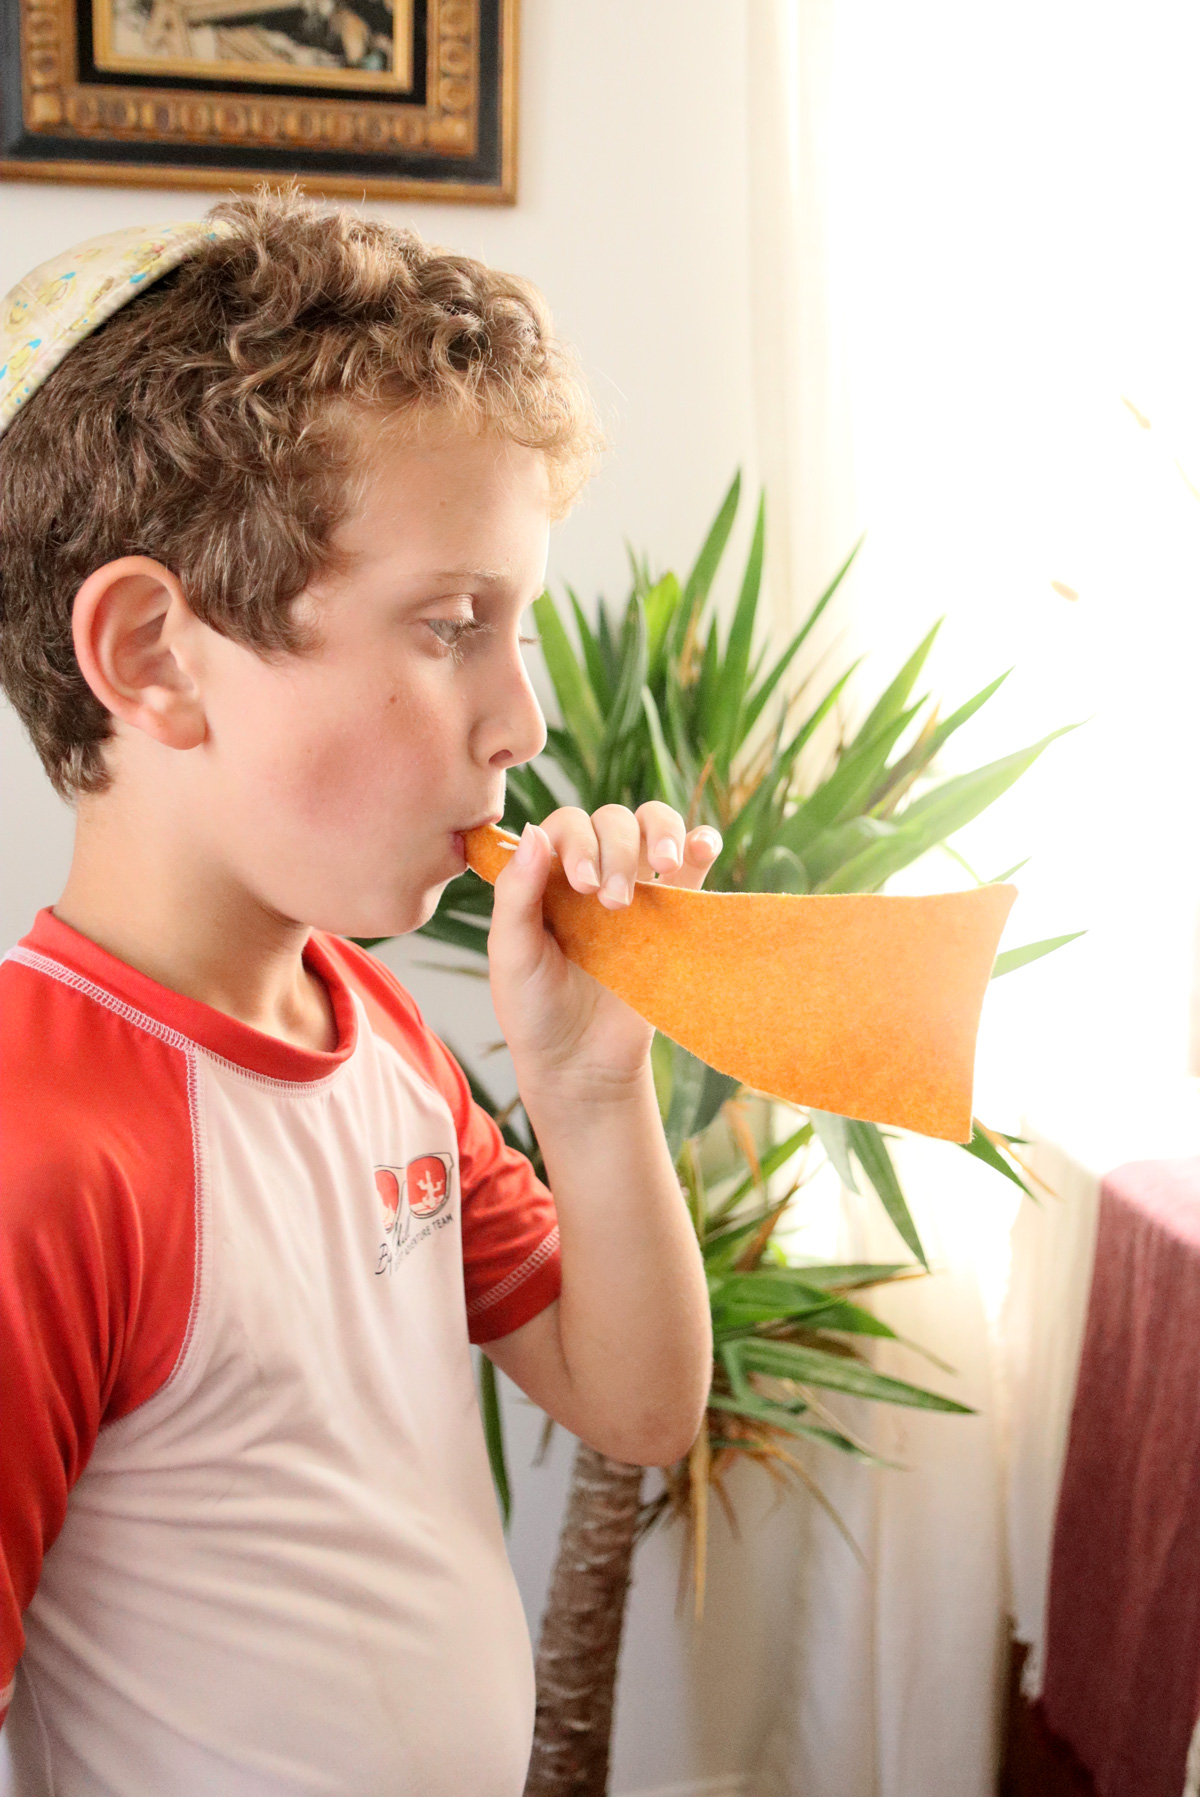
And finally, there’s the germs angle. Unless it’s a kids’ private shofar, even if sharing among siblings, September is when ALL the germs are reconvening in every classroom…
I designed the template to hold a typical party blower whistle tight. However, you can totally ditch it. Just craft a simple felt shofar shape without.
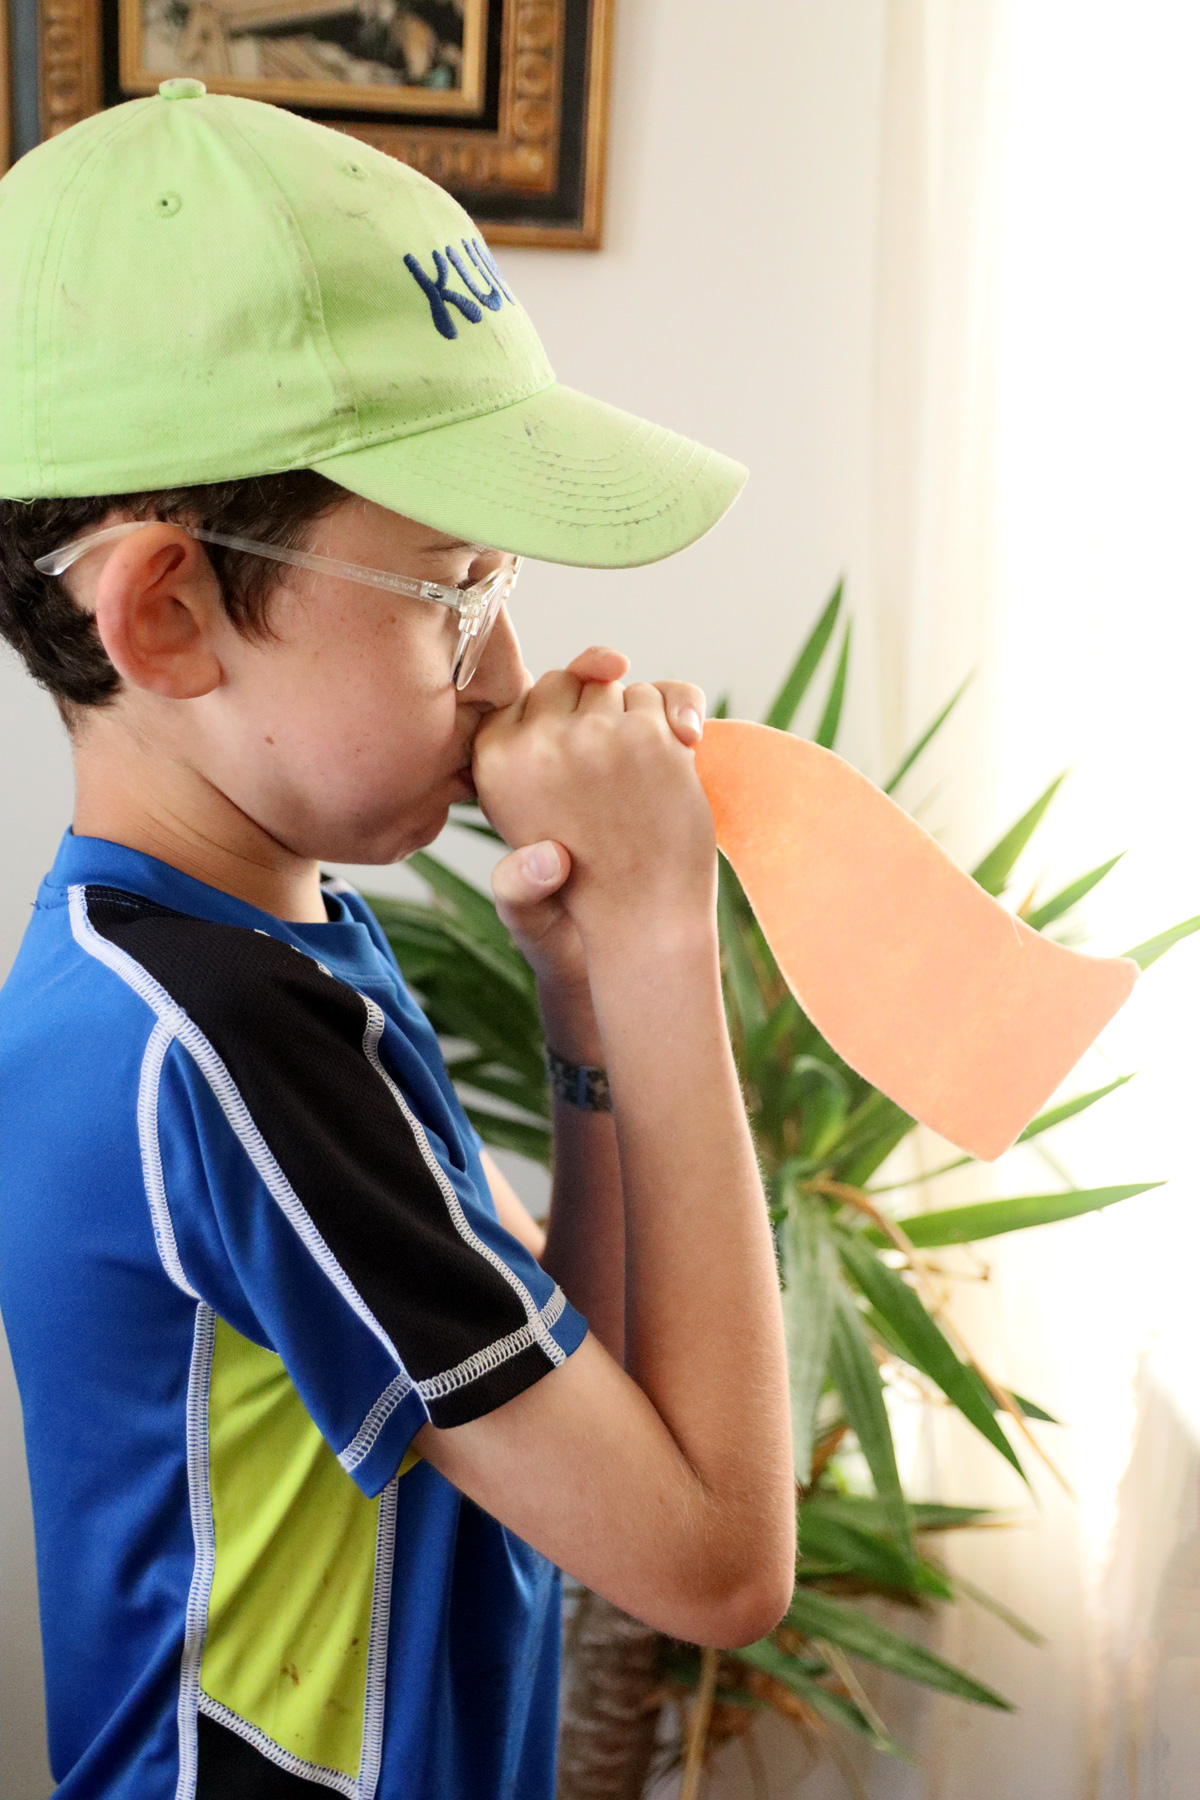
You can sew it all around and stuff it with PolyFil fiber as a flat stuffy, fill it with Poly Pellets as a beanbag/weighted sack, or leave it hollow for kids to hold open and “too too”. Kids might still put their mouths on it, but they won’t slobber ALL OVER it at least. Felt doesn’t feel that good in the mouth.
It doesn’t need to make noise to work as an educational tool and fun toy.
How to assemble a DIY felt shofar
Your download comes with a PDF with instructions. The tutorial shows how to make a whistle shofar – you can adapt to make a stuffie or beanbag.
You’ll need
- Felt – see notes above (an 8.5×11 sheet is enough for most shofars, for the Yemenite one, buy by the yard).
- Good fabric scissors
- Embroidery floss and needle – OR –
- Glue gun (adults only) or other felt-compatible glue
- Optional: party blower whistle, blower removed
Assembly instructions
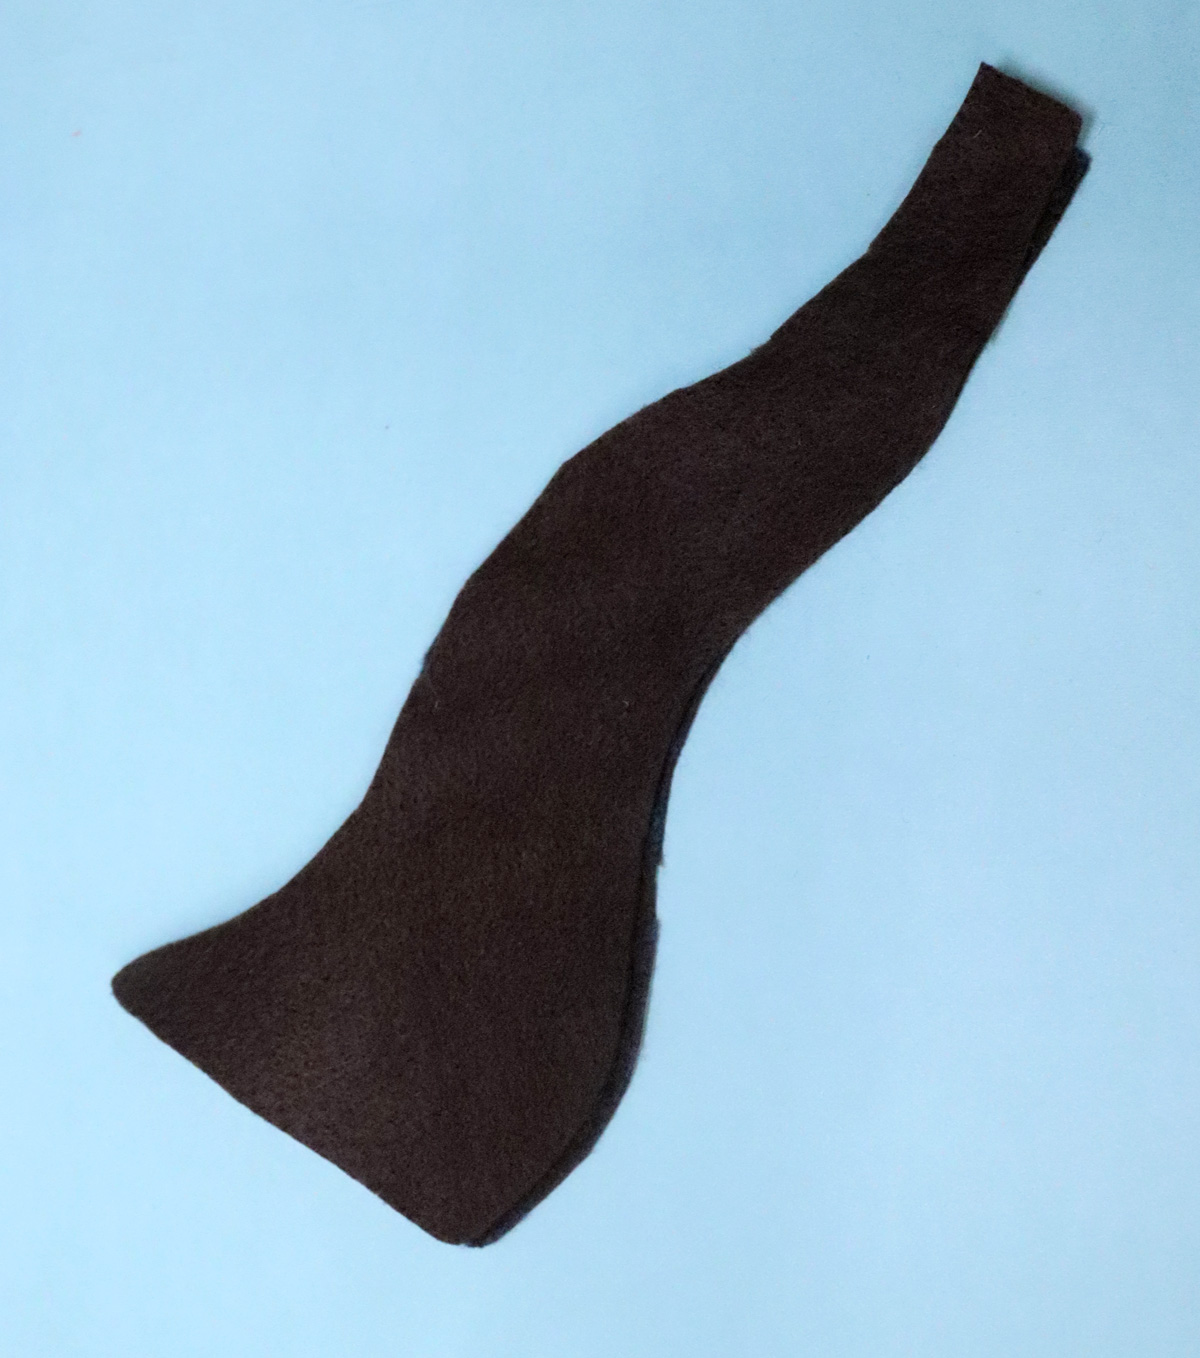
1. Cut out your felt using the PDF template or SVG. You need two mirrored Shofar shapes.
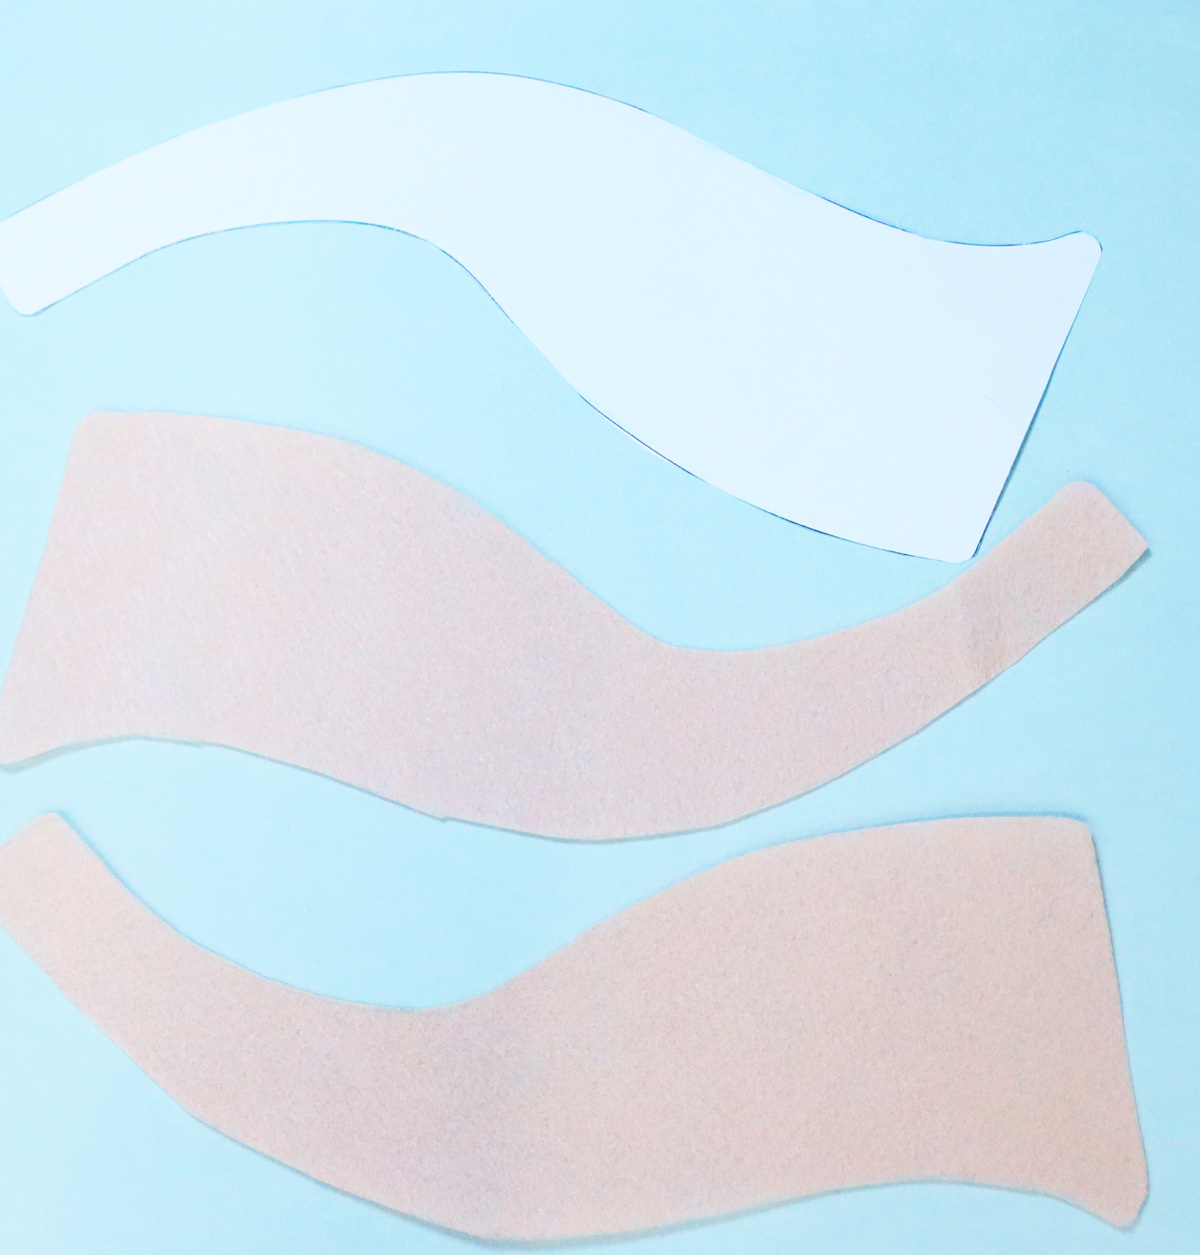
2. Match up the two sides, placing them back to back. Felt has a bit of cling to it so I don’t usually bother pinning it.
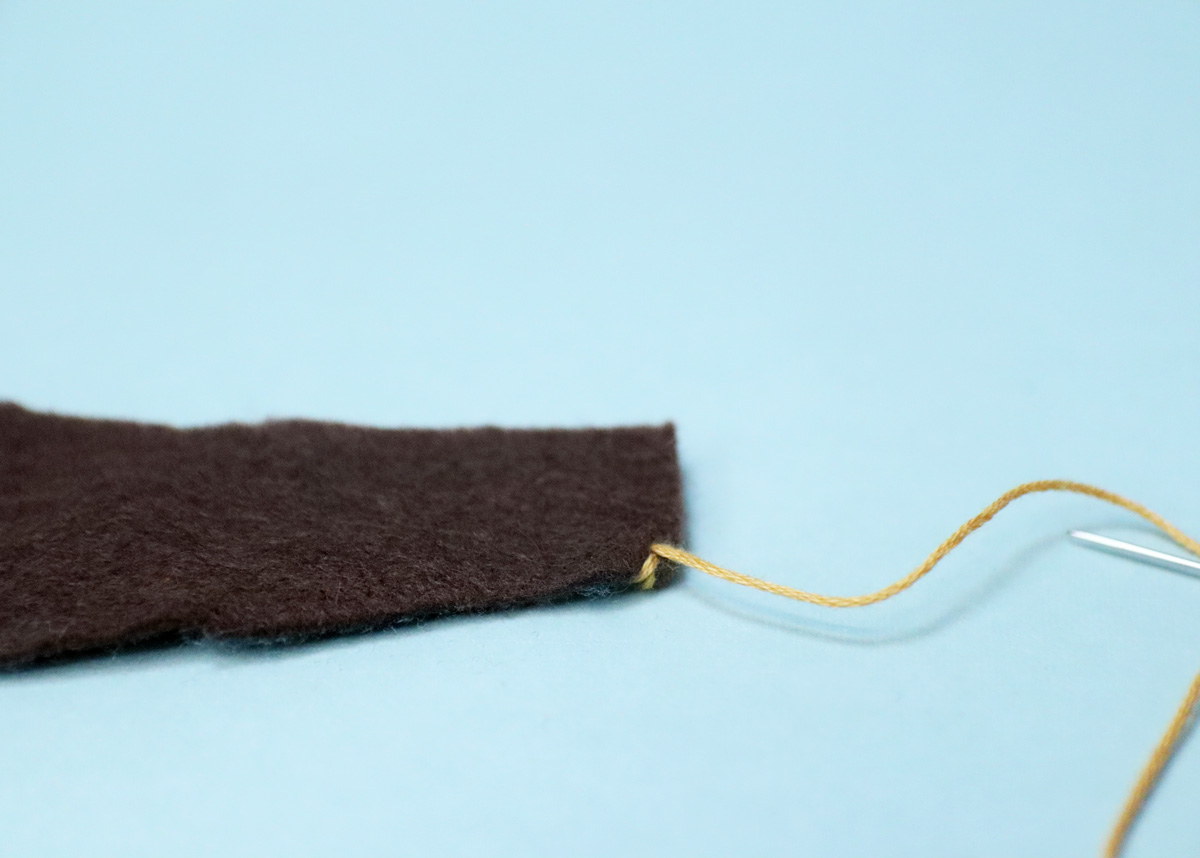
3. Thread your needle. Knot the end. Leaving the starting knot on the inside, make a couple of starting stitches right above the “mouth” part of the shofar.
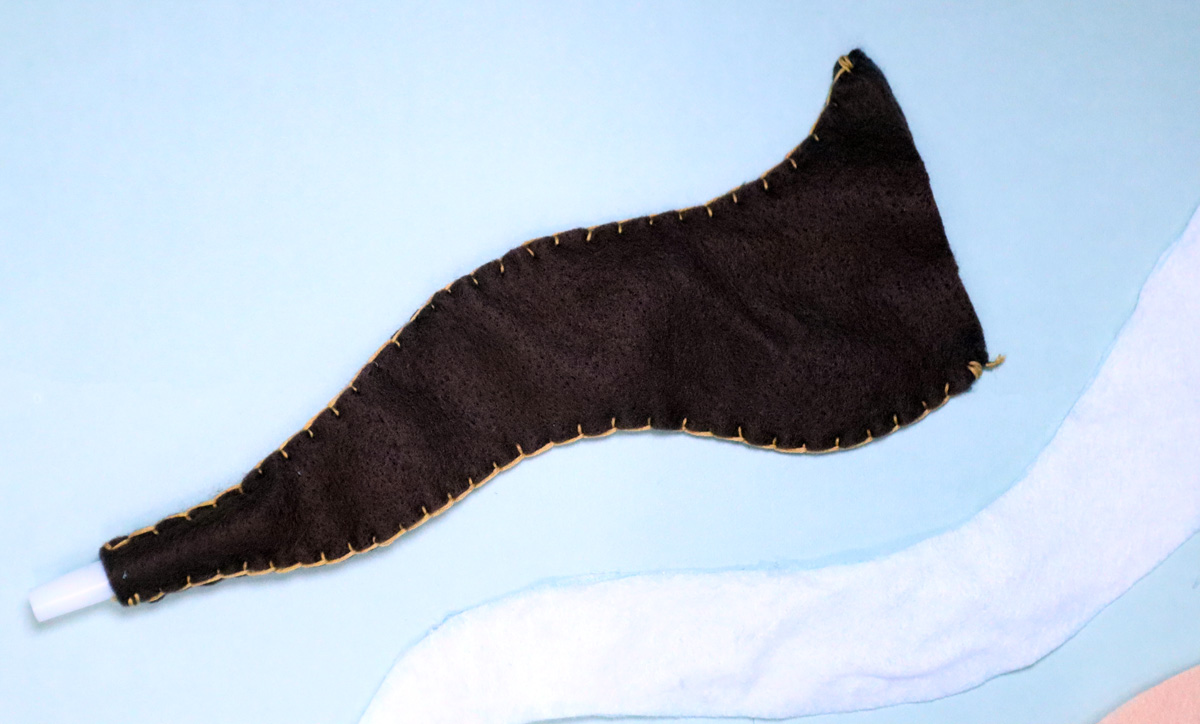
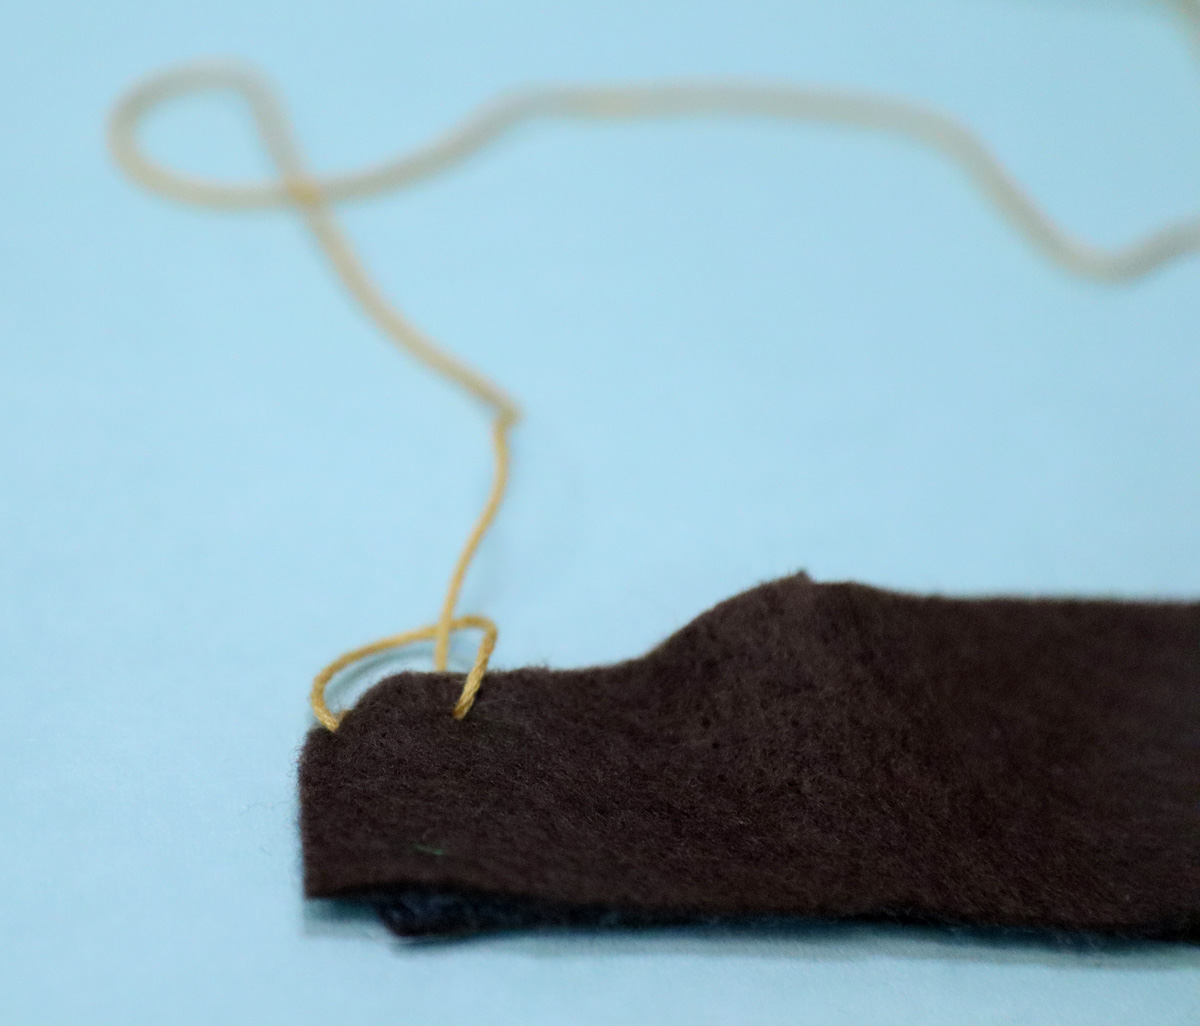
4. Start sewing with a blanket or whip stitch. A whip stitch is a simple in and out in one direction (from back to front, going over the edge or vice versa). A blanket stitch catches the thread each time forming a full edge of thread (as pictured).
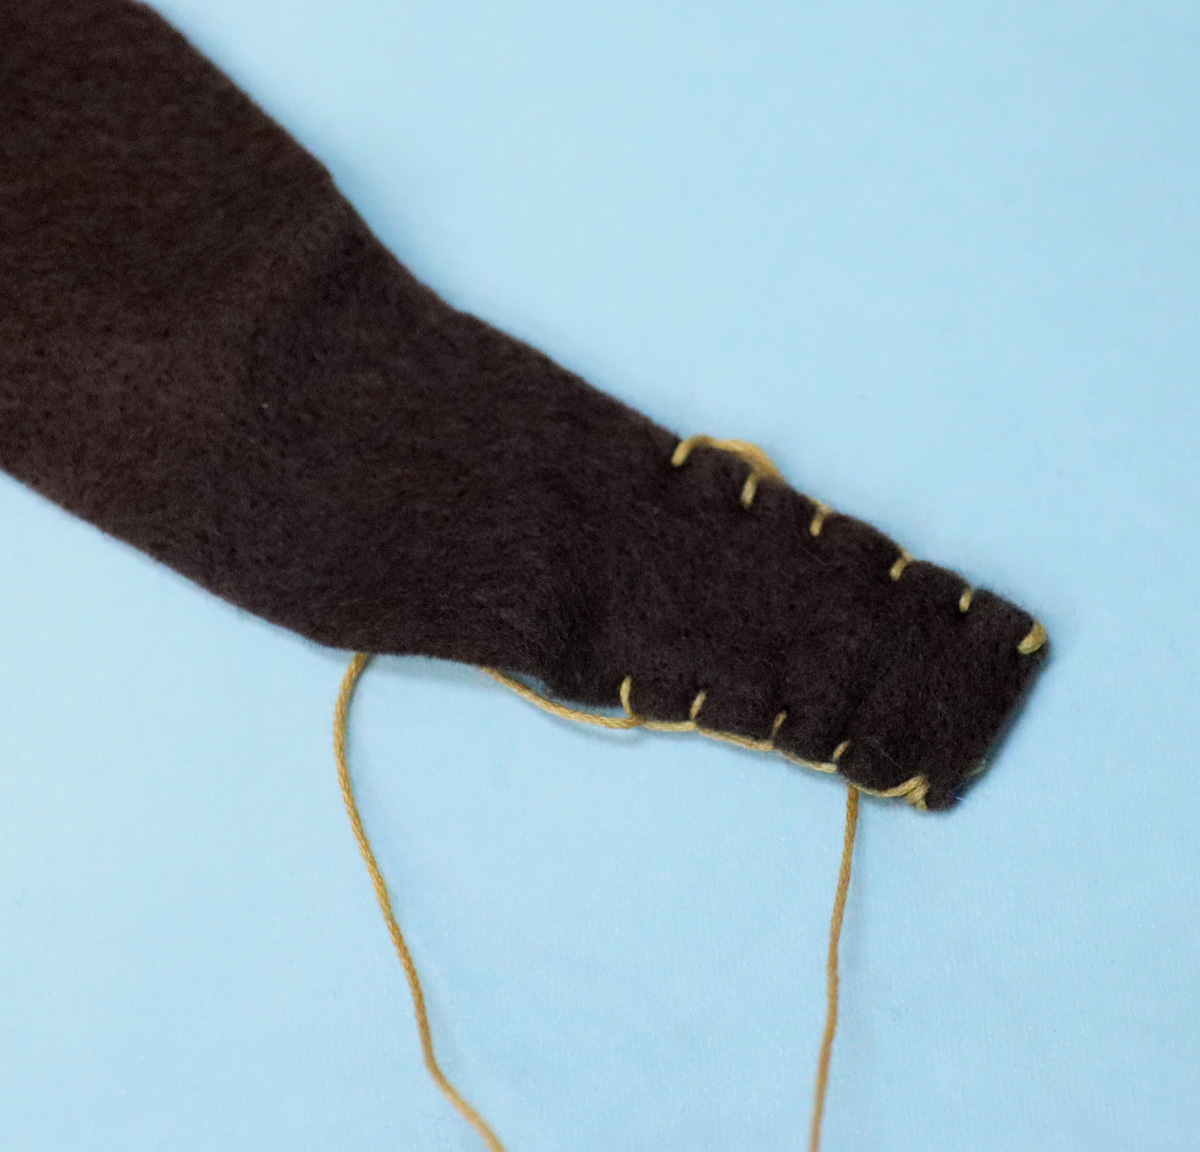
5. Stitch about an inch from the bottom. Remove your needle from the thread, leave it in place – don’t trim – and thread it onto a new piece of floss. Repeat on the other side.
If you’re gluing your DIY felt shofar, simply glue down the edges (don’t glue too deep – stick t the outer few mm) at the bottom one inch near the mouth.
6. Slide in your whistle from the inside to the outside. It’s harder to do this when it’s fully sewn, which is why you’re doing it now.
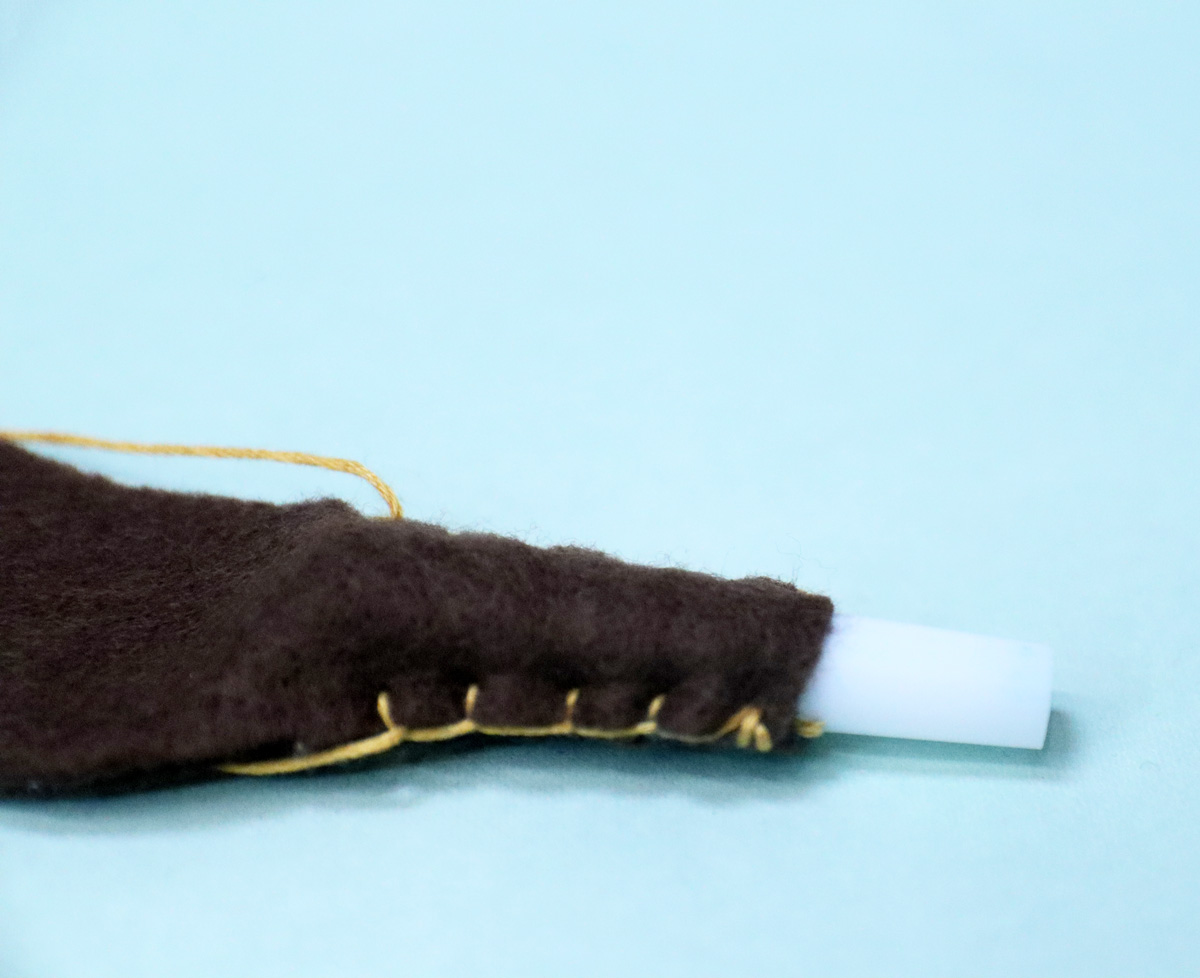
7. Sew up the rest of one side, finish on the inside, knot and trim, and then transfer the needle to the other thread to sew that side up.
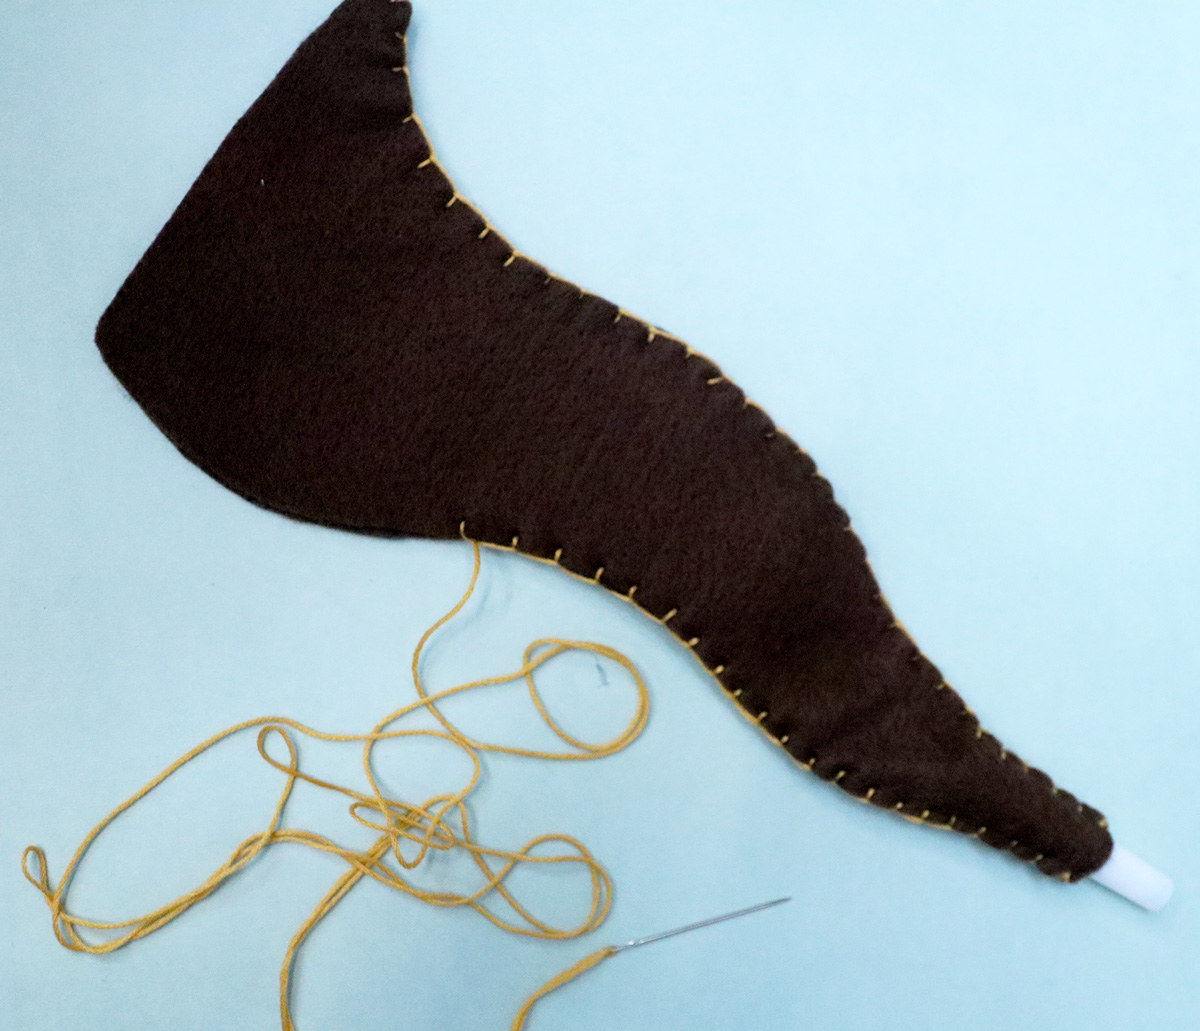
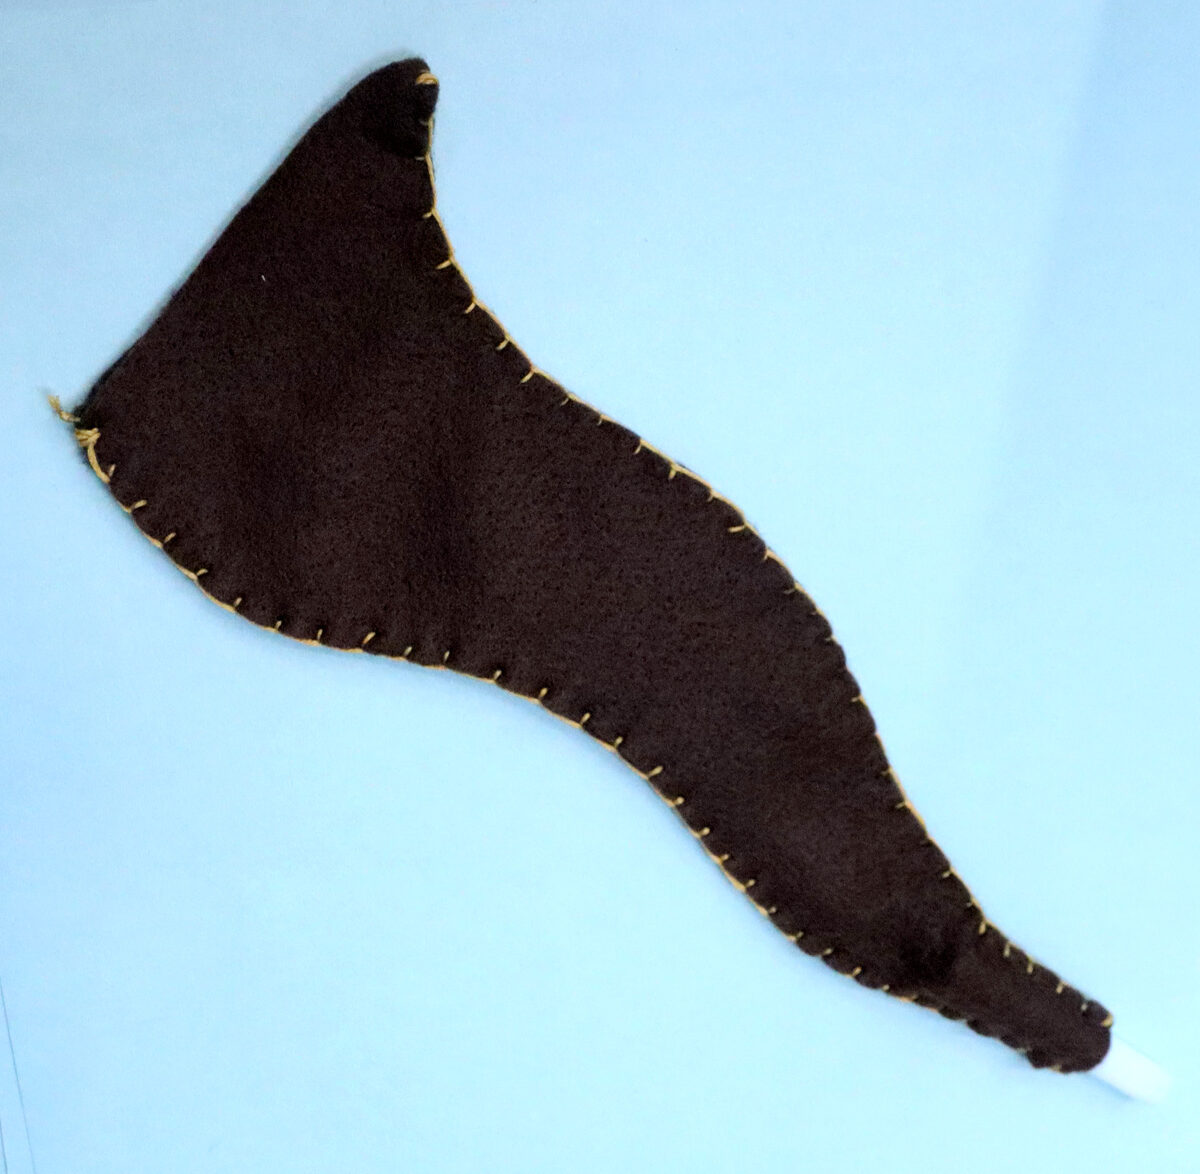
Once again, finish off your thread on the inside, knot and tuck it in. I did a few stitches in place at the end to make it more secure but it’s not strictly necessary.
8. To sew up the long Yemenite one, you’ll need to first assemble the template. You’ll also need a longer piece of felt (or sew/glue two pieces together). I created a subtle dashed edge to show you where to match the sides up.
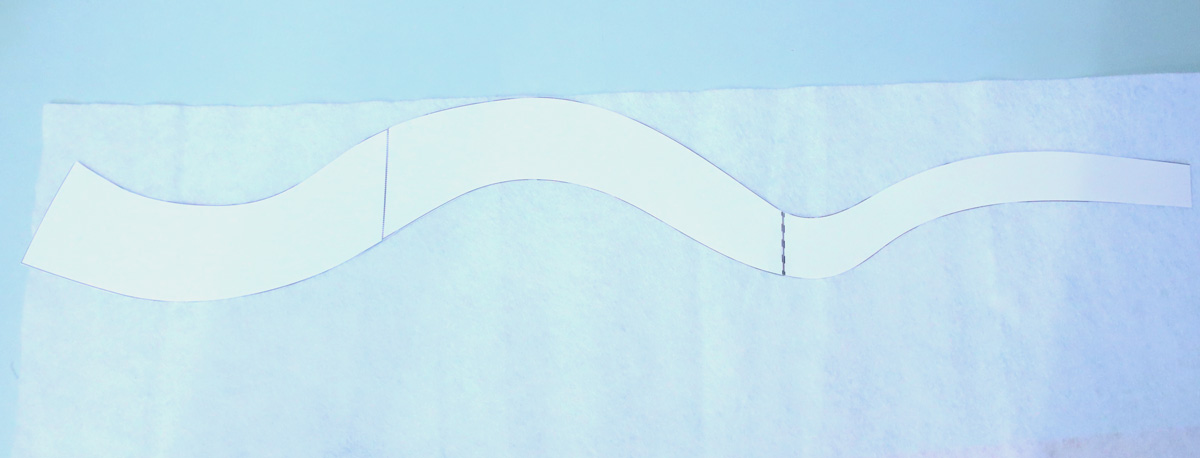
Sew or glue it as you did the others.
Your DIY felt shofar is complete!

In case you missed it, you can get the templates here!

