DIY Embroidered Matzah Cover Craft – Free pattern
If you’re looking for a really fun and doable Matzah cover craft, you’ll love this DIY embroidered one, that comes with a few free patterns for you to choose from! When you’re done, try making a resin seder plate too. This post contains affiliate links.
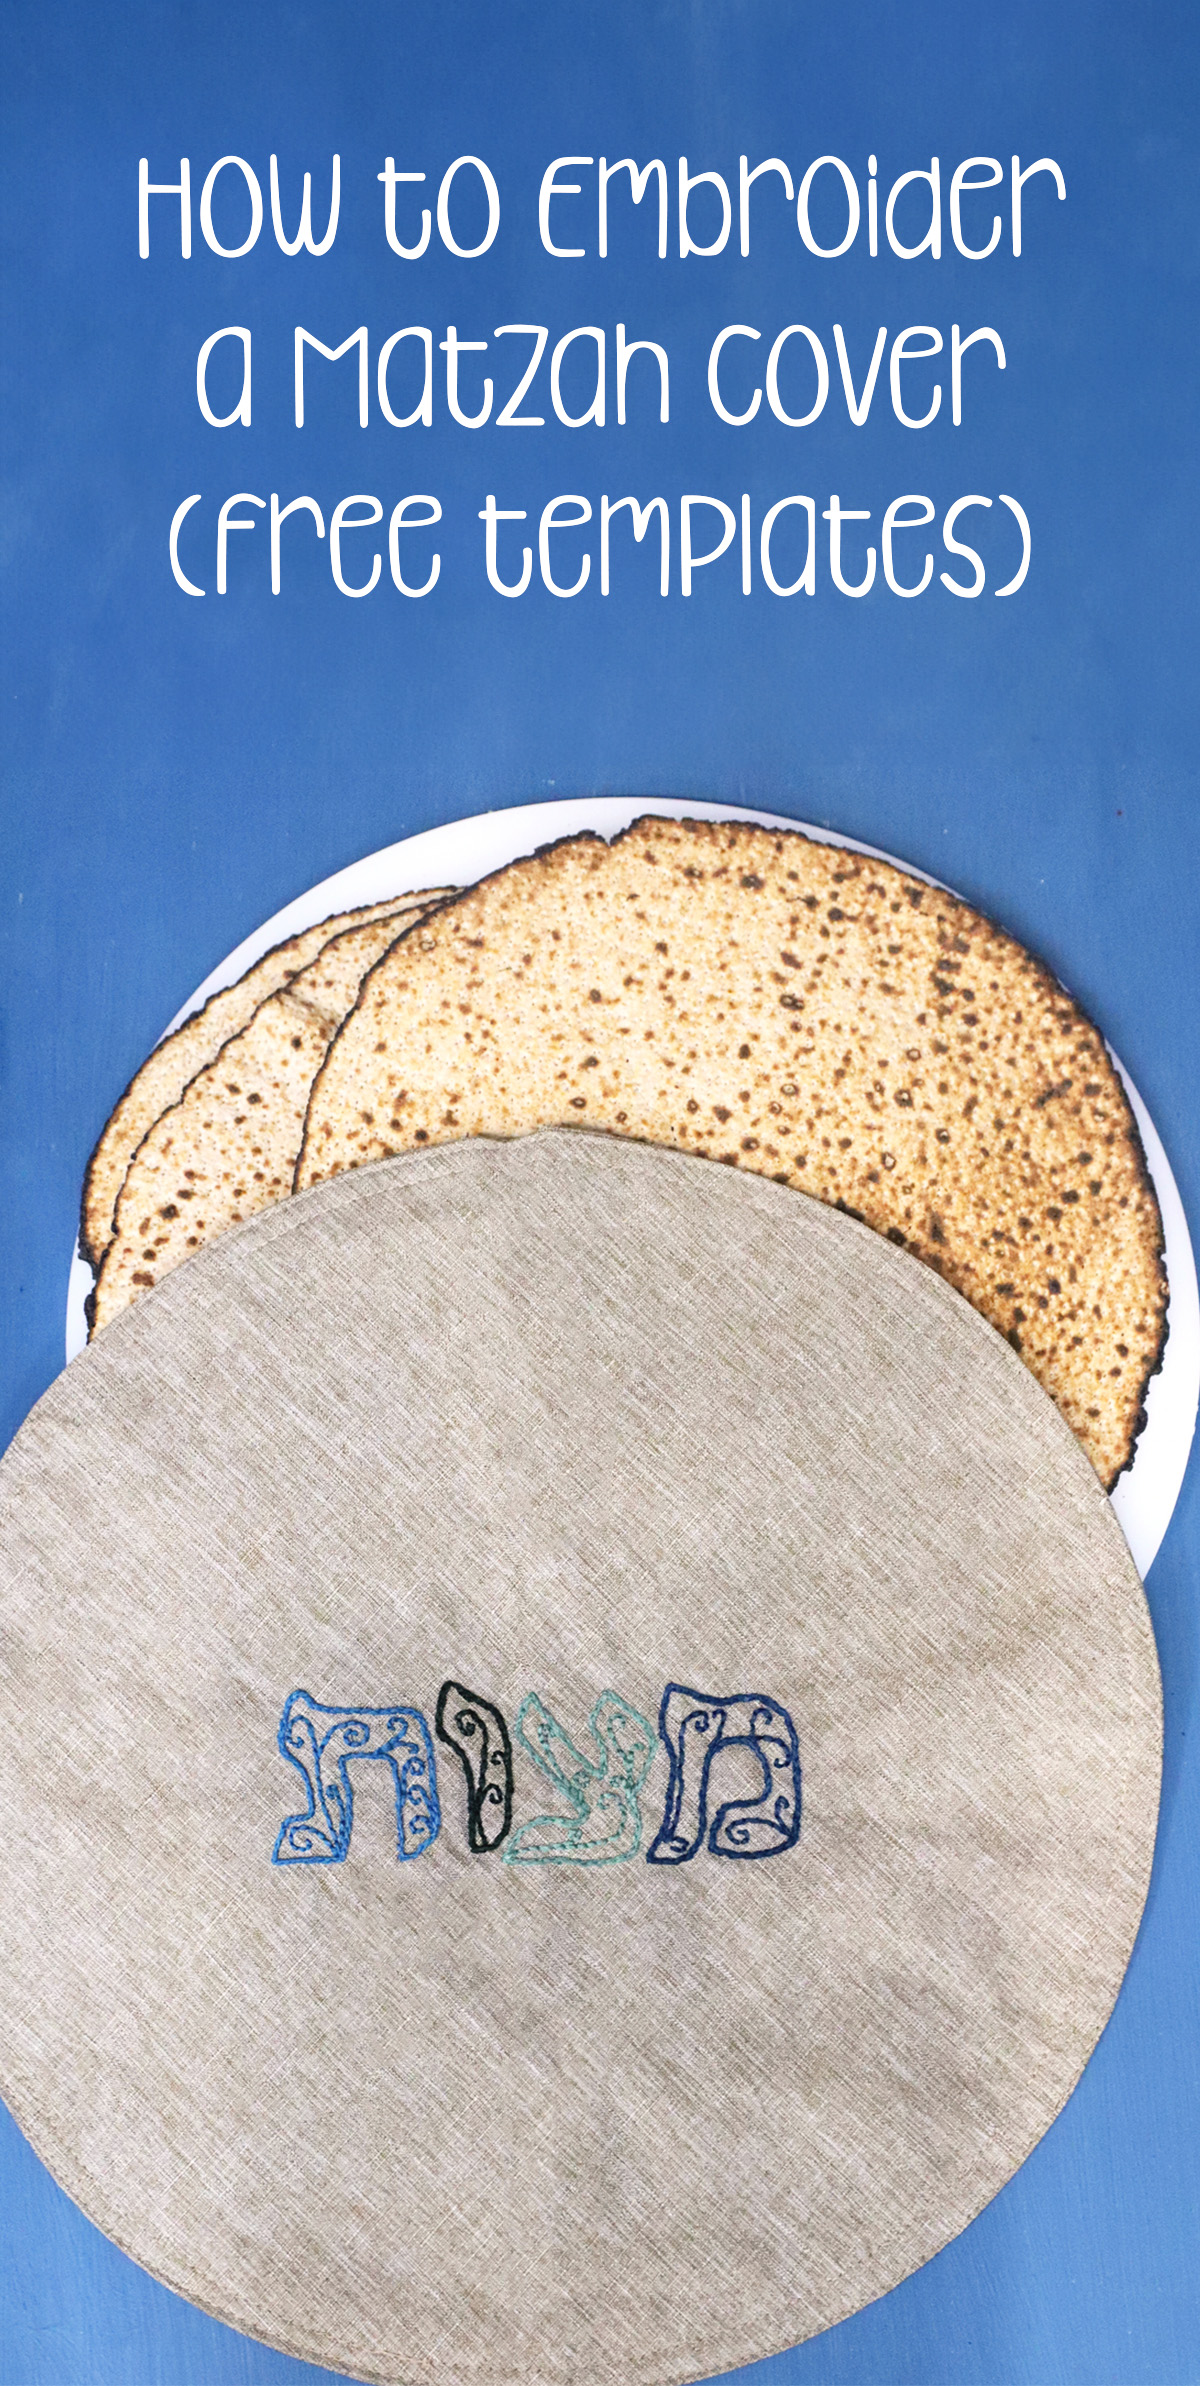
If you follow me on Instagram (you should!!) you’d have noticed that I’ve been sharing lots about my journey with some Passover crafts that didn’t work or that did… and how I got there.
Part of my job here is to try out things so that you’re not doing that, and then sharing with you what actually worked.
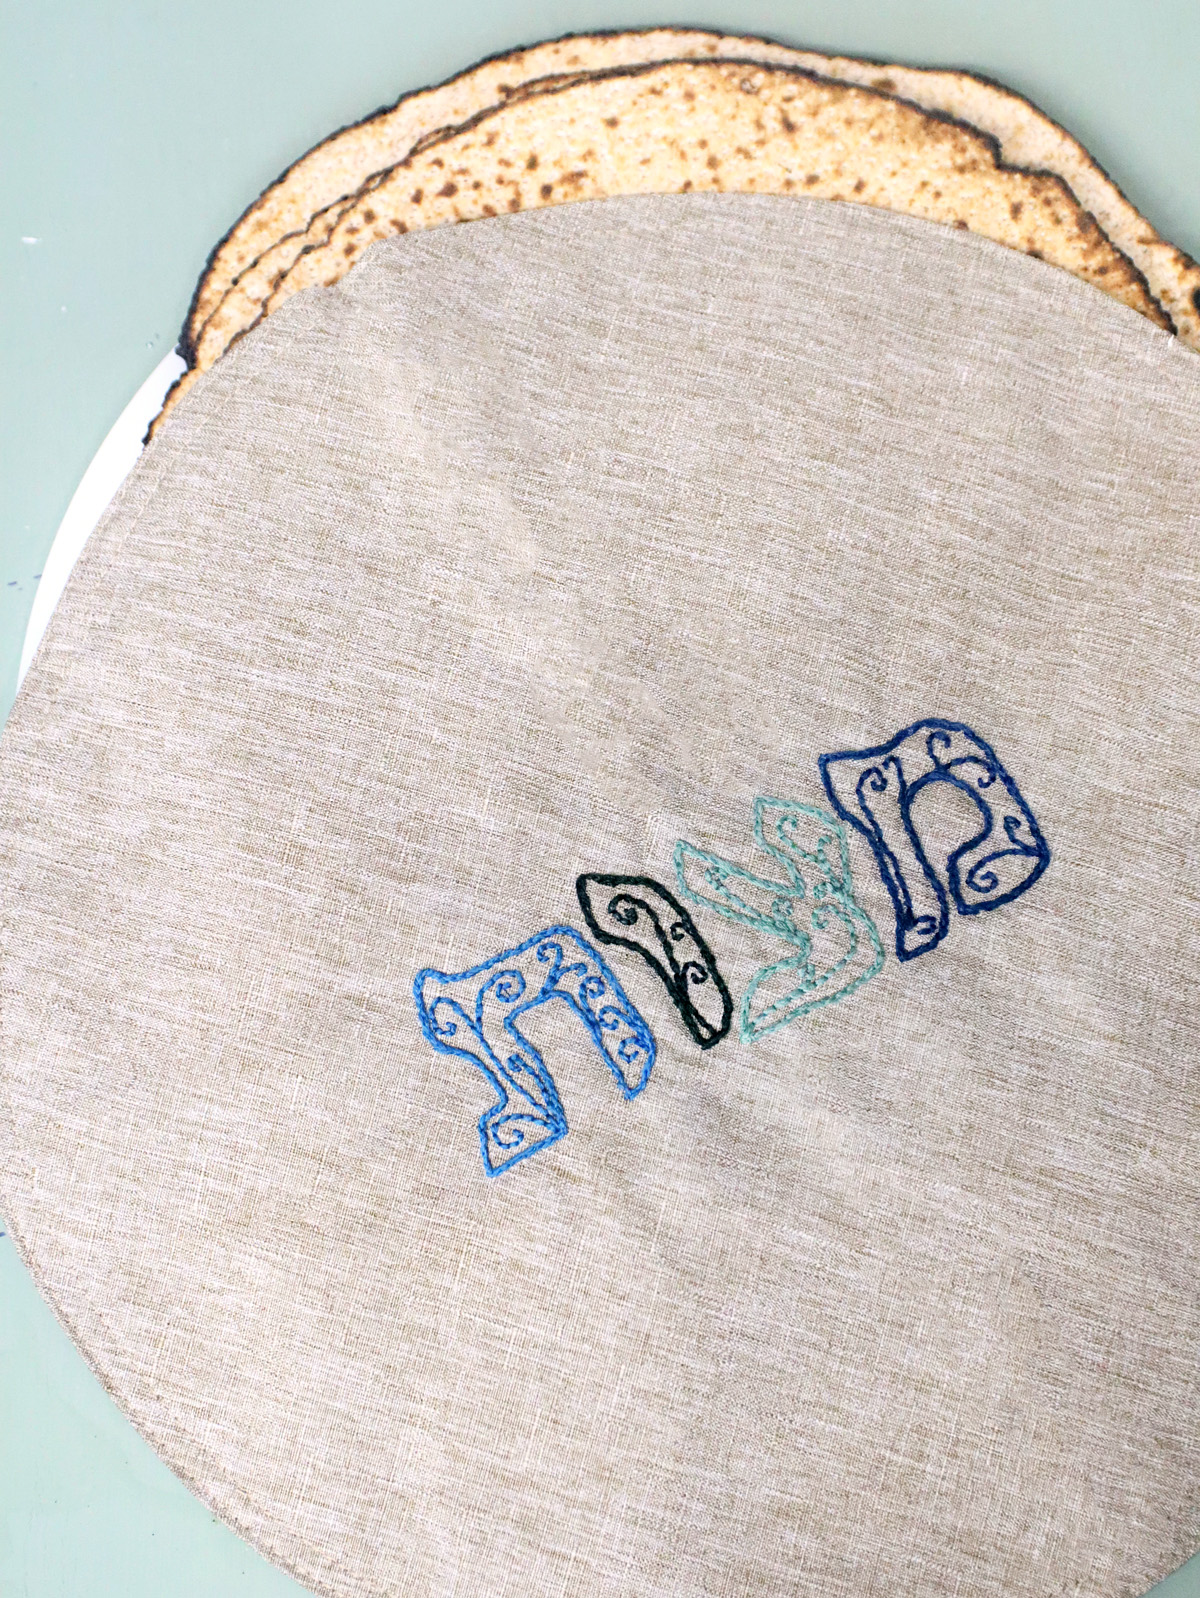
I had on last year’s “get for next year” list a Matzah cover and in brackets (make?) Yes, my default is always to think that maybe I should make it! And so this year I go to it.
I had a few ideas for how to make a Matzah cover craft but I knew that whatever I do, it needs to look professional – something I would put on my table and something you would too.
The second requirement: it has to be doable for the less-skilled artisan, ideally upper elementary, probably middle school, and definitely high school kids.
That’s a tough ask and I had a few ideas, including one that I was skeptical about (I may try it next year) and one that I tried and failed. And tried again. And failed. And gave up. So then I decided to embroider it.
And it worked out wonderfully based on the various inspirations that hit along the way that were G-d sent.
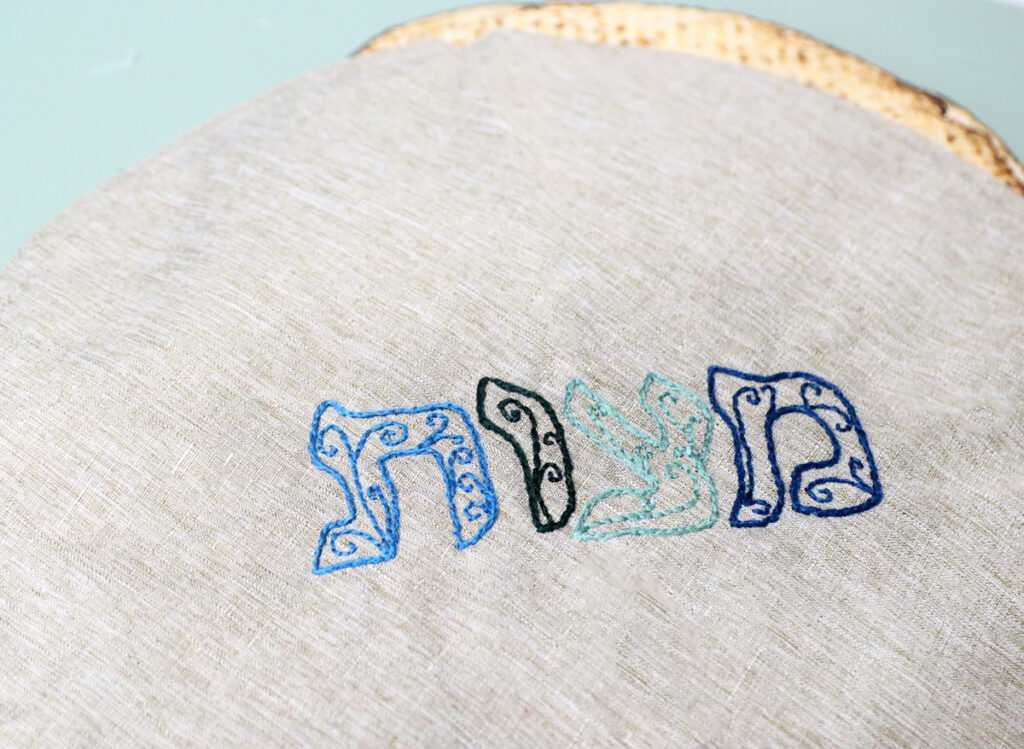
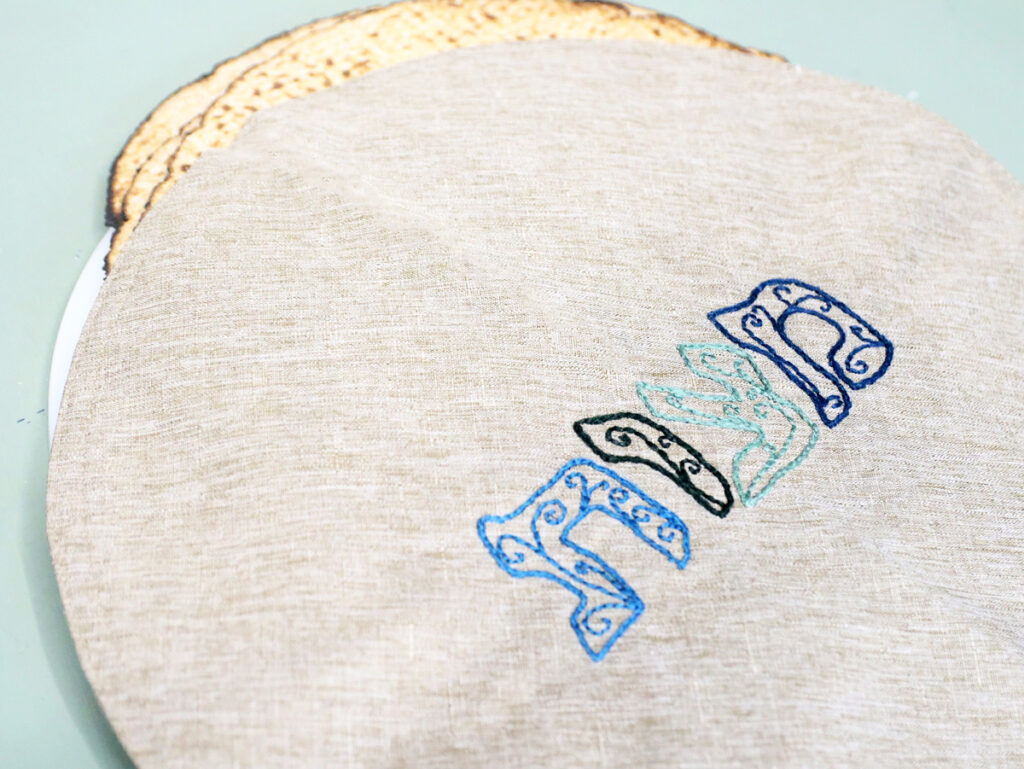
Choosing a base for an embroidered Matzah cover craft
To try these ideas, I needed a base. These types of crafts (and yes, they are my favorite type) start with a “blank” that you’re decorating, and I though a linen-y placemat would be ideal! But for Seder use on round matzahs it needs to be round.
If you only use square matzahs you can definitely make a rectangular cover using a regular placemat – or even a pretty, thick linen napkin. It’ll be much easier to find.
It was VERY hard to find a round charger-style placemat that was more fabric like and not jute. Make sure you’re choosing a fabric and not jute one.
My first idea didn’t really need to be sewn through, but my second (that I haven’t tried yet) did, so I did choose the most fabric-y one I could find.
A big issue with this blank – that I’m sharing in case you find something better – is that because it’s a placemat and not a napkin (yes, I did try to find a round napkin…) it’s somewhat waterproofed. It’s sealed. And it’s THICK.
So I did need to use quite a sharp needle to go through it. Make sure you get a good, sharp needle for this.
In an ideal world, I’d choose just the fabric I want and sew myself a perfect little fabric base, but this world ain’t perfect, I don’t sew that neatly, and I’m clean outta time.
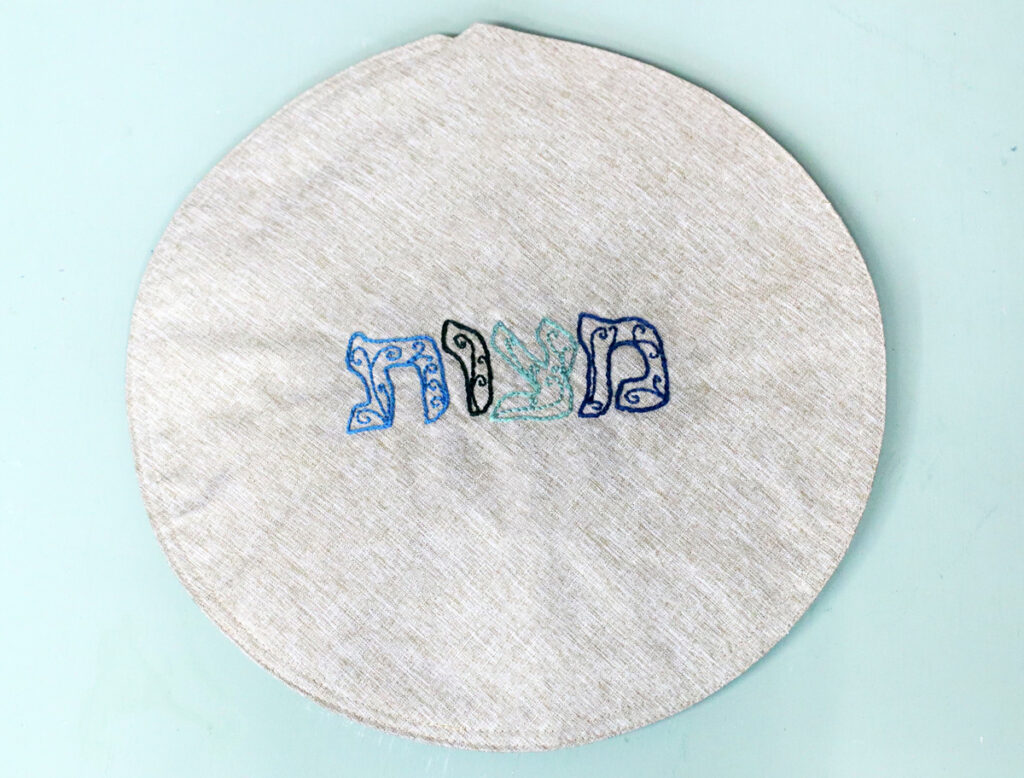
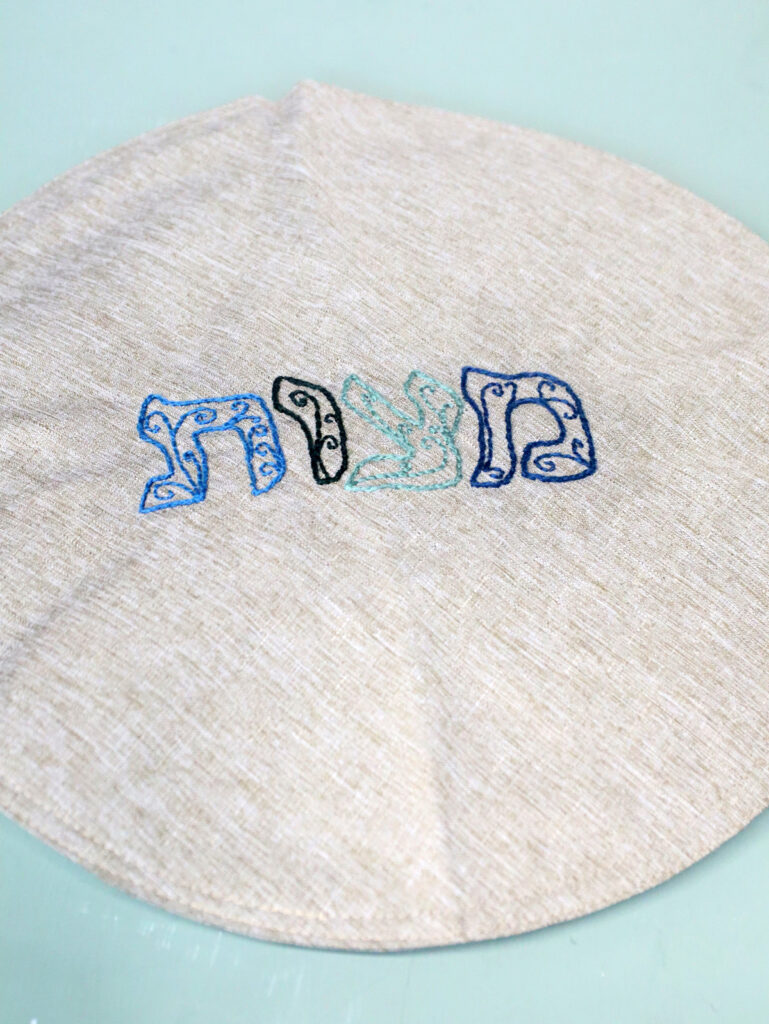
Tips for making an embroidered Matzah cover craft
If you’re making this with older kids, you don’t really need to read this. This is more for artisans and crafters who may be trying it for themselves.
Design transferring techniques
The cool “brain flash” that came to me was that I can do really simple embroidery using an insanely cool and underrated tool: adhesive (read NOT iron-on) printable embroidery stabilizer that dissolves in water! You heard that right!
This sheet just goes into a regular printer, you print my free printable at the end of this post (or any pages of it you plan to use) with my hand-drawn designs, cut it out, lay it out, peel off the backing and stick it on.
Embroider right through it and then wash it off! It really and truly was that simple.
You can definitely try other techniques for transferring or drawing designs such as:
- Carbon paper – I’m not sure how permanent this is if you make a mistake or want to modify the design after. I’m also not sure how well it works on such a placemat.
- Washable fabric marker – this is a great tool to use if you’re drawing your own design.
- Projector – If you have a craft projector such as the Flycatcher Smart Sketcher, you can project any design through the app. Use this with a washable fabric marker too.
- Light box – if you manage to find (or sew your own) thinner base that is somewhat see-through, you can trace the design by placing it over the template placed on a lightbox or window.
Designing your matzah cover craft
There are two elements to designing this: your color scheme and your design.
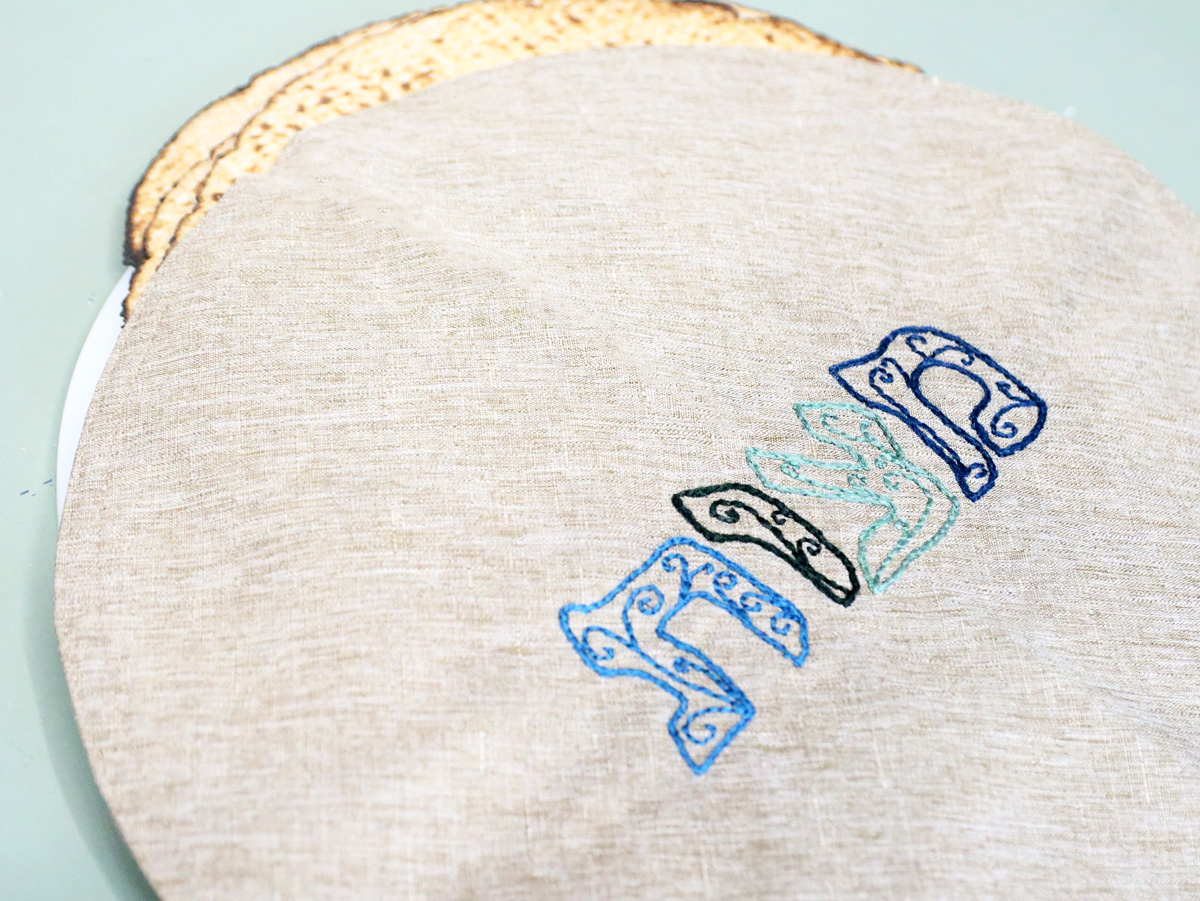
Let’s choose colors first. I decided to stick to a very simple palette of blues and greens, just because I know that’s what I tend to use on my Seder table. I want it to fit right in. I also was using a darker base than I liked so I just decided to keep the whole thing relatively neutral.
I recommend choosing a color palette in advance, laying out your embroidery threads on your base, making sure you like how it looks – the contrast, the combination…
Next, to plan your design, I would recommend cutting out the parts that you like the most roughly around the edge leaving a little extra, and laying them out. Rearrange them until you’re happy.
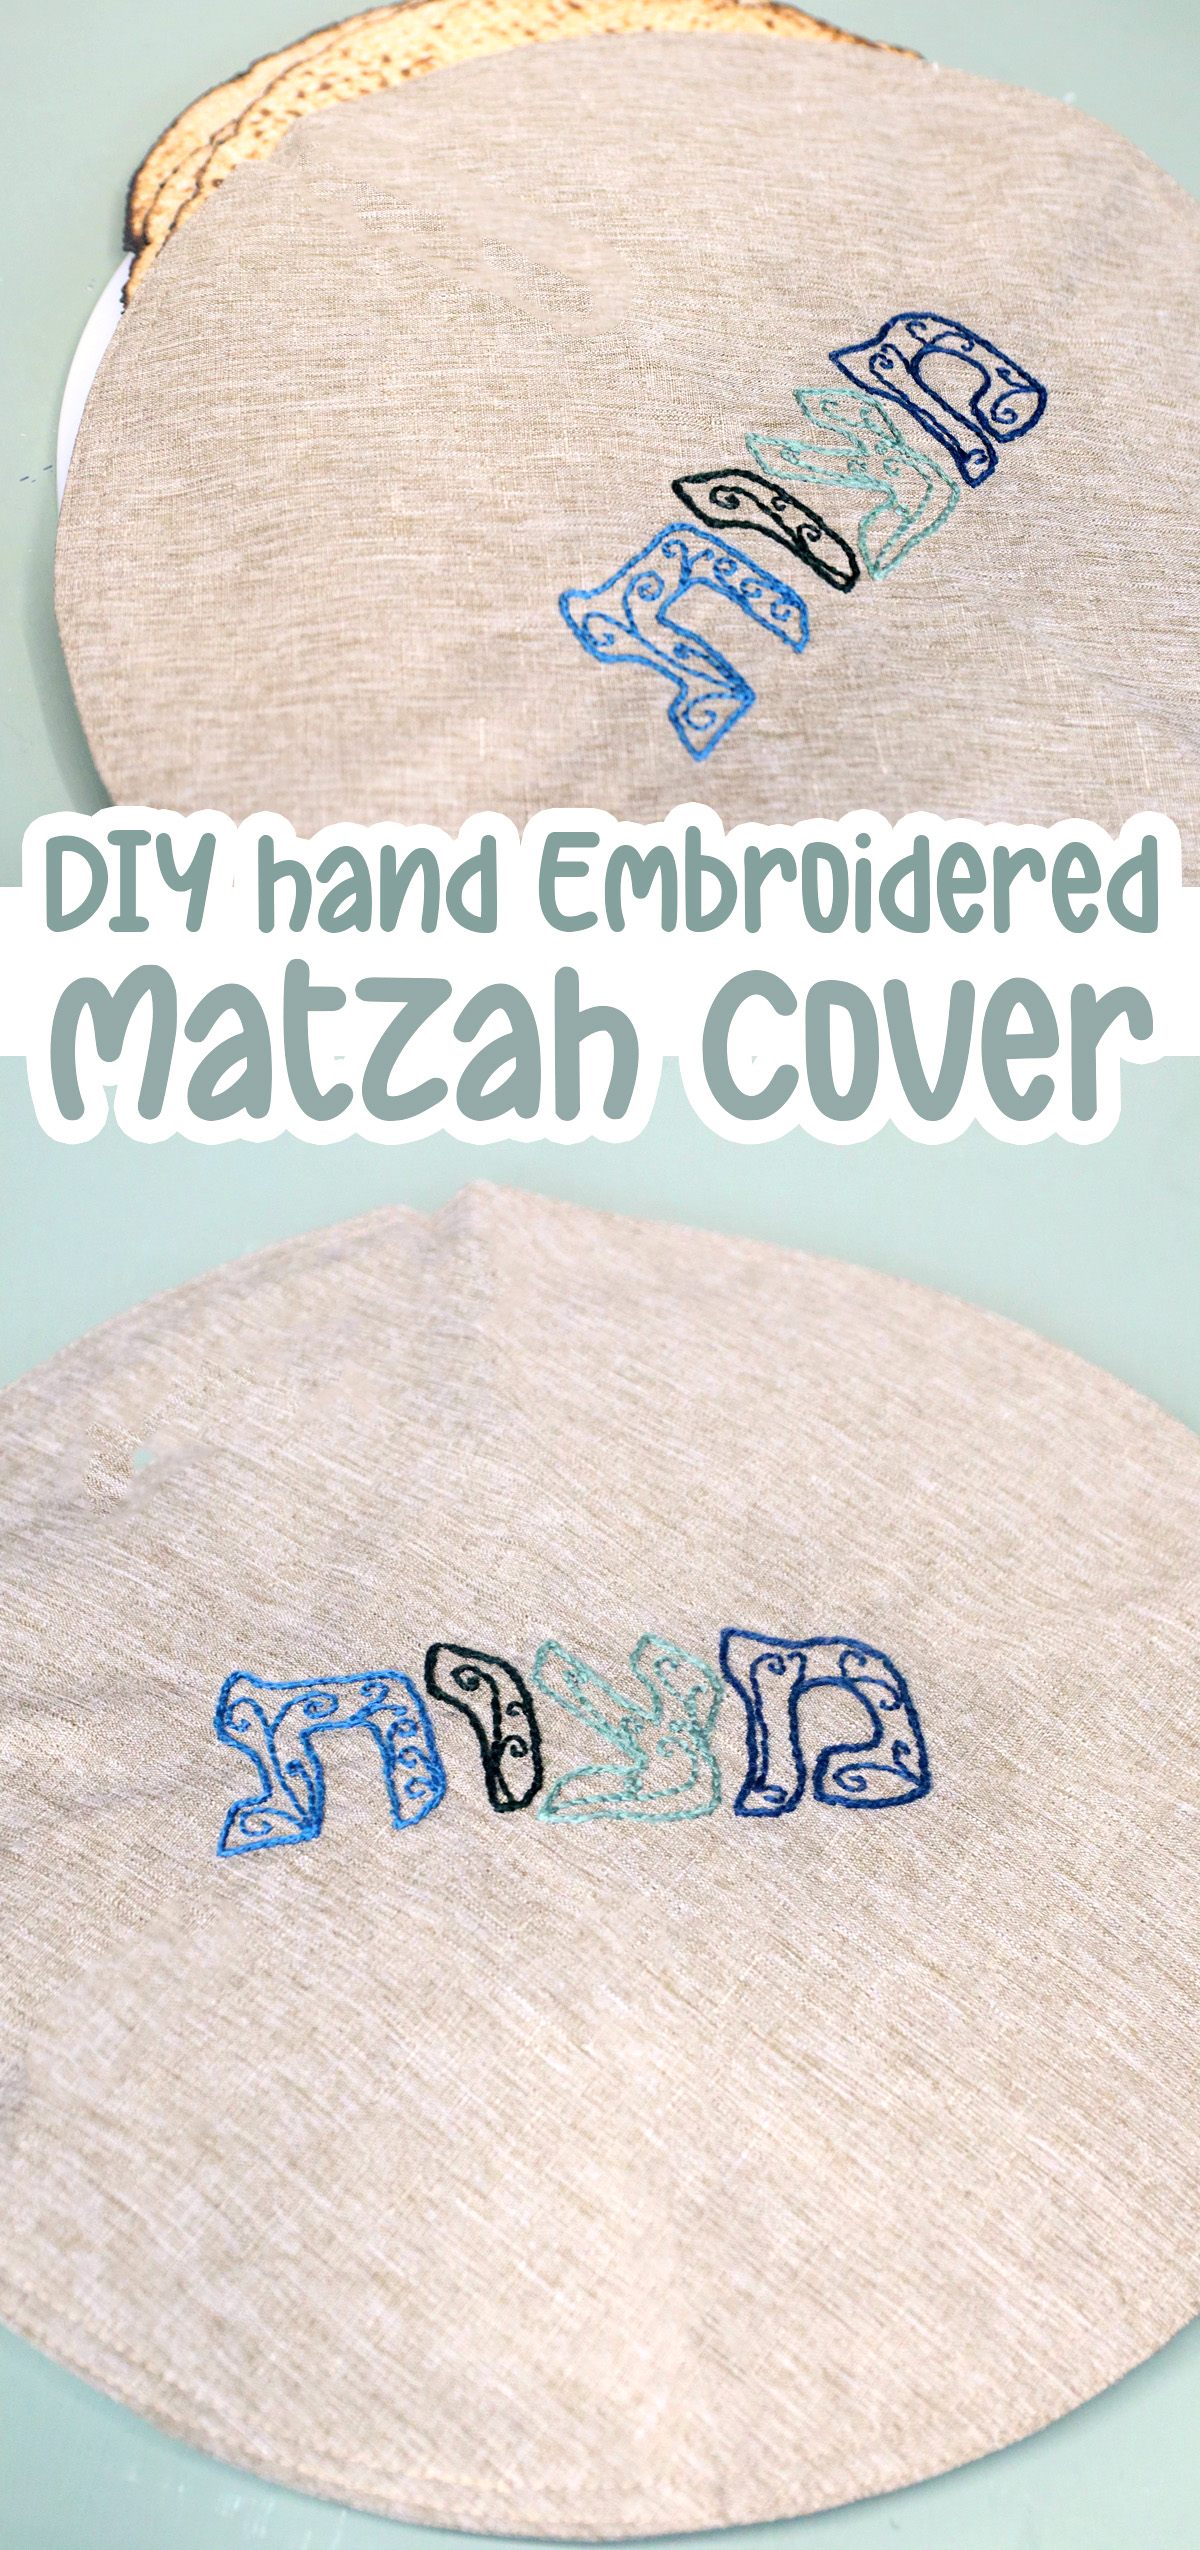
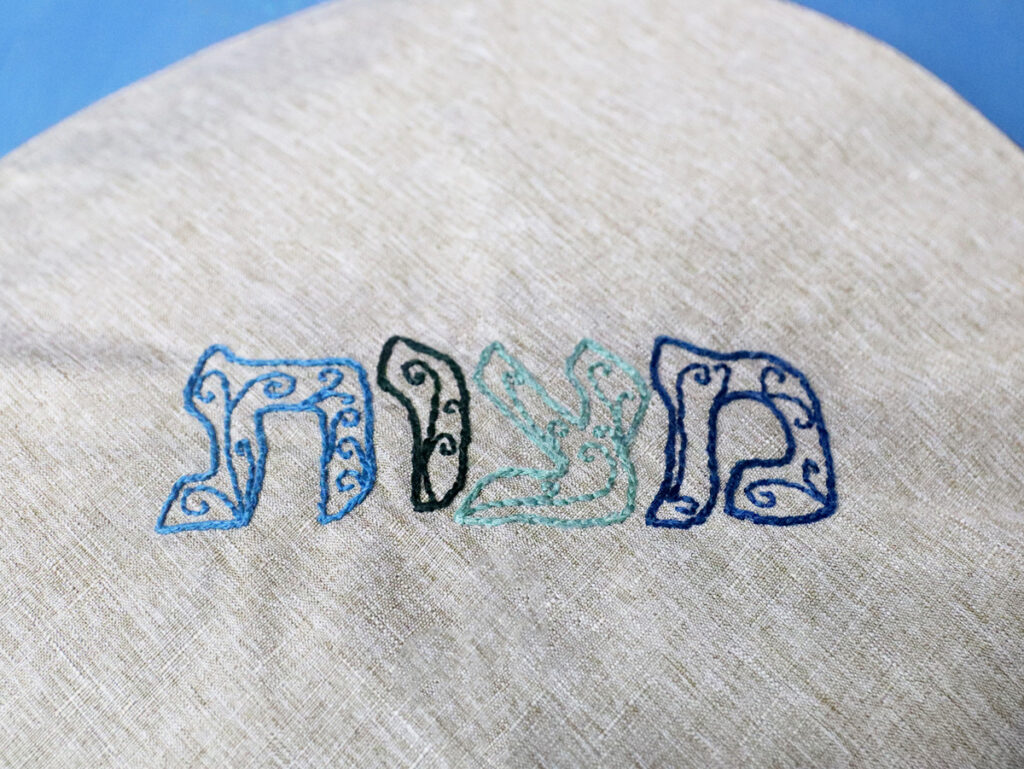
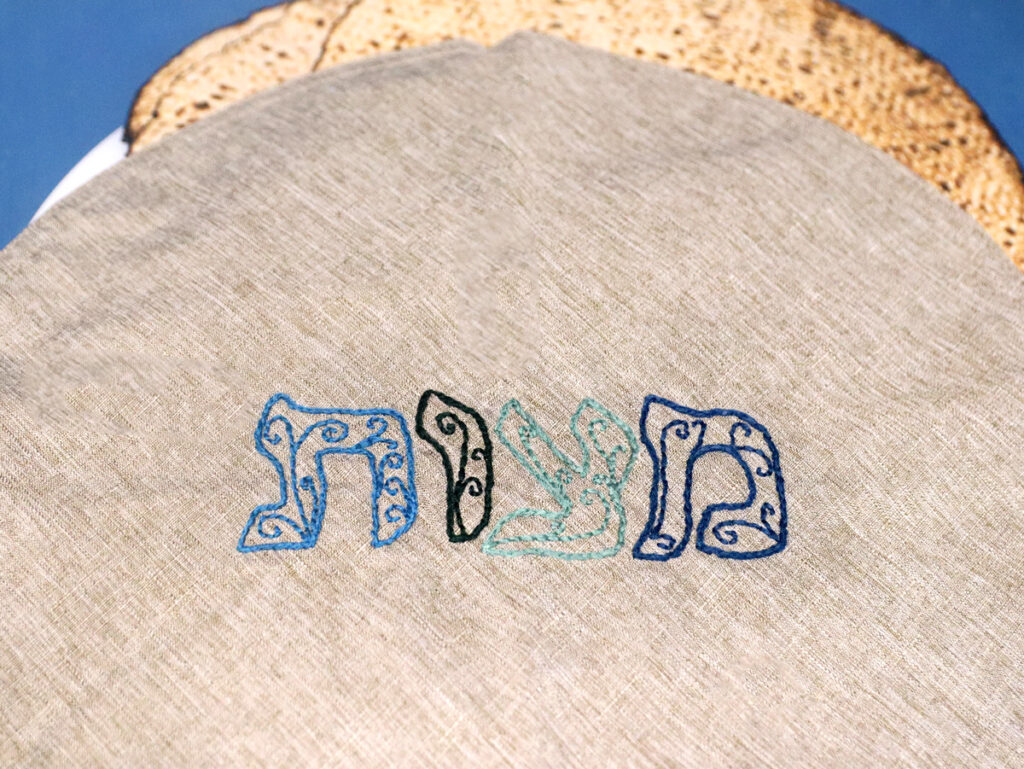
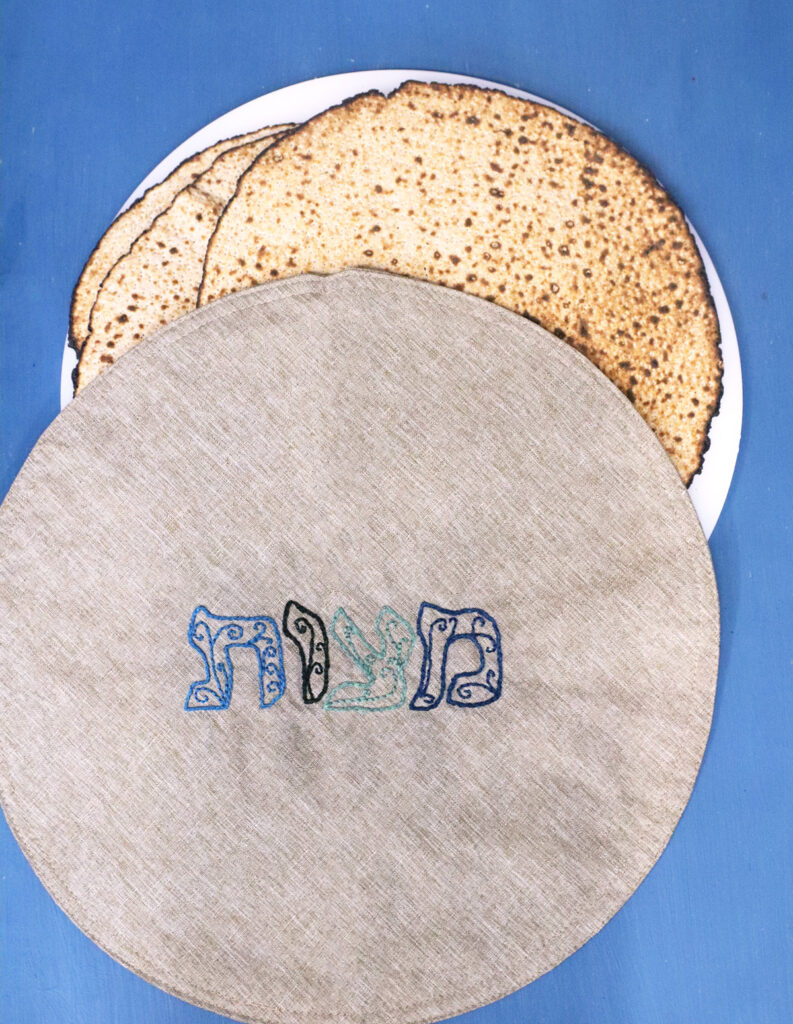
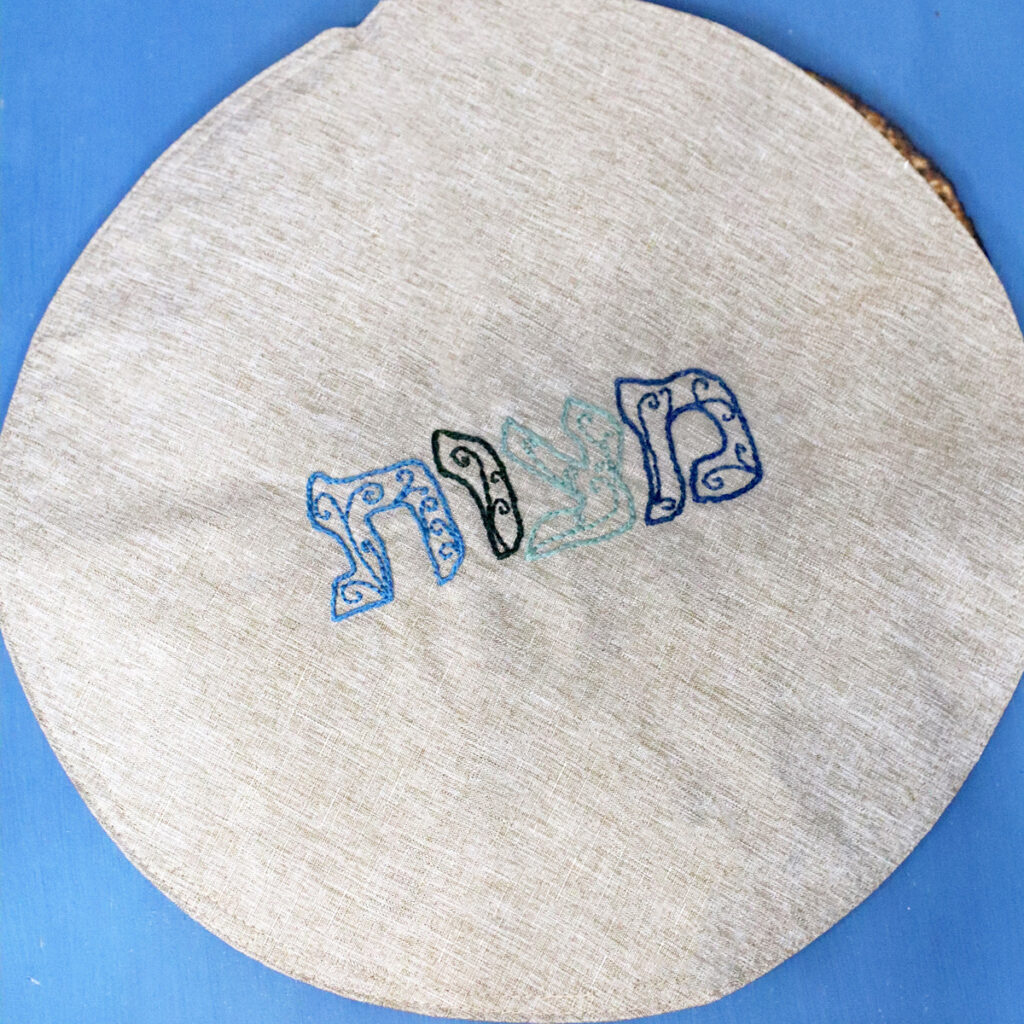
I kept mine super simple with just the world “matzot” in the center but you get loads of options.
In fact, you have more options than I did! After I did it, I wished the word Matzot was bigger so I made a bigger full-page version of that and the Pesach circle for you to choose from.
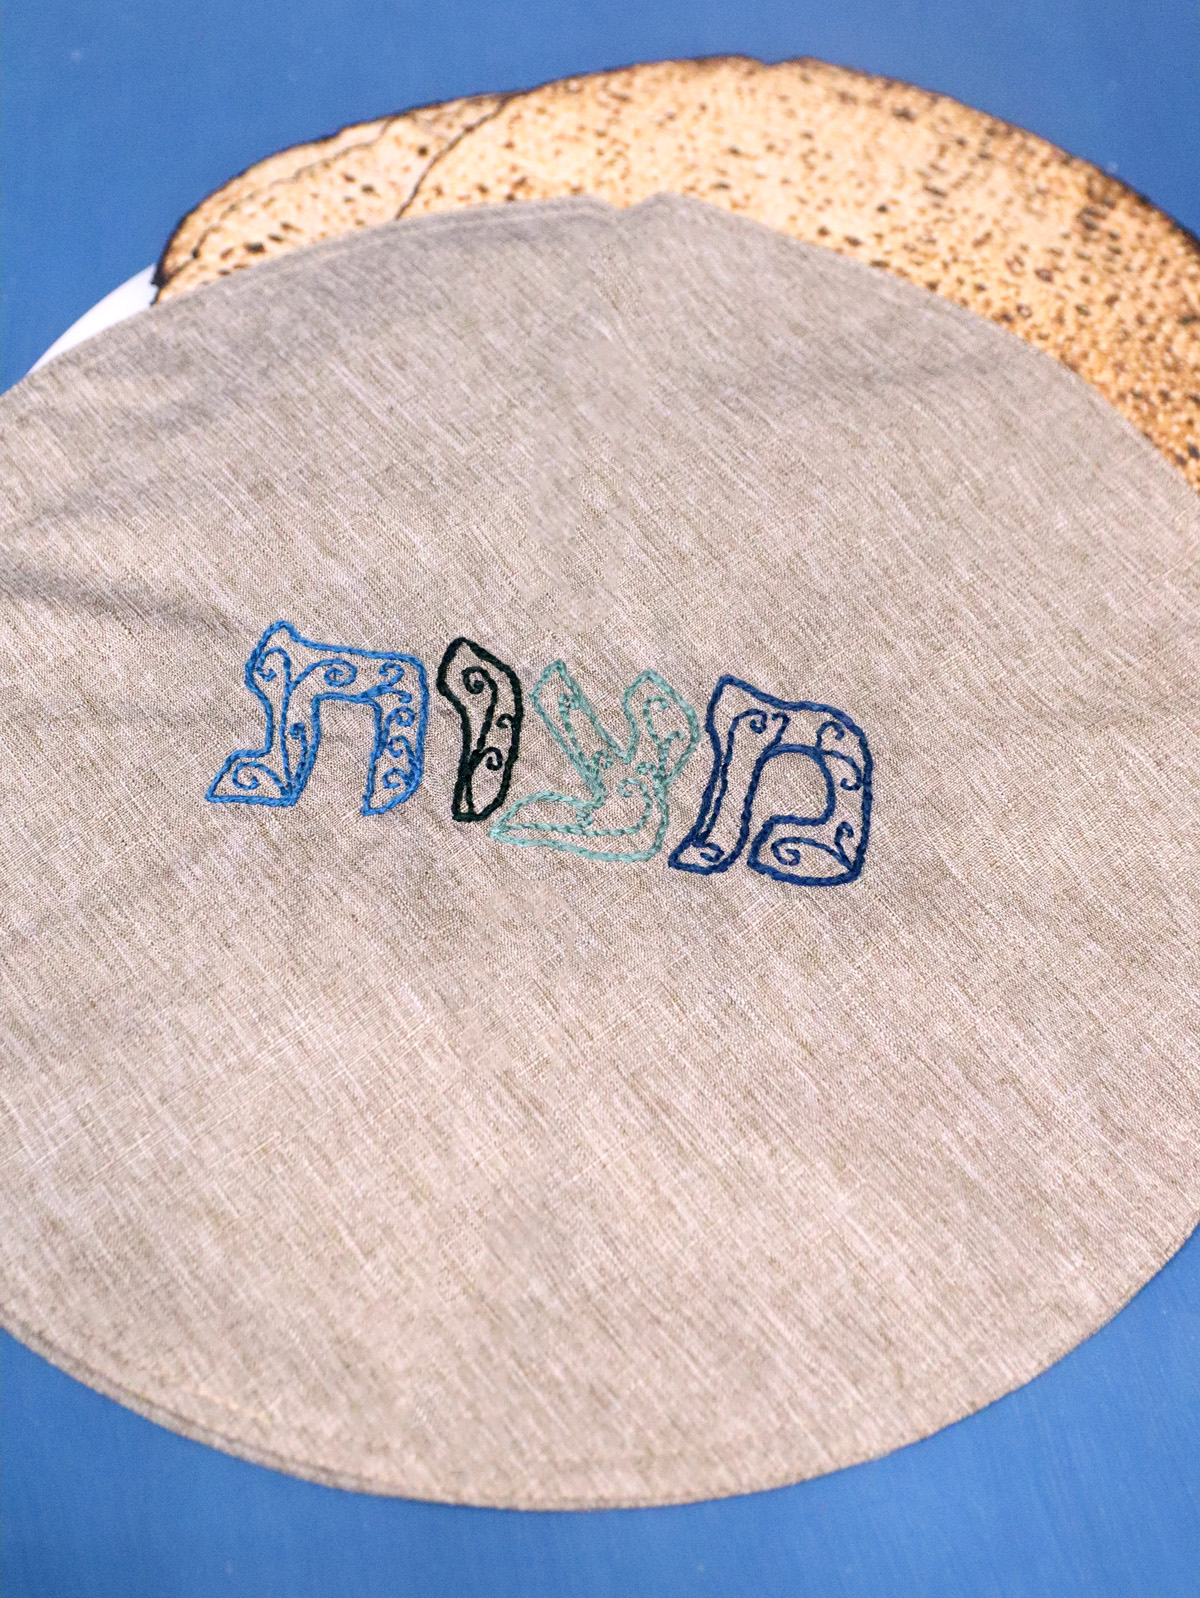
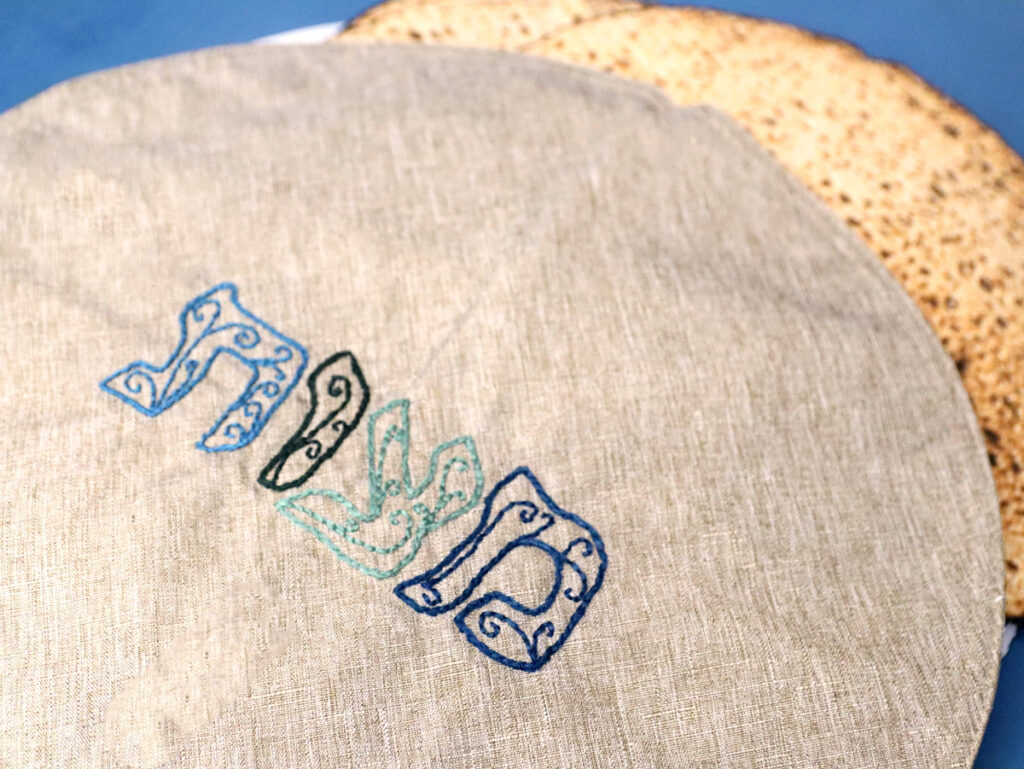
You can also use the printable stabilizer to draw a design yourself! I recommend doing this is you’re making a design to sell. As a crafter selling your product, you’re always best off presenting as an artisan selling original designs.
As I write this, I keep going back to my ideas list for next year and I have so many ideas for variations, so there are so many ways, really, that you can spin off on this and I encourage you to be creative in that way.
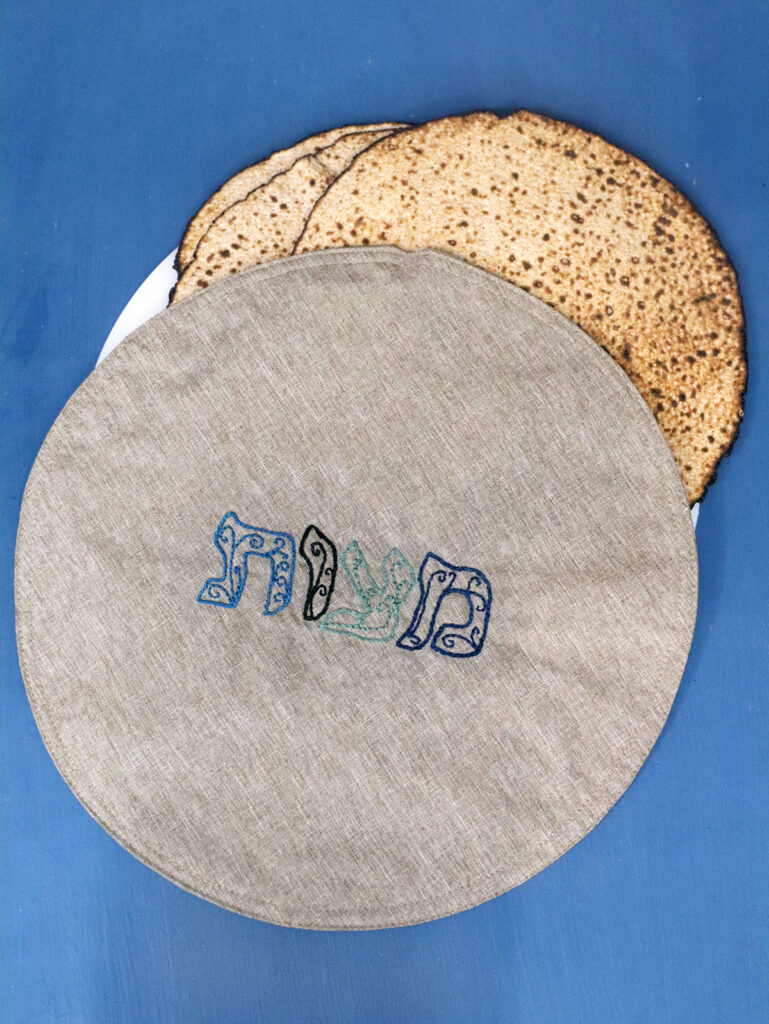
Finishing it off
One thing that I may still do (I just needed to get this published already) is add some sort of trim. This can be an embroidered blanket stitch around the edges or glued/sewn on trim.
I’m thinking that a rustic lace edging can brighten it up, go with the filigree in the letters, but without making it look tacky. I hope so.
I usually do update with a photo here when I update a craft I’ve made so watch this space.
How to make a DIY embroidered Matzah Cover craft
YouTube Video
Watch the full-length video on YouTube if you prefer to learn that way! Or scroll down for written instructions with photos.
What you’ll need
- A large piece of round finished fabric – I used this placemat
- Embroidery floss
- A sharp embroidery needle
- Water soluble adhesive printable embroidery stabilizer
- Thread snippers
- Non-fabric scissors (you don’t want to ruin your fabric scissors cutting the paper backing on the template)
- If you want to finish off the back (optional): iron-on fusible interfacing, fabric scissors, pressing cloth, and a small iron
Process
Print and lay out the design
1. Download the template at the end of this post. Choose which pages you’d like to print (based on which designs you might use) and print them on the stabilizer.
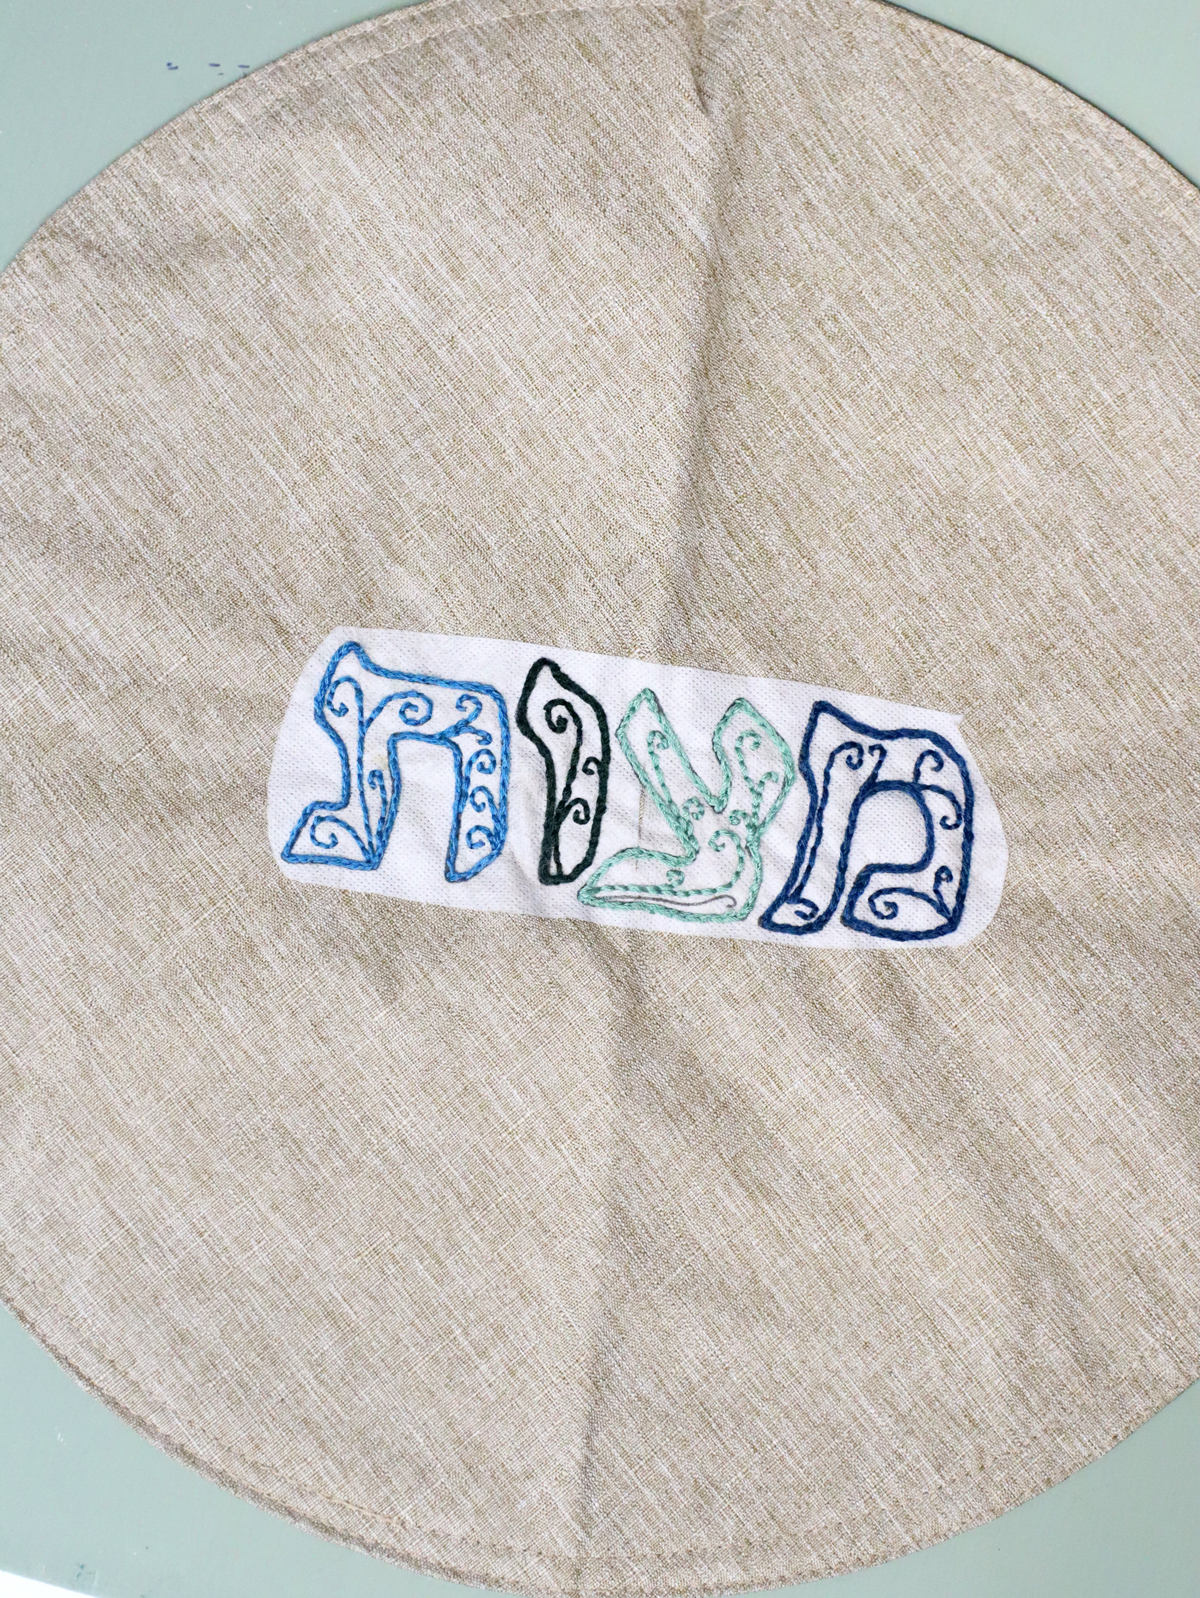
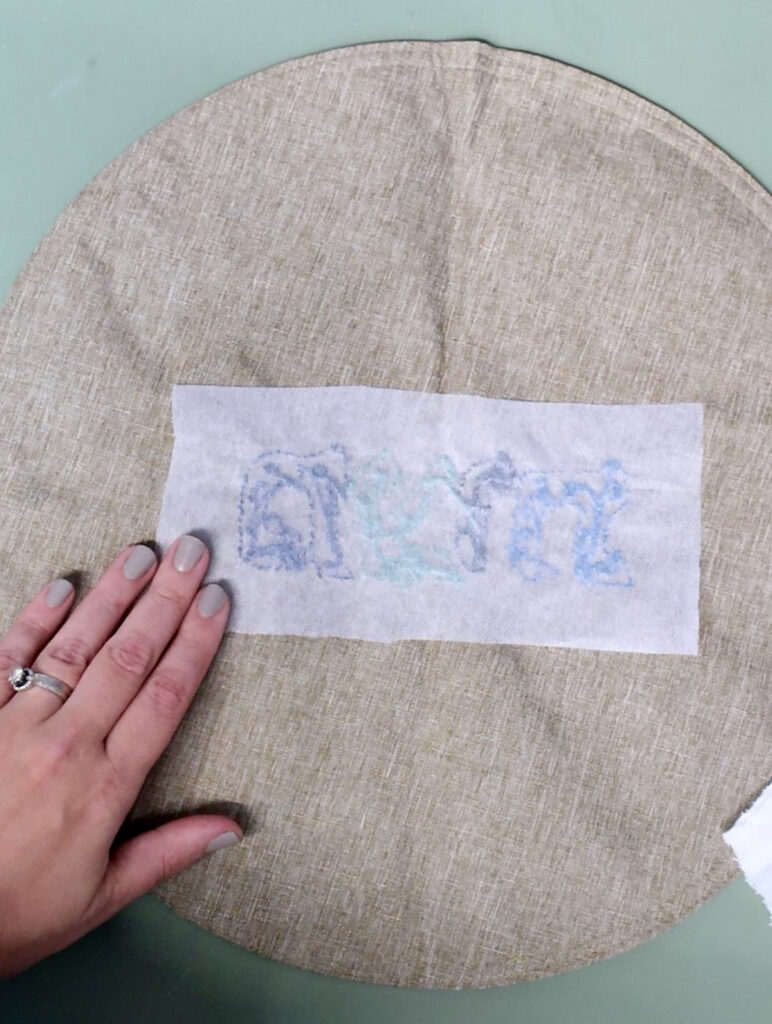
2. Cut out the designs you want leaving a bit of a border around them. Arrange it on your placemat and when you’re happy with the design, peel off the backing and stick it on.
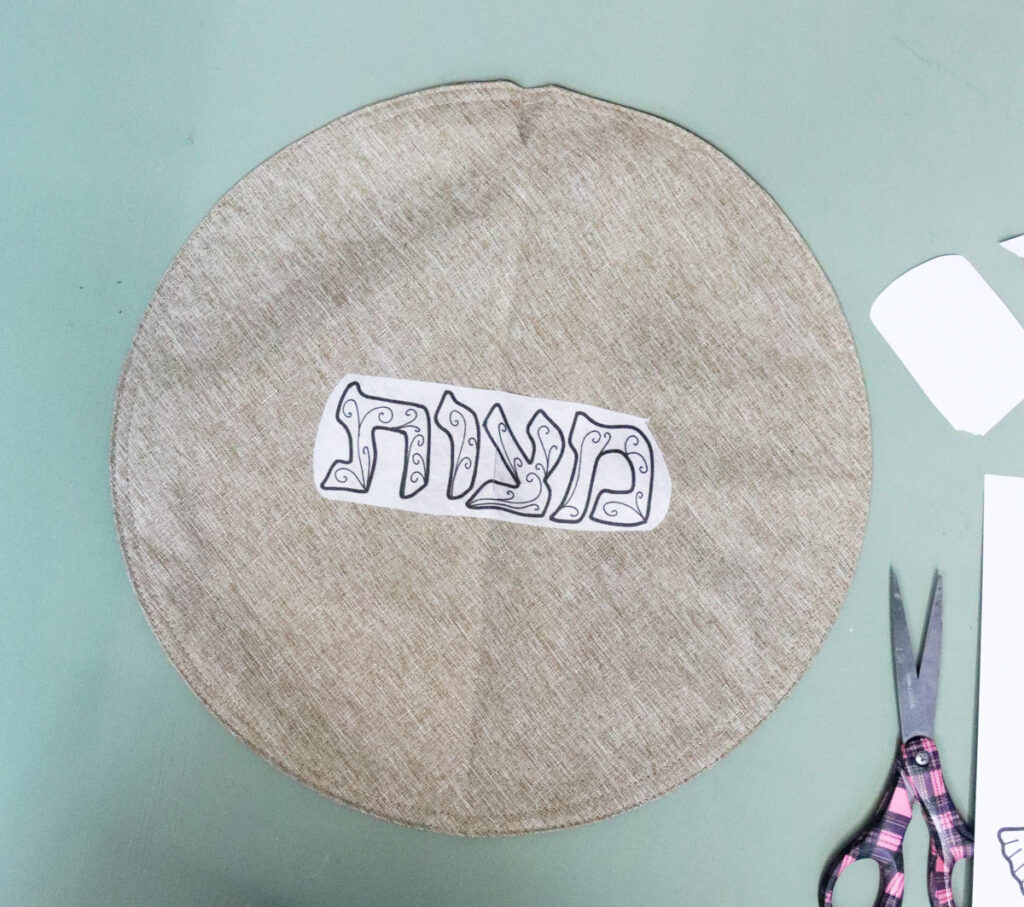
3. Thread your needle. We’re going to use two very basic stitches to do this: the split stitch and the backstitch.
We’re literally going to trace the design with these two stitches.
Split stitch
For the thicker portions – the outlines of the letters and designs, we’re using a split stitch. This creates a more solid line by going through the previous stitch as you embroider.
1. Create a basic stitch on any point of the outline. Just a small in and out stitch. Bring your needle back from the back towards the front, but bring it through the center of the starting stitch, literally splitting it.
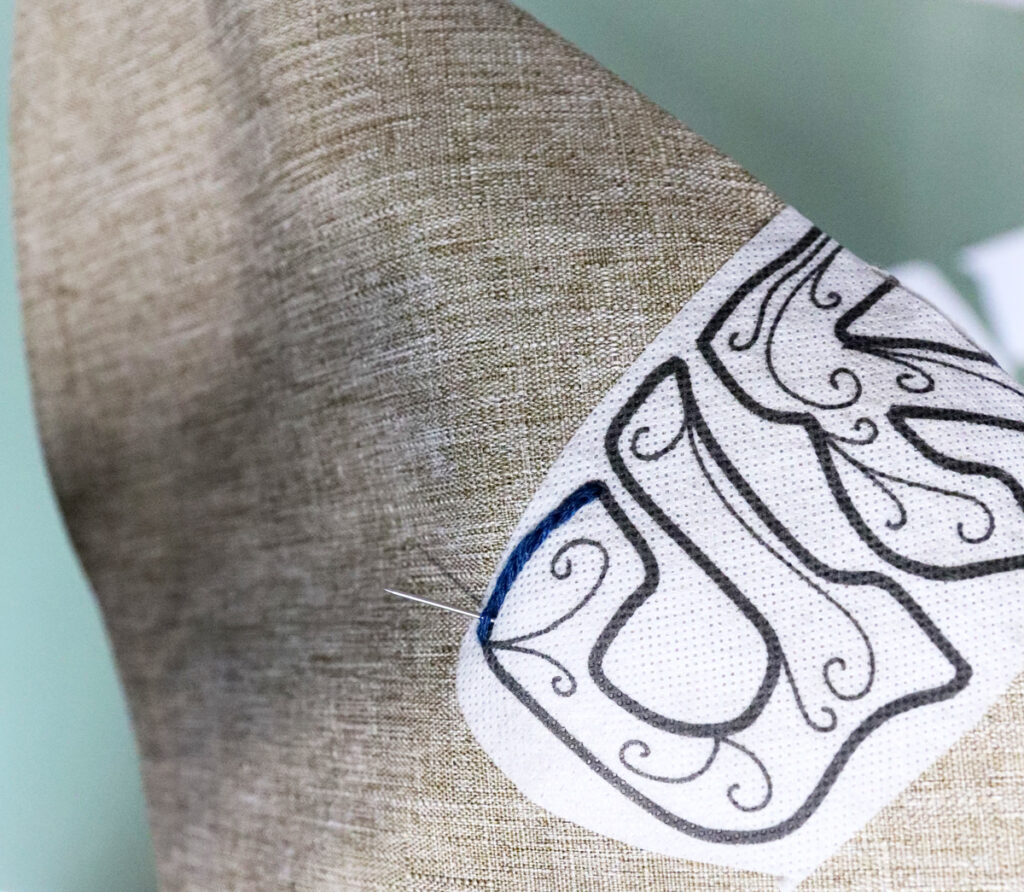
2. Pull all through way through.
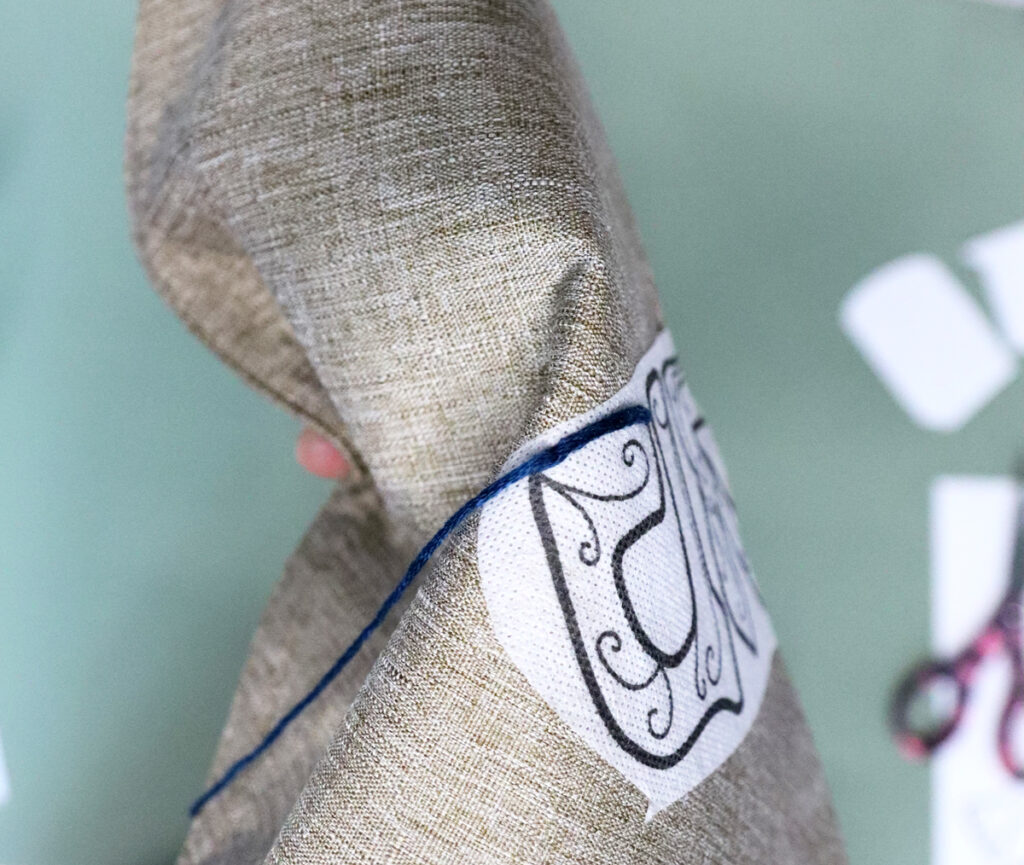
3. Complete the stitch by sending the needle back from front to back.
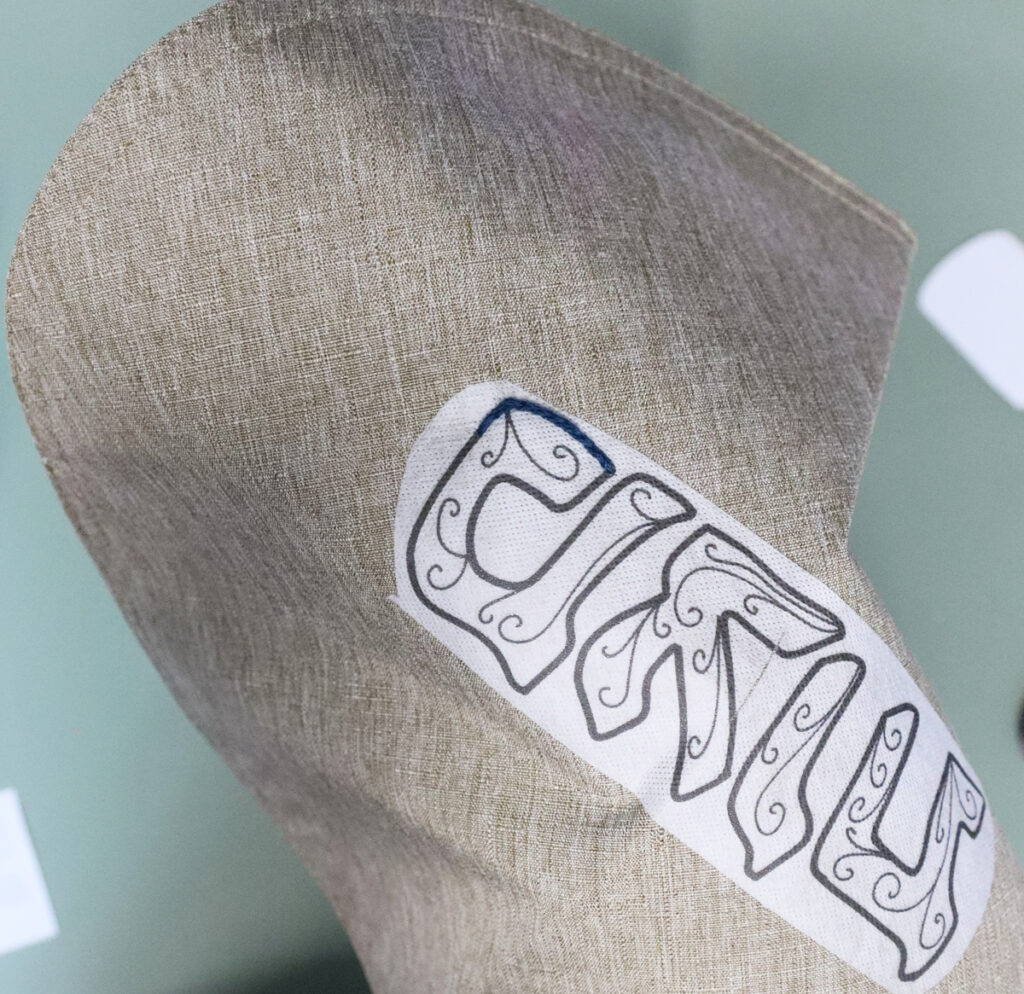
Keep doing this around your design. Corners can get tight – and in some spots you may want to go backward in direction, bringing the needle from back to front at the end of the stitch and from front to back splitting the previous stitch.
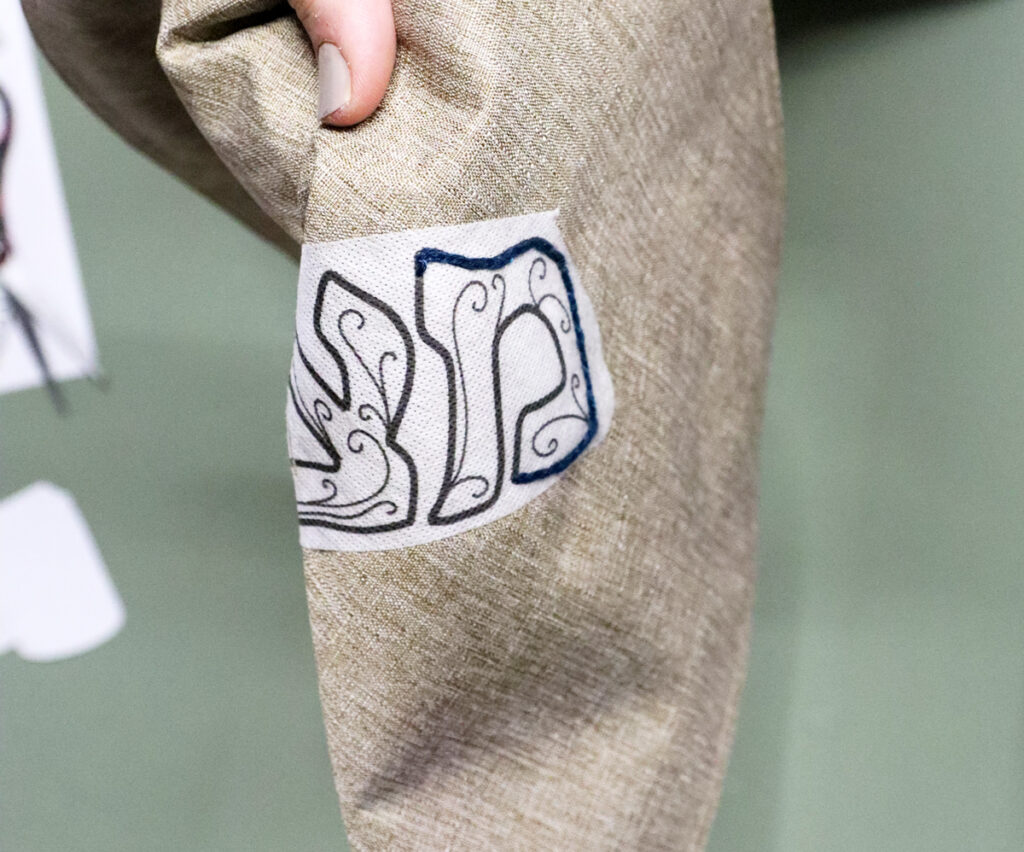
After you complete a letter, you do NOT need to finish off your thread if you have enough to continue. You can just move on to the filigree.
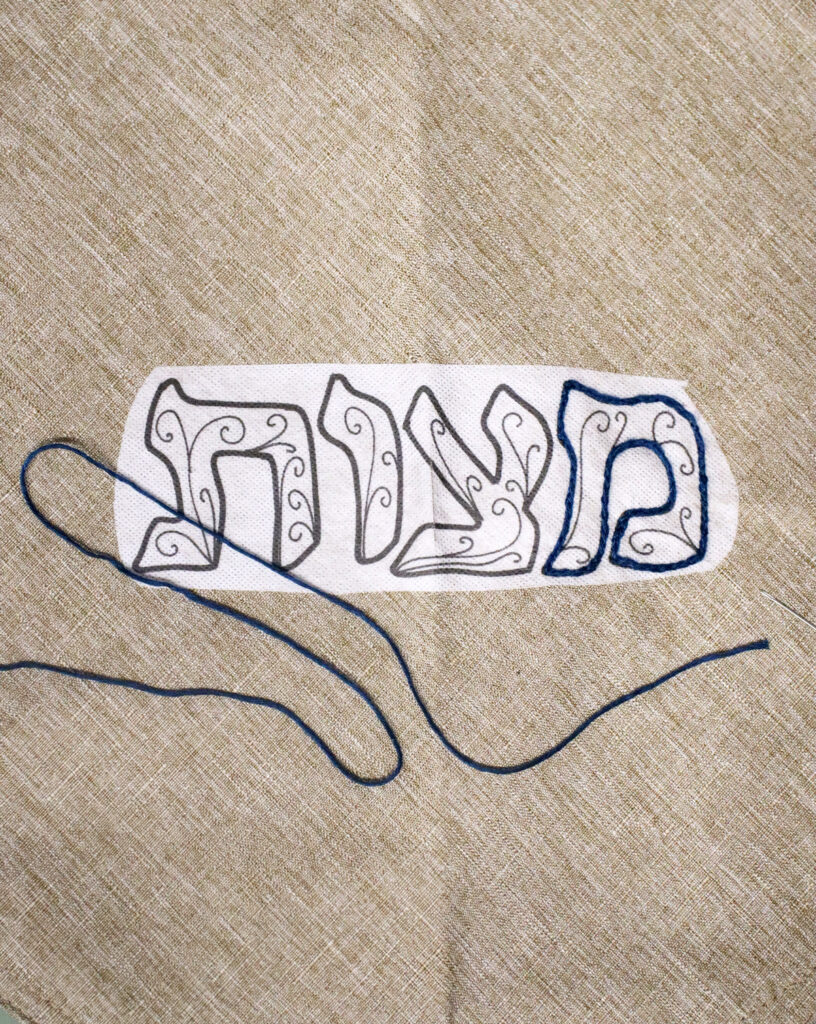
Backstitch
We’re using a backstitch to create the finer details – in this case the filigree in the center of the letters.
1. Start with a starting stitch.
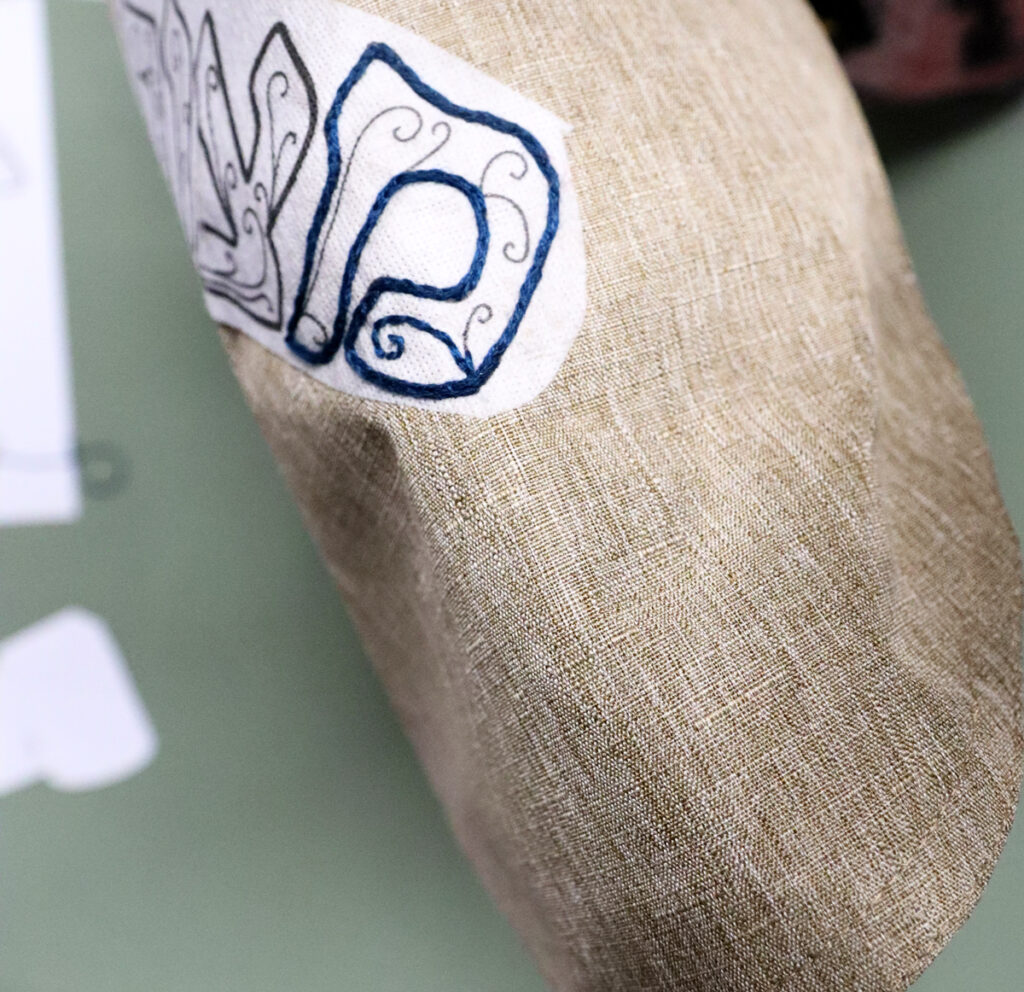
2. Bring the needle up at the point of the END of this stitch.
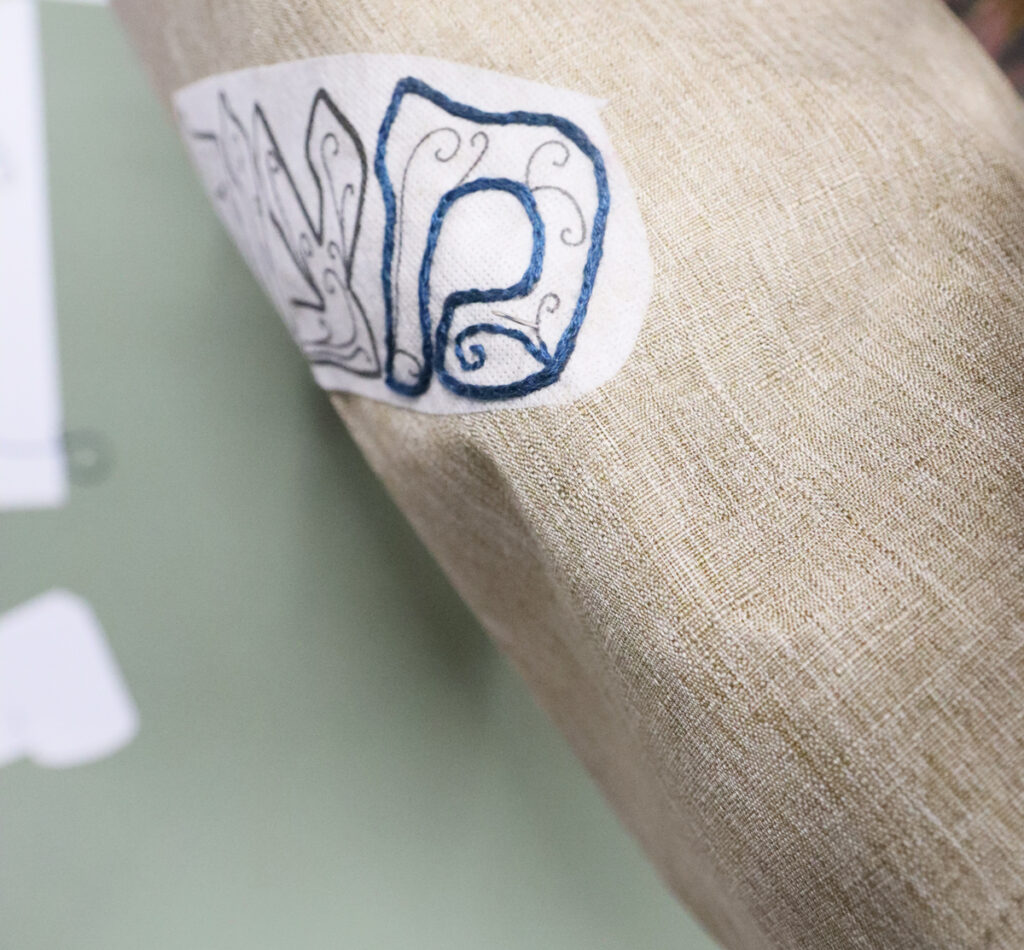
3. Stitch backward into the point where the previous stitch ended.
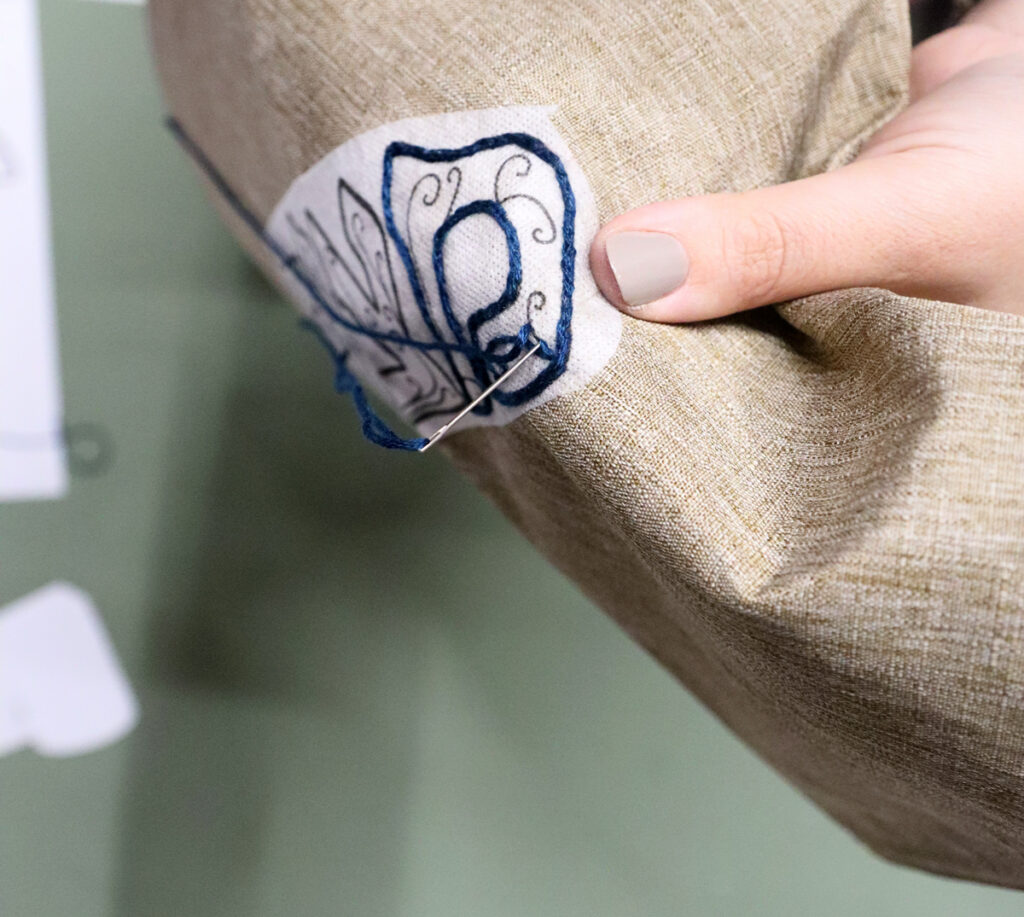
4. And pull through.
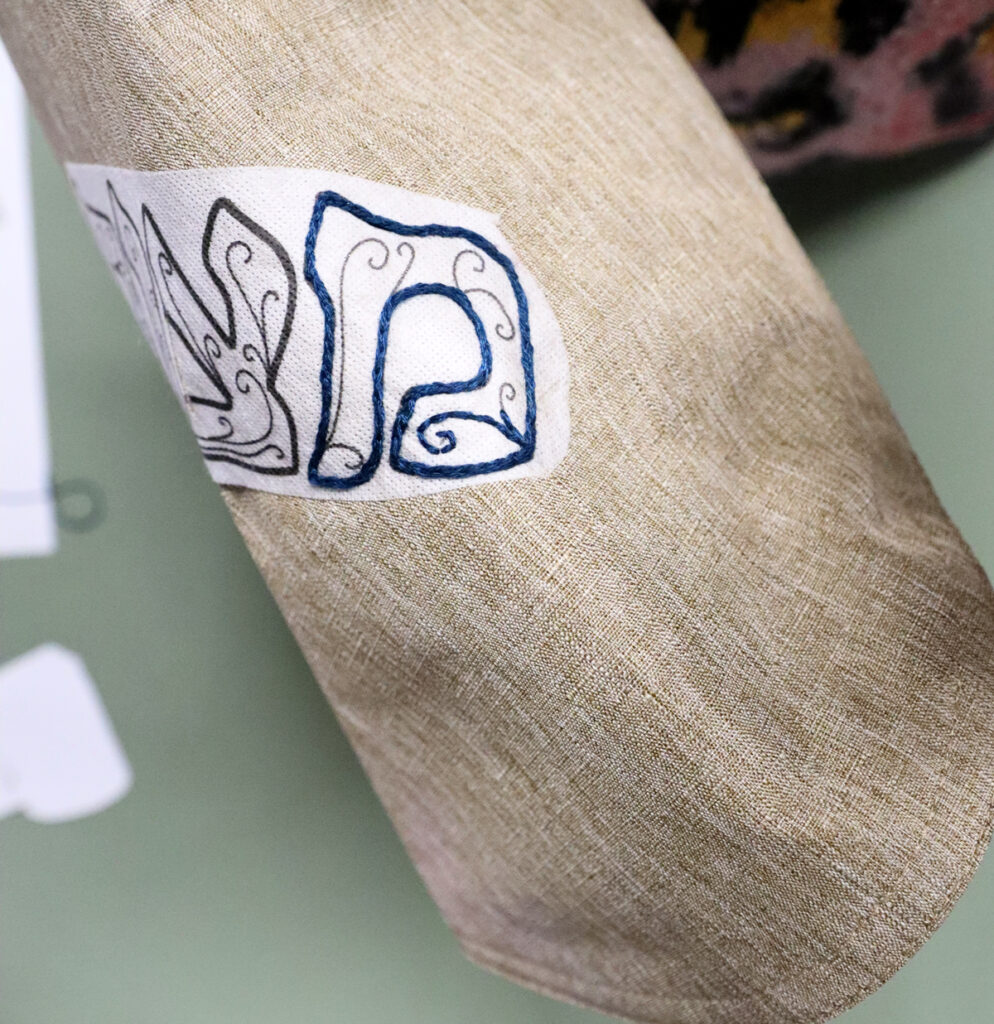
Stitch continuously along all the internal design/details, moving to the next one at the closest practical point. You can follow the design loosely, modifying as you go along. For example, if it’s too close together, skip some of the filigree.
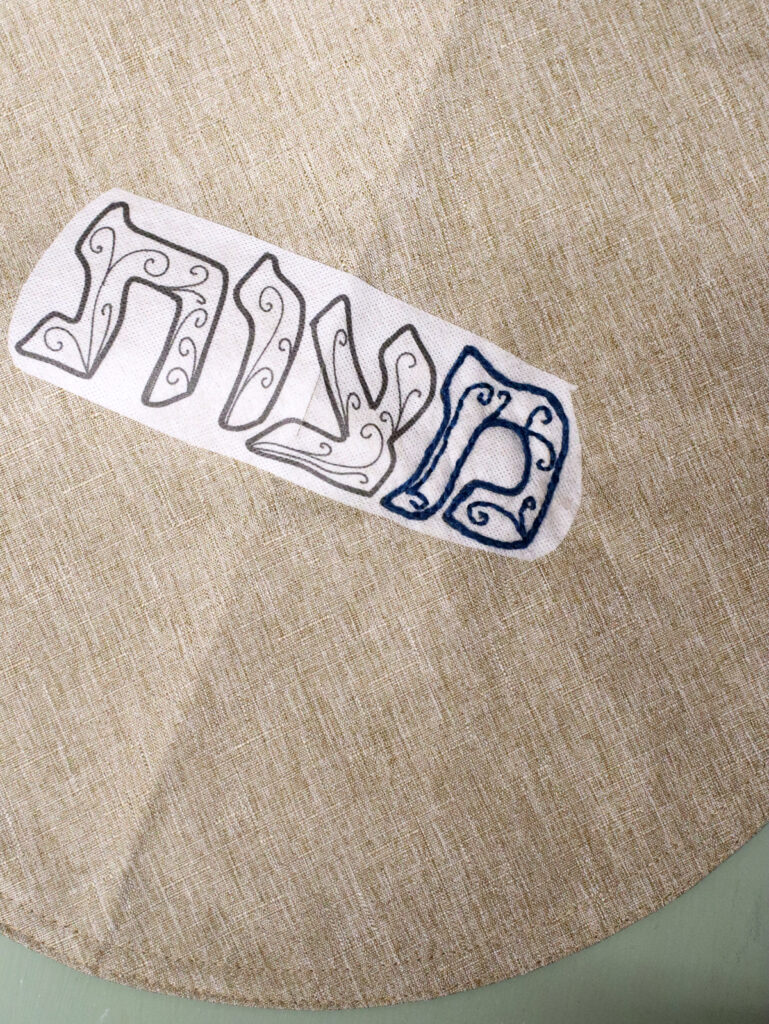
Finishing it off
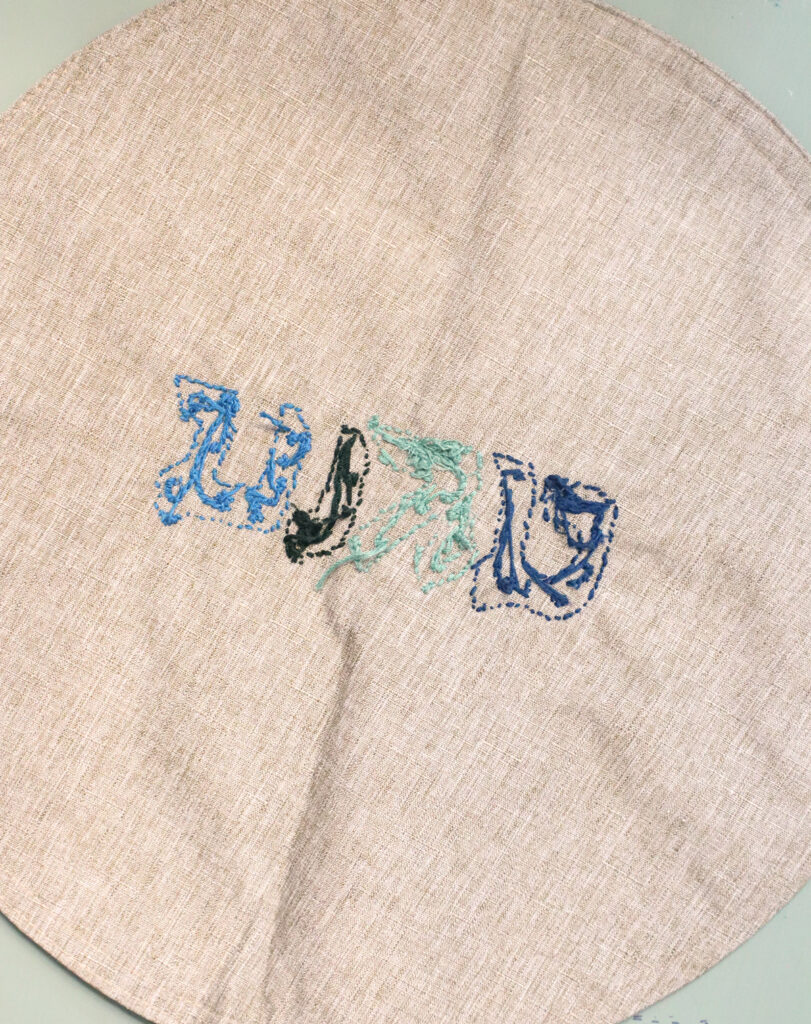
1. Continue stitching your entire design this way. I did each letter a separate color. Tie off each color properly on the back.
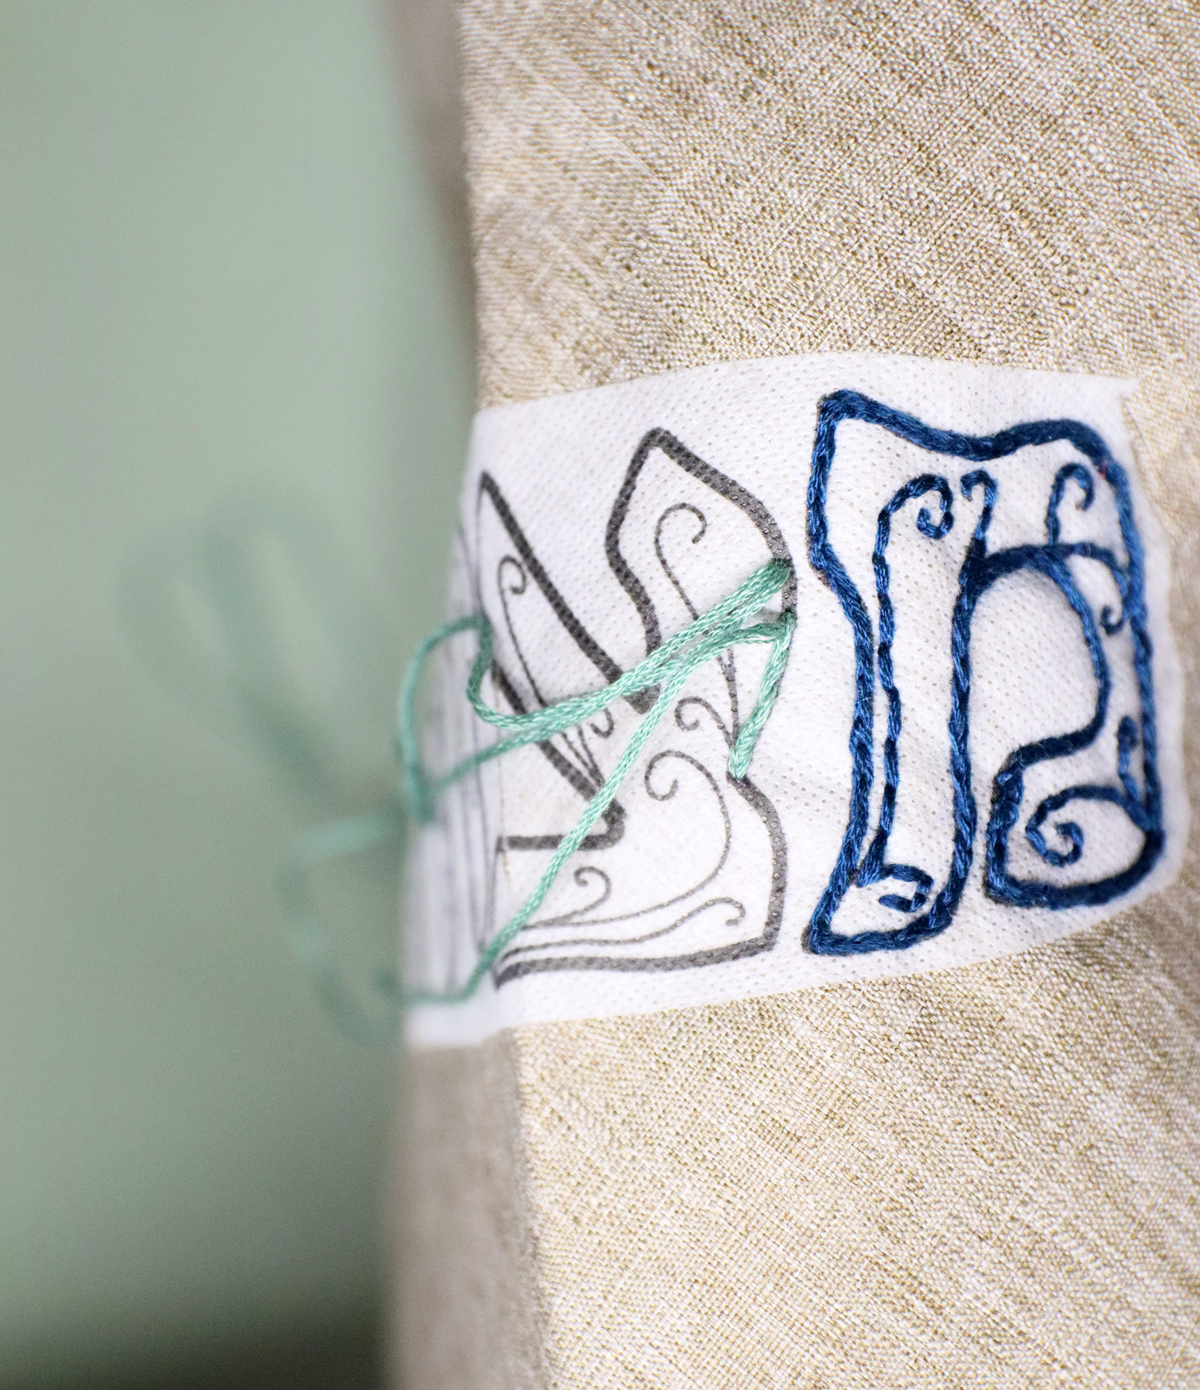
My back looks like this:
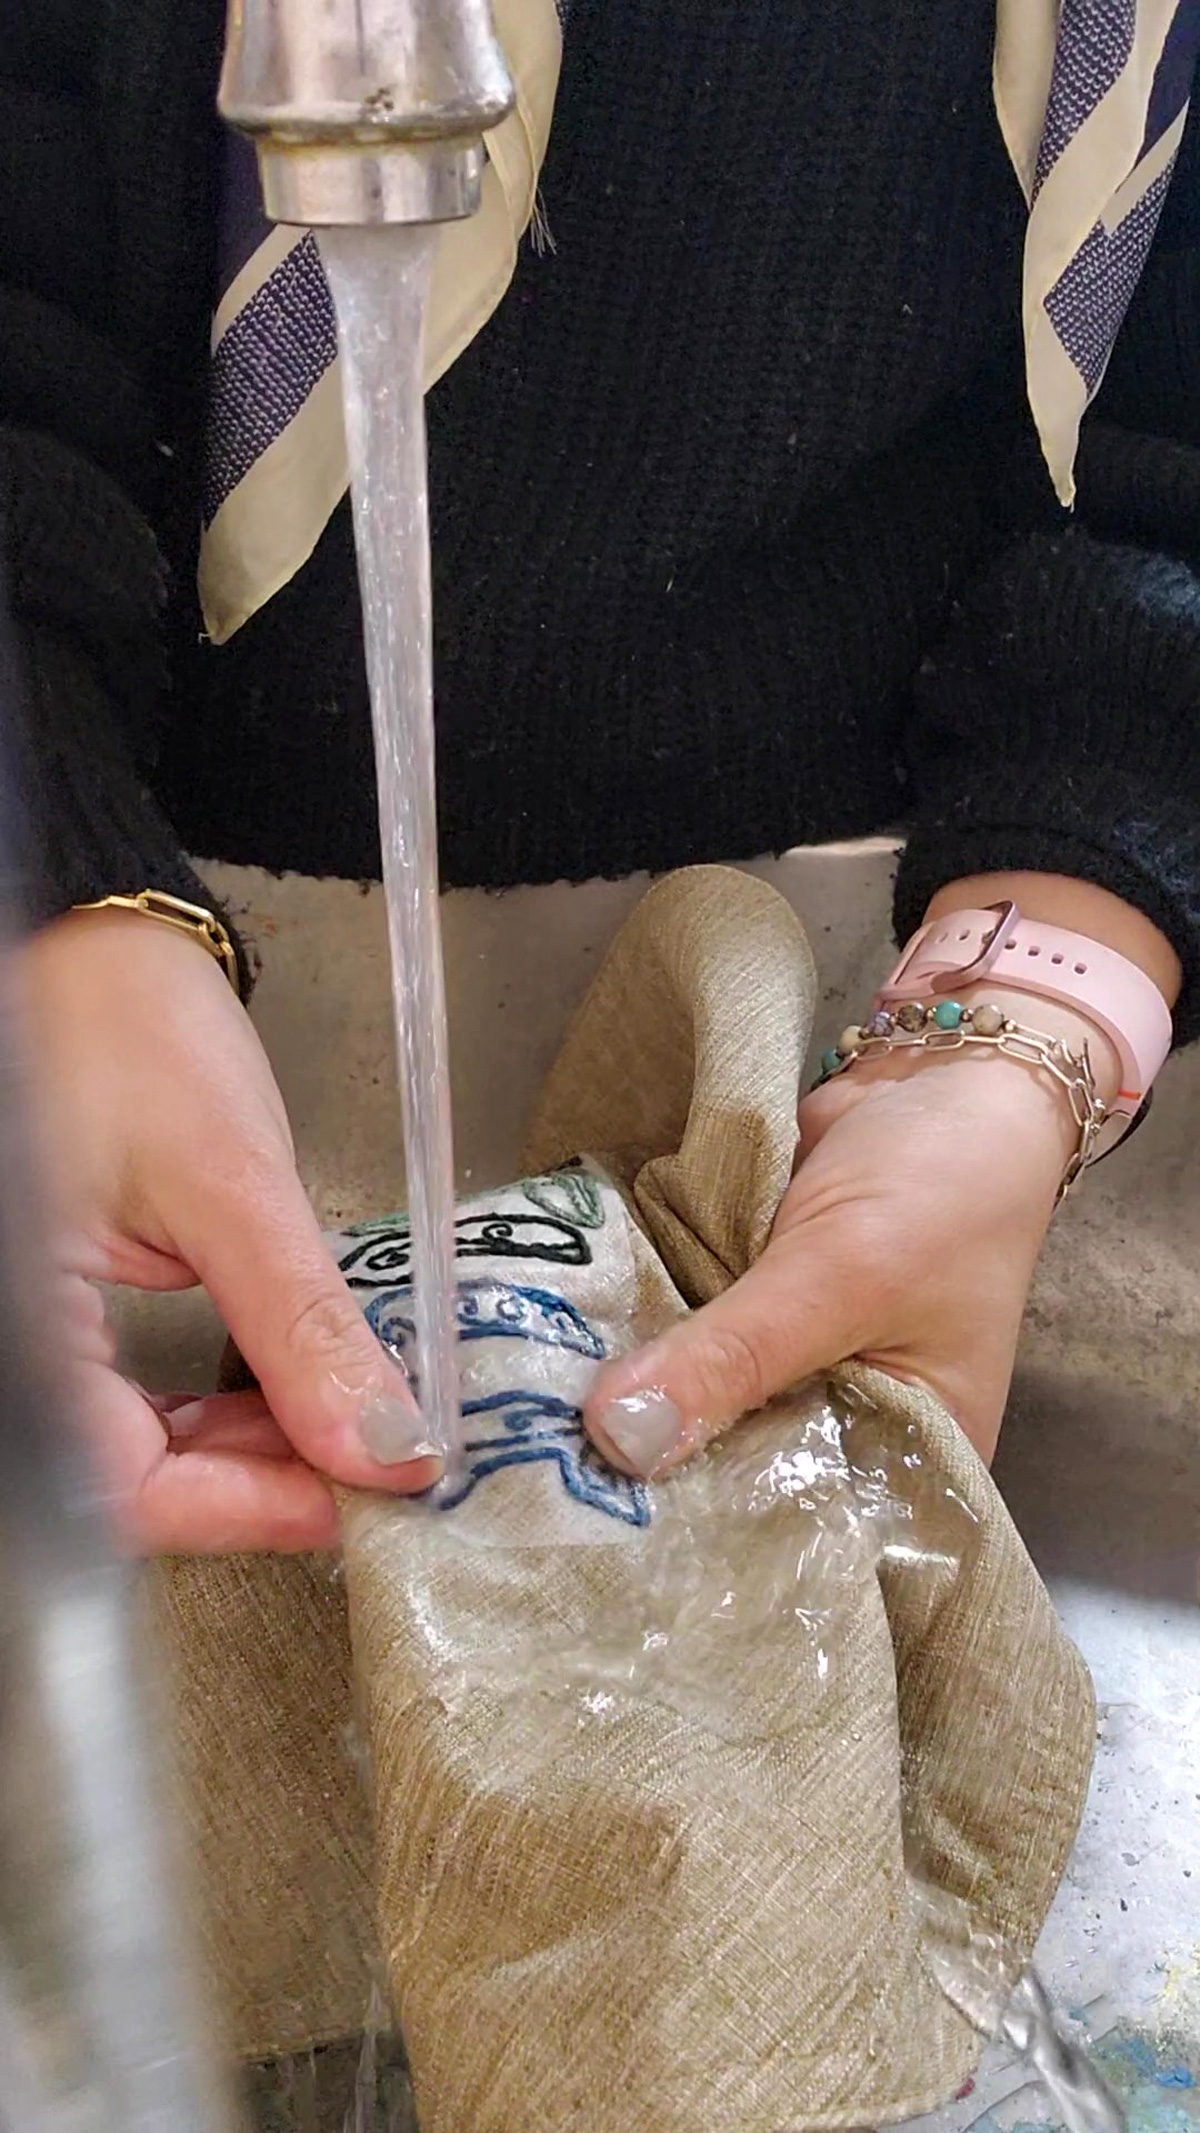
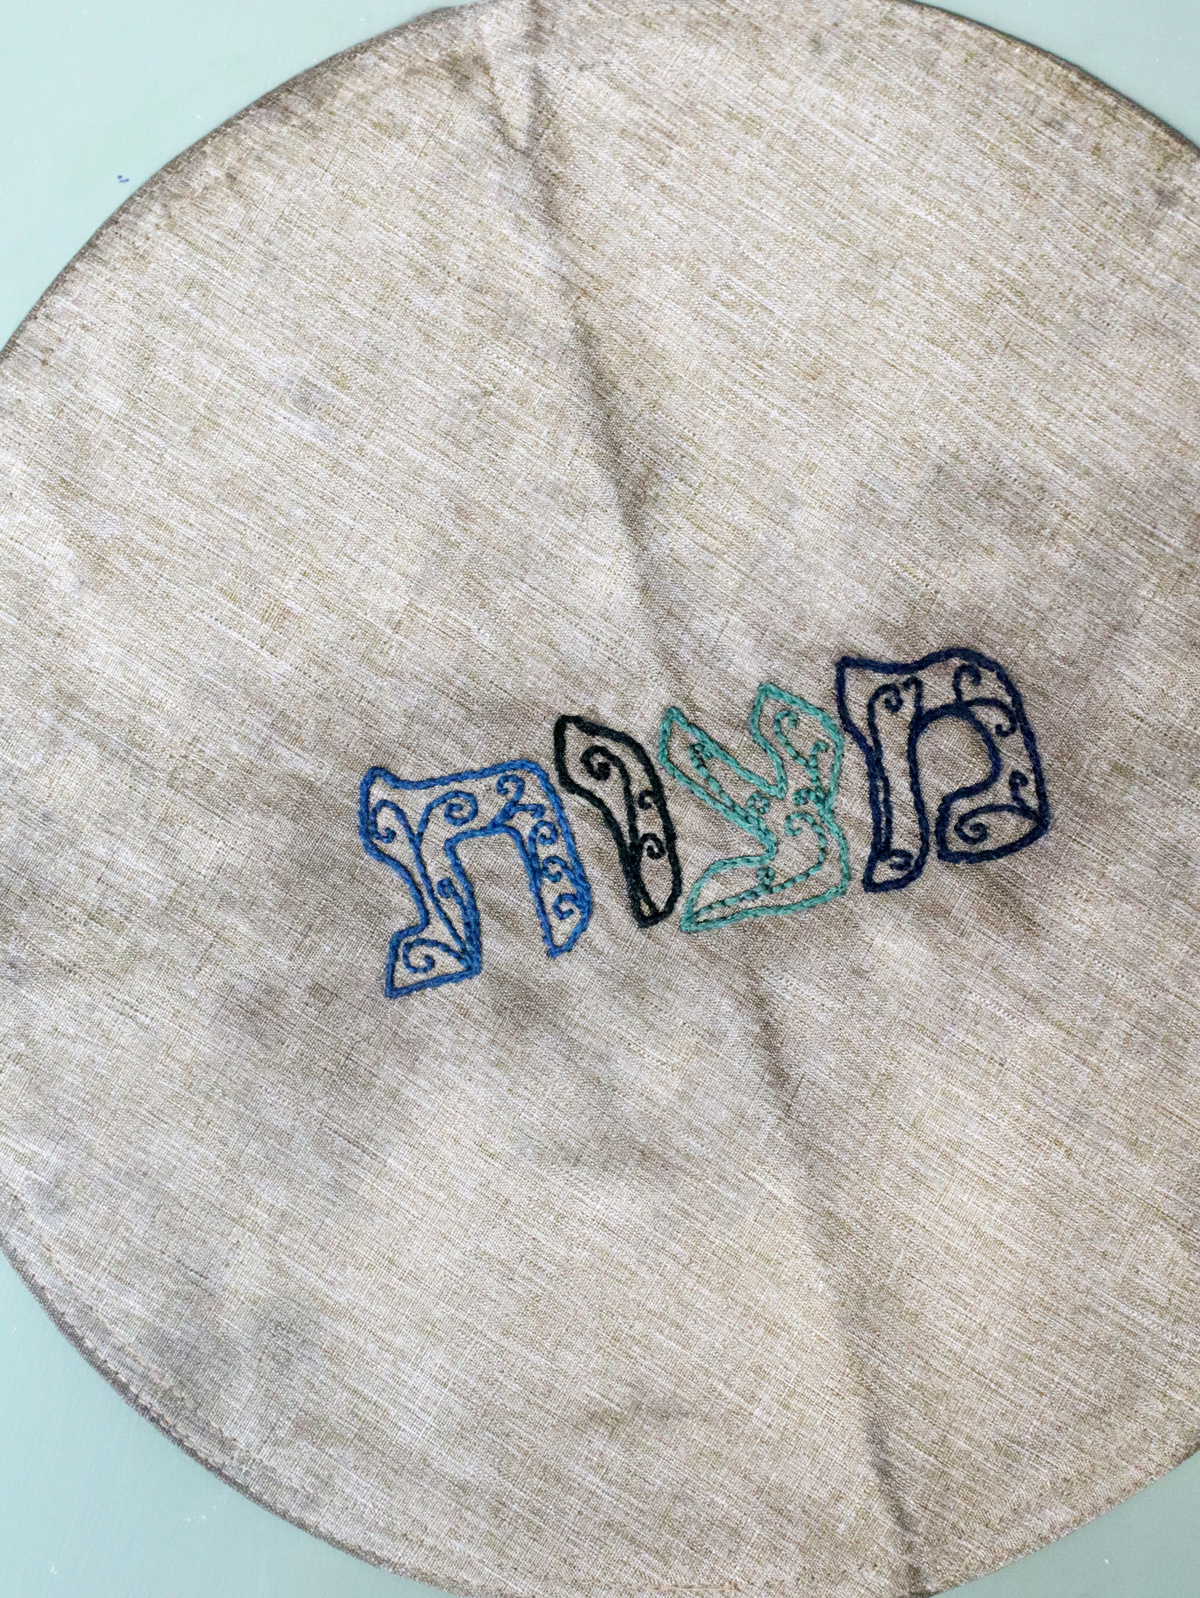
2. When it’s complete, follow the package directions to dissolve the stabilizer. I simply rinsed mine off until it was gone.
3. If you’d like to protect the back and hide the knots, etc, just iron on a piece of interfacing! Cut it to generously cover the embroidery back.
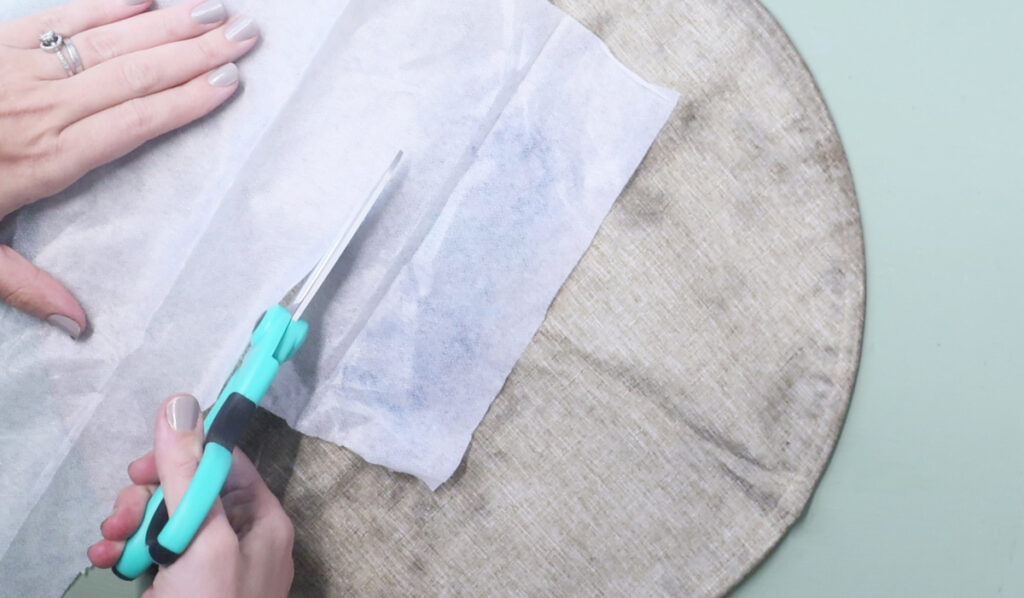
4. Iron it on according to package directions.
Your embroidered matzah cover craft is complete! Which design will you be putting on yours? Comment below!
Download the free matzah cover craft embroidery templates
Download your free template! It’ll arrive right in your inbox. By downloading, you’re subscribing to our FREE newsletter with updates on cool printables like this, ideas to simplify Jewish life, and more. Unsubscribe at any time at the bottom my emails. I respect your privacy and the law, and won’t share or sell your email address.
