Easy Hanukkah Pillow Craft – No Sew
Make an adorable and easy no sew Hanukkah pillow using a fun summer camp craft method. If you loved this, check out this cool Chanukah centerpiece too. This post contains affiliate links.
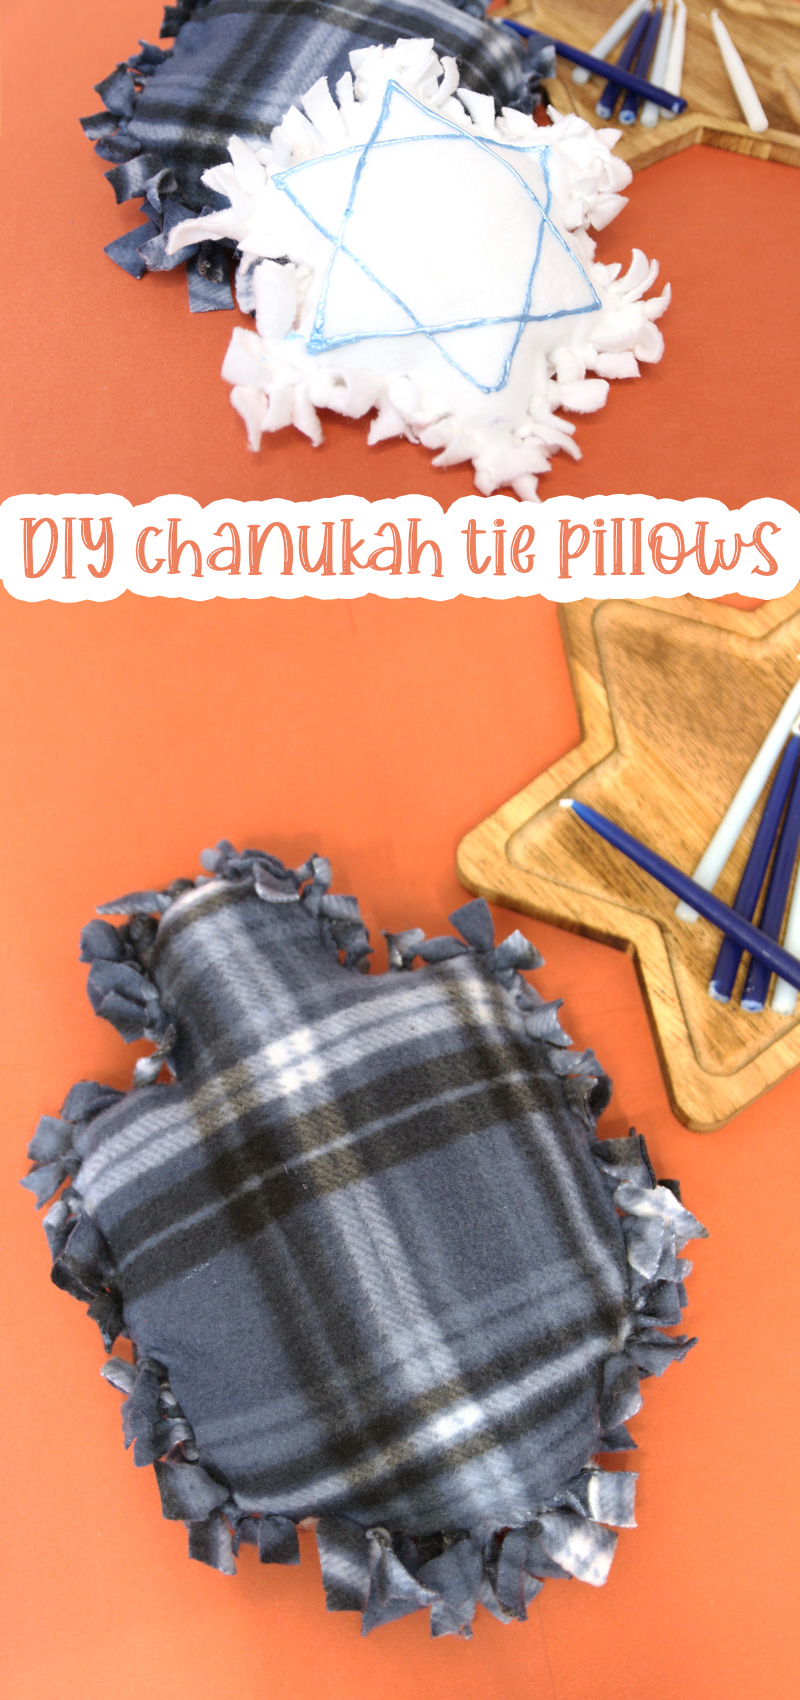
One of my favorite tween-y summer camp crafts is the method of making a stuffed anything – or a throw blanket using the tied end method.
Instead of sewing ends together, you cut a fringe and tie the two sides.
This is one of those really fun crafts that tweens love because they make something “real”, using easy enough age-appropriate skills, and feels like a cool hack.
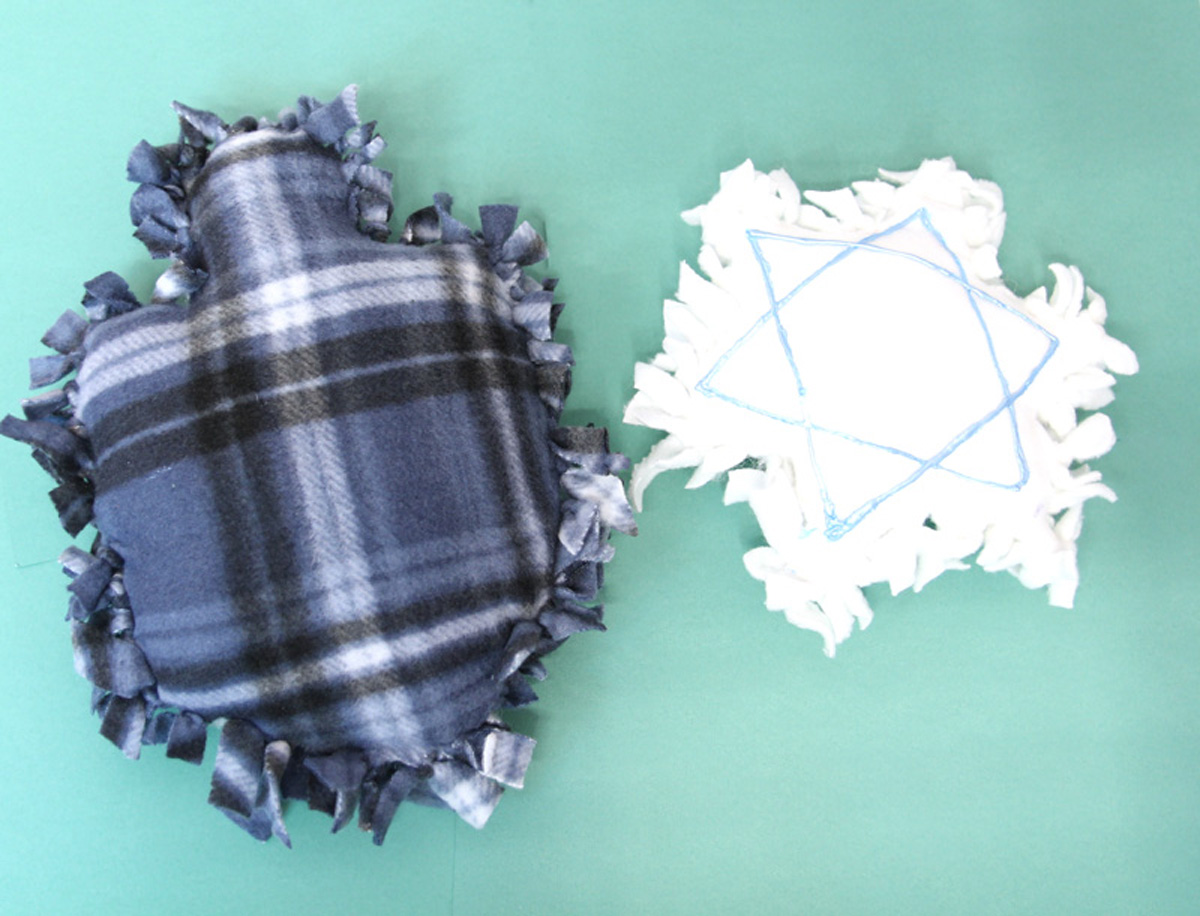
To make a Hanukkah pillow craft, I designed two templates for you: a dreidel and a star of David. I made each one in small and large. Here are a few tips for making these.

Tips for making a no sew Hanukkah pillow
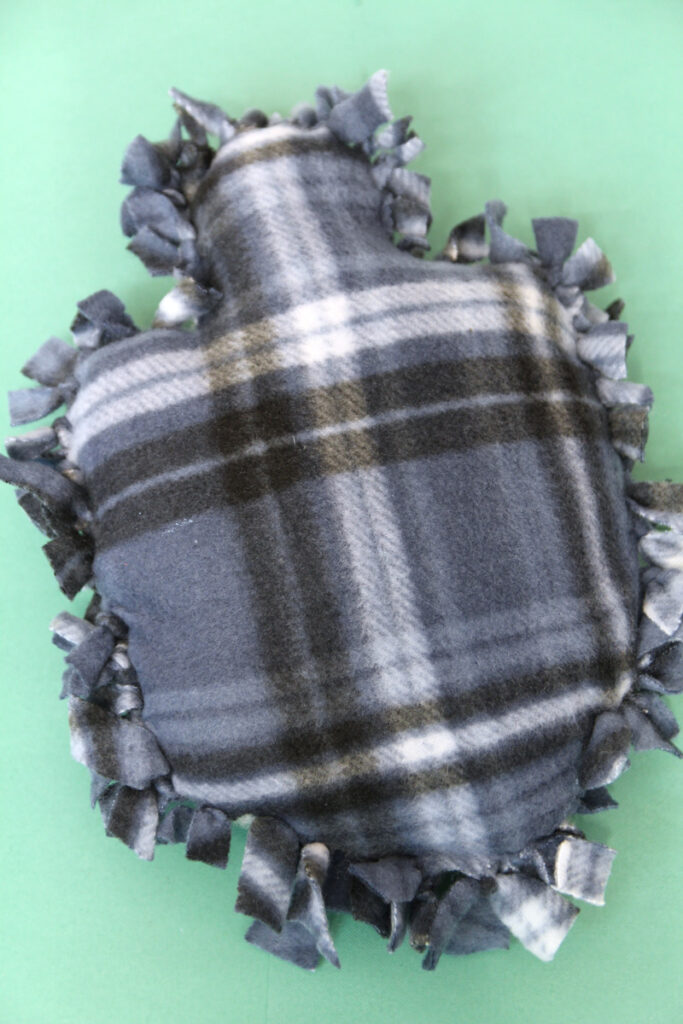
Sizing. The smaller you make your Hanukkah pillows, the less defined the shape will be. Mine are made using the small template. Make it larger for a clearer shape. You may find it challenging to go for the big template if you’re making these as a classroom craft, due to the amount of stuffing and fabric you’ll need. I recommend something in between.
You really don’t need a template. The caveat with a template on something like this is that you’re limited to a page – or you need to start cutting out and taping together a whole template. You’re better off drawing your own shape using chalk, in the size your final pillow should be.
I provided a template with this one because people always ask… If you can swing it without, I recommend doing it without.
Details. I again always have a dilemma if I should share all the details or not. I have so many ideas to expand on this Hanukkah pillow craft! But to keep things simple, I just provided the basic tutorial.
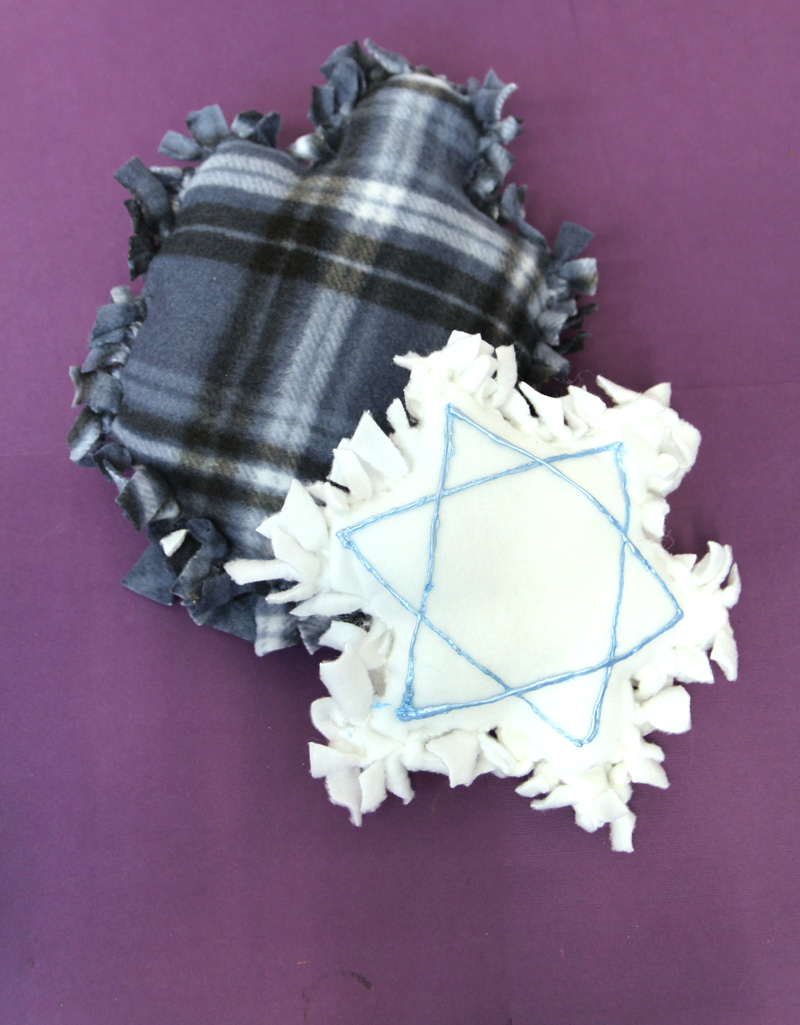
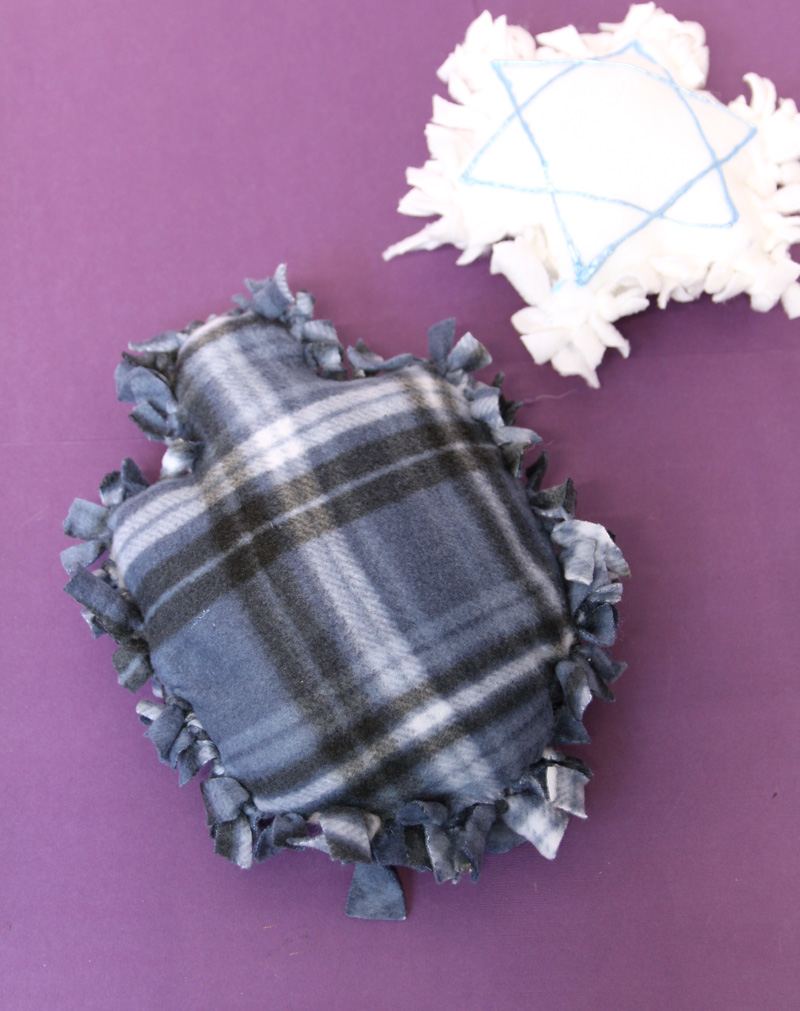
If you’re making this craft in the single page style, you should absolutely add some details! It’ll also add to the fun of the project. Some ideas:
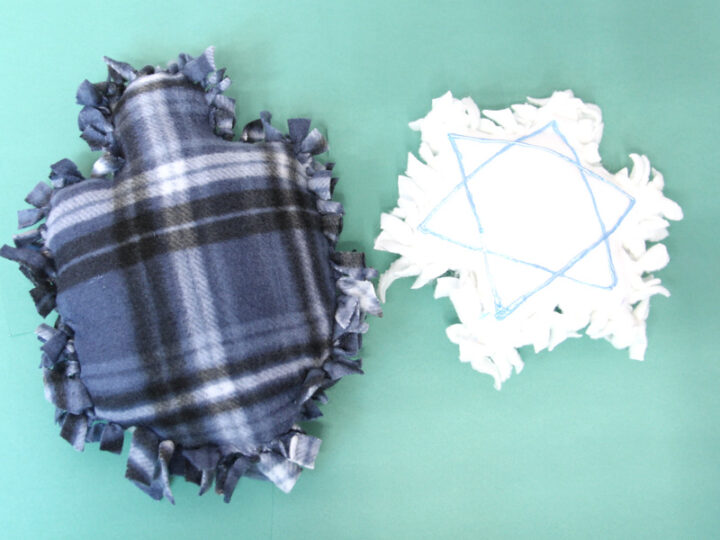
- Puffy paint (like I did on the star)
- Ribbon glued on to form a shape
- Felt appliques (glued on or hand-sewn before tying. )
- For the star of David: outline it with two triangles
- For the dreidel: make a gimmel – because everyone is a winner! You can also outline it a bit away from the perimeter.
Fabric. The fabric that you choose is important. I recommend a good quality fleece with a bit of stretch, but not too much. Your average Walmart throw blanket or inexpensive fleece yardage are fabulous ideas. Dollar tree baby blankets are a waste of time (yes, I tried that!)
Cutting it right. The size of your fringe should be comfortable enough for tying, but not so big as to be confusing. Mine were on average two inches long.
Ultimately, these make fabulous “plushies” as a small craft but can also be made in larger as home decor and throw pillows.
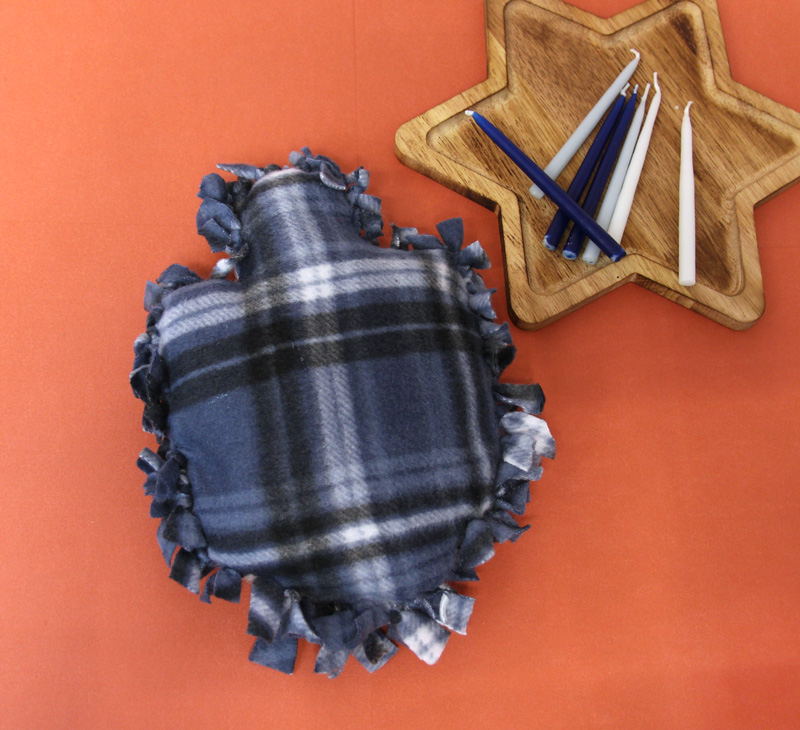
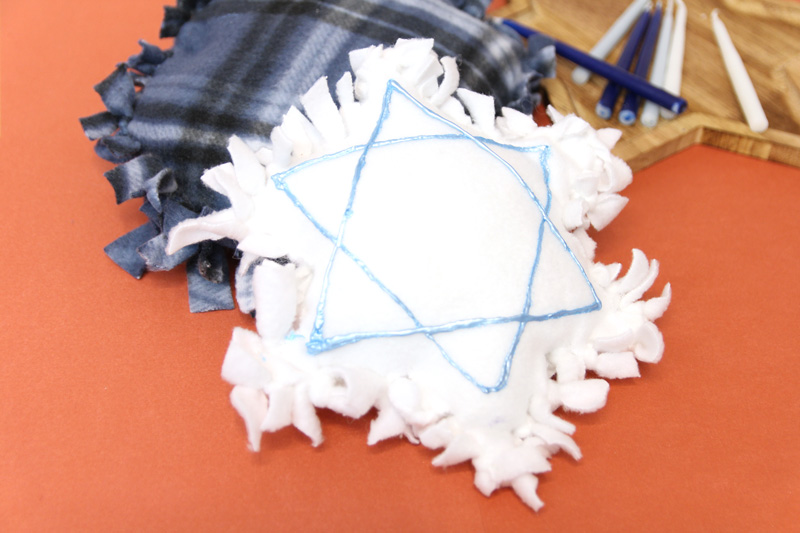
Making no sew Chanukah pillows in the classroom
Many teachers just love a good craft for their teen and tween students to give them a break from the regular learning during Hanukkah. I did have in mind that this can be a fun craft for the classroom.
To make it make sense for the classroom:
- Pre-cut your shapes – especially if you’re making it in a medium size. If you’re making your own template, do it on one piece of fleece or on poster board, and then trace it on the rest. Hand out cut shapes to your students, rather than lengths of fleece.
- They can cut the fringe – but teach them how to do it properly so that you don’t have holes. You can show them a diagram on the board.
- Get student volunteers – While some students may have trouble with cutting the shape, there are always those 2-3 craftier ones in each class that can help you with the prep. They’ll likely be happy to get involved! I was one of those 🙂
- Make it as plushies – not full-sized throw pillows. It’s all about how you present the craft!
- Start in class – but students can take it home to finish! Since it’s the type of thing that they can even work on during recess or on the bus without making a mess, you don’t need to dedicate enough class time to finish it. Just make sure to share the whole process.
- Take-home kits – Presented correctly, you can even make these as take-home kits with a few minutes of class time for instruction. Either way, if you’re not finishing it in class, you may want to at least pre-package the filling for your students.
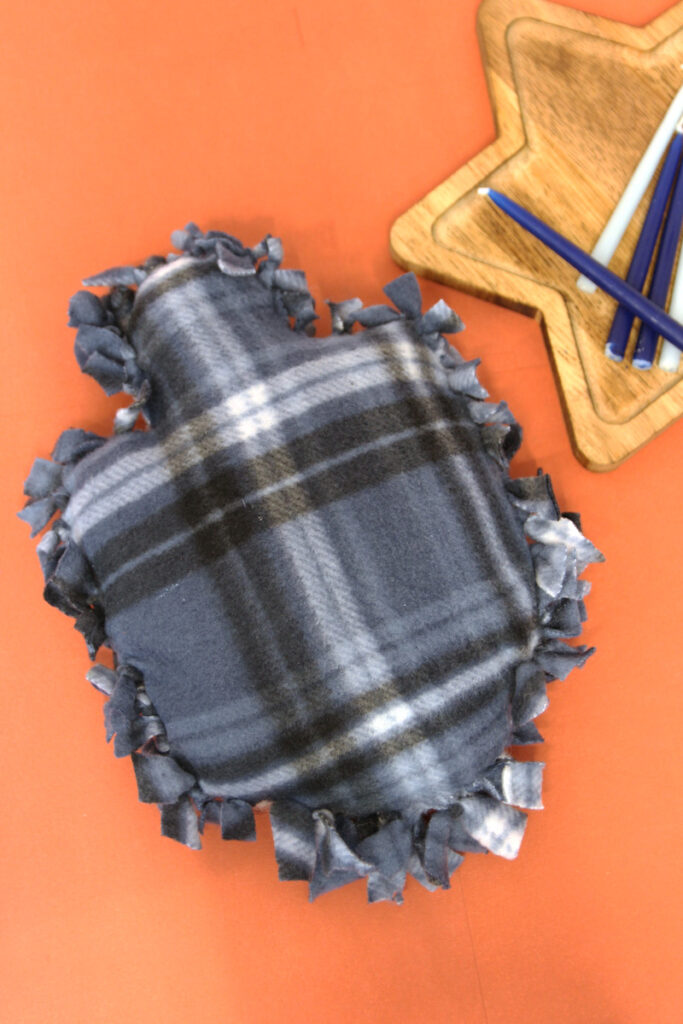
How to make an easy no sew Hanukkah pillow or plushie
Supplies needed
- Fleece fabric. My white one is yardage, my plaid one is a throw blanket
- Good scissors (for cutting the shape you’ll want fabric scissors. The fringe can be cut using any good, sharp scissors)
- Tailor’s chalk – or any chalk
- Polyfil stuffing
- Optional embellishments: contrasting ribbon, puffy fabric paint, etc.
- The template – printed and assembled if using the large one. Print it here:
Download your free template! It’ll arrive right in your inbox. By downloading, you’re subscribing to our FREE newsletter with updates on cool printables like this, ideas to simplify Jewish life, and more. Unsubscribe at any time at the bottom my emails. I respect your privacy and the law, and won’t share or sell your email address.
This printable comes as two PDF files within a ZIP folder. If you’re not sure how to unzip, you can learn here.
Step by Step Instructions
1. Trace your template. Make sure to leave at least two inches leeway around all the edges as this is the inner size of your pillow.
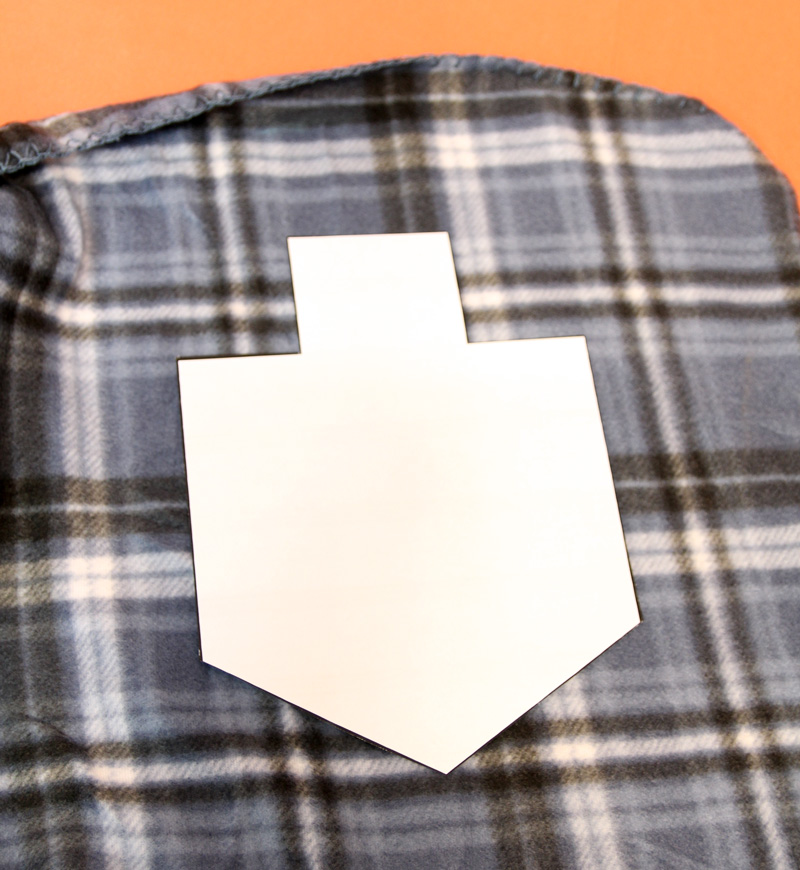
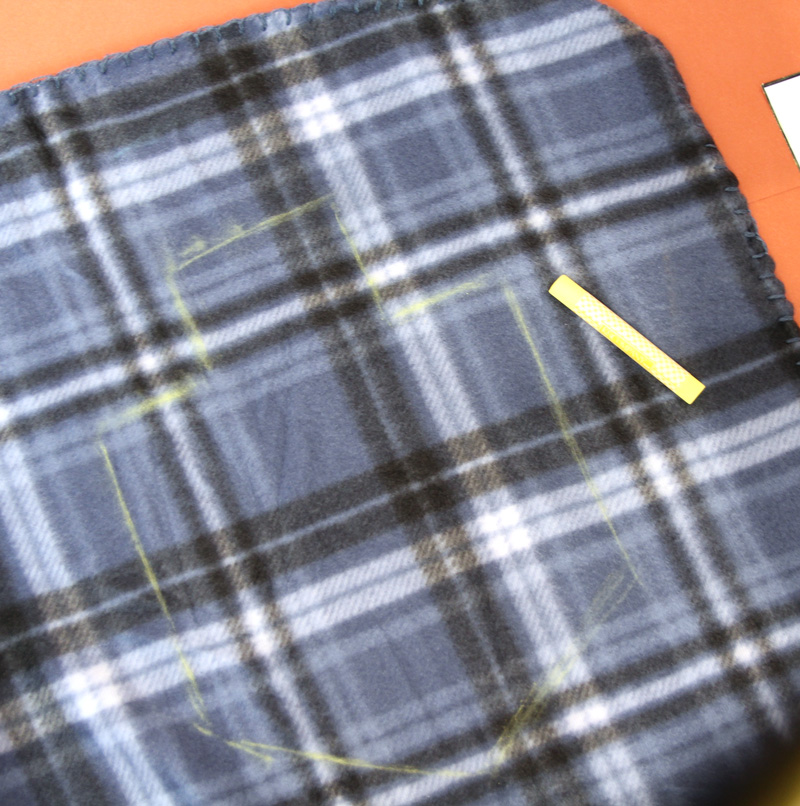
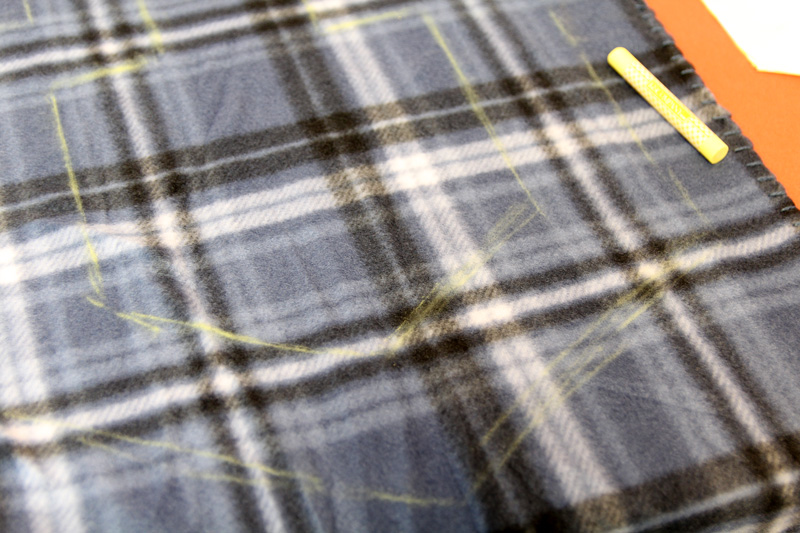
2. Outline your template leaving about two inches between the two shapes. Don’t worry if it’s not perfect.
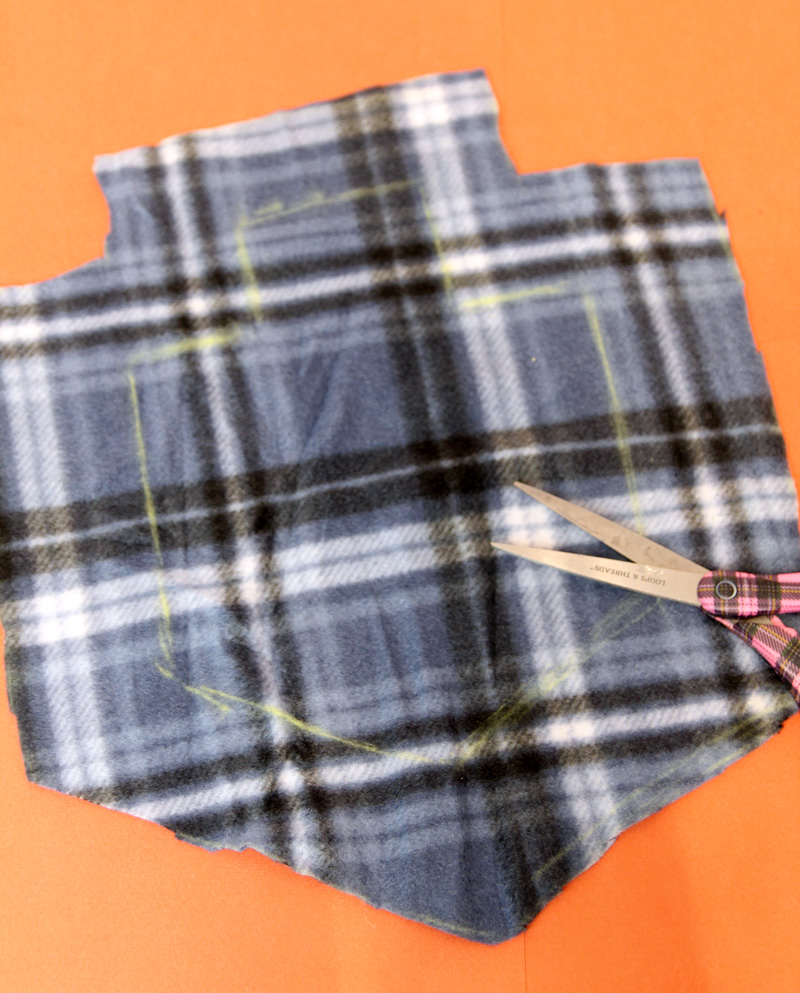
3. Double over your fabric. Cut it out around the outer outline – you should be cutting two identical shapes.
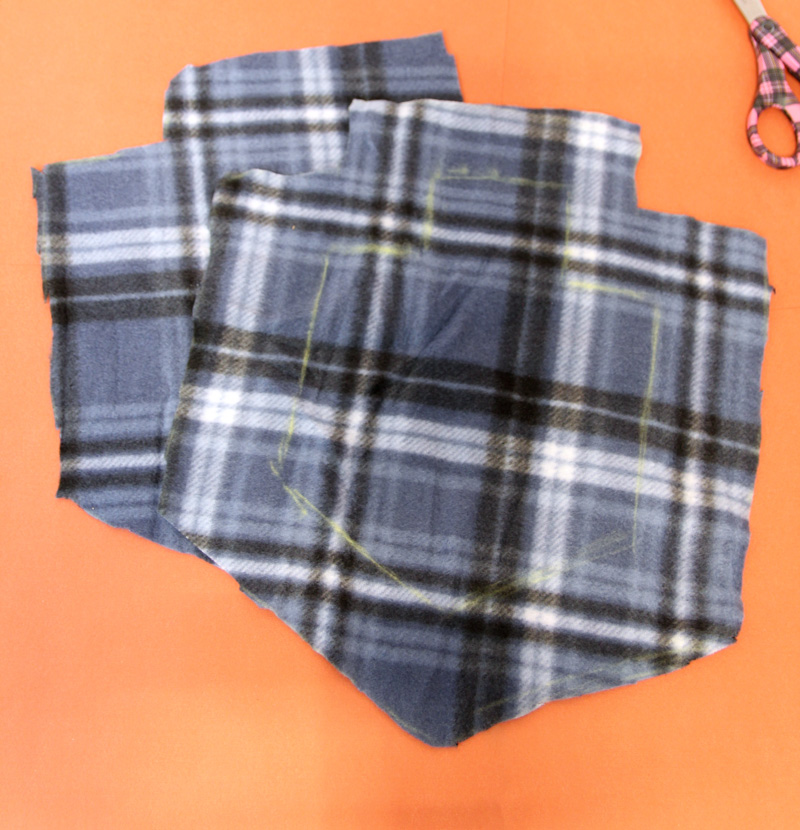
4. Your two shapes should be one on top of the other. Keep the layers together for the duration of the project. Fleece is a clingy material, so it should hold on its own if you don’t actively separate it.
Start cutting fringe from the outer edge to the inner shape, through both layers. Get it as accurate as possible with the inner shape to avoid holes in your final project. Fringe should be roughly a centimeter wide but doesn’t need to be exact.
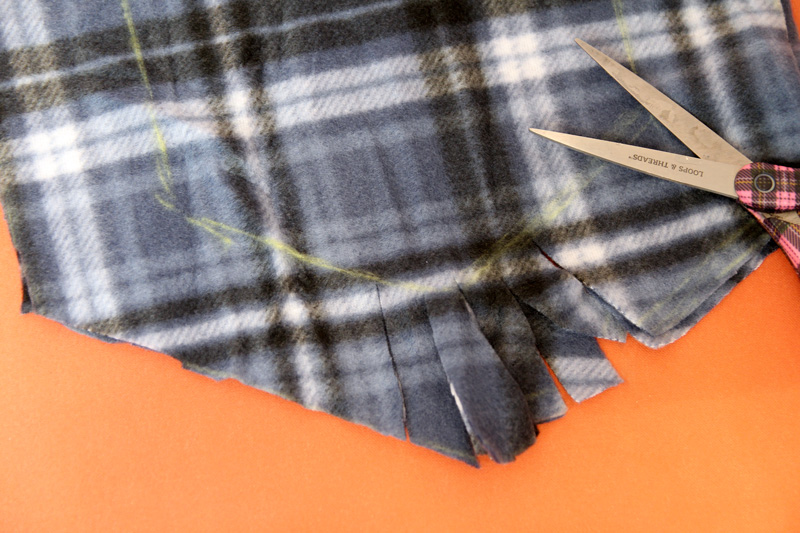
At some corners, you may have extra fabric, you can cut that off.
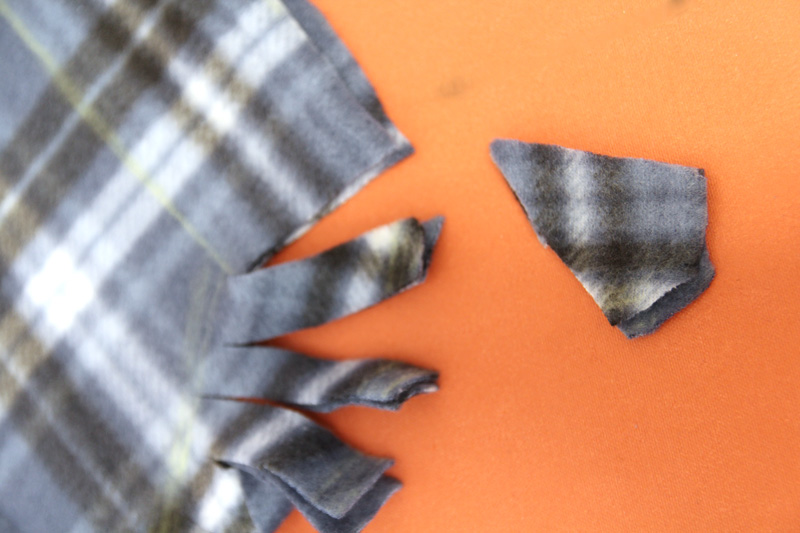
At other corners, it’s important to come from an angle so that you have enough fabric for fringe at every single side. Cut from the outside of the shape through to the corner before cutting the sides that meet at that angle.
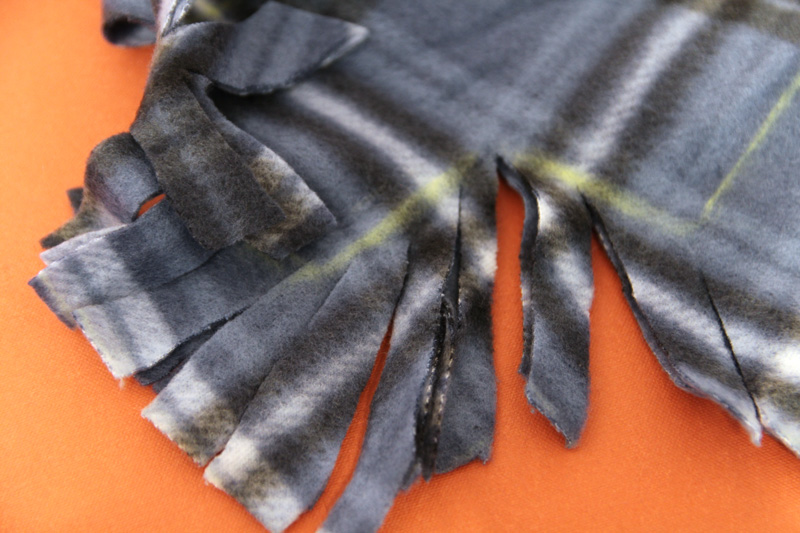
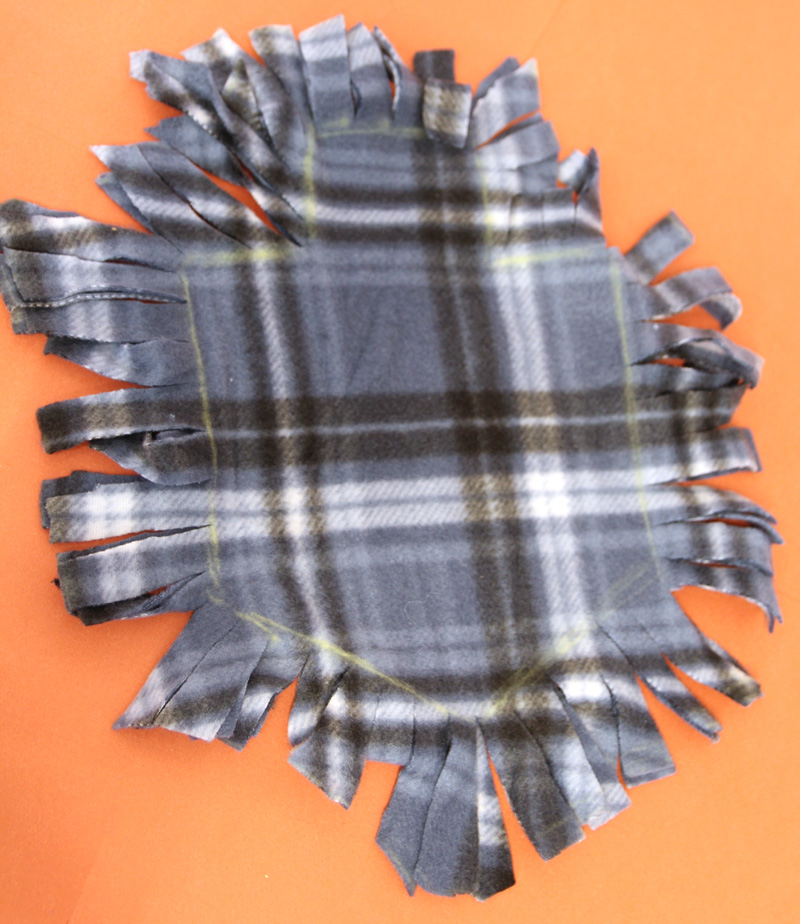
This is especially important with the star of David design. This one especially should first be cut at the corners and then cuts added in between.
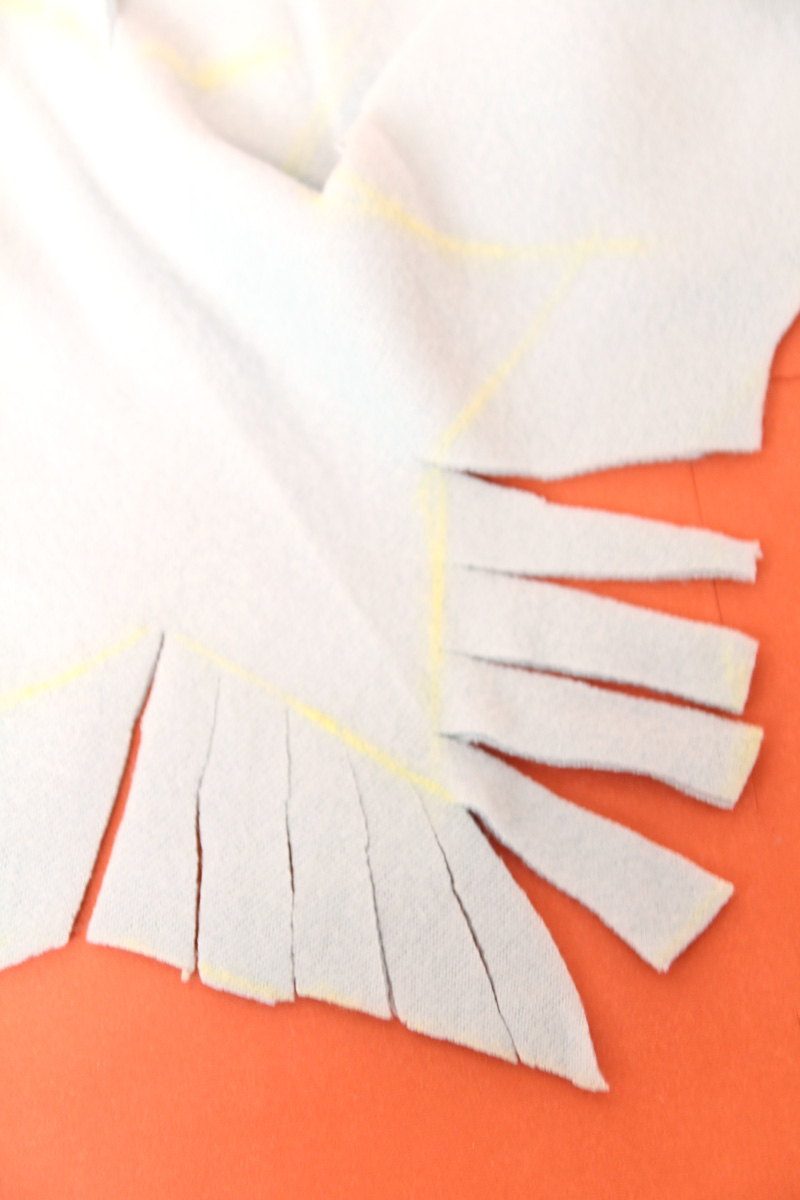
5. Start tying your two sides together! If you kept them on top of each other the whole time, you just need to pick up any fringe and the matching one behind it. Double knot it together using a pretzel-style knot (like how you knot before tying your shoe).
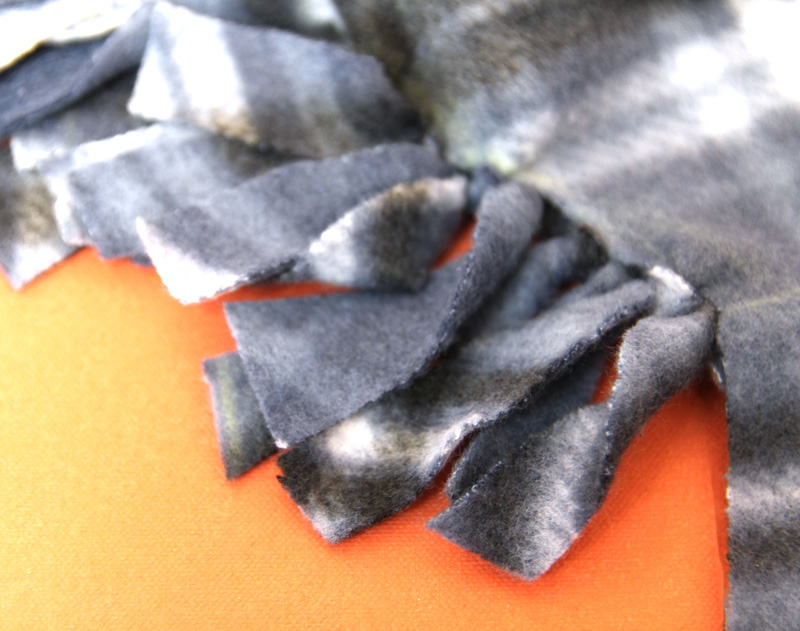
Tie all the way around, leaving only the last few knots untied. Don’t panic if it just looks like a blob – it’ll take on most of its shape when you stuff your Hanukkah pillow!
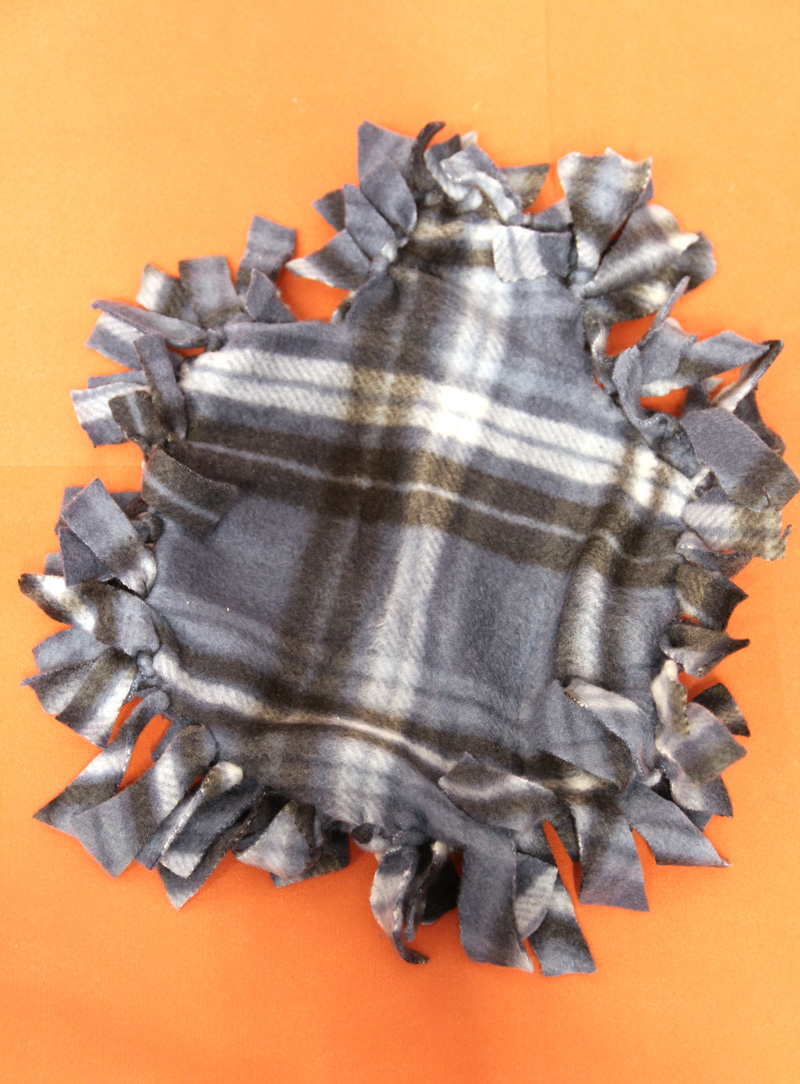
6. Stuff it with Polyfil, making sure to reach all the corners, shaping it as you go. There may be tiny gaps between ties if your fringe was a bit off, so don’t overfill (if you want this to be more polished, you can patch those with glue).
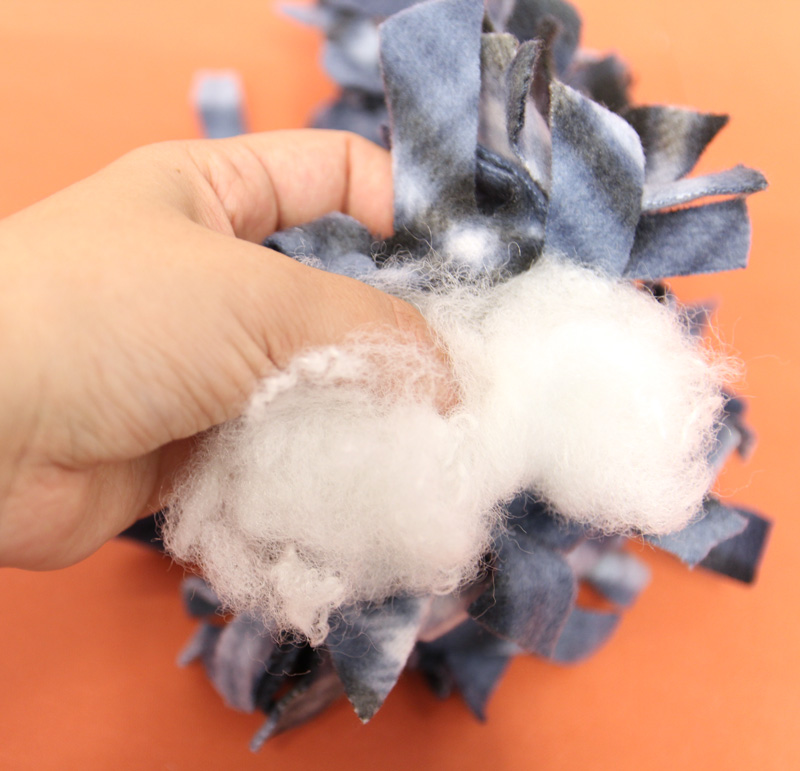
7. Tie those last few knots to finish.
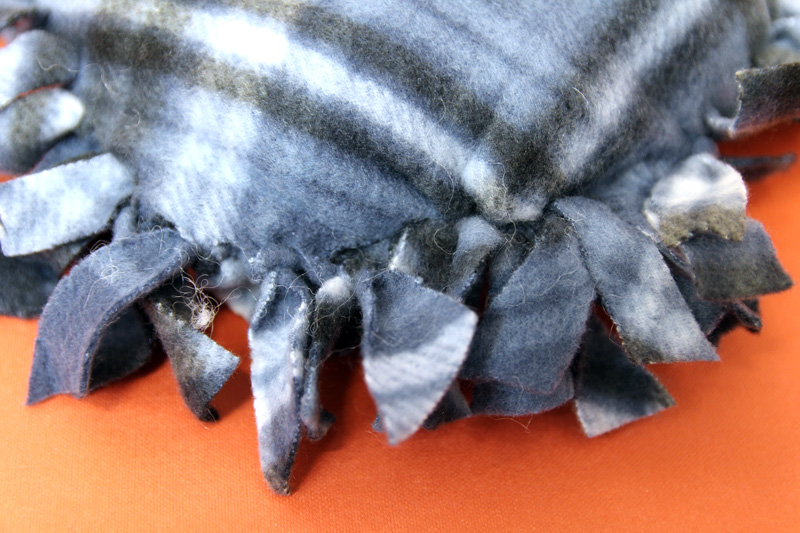
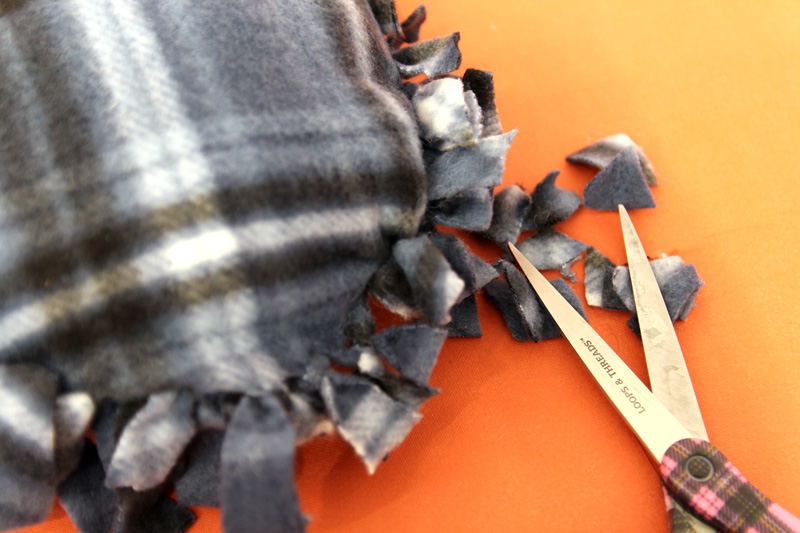
8. Unless you’re making the big size and want a huge fringe, you’ll probably want to trim your fringe. This can help you define the shape as well.
9. Fluff and reshape as needed.
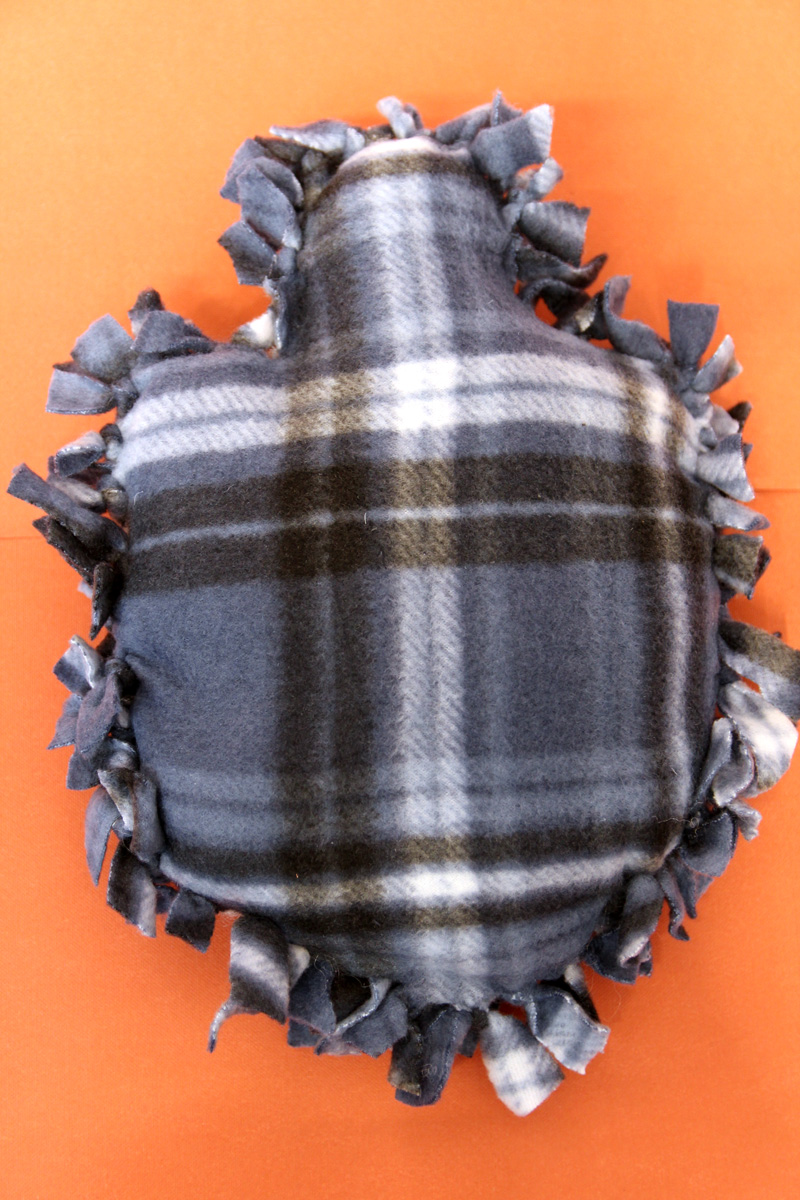
10. If you’d like, add details using puffy paint, ribbon, or felt.
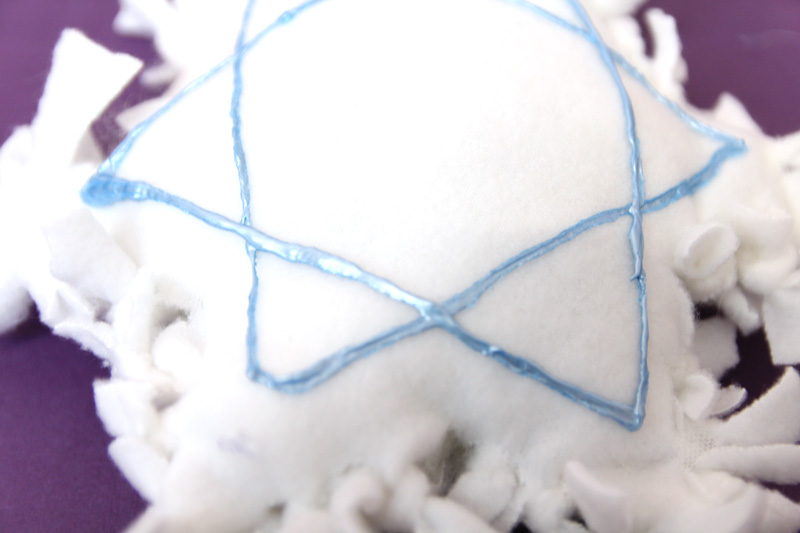
You’ve successfully made an easy no sew Hanukkah pillow! Got any tips to add? Comment below!

