Hebrew Name Bracelets
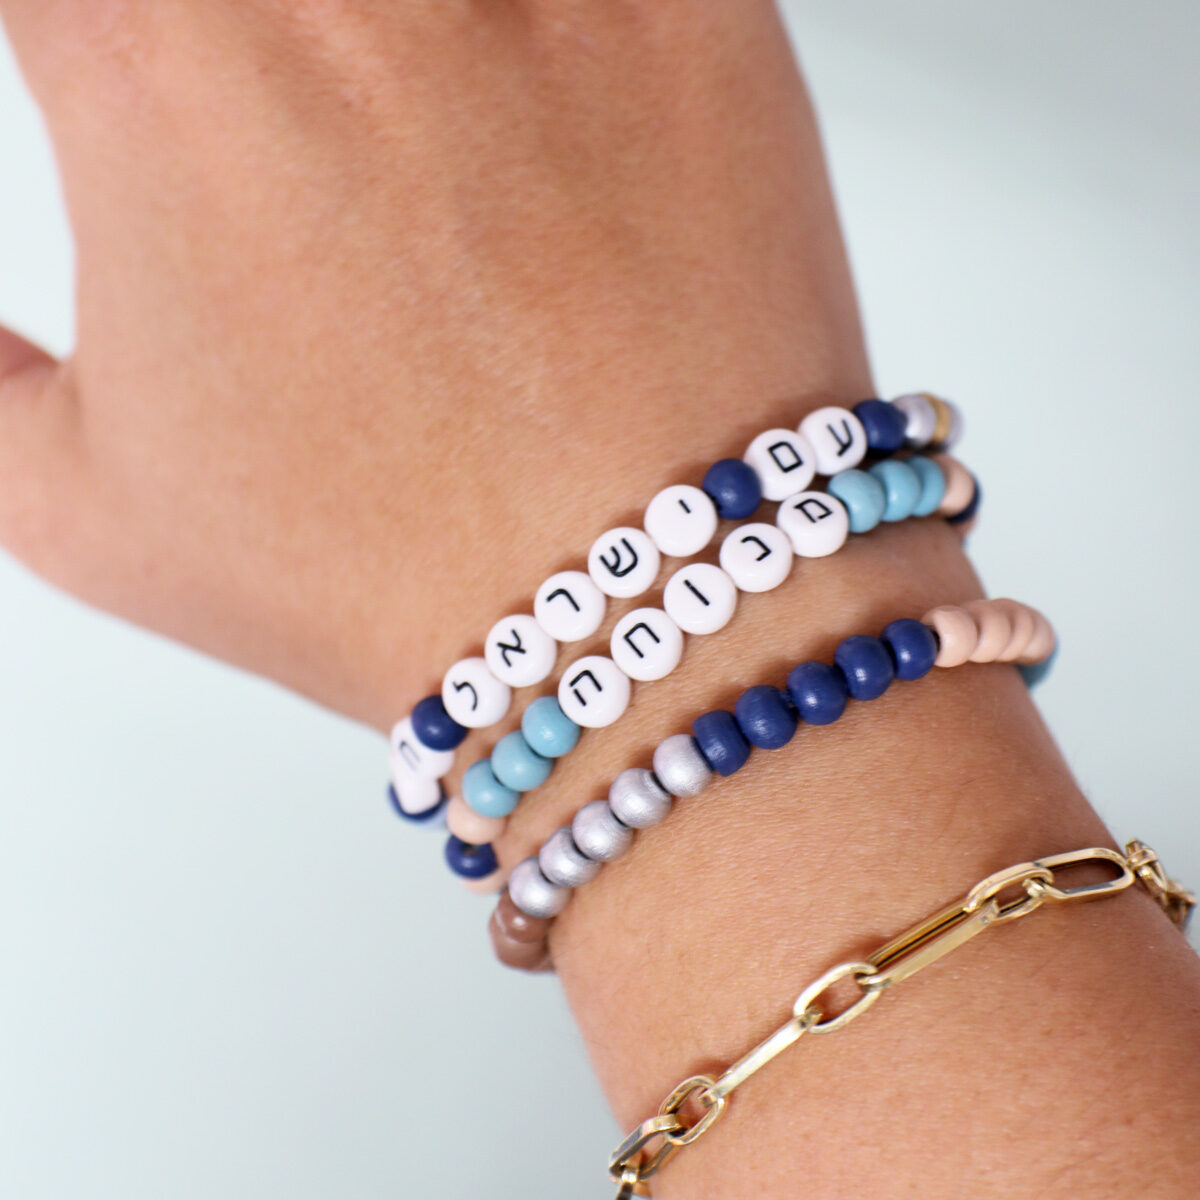
I’m rocking a stylish set of Israel-inspired Hebrew name bracelets on my wrist right now, and am excited to share them with you! If you love this, check out my gorgeous star of David pendant beading tutorial! This post contains affiliate links.
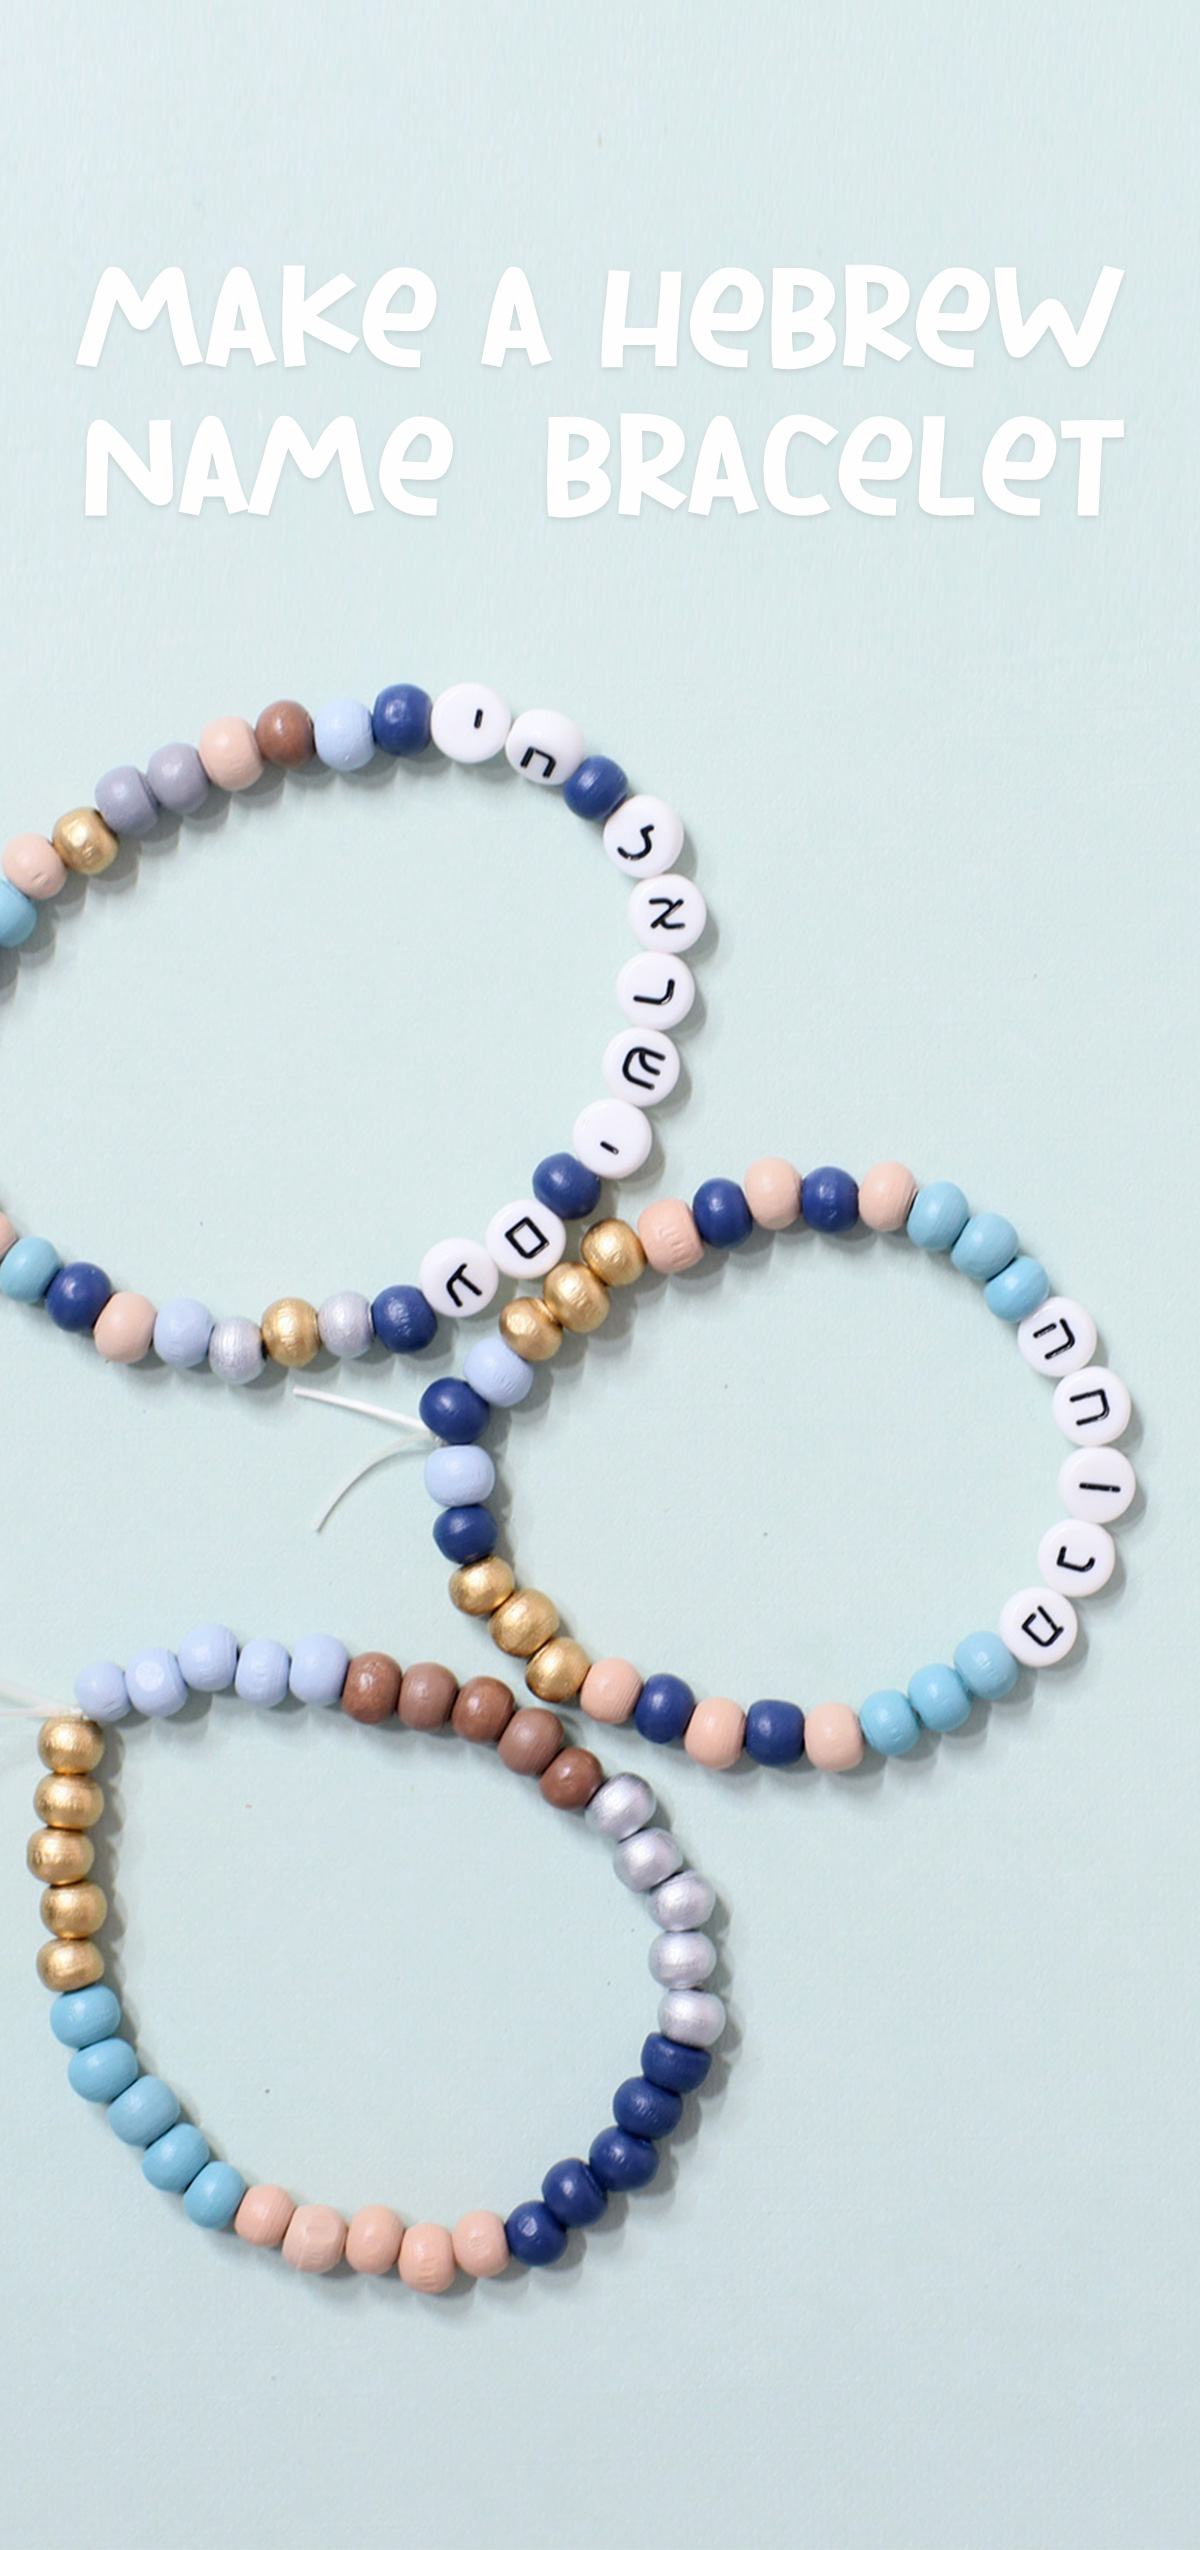
Put your Hebrew name on a bracelet for a splash of Jewish pride in our heritage. It’s also a great educational activity for home, Hebrew school, or camp! Kids will learn or practice how to identify or match Hebrew letters and spell their name. You can teach or reinforce phonics at the same time. Not to mention the fine motor workout kids will get while stringing the small beads!
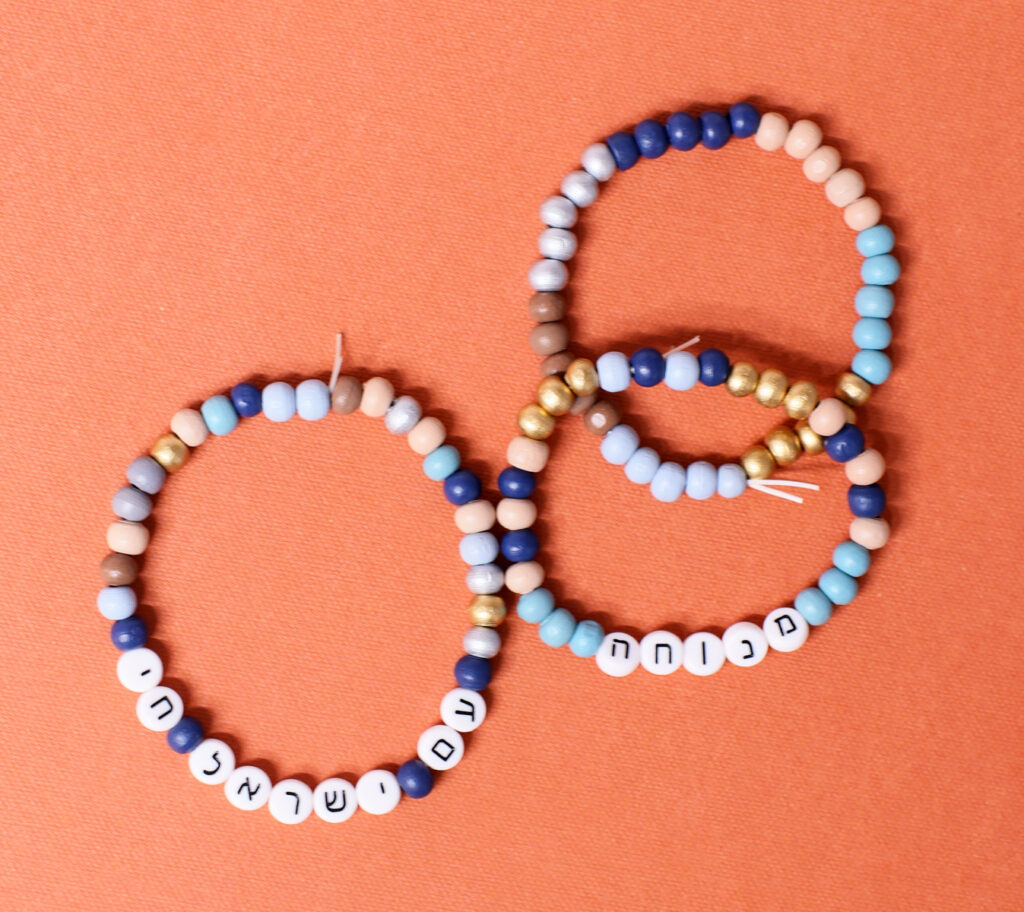
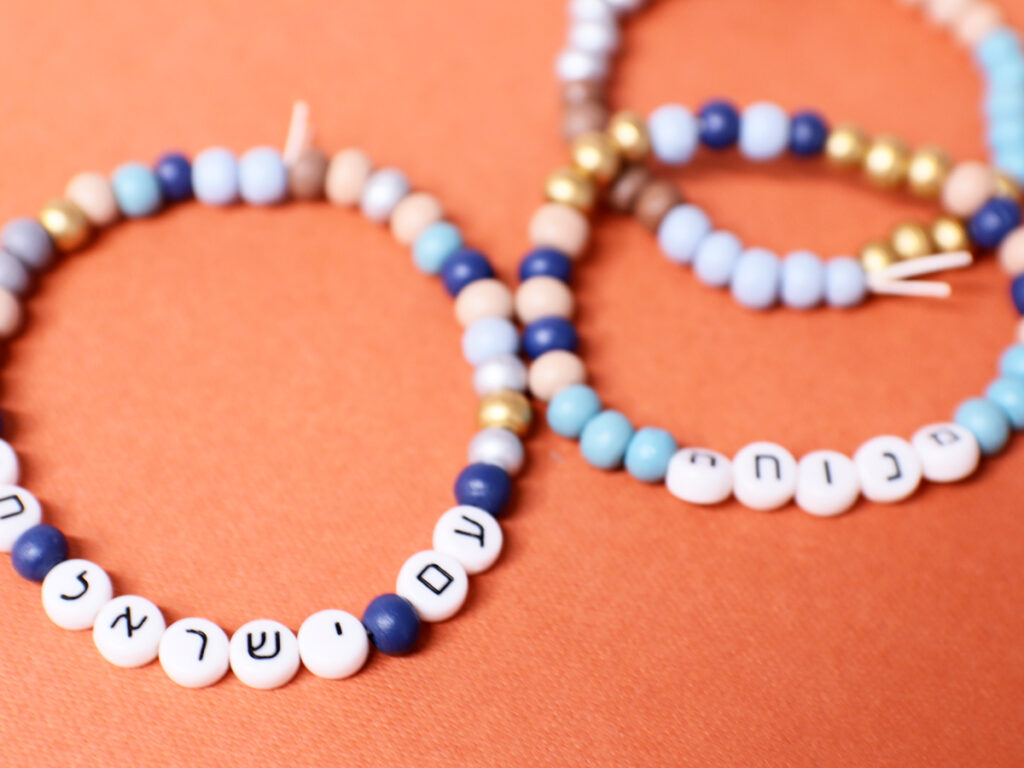
You can also use a meaningful phrase instead of a name – on your own, use it to inspire yourself; in school or camp, use it to complement a lesson.
For example, I made one of my bracelets say “Am Yisrael Chai,” meaning the Jewish people are forever. I feel this expresses my optimism at a scary time, which would also make a great group discussion in a school, camp, or even party setting.
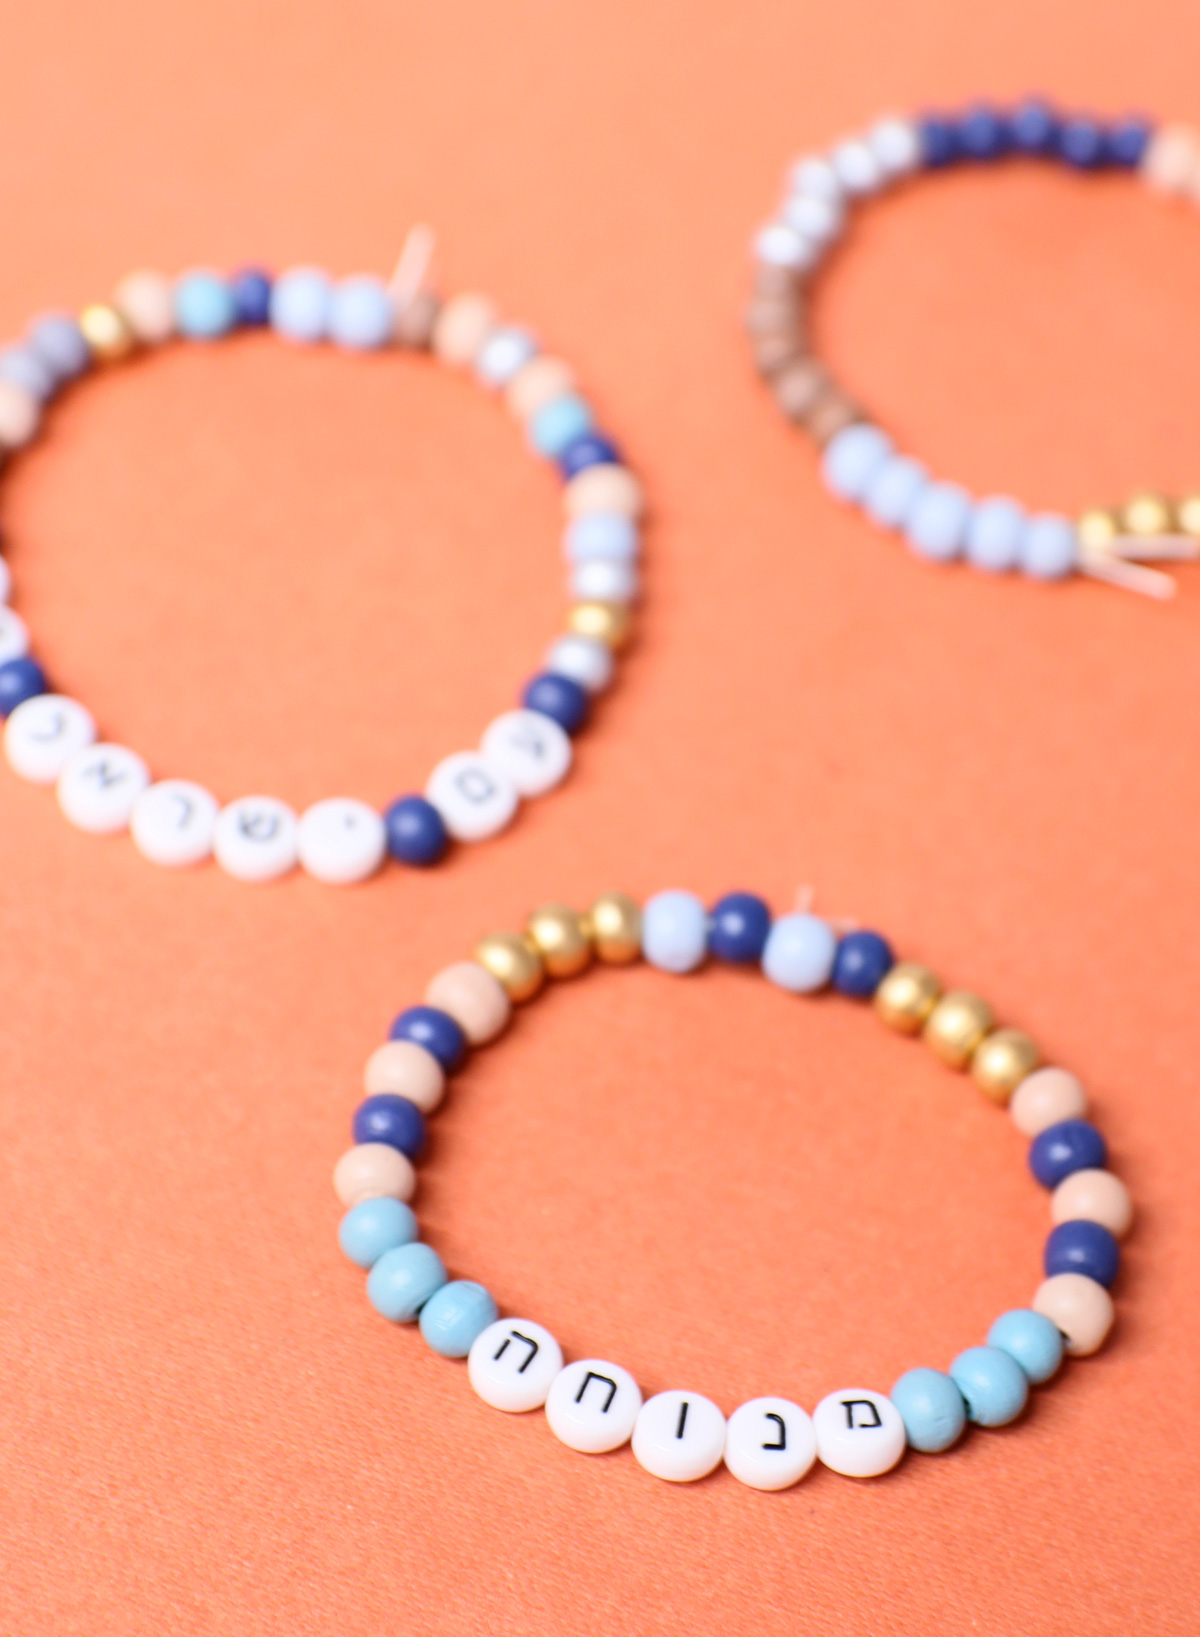
I chose to add beads in shades of blue to evoke the Israeli flag, then added complementing beads in silver, gold, and tan. Of course, you can choose any colors you like.
Aim for beads that are similar in size to your letter beads, to give your bracelet a smooth appearance. I found that 8mm worked well to give me a classy bracelet that works both as a single strand or stacked.
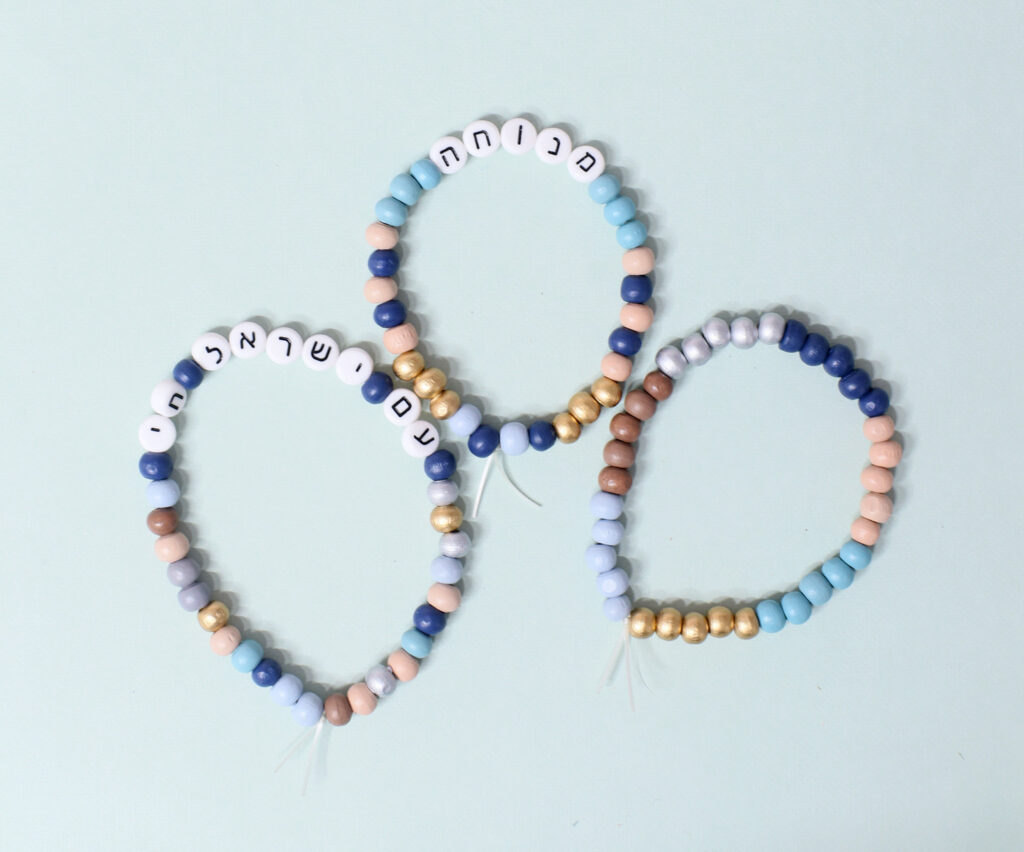
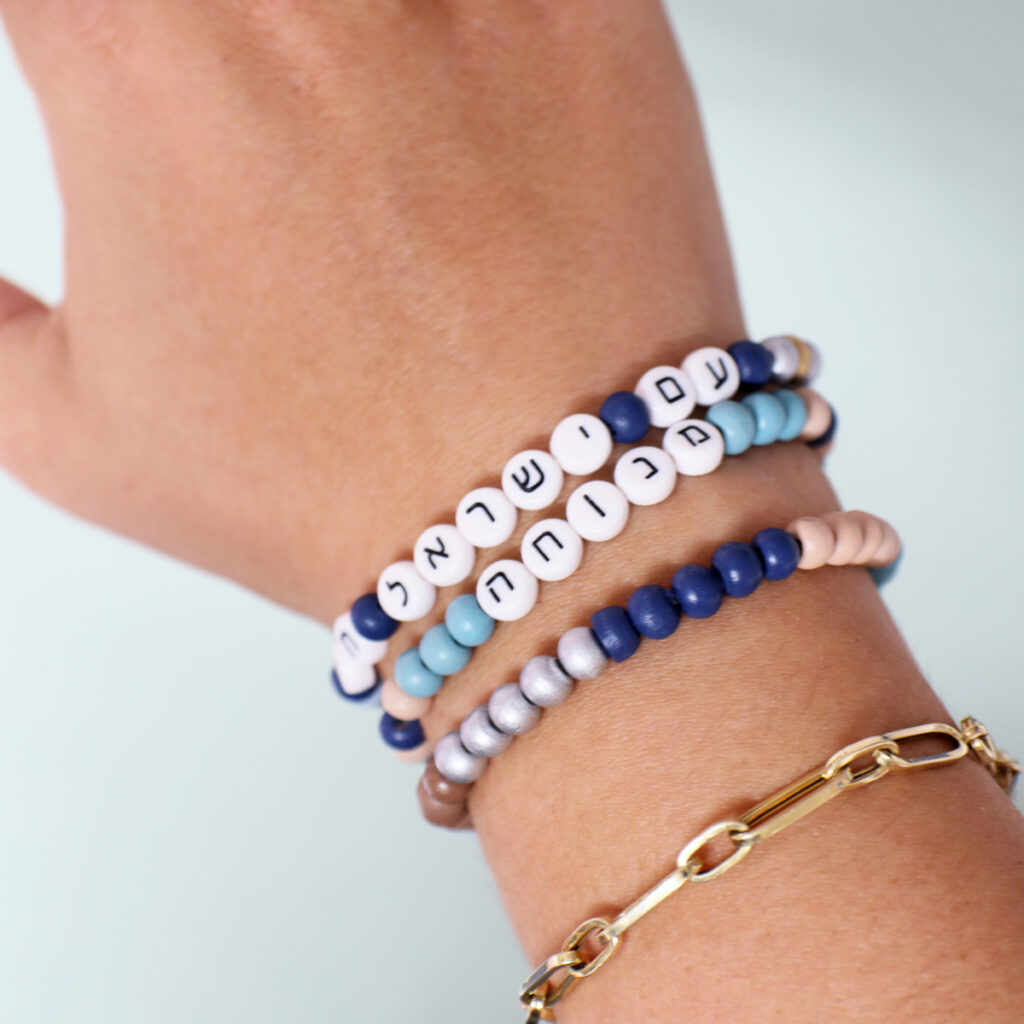
Bead bracelets are a super easy craft, but that doesn’t mean they need to be boring – this design looks elegant and sophisticated even though it took minutes to make and used simple, inexpensive supplies.
Kids, teens, and adults alike can enjoy both the process of making them as well as wearing the finished product! It’s a great craft to do in a group because it doesn’t require a lot of different steps or instructions, but can still keep the crafters engaged for a meaningful amount of time as they select beads and put them together. Fast crafters can make a few, slower ones can stick with one.
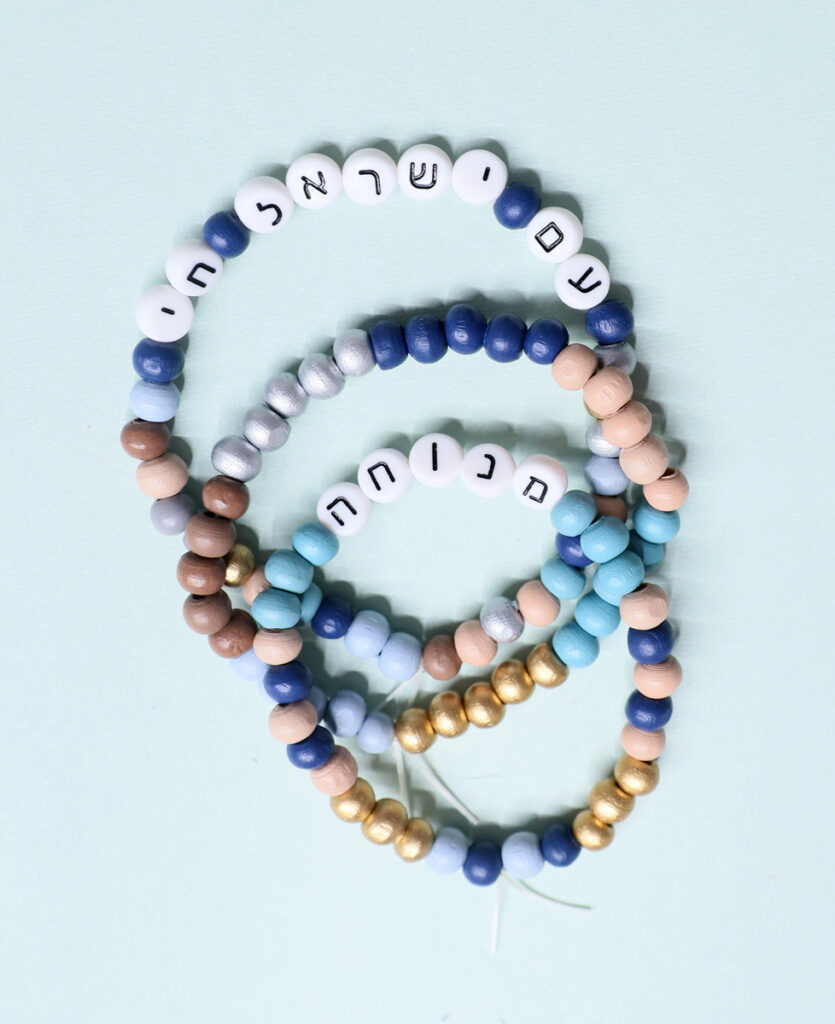
When you’re done making yours, you can easily make more to give as gifts. They’re so easy to make that you can even do them in larger quantities for fundraising or party favors. Make some in different color schemes for variety, or wear a few stacked up for extra oomph.
Most importantly, get creative and have fun!
What you’ll need
- Elastic cord (or bracelet string of your choice) – Note: the easiest kind is the kind that is made of a few strands twisted as it has more hold. Avoid the crystal clear kind as it is harder to knot (unless you’re a pro).
- Hebrew letter beads – this is incredibly hard to find, surprisingly, but I found an affordable set at Temu. I’m guessing if you’re in Israel you might have an easier time finding it!
- Decorative beads of your choice (I used 8mm wooden beads)
- Optional: clear tape, marker, glue
How to make Hebrew name bracelets
1. Start to plan your design by picking out the letter beads that spell your name (or the phrase you’ve chosen)
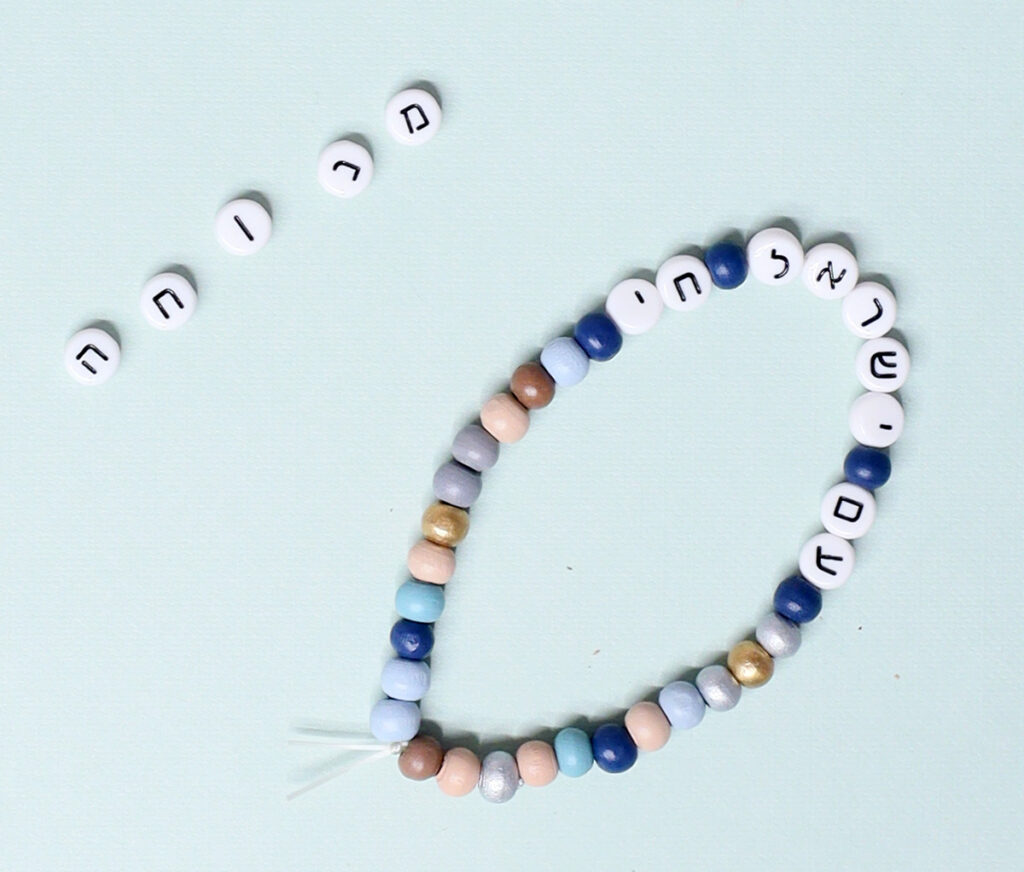
2. Cut a length of elastic about 2-3 times longer than you’d need to go around your wrist. If the cut end seems like it will start fraying, take a piece of tape and wrap it tightly around the end to make it easier to slide the beads on.
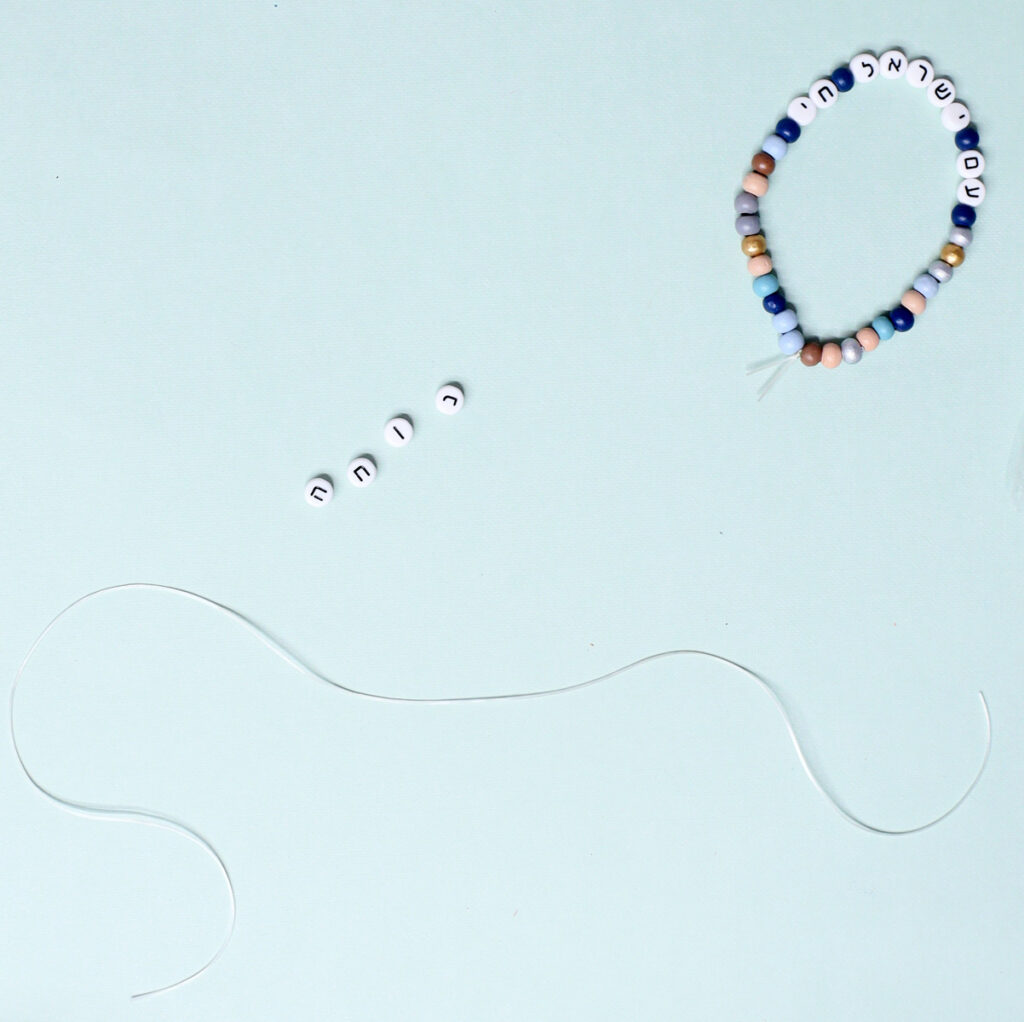
3. Slide on your letter beads
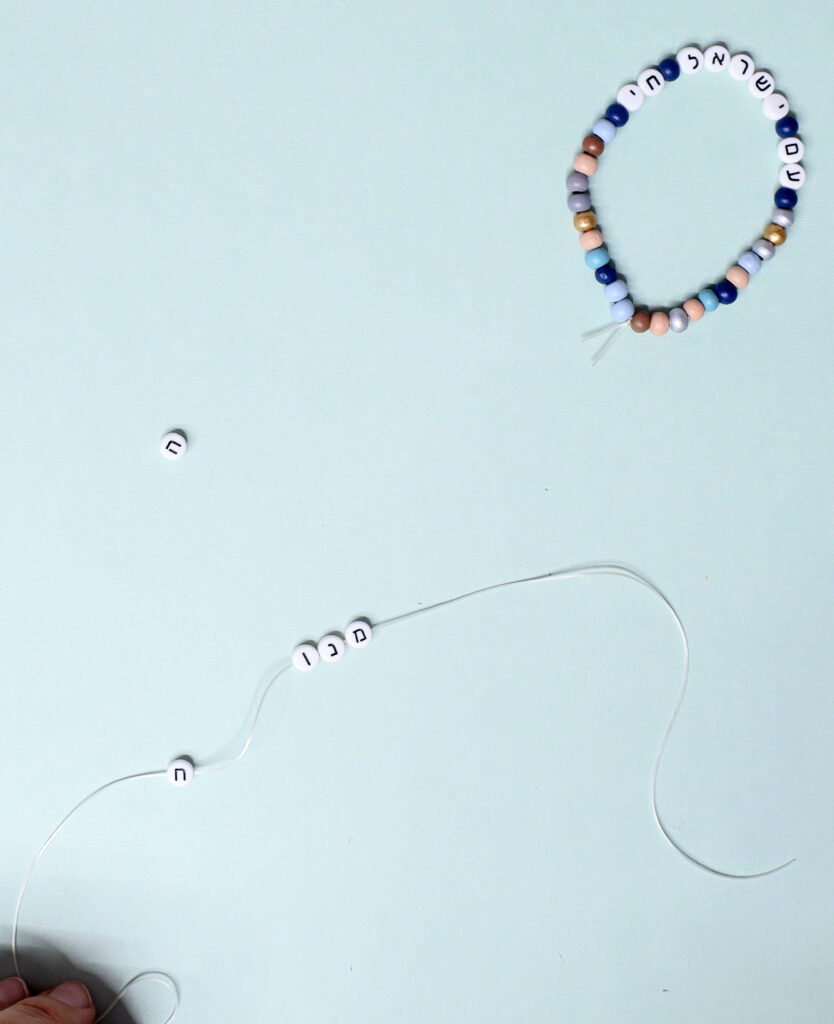
4. Decide what decorative beads to add – will you need a space between two words? Do you want a colored bead between each letter? Try out the arrangements on the table first. You can use the cut cord to help you estimate how many beads you’ll need to go around your wrist by marking on the cord the actual wrist diameter.
Start stringing on your beads – I like to work with symmetry, coming from each direction. Add the surrounding beads, alternating one on each side so your name stays centered.
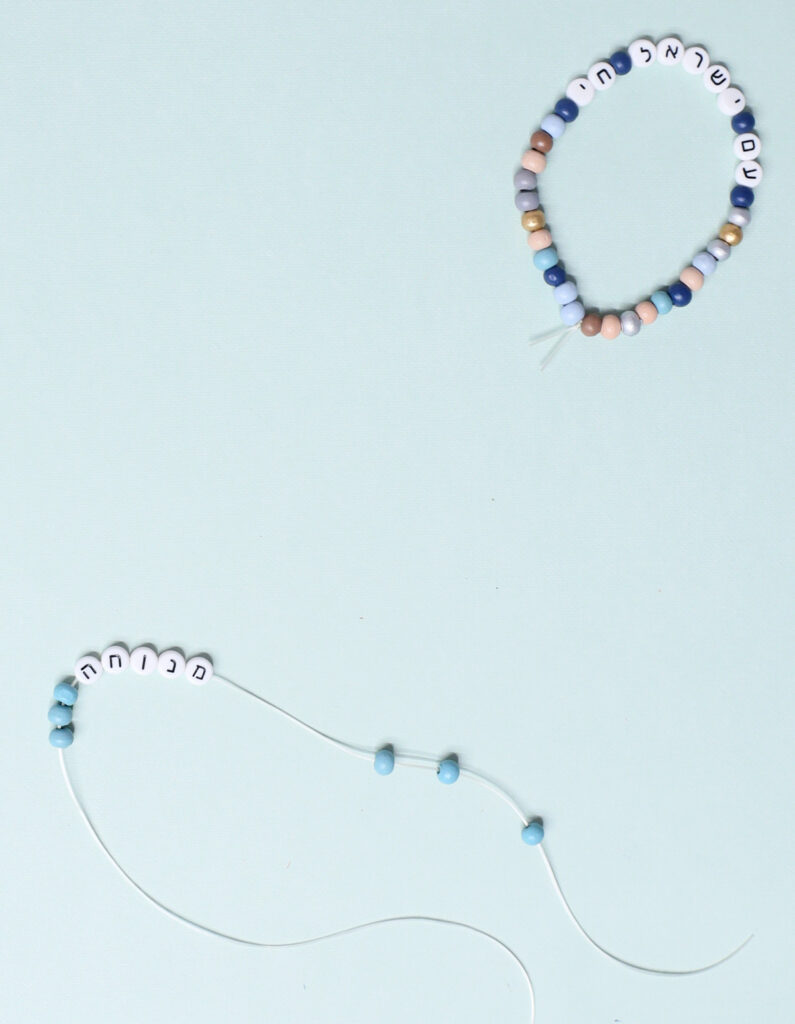
5. Continue to slide the beads onto the cord until your design is complete. Keep an eye on the letters to make sure they’re getting strung right-side-up!
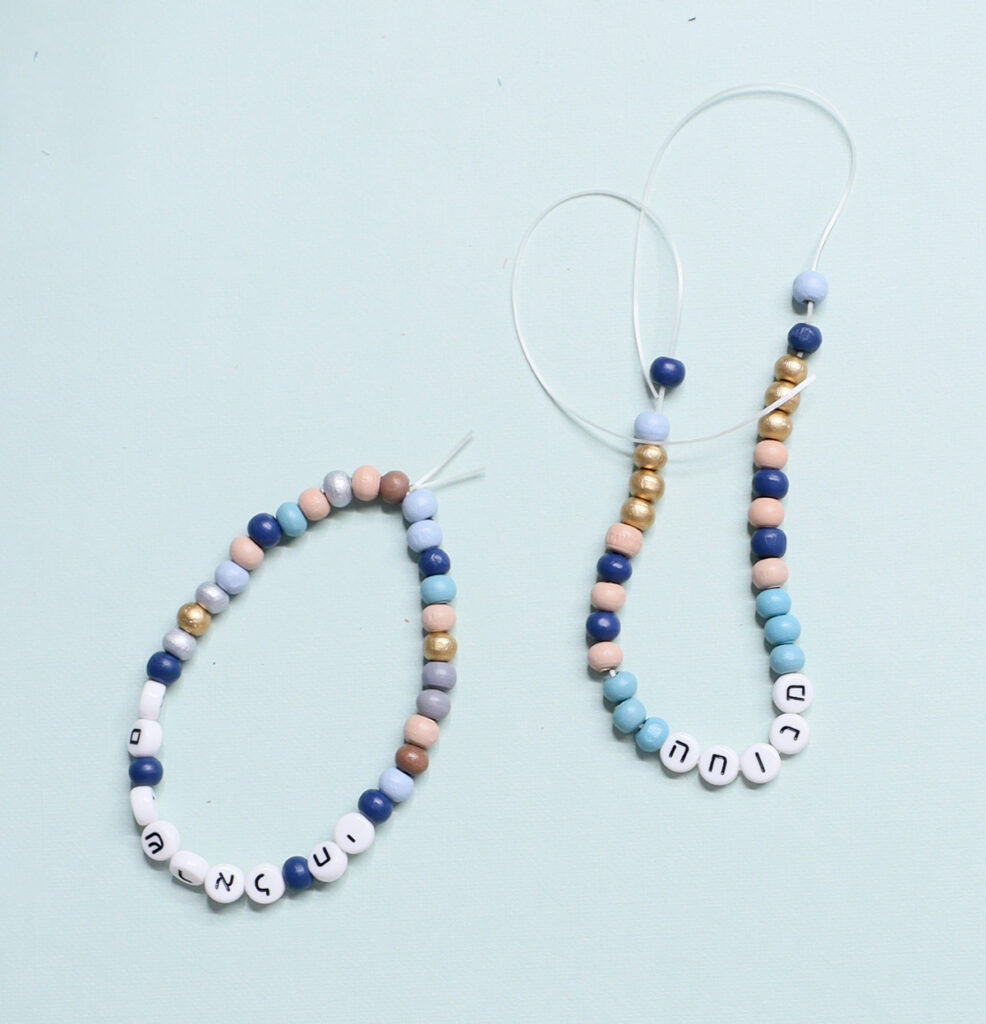
When you think you’re done, carefully test out the size by wrapping it around your wrist. You’ll want to leave just a drop of slack both for comfort and to make sure it will fit over your hand. Add more beads if necessary to fill in extra space – this bracelet will look best if it is full of beads.
Finish it off by knotting the ends of the cord together. Make a double or triple knot to secure it. Glue your knot if you’d like for added security.
Trim off any excess string that’s hanging off.
You’ve successfully made some fun Hebrew name bracelets! What will you be stacking it with?

