Color & Craft Mishloach Manot Baskets for Purim
Color & Craft these fun Mishloach Manot baskets for Purim! When you’re done, try this paper grogger craft too. This post contains affiliate links.
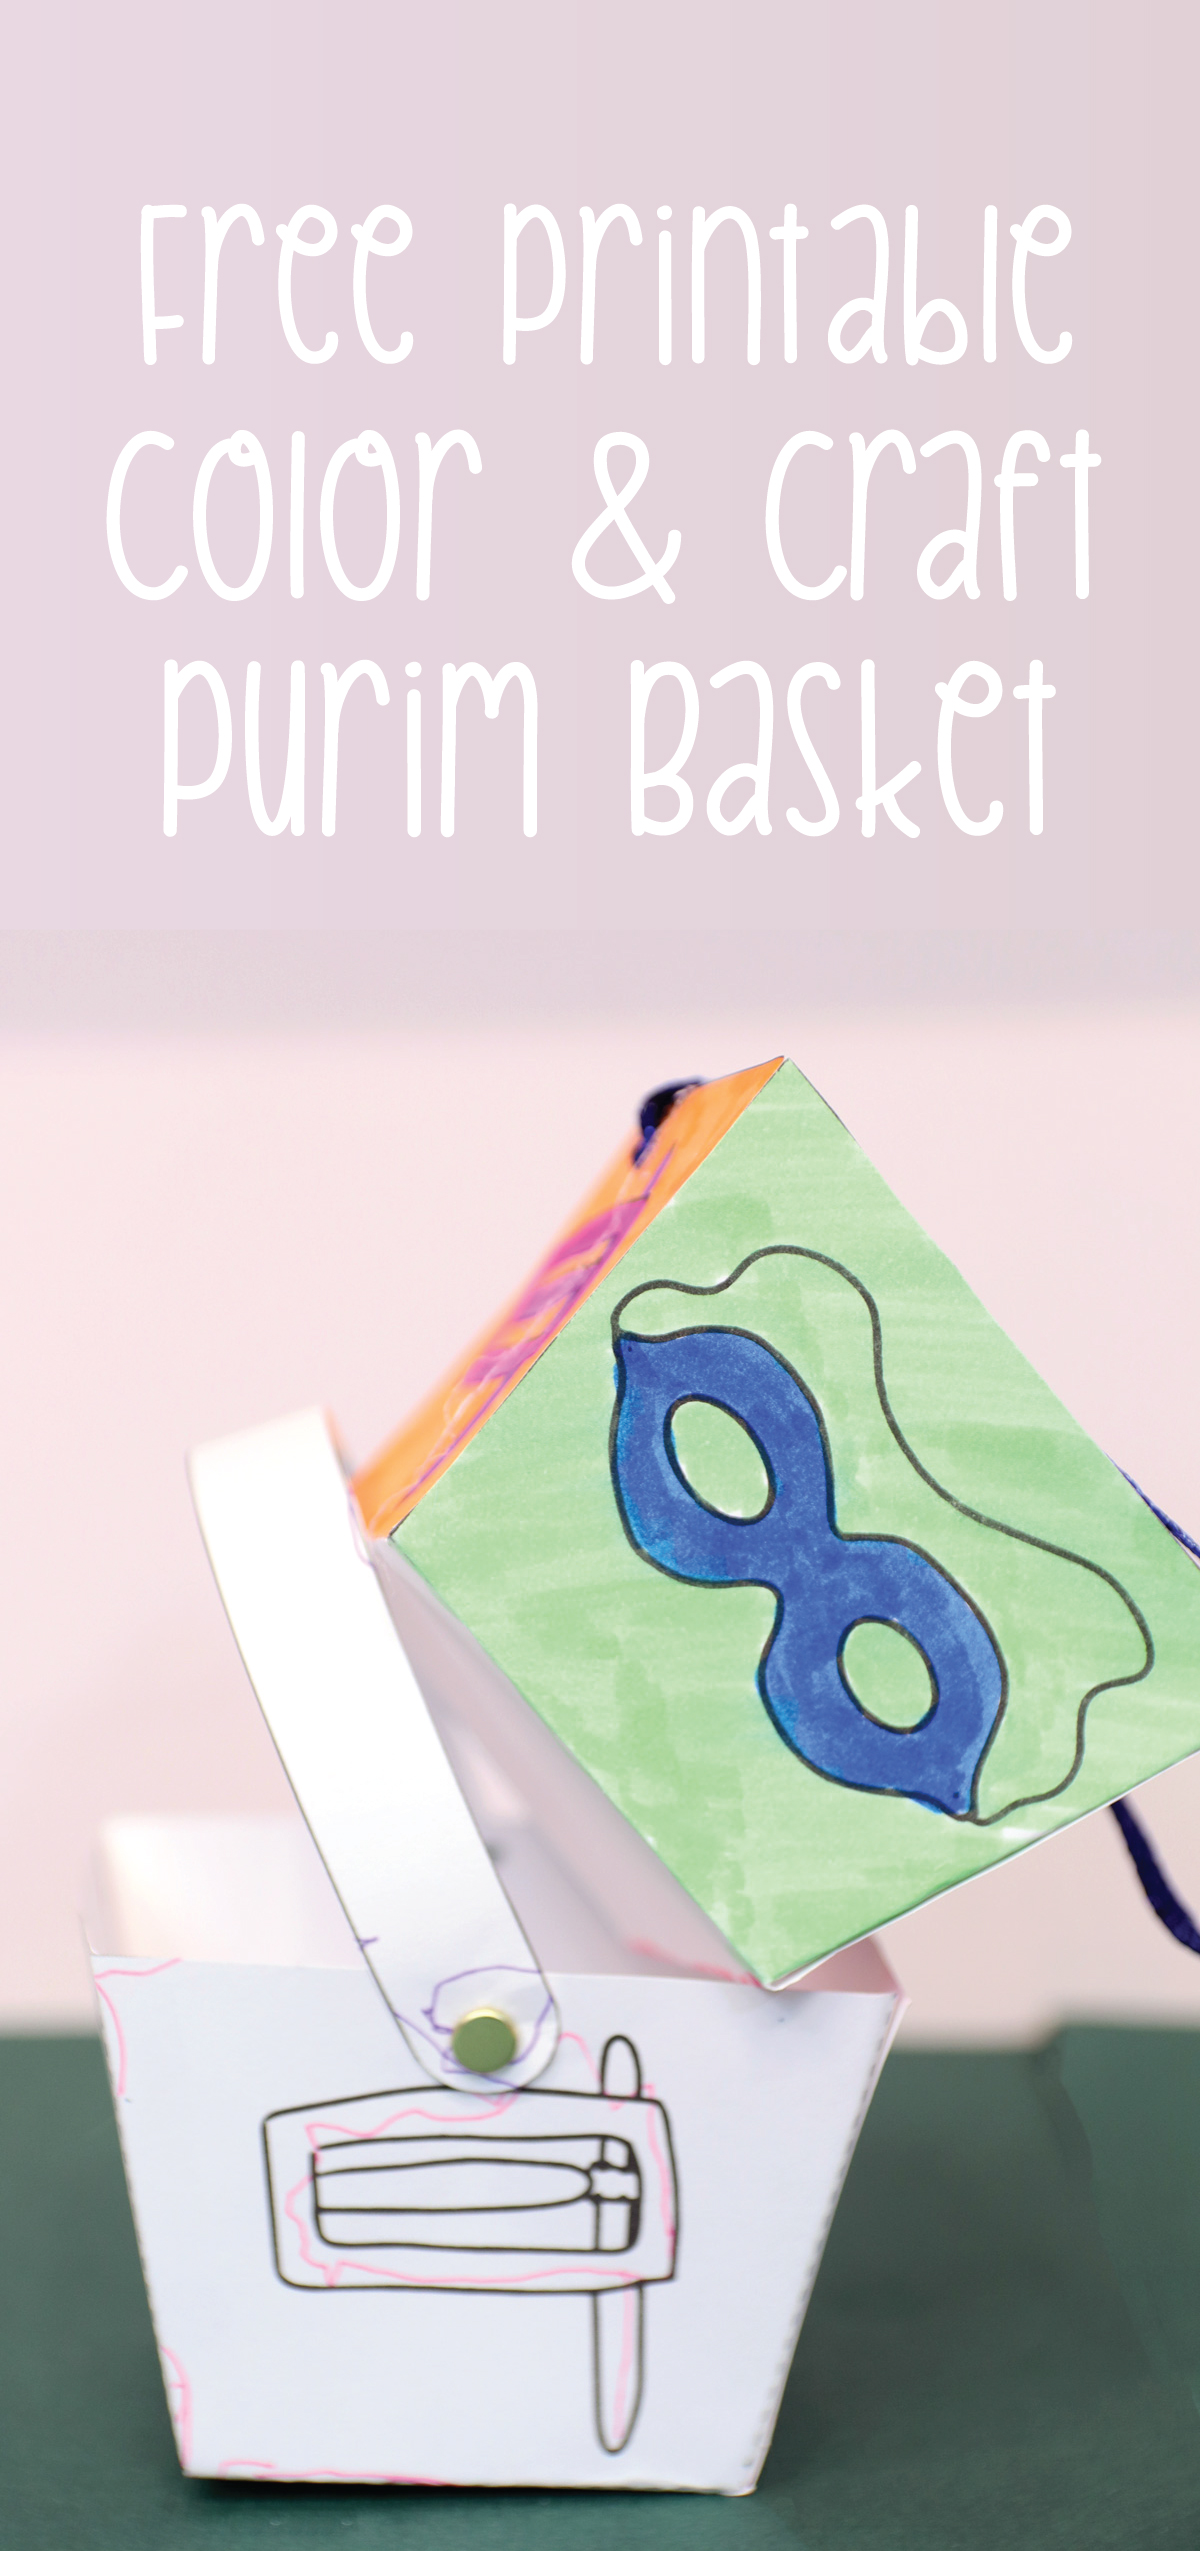
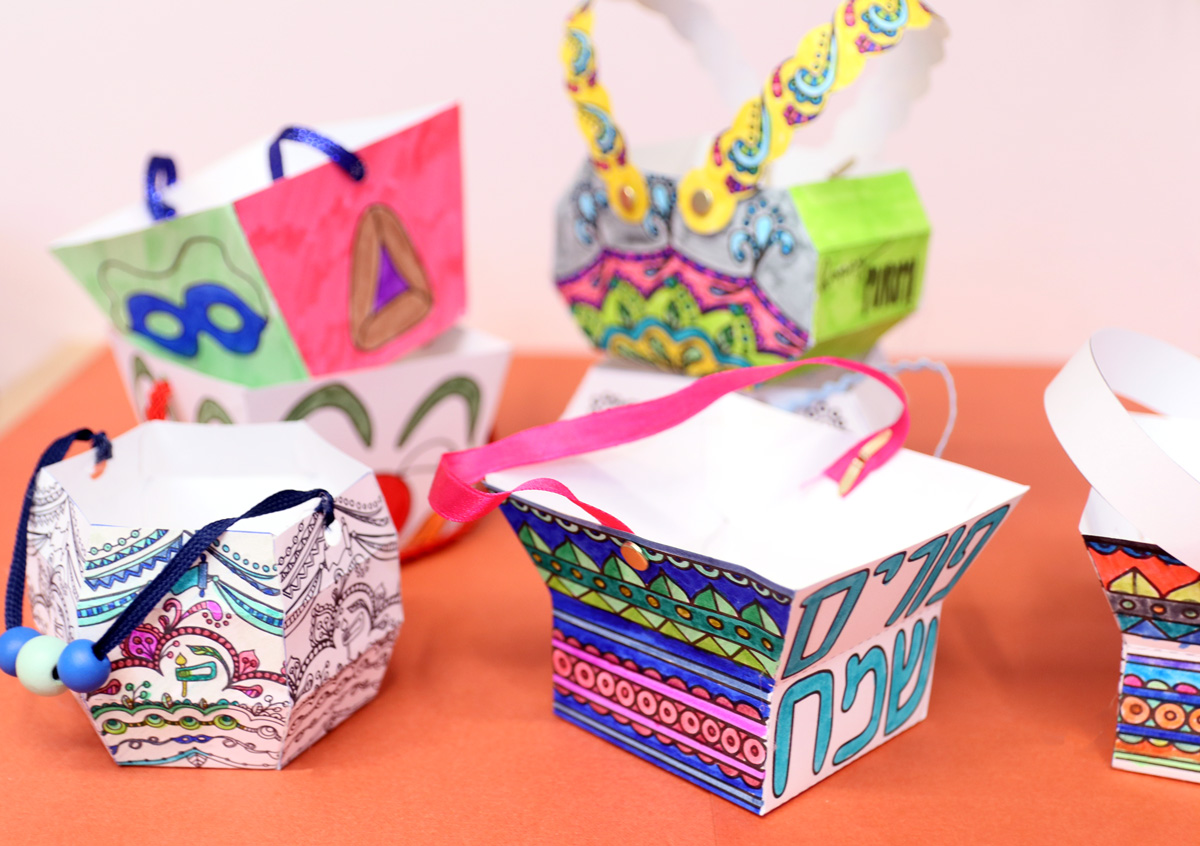
Very often, I have a brilliant idea for a craft and it spirals WAY out of control. I wanted to design some color & craft Mishloach Manot baskets for Purim. I started by designing a few basic basket template shapes and then got ahead of myself, also creating SVG/basic hand or Cricut cut templates that you can make from cardstock, as well as color & Craft Purim AND generic themed baskets.
Phew!
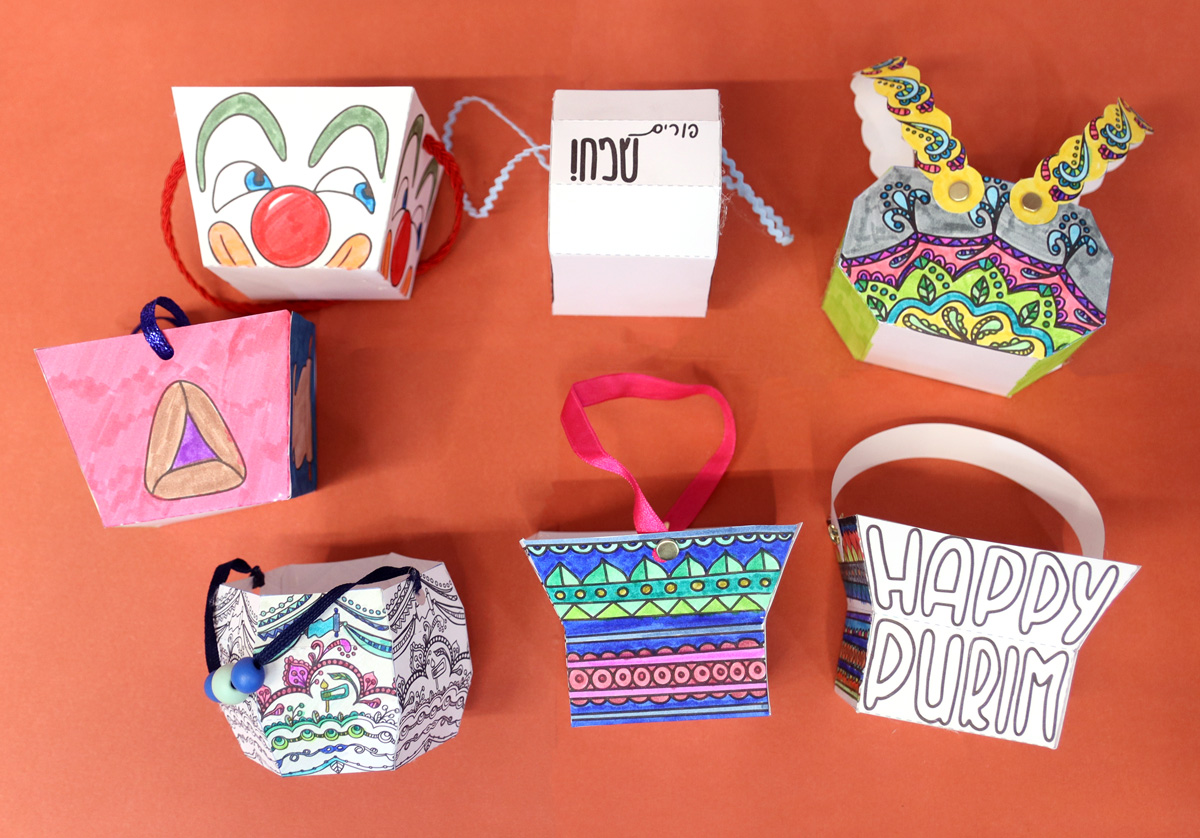
It’s finally ready, as we head way too close into the final stretch to Purim, but hey, there’s always next year, and the last minute thinkers among us.
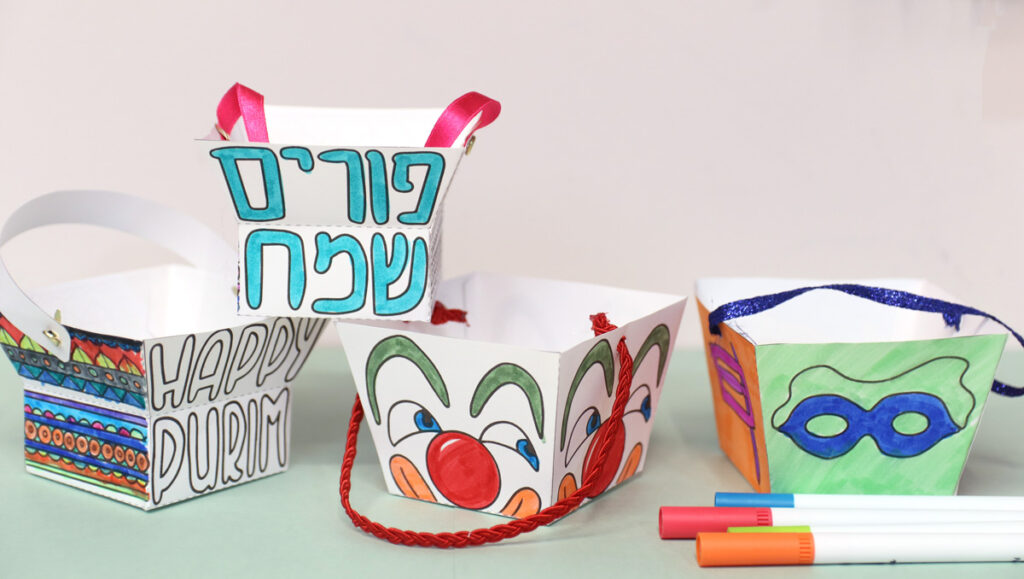
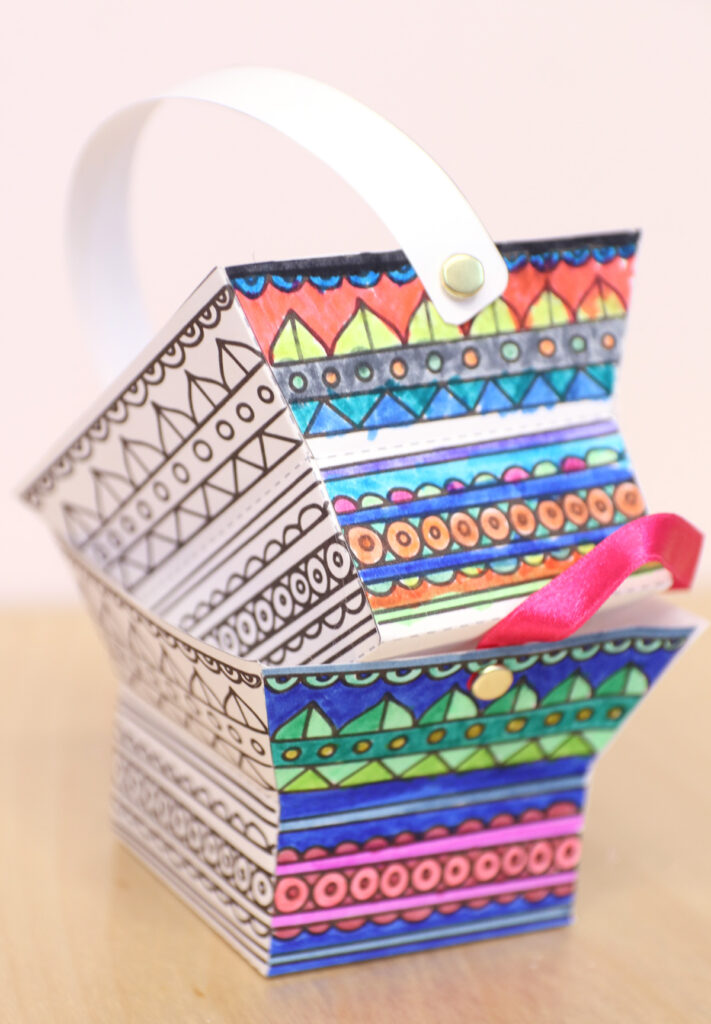
While I was going to add these all to my Etsy shop, which I did, I also realized that I got too sidetracked to create any free Purim printables this season – or any new crafts, for that matter (eventually we did squeeze in this basket weaving tutorial).
So I decided to “double dip” and turn the simplest style basket with fun, playful Purim images into a free printable color & craft Purim basket – available for download at the end of this post.
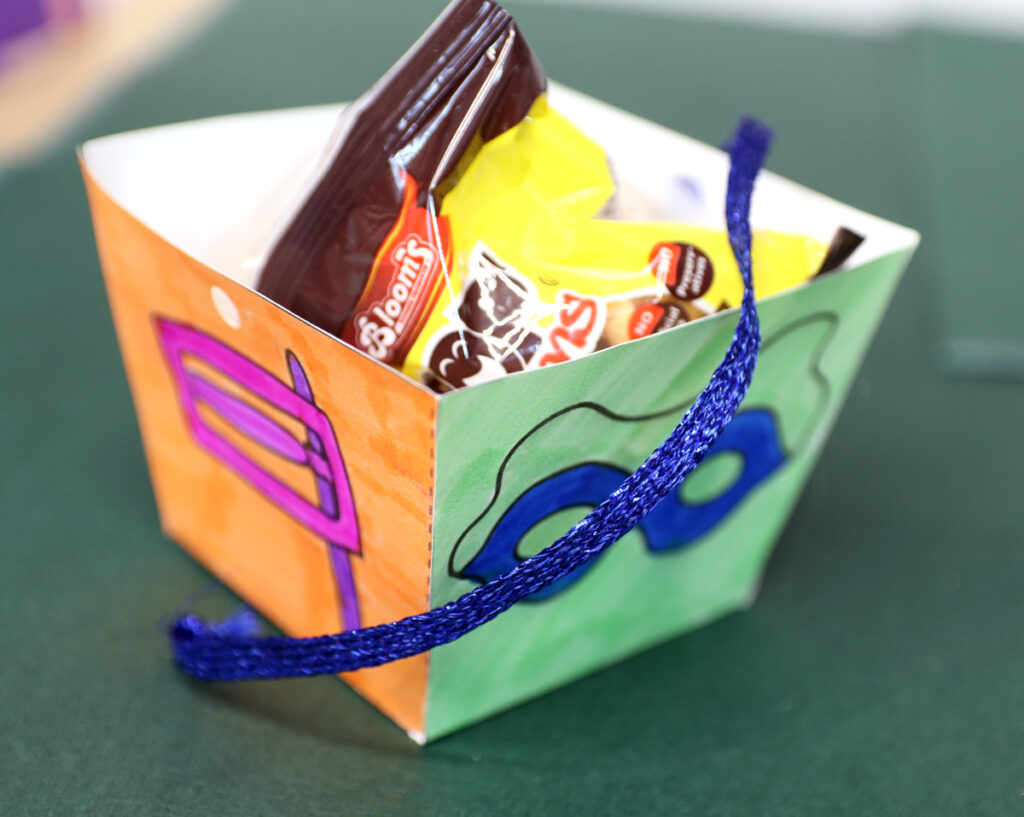
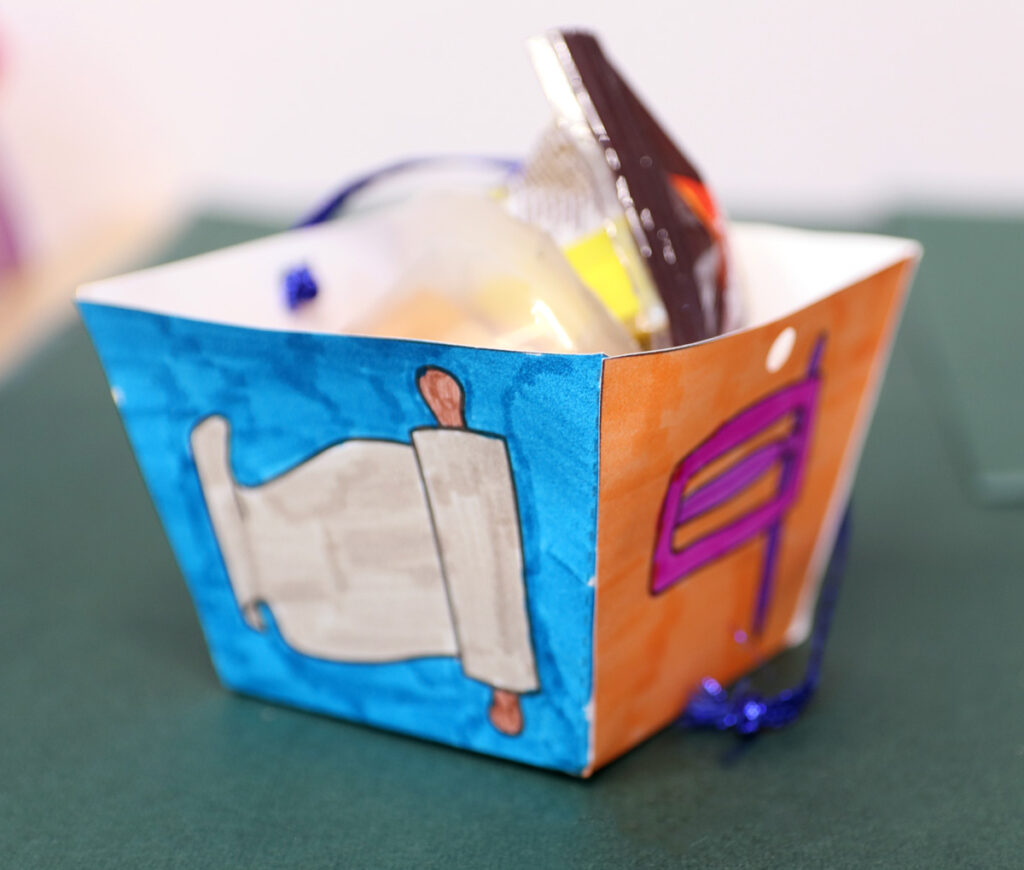
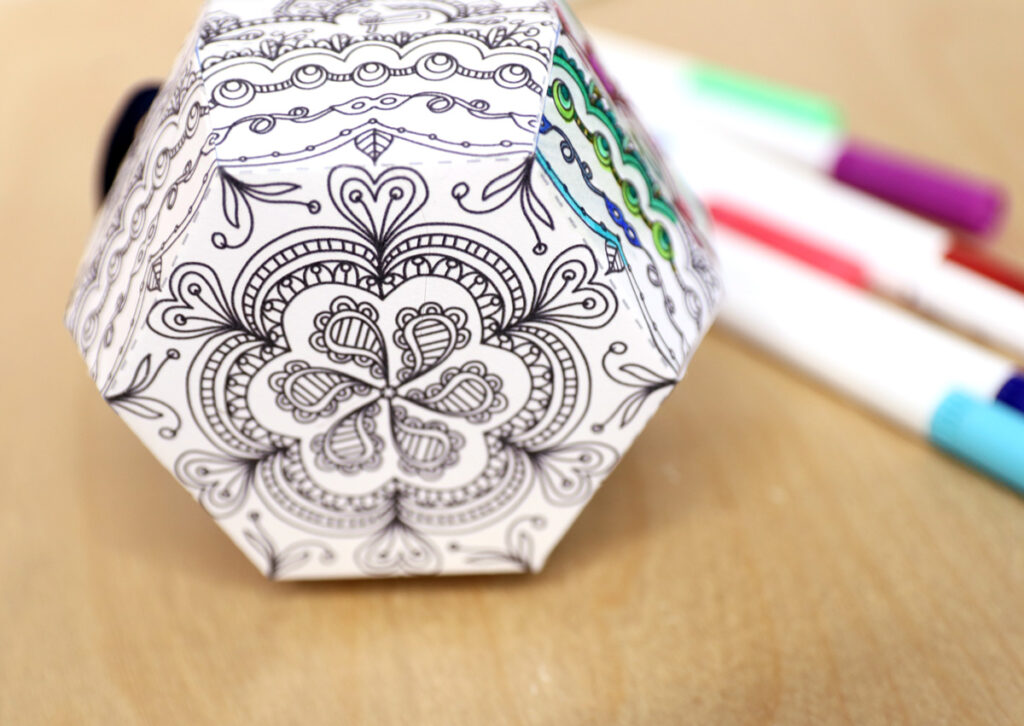
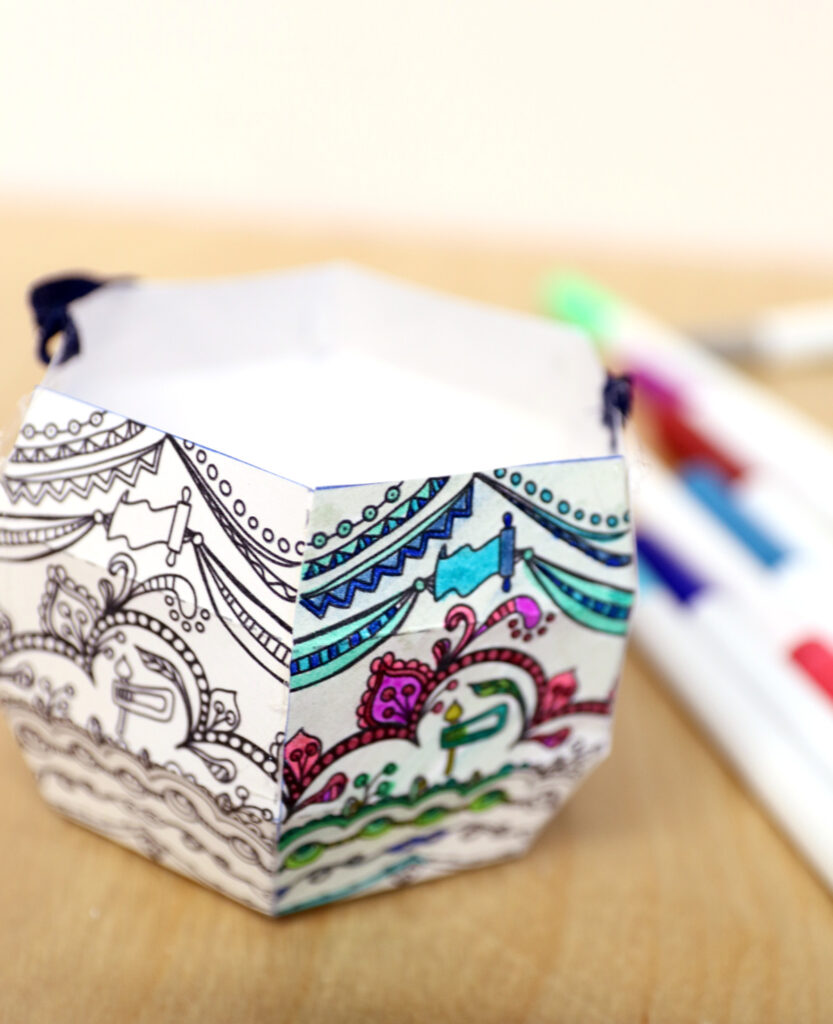
The color & craft baskets
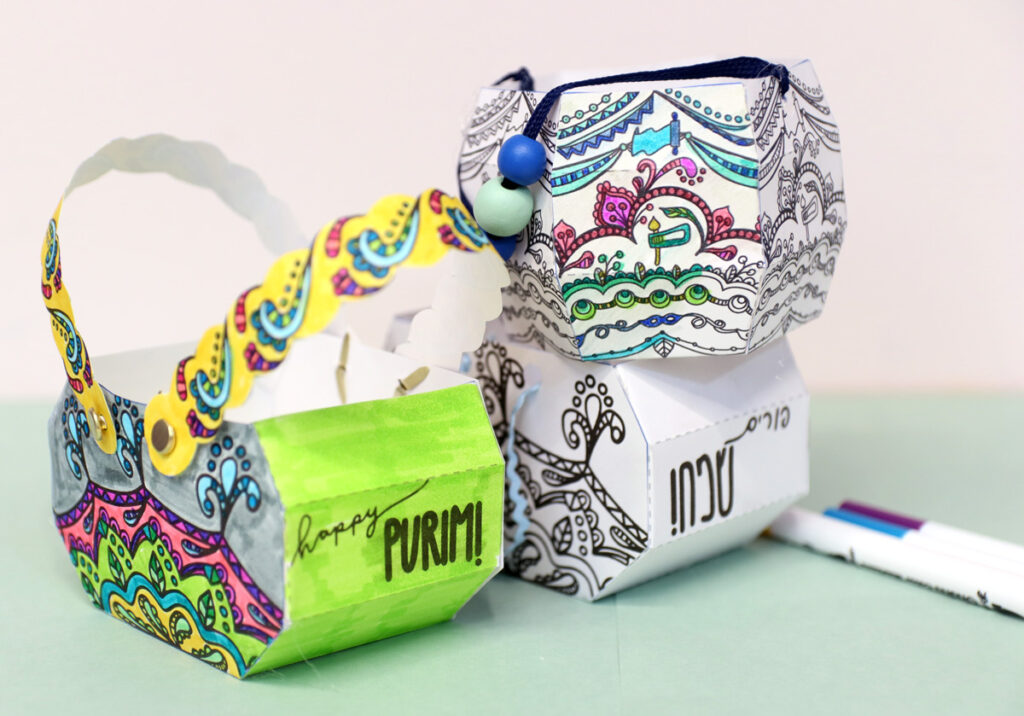
A favorite Purim get-together activity is to have a Mishloach Manot exchange. I thought that color & craft baskets are the perfect supplement to it. Everyone can color and assemble a basket, fill it with treats, and then hand them to whichever name they picked from a bag!
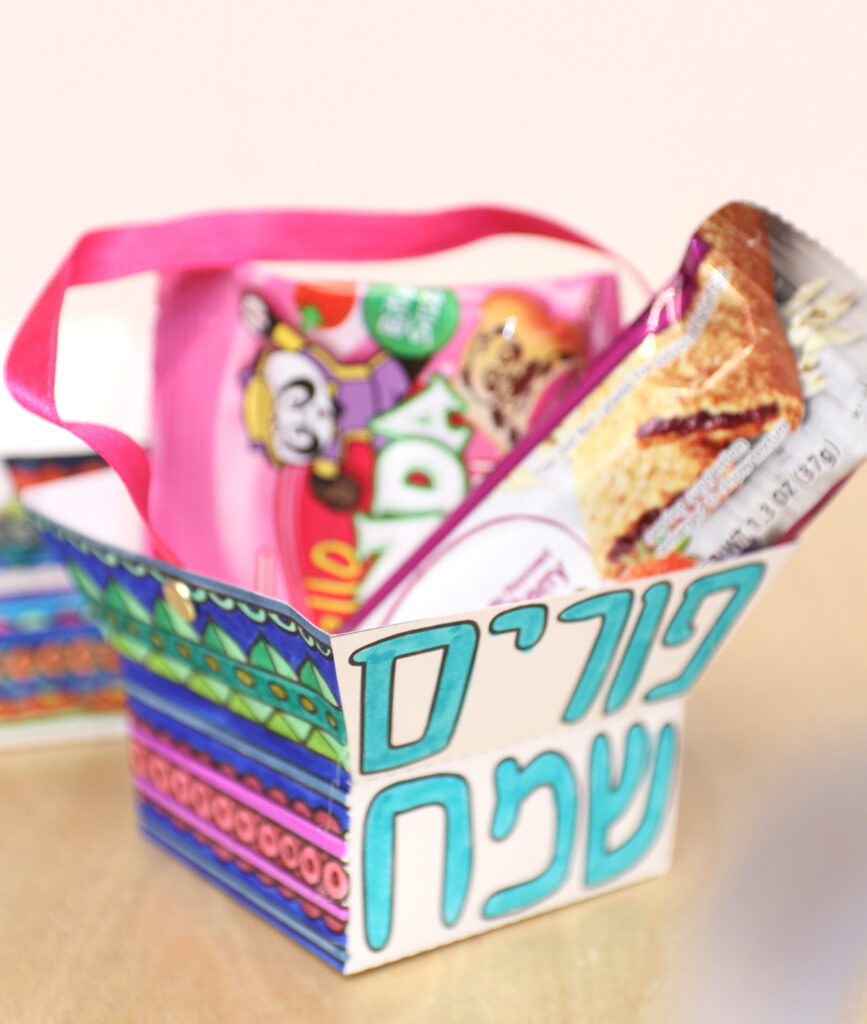
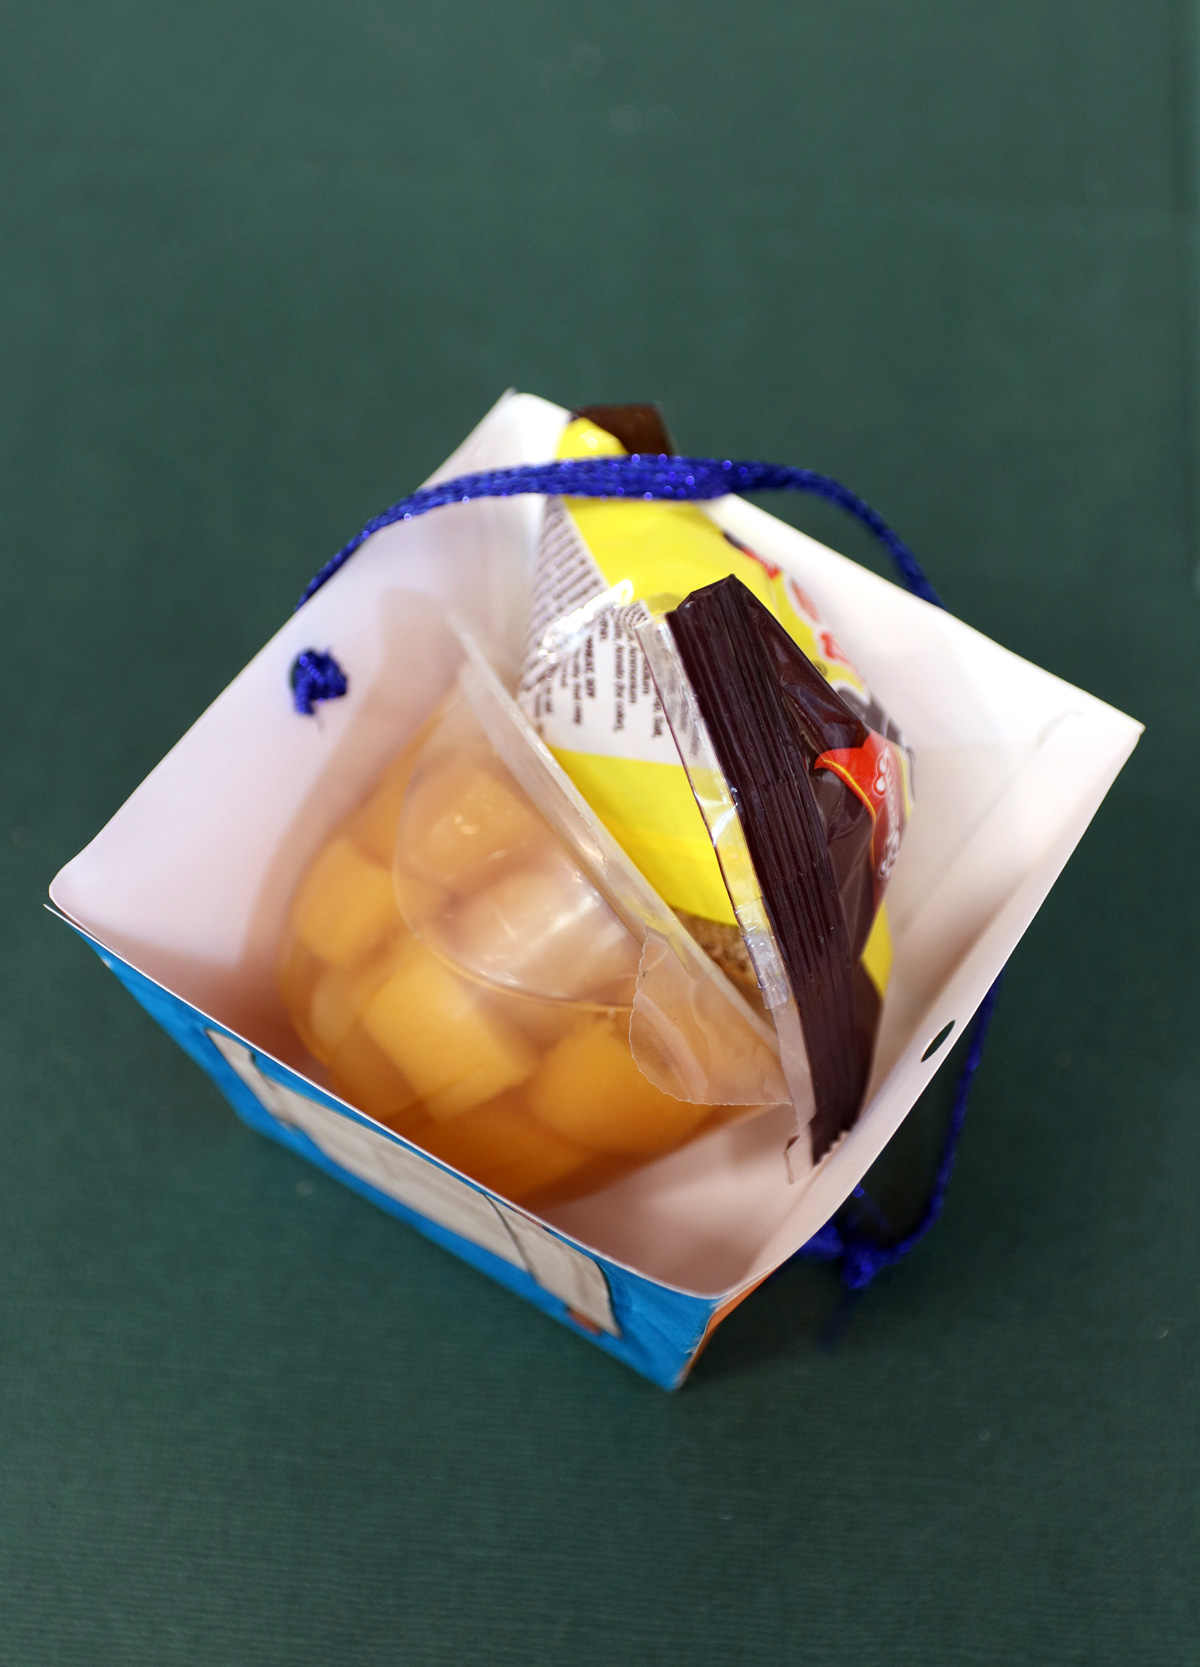
It’s also a fun classroom activity for a teacher, who wants a creative way to hand kids their Mishloach Manot in school! Have students color and assemble their own mishloach manot baskets, fill it with the snacks you provide, and bring them home in lieu of Mishloach Manot.
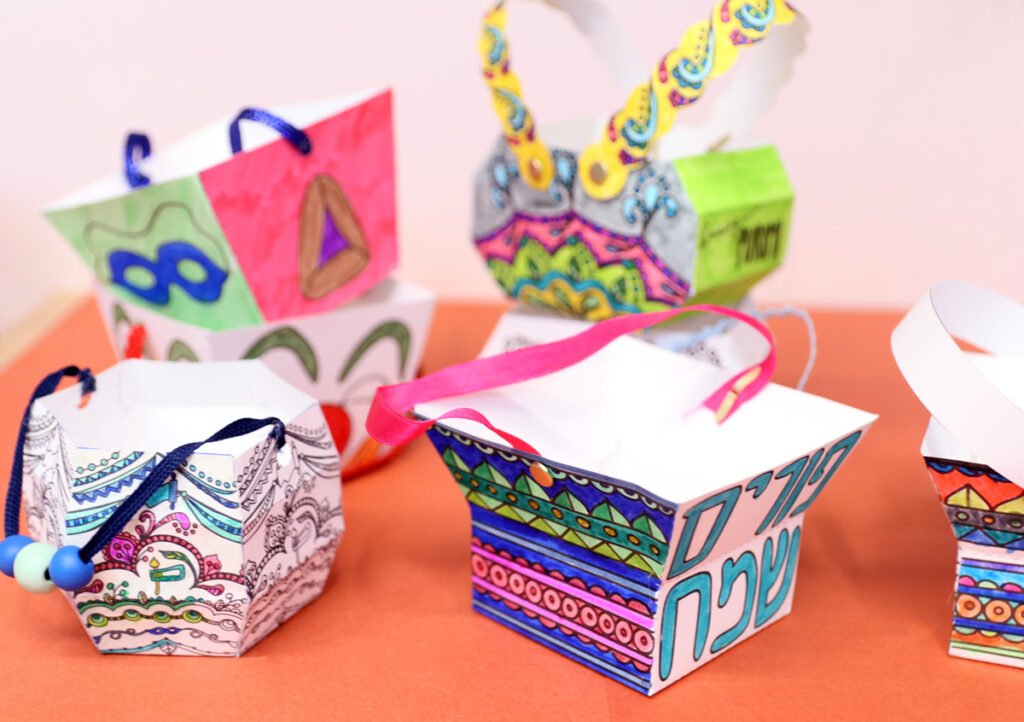
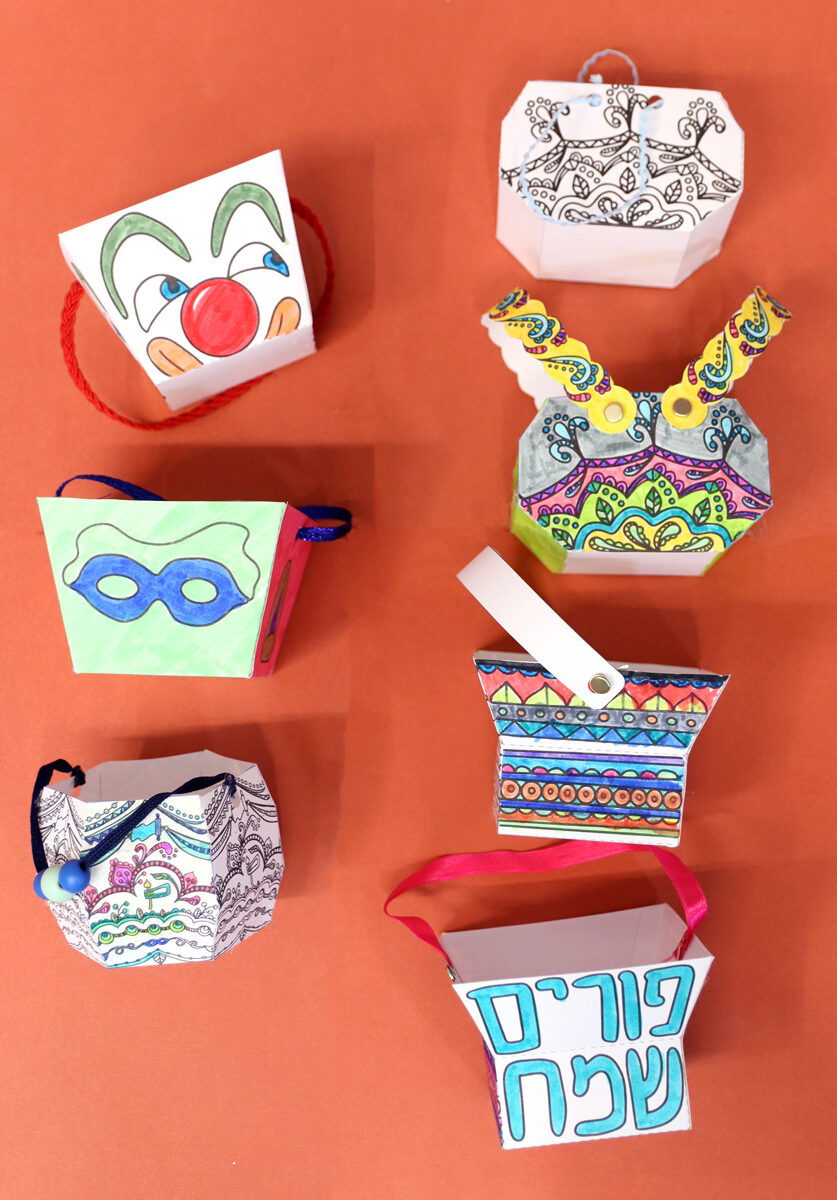
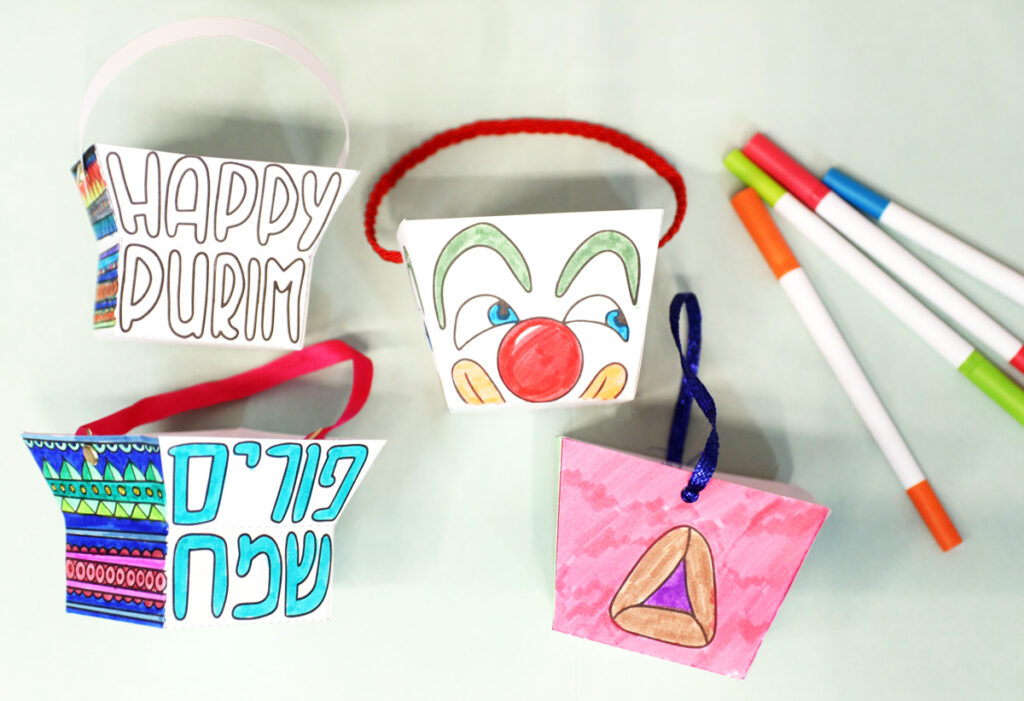
I created both generic and Purim specific ones, and offer them in my shop by coloring level (simple, complex or kids/adults) and theme (Purim or not Purim-specific). I also offer a bundle with all the styles.
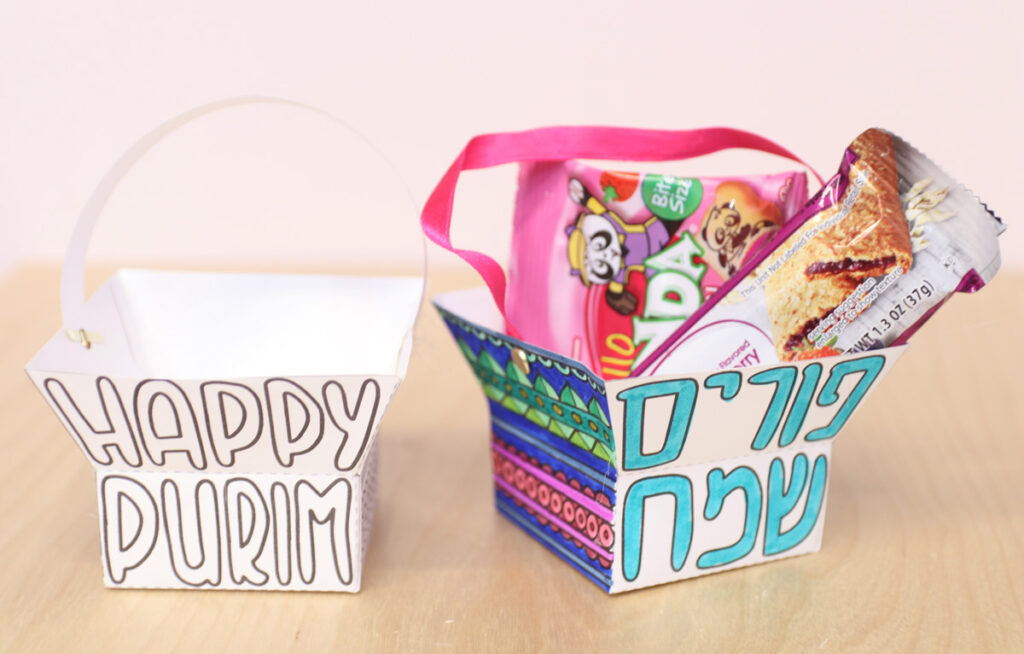
And anything that says “happy Purim” also has one that says “Purim Sameach” in Hebrew, so that you can choose your basket.
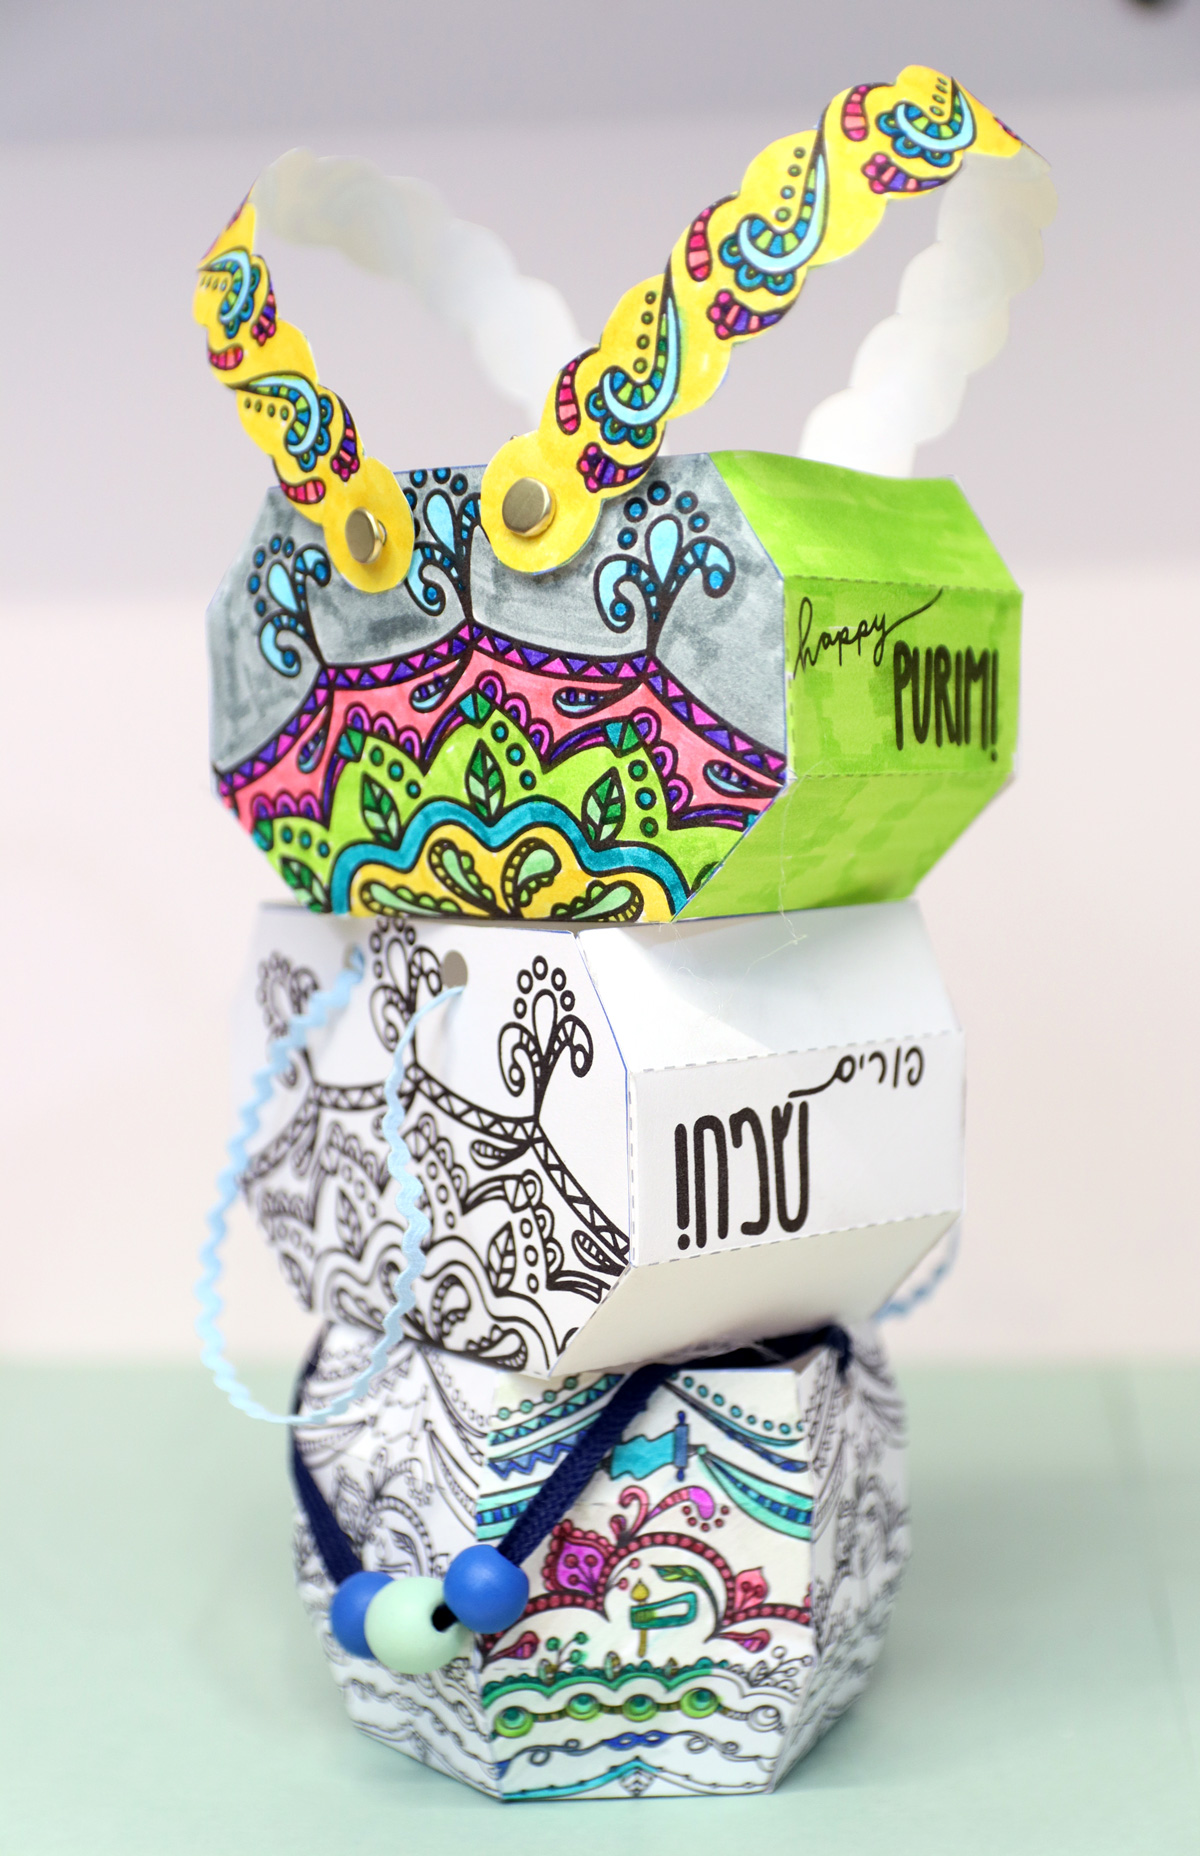
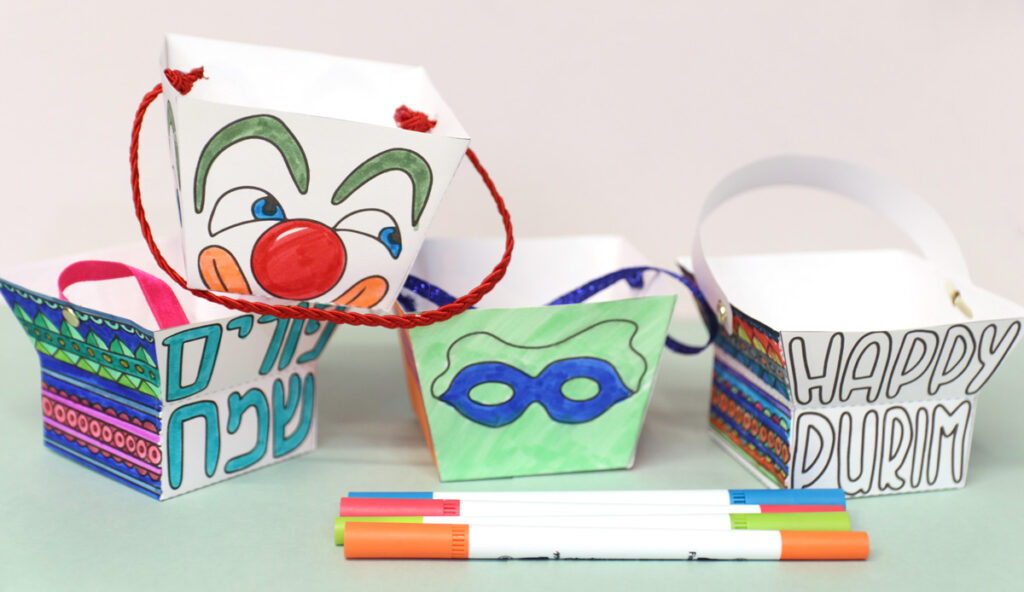
If you’re crafting this in a group setting, with multiple age groups, I recommend springing for both simple and complex styles to satisfy different age groups.
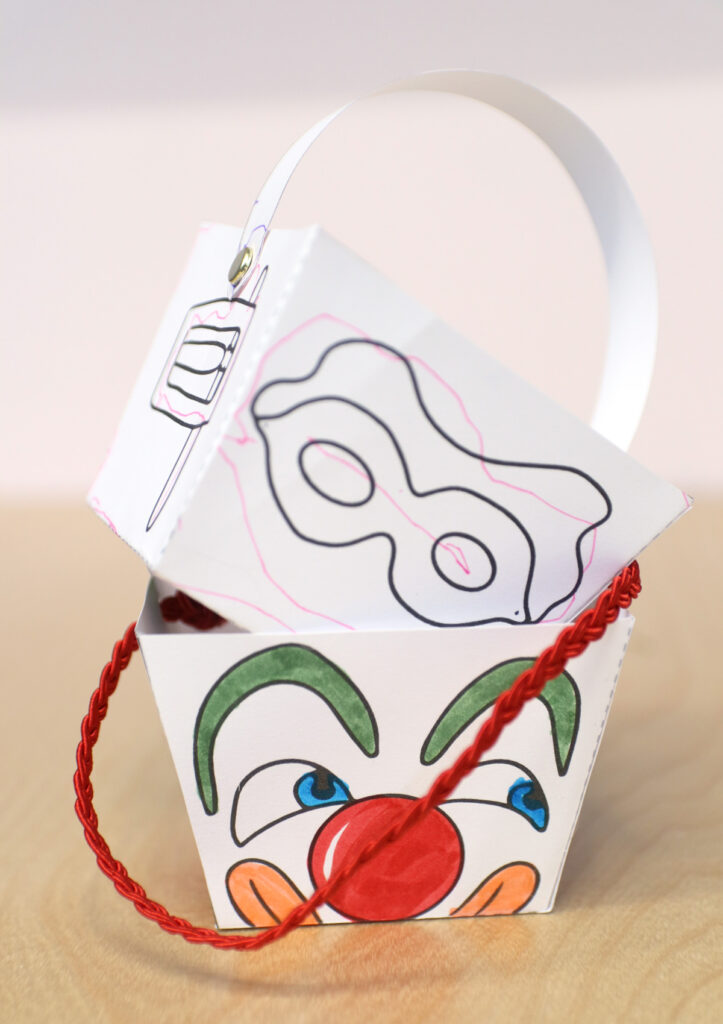
The free printable has simple Purim drawings, but can be colored to look super festive too! The download is at the end of this post.
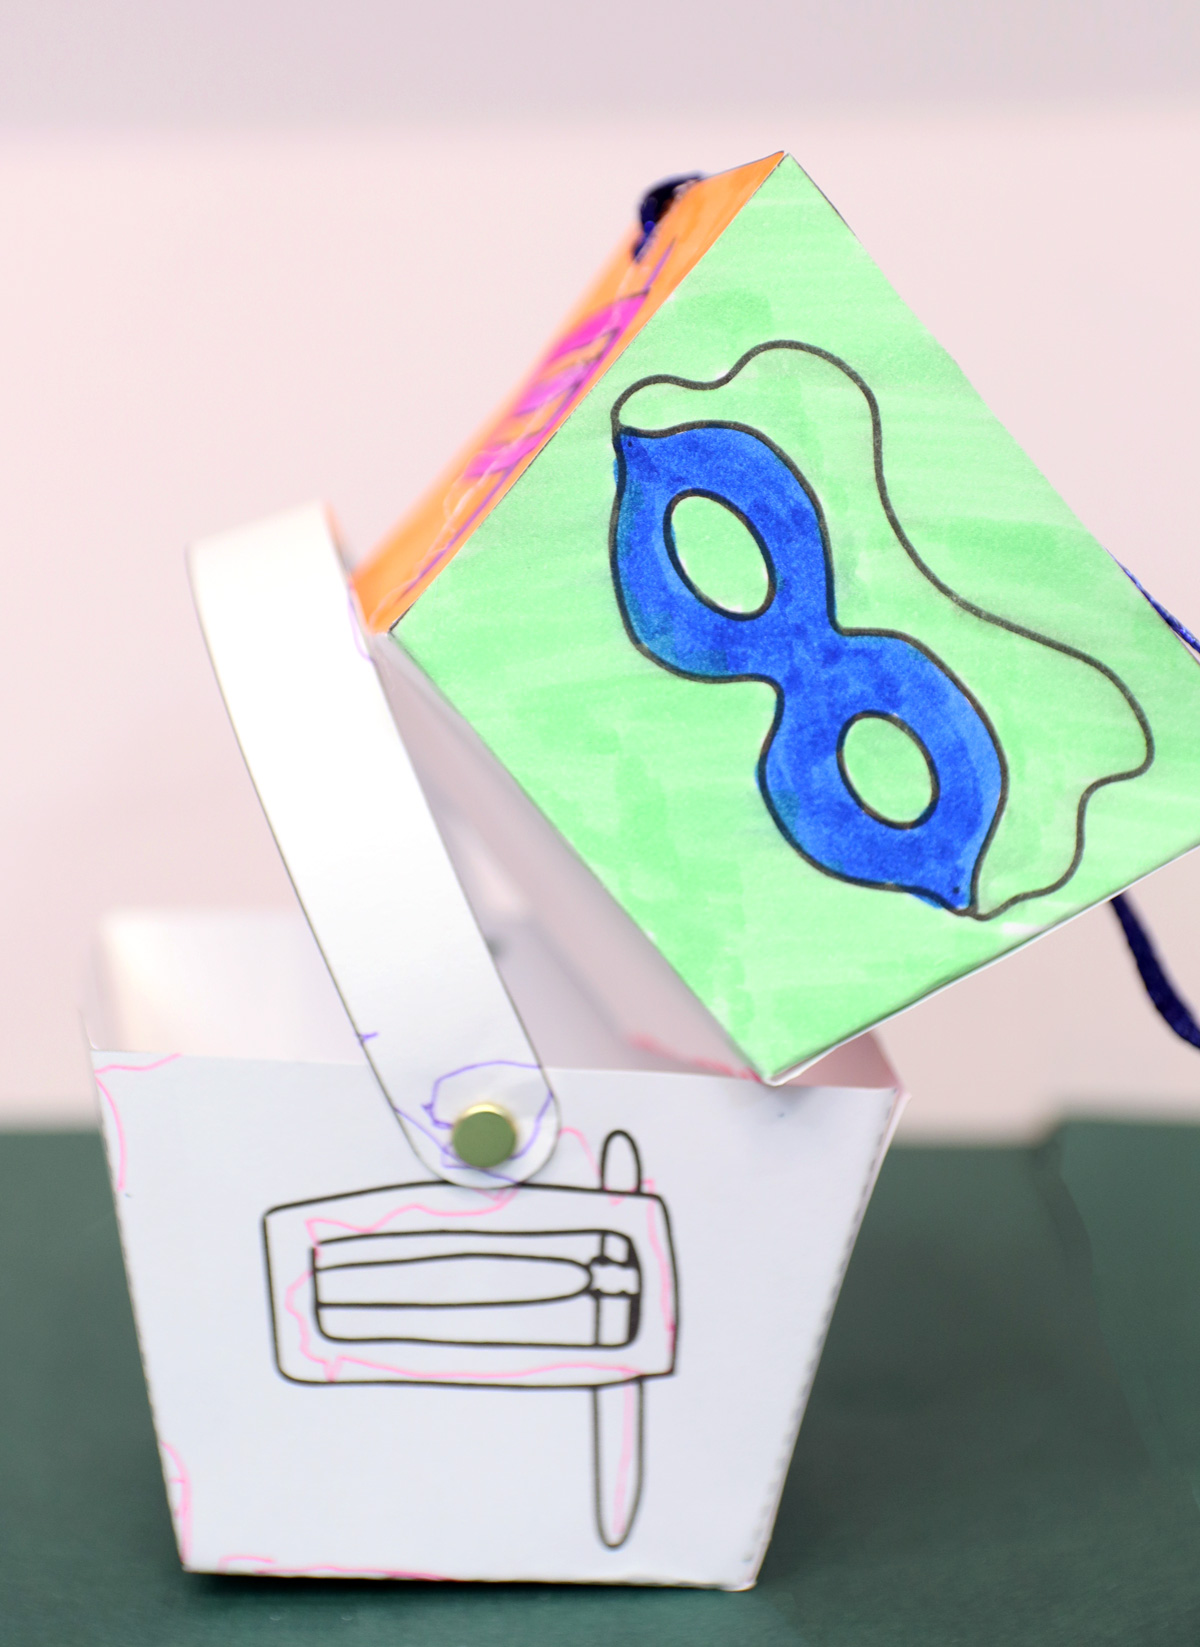
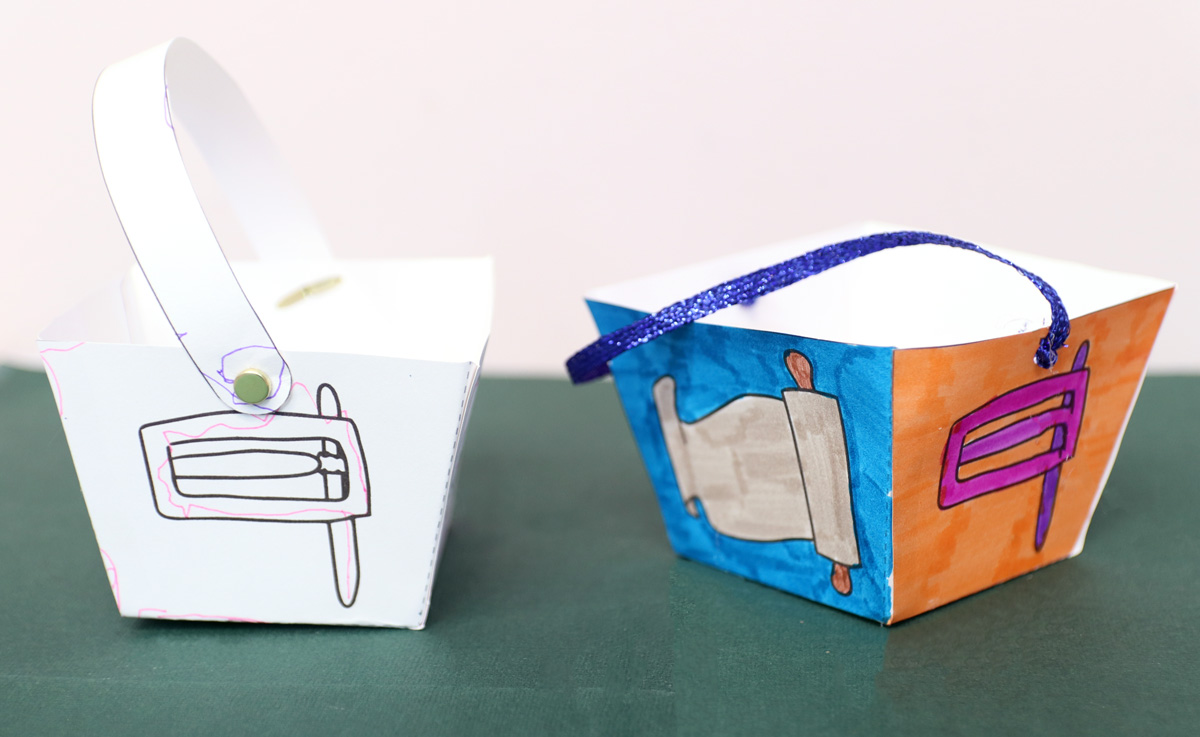
The craft-from-cardstock templates
The idea of these is to be able to choose your papers, customize your look, and even make them slightly bigger.
I made them as both SVG and PDF templates so that you can choose if you hand cut or machine cut them. While they are not specific to Purim, especially if you’re Cricut crafting, you’re able to customize the side panels with text. Otherwise, craft as you’d like them.
Assembly tips and variations
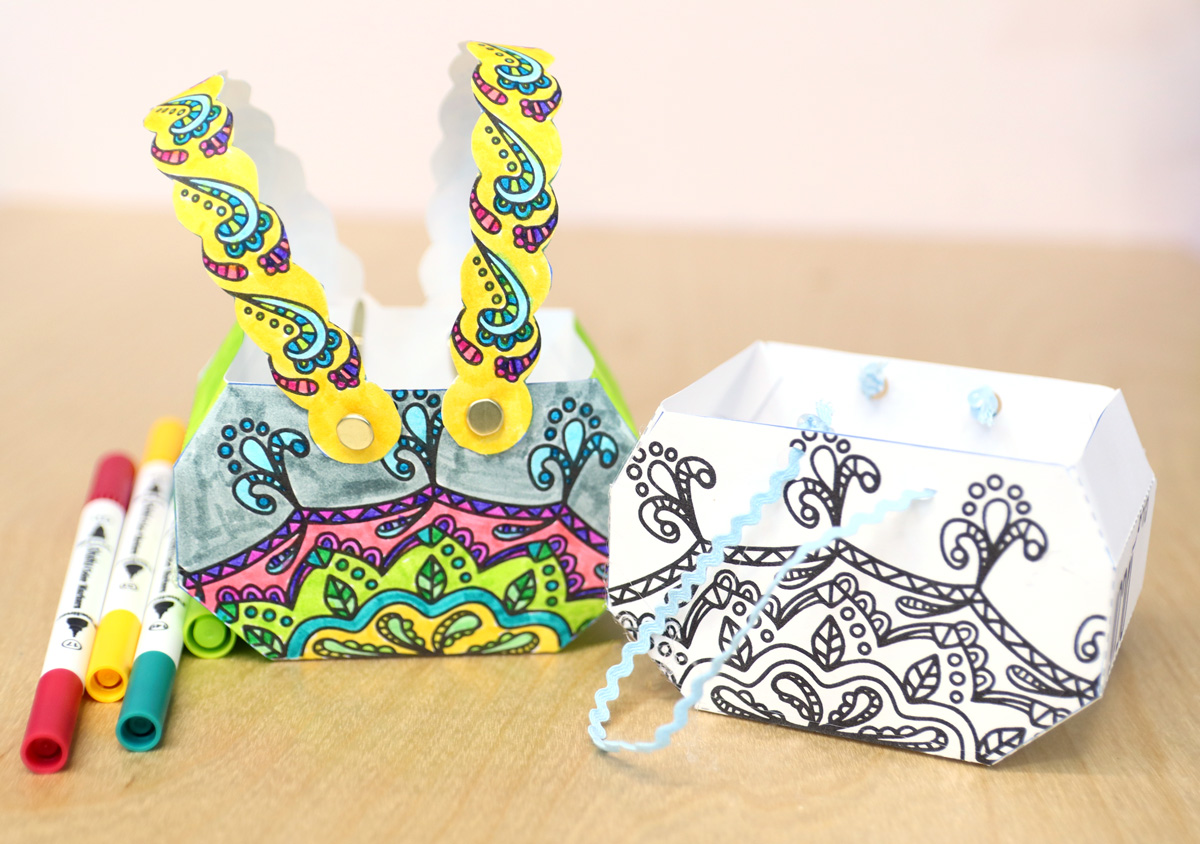
I provided handles for the baskets as well – some with designs and some blank – but you can also use ribbon to assemble yours! It gives a much more polished and cool look.
I especially recommend doing this if you’re using these as real Mishloach Manot baskets that you’re taking the time to DIY, and want them to look clean and polished.
Assembling your Mishloach Manot Baskets
Supplies needed
- Markers, crayons, etc
- Scissors
- White cardstock
- Optional: hand-scoring tool or bone folder
- Optional: hole punch (will maker a larger hole than indicated)
- Double-sided tape, hot glue gun, or tacky glue
- Brad pins if using paper handles
- OR Ribbon or rope for handles
- Optional: large-hole wood beads to embellish handles
Get the templates
- Get the Purim baskets – Simple | Complex | Both
- Get the non-specific baskets – Simple | Complex | Both
- Get the full color-in bundle
- Get the SVG/PDF template
Free printable at the end of this post.
Assembly Instructions
1. Print your basket on cardstock and color it in.

You can color in your handles if you’d like, or not.
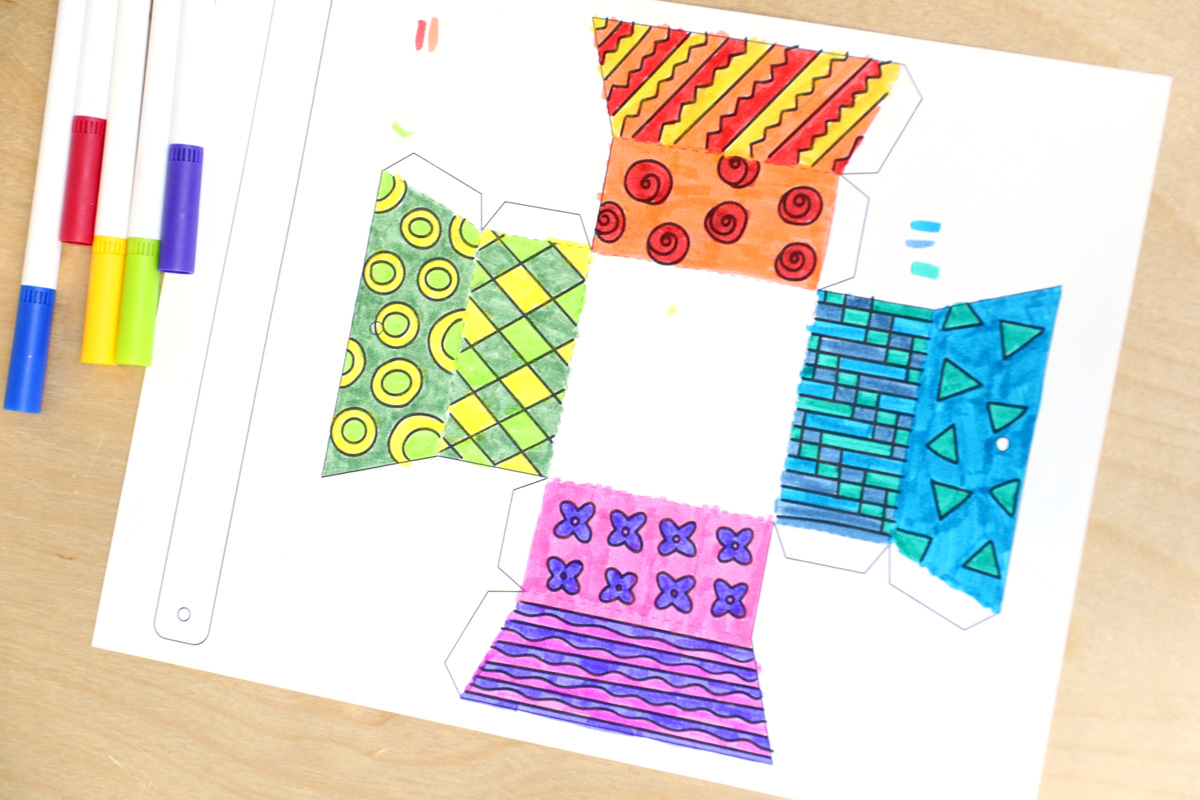
2. Cut out your parts.
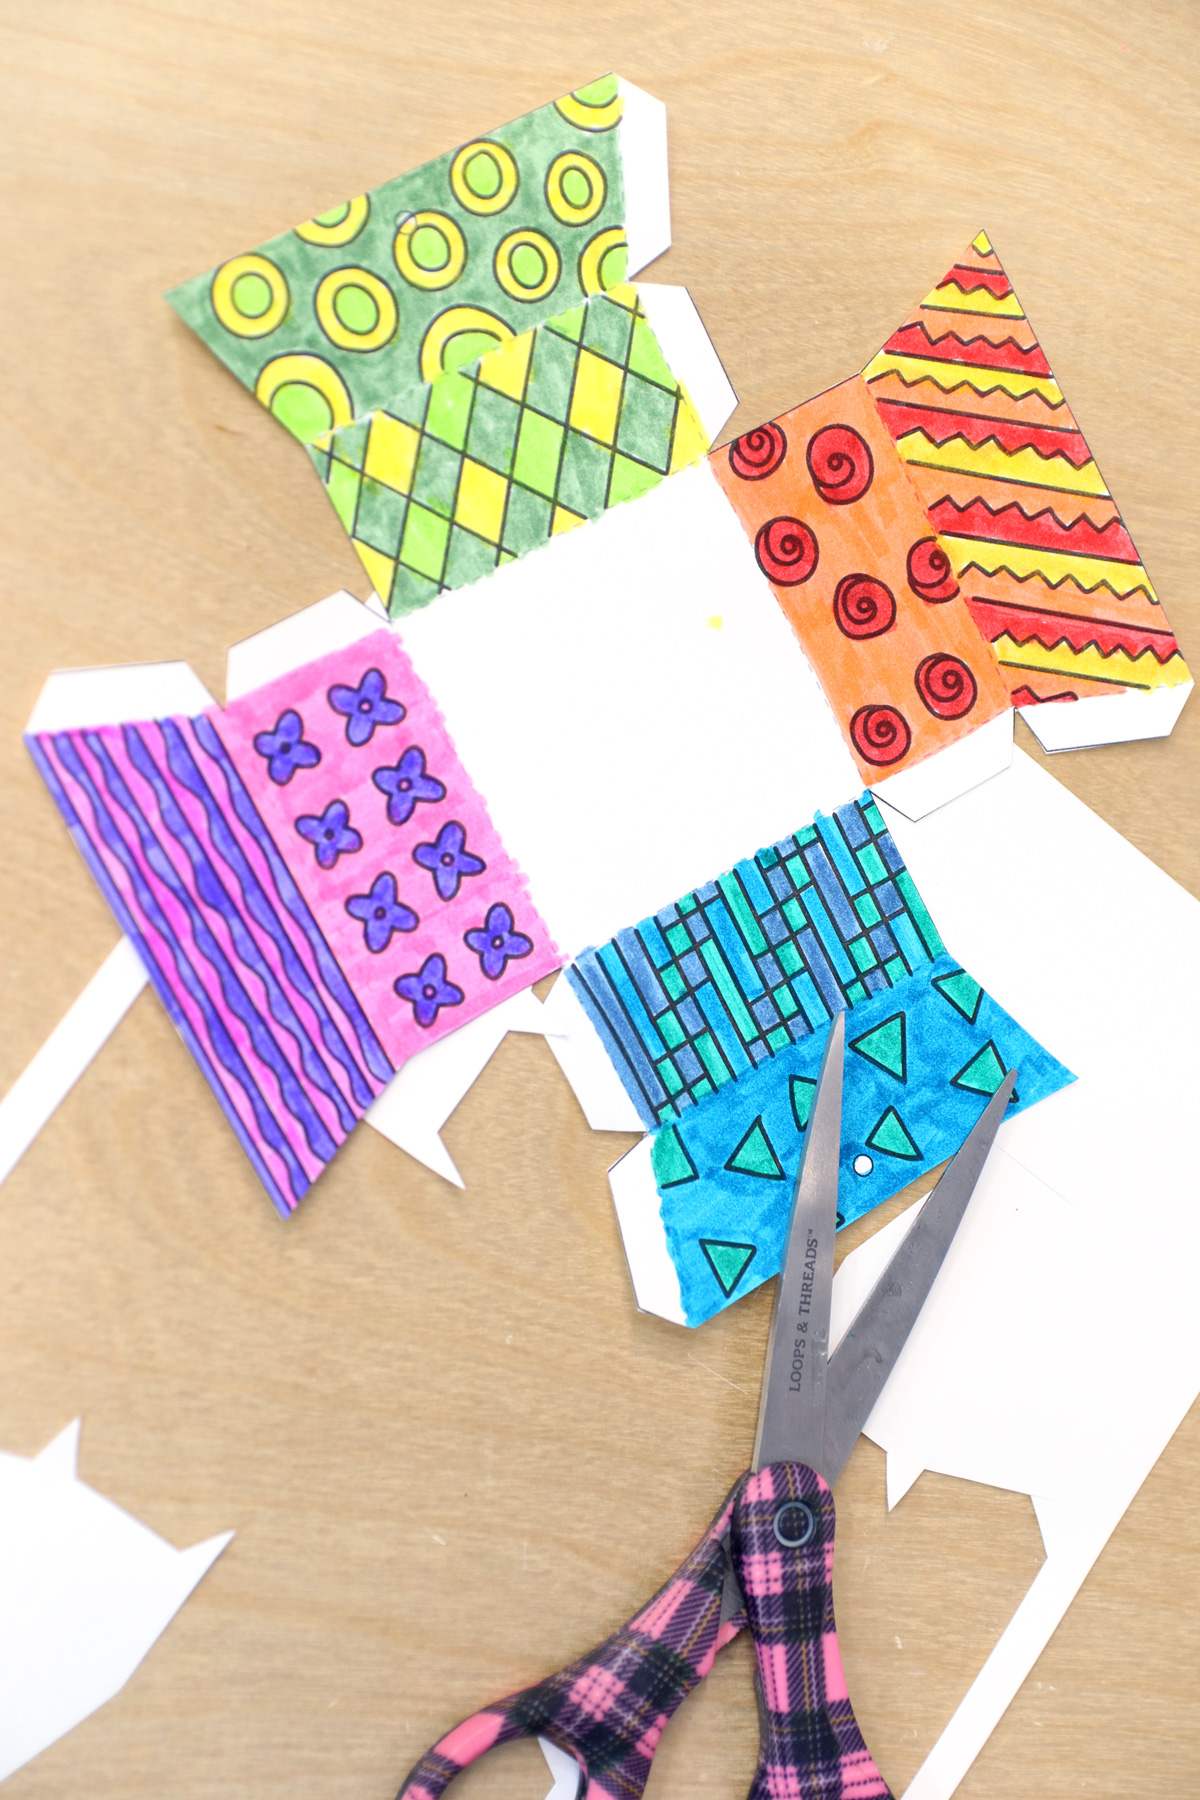
3. Fold on the dashed fold lines.
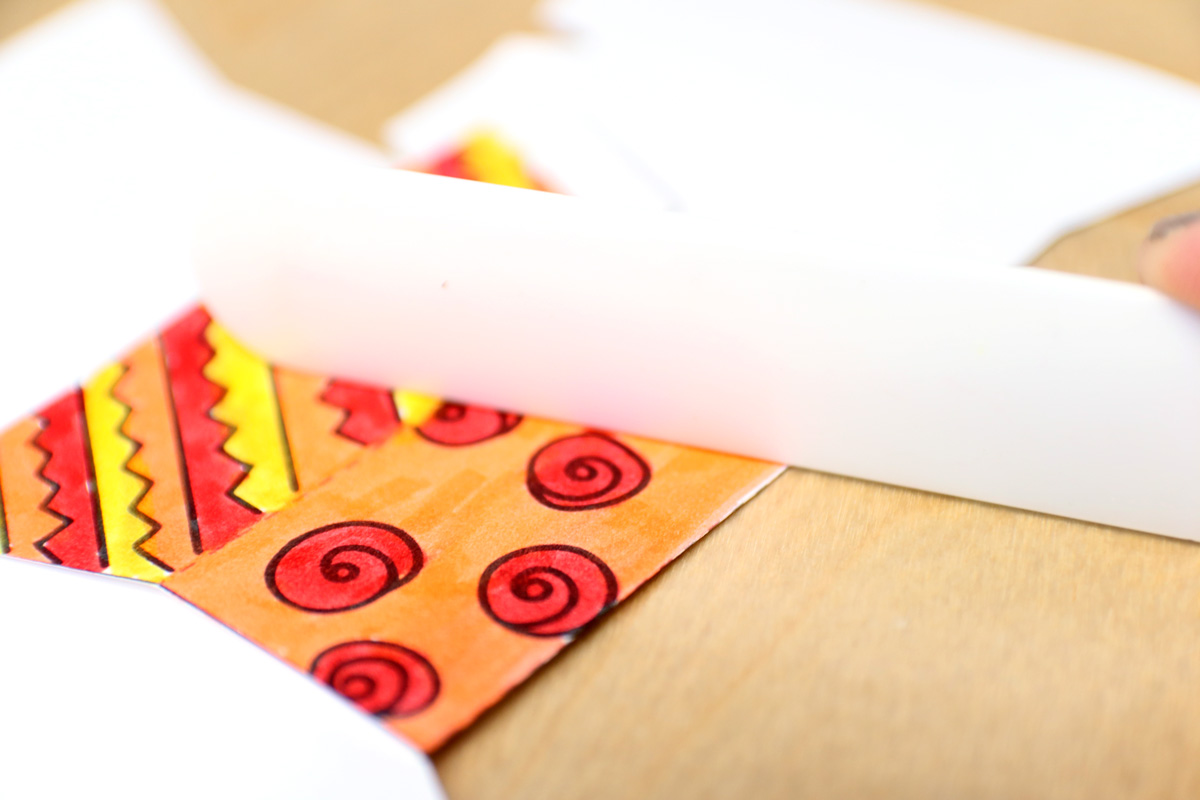
4. If you’d like, punch holes where the circles mark the spot.

5. Assemble your basket by gluing each tab to the corresponding spot.
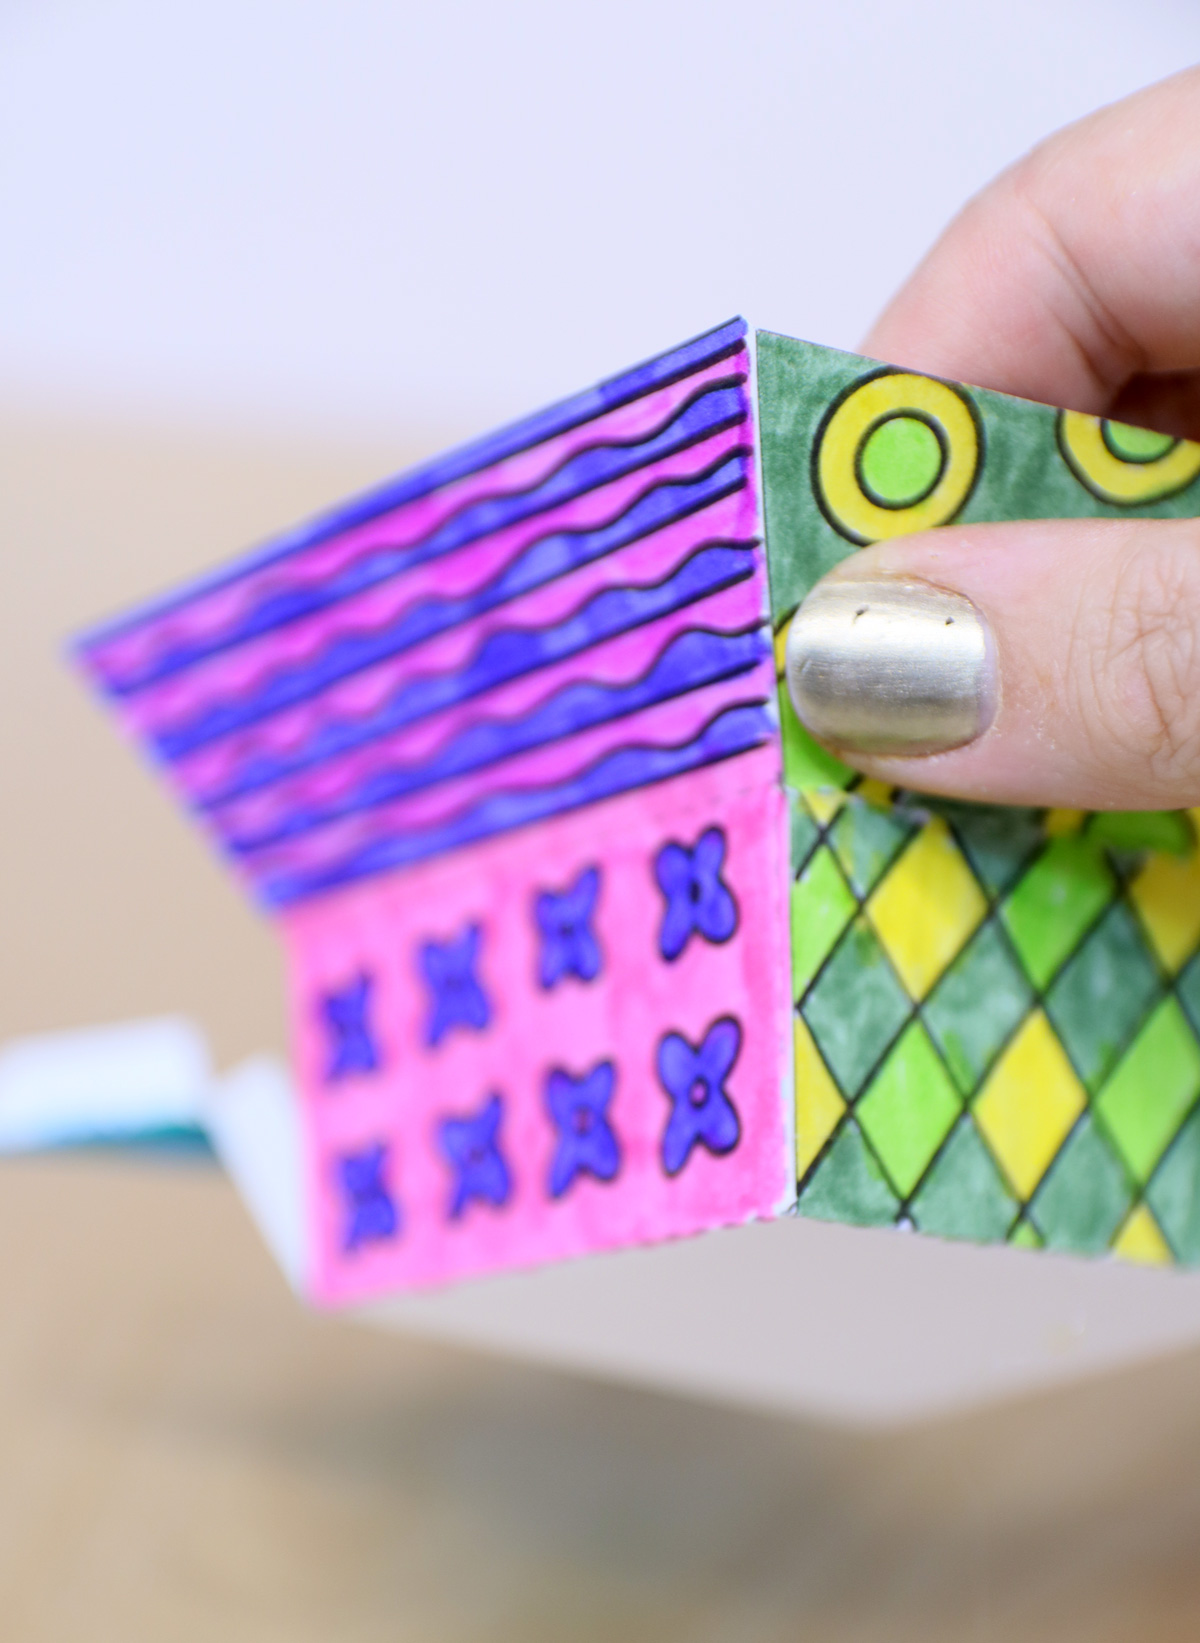
6. Attach a paper handle with a brad pin on each side.
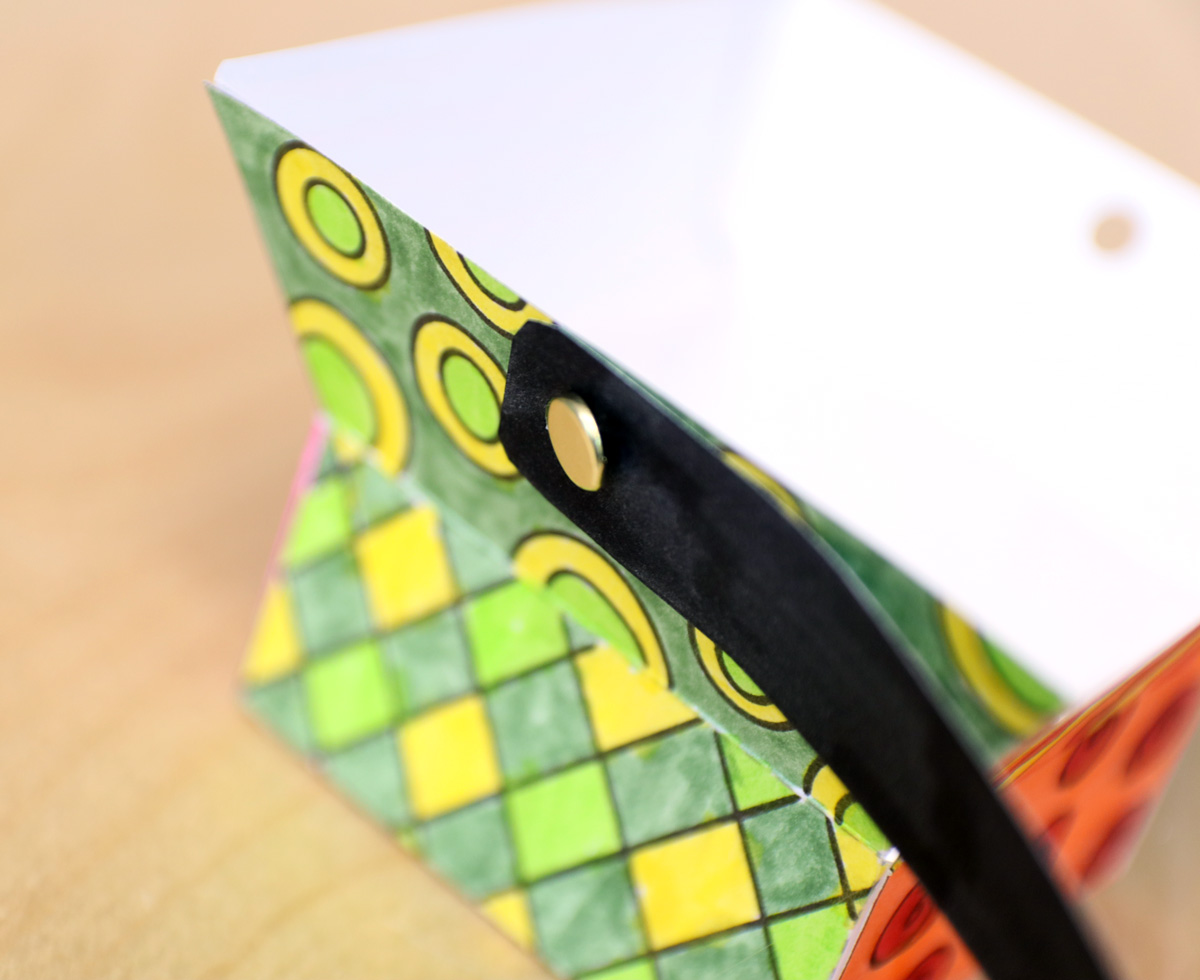
7. Or, attach a rope handle. Cut a piece of ribbon or rope about 12 inches long. Make a double knot towards the end. Note: if you hole punched, you might find your hole to be too big. If need be, you can tie a bead to the inside OR add a blob of hot glue to your knot to make it bigger.
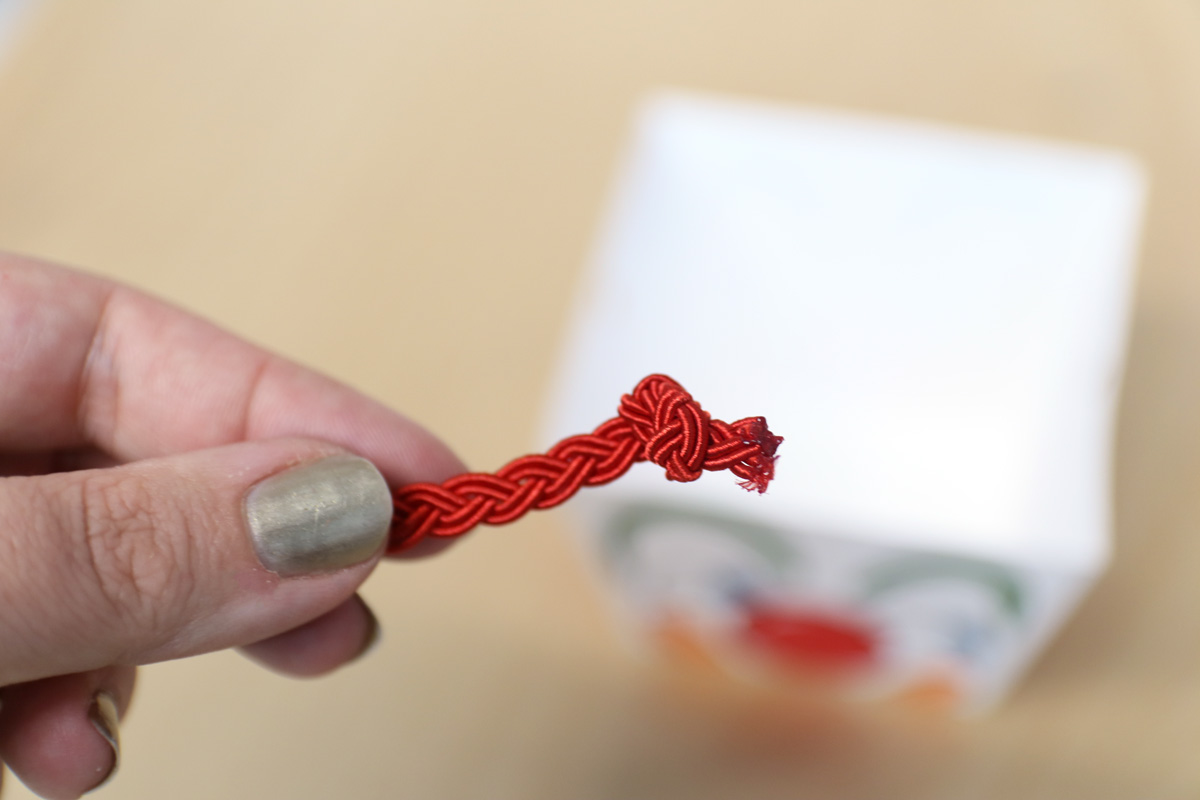
8. String it from inside your basket to the outside, so that the knot sits on the inside.
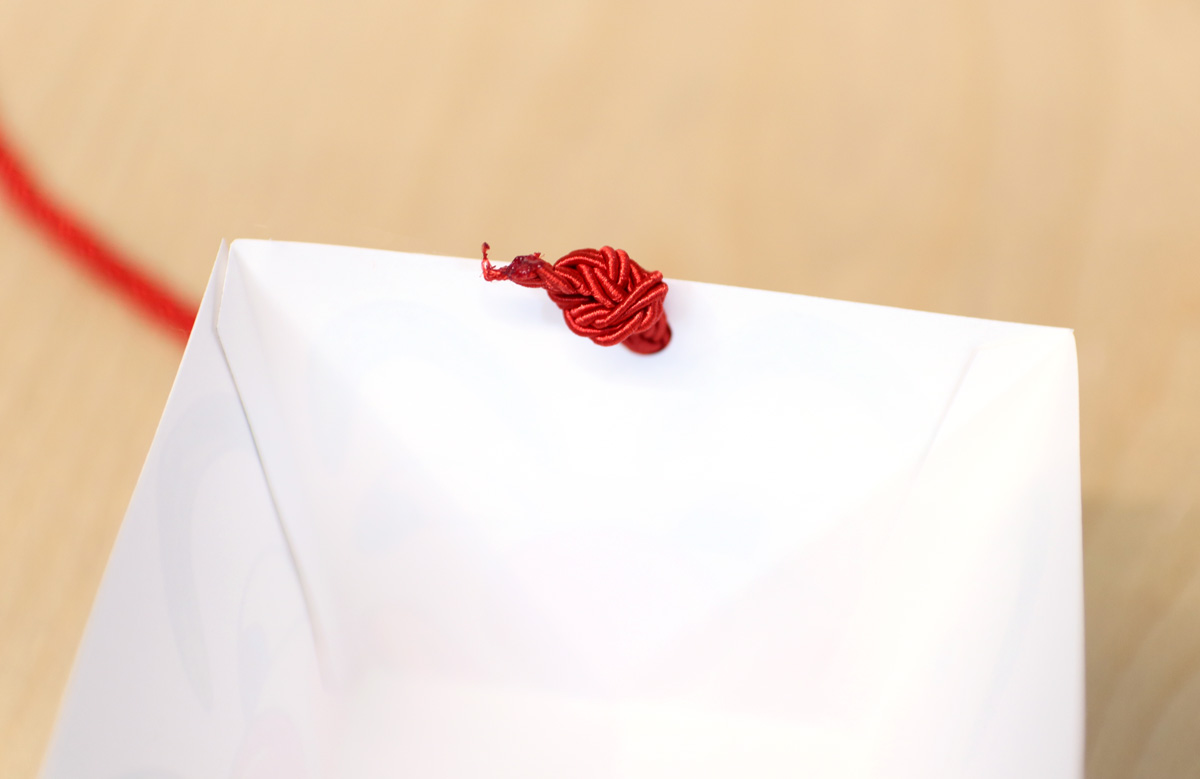
9. Thread the other side from the outside to the inside of the other hole. Tie a double knot on that side to secure.
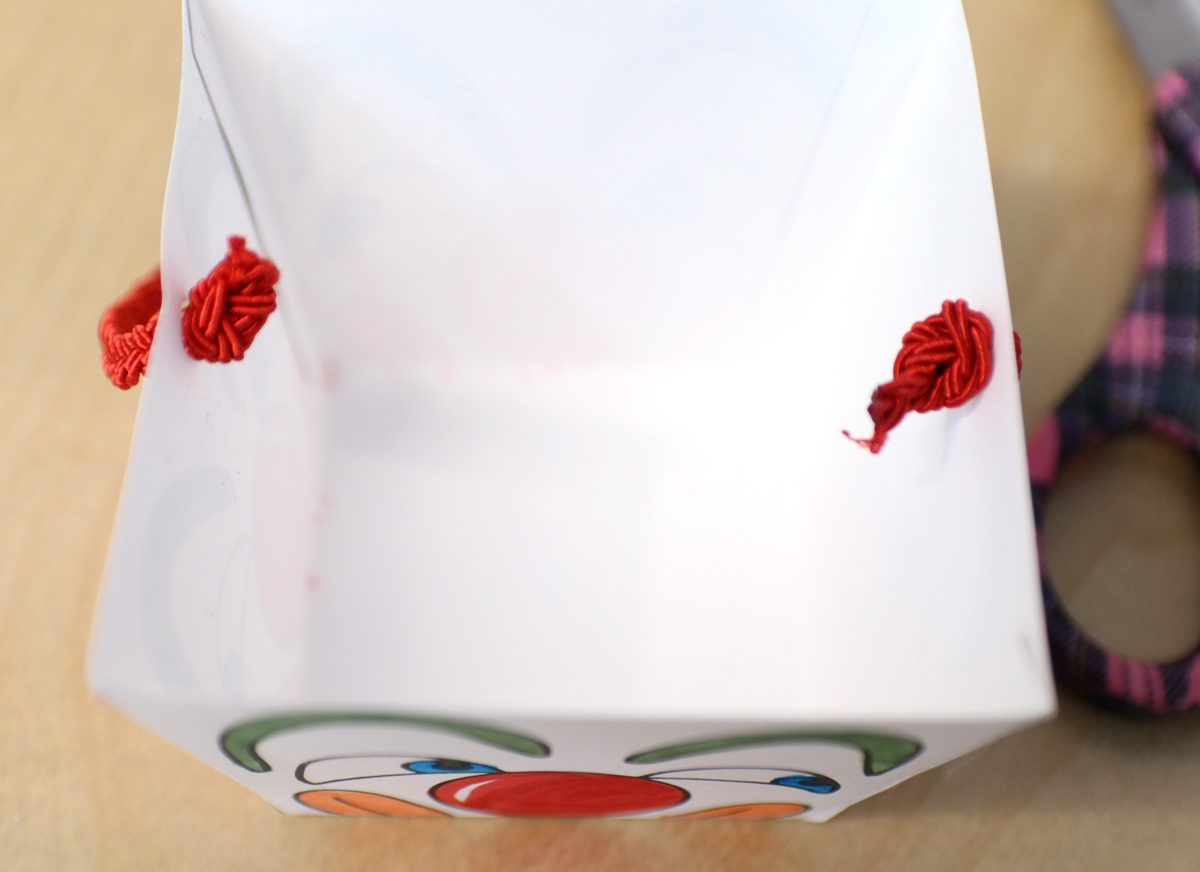
10. If you’d like, you can glue your knot for added security, and then trim it close.
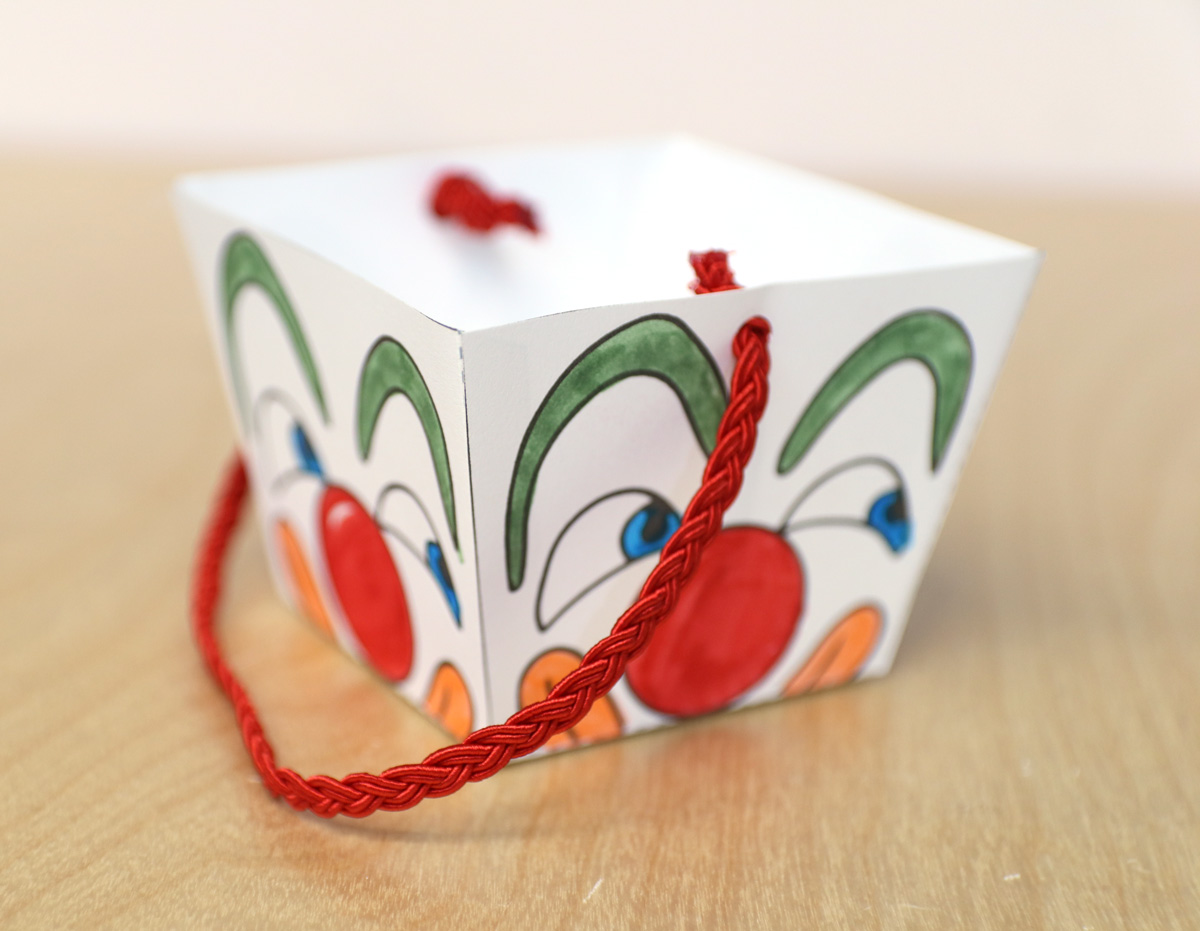
I hope you enjoyed coloring and crafting your Mishloach Manot baskets! What will you be using yours for? Comment below!
Download your free printable Mishloach Manot baskets
Download your free template! It’ll arrive right in your inbox. By downloading, you’re subscribing to our FREE newsletter with updates on cool printables like this, ideas to simplify Jewish life, and more. Unsubscribe at any time at the bottom my emails. I respect your privacy and the law, and won’t share or sell your email address.

