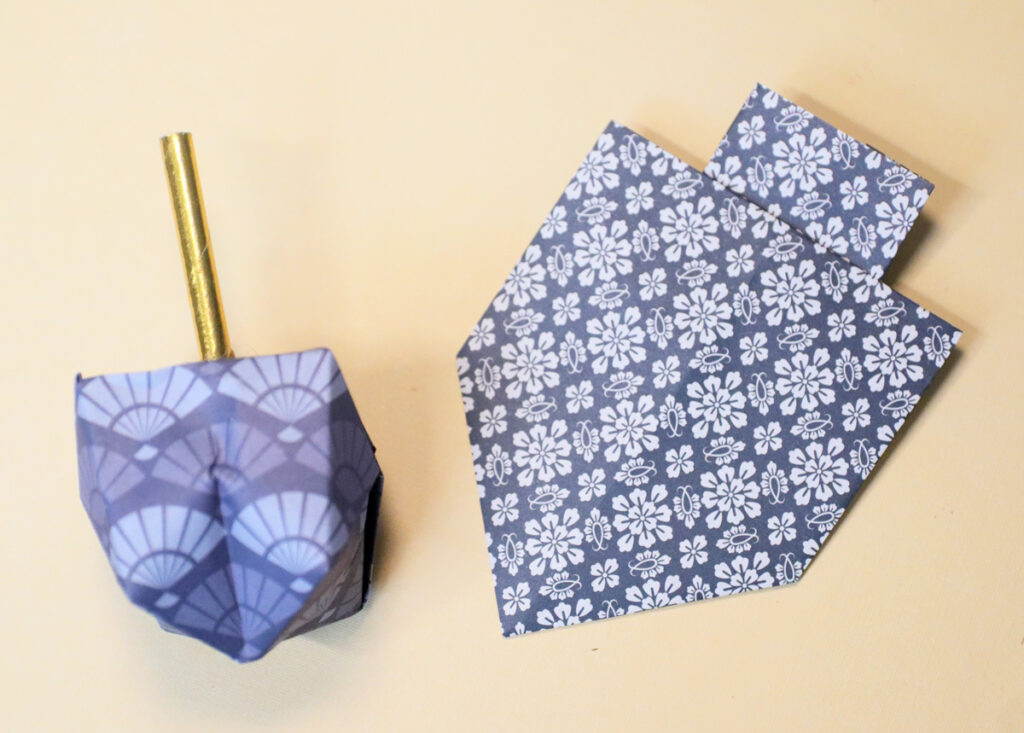
Origami Dreidel 2 Ways: 3D and Flat!
Learn how to make both flat origami dreidels and a 3D origami dreidel that actually spins! If you want more fun ideas, check out my big list of Hanukkah crafts! This post contains affiliate links.
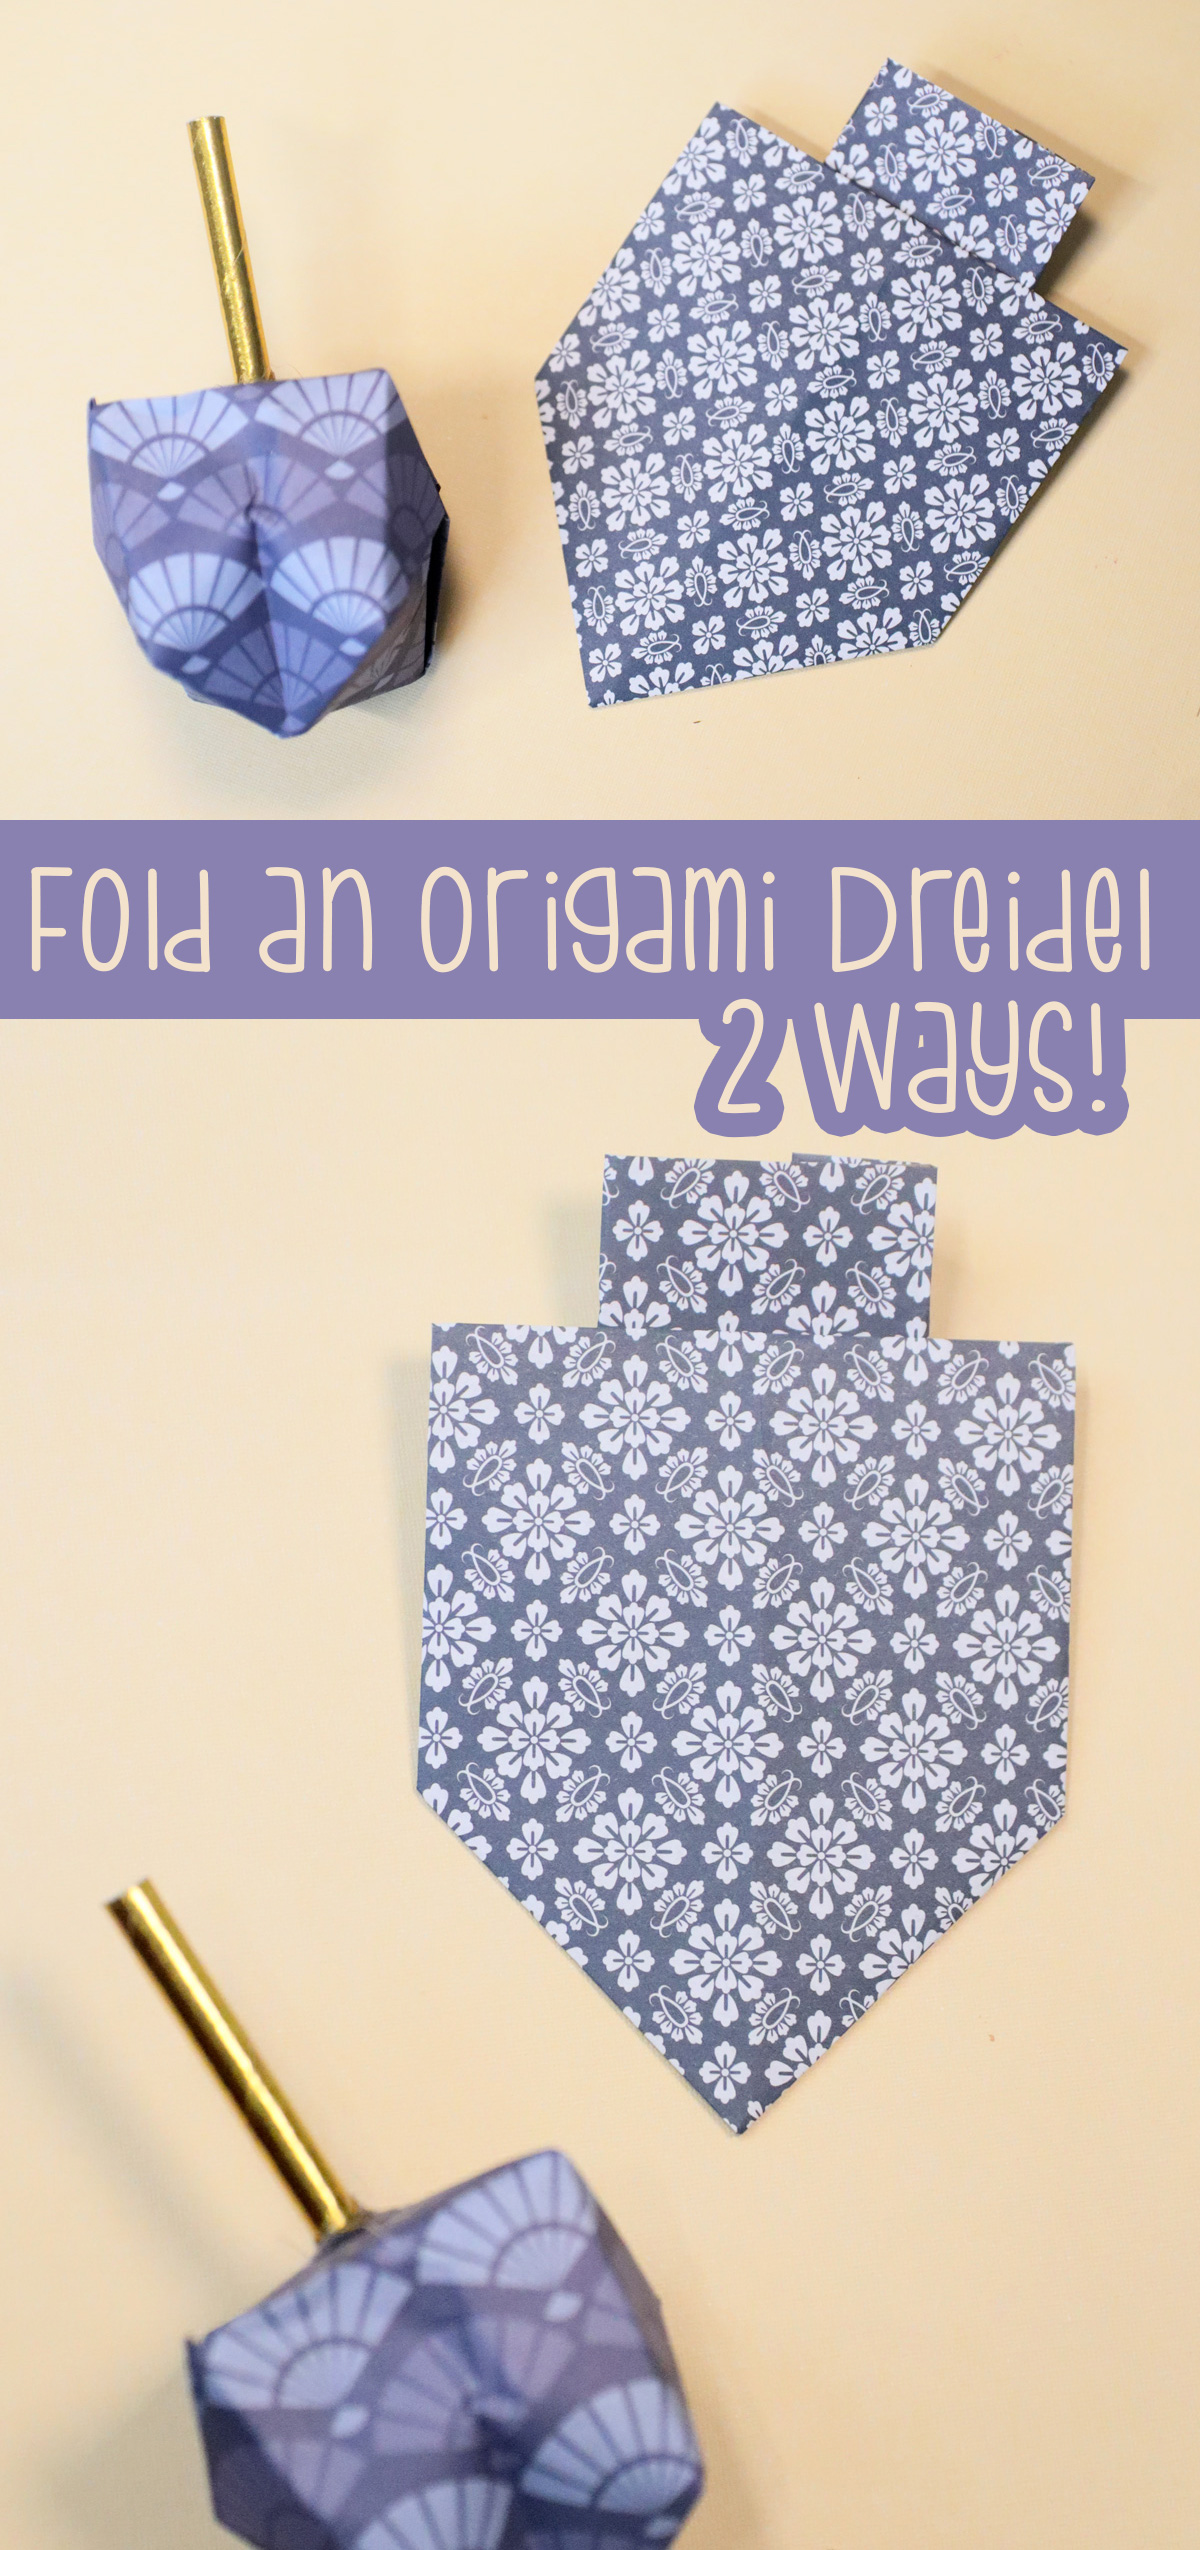
There’s nothing like a little Chanukah origami to get your crafting spirit going – but did you know there are two ways to fold origami dreidels? I decided to share both in one easy post so that you can decide which you want to try.
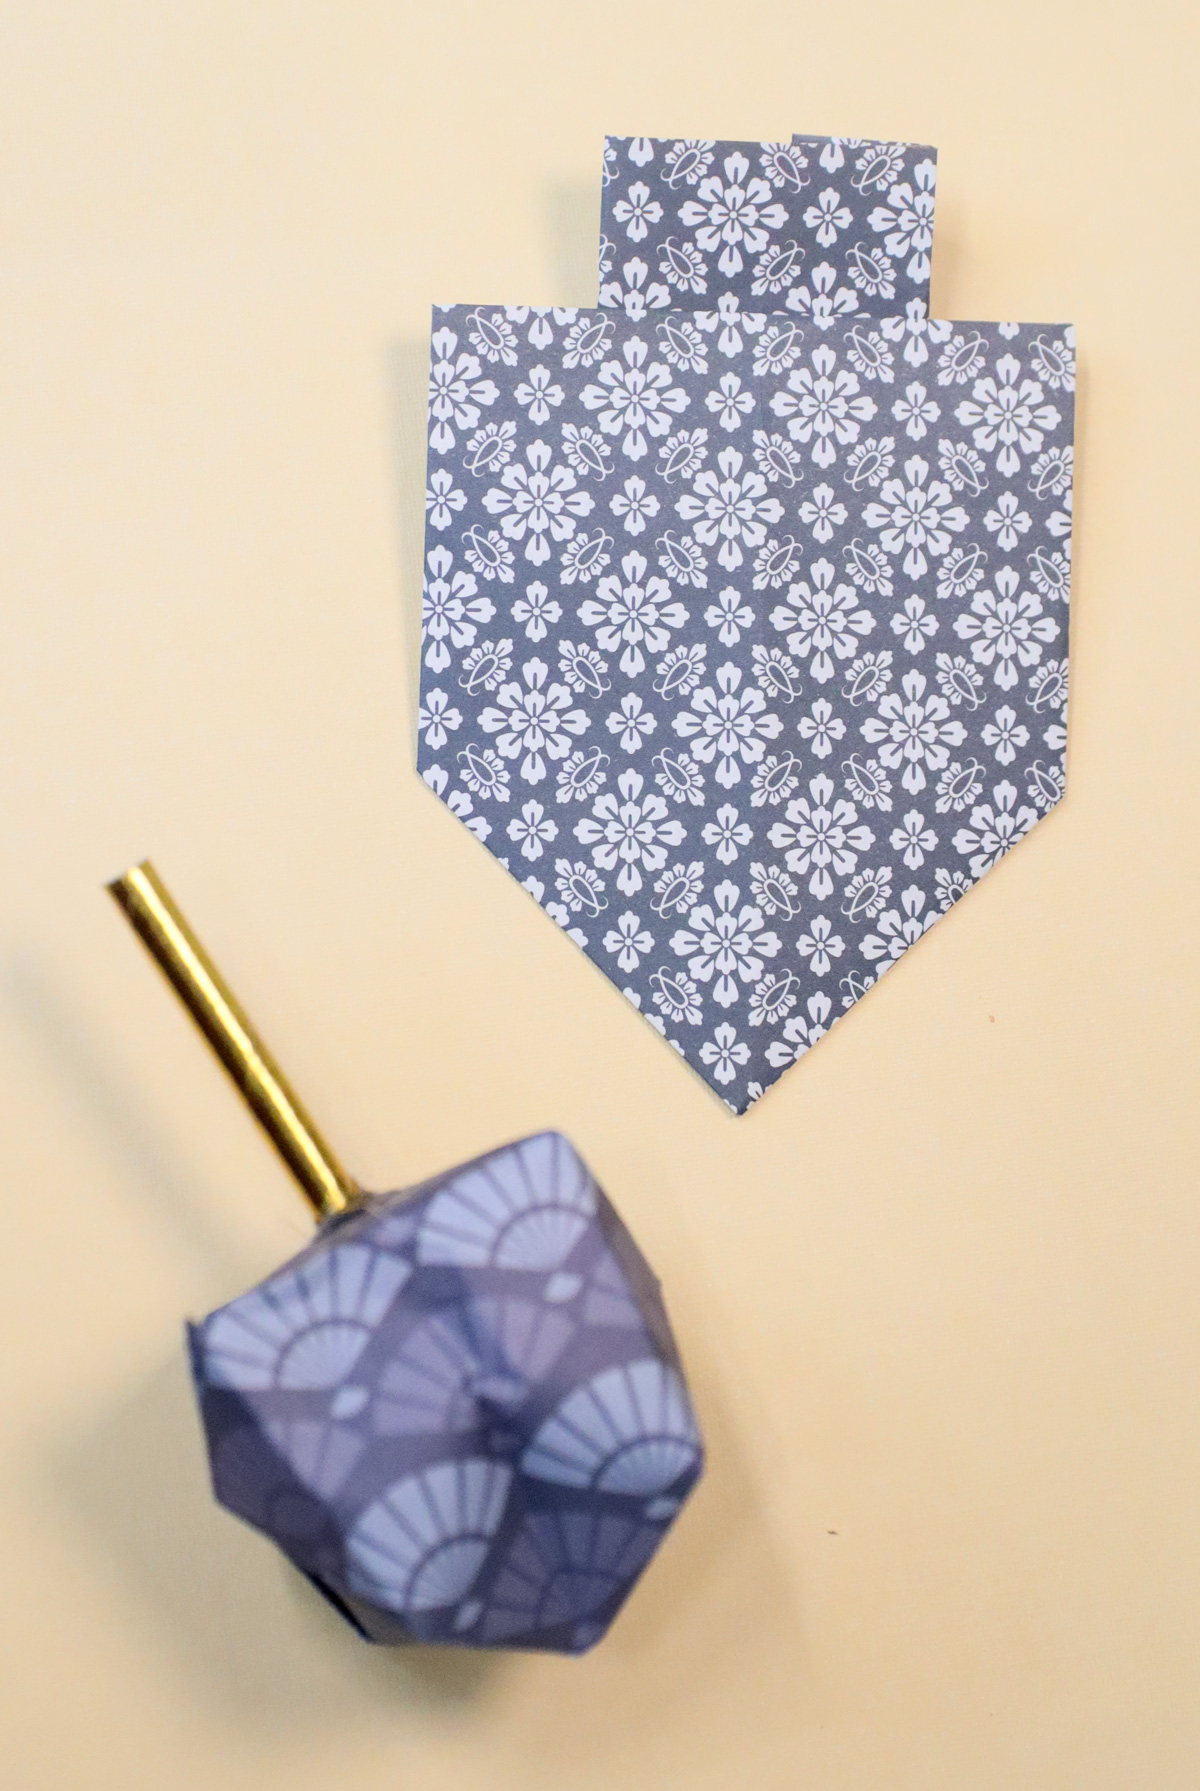
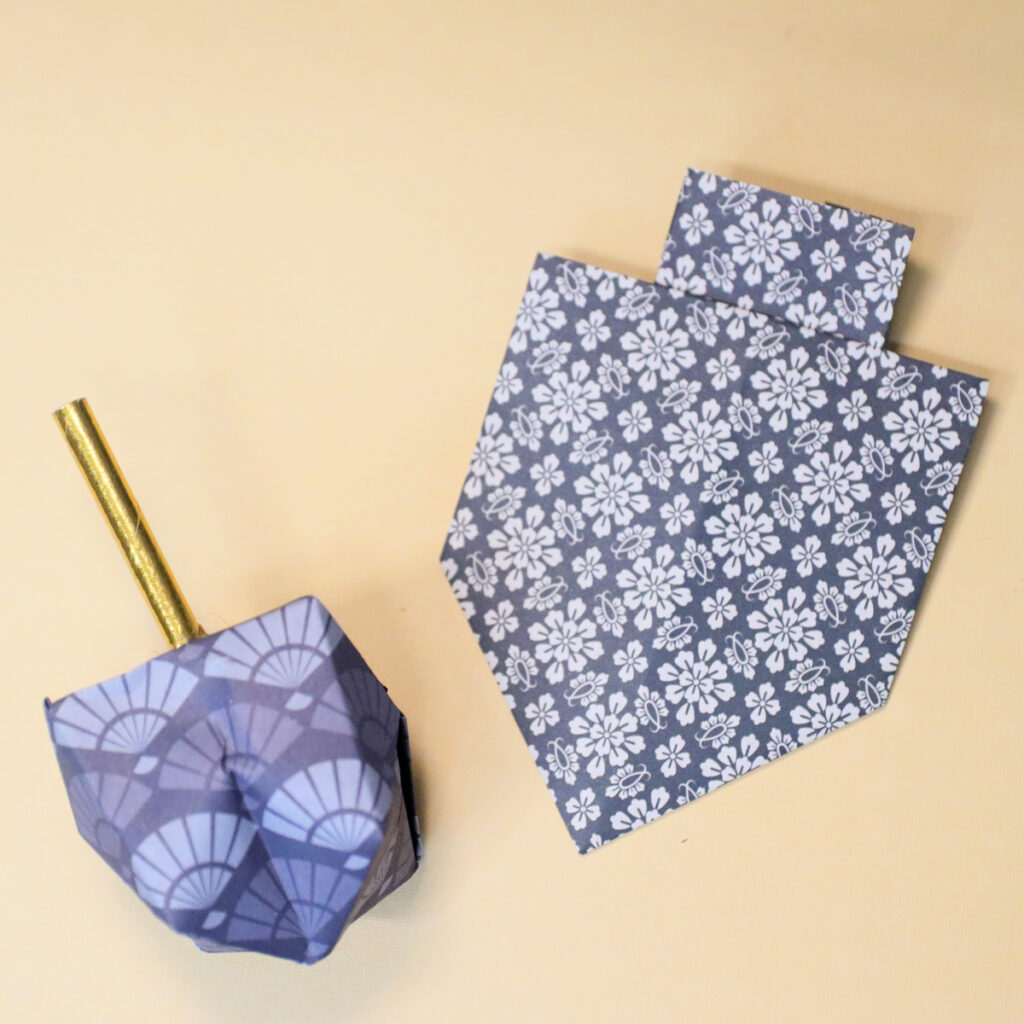
I decided to structure this tutorial a little differently. Usually when I do a 2-in-1 tutorial, I first introduce both posts and give all the tips and variations and then I do the supplies for both and the tutorials for each one separately.
For this, I decided to just share everything about one first, and then everything about the second next. I did this so that in case you want to try only one, you don’t have to sift through the whole post to see what you want.
If you want to read through both, you’ll have less of a side-by-side comparison, but I did feel that this post works better this way. Feel free to use the table of contents to jump to a specific tutorial.
Origami Dreidel Video tutorial
Watch the video tutorial first, or scroll past it for step-by-step instructions with photos.
If that doesn’t load, you can check it out on Youtube:
How to craft origami dreidels two ways
The flat origami dreidel is significantly easier than the 3D one. I recommend that as a starter project – it can literally be the first origami a kid creates – it’s that easy. The 3D origami dreidel is not very difficult either, and is a great intermediate project.
Flat Origami Dreidel
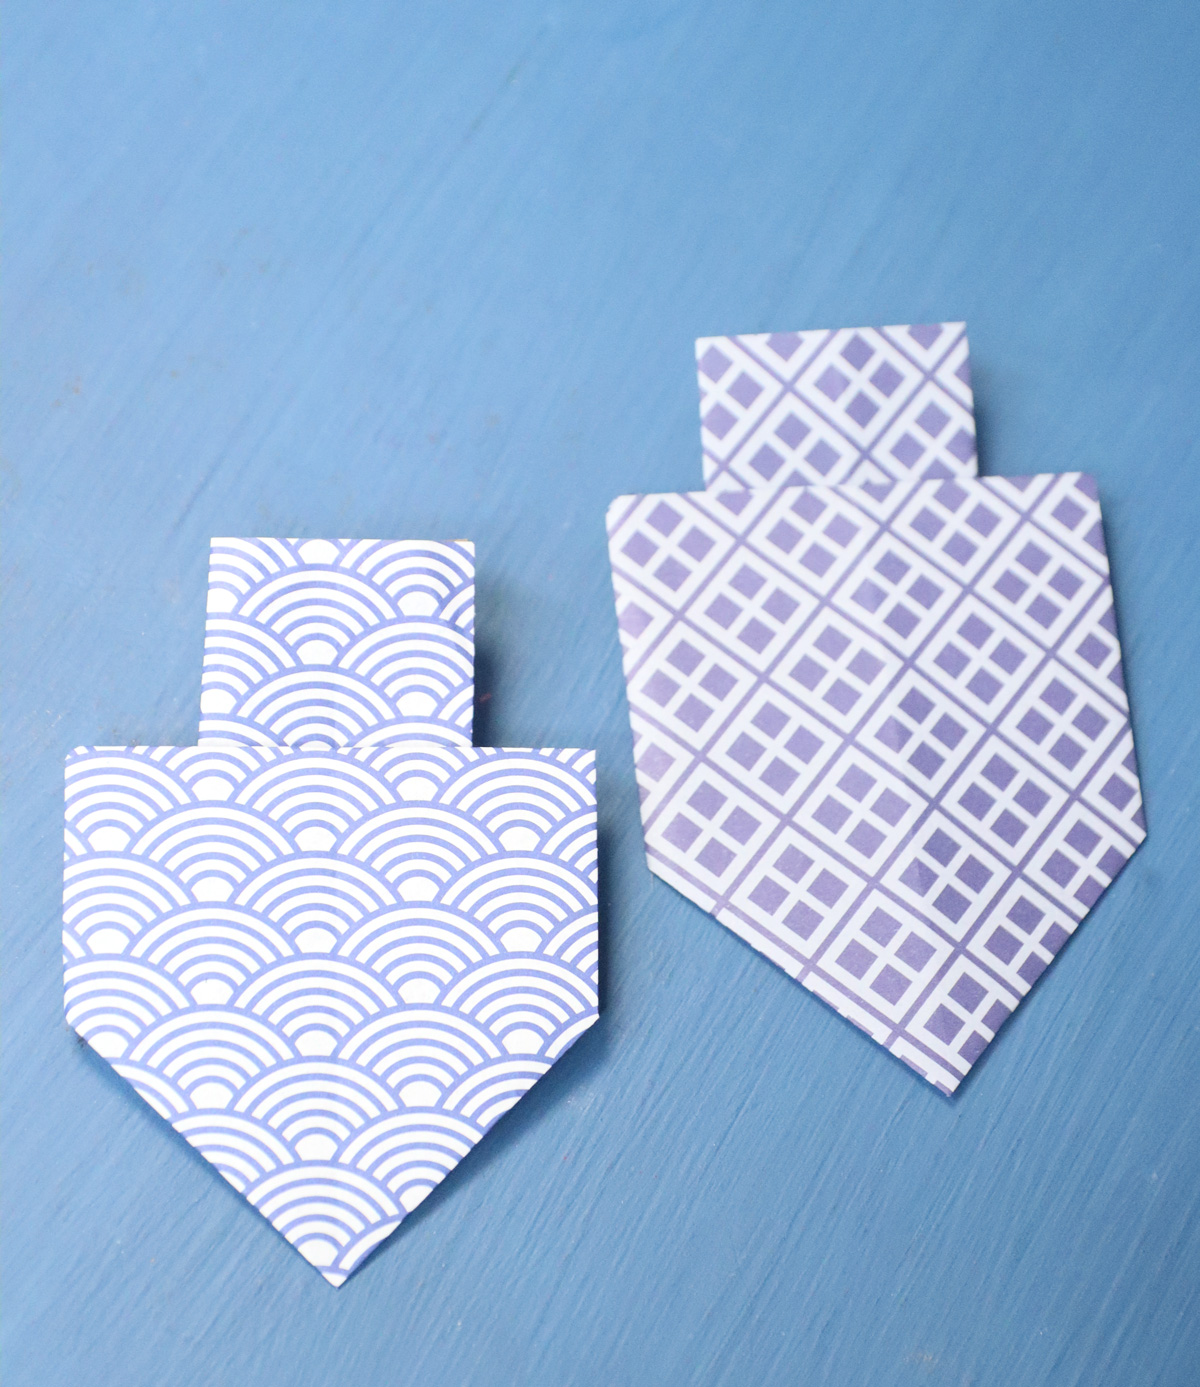
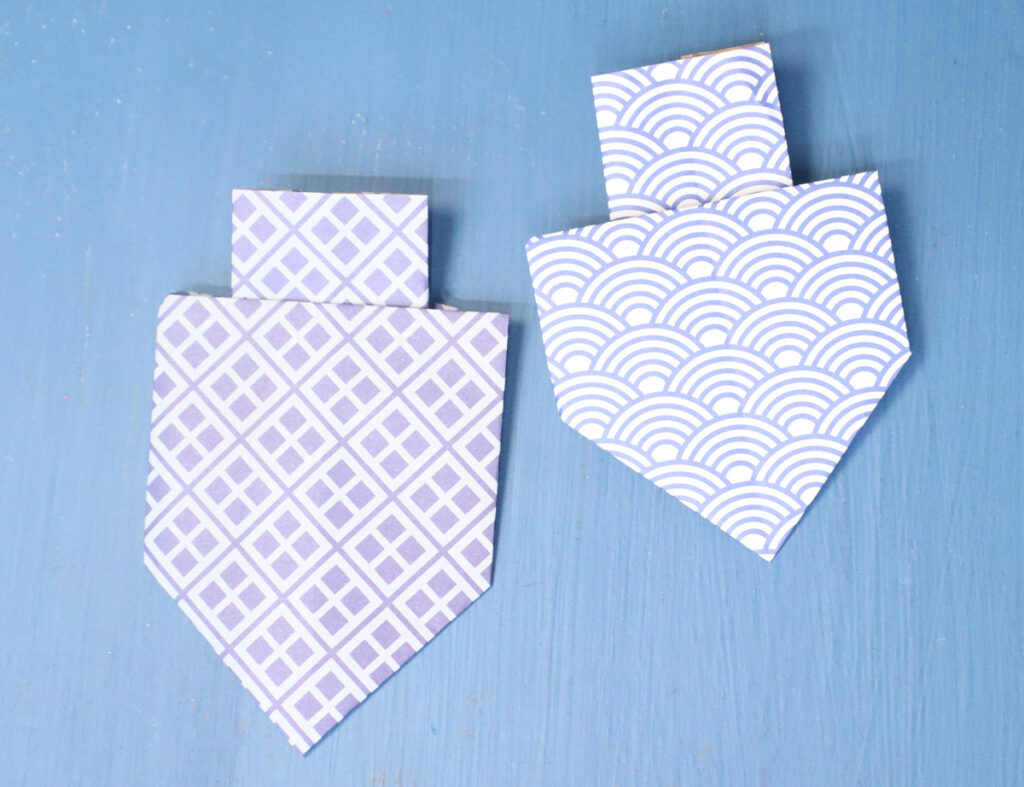
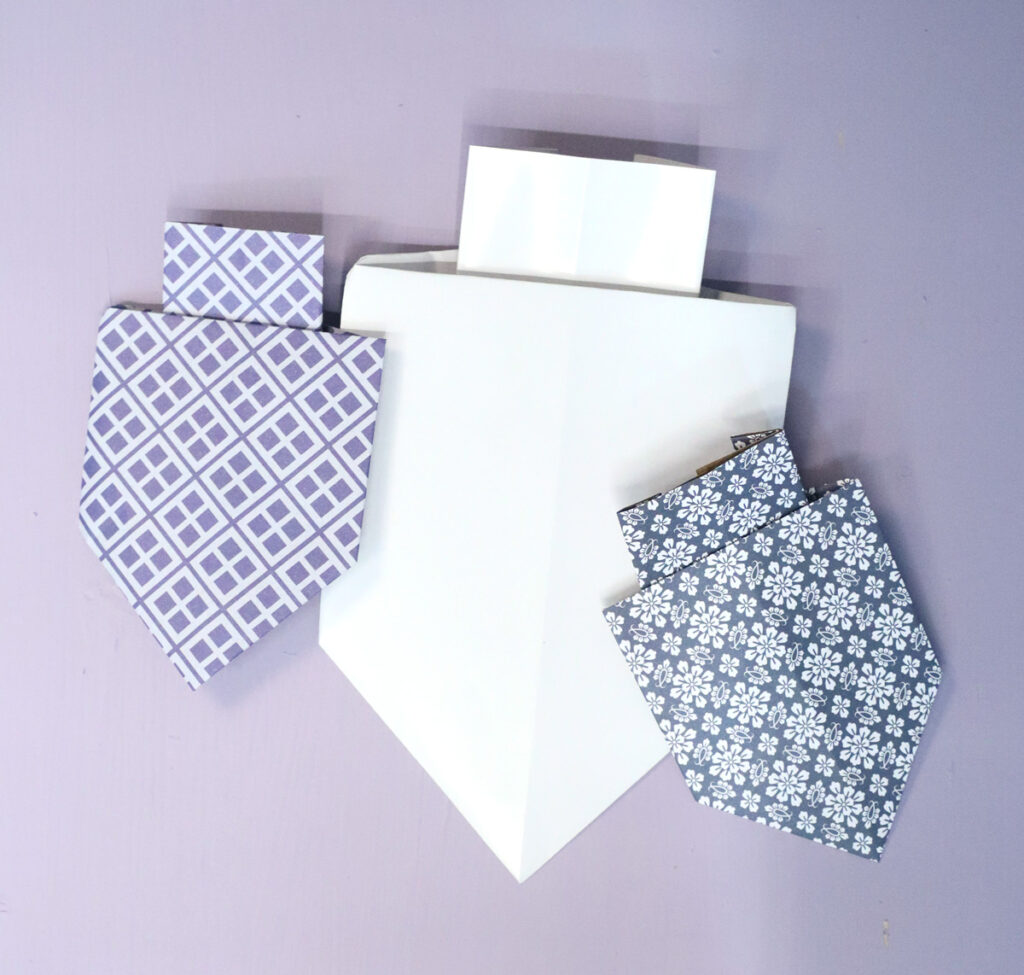
Craft the flat dreidel for 2D decorations. This simple process is perfect for making Hanukkah garlands, and is actually very similar in process (though slightly different) to my viral dreidel napkin folding tutorial.
Materials
- Origami paper – I used beautiful patterned sheets from this kit
- Optional: bone folder for sharper folds
Instructions
1. Start with a square sheet of paper. Fold it in half vertically.
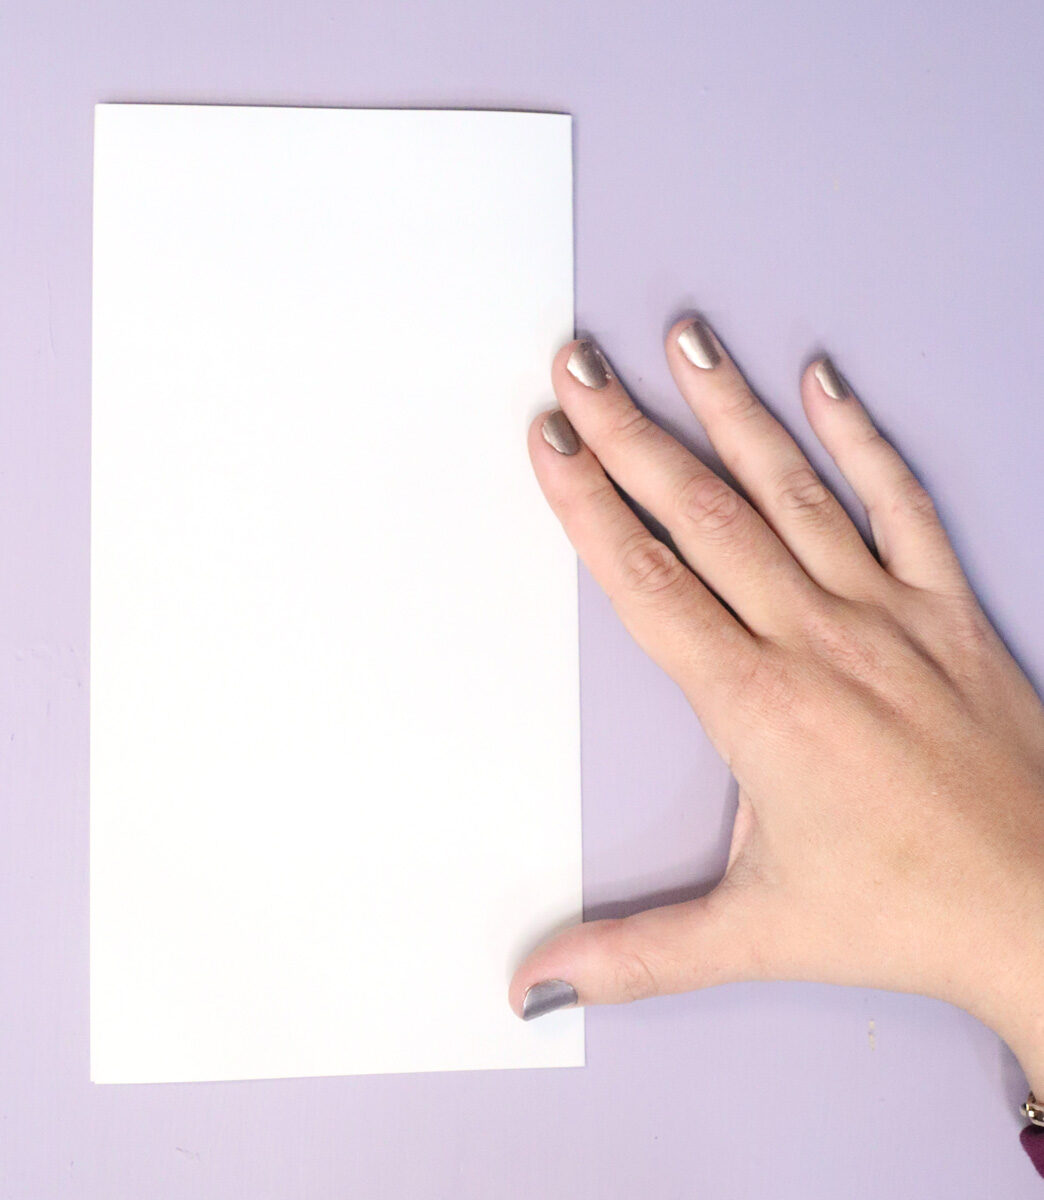
Unfold.
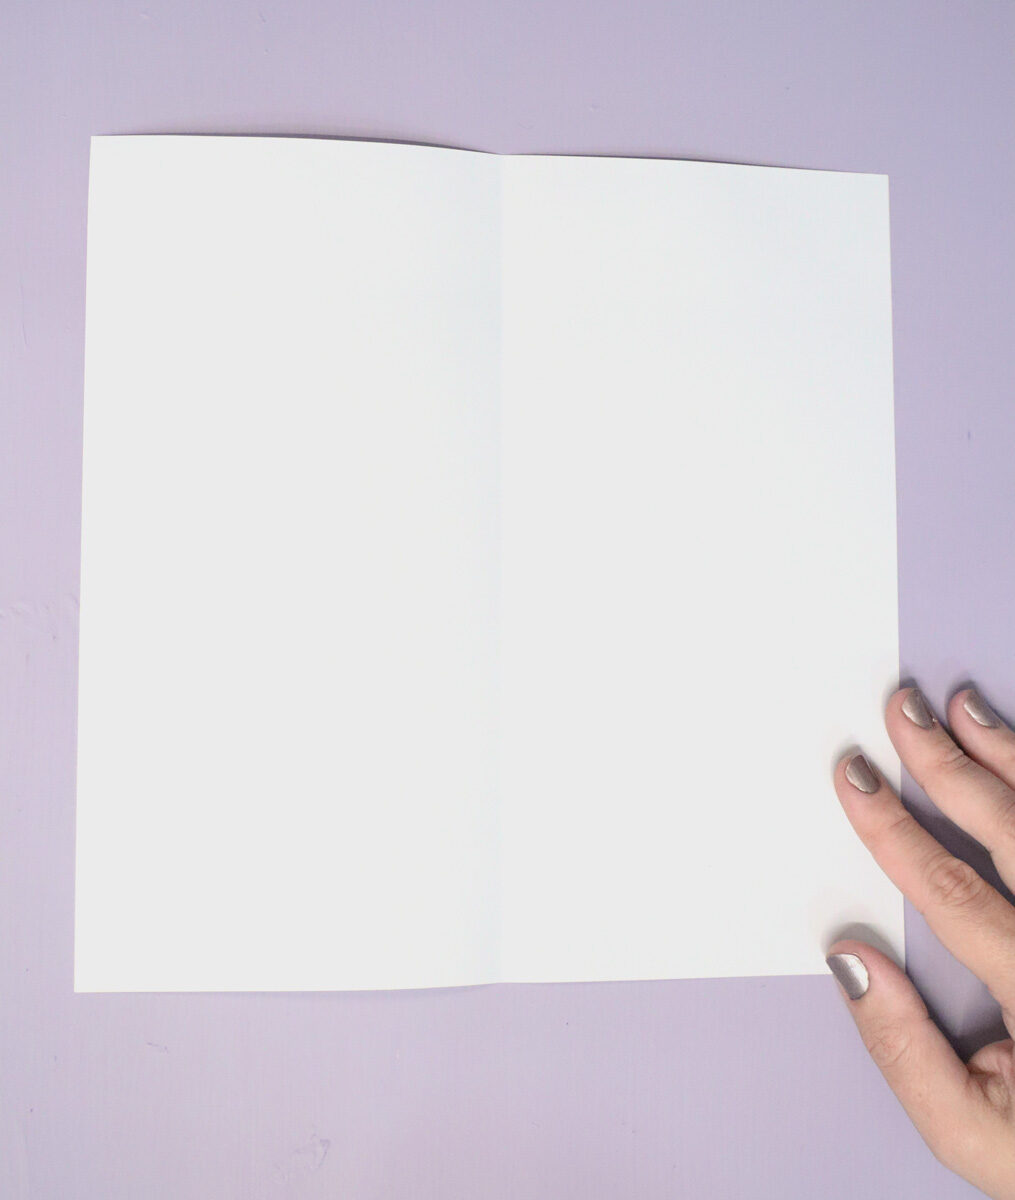
2. Right side (pattern or color) should be face down. Fold the bottom right corner to the center fold.
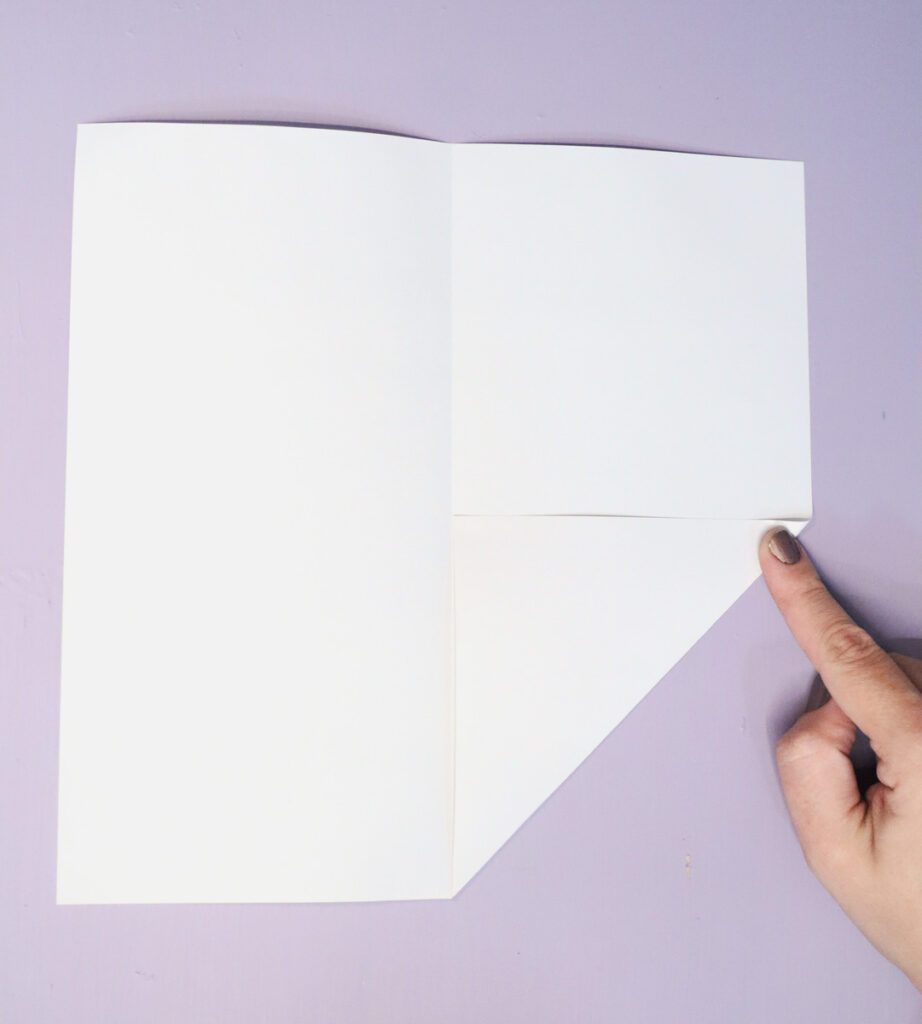
3. Fold the bottom left corner to the centerfold to match.
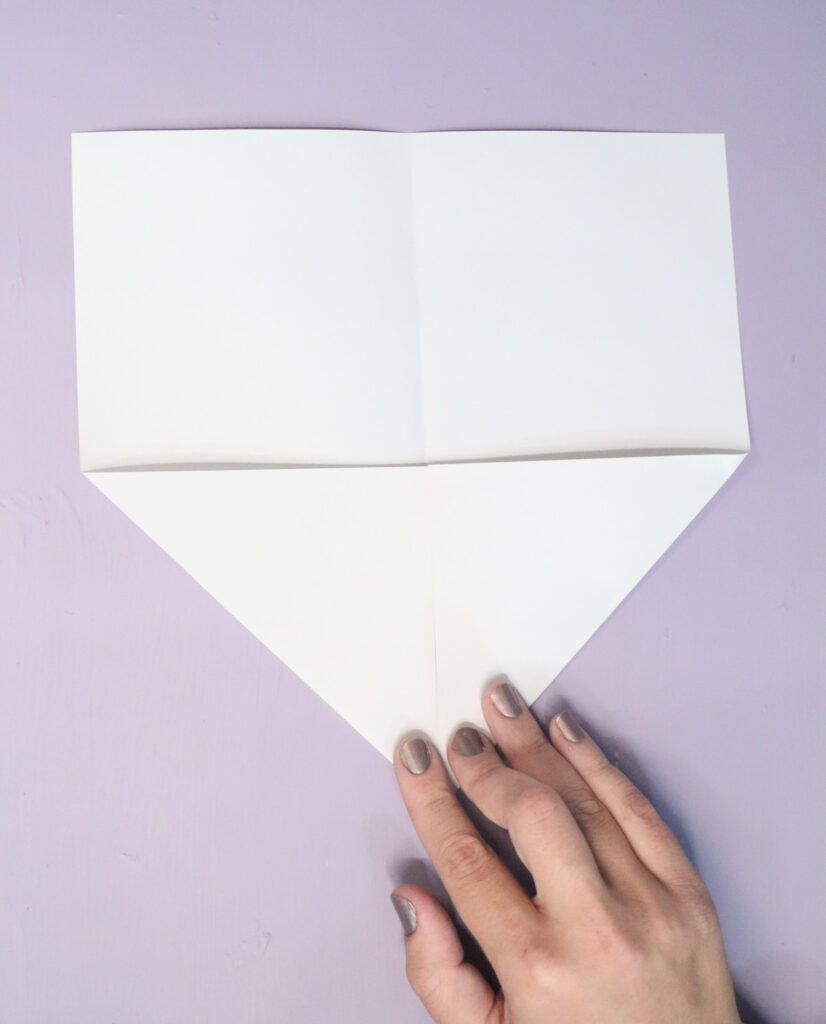
4. Fold the right side to the centerfold – the whole thing, all the way down.
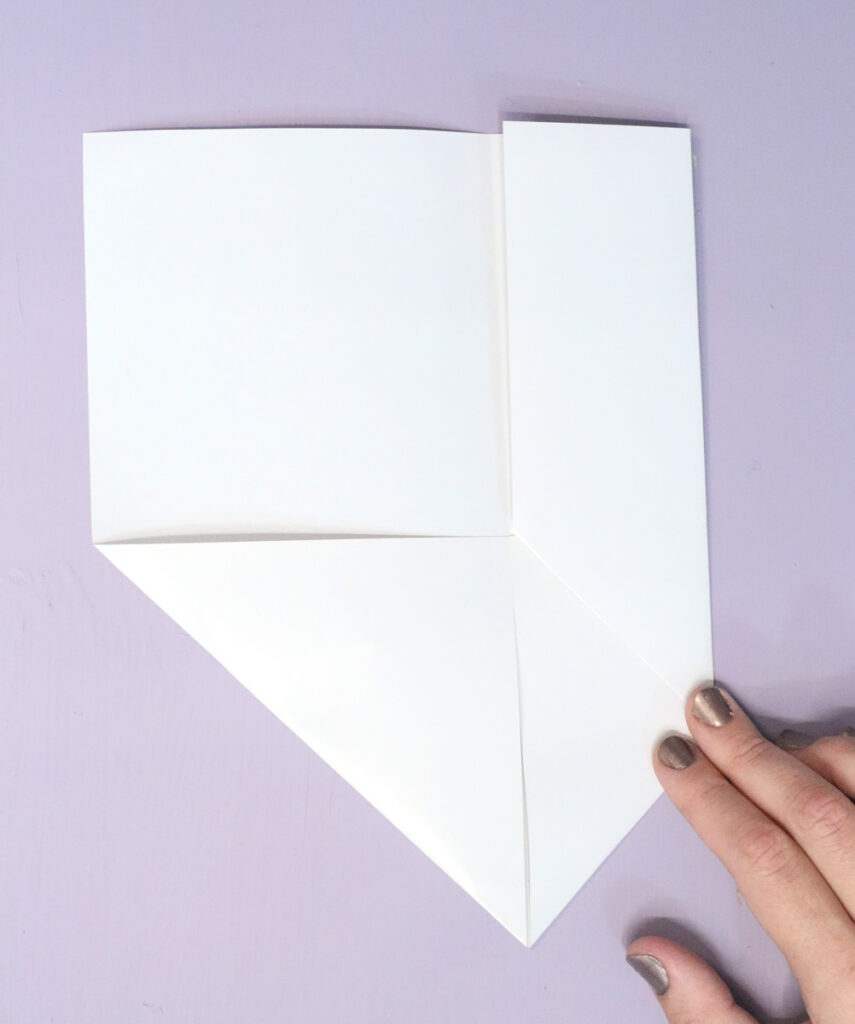
5. Fold the left side to the centerfold as well.
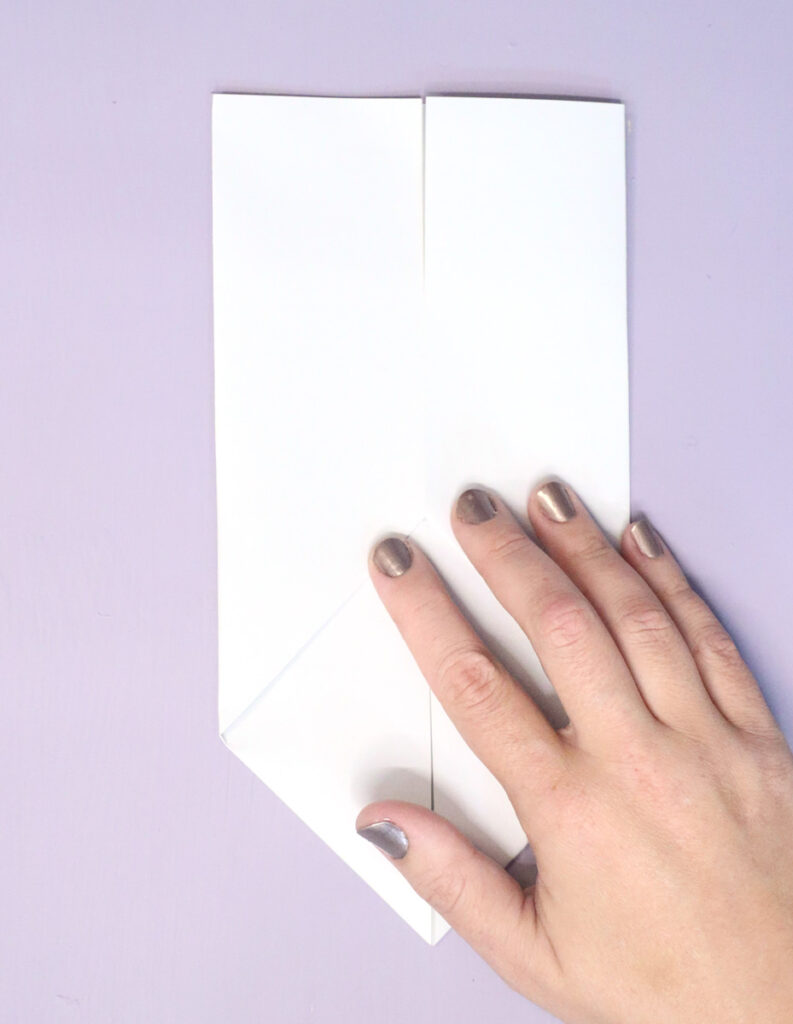
6. Fold the top down to just a bit over the place where that bottom triangle folds.
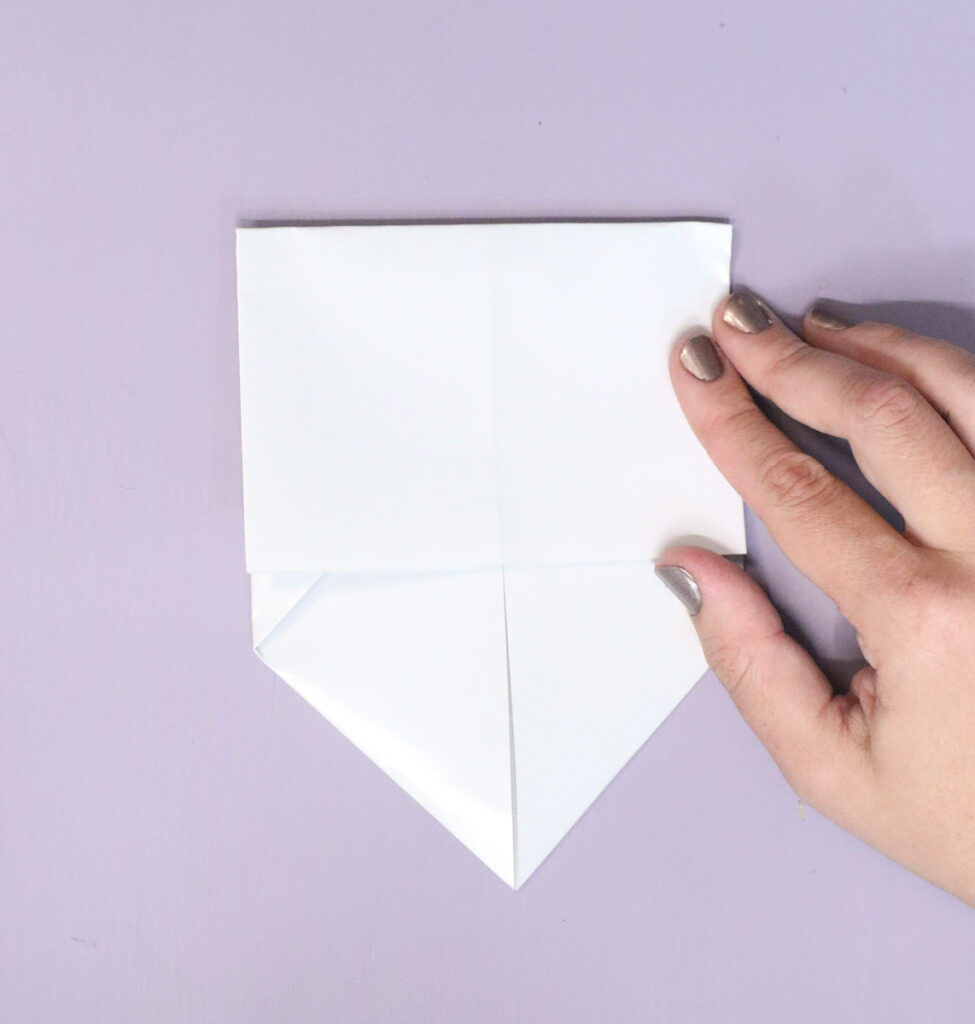
7. Fold it back up, about 1/3 of the way down from the previous fold.
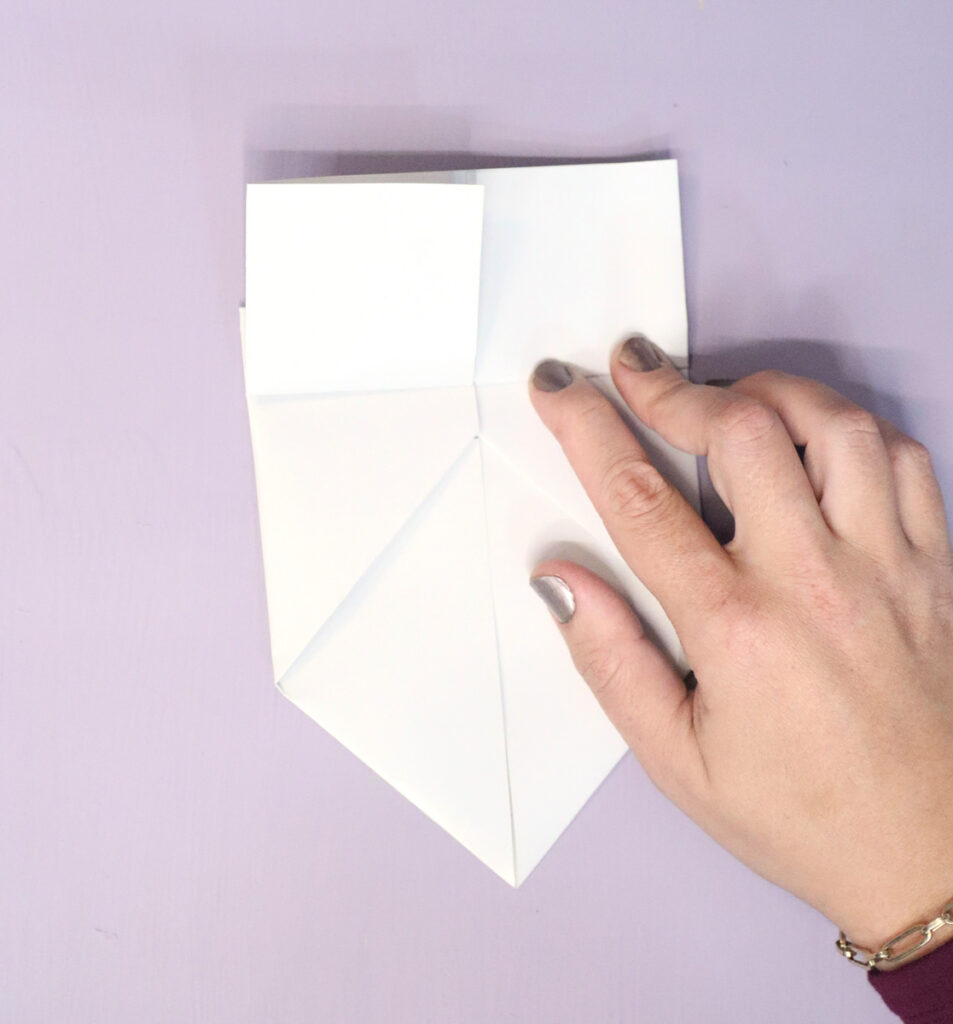
8. Note the rectangle that has been formed at the top of your origami dreidel. Fold up the bottom right corner so that the top of the newly formed triangle is straight – horizontal, parallel to the top.
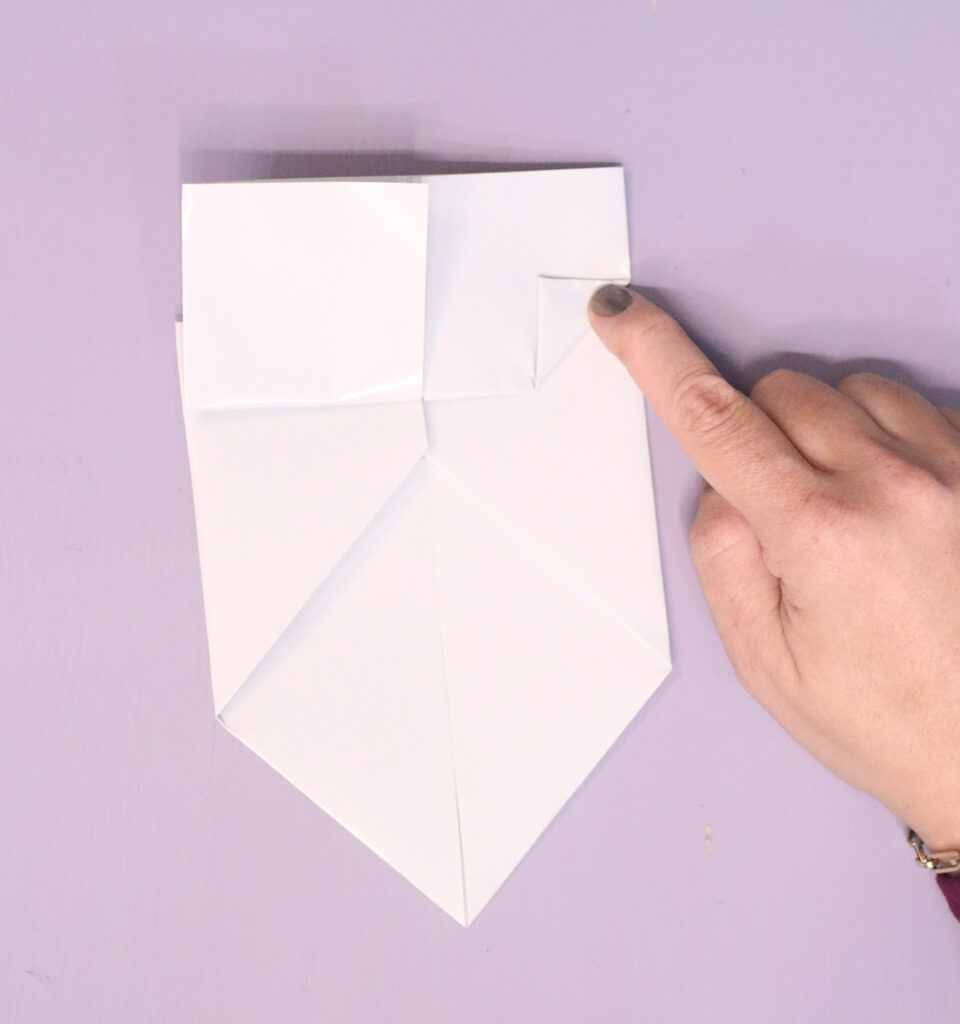
9. Repeat on the left. Unfold those last triangles.
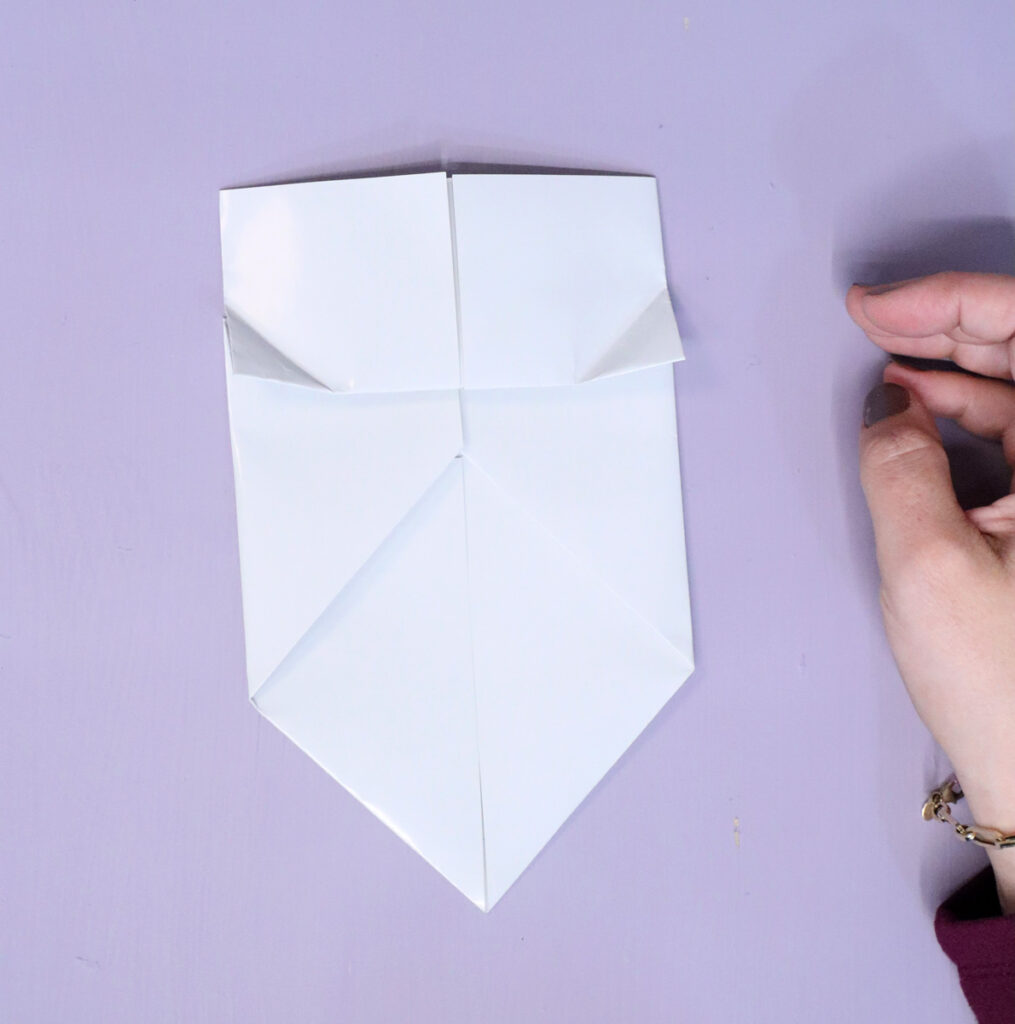
10. Now take the right side of the rectangle at the top and fold it towards the center, as far as it can comfortably go, flattening the triangle you folded in the last step open.
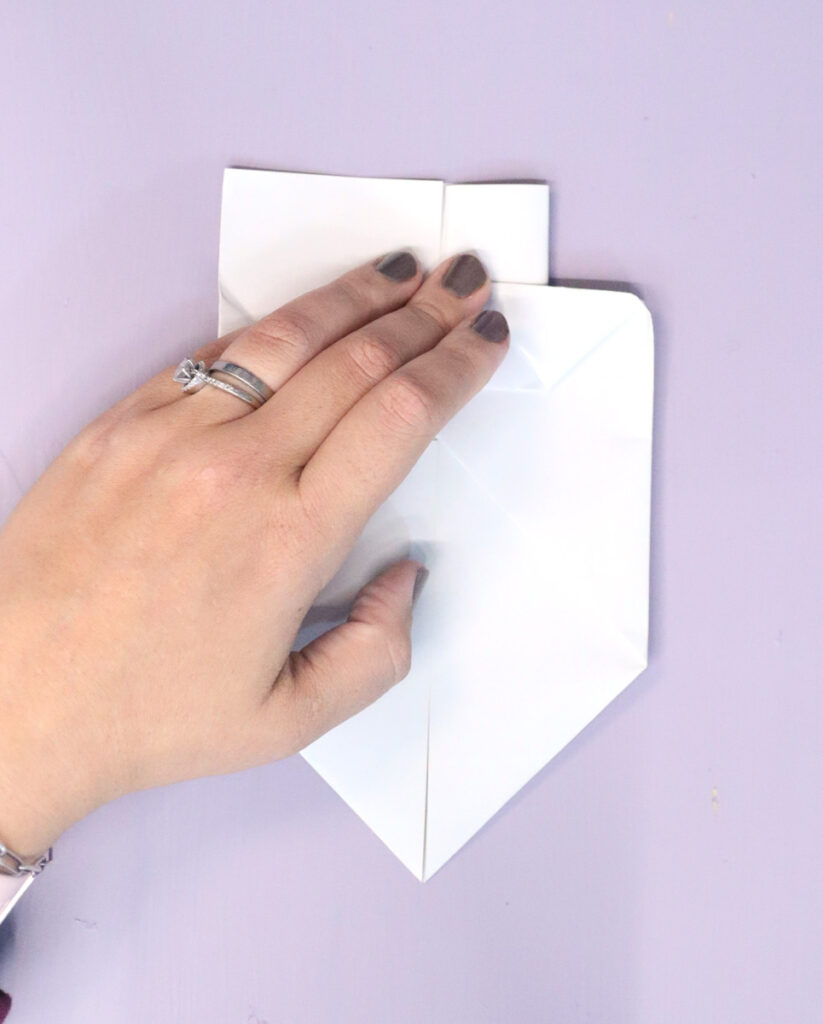
11. Repeat on the left.
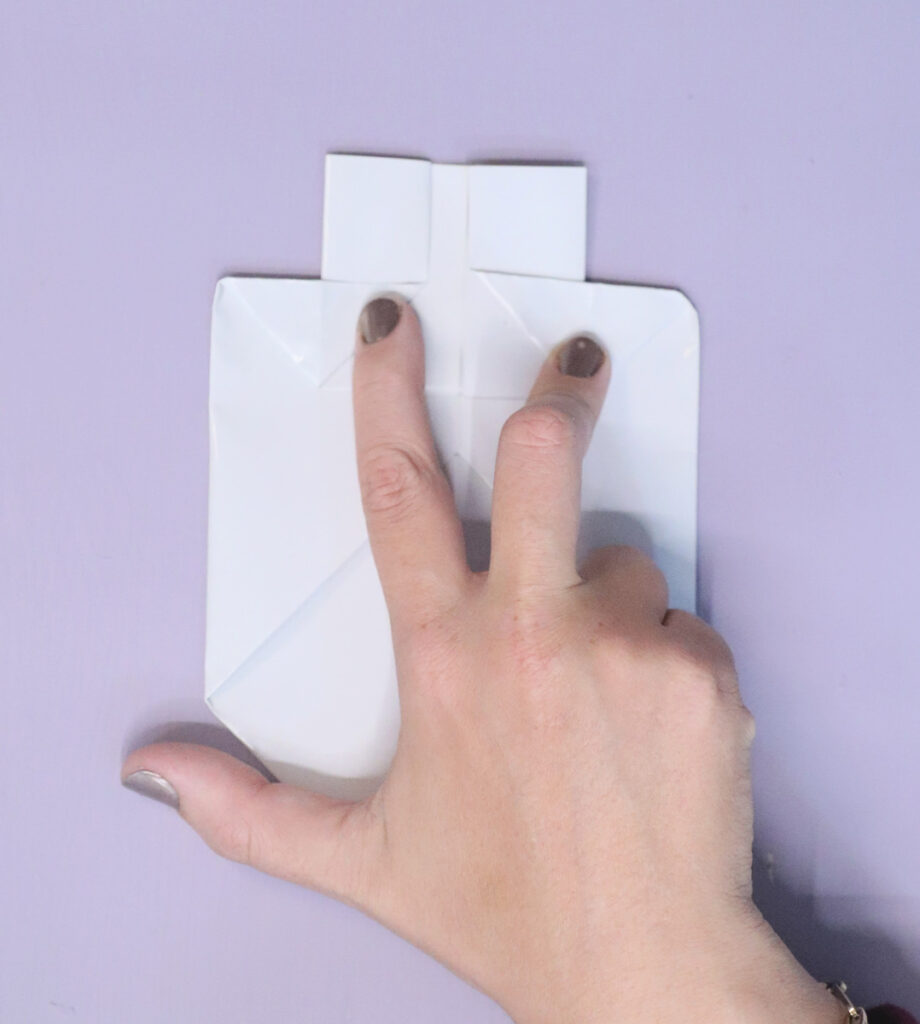
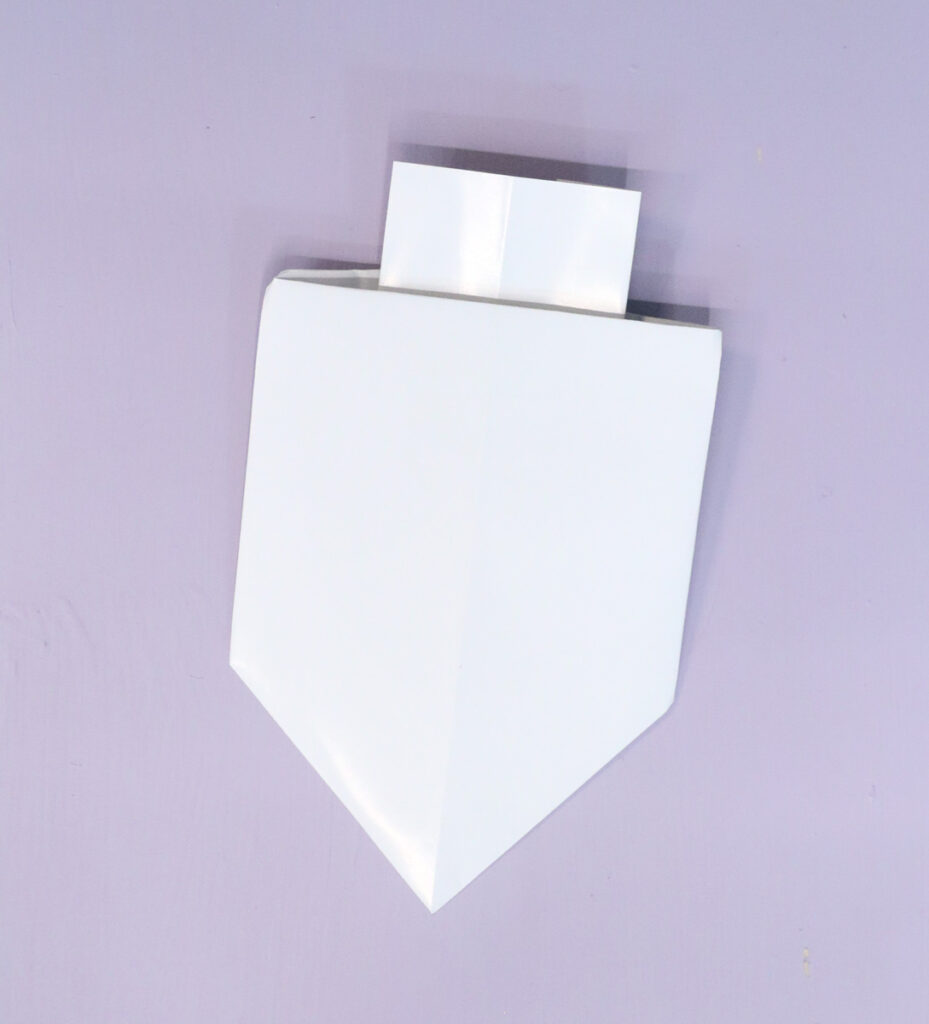
Flip it over. Your flat origami dreidel is complete!
Tips, uses, variations
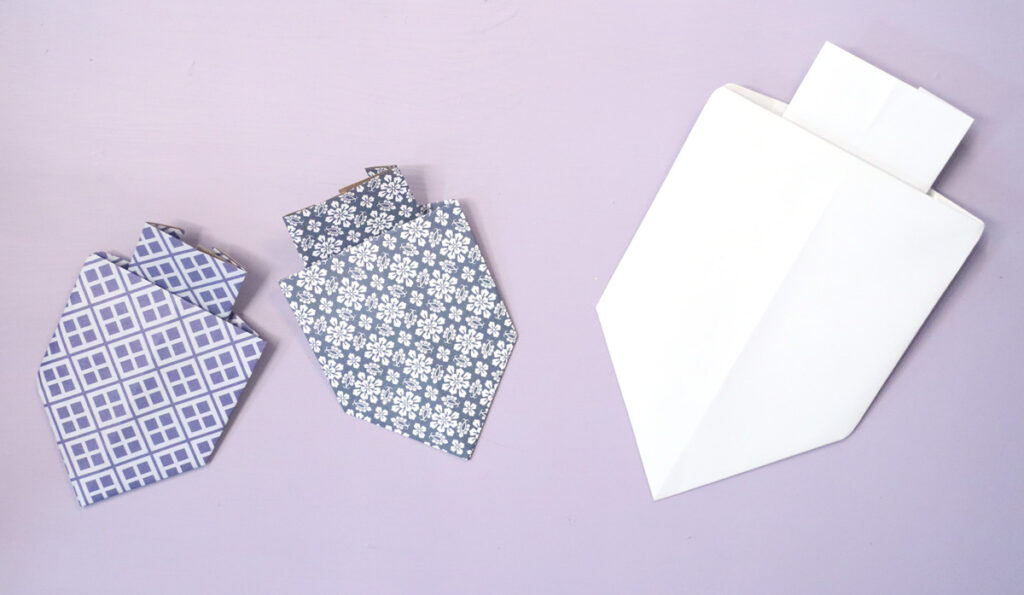
I’ve experimented with folding these origami dreidels with slightly different proportions and you can do the same! You can make this in large as placemats or chargers for a Hanukkah dinner.
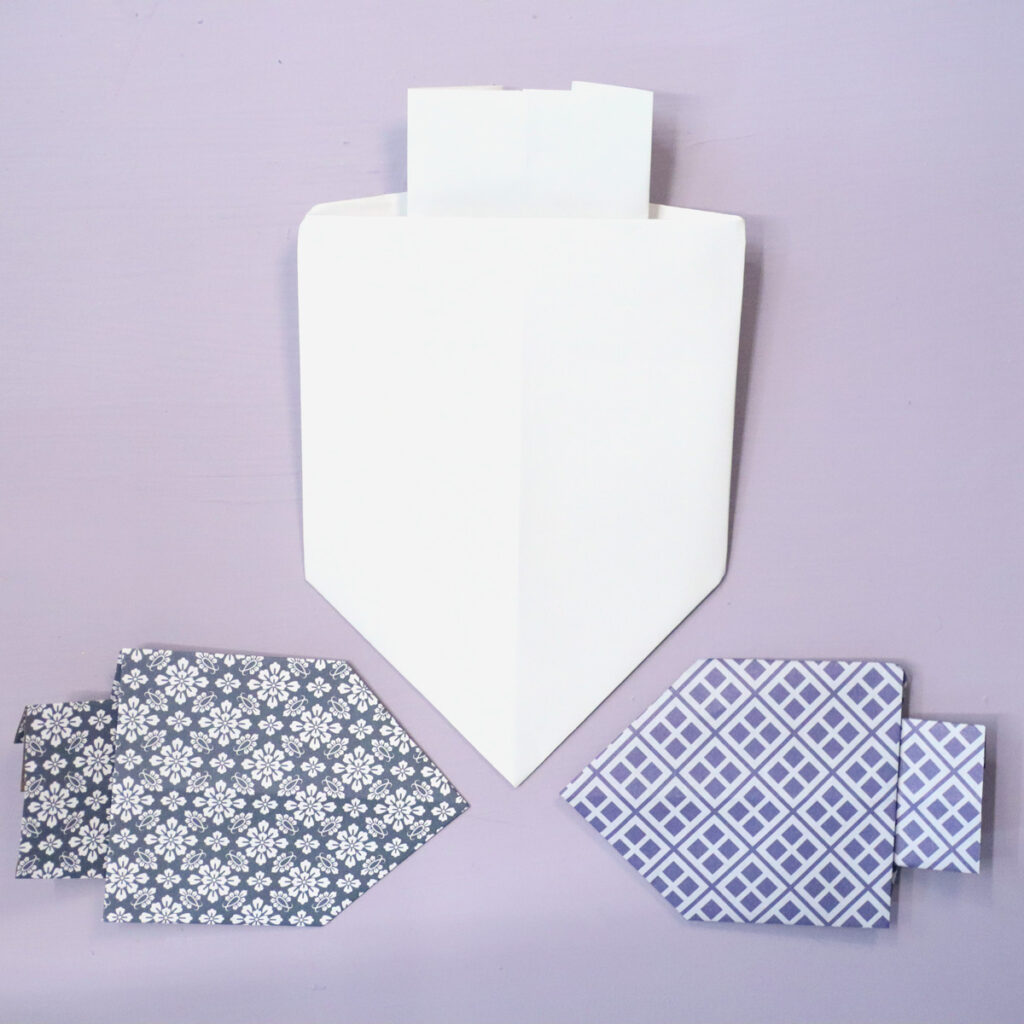
Of course, you can try my favorite thing to do with any origami project: string it into a garland! It is so much cooler than simple paper shapes, because of the texture that the origami lends it.
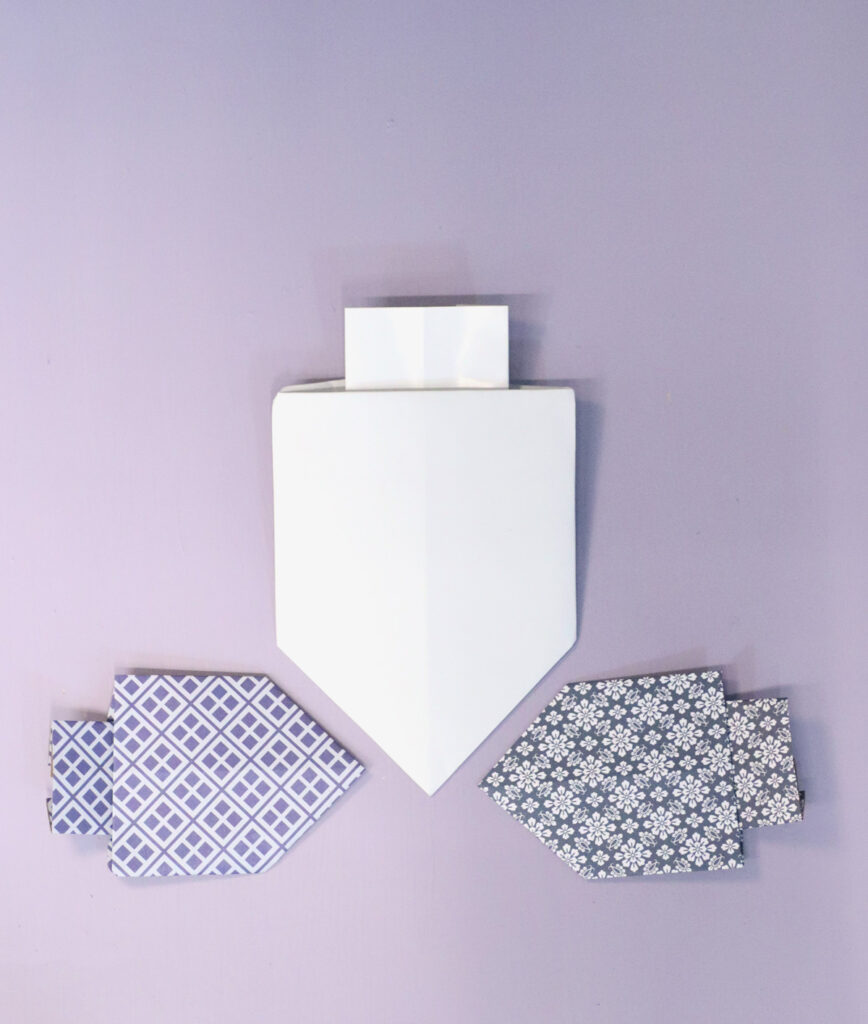
You can also try crafting these as a kind of “boredom” jar. Cut your origami paper into four and write an activity (or prize, or non-physical reward, or anything) on the back. Fold your origami dreidels, put them in a jar, and have kids choose one. This makes for a super fun Hanukkah gift that you can spend very little on, and use as a practical gift for 8 nights of Hanukkah gifts.
3D Origami Dreidel that Spins
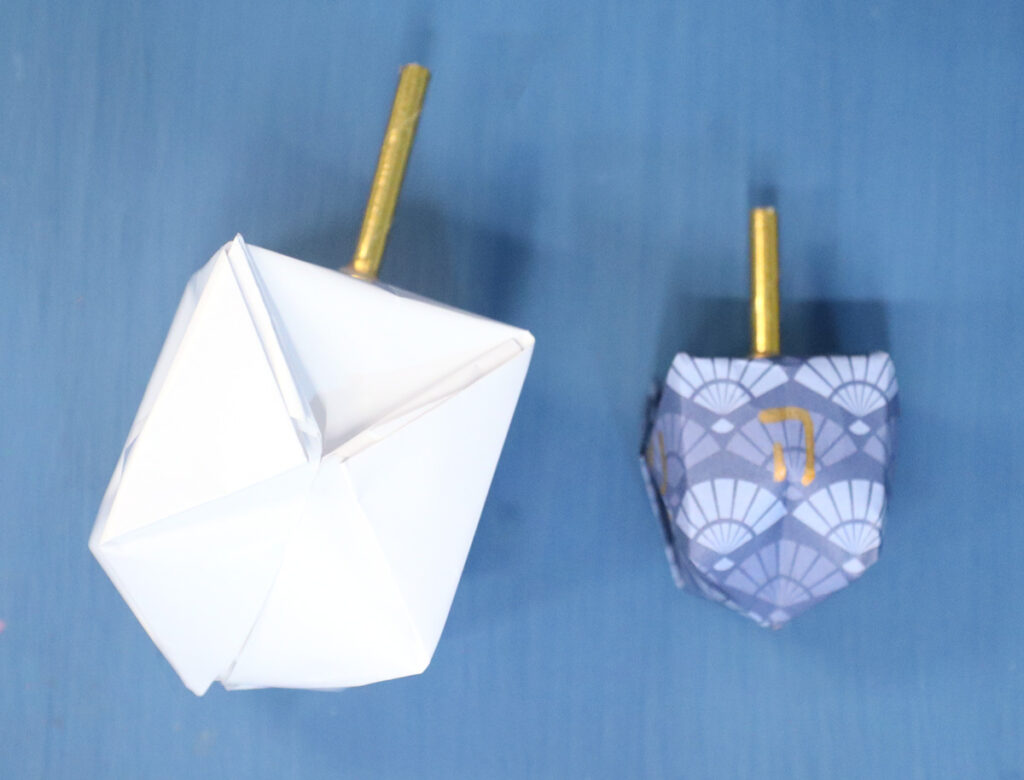
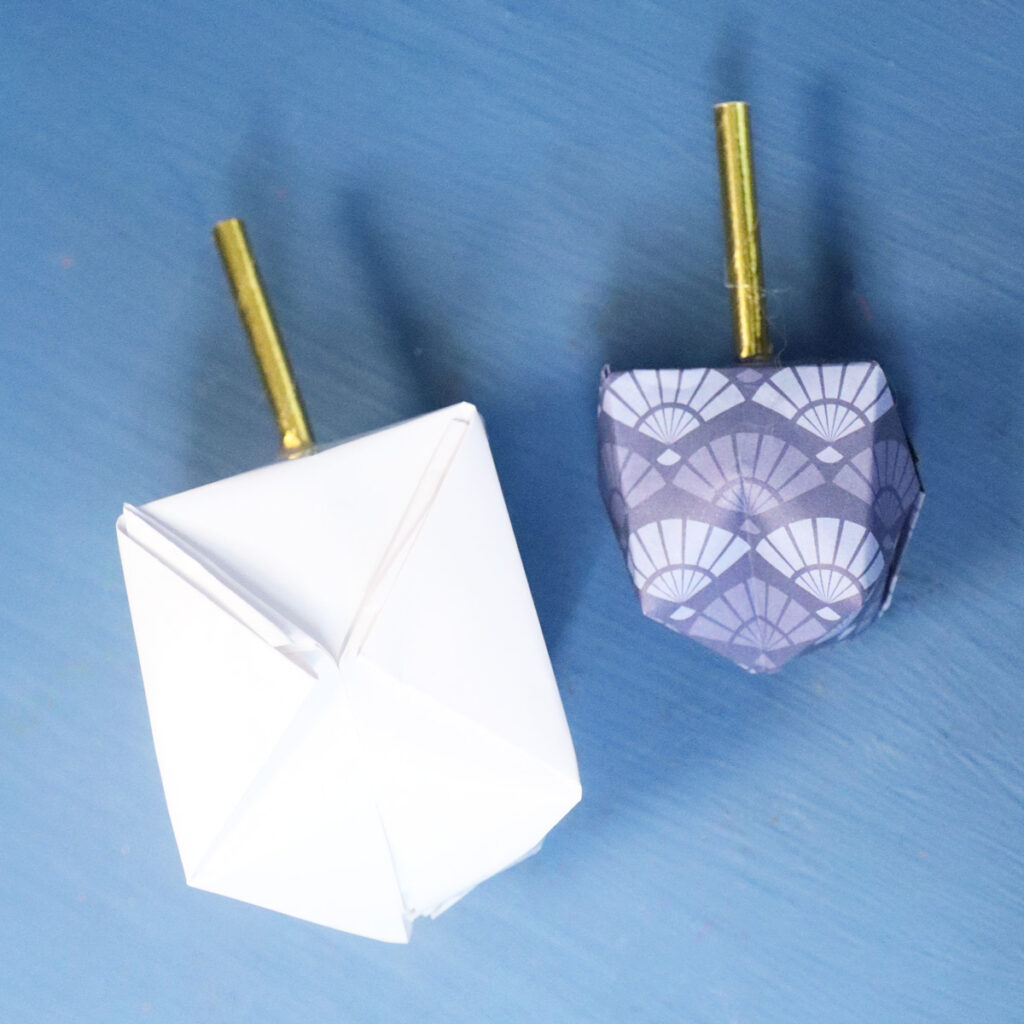
It’s kind of cool to make a project that “works” out of paper folds. While you can definitely spin and play with this 3D origami dreidel, I wouldn’t recommend actually playing the game with it, since you’re unlikely to get it perfect. If a dreidel isn’t perfectly balanced, it’ll lean towards a specific letter and you have a rigged game.
I’ll share ideas for what to do with these after the tutorial.
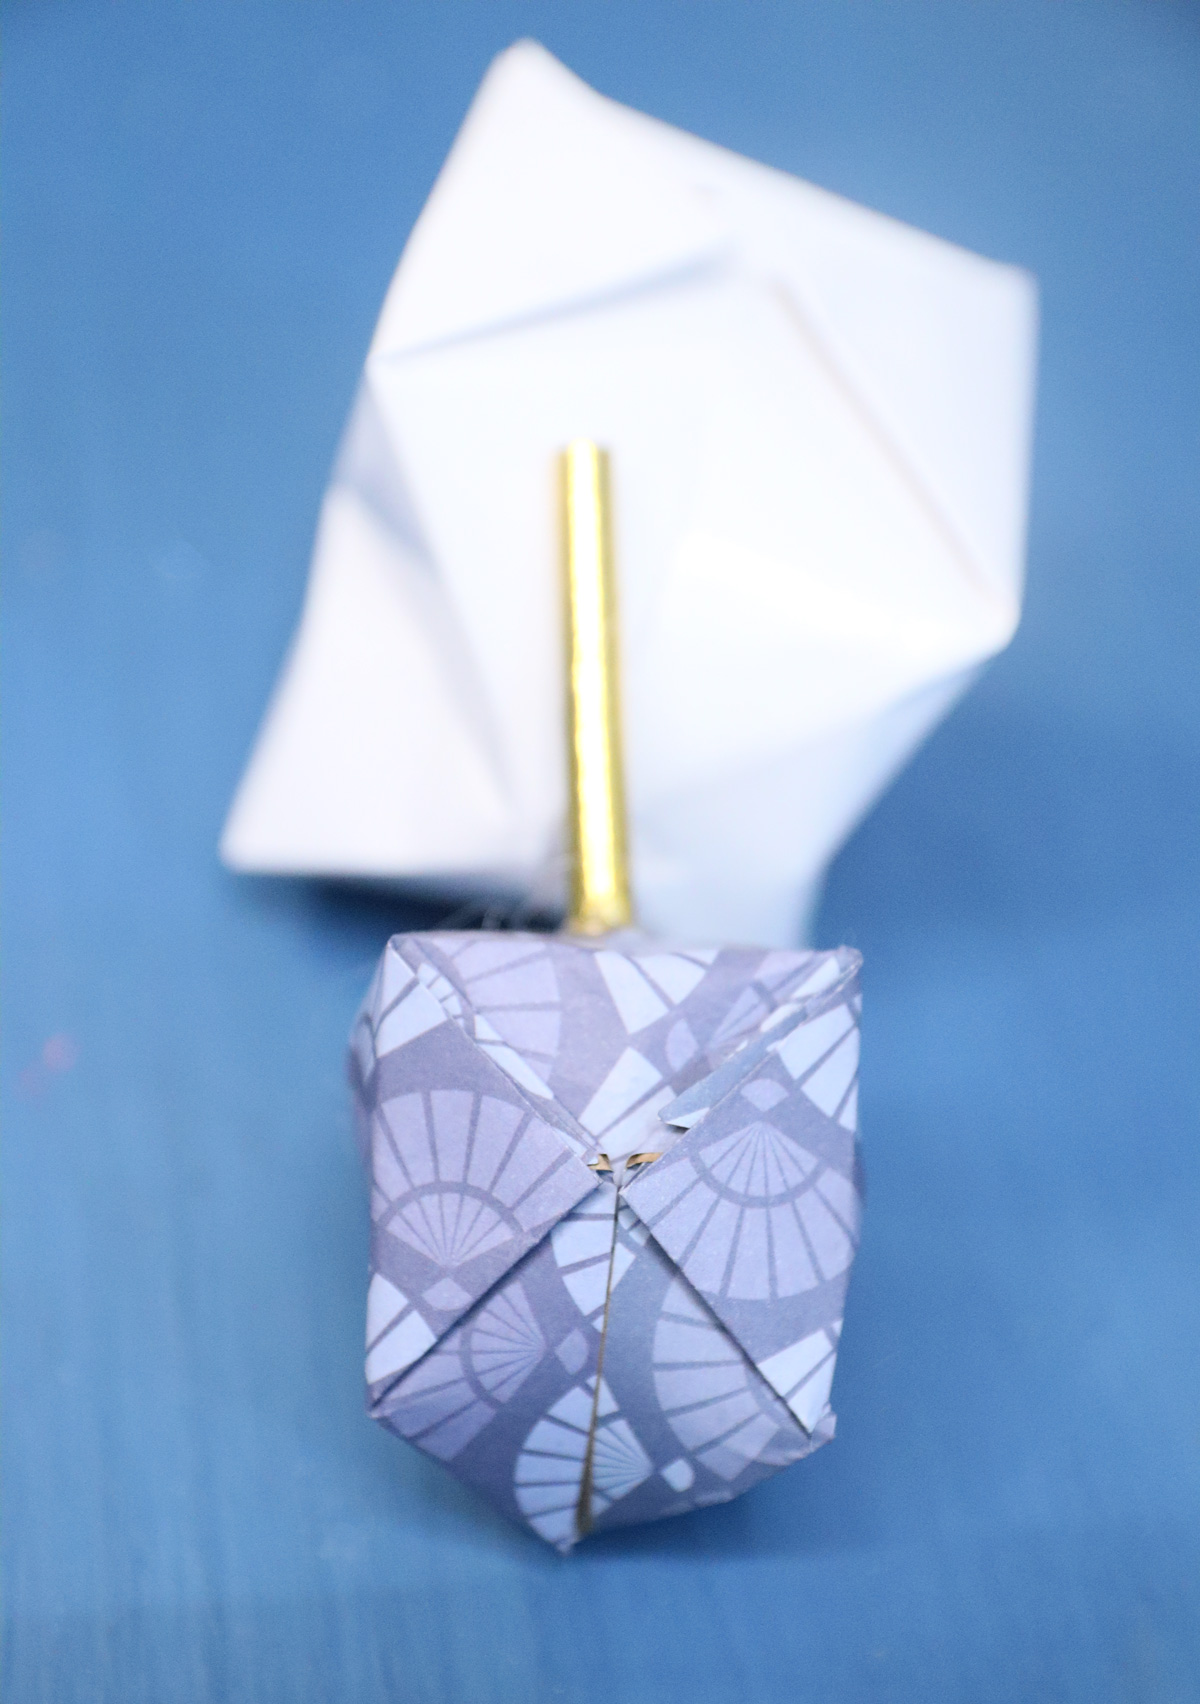
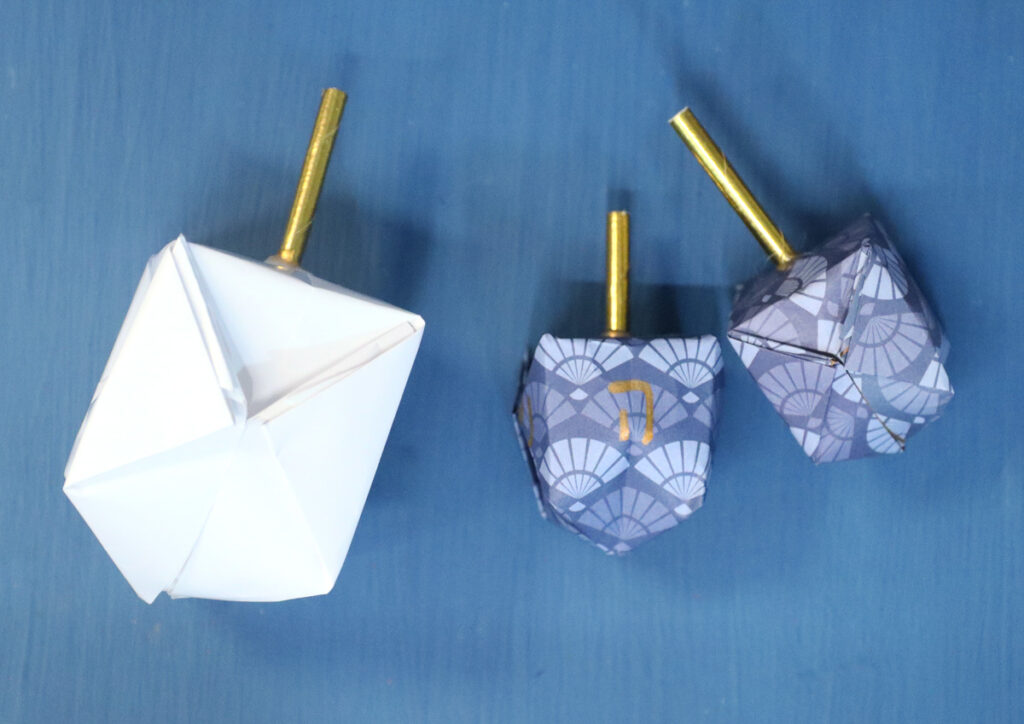
This 3D origami dreidel builds on the classic origami water bomb. You finish it off slightly differently and add a stick (I used a paper straw) as a handle.
Materials
- Origami paper – I used beautiful patterned sheets from this kit
- Optional: bone folder for sharper folds
- Paper straw (you can roll up more origami paper instead if you’re a paper craft purist)
- Hot glue gun (this will be the simplest way to attach the handle)
- Optional: markers or aleph-bet stickers
Instructions
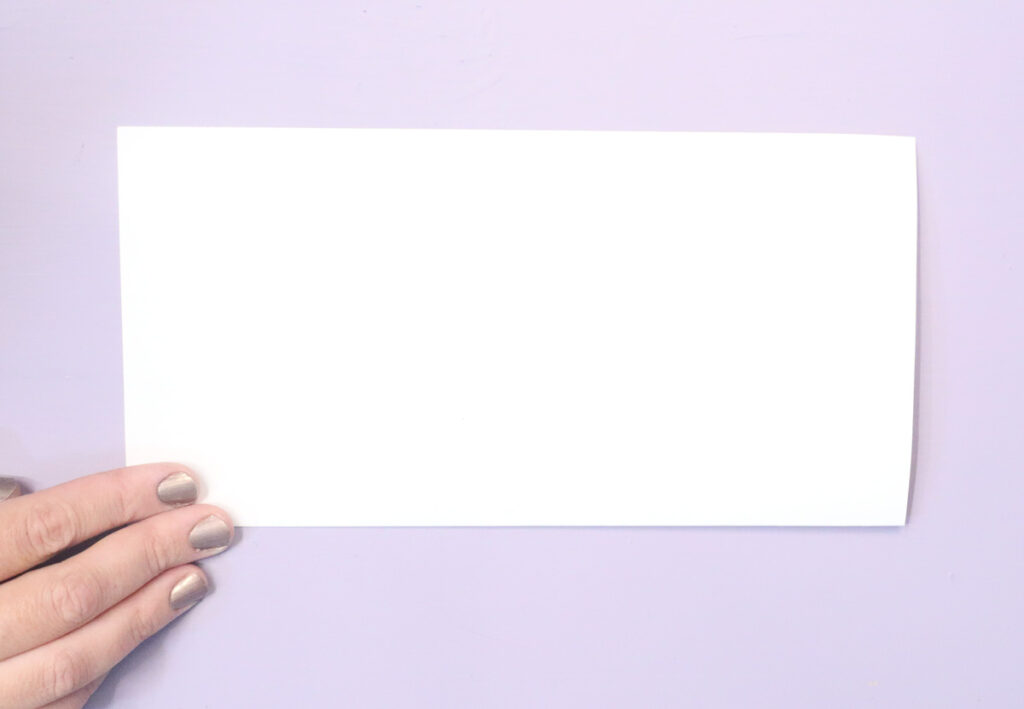
1. Fold your paper in half horizontally with the colored “right” side inside, unfold. Fold vertically and unfold. You should have a + marked in the center.
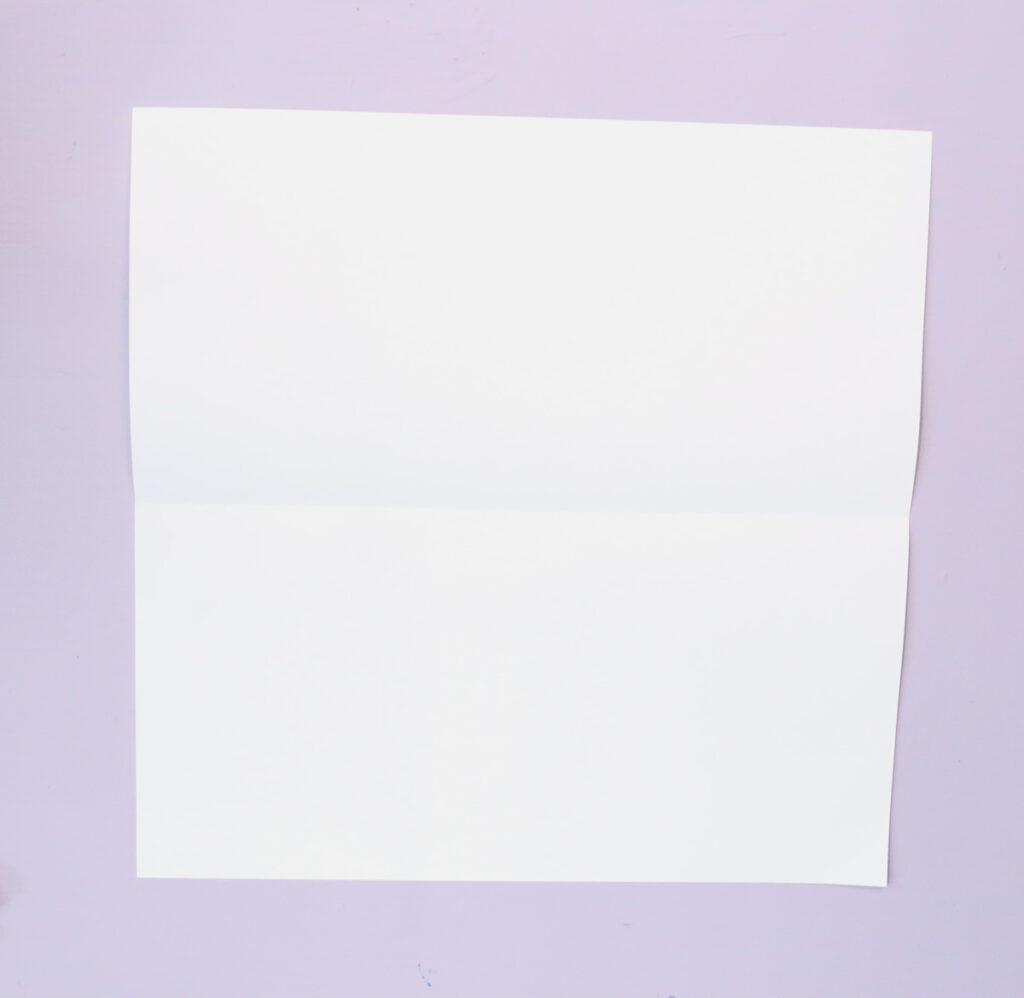
2. Flip over and fold in half diagonally, with the colored side outside. Unfold. Fold diagonally the other way and unfold. You should now have an X fold marked.
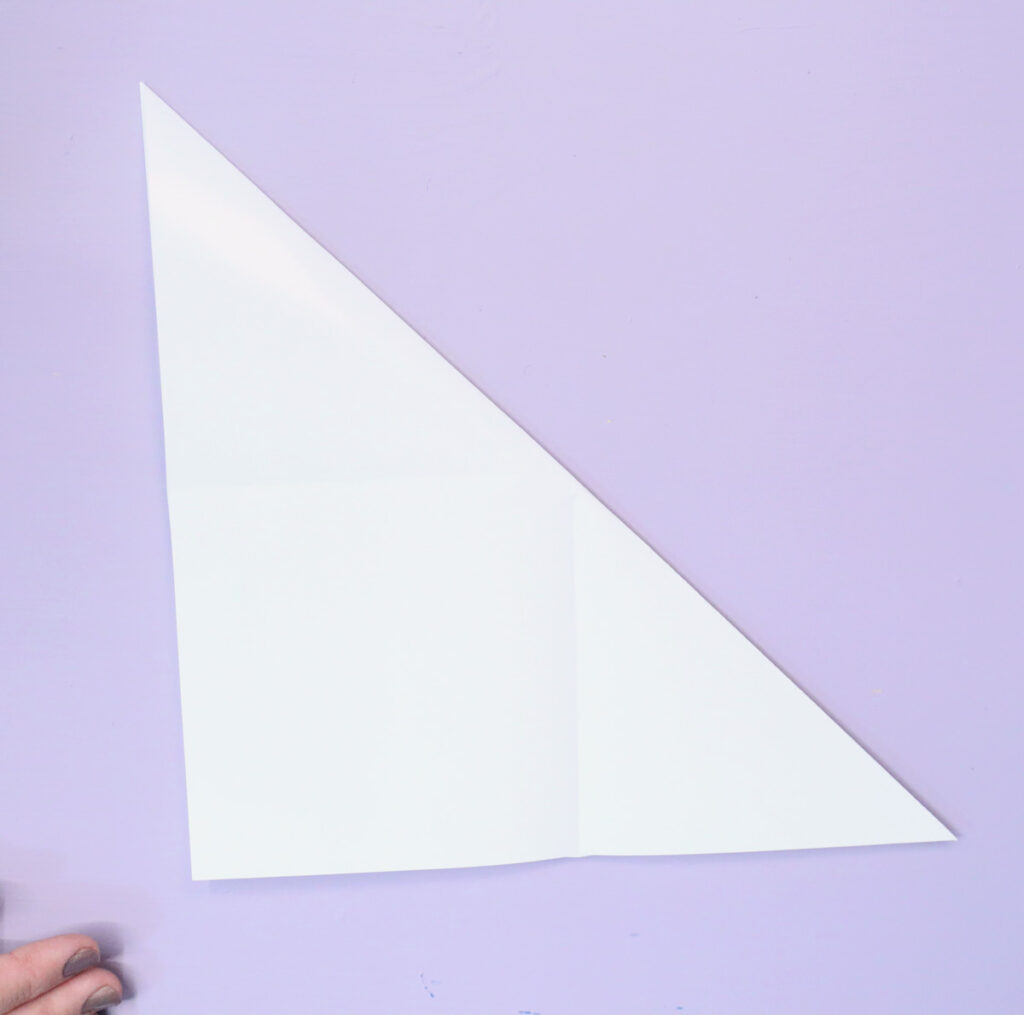
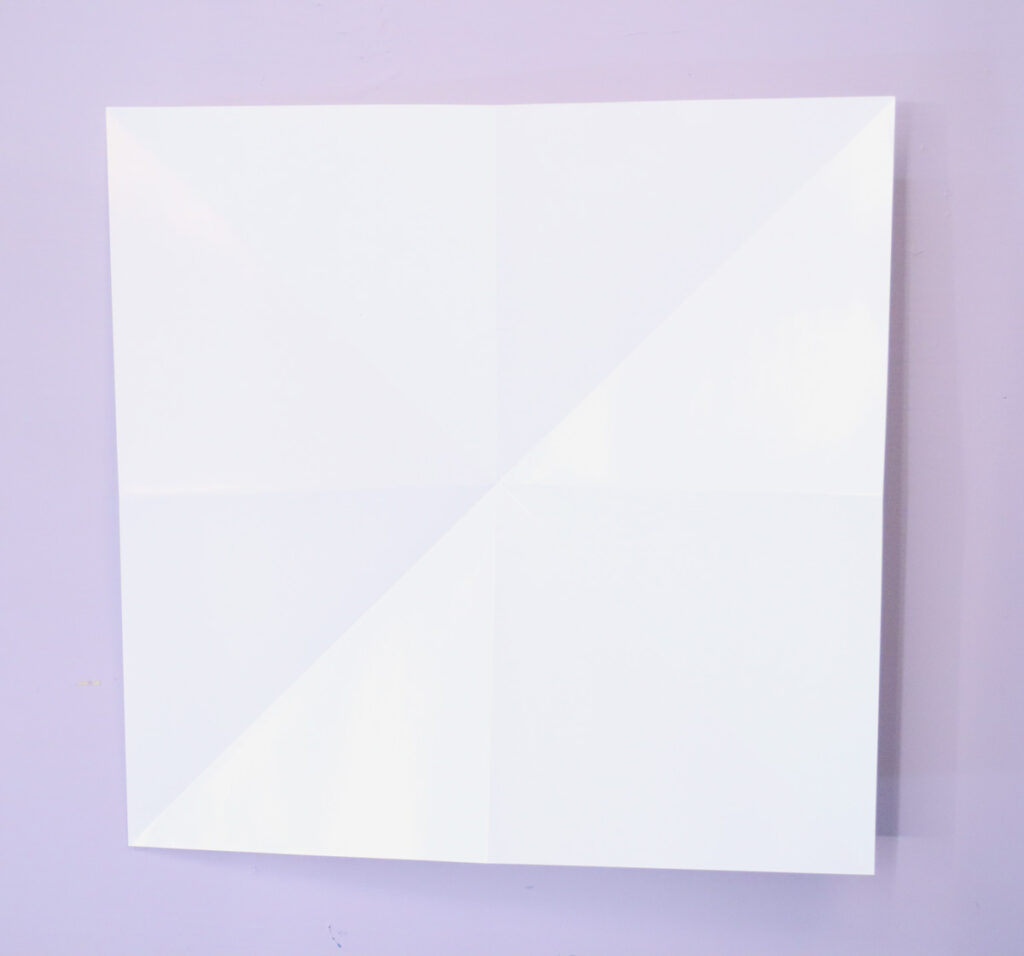
3. Hold your paper right-side-up, and tuck in the two sides, folding them inward. You’re forming a triangle with the top two sides as inverted folds, and the bottom edge made of the top and bottom sides of the paper.
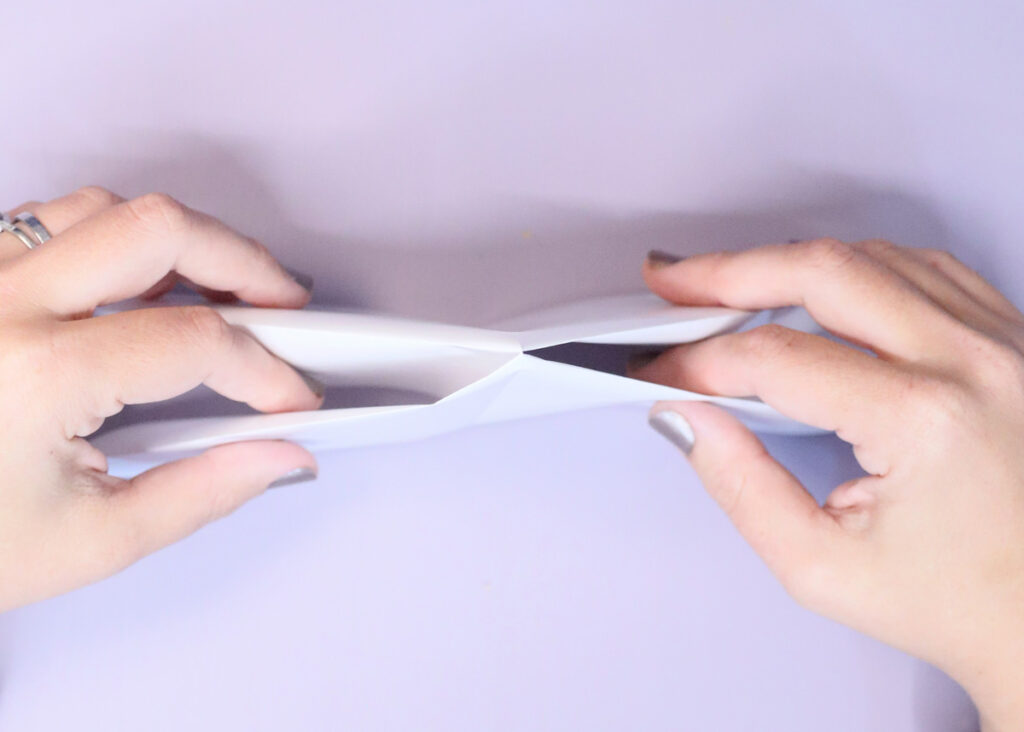
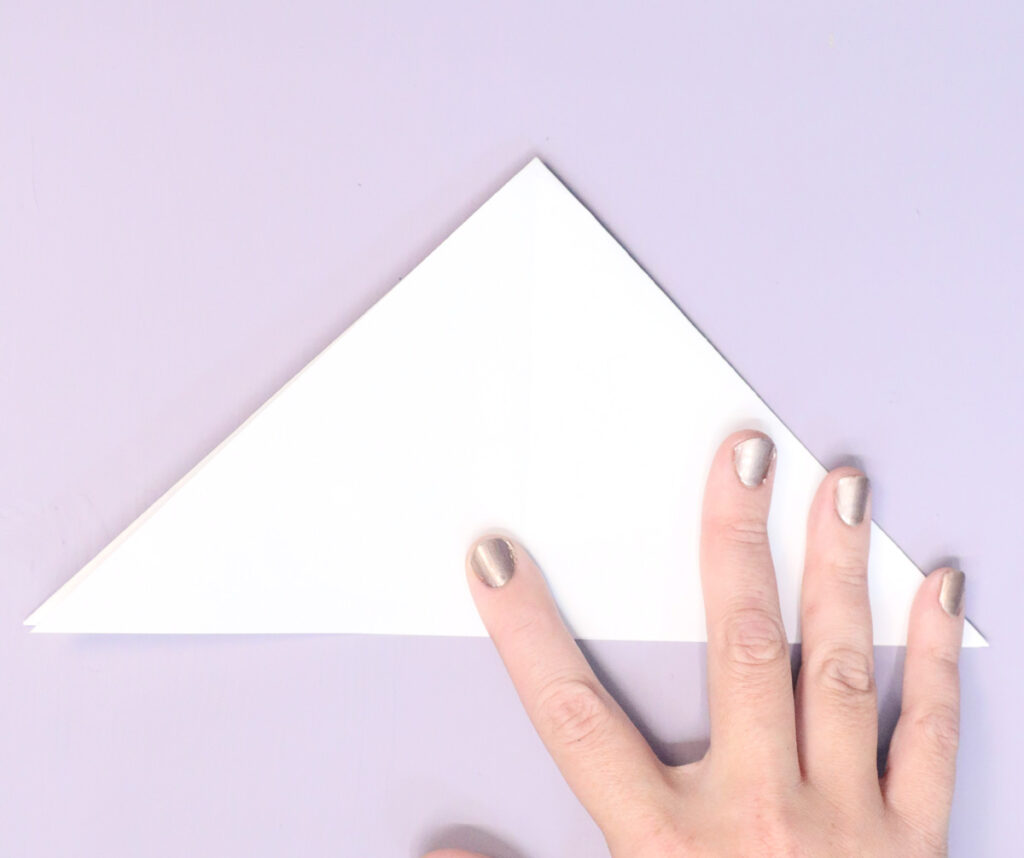
4. Take the top flap of your right corner. Fold it up to meet the top corner.
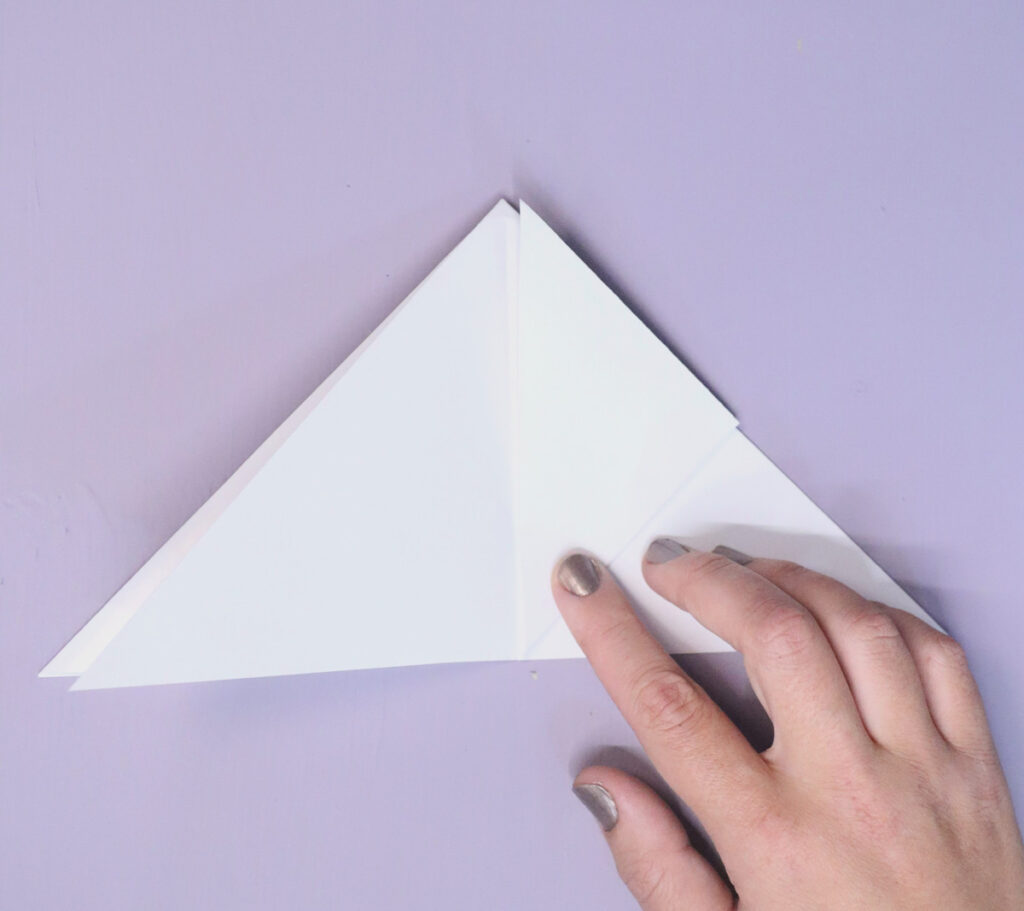
Repeat with the left corner.
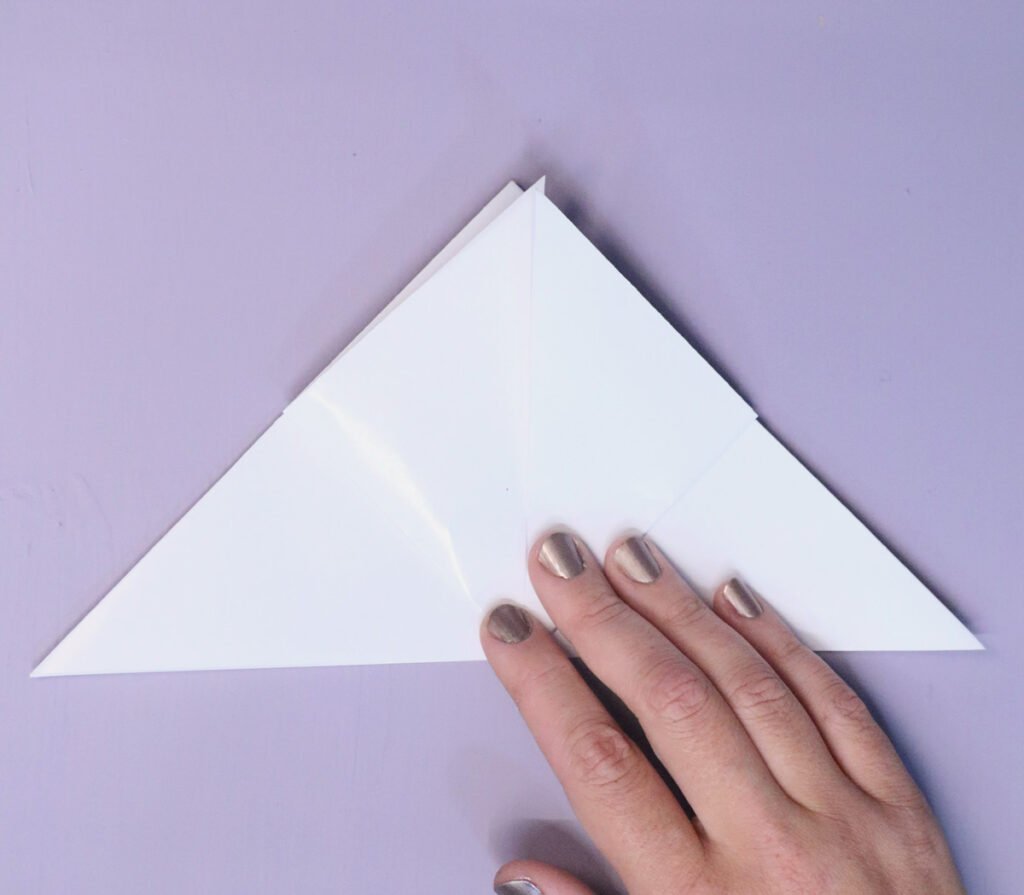
5. Flip over and repeat with the flaps on the other side – bringing the right and left corners up to meet the top corner. You should now have an equal diamond shape.
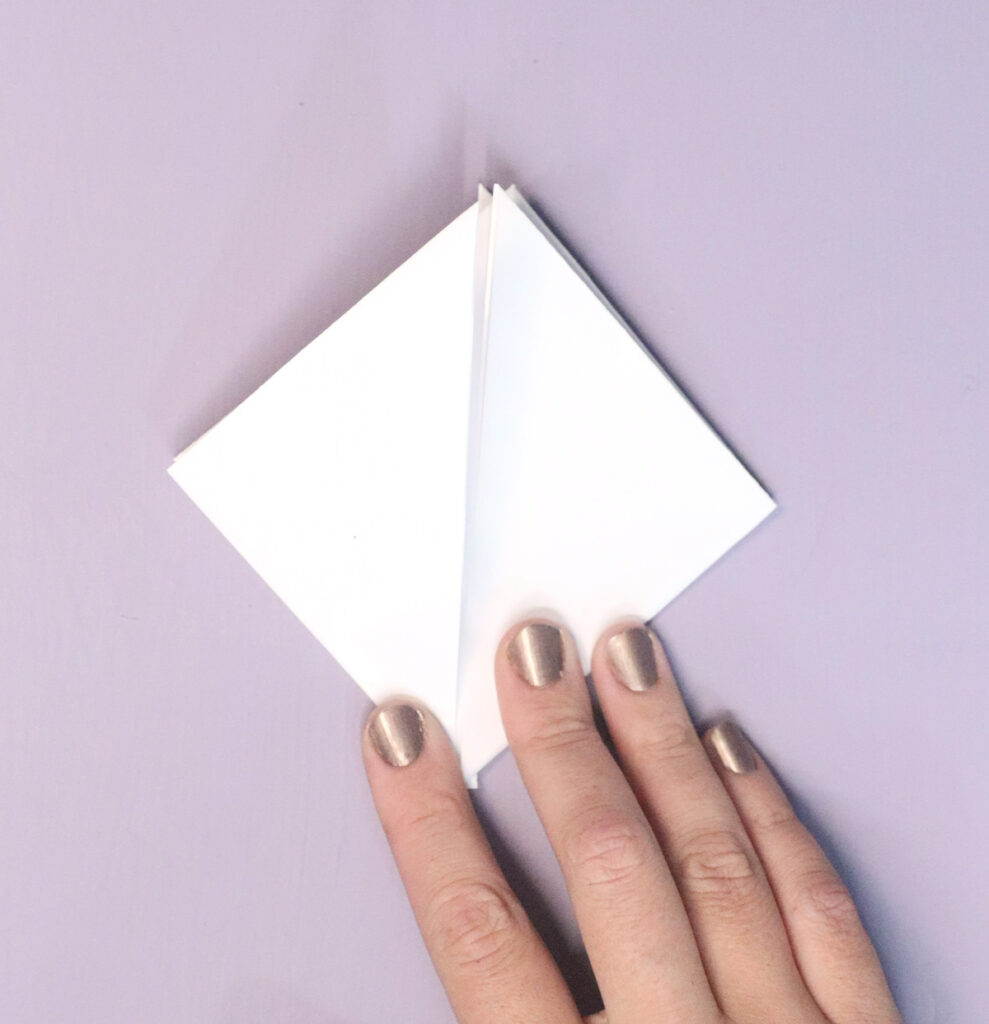
6. Fold the top flap of the right corner to meet the center fold
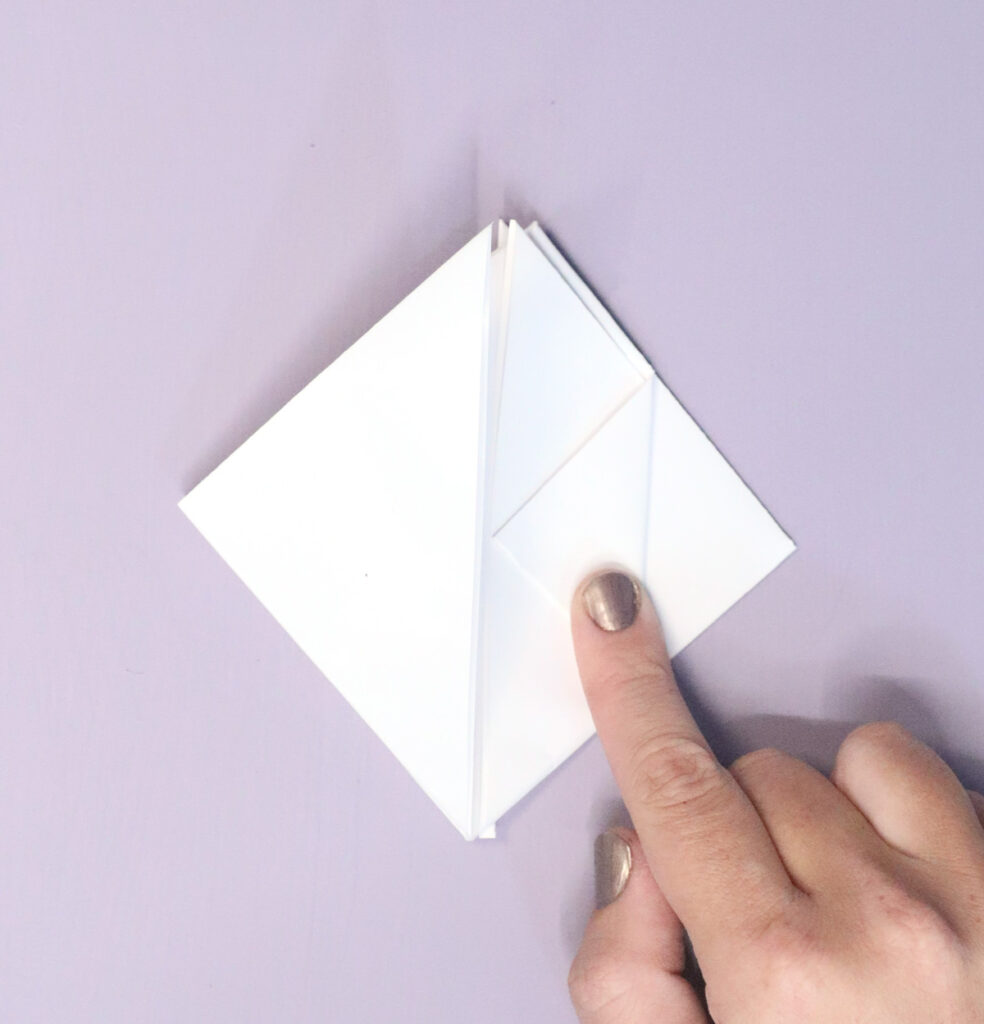
Repeat with the left corner. Flip over and repeat with the right and left corners, bringing them to the center fold.
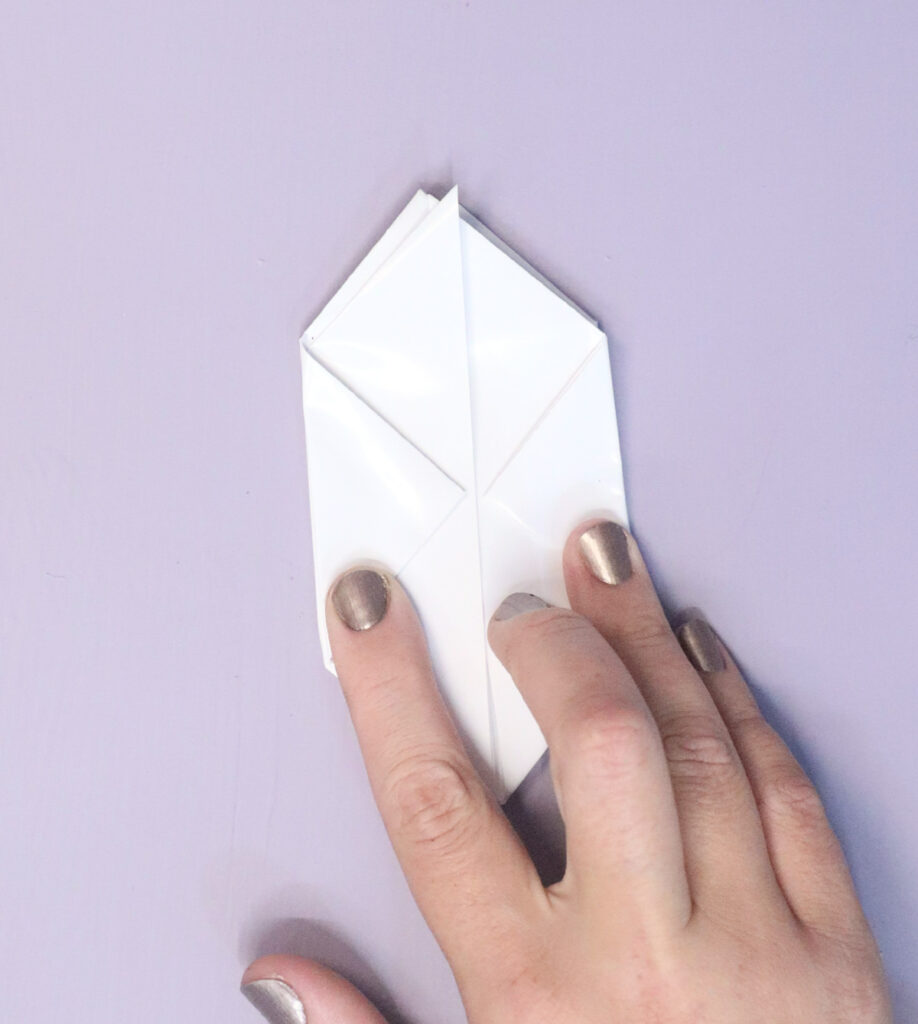
7. You have two triangles at the top, sitting sideways. Take the right triangle and fold it down to form a right angle, and sit flush against that fold that formed the bottom of the triangle.
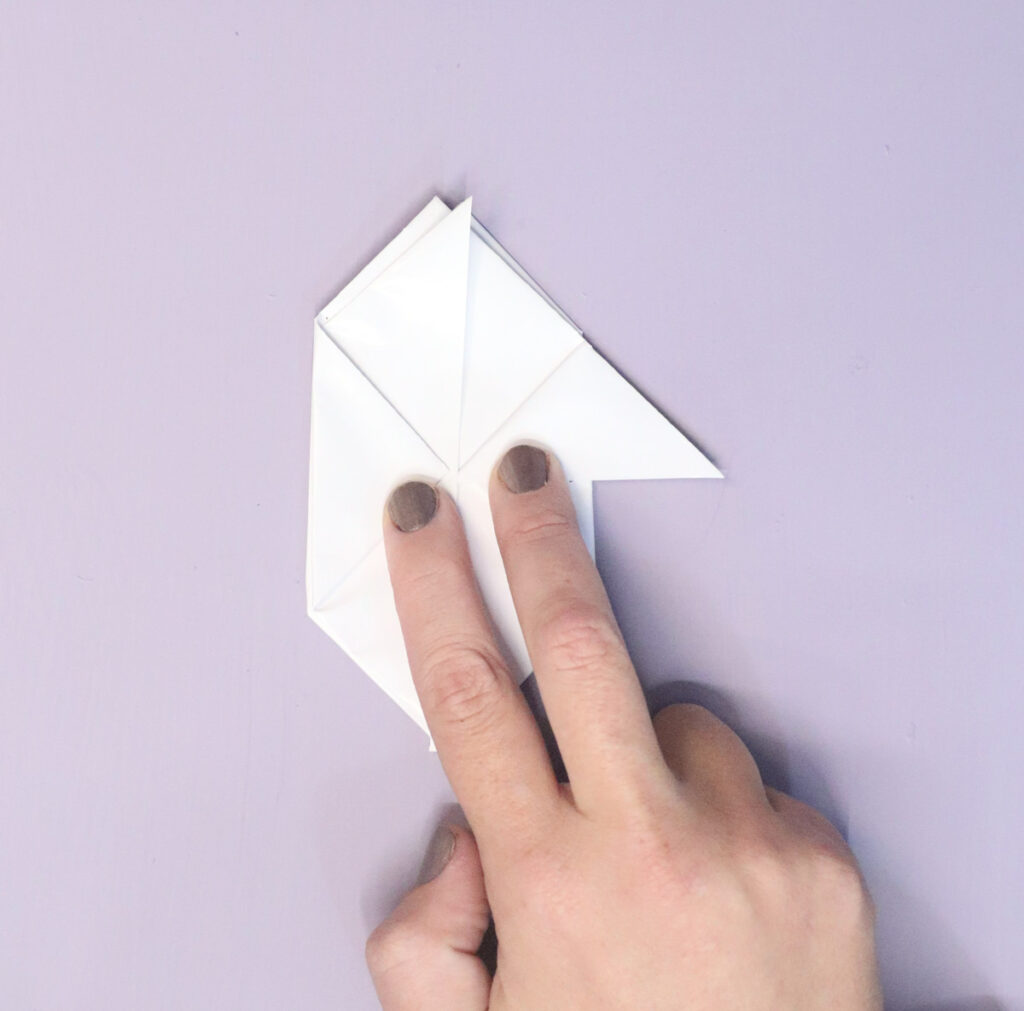
8. Fold the right corner of this last triangle in to meet the center fold and form a smaller triangle.
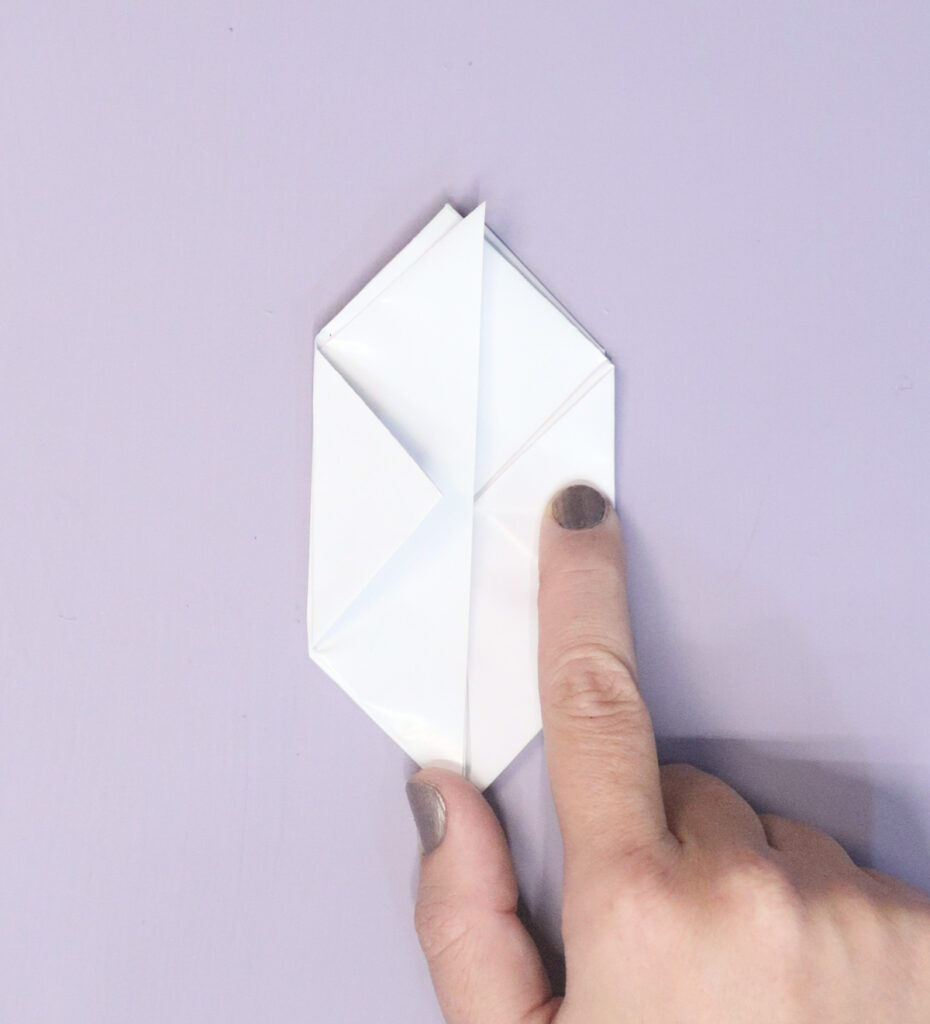
9. (Note: I’m looking at the origami from the top in this photo.) Lift up that last mini triangle you just formed (both halves) and you’ll see a little pocket underneath created by earlier folds. Tuck the triangle into it.
Repeat steps 7-9 with the left triangle, flip over and repeat with the top two on that side.
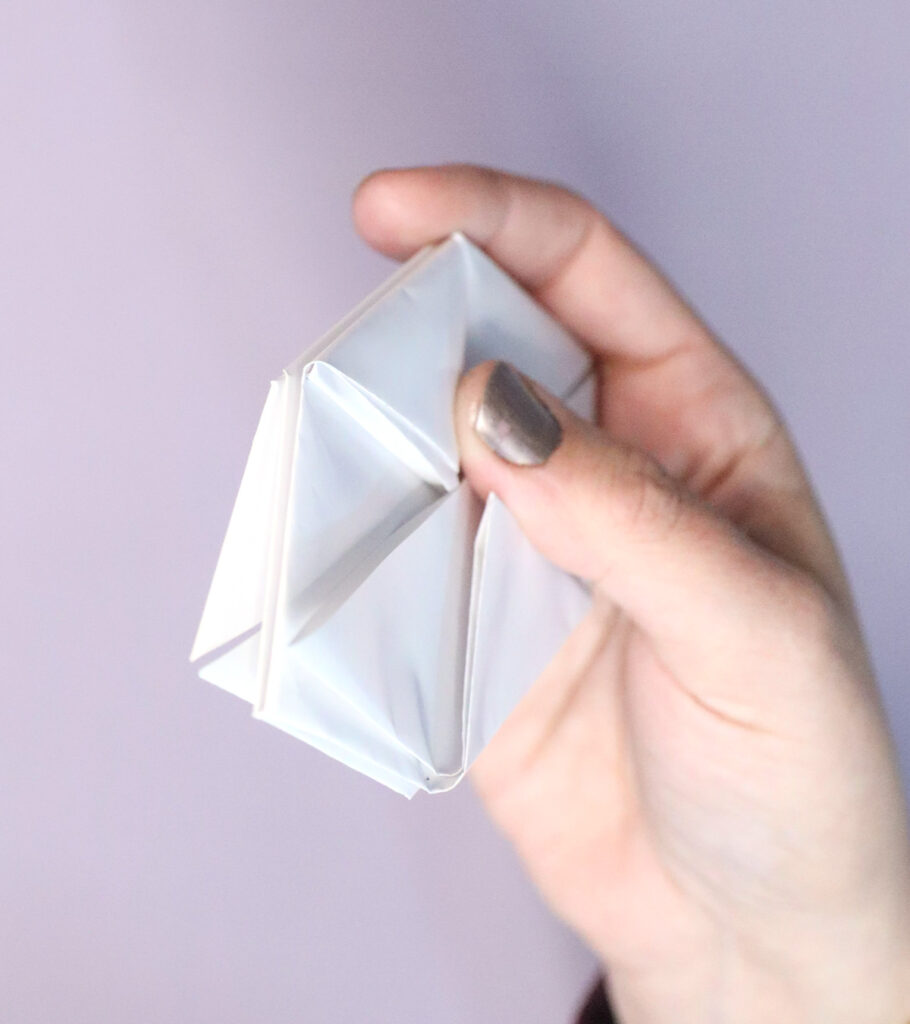
10. Look at your origami from the top. You can now open up the four segments of the origami that you see from this angle so that they’re separated into an X.
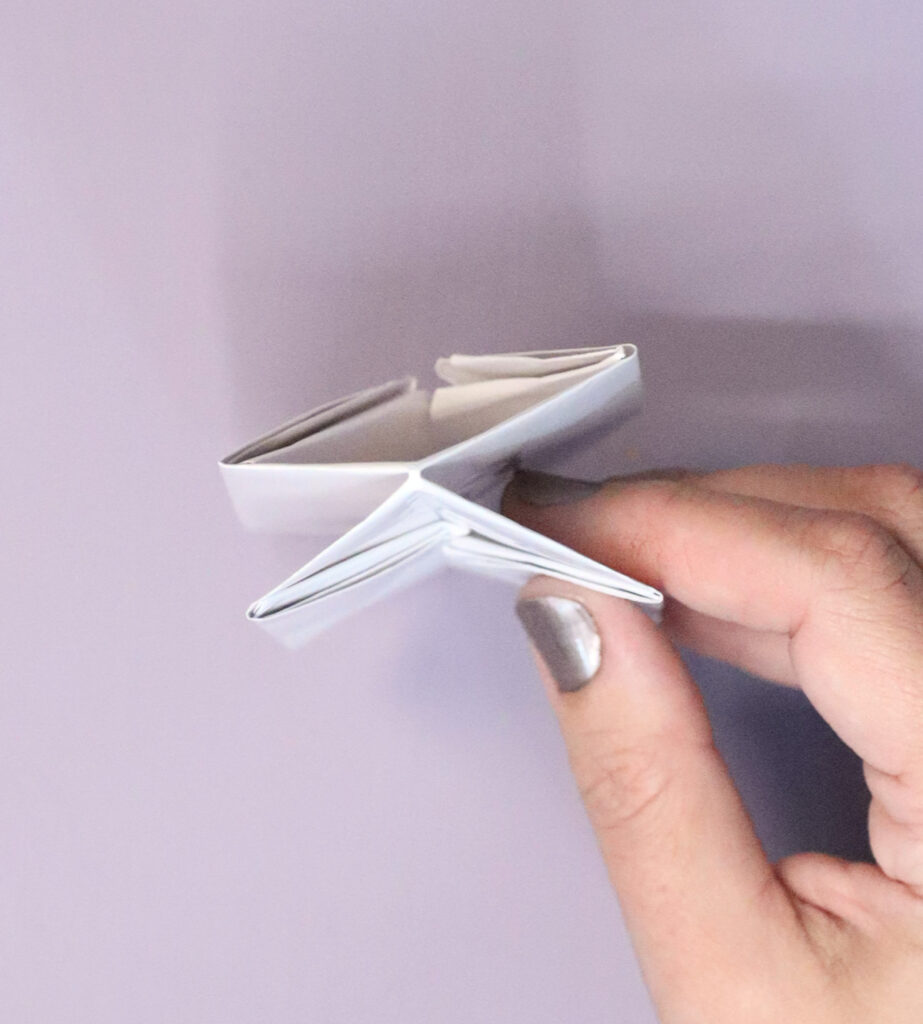
11. Look at the bottom of your origami. You’ll see a small hole. Blow into it to inflate it. You can do this with a straw if you’re icked out with putting your mouth on it, but honestly your mouth will work better.
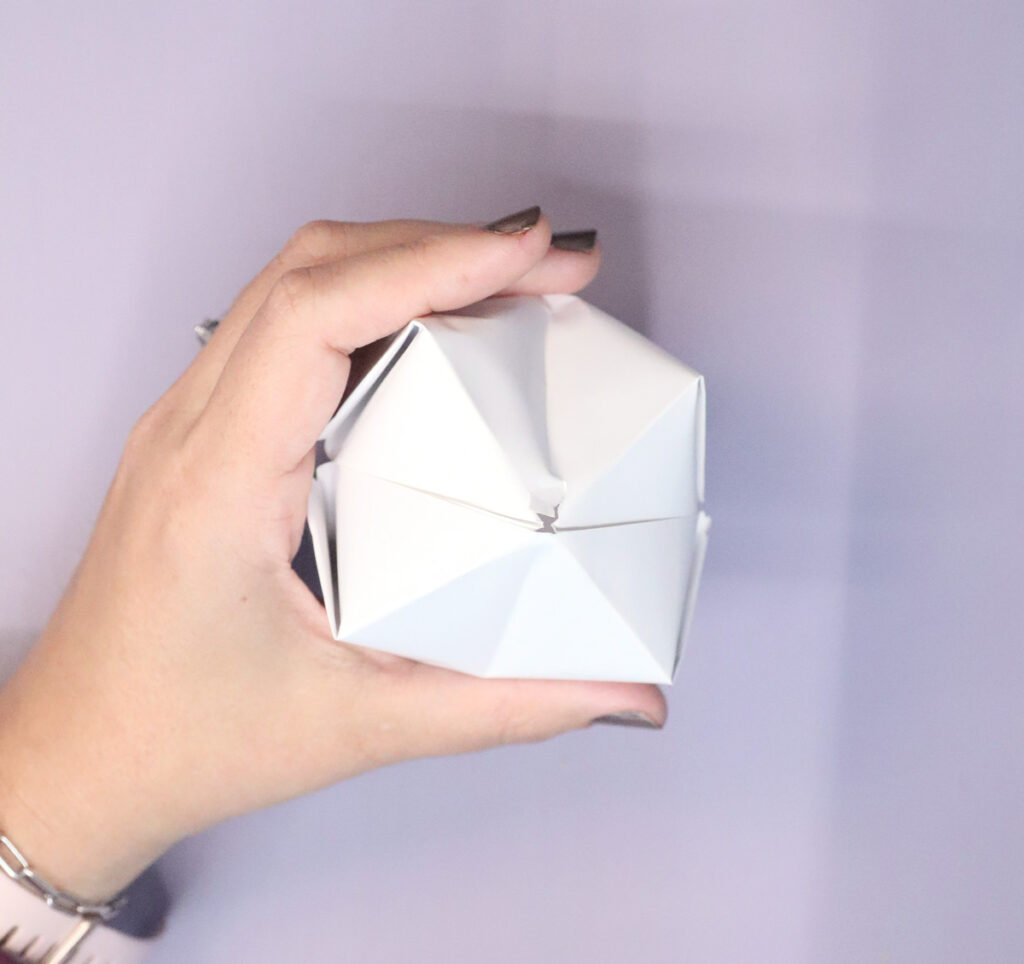
12. At the top, press the corners down to form more of a solid square at the top with sharper edges. The bottom will remain sort of pointy.
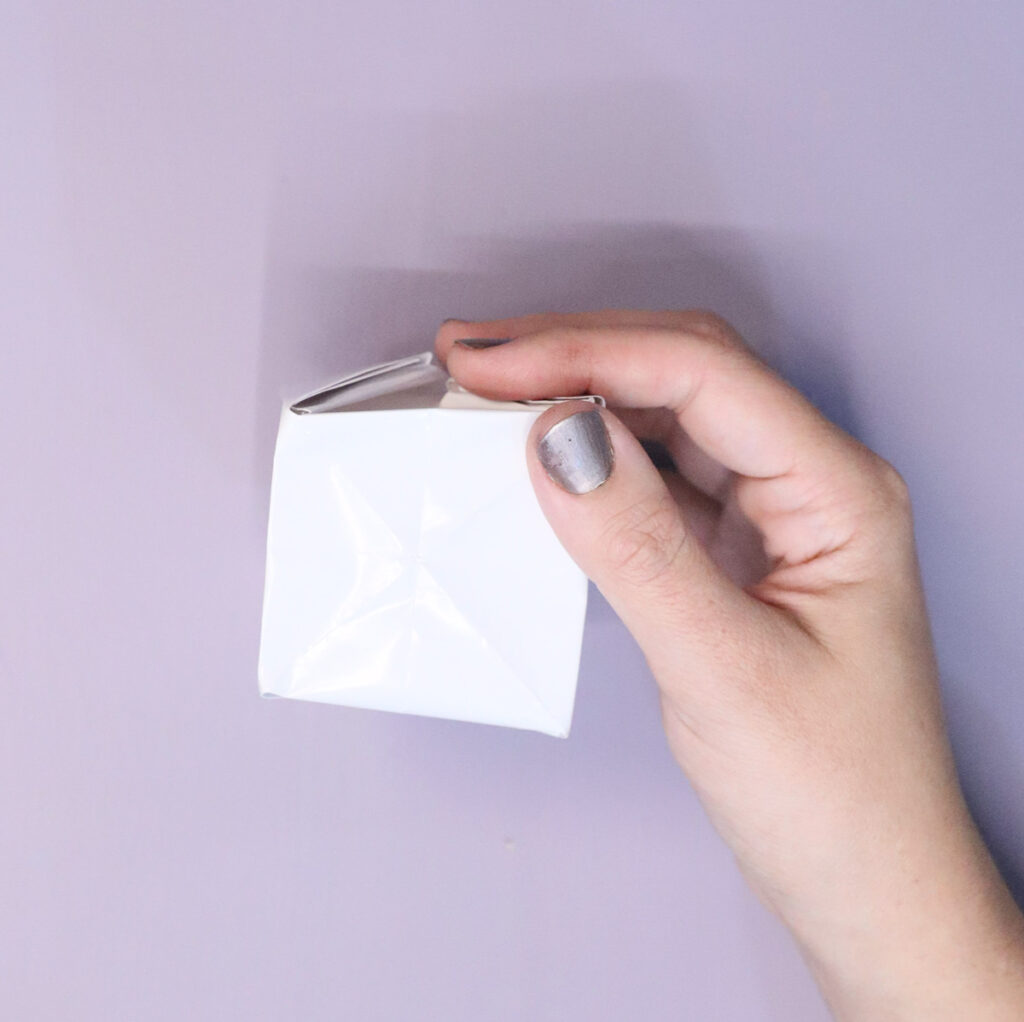
13. Cut a paper straw to size. Hot glue on the top center and hold in place until it sets.
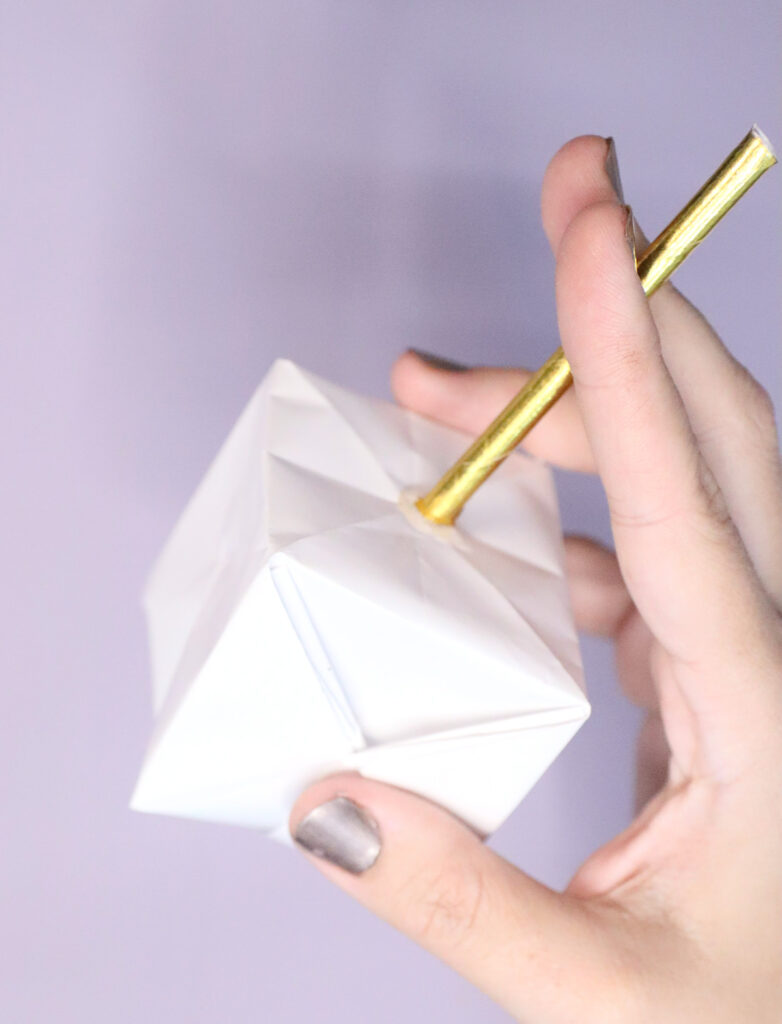
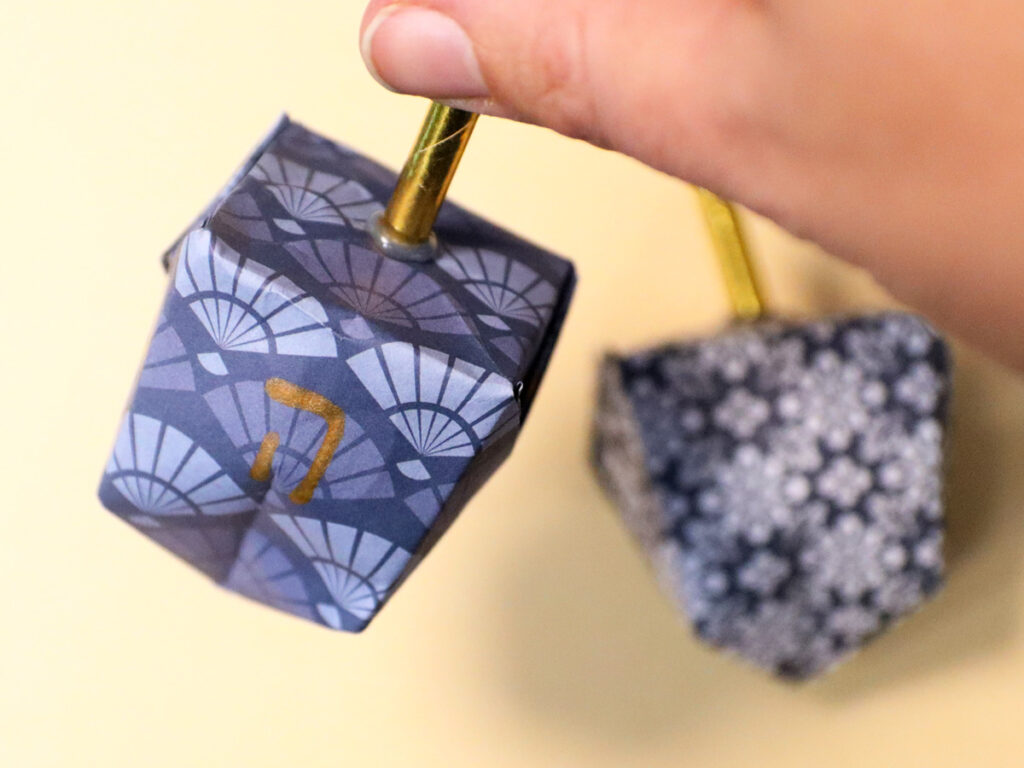
14. Add letters if you want – or don’t! Your 3D origami dreidels are ready to spin!
Tips, uses, variations
These 3D origami dreidels can be used to play, however, I would only use it for casual, just-for-fun play.
There are a few issues that prevent this from being a functional dreidel. While it’s cool that it can spin, and a great STEM project too, you’ll find these to be issues.
- It’s extremely difficult to make this even enough to result in a game that isn’t rigged to favor a specific letter. Dreidels rely on equal balance to make a fair game.
- They don’t hold the structure well enough to stand up to heavy use. The spinning element is more “just for fun”.
- Two of the sides have all the corners and folds, making it hard to add a letter.
- The size is a bit awkward for functional game play.
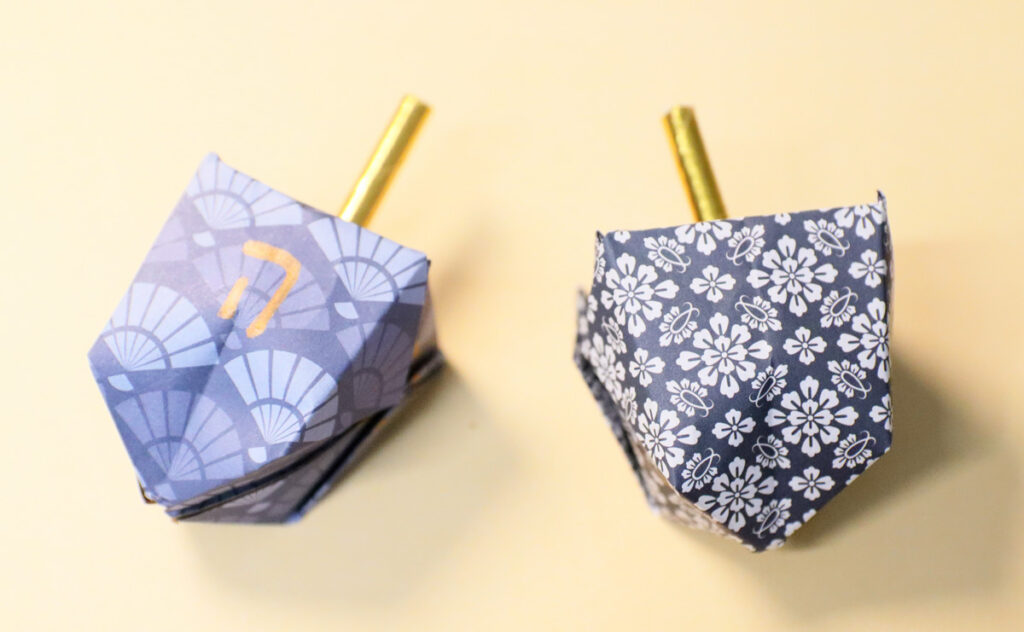
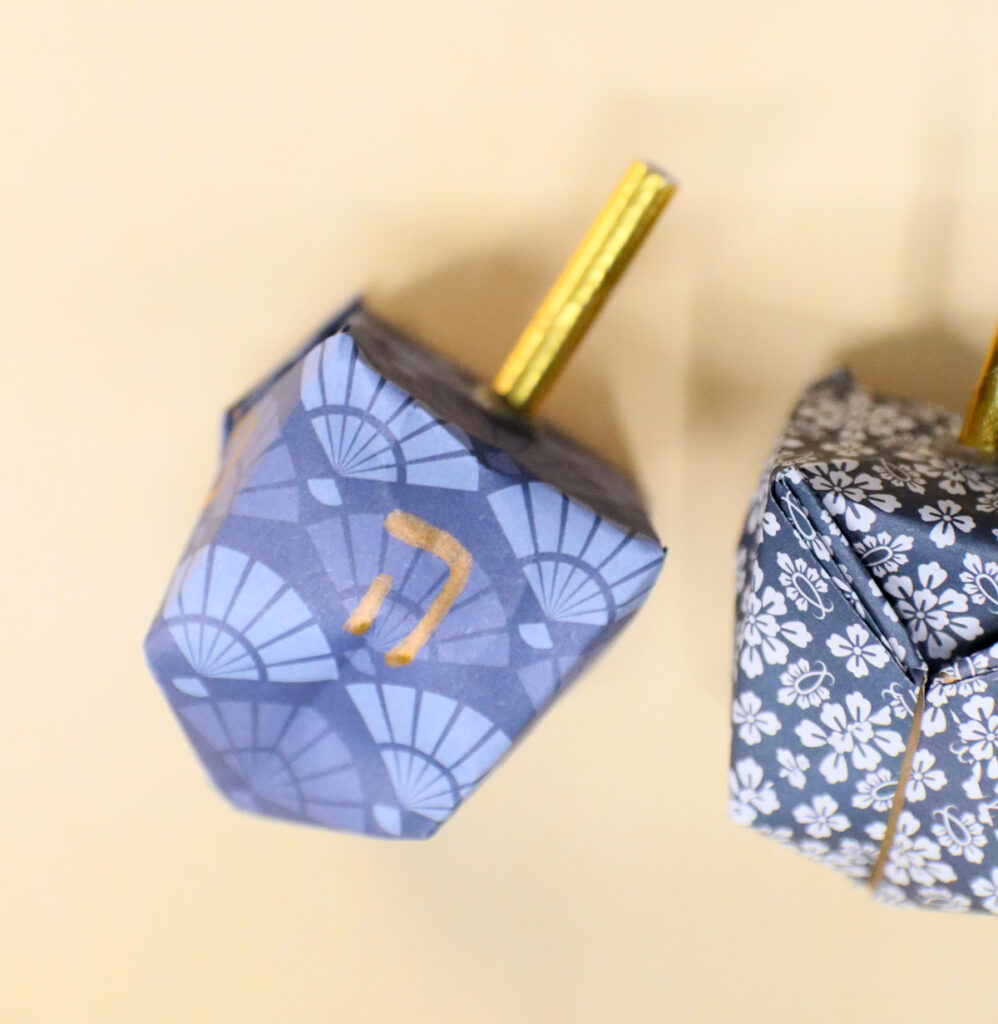
However, especially if you use decorative papers like I did, these 3D origami dreidels make for super cool decor! You can string them up by the handles for quite a cool garland, or make them in large and hang a few from the chandelier.
You an also use this as a fun little craft project that’ll engage the group you’re crafting with in some just-for-fun spinning. And it’s fabulous for overall teaching about Hanukkah.
Back to the decor angle, you can craft these in jumbo as centerpieces (just keep in mind it’ll take a lot of blowing.) Think of having a few of these in the center of a table!
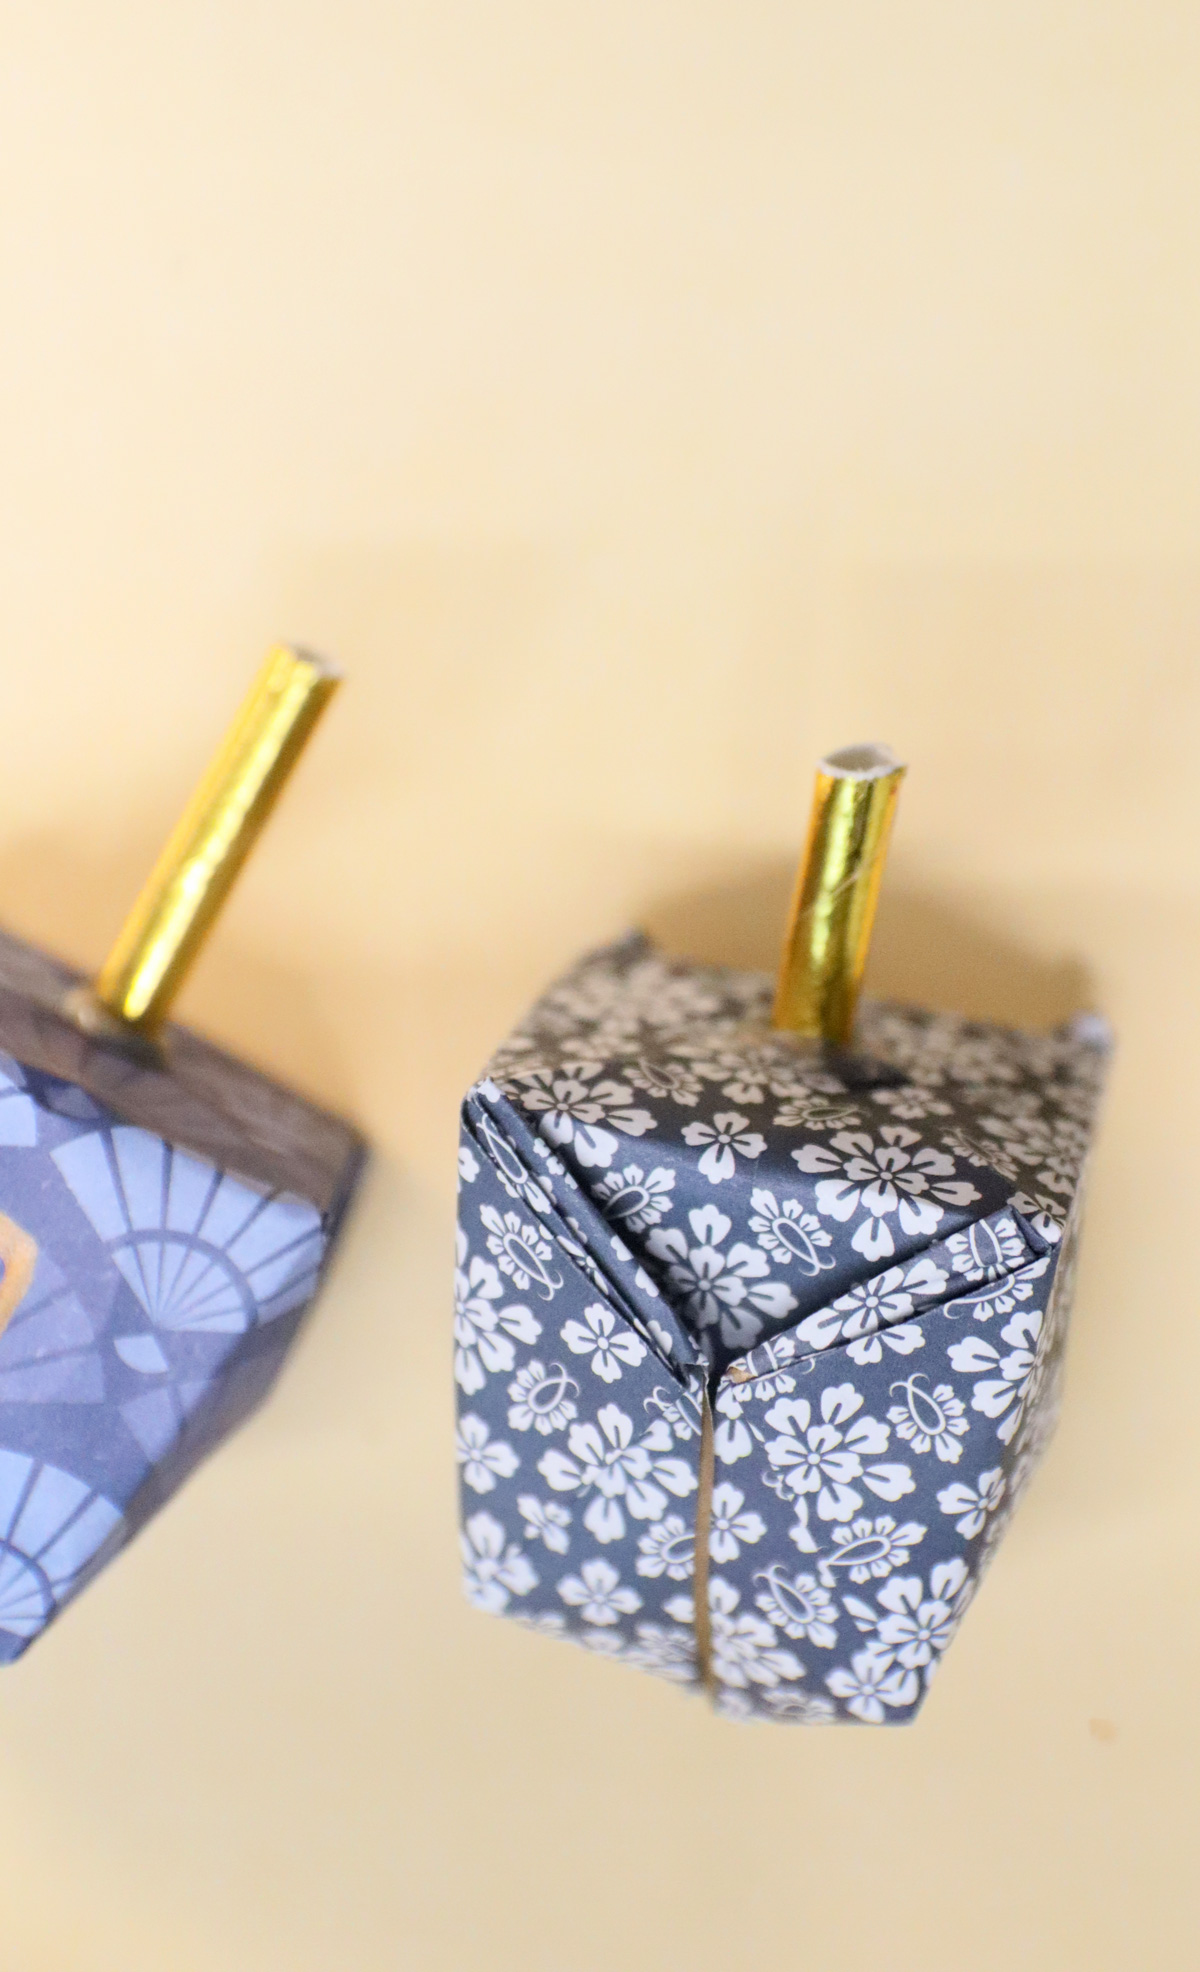
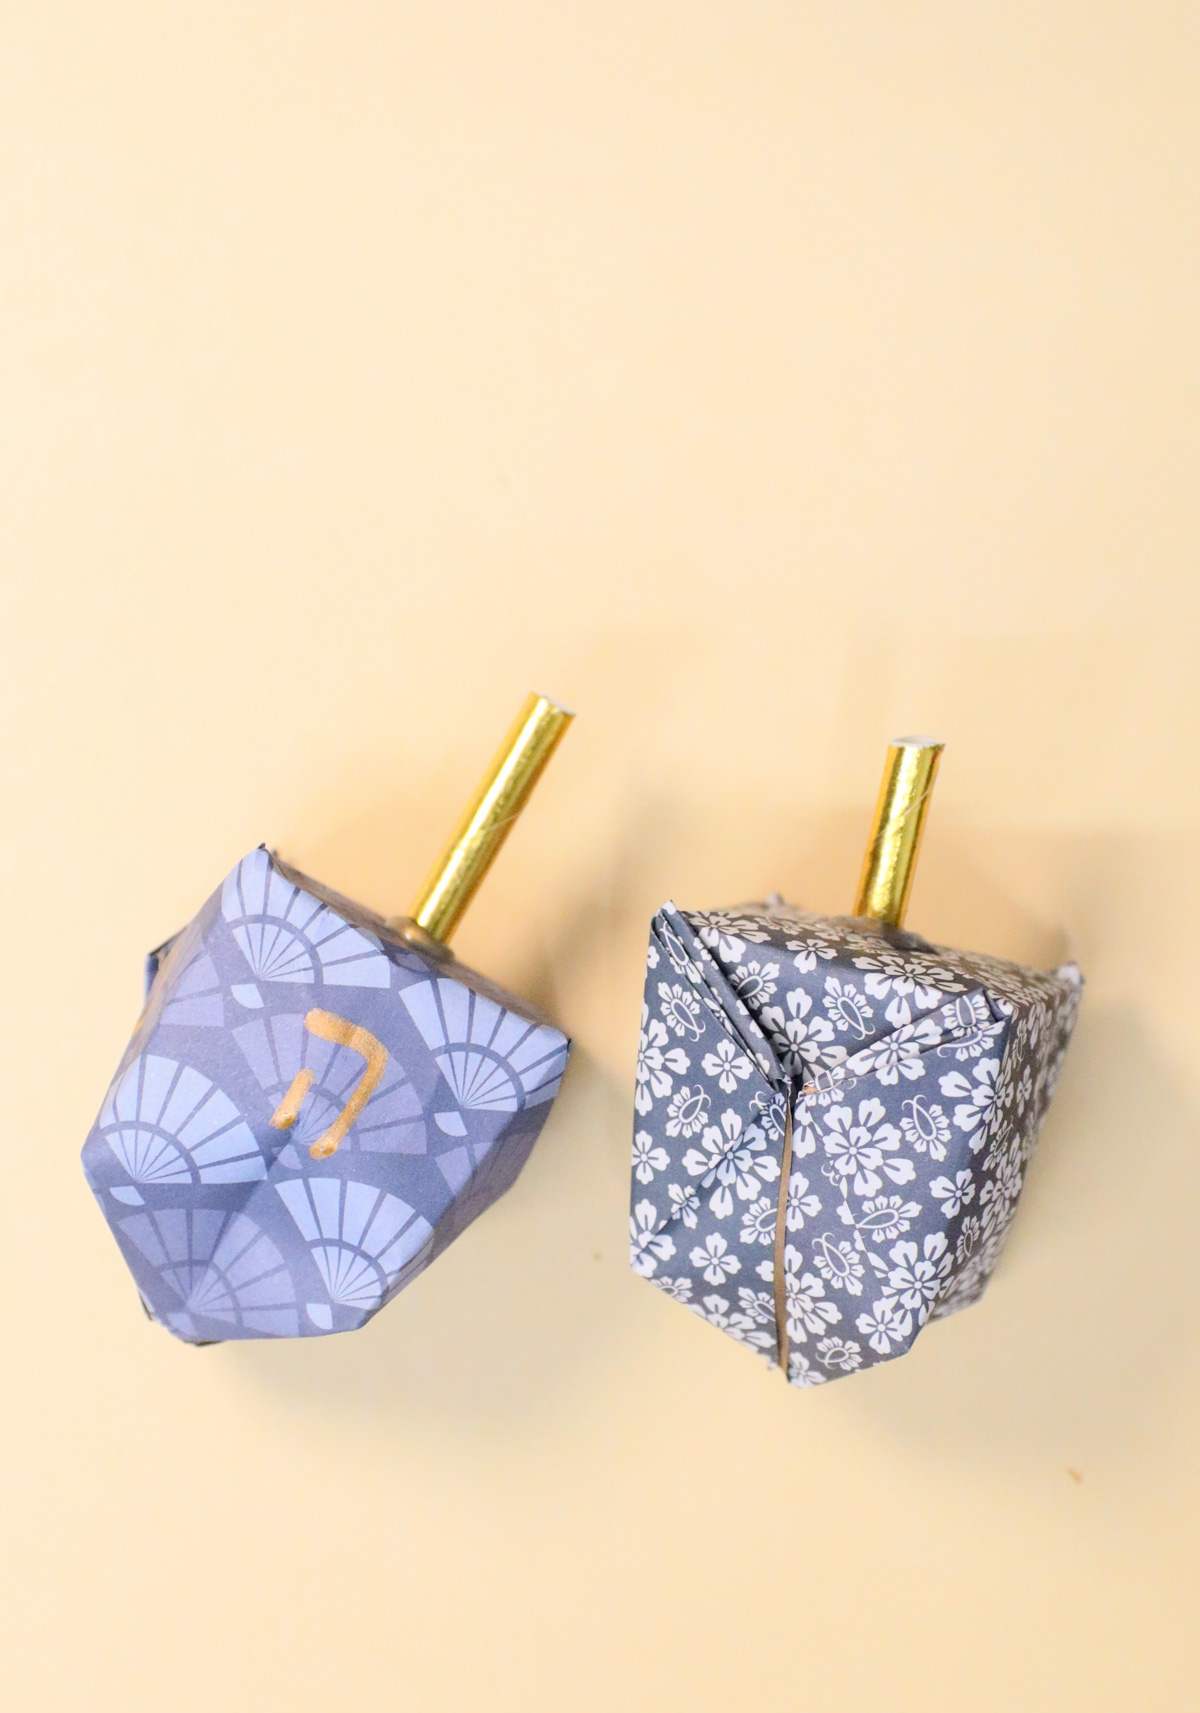
While I used paper straws for the handle, you can definitely roll up some origami paper and glue that on. I did experiment with making a hole to poke the straw into during the process but I found that it made it impossible to spin without anyway gluing it. I also found it to be much harder to blow up and inflate.
Hot glue is recommended for the handle because it sets quickest and has the structure needed to connect something small like a straw (with little surface area for glue) to a flat surface.
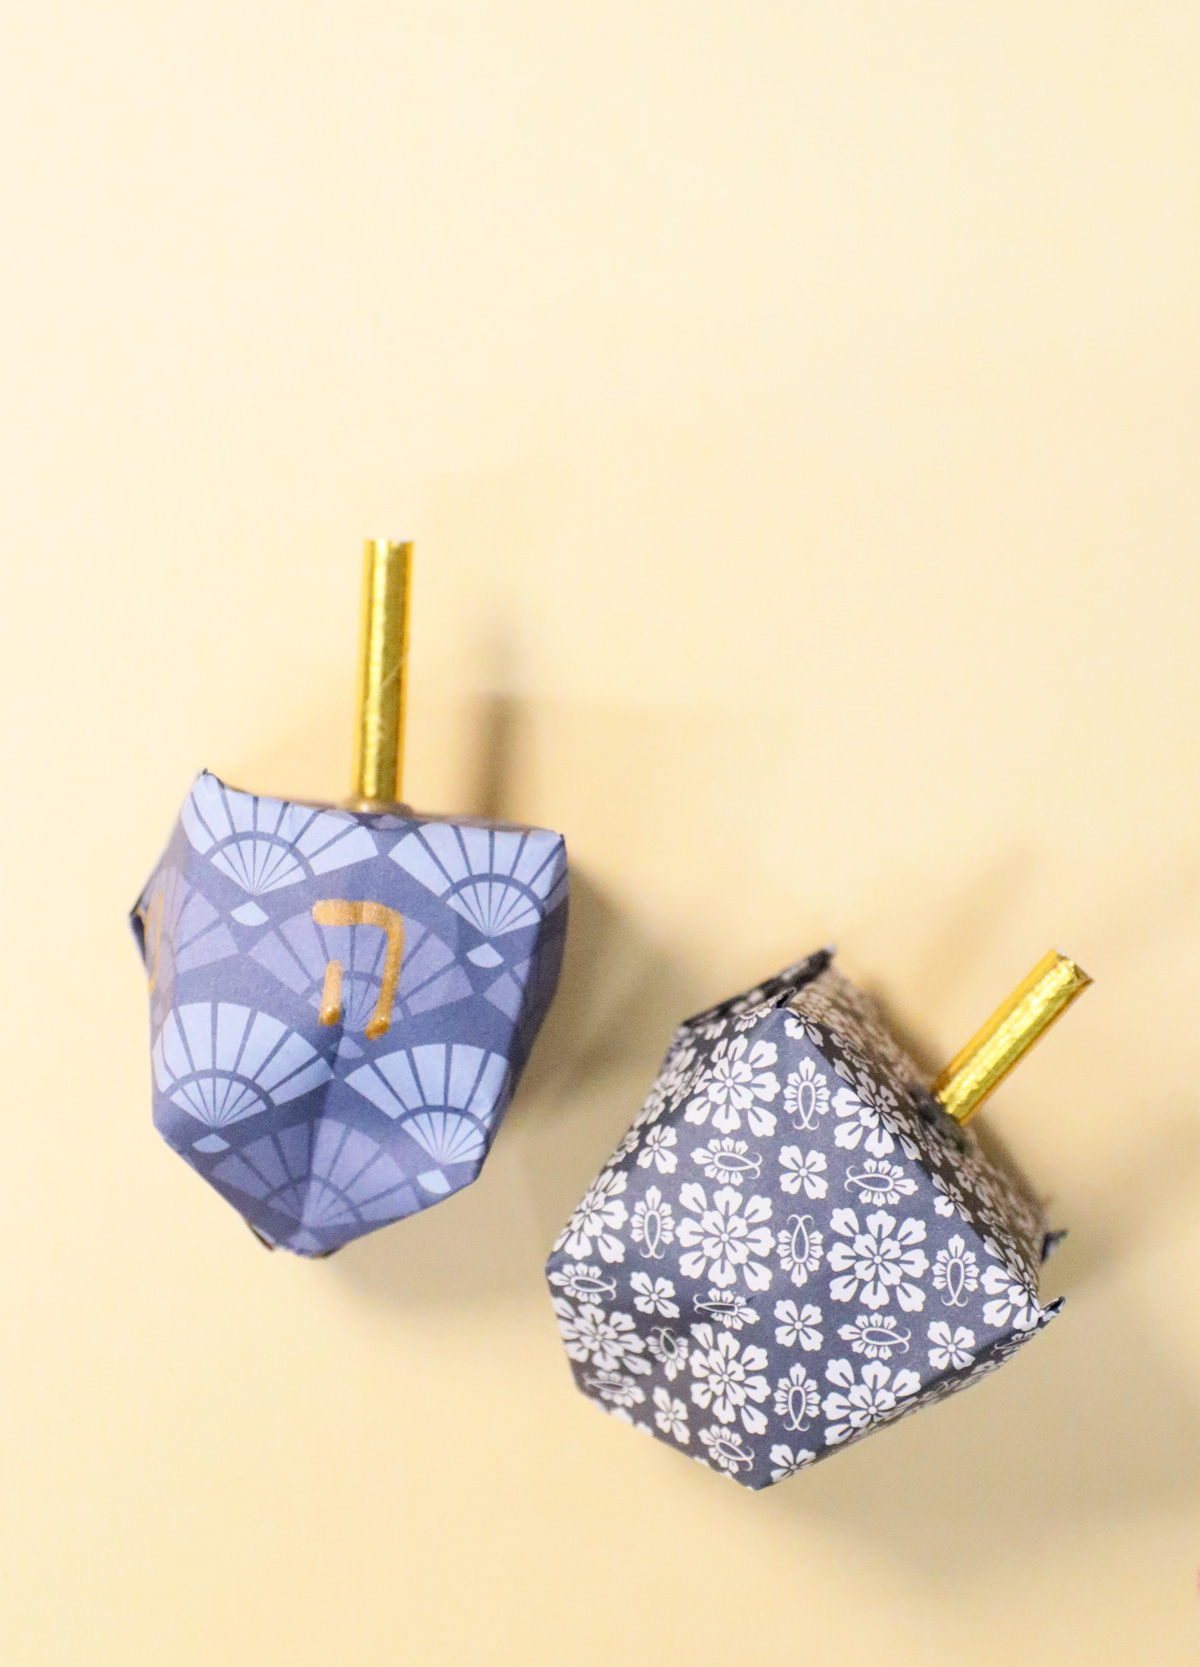
You’ve successfully learned how to make origami dreidels two ways. Which will you be trying? Comment below!
