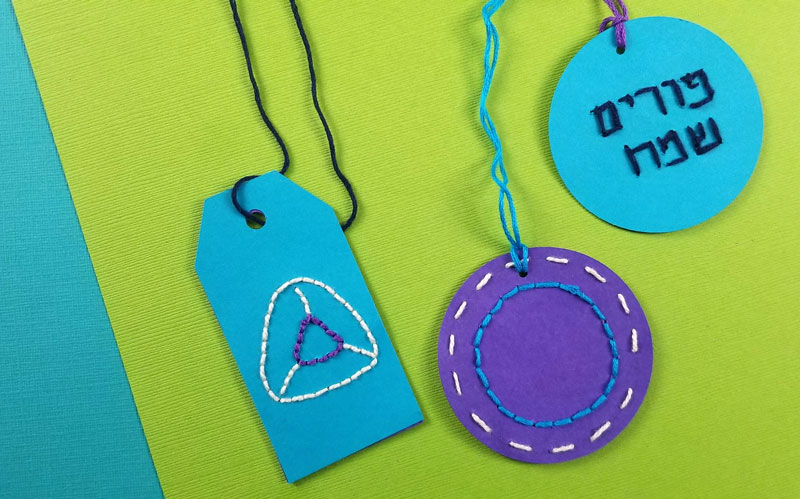
Sewing Paper Purim Tags Craft + Free Printable Template
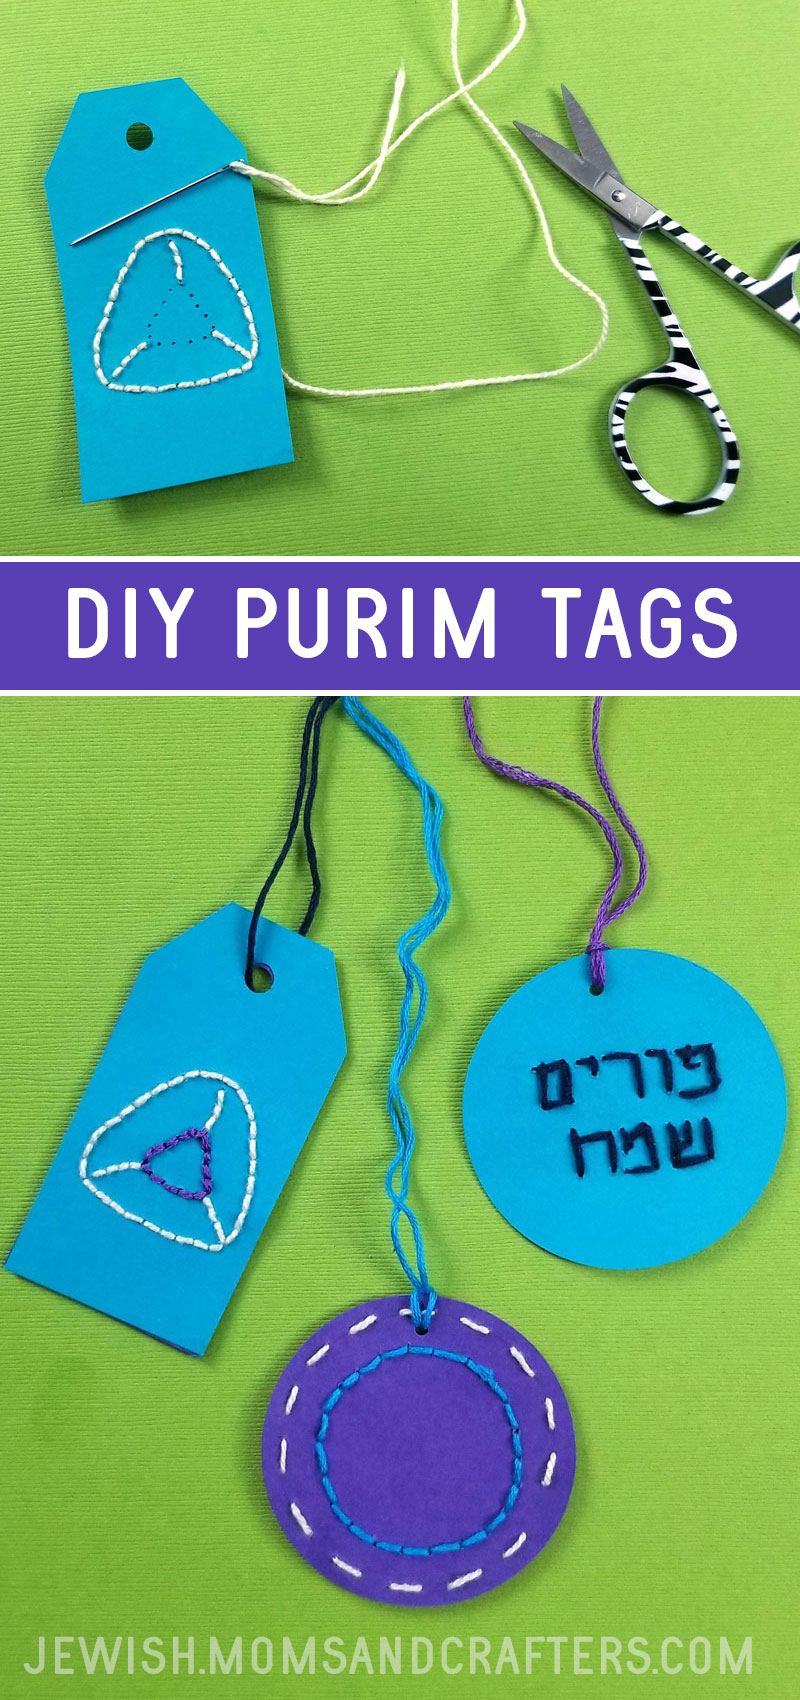
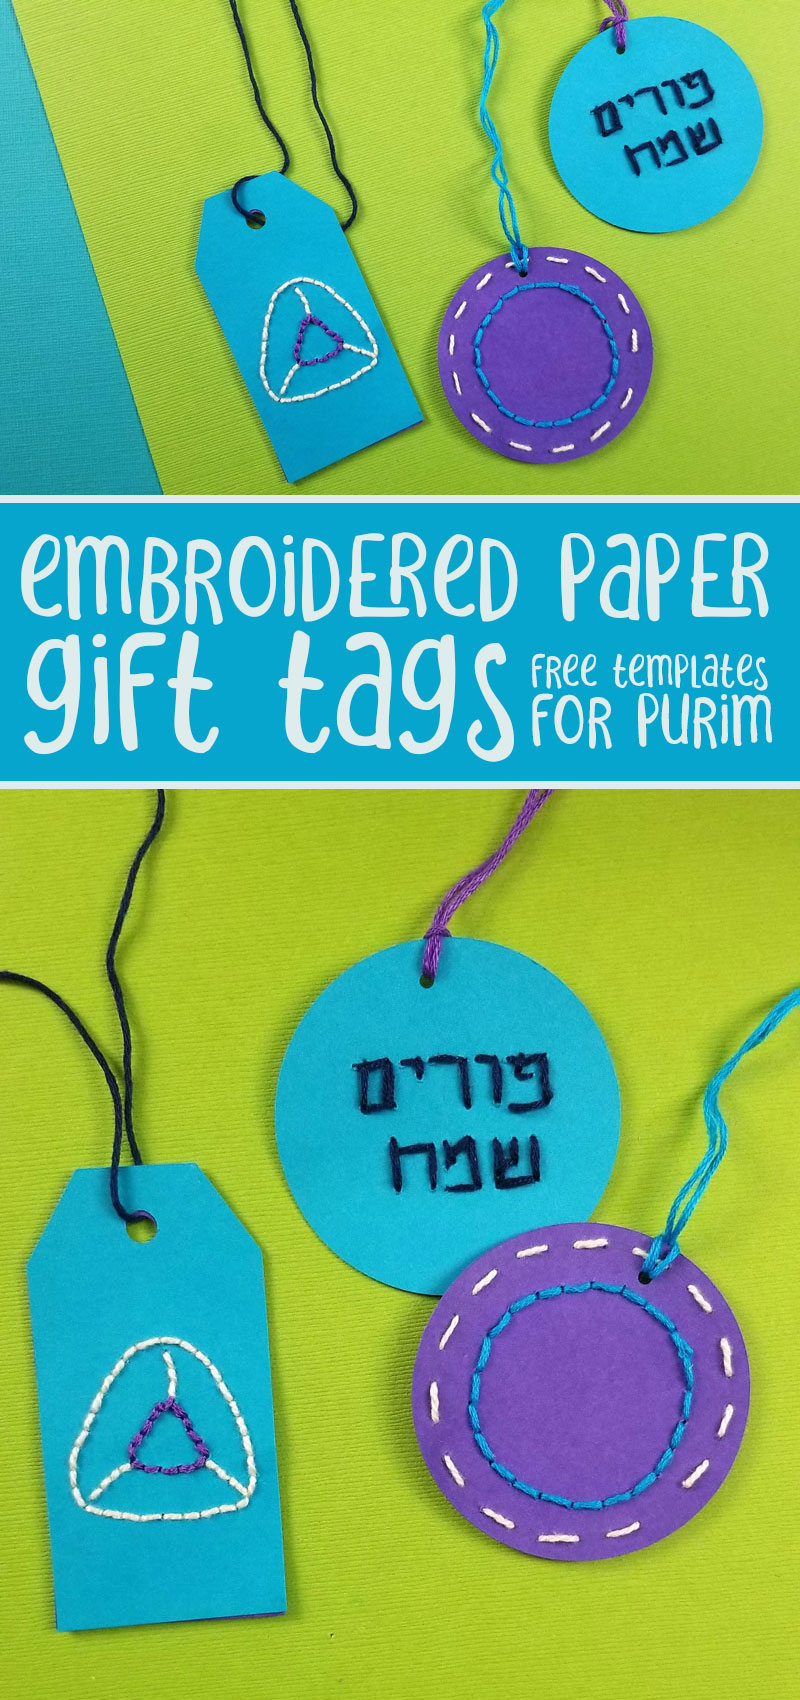
Add a personal touch to Mishloach Manot packages by crafting your own Purim tags using a very basic technique: paper stitching! Find our full list of Purim ideas here. This post contains affiliate links.
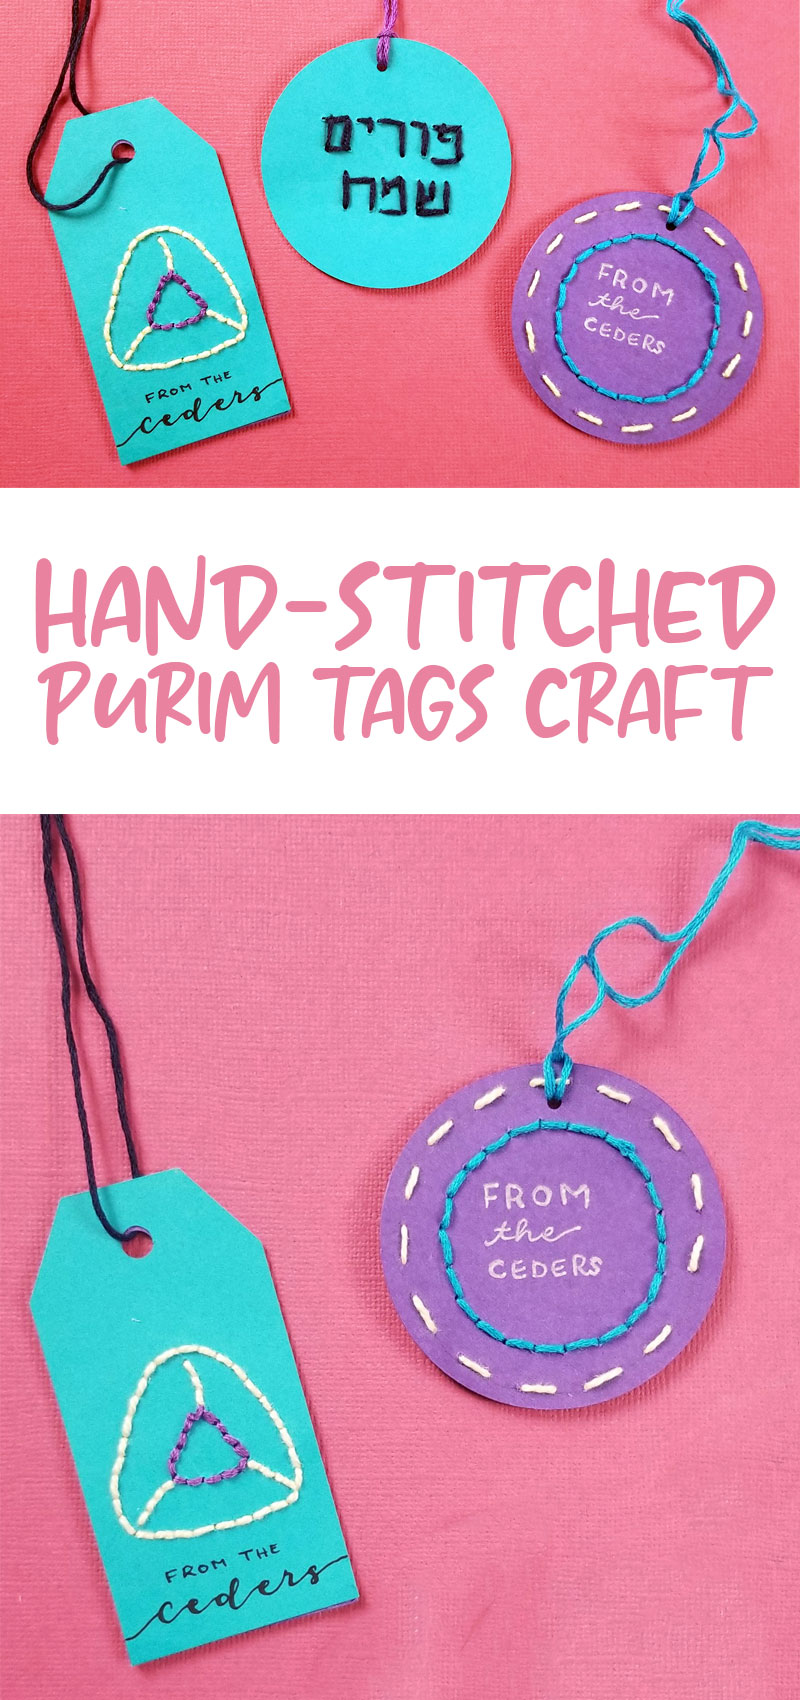
Did you know you can sew and embroider paper?
These Purim tags are simple but the texture makes them so cool!
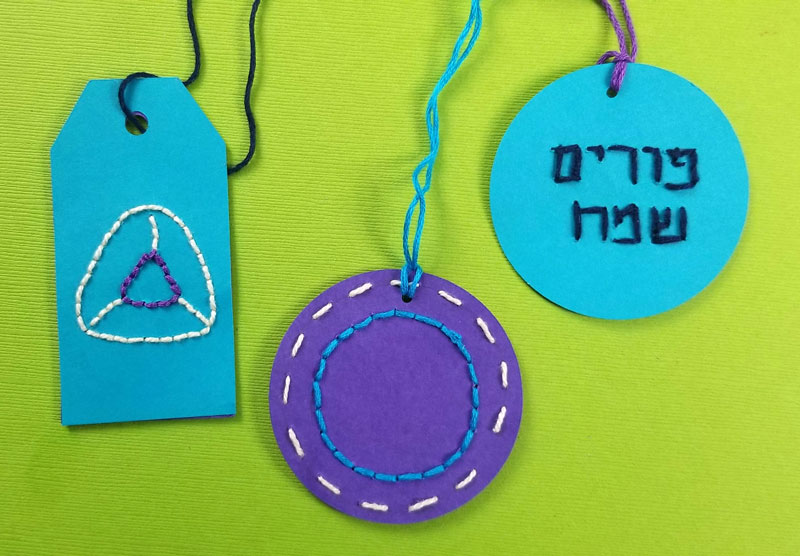
Last year, right before schools were cancelled we had Purim. Remember that?
Had I known things were about to be flipped upside down, I might not have been sitting and stitching paper for an article for a local newspaper. But I was. Because I didn’t know that I should be stockpiling content for my own blogs because “work” is about to be a foreign concept.
The good news is, had I not been doing this last year, I wouldn’t have been able to share with you this year. I simply wouldn’t have had the capacity to do this from scratch.
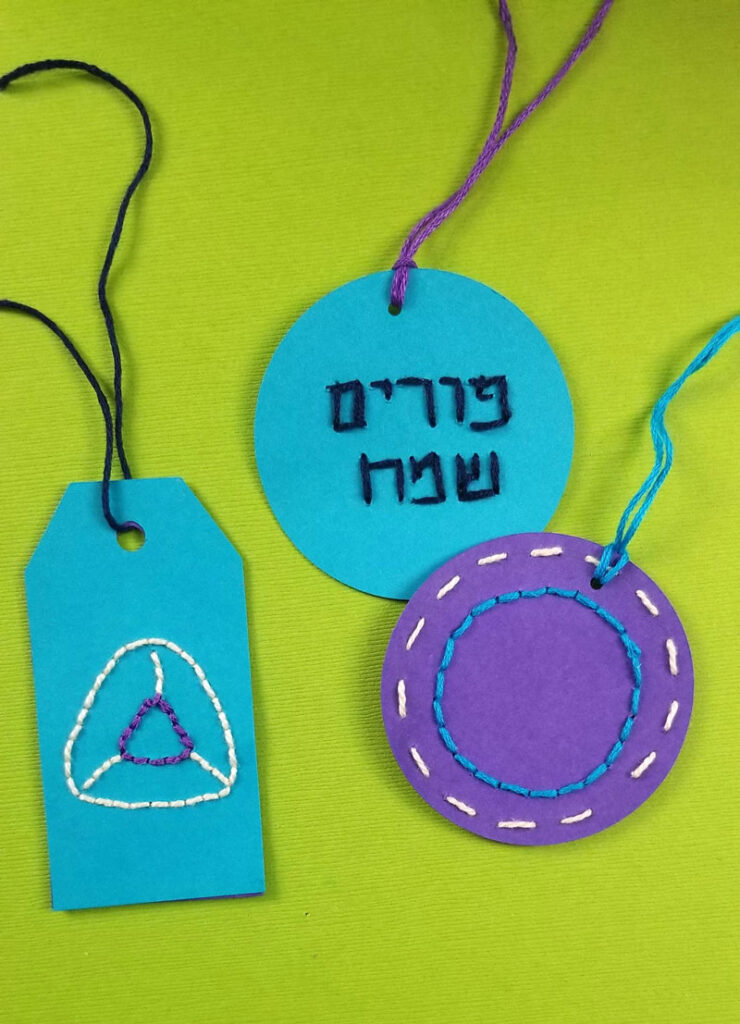
I originally created this for a print newspaper so I didn’t make a template. I did, however, use my Cricut to cut the base tags (I offer alternatives below). I decided to add a template now, since it’s the kind of project that’s much easier to create that way.
The instructions are shown without the template, so I added instructions for using them on the templates themselves.
I created SVG templates too – those you’ll simply cut directly from the cardstock you’ll be stitching. You’ll want to place your chosen dotted design over your tag, and attach so that it cuts the holes in the right spot.
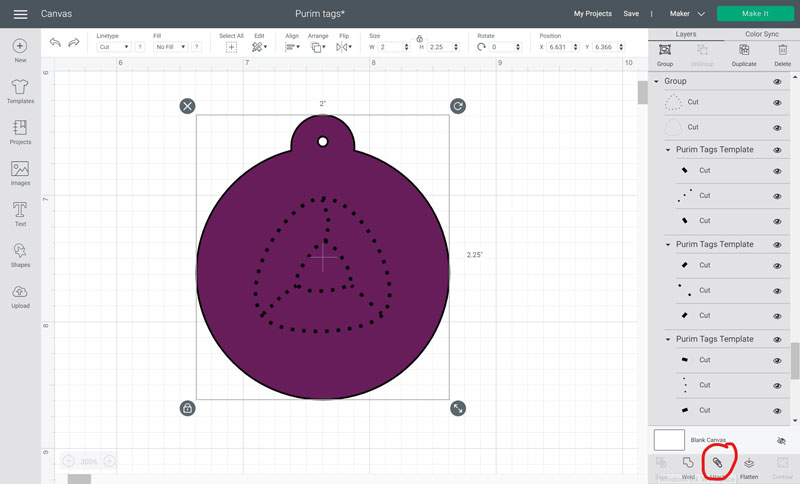
Note: the SVG can be made bigger but the spacing and proportions are fixed. The original size is pretty tight (how I like it) and the holes it makes are very small – really enough that you don’t need to use force when poking it.
I recommend cutting or printing a practice tag so that you can gauge how bit you’d like it.
Otherwise use the non-dotted design, attach, and draw it on the back of your tag (mirrored) or with erasable media. Punch by hand.
The easiest way to stitch paper is using a simple backward stitch. This is a simple in and out, only you’re making your stitches backward so that you can use the same holes to make a solid line.
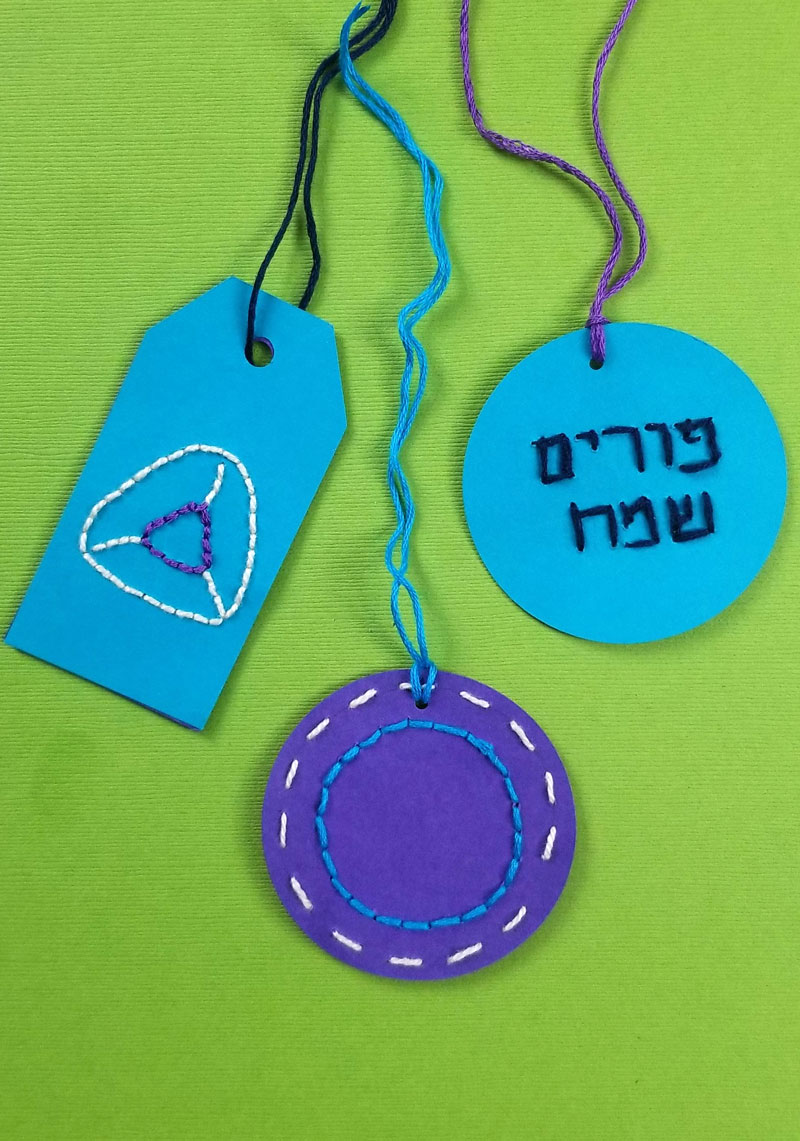
The result is a beautiful, handcrafted look that has texture and is unfussy!
When designing these gift tags, make sure to leave space (on the front or the back) to write a “from” message.
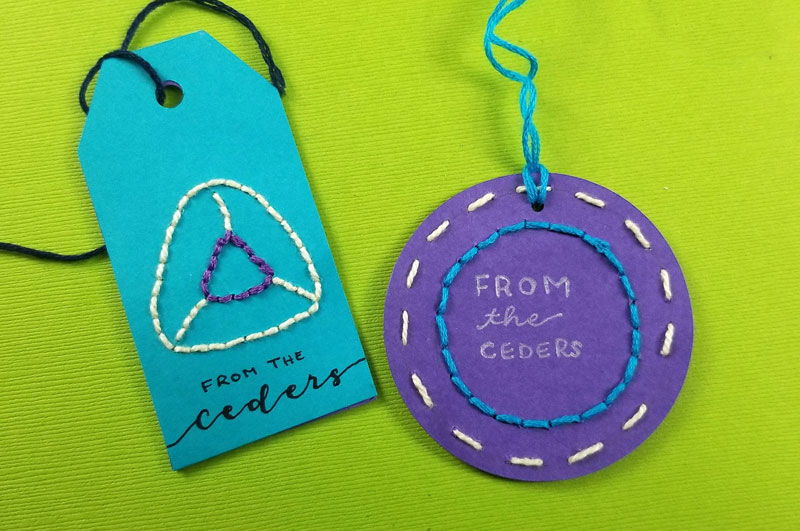
Alternatively, ou can glue another layer of the same tag outline to the back to make a smooth (no stitching) layer for writing.
What you need to make stitched gift tags:
- Card Stock
- Scissors
- Pencil and eraser
- Embroidery floss
- An embroidery needle
- Recommended: paper piercing tool
- Recommended: self-healing mat
- Optional: A large (around 2 inch) and small circle hole punch, tag-shaped hole punches, or pre-cut plain gift tags
- Optional: paper clips
- Optional: Cricut or similar household die-cutting machine
- Optional: the template – download using the form below
How to Make Purim Tags:
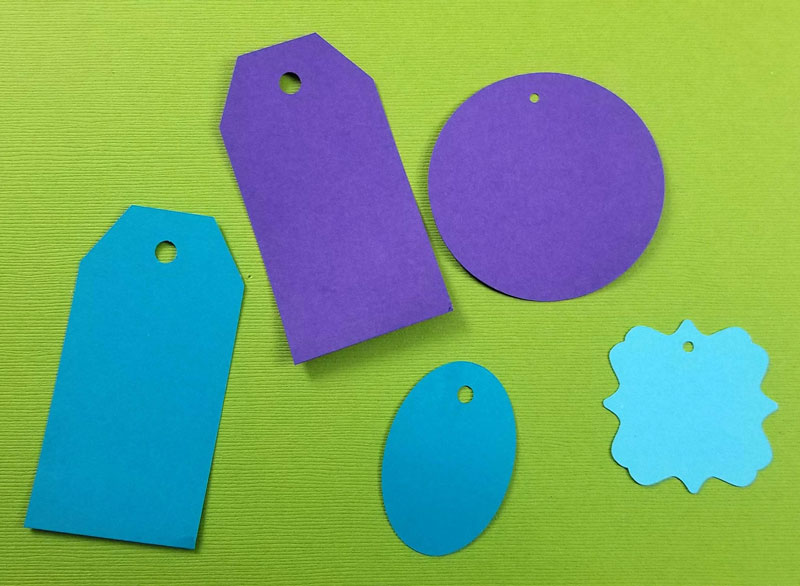
- Cut out your tags. If you’re not sure about making the shape on your own, you can use pre-made tags, a tag-shaped punch, or even a large circle hole punch. Or use the free template above.
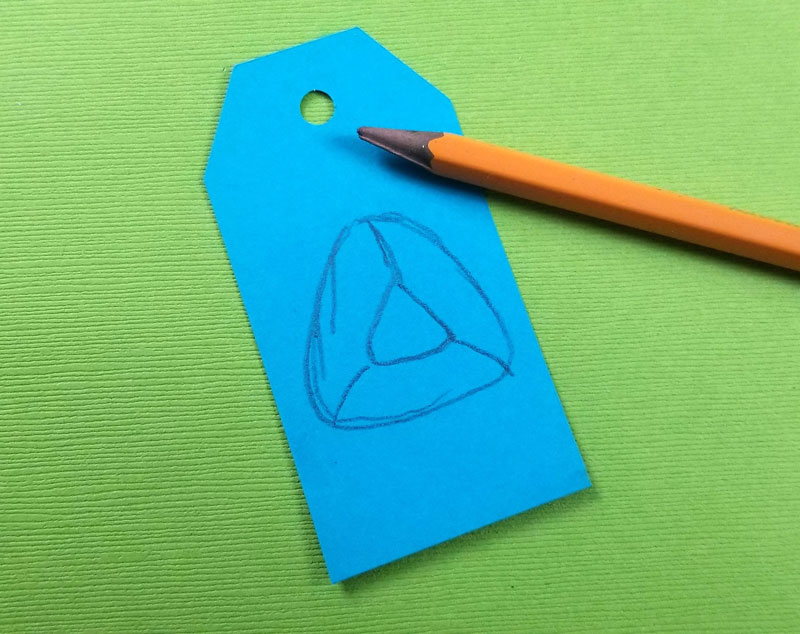
- Draw your shape. Keep it simple! It doesn’t have to be Purim themed but that’s part of the fun! If using the template, cut roughly around the image you want to use. Clip or tape it on top of the cut tag instead.
- Moving along your image, pierce holes. If using the template, you can just punch right through the template. I recommend working on a protected surface, such as a self-healing mat, so you’re not tempted to hold your tag with your fingers behind where you’re piercing!
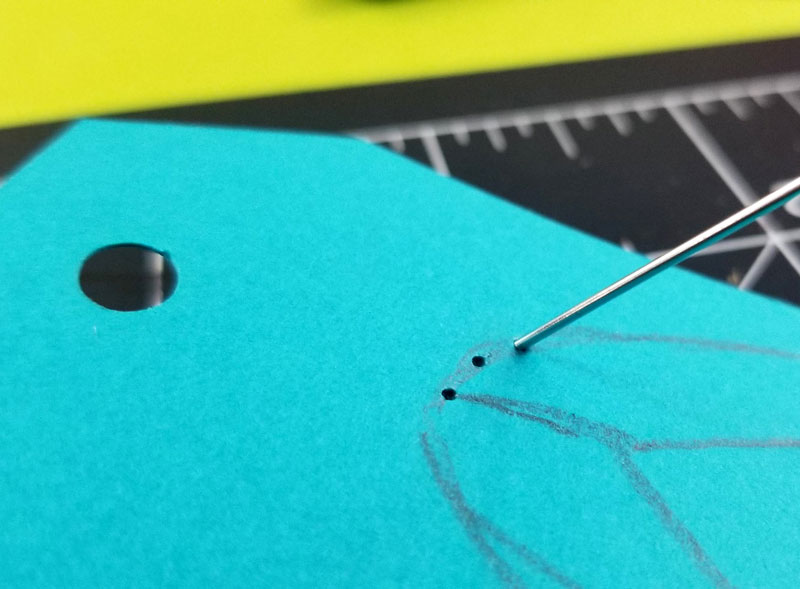
The exact distance between holes doesn’t matter as much as staying consistent with your spacing does. Even then it doesn’t have to be perfect!
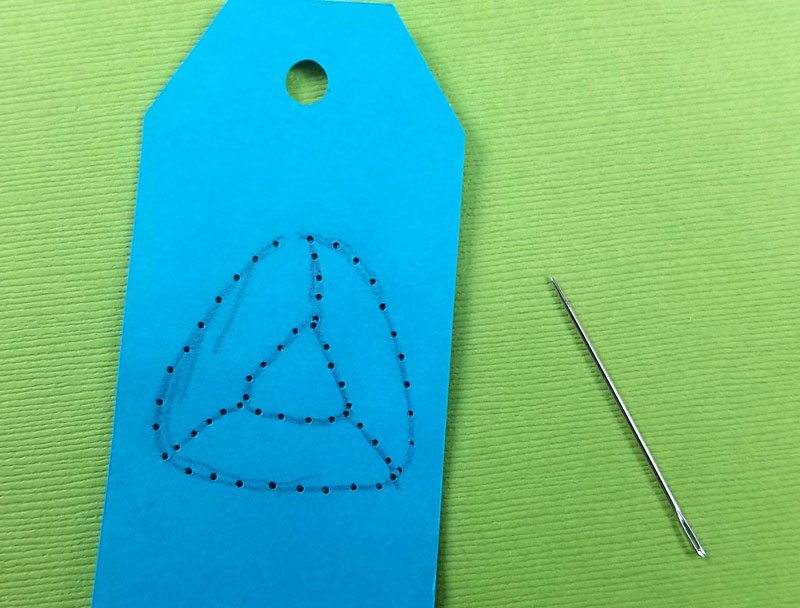
Don’t forget to erase your pencil design before proceeding.
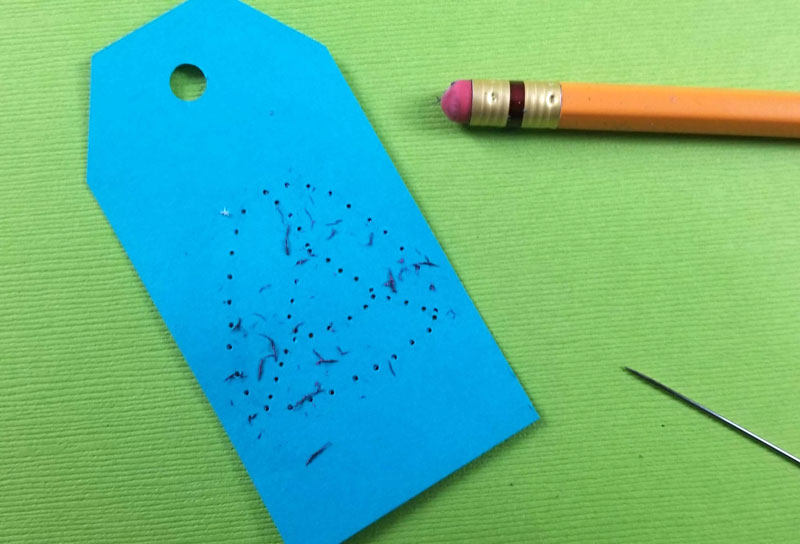
- Thread your needle and pull it from back to front through your first hole.
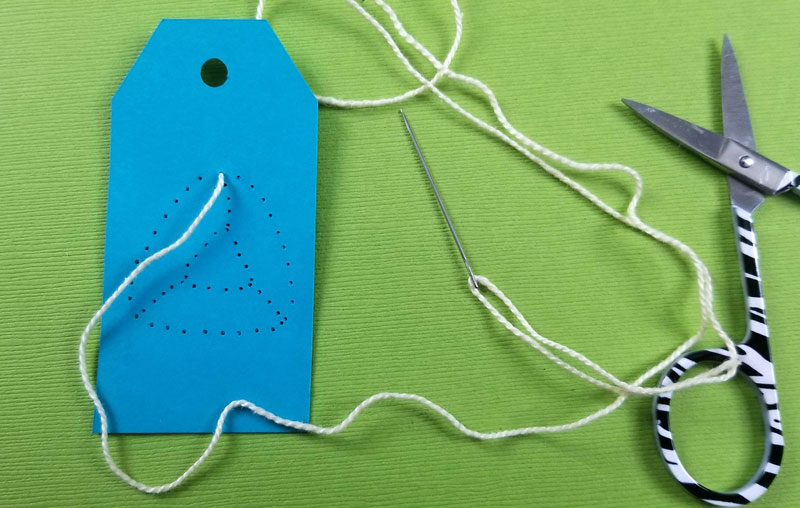
Leave a 1 inch tail in the back. When you create your first stitches, you’ll make sure to “catch” this thread in your back stitches.
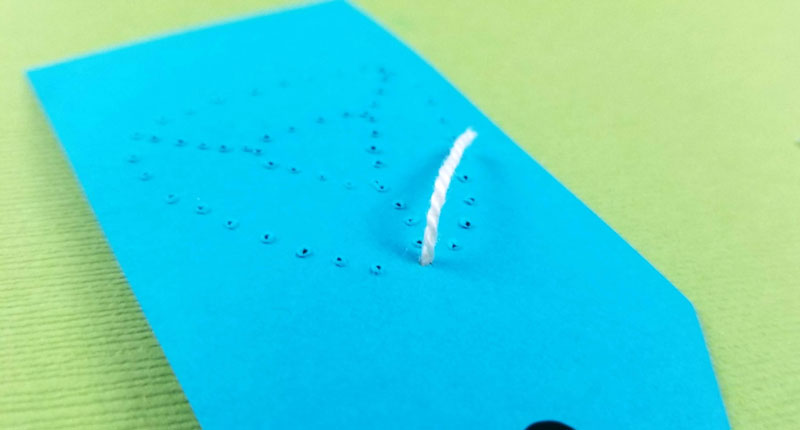
- Make one stitch, and then, catching your back thread, thread it from back to front in the next hole.
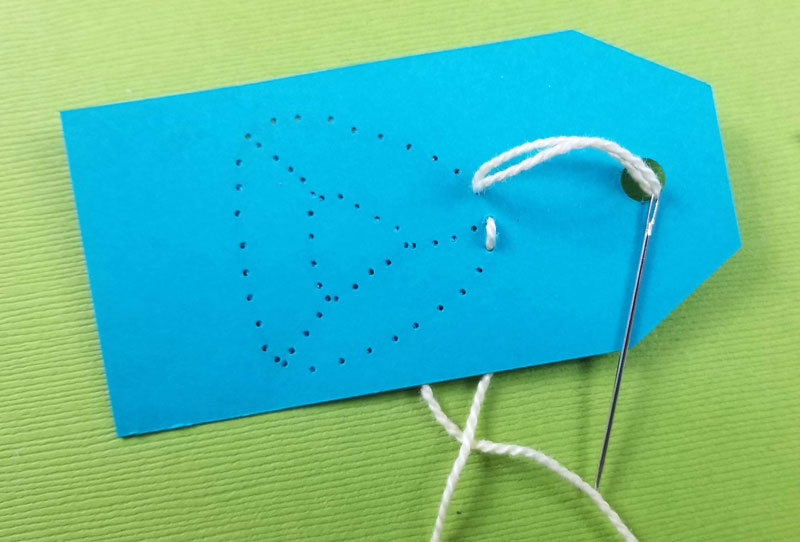
- Thread it back through the hole where your previous stitch ended.
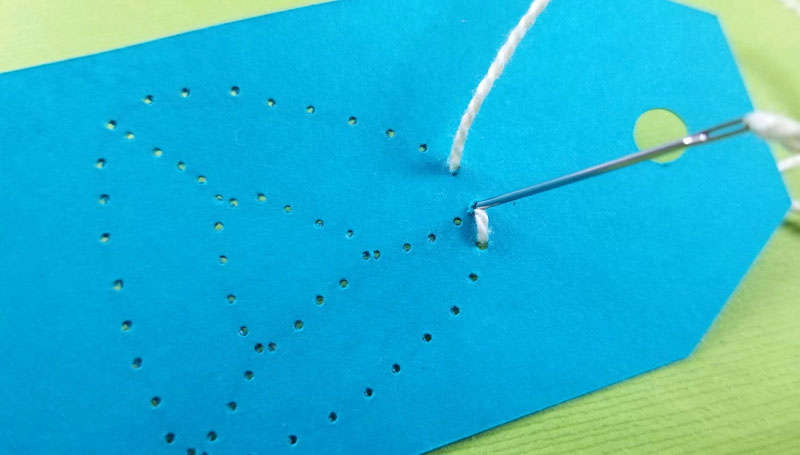
- Keep on stitching this way – starting your stitch back-to-front from the next unused hole, and then returning front-to-back through the last used hole.
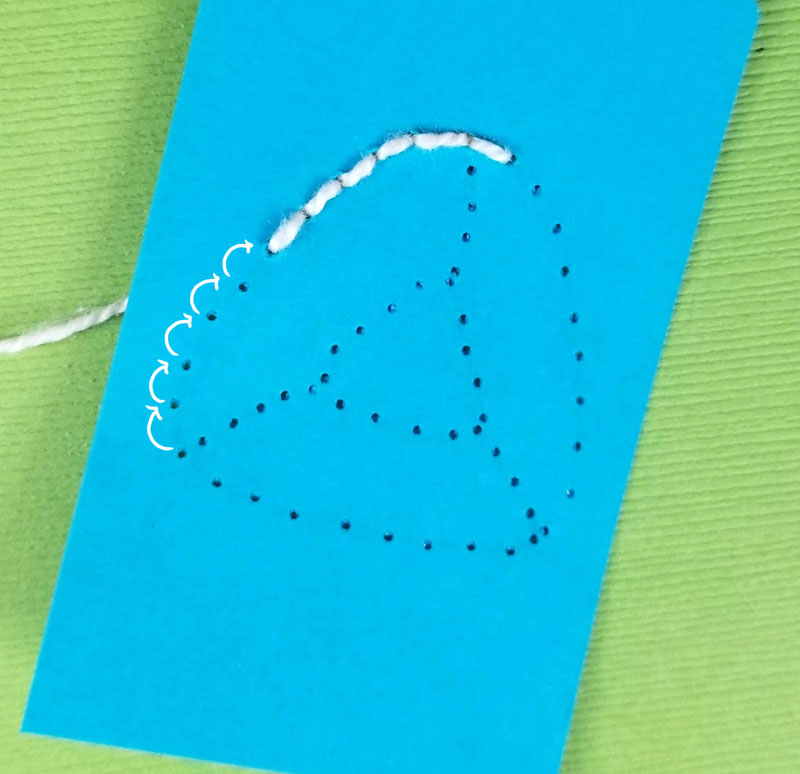
- Don’t worry about how your back looks. If you need to skip around a little to complete stitches, that’s fine. Complete your first color.
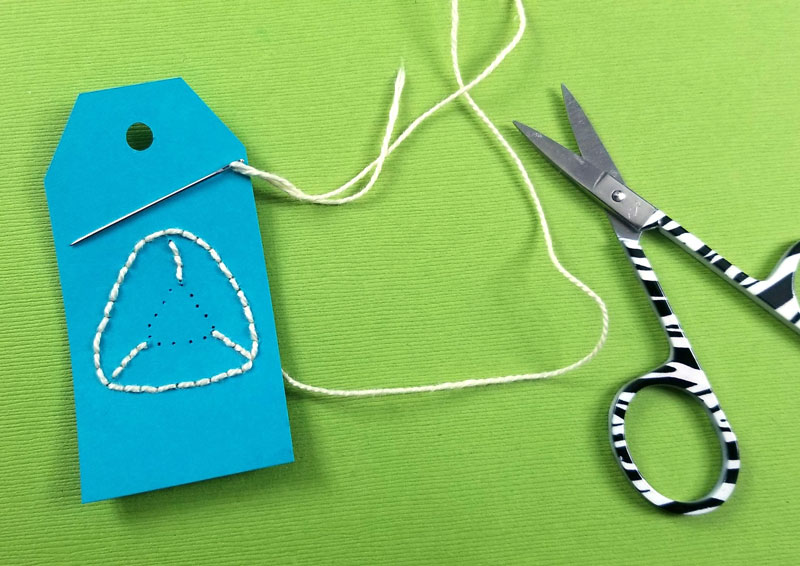
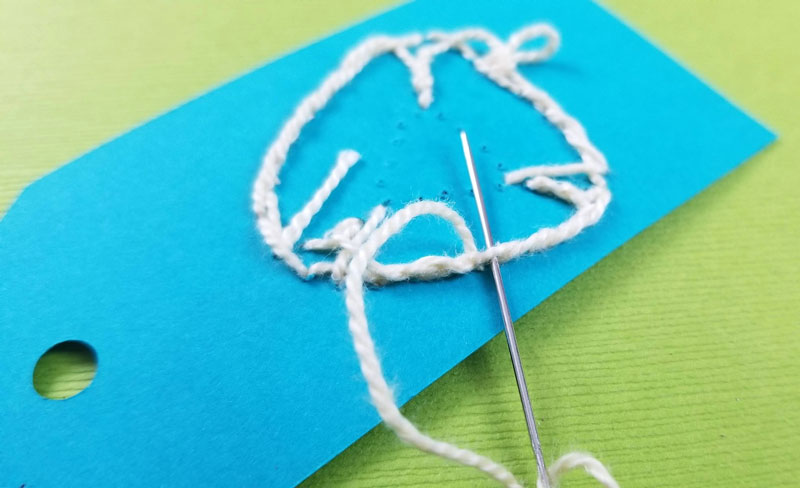
- To finish off your color, flip your tag over, and thread through a few of your stitches. Trim.
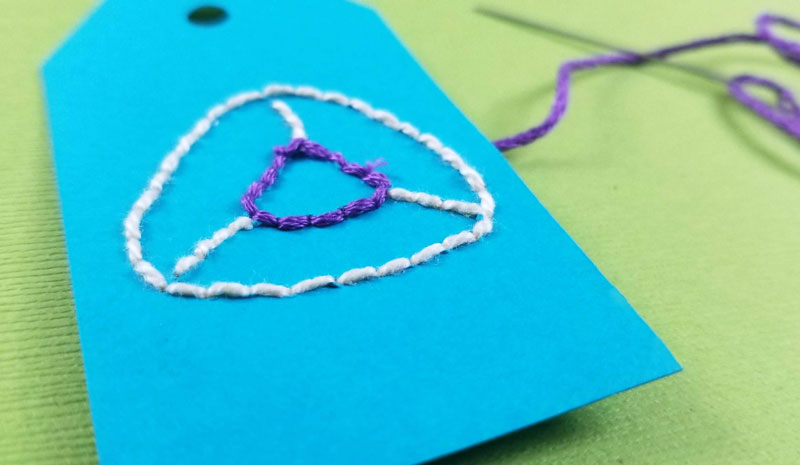
- Finish off your piece with your second color the same way you did the first.
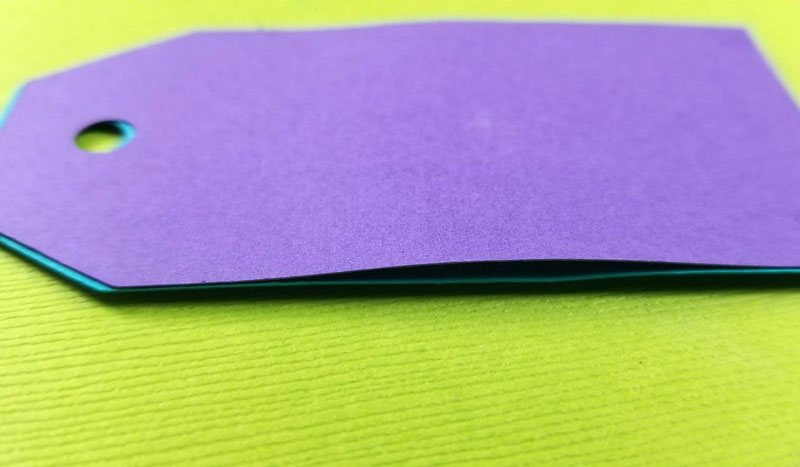
- If you want, you can back your piece with an identical or contrasting blank tag to hide the stitching, and to give you more surface to write on.
Write your name – or print simple stickers on clear sticker paper if you’re not confident with your lettering skills.
You can stitch text too! Just treat each side like one stitch and try to convert any curves into a series of shorter lines.
