Felt Lulav and Etrog Templates
Use these felt lulav and etrog templates to make fun Sukkot toys for your kids or students! When you’re done, check out this paper lulav and etrog craft too. This post contains affiliate links.
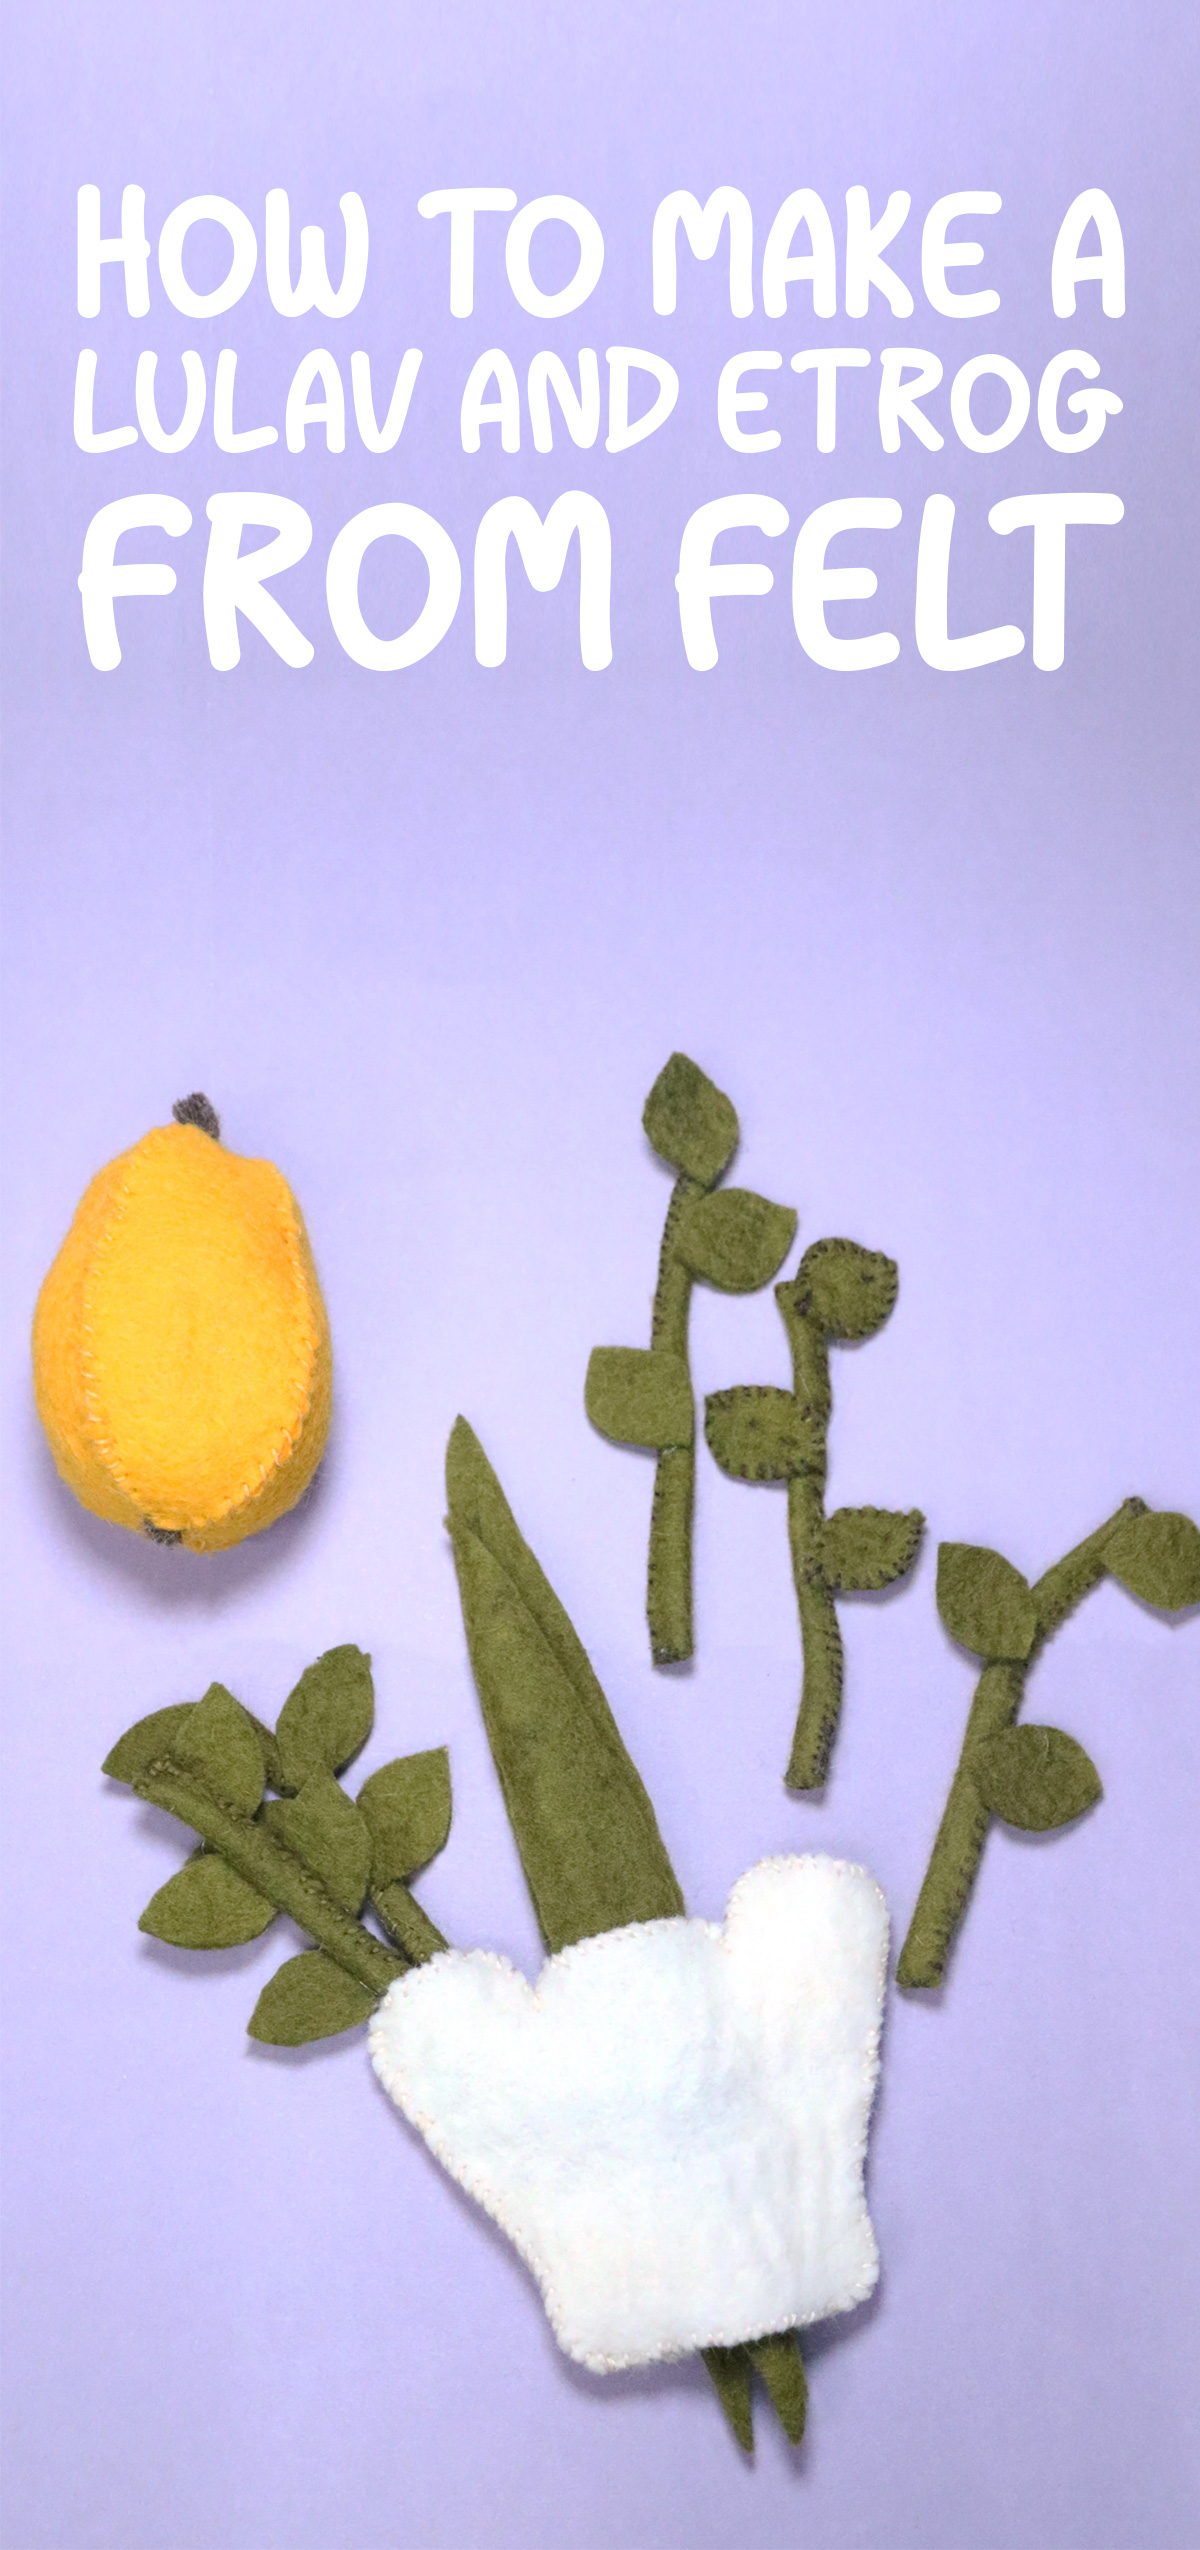
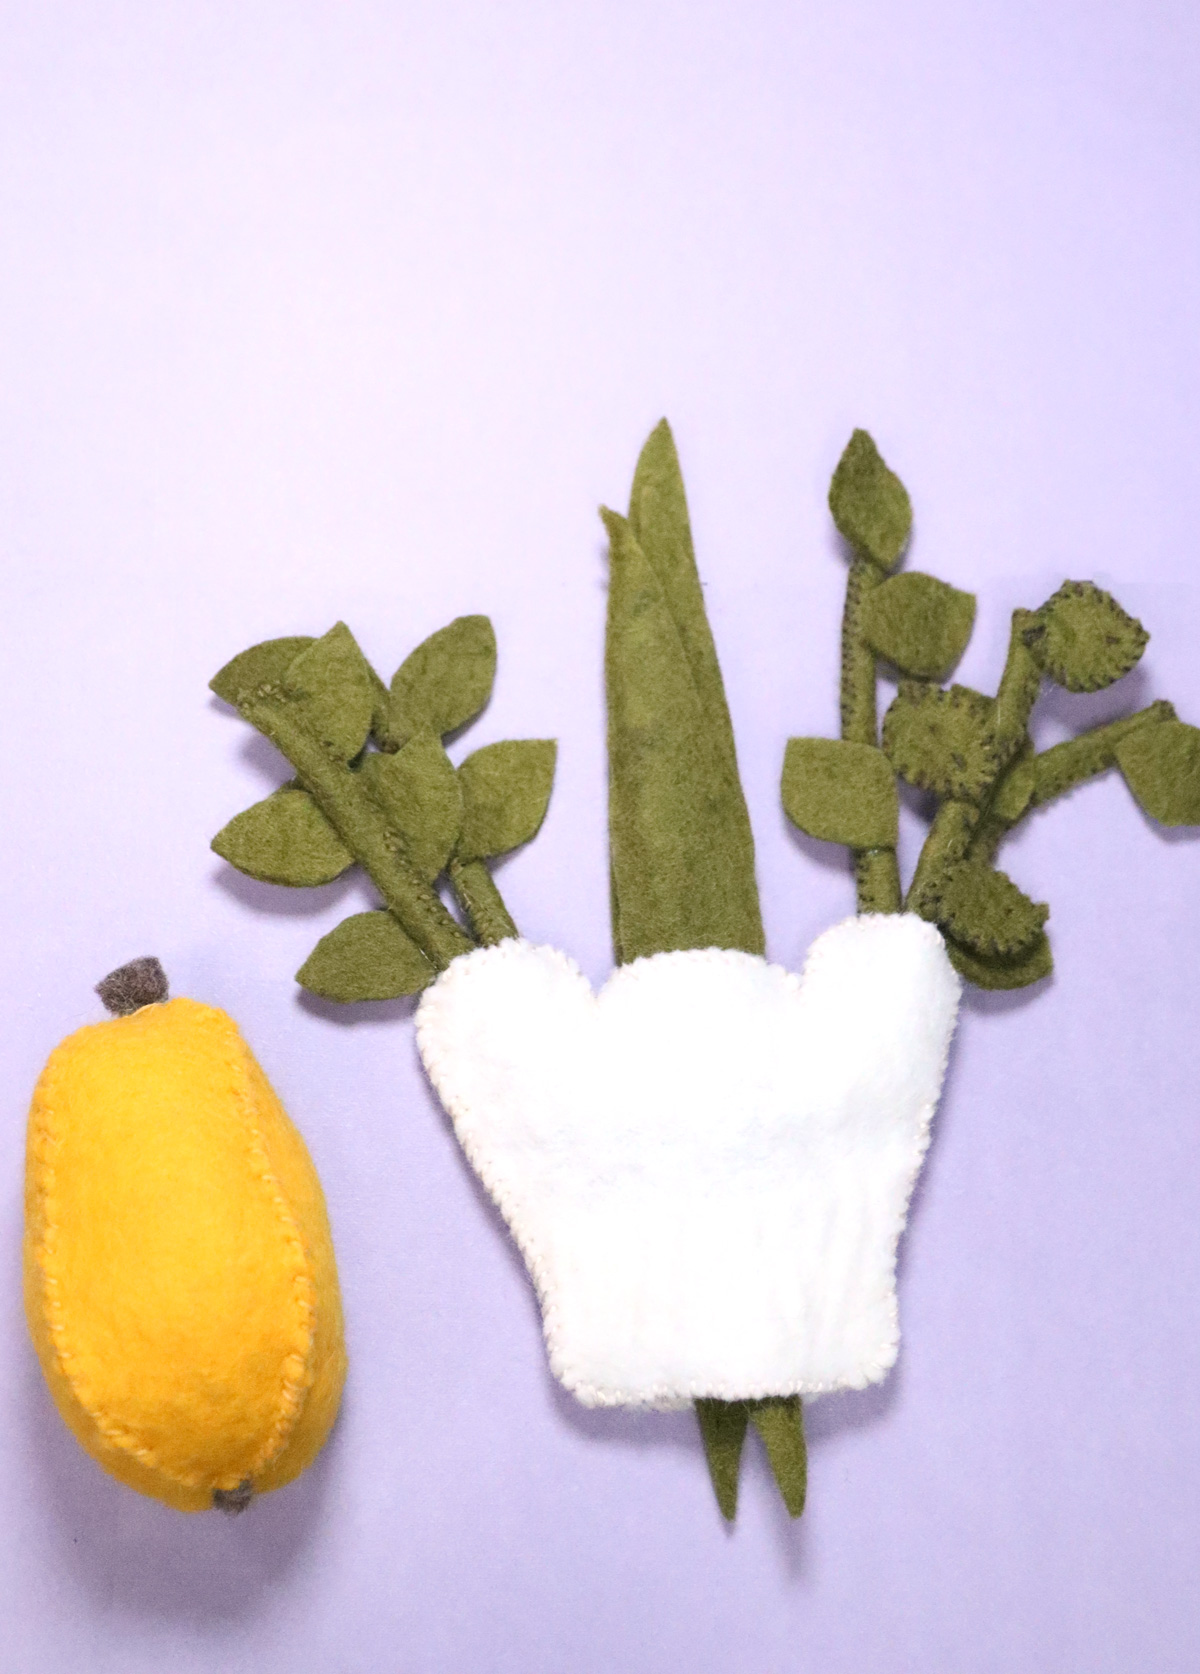
I love crafting interactive felt toys for my kids for the Jewish year, and then sharing the template so that you can do it yourself! This felt lulav and Etrog set took lots of trial and error to get right, and loads of crafting sessions, and I’m happy to share with you the final result!
You’ll get it together in much less time, since you’ll have a ready made template.
I hand-sewed all the elements with embroidery floss but you can definitely machine sew too!
Two levels of felt lulav and Etrog template
I have a problem when I design a craft that I often have loads of ideas for how to accomplish the same thing. Sometimes I just have to choose the best way, but for this one, I decided to do an easier version and a more complex version.
You get both templates in your download.
The Flat Version
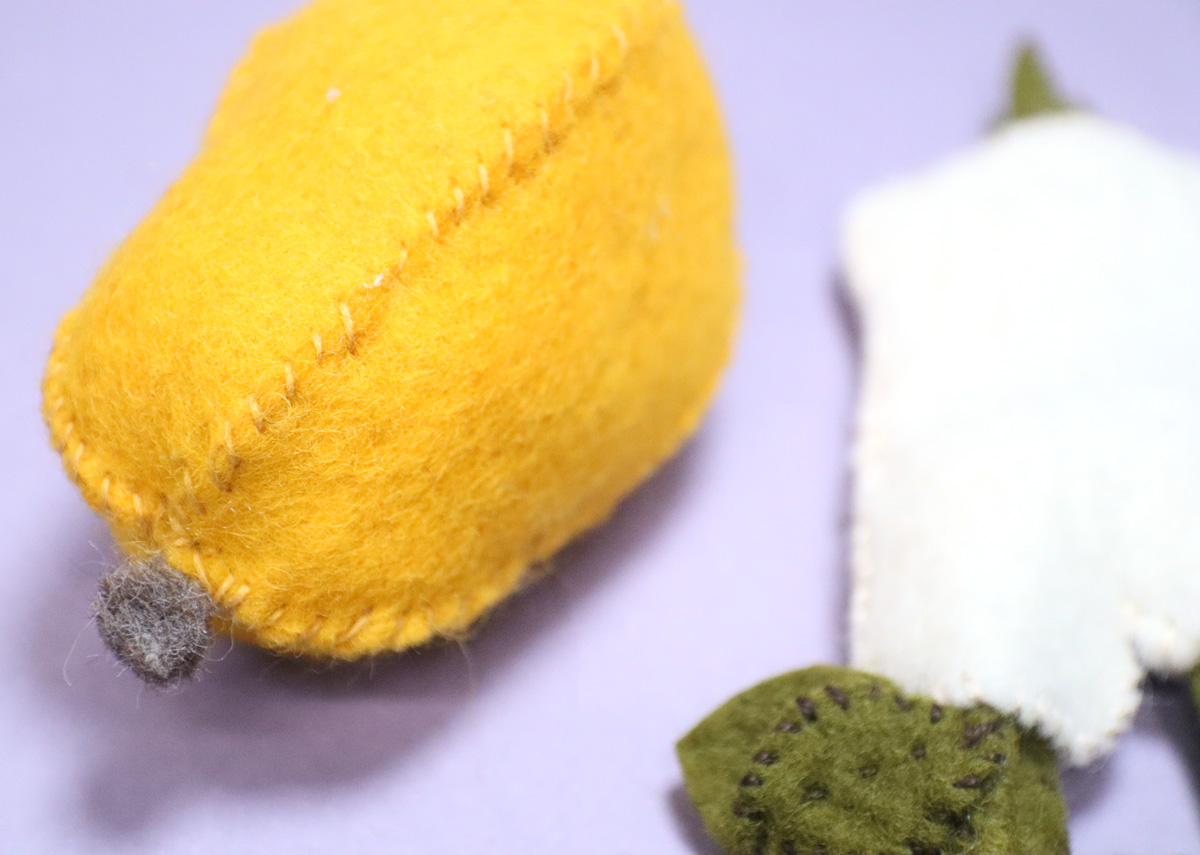
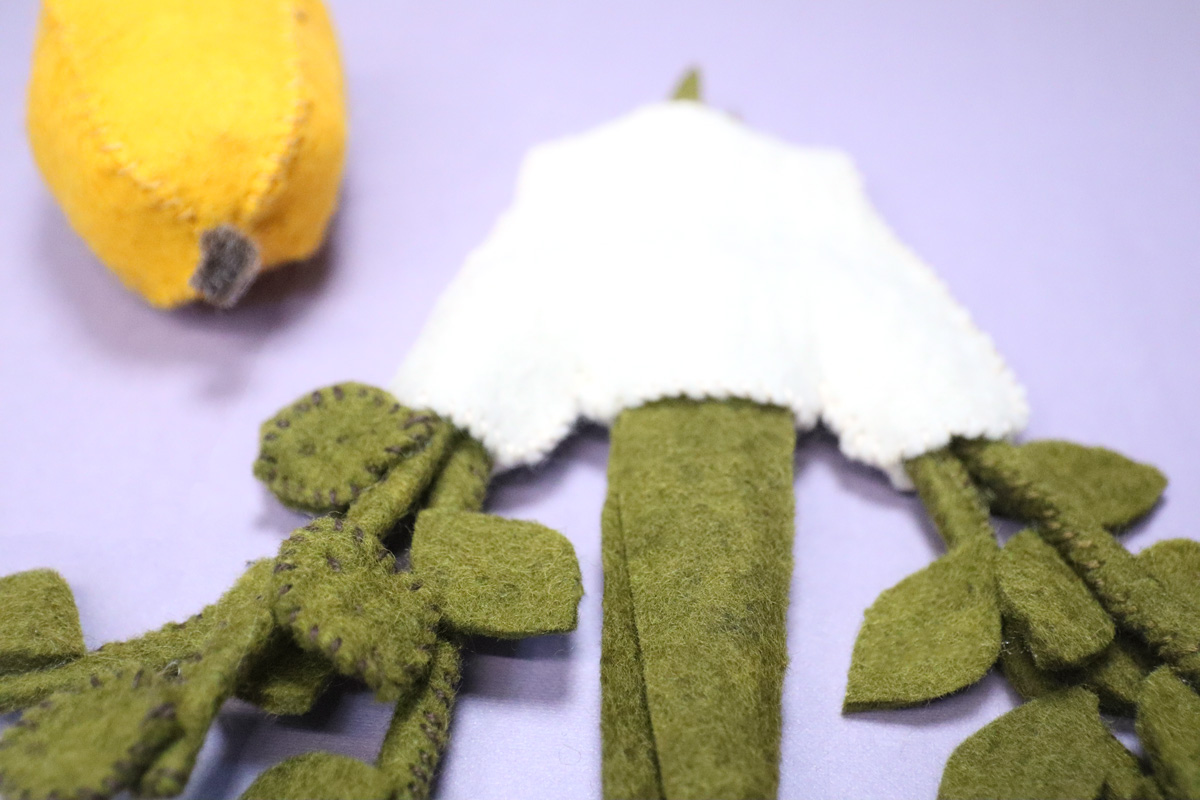
I created a flatter version that is easier to assemble. It’s more of a flat interactive activity (great for quiet books, for example) than a full toy.
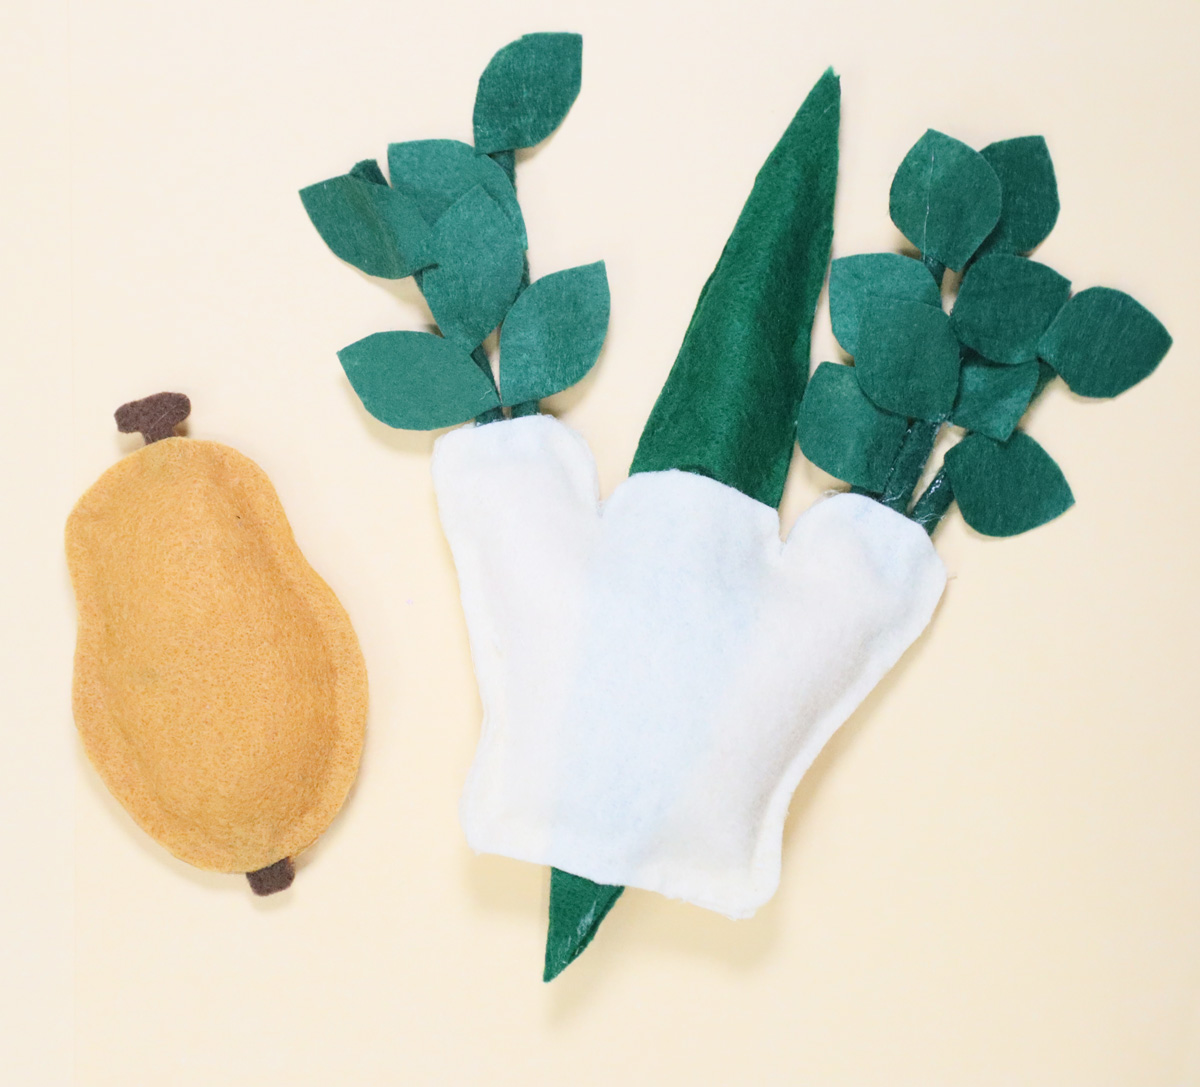
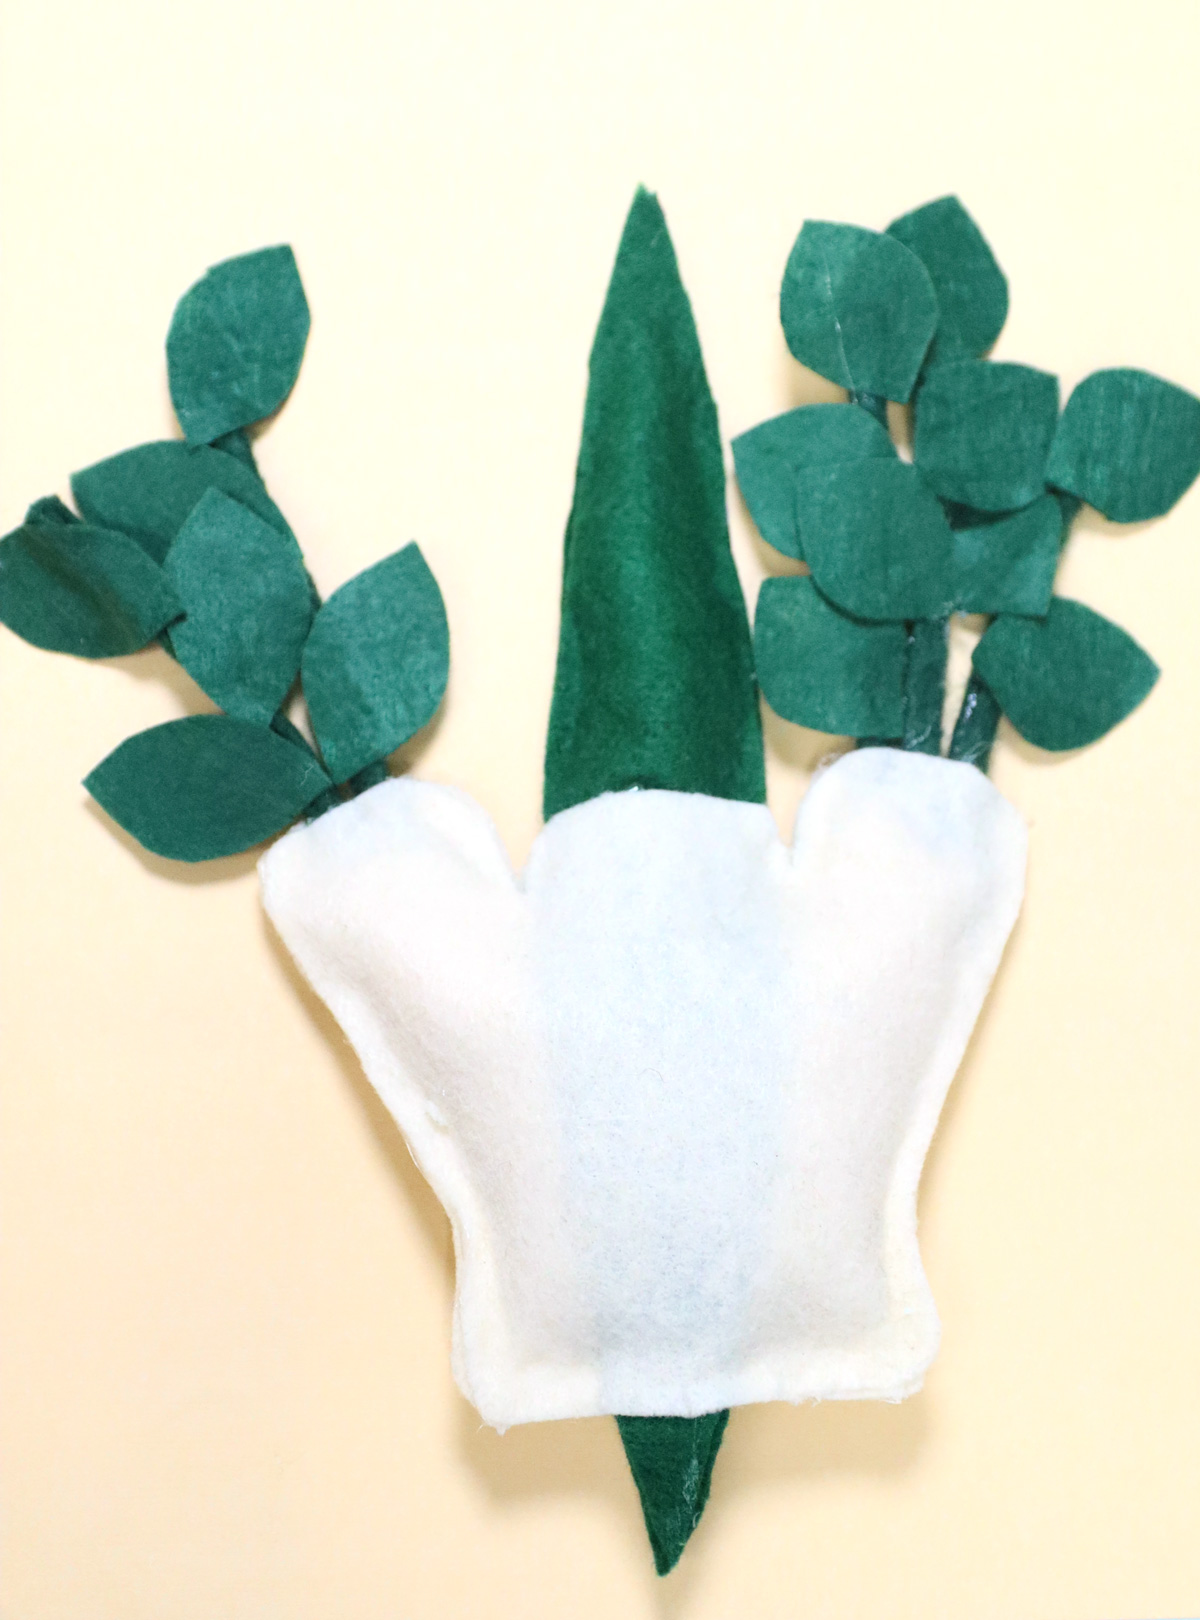
The lulav and Etrog on this one are BOTH flat stuffies – with the Hadassim and Aravot branches fixed in place.
Assemble this one if you’re looking for something quicker and easier, and with fewer runaway parts.
The Full 3D Version
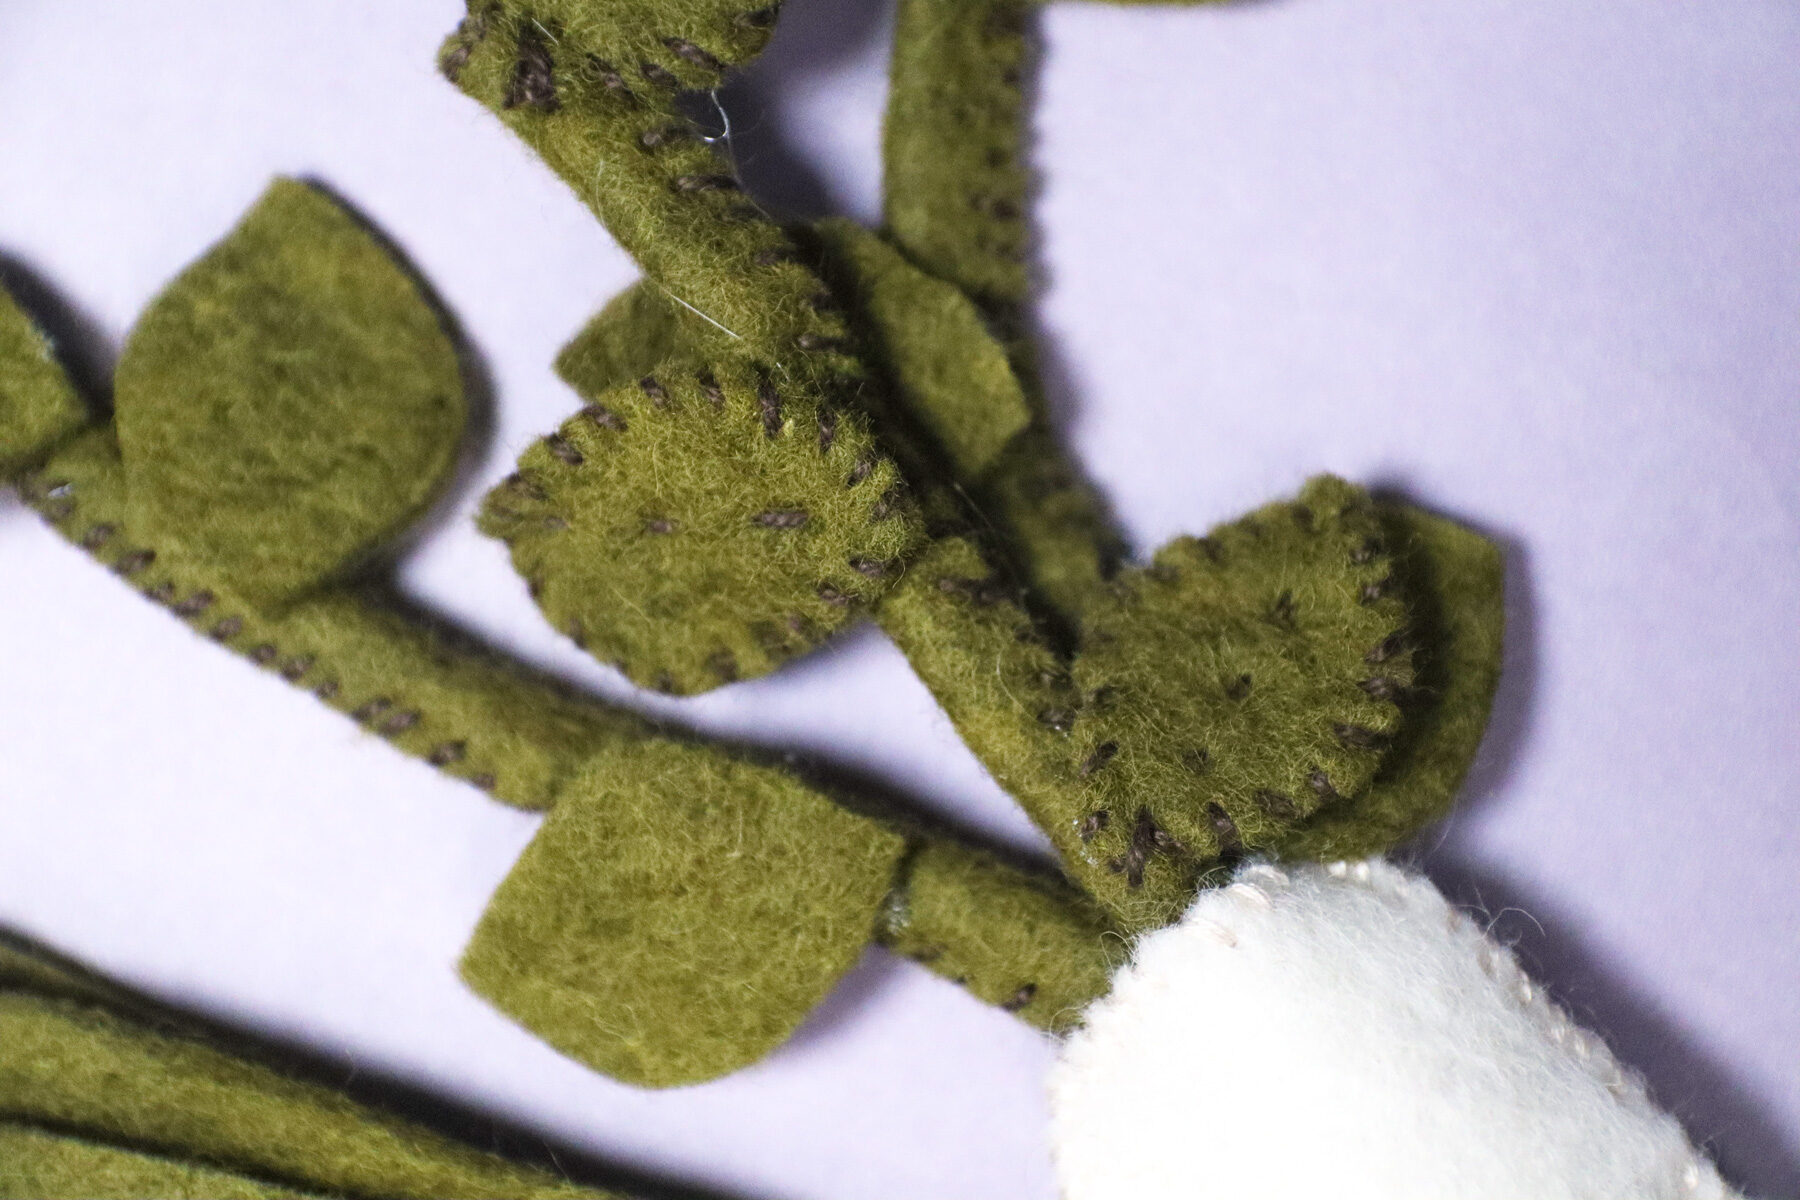
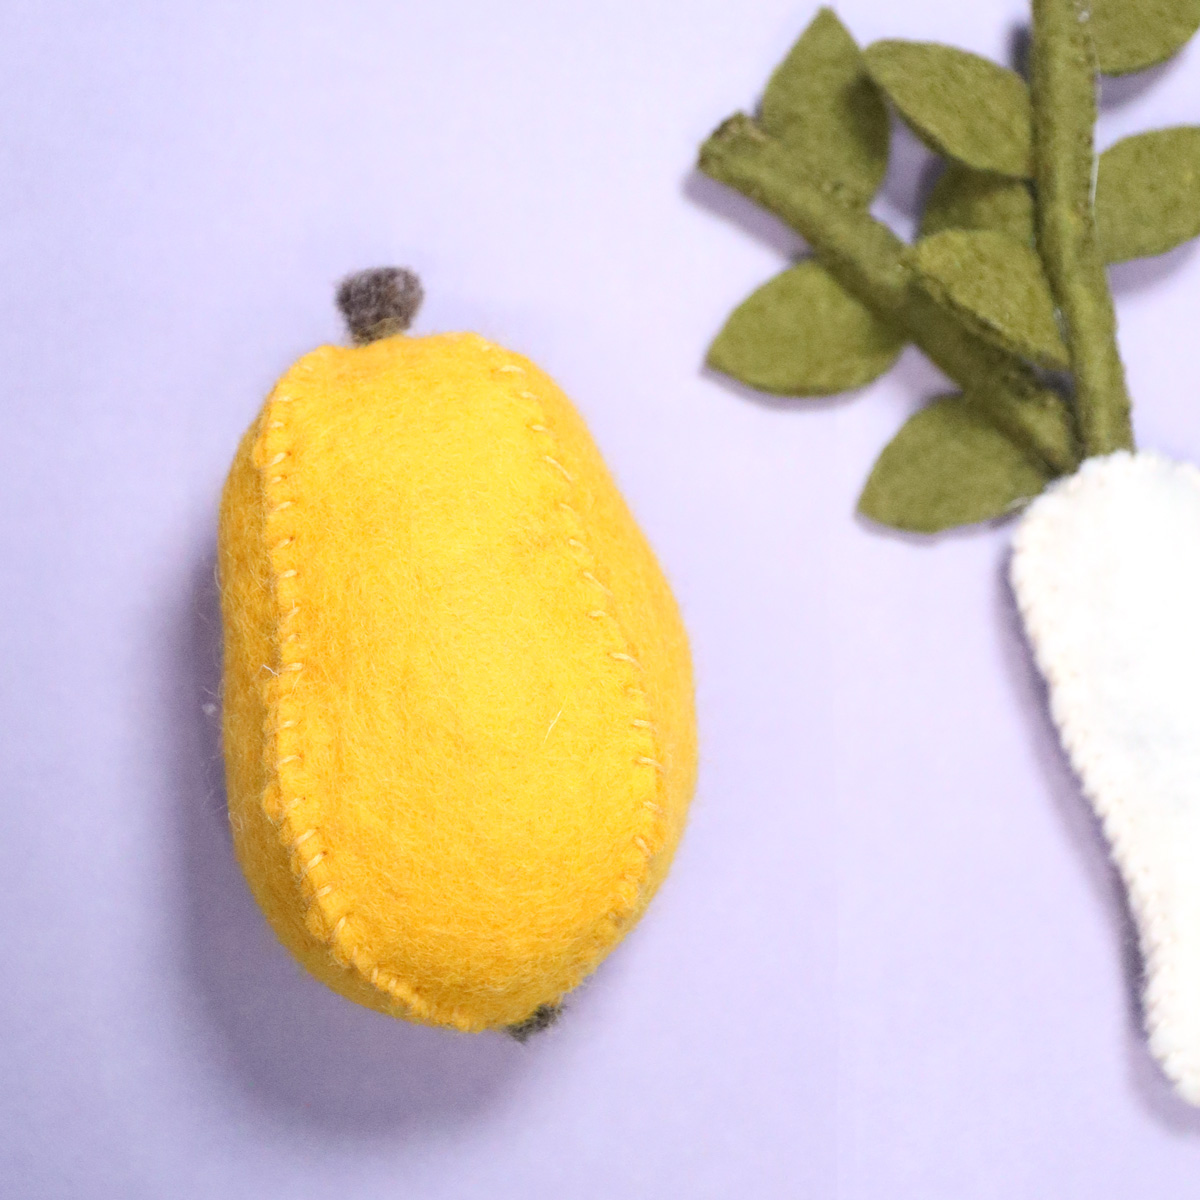
I also created a complete plush Etrog with a lulav that has wired removable Hadassim and Aravot branches. The center lulav is layered with three lulav leaves, and is also removable.
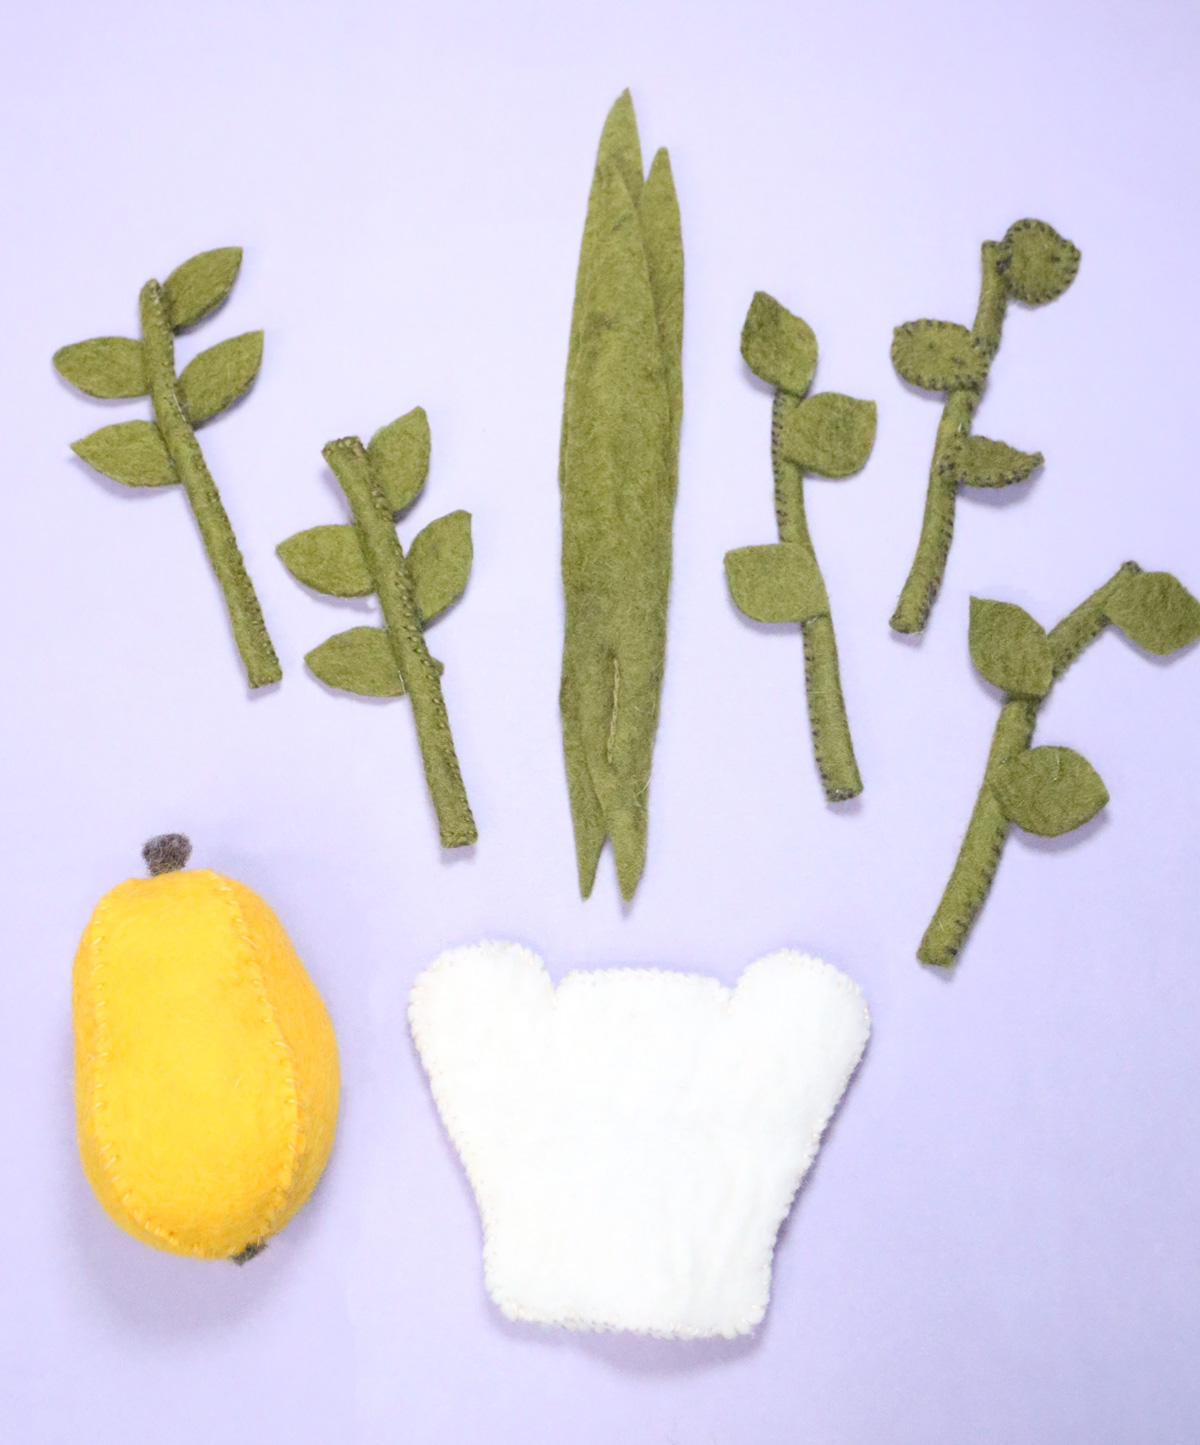
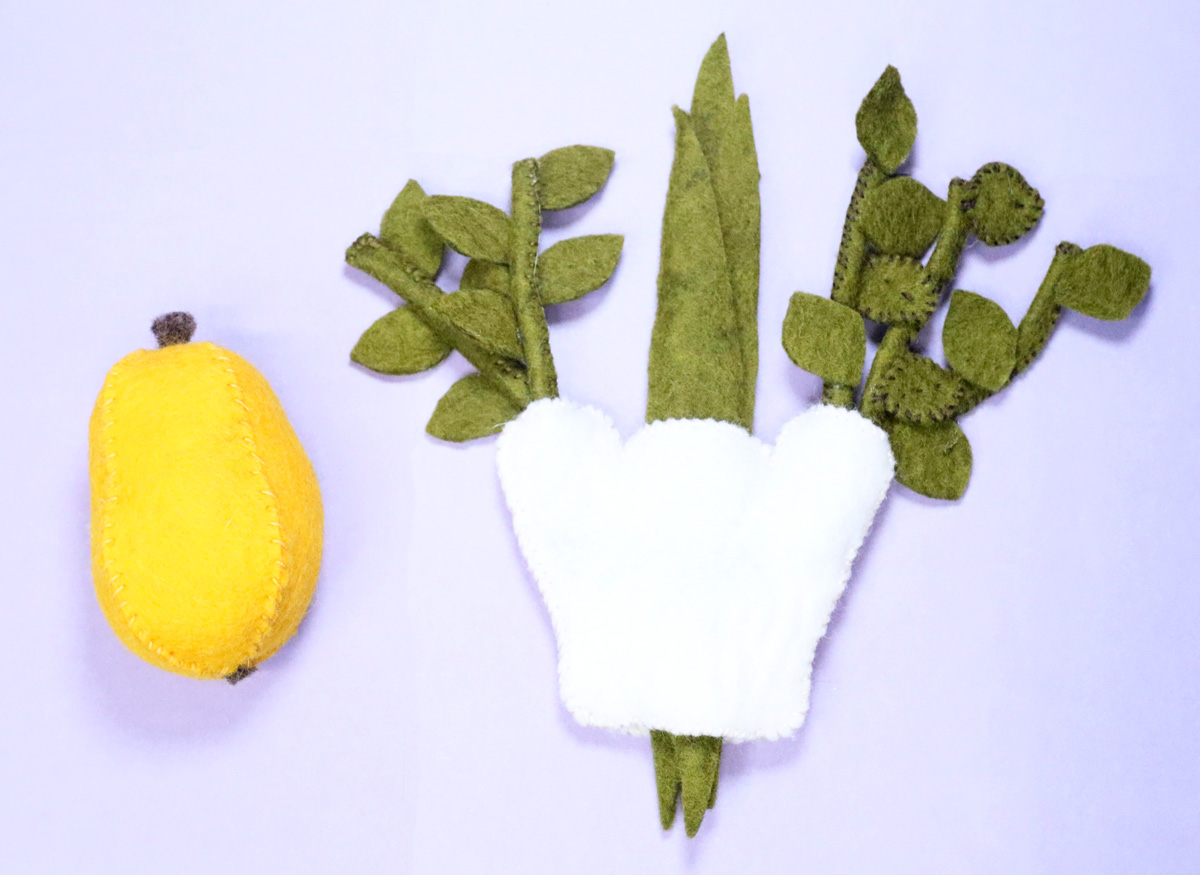
You can definitely combine portions of each template in one craft – take the parts that work best for you.
More interchangeable variations
There are other differences in how I crafted it that aren’t necessarily in the templates themselves. You can switch around these variations to craft your felt lulav and etrog however works best for you.
- On the simpler one, I used classic thin craft felt. On the more complex, I used thick wool felt. The thick felt is definitely worth it if you can spring for it!
- I hot glued the simple one and hand-sewed the complex one with embroidery floss.
- The simpler one is filled with poly pellets to make a bean-bag/weighted toy, and the complex Etrog is stuffed with Poly-Fil.
- Your template comes with a hand cut (PDF template) and an SVG for cutting machines. I hand cut my template, but if you’re using a Cricut, I recommend using a rotary blade with the FabricGrip mat.
Craft your Felt Lulav & Etrog Toy
The instructions come as a printable PDF with your purchase of the template as well. You can read through this anyway to get to know what’s required to assemble it.
Materials needed
- Felt – crafting acrylic felt, or premium wool felt – a few shades of green/beige, a deep yellow, brown
- Good fabric scissors (or a Cricut Maker with rotary blade and FabricGrip mat)
- Detail scissors (if hand cutting) and/or thread snippers
- Embroidery floss to coordinate with felt
- Embroidery needle
- Hot glue gun (recommended even if you’re hand sewing)
- Poly-fil or Poly Pellets
- Straight pins or washable fabric marker
- 20 gauge jewelry wire and wire cutters
- The template – in case you missed it 🙂
How to assemble the flat felt lulav and Etrog
The Etrog
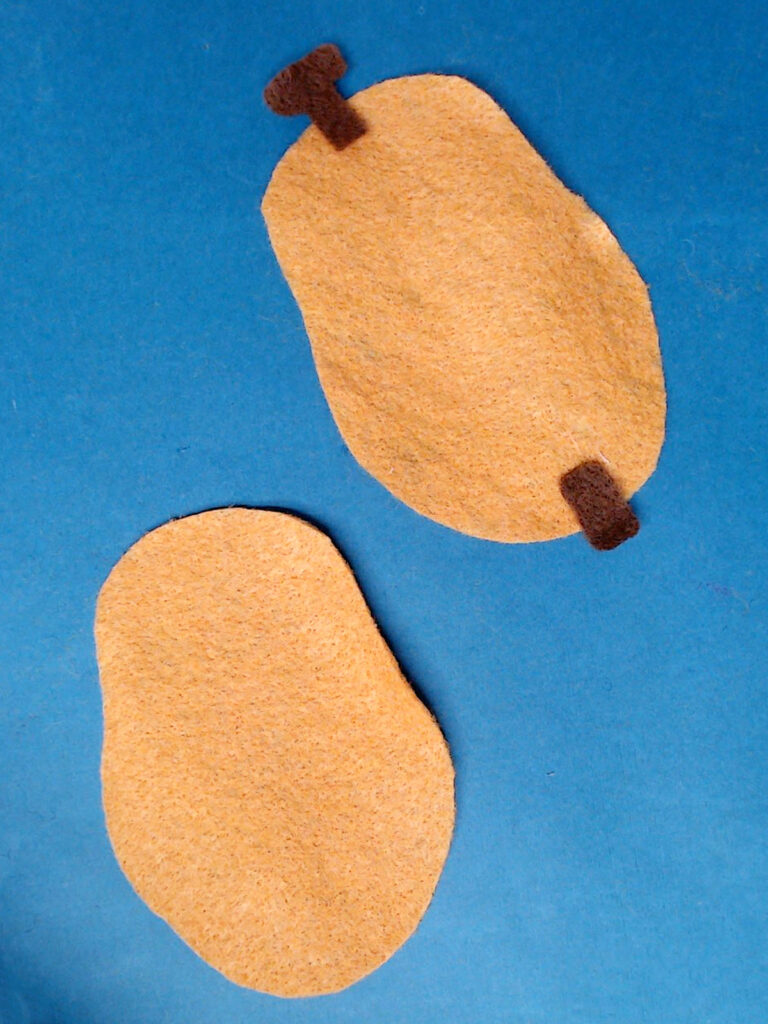
1. Cut out the template parts that only have two Etrog segments. Glue the stems to the top and bottom of one half.
2. Hot glue around the edges of one, leaving the top without glue. I recommend putting the glue a few mm from the edges so it doesn’t spill out but reaches the end when you press both halves together.
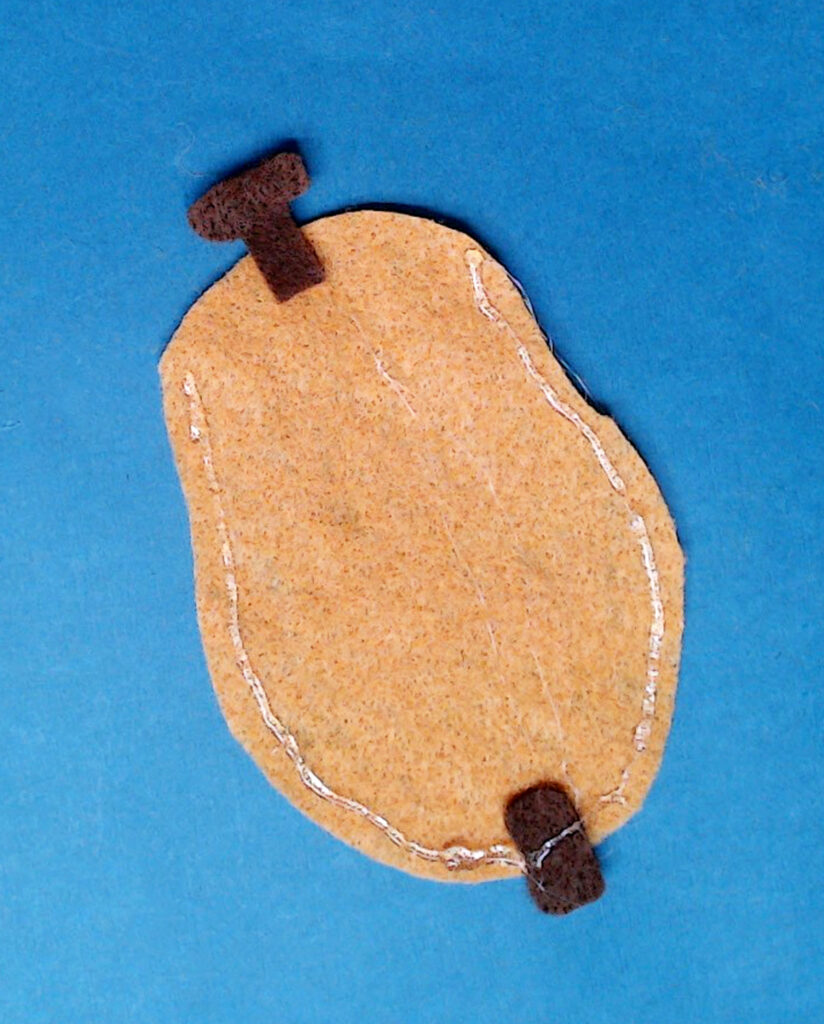
3. Glue the other half in place, making sure that it’s completely sealed around the edges but open on top. Fill with poly pellets almost to the top (don’t overstuff).
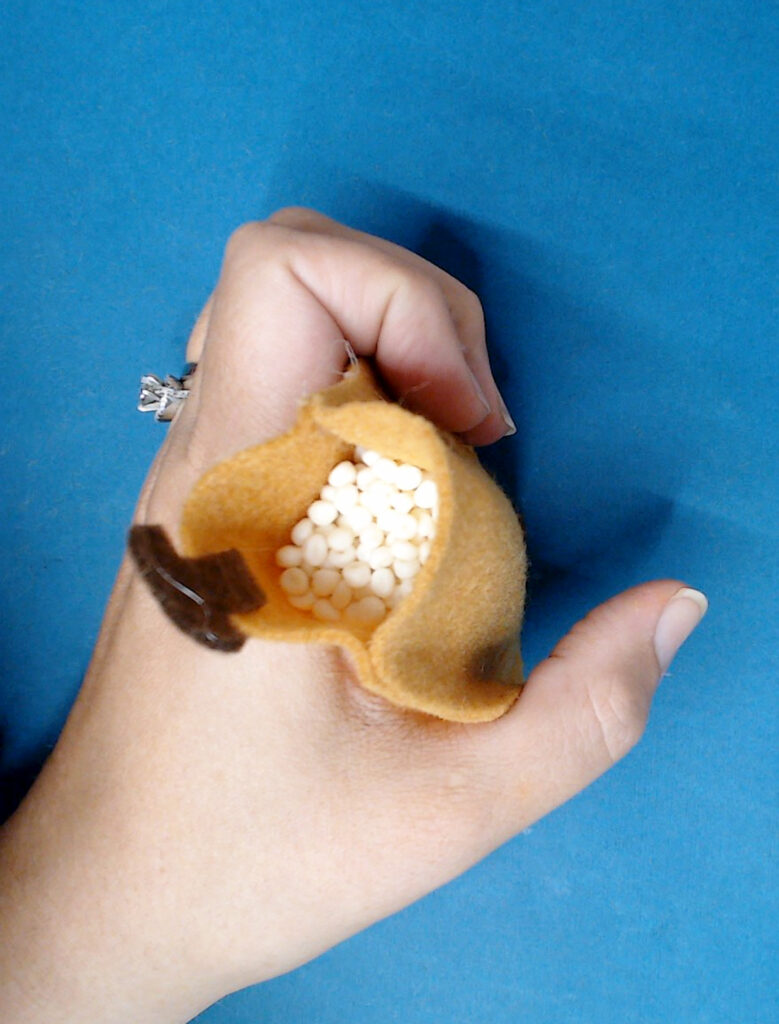
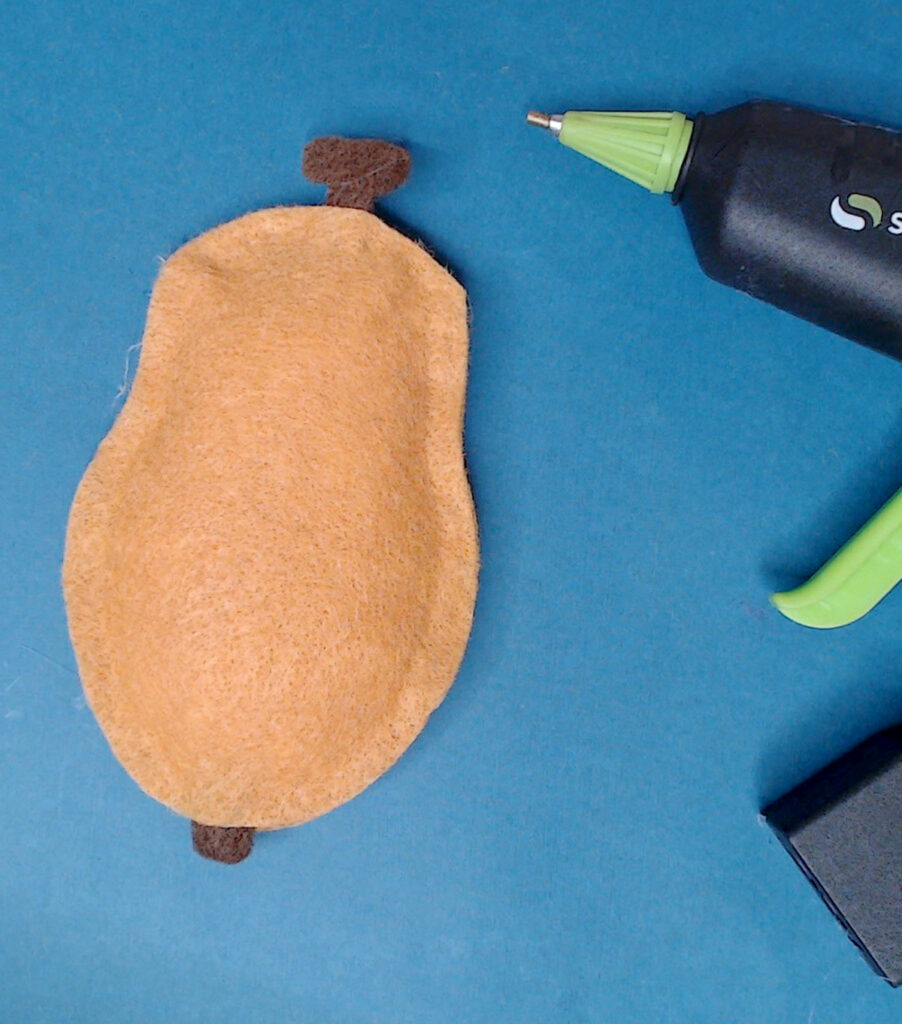
4. Glue the top opening as well. Make sure it’s glued well and there are no openings. Trim off “leaked” glue if needed.
The Lulav
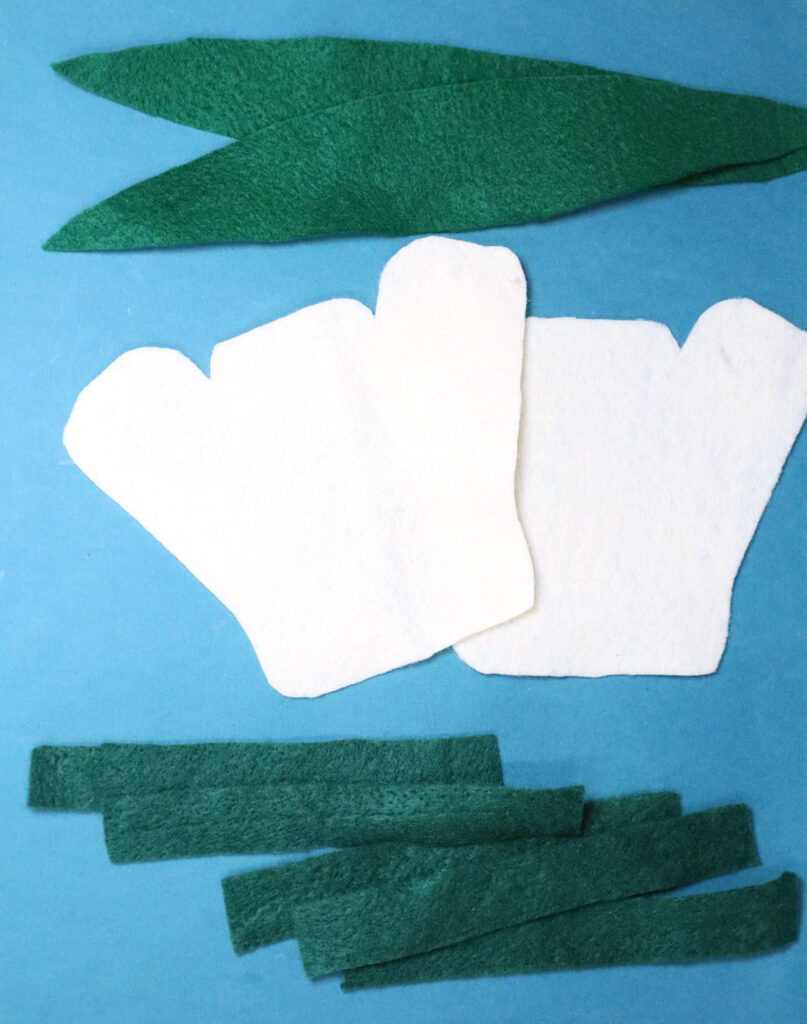
1. Cut out your lulav parts. You may want to wait to decide exactly how many leaves you need until the end (or work with the template suggestions).
2. To make your branches, you’re rolling your long rectangle stems – essentially folding it into thirds. You don’t want to burn yourself here – you may prefer to wear finger guards for this part. Start by placing hot glue close to the right edge (but a few mm in) and folding it over. Work in sections.
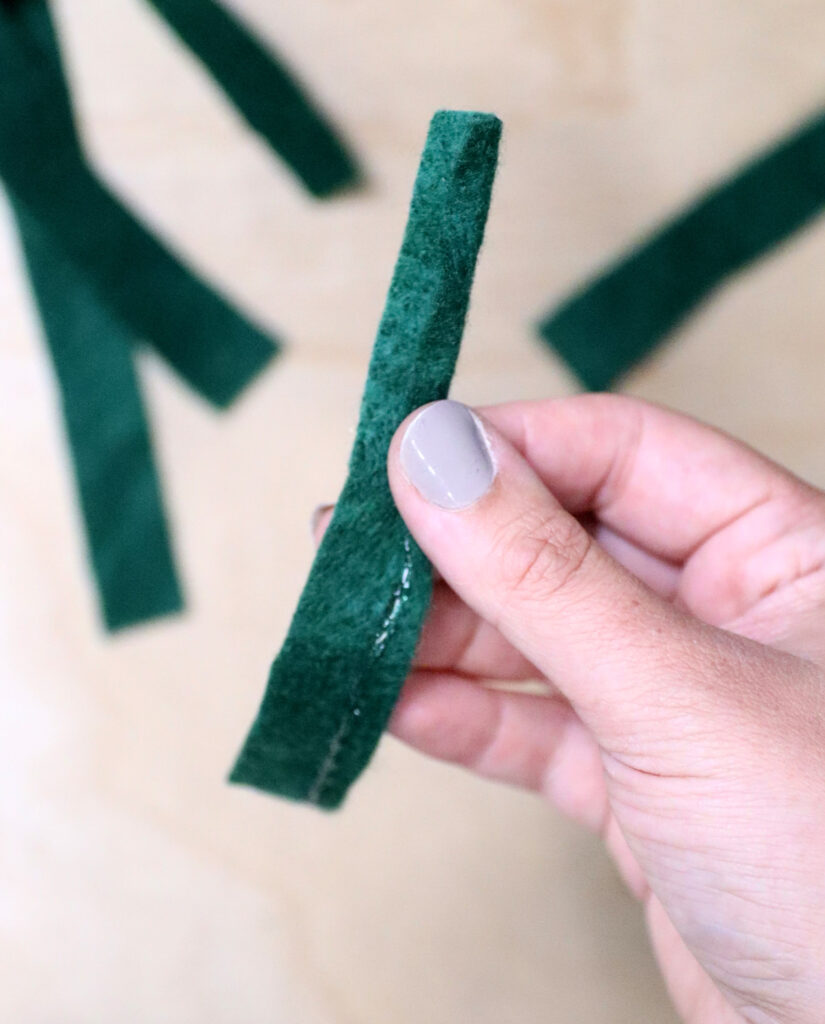
Do this again on the left side – adding glue and then rolling it over. You should have a stick.
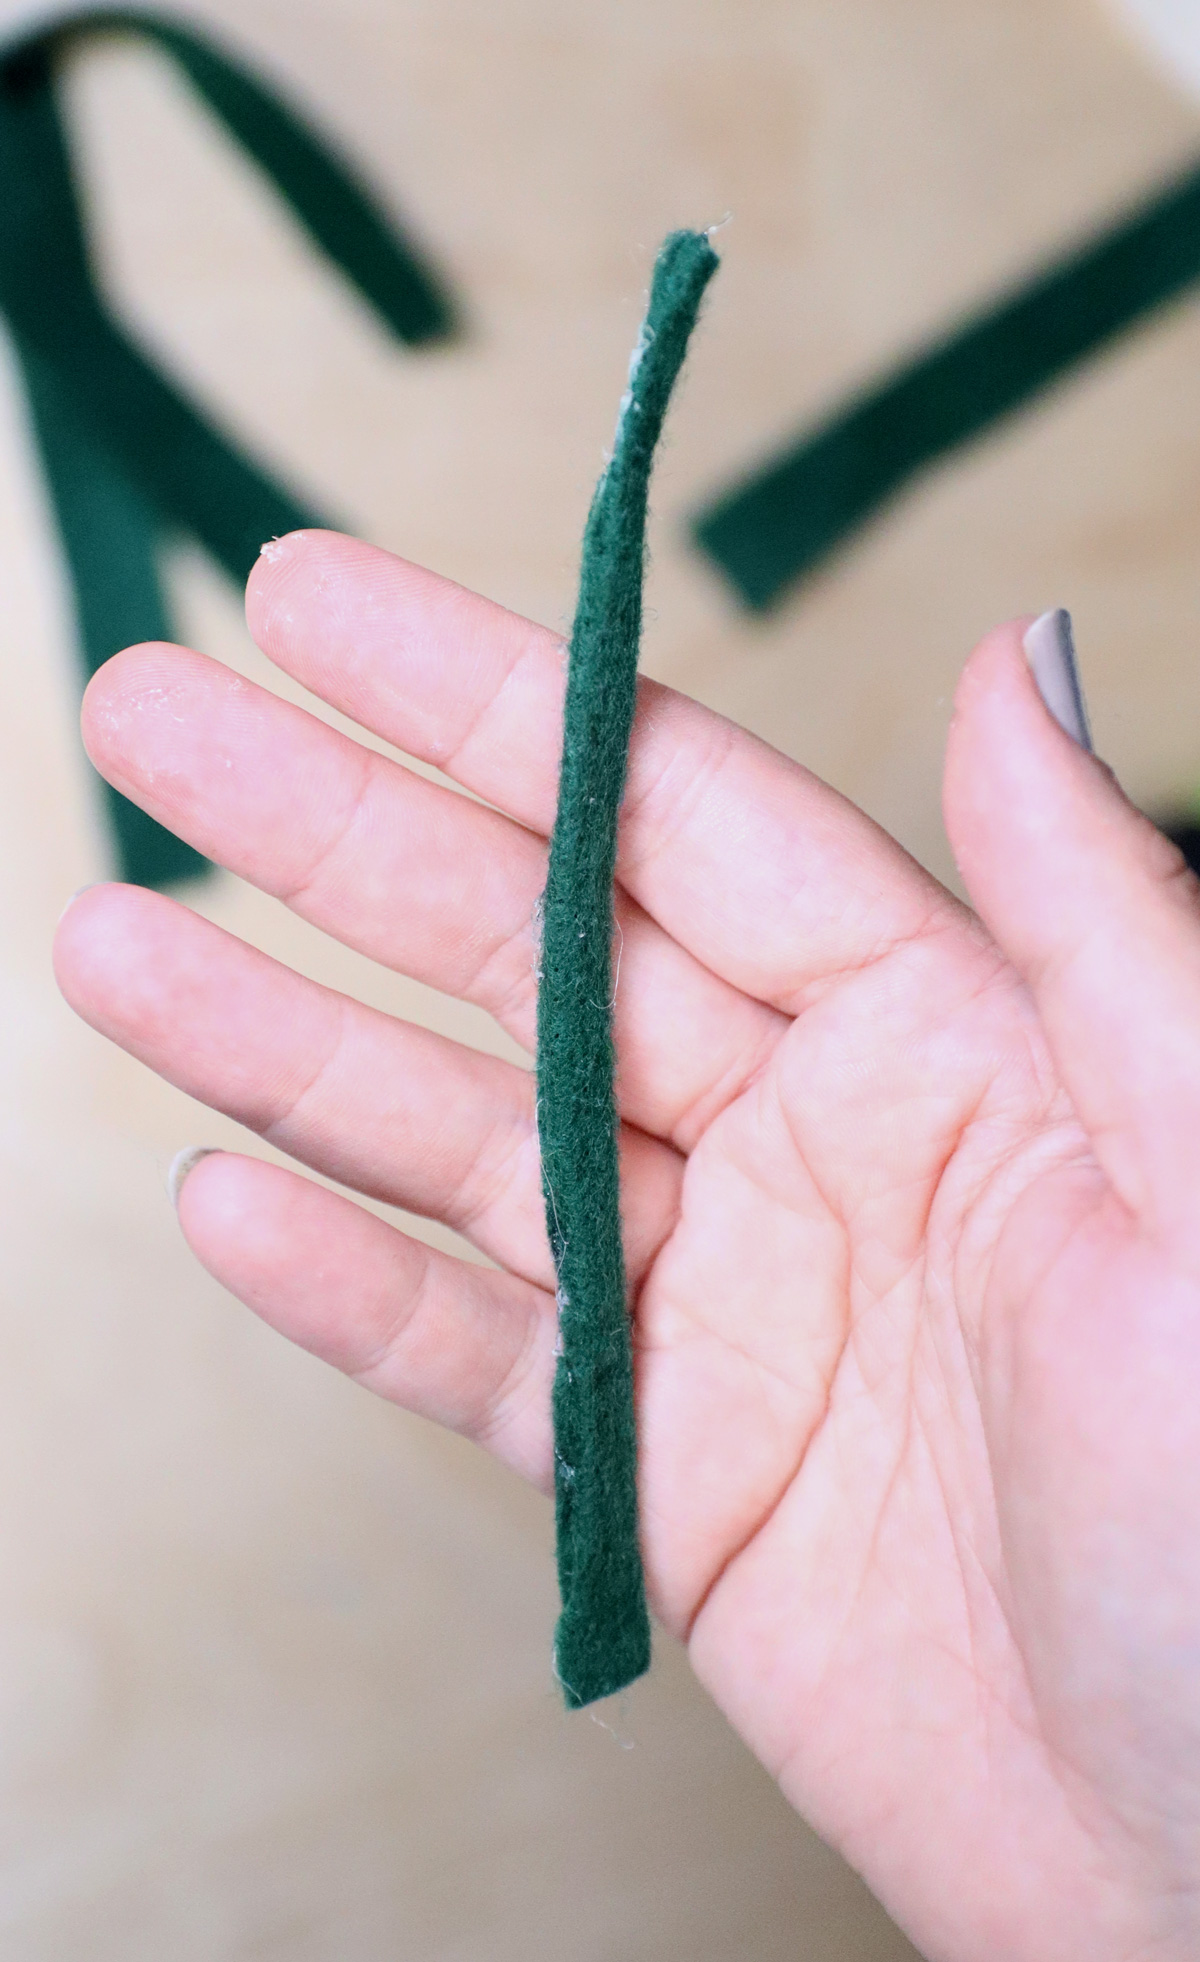
3. Lay out your lulav base/holder. Place the two lulav halves (the long green branches) one on the other evenly, and place it on the lulav holder/base so that the point sticks out a bit on the bottom. Glue three branches on the right and three on the left of the lulav base on the parts that stick out a bit.
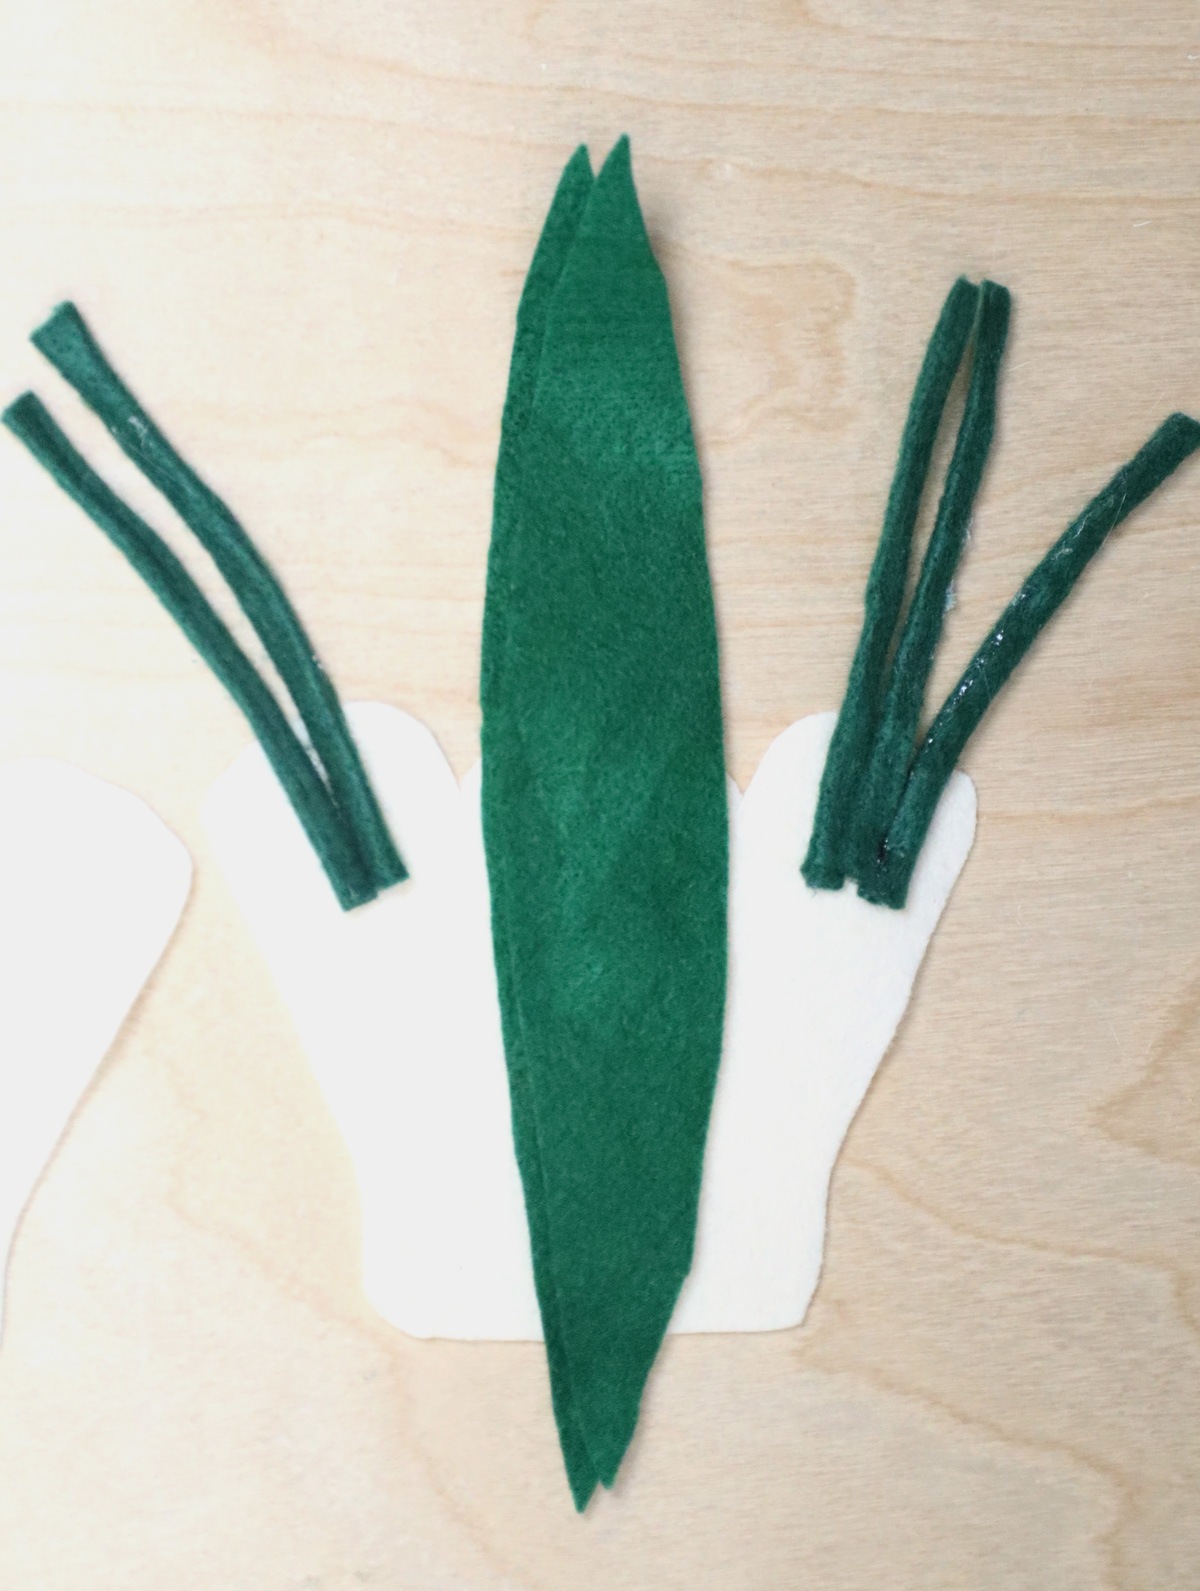
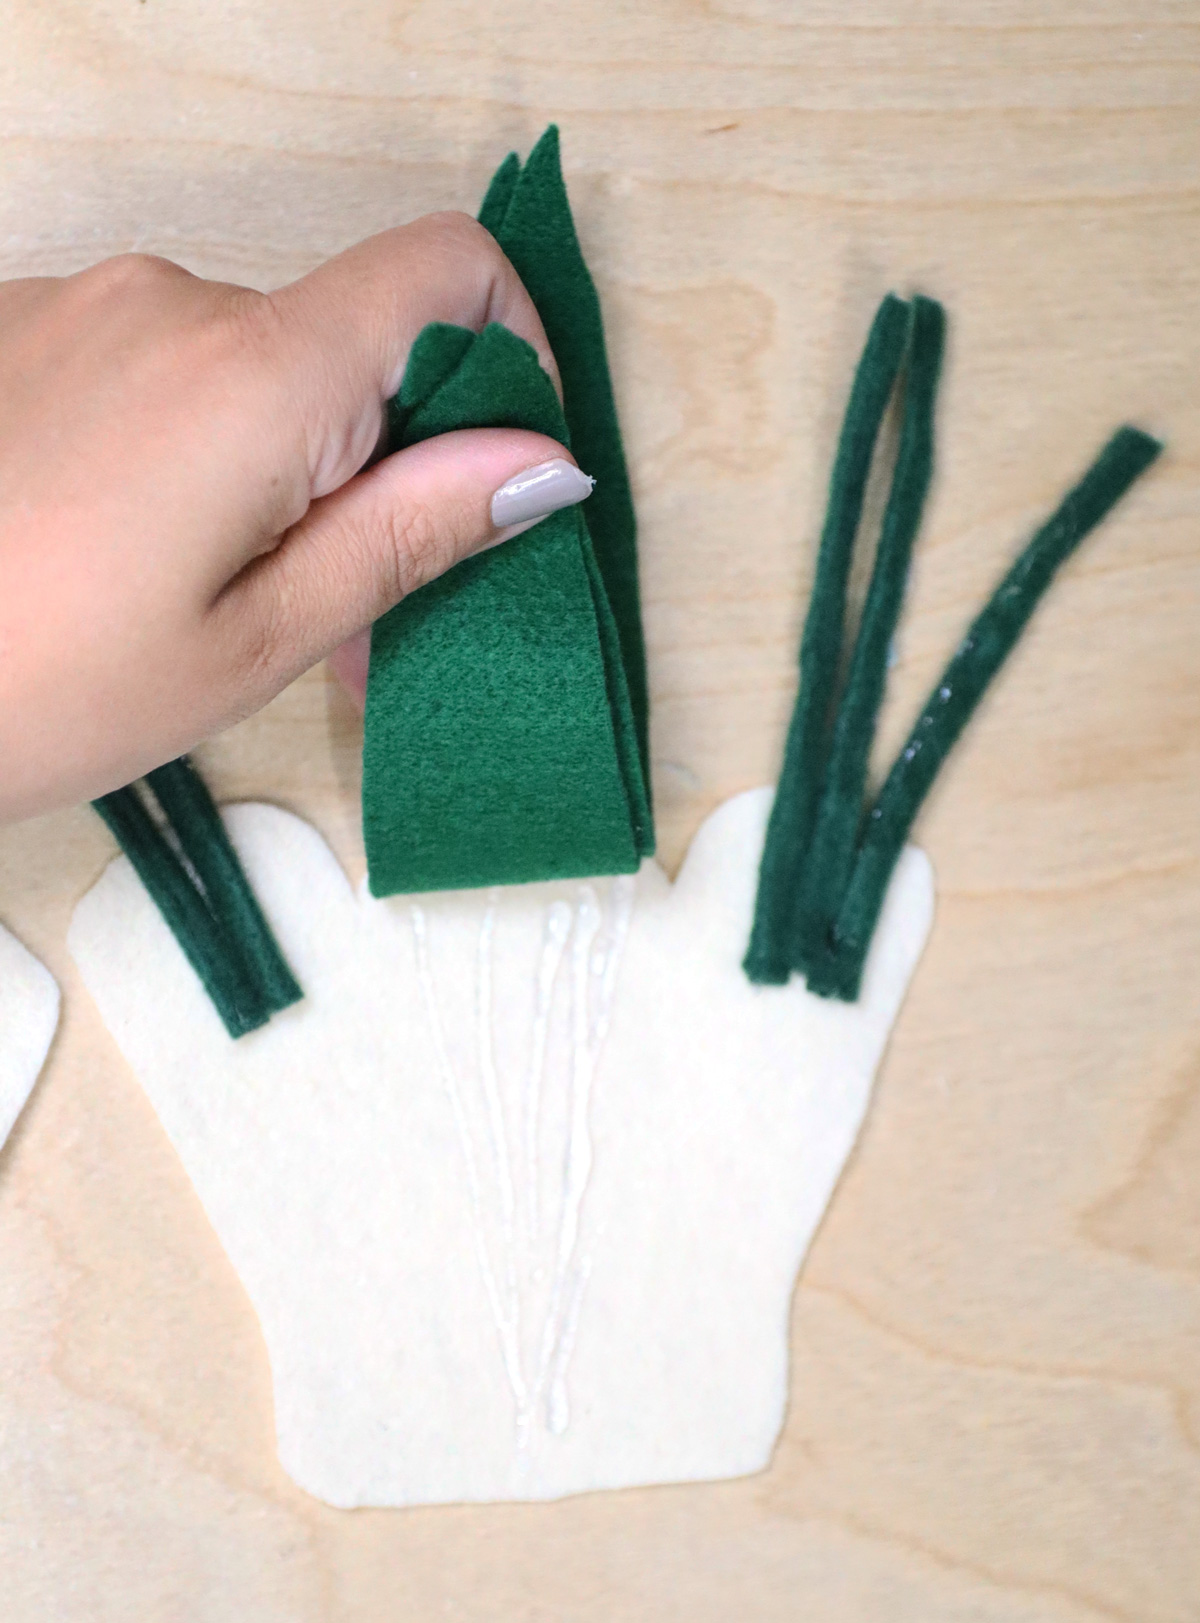
4. Lift up the center lulav leaves and add glue. Press it down. You’re only gluing down the bottom leaf now.
5. Add glue on the top leaf where it overlaps the base.
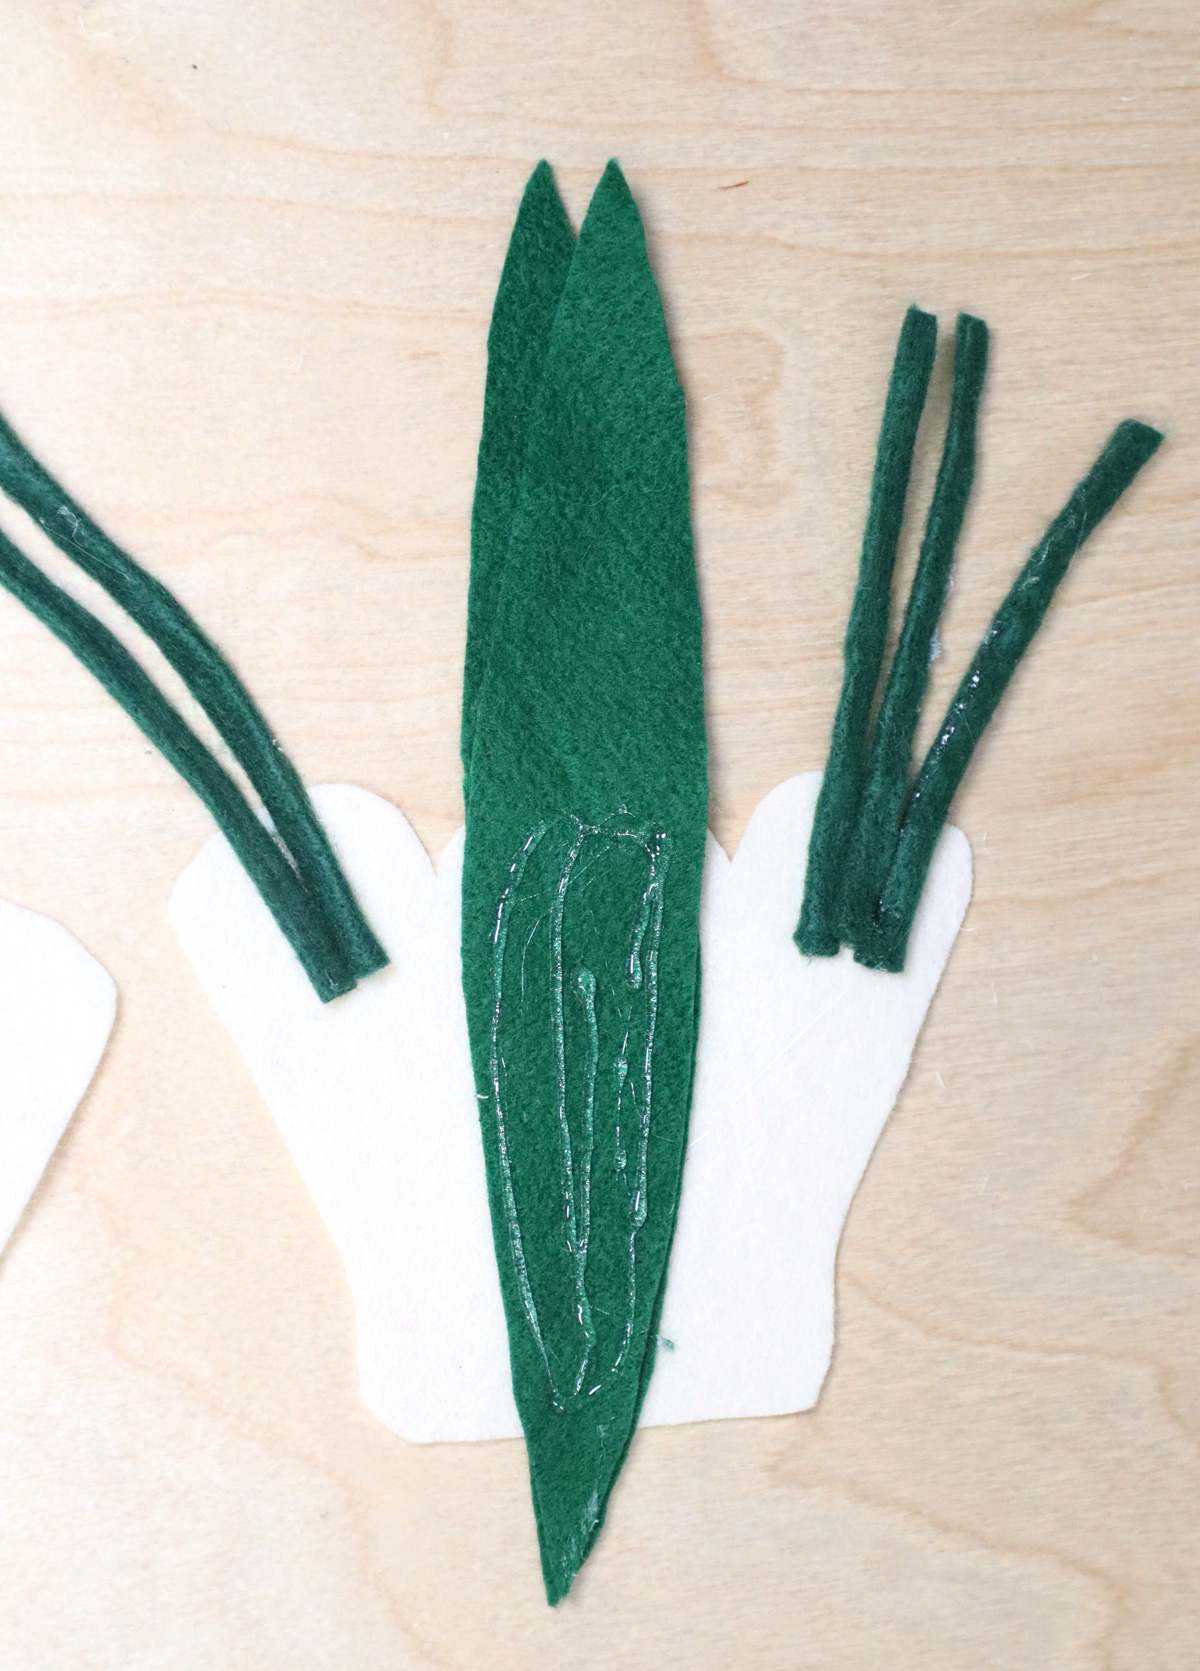
6. Making sure everything is properly aligned (leaf over leaf, base over base) glue on the base, attaching it only to the top leaf for now.
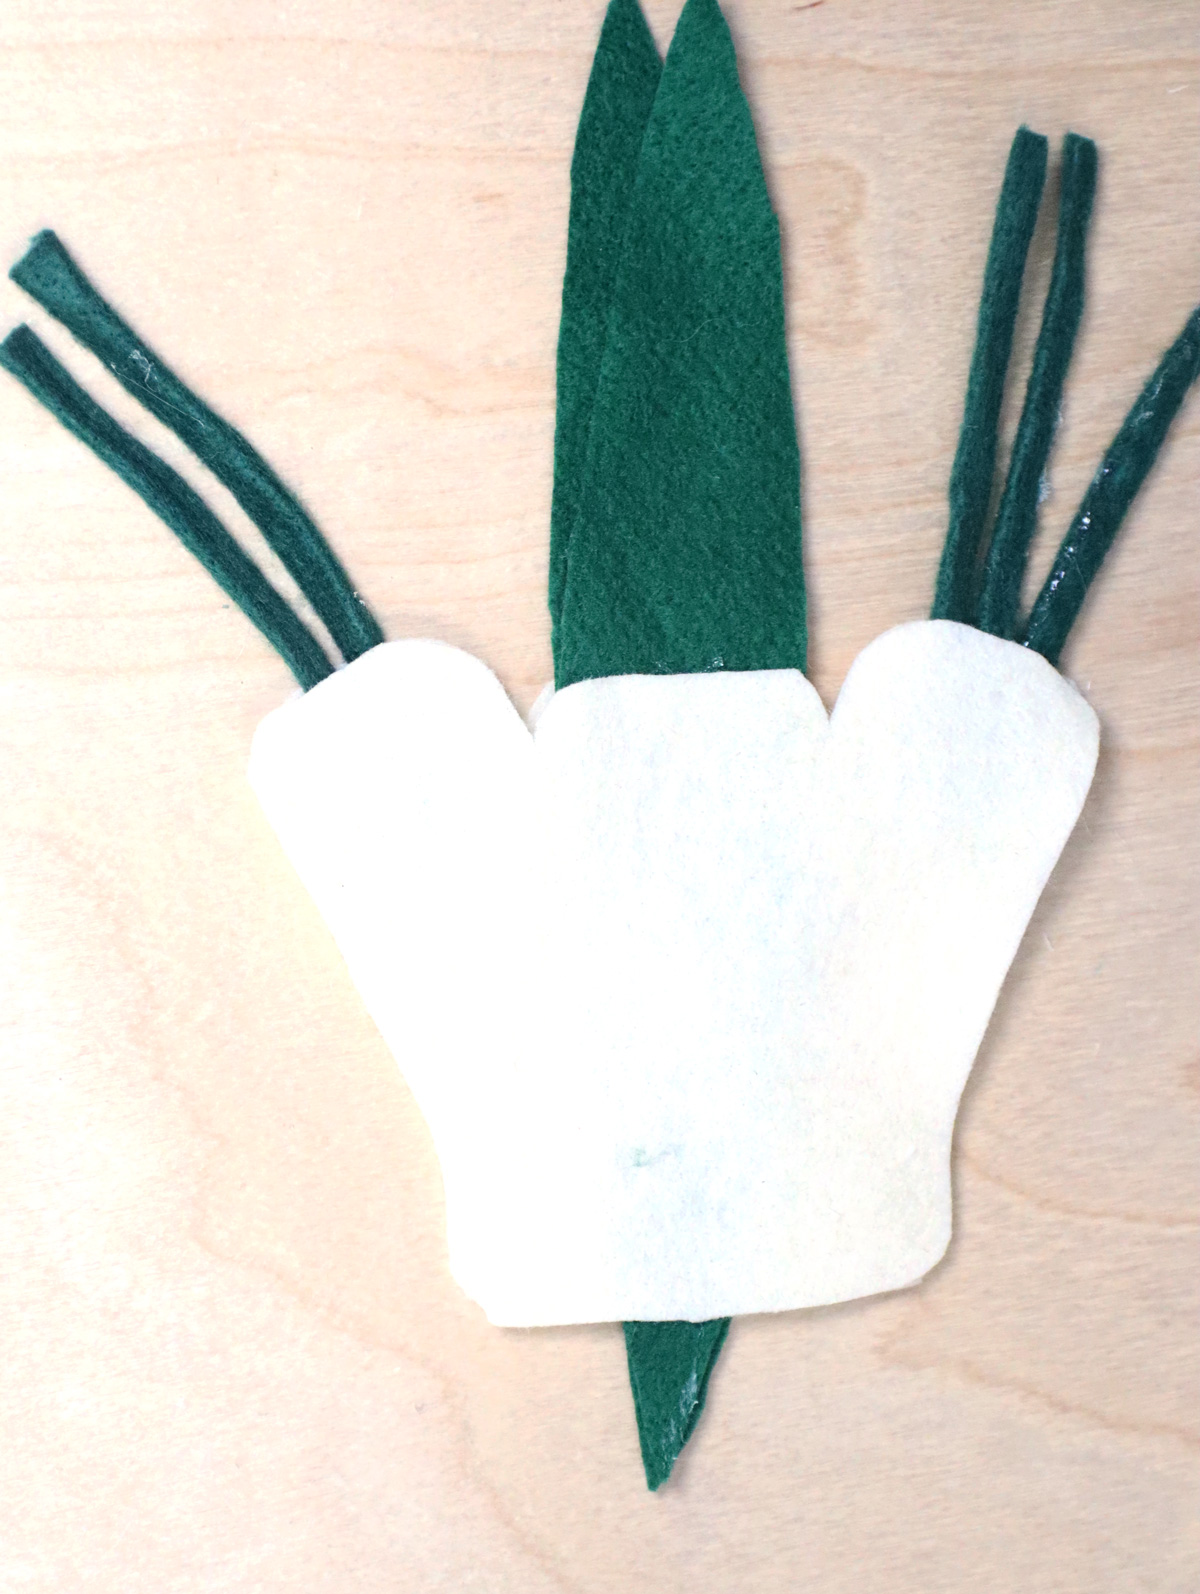
7. Now start creating the framework for a stuffed felt lulav. Hot glue along the edge of the whole leaf, continuing next to the leaf, over the indentation, and over the branches that you glued on. Turn the corner and glue just an inch down that side, leaving the rest of the side and the bottom open.
Repeat on the reverse side. You should have glued around the edge of your whole lulav set, over the branches (but not on the parts that stick out) , minus the bottom and much of the two straight sides. We’re going to stuff it from the bottom.
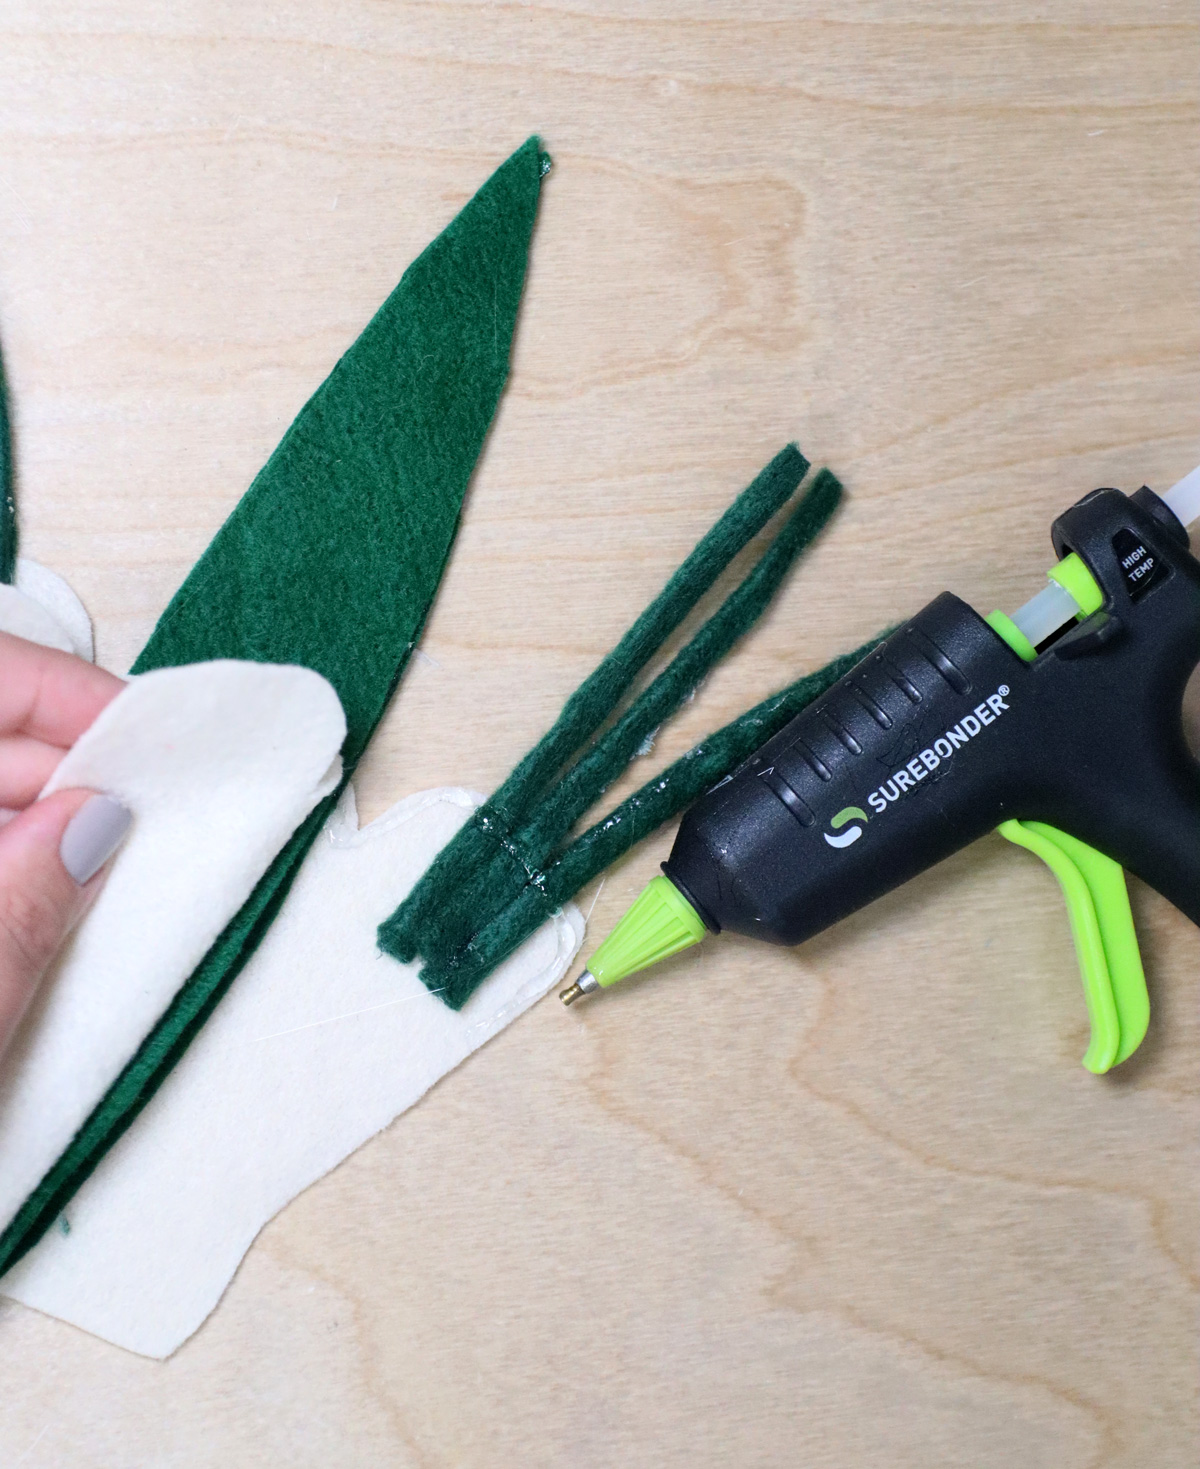
8. Double check that it’s really sealed near the branches – add glue if you need.
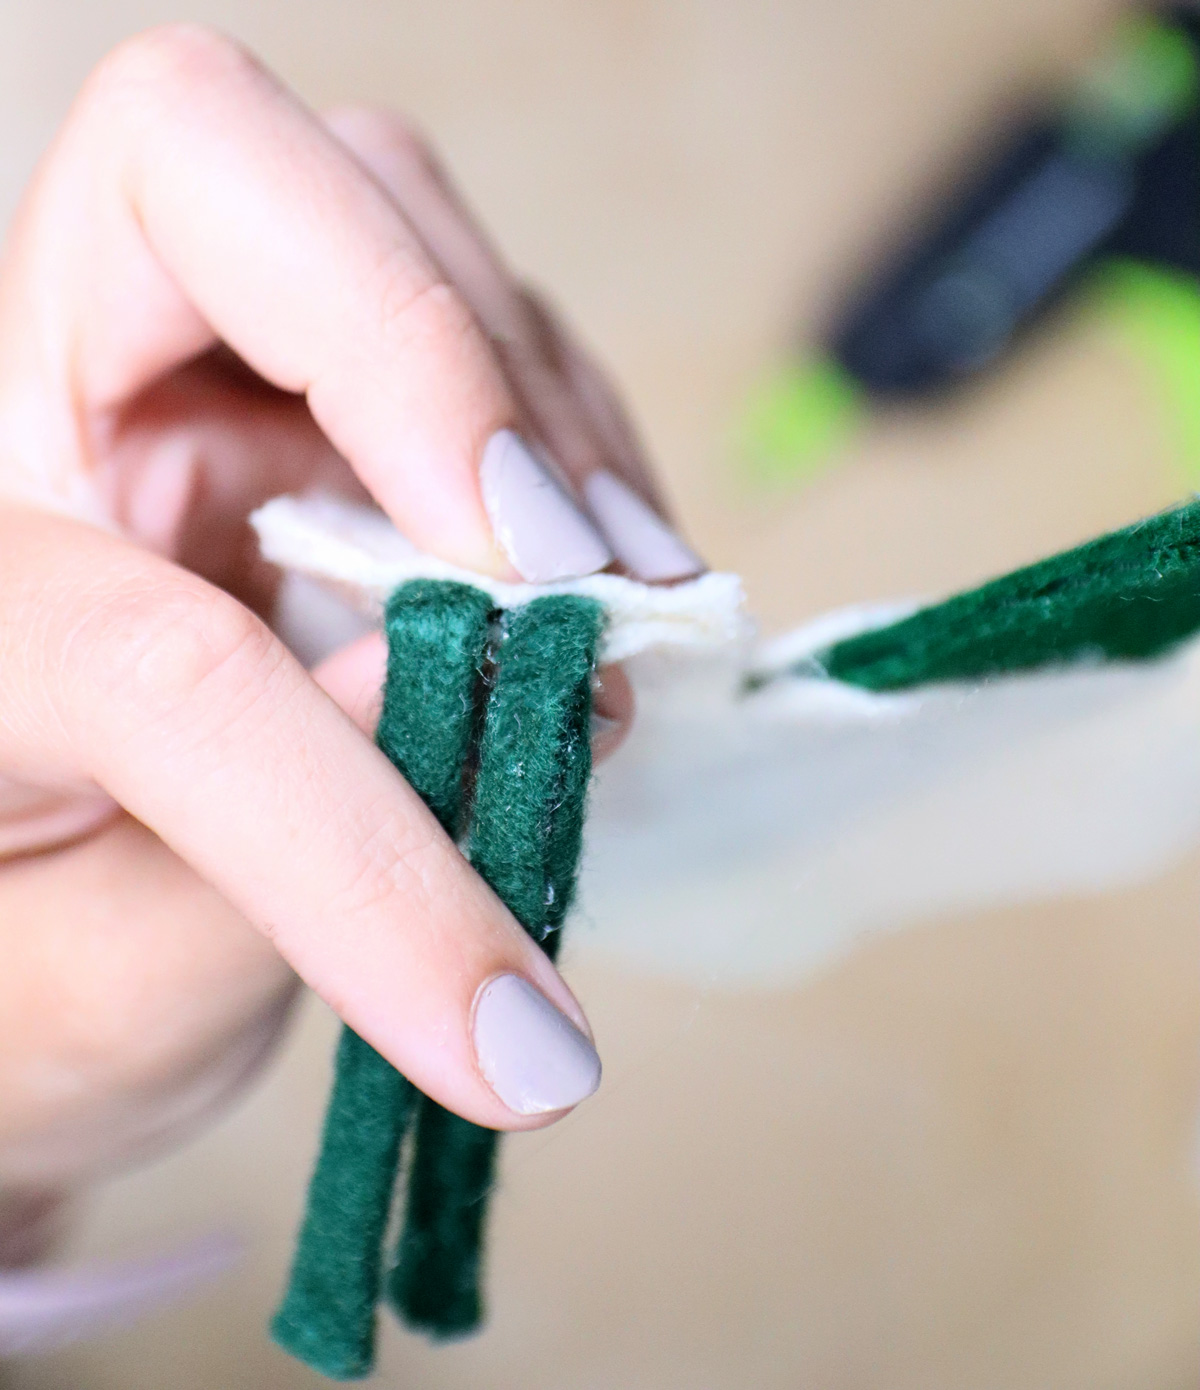
9. Fill the leaf of your lulav, making sure the pellets go down into the leaf.
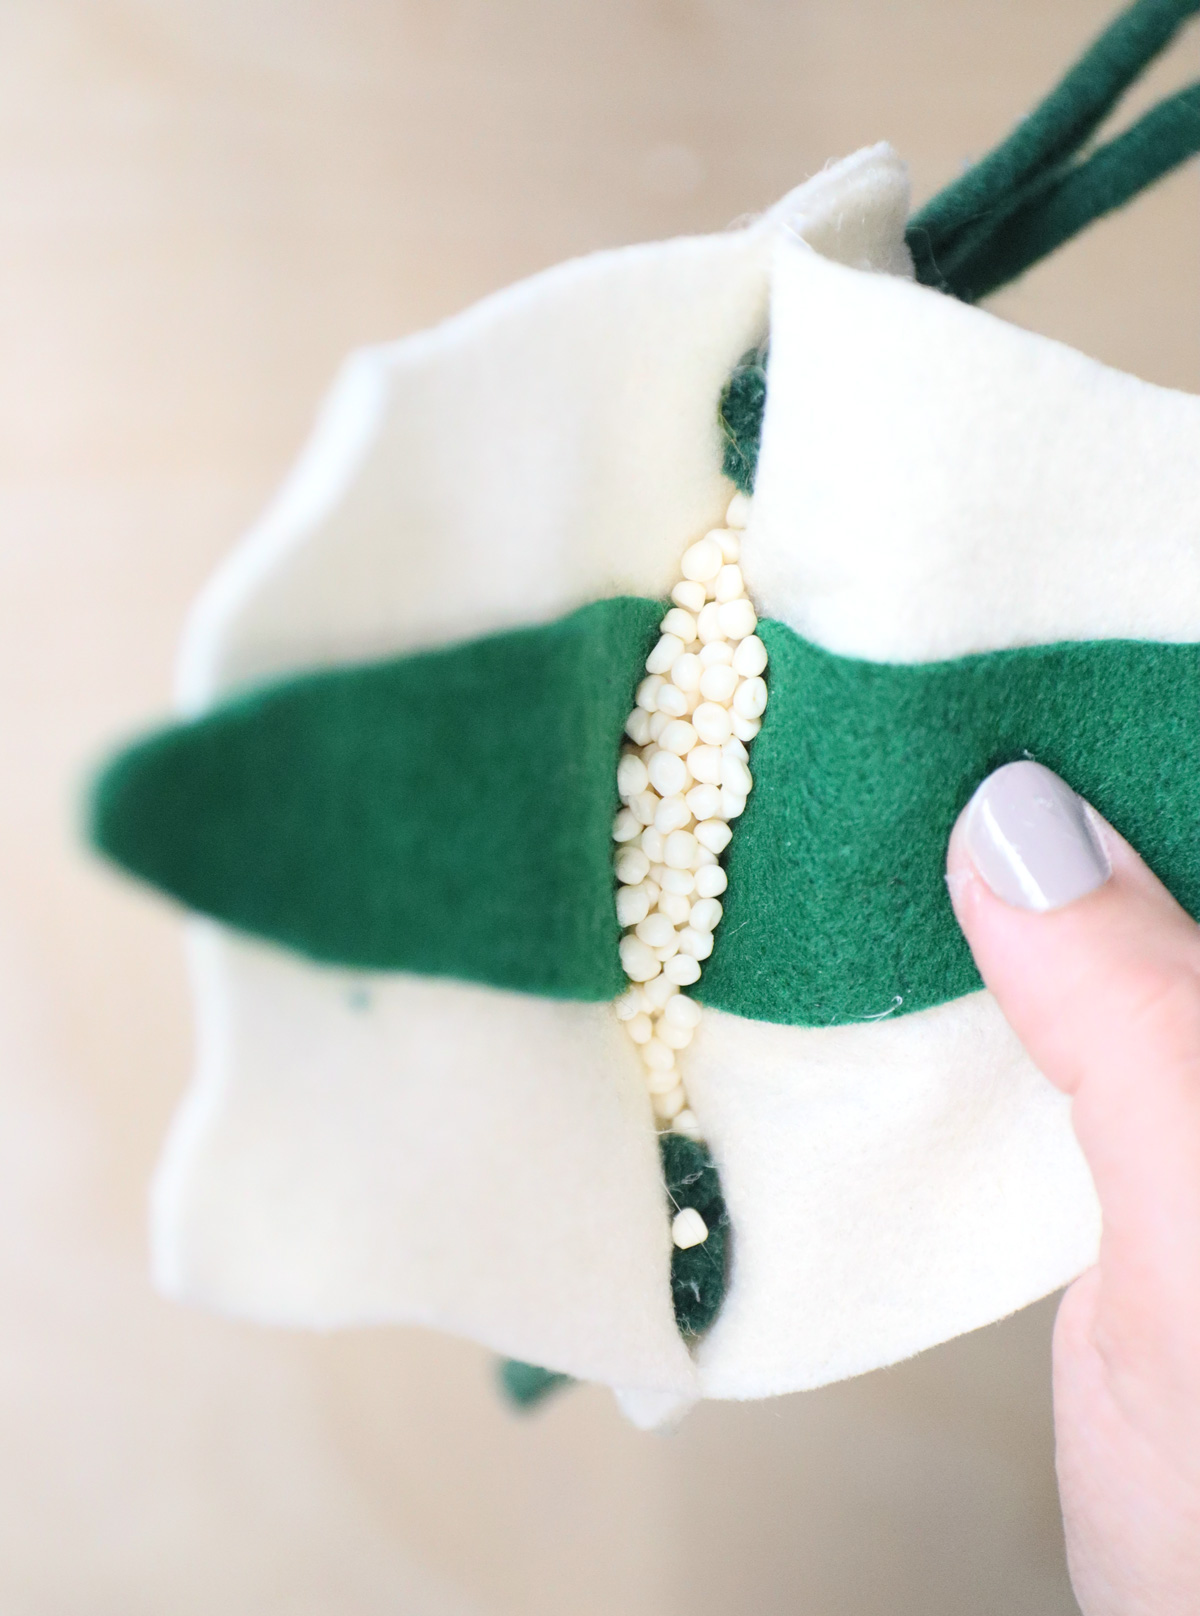
10. Glue down the rest of the two sides of your felt lulav, and then fill until almost the top.
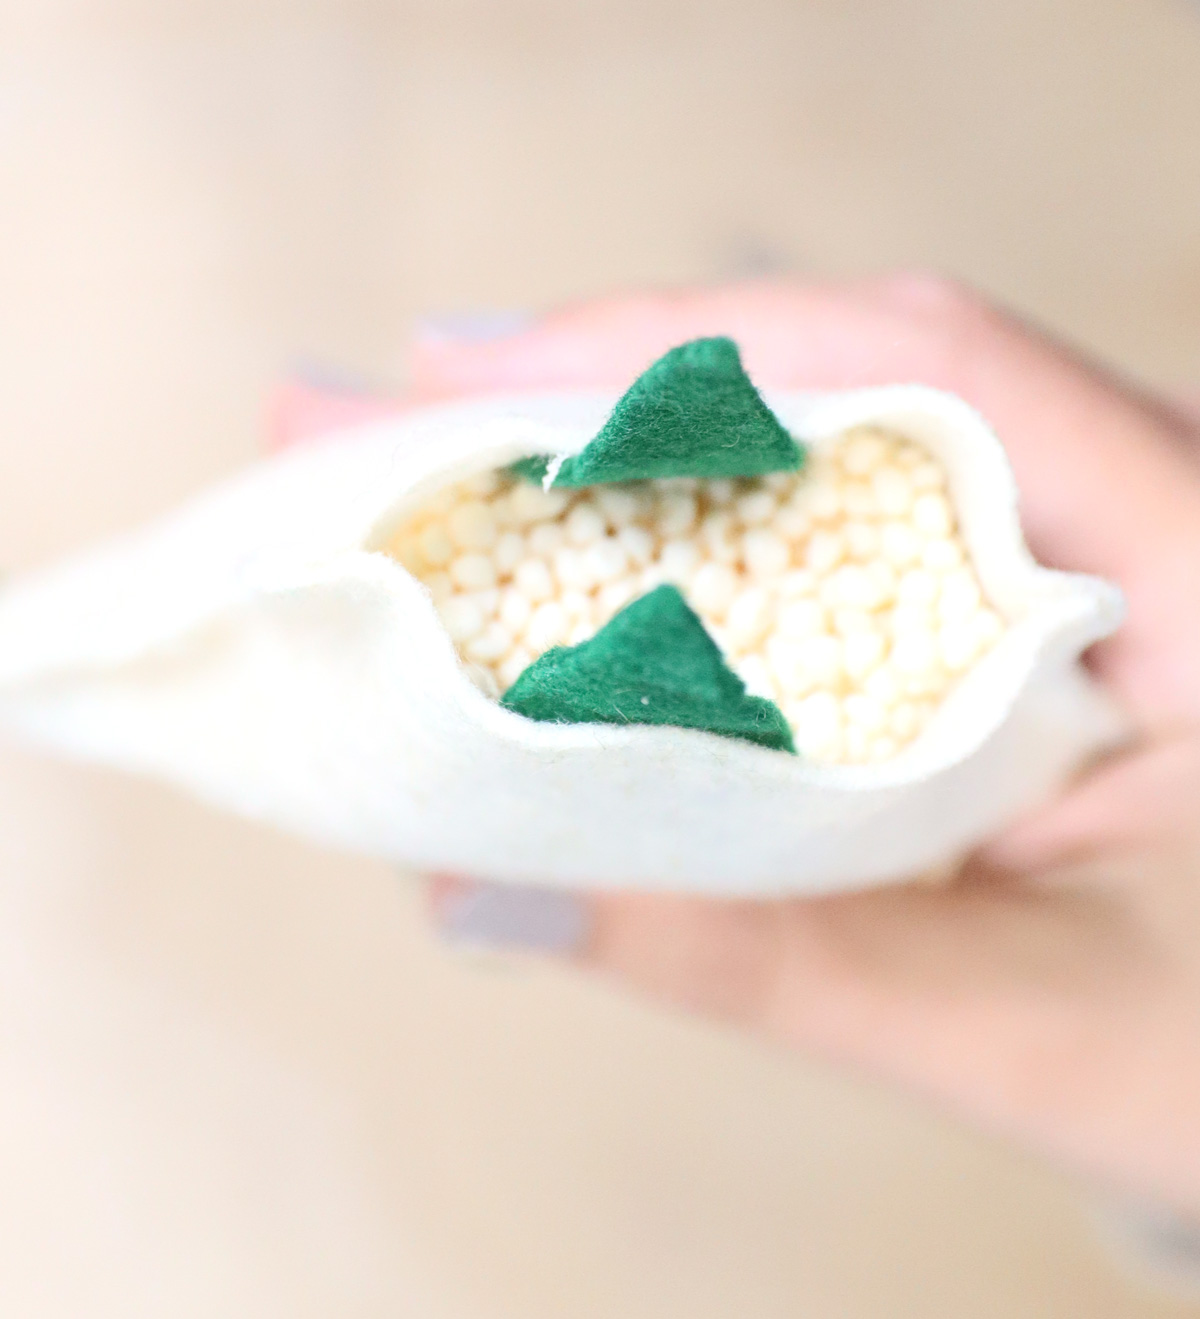
11. Seal the bottom of your felt lulav. I did not bother going around the edge of that green felt bit that sticks out on the bottom – I just glued it together.
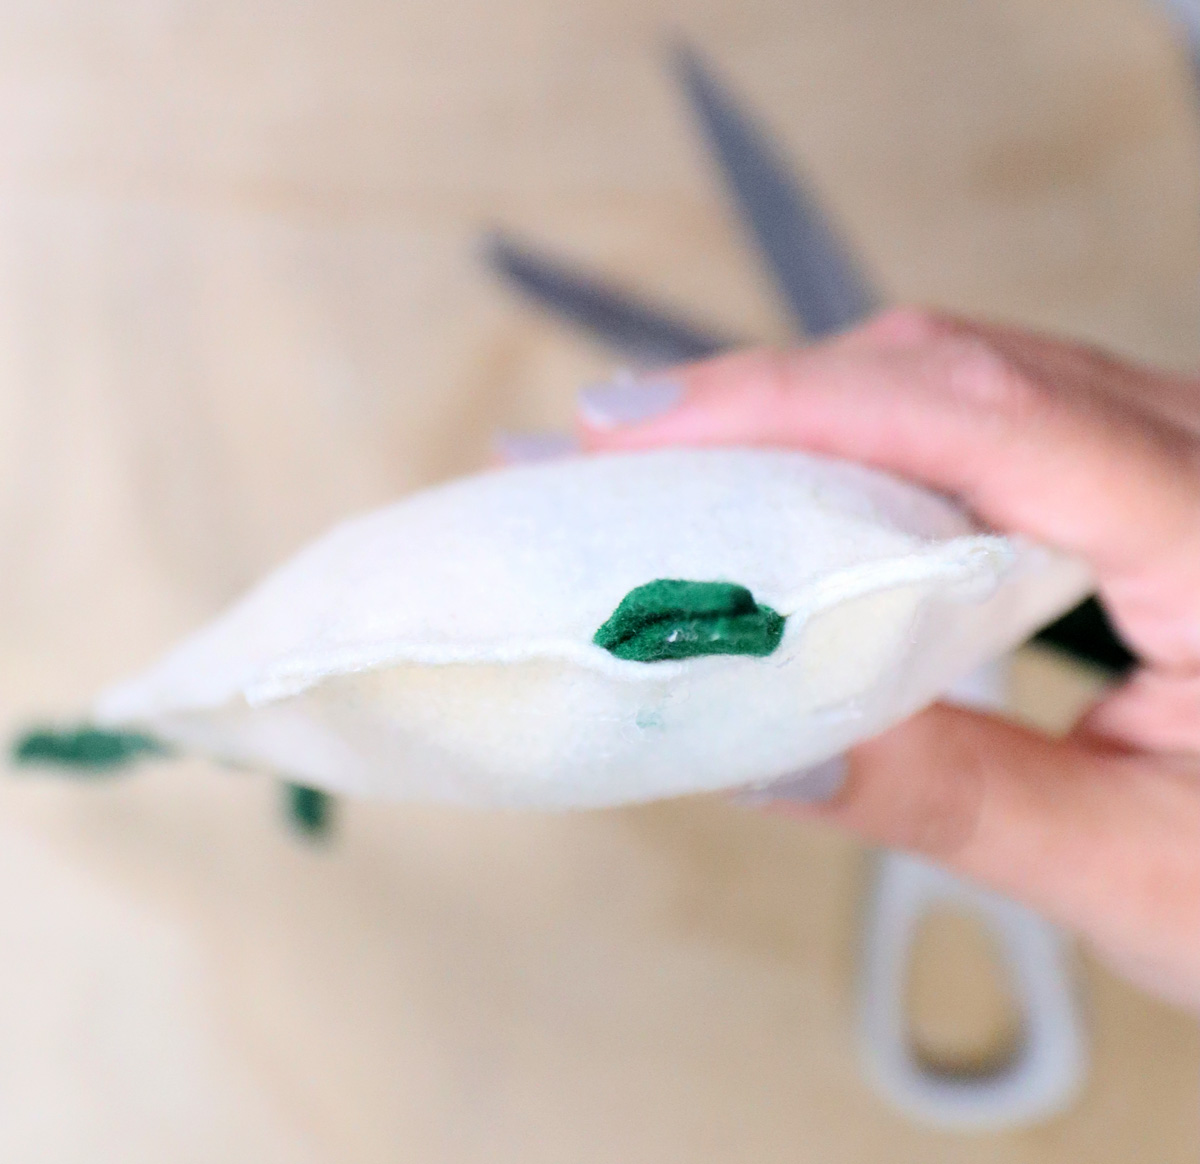
12. Glue on leaves (the wider leaves on the right/3 and the longer ones on the left/two branches) wherever seems right. Your flat lulav and Etrog are ready to play with!

How to assemble the more realistic set
Sewing the Etrog
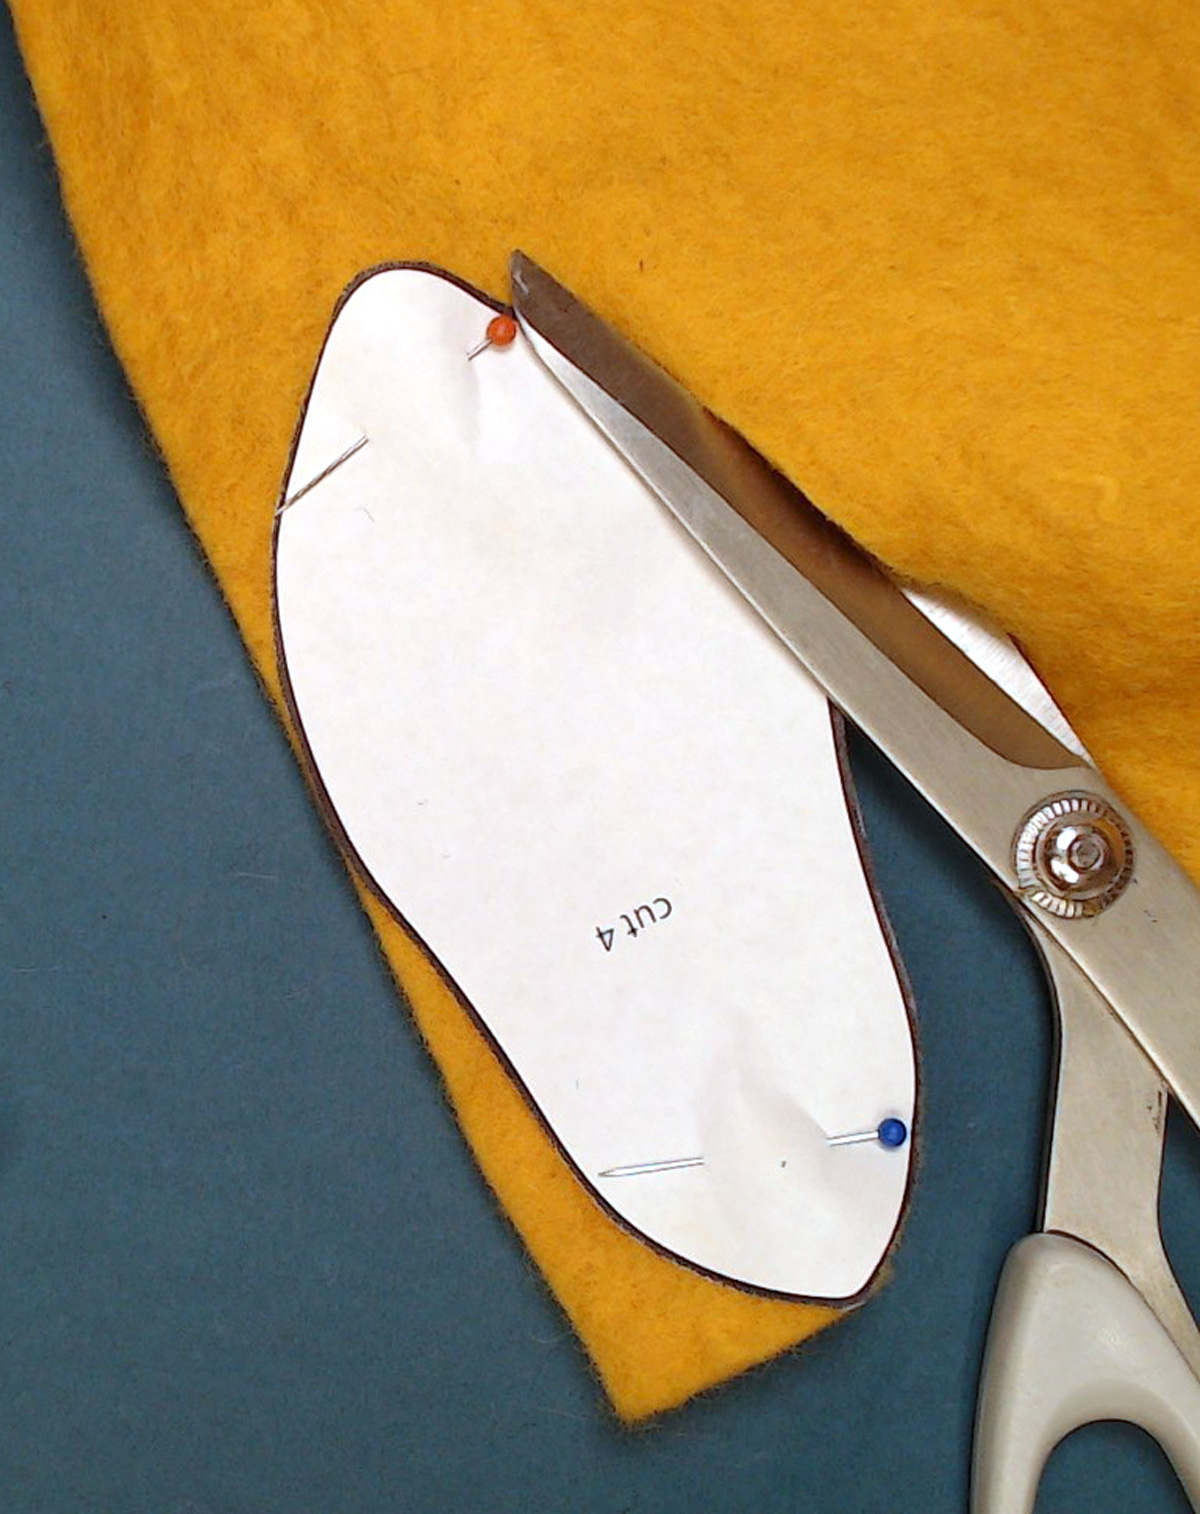
1. Cut out your parts. Note: I pinned my template to felt to cut it out, but you can also trace with a washable fabric marker.
For the Etrog, you should have four segments and two stems.
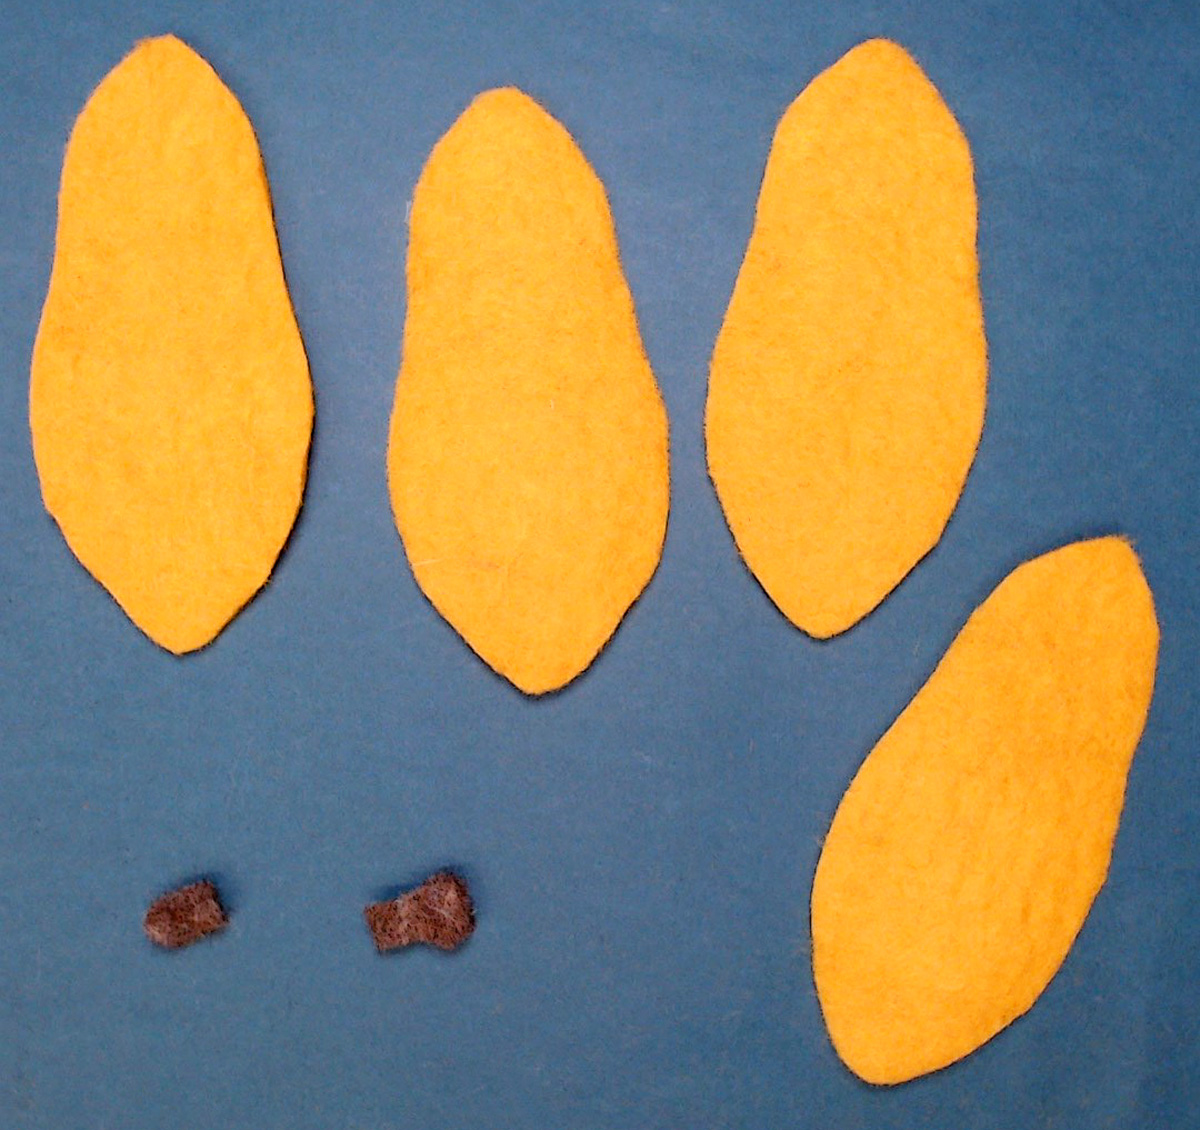
2. Glue the stem with the wider top on the narrow part of one of the segments. Glue the other one on the bottom part of a segment. Note: I did try pinning and sewing these on an earlier version, and it just went much smoother when I glued it in place first. If you’re a sewing purist, sew it in place securely before assembling the template (I don’t recommend tring to pin and sew around).
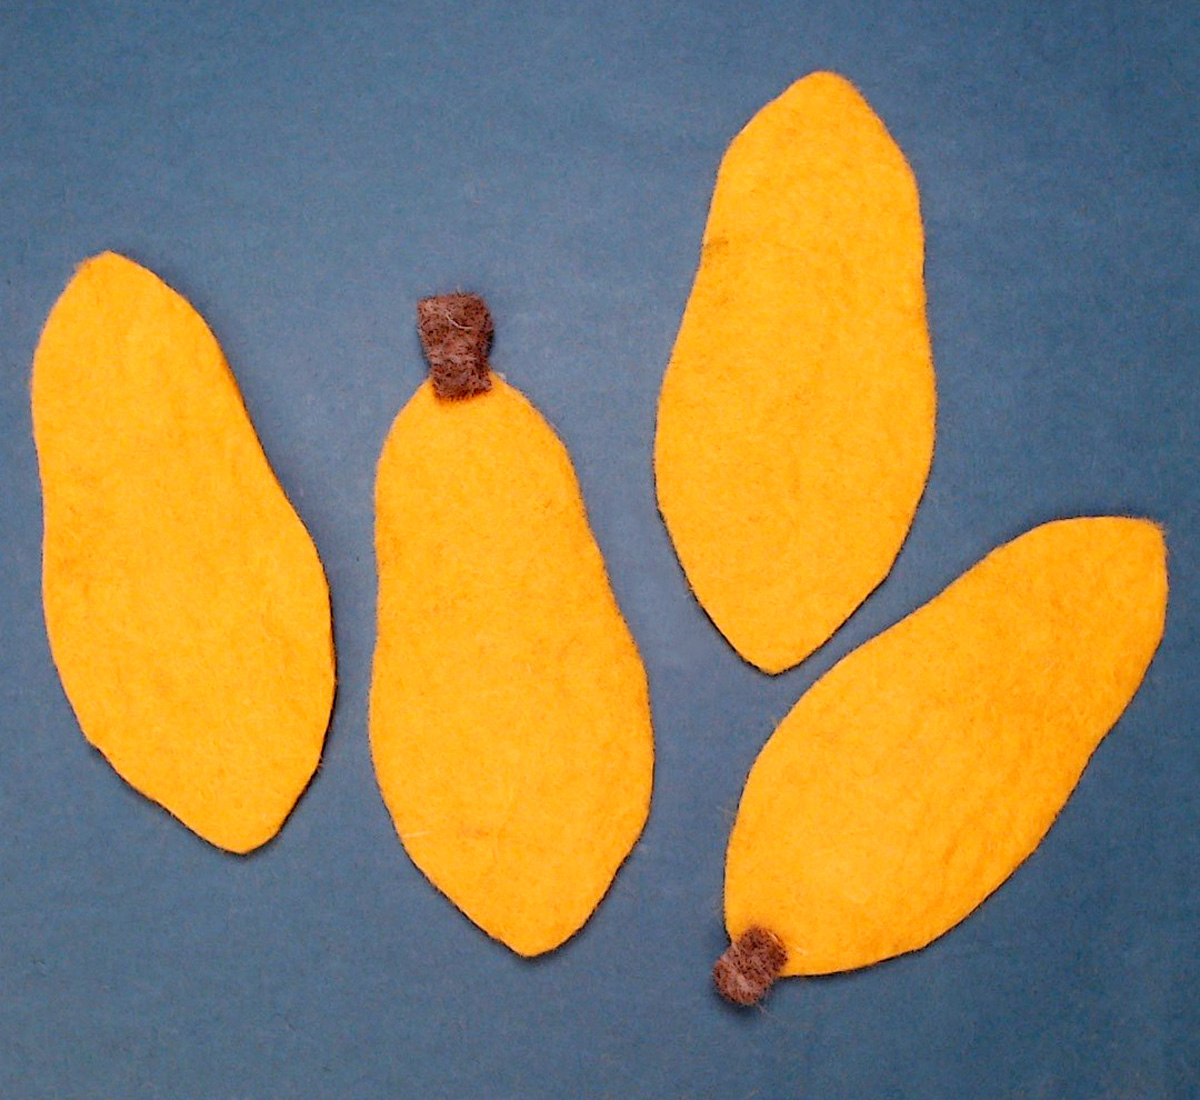
3. Match up your segments in pairs. You’ll sew each half separately for starters.
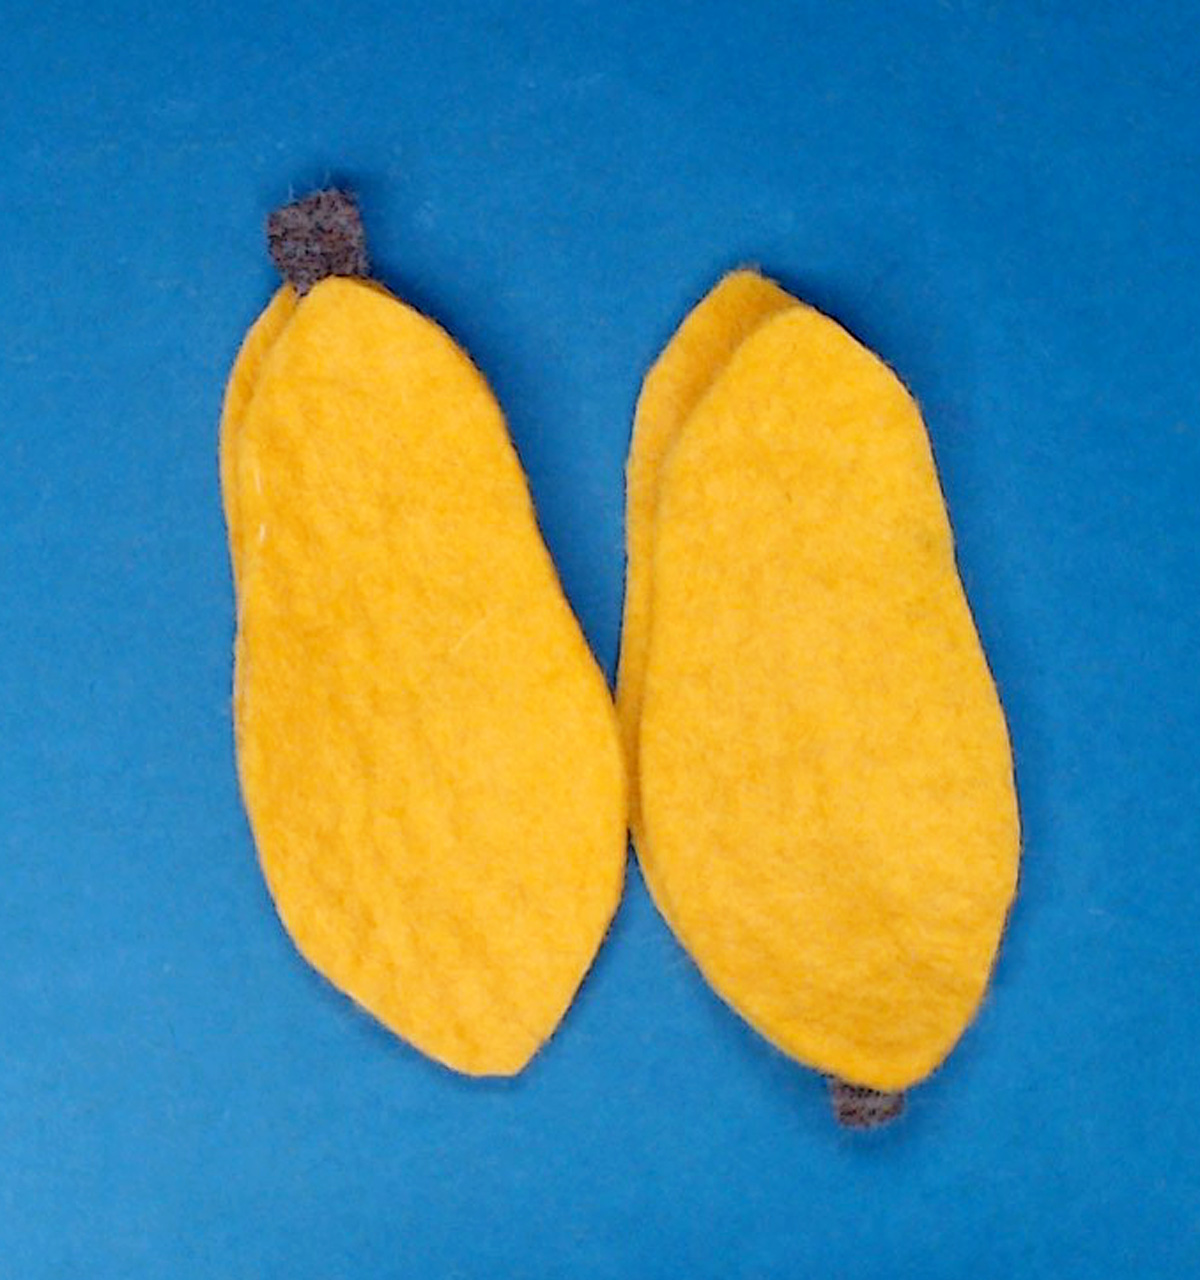
4. Start from your stem. Knot the thread, sew your first stitch so the knot is on the inside. Sew with a whip stitch (a simple back-to-front, around to the back, back-to-front again). A blanket stitch gets messy on this.
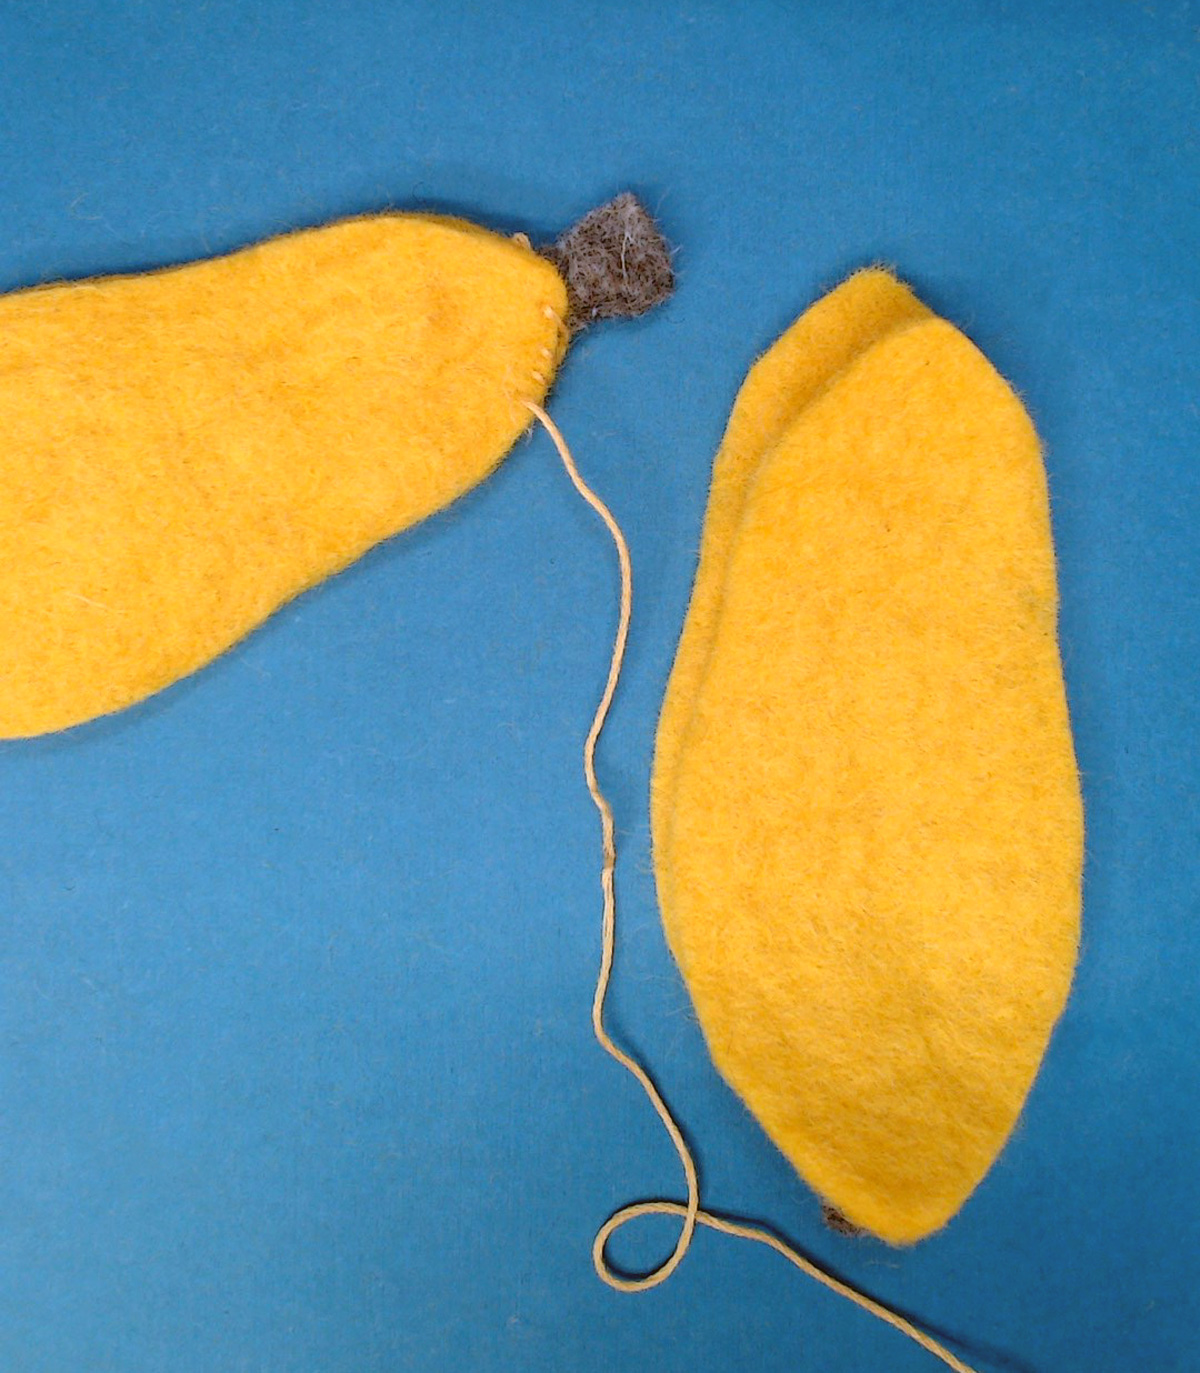
5. Sew along the whole side of each half. Don’t trim the thread (but you can remove the needle to use on the other side).
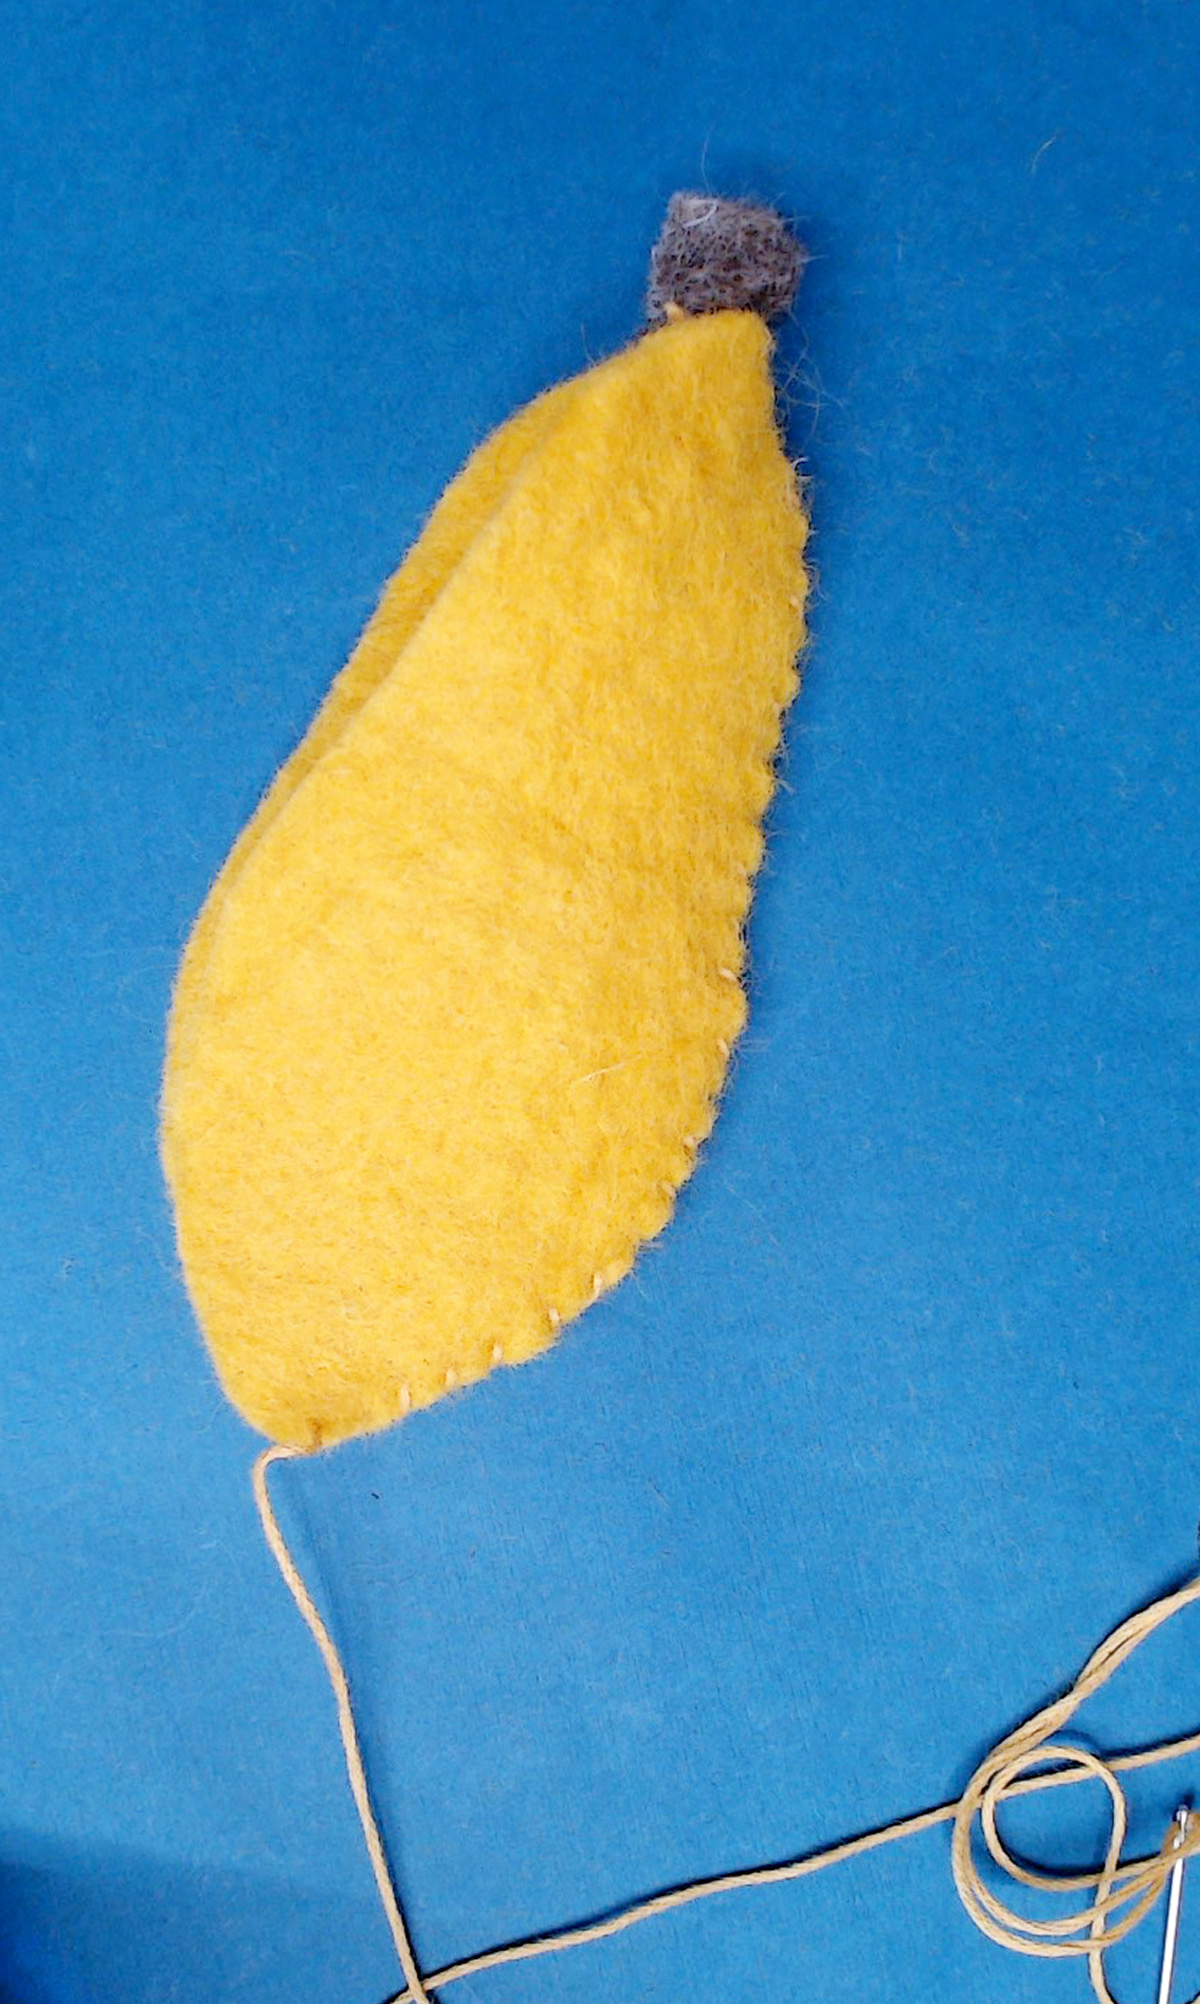
6. Connect the two halves: First, pin together one unsewn side from one half with an unsewn side from another. You should have a thread hanging from when you sewed along that first side.
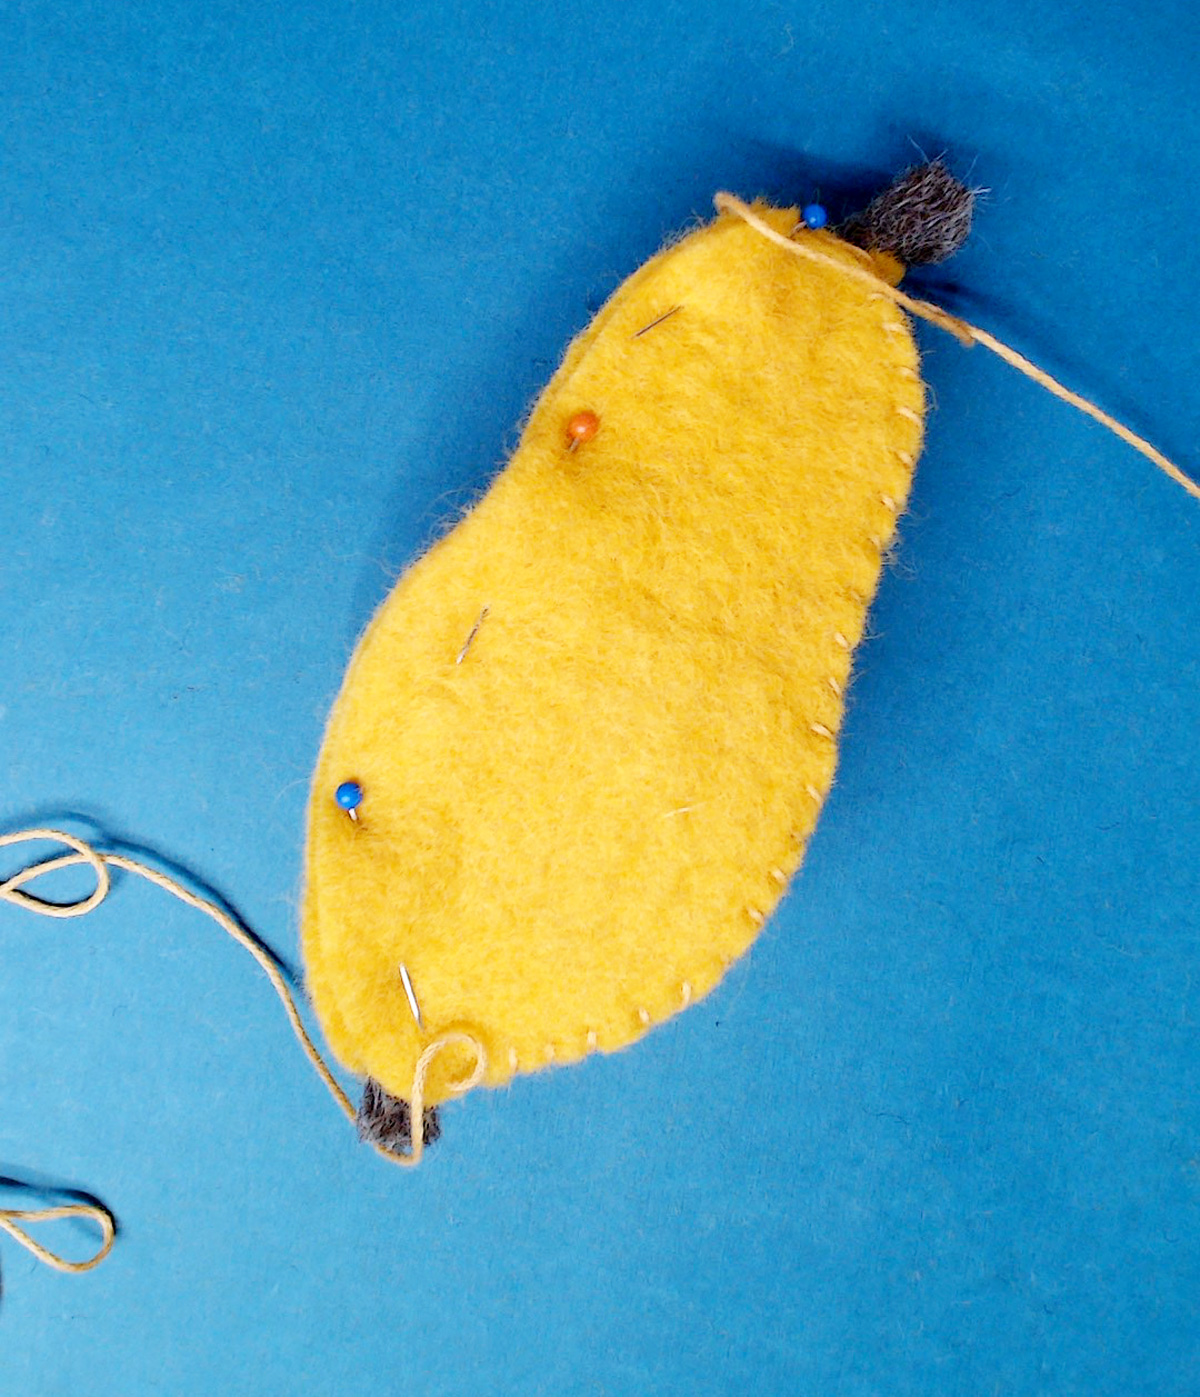
7. Use the hanging thread from one side to continue sewing, going around/through the stem, along the side that you’re connecting. When you’re done, finish inside the ETrog, knot tight against the felt, and trim.
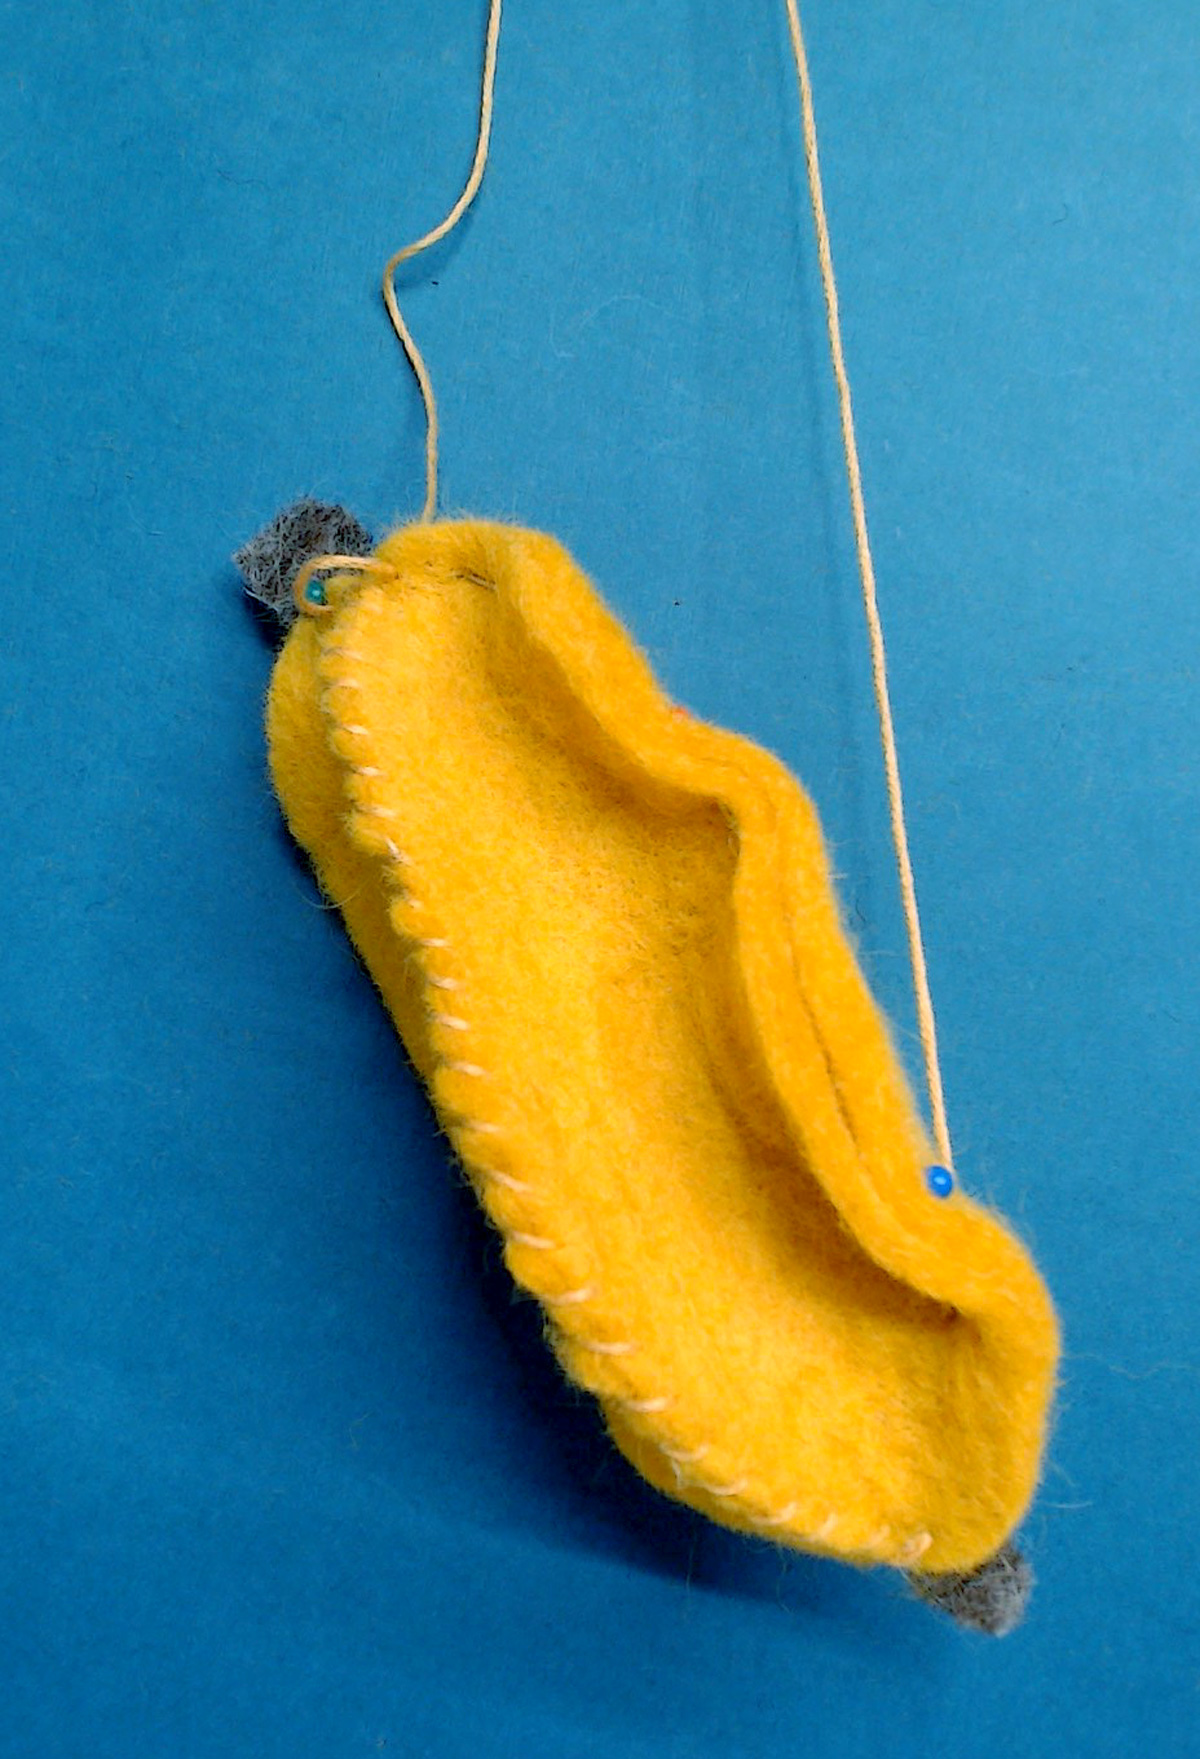
8. Pin the last two sides together. Don’t worry about the shape of the Etrog – it can lay flat if that makes it easier.
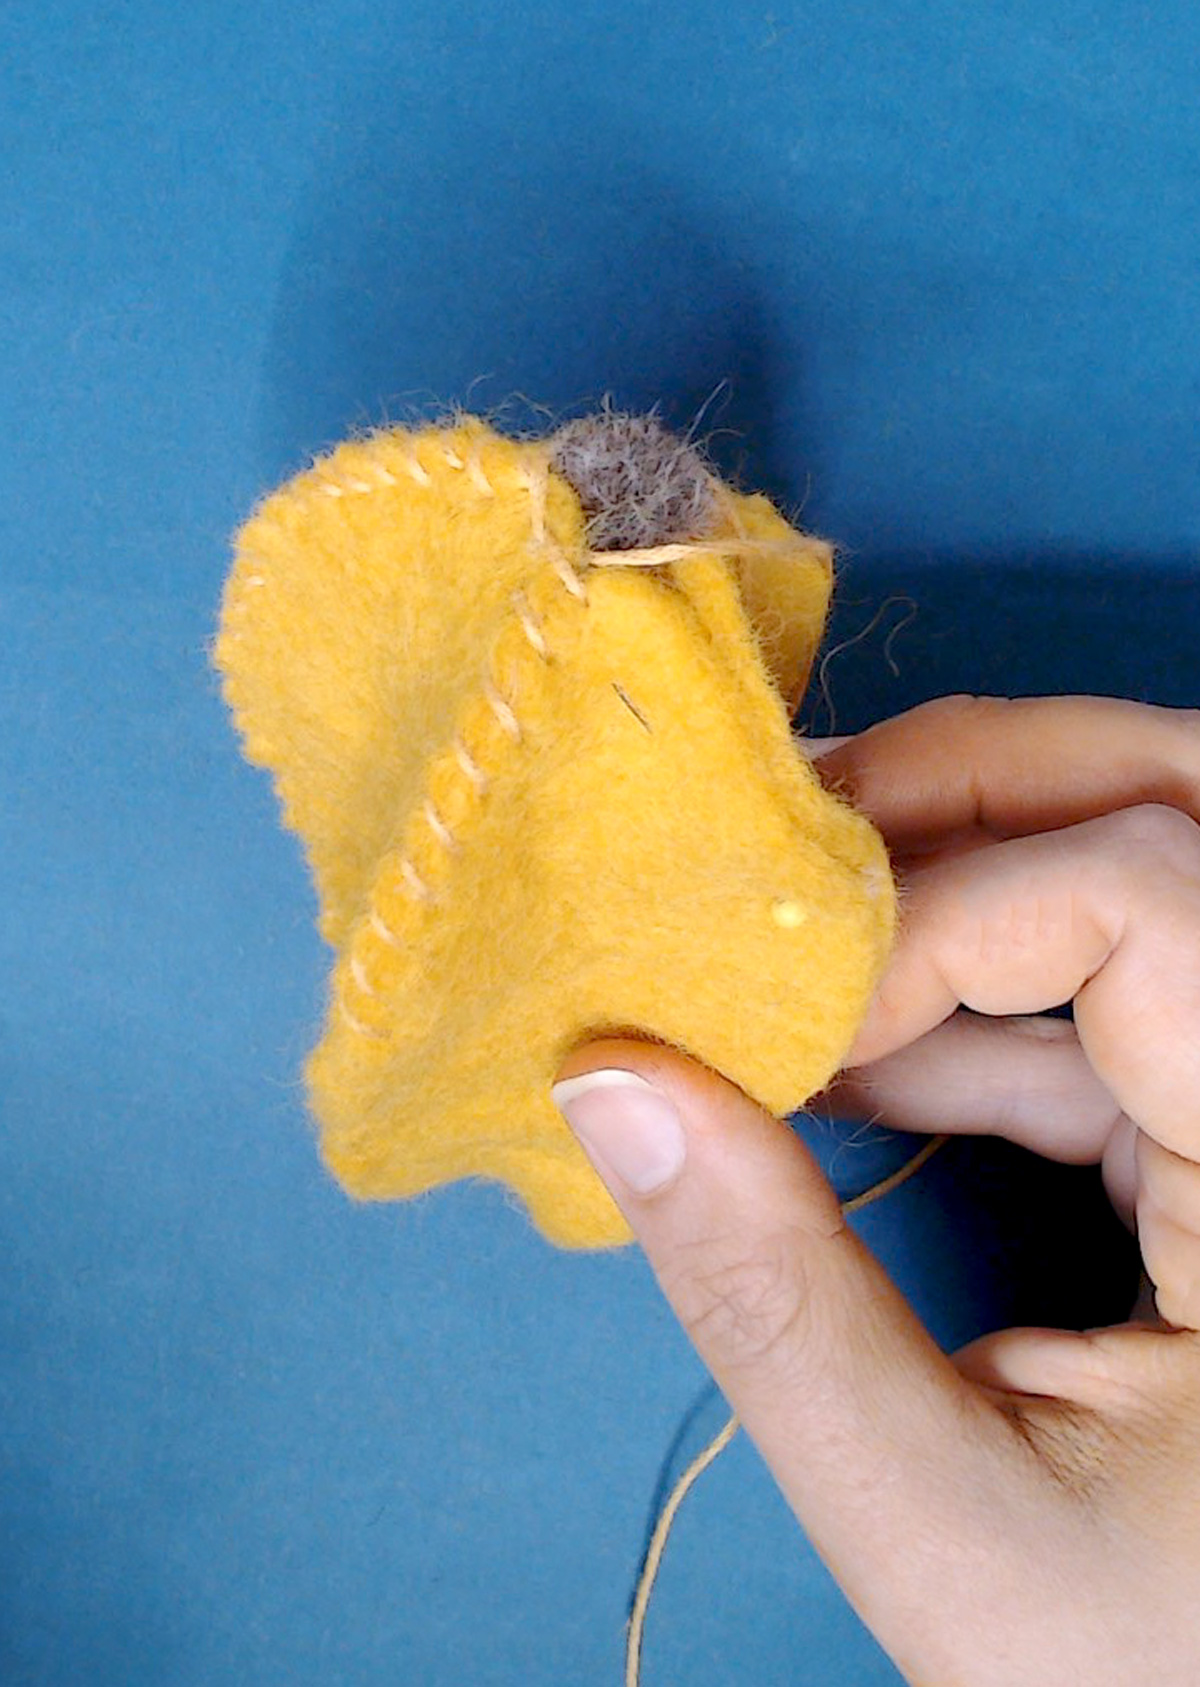
9. Sew most of the way up that side, leaving enough of an opening to stuff it.
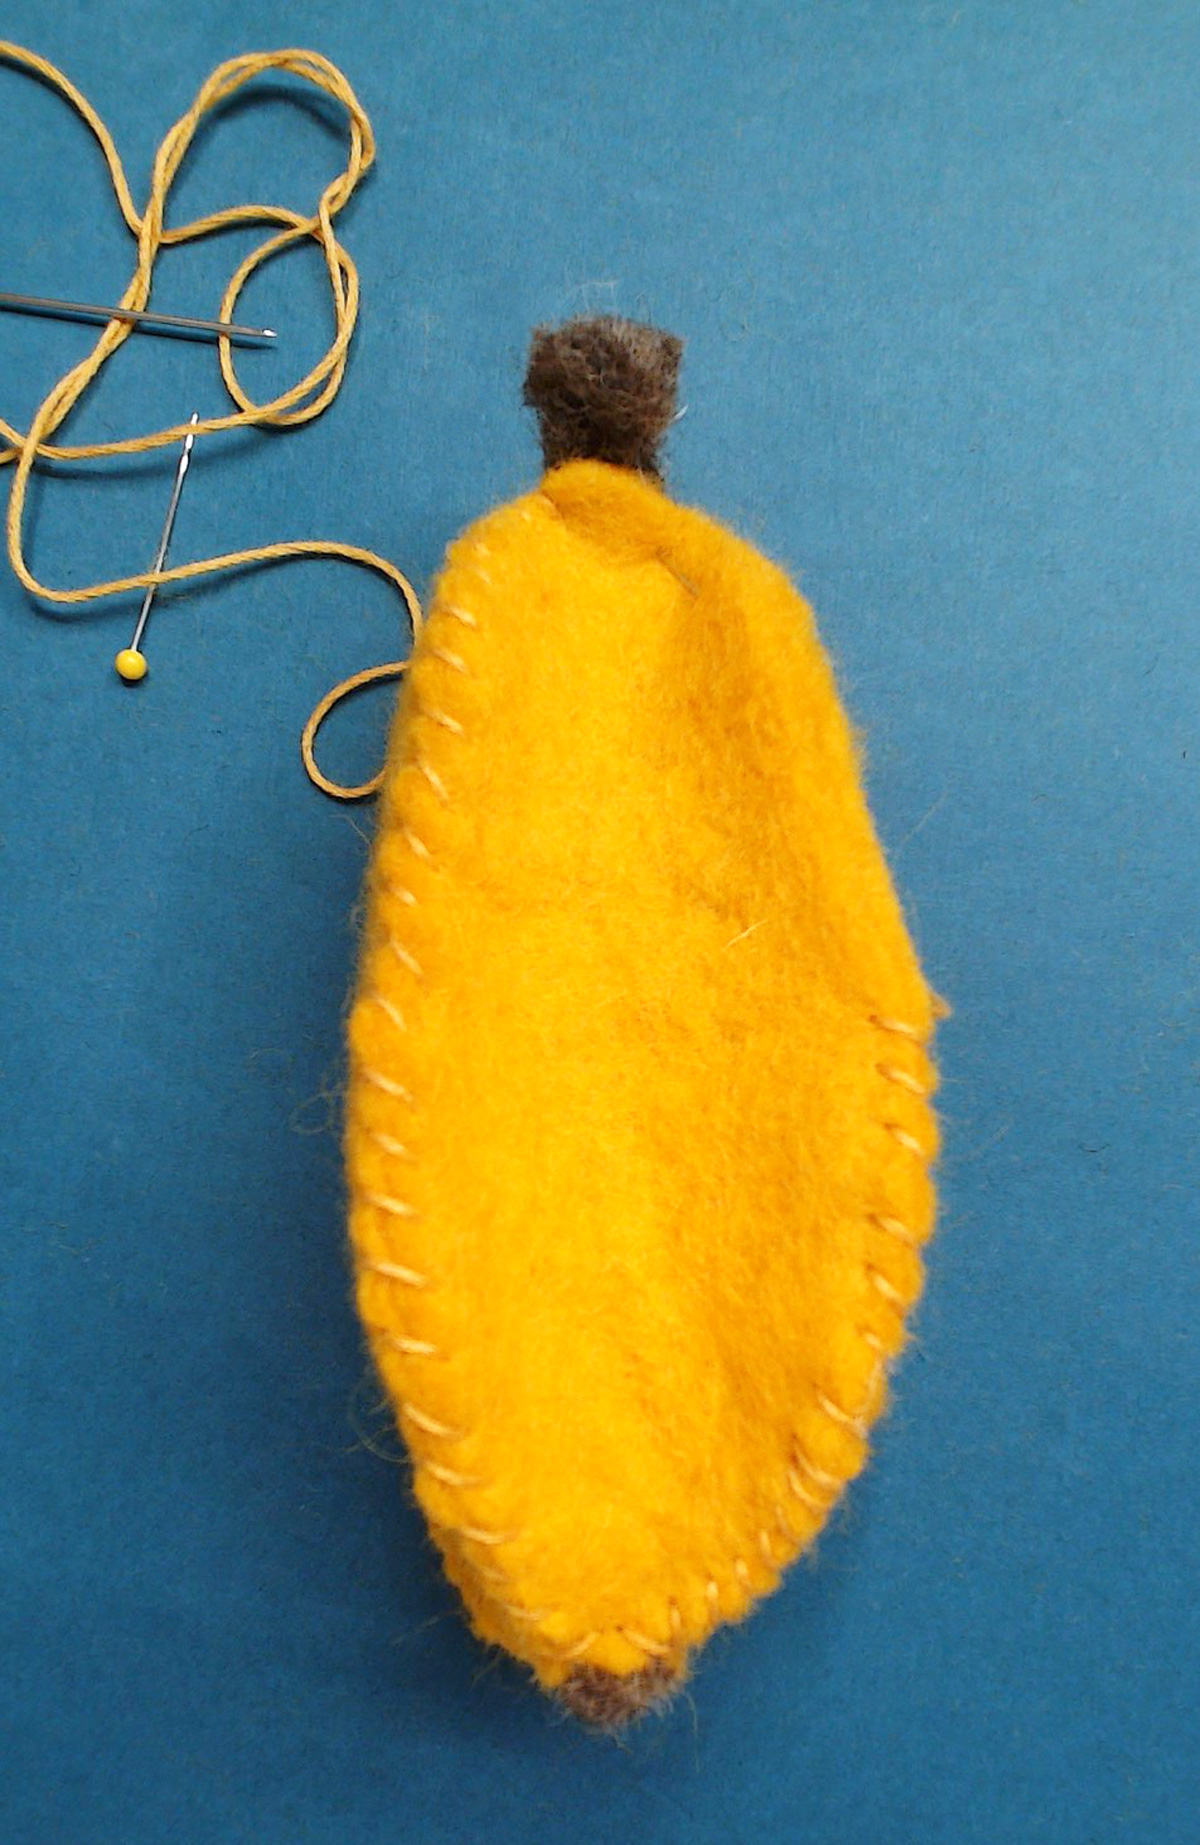
10. Stuff your Etrog with polyfil – stuff it well, so that it’s firm but you can press it, but not so much that it pulls on the stitches.
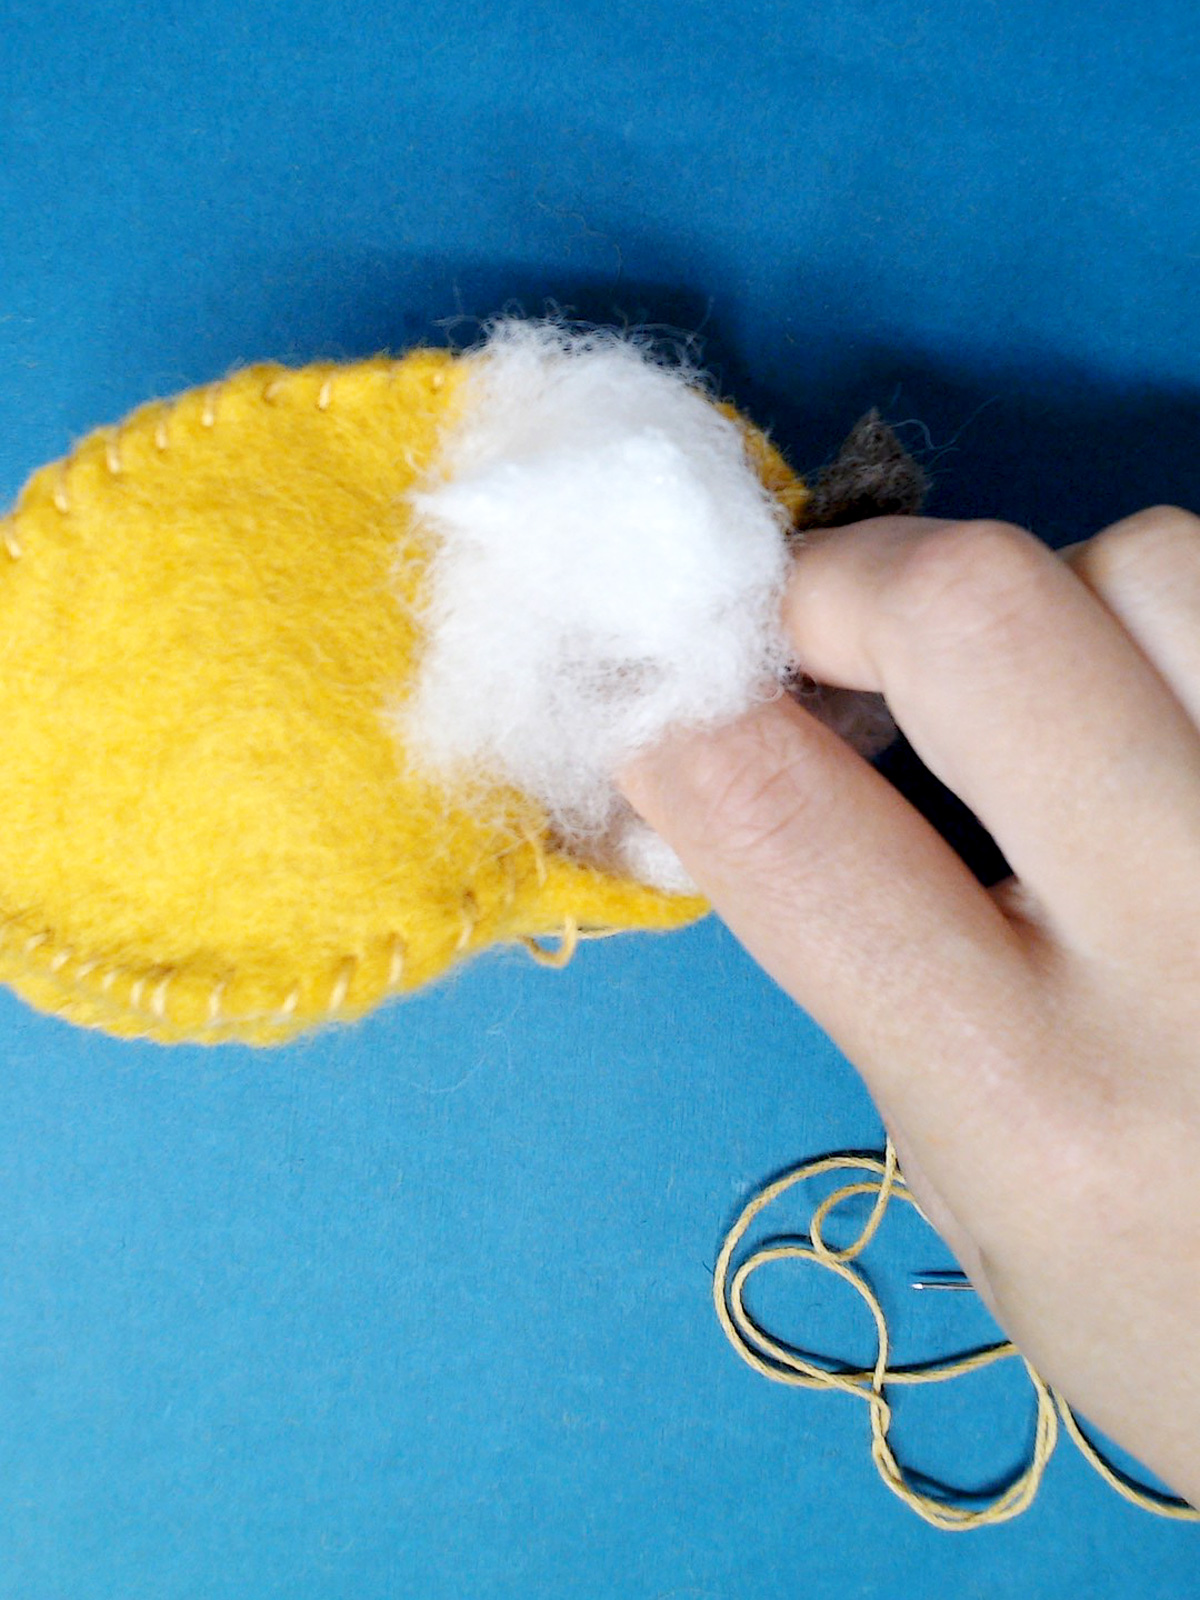
11. Finish up sewing your Etrog shut.
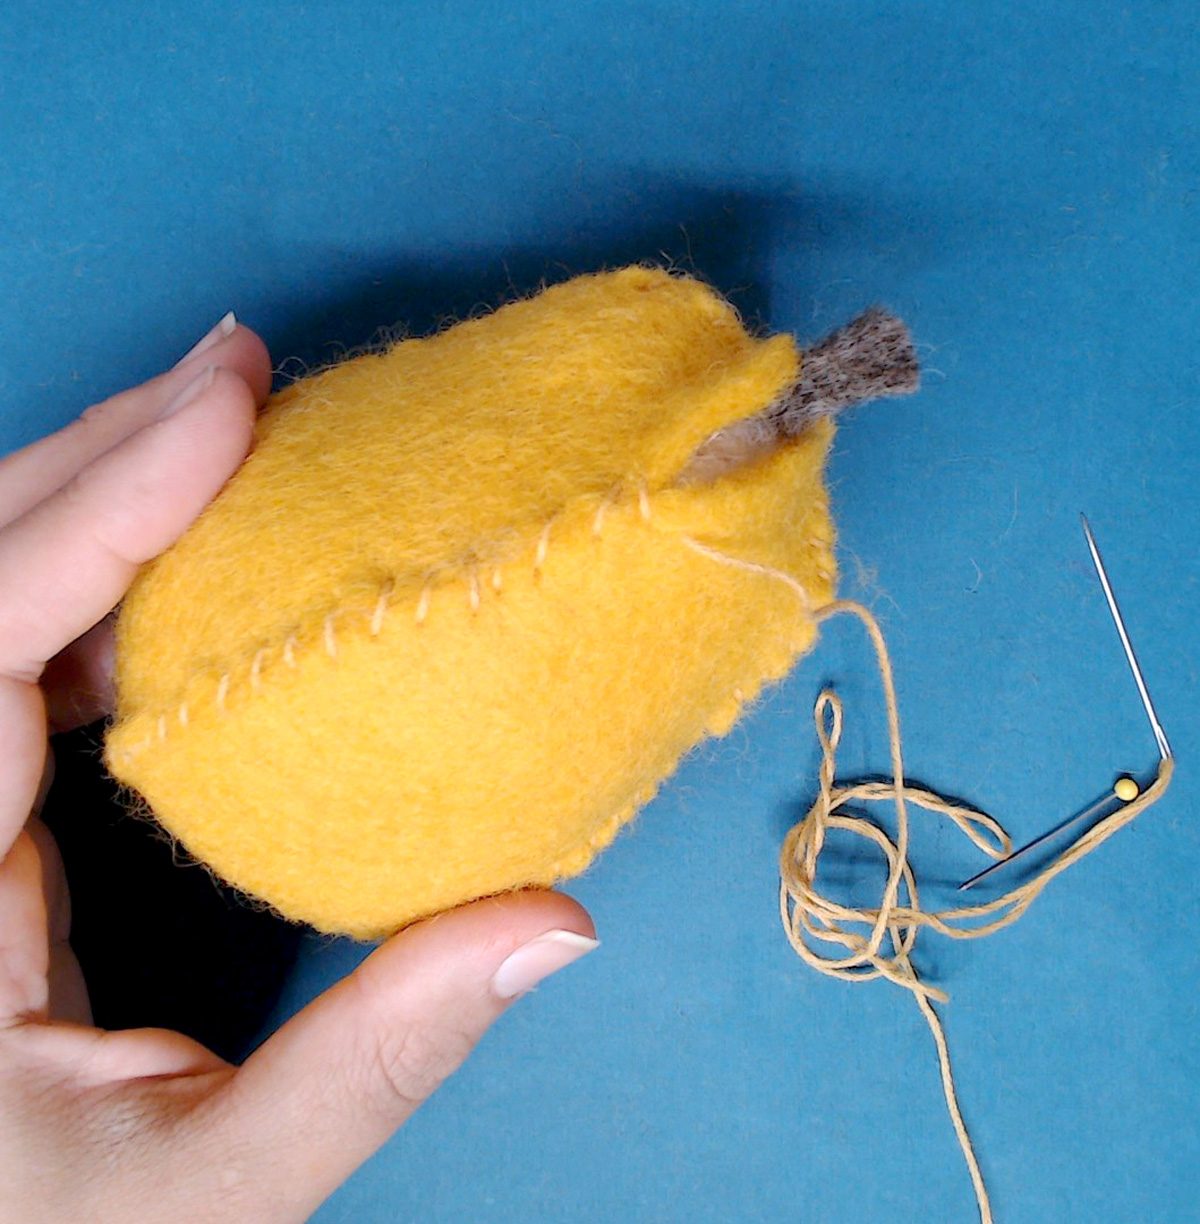
12. At the top Pittom, sew through, in and out, until you’re satisfied that it’s secure. I kind of winged it and sewed as needed at that connection point.
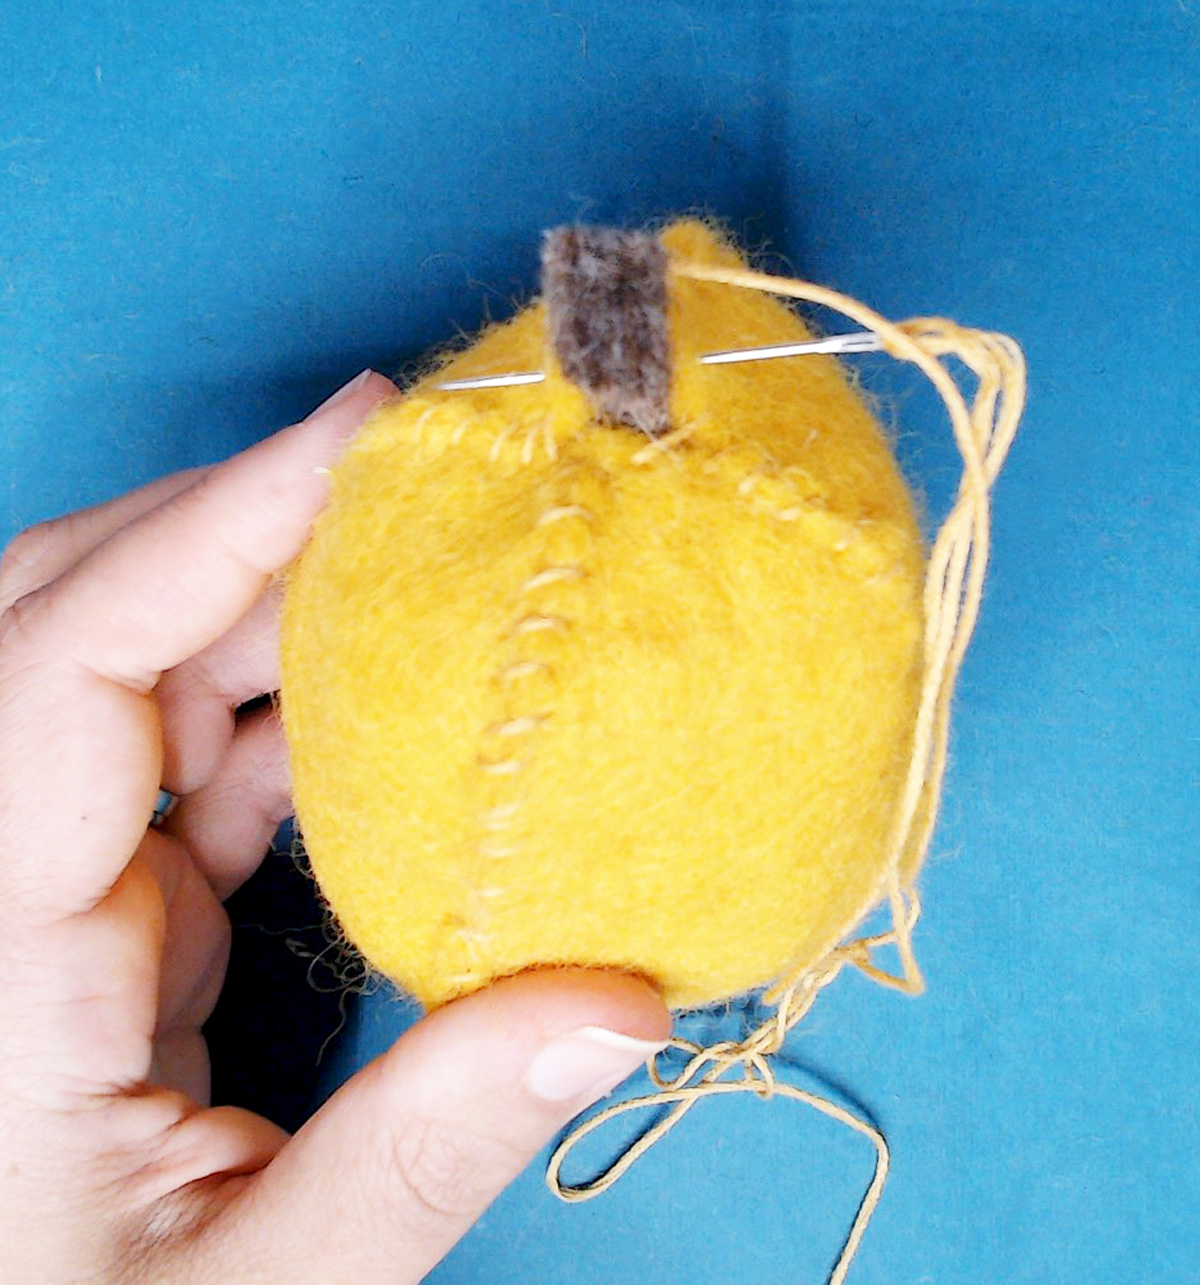
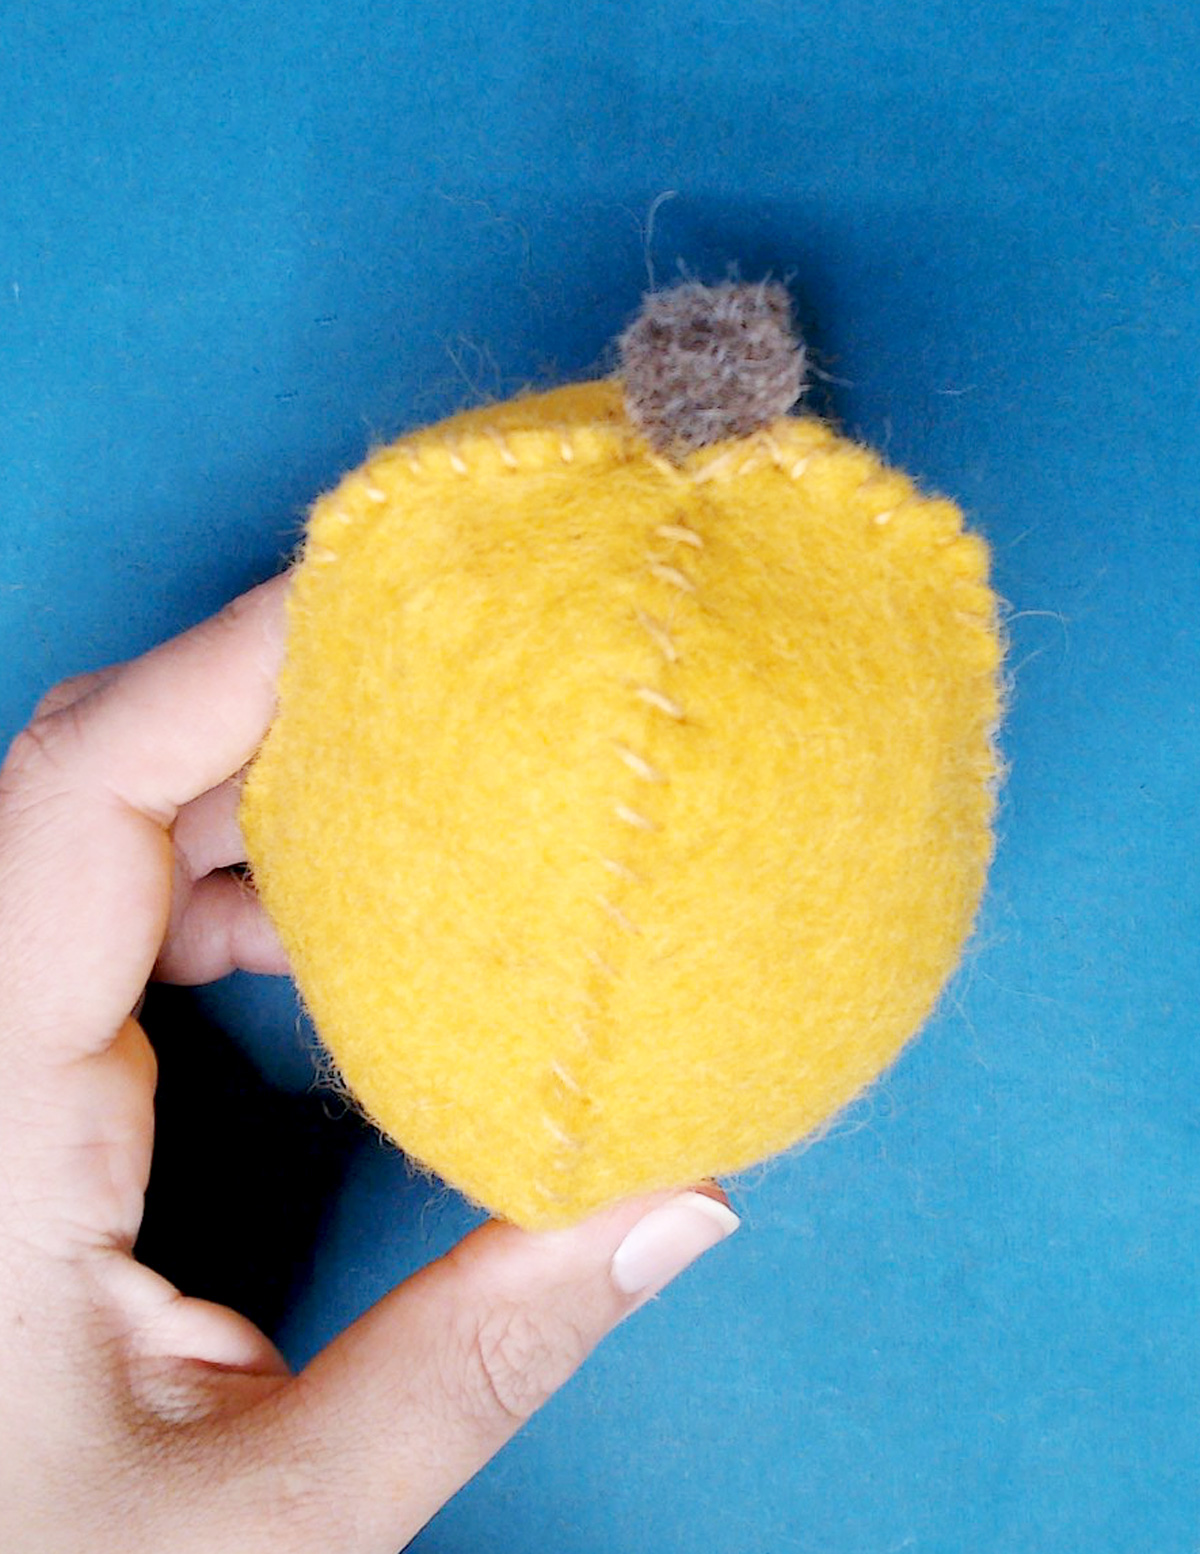
Your felt Etrog is complete!

Crafting the Lulav
1. Cut the parts from thick felt. We’ll start with the holder – the bottom part that is woven from lulav leaves.
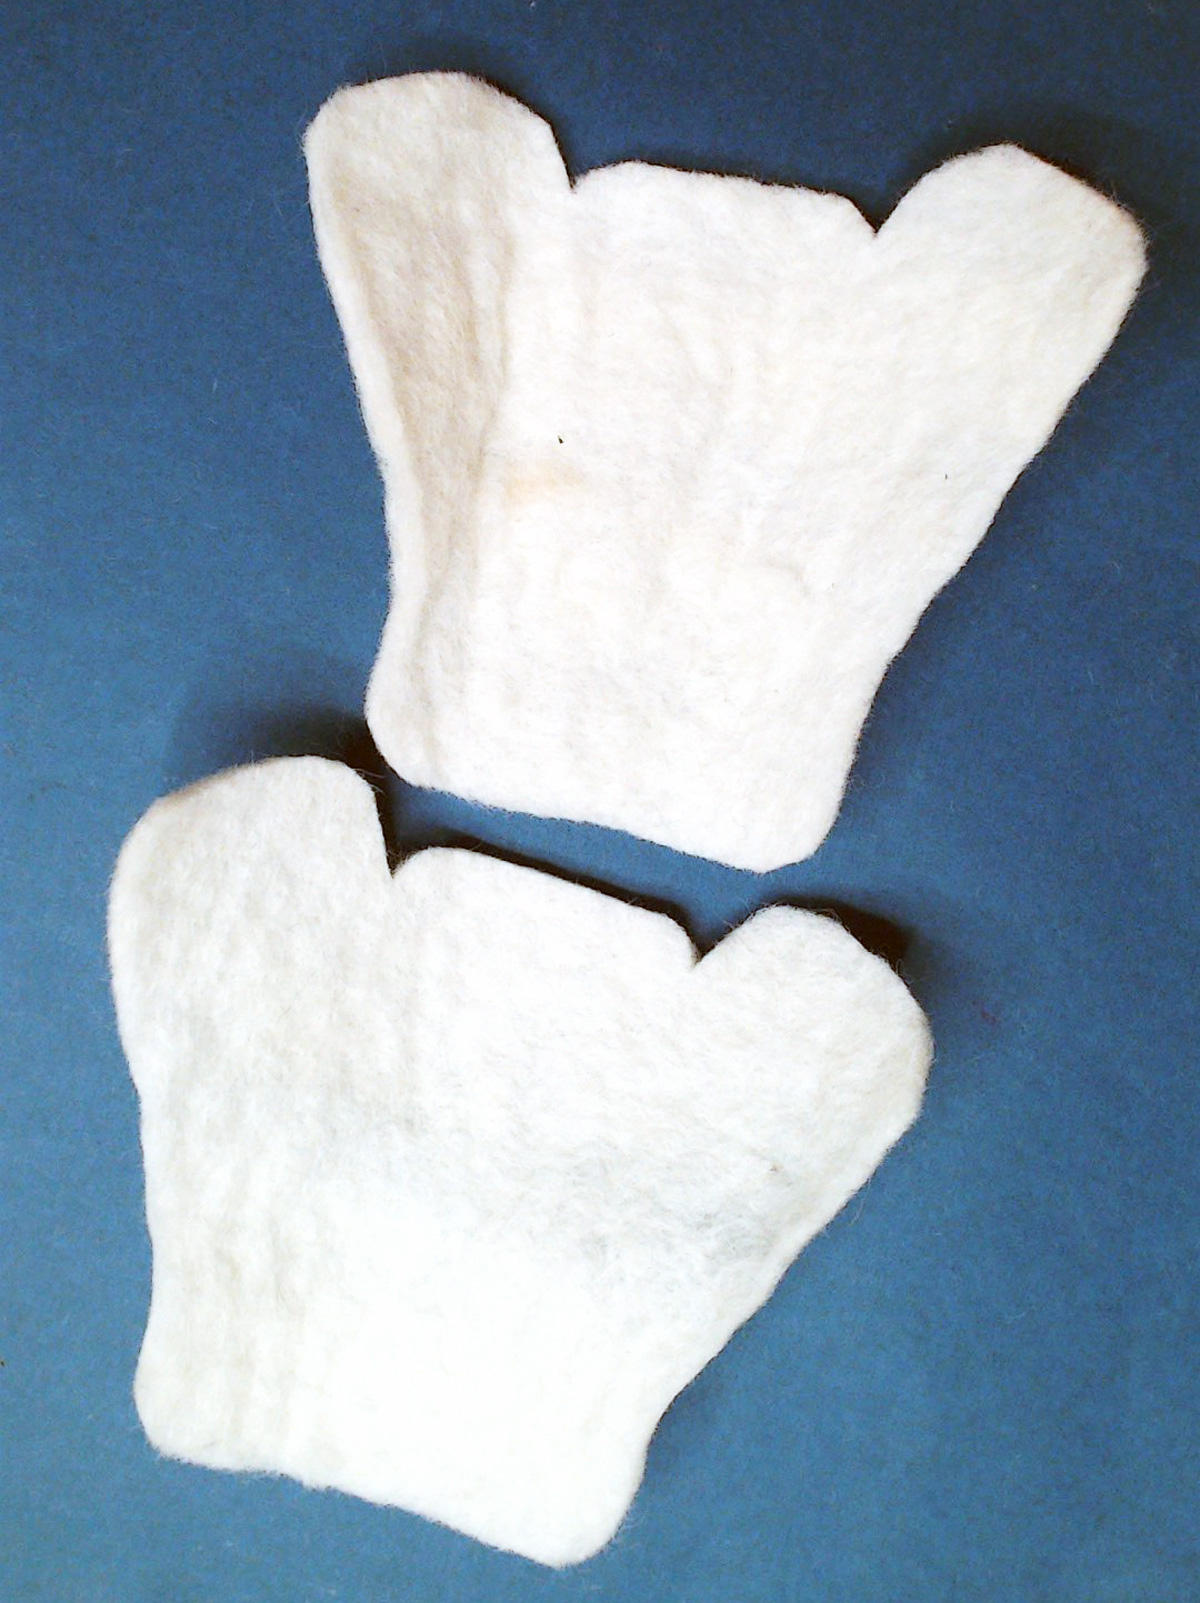
2. Pin the two sides together. Knot your thread, and start sewing as follows. You’re beginning just before the curved corner on the bottom. You want the center 1.5 inches to be unsewn, so you’re starting right beyond that. Insert your needle from the inside – between the layers to the outside, so that the knot sits inside.
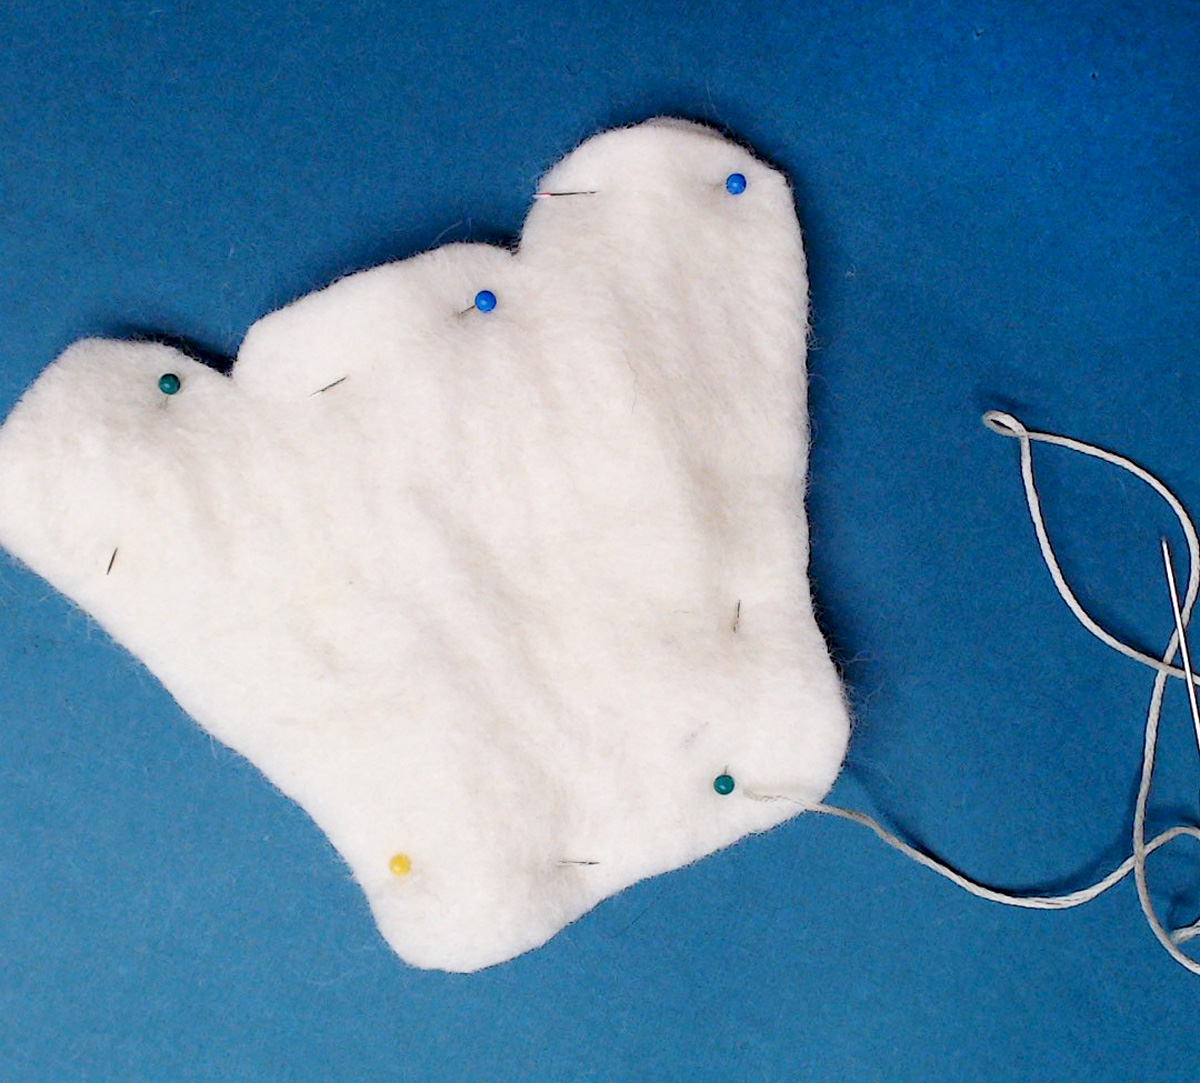
3. Start sewing around the edge with a simple whip stitch.
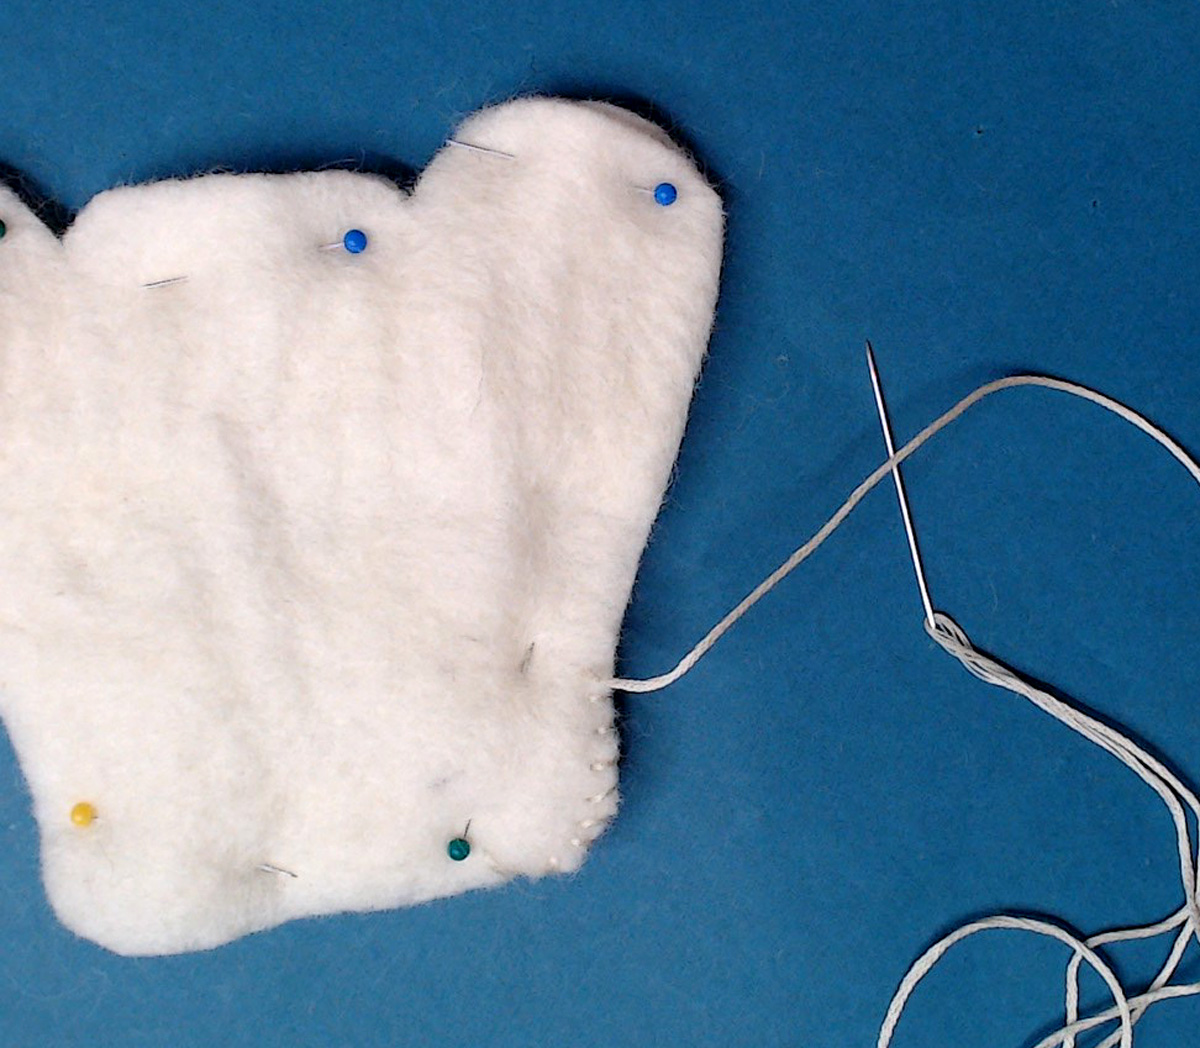
4. You’re whipstitching around the whole edge BUT some parts need to remain separate. When you get to those parts, you’ll be stitching a simple decorative/reinforcing border on only one side at a time. So when you get to the two parts that stick out where the Hadassim and Aravot would be, you’ll sew just around the top layer, leaving the top open.
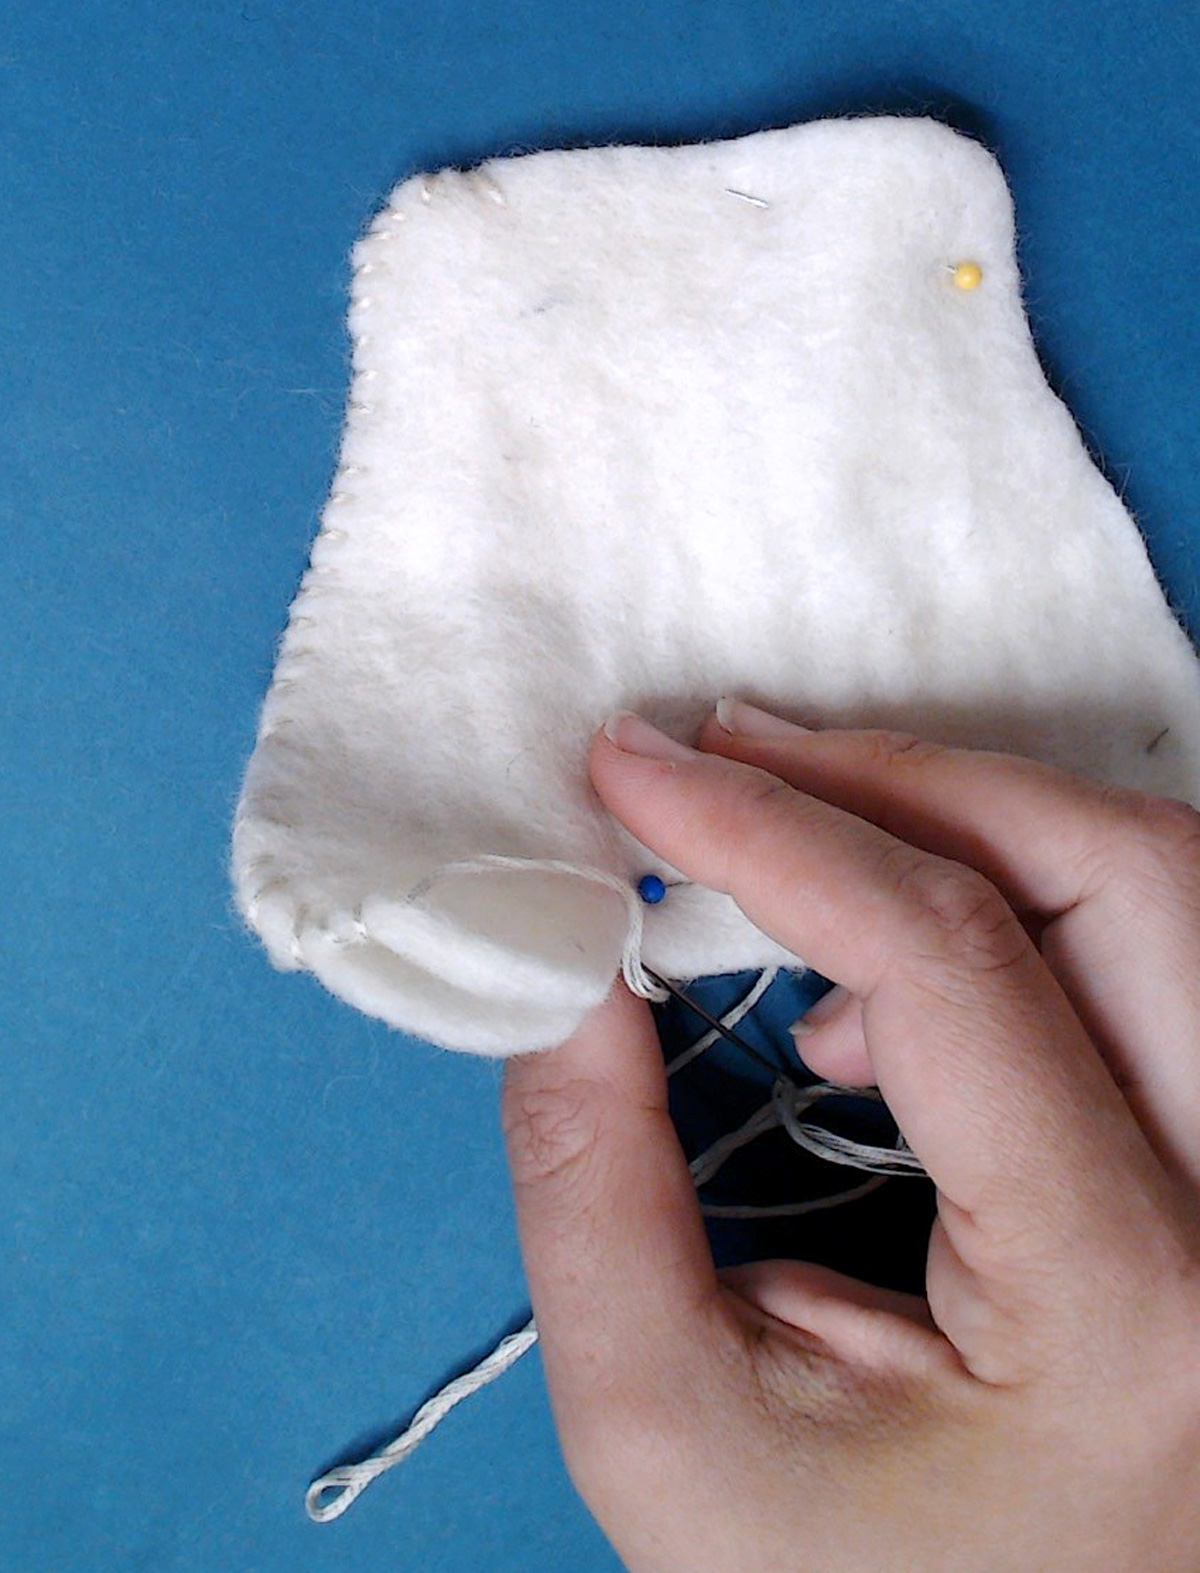
5. Continue sewing both sides together when you get to the next corner, but then you’ll leave the top center open as well, stitching just one side of it.
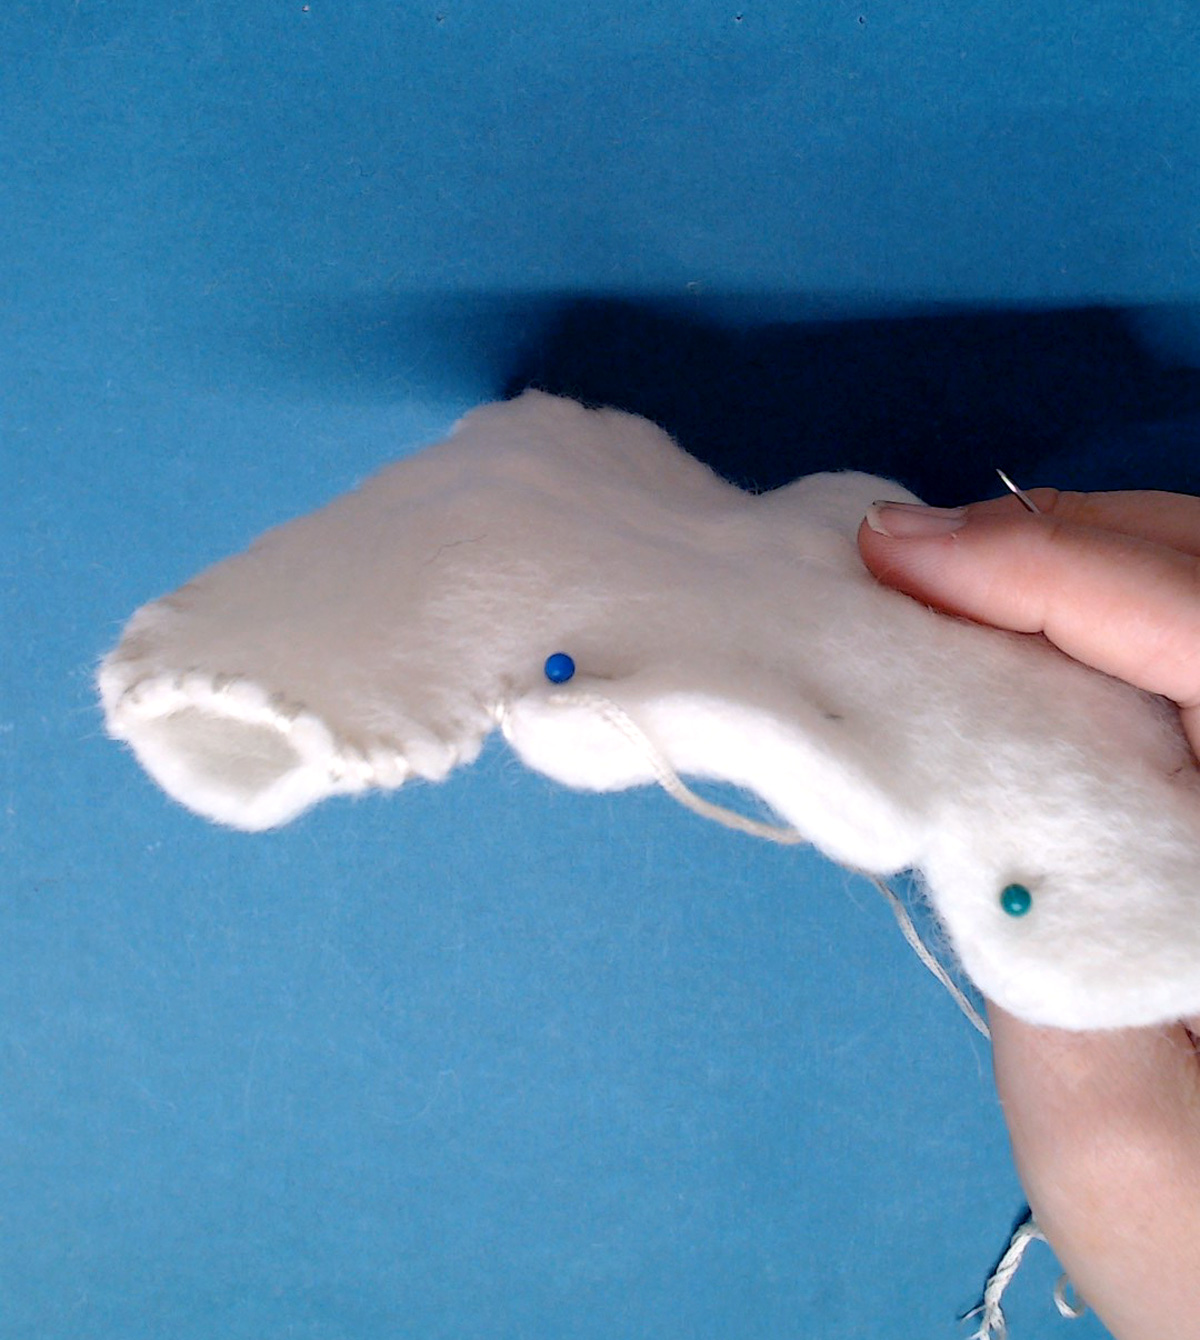
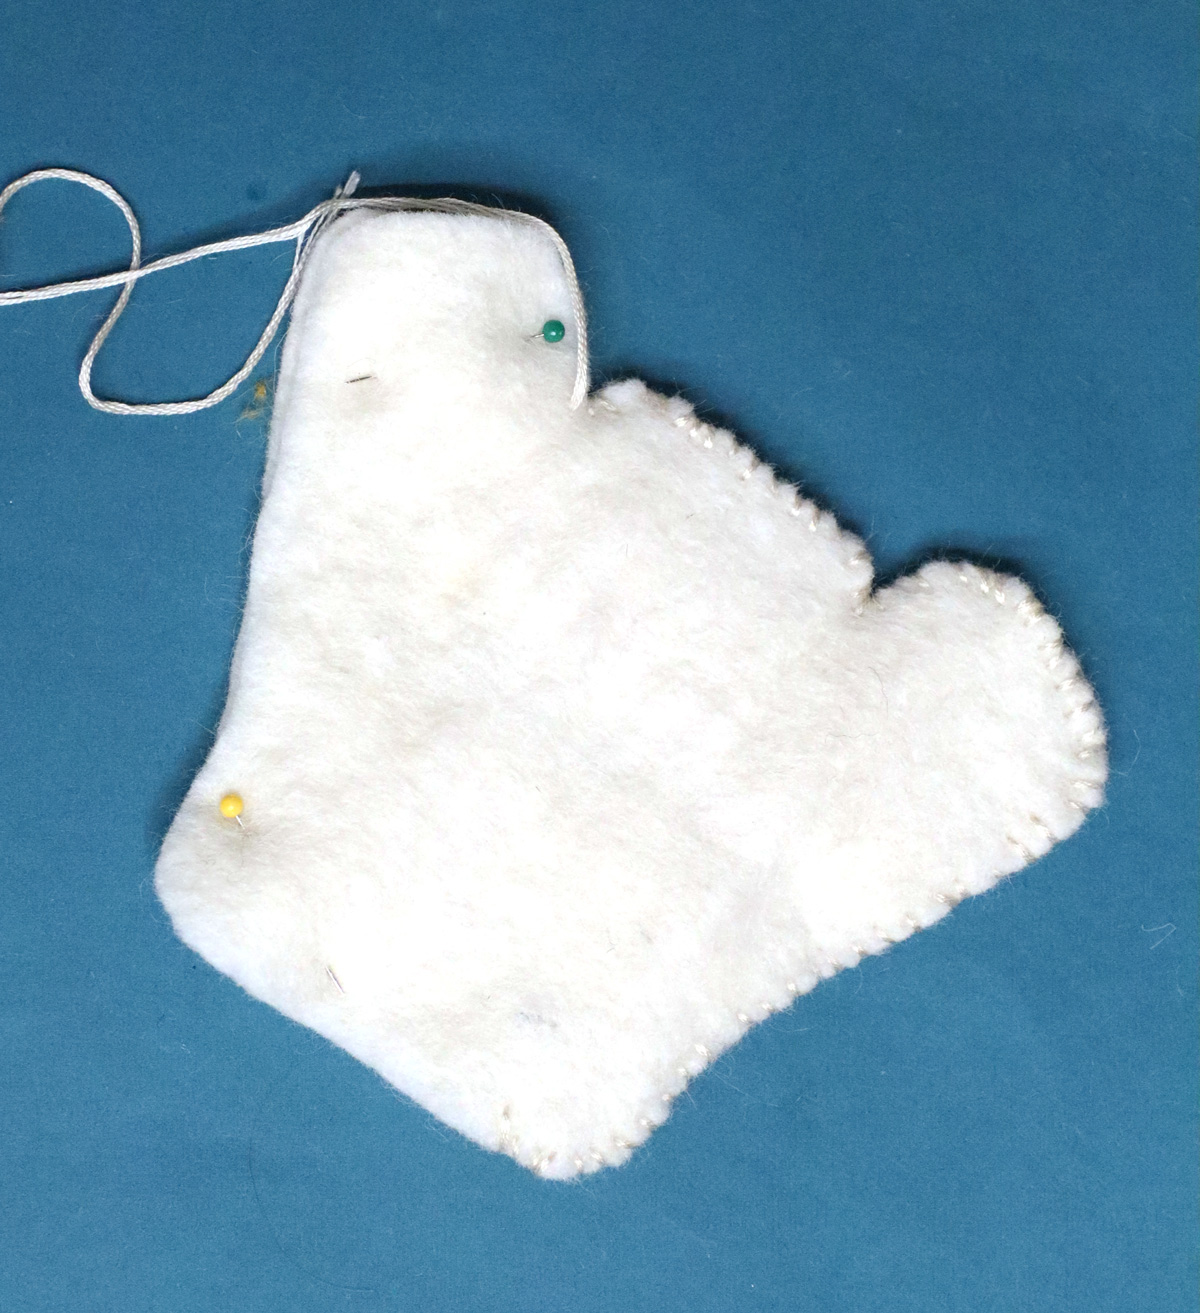
6. Keep stitching all the way around, leaving all the short sides open: the bottom center, and the top right, left, and center. You’ll have just the front of each of those with a decorative/reinforced whipstitch as well, but the back won’t have it for now.
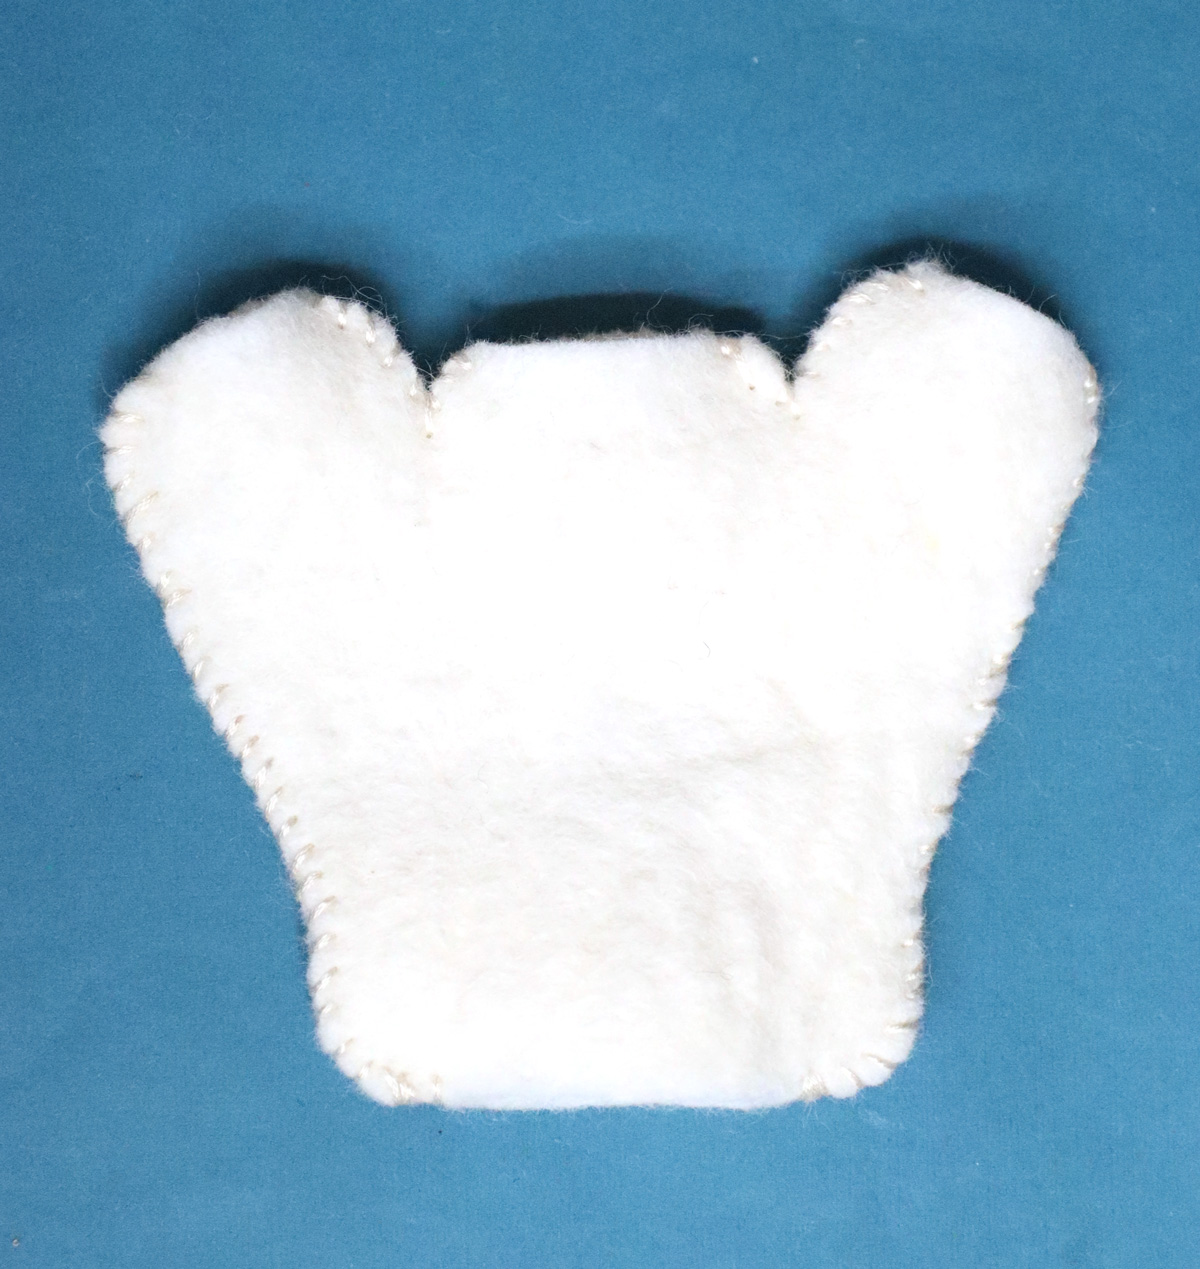
7. Sew a decorative/reinforcing whipstitch around all the back pocket edges as well. I recommend reknotting and rethreading your needle each time – your kids will be playing with it, putting things in, so you don’t really want to have long threads running through.
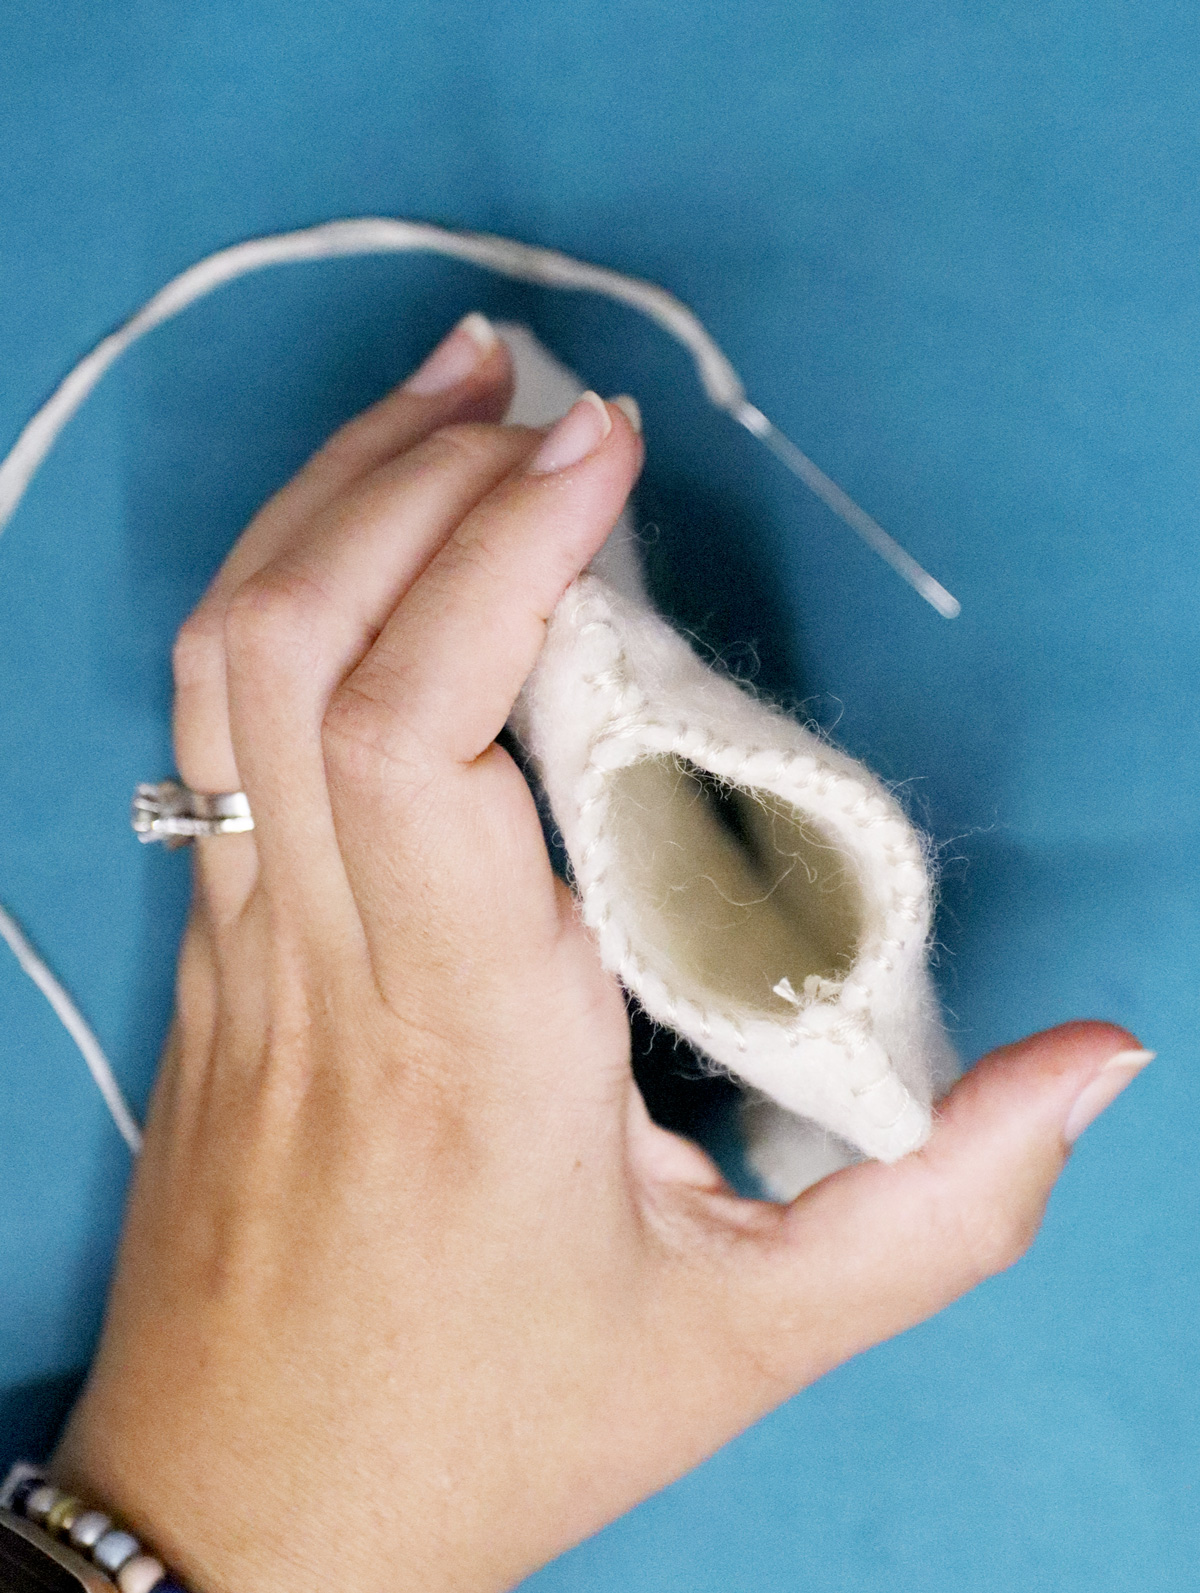
8. Cut the branches from green felt.
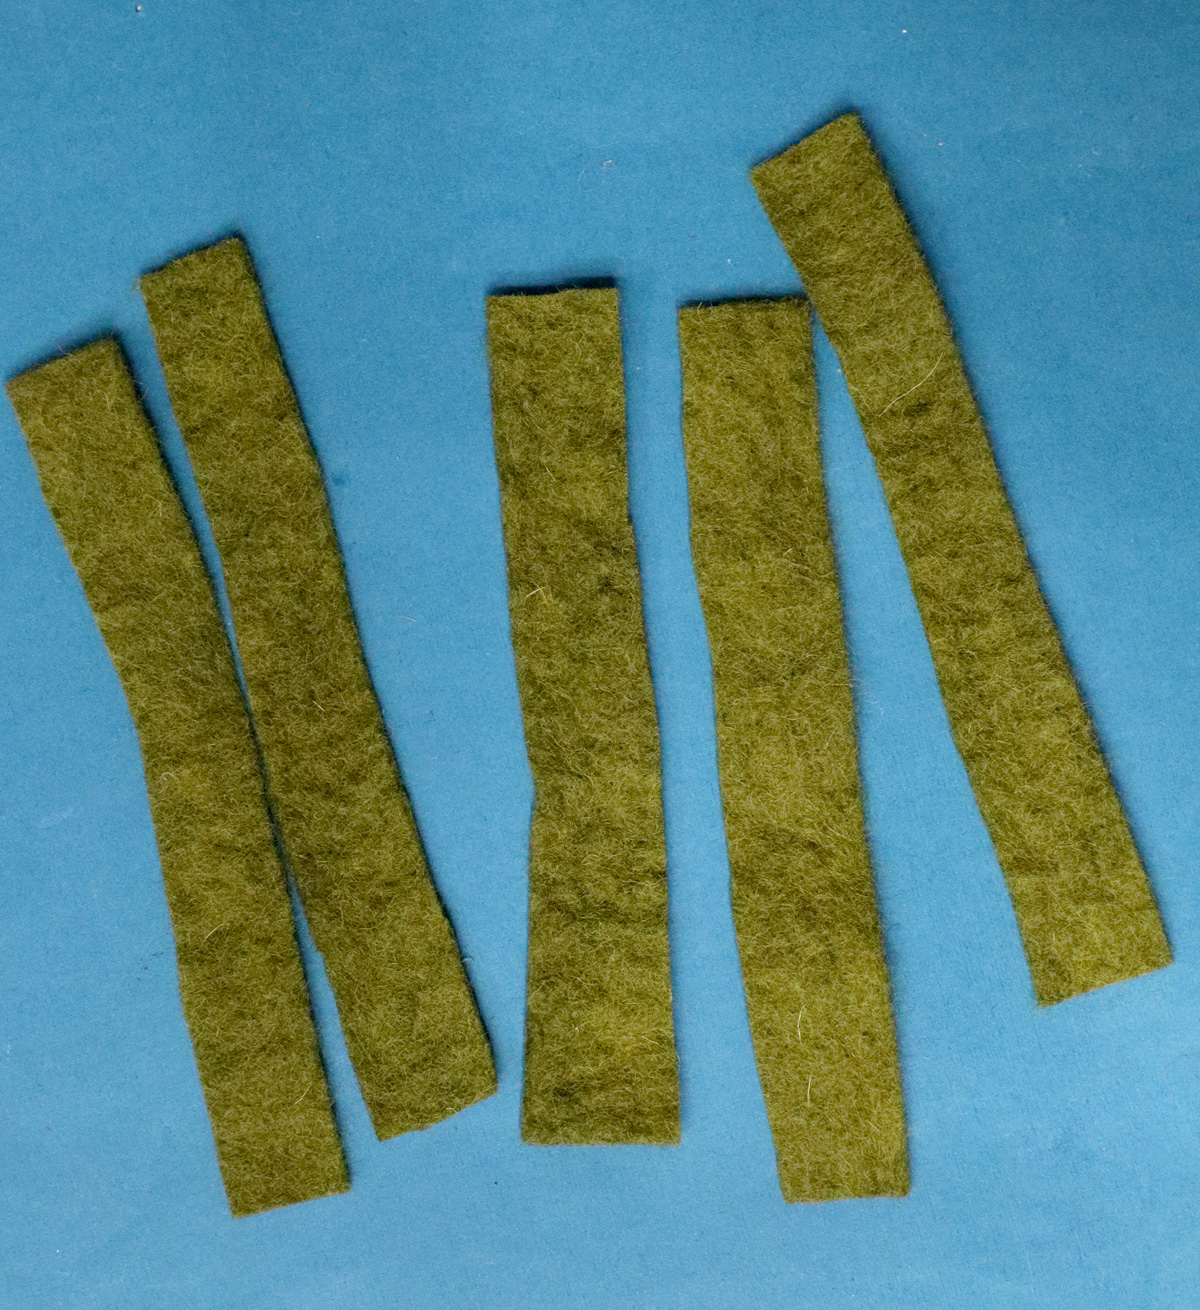
9. Cut a wire for each branch just a few mm shorter. Again, I tried assembling these a few ways. My best bet was to glue the wire in the center of the branch before sewing.
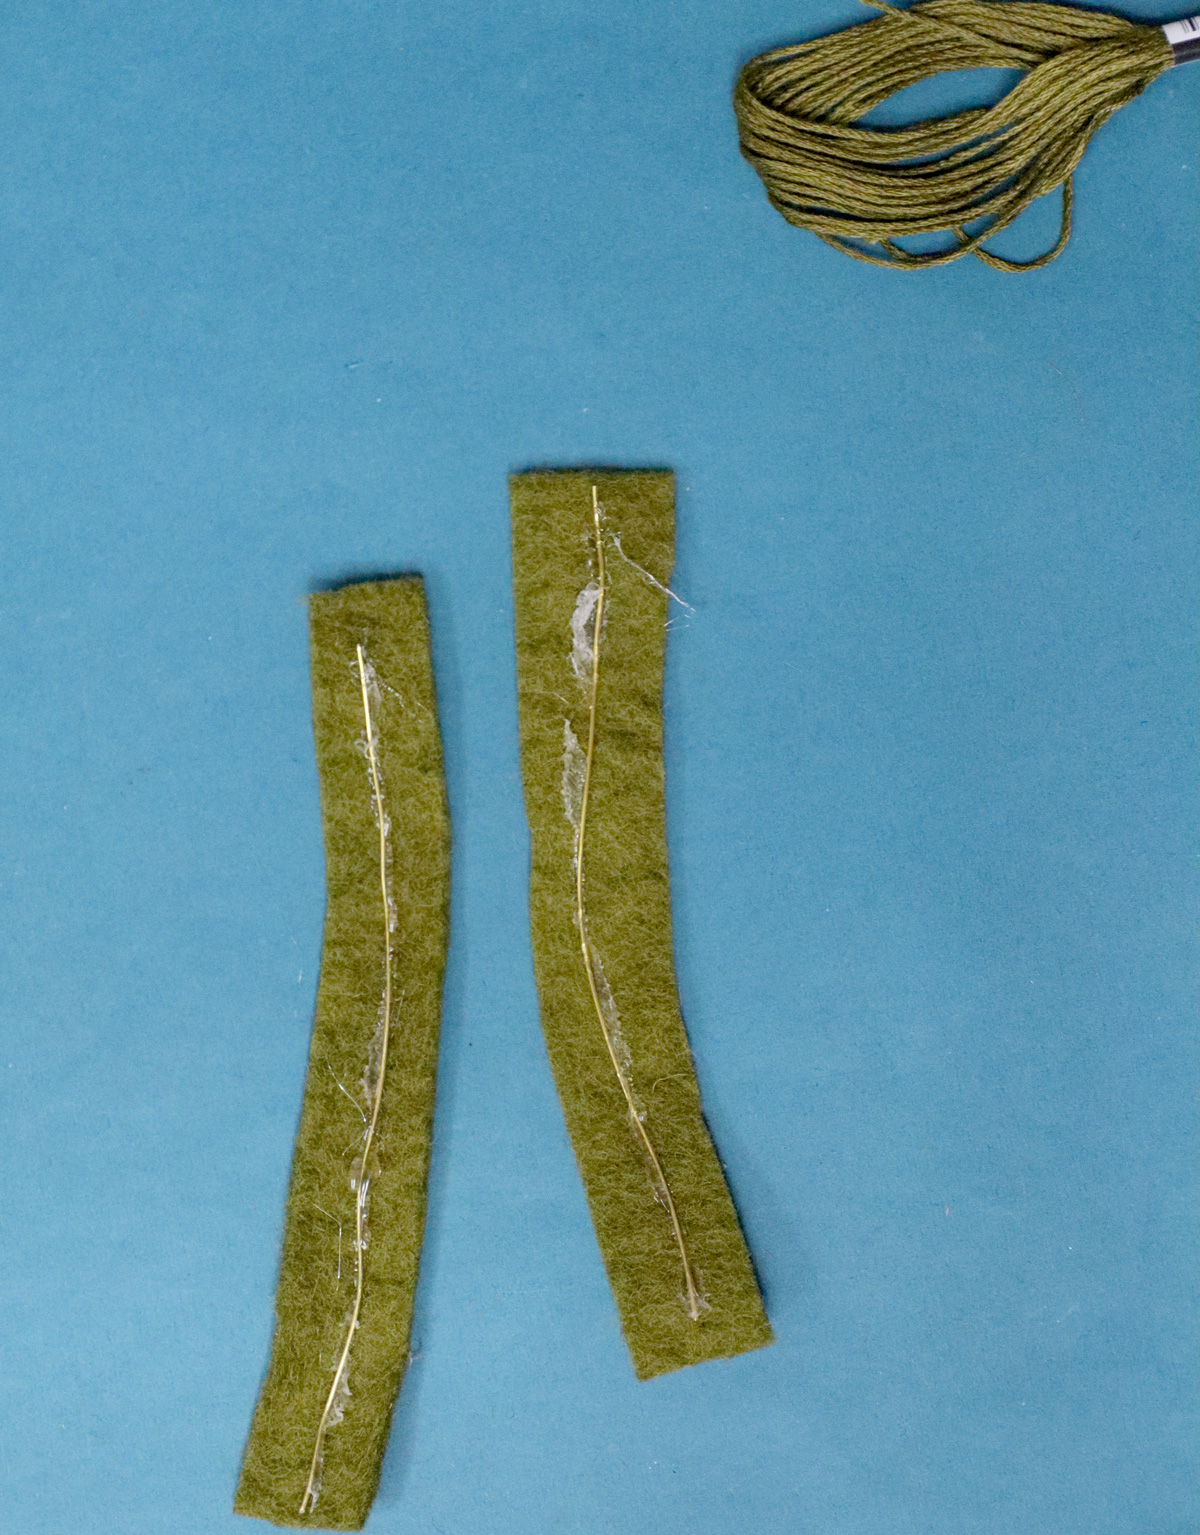
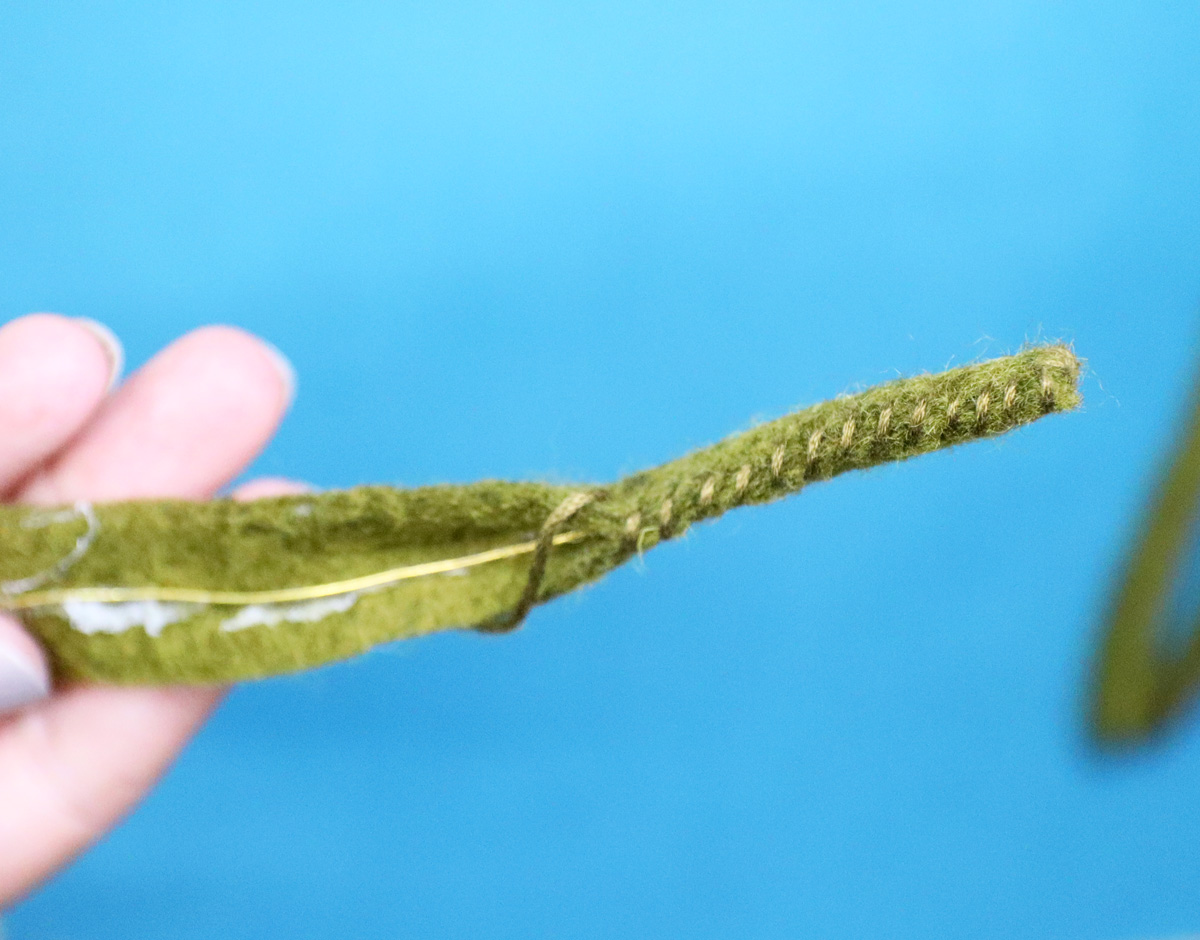
10. Again, starting from the top, sew a whipstitch all the way around. Do this for all five branches.
11. Just to visualize how you want your leaves, slide all your branches in their slots. The right side has three branches and will get the wider, shorter leaves. The left side has two branches and will get the longer, narrower leaves. Cut as many leaves as you feel makes sense in that space.
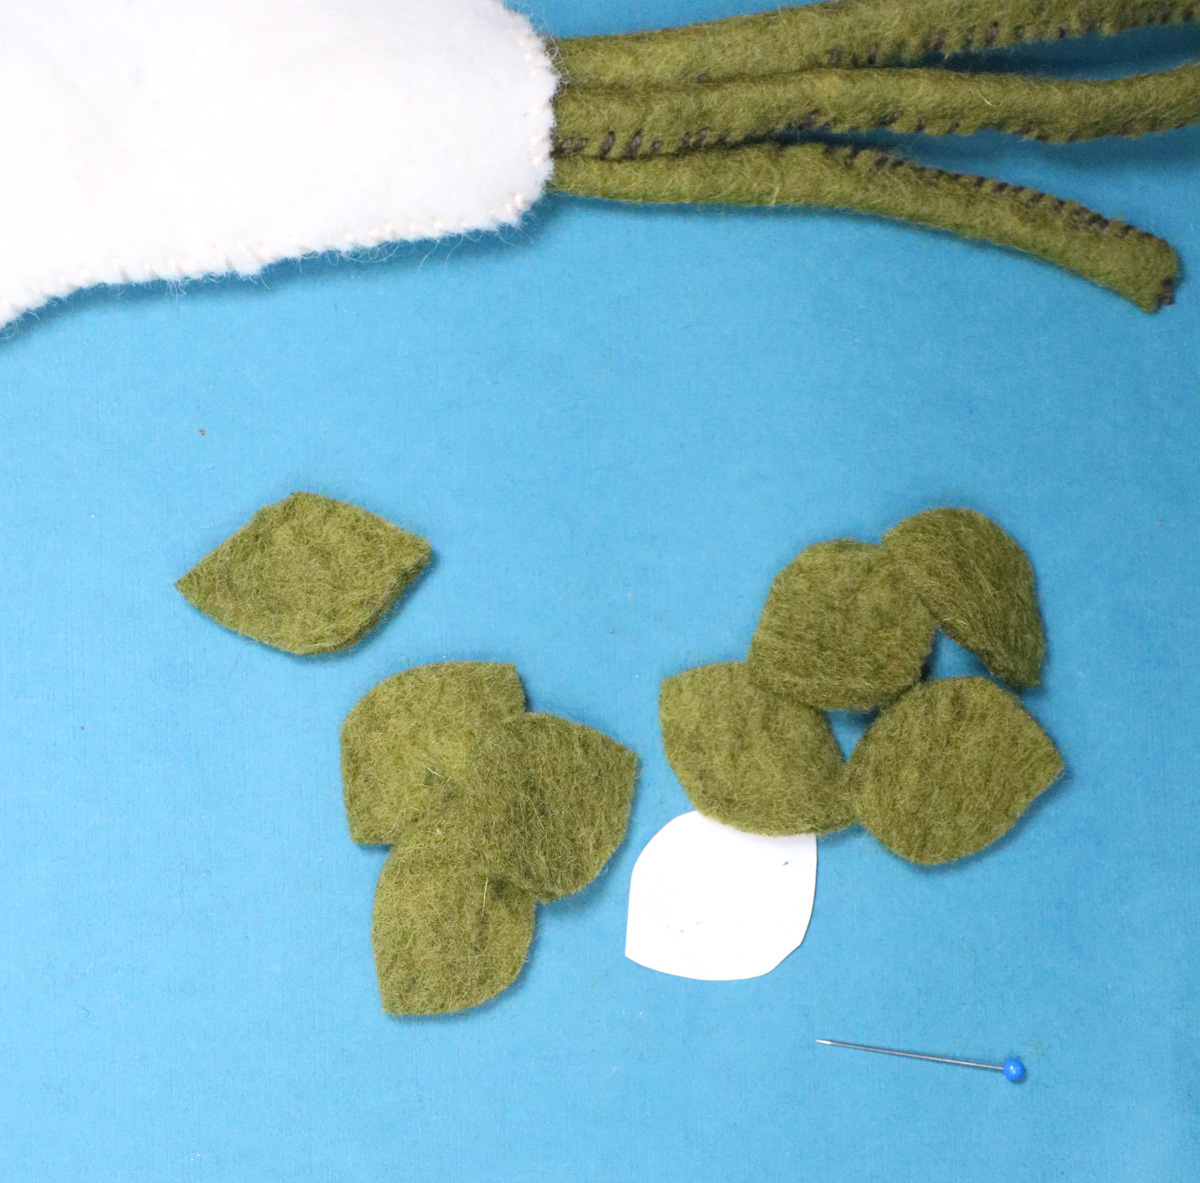
12. Adding detail to the leaves is totally optional. If you used thick enough felt, it doesn’t REALLY need the reinforcement. I did a whipstitch around the edge and a running stitch through the center to add some detail, but you really don’t have to. I did this only for the top few leaves.
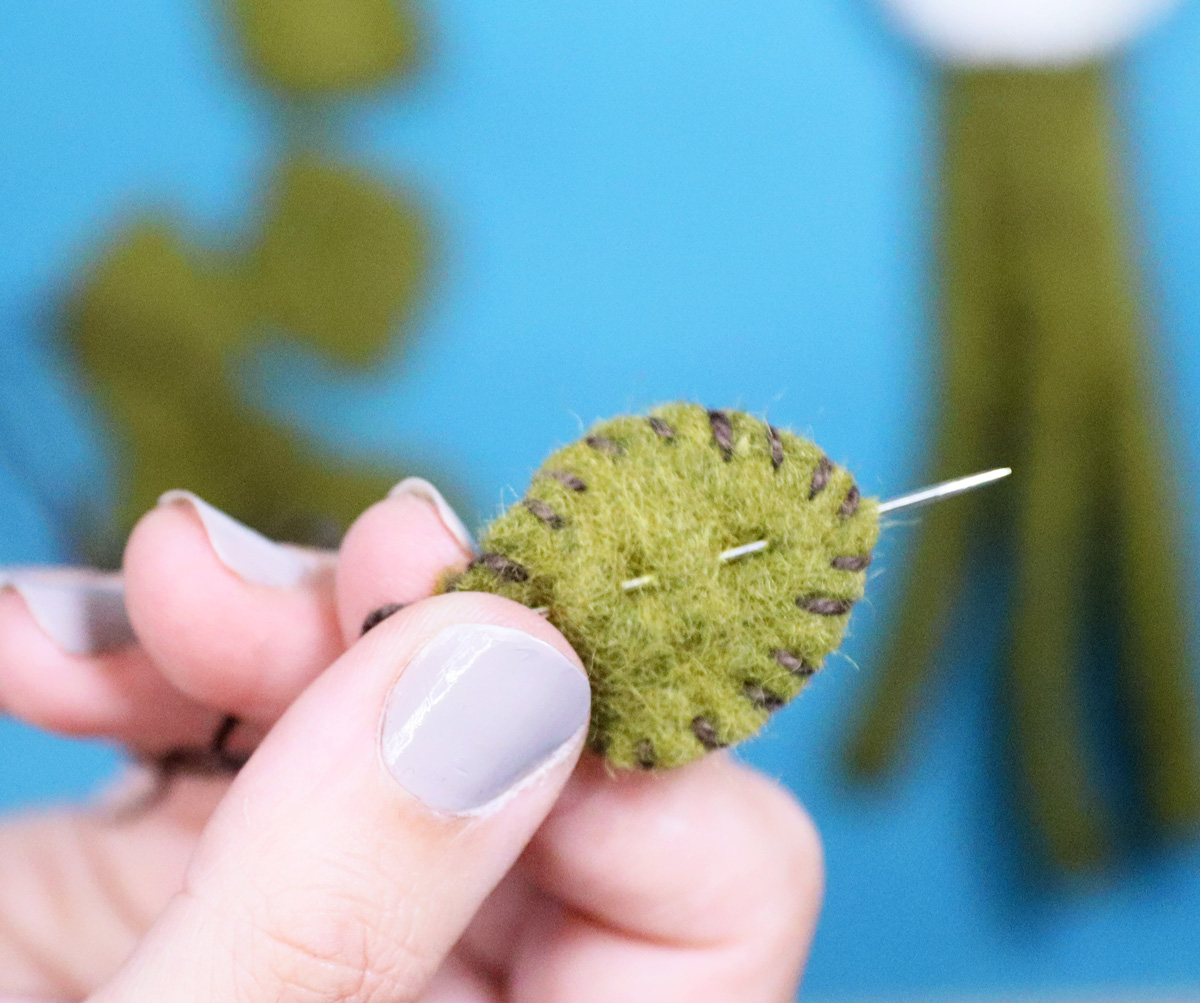
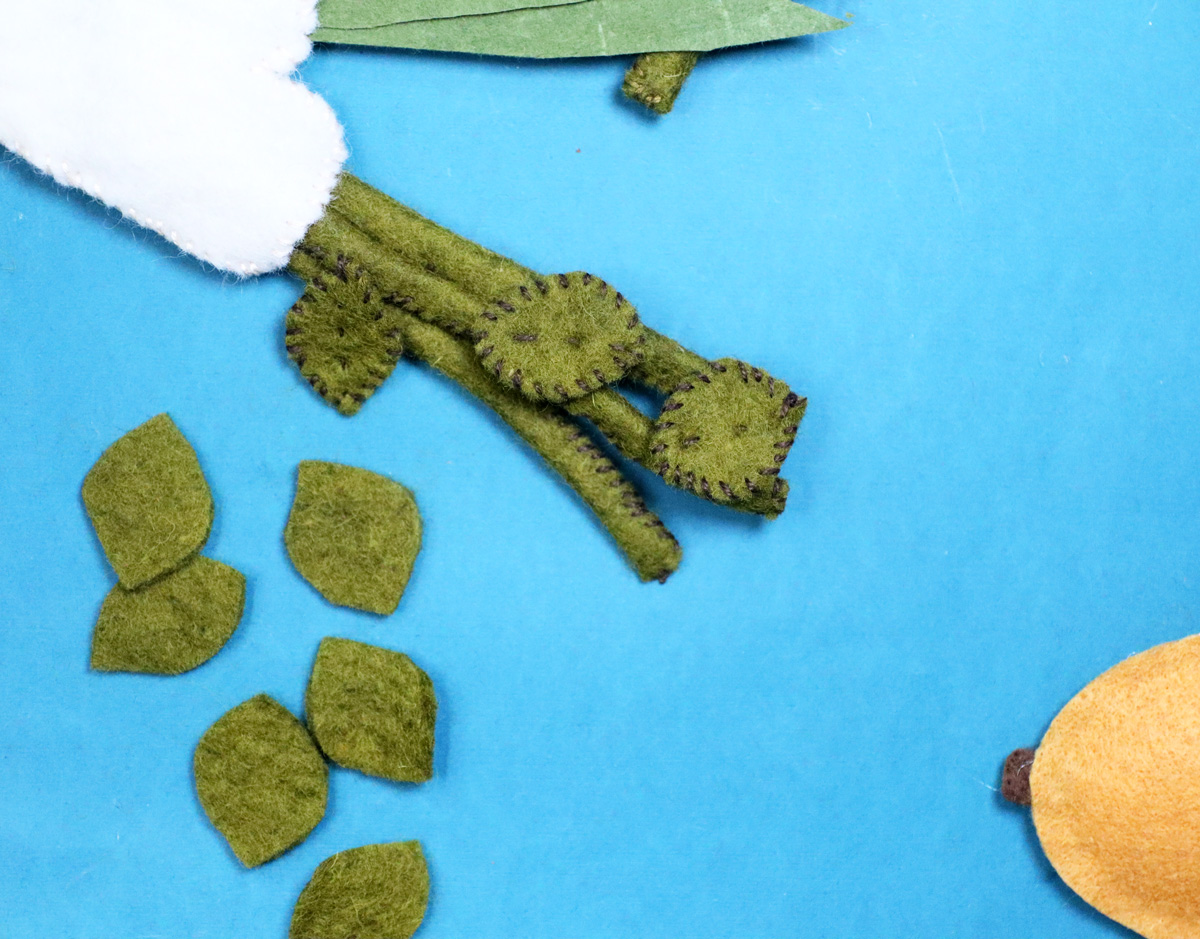
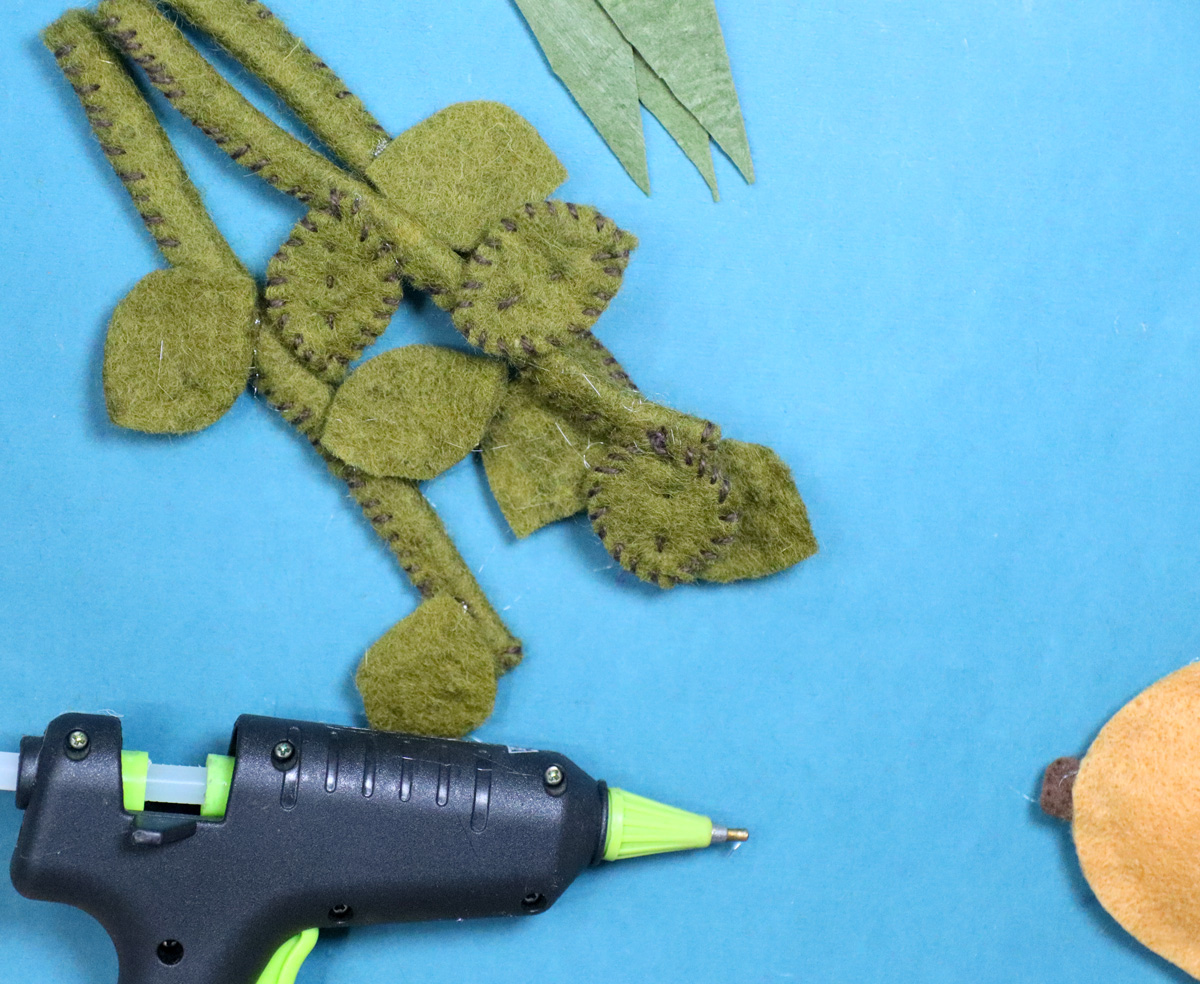
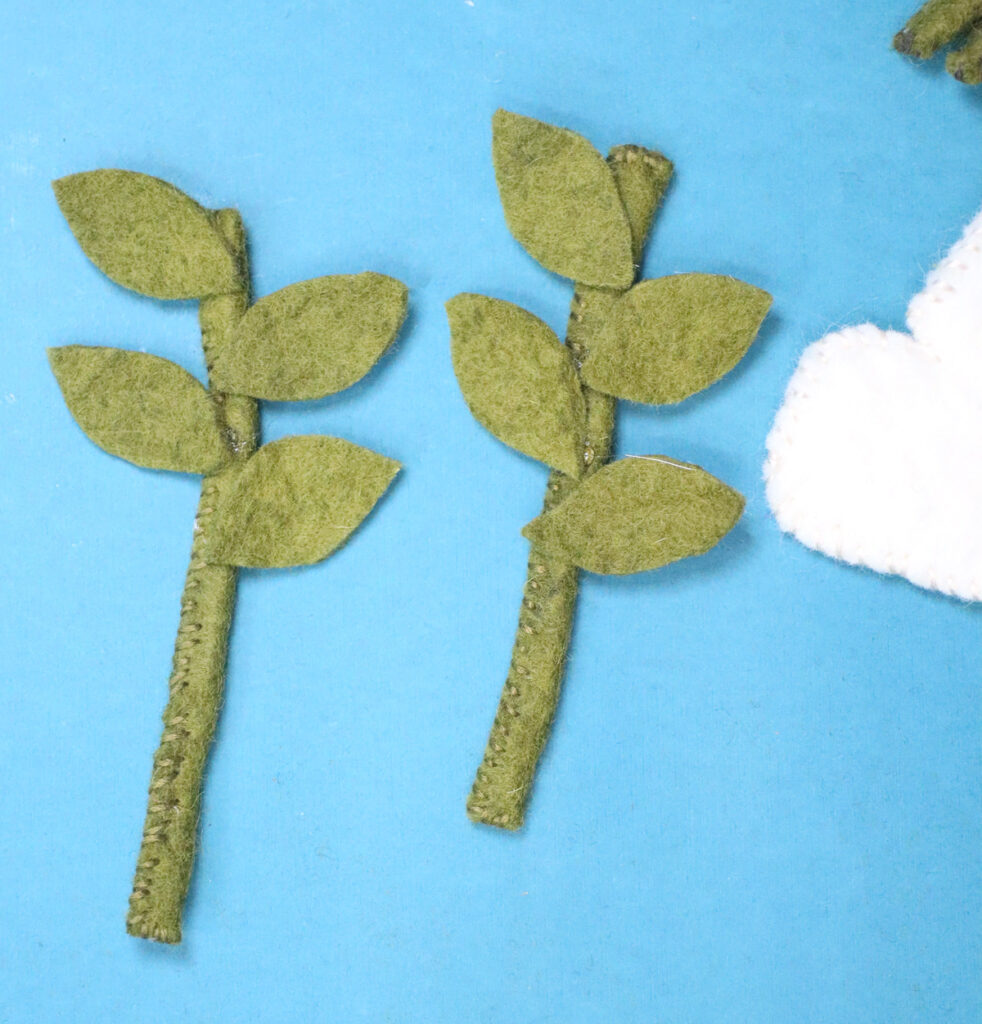
13. Glue your leaves in place on the branches. I only did about 3-4 on each – when they’re all together you don’t need more, and you want it to be relatively easy to put in. If you’re a sewing purist, you can just sew it to the branches as you’d like.
14. Now cut out your center pieces. They are a bit narrower than you want them to come out to add dimension. I purposely left them a bit uneven – but make sure that the bottom portion fits the lulav holder.
Run a few stitches (by hand or machine) on the hidden part that overlaps. I didn’t do any needlework on these – didn’t think they need them.
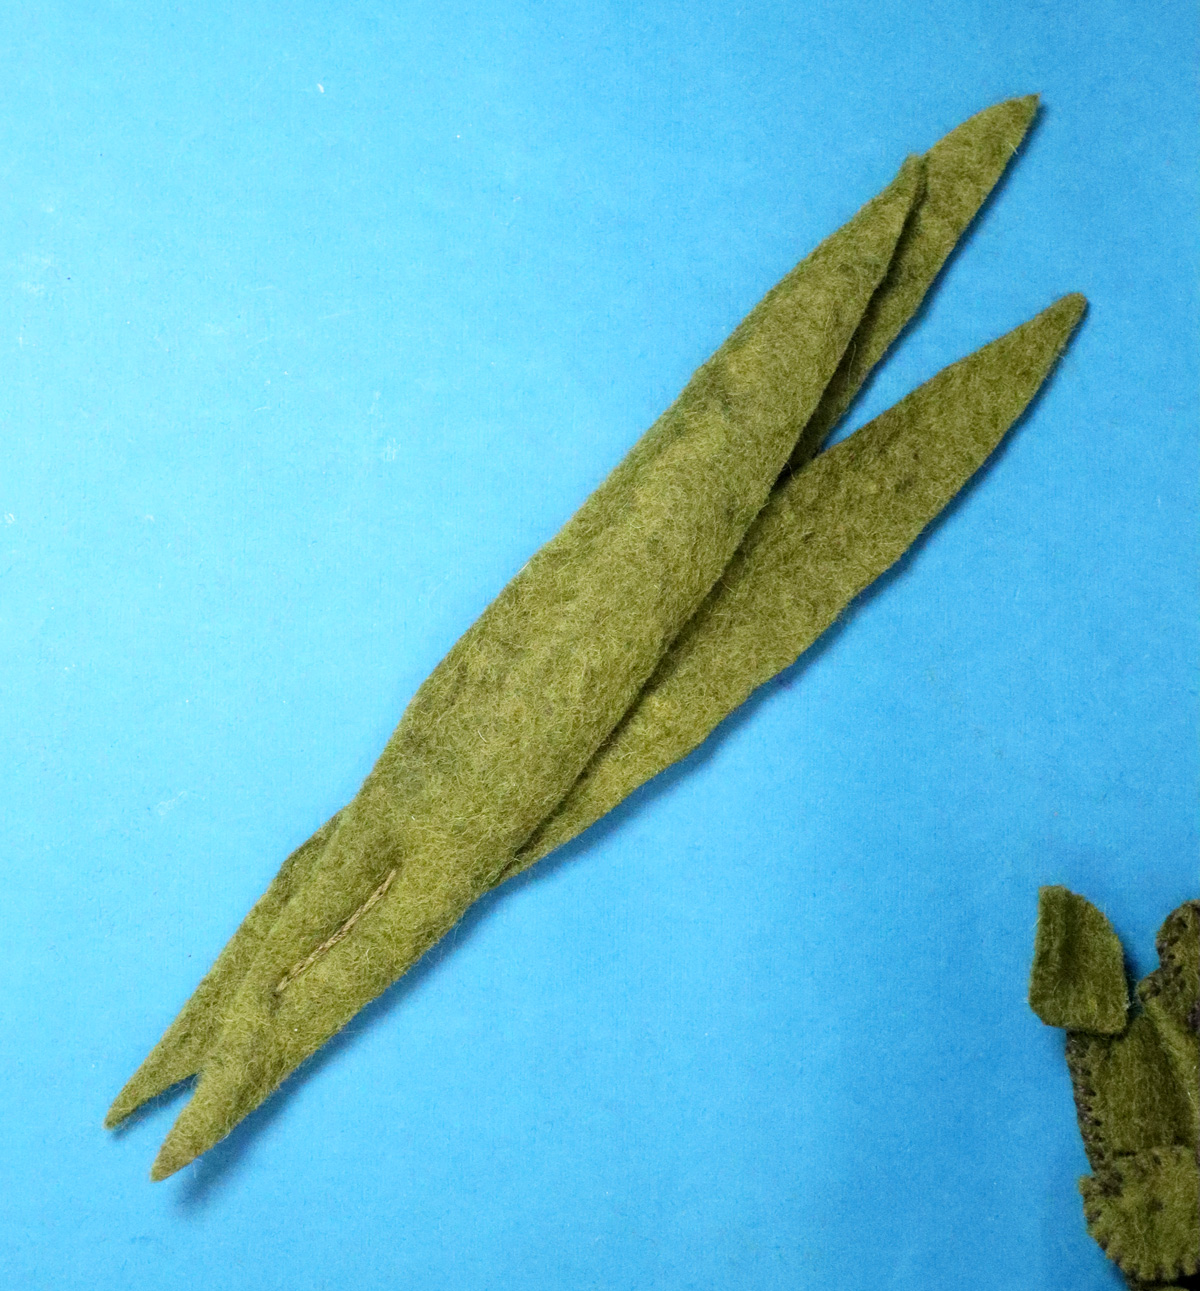
15. Assemble by sliding the lulav center through the middle pocket, down through the bottom.
Place the three Hadassim branches in the right pocket and your two Aravot in the left.
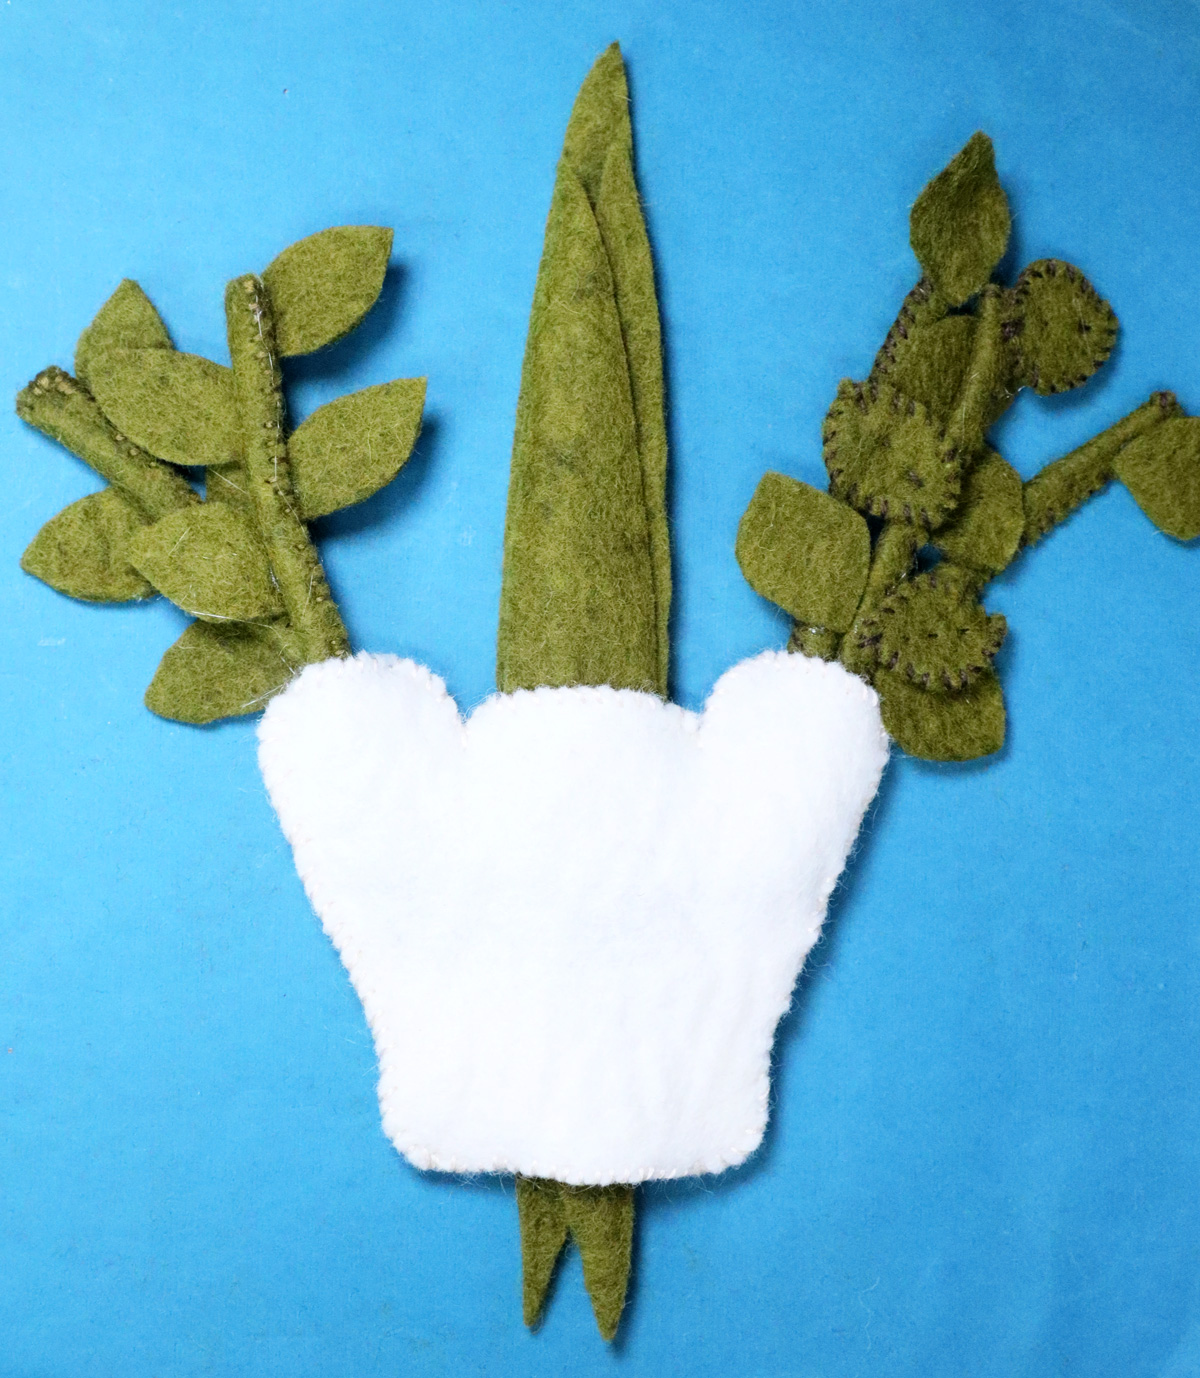
Kids can practice the assembly, role play, and learn all about the correct way to assemble and hold the felt Lulav and Etrog!

