Suncatcher Sukkah Decoration – Free Templates
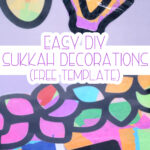
Create these gorgeous and festive suncatcher sukkah decorations using a free template! When you’re done, check out these Purim suncatchers to save for Spring. This post contains affiliate links.
If there’s a best time of year for crafters, it must be Sukkot – making the sukkah beautiful and enjoyable is one of the special mitzvot of this holiday. Decorating the sukkah helps children and adults alike build anticipation for this special time of year. Kids can keep busy making decorations while the adults in the family work on building the sukkah and other preparations.
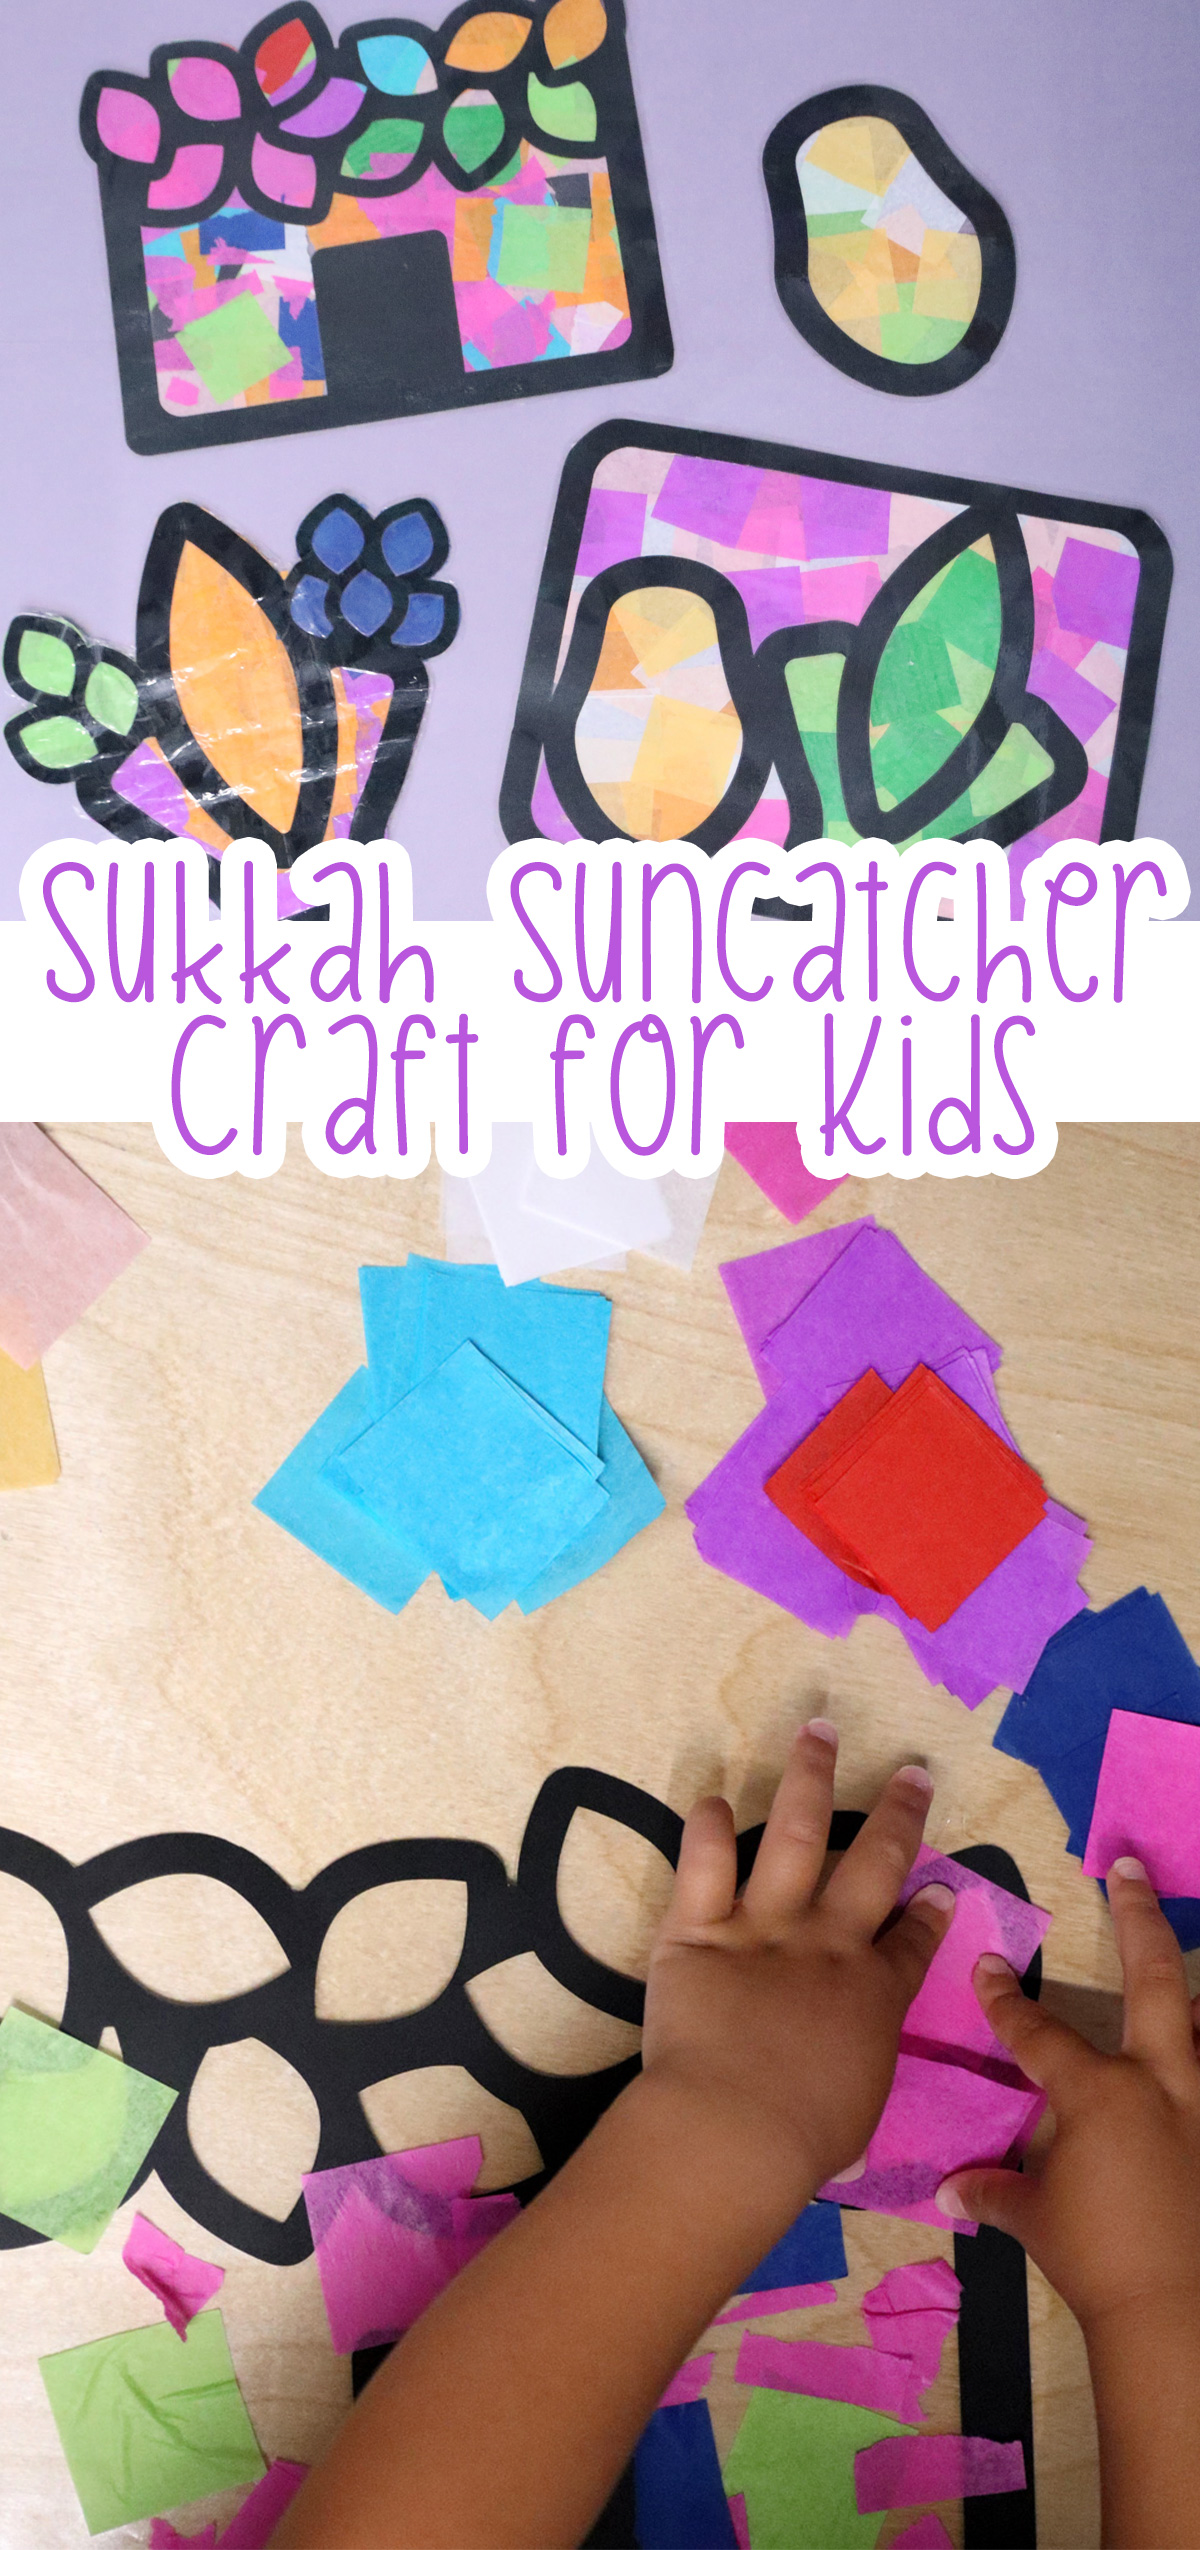
These suncatcher Sukkah decorations are a perfect family craft. It’s so foolproof that even toddlers’ and preschoolers’ creations will look beautiful in your sukkah or home! Older kids can also enjoy it – they can cut out the pieces independently and make more conscientious choices for their color arrangements.
I’ve done a couple of similar projects before but I’ve modified the instructions for this one to make it more weather-proof for your sukkah.
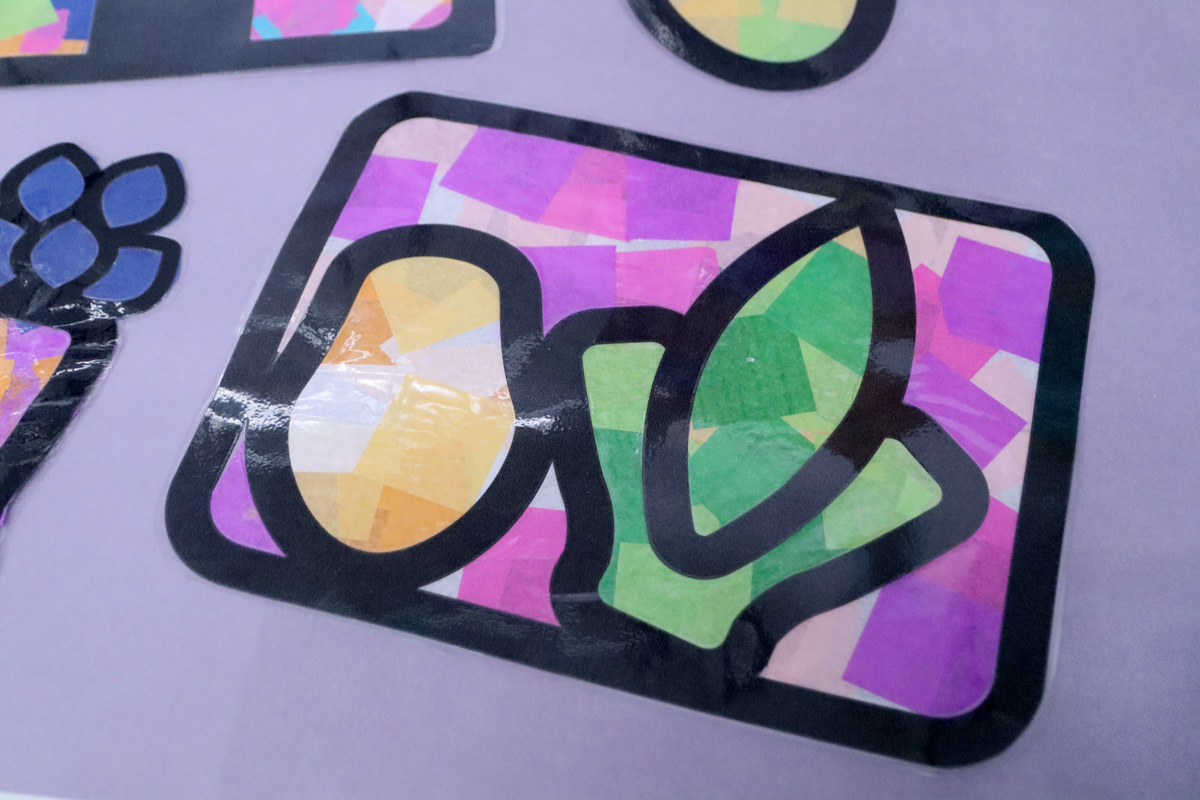
The shapes in the free template I’ll be sharing with you are all specific to the Sukkot holiday, so you can use this craft as a springboard to teach and discuss the special objects we use on Sukkot: Lulav with Hadassim and Aravot, Etrog, and the sukkah itself, complete with the leafy S’chach canopy.
You can save time and get straight to the fun and easy part by using a die cutting machine (like Cricut) to cut out the outlines – I’ve shared SVG files with the template. Of course, cutting by hand is still an option too (print the PDF template). If you’re doing this craft with very young children, you will definitely need to cut out all the outlines ahead of time, so plan accordingly.
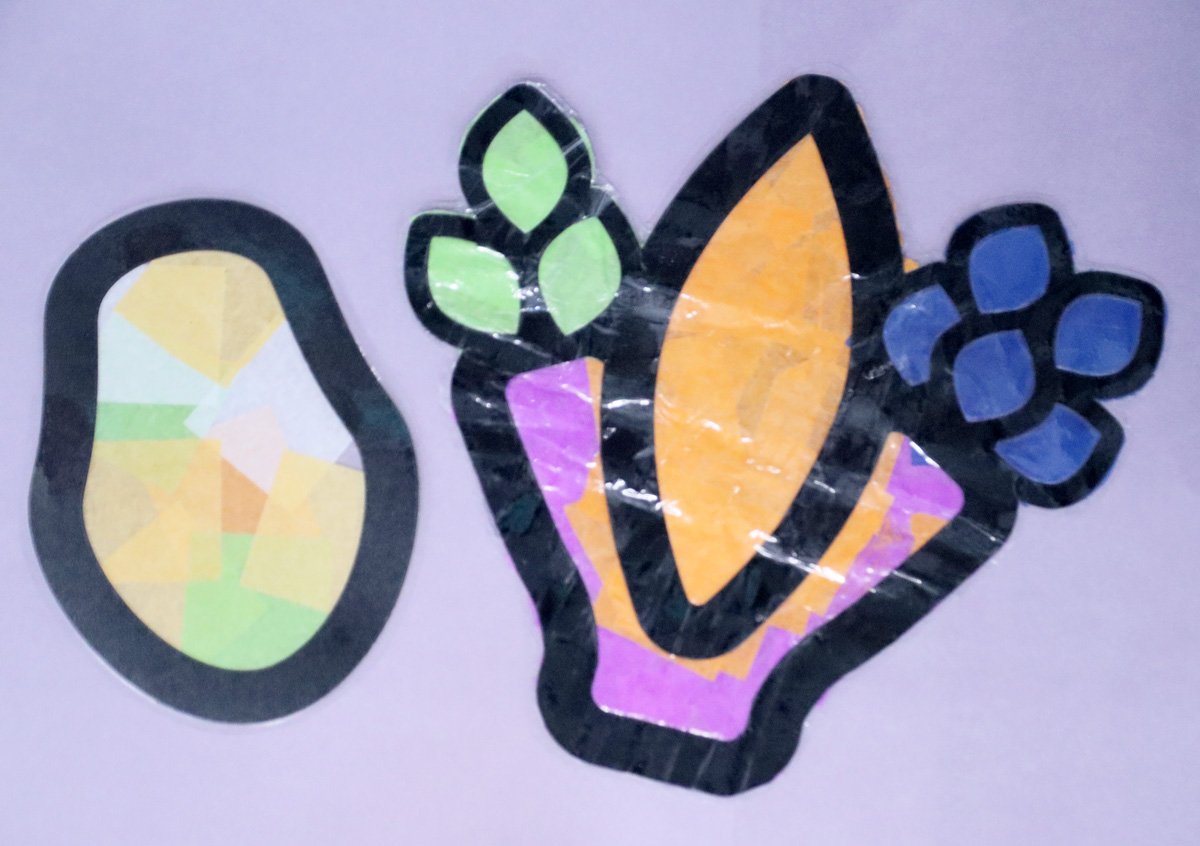
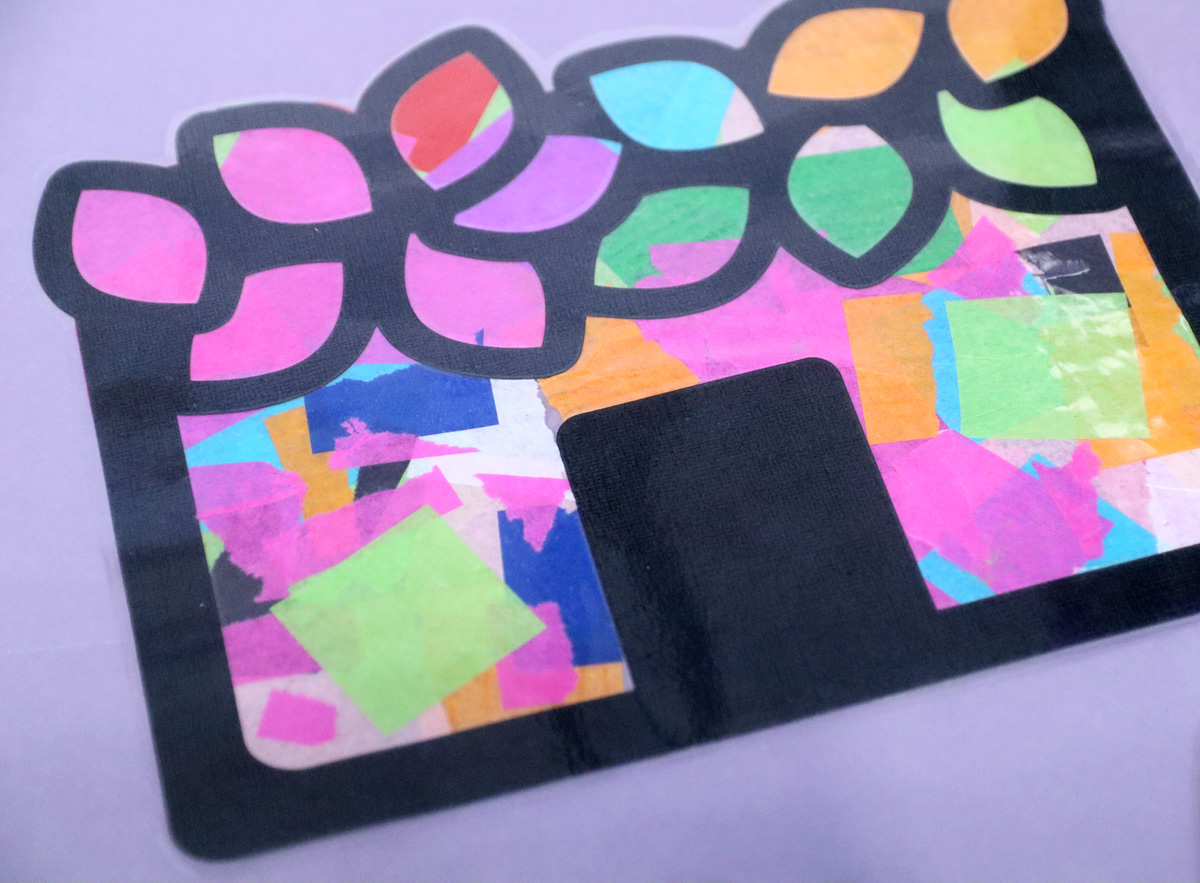
For the colored part, I like to use pre-cut tissue paper squares. They’re cheap and easy to find. This is especially useful for the youngest crafters who may not be ready to cut pieces of tissue paper.
The neat square lines give the finished craft an extra pop. If you happen to already have larger sheets of tissue paper at home, though, you can just cut or tear those into small pieces.
The best way to display the suncatcher Sukkah decoration is, of course, where sunlight can shine right through it.
If the walls of your sukkah are a lightweight fabric, this could work straight on the walls. If you have windows in your sukkah, that would naturally be the perfect place. If neither of those is an option, consider hanging them from the cross-beams on strings. If all else fails, hang them in your windows at home! The sukkah is where it’s at but why not spread the holiday spirit all around?
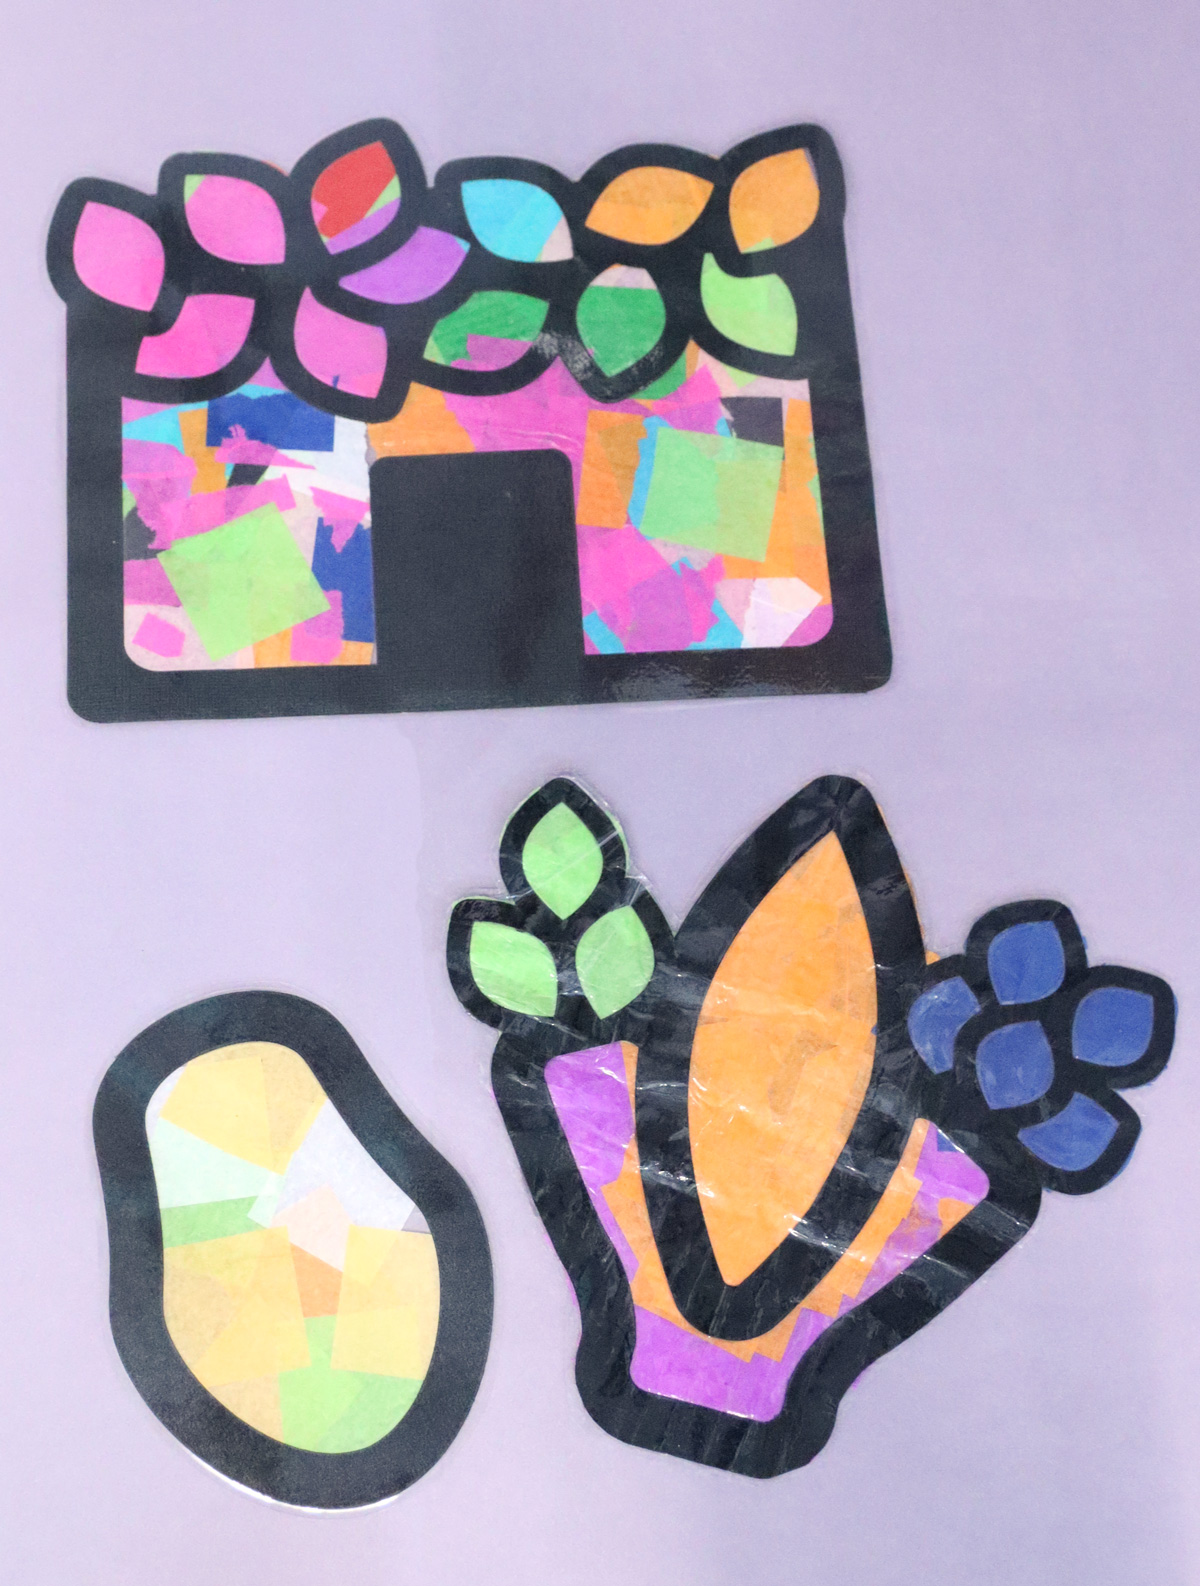
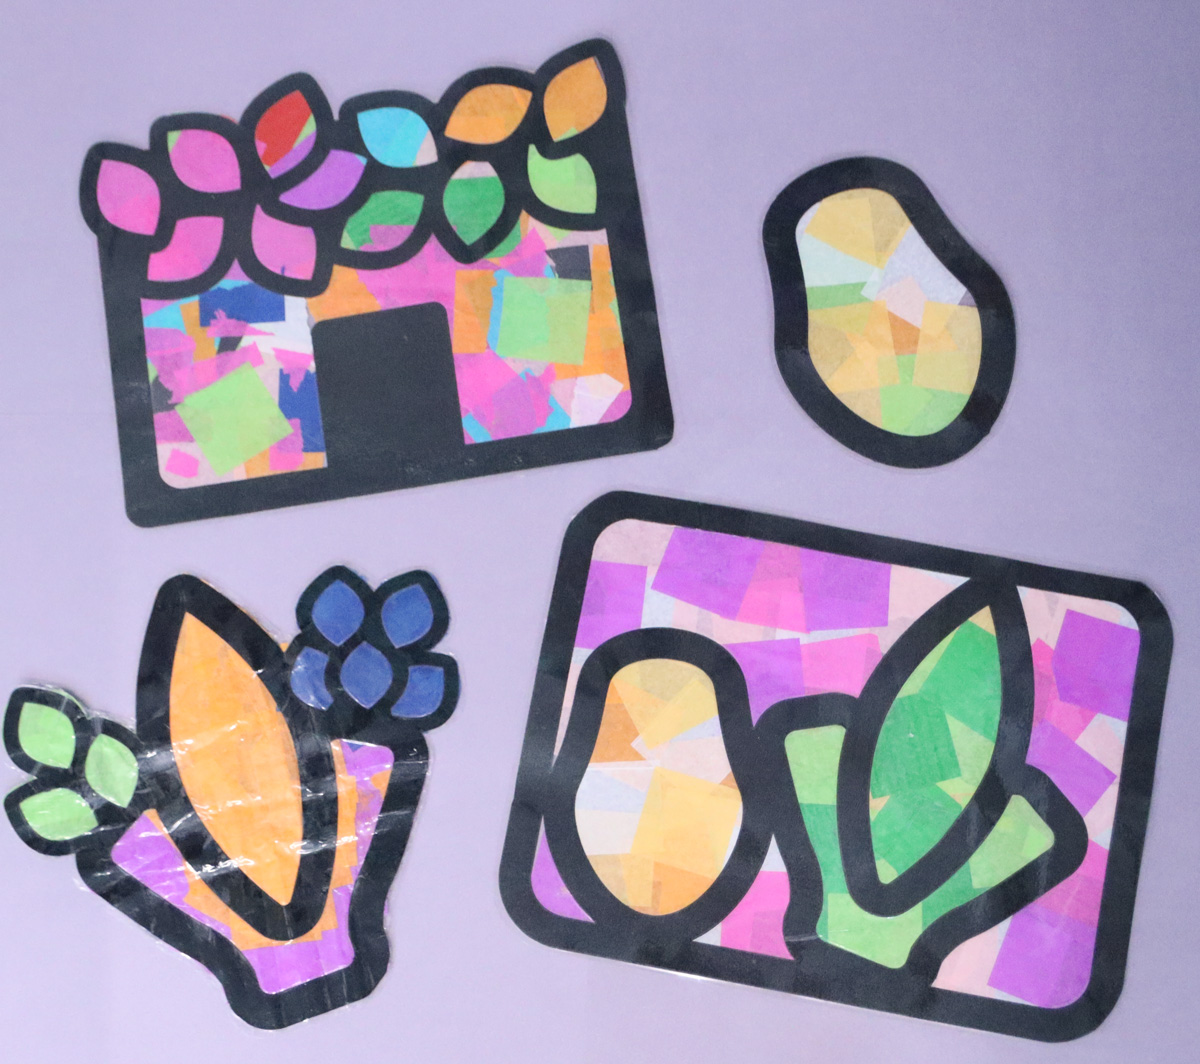
If you’re planning to hang these where both sides will be visible – such as a window or hanging from the rafters – you’ll want to cut out an extra set of the black outline. After the kids do the tissue paper, place the second outline on top so that it’s nice and bold on both sides.
Gather your little helpers, and I’ll show you what to do!
What you need to craft these
- Black paper or cardstock
- Tissue paper squares (or sheets, cut into pieces)
- Clear contact paper
- Scissors (or cutting machine such as Cricut) Tip: if hand cutting, use a pencil to trace on black – it shows up beautifully!
- Laminator with pouches OR cold laminating pouches
- Sukkah suncatcher template (free download at the end of this post)
How to make suncatcher Sukkah decorations
1. Print out the template and cut the shapes out of black paper. Or, upload the SVG and cut using your Cricut. If you’ll want both sides to look pretty, make two copies of each shape.
Tip: older kids can make this too – and do the tracing and cutting part as well! For younger kids, an adult can prep the outline.
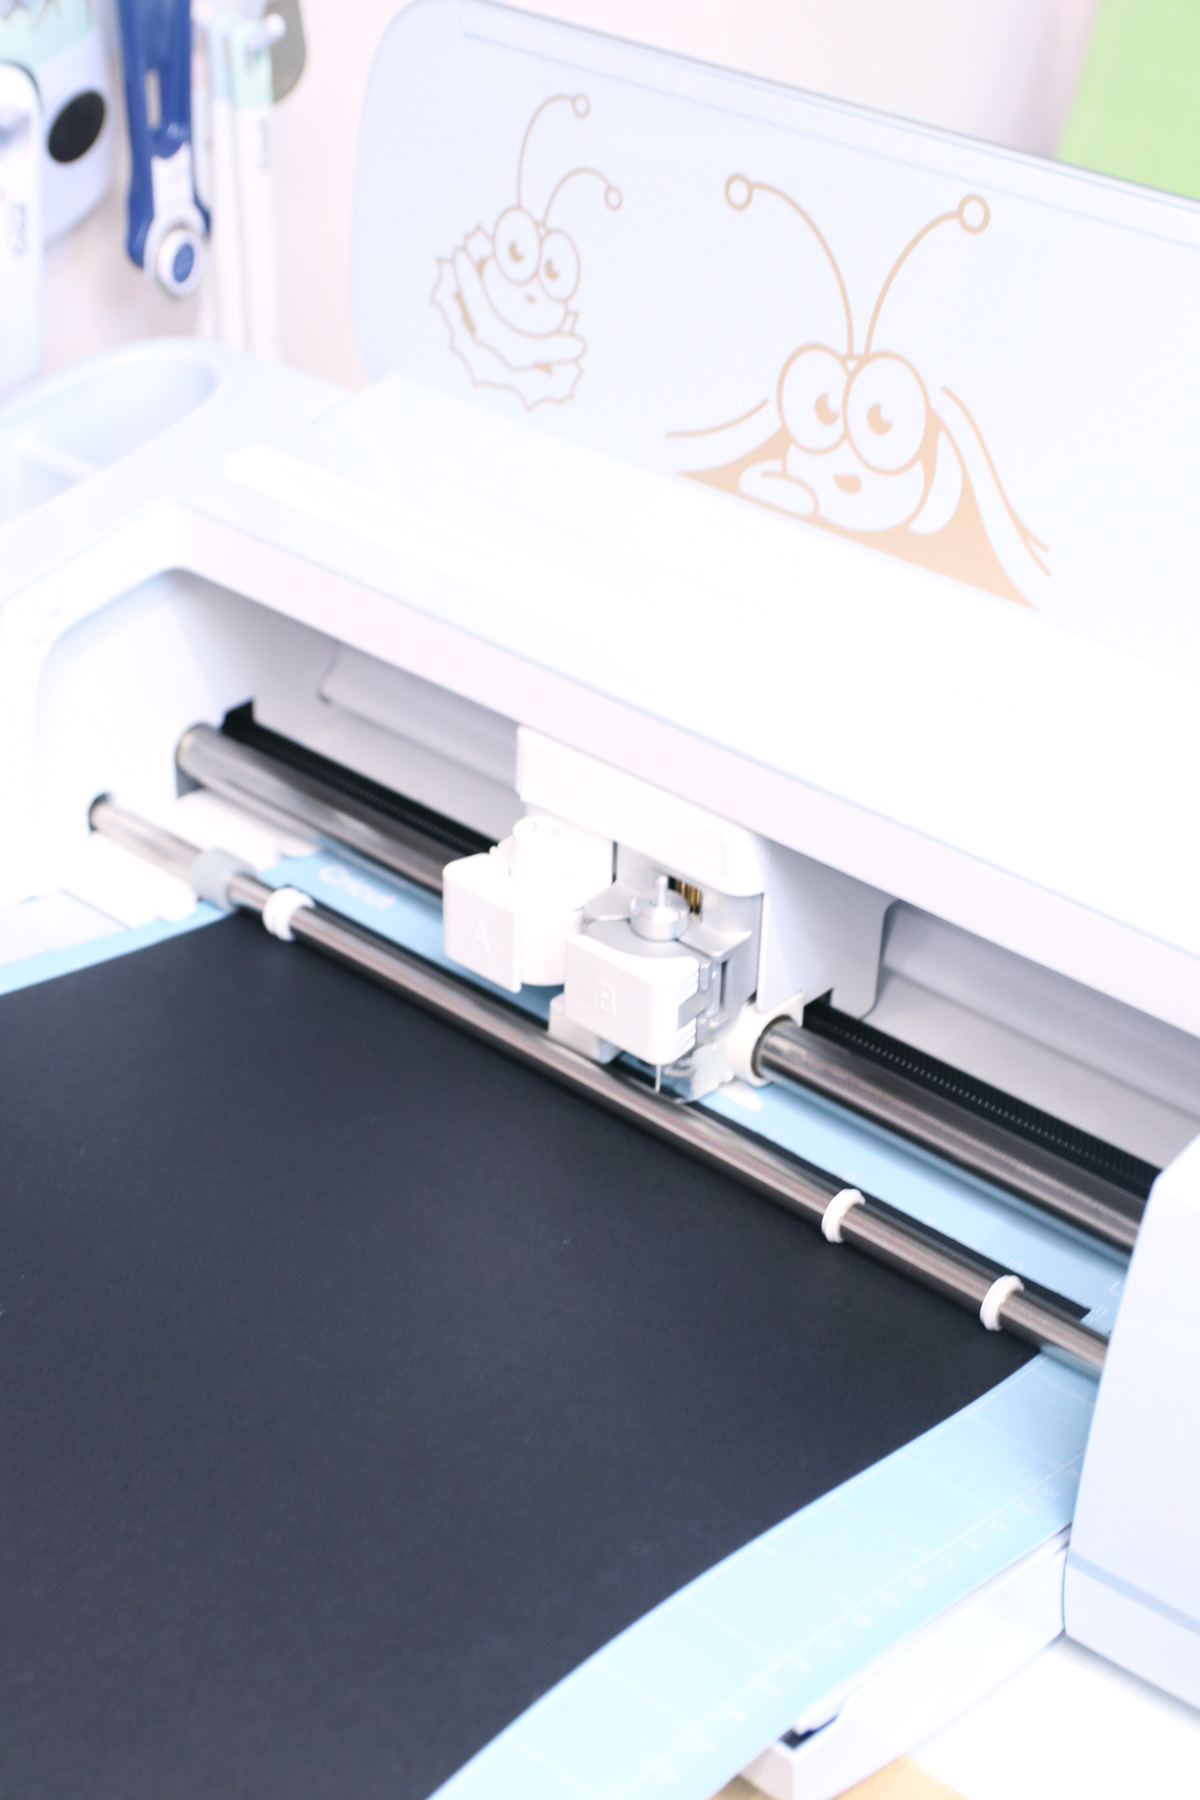
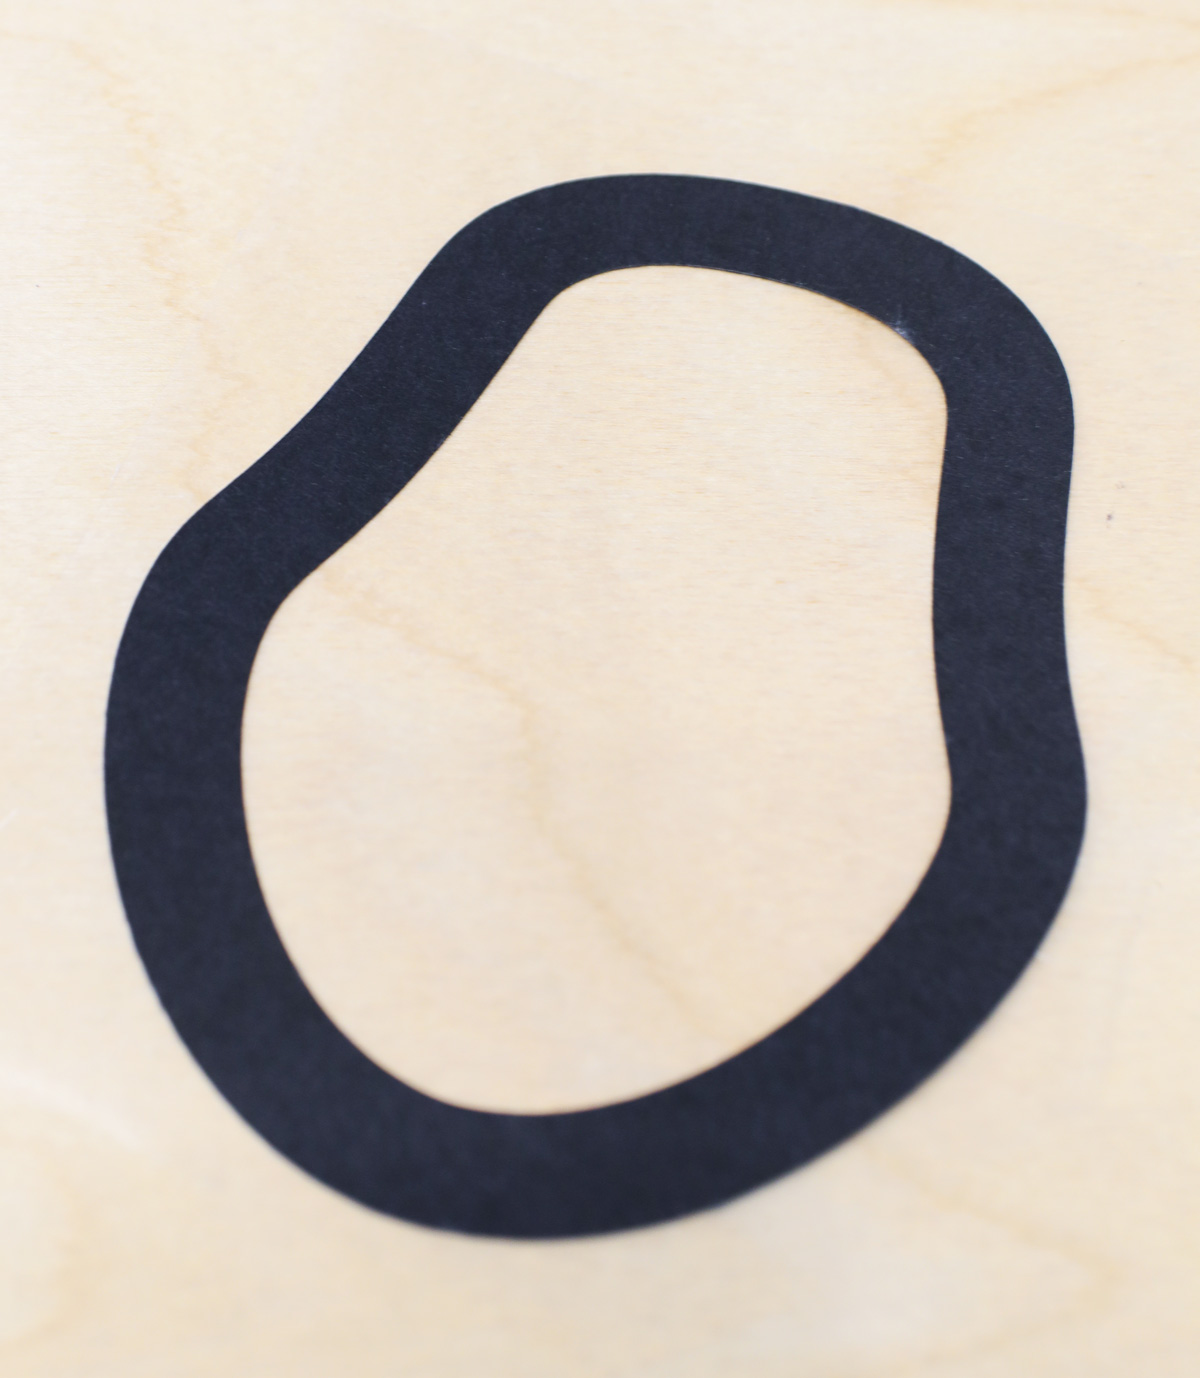
2. Choose one template piece to start with (I’ll demonstrate on the etrog.) Cut a piece of contact paper a little larger than the template picture. Peel off the backing.
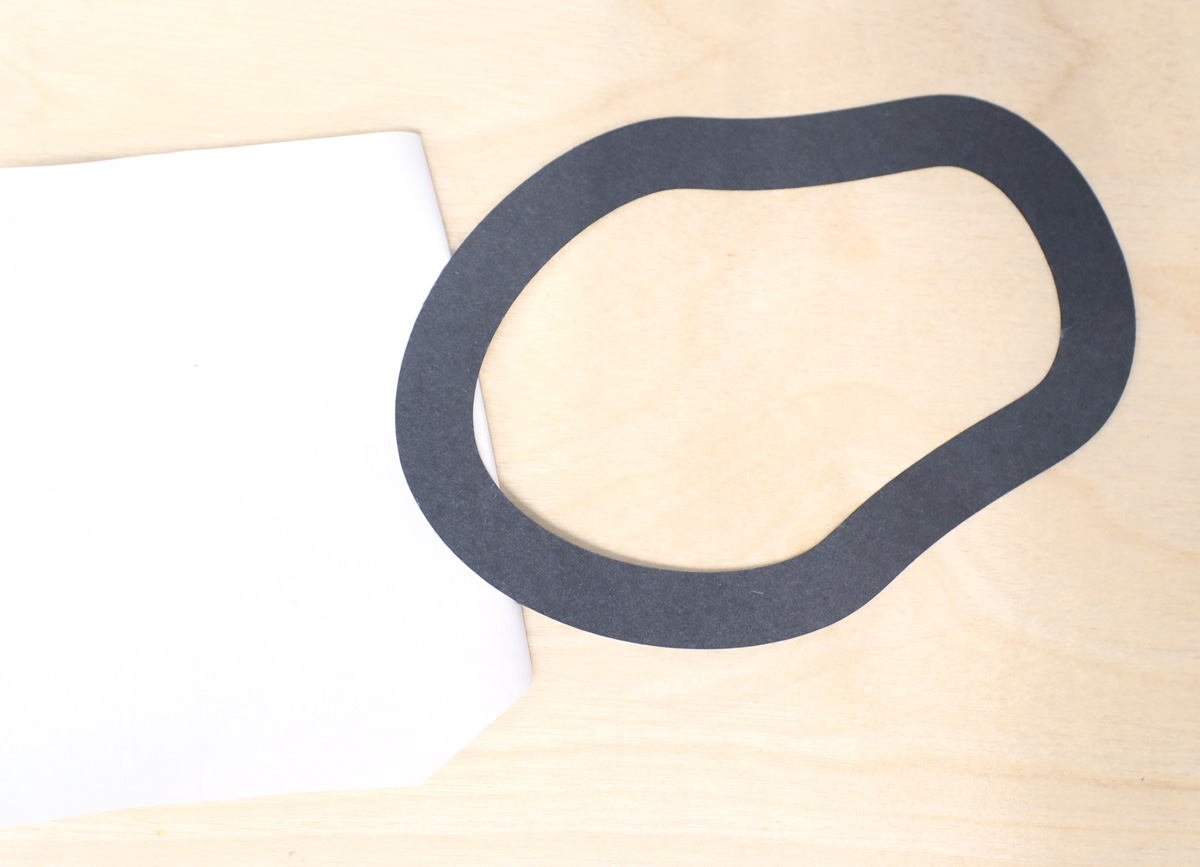
3. Stick the black template cutout onto the sticky side of the contact paper. Tip: if preparing this for later, restick the contact paper backing for when the child is ready to craft!
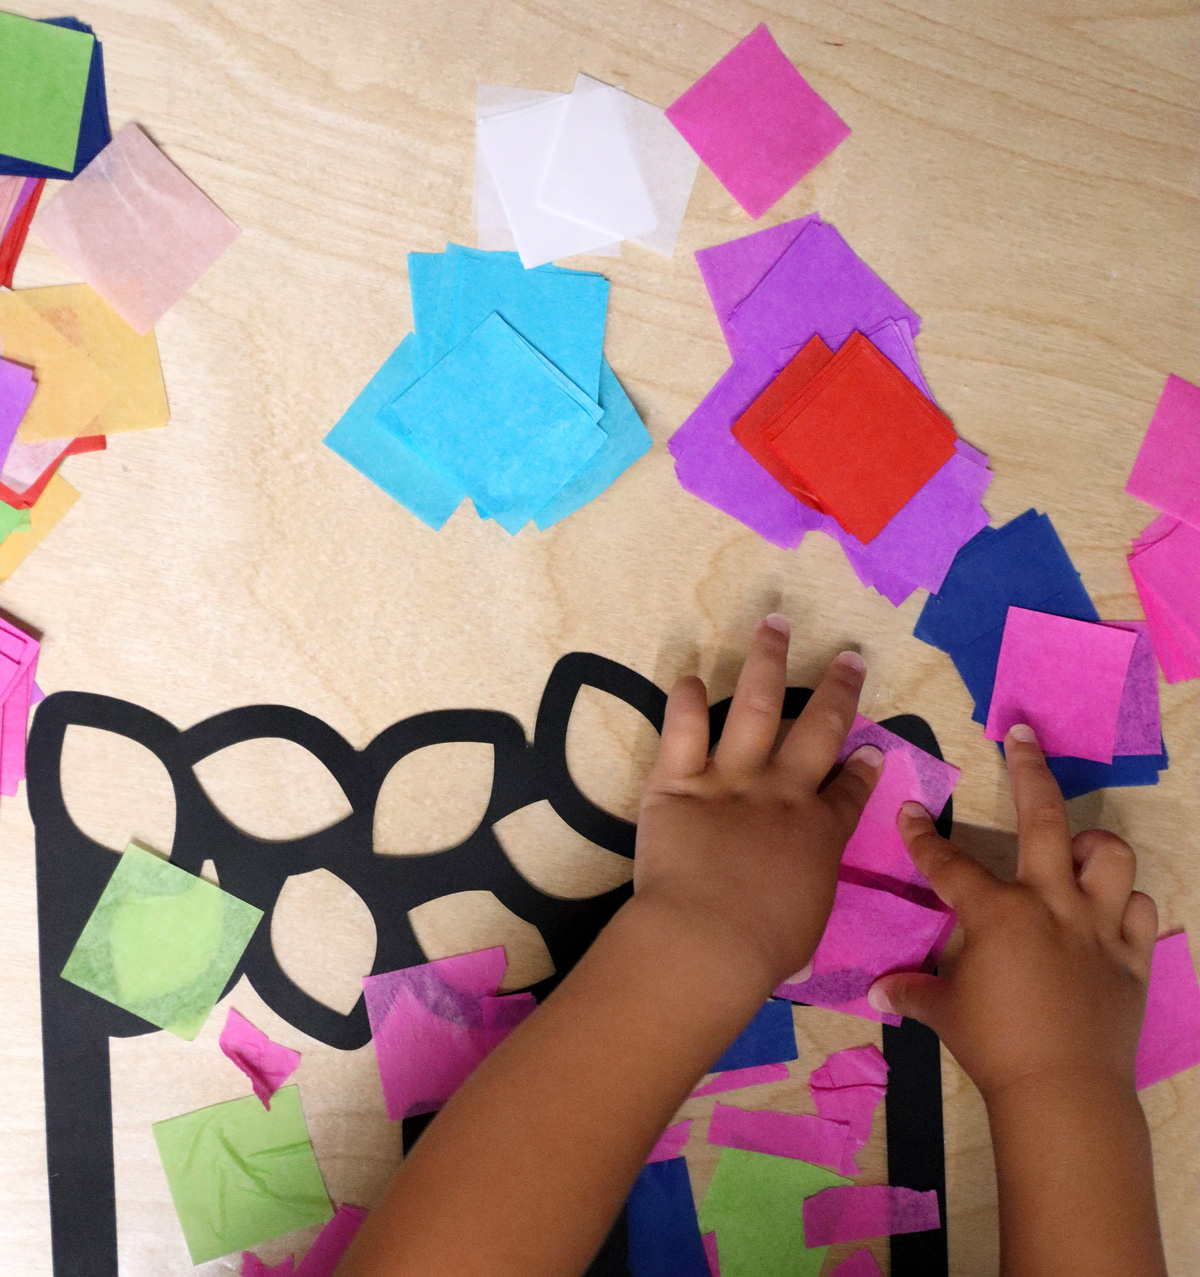
Now your child can stick pieces of tissue paper onto the sticky contact paper inside the black outline. If your young child sticks it outside of the outline, that’s ok! The shape will still show up just fine, and you’ll have an extra burst of color in your project! You can also trim it off later.
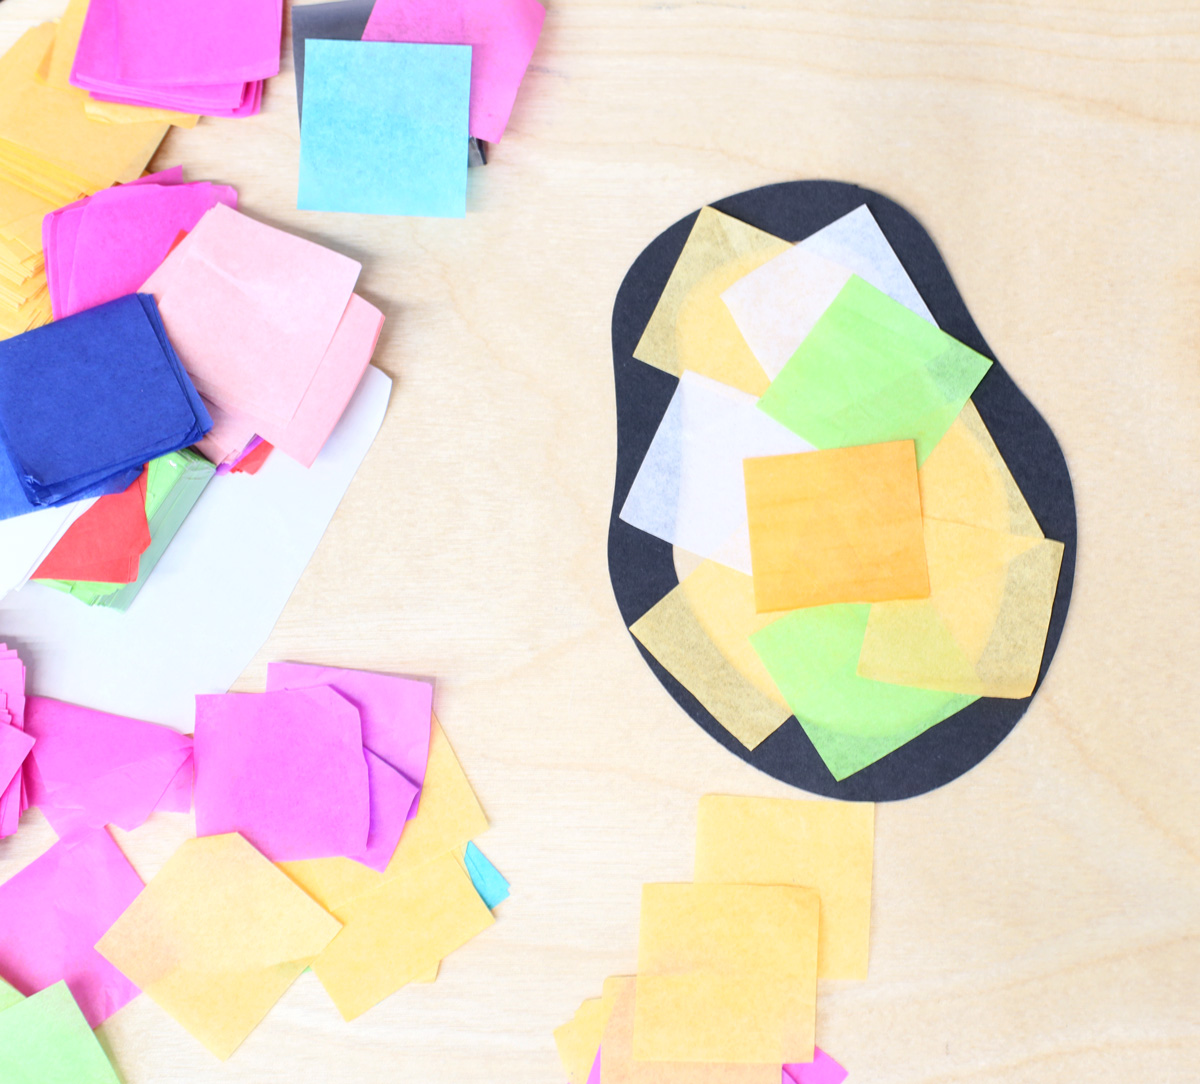
If you’re planning to hang the project where both sides can be seen, use a little glue to stick another copy of the outline right on top of the first one after the tissue paper is in place.
5. Repeat for the other template shapes.
6. Run the project through a laminator to help it withstand whatever weather hits your sukkah! If you don’t have a laminating machine, you can use cold laminating pouches instead.
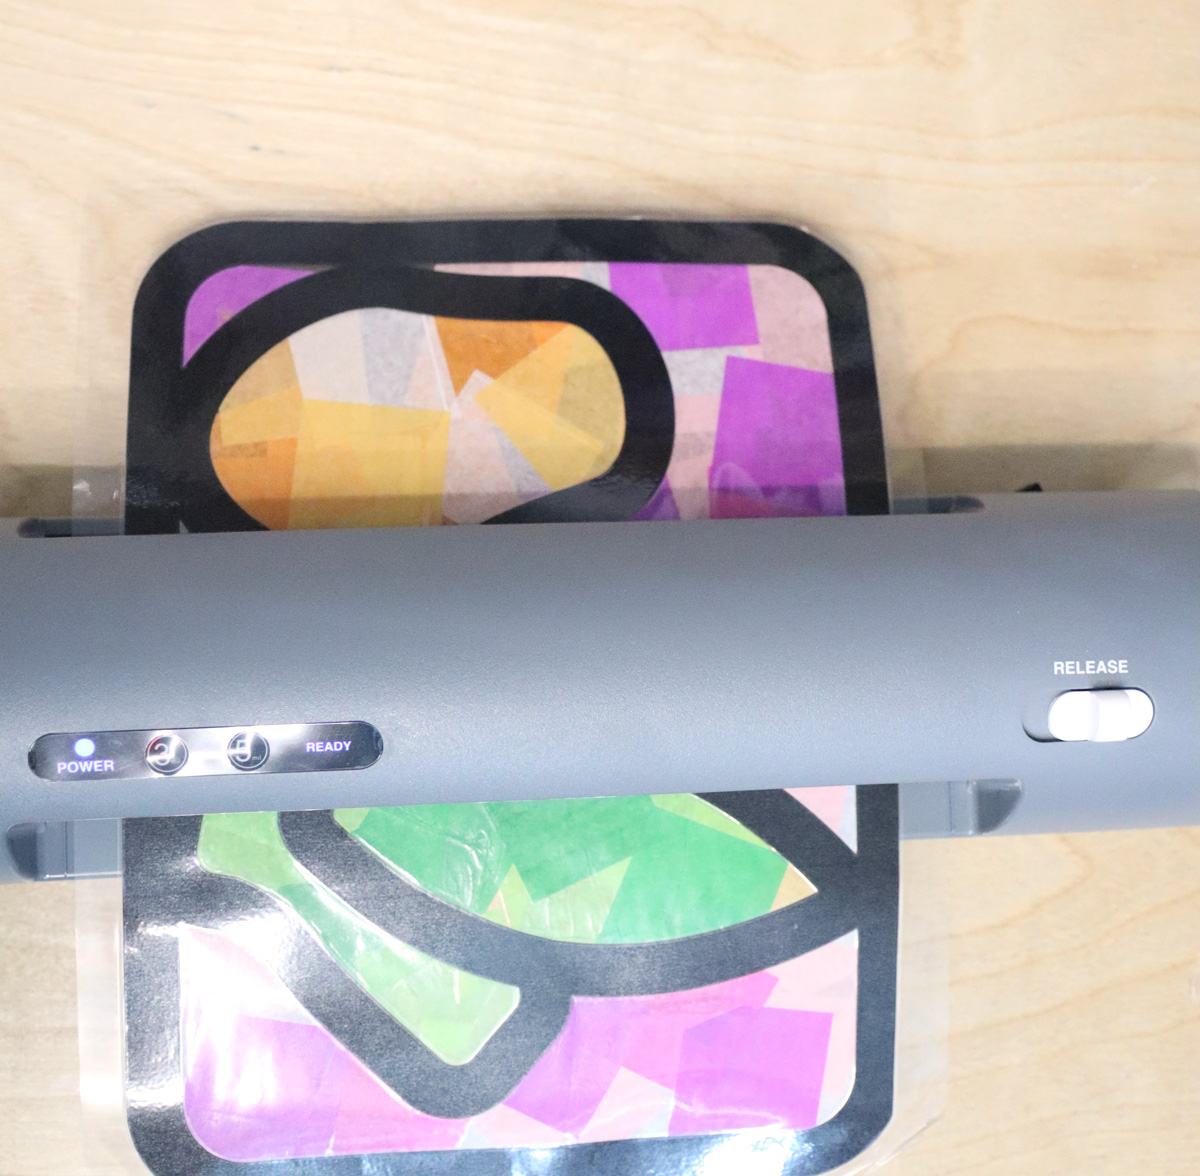
Your suncatcher sukkah decoration is ready to hang and to enjoy! You can punch a hole to hang it from the ceiling, add grips to hang it from a DIY beaded clothesline, or tack it to Sukkah windows!
Download the suncatcher Sukkah decoration templates
Download your free template! It’ll arrive right in your inbox. By downloading, you’re subscribing to our FREE newsletter with updates on cool printables like this, ideas to simplify Jewish life, and more. Unsubscribe at any time at the bottom my emails. I respect your privacy and the law, and won’t share or sell your email address.
