Resin Menorah Tray with Chanukah Candles!
Craft a gorgeous resin Menorah tray using Chanukah candles! If you prefer to craft an actual menorah, try this DIY air dry clay Menorah! This post contains affiliate links.
You may have noticed I’m on a bit of a Menorah tray spree this year. It’s by design. While I love crafting Menorahs too, I feel like making a Menorah tray can be more useful, and it’s a bit different.
I shared an intermediate project – a mosaic Menorah tray – as well as a more beginner project, a stained glass tray. Today, I’m sharing how to make a resin Menorah tray, which is definitely a grown up craft.
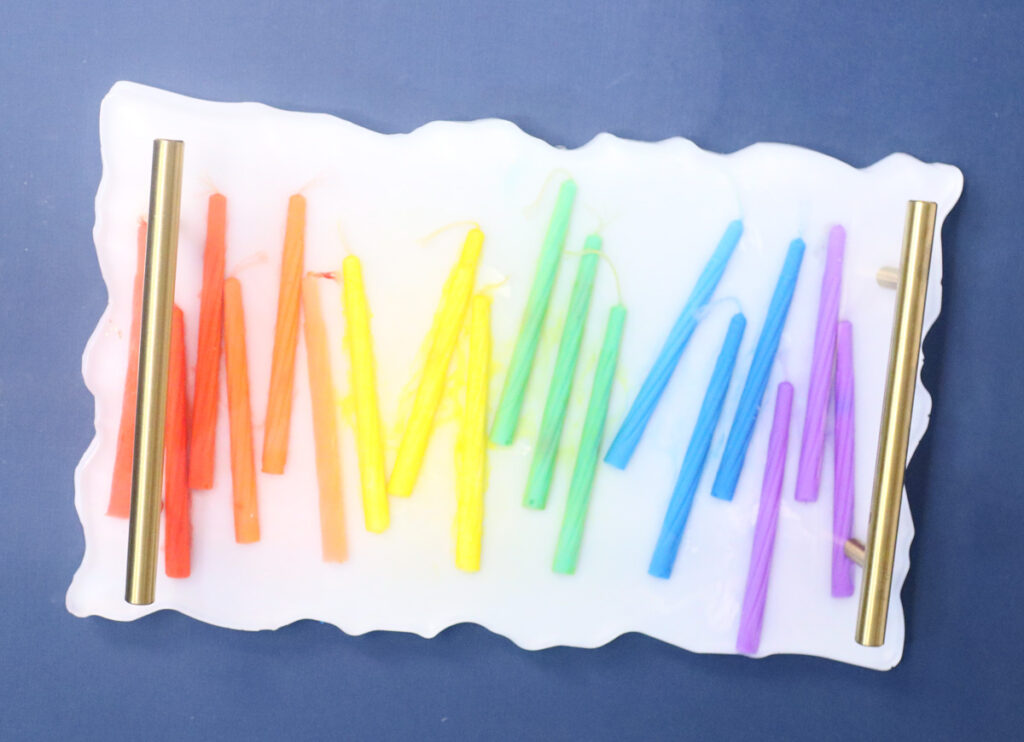
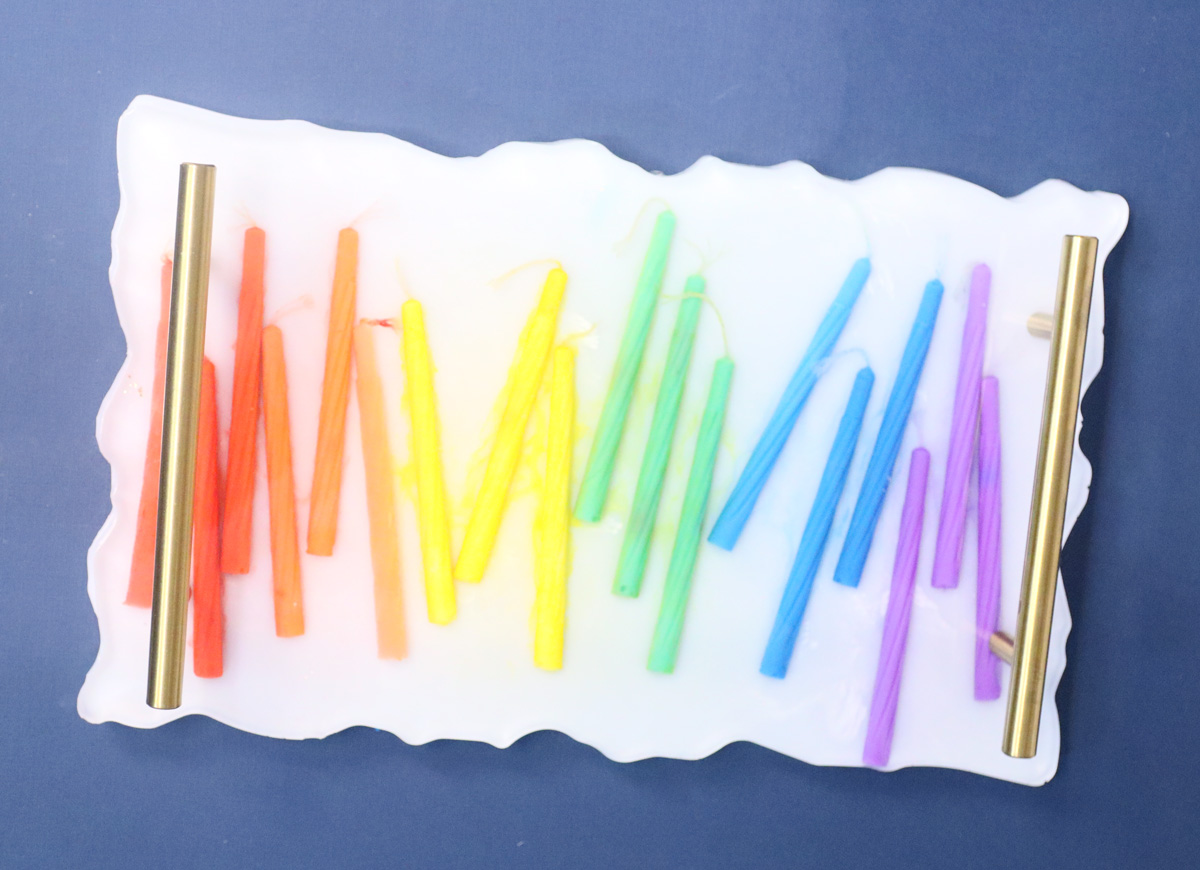
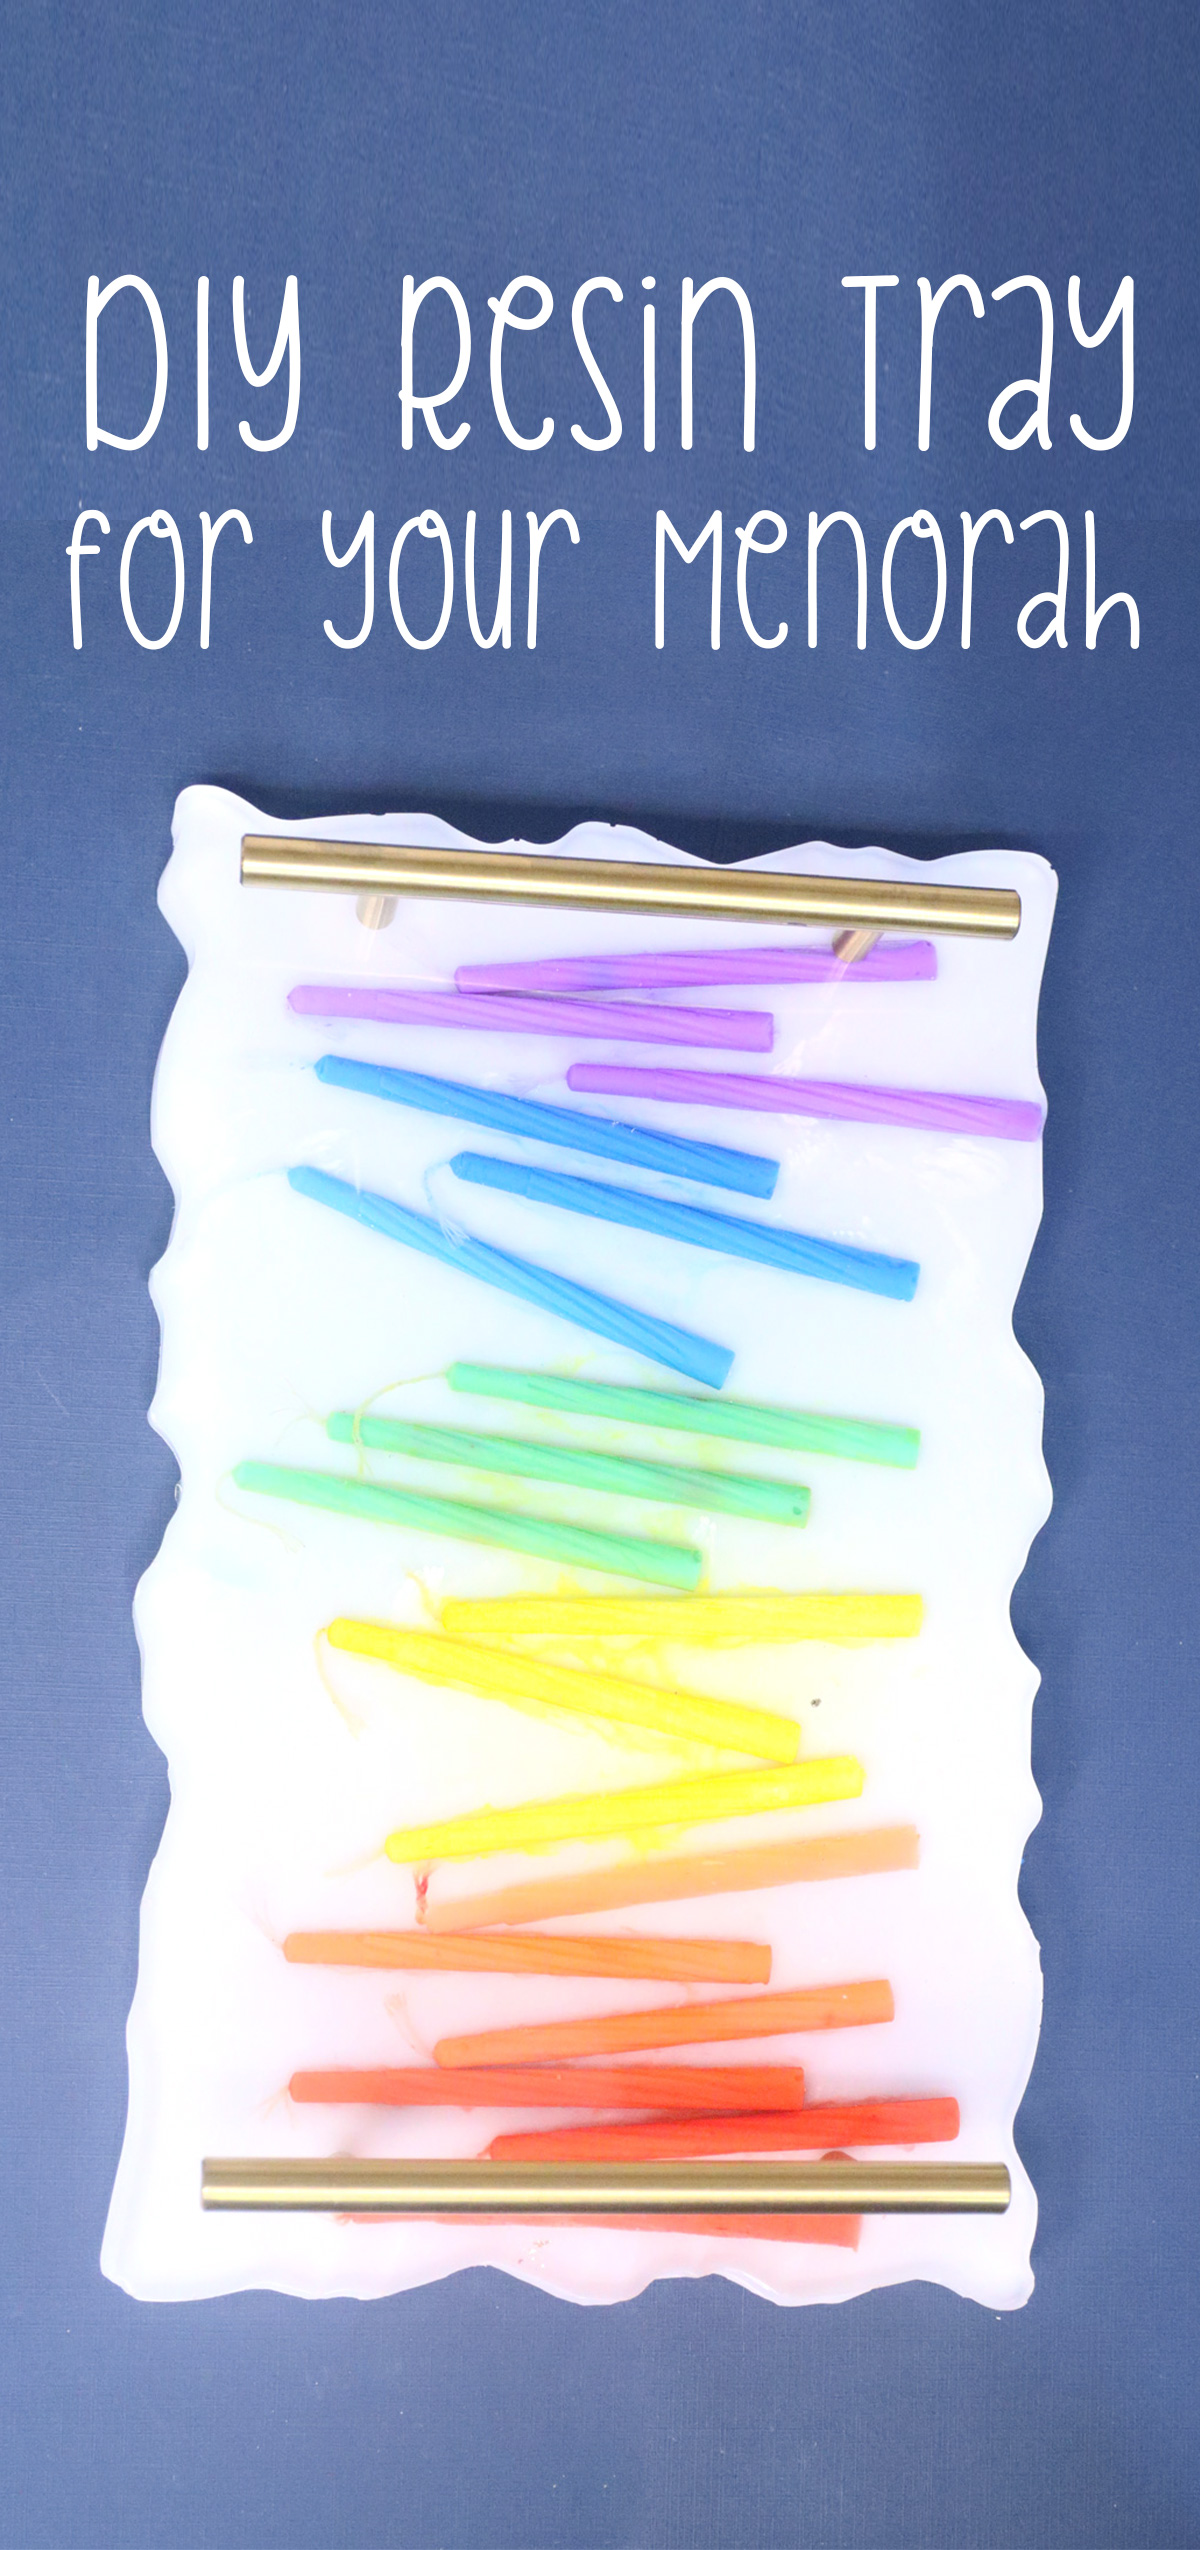
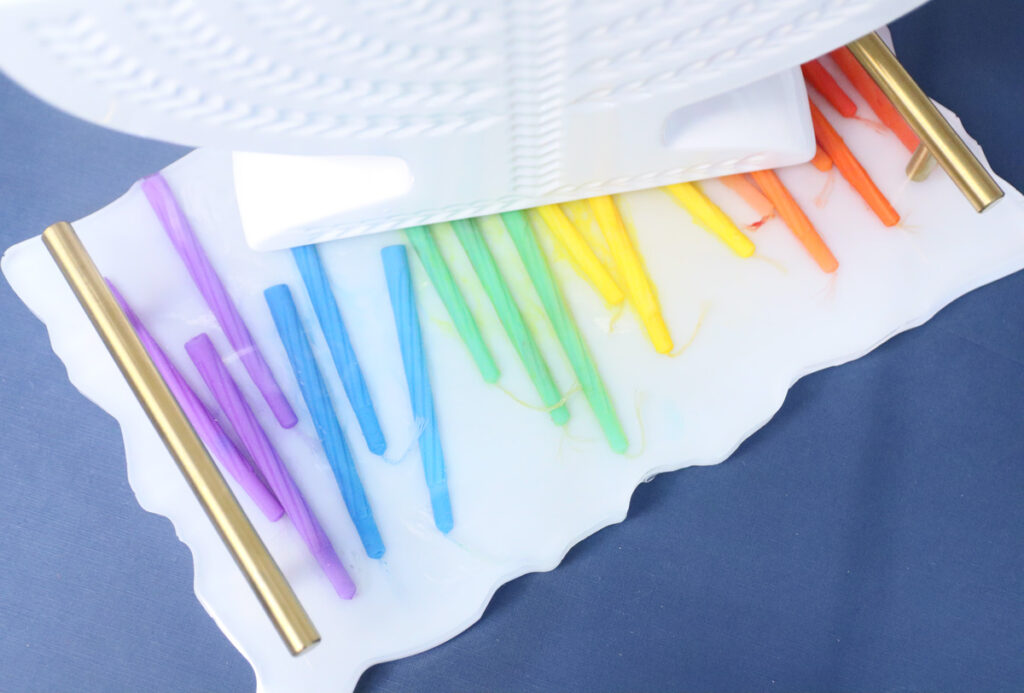
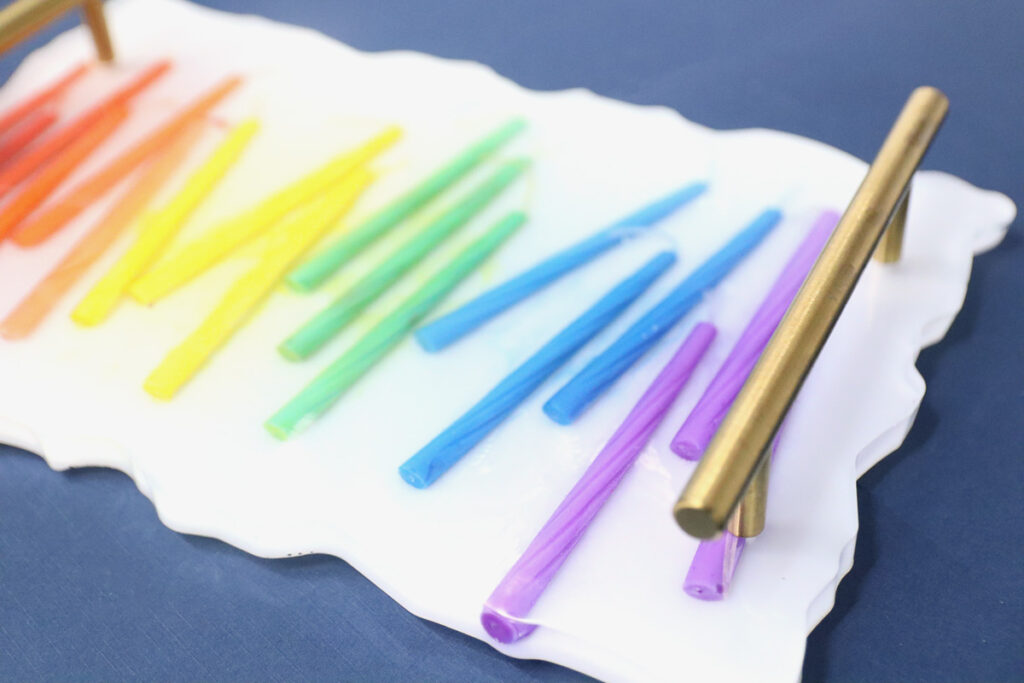
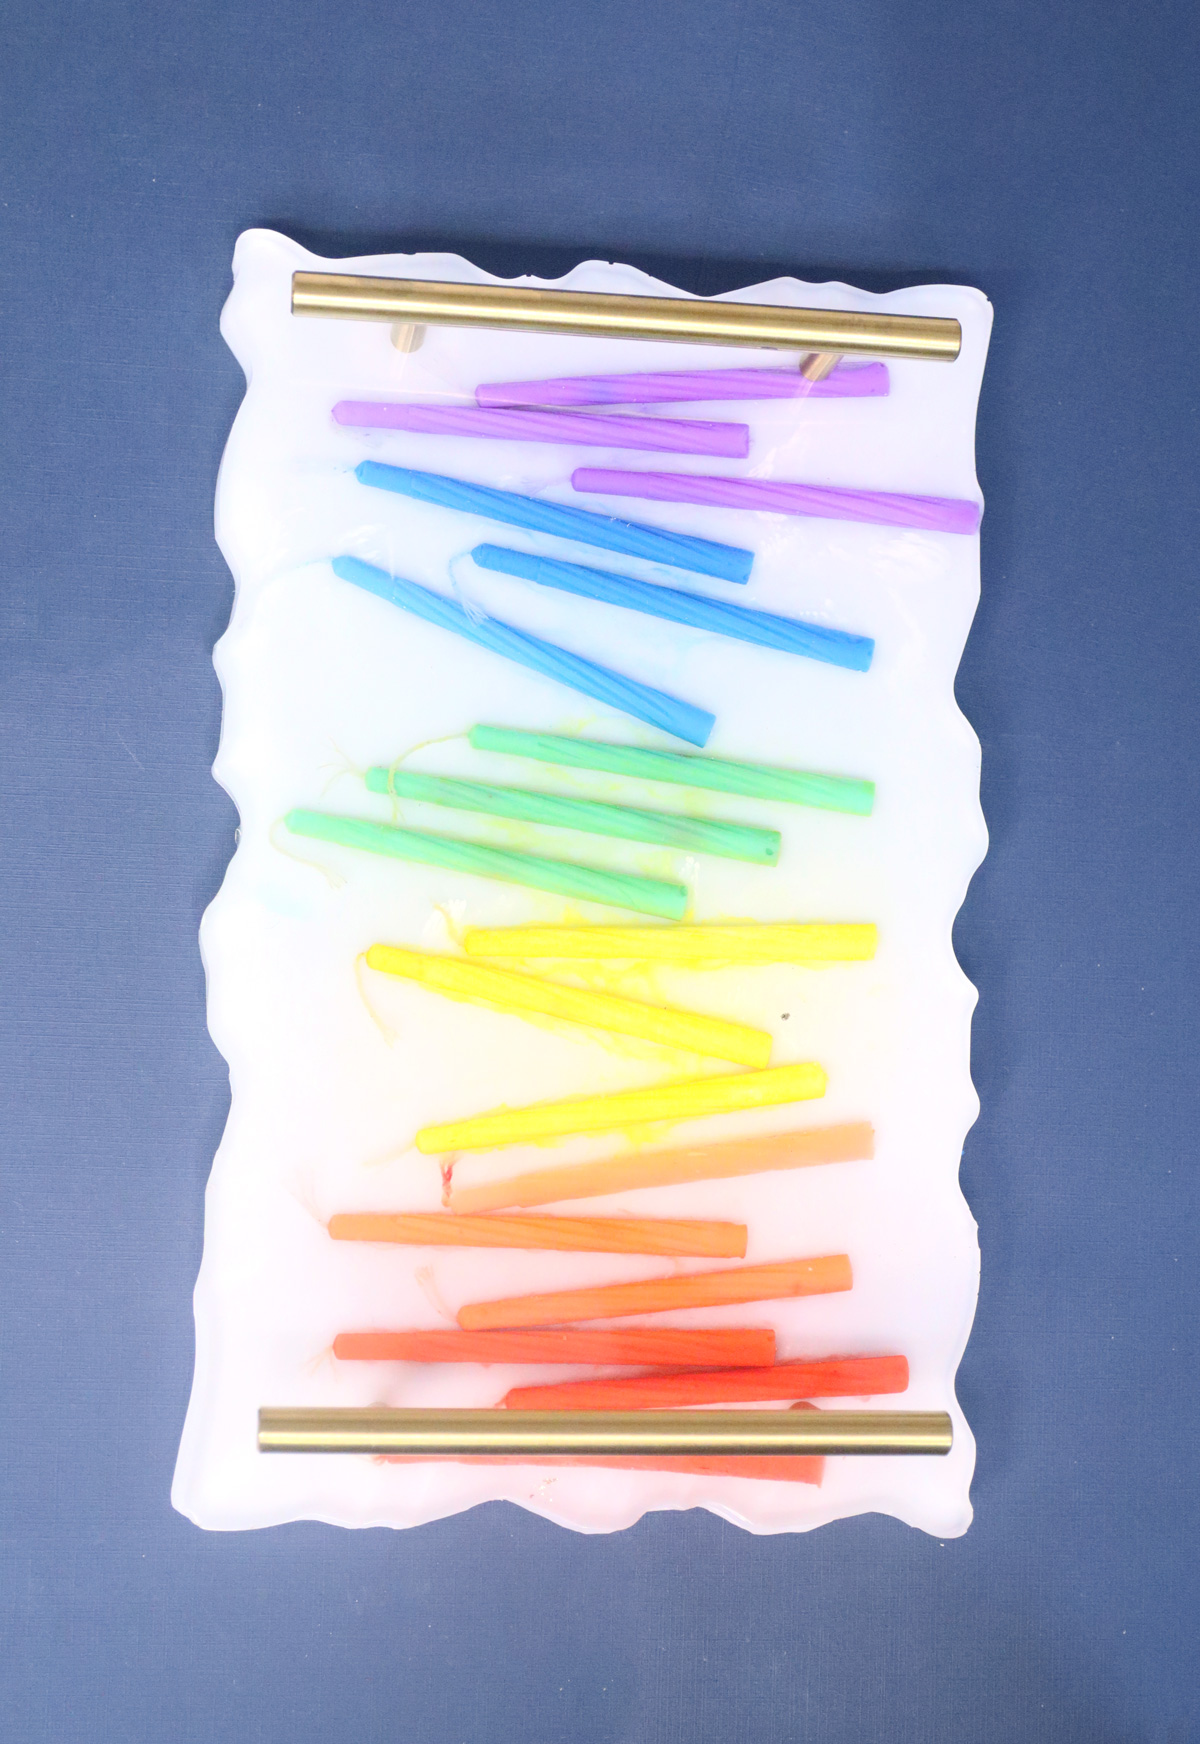
To make this this resin menorah tray truly in the Chanukah spirit, I placed real Chanukah candles in the resin. This also adds a gorgeous pop of cheerful color. Then, I backed it with white resin to make it really pop.
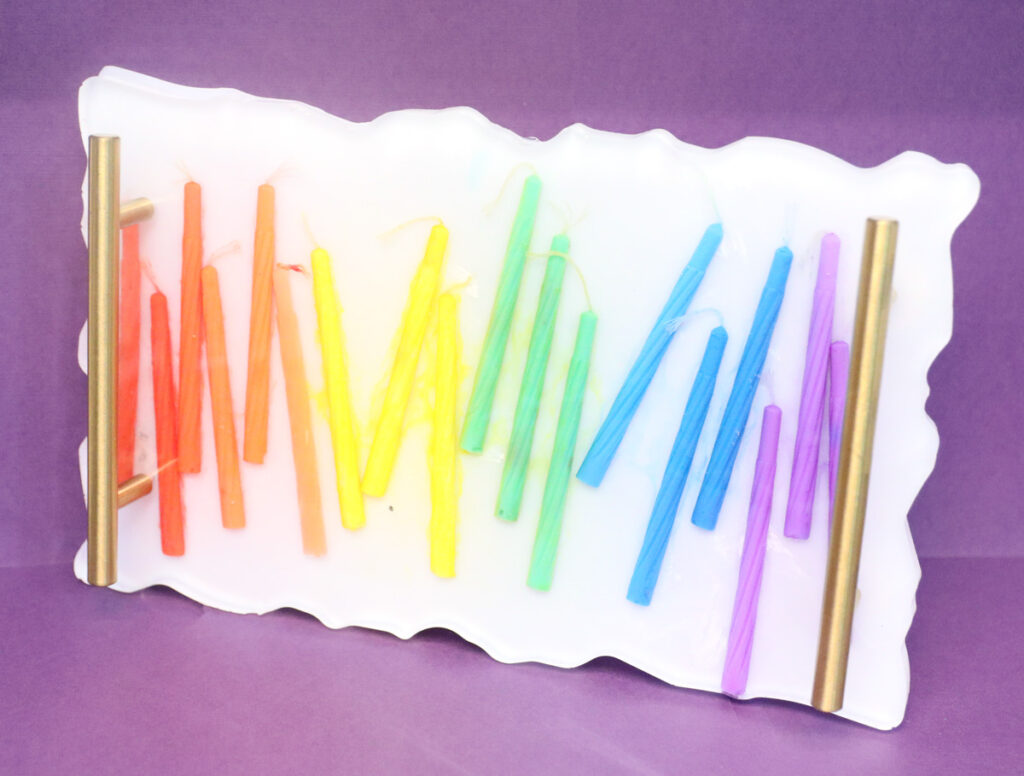
The hardware I used is brass cabinet handles that are both functional and finish it off visually. Most resin tray molds come with this included.
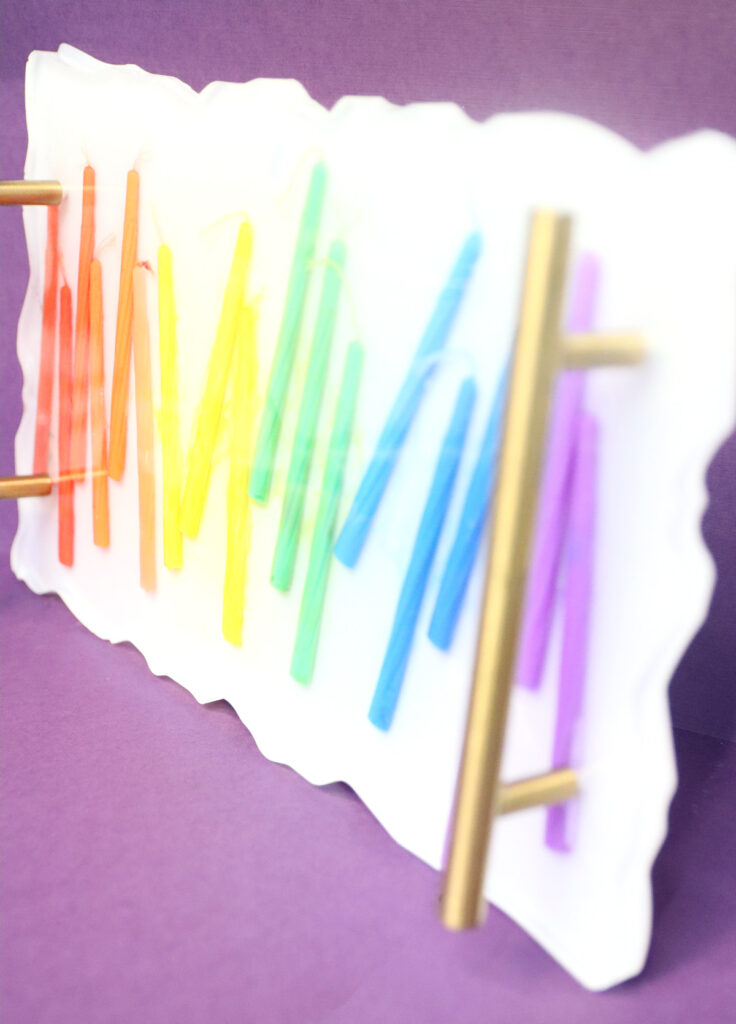
I considered gilding the edges, but it just looked so good as is, I figured that “leave good enough alone” applies here.
Tips for crafting a resin Menorah Tray
Safety notice
Crafting with resin is not a “just do it” kind of craft. Safety is paramount, and resin shouldn’t be inhaled. I share what you need in the materials list, but I’m just sharing it as a heads up.
As I see more and more people in the community heading towards resin crafting, including younger teens, it is very important to do so safely.
Proper gloves and a respirator mask should be worn. All surfaces should be very well protected, and it should be done in an area that is well ventilated. Personally, I have an air purifier in my craft room that I use when I craft in addition to the mask. It is also a me-only space.
The effect of inhaling resin on a fetus is unknown, and so I ditched resin crafting while pregnant.
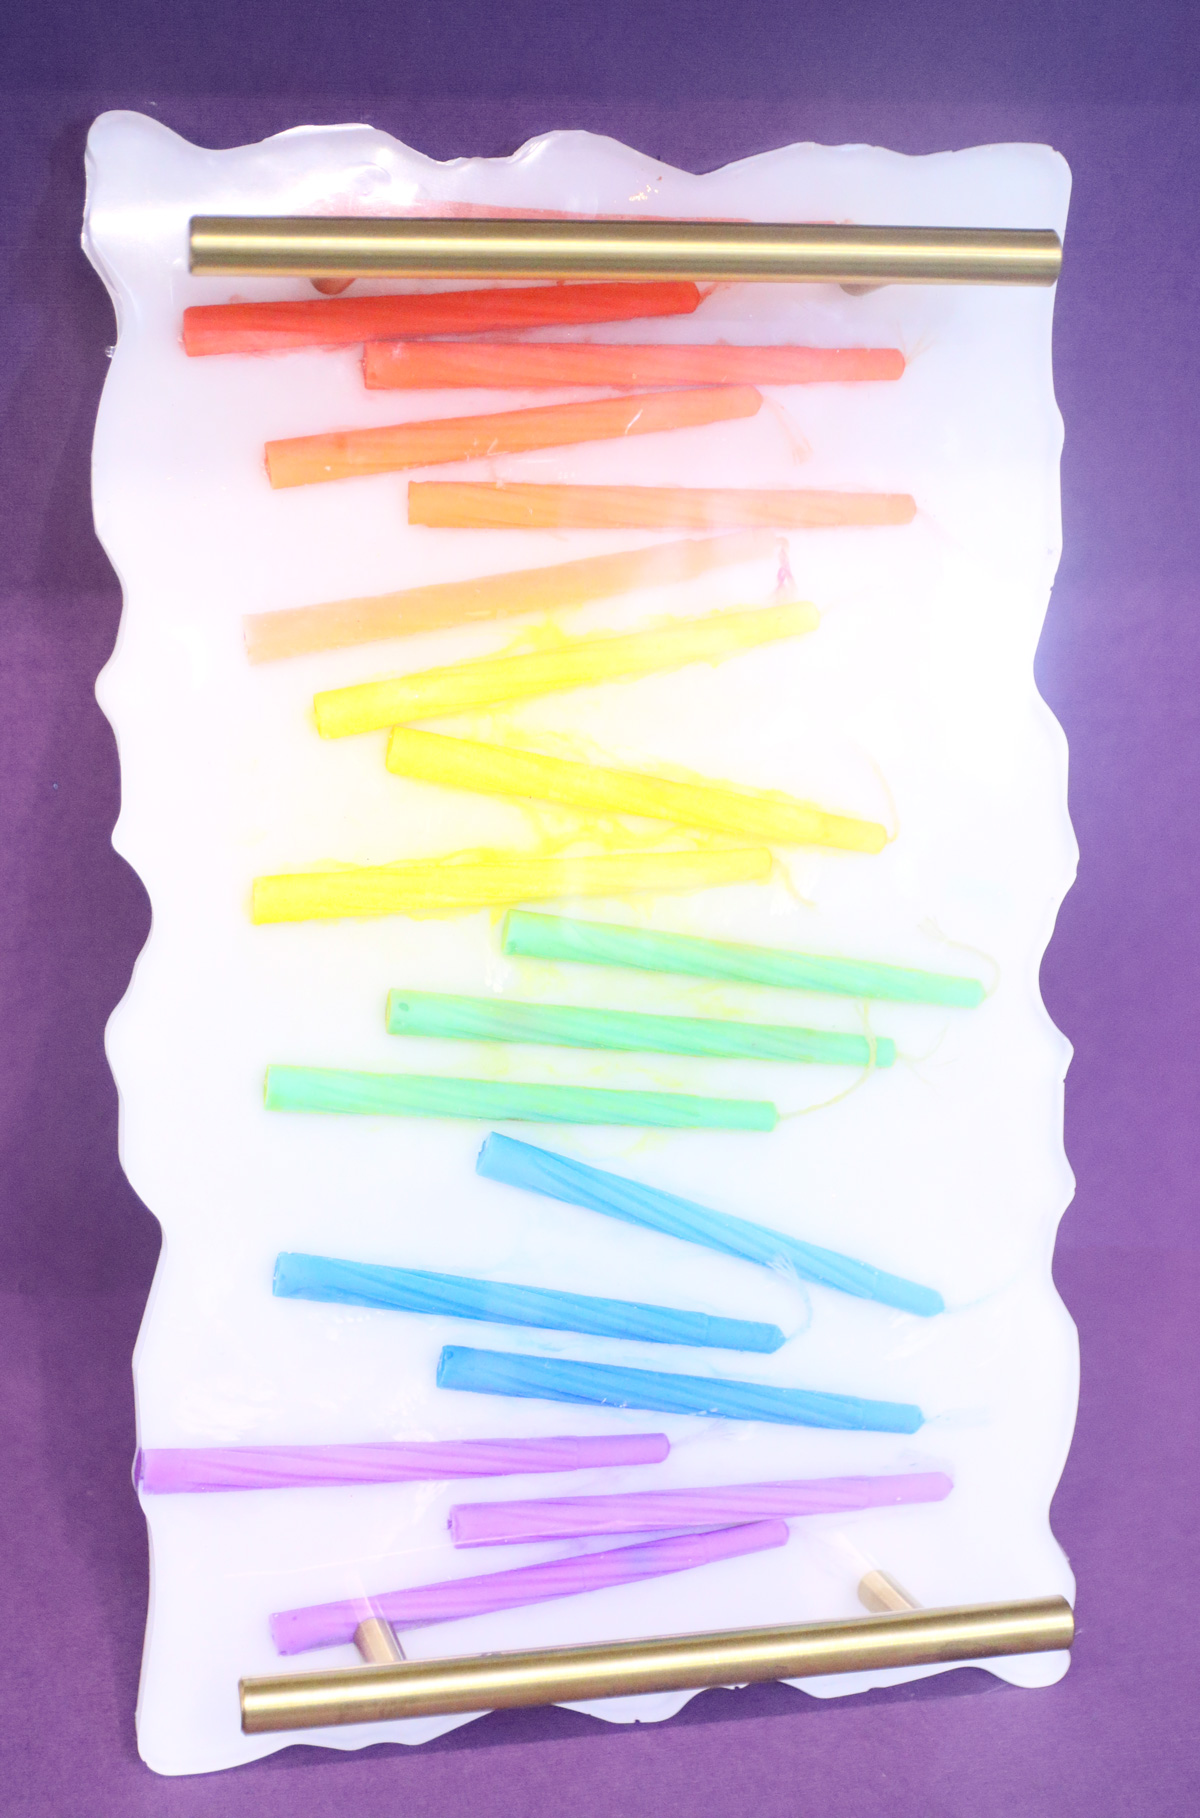
Regarding using resin as a surface for a menorah: while I’m not quite sure how fire-safe it is, I do know that resin ashtrays are quite popular. The consensus is that it won’t burst into flames once cured, although not all resin holds up the same (some resin burns).
If figured that since the tray is more “just in case” than to actually place fire on, it’s a safe bet to craft a resin Menorah tray. However, I can’t guarantee anything – craft it at your own risk.
Getting the process right
Resin crafting is one of those things that you need to do correctly. When crafting this resin Menorah tray, make note of steps that might seem superfluous – they are important.
Not following all the steps can result in air pockets, arrangements that are not quite where you want them, and even poorly-curing and tacky resin.
Make sure to measure and mix properly, to zap your air bubbles, to push it to all corners of your mold… Protect your resin as it cures – cover it with a clean container – so that you don’t end up with bits of dust inside!
For my main tray, I used a smallish irregular rectangle tray for character. You can really use any resin tray mold.
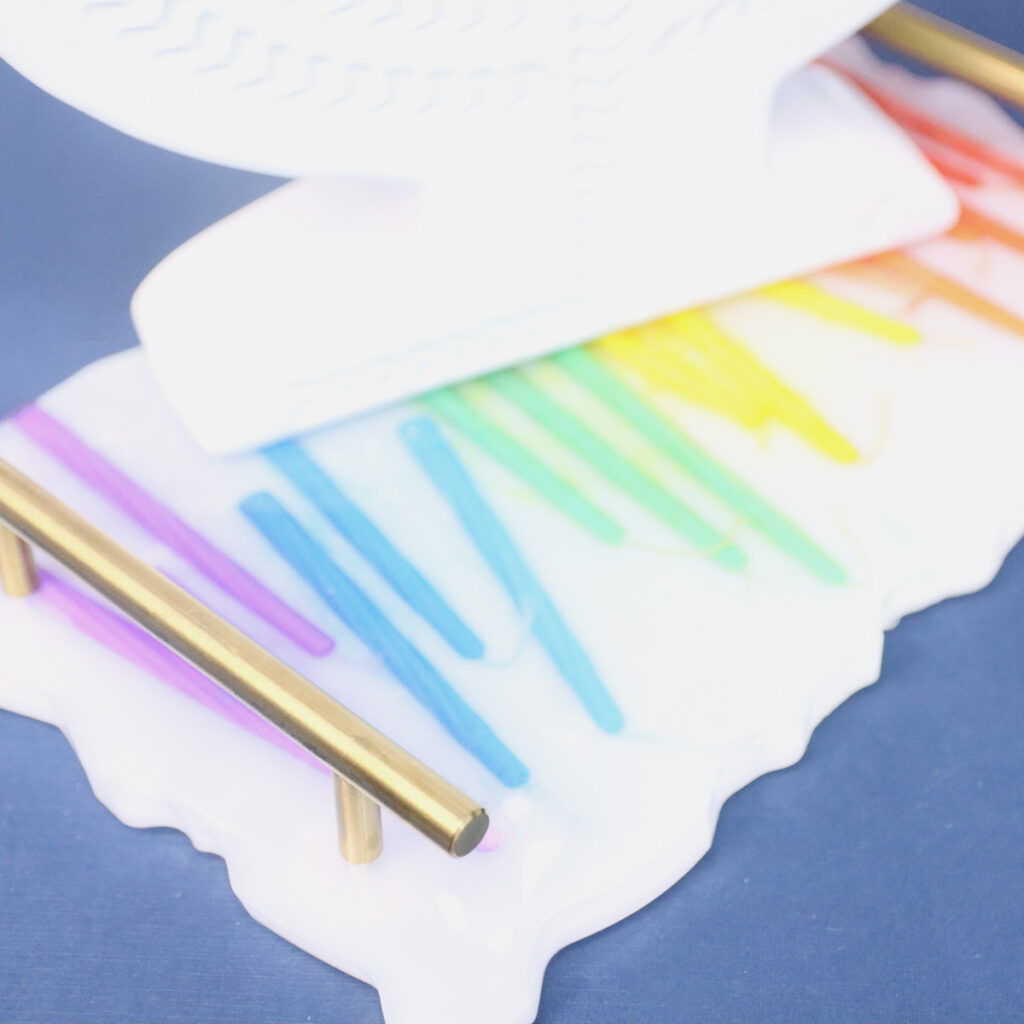
I also made a smaller ashtray/candle tray that I’ll be sharing the tutorial for separately in the next few months on my main blog, Moms & Crafters.
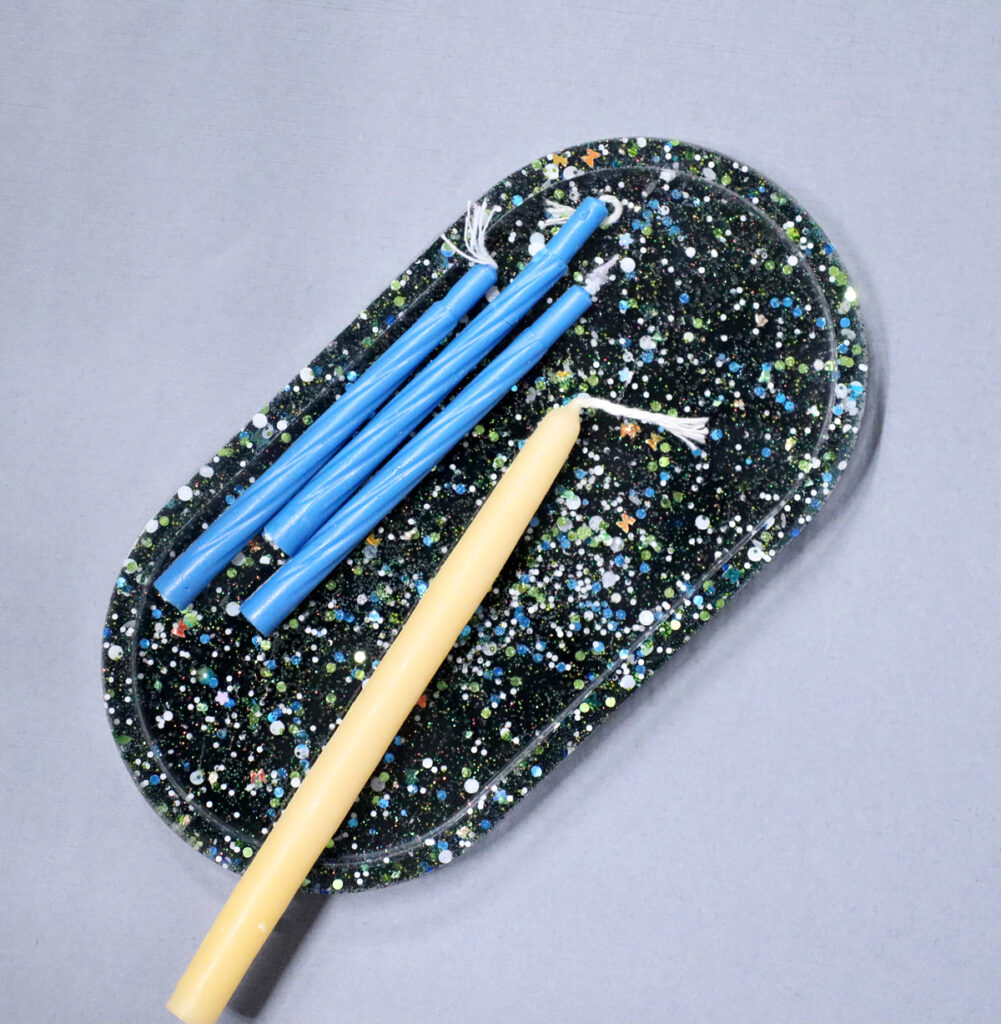
More alternatives for placing inside your resin Menorah Tray
I arranged some colorful Hanukkah candles in my tray to make it truly festive for Chanukah! They are completely sealed in the resin. However, here are some more ideas that you can put inside. And of course, you can use this as a cheese board, serving tray, decor, or whatever – not just for a Menorah!
- Dreidels – you may need to get the very small ones. Check the depth of your tray vs. the width of the dreidel.
- Coins – You can mix this with the dreidels or just do it on its own.
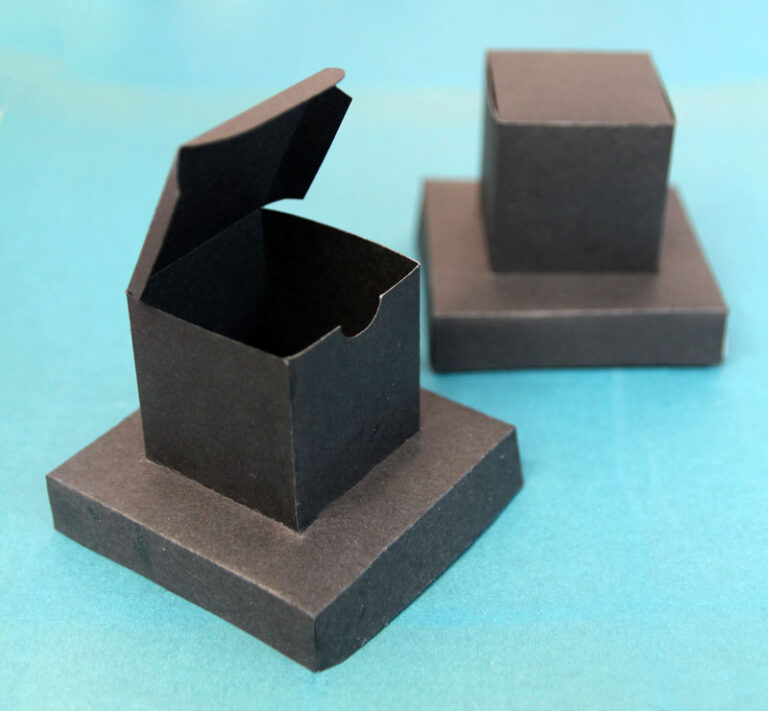
- Candle boxes – clip these over the years for your tray
- Glitter or mica powder – resin trays are fabulous for the Menorah even if they’re not Chanukah themed. You can go with blue and white or silver or just create it how you’d like it.
- Hanukkah confetti – if you want a straight up Hanukkah theme, go for tinsel confetti
- Sprinkles – These are a popular resin filler in just-for-fun projects but you can tie it into Hanukkah since they’re donut themed!
- Chocolate coin wrappers – fold or cut them into neat circles and use these in your resin Menorah tray!
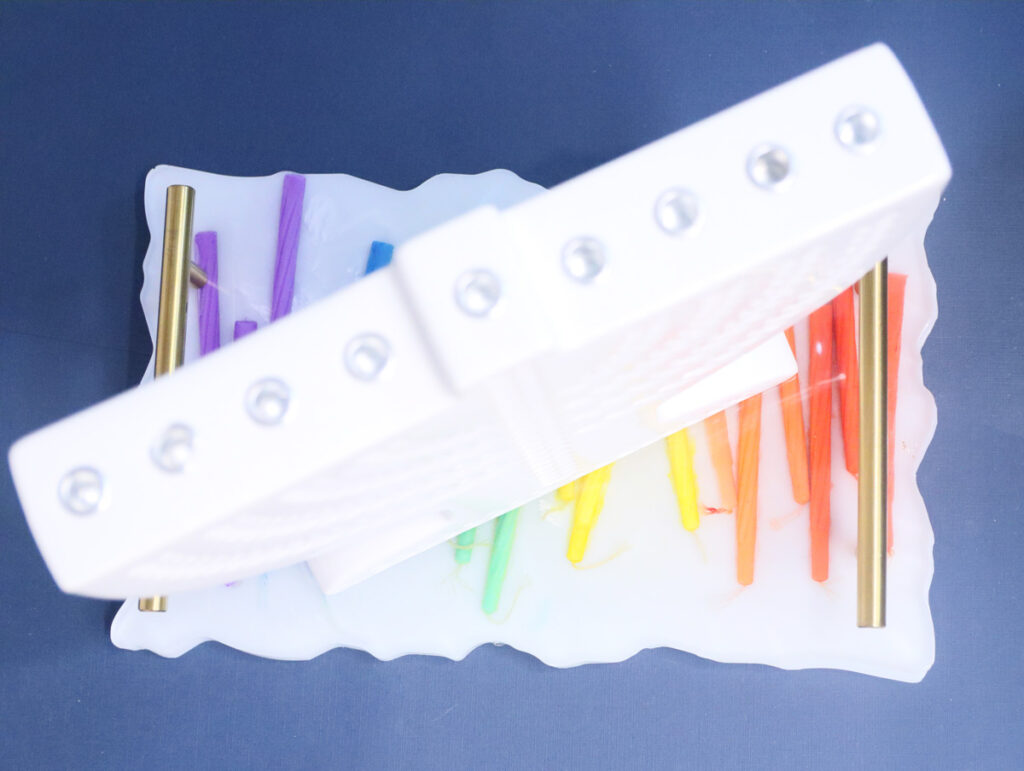
How to make a resin Menorah tray from scratch
While I mentioned a number of alternatives above, and there are so many ways you can craft this, the tutorial will follow 1:1 how I made it.
Materials
- Epoxy resin
- White resin dye
- Tray mold
- Two cabinet or resin tray handles – many tray molds come with handles included. However, if you’re making this with a mold you already have or want a different style, you’ll want to get this separately.
- Chanukah candles (about 15-18)
- Disposable gloves
- Felt sliders or regular adhesive felt
- Optional: raw rice (to measure how much resin you need – can be eaten after)
Tools & Equipment
- Respirator mask
- Heat gun
- Measuring cup
- Mixing jug
- Sticks for stirring
- Drill
- Screwdriver
Process
1. If you want to get the general idea of how much resin you’ll need, you can fill your mold with rice and then measure the quantity of rice. You’ll need to wash your mold well after – the rice will kind of cling. Dry thoroughly.
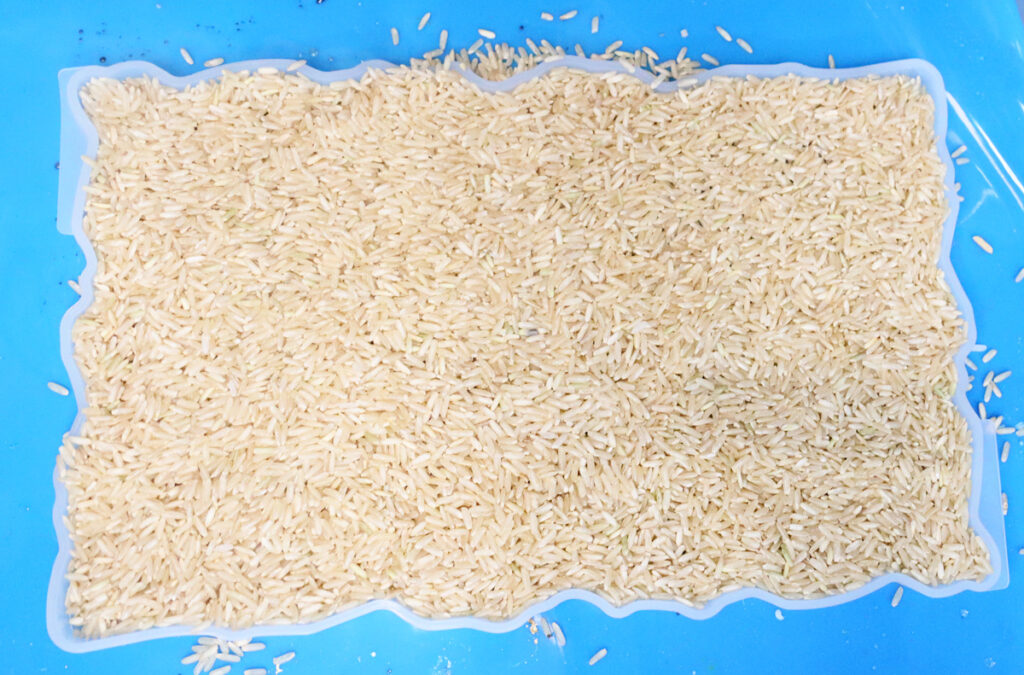
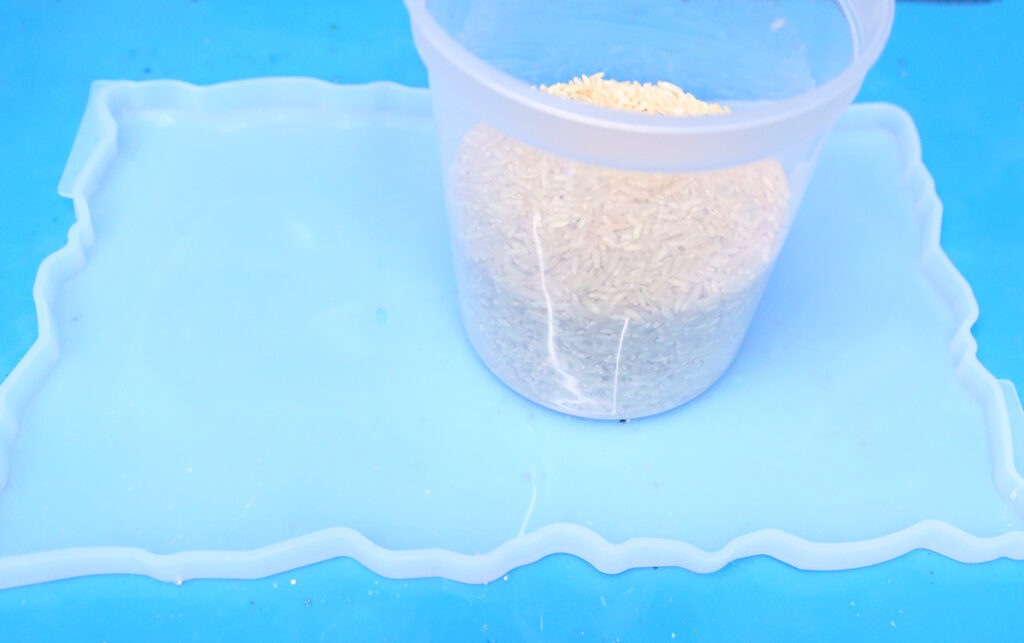
2. Measure your resin out carefully and accurately according to package instructions. Mix well. Pour a thin layer on your tray mold and spread it to every corner.
Keep in mind that if you’re crafting this in increments, you won’t need a whole tray full at a time. Adapt accordingly.
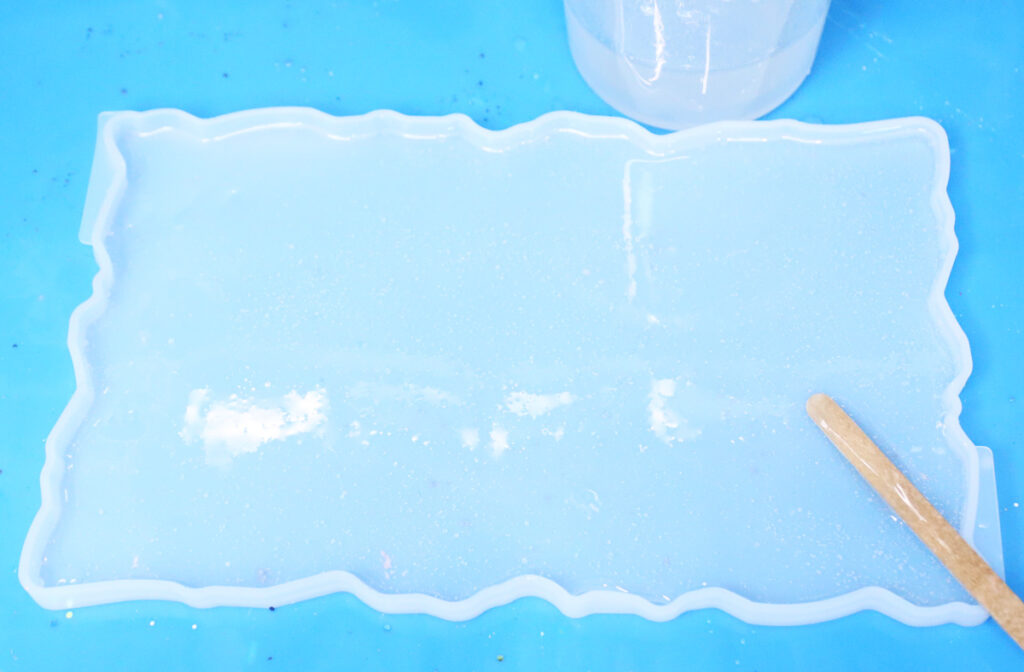
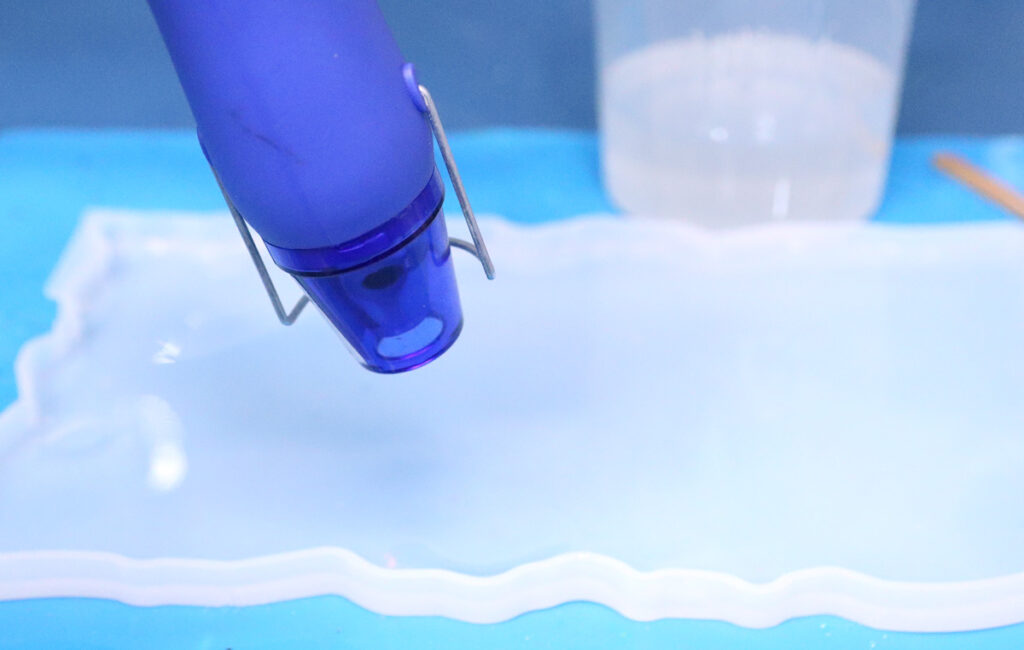
3. Zap with a heat gun to remove as many air bubbles as you can. This also helps blow it into every corner.
4. Add your candles. I regret not trimming down my wicks first – you may want to do that. I started with one of each color and then filled it in.
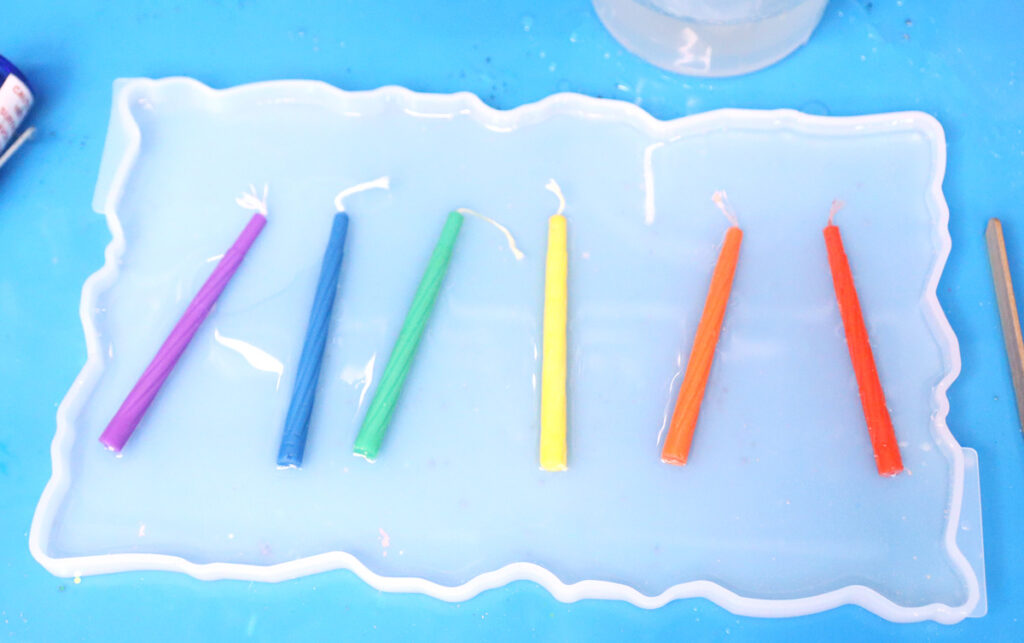
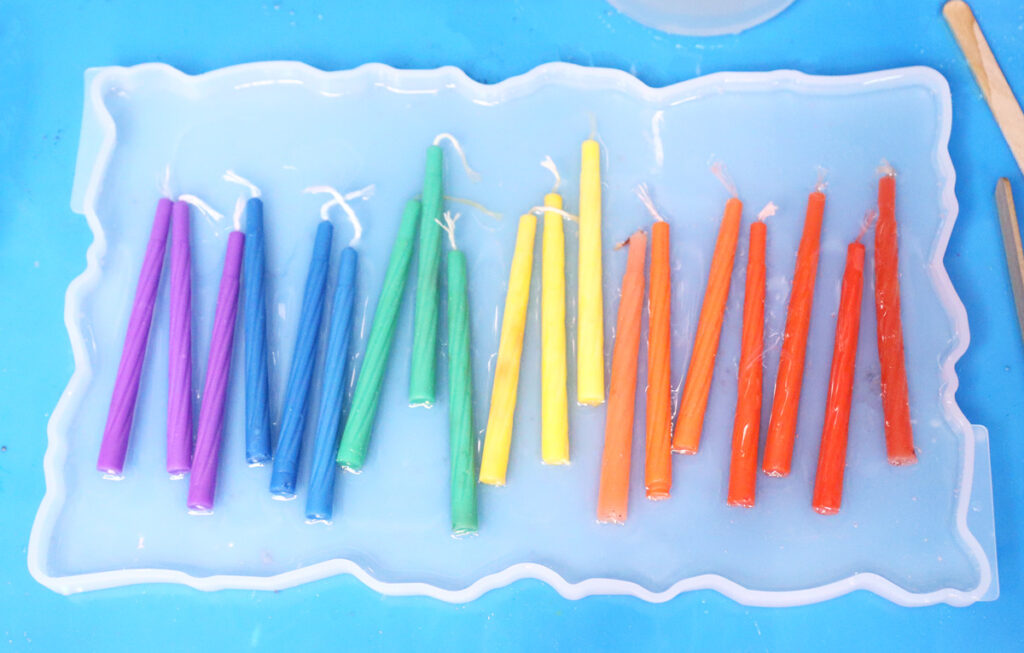
5. At this stage, I would recommend allowing your resin to cure for a few hours. This will allow your candles to stay where you put them. If you fill your tray more now, you’ll find that the candles shift. Learn from my mistakes…
Once the bottom layer of resin has cured, pour another layer, almost till the top of the mold but not quite.
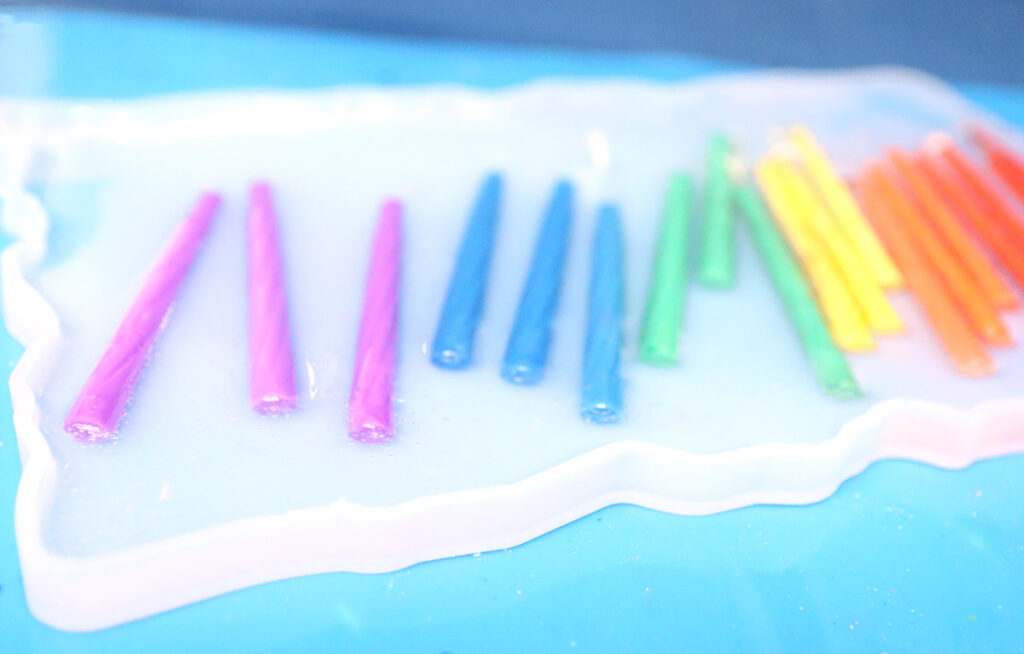
6. Allow the clear resin to cure for a day. Then, mix up a new batch of resin and add white dye. Pour the top layer. To create a subtle marbled effect, I dripped a very small amount of white dye onto my tray after I applied the white resin and swirled it in with a toothpick.
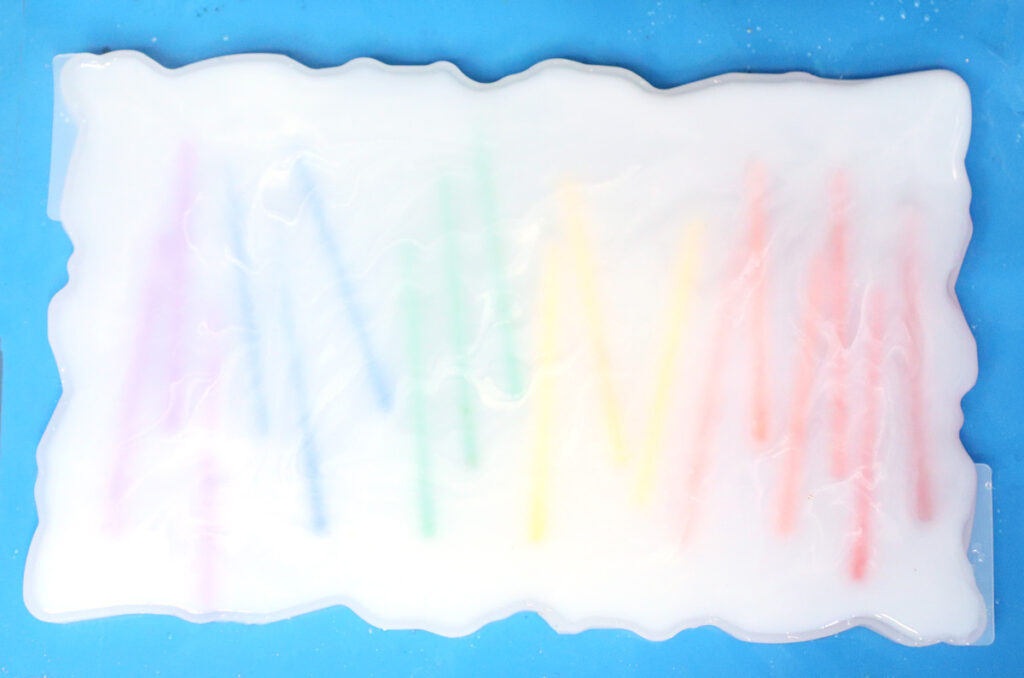
7. Allow it to cure completely (2 days) and remove from the mold. Mark where you need to drill holes for your hardware and drill holes.
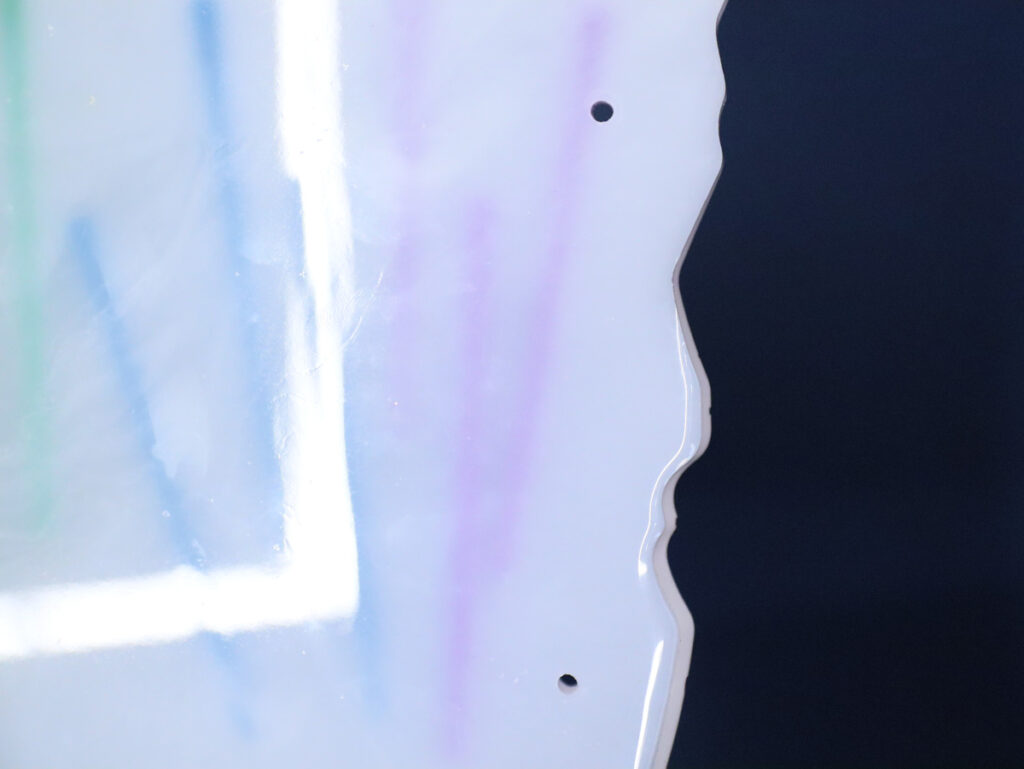
8. Attach your handles. I screwed the screws in partially from the back and then held the tray upright with the handle in place, screwing in one side at a time.
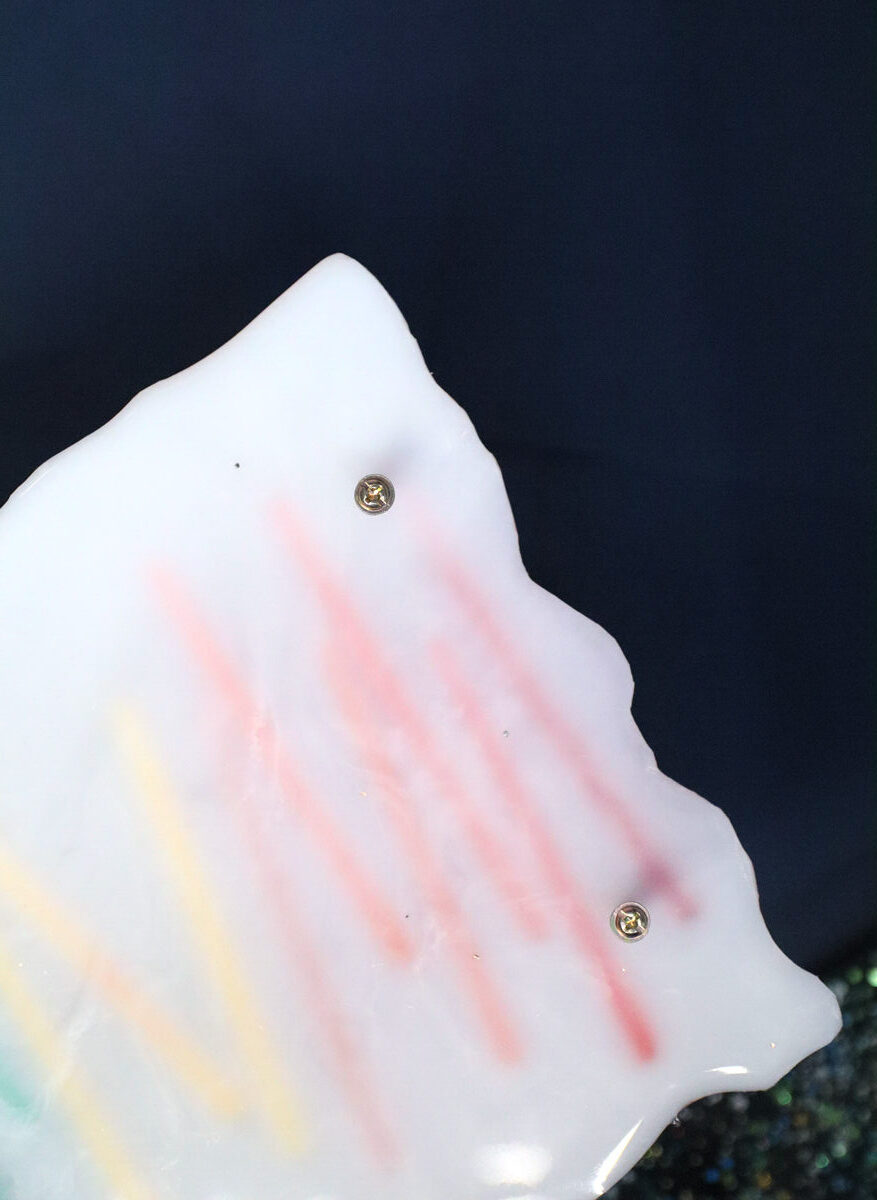
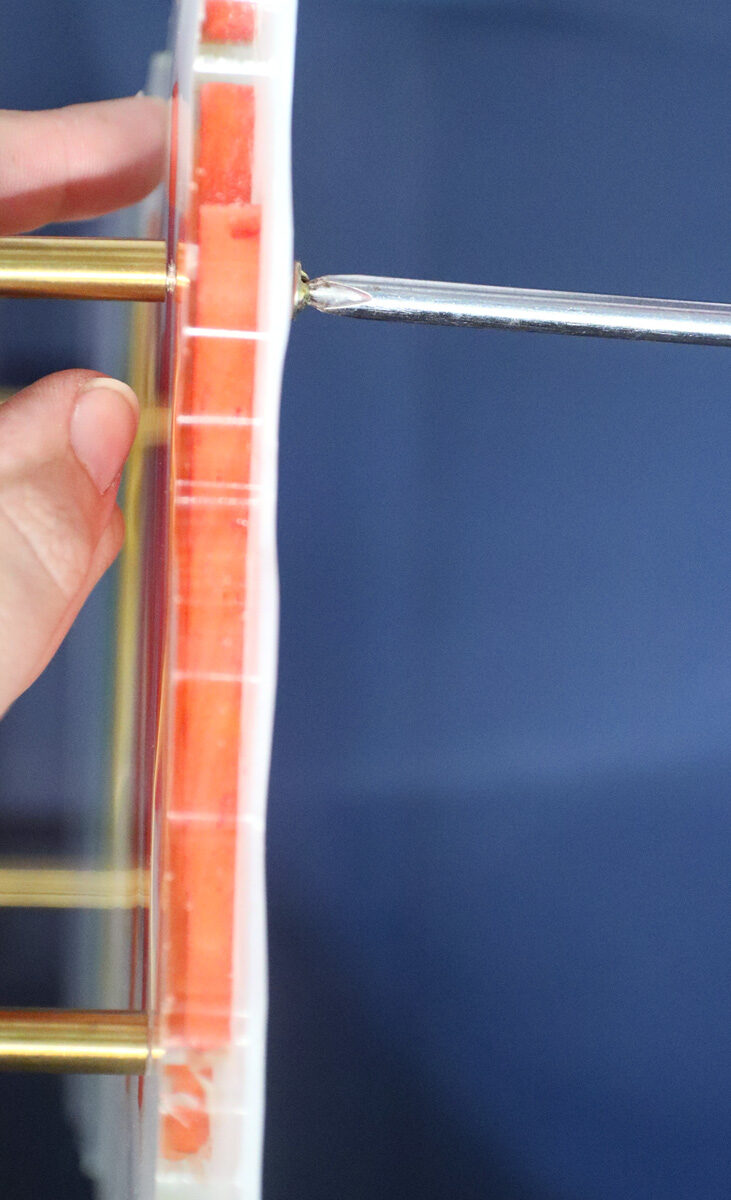
9. I recommend placing felt sliders or large silicone cabinet bumpers over the crews to create a better base.

Your resin Menorah tray is complete! Will you be placing candles or something else inside yours? Comment below!
