Tefillin Box Template for Bar Mitzvahs
I hope you’ll enjoy this free tefillin box template, perfect for filling with treats at bar mitzvahs! This post contains affiliate links.
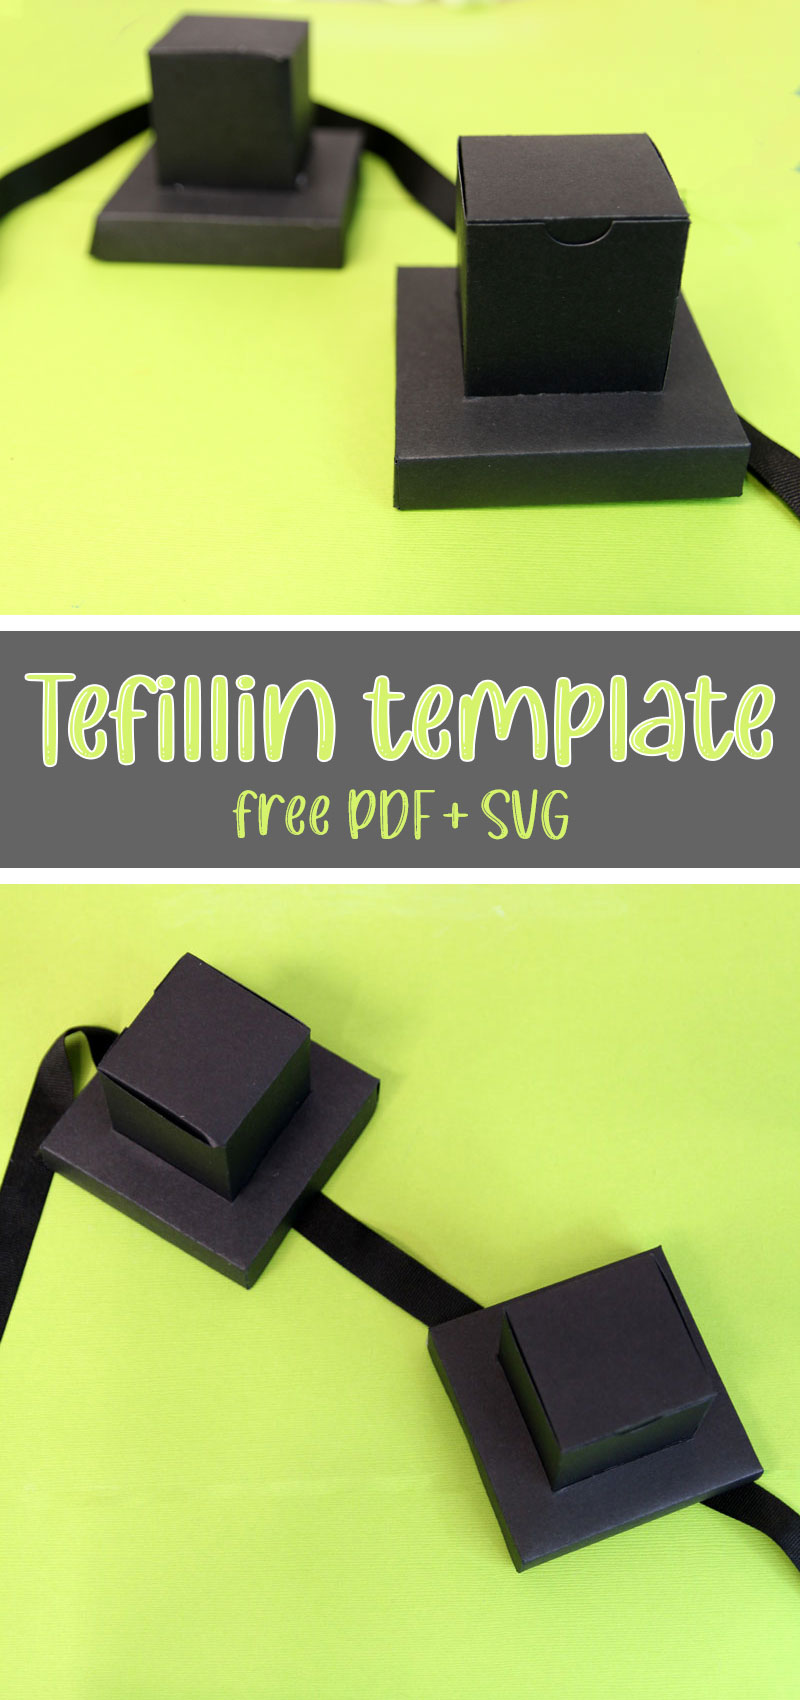
I’ve been wanting to share more ideas here for throughout the Jewish life cycle, and while my own boys are still a good few years away from their Bar Mitzvahs, I though I’d share a fun craft for those who are ready for it.
When I was a teen and my brother had his Bar Mitzvah, I had lots of fun putting together some pretty centerpieces that were then reused for I believe all of my brothers’ Bar Mitzvahs.
While I don’t have a photo handy, it was basically a fabric wrapped paper towel roll, with a cardboard top and bottom turned into a pillar. I weighted the bottom and wrapped the pillar with fake vines. At the top was a tefillin made from glossy black poster board and black satin ribbon.
I remember cutting out each piece carefully, without a template.
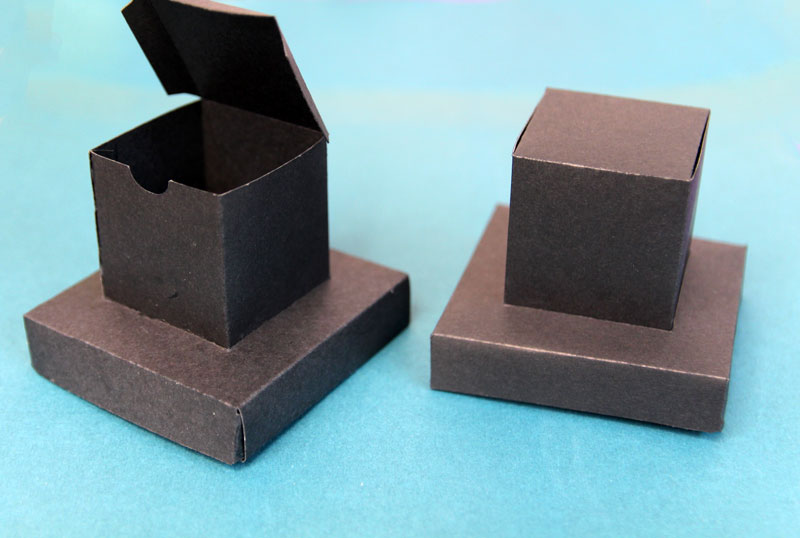
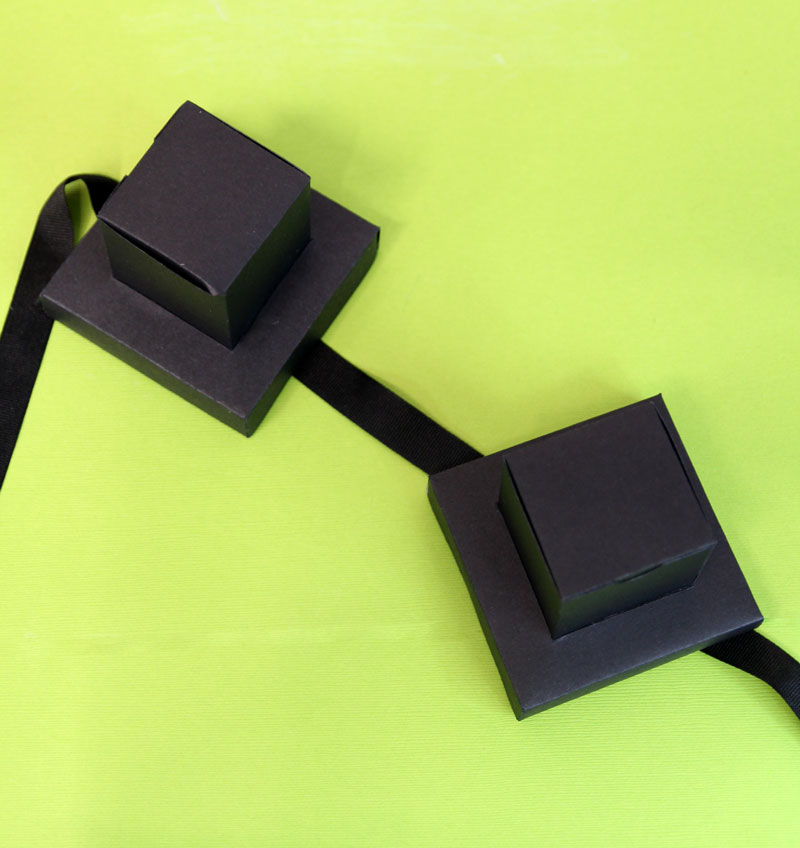
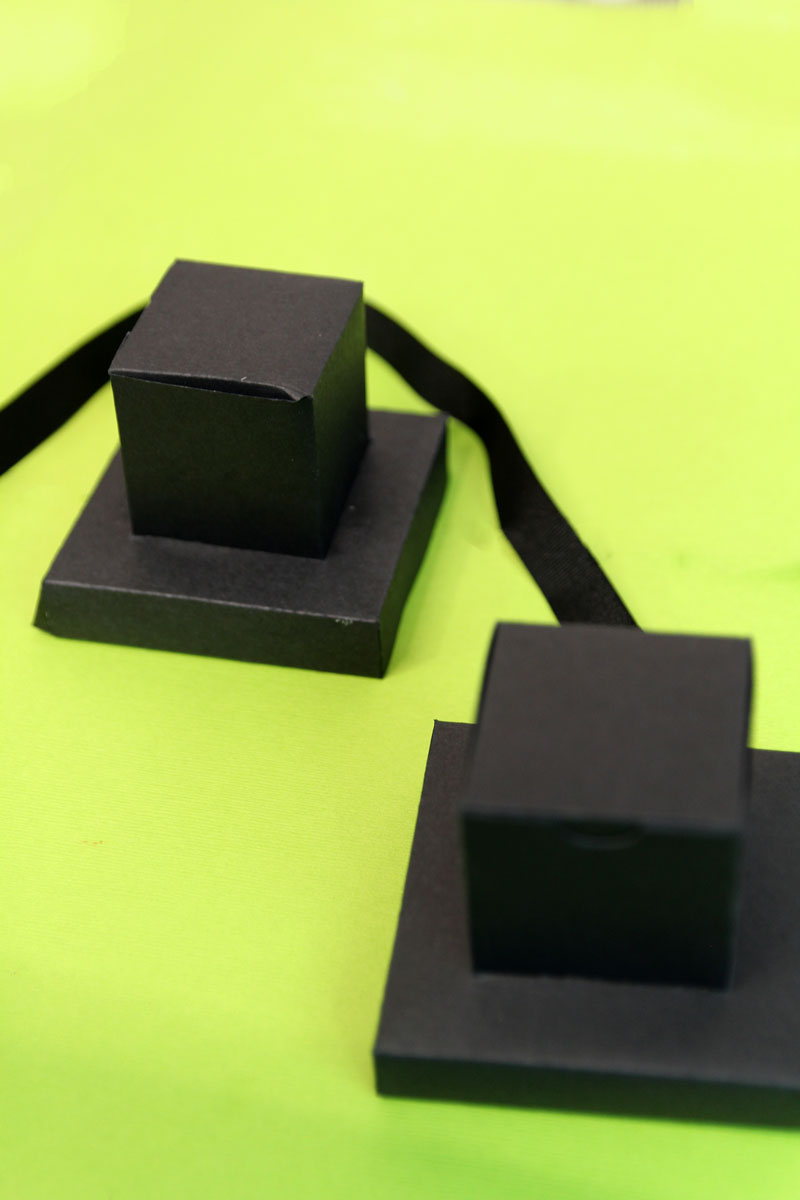
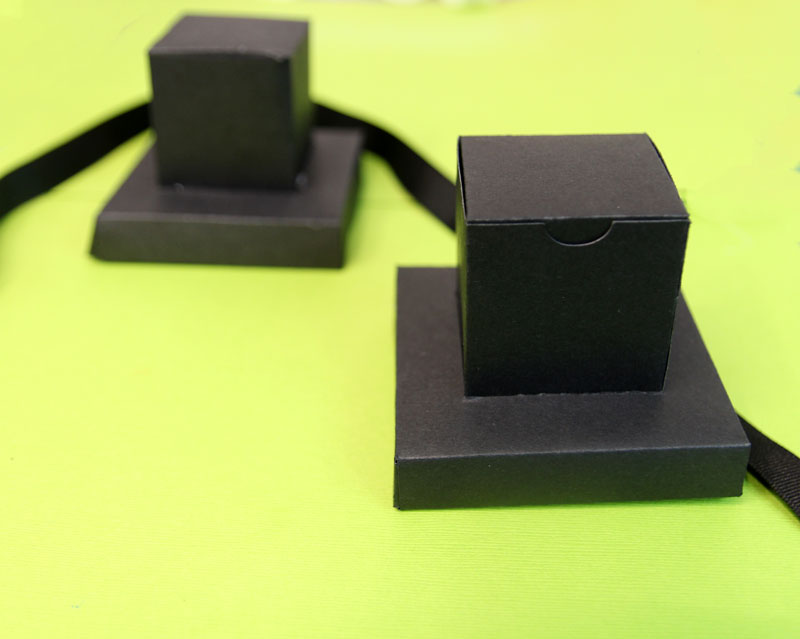
I decided, why not create a versatile tefillin template that can be used in such a project – and made even easier if you have a Cricut. You don’t need a Cricut to assemble the tefillin template, as I included a PDF template as well (and it’s fairly simple.)
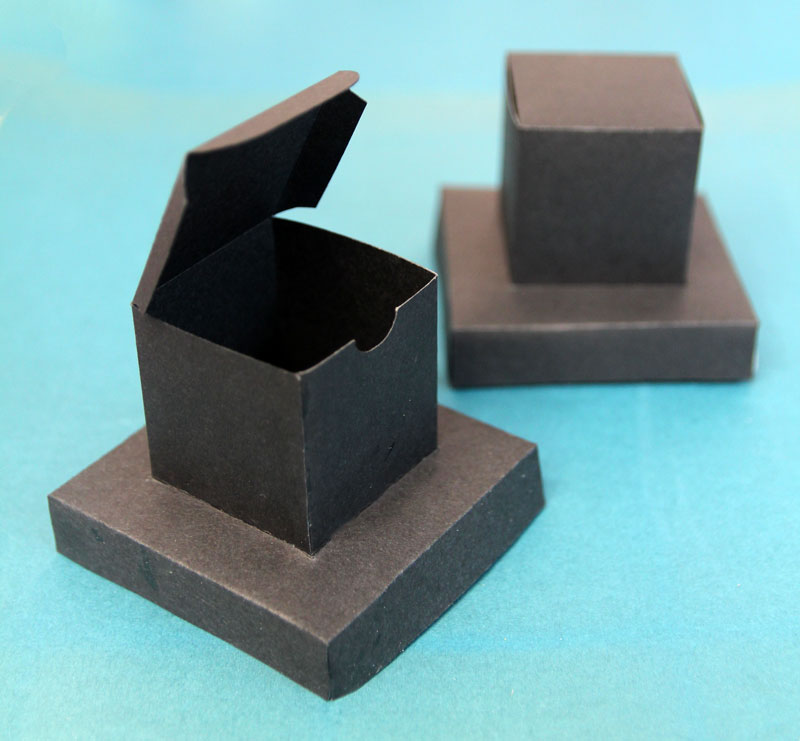
I designed this to be a box – as in, it opens at the top. That way you can fill it with treats if you’d like. If you don’t want it to be a box, simply omit the notch and glue it shut.
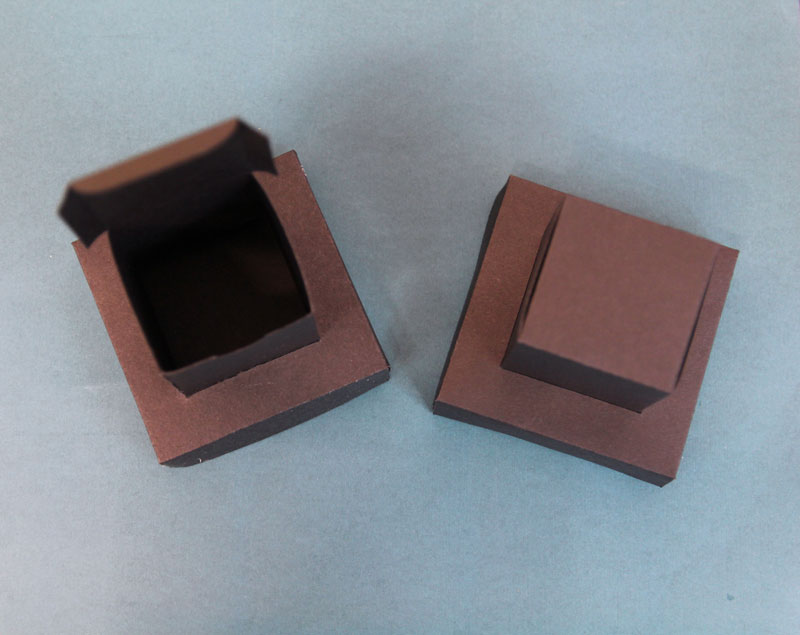
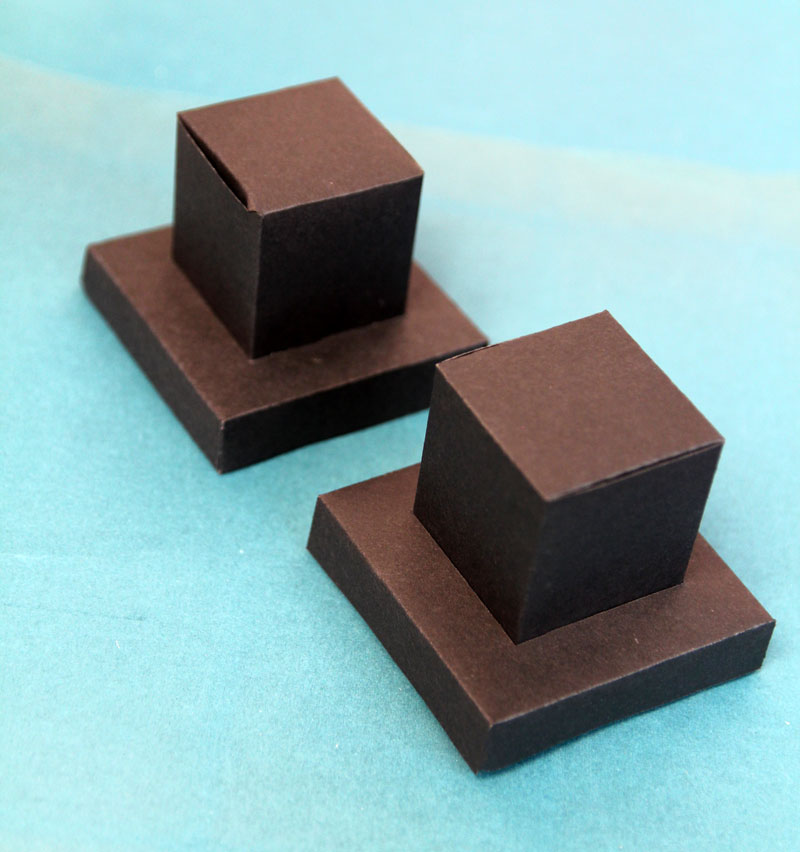
Download the Tefillin box template
Download your free template! It’ll arrive right in your inbox. By downloading, you’re subscribing to our FREE newsletter with updates on cool printables like this, ideas to simplify Jewish life, and more. Unsubscribe at any time at the bottom my emails. I respect your privacy and the law, and won’t share or sell your email address.
Your download will arrive in a ZIP folder. For information on how to “unzip” see this article. If you’re having trouble with it, try again with a Gmail account, since some email providers block ZIP folders.
What you need to make paper tefillin
- Black poster board – if you find one with a glossy finish, even better
- Tacky glue (will need to be held in place till set) and/or double sided tape or glue lines
- For hand cutting, I recommend using the straight edge method:
- Pencil
- Ruler
- Craft knife
- Self healing mat
- Scoring tool (a blunt tool – either special for this or the back of a craft knife with caution, a dried-up ballpoint pen, or something similar
- The template, printed on paper or cardstock and cut out
- For Cricut cutting:
- Optional: black satin ribbon
How to make a paper tefillin box
Cutting instructions
To cut it with the Cricut: Upload the SVG to Design Space. Ungroup the top-level group (each part will still be grouped with its score lines). Select the score layer on each part – the disconnected lines – and change line type to score. Attach each score layer to its base layer. Resize if you’d like.
Send to the machine to cut. Use brayer tool to make sure it’s adhered well. Use spatula to remove carefully from the mat when you’re done. Make sure to keep your project loaded and swap the score tool for the fine point blade when prompted.
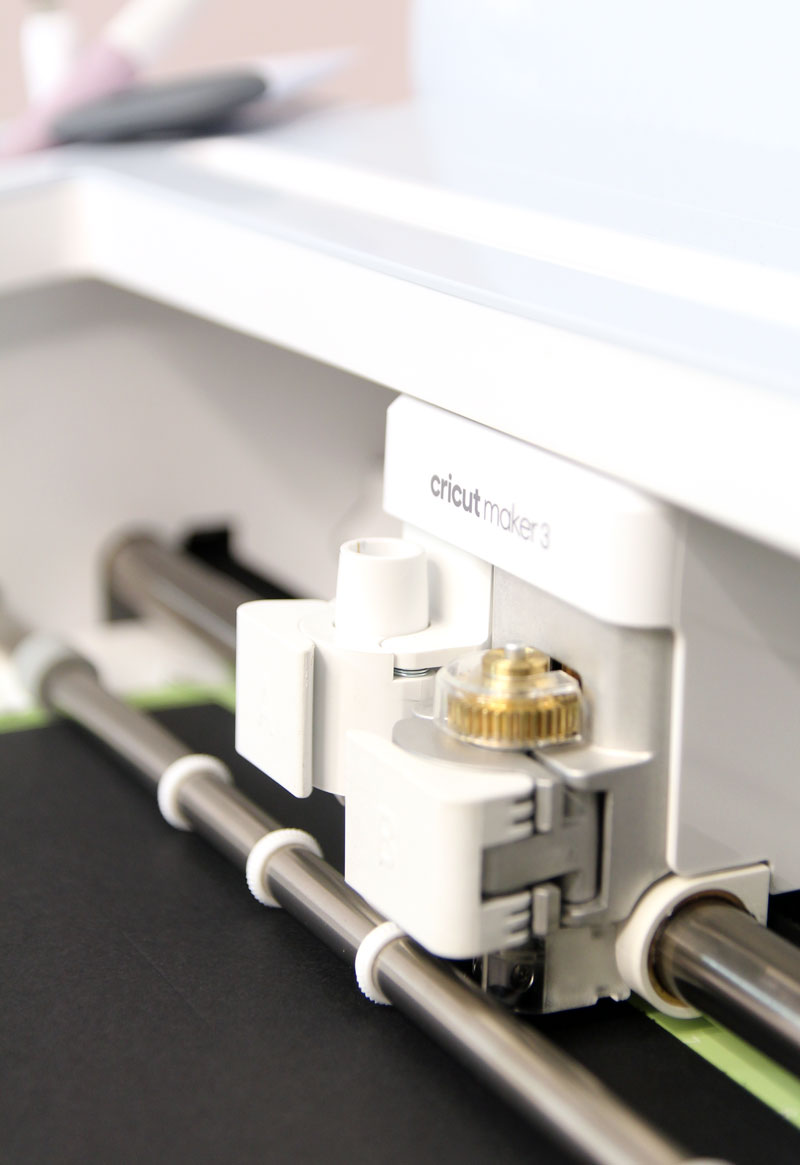
Hand cutting: Trace the template parts on paper and cut out all the solid lines. I recommend using a knife and a ruler on a cutting mat to guide your lines so that they’re straight. Score the dashed lines the same way – using a scoring tool and ruler to guide you.
Assembly instructions
1. Fold all the score lines to prep them.
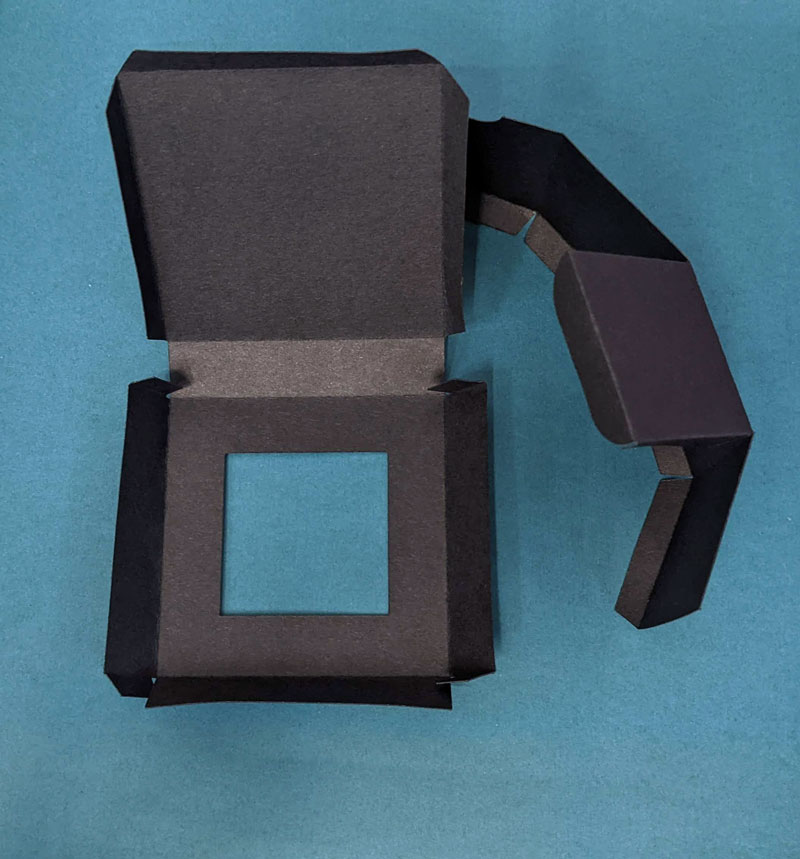
2. Start with your square top – that’s the shape that does not have a hole. Start by joining the side tab to the opposite side to form a cube.
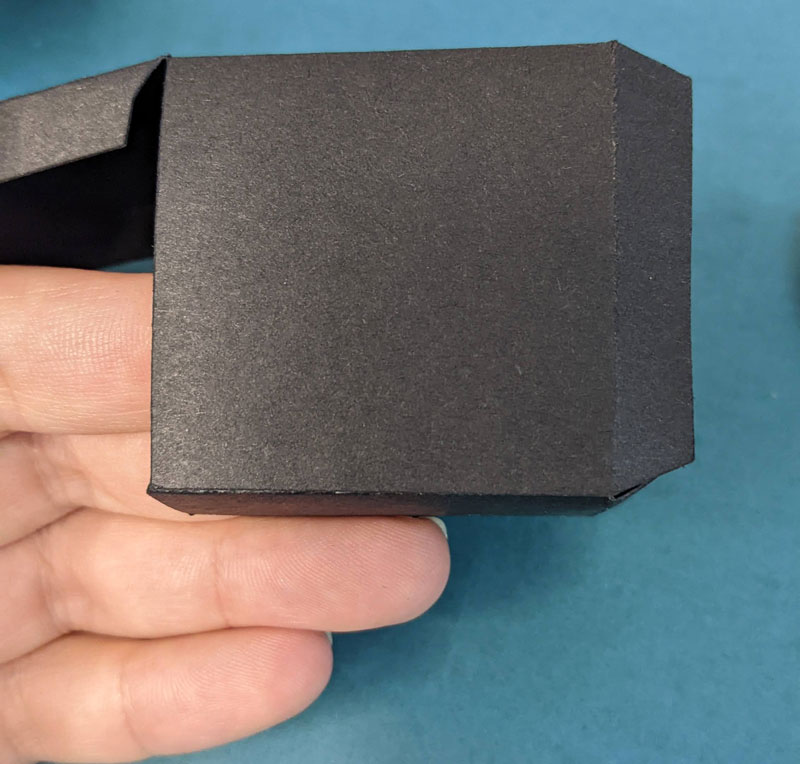
3. Bend out the bottom flaps.
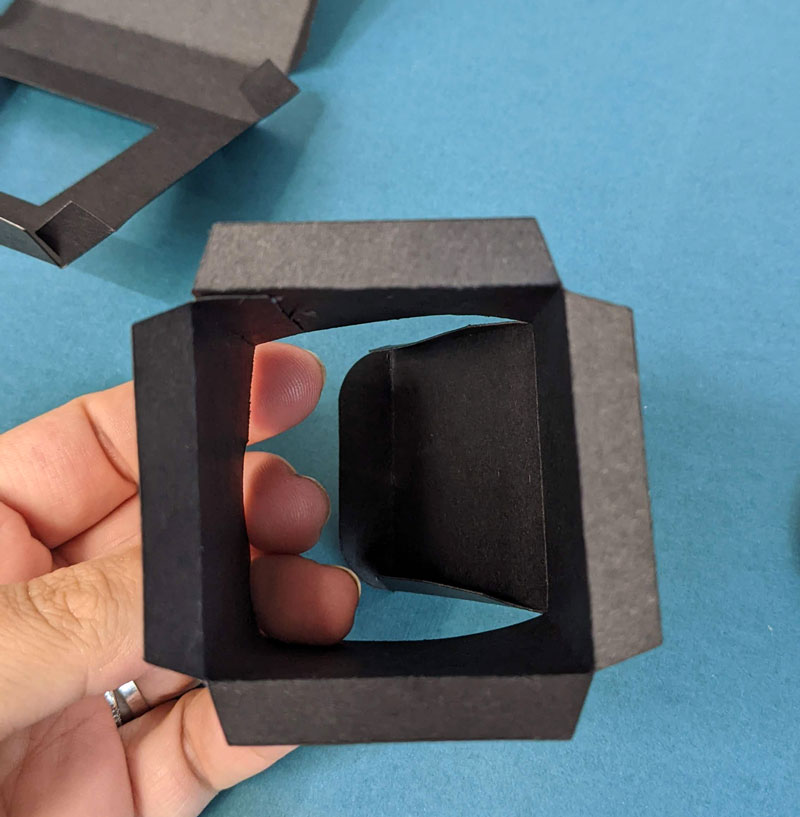
4. Slide the cube box from the inside to the outside, lid first – tabs last – through the flatter larger square.
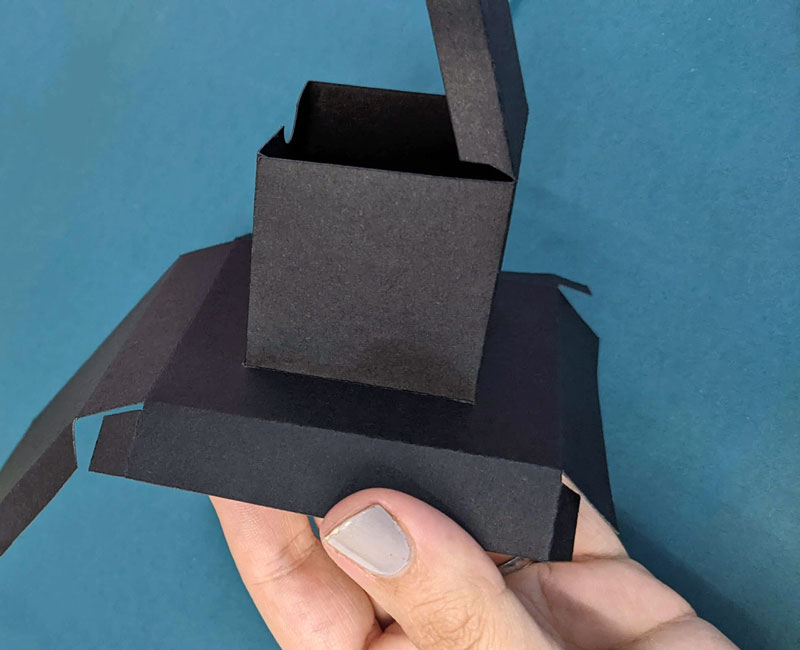
It should sit inside the hole so that the tabs lie flat against the inside. Glue or tape them down.
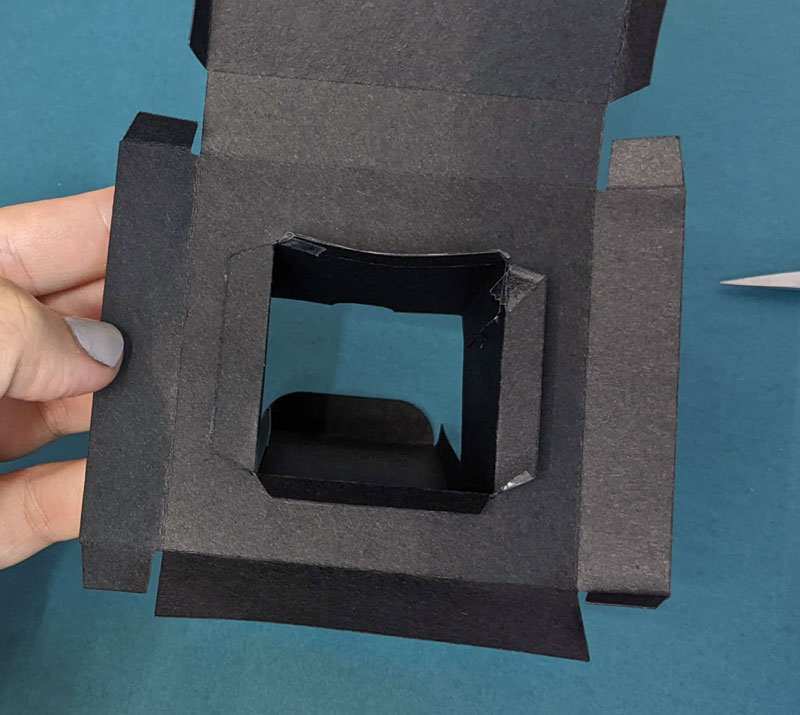
5. Assemble the bottom box. Start by adhering all the short sides together using the little flaps.
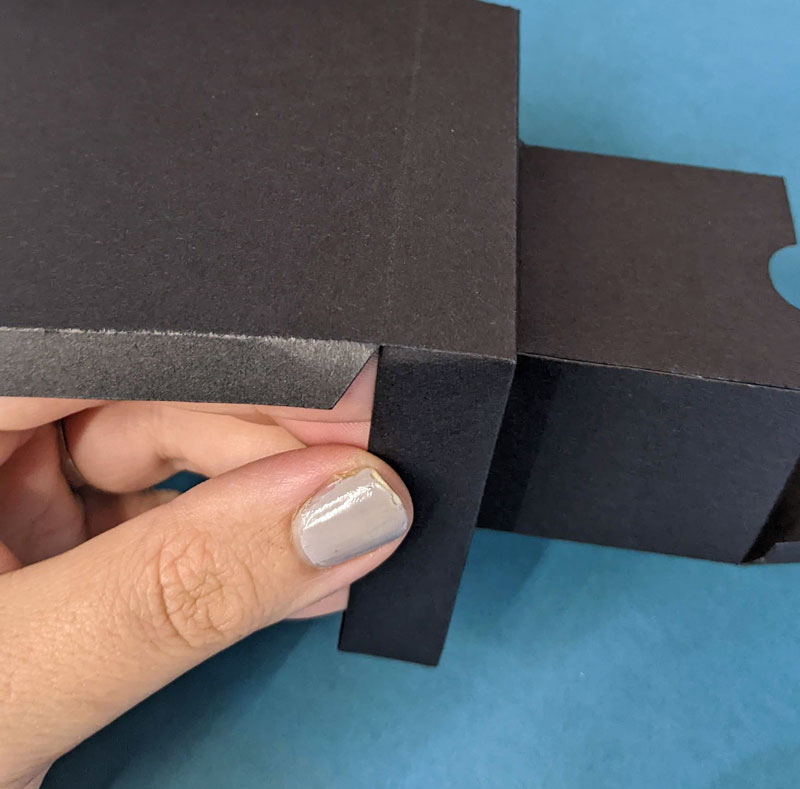
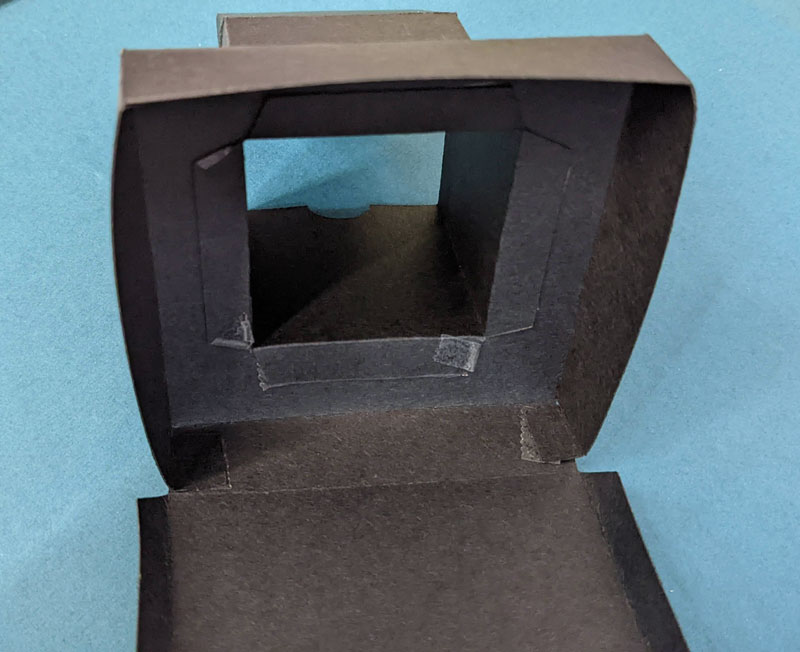
6. Close the bottom of the box using the longer flaps.
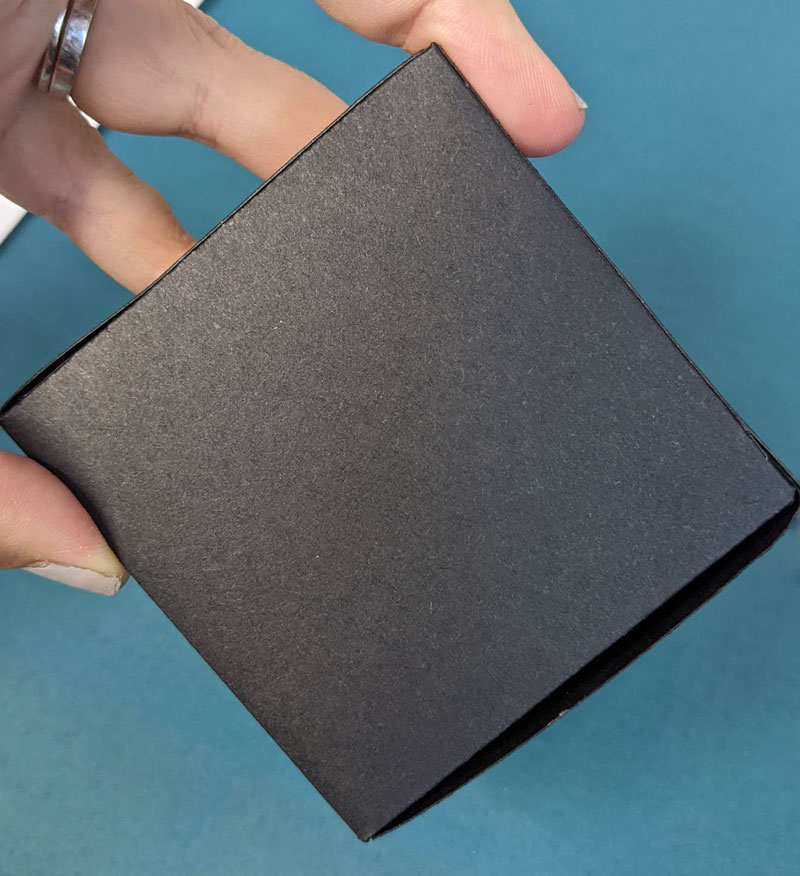
The last side will be hardest to do – you’ll probably want to reach inside the box to apply pressure from both directions and glue it well.
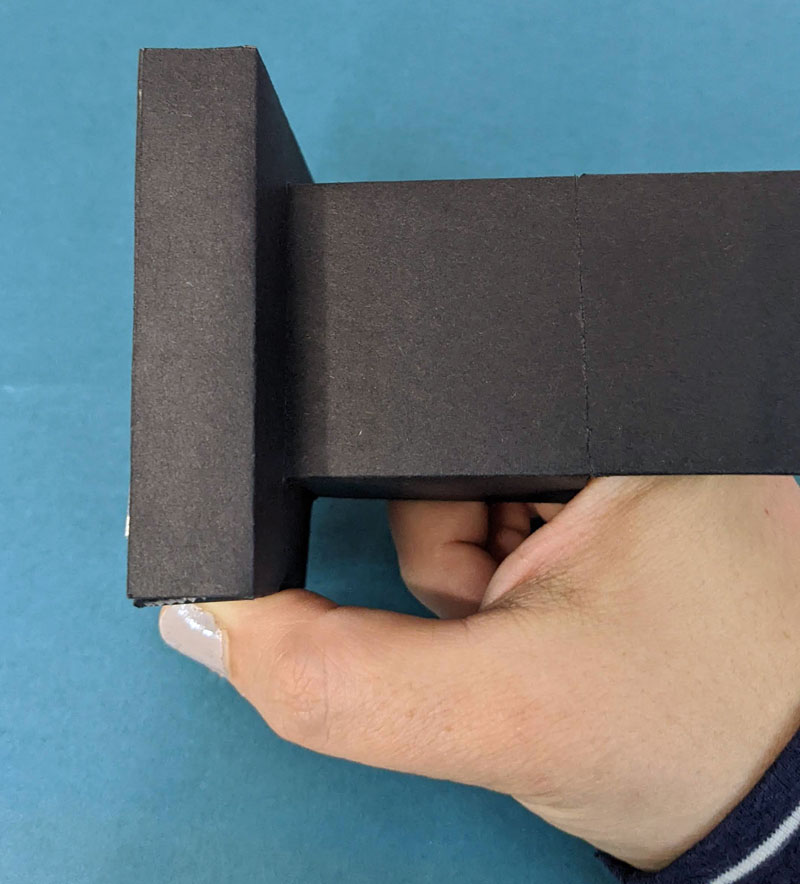
You now have an open tefillin box, perfect for favors and treats!
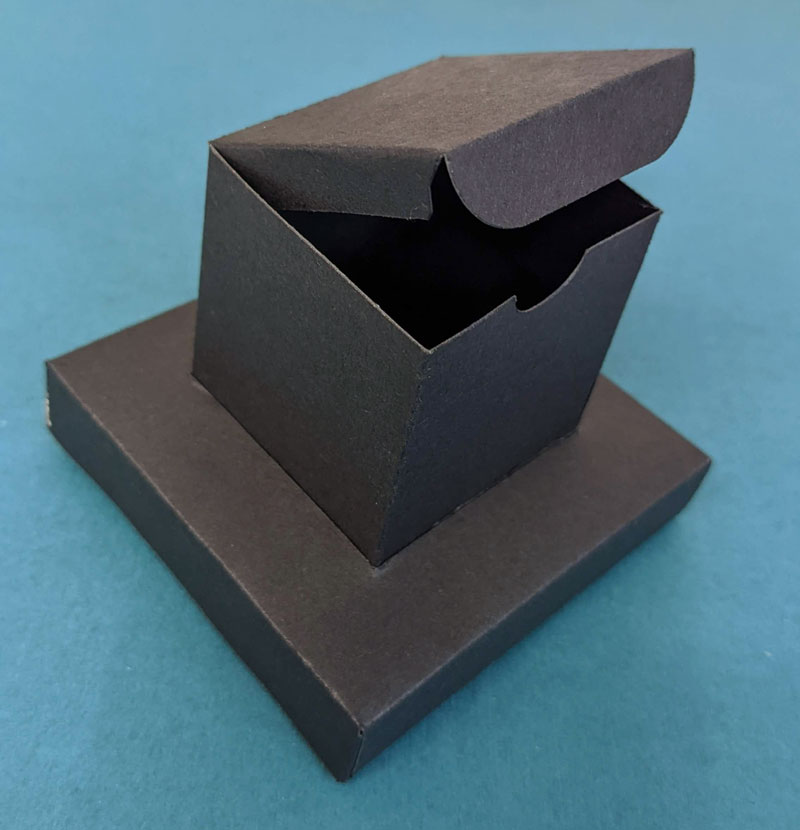
It closes easily. The notch is a thumbhole to make it easier to open. You can glue the box shut if you want to use it as part of a centerpiece or decoration. You can also skip cutting out the thumbhole if you’re hand cutting but it still works with it.
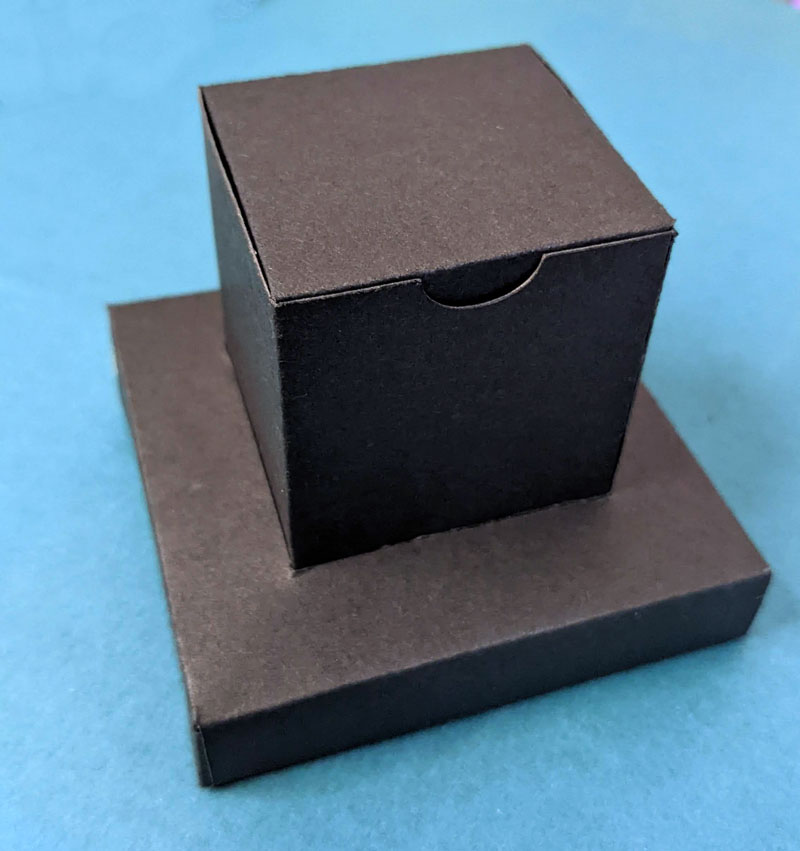
I hope you loved making this tefillin box template! What will you be using it for? Comment below!

there are so many ads, that it’s hard to follow the directions, etc. Also, it seems one has to request an email, to get the template, which I have already done, twice. Couldn’t you make a direct link and a PRINT option for the directions?
Hi,
This is ad-supported, which is how I can take the time to make it free. You can explore my etsy shop (momsandcrafters.etsy.com) for ad-free printables 😉 If you put in your email it should have arrived – email me at [email protected] for the template if you still don’t see it. It also may have landed in your spam folder so you can check there. I do sometimes do that for regular crafts, however, I’ve found that people confuse that with the template when it’s a craft with a template. I can try and get it added but it might take a couple of weeks.
@Lisa, I was having the same problem [not receiving the response email with the files], but after doing some research I have found that several email providers automatically block emails that have .zip file attachments [this happened to me with my aol and at&t email accounts]. When I have the emailsent to my gmail account everything worked, and the zip file came through. You might try seeing if this works for you.
I was looking for something like this for my son’s bar mitzvah. I have no idea why this idea came to me for a centerpiece. When googling I came across this post. I love your site and must have seen it a while back but wasn’t ready for it yet. I was just wondering if you have any suggestions on how to scale this up to make it bigger if I am doing it by hand.
I believe most printers allow you to print a larger size and just do it on multiple pages? Another idea which will require a bit more planning is to use mine as the framework to create your own template. Start with the largest size and make it the largest you can on a sheet of paper – and then resize each side accordingly.