Apple Honey Dish – DIY Pinch Pot
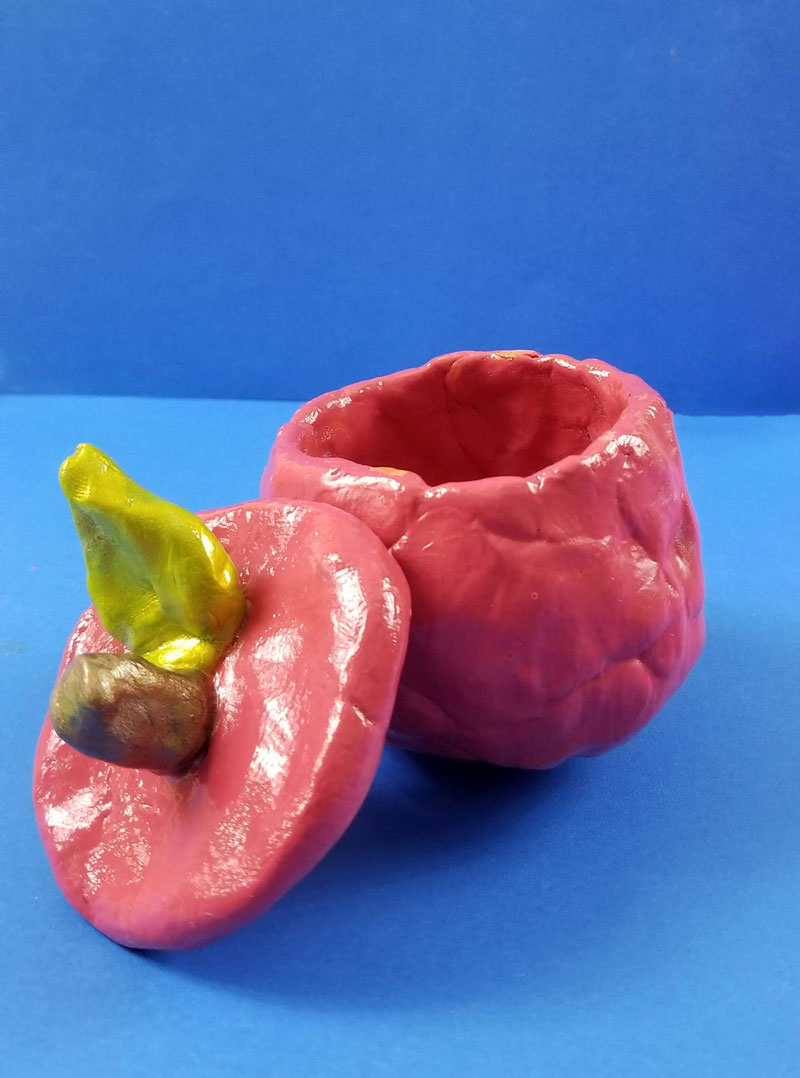
This apple honey dish is a fun and easy craft for bigger kids (and their ambitious moms!) They are technically pinch pots – air dry clay pots made by pinching and prodding them into shape. Basically, what this means is that you don’t need advanced pottery skills and anyone can make it. Disclosure: this post contains commissioned links.
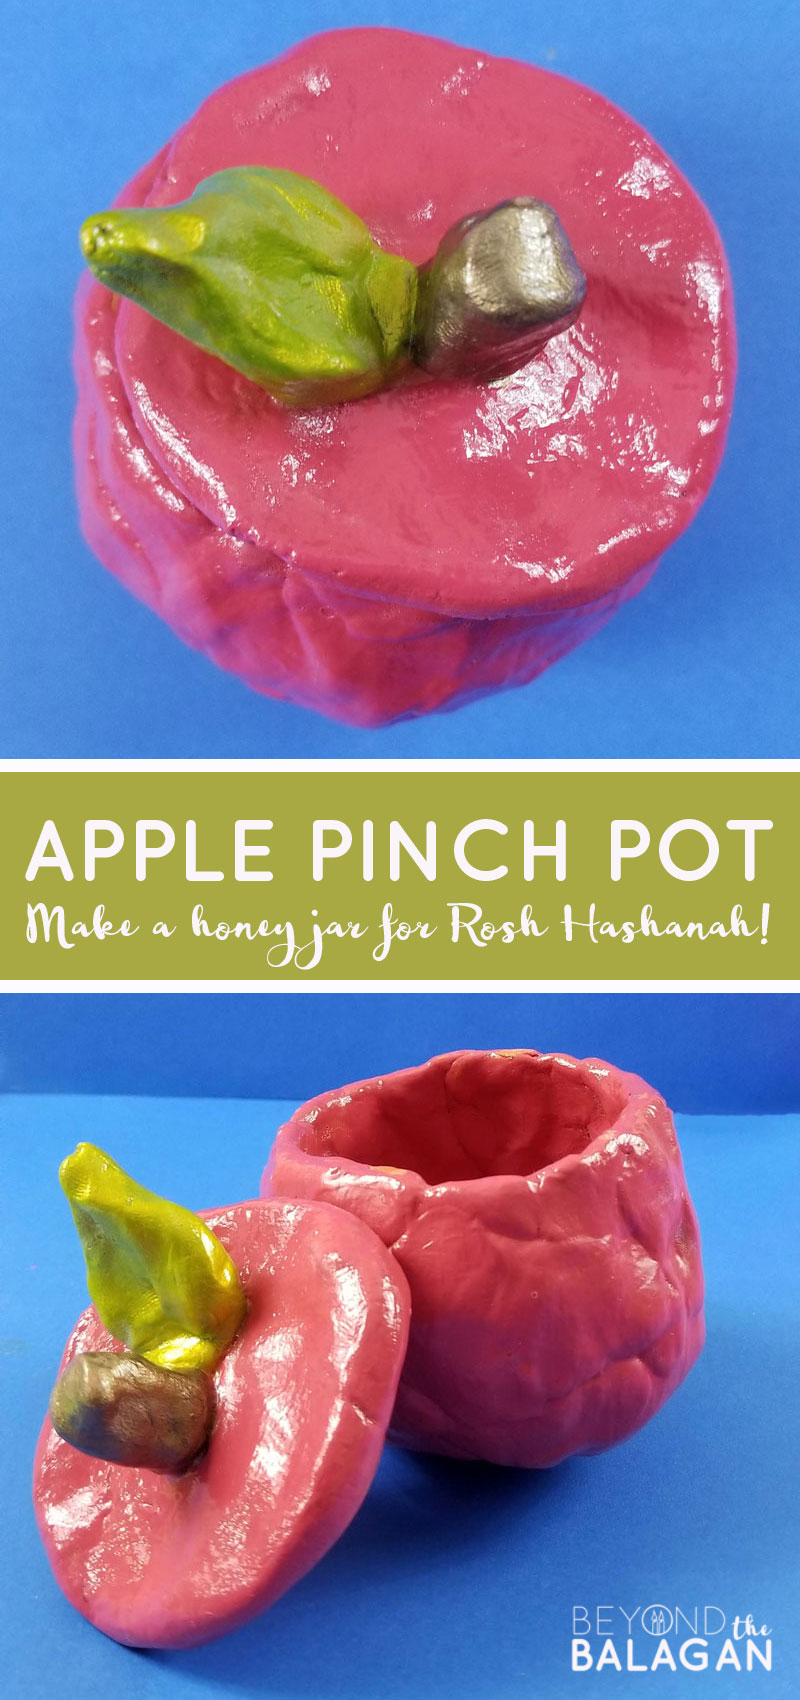
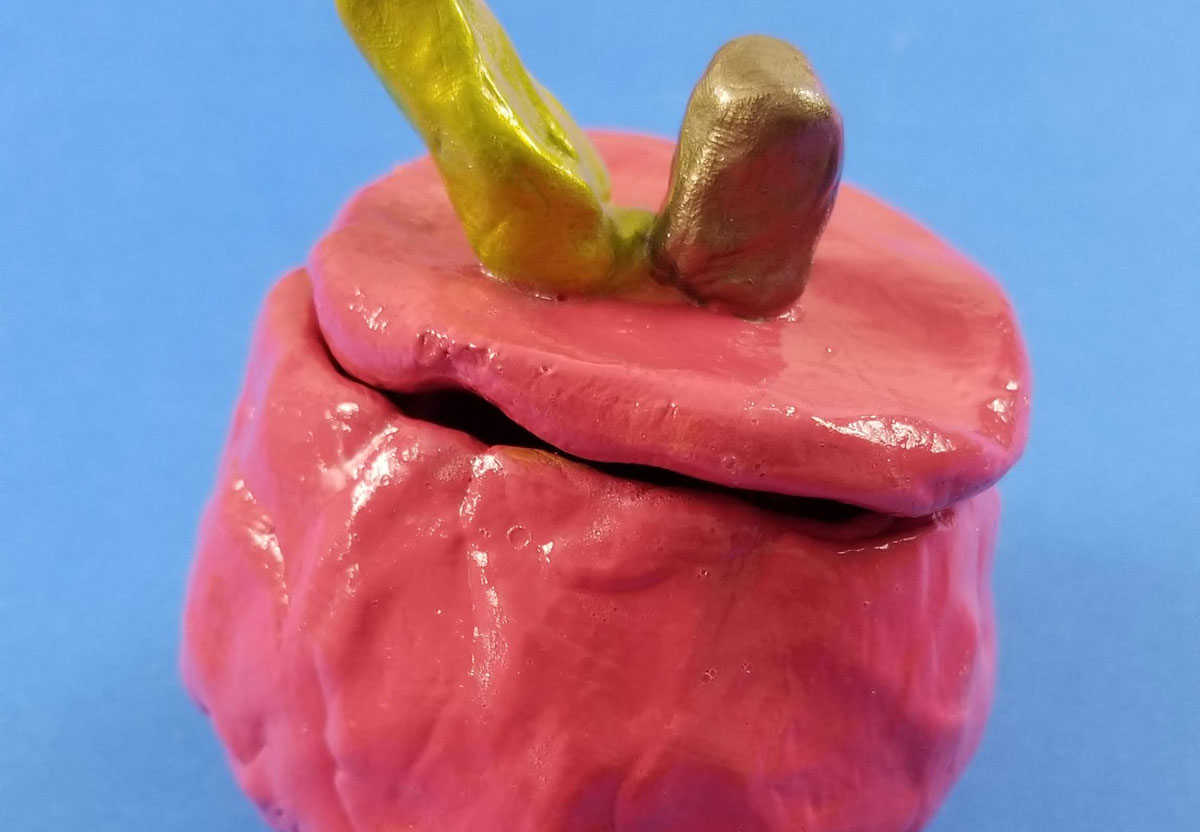
As you can see in my photos, my apple honey dish did NOT come out perfect – and that’s okay. If you want a food focused apples and honey idea, check out my apple honey dish made from actual apples.
If I would have sat over it for an hour, smoothing it out, cutting it to shape, it would have maybe looked much better but I don’t have that kind of patience, and my goal is to design a craft that anyone can easily repeat. So the craft that you see here is a simple, doable project that almost anyone can create, even without advanced crafting skills.
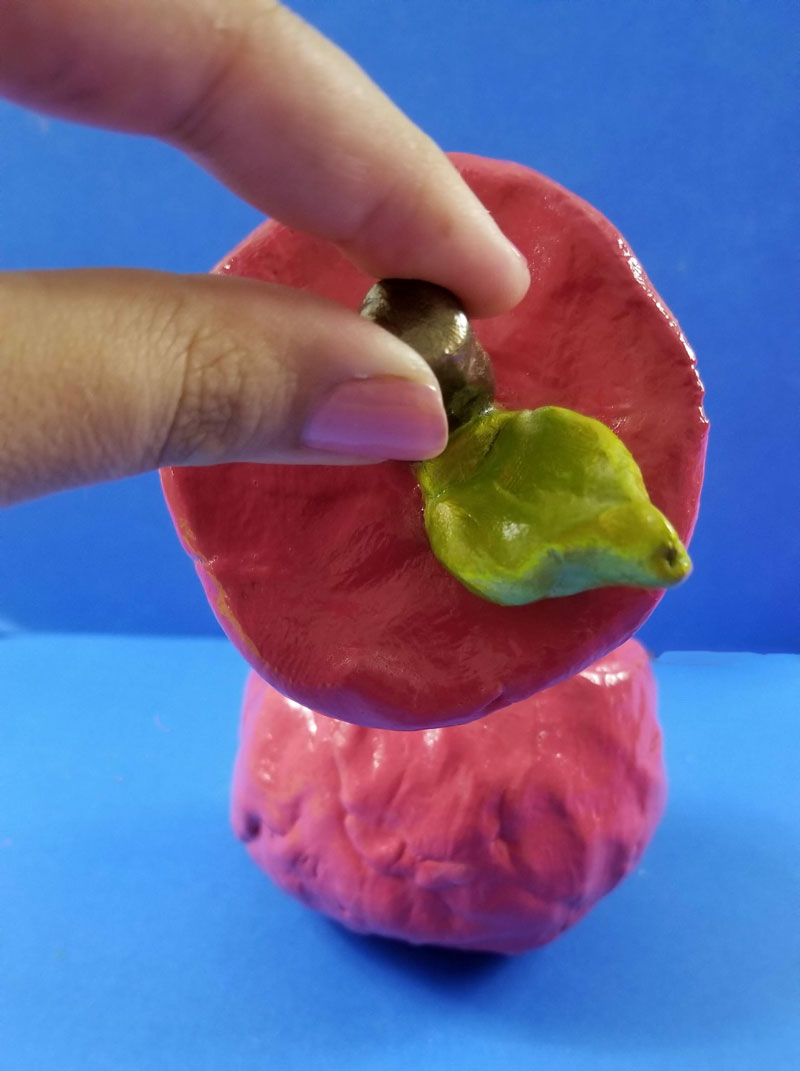
I used air dry clay in a terra cotta color. I don’t necessarily recommend using that color – white is really the best way to go. Because I was planning on painting this I just decided to use up the terra cotta stuff I had purchased by mistake.
I painted it with acrylic paints – a berry red for the main pot and a brushed metallic bronze for the stem, as well as a color shift metallic green for the leaf. I am a Plaid ambassador for my main blog Moms & Crafters and the above paints were provided to me free of charge in case I’ll craft with them and share.
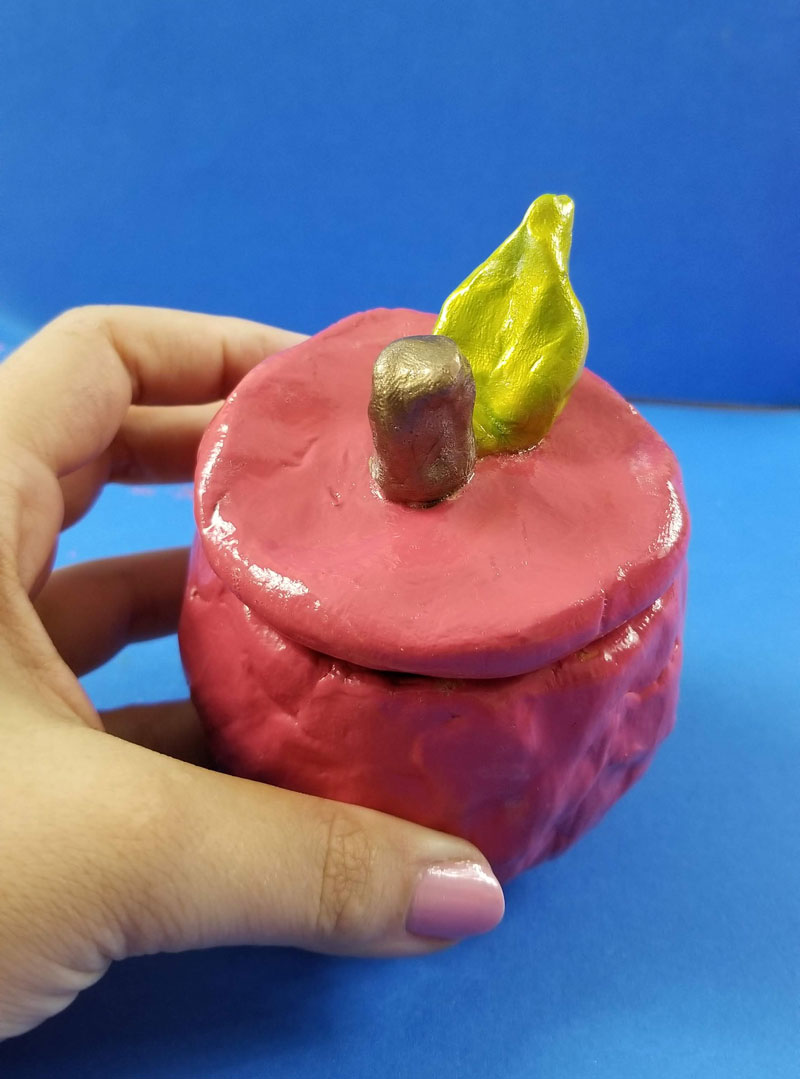
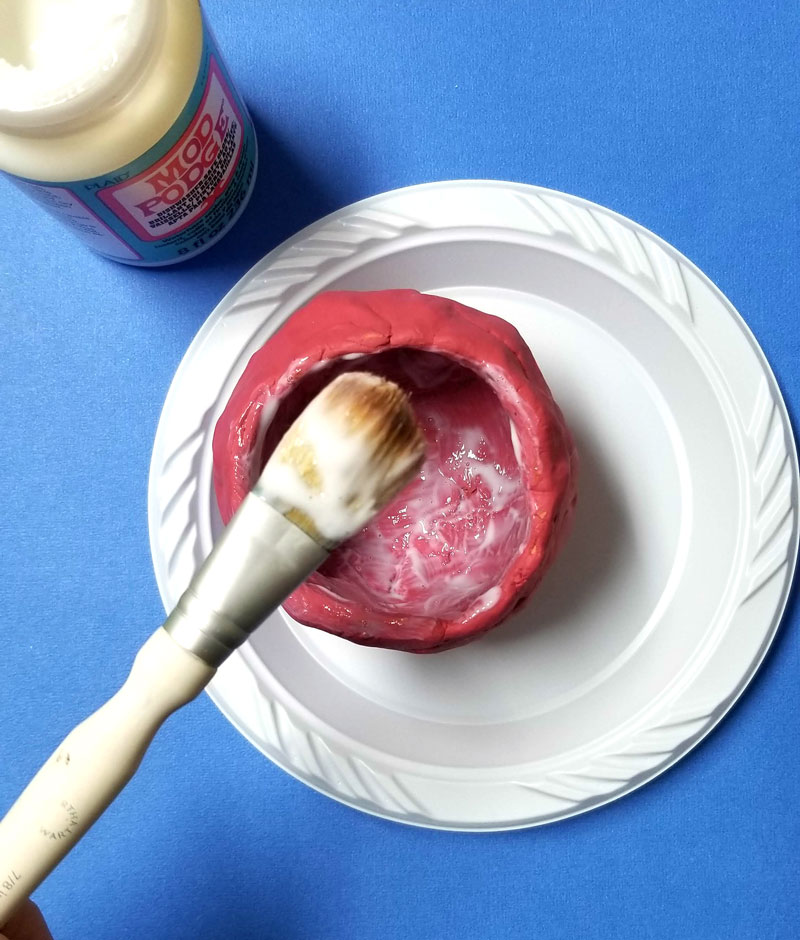
I also decided to give Dishwasher Safe Mod Podge a go on this one. The thing is, it takes 28 days to cure. Yep, you heard right. It takes 28 freaking days to completely cure. If you don’t have that kind of time, use a quicker hardening clay sealer – it just won’t be dishwasher safe. Make sure to use something water resistant so that it can wipe clean.
Note: if you miss a single spot with the dishwasher safe mod podge, your project will melt when you put it in the dishwasher. I still recommend it for hand washing, but do be warned that you’ll want to test it and make sure you catch ever single spot before putting it in your dishwasher.
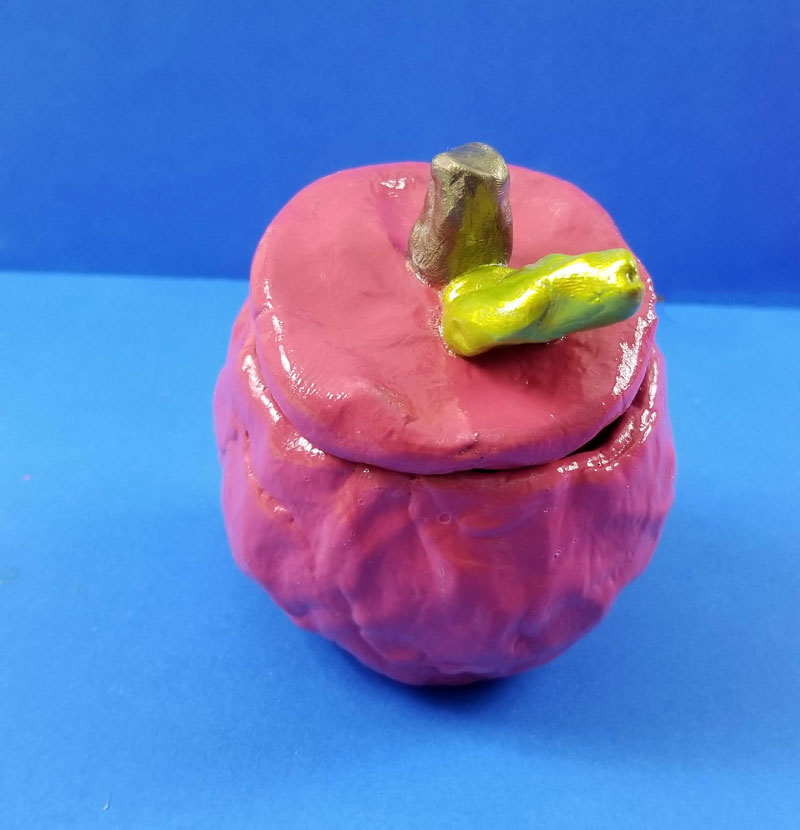
As for actually using it:
- The Mod Podge is not FDA approved food grade, however it is non-toxic. So I wouldn’t recommend putting honey directly into the dish. I plan to cut a plastic cup down to size and filling that (I designed it to fit around a plastic cup), but the fact that it’s dishwasher safe and/or wipeable means you can drip away…
- I don’t know about the paints I used. It’s probably NOT food grade either, but it is likely non-toxic. Definitely look for non-toxic paints with your red paint.
- The same applies for the clay – it’s labeled nontoxic but it’s unlikely to be food grade either.
- You can design it to fit anything – a small shot glass, a glass dish. It’s really mean to be purely decorative.
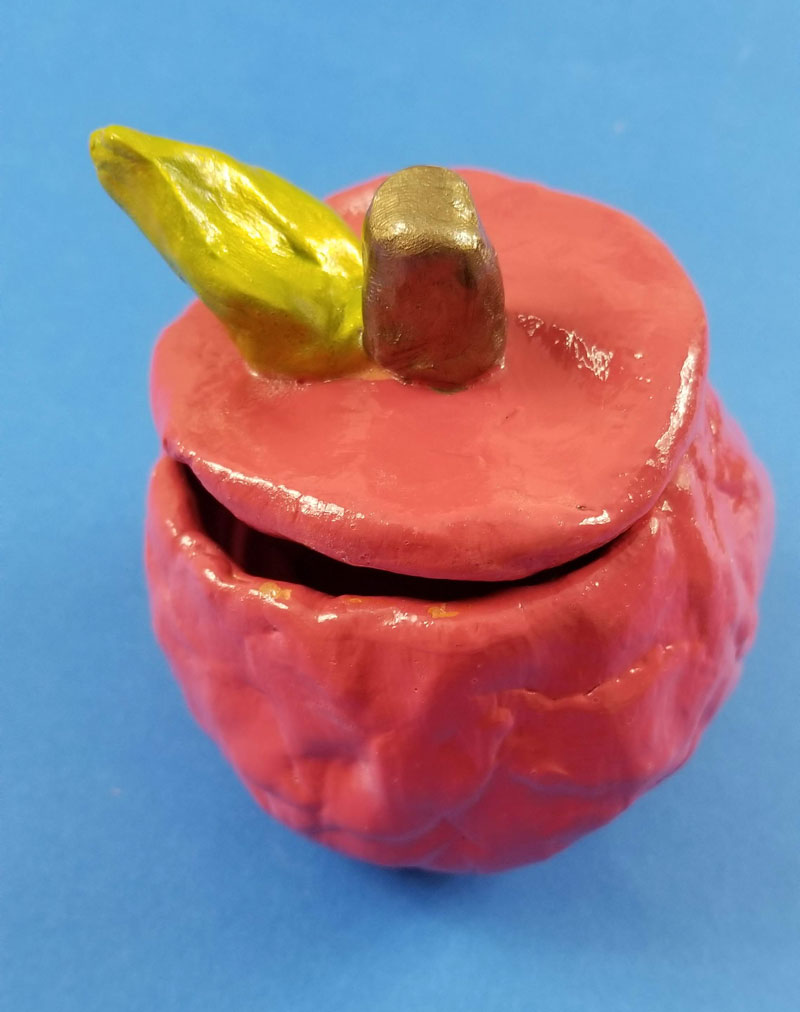
With the dry time needed, this project will need a few days to complete because of the cure and dry time of the various components. Each step doesn’t take very long, but you’ll need to start this a week or so before it needs to be completed.
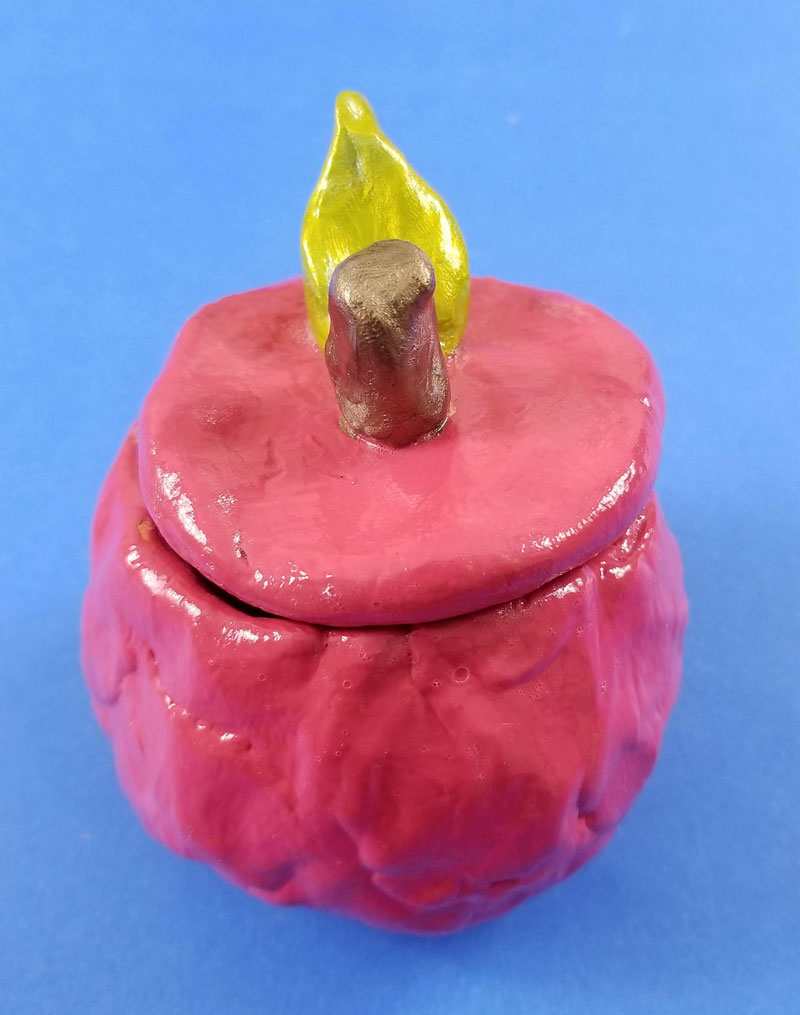
What you need to make an apple honey dish:
- Air dry clay
- A cup or bowl of water
- Acrylic paint
- Sealer, such as Dishwasher Safe Mod Podge (outdoor Mod Podge will be water resistant but not dishwasher safe, and is a good choice if you need a faster cure time, or don’t want a high gloss finish)
- Soft bristle paint brush
- Something to protect your surface
- Optional: clay shaping and carving tools/knife
[show_boutique_widget id=”1081466″]
How to make an apple honey dish:
Grab a ball of clay and knead it to soften it to make it easier to work with.
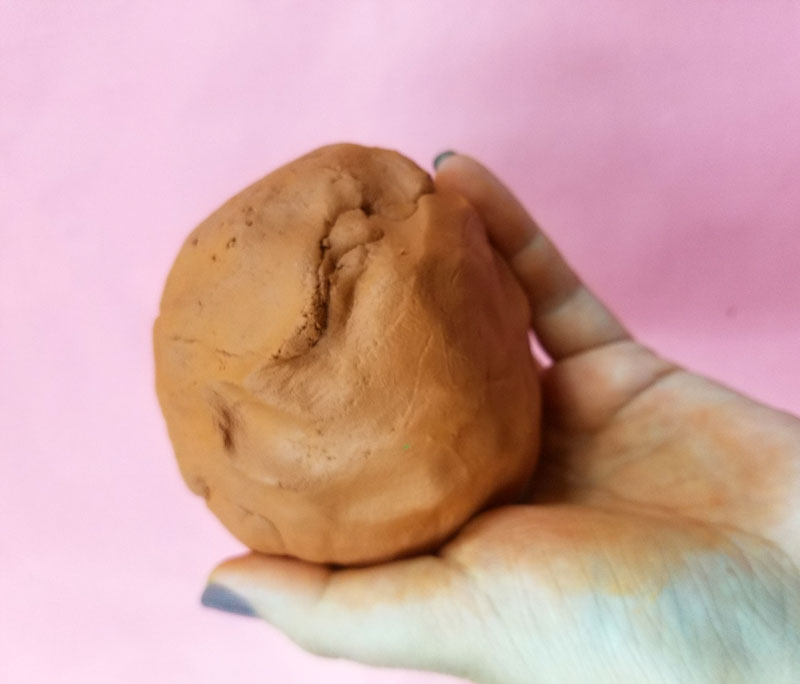
Pinch your clay into a roundish jar shape. Make sure it’ll fit around whatever you’ll be using for your honey. Make sure the bottom is flat so that it will sit properly on a surface. Expect minimal shrinkage.
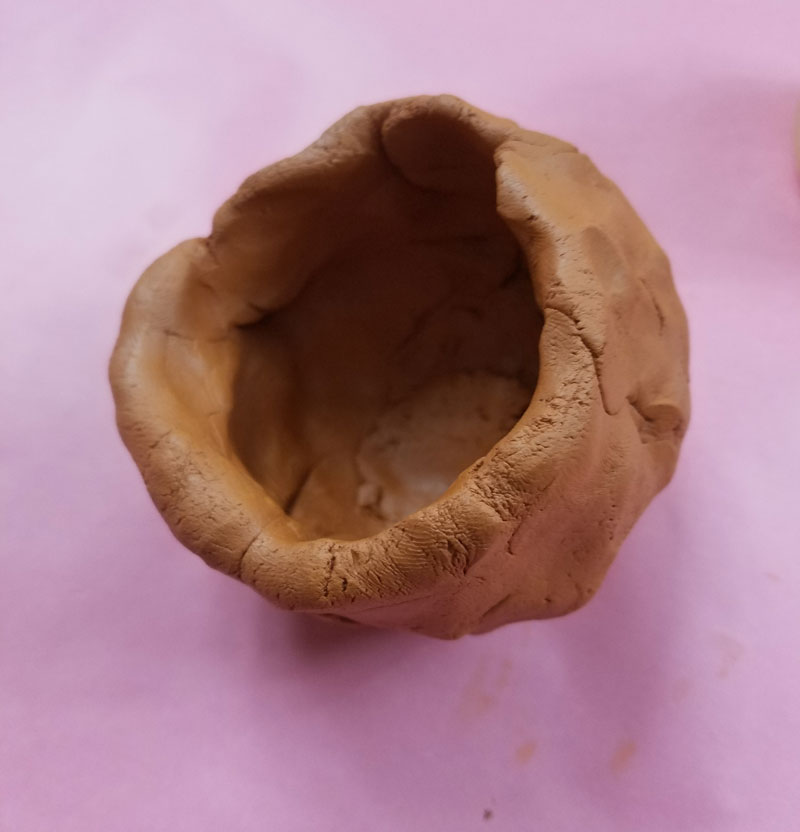
Dip your fingers into water and use wet hands to smooth your clay. Work with it as much as you’d like – there’s beauty in imperfection! You can cut the top so that it’s totally flat or leave it as I did.
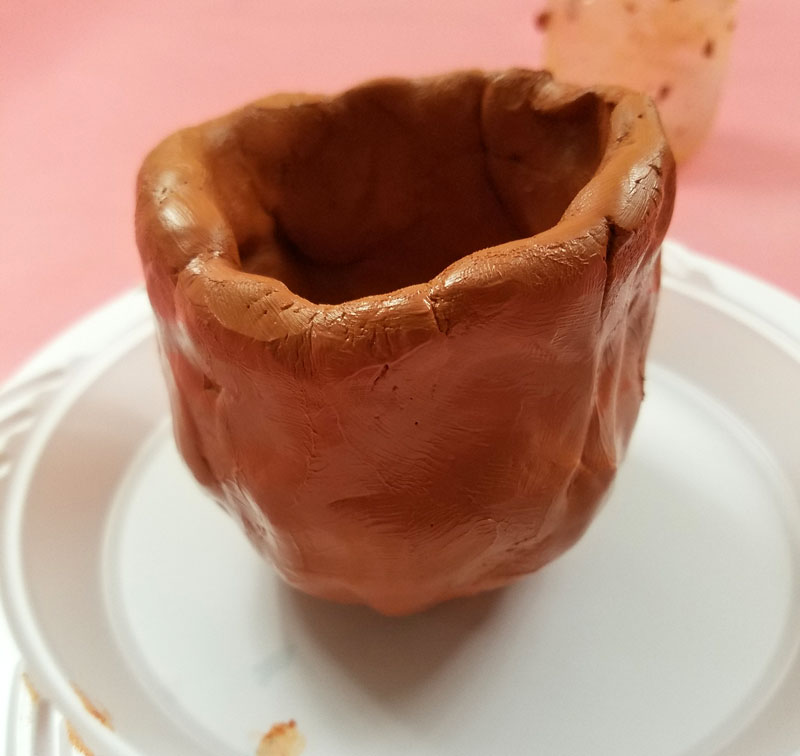
Make a flat circle of clay to fit on top of your jar.
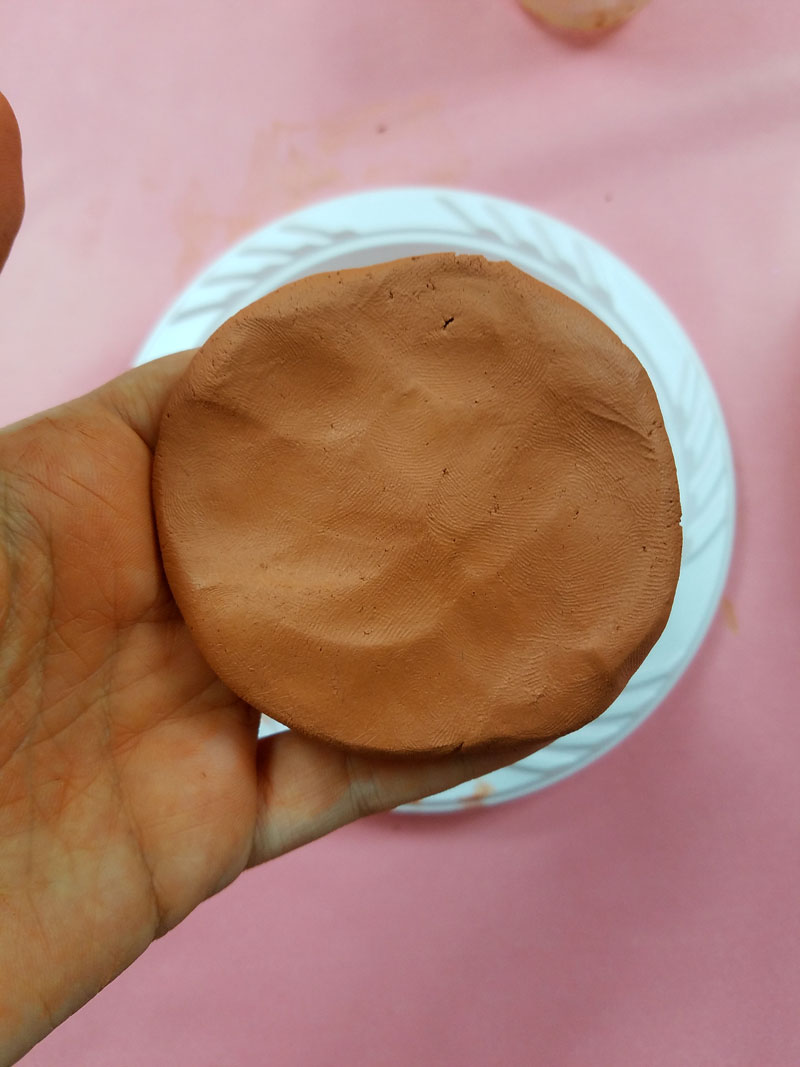
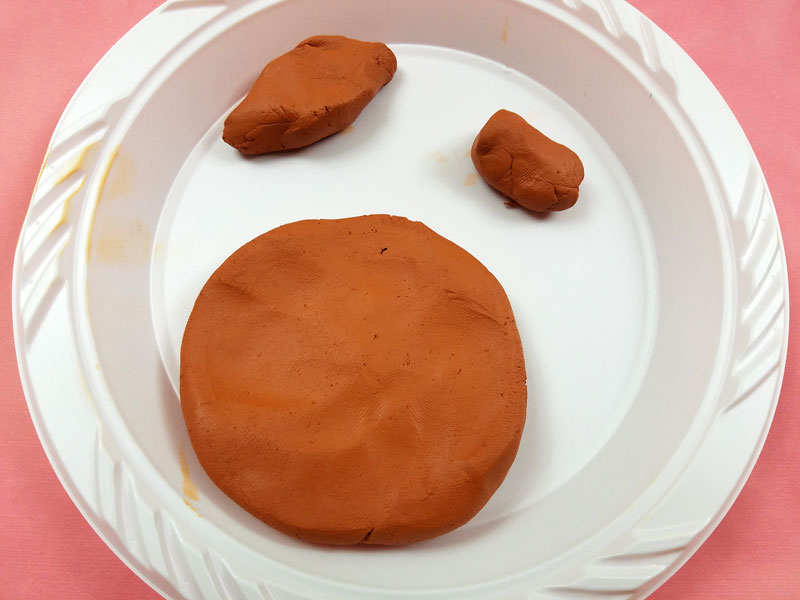
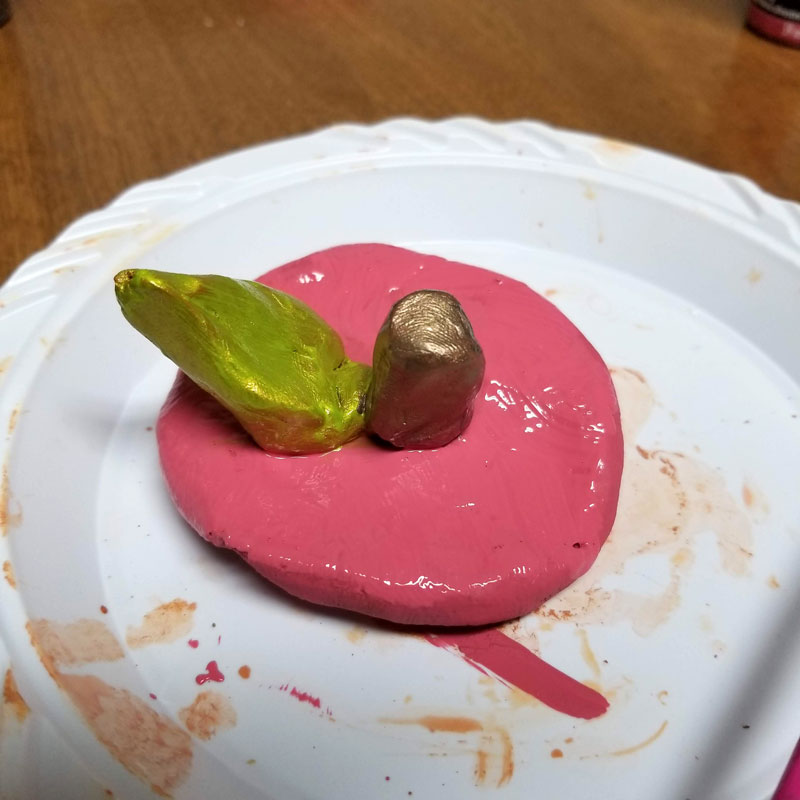
Use two separate pieces of clay to make a cylinder stem shape that’s thick enough to serve as a handle for your lid. Make a leaf shape too.
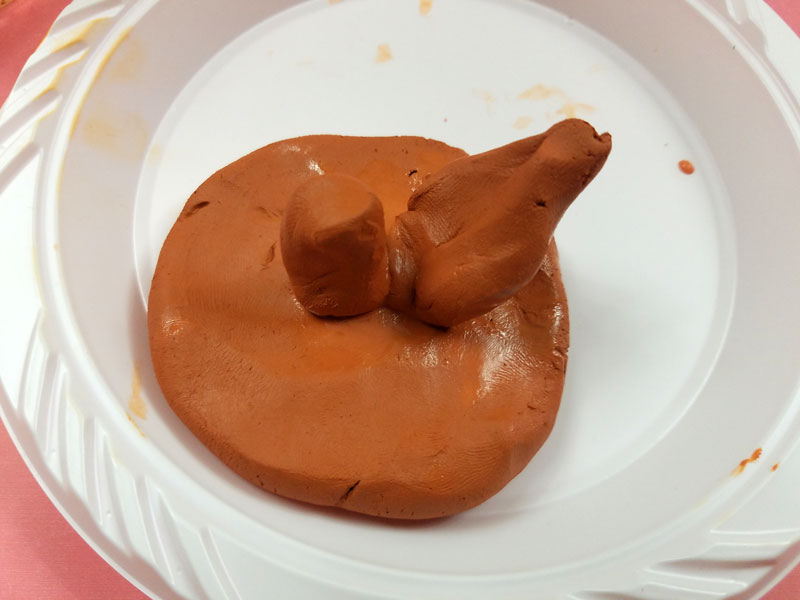
Use water to help you attach these shapes to your lid. Allow your apple honey dish to cure completely according to package instructions before proceeding.
When it’s completely cured, paint your jar. Do this one side at a time – allow it to dry before flipping and painting the other side. Paint a couple of layers if you need it, allowing it to cure completely between layers.
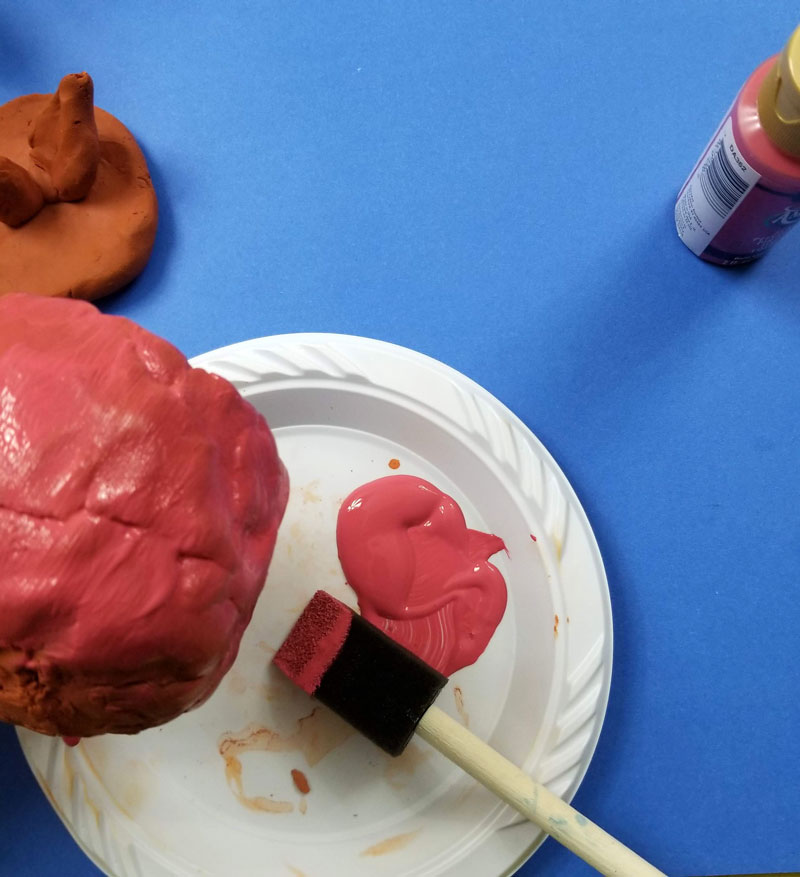
Paint your stem in a brown or bronze color and paint your leaf green.
When all layers of paint have dried completely, paint on your first layer of Mod Podge. Allow it to dry to the touch between layers and then paint another coat. Repeat with a third coat. (it does not need to cure completely for a fresh layer to be added).
When your apple honey jar is completely cured, it’s ready to use!
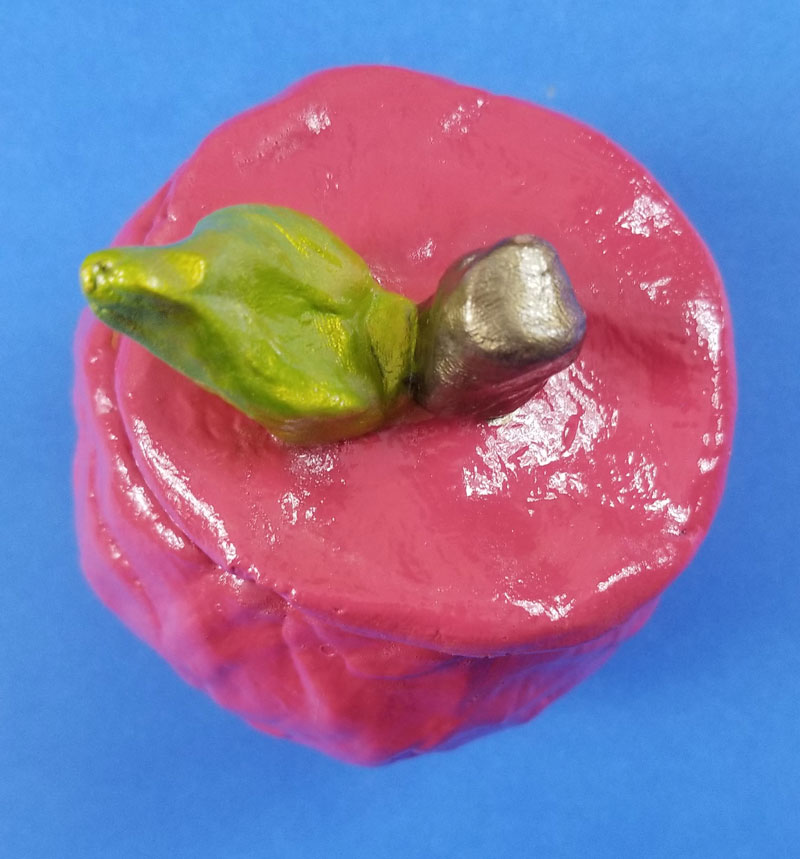
What a fun addition to the family’s Rosh Hashanah table!
