Black Glue Kotel Art
Time for my third and final Kotel art project – great for kids and grown-ups – in the series! This one uses DIY black glue for a high contrast, cool effect. You can find the Kotel Glue resist art here or make the STEAM Kotel salt painting here. This post contains affiliate links.
A month ago, I decided to share a Kotel art project. I created a template to go with it, got the supplies, and ended up (whoops!) making three different versions.
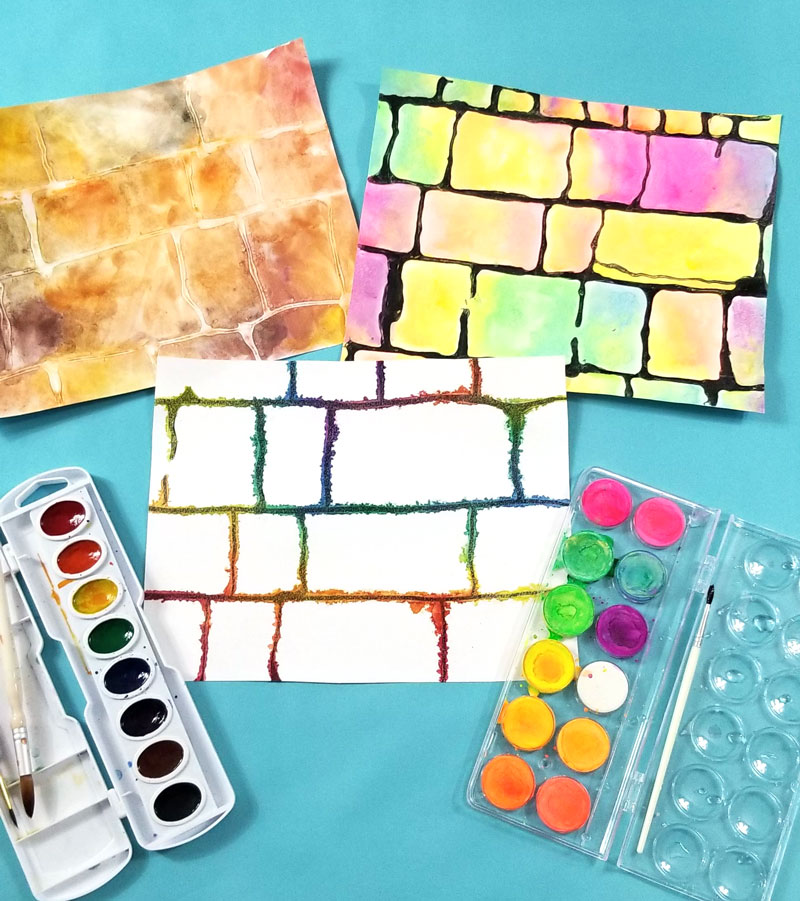
Originally, I had made it with Tish’ah B’av in mind, but since I created three different styles, I decided to share one with you closer to Sukkot. And while we are still a long way out, I probably won’t have time to share with you the more involved Rosh Hashanah crafts until the kids start school – and same goes for the really elaborate Sukkah decoration I made last year. And since the timeline between Rosh Hashanah and Sukkot is so tight, I don’t want to miss it! So I’m sharing this Kotel art way in advance. Here’s to the planners among us!
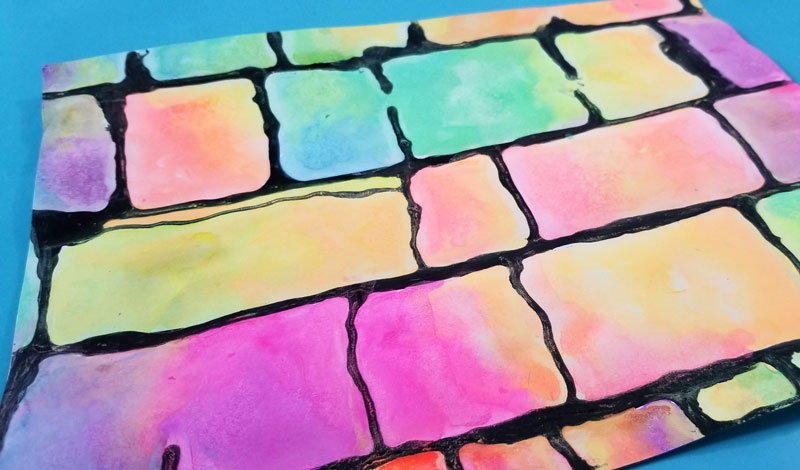
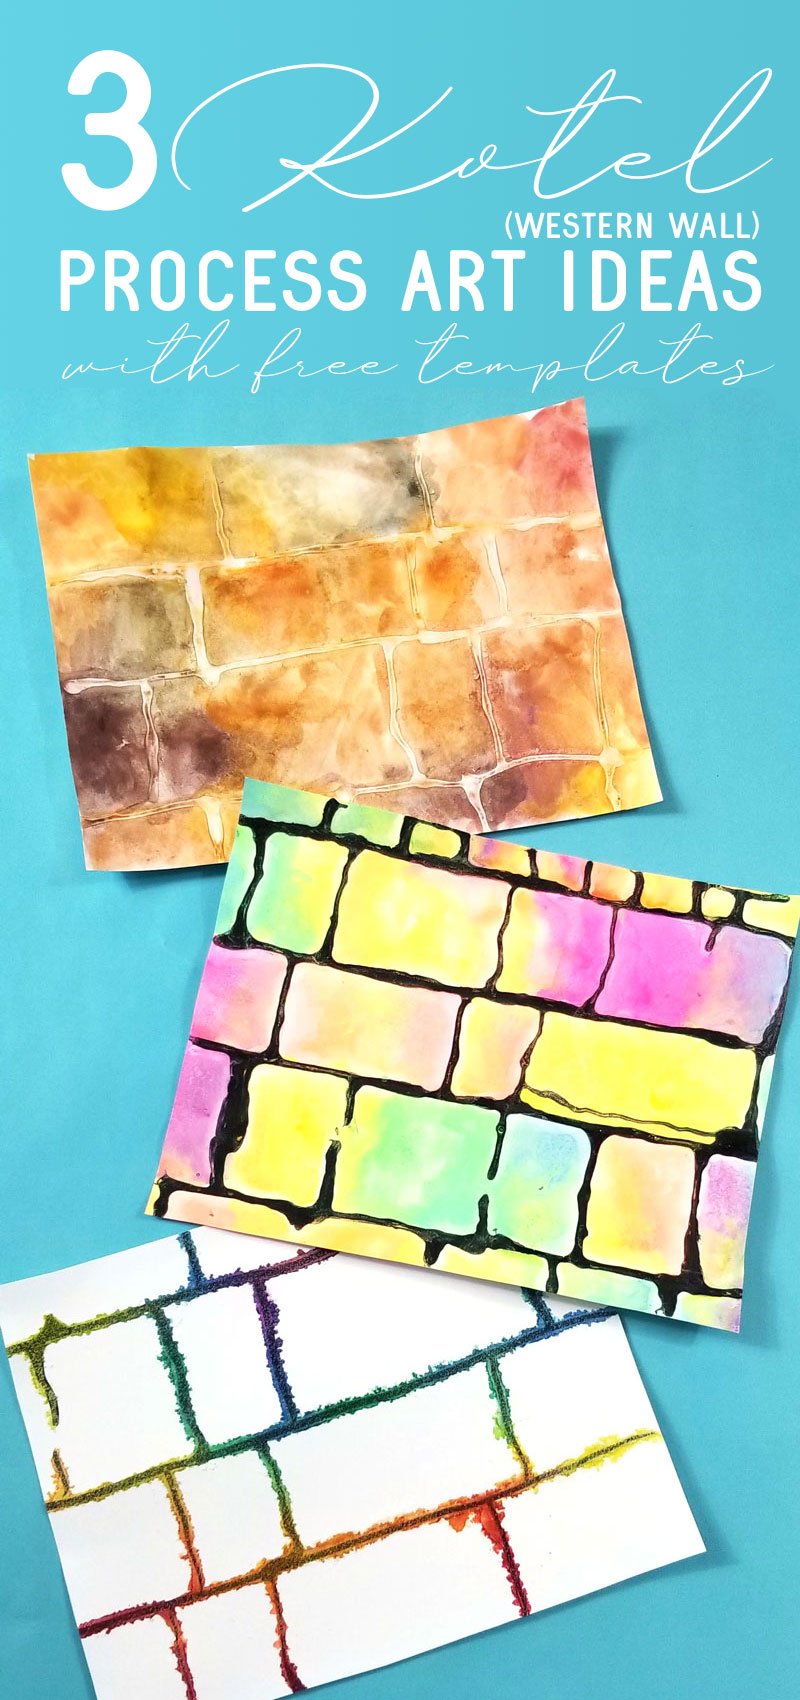
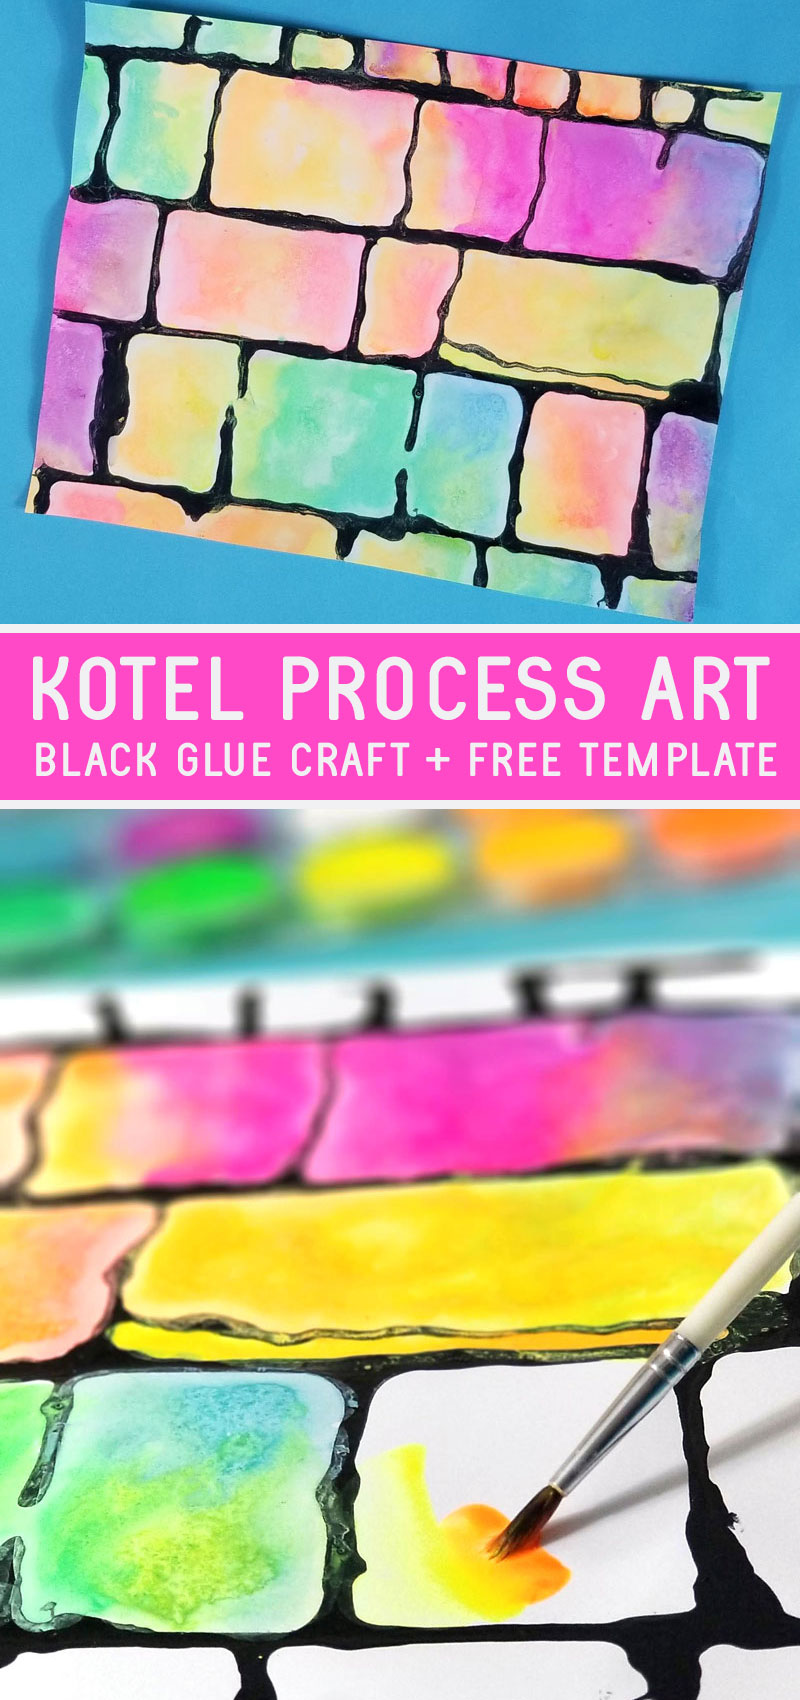
This black glue Kotel art was actually the first on my agenda, and it’s my favorite. The high contrast between the black outline and the neon paints is fantastic.
The use of glue leaves a beautiful texture and creates a sort-of resist.
If you want to hang this in your Sukkah, you WILL want to waterproof it – I have a feeling watercolors are gonna run like crazy if you try hanging it as-is. And I’m not sure how the glue’s going to respond, but I suspect it’ll be a sorry mess.
So definitely frame it (if you trust the waterproofing of the frame) or laminate it, or laminate and then frame.
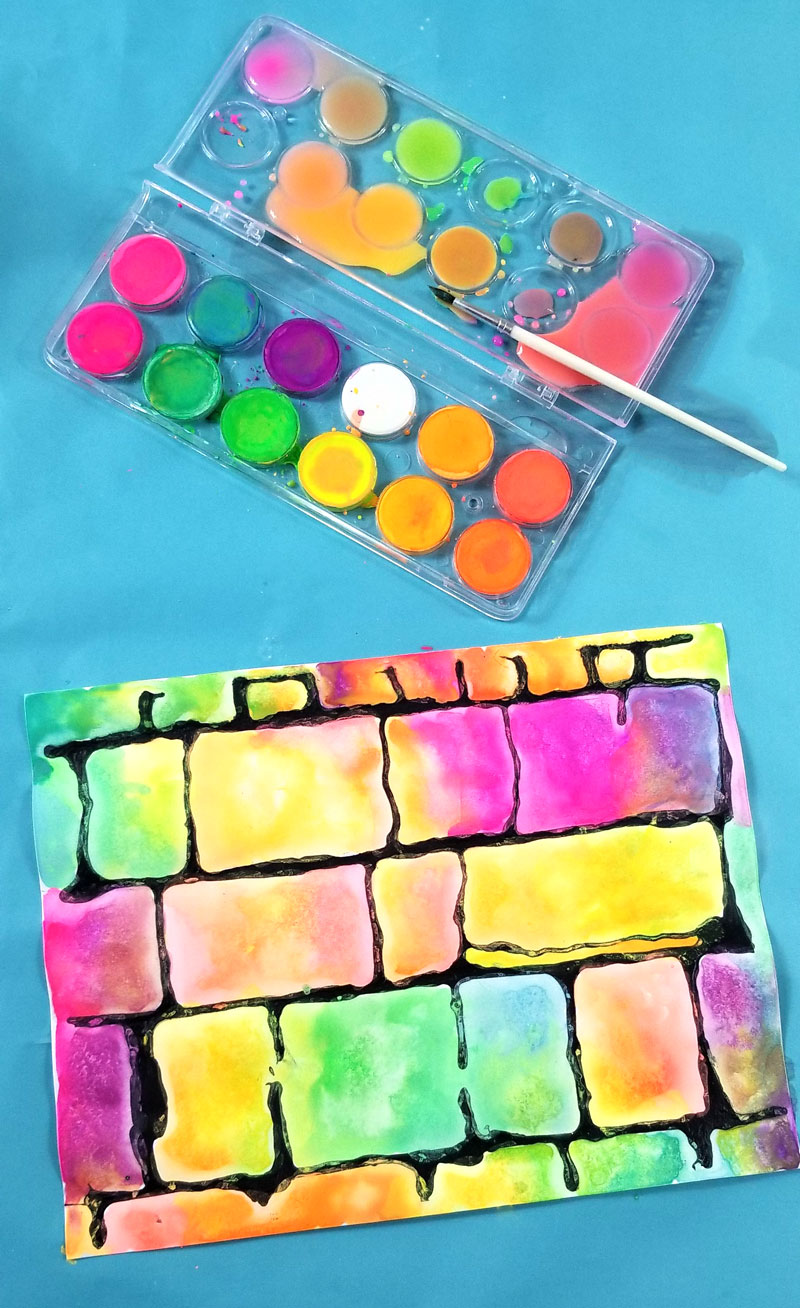
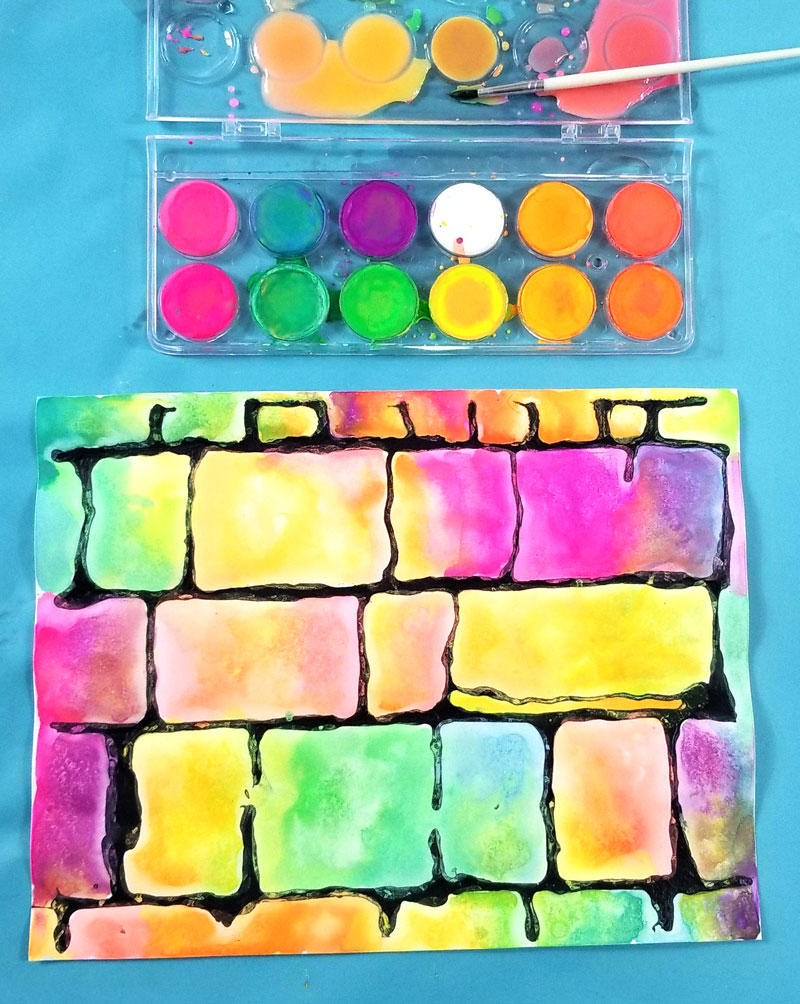
The cool thing about this Kotel art project is that any family member can do it, and each one can come out unique. You can see that I chose to use neons in totally unrealistic colors. You can go for the tans and beiges of the Kotel stones, or go all imaginative like me.
For younger kids, you may want to do the outlining in advance. For kids in the middle, you may want to mix up the glue in easier, smaller squeeze bottles. Just make sure to smock up – it’s not washable!
Download the Kotel art template:
The template is the same as on the other two Kotel art projects, so if you already downloaded it, you’re covered!
Just to recap: I took some real-life Kotel photos from our trip to Israel last year and traced the main lines and stones in Sketchbook on my Surface Pro. I tried to give it a bit of a natural touch that you can hopefully retain in your project. I formatted it a few different ways so you can choose the layout of your Kotel art.
What you need to make black glue Kotel art:
- School glue
- Black acrylic paint
- The template printed on card stock
- Watercolor paints – I used these neons
- A soft watercolor brush for best results – or use one that comes with your palette
[show_boutique_widget id=”979962″]
How to make black glue Kotel art:
1. To get the right proportion, I emptied 1/4 of my glue (actually, I made my other Kotel art projects first and was left with a 3/4 full bottle….) Top off the bottle with black acrylic paint – don’t overfill! Mix it together with a stick or skewer.
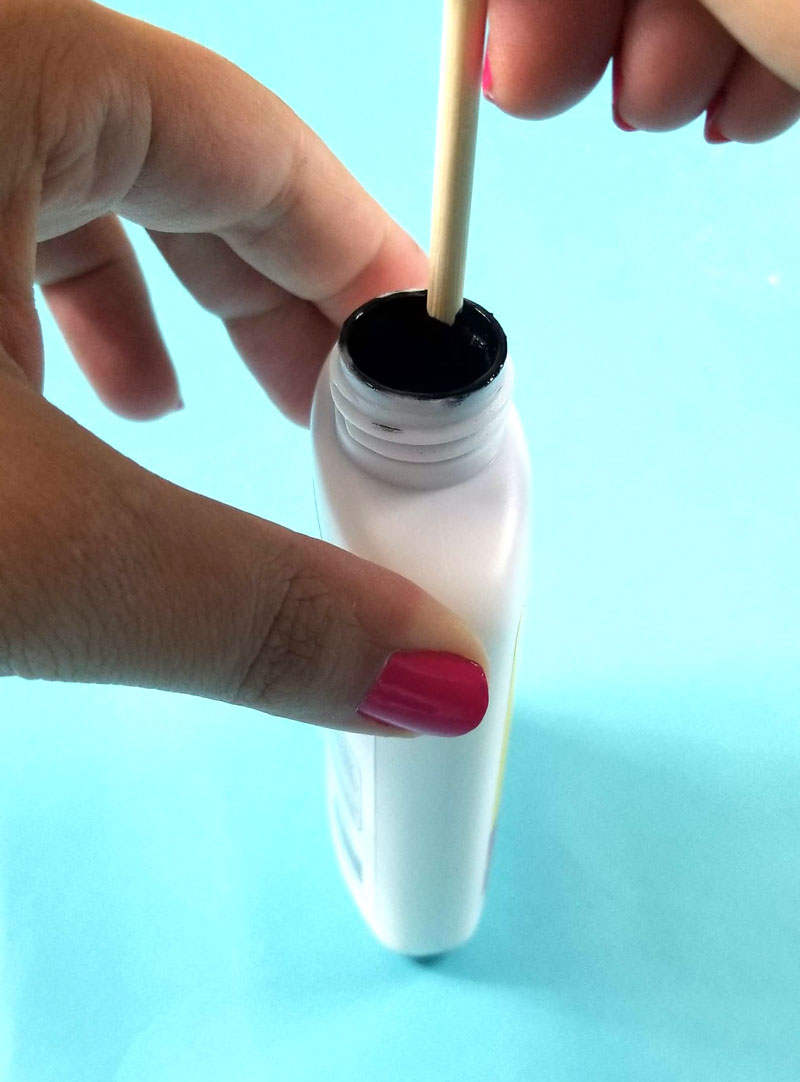
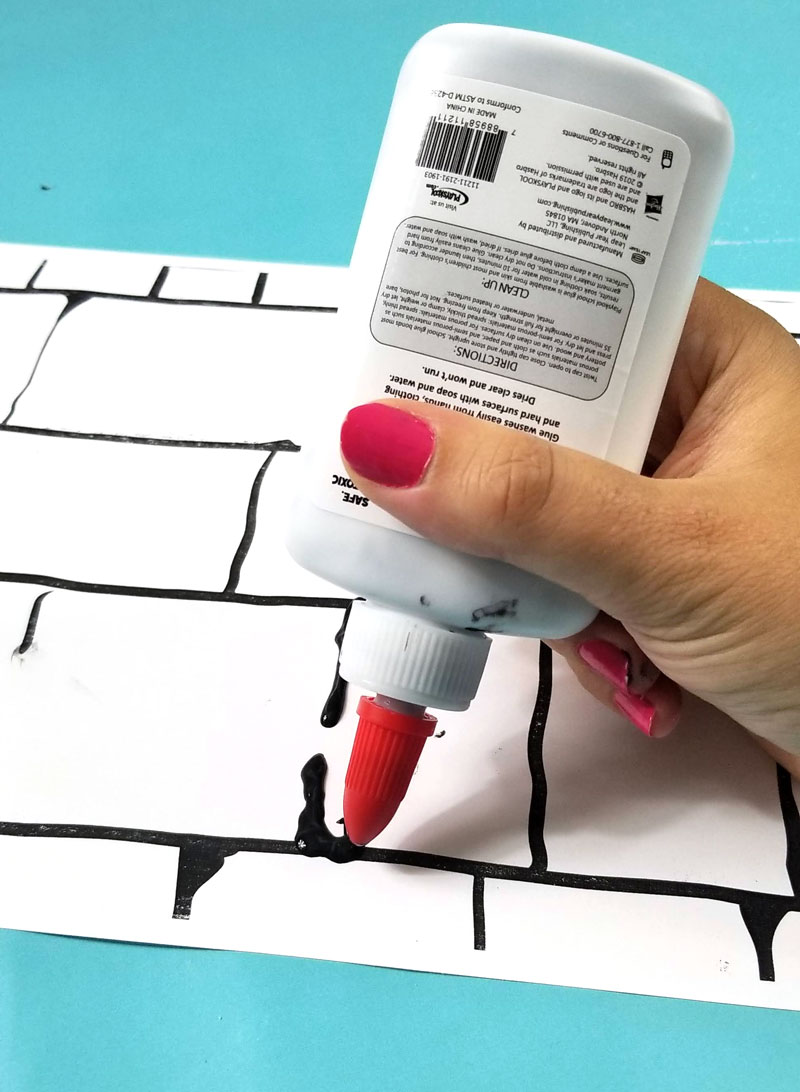
2. Outline your Kotel drawing with the black glue and let it dry completely. For this project, there is no reason not to do it directly on the template you printed, as the black glue will conceal the uglier printed outline beneath it.
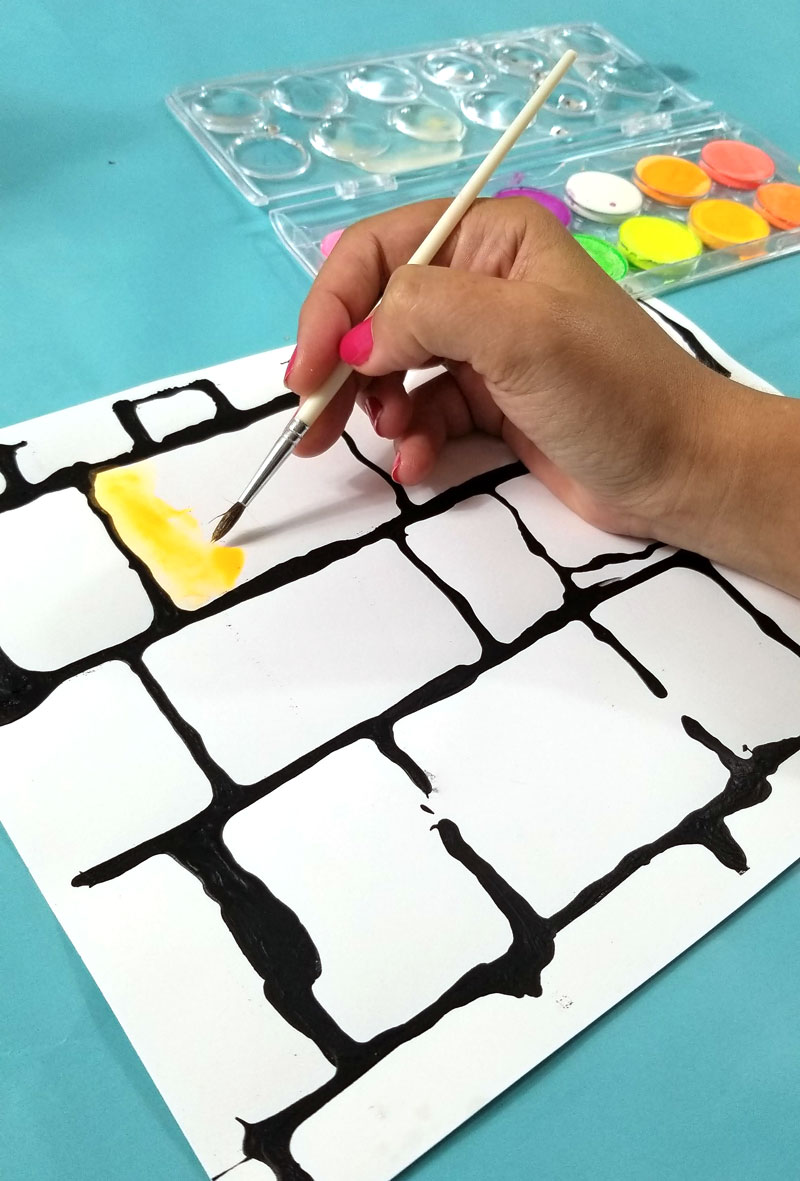
3. When it’s totally dry, start painting with your watercolors! Use generous water to let the colors really flow and blend.
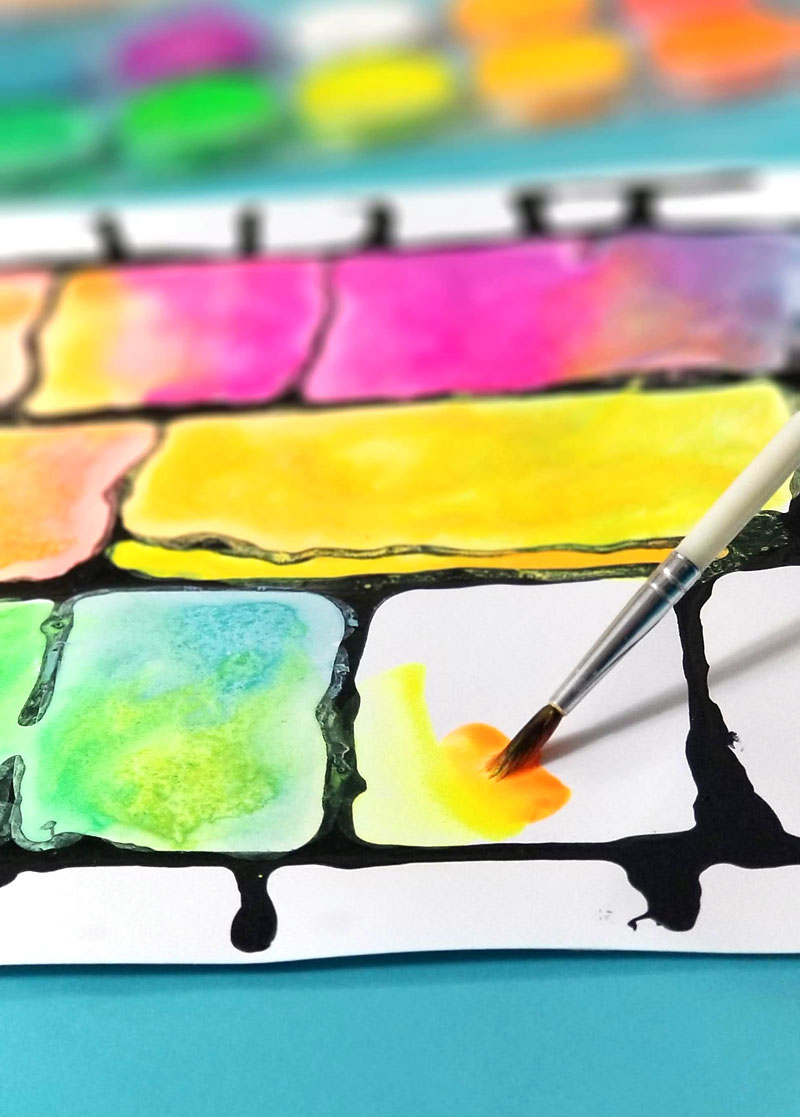
The watercolors can have a chalky effect that shows on the black. It’s really easy to remove it once it’s dry with a baby wipe or damp cloth.
If you’d like to, when you’re done, you can trim the edges so your design goes all the way to the end. You can also back it on construction paper or insert it into a mat.
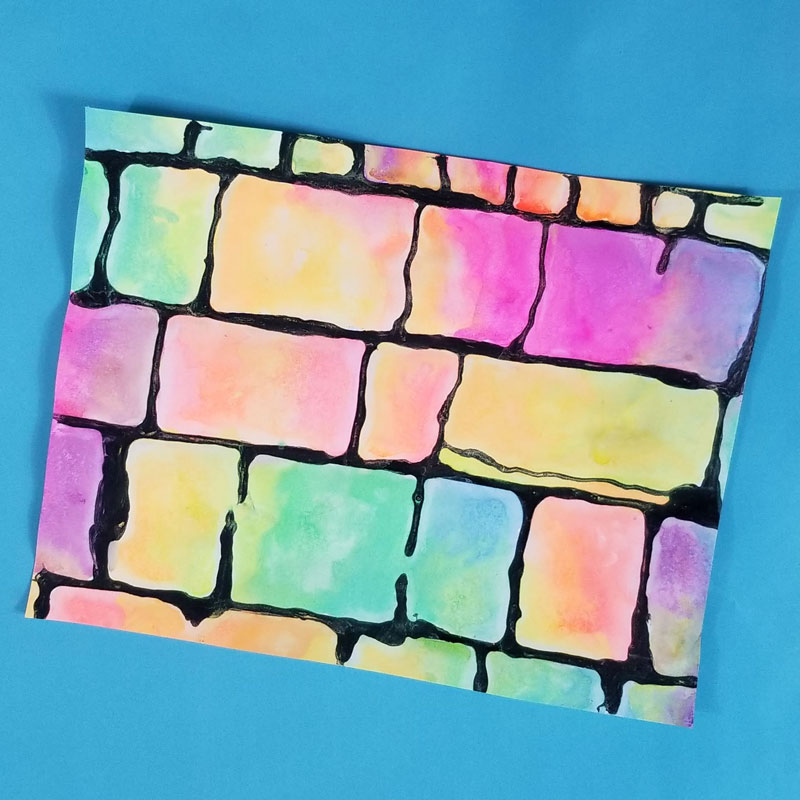
Your third Kotel art project is complete!
Want more Sukkah decorating ideas? Try this pomegranate art (great you can use that template with black glue as well!). Or, make an origami Rosh Hashanah craft that can be hung in a dry spot of your Sukkah too.
