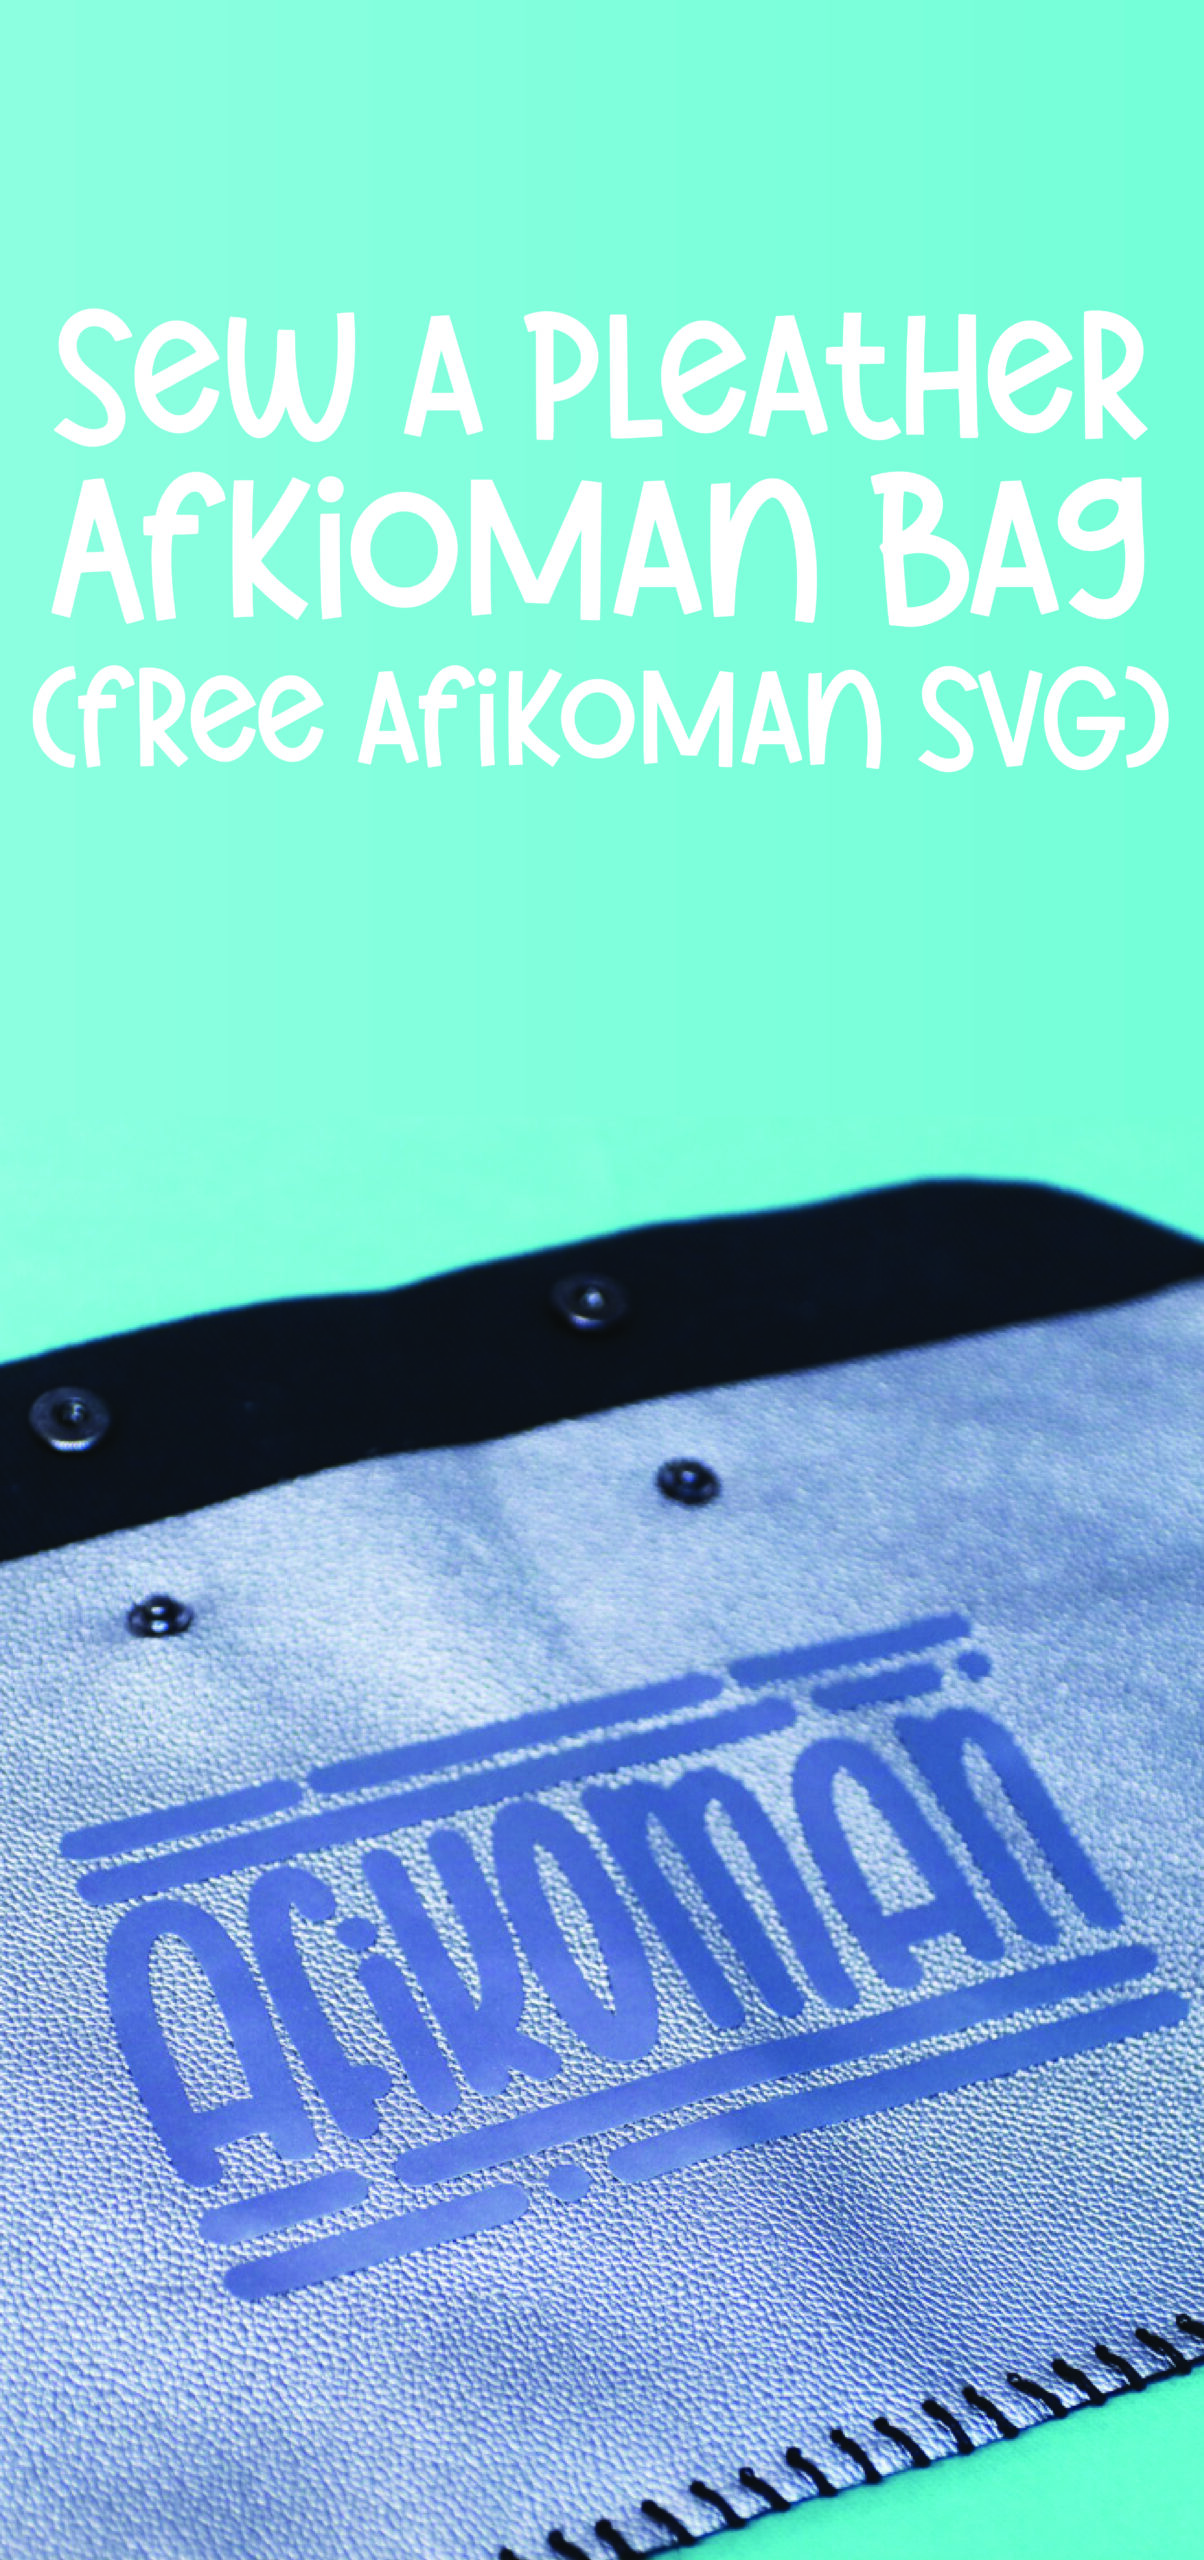
DIY Afikoman Bag from Faux Leather + FREE SVG
Craft a DIY Afikoman bag using a small sheet of faux leather! Includes a free Afikoman SVG. If you’re looking for a kids’ craft, check out this fun no-sew Afikoman bag too. This post contains affiliate links.
As a crafter and artist, I put my heart and soul into my Seder table, and I love to craft things to include. I’ve created seder bowls in the past, and this year I even made a gorgeous clay seder plate.
I started making this DIY Afikoman bag last year, but had to pause and then I ALMOST forgot to finish it up this year, but yes, I did remember in the end.
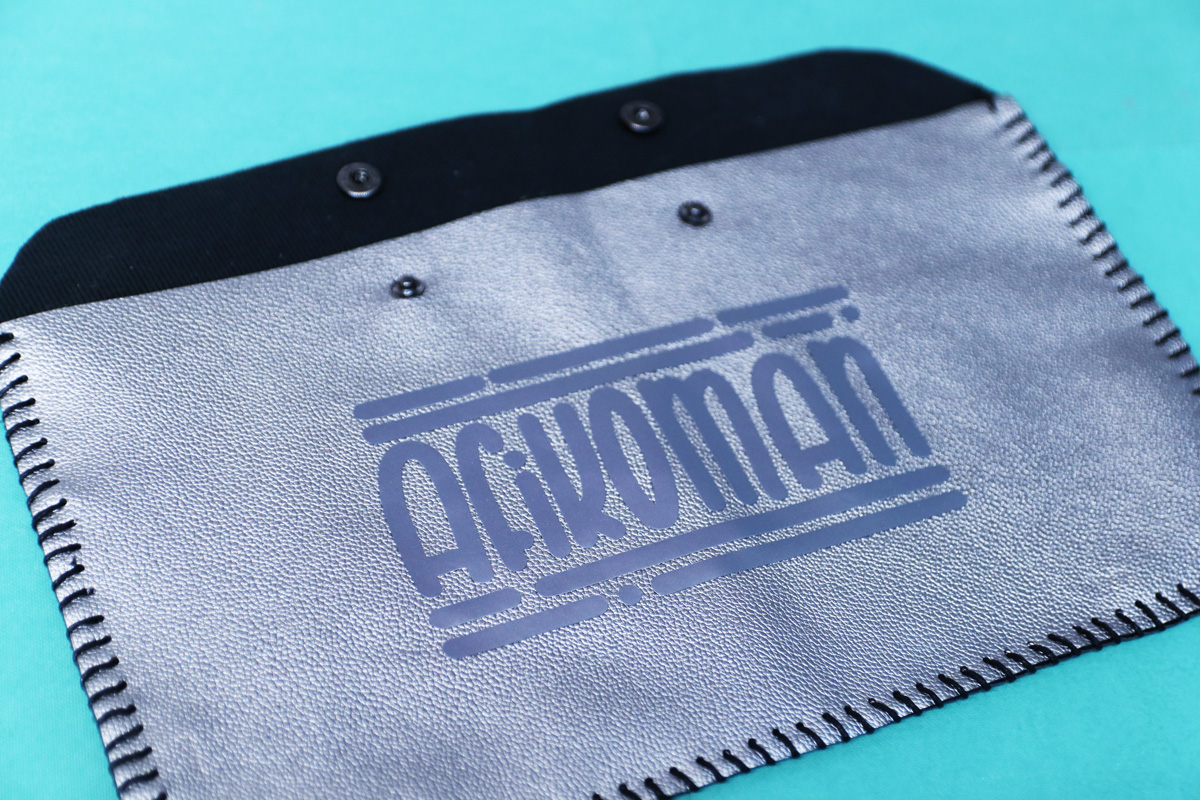
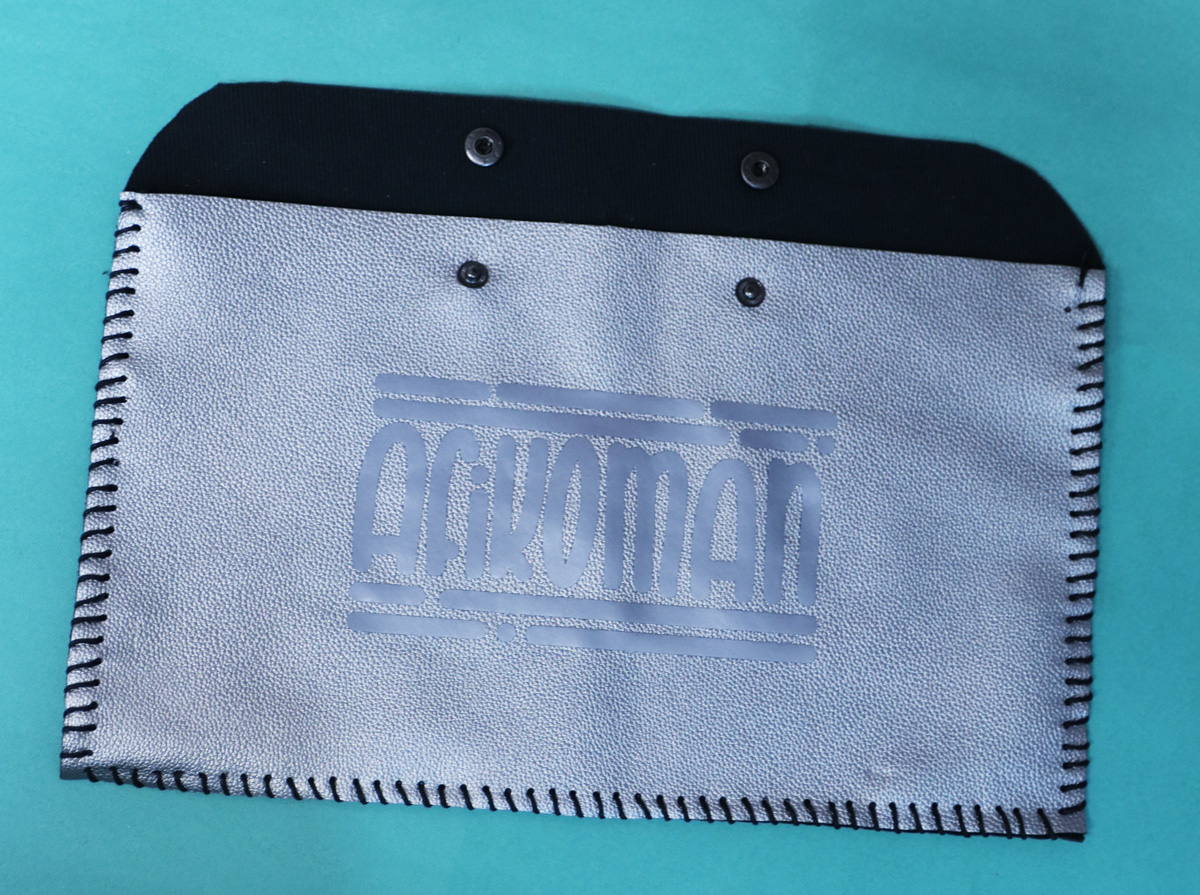
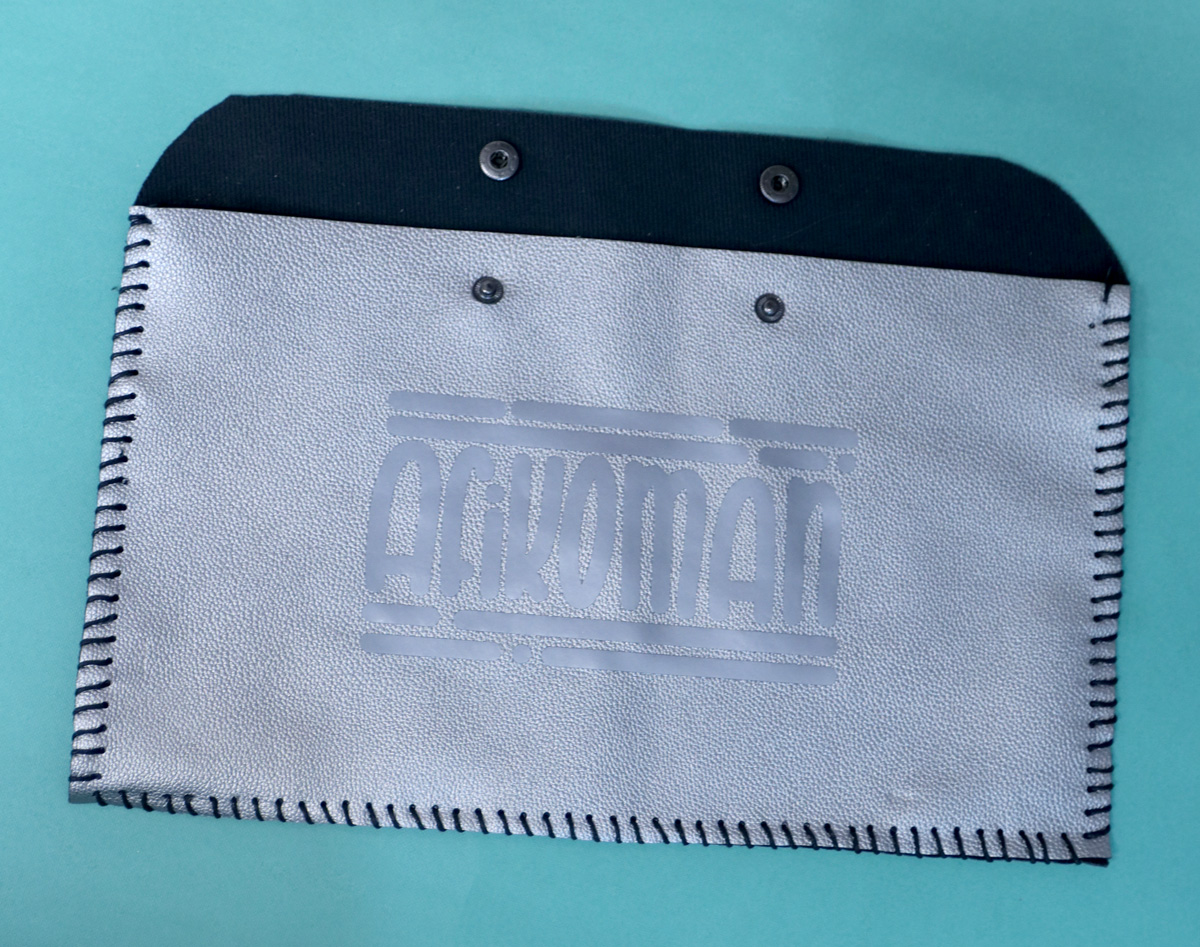
The DIY afikoman bag is made from inexpensive faux leather, although you can definitely upgrade it by using real leather.
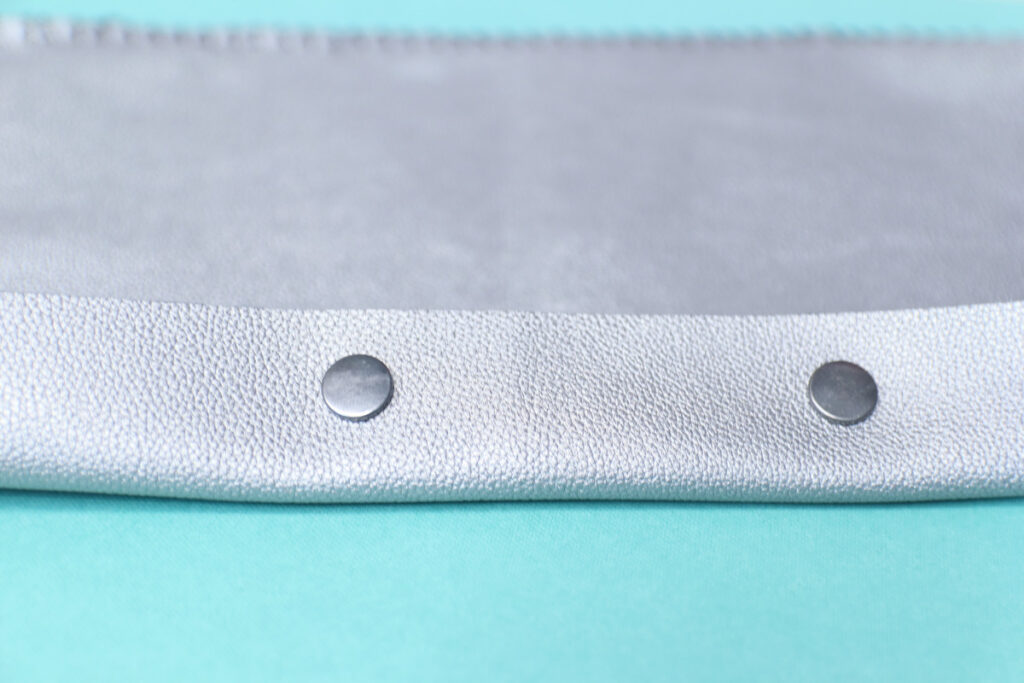
I sewed it up using waxed cotton thread and finished it off with two snaps. You can swap out the snaps for hook & loop if you prefer.
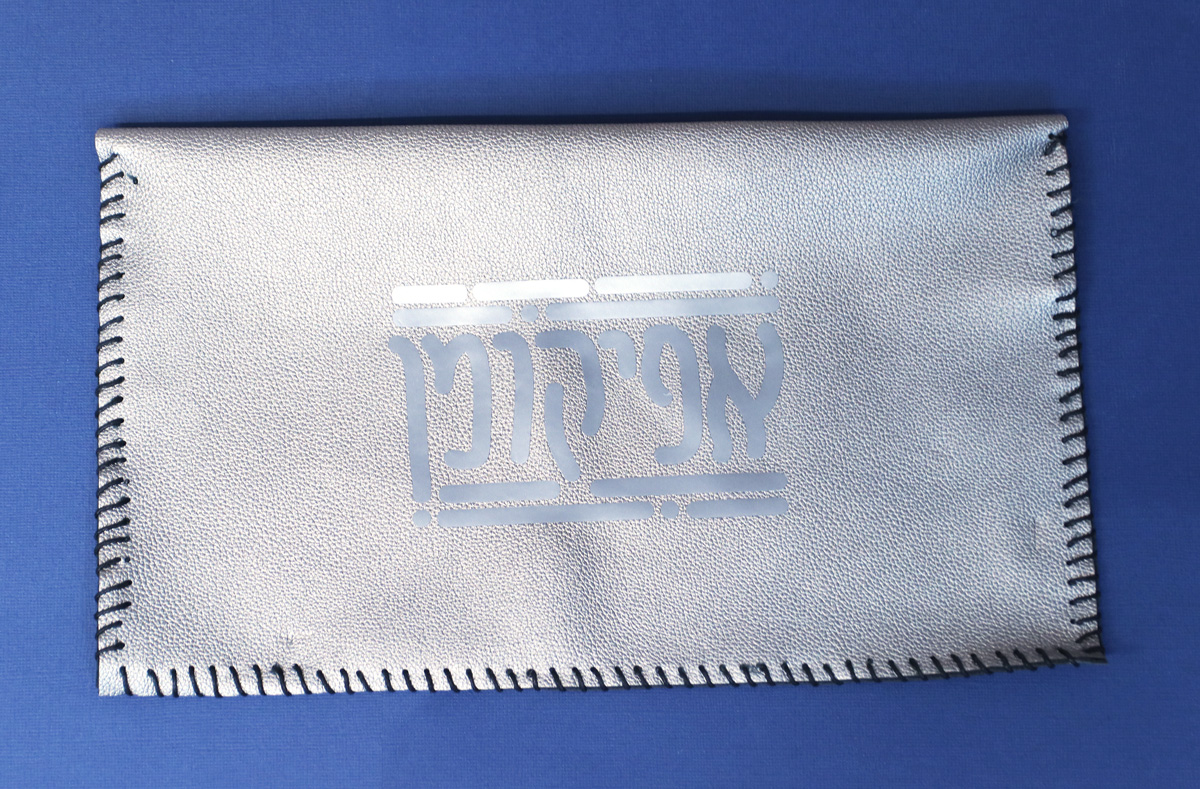
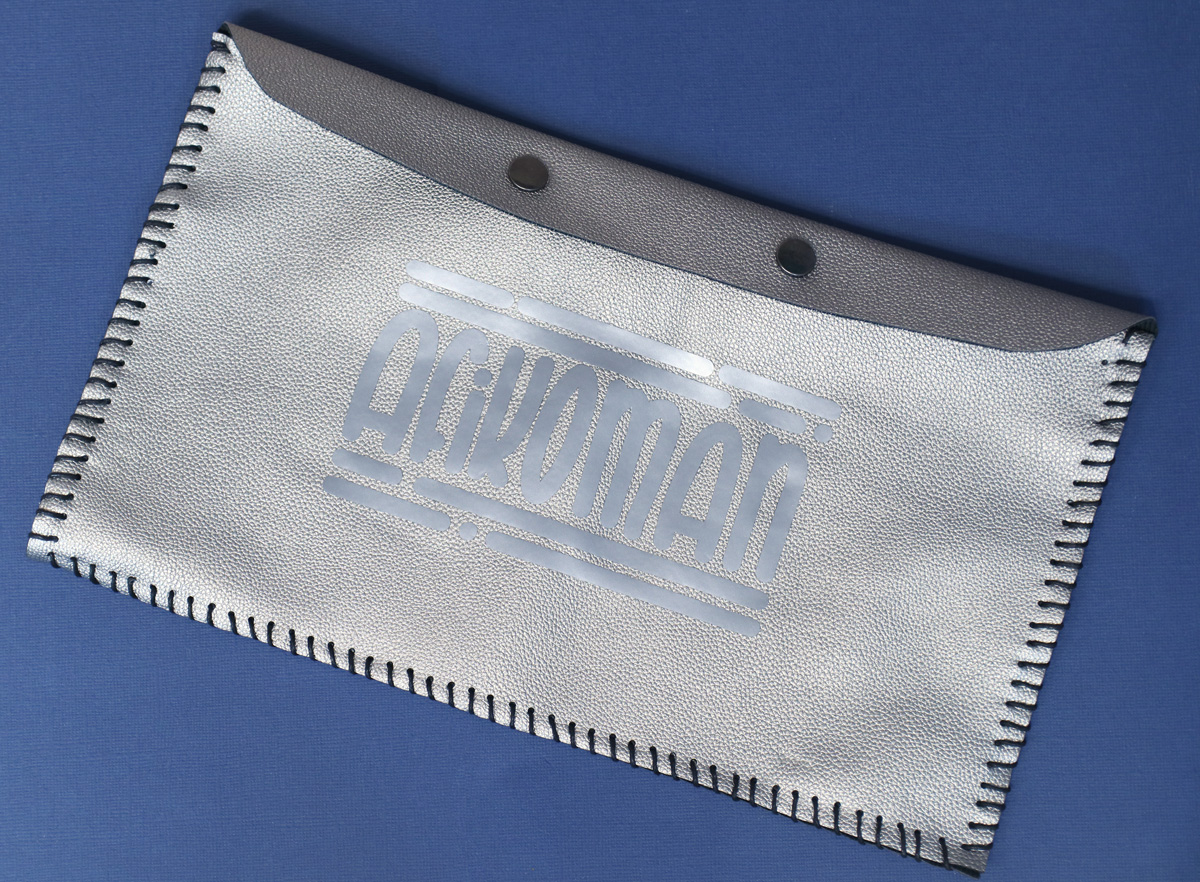
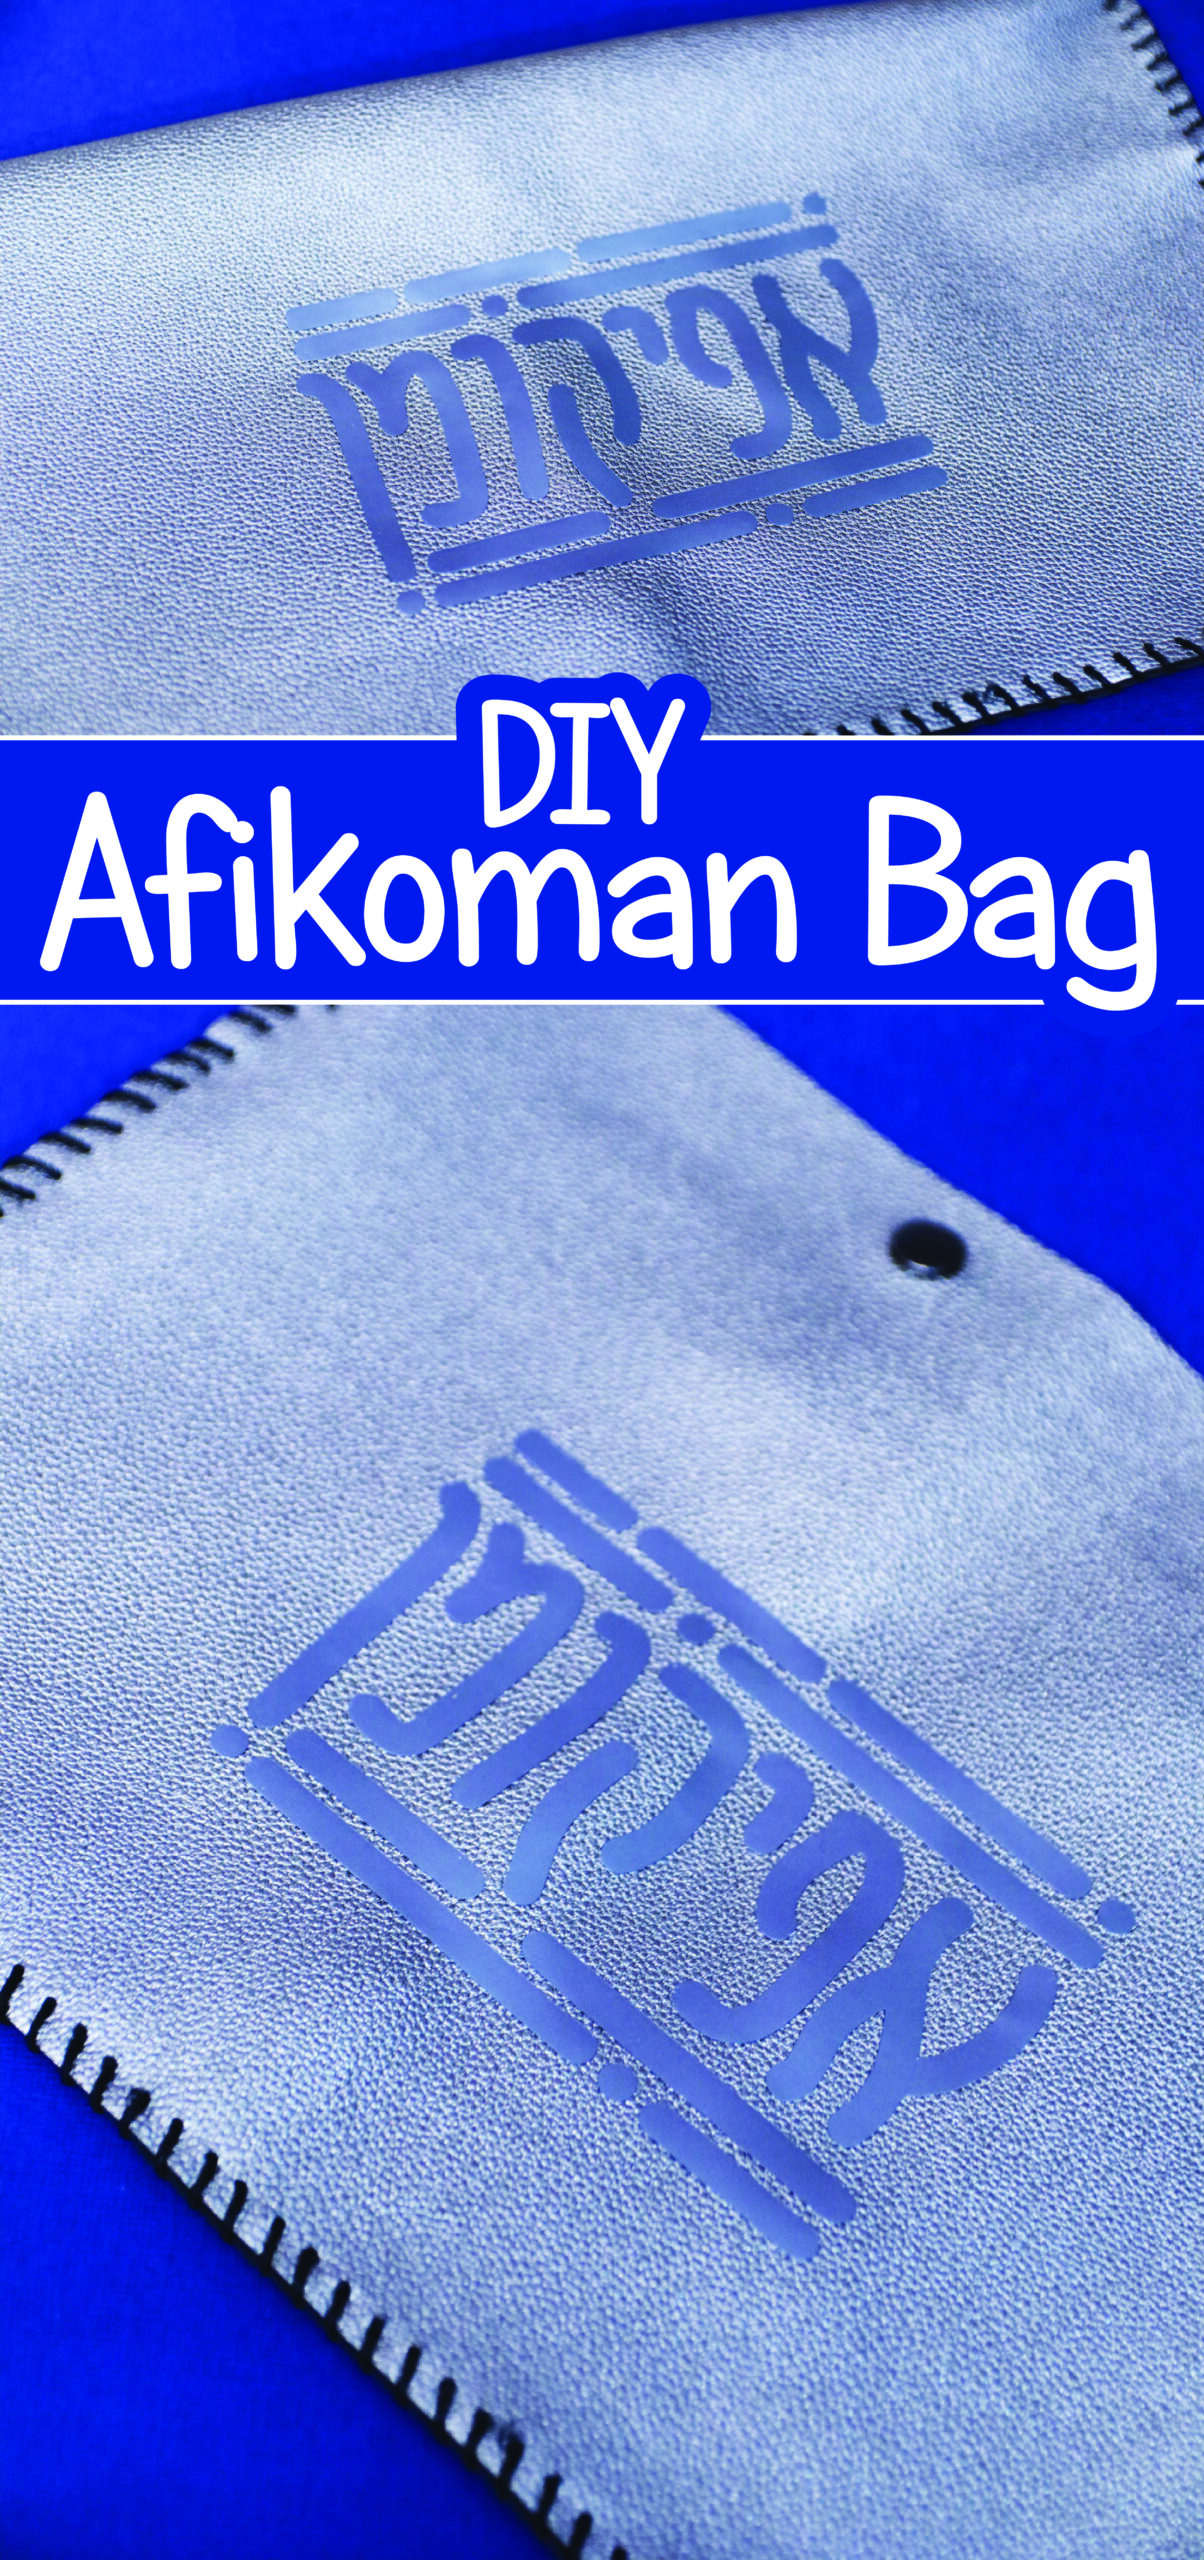
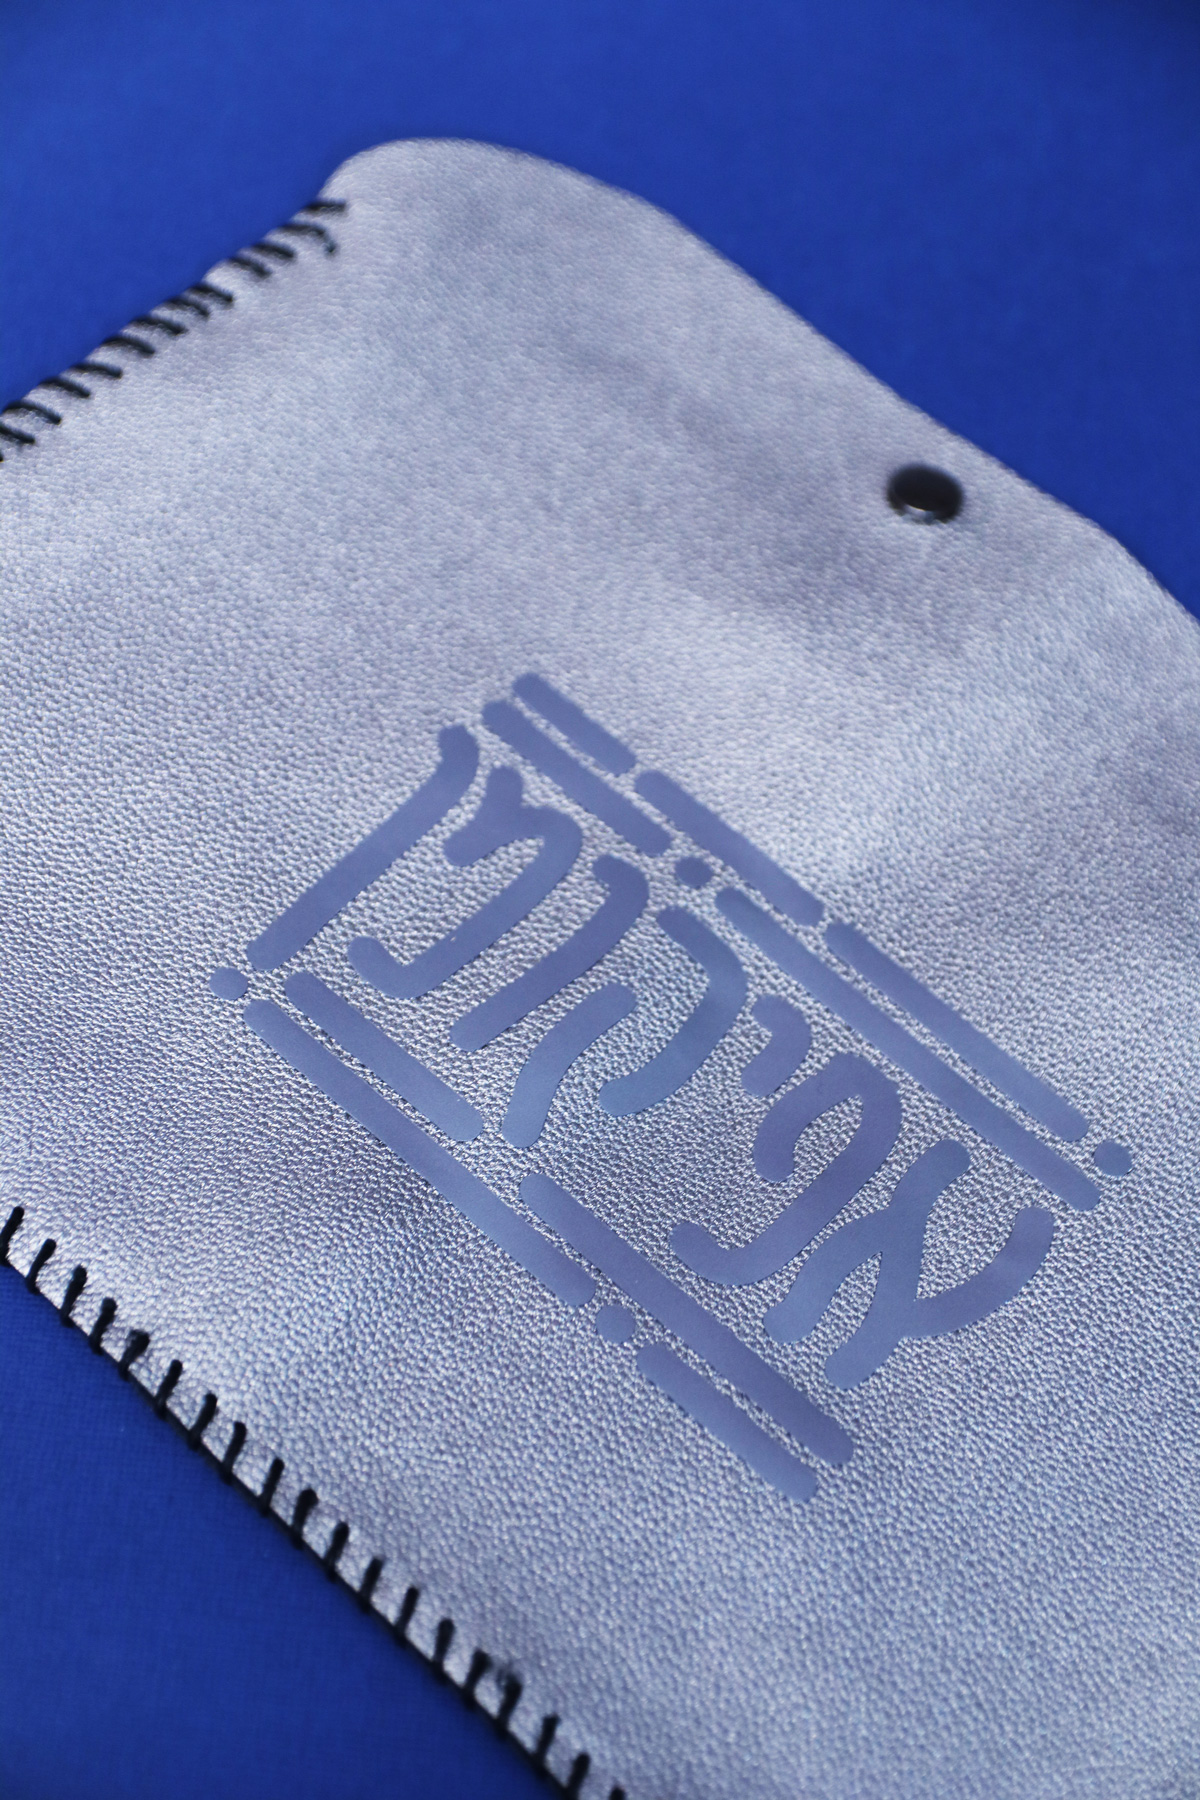
I cut the word Afikoman from vinyl using my Cricut and placed it on. Since I created a free SVG for you to use with this DIY Afikoman bag, I created it in Hebrew and English and placed one on each side – just to demonstrate it to you! Of course, you can stick to whichever you prefer.
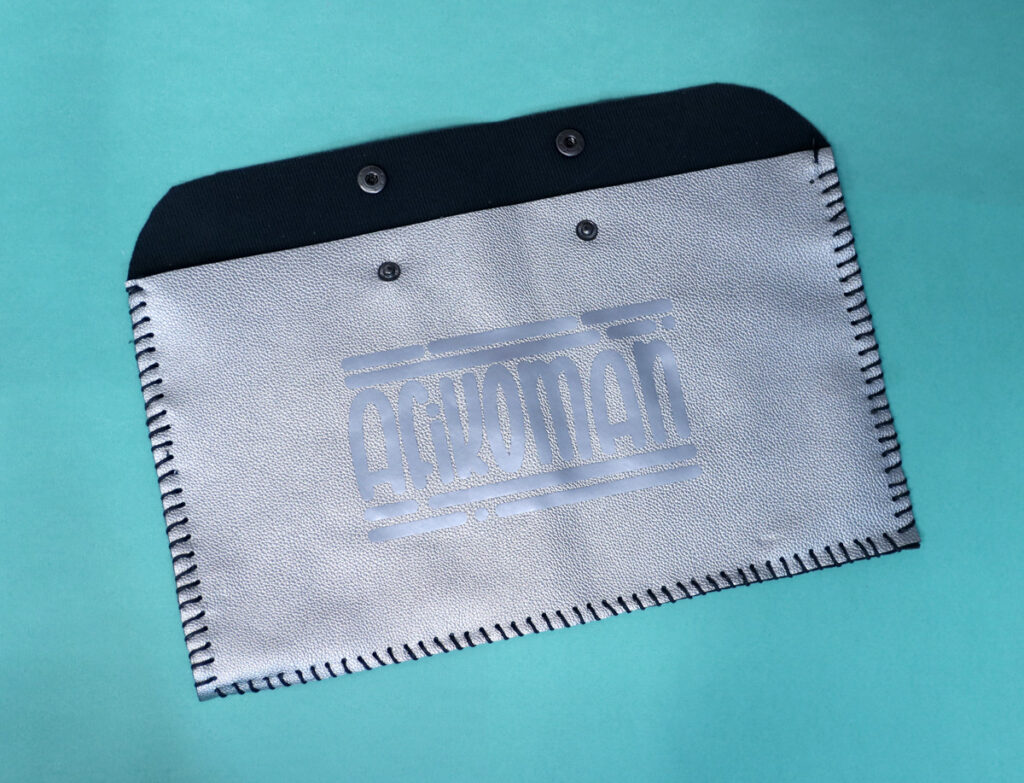
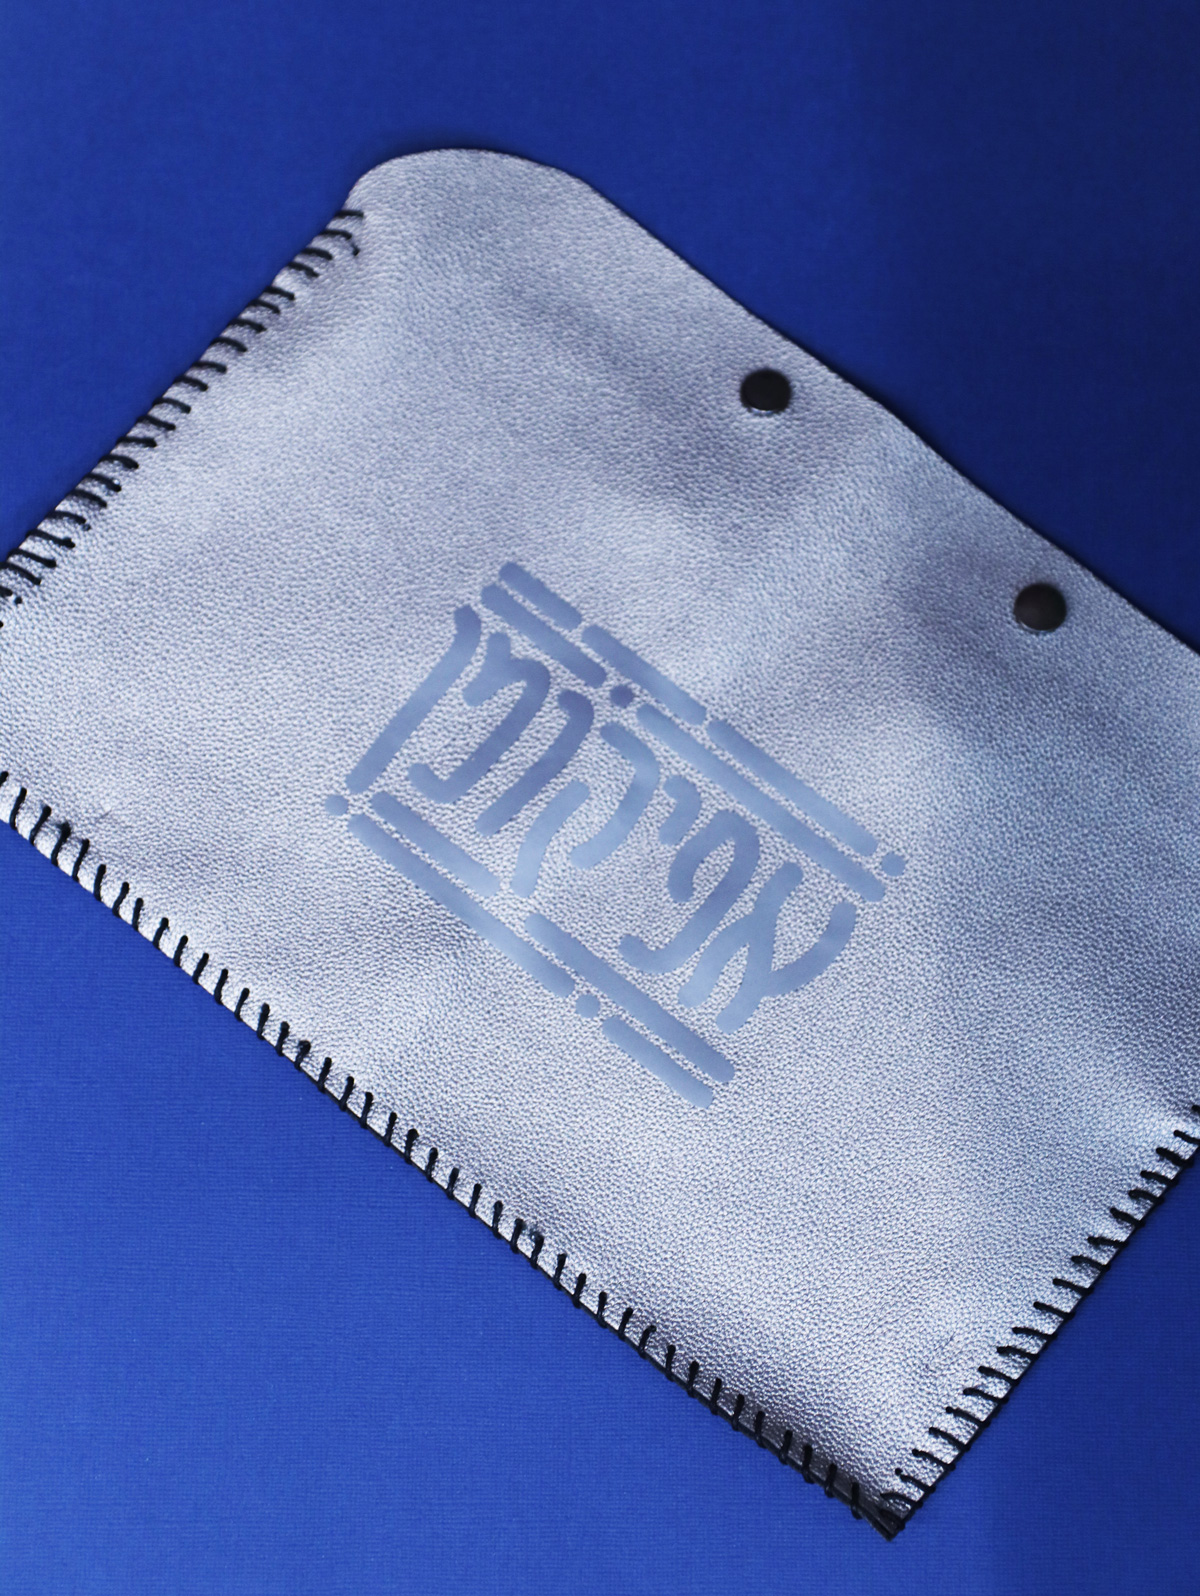
If you’re making it from real leather, I’m not sure whether or not the vinyl will stick – refer to your past experiences. If you don’t have a Cricut, you can write Afikoman using paint pens, or any method you want – or just leave it as a plain pouch.
Afikoman is one of the funnest part of the Passover Seder (the main goal of it is to keep the kids interested and awake!) and so making it a touch more fun with a beautiful bag is totally in the spirit of things!
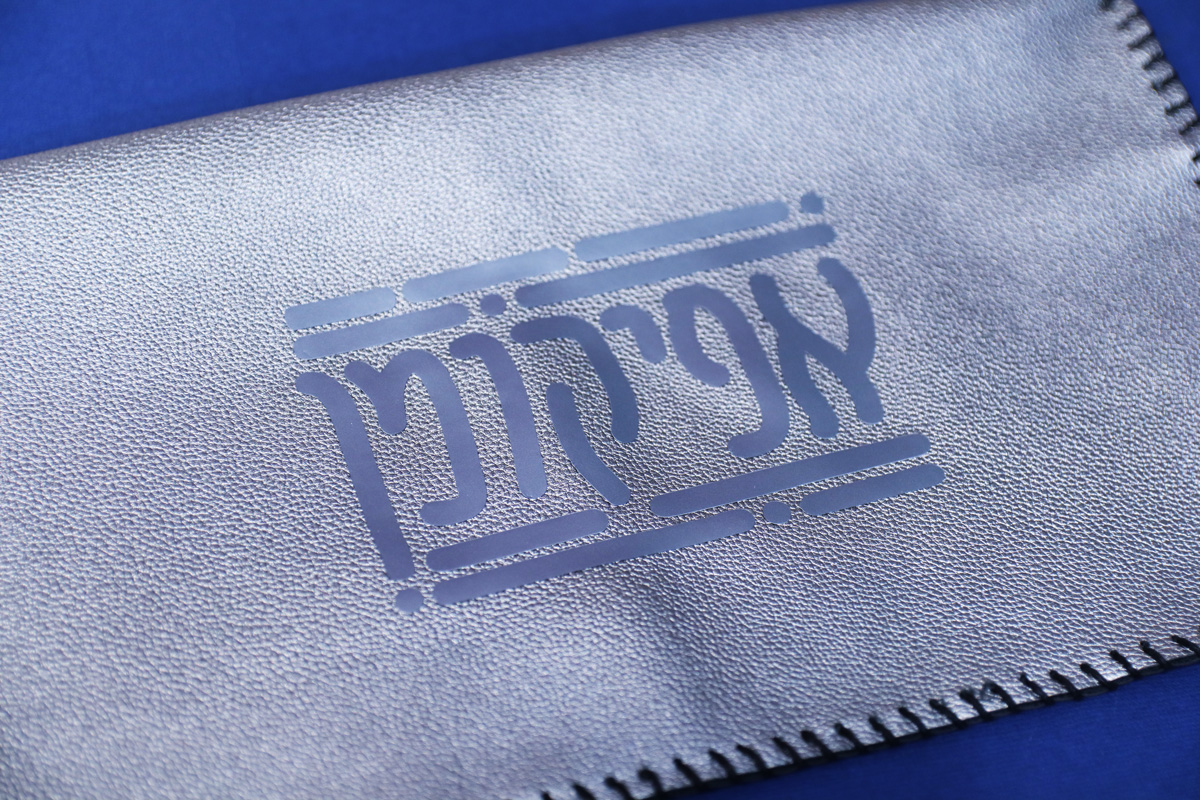
And if your end result is polished enough, it makes a fabulous hostess gift too!
Supplies needed:
- Faux leather sheet – about 12×9 inches
- Waxed cotton cord
- Sharp upholstery needle (straight)
- Good fabric scissors
- Permanent marker
- Ruler
- Hole Punch (I used the 1/16 inch Crop-a-Dile Power Punch but any small leather punch should work)
- Optional: clamps or clips
- Leather snaps and setting tools
To add the word “Afikoman” using your Cricut (optional)
- Cricut (I used the Maker 3)
- Permanent Vinyl
- StandardGrip Mat (not need if using Smart Vinyl with a compatible machine)
- Transfer Tape
- XL Scraper
- Weeding tool
- Optional: Cricut BrightPad Go (to ease strain on your eyes and make weeding easier))
- Heat gun
How to make a DIY faux leather Afikoman bag
1. Cut your sheet of leather in half. so you have two pieces about 6×9 inches.
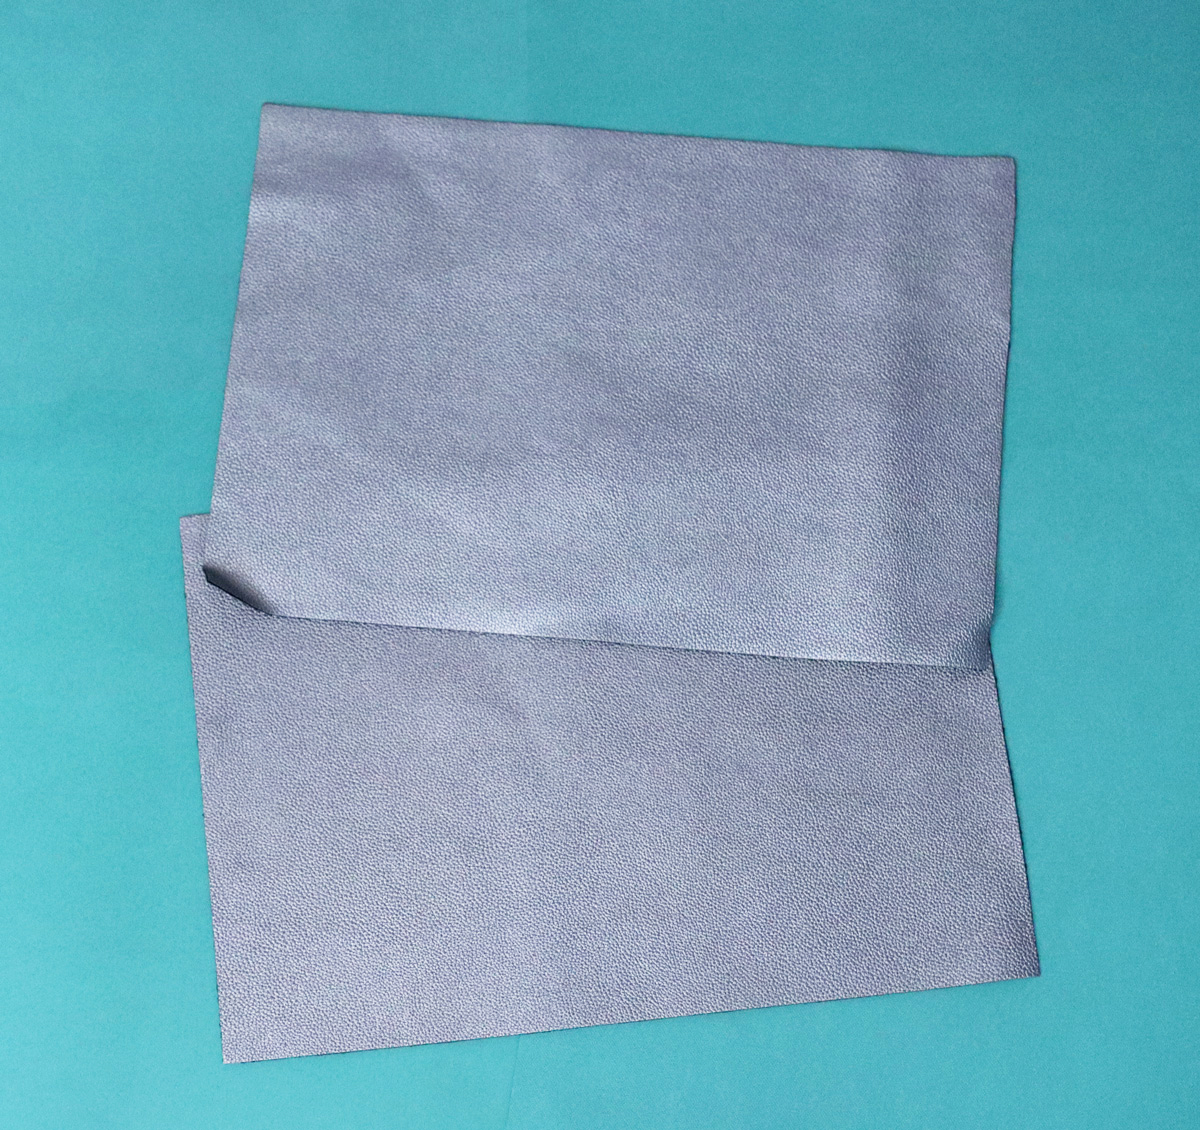
2. Cut off the top inch of one side. Note: if you want a slightly larger bag, you can also switch up the first step to cut them so that one side is simply an inch longer than the other but I find it easier to demonstrate this way.
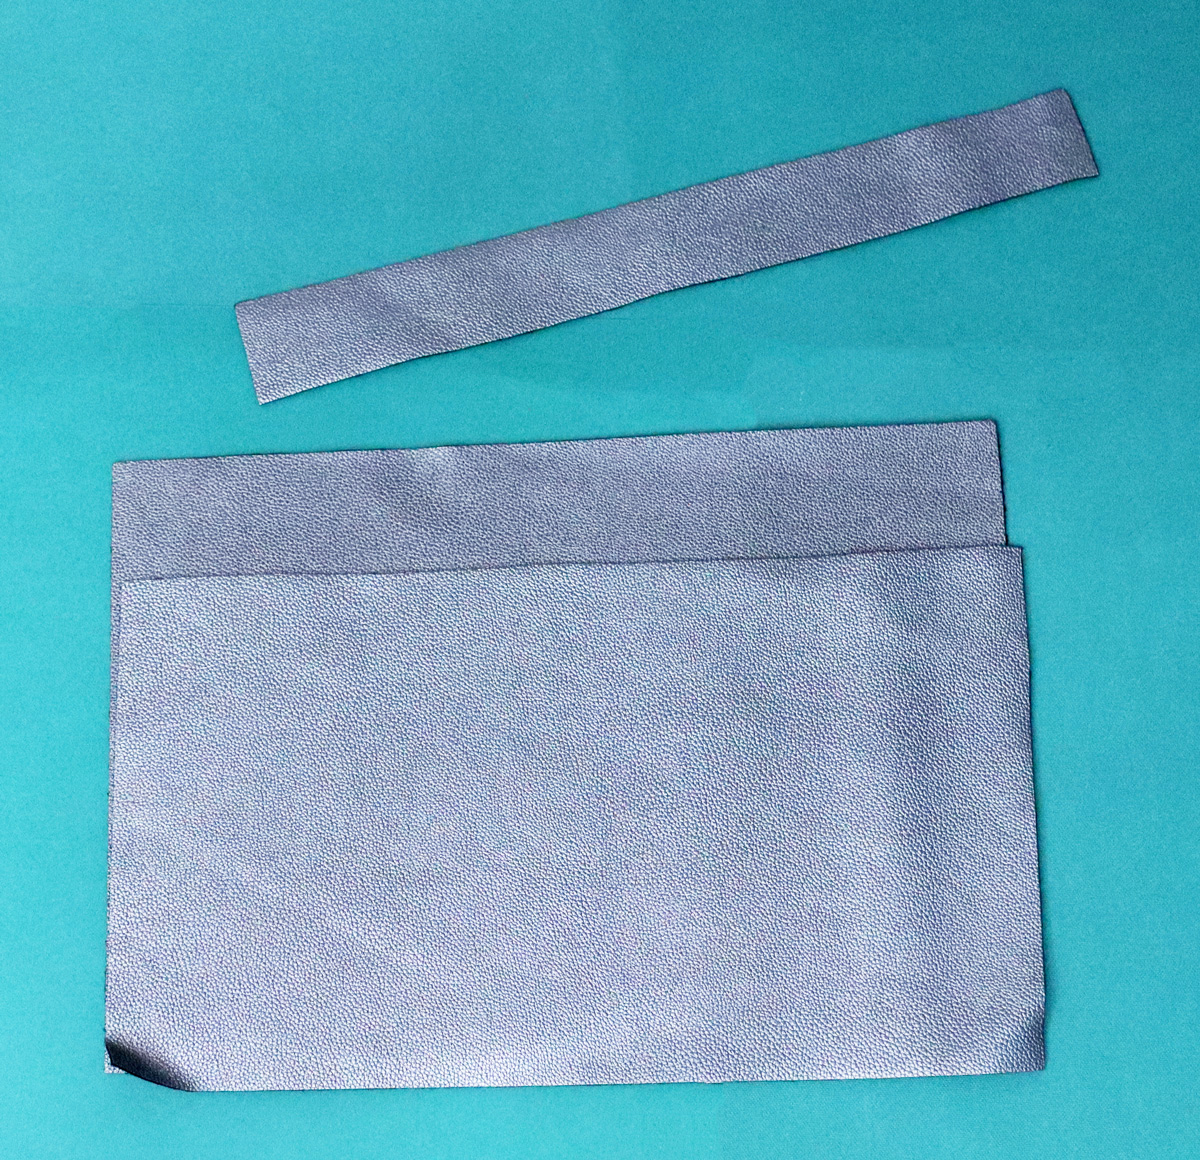
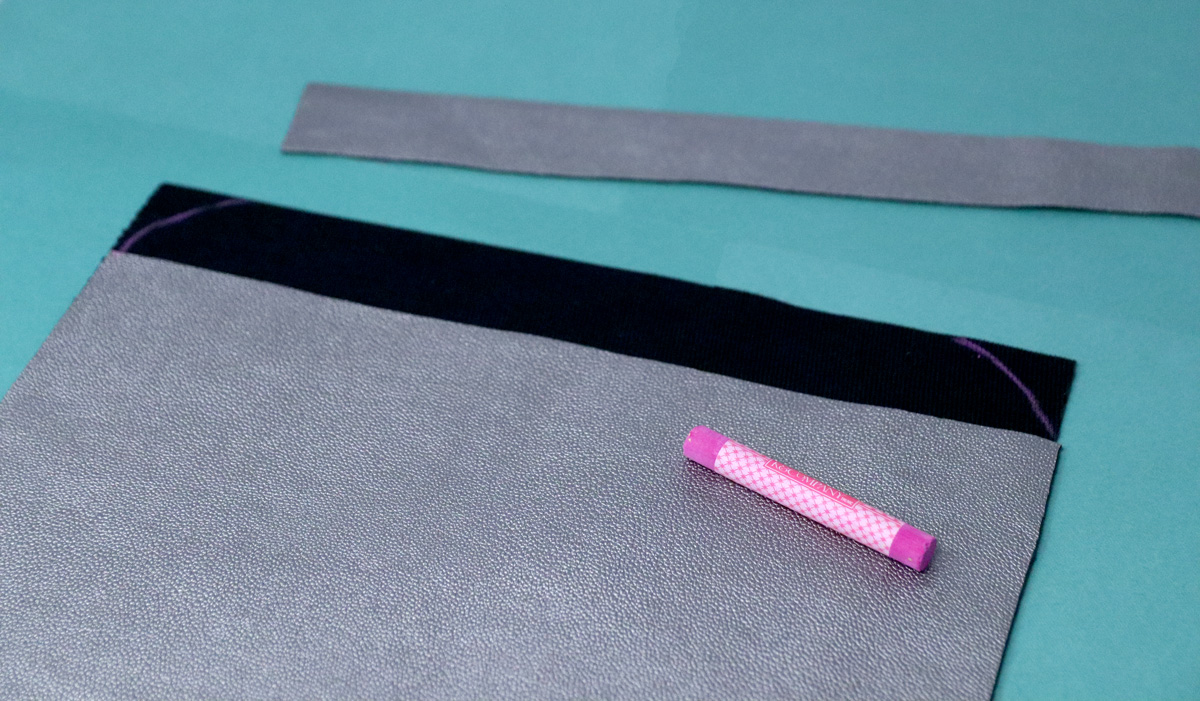
3. Place your two halves insides facing each other and lined up so that the longer one overlaps on top. Take a piece of chalk (or similar) and mark the corners of the flap (the longer bit on the one half of the bag) to curve them and cut them off. This helps polish things up and is optional.
4. Take a ruler, and mark at about every 1/4 inch (or wherever you prefer to sew).
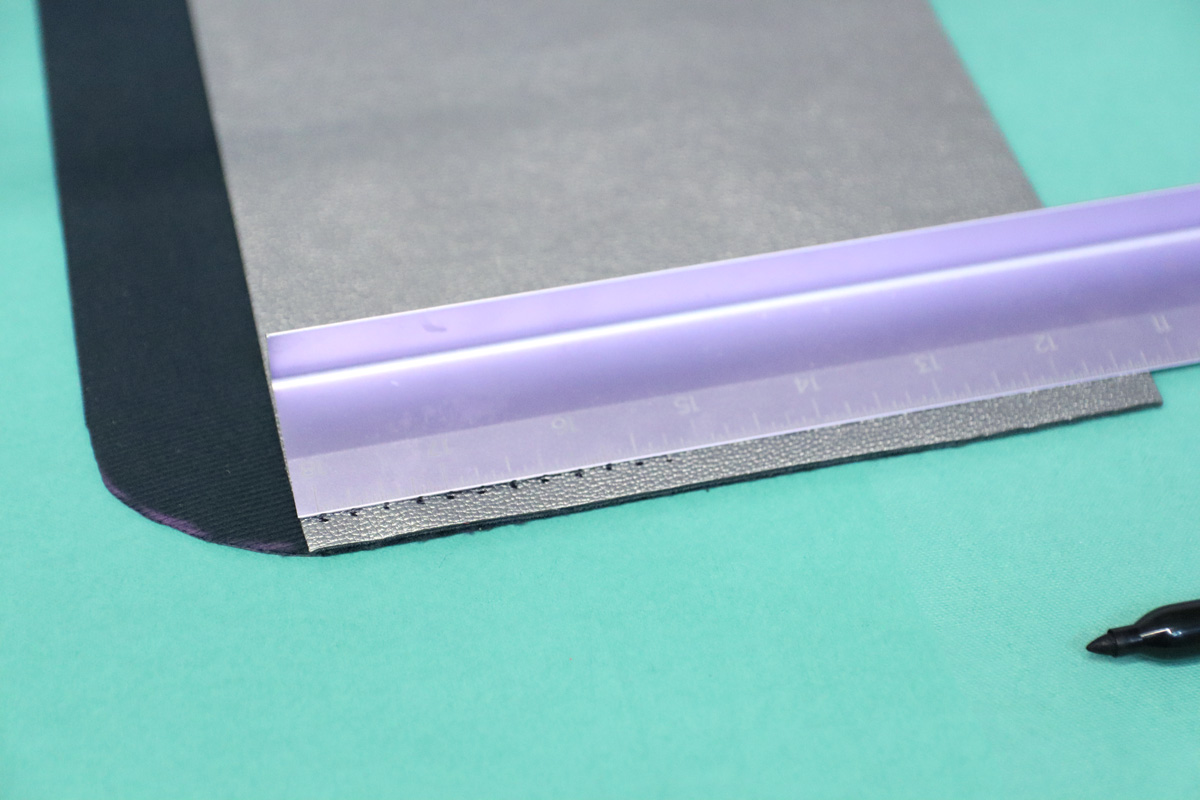
Do this all around. Clamp the two sides together to hold them more securely (because of the texture of the backs, they do hold to a degree on their own.)
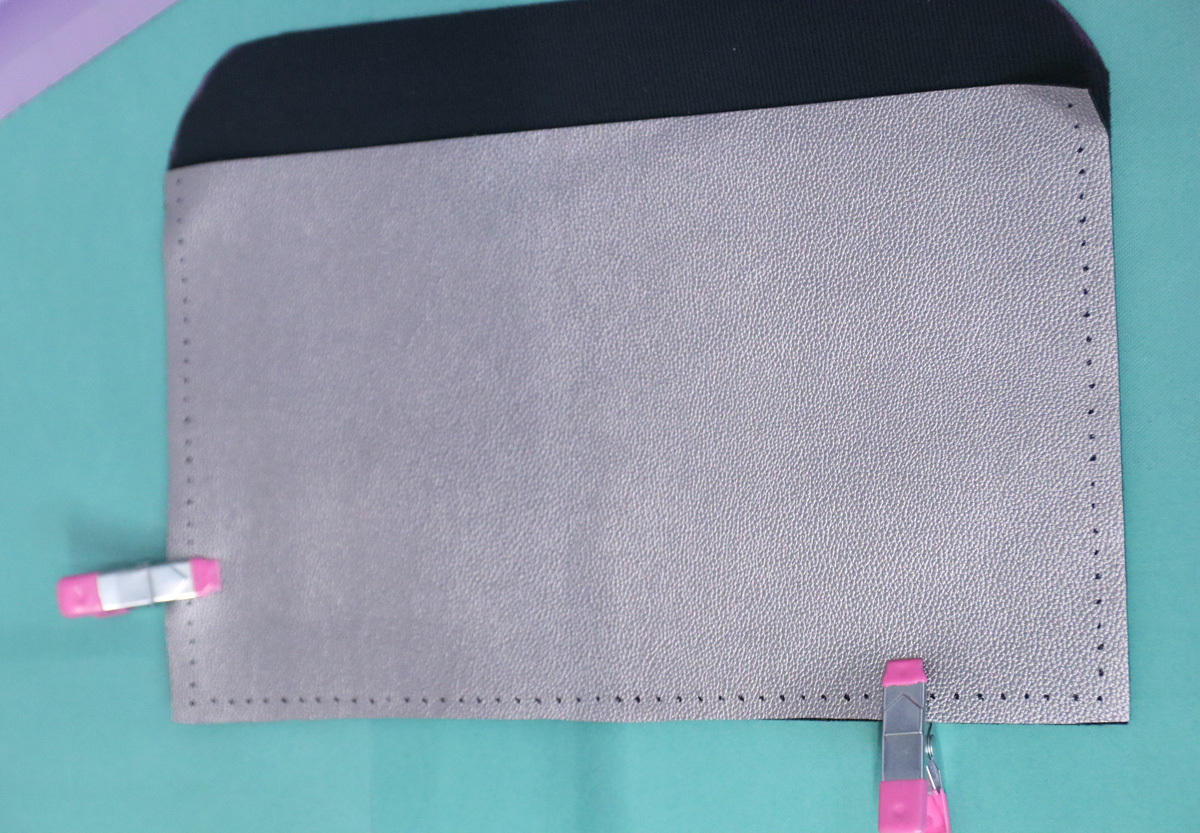
5. Punch holes where you marked with black. You’re punching through both sides. Note: I tried skipping this step, but it was VERY hard to pierce without pre-punching holes.
You can be very accurate with this if you open up the part of the punch that catches the “punchings” and use that to see where you marked.
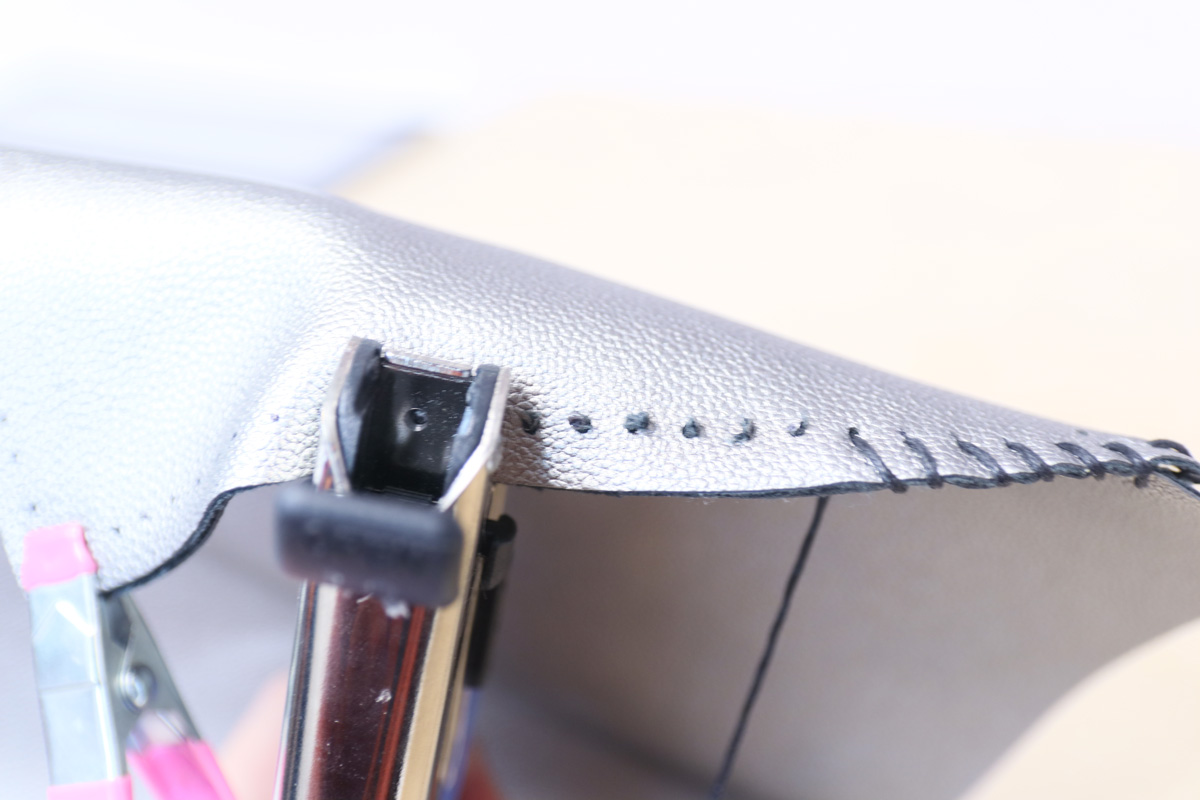
6. Tie a knot in your cord. Thread it from the inside to the outside of the first hole.
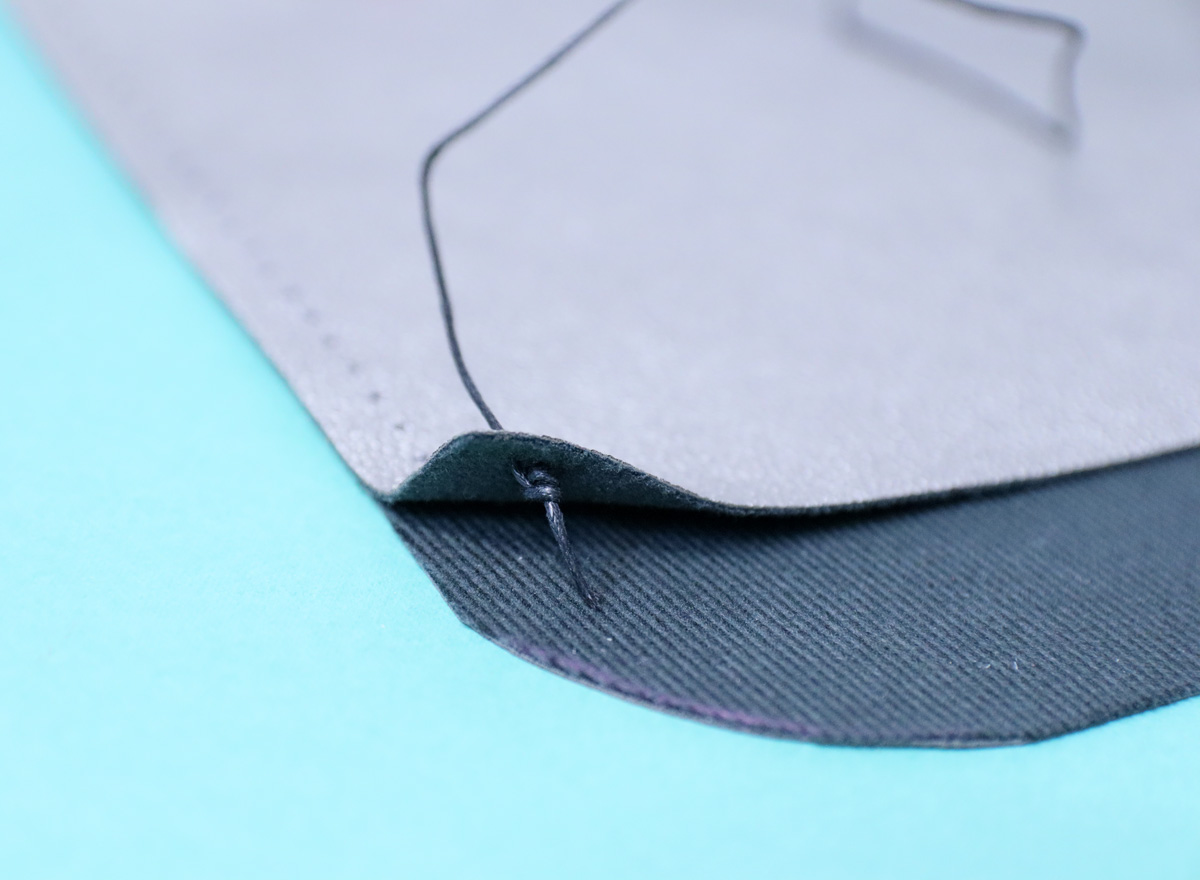
7. Start sewing a simple whipstitch. That’s a basic in-and-out stitch that goes around the edge, by inserting it always in the same side and exiting on the same side.
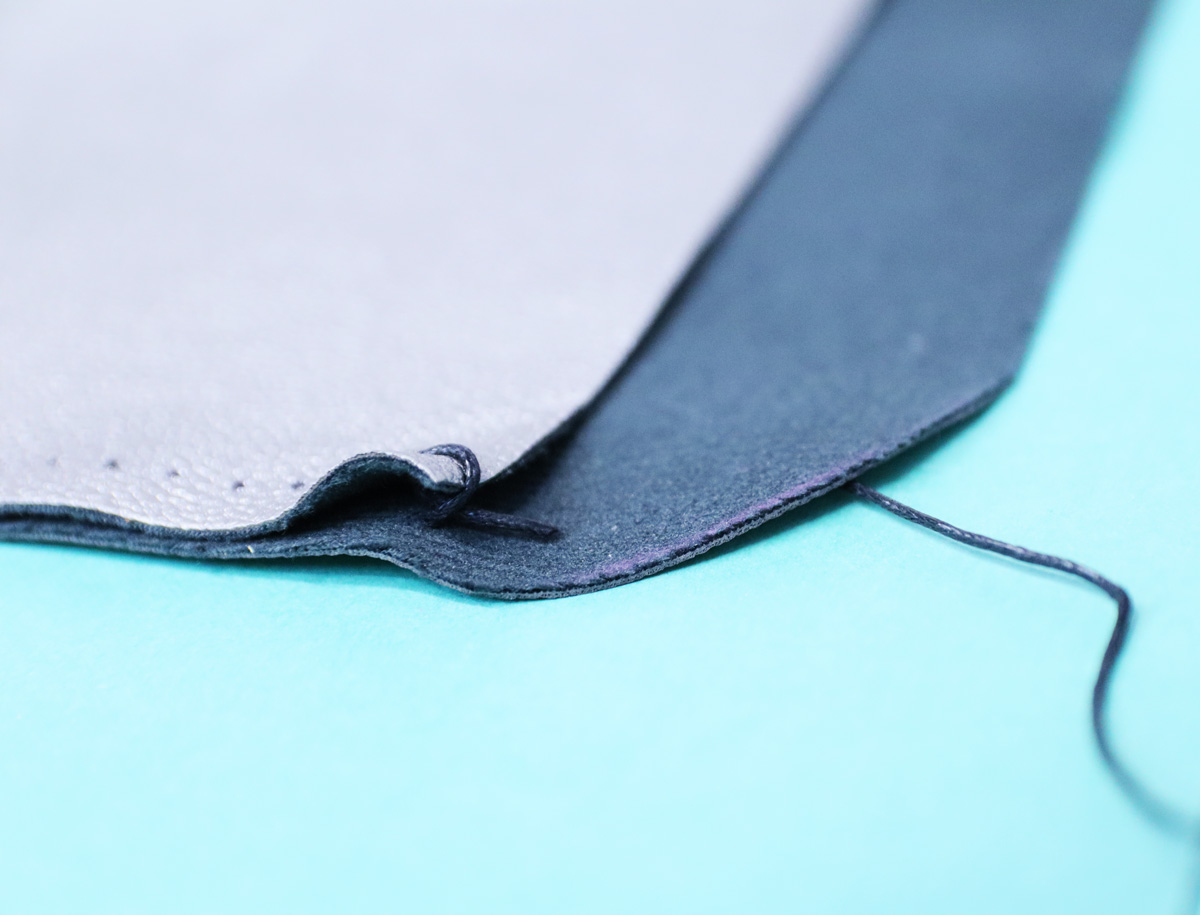
8. Continue sewing all around, closing off your thread inside your DIY Afikoman bag the same way you started.
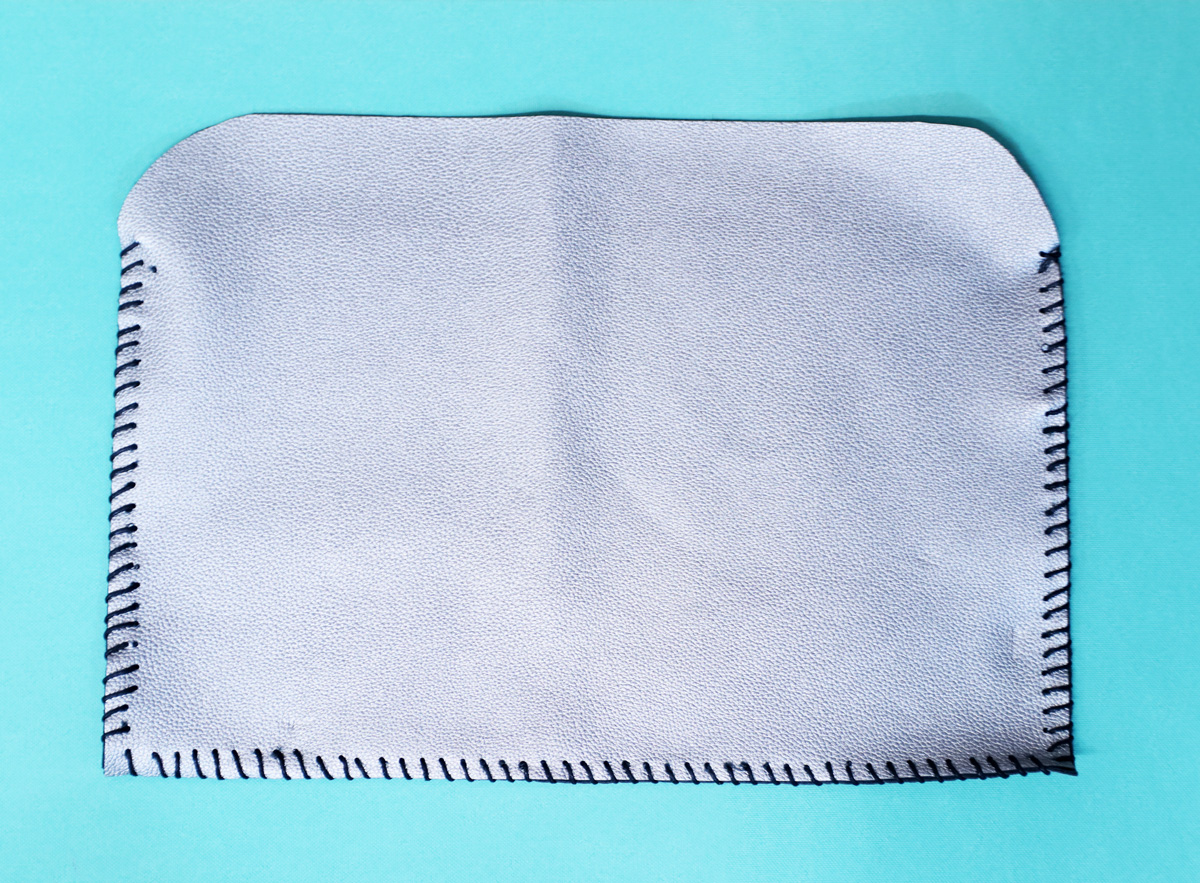
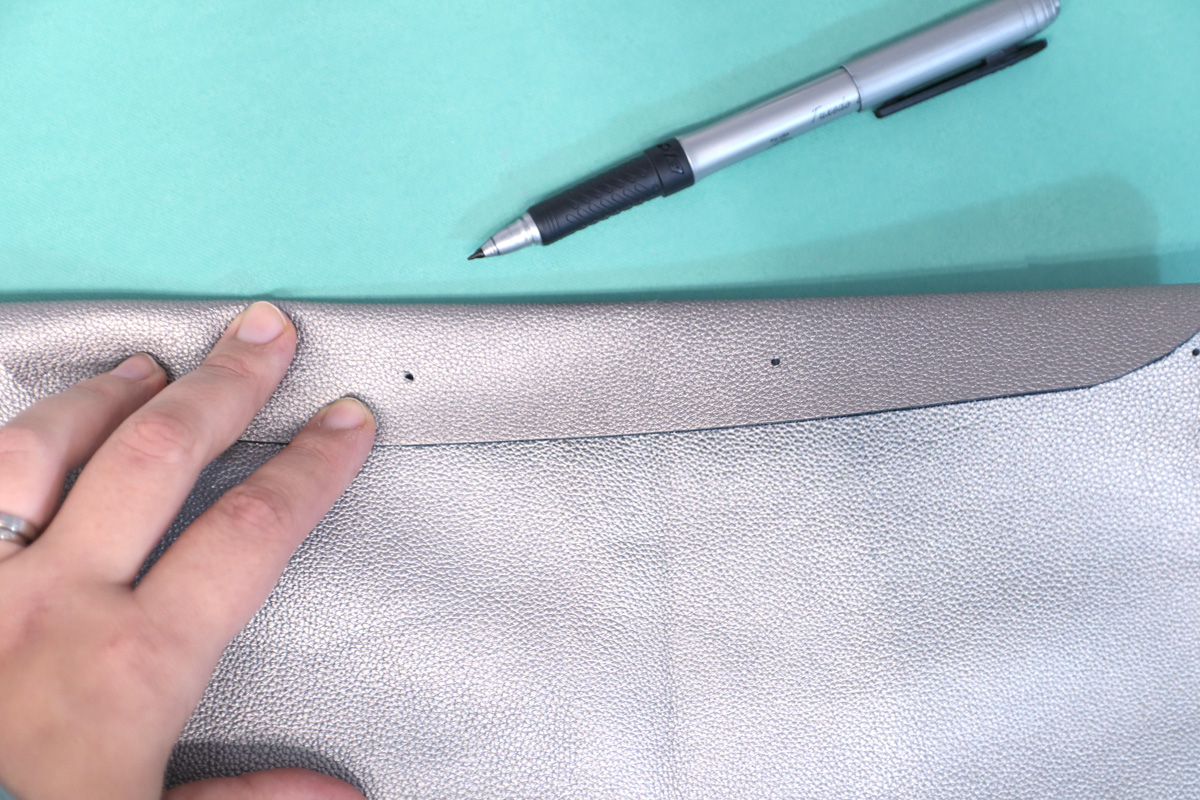
9. Mark the placement for your two snaps. I used two because that’s what comfortably held the flap down – just do what works for you.
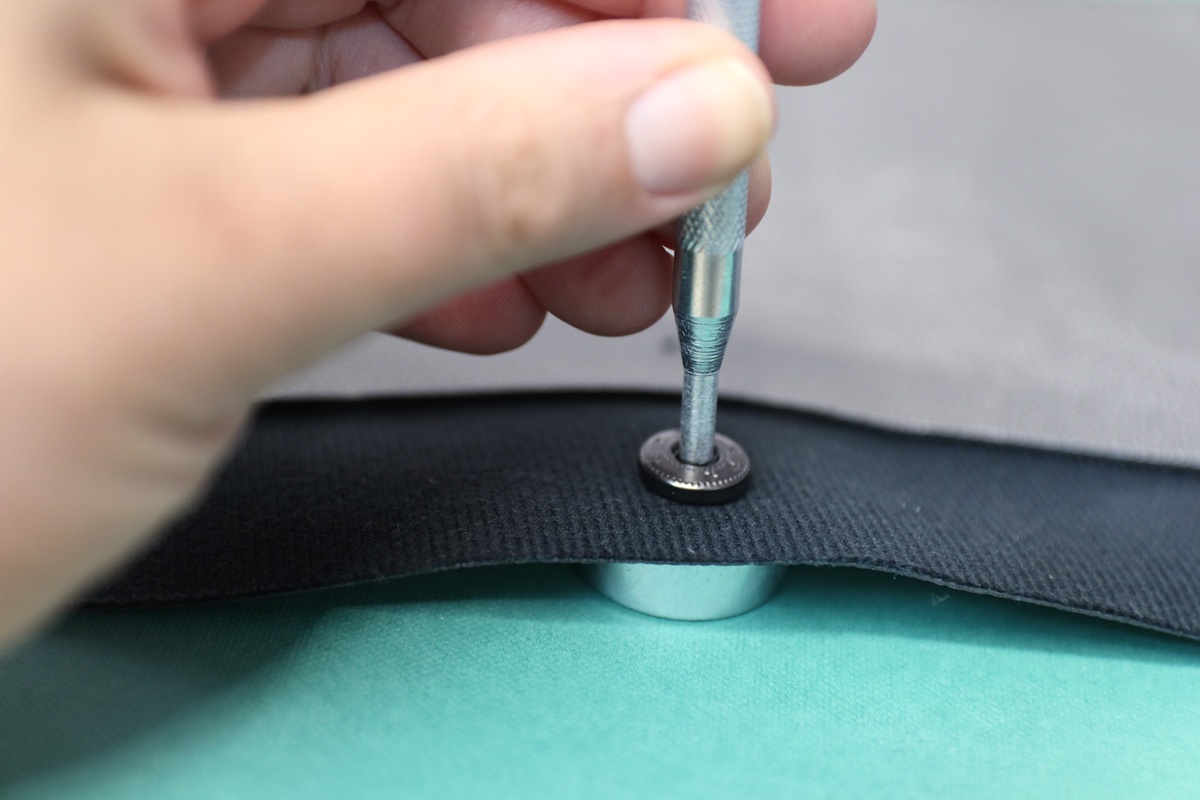
10. Follow the directions on your snap setting set to add snaps.
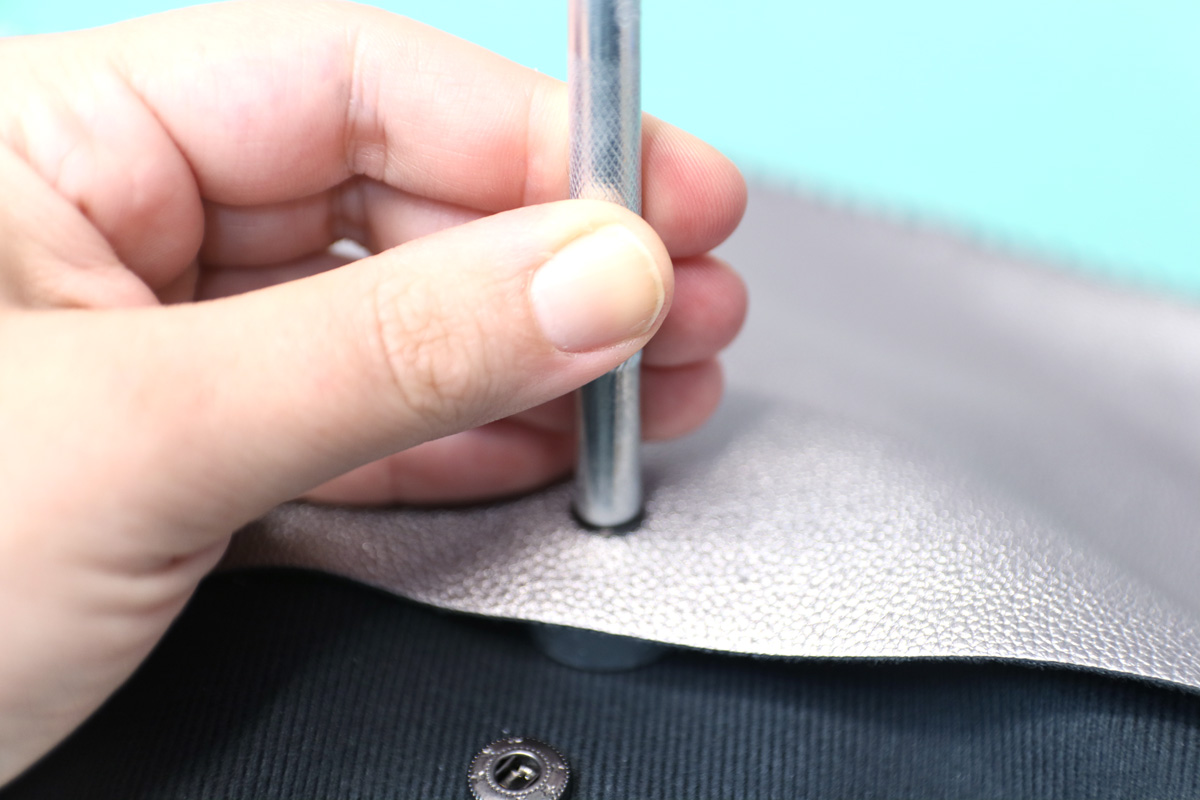
Your base DIY Afikoman bag is complete.
11. To add the word Afikoman with vinyl: Upload the SVG that you prefer (you’ll need to unzip it first) to Design Space, resize it to fit comfortably within your Afikoman pouch.
Load your vinyl on your StandardGrip mat and cut.
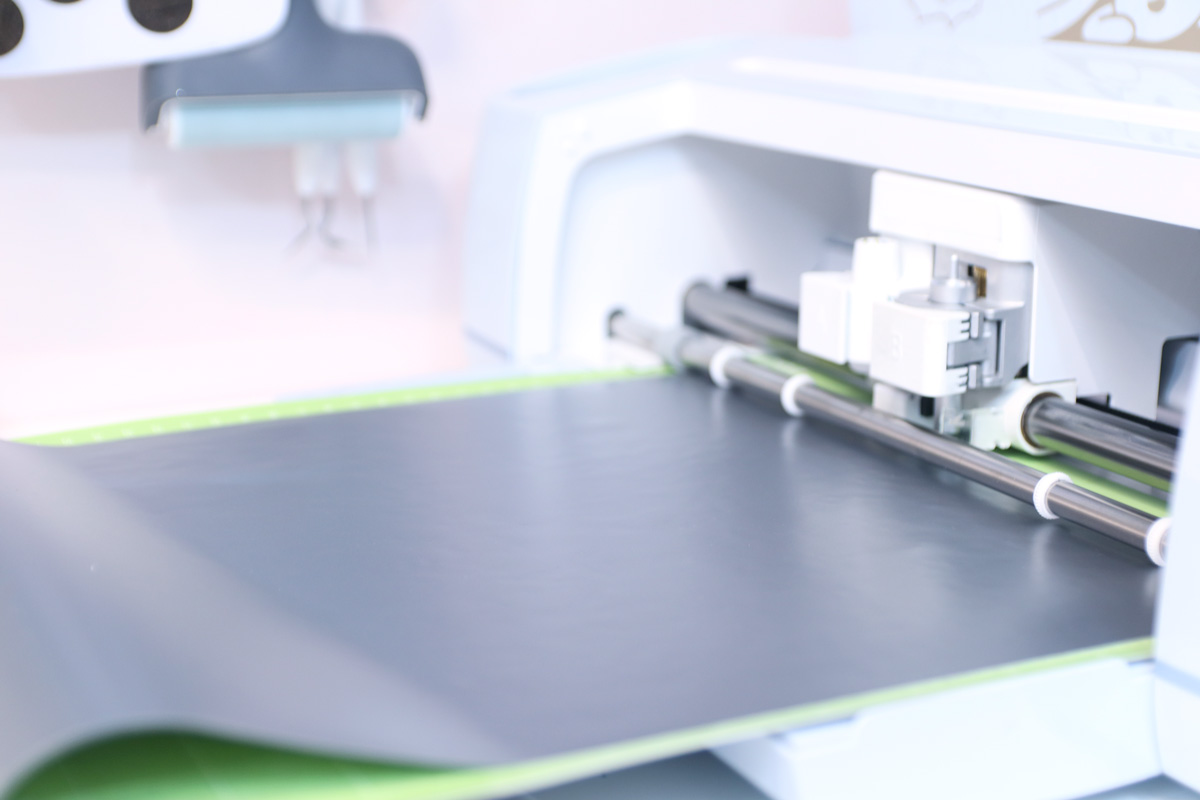
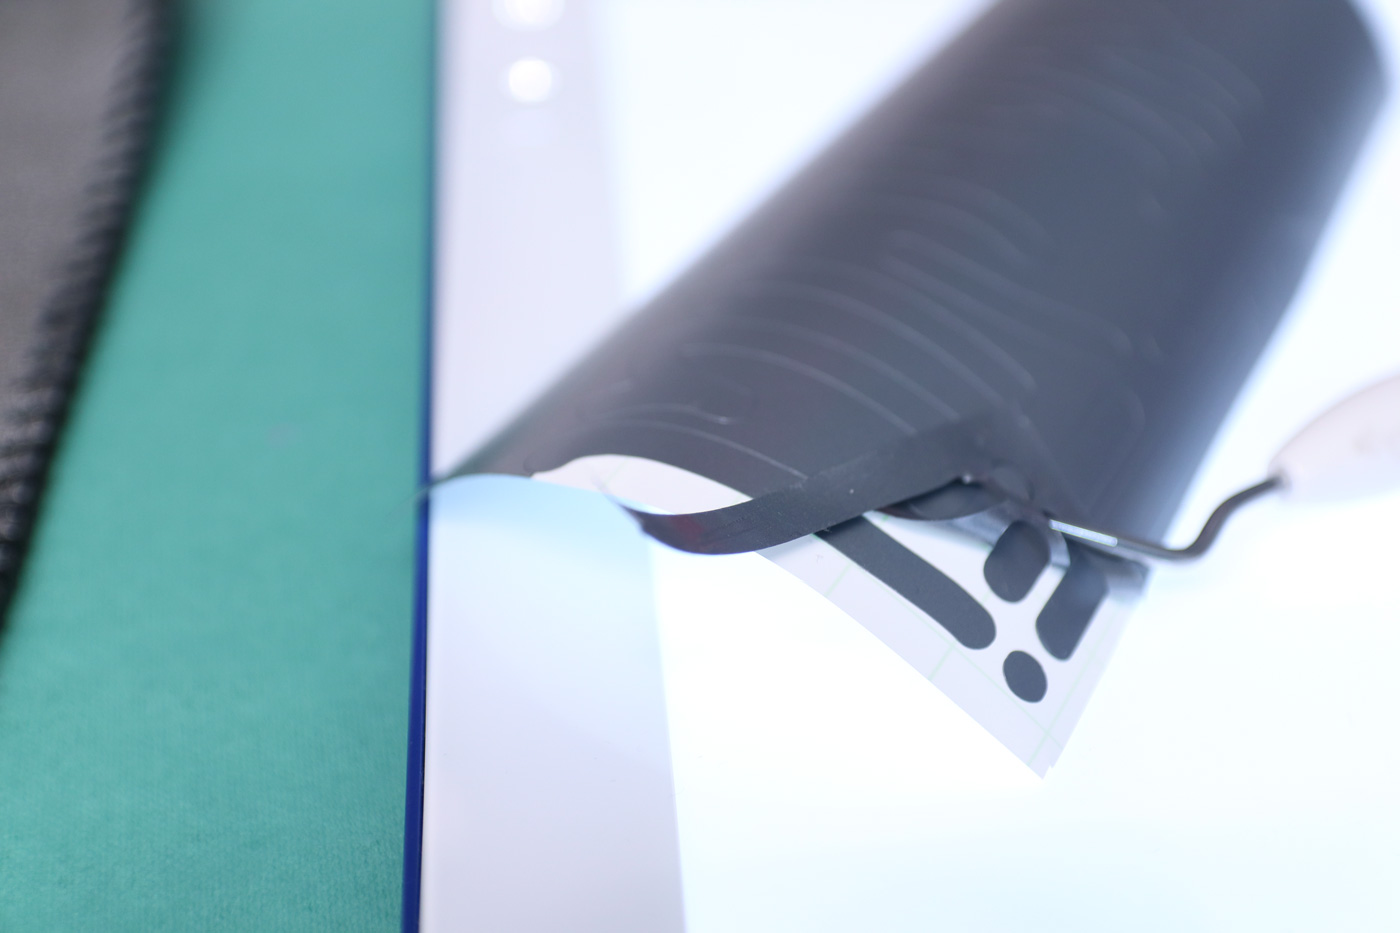
12. Weed your design. You can use a BrightPad to help you see things more clearly.
13. Apply transfer tape to your design. Scrape it on well. You need to scrape on BOTH sides for it to come off smoothly.
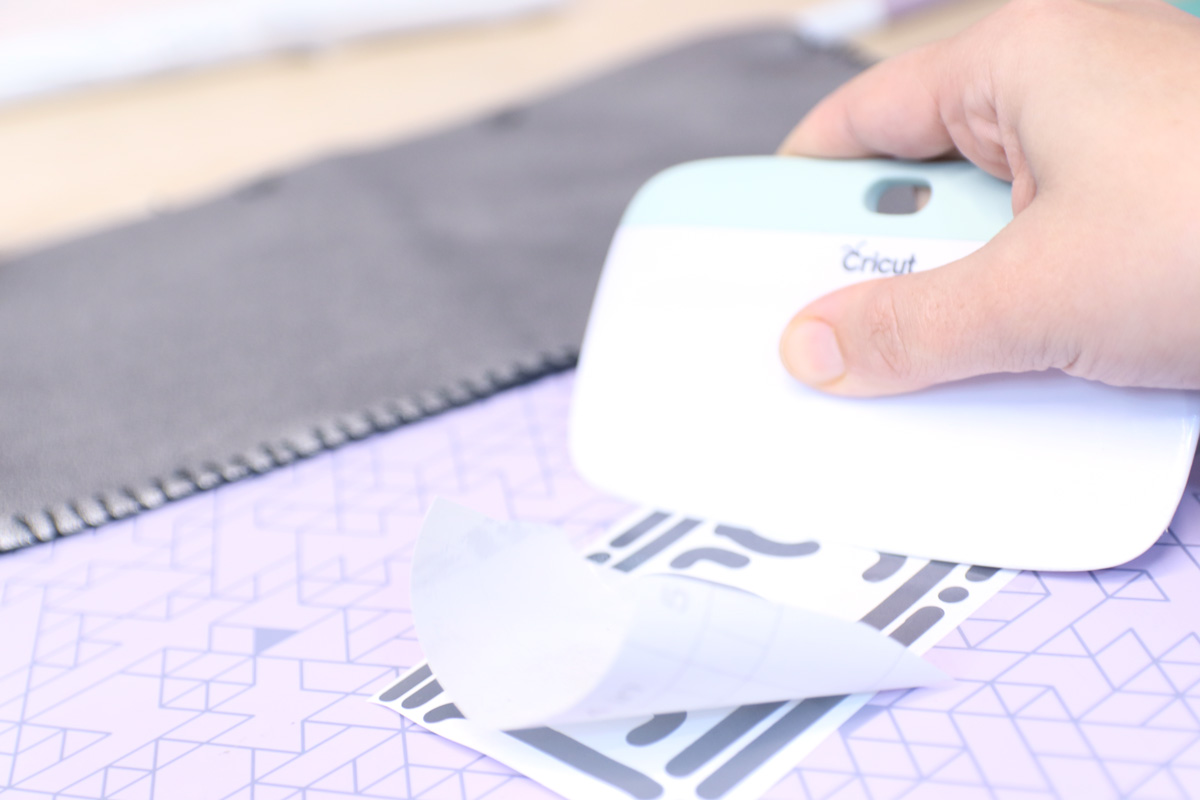
14. Peel off your backing. you always want to peel back against the design, and not peel up.
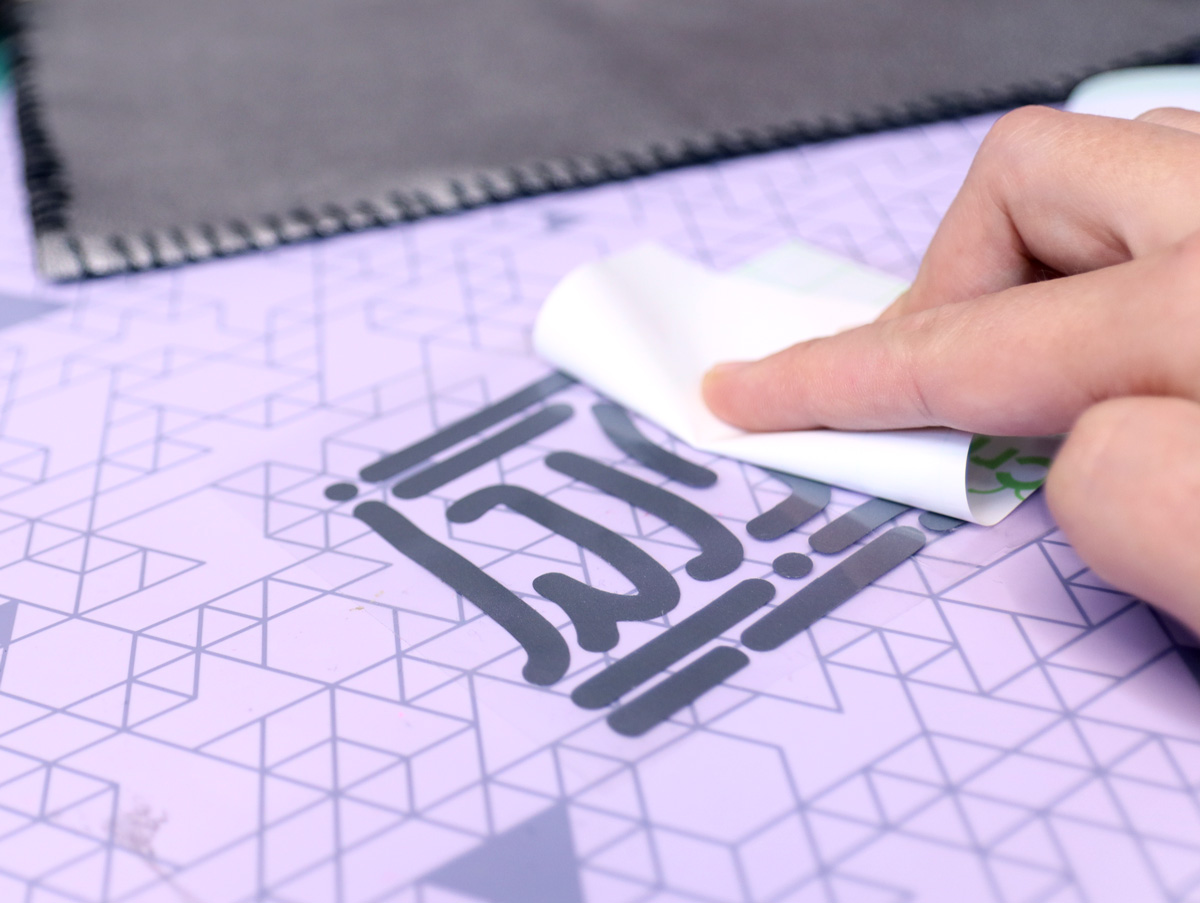
15. Scrape it well onto your DIY Afikoman pouch.
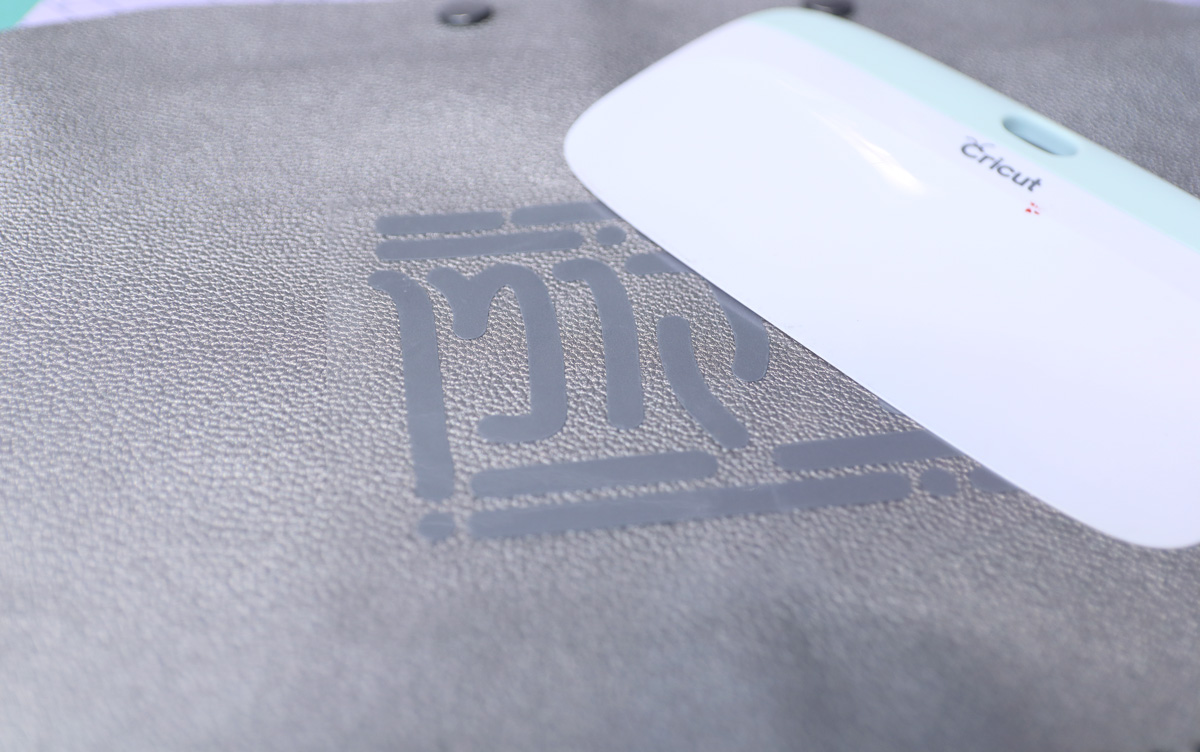
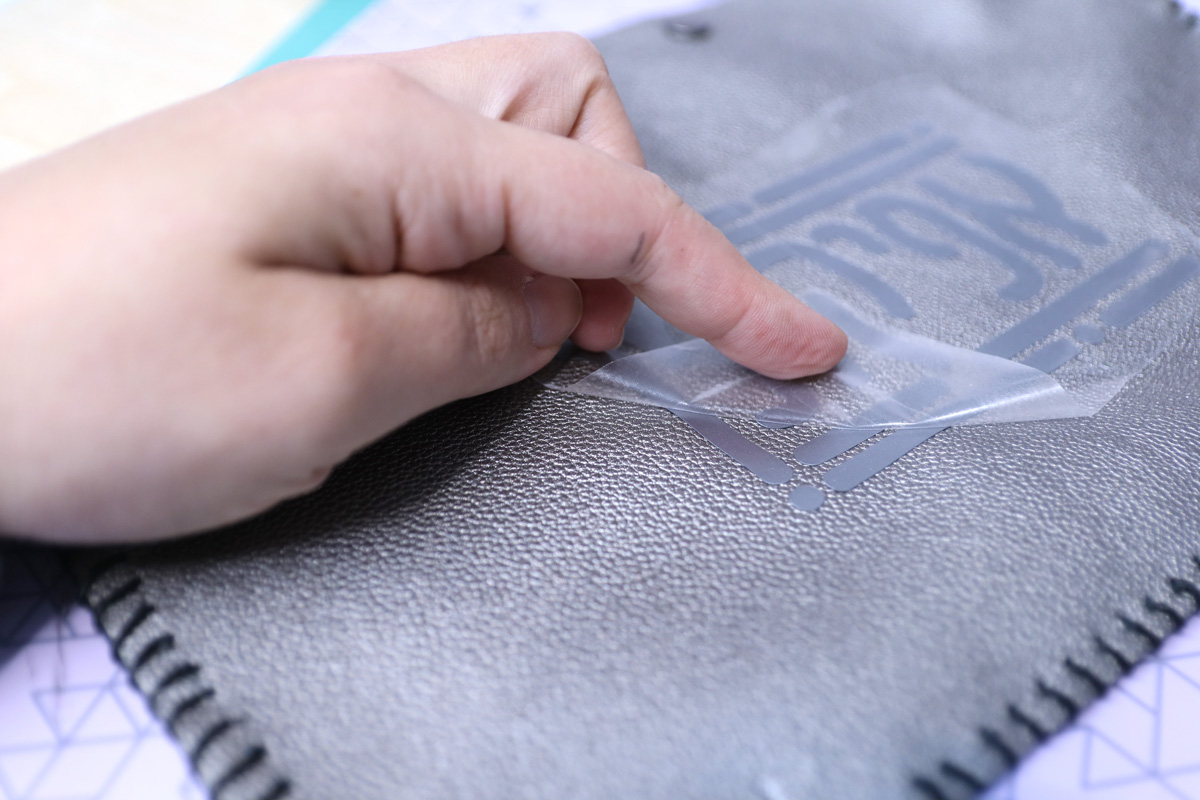
16. Peel back the transfer tape – again peeling against the design, and not up.
17. This final step is one that I will deem important but it might not be. Zap your design using a heat gun until you begin to see the texture of the leather through the vinyl. This MAY not be so important (it could be it’ll stick well without) but using a heat gun will really help the vinyl become part of your leather.
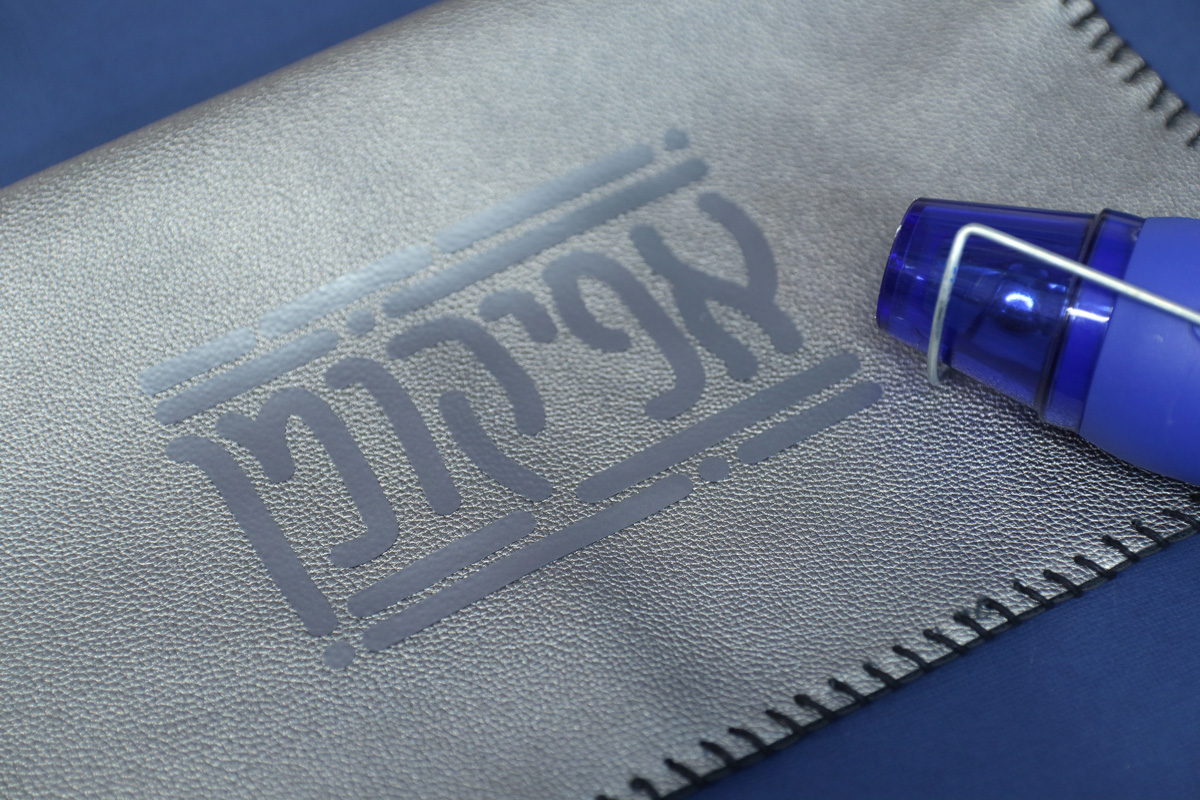
Your DIY Afikoman bag is complete! I hope you had fun crafting it!
Download your free Afikoman SVG
Download your free template! It’ll arrive right in your inbox. By downloading, you’re subscribing to our FREE newsletter with updates on cool printables like this, ideas to simplify Jewish life, and more. Unsubscribe at any time at the bottom my emails. I respect your privacy and the law, and won’t share or sell your email address.
