DIY LEGO Kippah – Monogram Yarmulka Idea
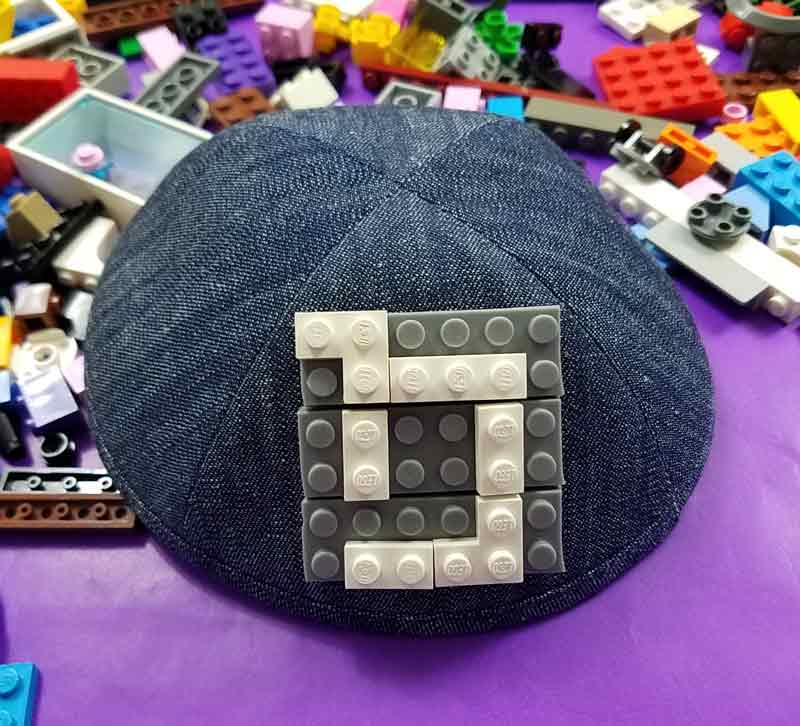
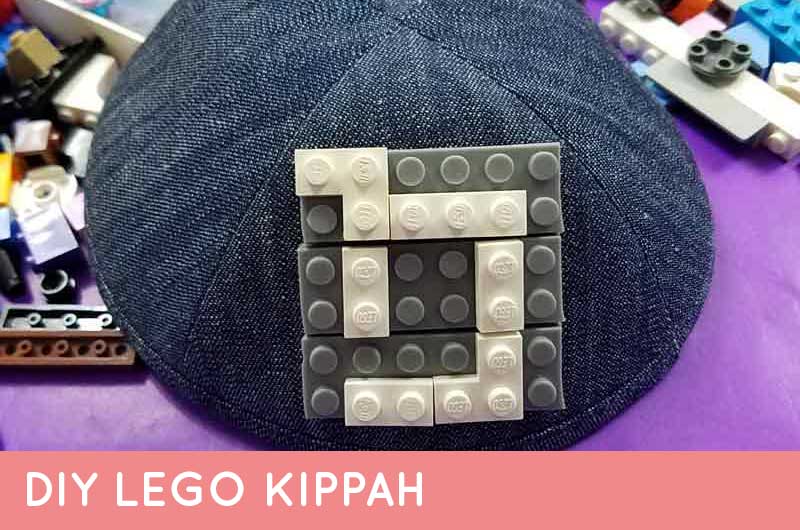
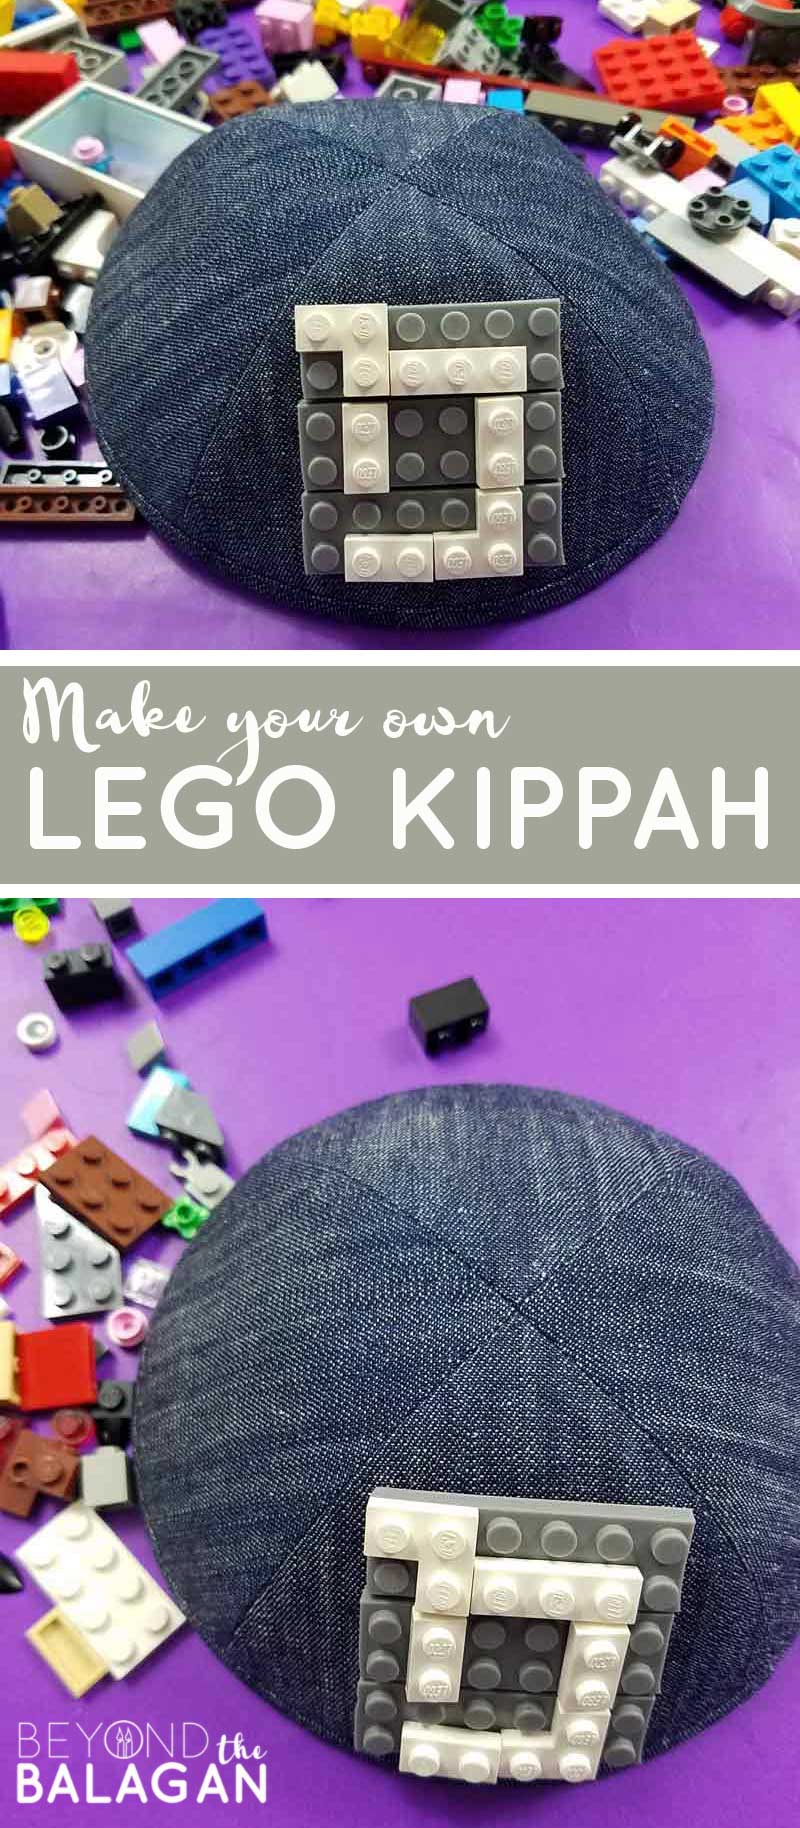
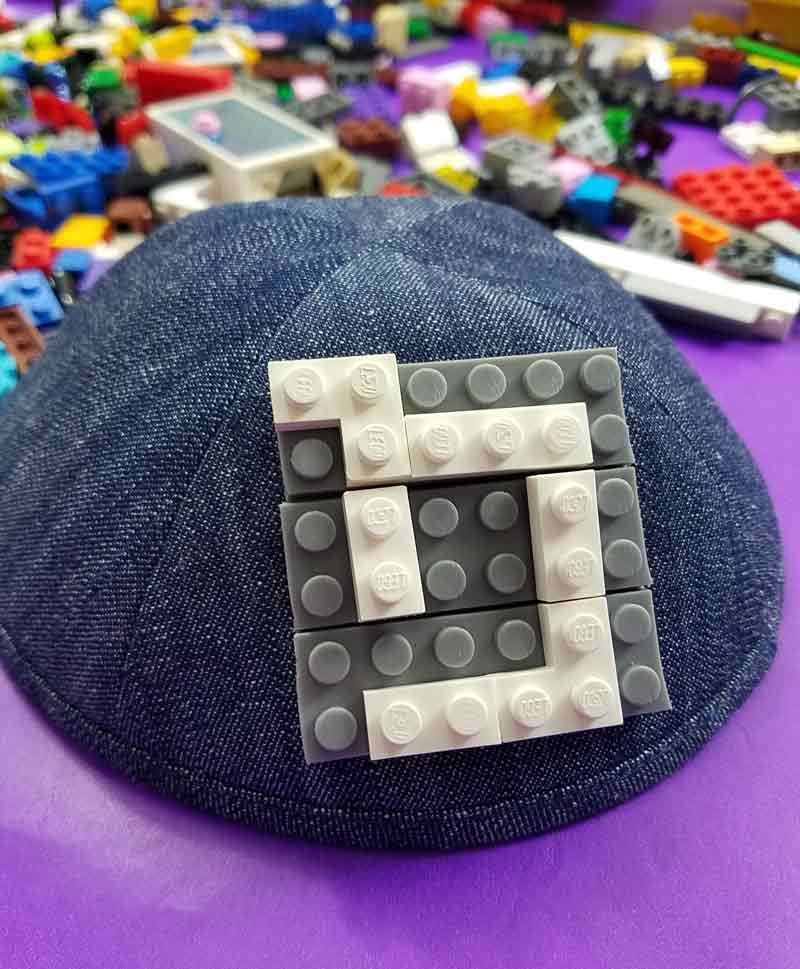
I created this super easy DIY LEGO Kippah for my LEGO-obsessed four year old and he loves it! It’s simple and inexpensive to make, and super wearable. It’s a great alternative to my Hebrew letter applique kippah – or make both! Disclosure: this post contains commissioned links and images.
A while ago, I was shopping in a local Judaica store and I came across the most adorable LEGO kippahs that actually had LEGO pieces on them!
I thought it was the cutest thing ever and while the actual Kippah was too expensive, I decided to try and make it.
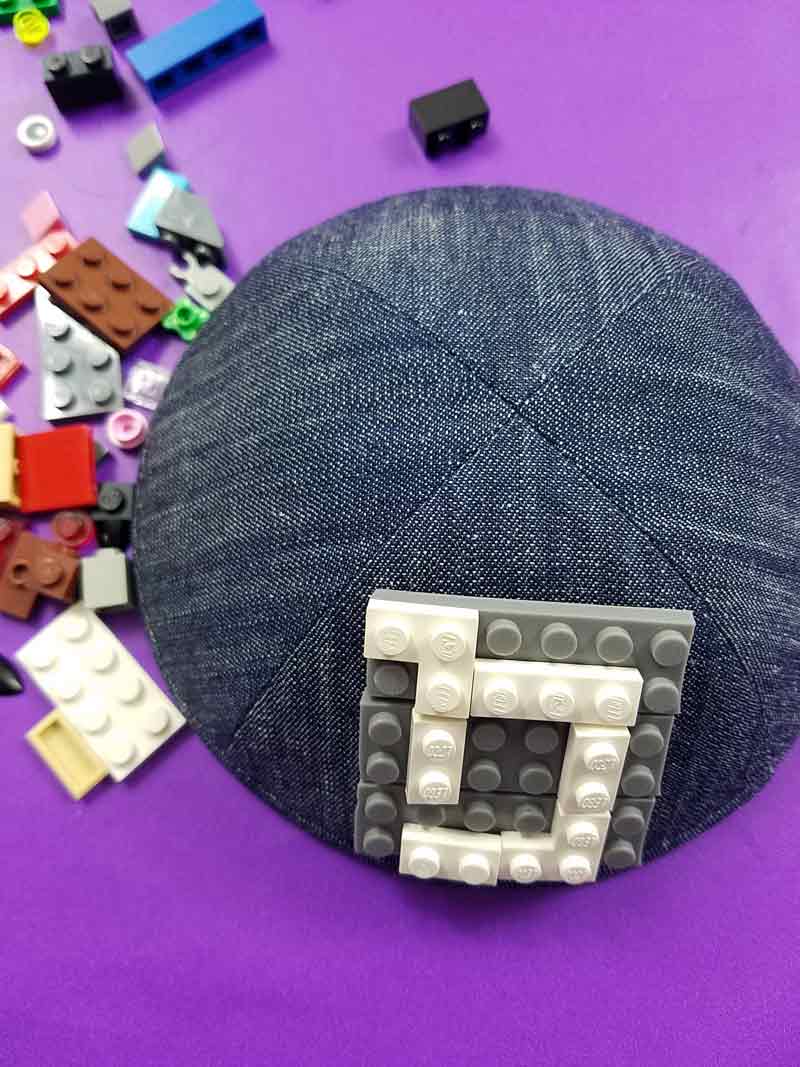
I used flexible brick tape strips (I used about half a package on this) and a few bricks from M’s collection (which we obviously already had.) The Kippah was an inexpensive denim one that M loves (the same kind that I attached an applique to some time ago).
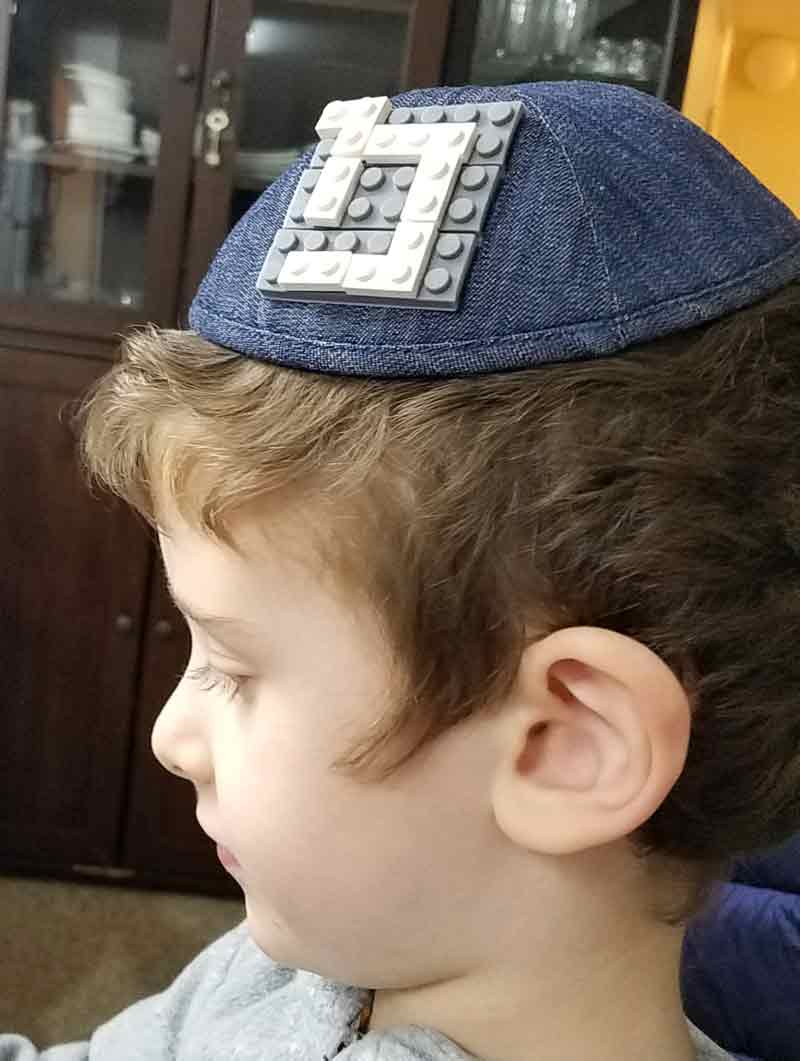
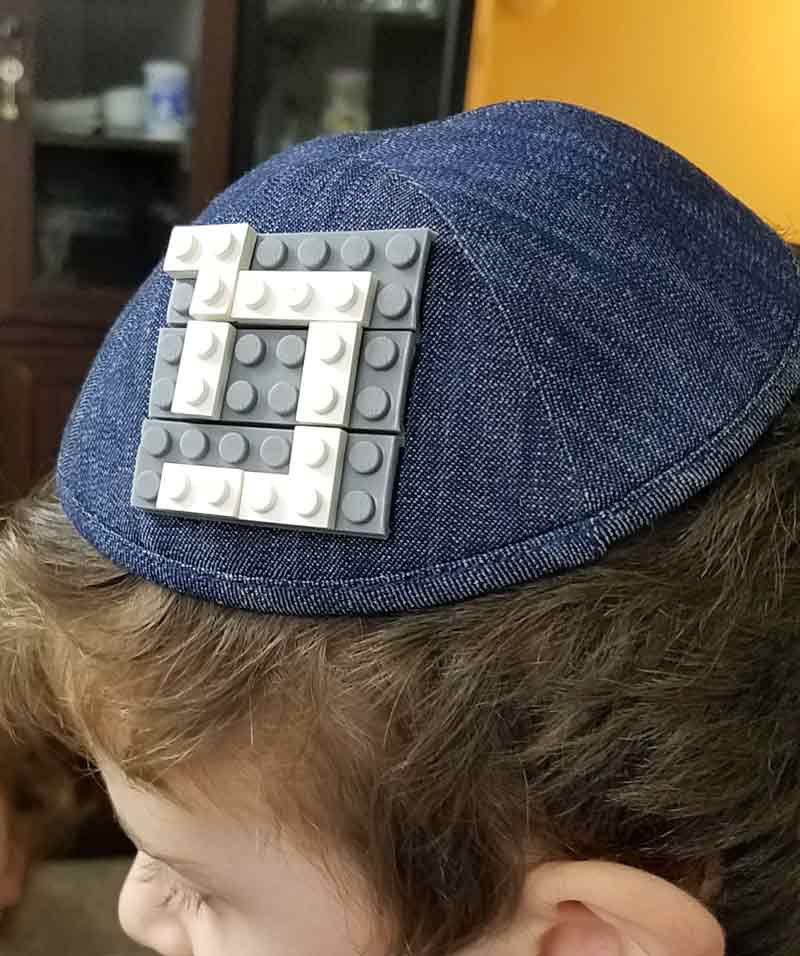
M is obsessed with it and wears it all the time (although naturally he insists on wearing his PAW Patrol cap over it, but, y’know, it’s still very important that he have the right Kippah underneath…)
To answer all your questions before you ask them:
- I DID glue the LEGO bricks on. The tape isn’t 100% – it’s not really a good play surface for LEGO (hence the poor reviews on most brands you’ll find), however visually it makes a great surface for LEGO crafts like this. I also figured the pieces would just get lost and the main goal is the fun design.
- The brick tape is a flexible silicon, so it works comfortably with the curve of the kippah (and it comes curved in the roll).
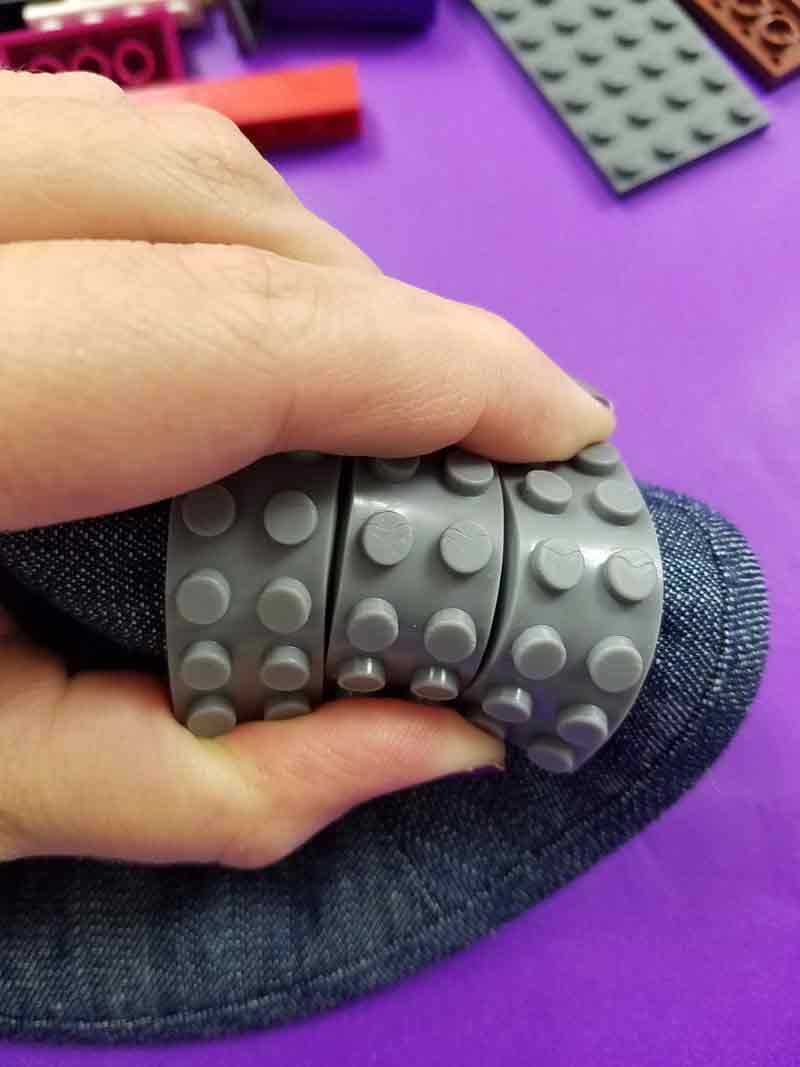
- I liked the fact that it’s just two holes wide because that allowed it to be flexible the other way too.
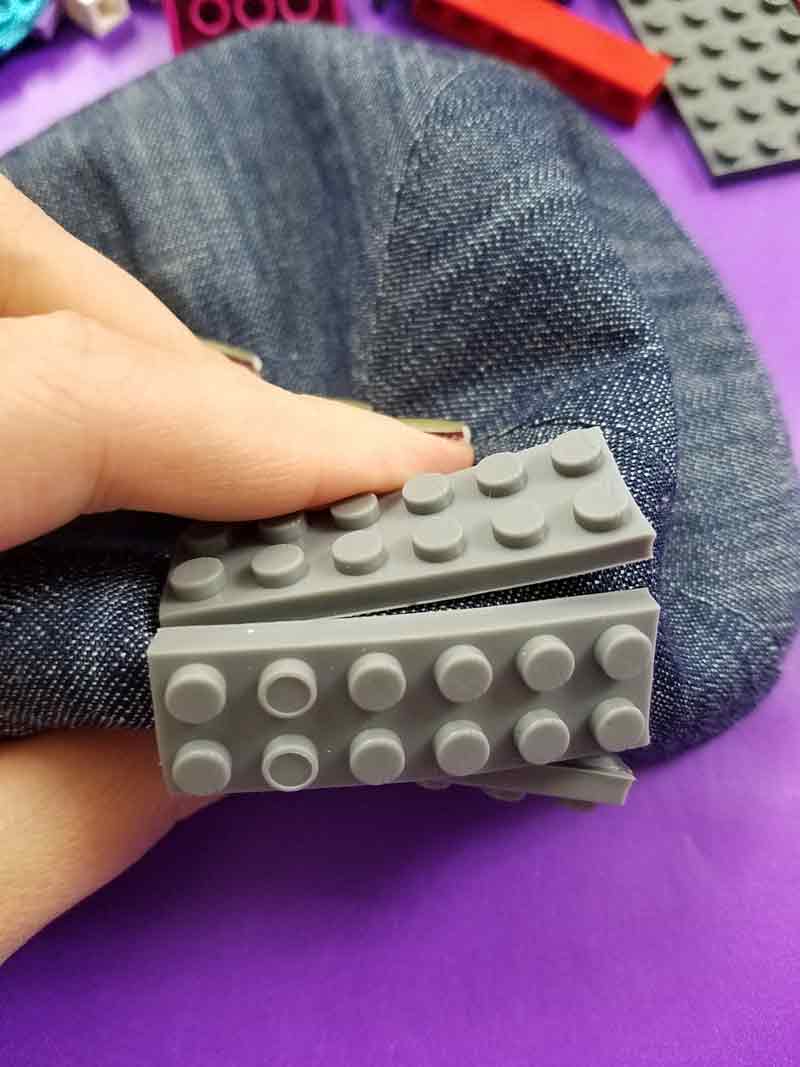
- I DID rely on the adhesive of the tape itself and it stuck very well. Many reviewers of this product complained that it peeled the paint off walls, and that it didn’t stick to smooth surfaces. So it looks like it sticks very well to porous finishes but not smooth ones. The kippah I used is a somewhat rough denim, and LOTS of wears later it’s still strong. But when in doubt, just glue it on…
It’s completely different than the one I saw in the store, but I like it much better. It has character, is durable, but it’s still subtle and not outlandish. M has other colorful kippahs to choose from, this one is a nice neutral.
This DIY LEGO Kippah is a perfect Upsherin gift idea – or a great birthday or Chanukah gift for any LEGO loving child!
You can even make a matching LEGO cap or LEGO t-shirt with the leftover tape!
What you need to make a DIY LEGO Kippah:
- A Kippah
- Brick tape
- LEGO pieces to make up an initial or a favorite image (a car, a dog, a crayon…)
- E6000 glue
- Scissors
[show_boutique_widget id=”705411″]
How to make a DIY LEGO Kippah:
1. Trim your LEGO strips to size. I made a 6×6 square – so 3 strips, 2 pegs high and 6 wide.
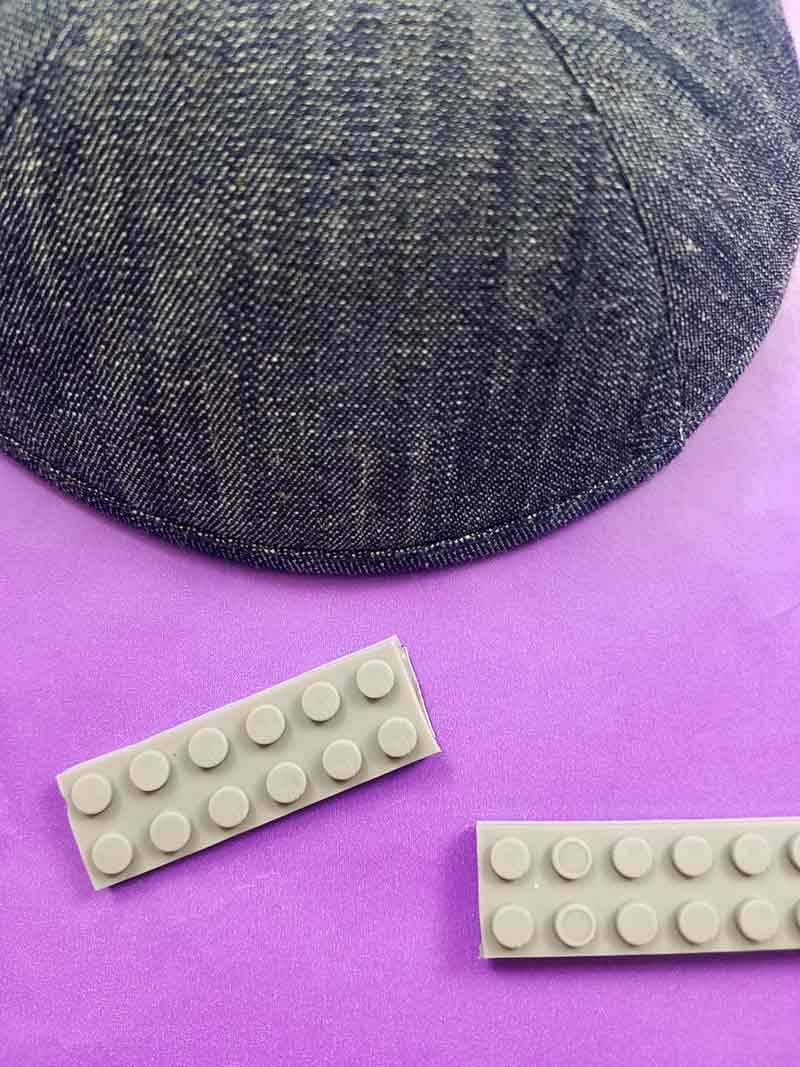
2. Remove the backing and stick them in place. Make sure it’s very secure. If it isn’t glue it in place (E6000 glue should be perfect).
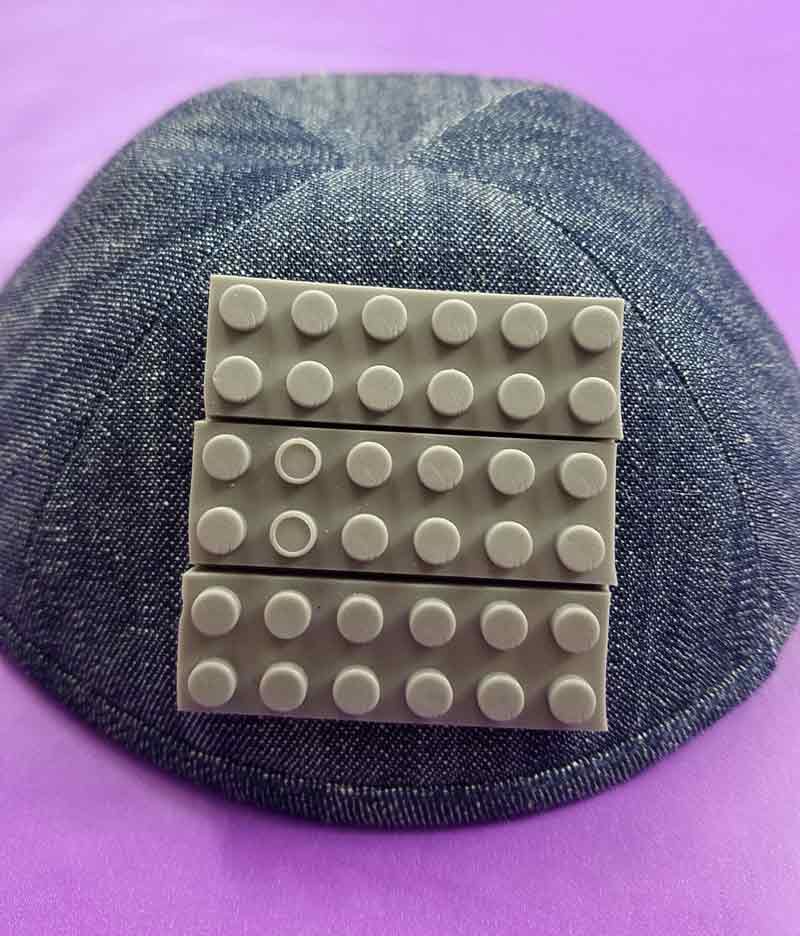
3. Plan your design by arranging your bricks. To be honest, this was probably the most time-consuming part of the project – it took me about 15 minutes to figure that “mem” out. This was NOT my final design. Be mindful of where the split between bricks is if you want to maintain the flexibility between rows and you would like it to sit nicely.

4. Glue your final letter in place. Allow it to dry completely before wearing.
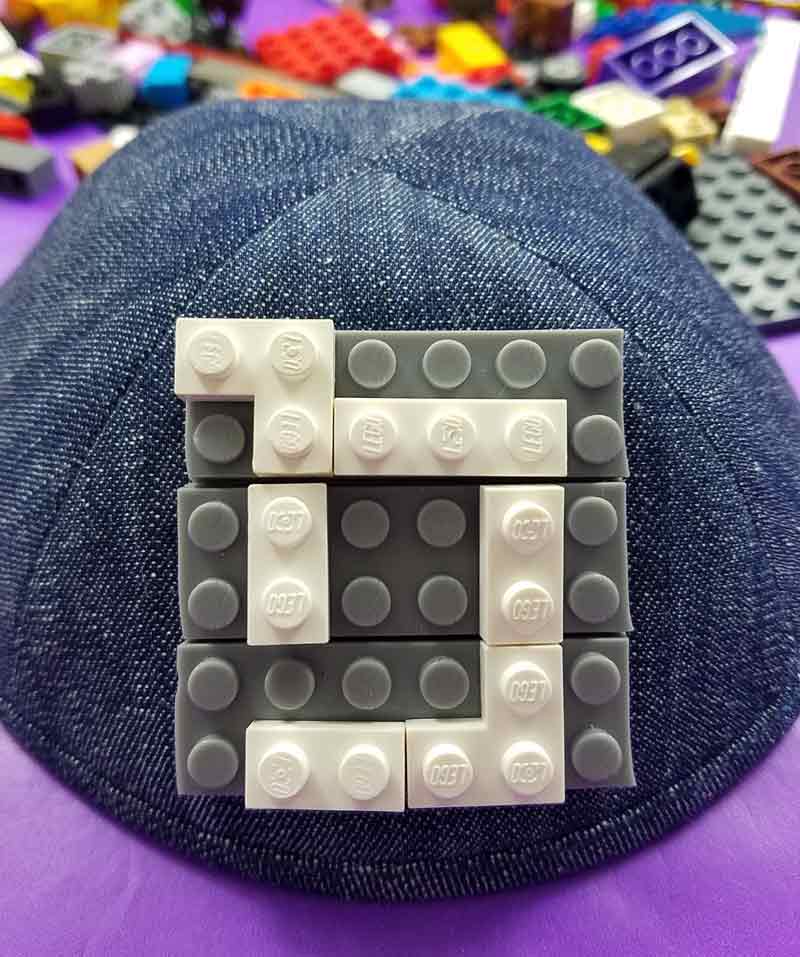
Your son will love this DIY LEGO yarmulke! M shows everyone “my Mommy made me a LEGO kippah” – and I’ll confess, I do feel a wee bit of pride when he does.
Who will you be making this LEGO kippah for? What’s your favorite way to DIY an initial kippah? Comment below!
