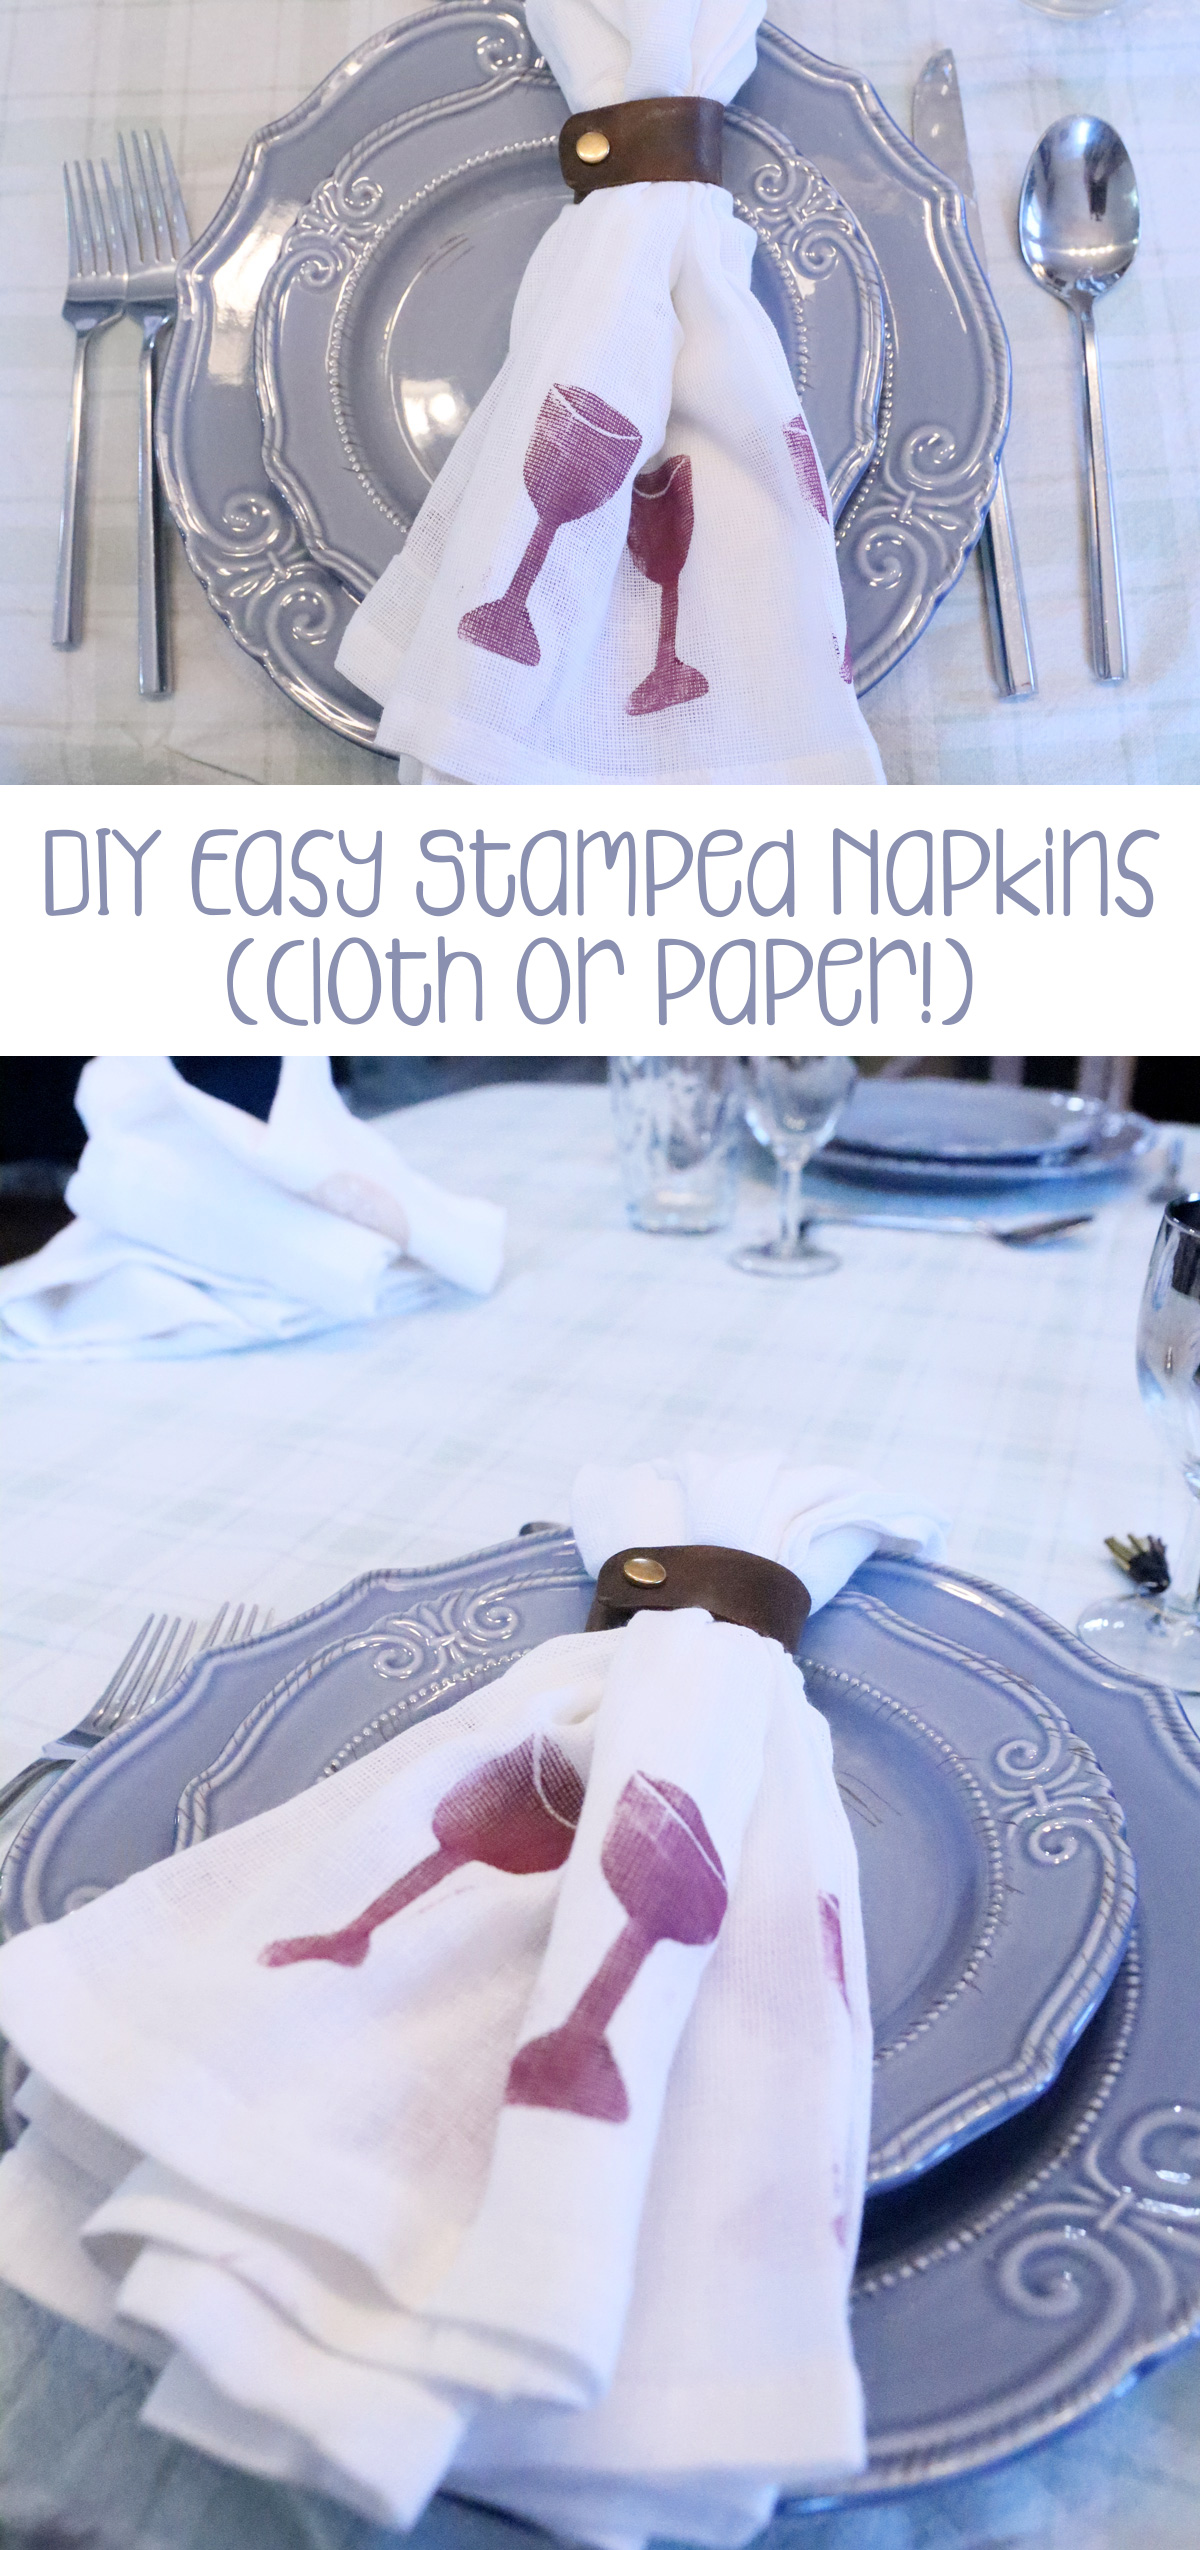
Make Your Own DIY Passover Napkins – An Easy Fabric Printing Tutorial
Learn how to craft your own DIY Passover napkins using this clear tutorial with a free template! When you’re done, try crafting this embroidered Matzah cover too. This post contains affiliate links.

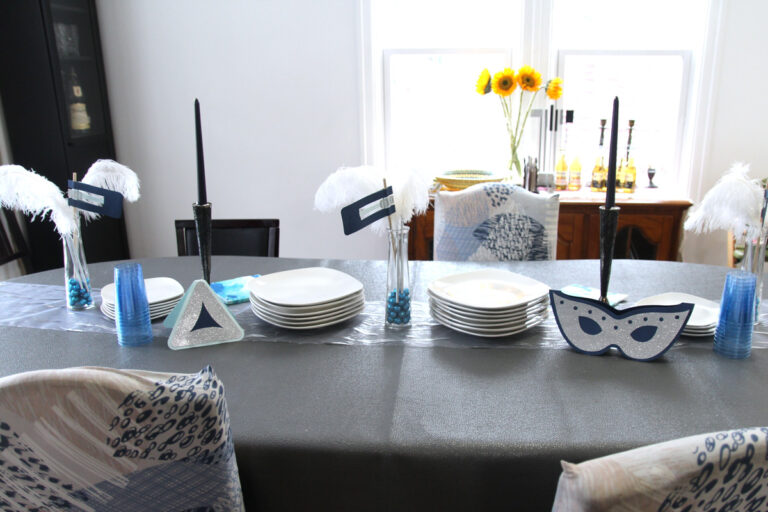
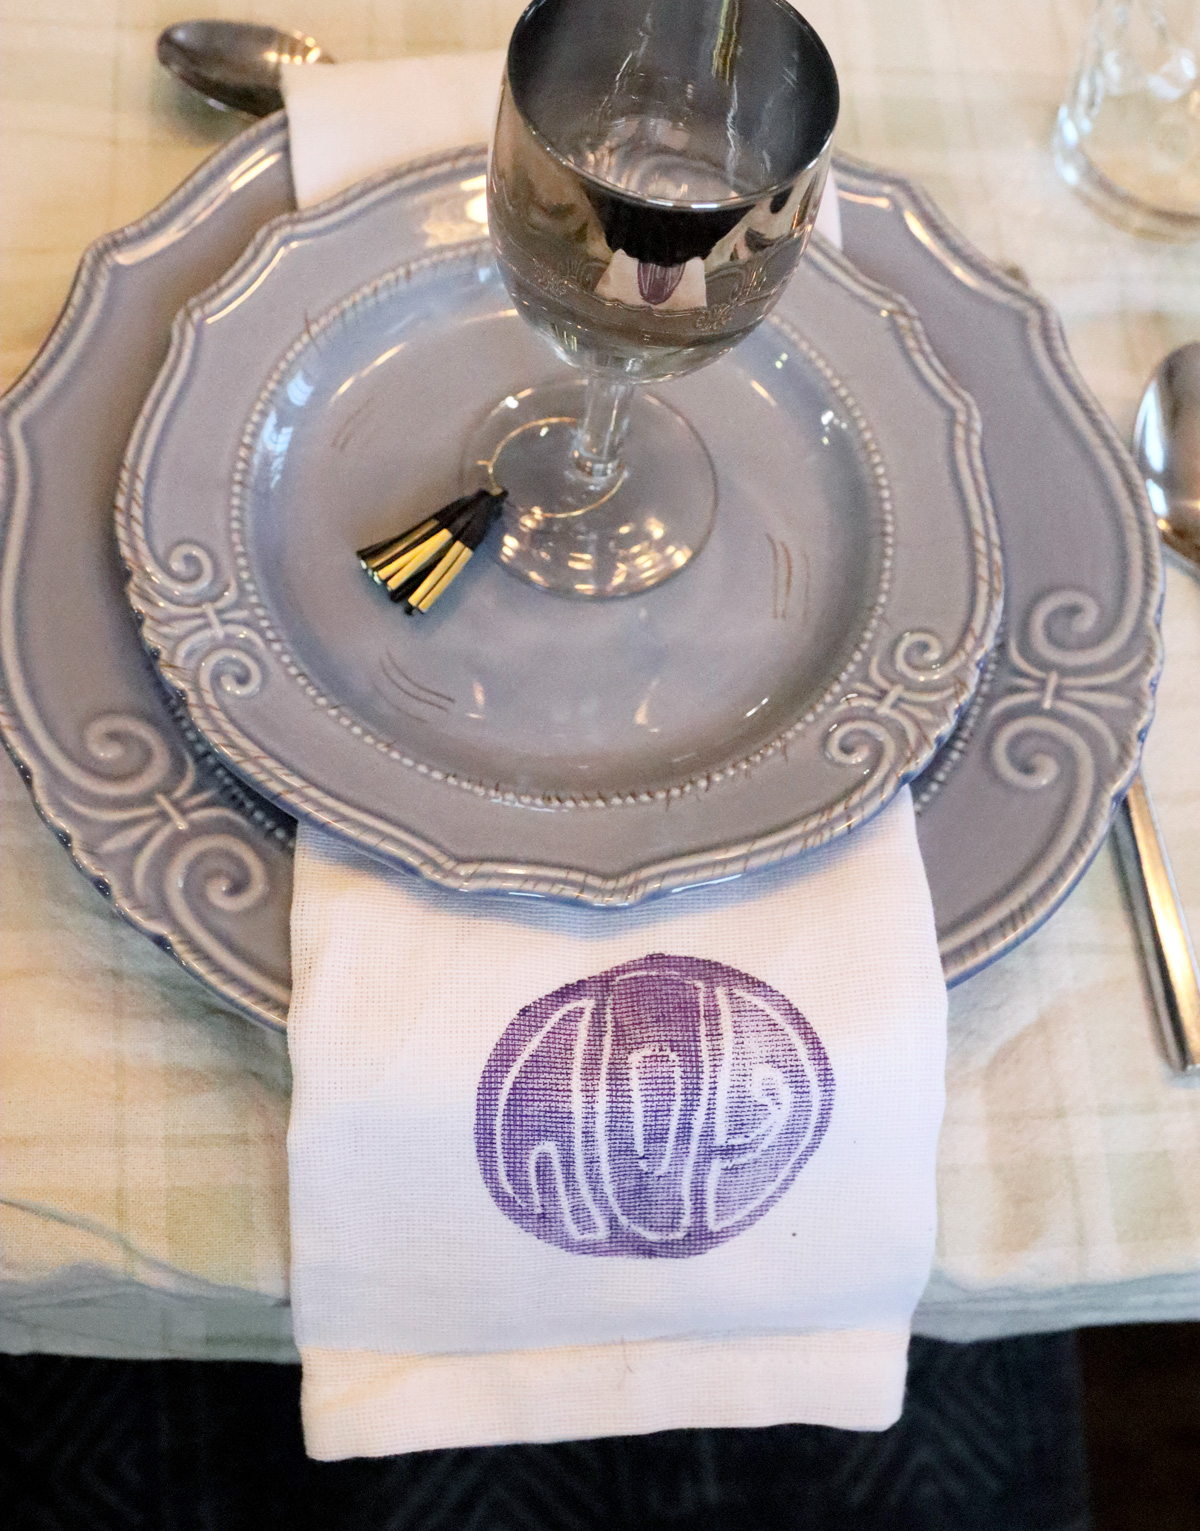
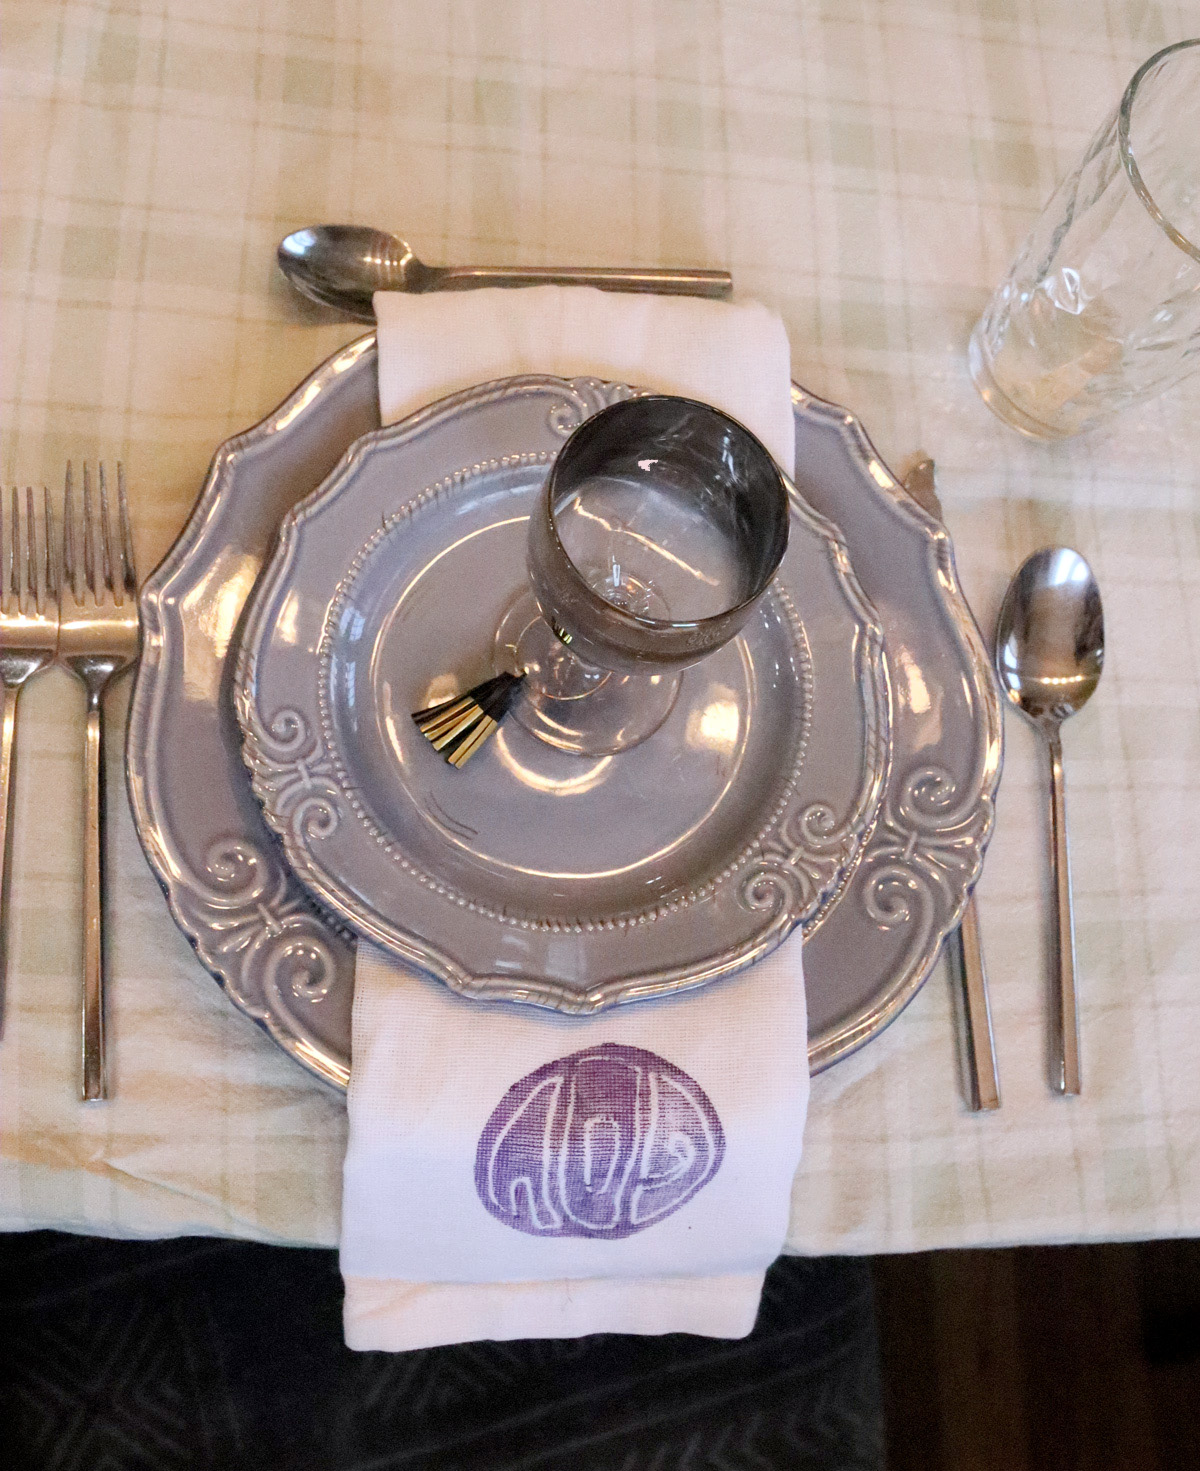
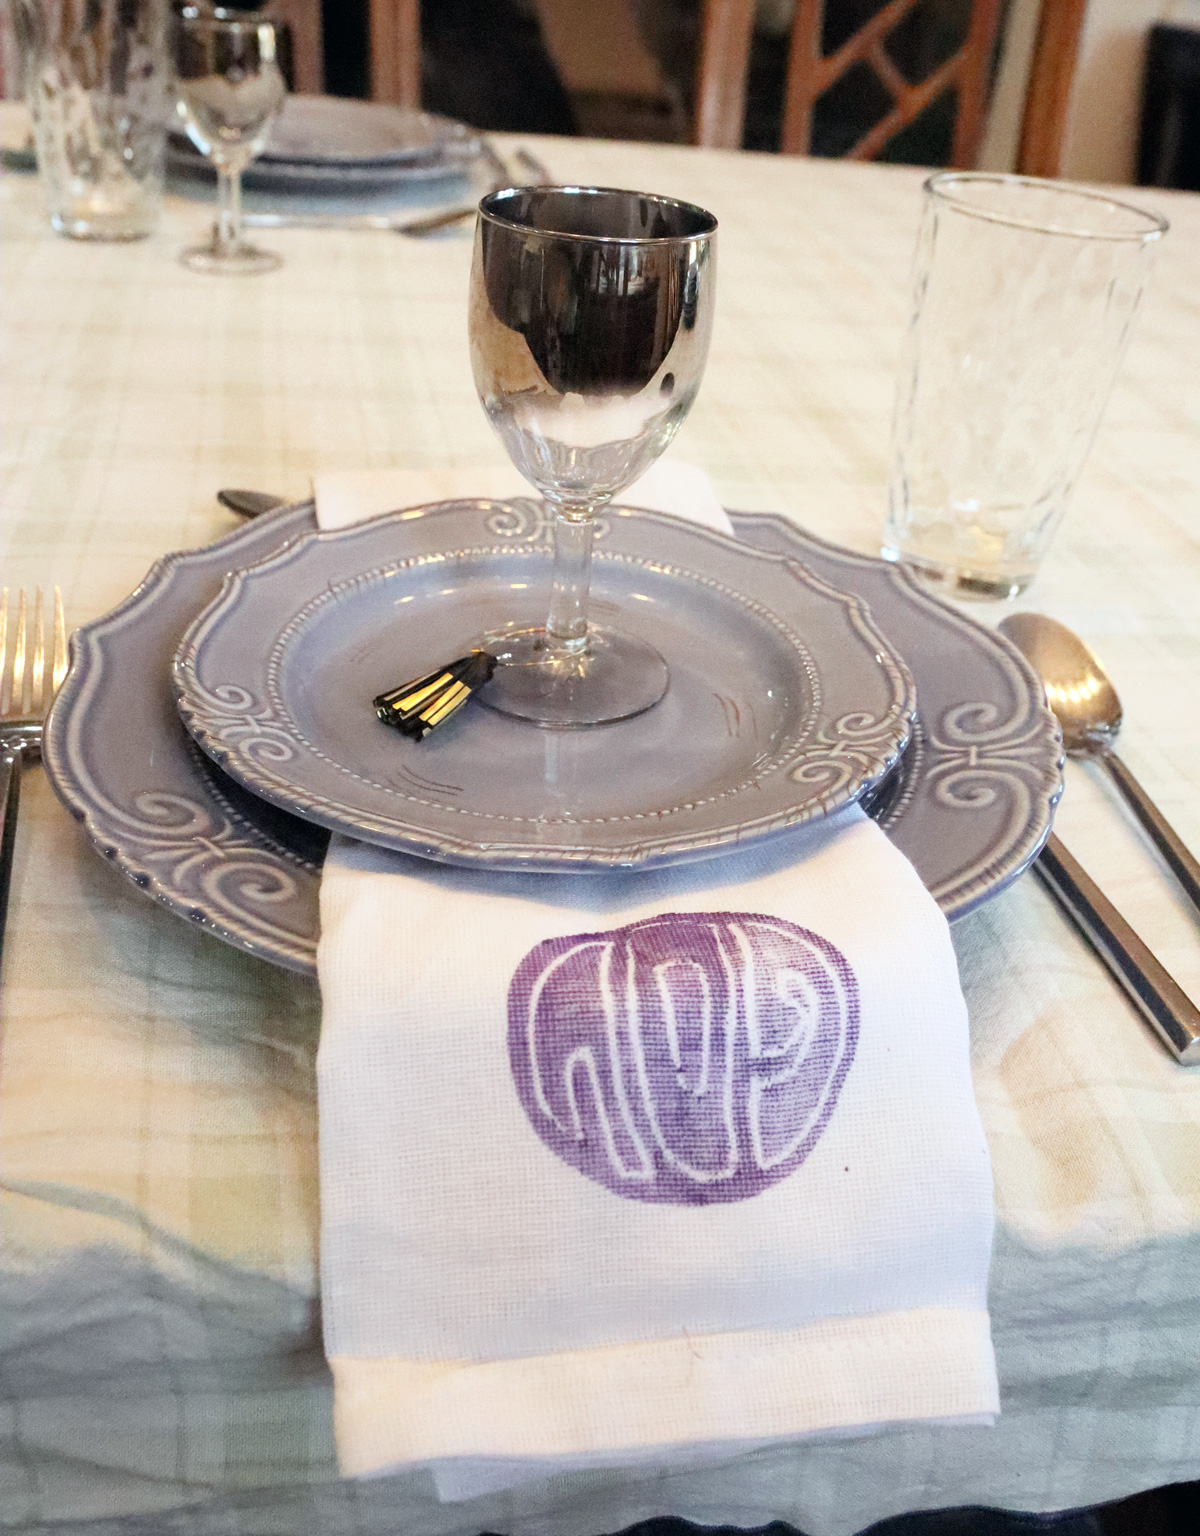
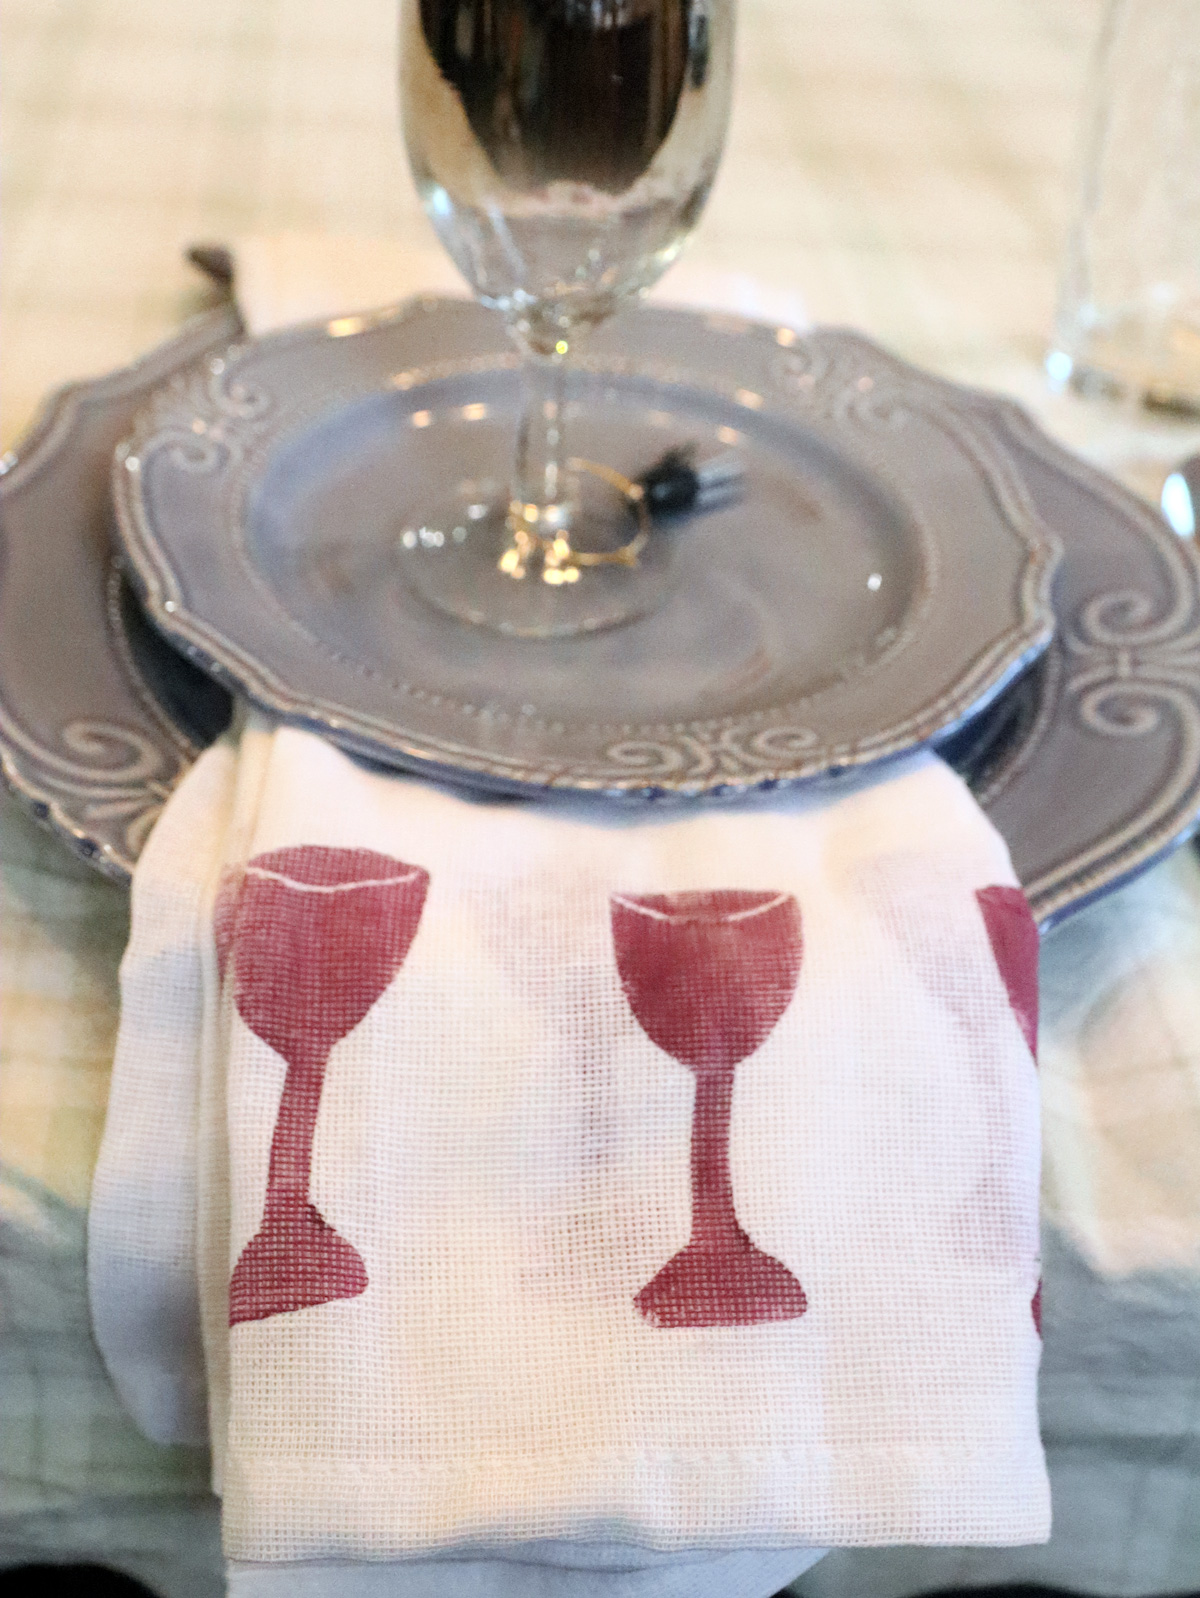
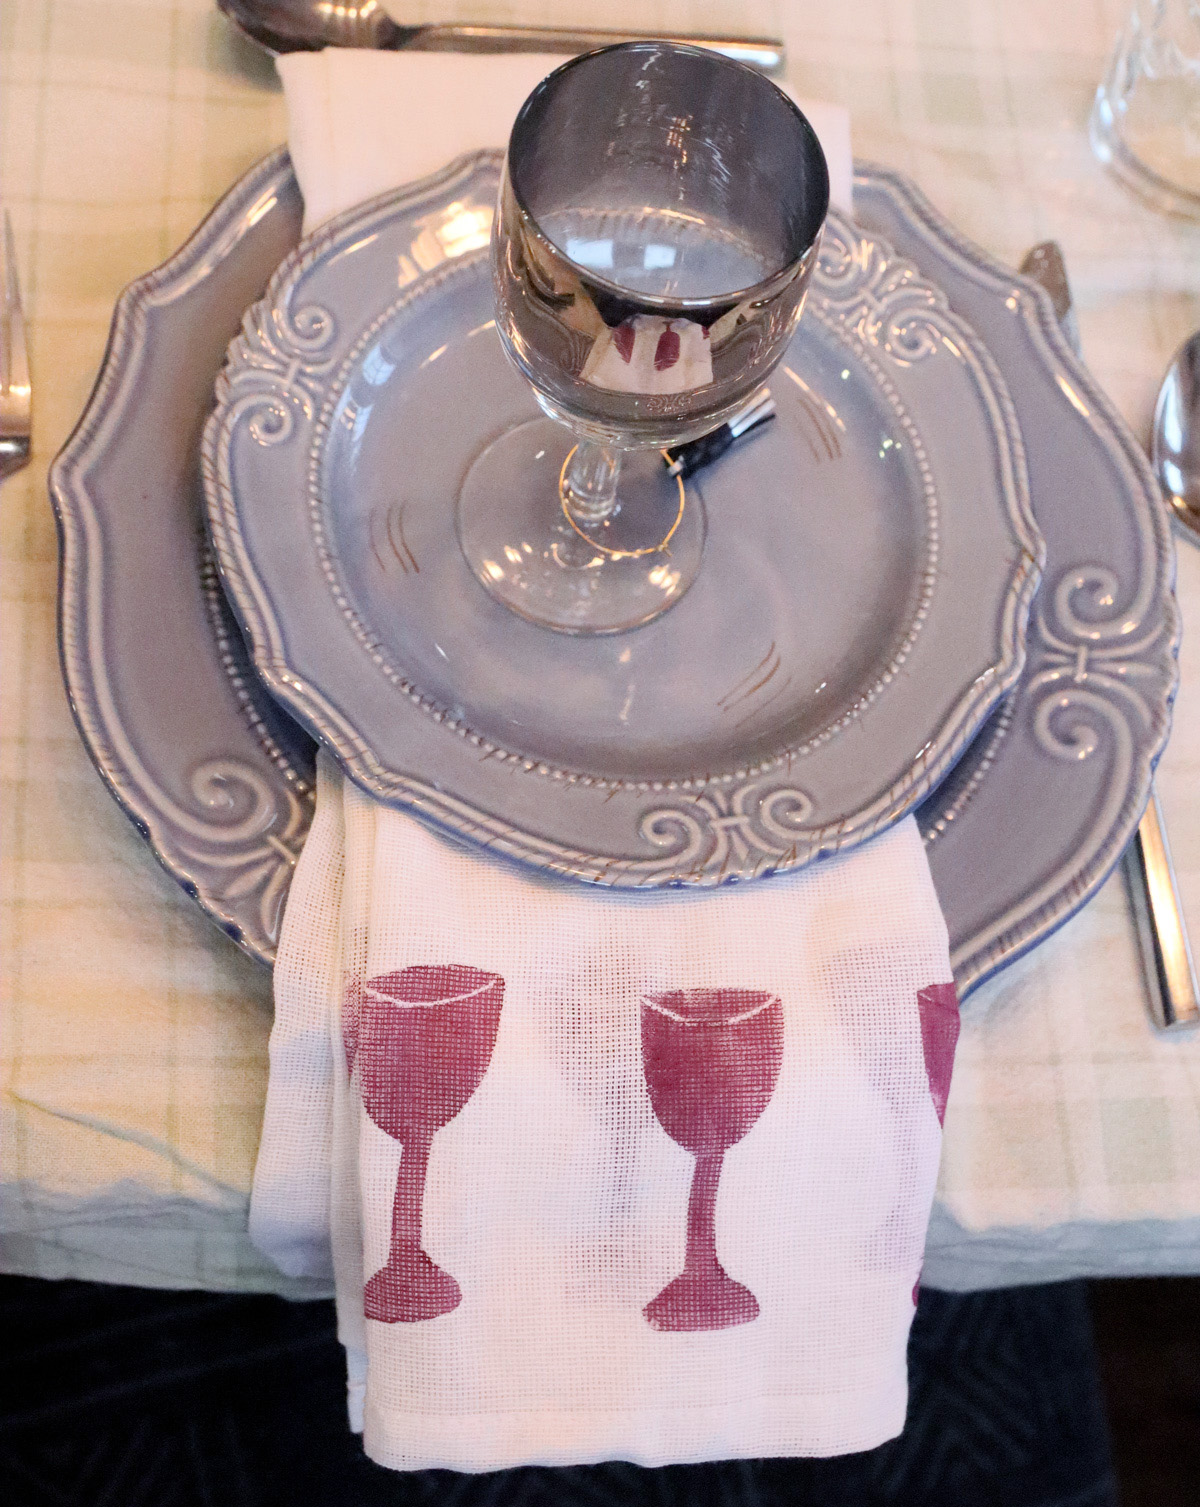
If you’ve followed along with my social media, you’ll know that I love setting a beautiful holiday table. I challenge myself to set things up for a gorgeous Shabbat dinner every week, in fact.
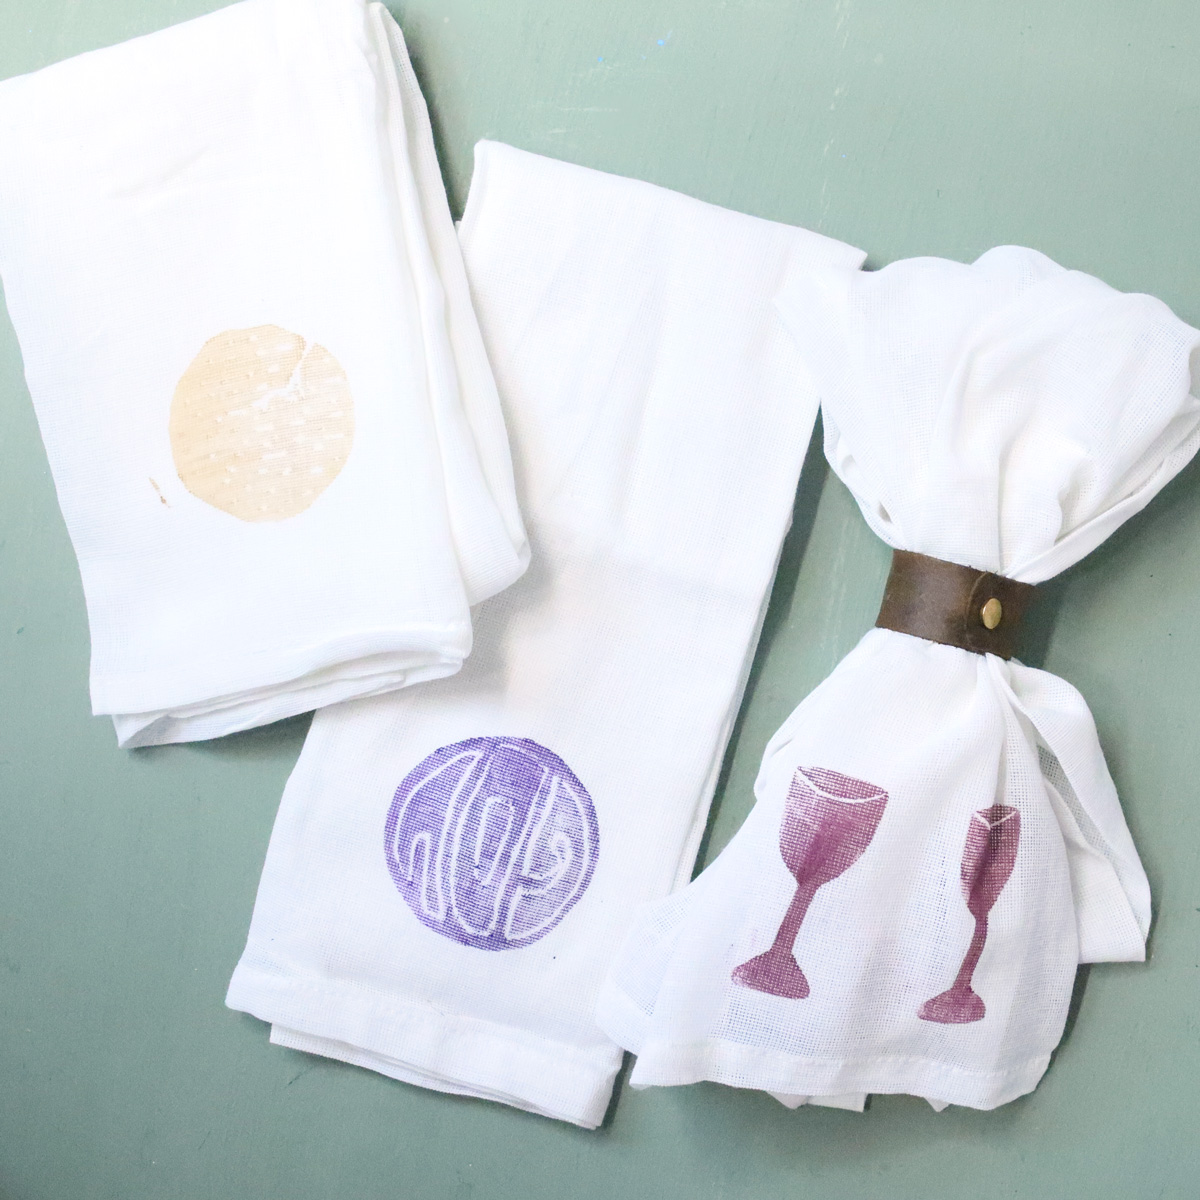
With Pesach around the bend, I wanted to try a technique that I did NOT master in the past again, and share the results, including the tricks you need to make it work. I decided to hand stamp some beautiful DIY Passover napkins using the craft foam technique.
Yes, this uses craft foam to make the stamp!
Choosing Your Materials for DIY Passover Napkins
Let’s explore the basics of what you’ll need to make these gorgeous fabric napkins, because materials really do matter here.
The base napkin
The main thing you need in your base napkin is to know that it’ll actually absorb the ink. In the past, I tried this technique on placemats, and it didn’t work. Some absorbency in the base fabric is important.
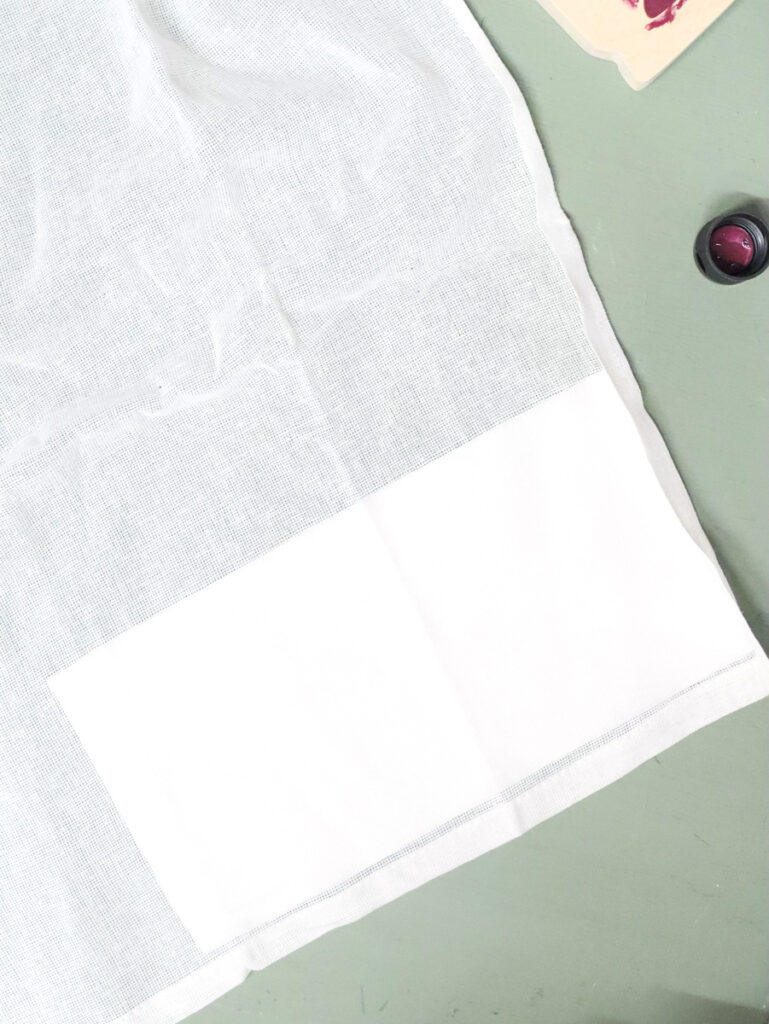
You’ll want to test one napkin before stocking up for a whole craft. The ones I used are actually flour sack towels. They make for a very generous sized napkin. Hypothetically speaking, real fabric napkins should work too, but again, you’ll want to try it first.
Will it work with paper napkins?
After I did this, I tested it on paper dinner napkins too. It worked, though it was a bit less forgiving (that is, a bit of shadowing or mistakes showed up much stronger). I do plan to make a set of paper napkins for this year too.
Since it’s a bit lower expenditure, you may want to test a few different paper napkins to see which shows up best for you. I used very soft, towel-y napkins.
The Fabric Paint
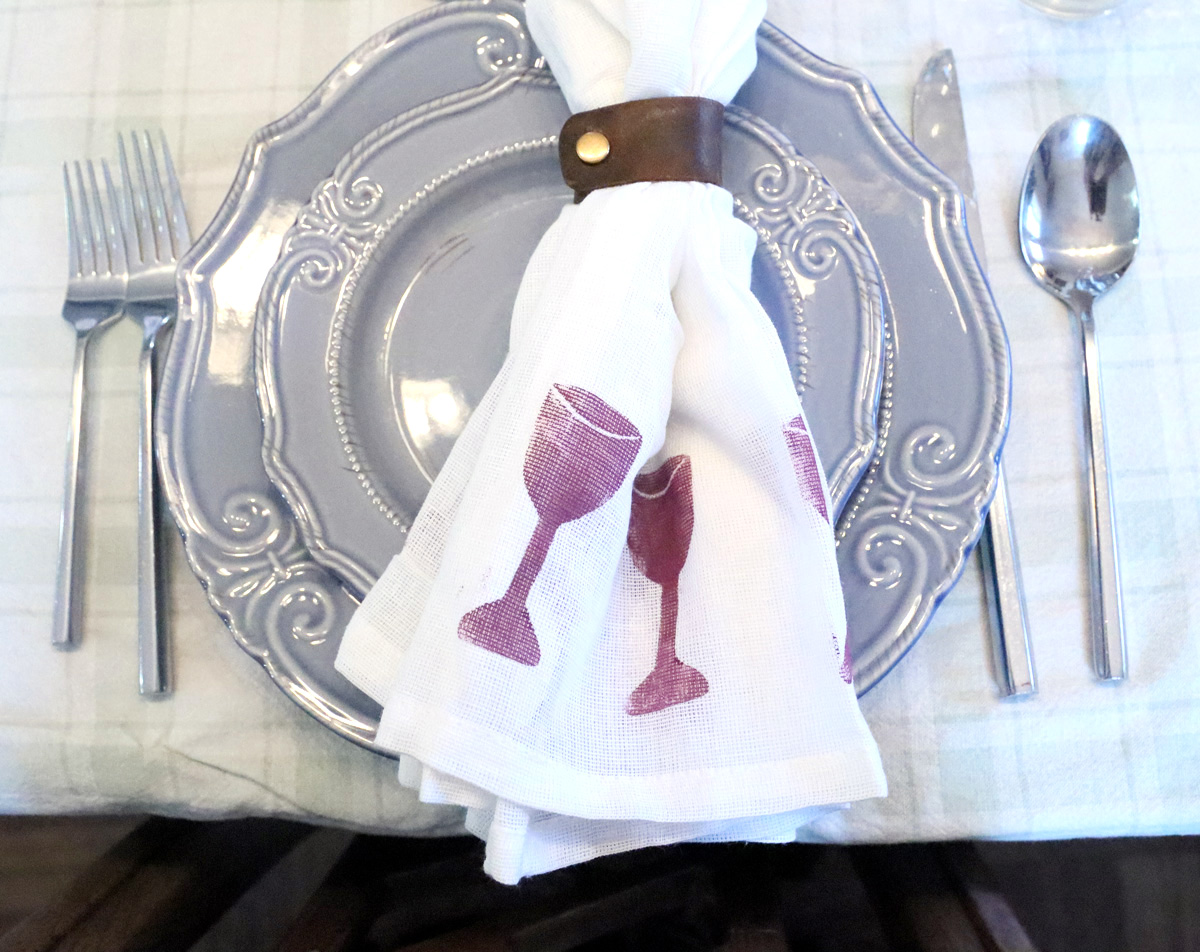
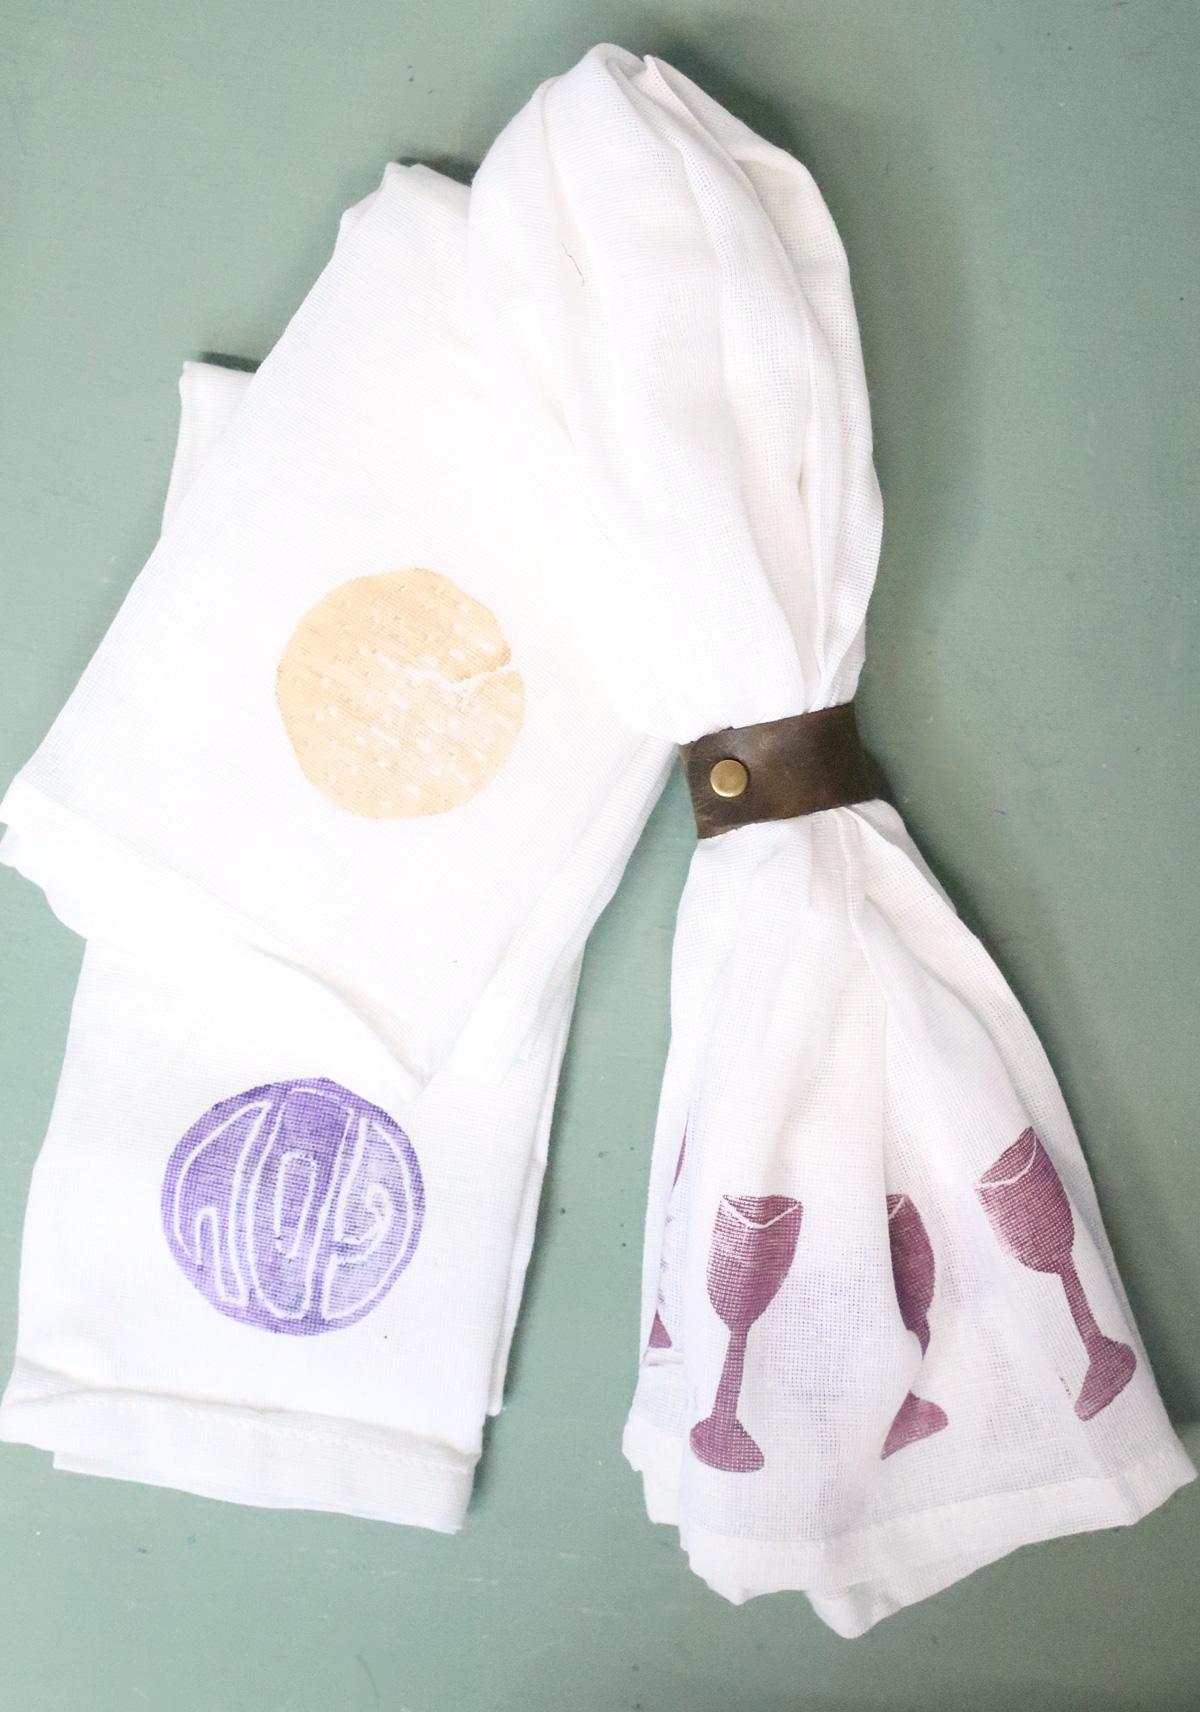
To make these DIY Passover napkins, I used Fabric Creations Soft Fabric Ink. My favorite color was wine, but you can definitely try others.
It’s a very soft ink that comes in a paint-style formula. So it absorbs into the material – rather than sitting at the surface like a craft paint would – and really becomes part of the fabric.
You can definitely play around with acrylic paints. As long as they are permanent, they should work. They will sit at the surface of the craft more, but you can also try thinning them a bit. This might dilute the color, but if you have a need, I would definitely play around and give it a try.
The stamp itself
The stamp was made from craft foam, attached with double-sided tape on a gripper/handle/base.
You can print this template (it’s down by the instructions), choose your design, and then transfer it to foam (more on that soon). Cut it out to create the outline of the stamp.
Grooves and internal engravings are made using a pen (one that doesn’t work if you have that), or anything that with a little pressure will make deep marks in the foam. These are less consistent and reliable. The more “engravings” you have, the riskier your craft is and the more work you’ll have as you go along.

If you want to turn this into a “real” stamp, you can definitely purchase actual rubber stamp tools, transfer the design, and carve it using carving tools.
To hold the foam, I used a wooden chunky cutout. I had these around my craft room and they’re easy… You can definitely make a base for your foam using scrap cardboard boxes. Just cut 3 same-size pieces from a box – they should be slightly larger than your foam cutout, and a shape you can grip preferably. Use double sided tape or hot glue to layer them up for a thicker base and then attach your foam stamp.
Tips and Tricks for stamping DIY Passover Napkins
Ready for success? Here are the results of my experimentations, and tips for getting it right on the first try.
Template Transfer Techniques
One big challenge is how to transfer the template/design to the foam. This won’t be an issue if you’re making your own designs – or just visually copying mine – and I’ll share more tips on that below.
Meanwhile, here are two ways I tried, plus more ideas, with tips.
First, I tried just cutting out the main shape, outlining that with pen to cut out later. That part is easy. The challenge was the engravings. I tried just pressing in through the paper to make marks on the foam below. That works, but because the foam is such a soft base, the paper does tear. So it works, but it’s not a neat process.
The second way was to use carbon paper. That’s been pretty foolproof for me in the past on multiple materials – including rubber stamp sheets, and acrylic like with this Tzedakah box craft. However, here, the carbon paper was so finicky. It did not transfer nicely at all. Again, it gave me a functional result – especially if I’m willing to go over it again following the design off to the side as well.
Another way – the most consistent but time consuming – is to start by cutting out and outlining your outer shape. Then, cut out each of the internal parts, place it on your foam, and trace them individually.
Keeping things clean and lines sharp
As I went along with these DIY Passover napkins, there was one very important lesson: if you want clean stamps, you need to be patient and intentional with your process.
Using a paper towel to clean around the edges of the stamp before each application really keeps things from shadowing. Using a toothpick to clean out the paint from the engravings really helps keep them sharp.
As with every craft, the amount of effort you put into it can really show. With this one, you may be able to get away with doing it quicker, but it’ll just look less neat. A bit of variation is nice and provides a handcrafted look, but too much can get messy.
Heat setting your artwork
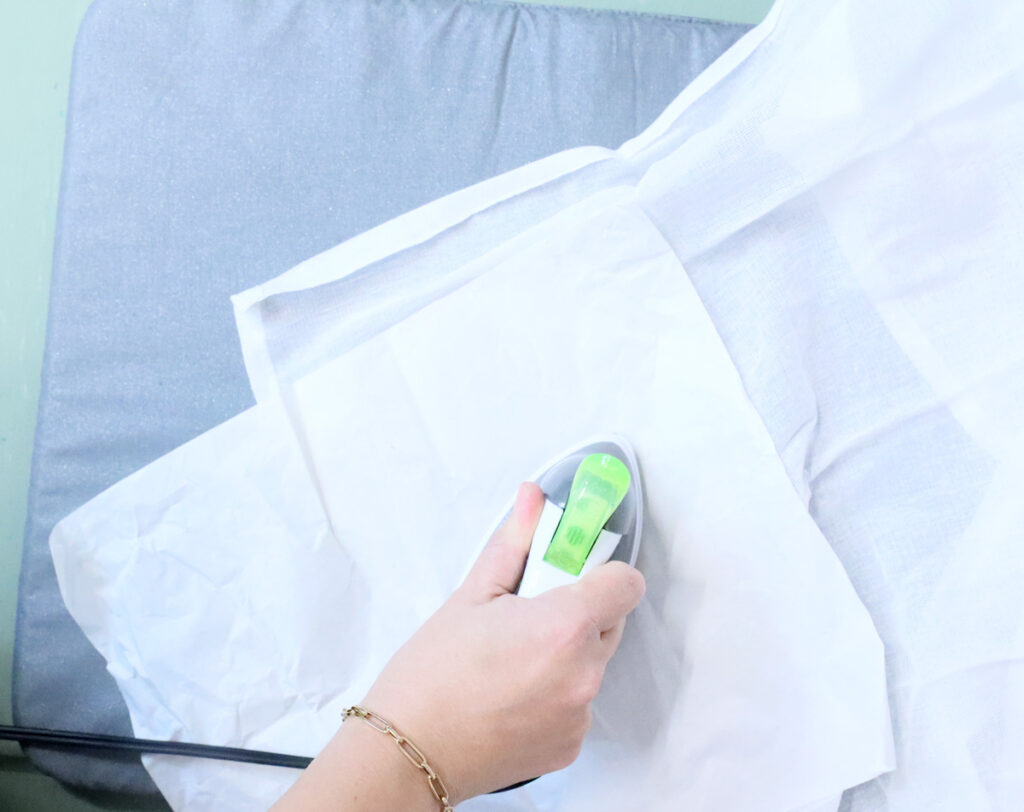
One step that I don’t recommend that you miss: heat setting your prints at the end. This basically just means pressing it with a hot iron to seal the color. It’ll ensure the colors don’t run and that your print remains sharp.
While not 100% necessary, it’ll really help preserve your work. There are ways around it (for example, dry it on hot) but that might otherwise ruin the napkin. If this is a quick kids’ school craft, you can press it for them, or figure that they’re meant to be disposable. But if you’re investing into making yourself a nice set of napkins that you plan to use for years (or gift), do heat set them.
Making your own artwork
I always love to encourage actual creativity, and these DIY Passover napkins are begging for that. In fact, it’ll be much easier to “transfer” the template if you’re just drawing it right on.
You can use my images as idea starters and then make your own, design your own from scratch, or a mix of the two. In fact, on the matzah template, I didn’t even put the lines – I left that for you.
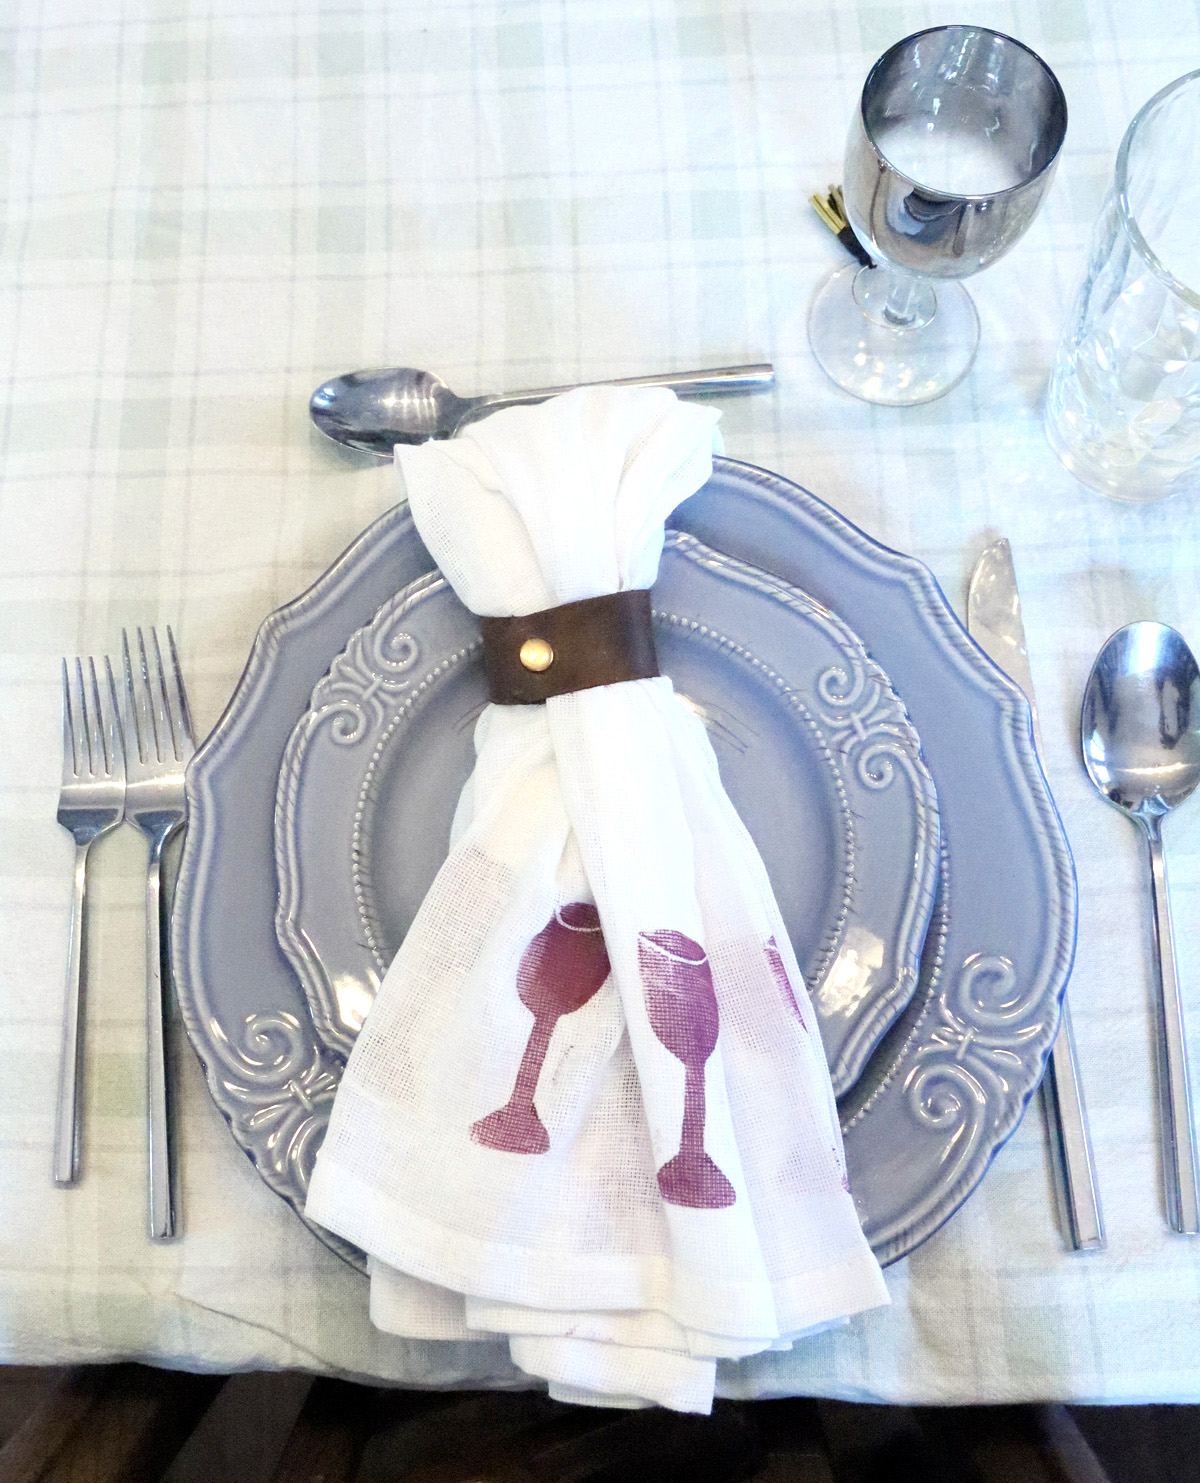
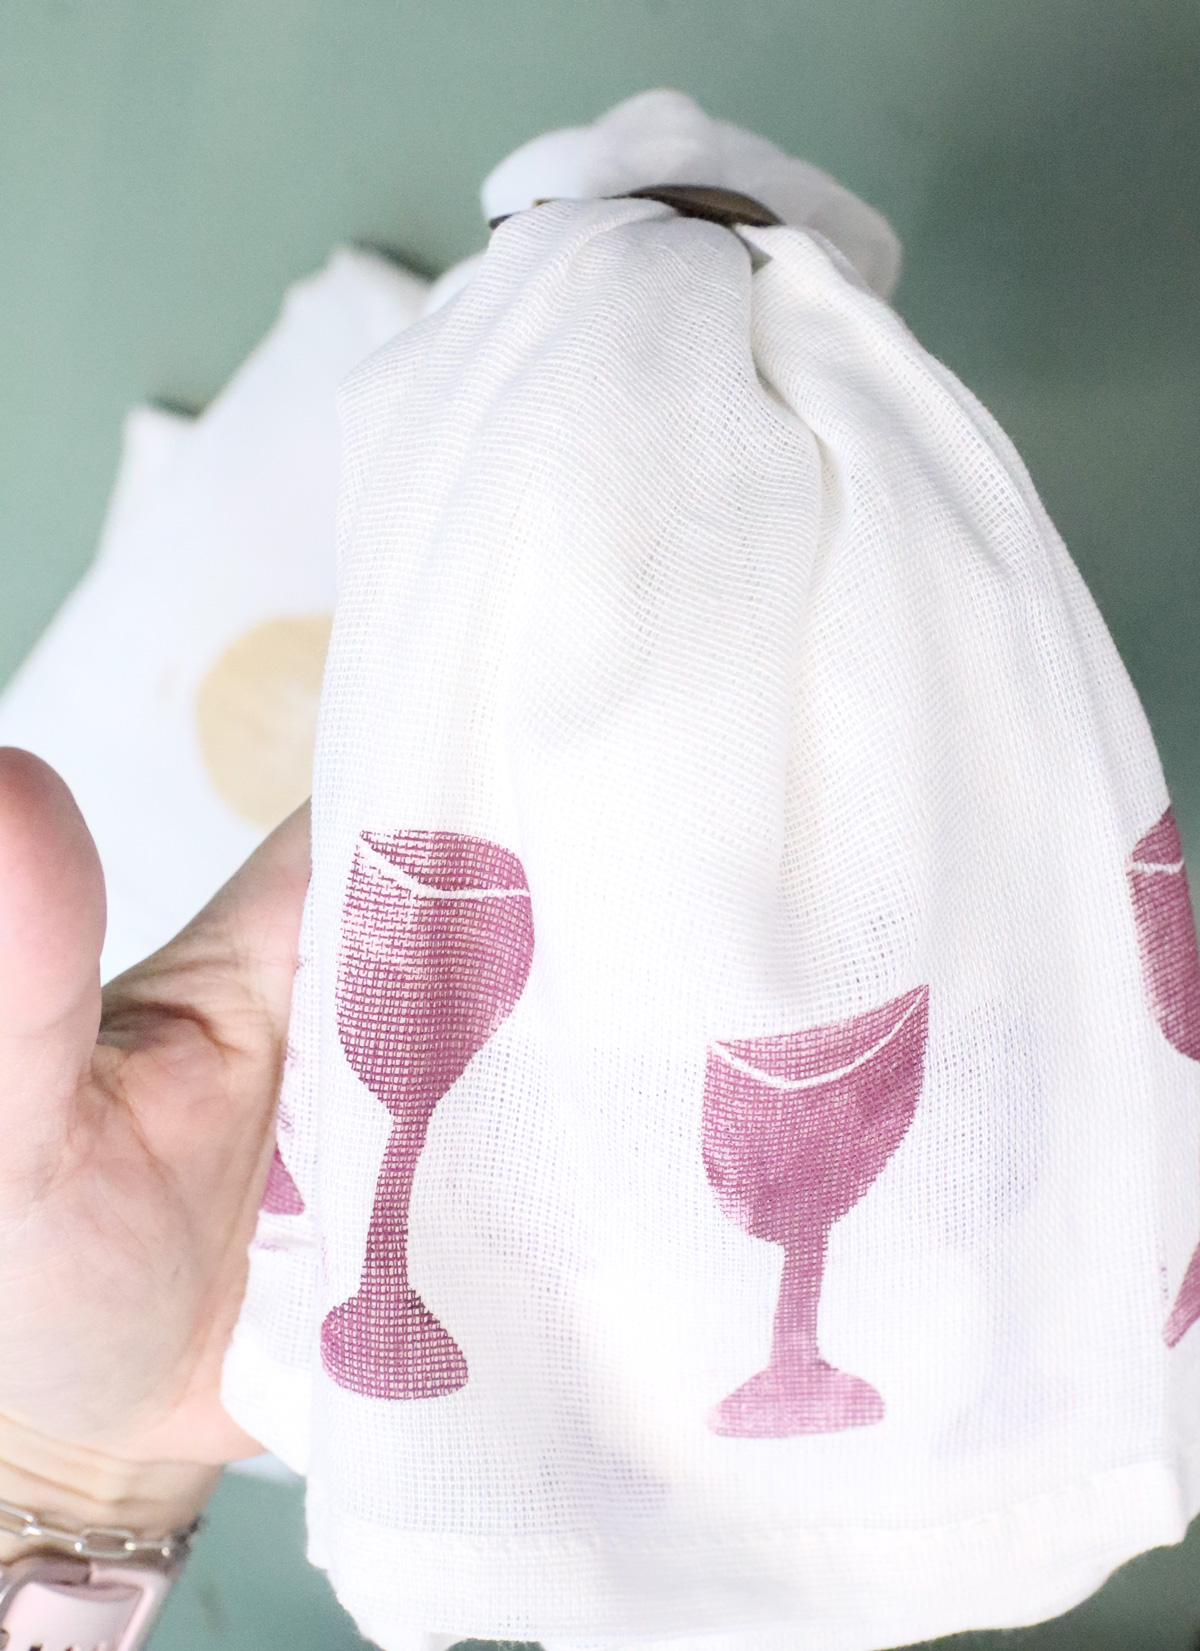
There are two approaches to making your own designs for this. One is to design it on a separate paper and transfer it, as if it’s a template. The other is to draw right onto the foam. I recommend the second option, but with keeping it simple. As I mentioned, template transfers on foam aren’t so easy, so you’ll be able to skip that. I drew my first wine glass right onto the foam.
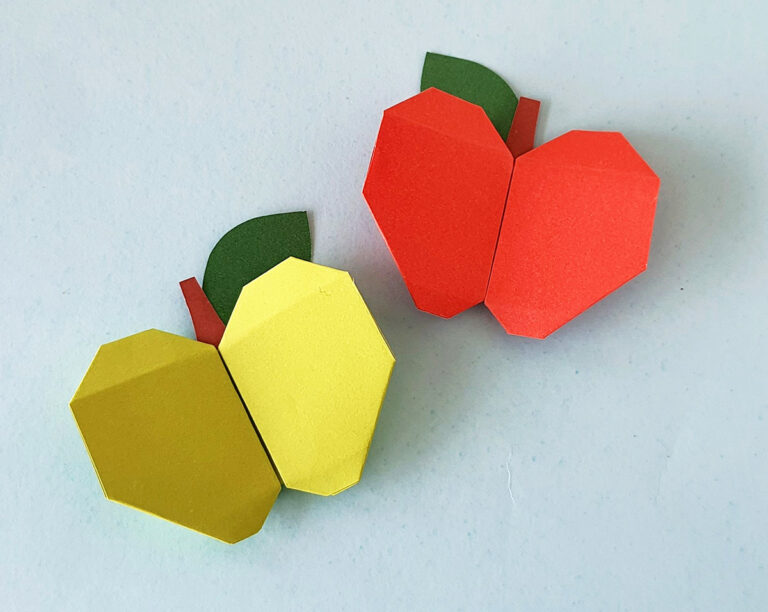
And just one final note: you can use this technique to decorate the same flour sack towels as Pesach towels, pouches as Afikoman bags, and more. This technique is so fun, looks great, and opens up so many new possibilities for customized home decor.
How to make DIY Passover Napkins – step by step tutorial
Materials needed
- Base napkins – I used flour sack towels
- Rigid cardboard to put behind the napkin
- Craft foam
- Double sided tape – I recommend this for adhering your foam to your base because it will keep it nice and flat.
- Wood blocks that are a bit larger than your design but “holdable” – 4×6 is a good size OR cardboard box scraps layered together
- Fabric paint
- A flat paintbrush
- Toothpicks
- Paper towels
- Pen and optional carbon paper for template transfer/grooving. If you have a pen that doesn’t work, that’s great.
- Iron
- Pressing cloth or butcher paper
- Something to iron on (a heat-resistant mat or ironing board)
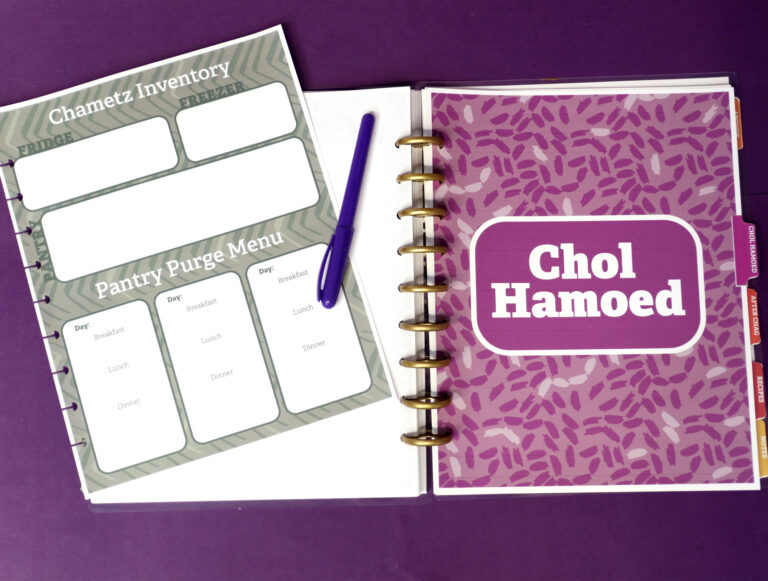
- The template – print it below
Print the Template
Download your free template! It’ll arrive right in your inbox. By downloading, you’re subscribing to our FREE newsletter with updates on cool printables like this, ideas to simplify Jewish life, and more. Unsubscribe at any time at the bottom my emails. I respect your privacy and the law, and won’t share or sell your email address.
Watch the video
Watch the full-length video on YouTube if you prefer to learn that way! Or scroll down for written instructions with photos.
Step by Step with Photos
1. Print your template on paper. Position it on your foam. Go over the design, pressing down hard with a pen. Note: for simpler designs, you can first cut the outer shape out – it’ll be easier to trace.
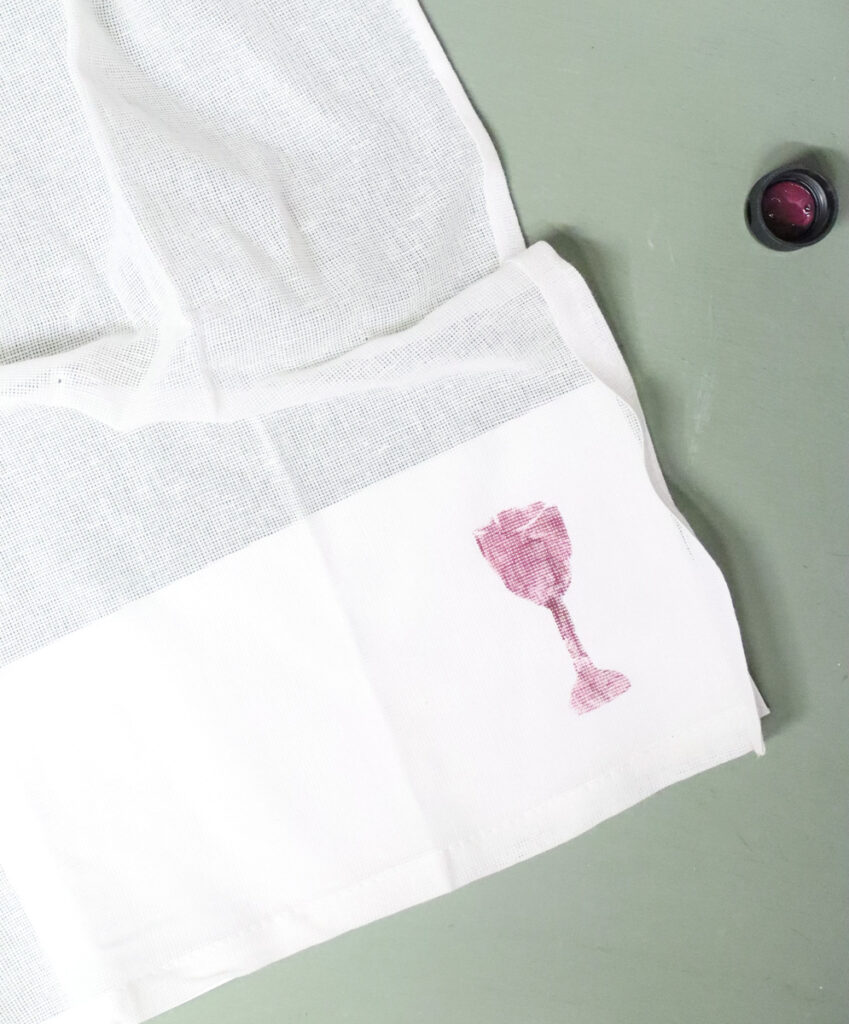
I recommend that you start with something easy, like this wine glass shape.
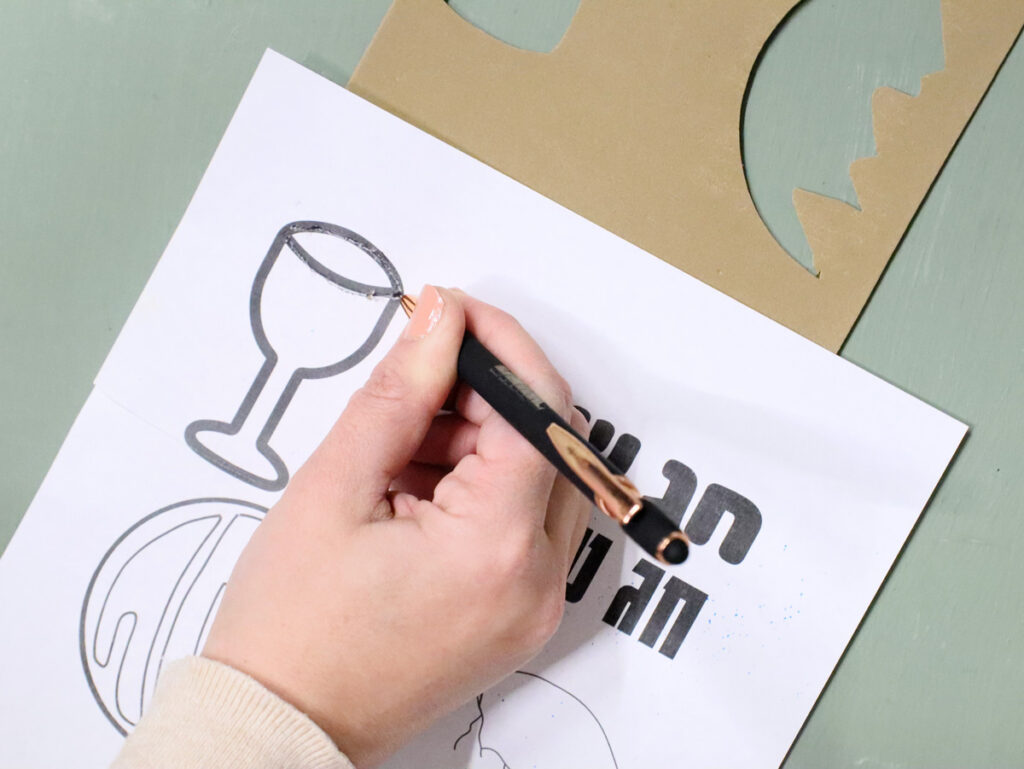
2. Press down with the pen to make a clear line for any engravings.
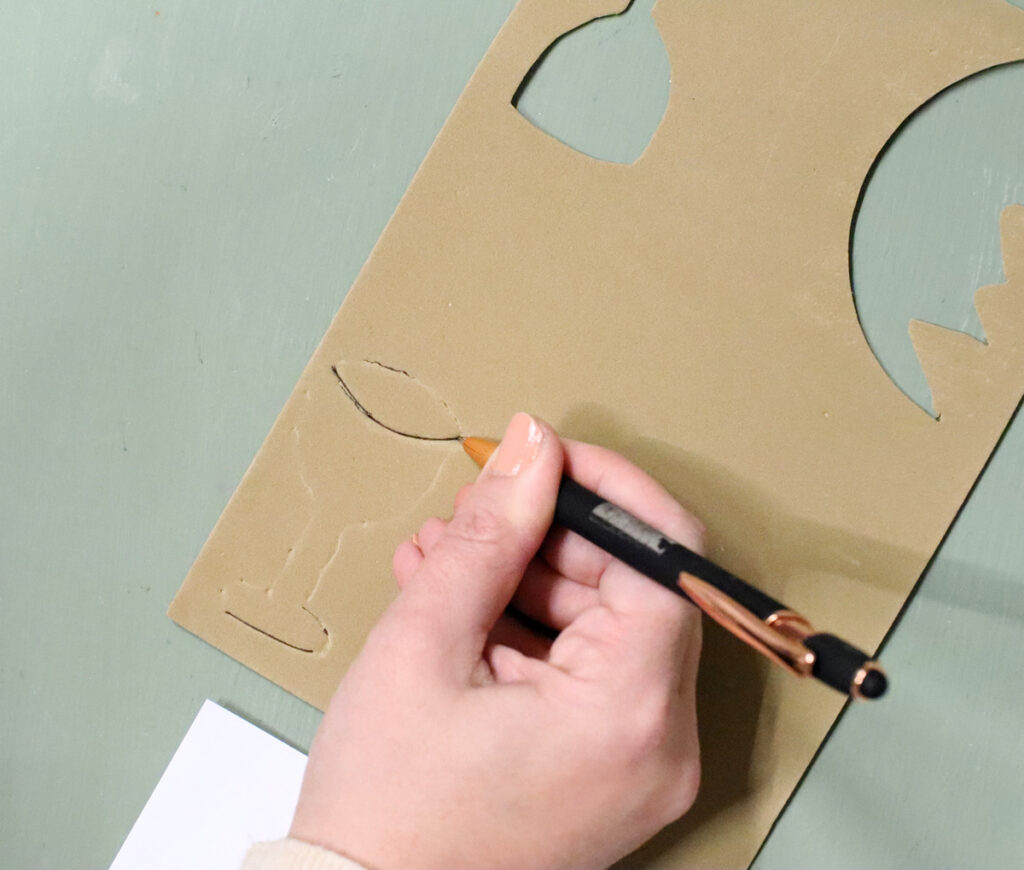
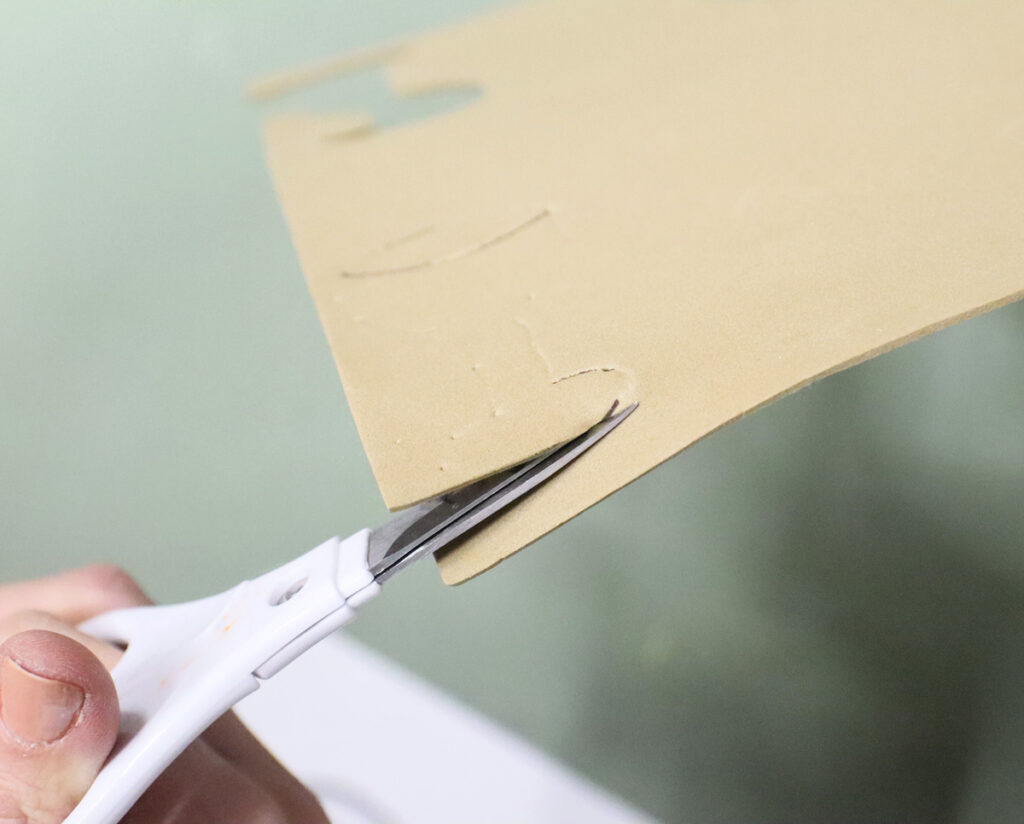
3. Cut around the outer shape of your design. You may need to re-trace it a bit first if it didn’t come out clear.
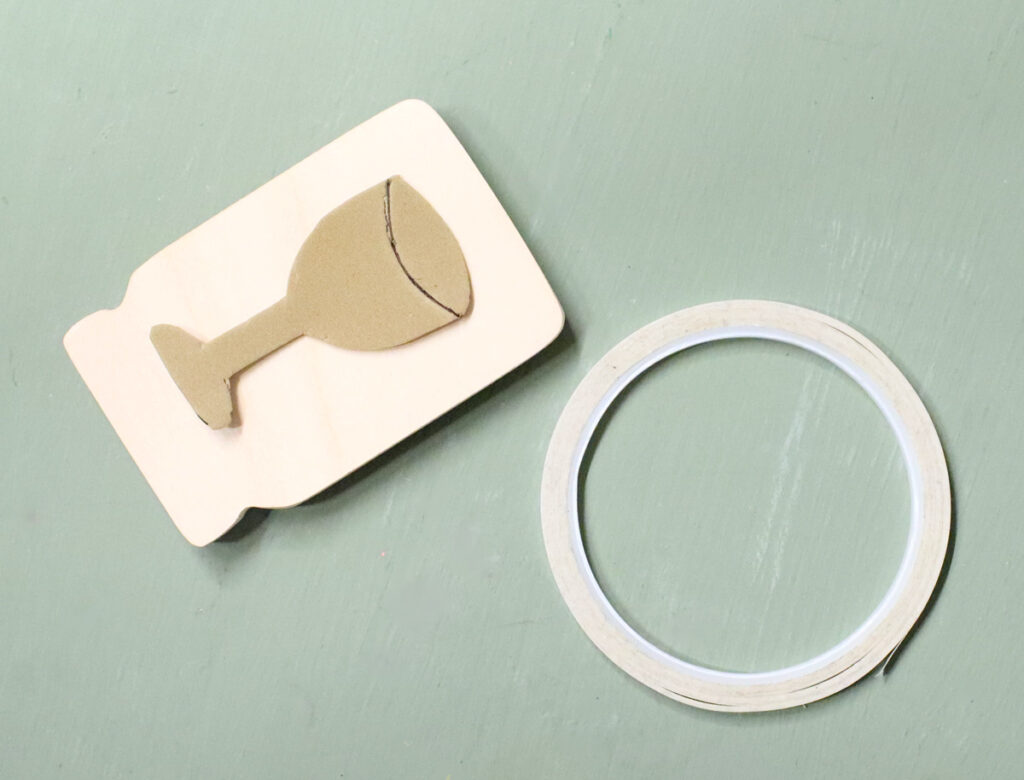
4. Tape your foam cutout to a base that’s easy to hold – either wood, or stacked cardboard.
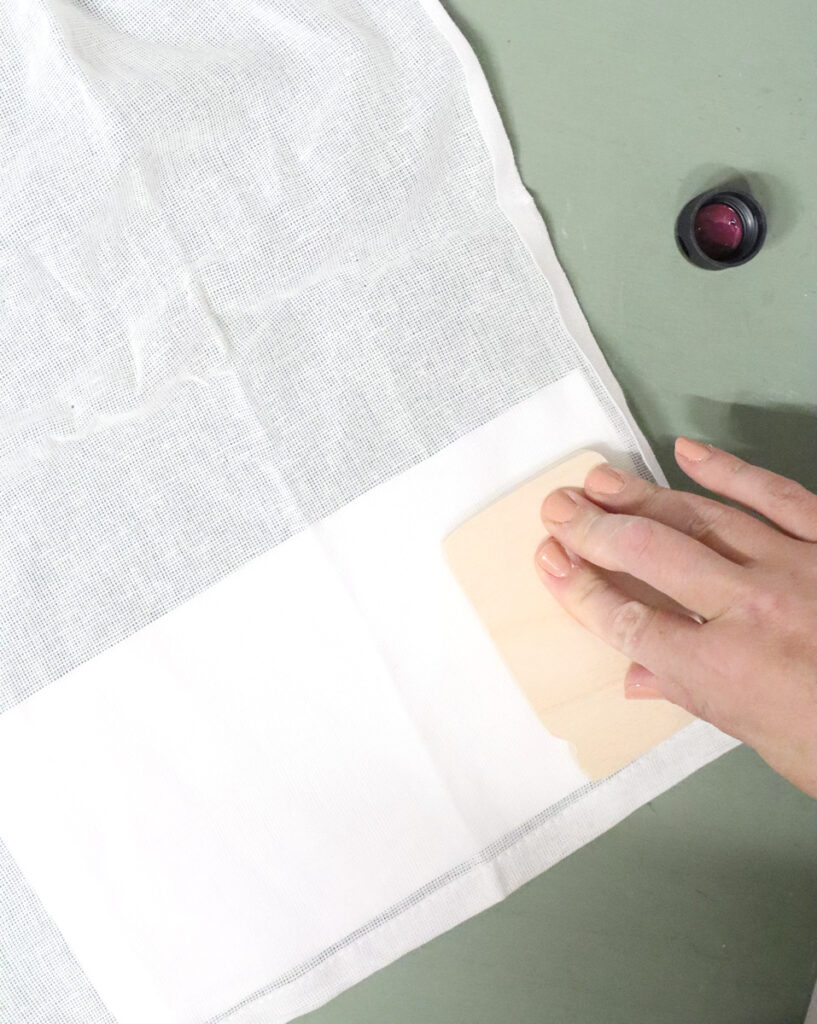
5. It is highly recommended to iron your napkin before stamping it. Place a piece of cardboard or cardstock behind the napkin.
6. Paint a thin but even layer of paint on your stamp.
7. Use a toothpick in the groove to highlight the engraving.
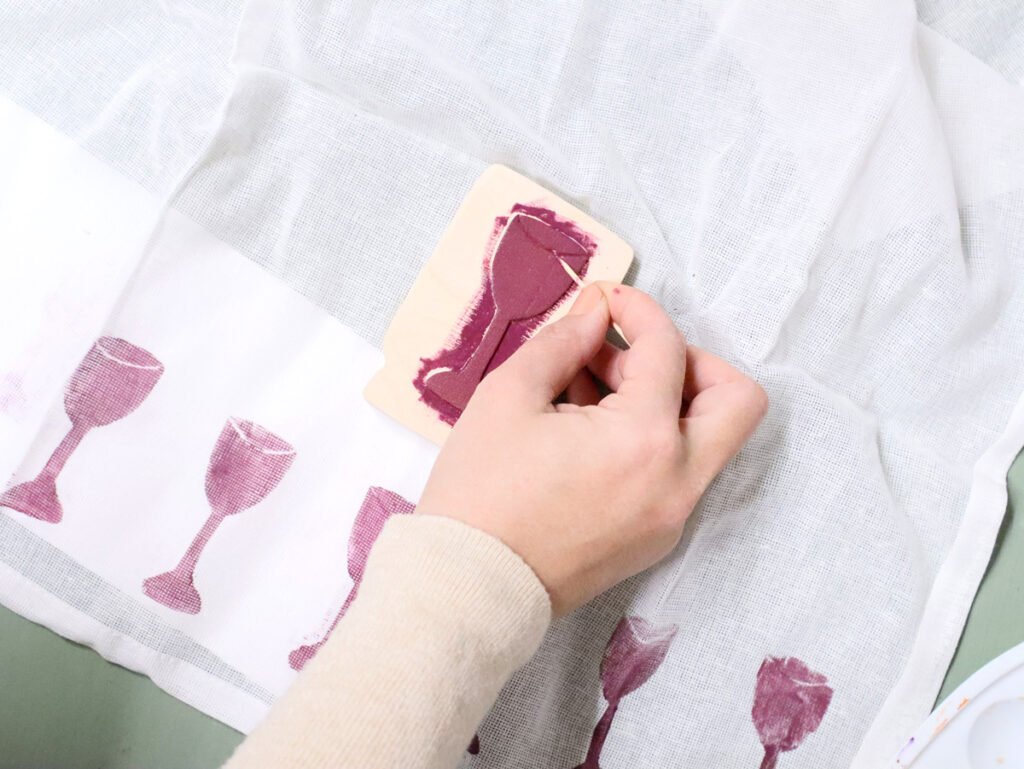
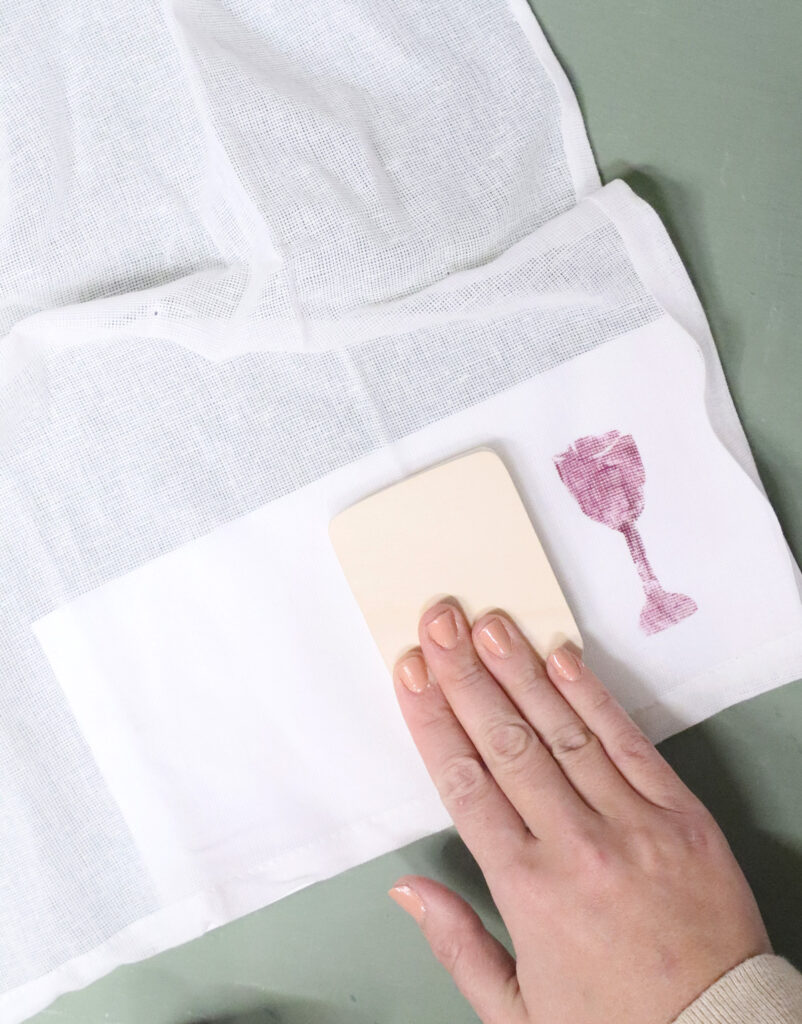
8. I recommend testing your stamp on a scrap cloth or paper first. When you’re ready (you do need to re-paint each time), press it down on your napkin. Get it in the right spot on the first time. Press down firmly, rubbing the back of the stamp, without shifting it.
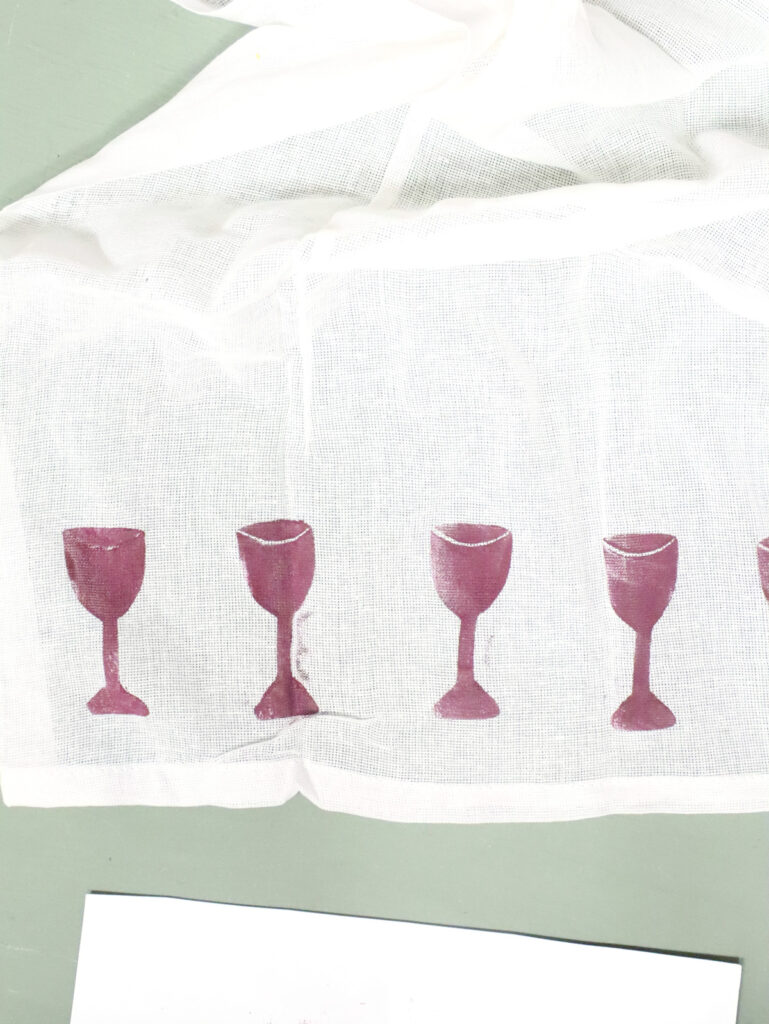
9. If you’re doing multiple stamps, keep going….Reload your stamp, clean around the stamp part, and in the groove each time.
10. When you’re done, allow it to dry totally (based on paint instructions). then, using a barrier between the iron and the design, press it to heat set it.
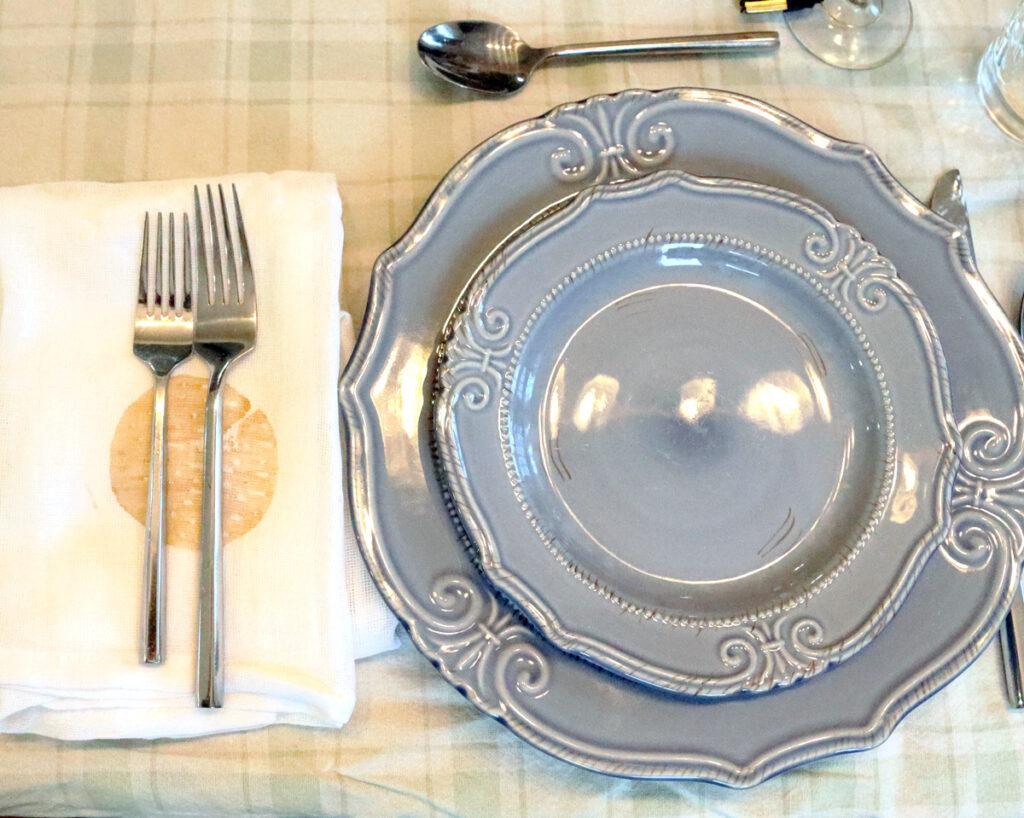
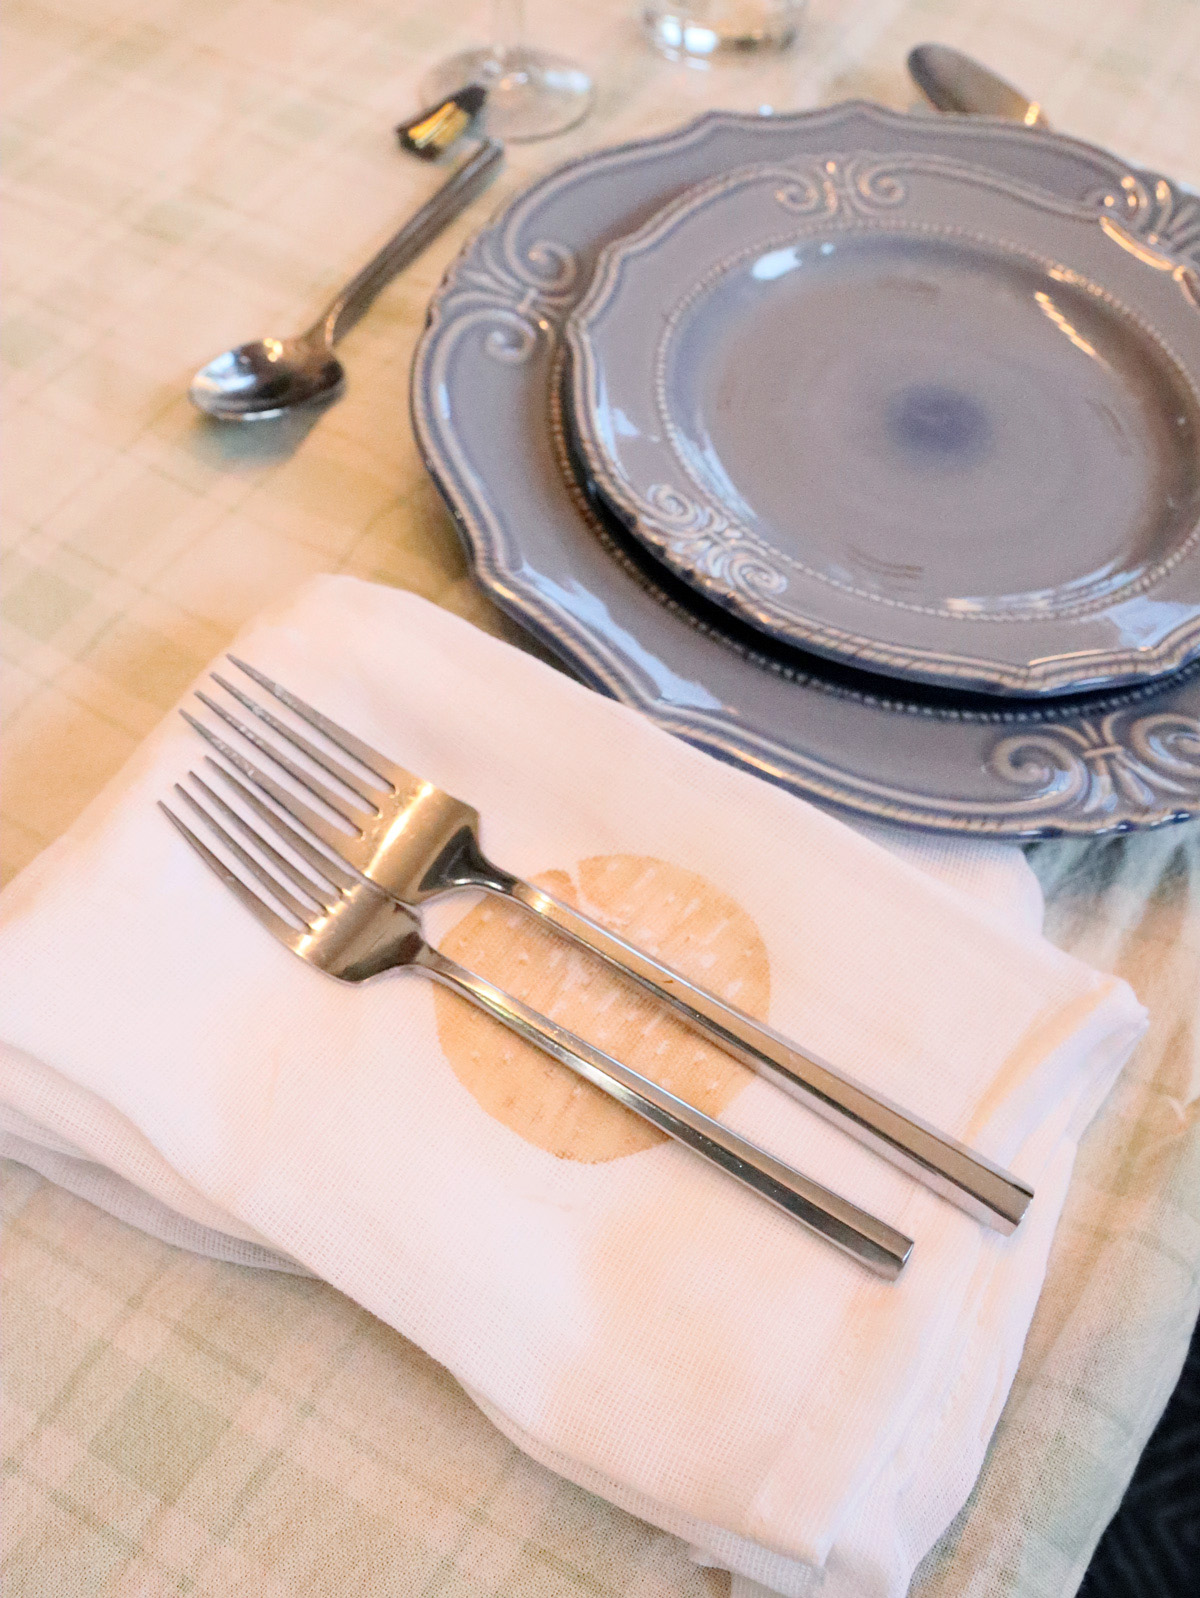
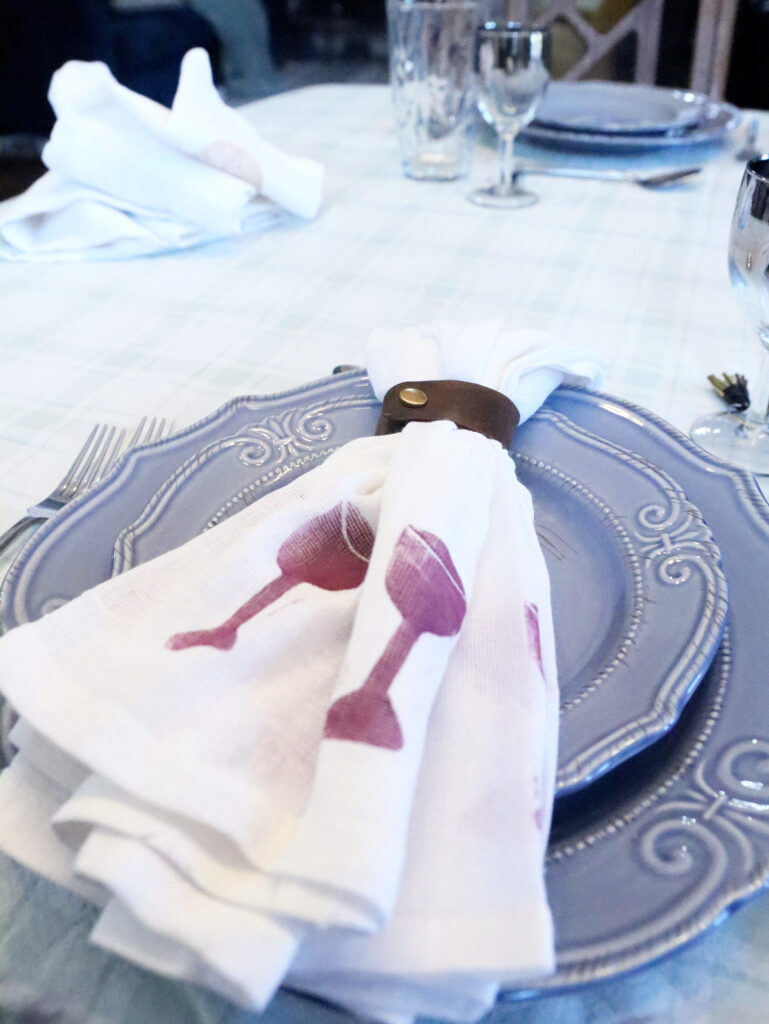
You’ve successfully made your own beautiful hand-stamped DIY Passover napkins! Set your table with pride!
Which Passover crafts do you want to see more of in this space? Comment below!