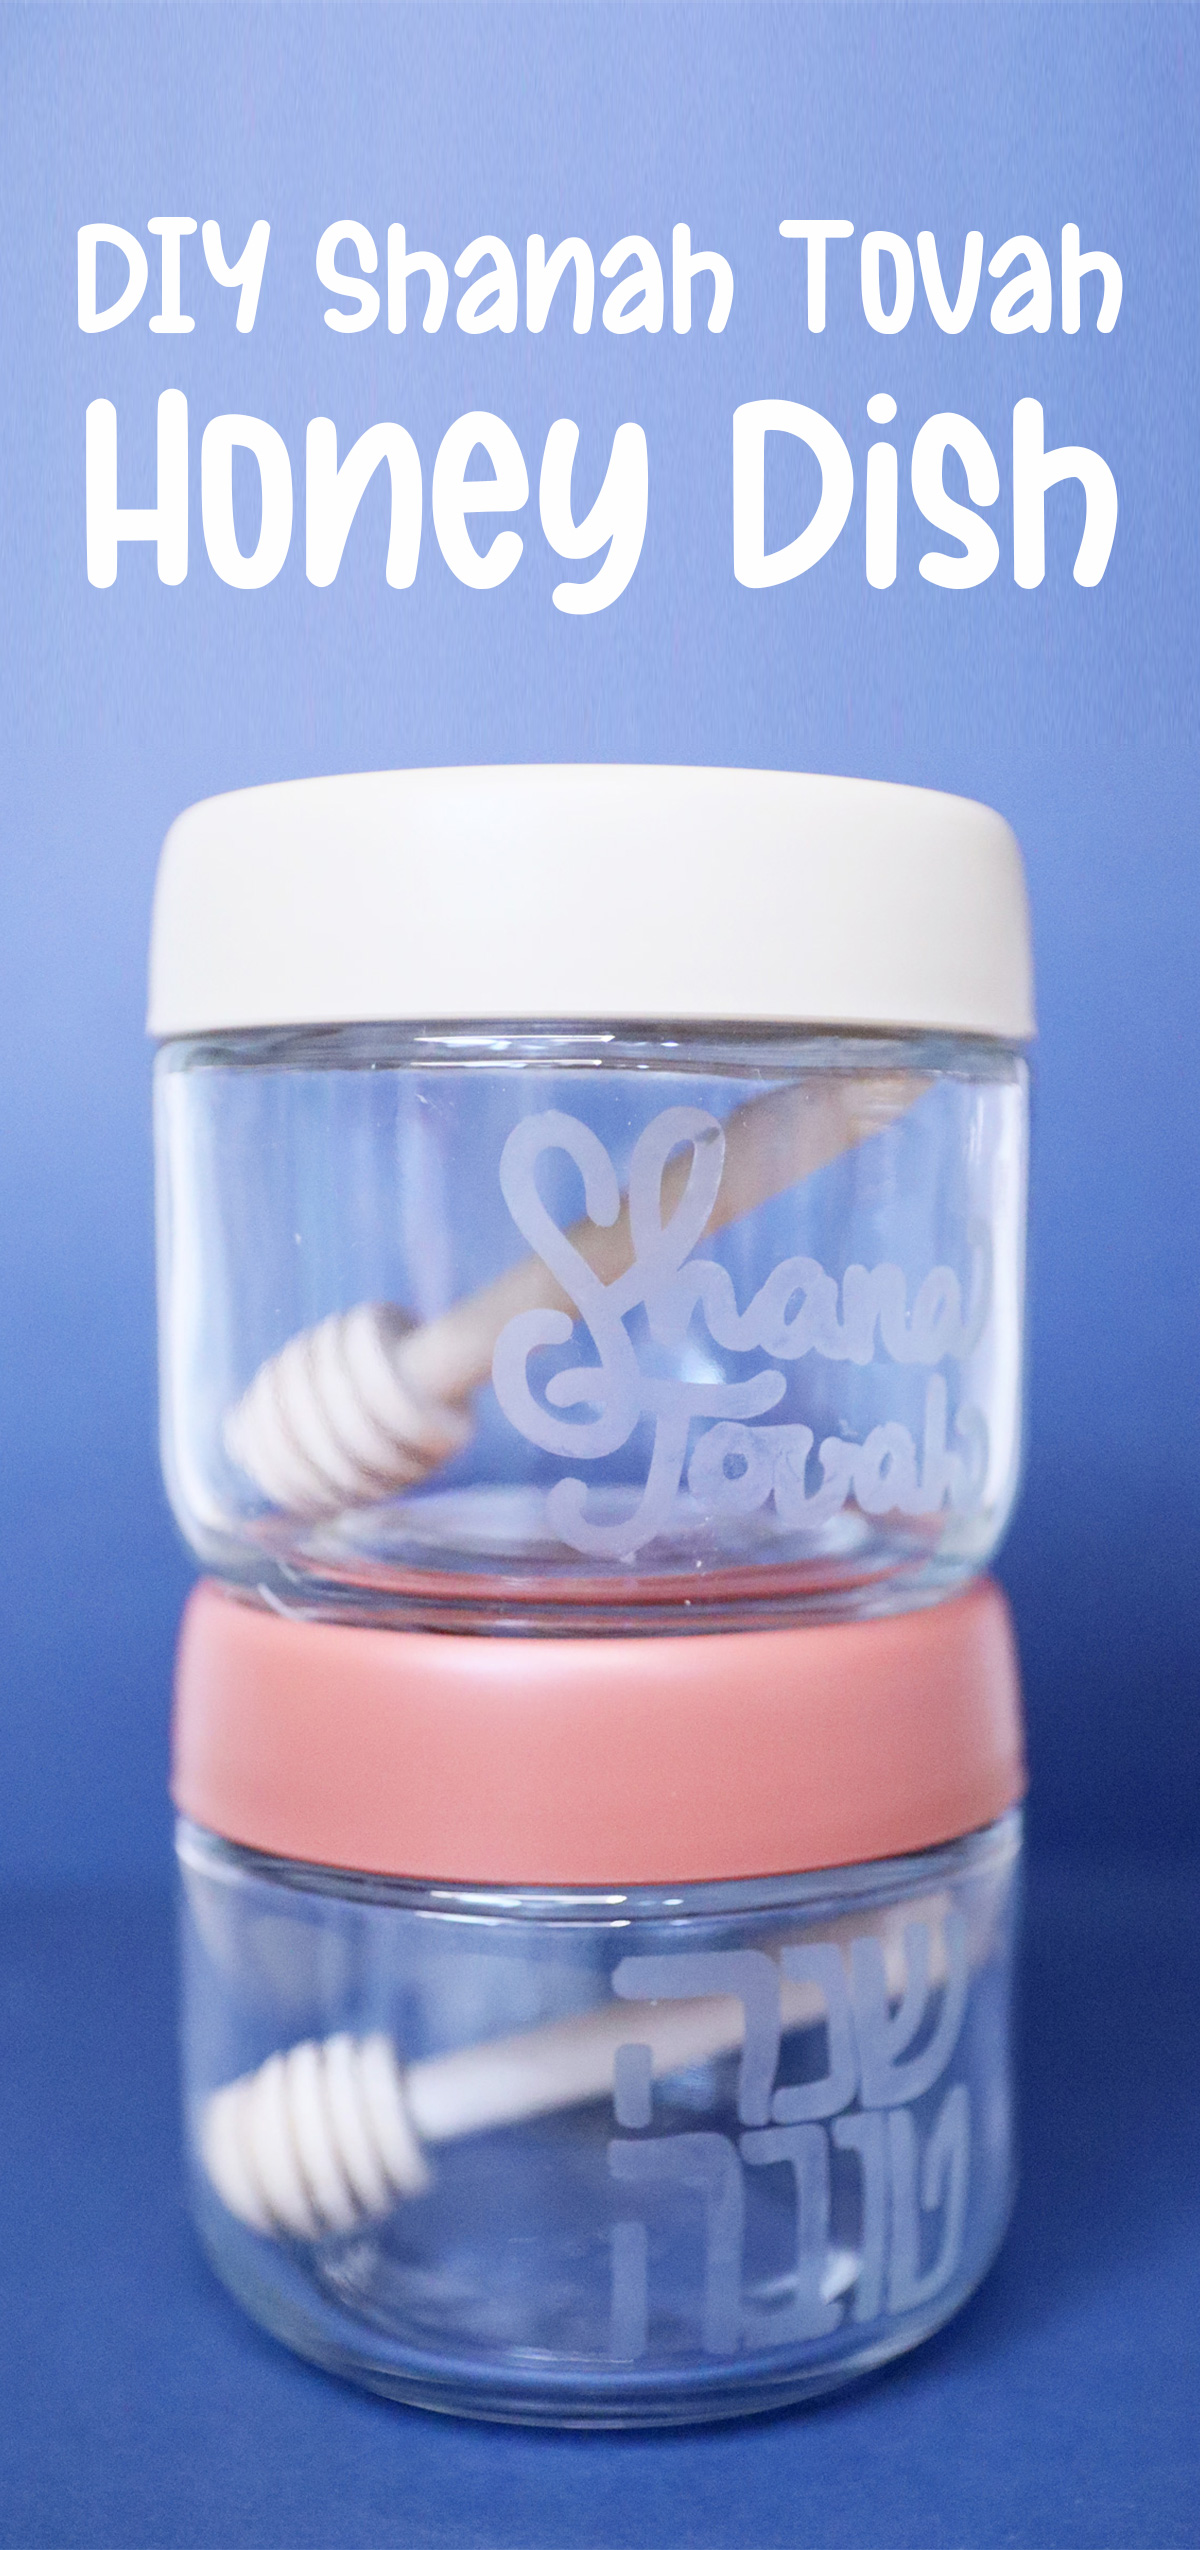
Etched Glass Honey Dish
Craft a beautiful etched glass honey dish to make your Rosh Hashanah table absolutely gorgeous! When you’re done, check out this list of Rosh Hashanah crafts for kids and adults. This post contains affiliate links.
One of the coolest things for me about being a crafter is the ability to turn ordinary items into gorgeous gift-ready Judaica table decor.
Since last year, I had on my “to do” list to etch a glass honey dish and it almost didn’t happen because I just got so busy… but I decided I needed to do it.
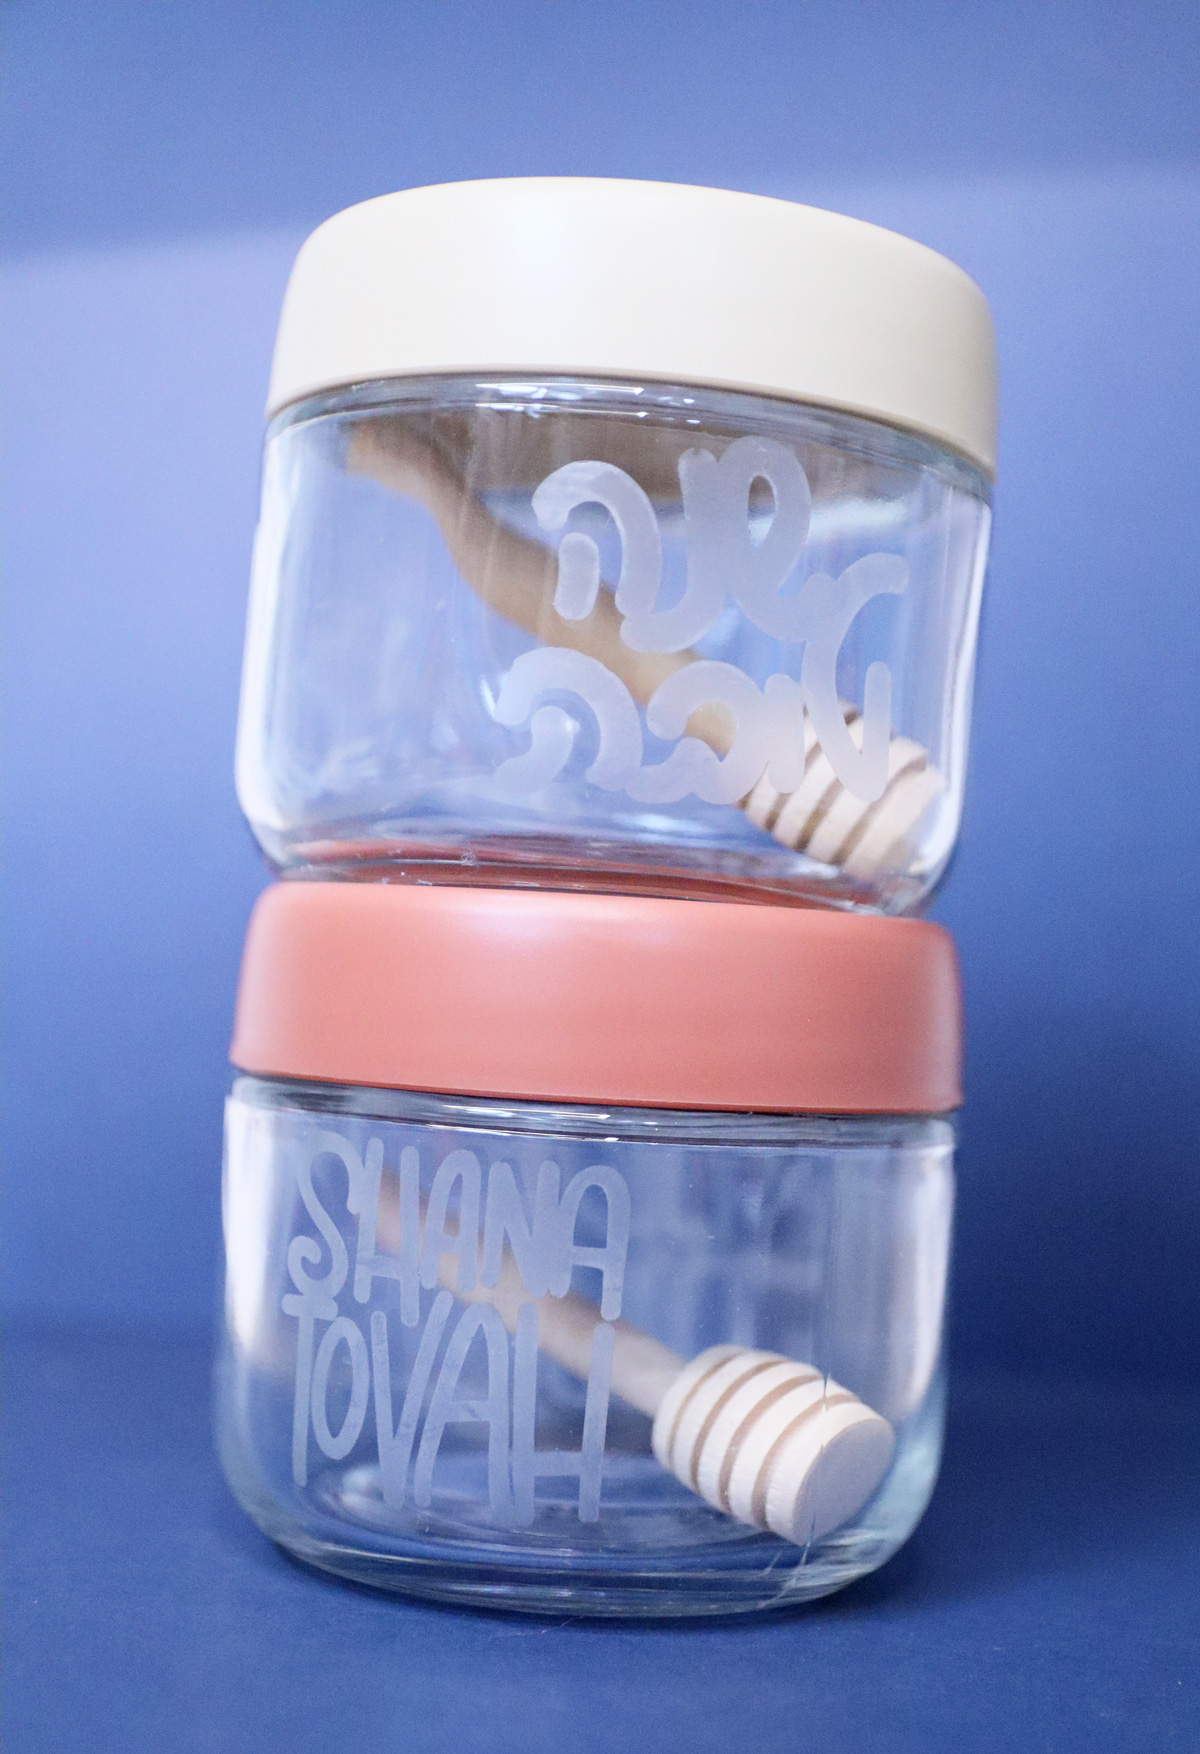
One of the things I hope to offer here is not only resources for Jewish teachers and parents, but also for grown-up crafters to find fun DIY ideas. That includes older kids (such as teens) who are capable of doing more controlled/hazardous crafts and are capable of following safety precautions. I like to offer “real” DIY crafts, not only just for fun ones.
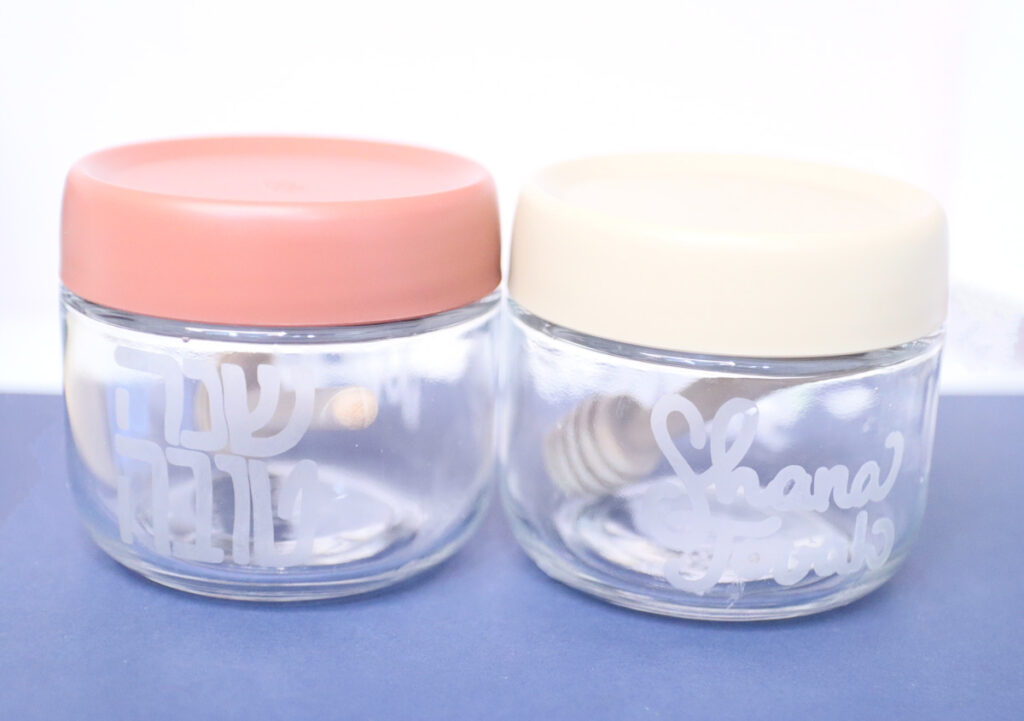
Etching glass is a pretty accessible craft. Having a Cricut means you can personalize anything, but even if you don’t, you can technically still hand cut your own stencils using a craft blade and a lot of patience.
Who can realistically craft this etched glass honey dish?
To make this, you’ll be using Armour Etch – that is, glass etching cream. It’s a mixture of harsh chemicals.
You’ll need to exercise caution and wear gloves while handling it. Therefore it is an “adult only” craft. If you have an older child (such as a teen) who is responsible and can work neatly, I would recommend them doing it with adult oversight.
Otherwise, it is NOT a kids’ craft.
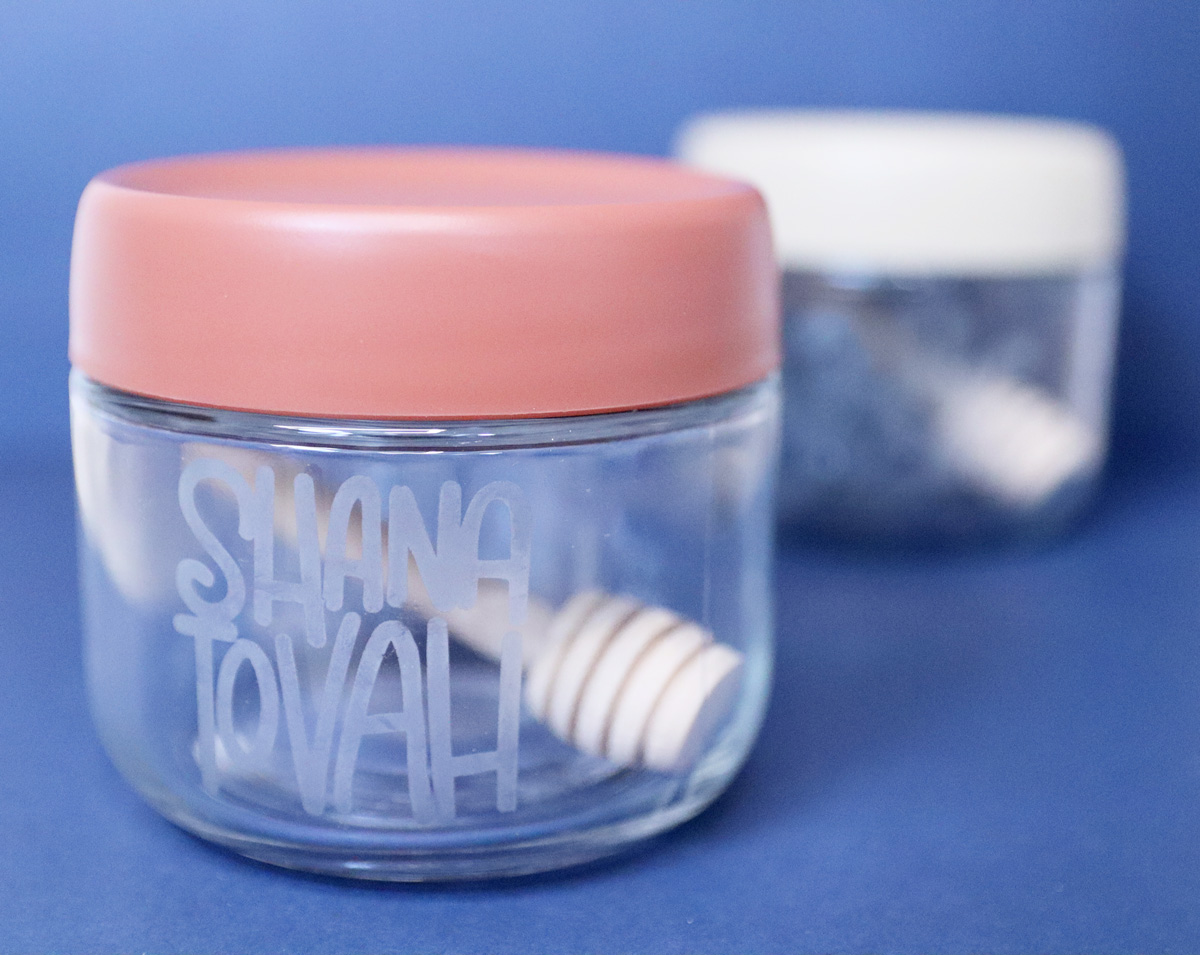
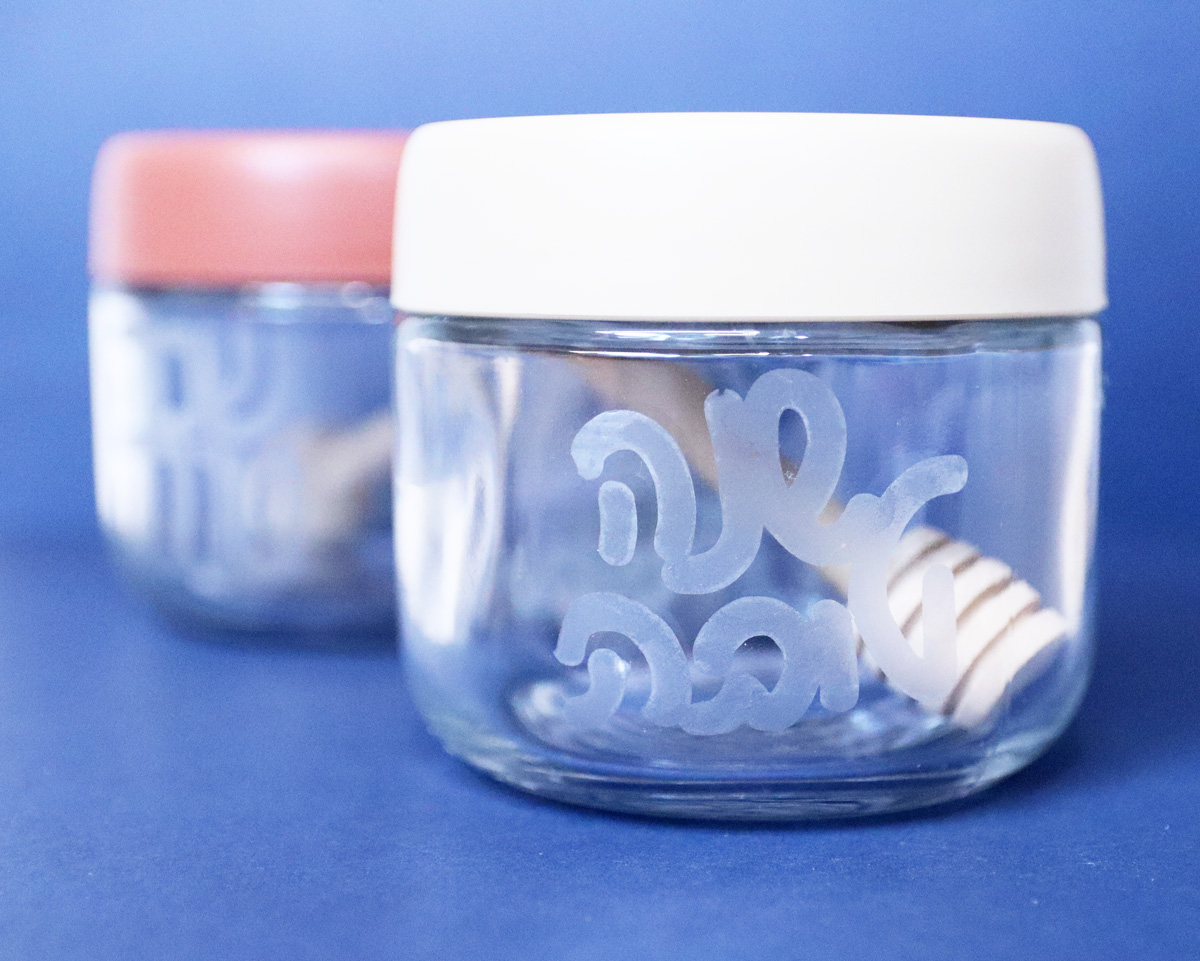
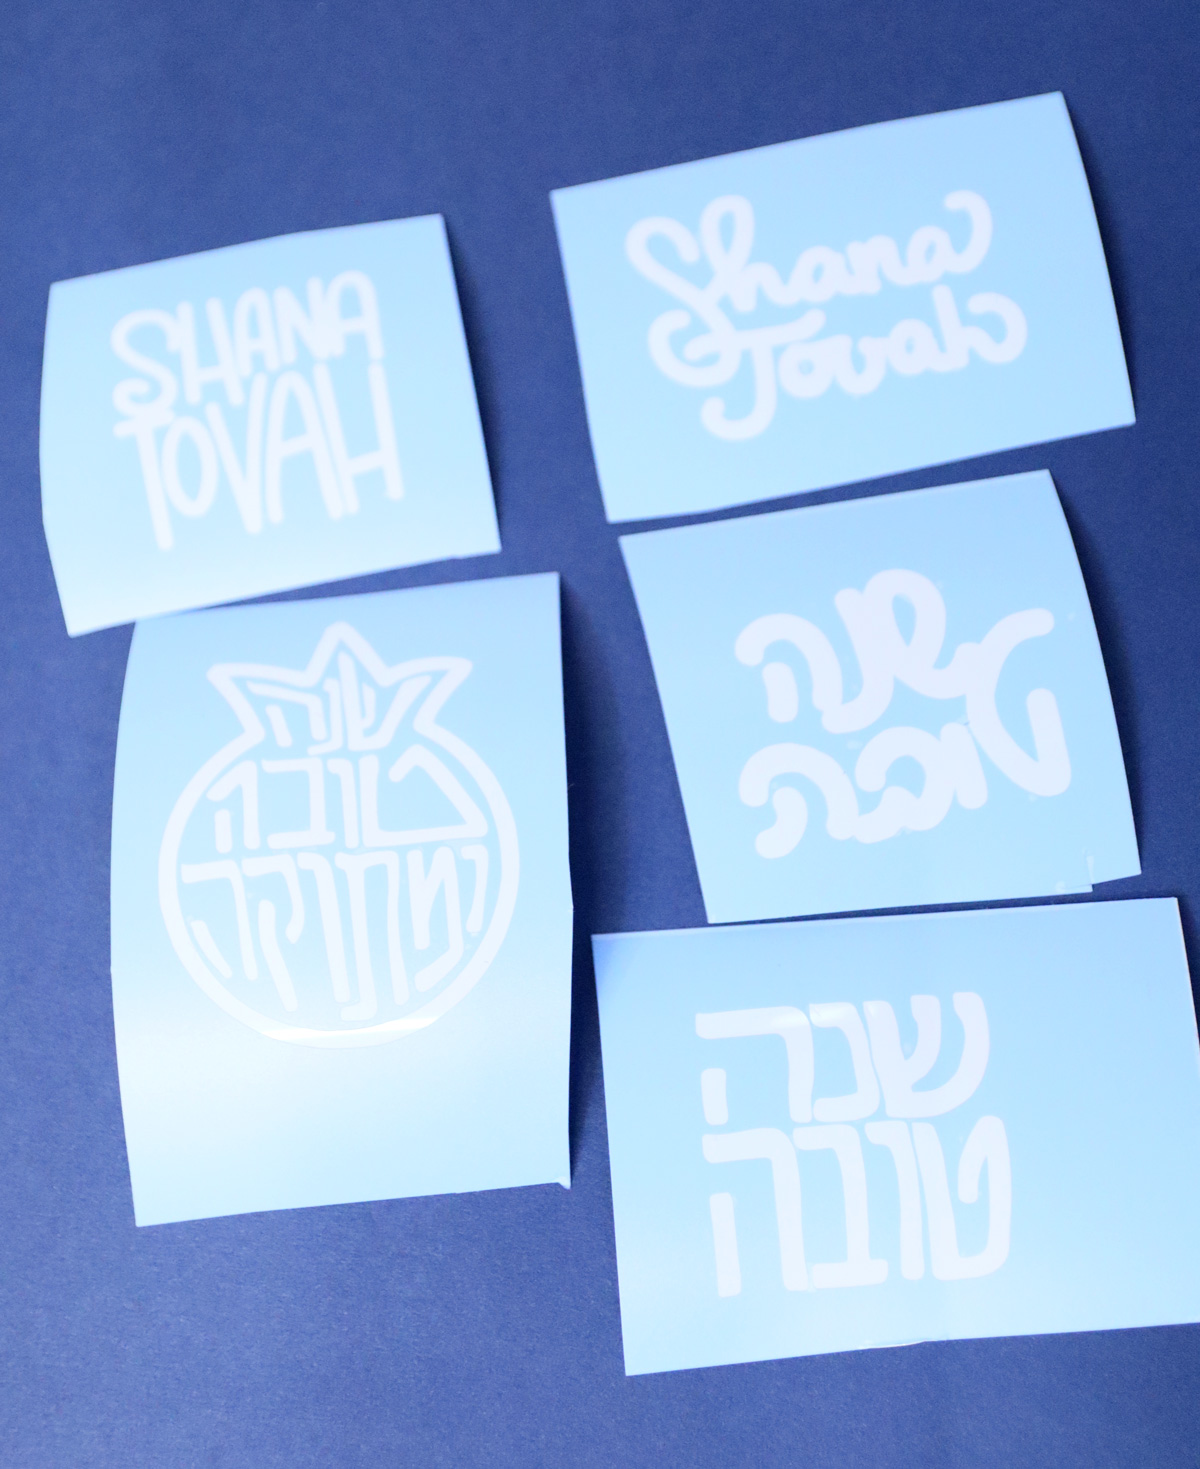
The Shanah Tovah SVG files
Glass etching uses a stencil to etch only specified areas of glass. I used my Cricut to make the stencil. If you don’t have a Cricut, you’ll need to hand-cut a stencil or purchase an adhesive stencil ready made – which might be a bit hard to find, unless you can find individual letter stencils.
I made mine using my Cricut Maker and stencil vinyl. It took minutes to cut and weed.
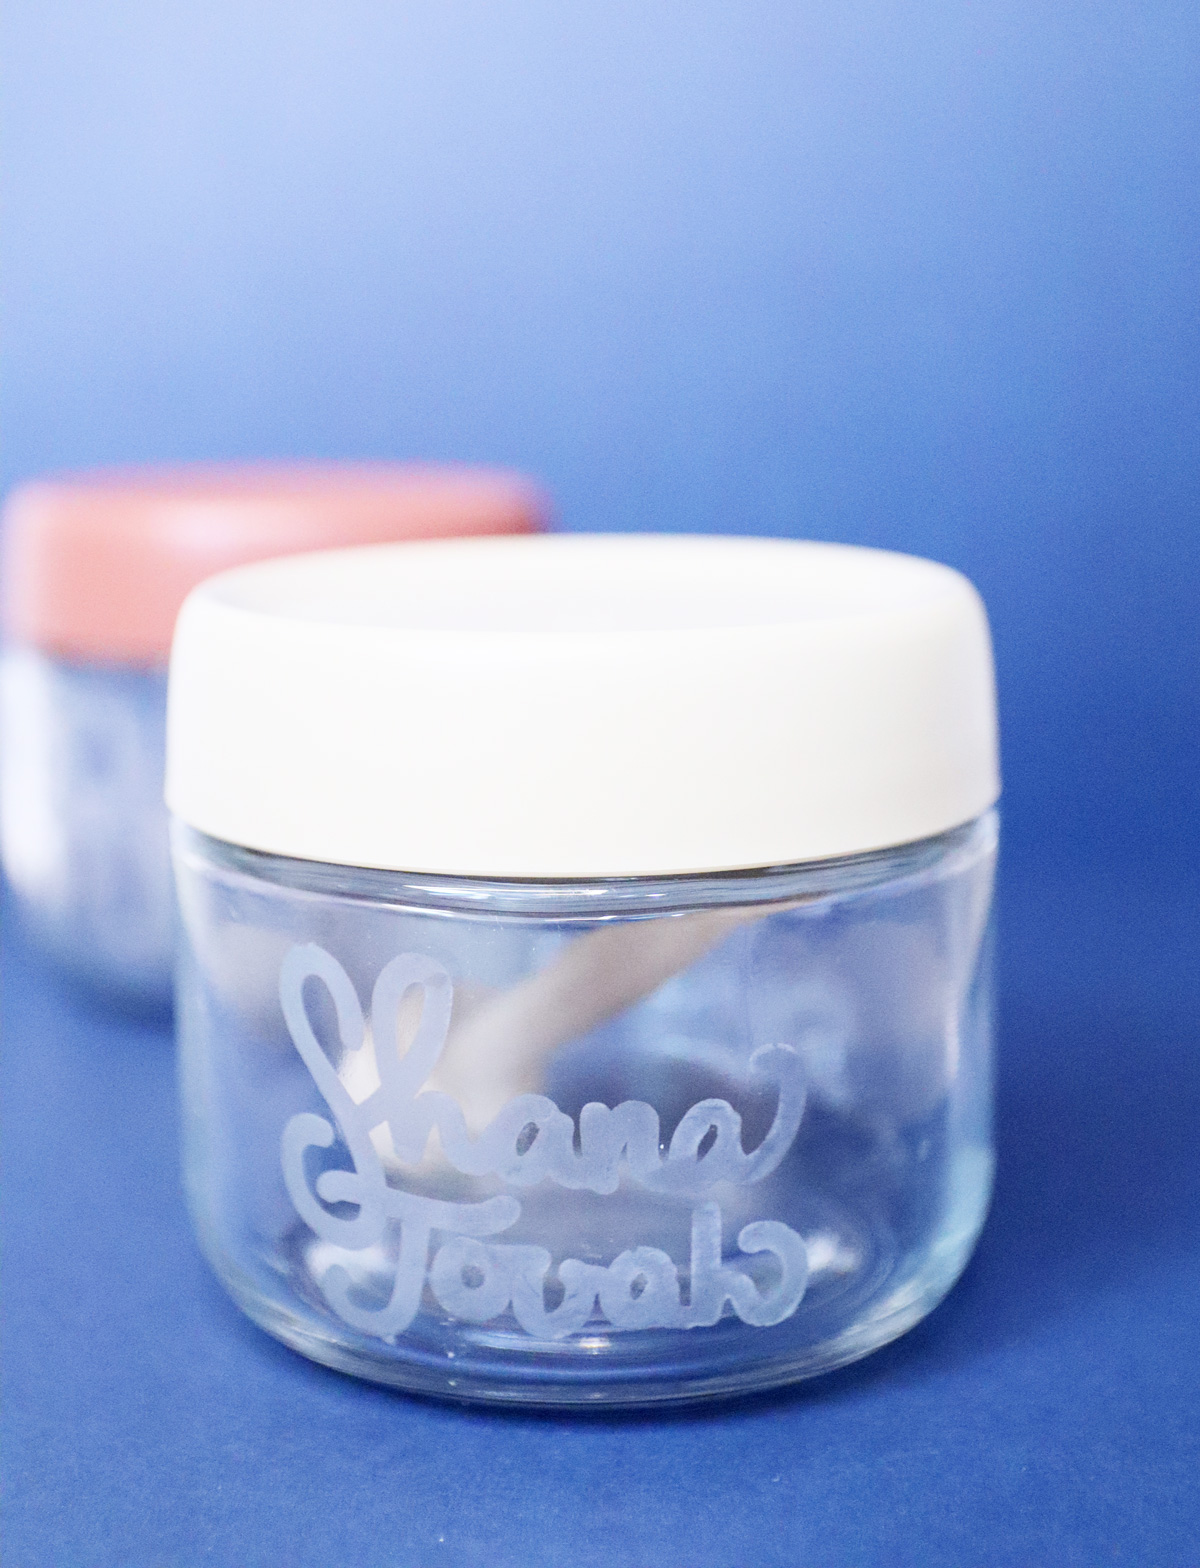
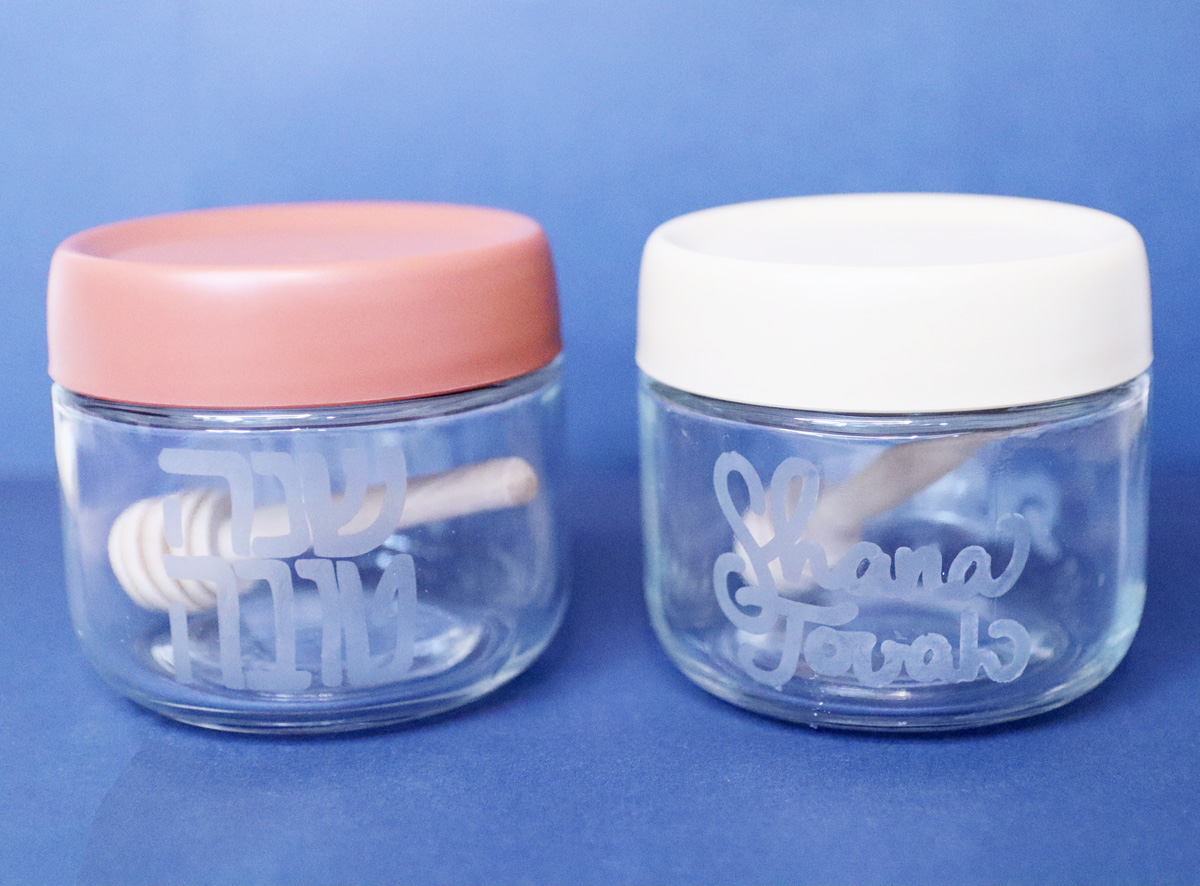
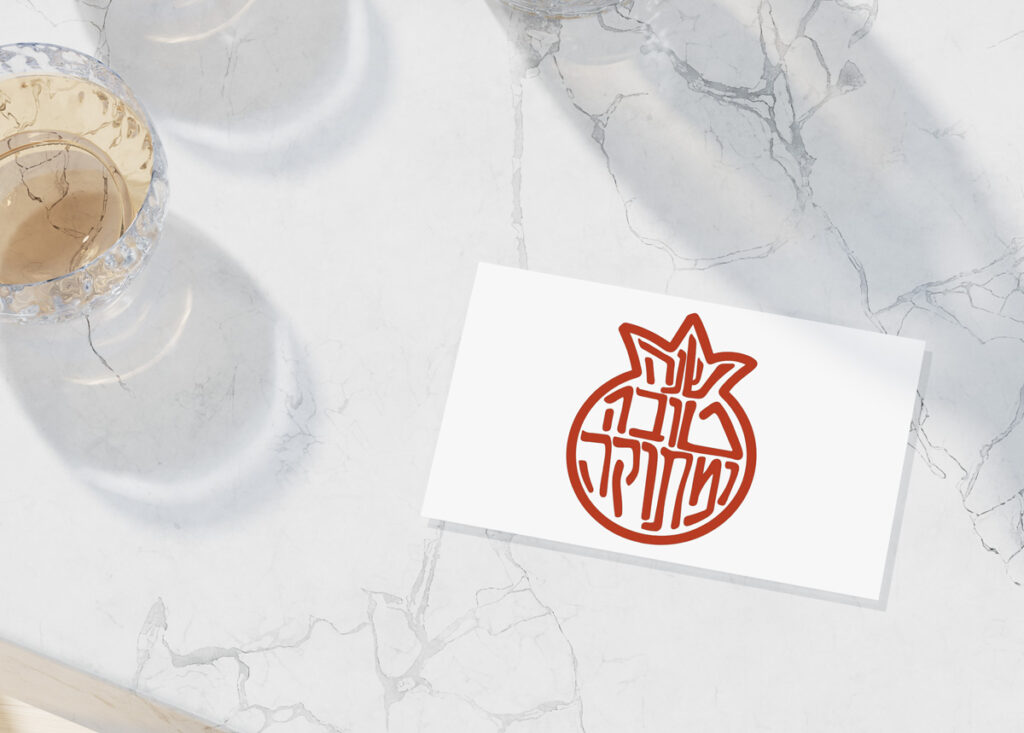
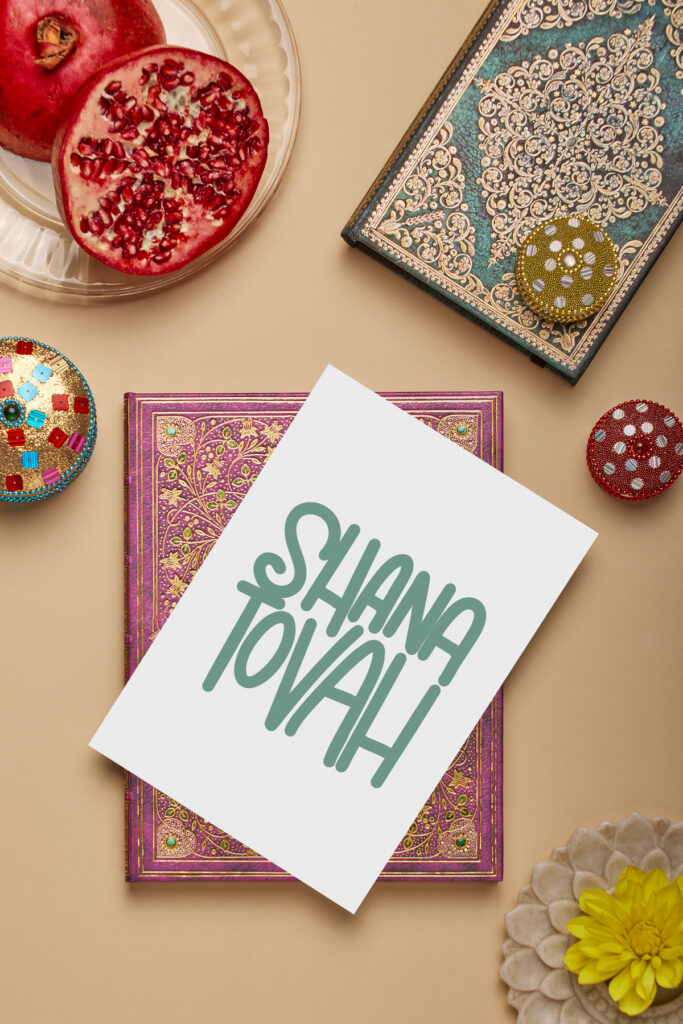
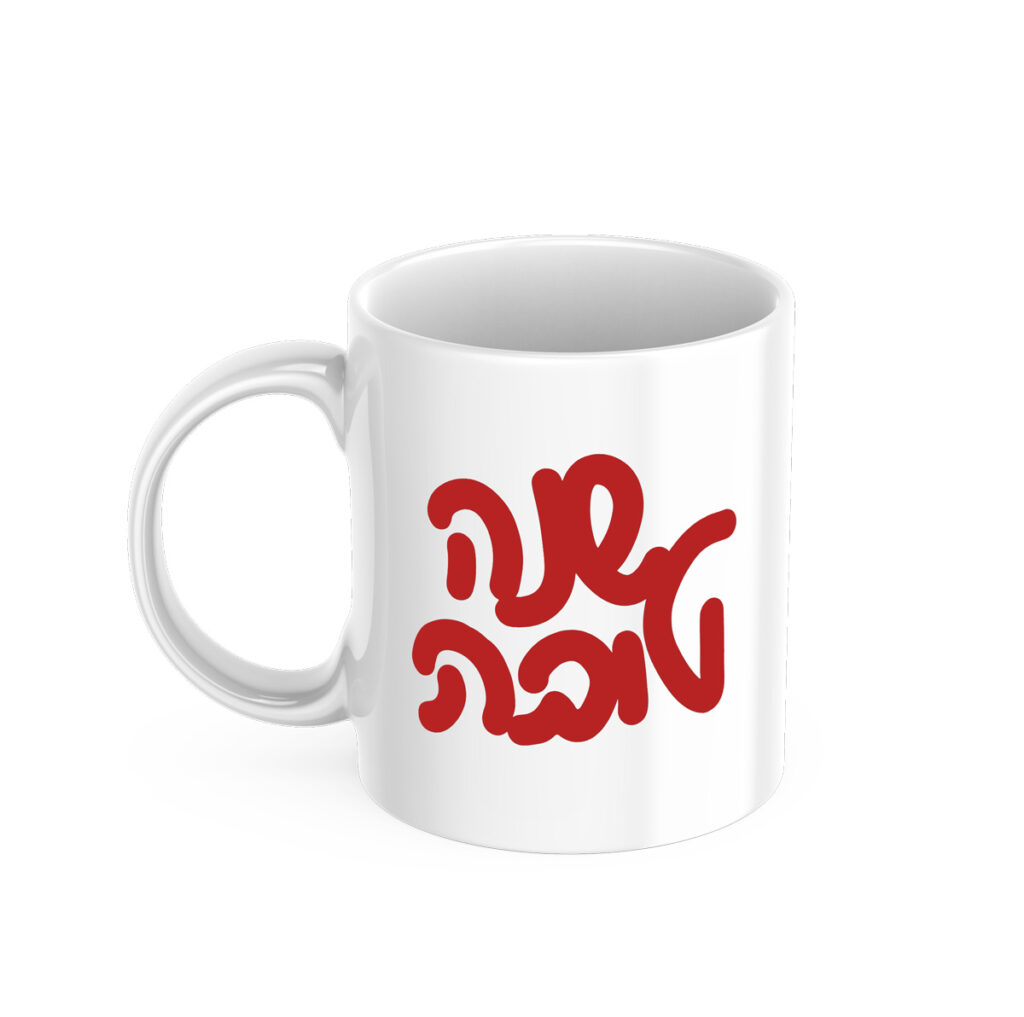
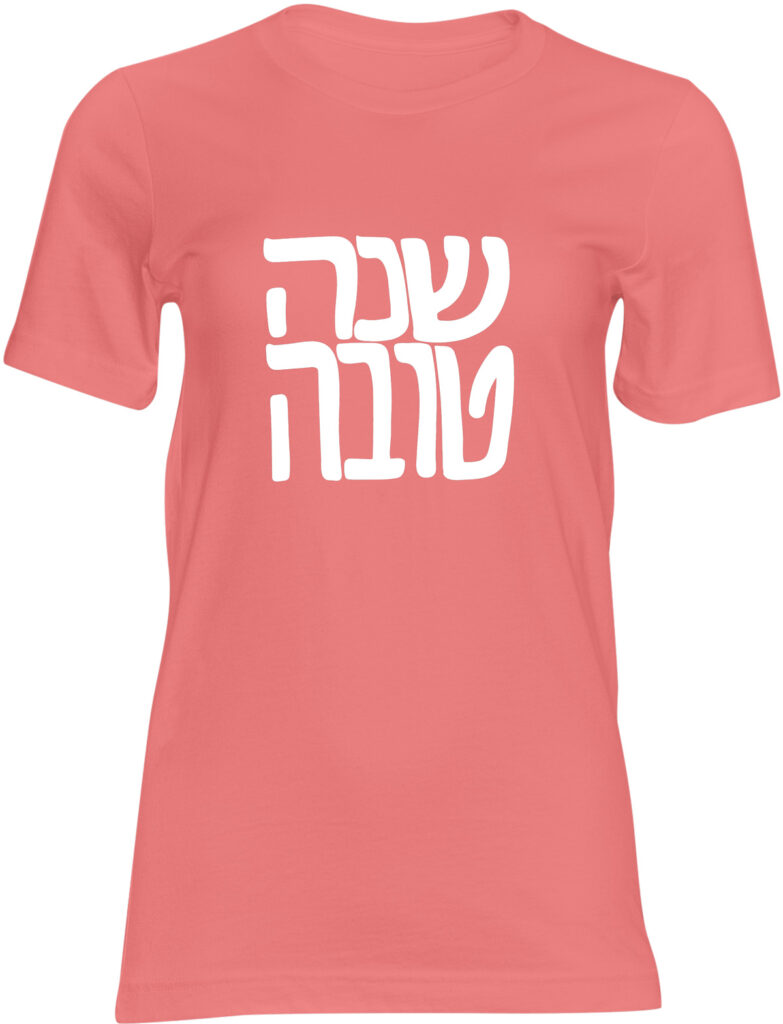
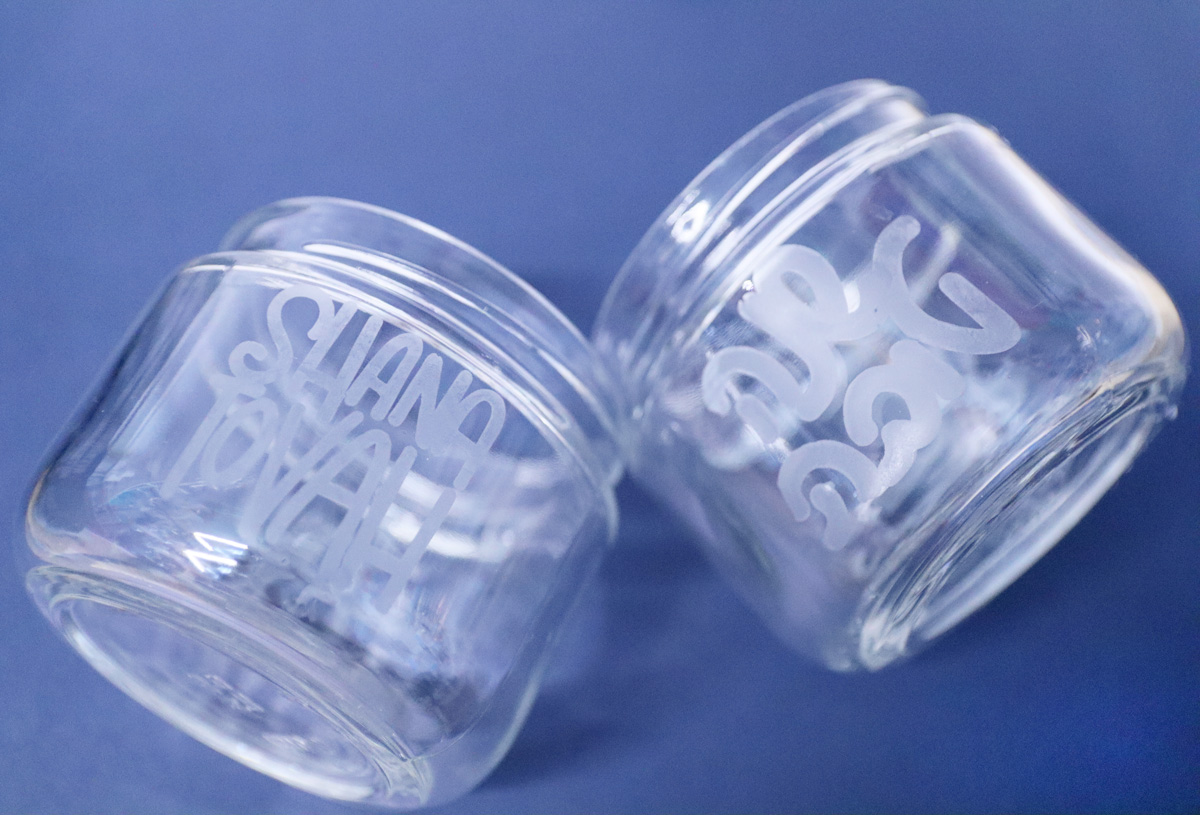
I designed a few SVG files for this. I’m offering a basic Shana Tovah in English as a free download at the end of this post, but also have more styles available in my Etsy shop.
I created them both in Hebrew and English. And while I do have a few more complex styles of Shanah Tovah SVG in my shop, I recommend you stick with one of the simpler designs for an etched glass honey dish.
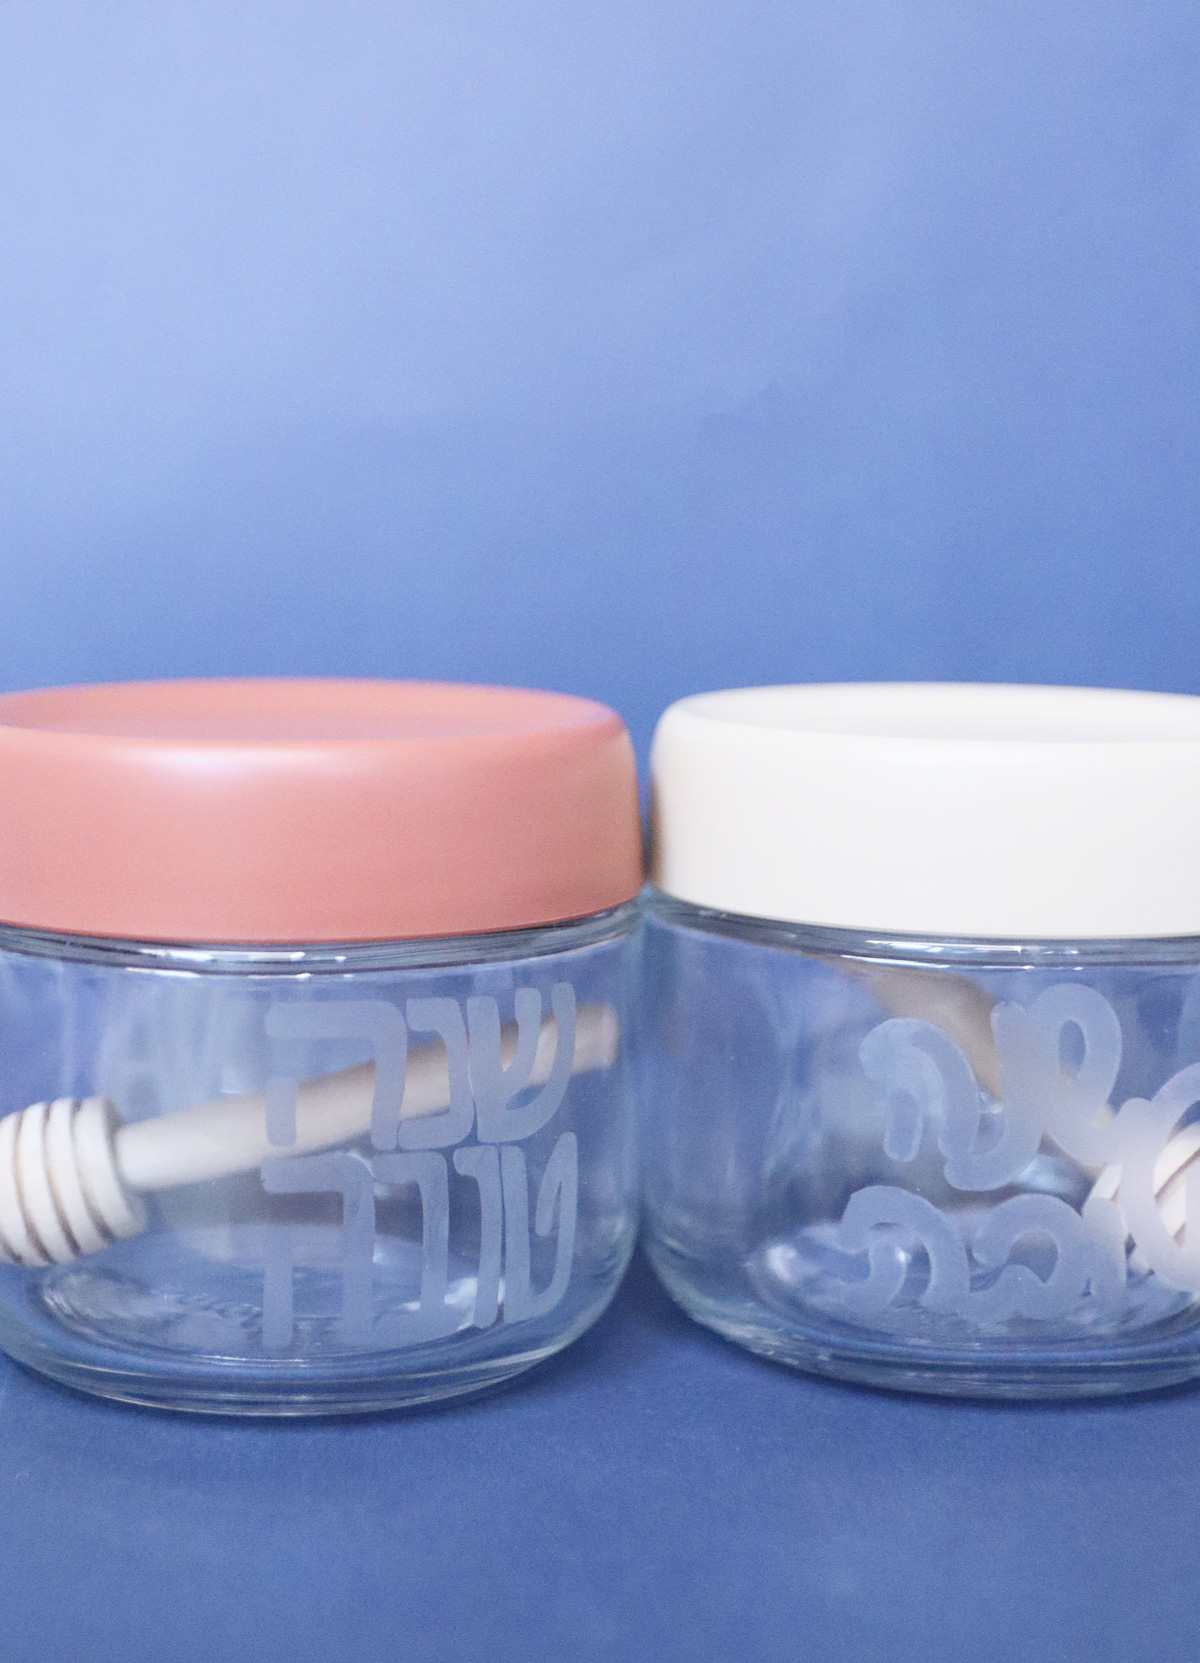
Which jar should you use to make an etched glass honey dish
Not every glass can be etched. For example, some Pyrex products can’t be etched.
Most other glass should be etchable.
I will say, however, that you might randomly bump into some that are not etchable. For example, I purchased these and got no results etching them. I’ll be engraving the lids instead with one of my more complex Shanah Tovah SVGs. I do suspect that they might be treated similarly to Pyrex, as it does say it’s temperature resistant.
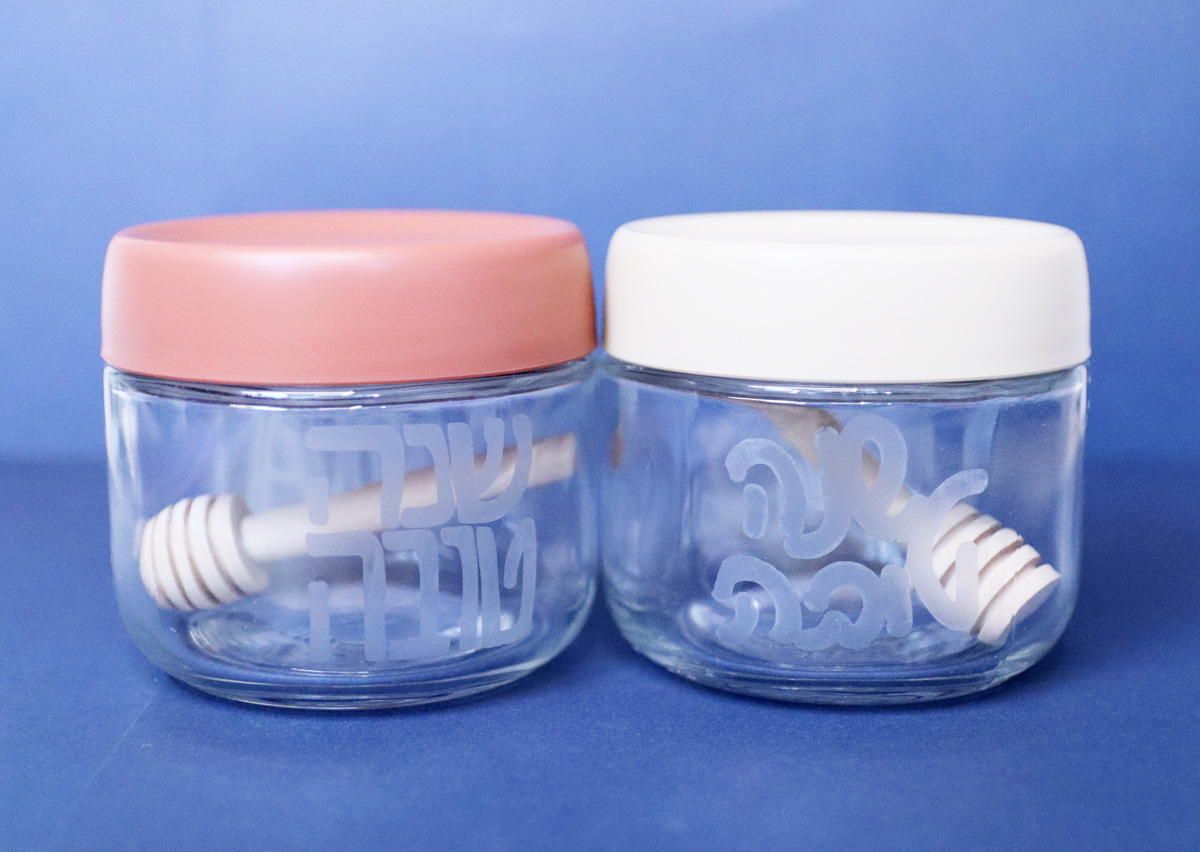
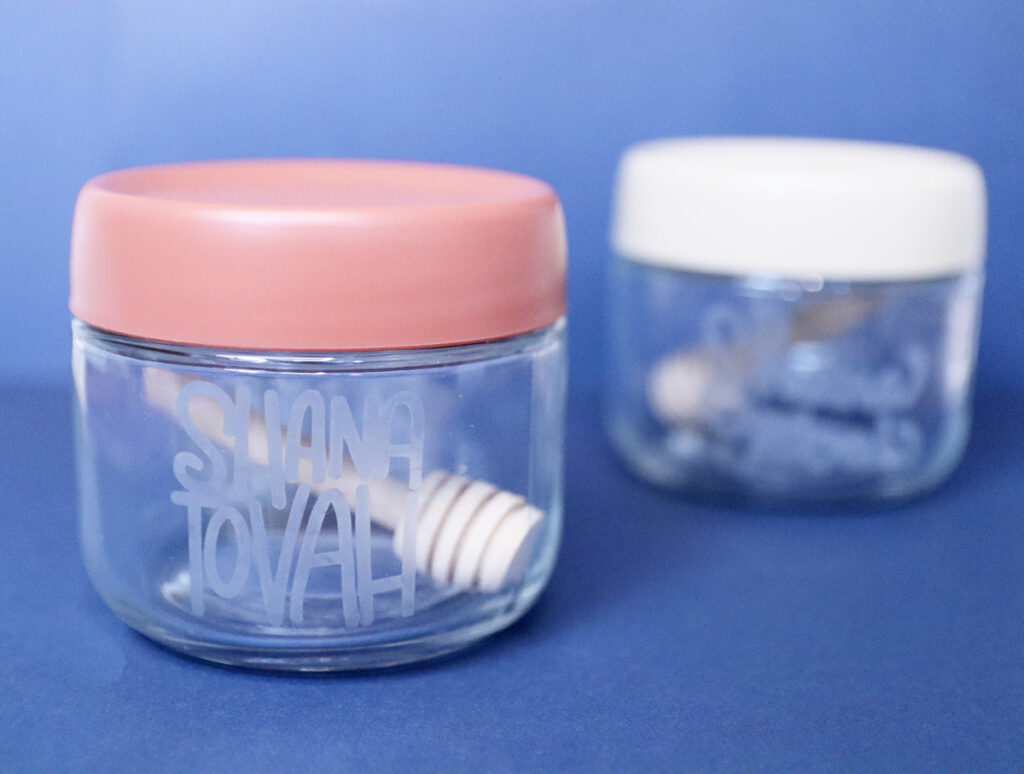
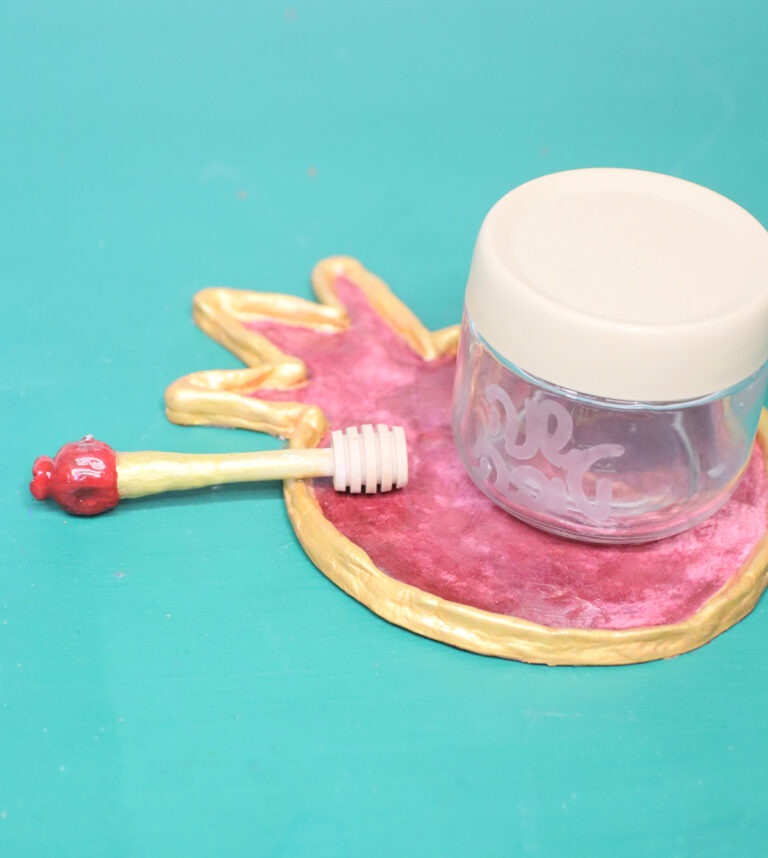
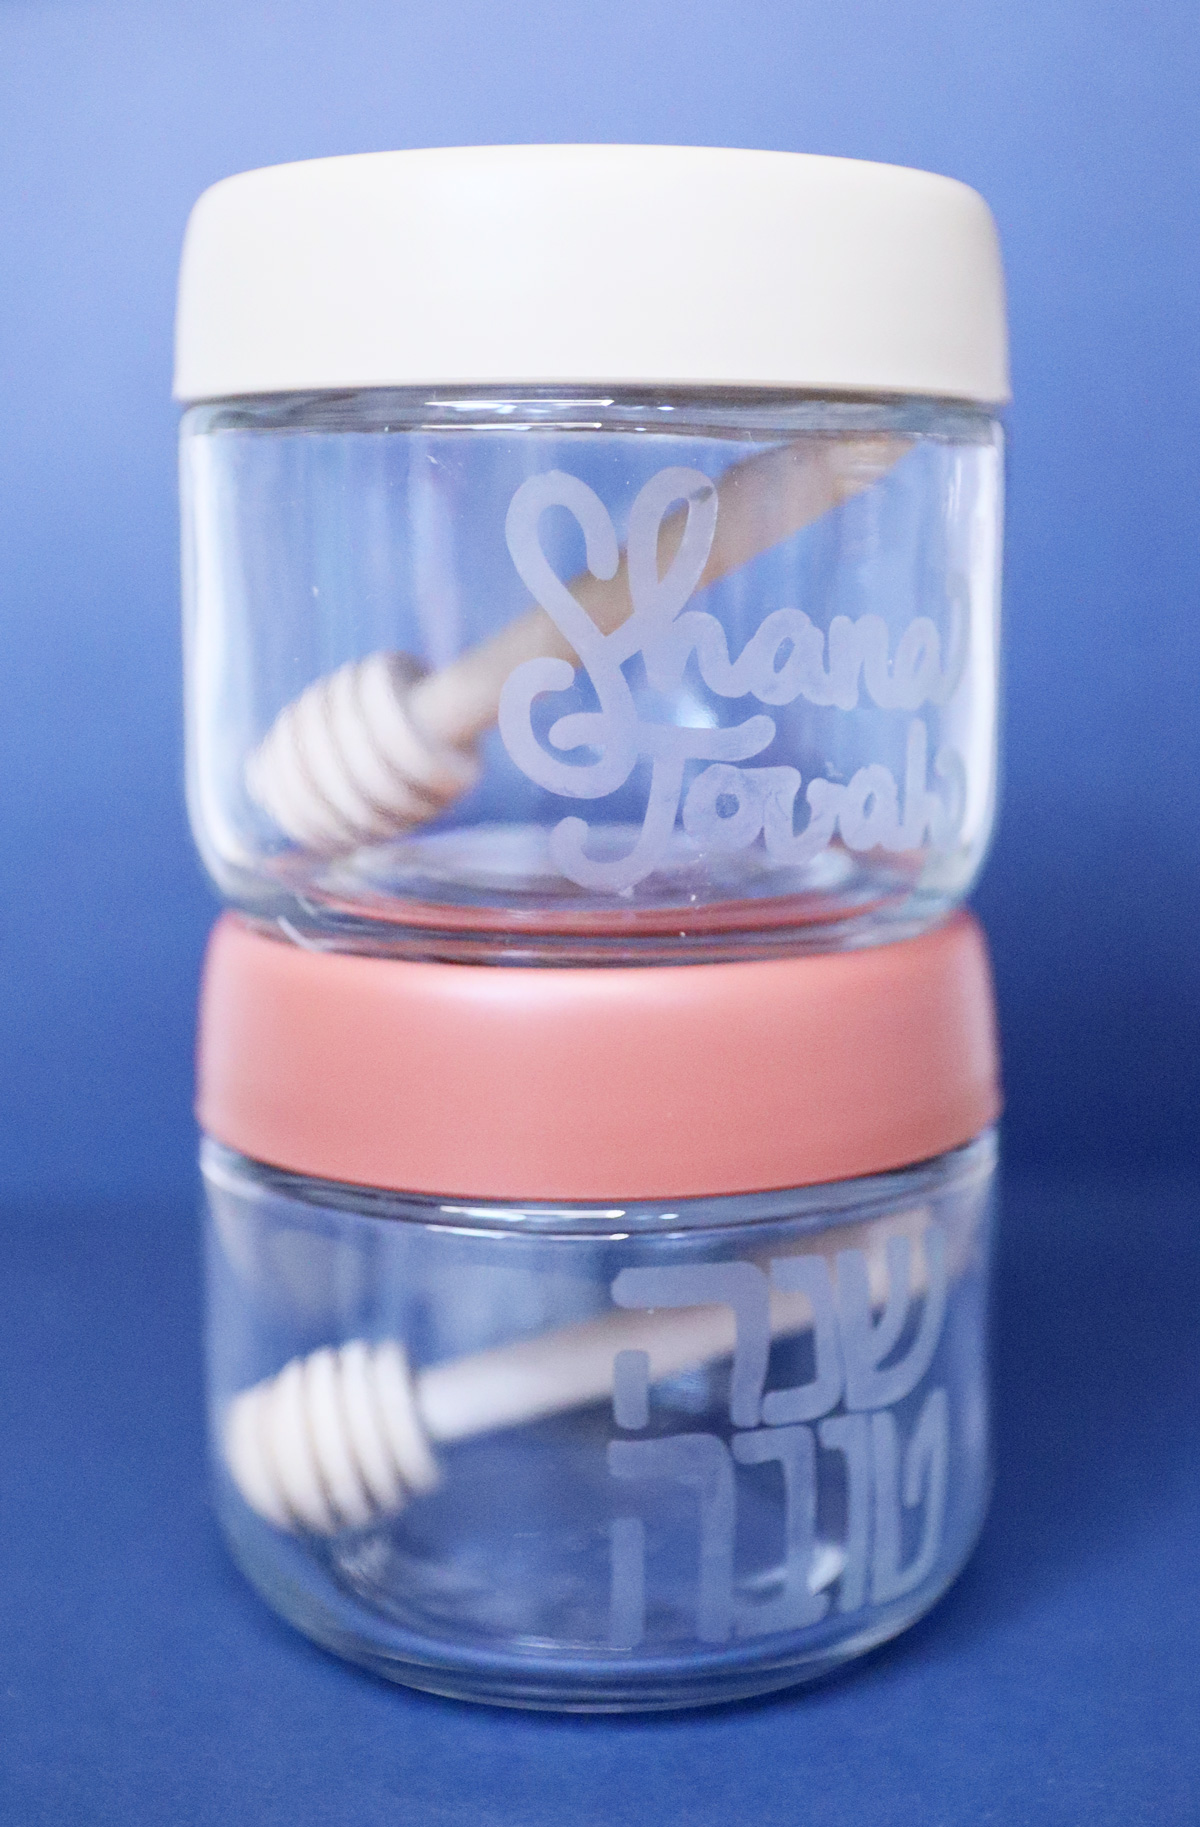
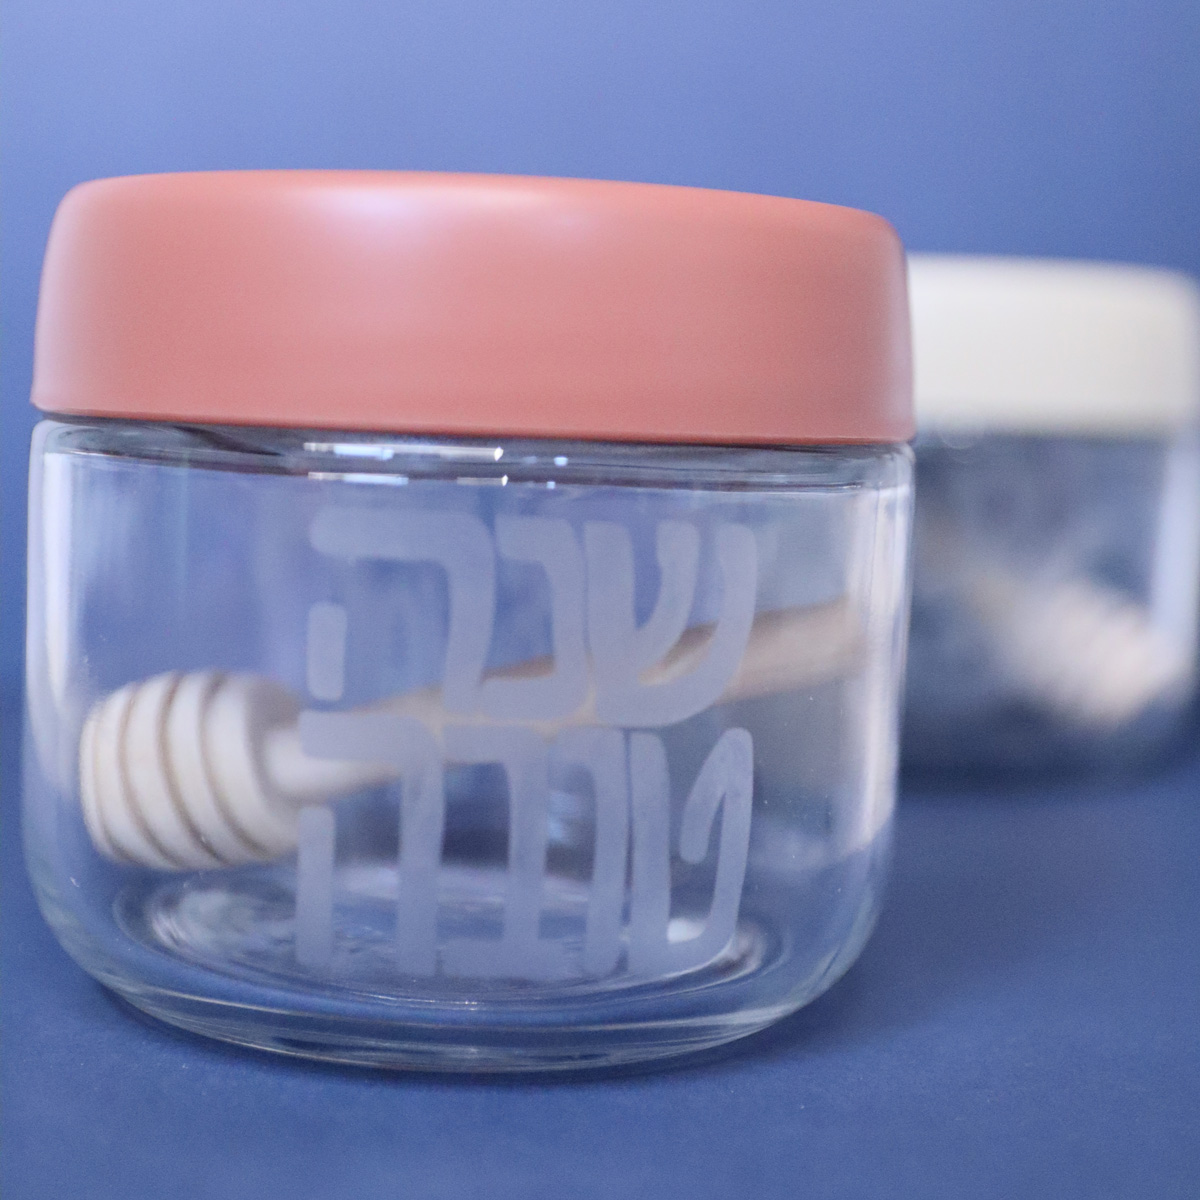
I got fabulous results etching these little glass jars. The colorful covers add a fun touch, and I do love that they can stack.
You can also get an actual honey dish, like this one, and just customize it for Rosh Hashanah.
How to make an etched glass honey dish
Supplies needed
- Cricut cutting machine with fine point blade
- Smart Stencil
- StandardGrip Machine Mat if NOT using a Maker 3/Explore 3 Smart material compatible machine
- Weeding tool
- Transfer Tape
- Scraper
- Rubbing alcohol & cotton pad
- Armour Etch
- Good gloves
- Paint Brush
- Masking tape
- Etchable glass container with airtight lid. Note: Pyrex is not etchable. This jar etched beautifully.
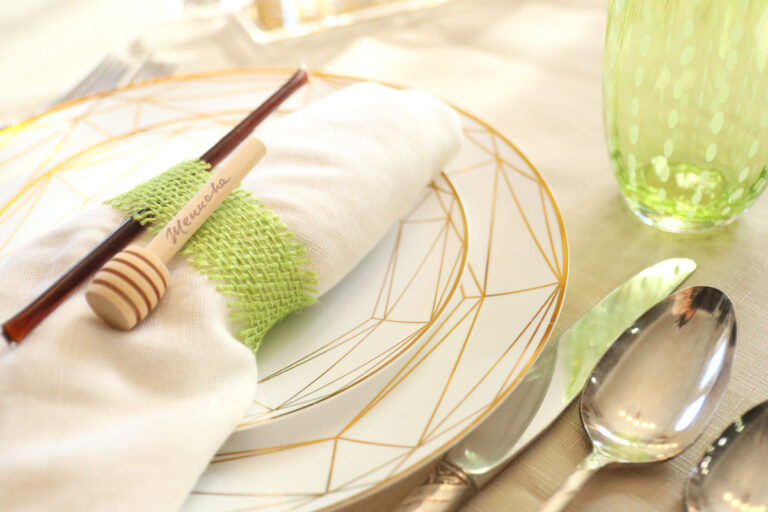
- Bonus: mini honey servers
Process
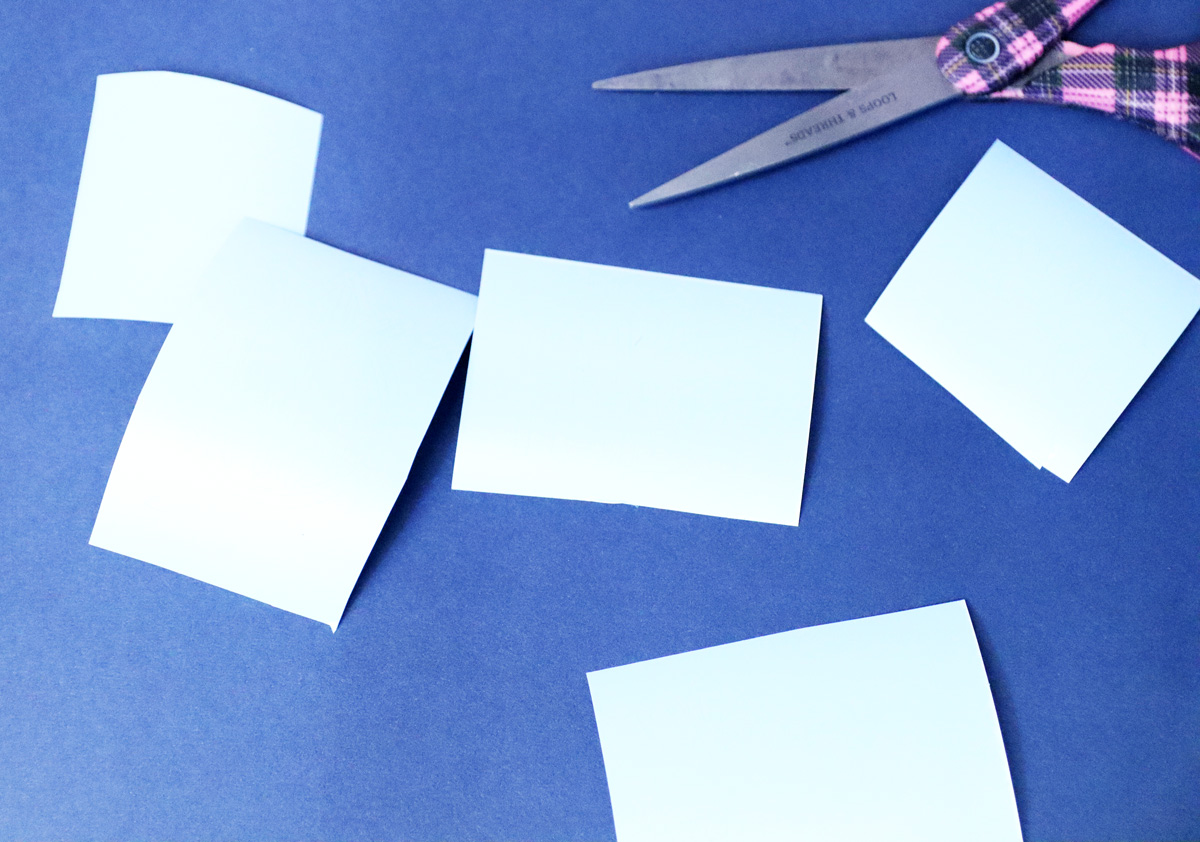
1. Measure and cut your design on your Cricut. Cut out a generous rectangle with a good margin around your cut design.
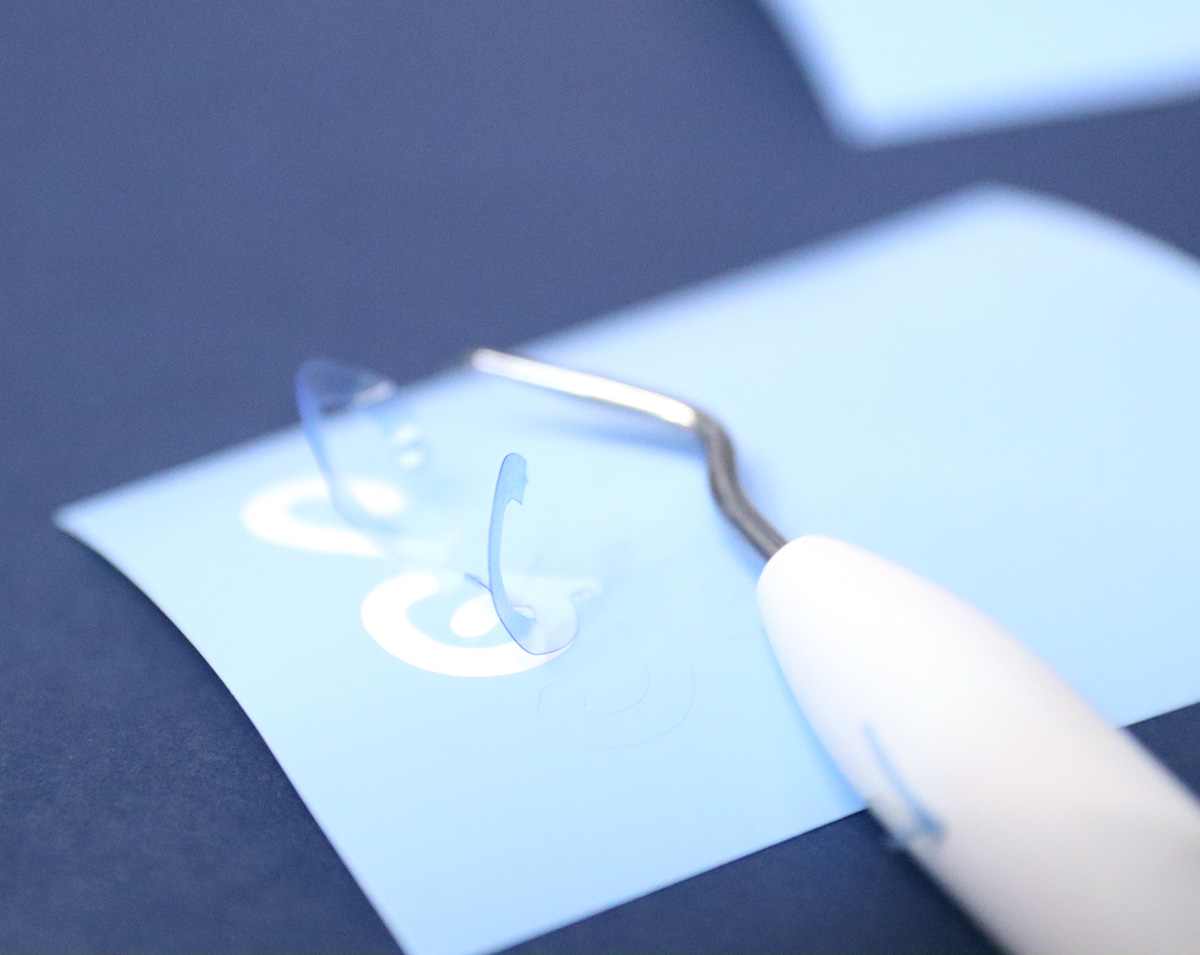
2. Weed the actual design – not the outline.
3. Cut a rectangle of transfer tape and apply it to your design, scraping on the front and back. to adhere it well.
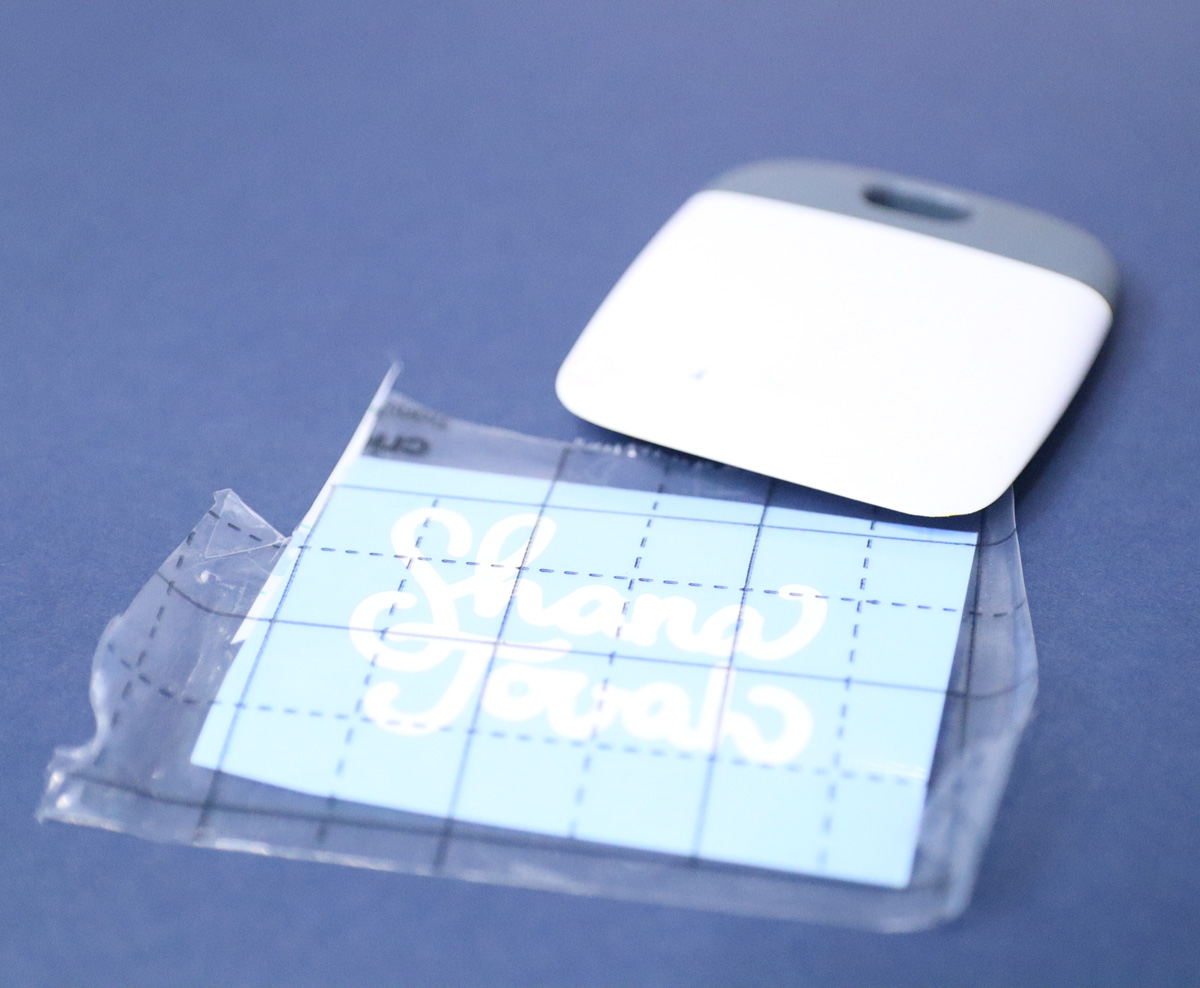
4. Peel back the backing of your stencil. Don’t peel it up, pull it back along the back of the design to fully remove it without taking the design with you. Adhere it carefully to the front of your jar and scrape it so it’s secure.
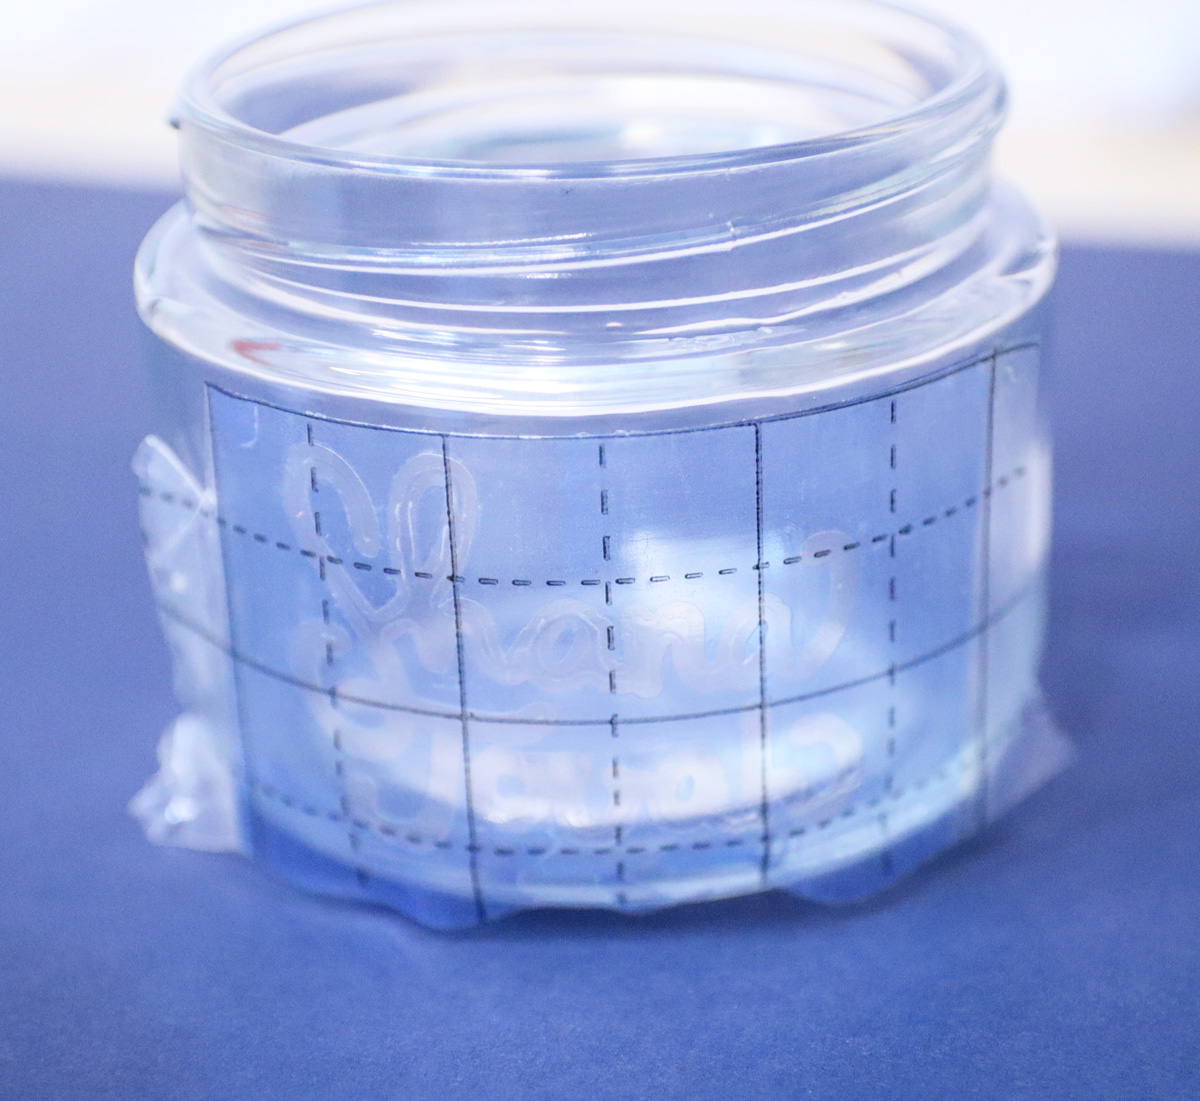
5. Peel back on the transfer tape (again, not up – pull it flat along the surface of the jar).
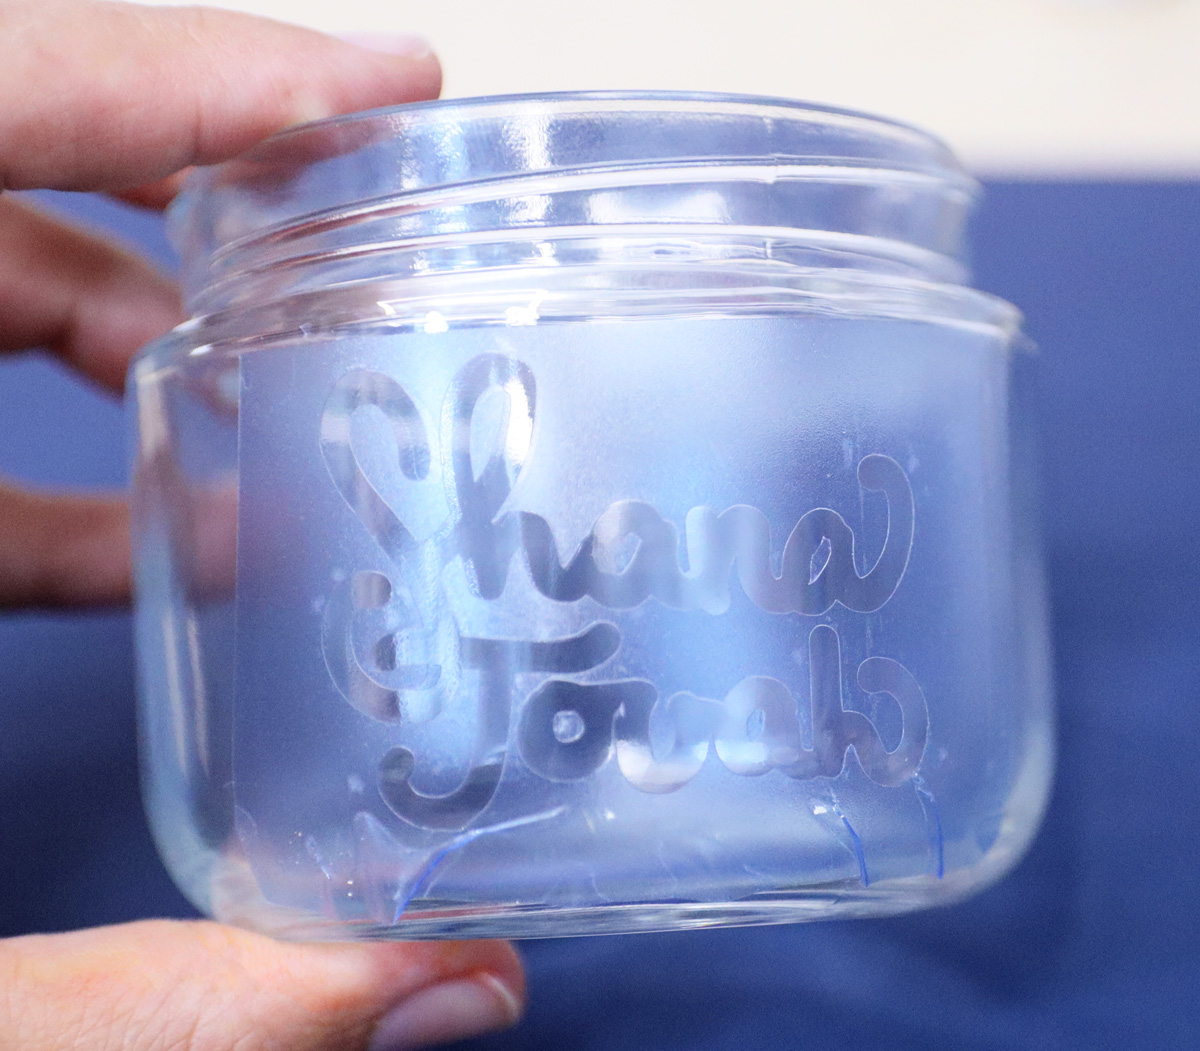
6. Tape the areas around your stencil that you don’t want to etch with masking tape.
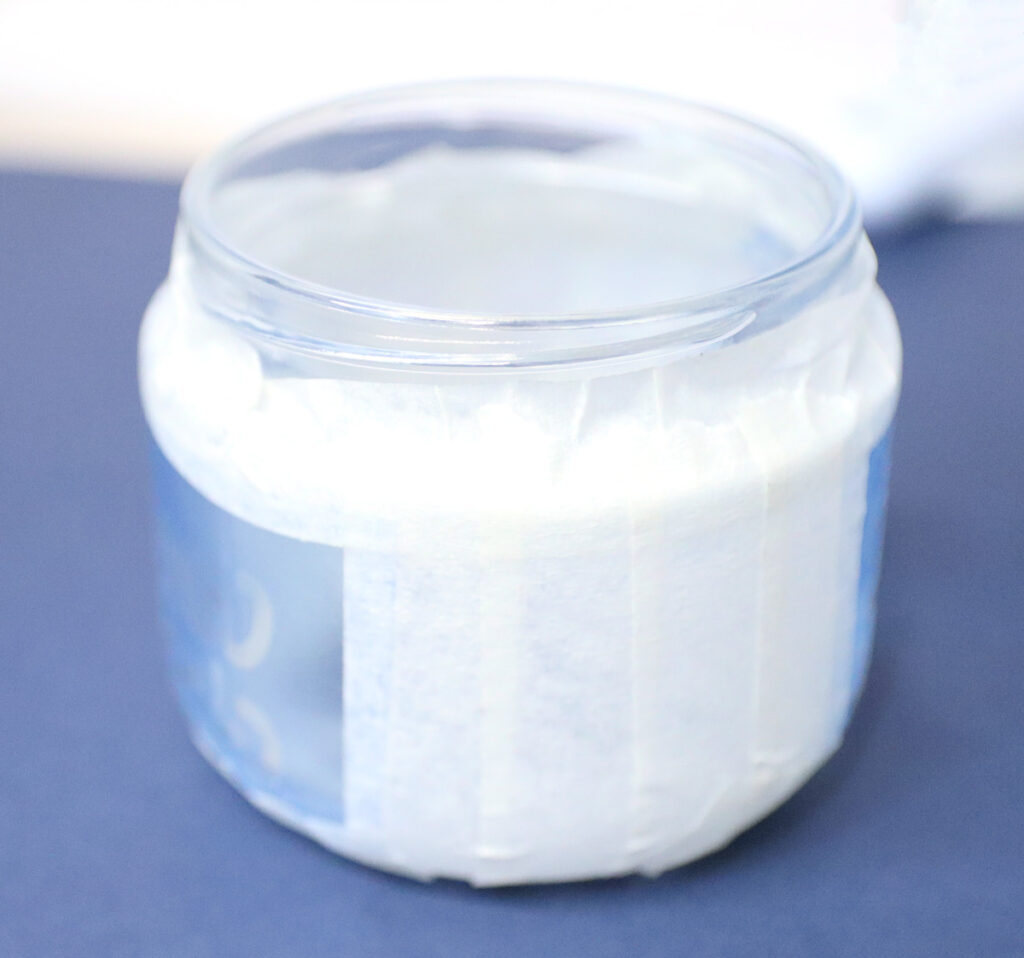
7. Wearing gloves, apply a thick layer of Armour etch to the part of your stencil that’s cut out. Follow package instructions for wait time (1-3 minutes).
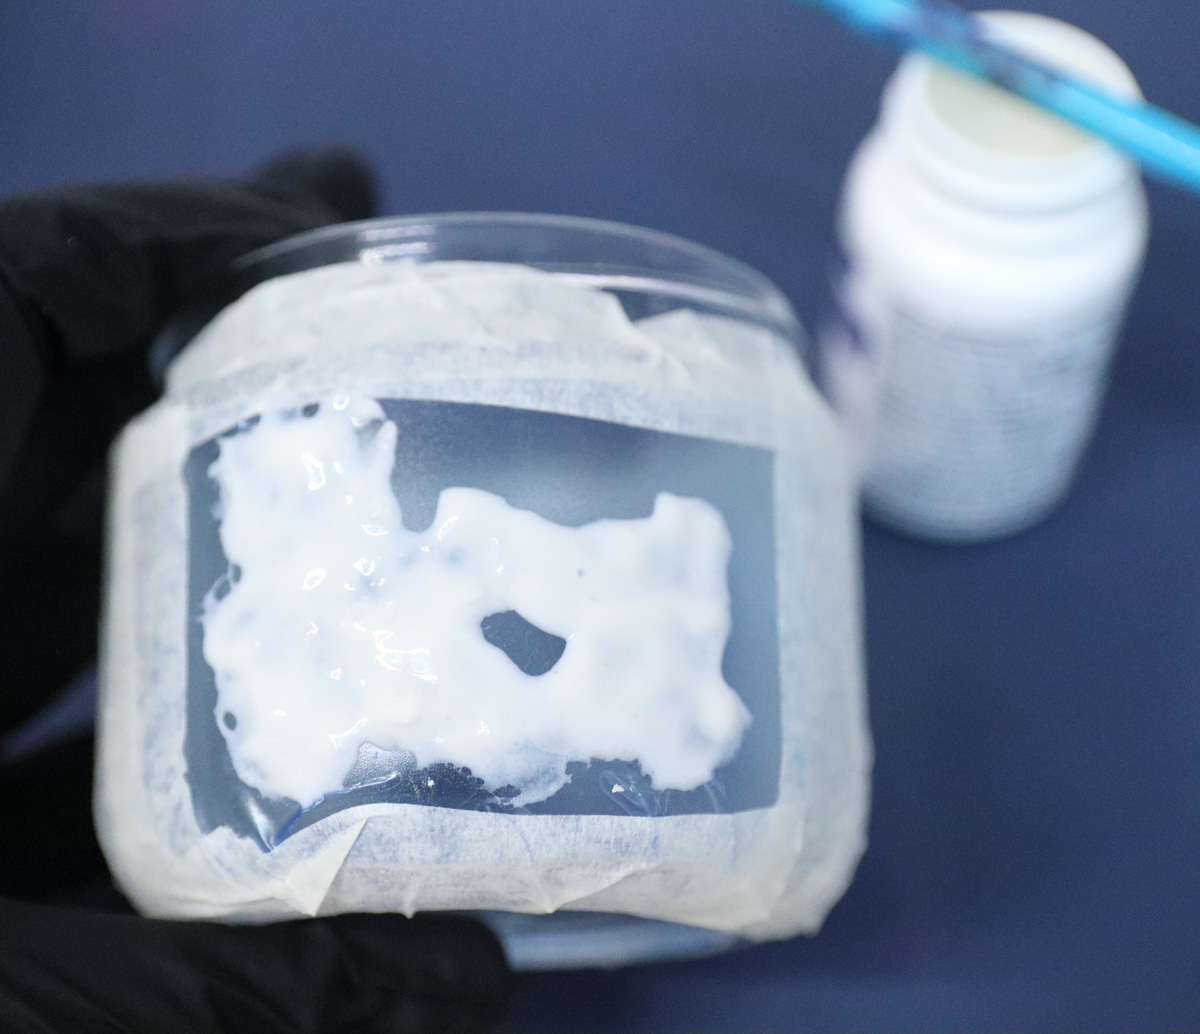
8. When the time passed, wash off the etching cream. At the same time, you can pull off the stencil while running under the water (or peel it off after).
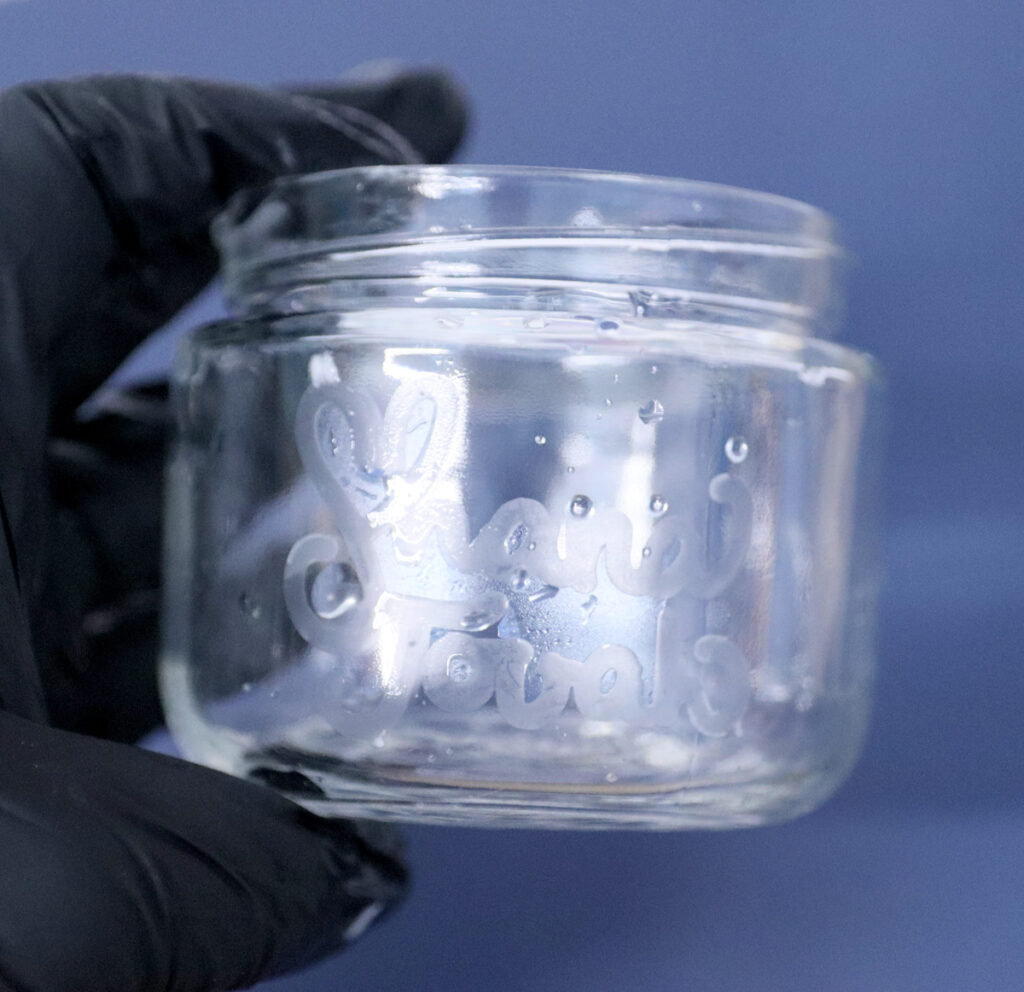
You can etch one side or both sides – and your DIY etched glass honey jar is complete!
Toss in a honey server, screw on the lid, and have a happy sweet new year!
Download the free English Shana Tovah SVG Files
Download your free template! It’ll arrive right in your inbox. By downloading, you’re subscribing to our FREE newsletter with updates on cool printables like this, ideas to simplify Jewish life, and more. Unsubscribe at any time at the bottom my emails. I respect your privacy and the law, and won’t share or sell your email address.
Or get more styles in my Etsy shop
