Floral Sukkah Chandelier – A DIY Decoration
Use this step-by step tutorial and elevate your sukkah with this gorgeous DIY Sukkah Chandelier! When you’re done, check out these DIY suncatcher sukkah decorations. This post contains affiliate links.
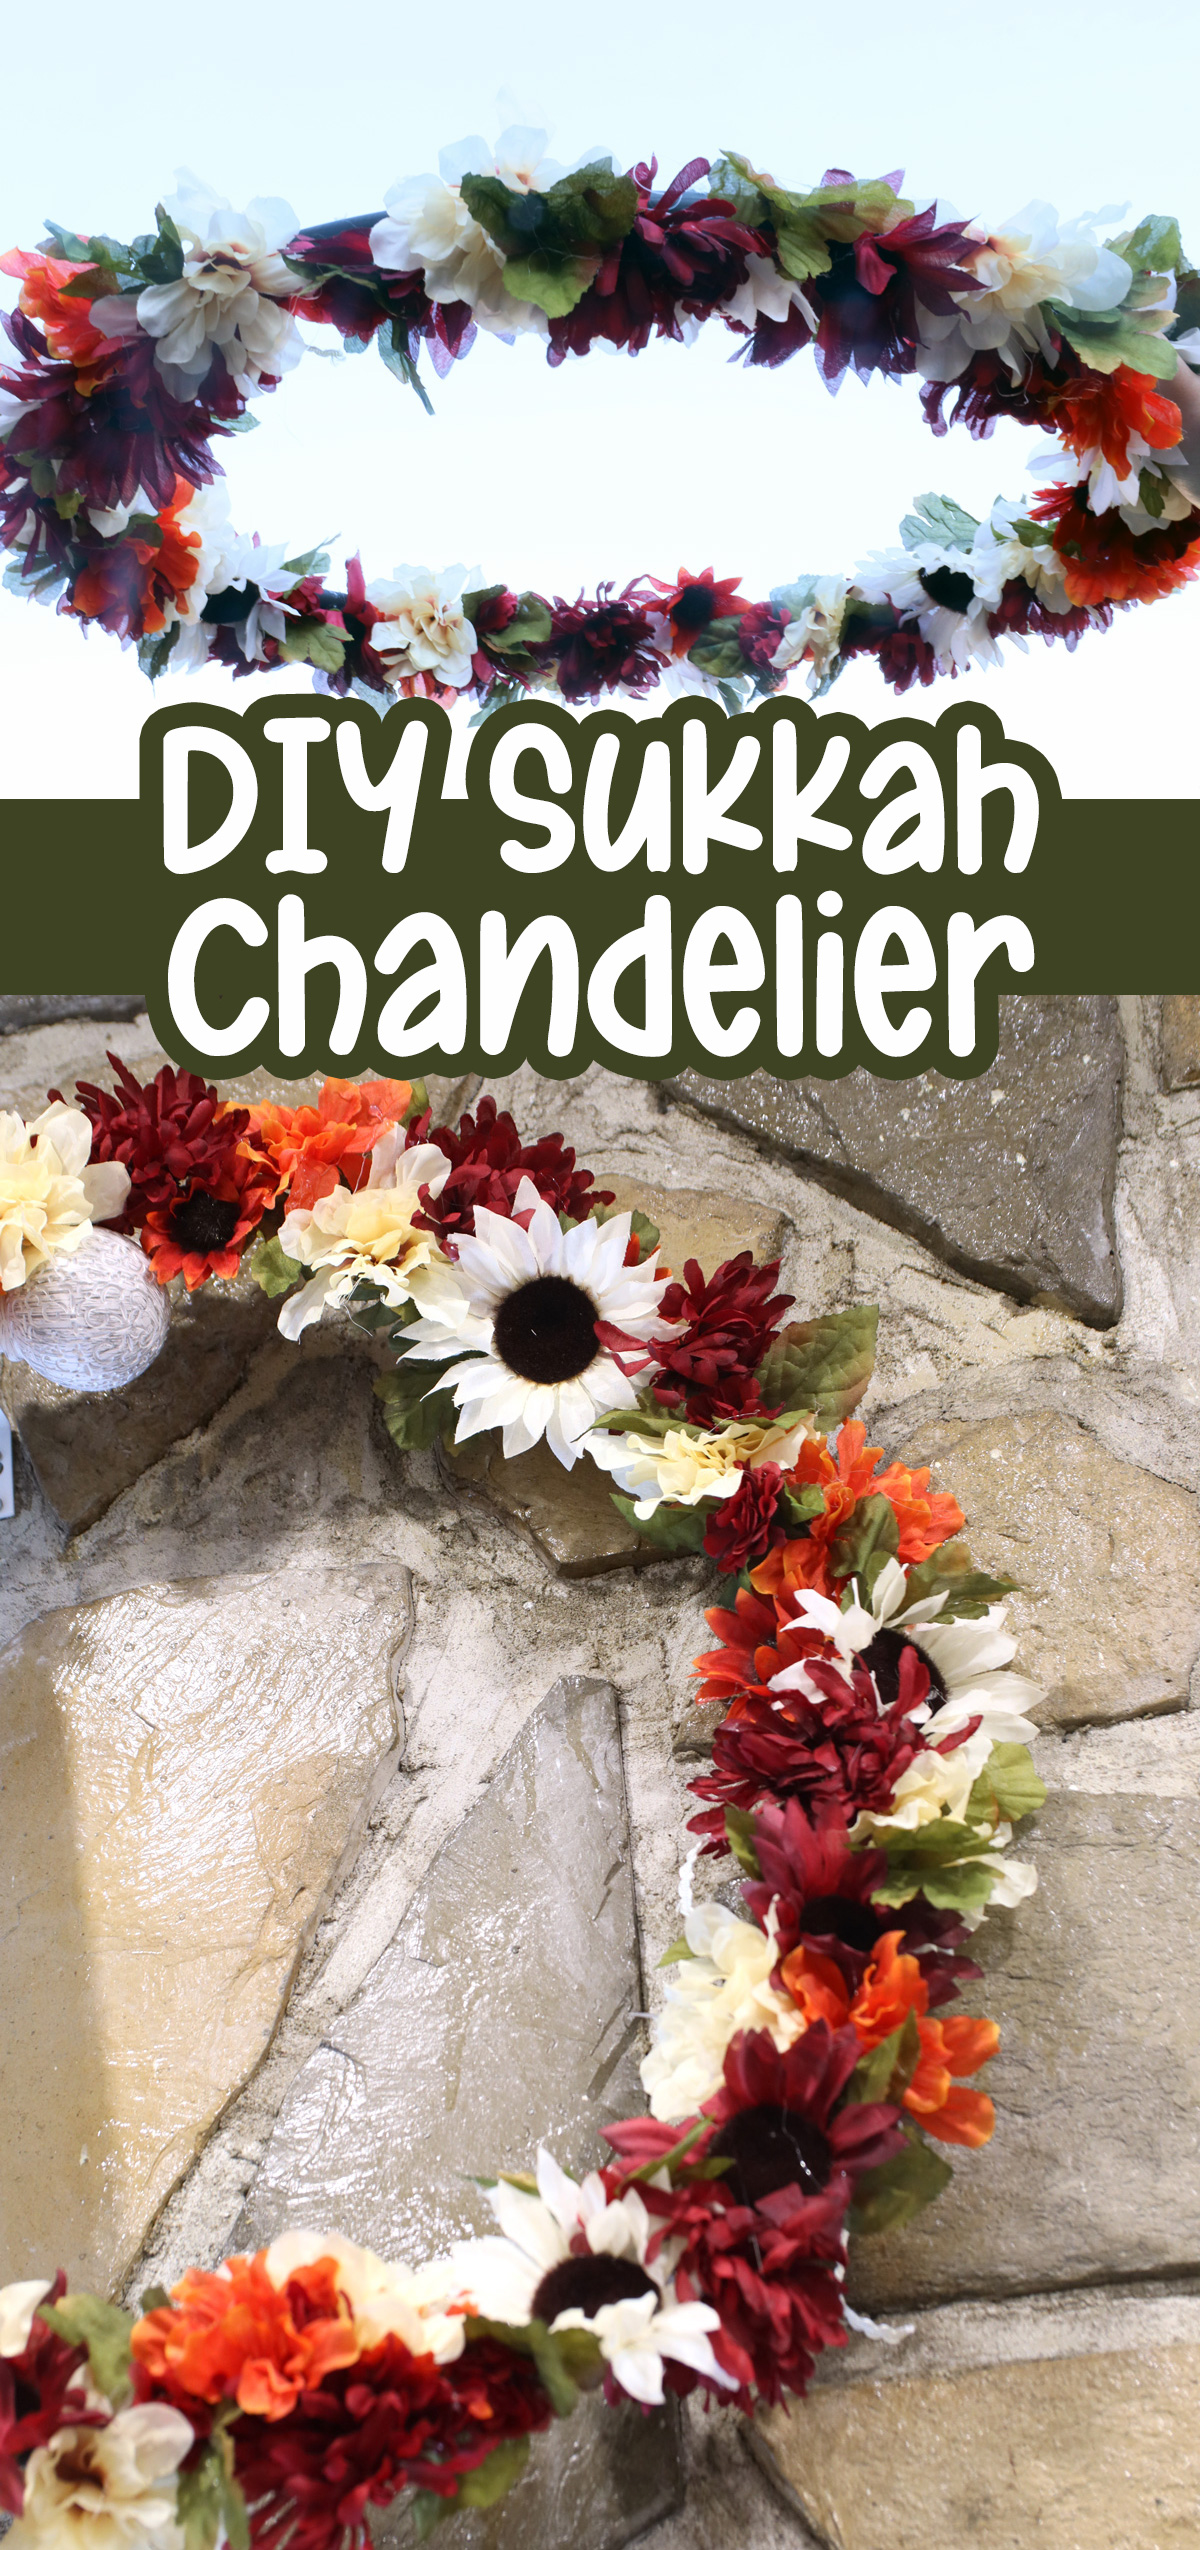
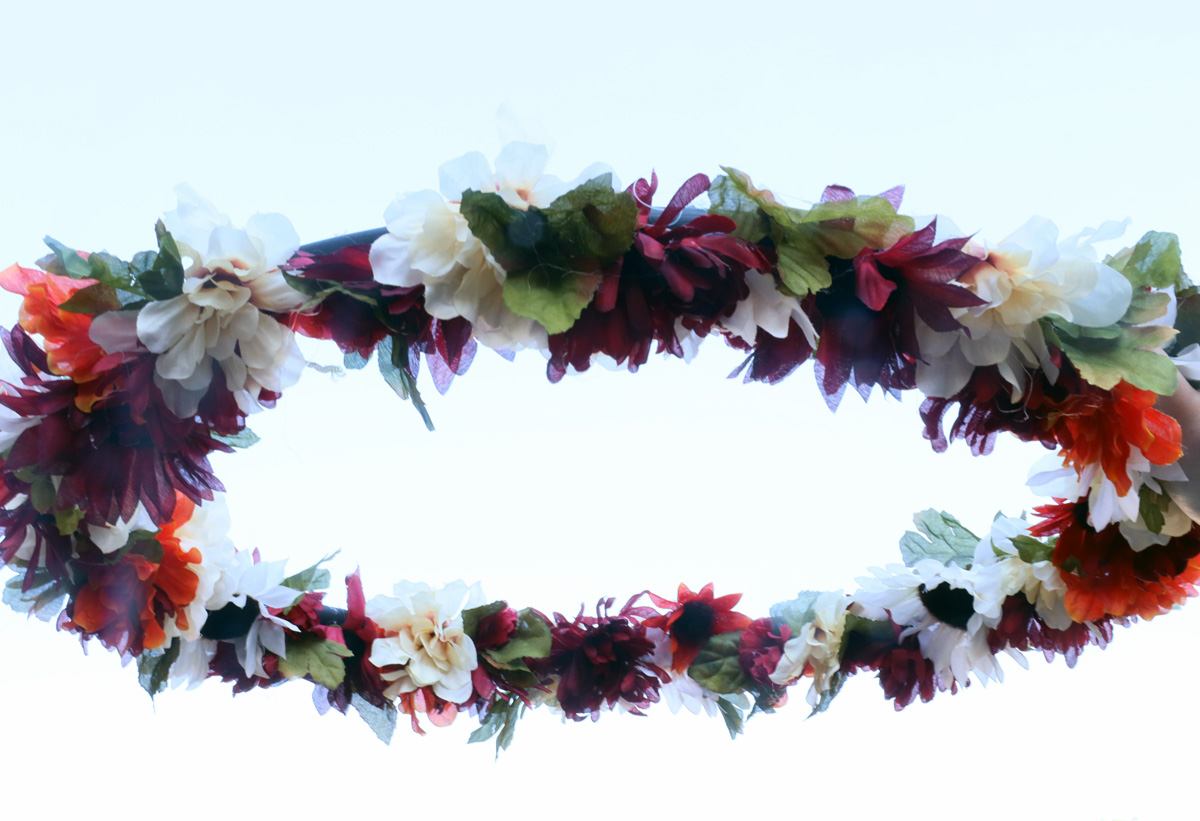
As we look forward to decorating our sukkahs for the upcoming Sukkot holiday, today I’m sharing a craft that is simple to make but will give your Sukkah a really upscale, sophisticated look. Mine isn’t built yet, but I’m planning to hang this floral hoop from the roof as a chandelier – I’ll update this post with pictures when it’s all set up!
You can add fairy lights (make sure they’re outdoor safe!) to make it really sparkle as a chandelier, but the flowers themselves are enough to add sophisticated beauty to your decor.
You can also use this technique to make a centerpiece, either to match your chandelier or instead of one, if your ceiling won’t accommodate it. Place some candles in the center of the ring for a glowing, holiday-ready tablescape.
Choosing the Right Materials for your Floral Sukkah Chandelier
As the base of this project, I used a mini hula hoop that I found at a local dollar store. You can choose a size that you like or that you think will look perfect in your sukkah, but obviously a small hoop will make for an easier project – you’ll need fewer flowers to cover it. And you’ll definitely want to stay mini if you’re making a table centerpiece.
You can find everything you need for this craft at a dollar store, making it a very approachable craft. But for maximum impact, I recommend using higher quality faux flowers from a store like Michael’s. If your ceiling is on the high side, you might not be able to tell the difference, but great flowers really take this piece to the next level. A store like Michael’s will have a wider selection and the flowers are much more realistic – and they’re still affordable, with frequent sales and coupons.
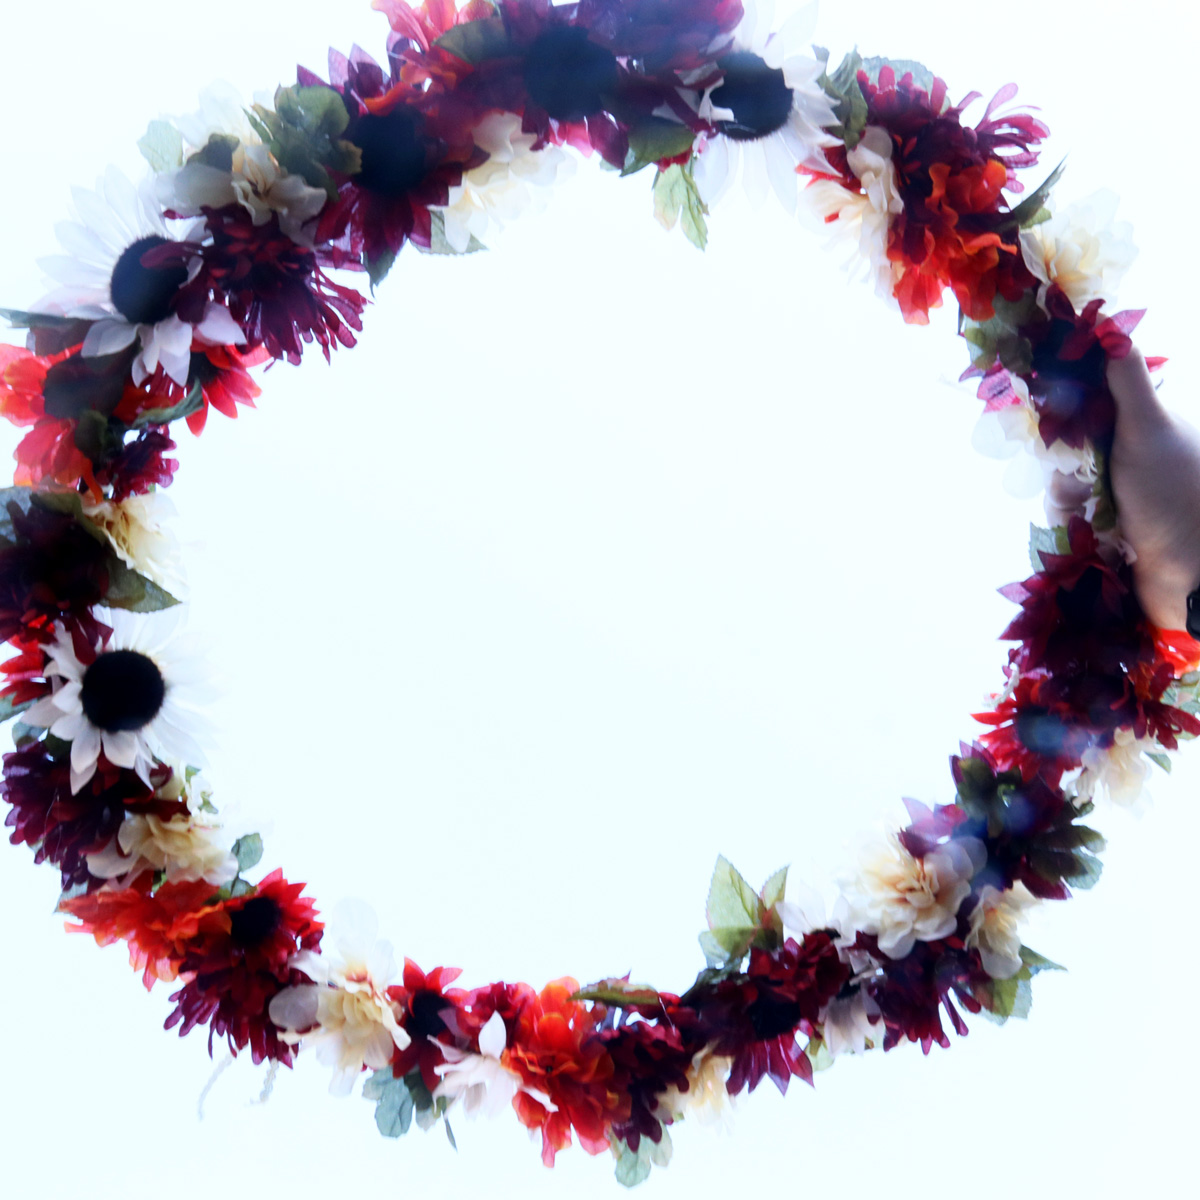
When you’re choosing your flowers, focus on a color scheme of 2-3 colors. You can vary the shades of each color to make the design more interesting, but stay in the same color family for a cohesive, sophisticated look. You can get different types of flowers in similar colors, so you have some variation in the shapes and textures while still maintaining that coordinated look.
Aim for a few very large flowers, a handful of medium-sized ones, and a whole lot of small ones to help fill up your ring with lots of depth and variation.
Faux flowers come in different types. Some are held together by the stem and fall apart easily when cut off, while others are attached to the top of the stem and can pop right off. For this project, it’s best if you can pull off the flower head in one piece. If not, you’ll need to be able to snip off the head.
It’s great if your flowers also have nice leaves that you can use as accents around the wreath.
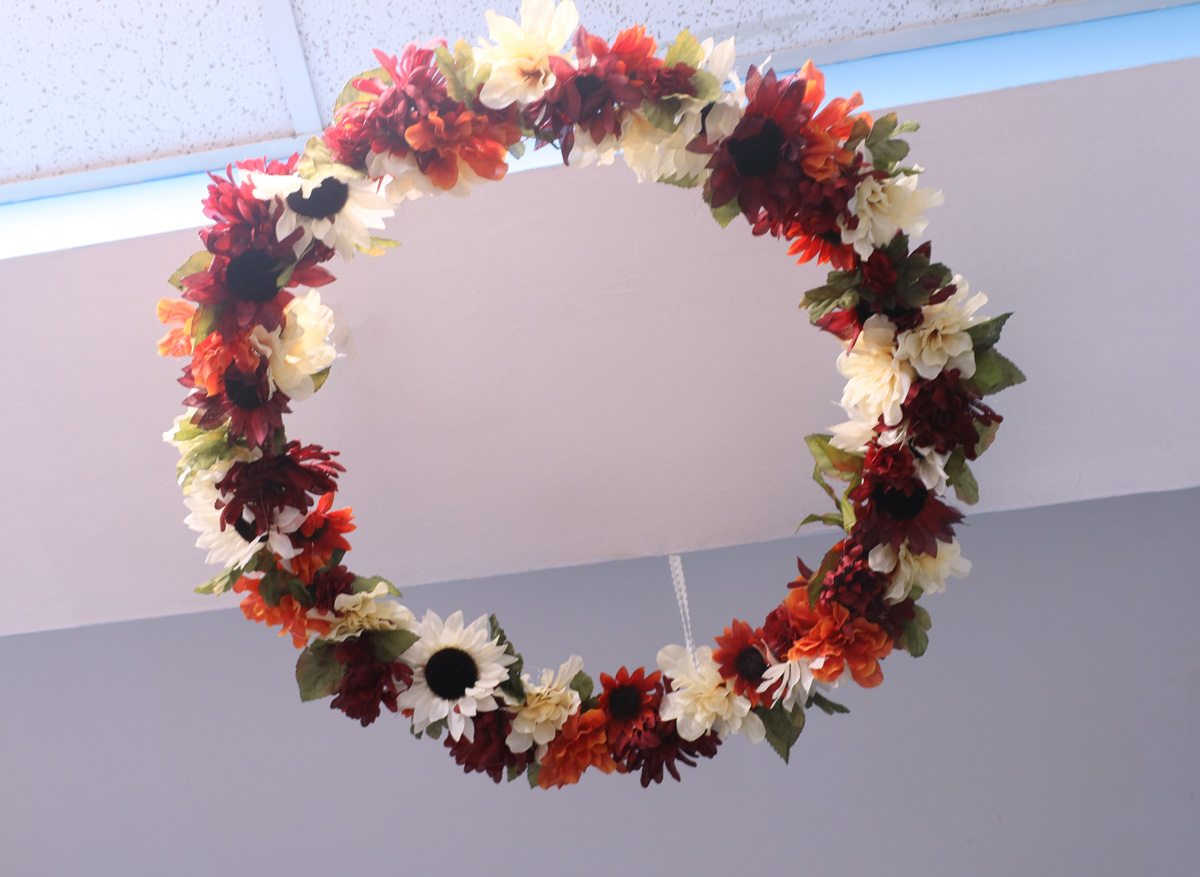
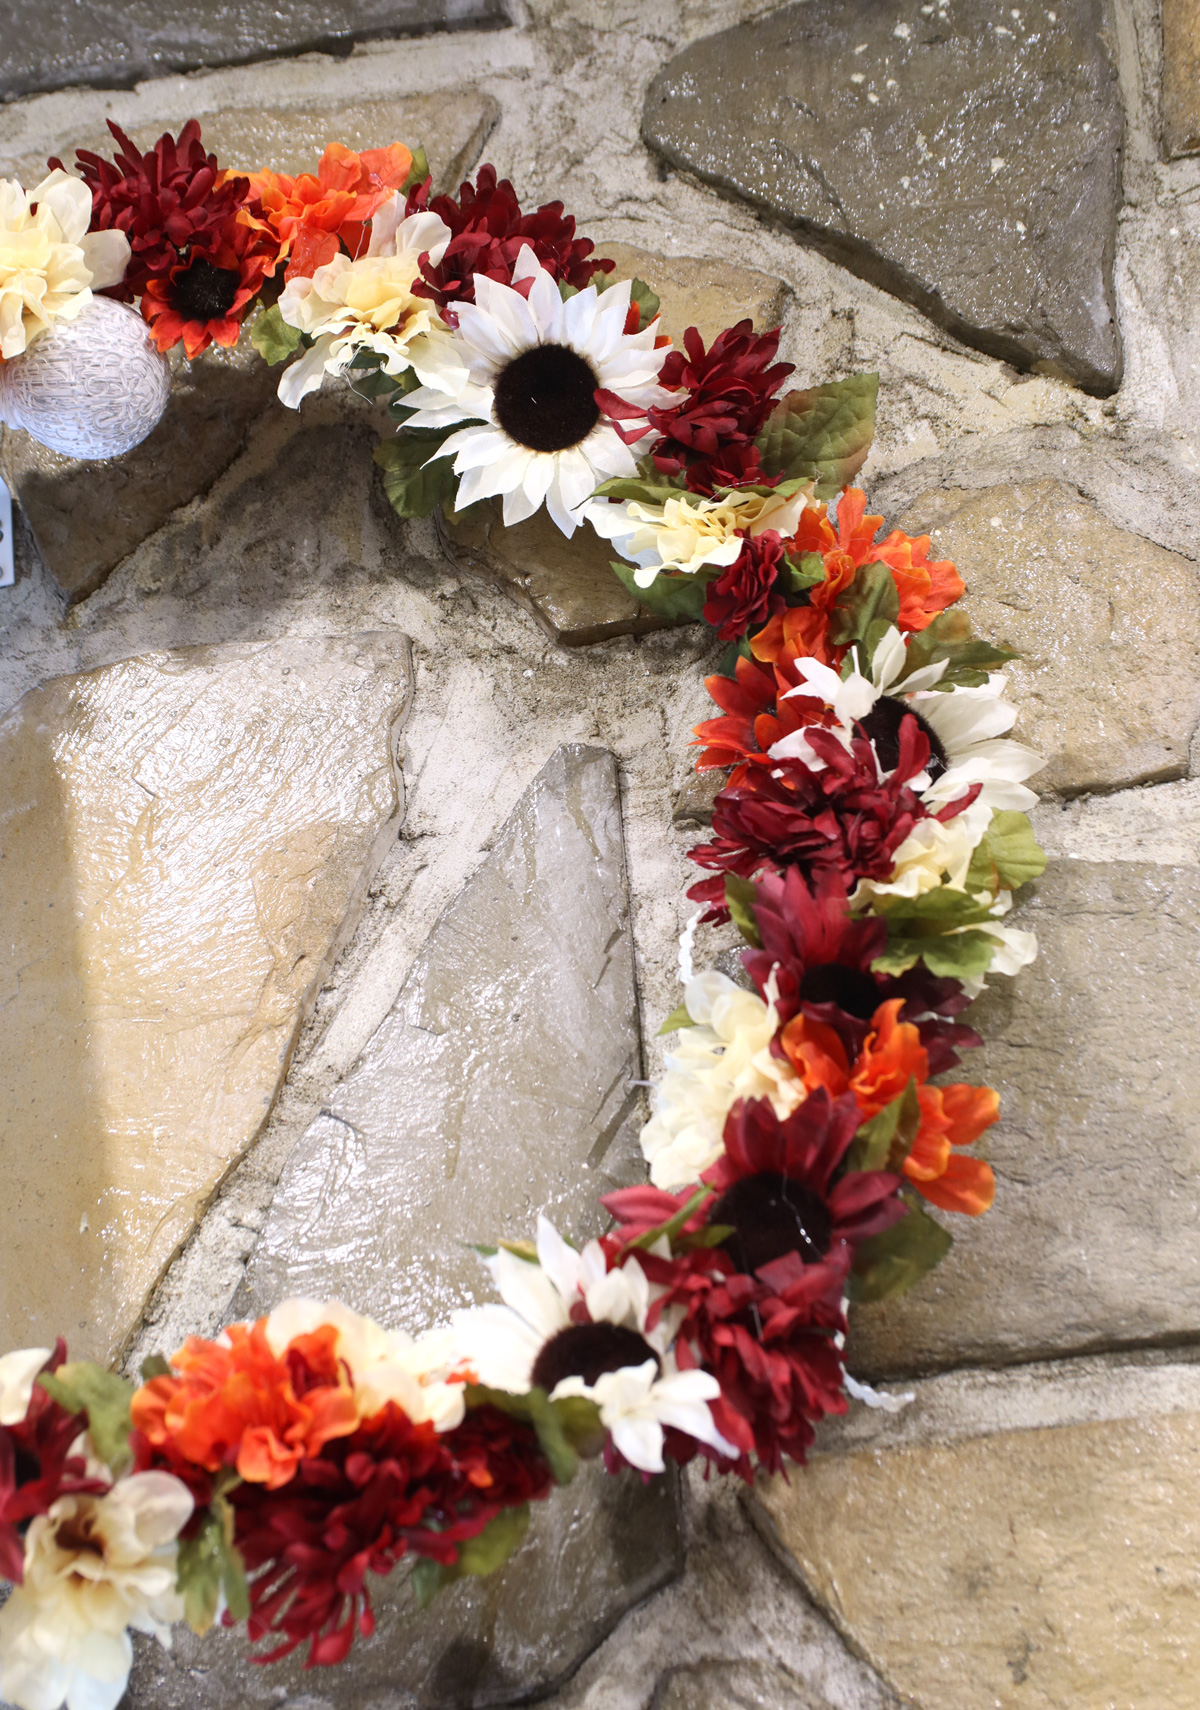
How many flowers should you buy? Your best guide is to bring your hula hoop along to the store. If that’s too cumbersome, you can measure the circumference of the hoop and bring along a ruler or tape measure. Get about 2-2.5 times as much as the circumference of the hoop, because it will look best with many flowers overlapping. You definitely don’t want spaces where the hoop would show through.
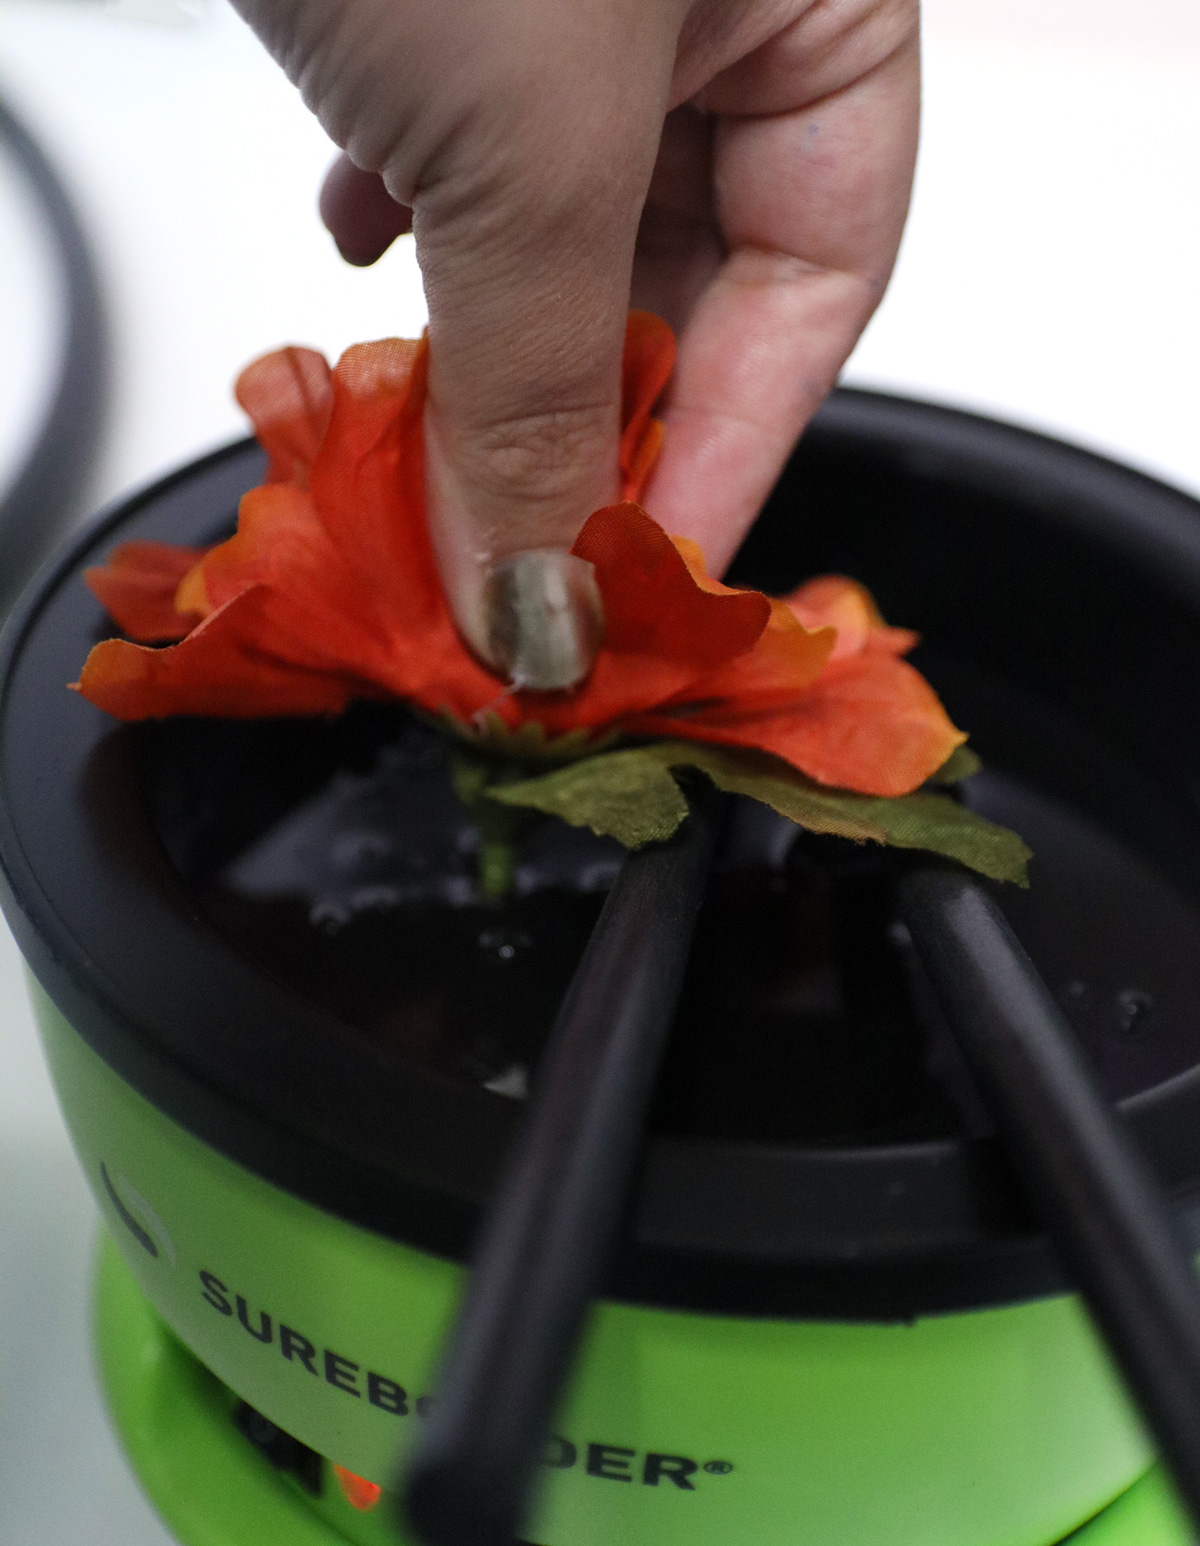
This hula hoop flower chandelier is held together with a very generous amount of hot glue. To help with this, especially if you’re a frequent crafter, I love to use the Surebonder Hot Glue Skillet (they gifted me one once, but not for this post – I like it enough to keep using it again and again!)
The skillet keeps a bunch of glue hot and melty so you don’t need to keep pressing the trigger on your glue gun, or deal with lag times as the glue heats up. Instead, you can dip the base of the flowers into the pool of hot glue and stick it right on.
Just be careful, because the edges of the skillet get very hot. It’s a little harder to avoid than the tip of a hot glue gun.
If you prefer to use a simple glue gun, check out this post to help you find the right one for you. The right glue gun can help you have the best experience for both ease of use and durable sticking power.
OK, enough chatter. I’m just trying to help, but I know what you really want is to get crafting!
What you’ll need
- Small hula hoop (Dollar Tree has these seasonally)
- Faux flowers – I used about 12 small bunches, but you should measure up against your hula hoop to be safe. Get about 2-2.5 times as long as your hula hoop so you have enough for layering (measuring the head of the flower)
- Glue gun or glue skillet, plus plenty of glue
- Strong ribbon, twine, or wire for hanging (wire will be strongest, we don’t want it falling on your head or food!) – 3-4 pieces, long enough to hang the hoop several inches below the ceiling.
- Optional: spray paint
- Optional: fairy lights
How to make a floral sukkah chandelier
1. Many hula hoops have an outer layer of thin plastic to give it its color or sparkle. If possible, peel this off so you have a solid colored hoop. If you can’t do this and the color is loud, consider spray painting the hoop so that the plastic will look nice if it shows through.
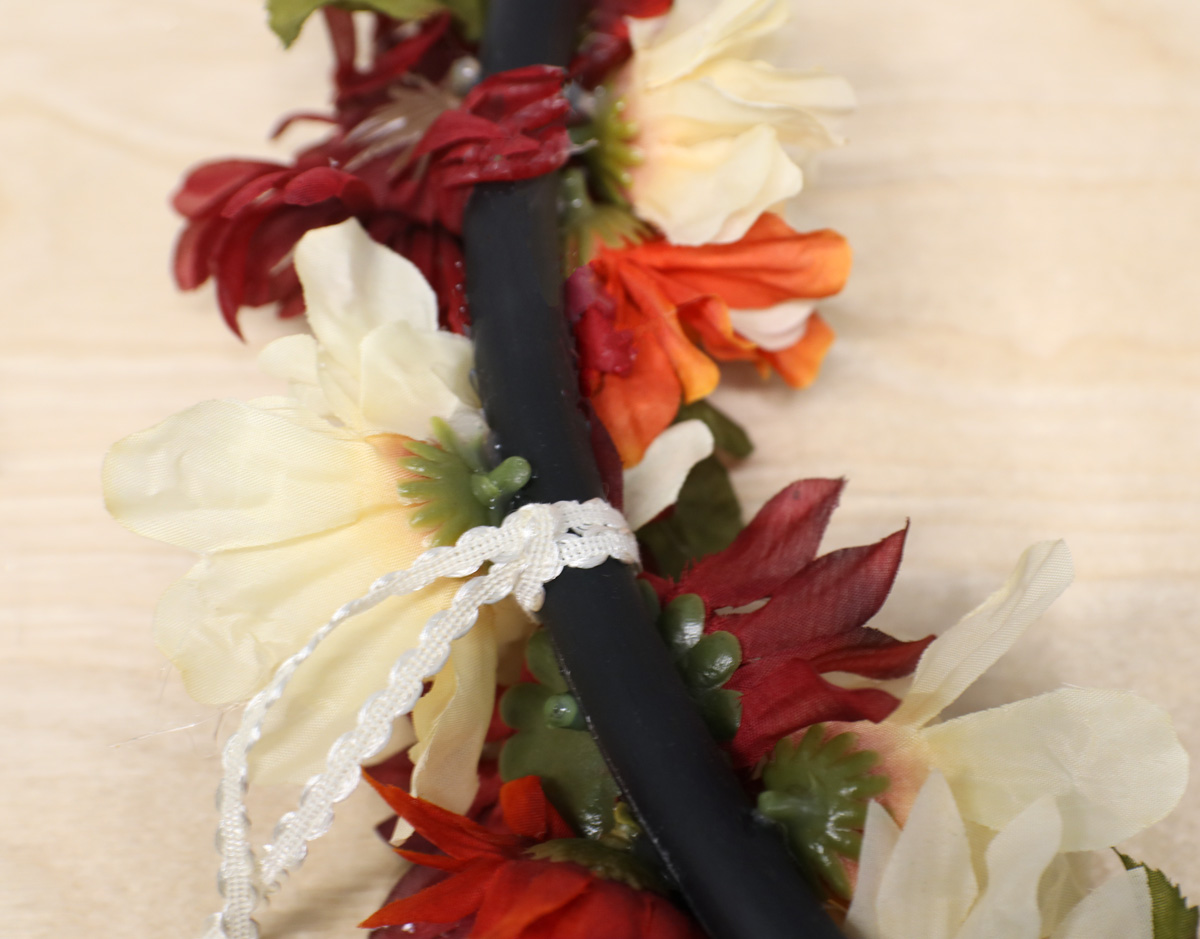
2. Take 3-4 equal lengths of wire or twine and tie them at even intervals around the hoop. Gather them in the center so that the finished ring will hang evenly from each side. (skip this if you’re making a table centerpiece). I did this at the end, but you can also do this before you’re start. Next time I’m going to do it this way, so I’m adding the step here.
3. Heat up your glue. Pull a flower head off its stem and dip it into the glue or apply glue to its base. Try to hold the petals out of the way and not get them gluey (it’s OK if it happens. Just easier and neater if you can avoid it.)
4. Place your flowers on the hoop one at a time. If you like a very balanced look, start by placing the largest flowers at intervals around the hoop, and then fill in the in-between spaces. You can also go for a more random arrangement.
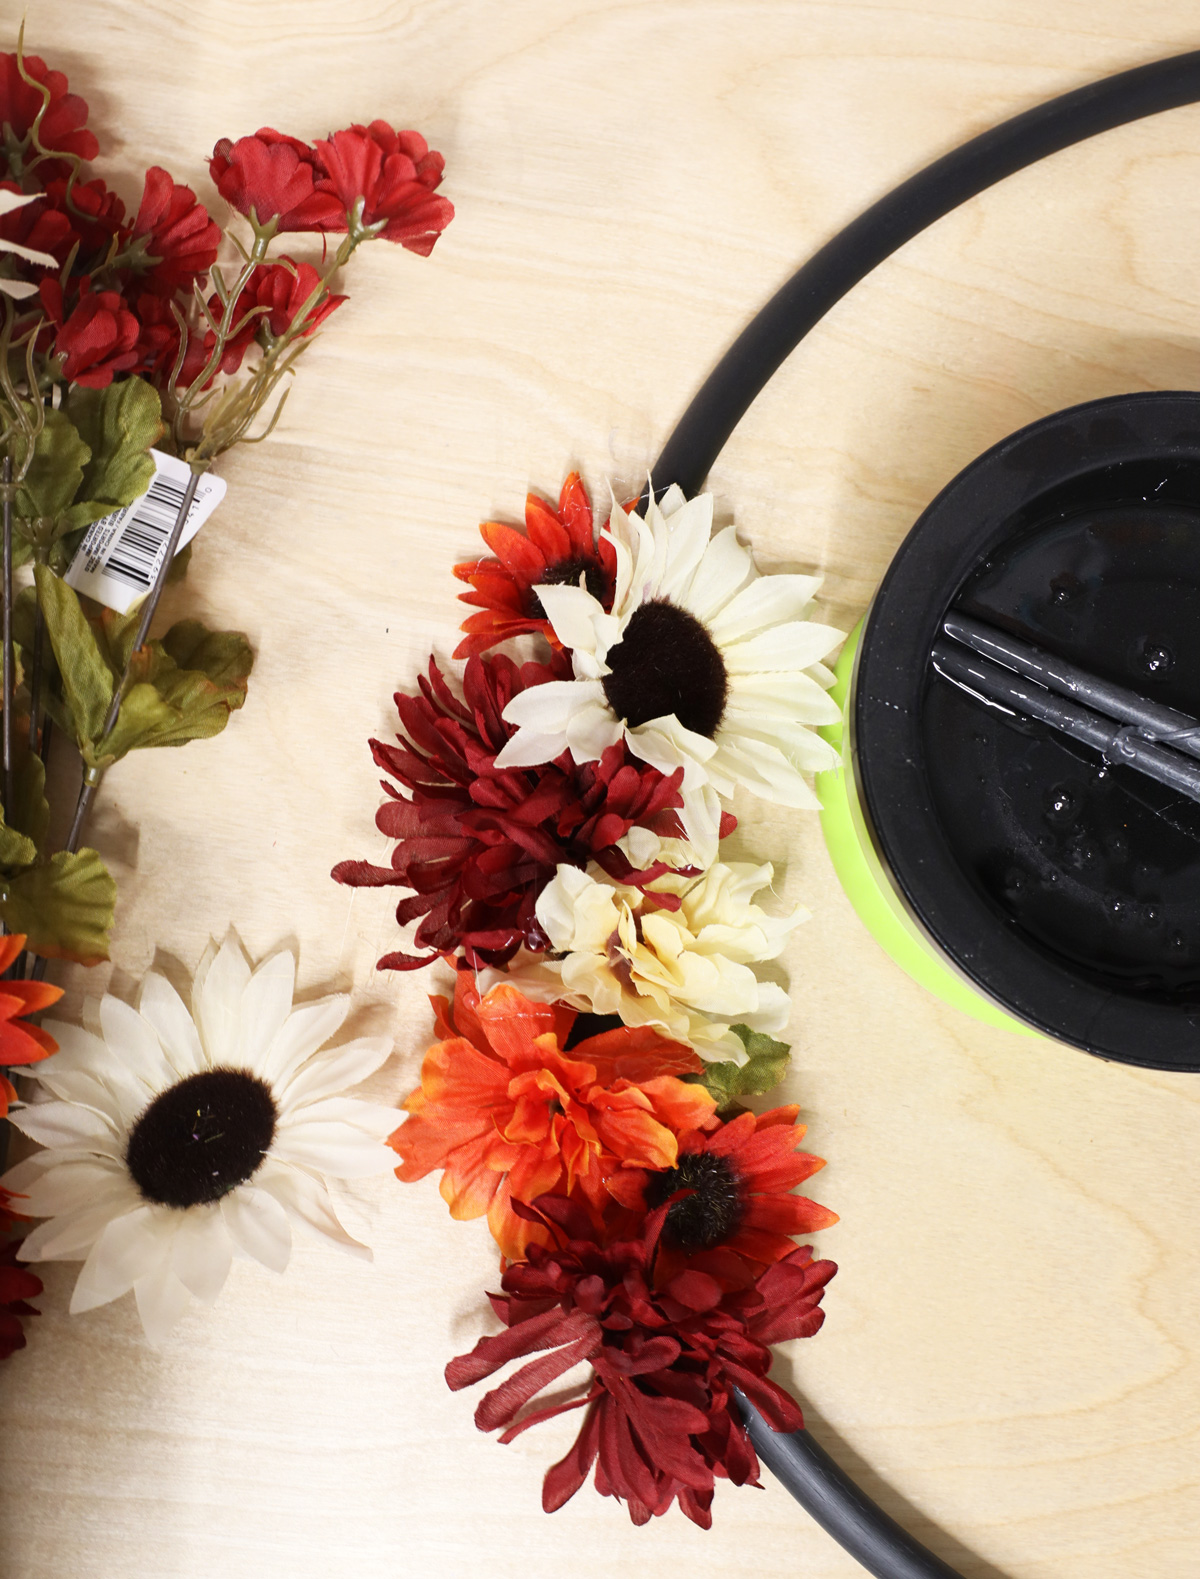
5. Keep placing flowers, tucking them between each other and overlapping a bit so they fully cover the front of the hula hoop.
Mostly just one side will be visible when hanging from the ceiling, but if you want you can stick some smaller flowers around the side.
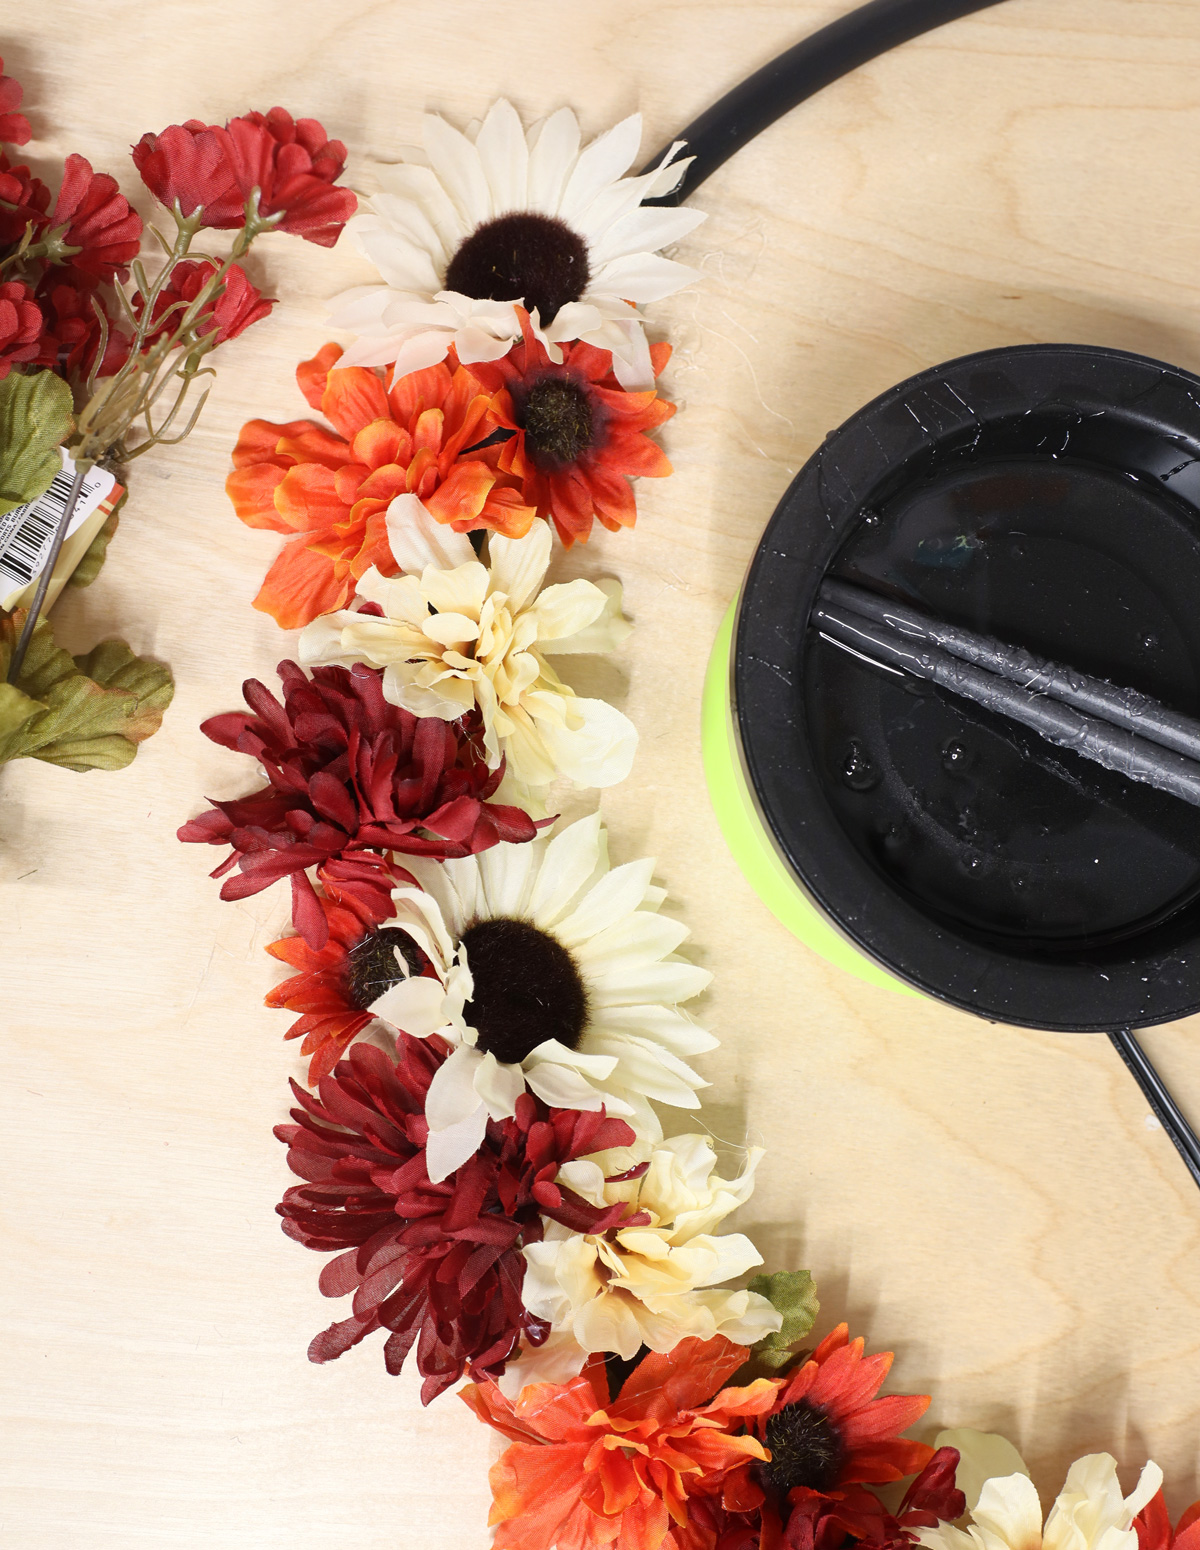
6. Pull some leaves off the stems. Apply glue to the ends and stick them between flowers that look like they could use some extra green – or at random intervals around the hoop.
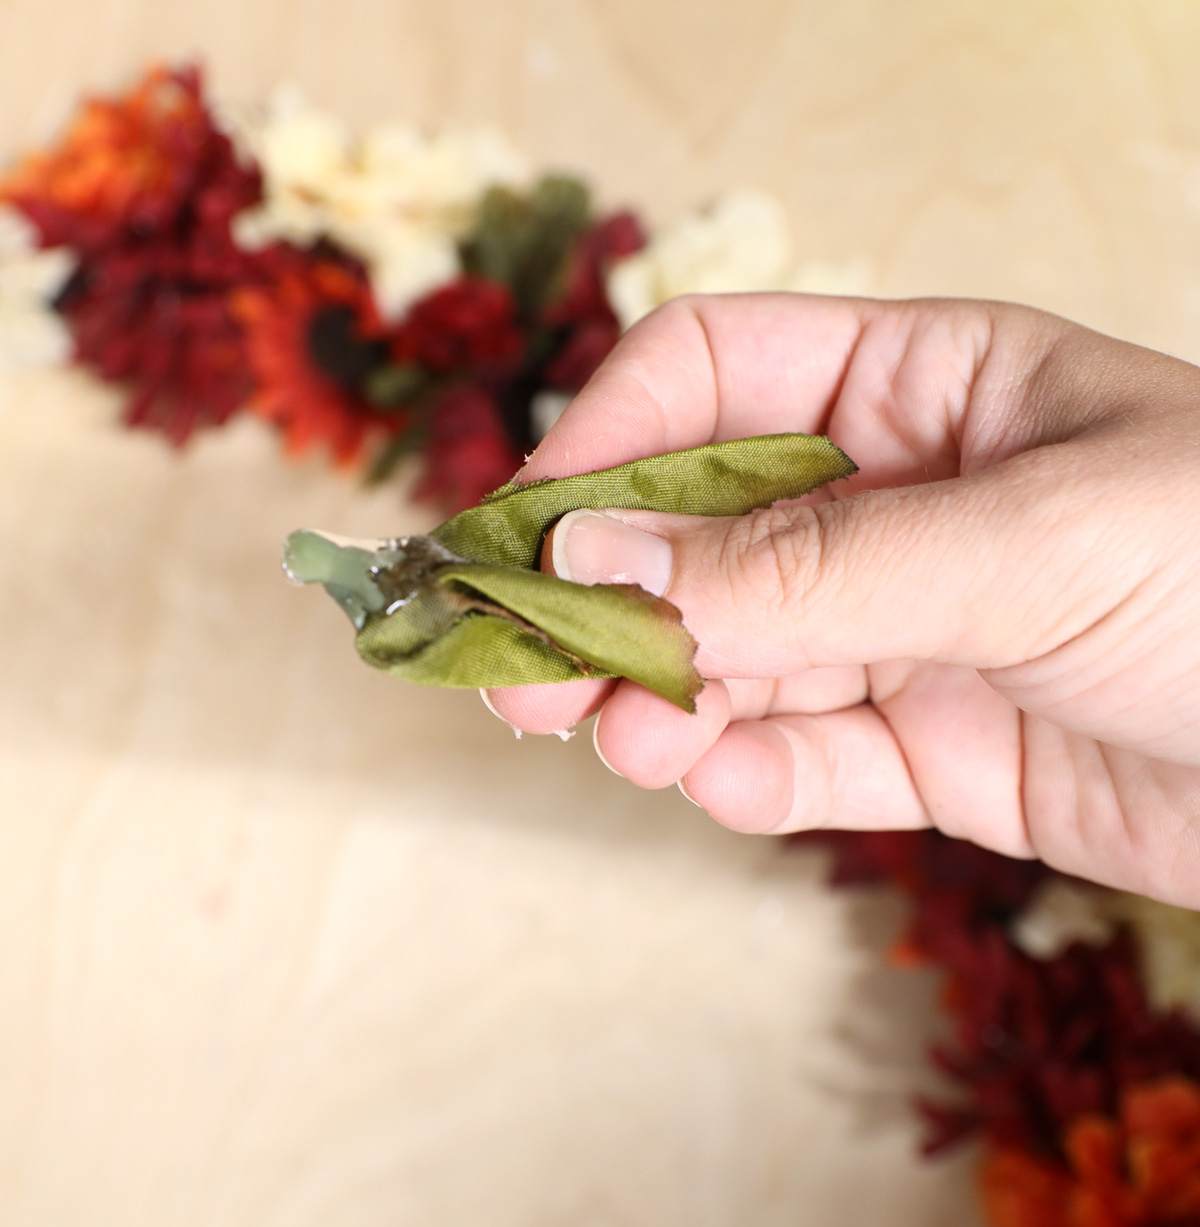
7. When you’re done, turn the hoop over and check for loose flowers that could use more glue. Reinforce with a glue gun as needed.
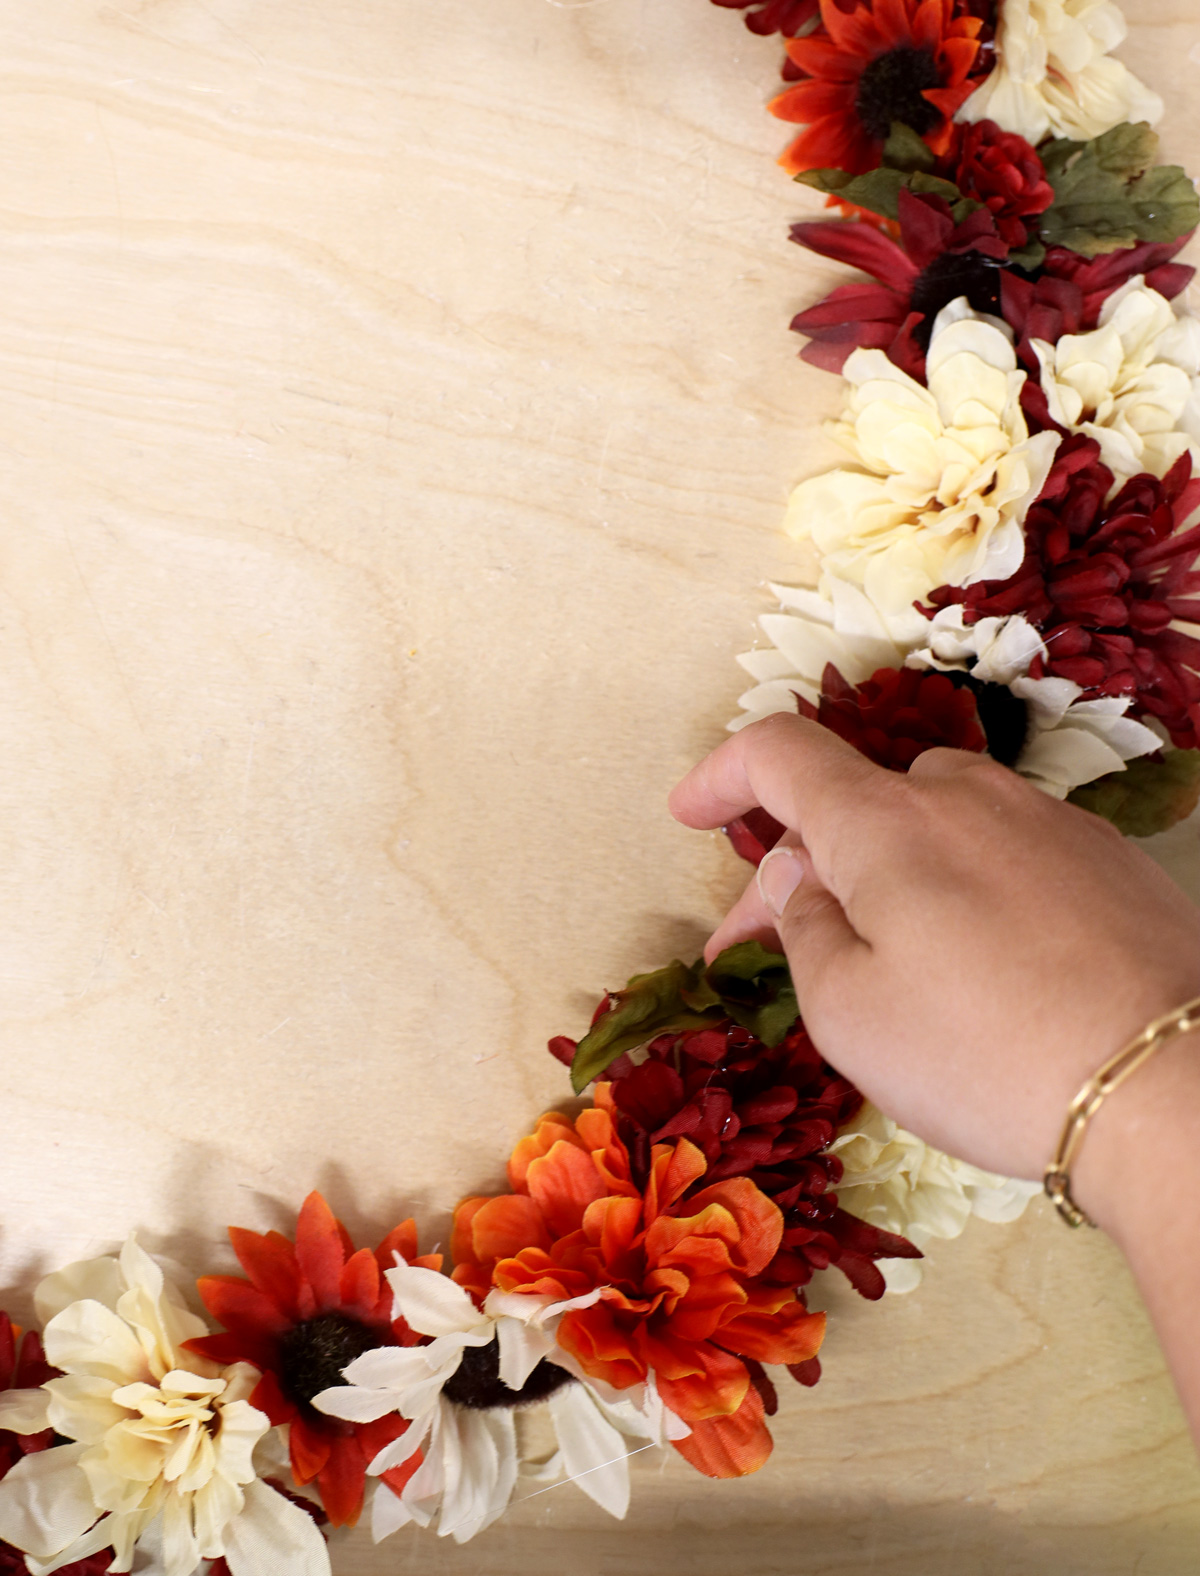
8. If you’re adding fairy lights, wrap the strand loosely around the hoop and flowers.
9. Pick the perfect spot to hang this in the center of your sukkah!

Your floral sukkah chandelier is complete!
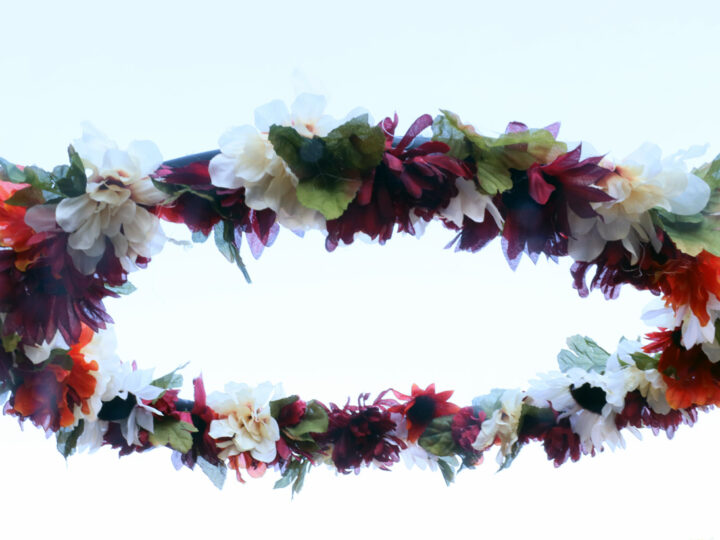
DIY Floral Chandelier for your Sukkah
Materials
- Small hula hoop (Dollar Tree has these seasonally)
- Faux flowers - I used about 12 small bunches, but you should measure up against your hula hoop to be safe. Get about 2-2.5 times as long as your hula hoop so you have enough for layering.
- Glue gun or glue skillet, plus plenty of glue
- Strong ribbon, twine, or wire for hanging (wire will be strongest, we don’t want it falling on your head or food!) - 3-4 pieces, long enough to hang the hoop several inches below the ceiling.
- Optional: spray paint
- Optional: fairy lights
Instructions
1. Many hula hoops have an outer layer of thin plastic to give it its color or sparkle. If possible, peel this off so you have a solid colored hoop. If you can’t do this and the color is loud, consider spray painting the hoop so that the plastic will look nice if it shows through.
2. Take 3-4 equal lengths of wire or twine and tie them at even intervals around the hoop. Gather them in the center so that the finished ring will hang evenly from each side. (skip this if you’re making a table centerpiece)
3. Heat up your glue. Pull a flower head off its stem and dip it into the glue or apply glue to its base. Try to hold the petals out of the way and not get them gluey (it’s OK if it happens. Just easier and neater if you can avoid it.)
4. Place your flowers on the hoop one at a time. If you like a very balanced look, start by placing the largest flowers at intervals around the hoop, and then fill in the in-between spaces. You can also go for a more random arrangement.
5. Keep placing flowers, tucking them between each other and overlapping a bit so they fully cover the front of the hula hoop.
6. Mostly just one side will be visible when hanging from the ceiling, but if you want you can stick some smaller flowers around the side.
7. Pull some leaves off the stems. Apply glue to the ends and stick them between flowers that look like they could use some extra green - or at random intervals around the hoop.
8. When you’re done, turn the hoop over and check for loose flowers that could use more glue. Reinforce with a glue gun as needed.
9. If you’re adding fairy lights, wrap the strand loosely around the hoop and flowers.
10. Pick the perfect spot to hang this in the center of your sukkah!

