Hanukkah Suncatchers Craft for Toddlers and Preschool
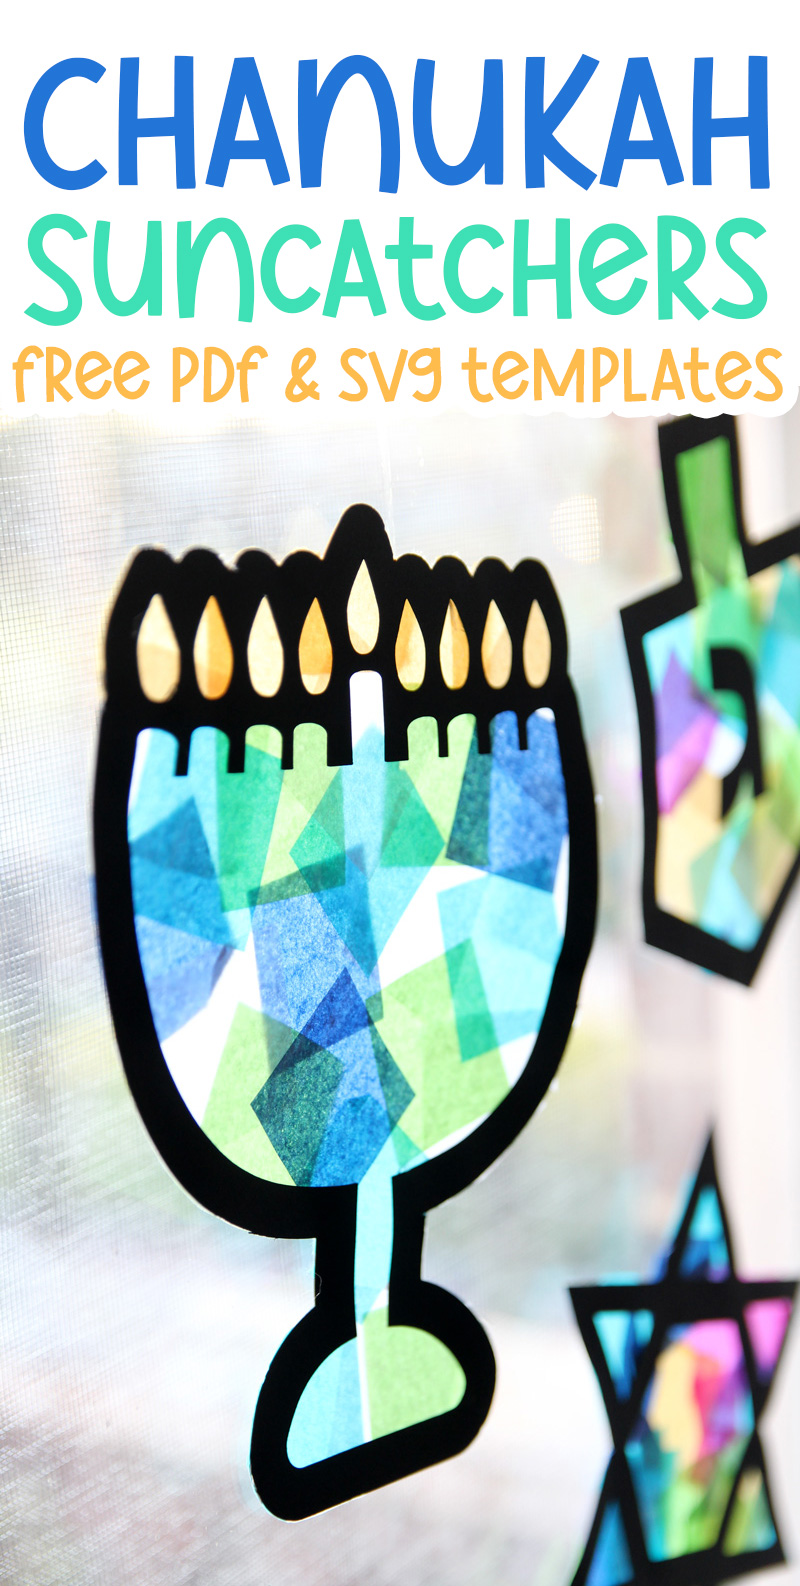
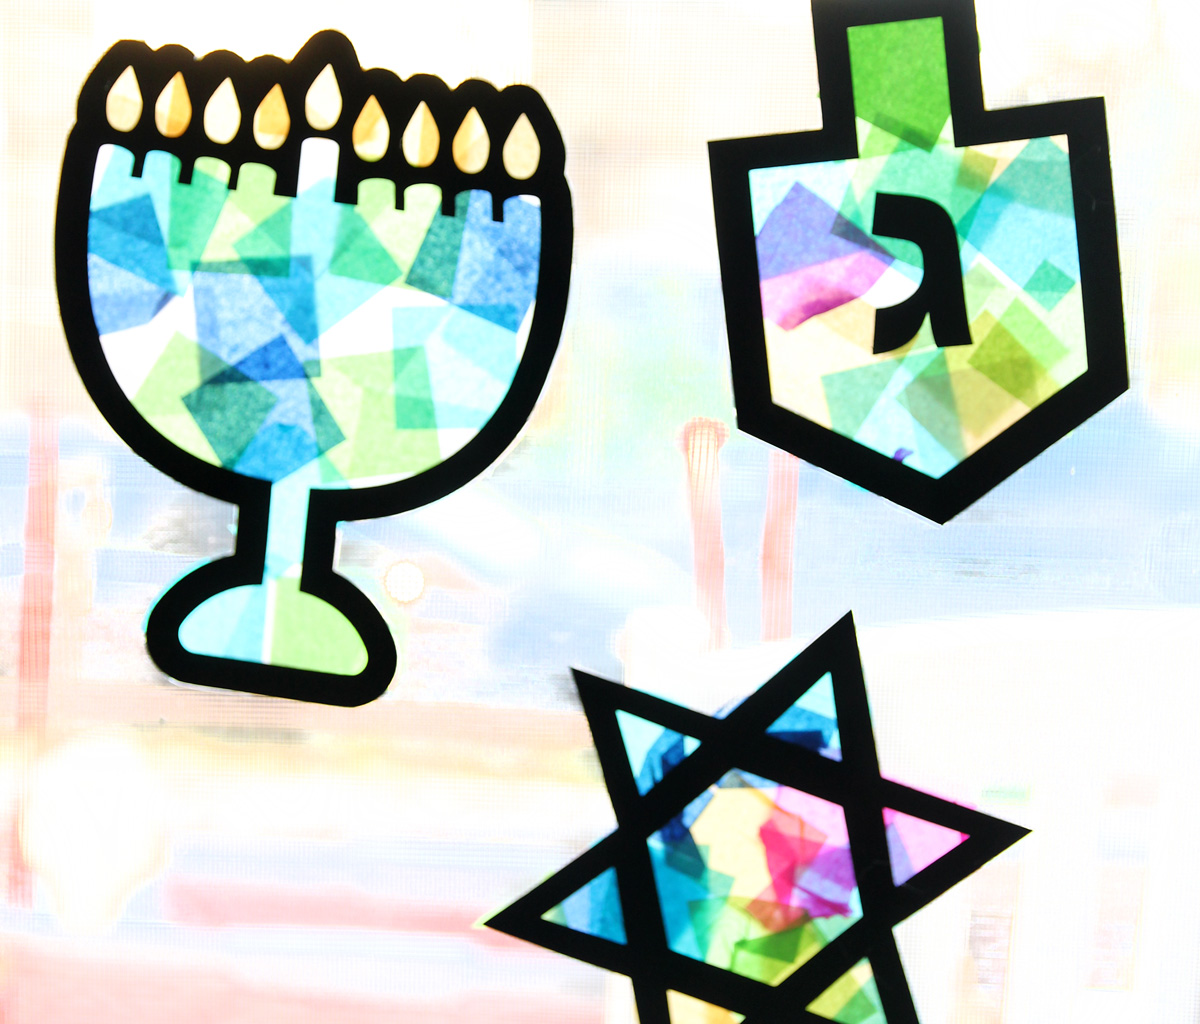
Craft some super fun and easy Hanukkah suncatchers – a toddler-friendly craft with a free template! If you loved this, check out the full list of Hanukkah crafts for every age group.
We recently got to try out a Koala Crate for A, age two, to feature in our list of second birthday gift ideas. Her favorite activities inside were two tissue paper suncatchers that she created.
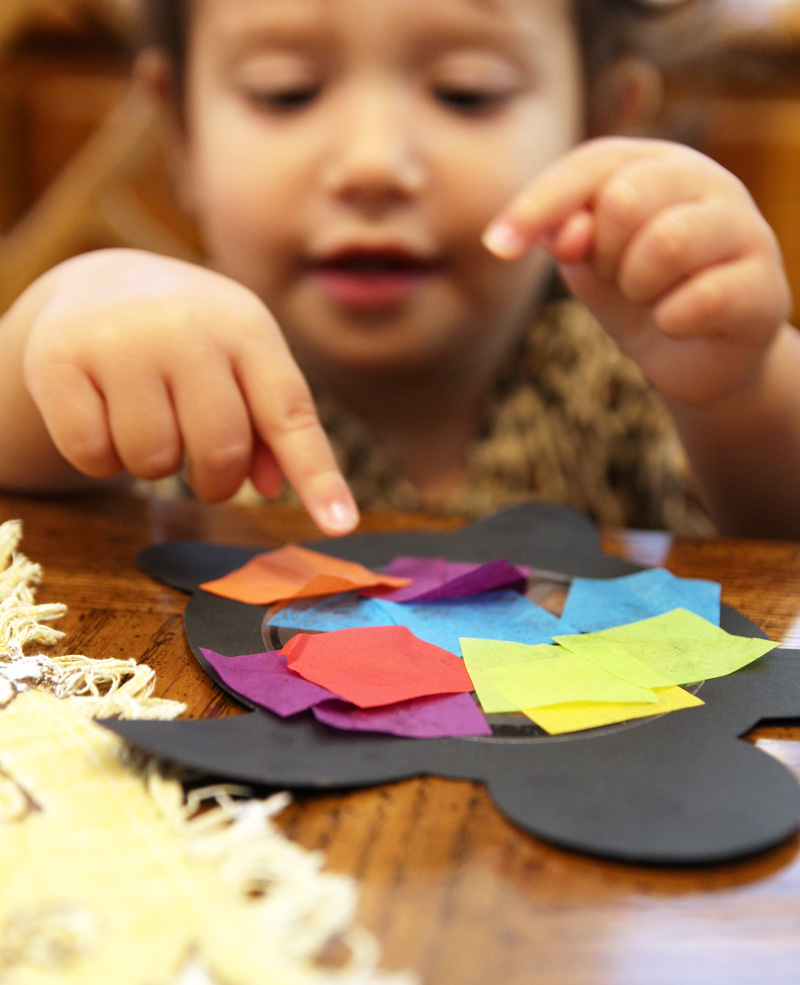
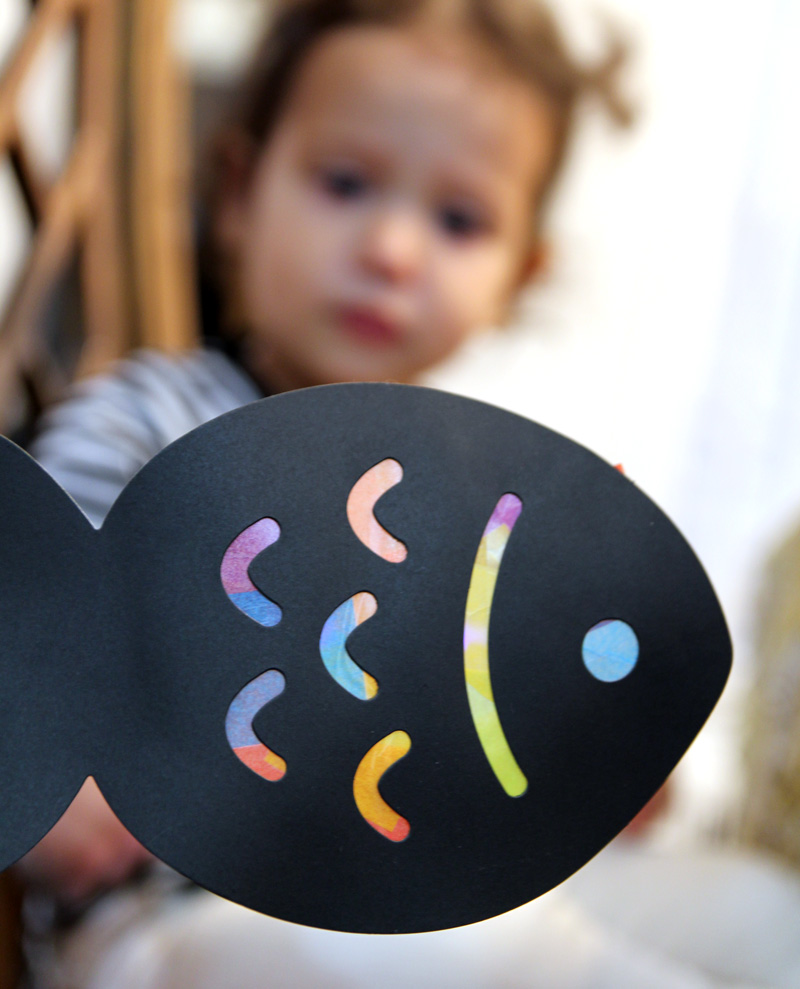
I knew I HAD to recreate it in a Hanukkah theme. I almost gave up when I saw that there were already many ideas out there for Hanukkah suncatchers, but then I realized that I didn’t see any quite like this one, so I decided to do it anyway.
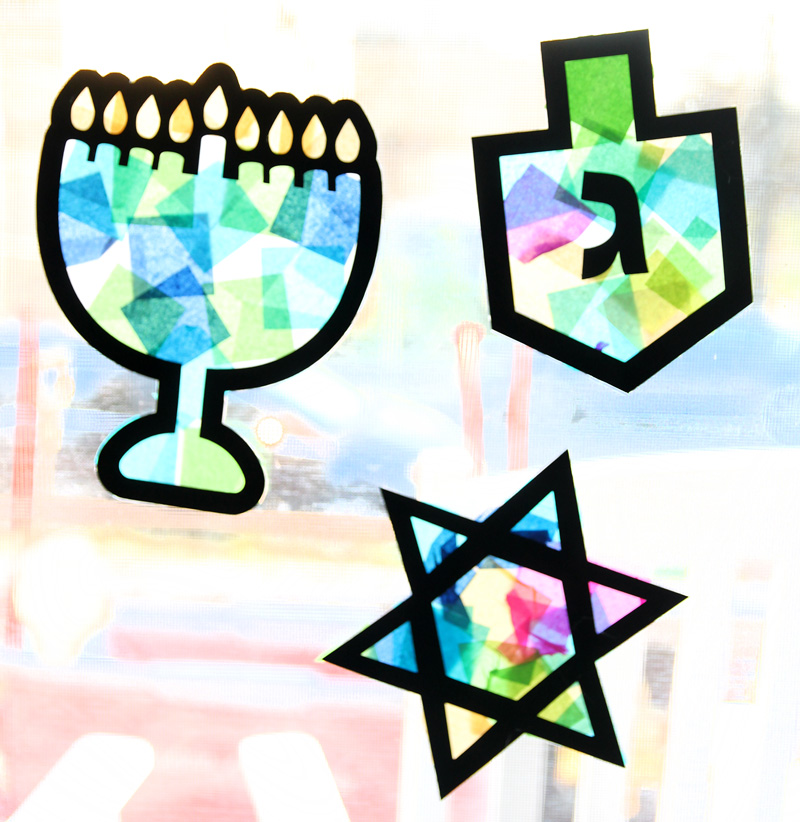
The concept behind this type of craft is very simple: start with a black silhouette shape and back it with something sticky. Kids of any age can stick on tissue paper squares, which have a translucent effect, to make a gorgeous stained glass look. Hang it on a window in your home to decorate for Chanukah and watch the sun shine through!
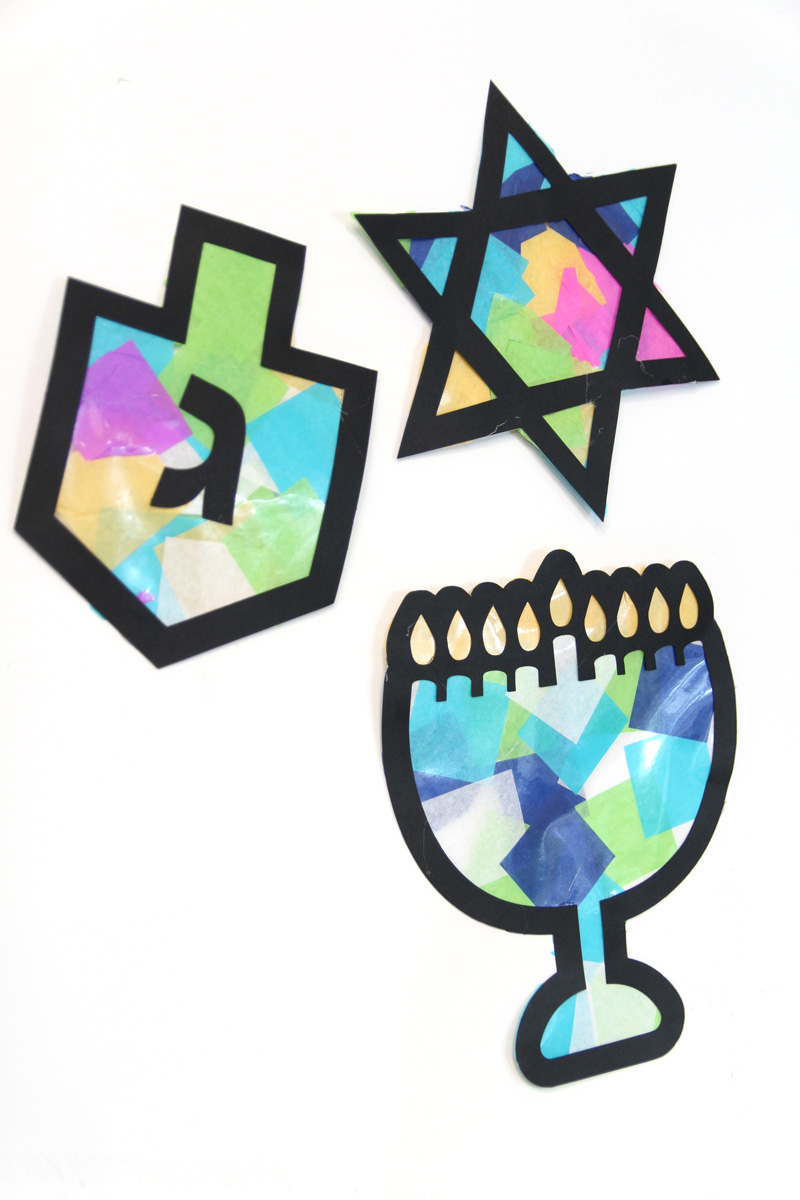
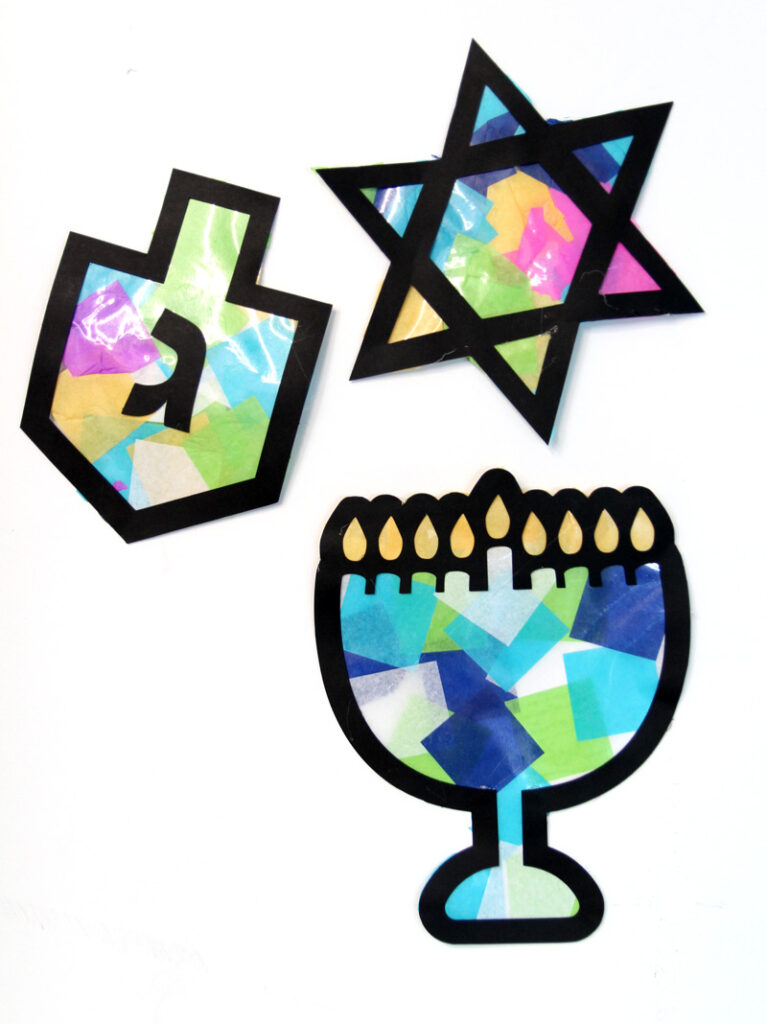
While toddlers love crafting with stickers, they often struggle to get them off the backing. They also sometimes fold them, losing the adhesive.
Instead, these Hanukkah suncatchers are made using an adhesive surface, and a non-adhesive material is stuck on. So even if your tot crumples or folds it, it’ll still look fab!
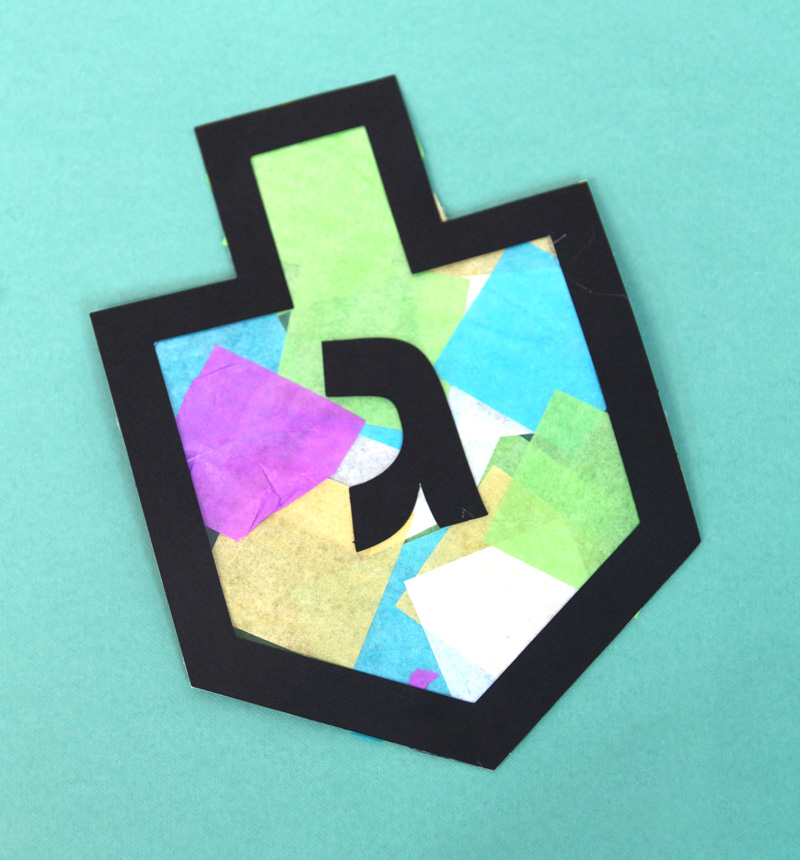
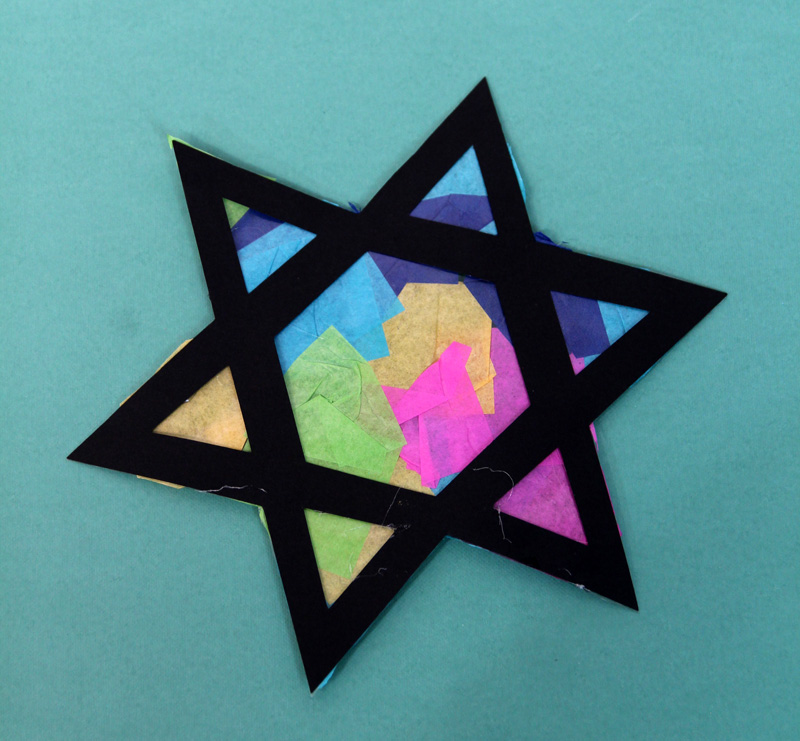
And yes, even older kids can have fun with this.
I enjoyed using more “proper” colors on the menorah. Instead of pre-cutting it for them, you can have them cut their own.
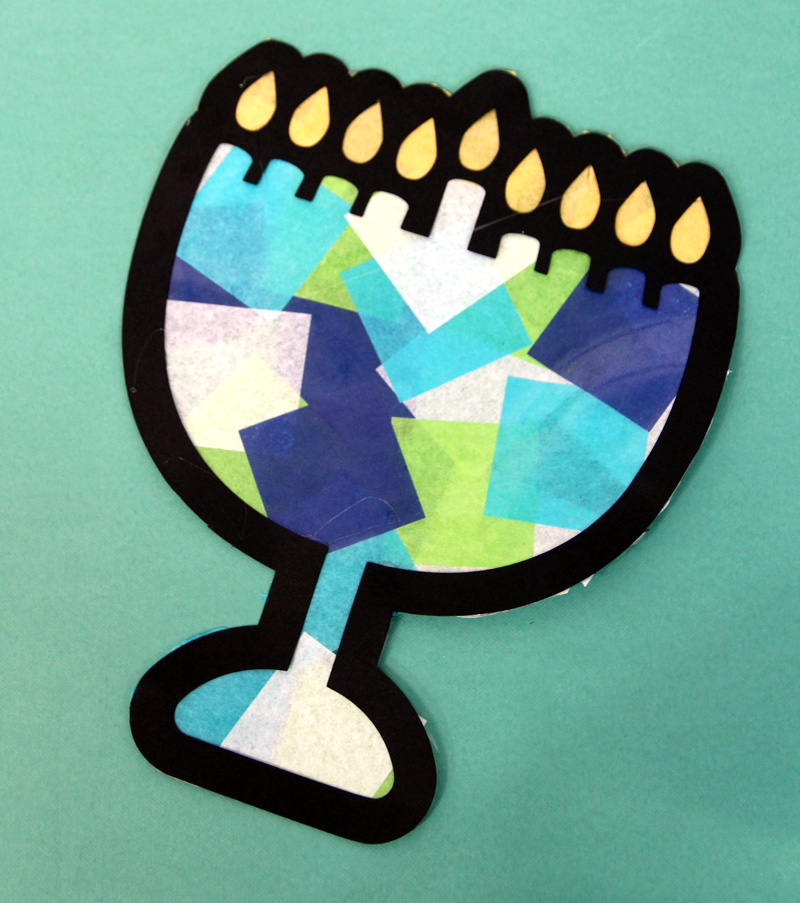
For toddlers, I wanted a full adhesive backing so I hot glued the design to the front. For older kids, you can have them apply the silhouette themselves to the sticky contact paper, since they’ll be aware enough to add color only to the sticky parts.
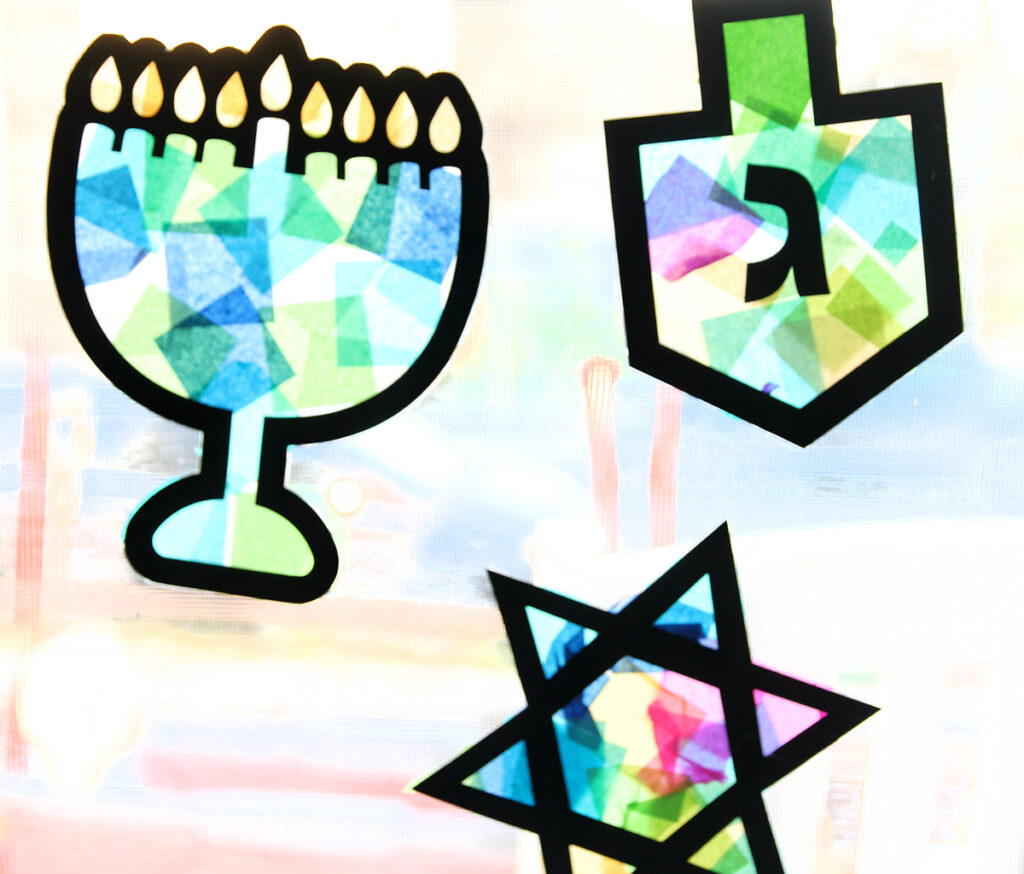
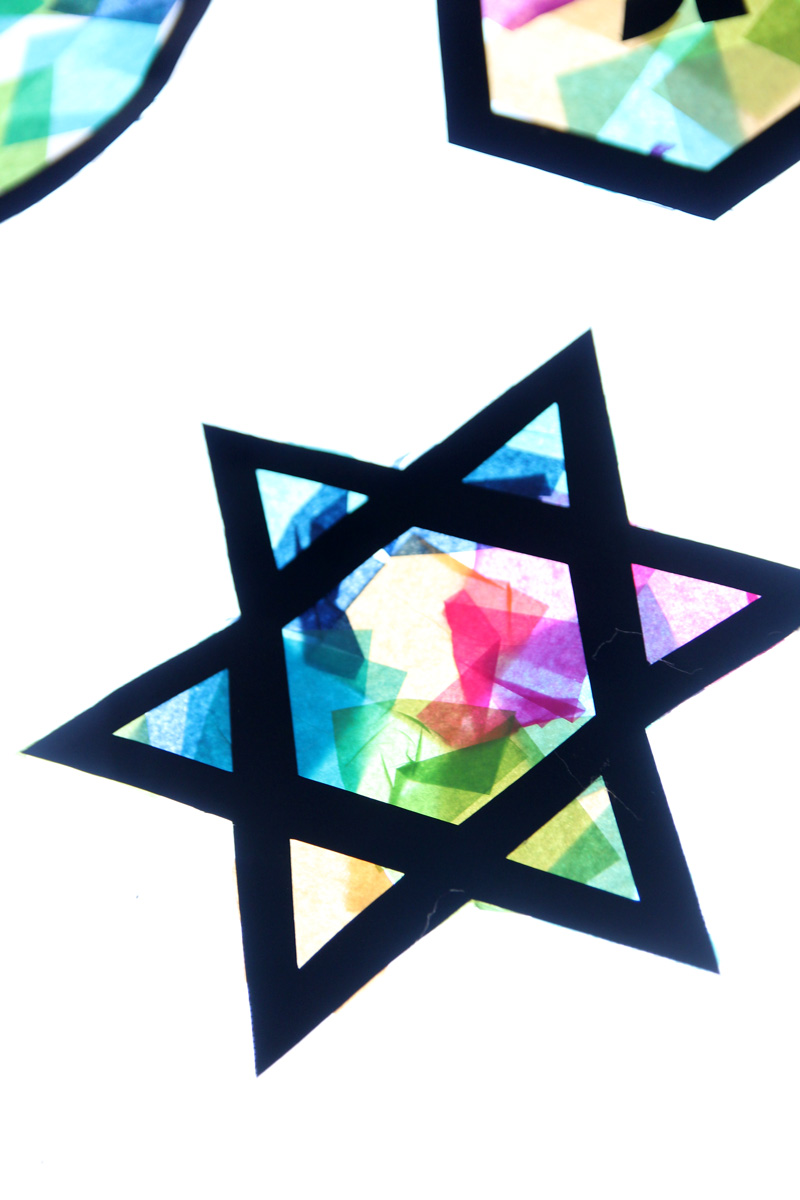
Download the free Chanukah suncatcher templates
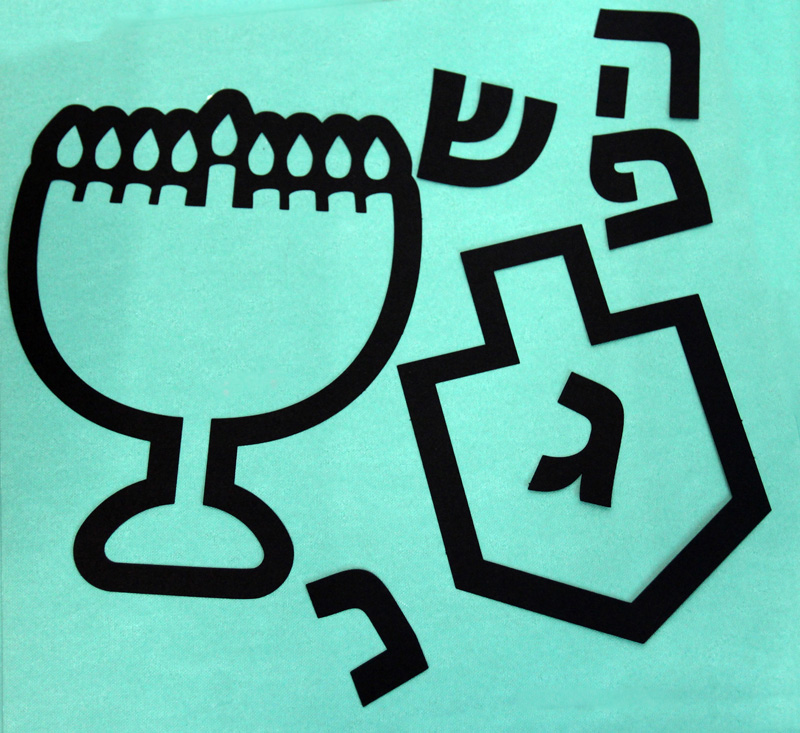
To make this fun for everyone, I created both SVG and PDF templates for the Hanukkah suncatchers. The SVG is for pre-cutting using a Cricut or similar cutting machine. You may prefer to use vinyl (I used cardstock) if you’re machine cutting. The PDF is for hand cutting. It’s a pretty simple shape – especially if you choose the dreidel!
The dreidel comes with five letters – choose one. The letters of the dreidel are nun, gimmel, hey and shin. In Israel, the shin is replaced with a pey so I included that too.
Download your free template! It’ll arrive right in your inbox. By downloading, you’re subscribing to our FREE newsletter with updates on cool printables like this, ideas to simplify Jewish life, and more. Unsubscribe at any time at the bottom my emails. I respect your privacy and the law, and won’t share or sell your email address.
What you need to make Hanukkah suncatchers
- Black cardstock (if Cricut cutting you can use vinyl instead if you want)
- Clear contact paper
- Hot glue gun (adults only)
- Tissue paper squares – I do recommend getting them pre-cut as it’ll save so much time and they’re not too pricey!
Hand cutting:
Cricut cutting:
- Cricut Maker or Explore machine
- Blue LightGrip mat (for cardstock)
- Fine Point Blade
- Spatula – included the basic tool kit
How to make Hanukkah suncatchers with kids as young as toddlers
1. Cut out your shapes using the printed template or a Cricut machine. You only need to cut one of the letters for the dreidel. If you want your design to be two sided so that it looks good inside and outside, cut out two of your design.
2. Cut a piece of contact paper a little larger than your design. Glue your outline onto the non-sticky side. Alternatively, you can already peel off the backing and stick it on the back.
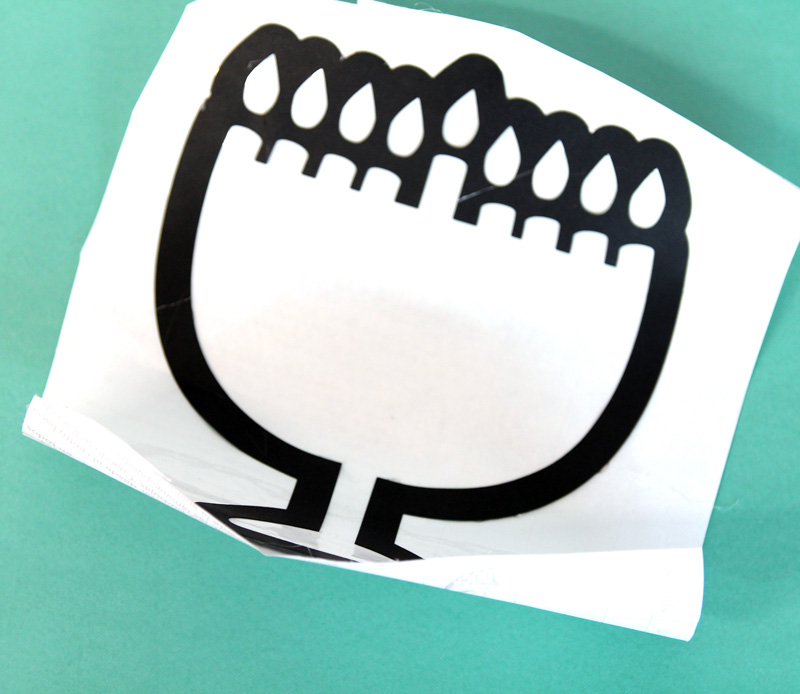
3. Cut around the outline of your silhouette. Don’t worry if it’s not perfect – slight imperfections won’t show once the backing is removed. You can prep this project in advance until this step.
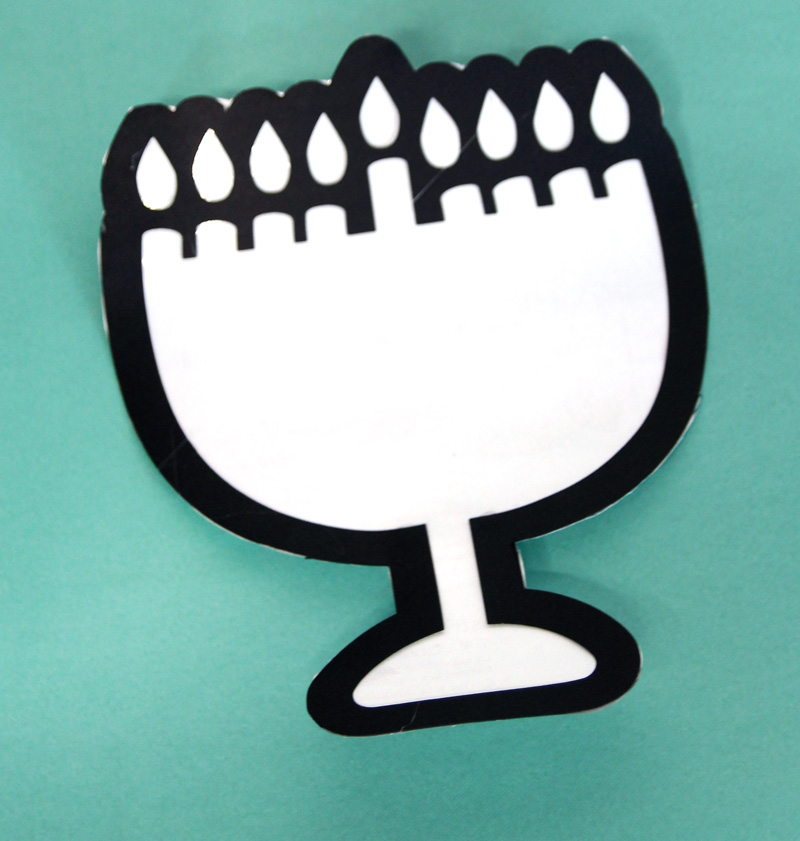
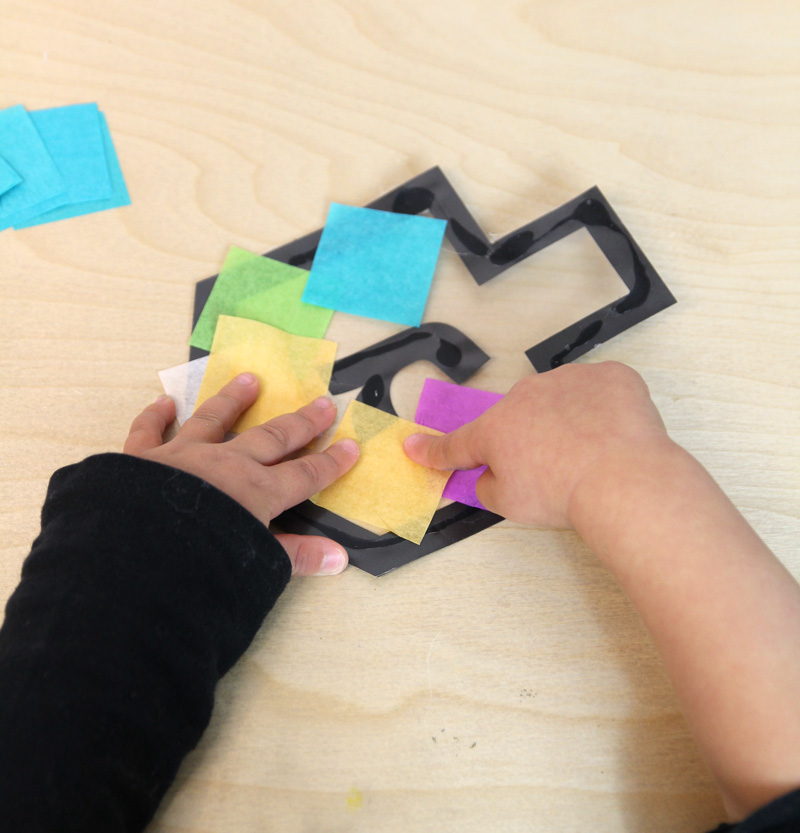
4. When your child is ready to craft, peel off the backing and let them have fun applying tissue paper squares!

It doesn’t have to all be perfect. Your toddler may layer some on top of what they already did – those won’t stick. Just shake it off when they’re done. Toddlers may need some one-on one guidance, but once you get them started they should pretty much be able to grasp in on their own.
5. If you want your design to be two sided, place the mirrored design on the back, and seal the other side with contact paper as well (optional). Hand from the window and watch the light shine through!
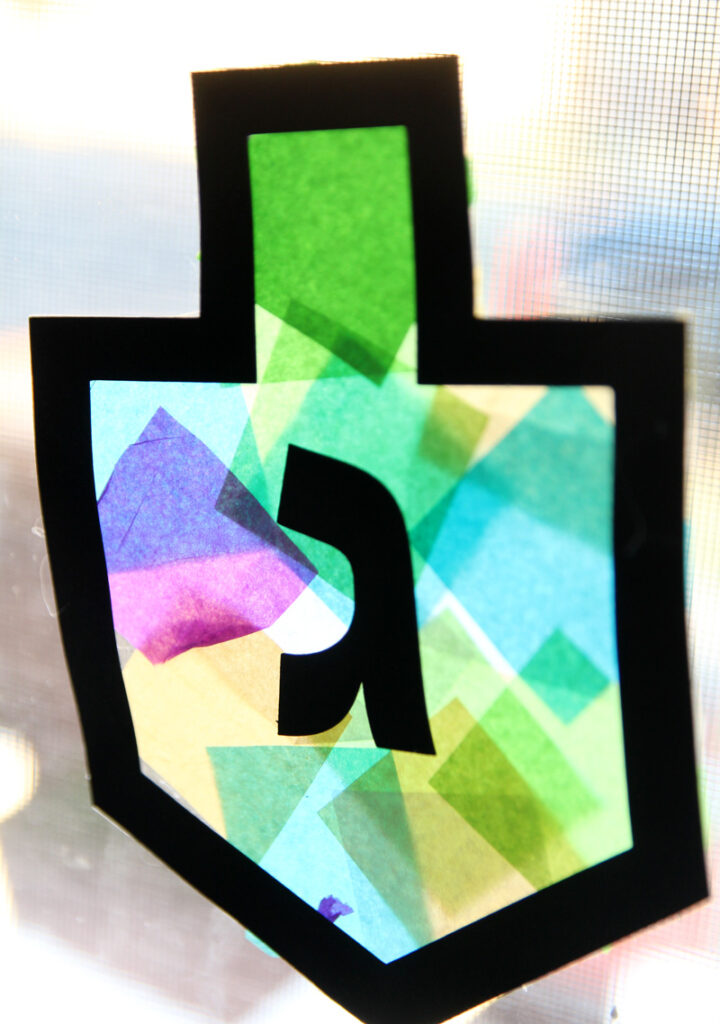
I hope you enjoyed making Hanukkah suncatchers! What’s your favorite shape – which will you be making first? Comment below!

I love this craft and I’m trying to download the template, but it does not seem to be coming to my inbox. Is there another way for you to send them to me?
for assistance, please email me at [email protected]