DIY Flower Napkin Rings
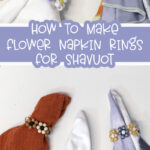
Craft these DIY flower napkin rings using a super simple daisy chain technique! They’re perfect for Shavuot or any Spring event. When you’re done, check out these ideas for Shavuot flowers. This post contains affiliate links.
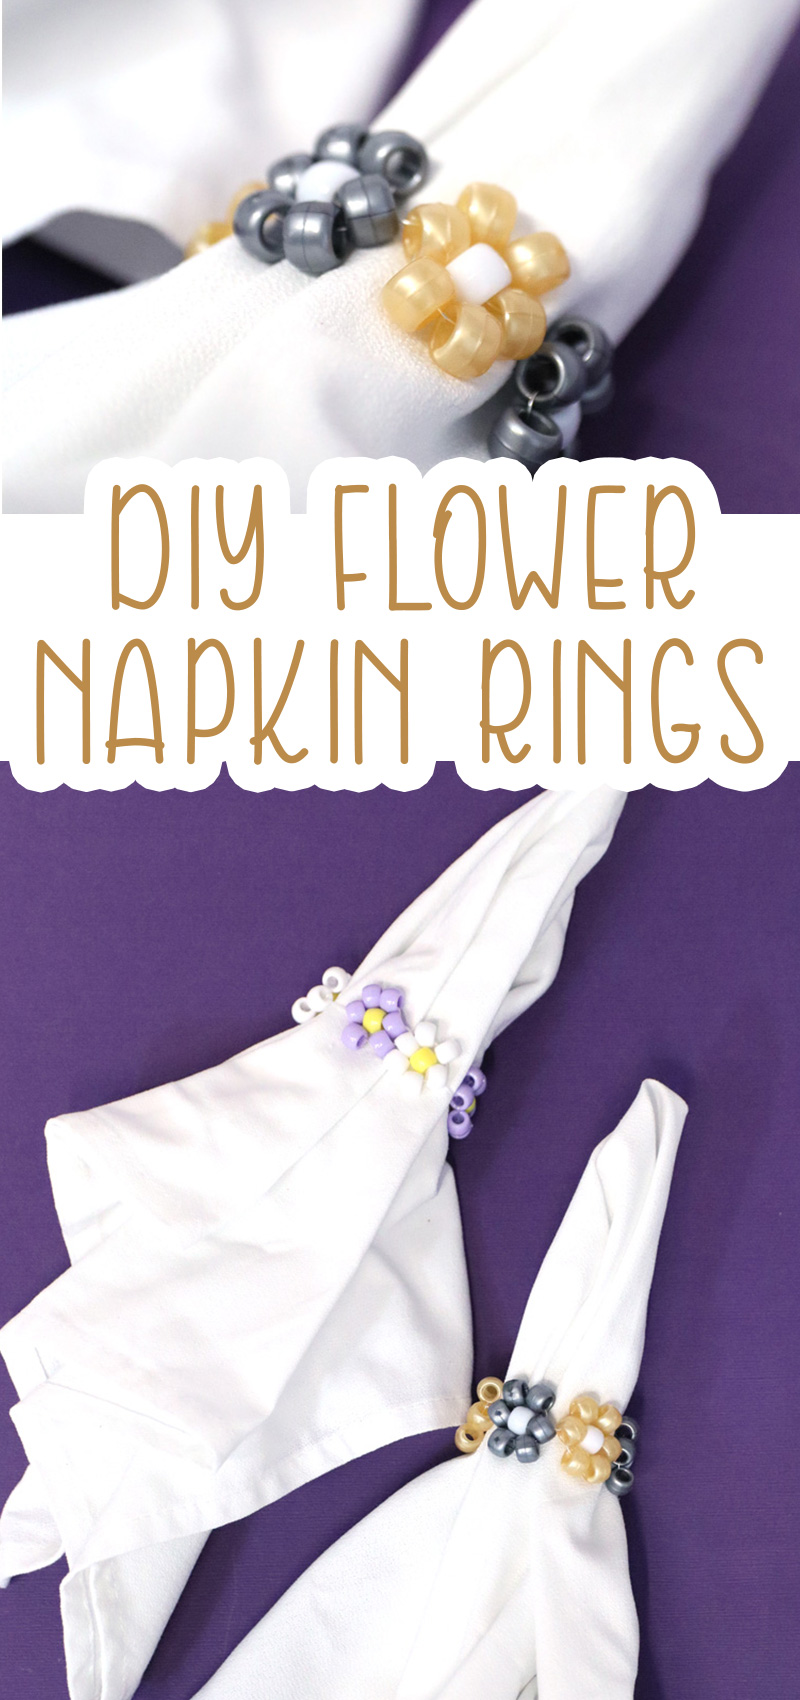
Shavuot is a time of year that’s full of Spring vibes, especially with the tradition to adorn the house with flowers! And what better way could there possibly be to do that, than to decorate the holiday table with some DIY flower napkin rings?
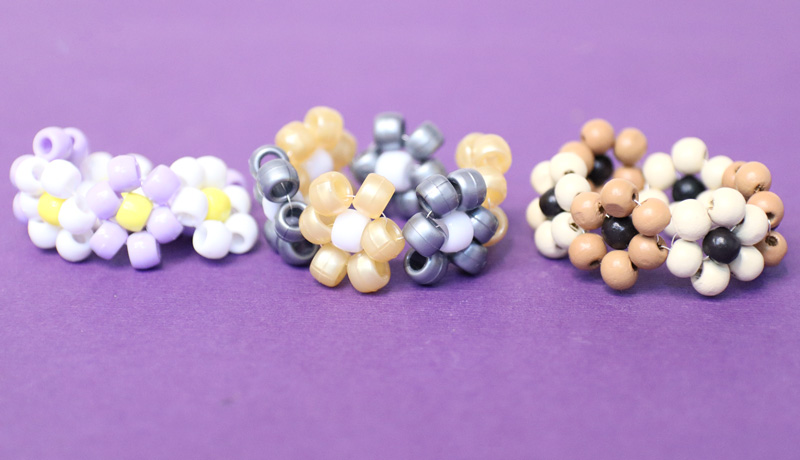
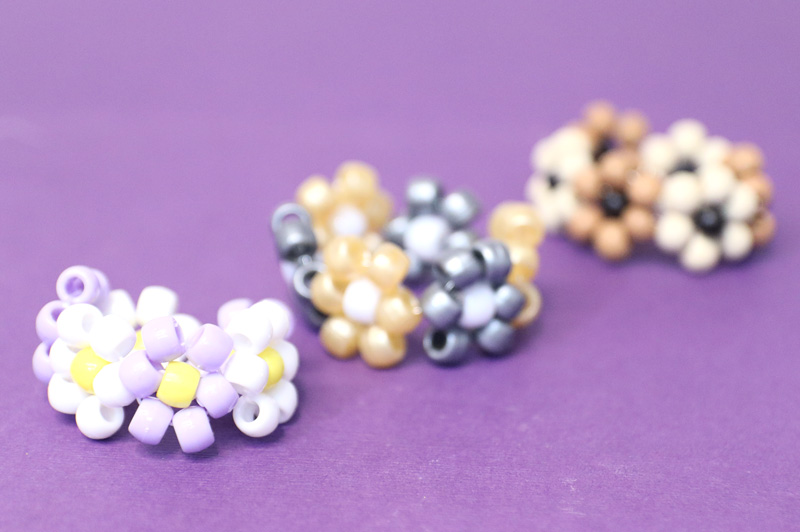
These use a very simple “daisy chain” beading technique that I’ve enjoyed using to make daisy chain beaded name bracelets in the past.
They are really fun and appropriate for teens and tweens, and quite affordable to create too! It might take younger kids a few tries to really learn, but when they do, they will be SO proud of their creations.
And the best part is: it takes some time to make a full set (I didn’t – I played with three types of beads instead!) So you get lots of entertainment time out of this craft.

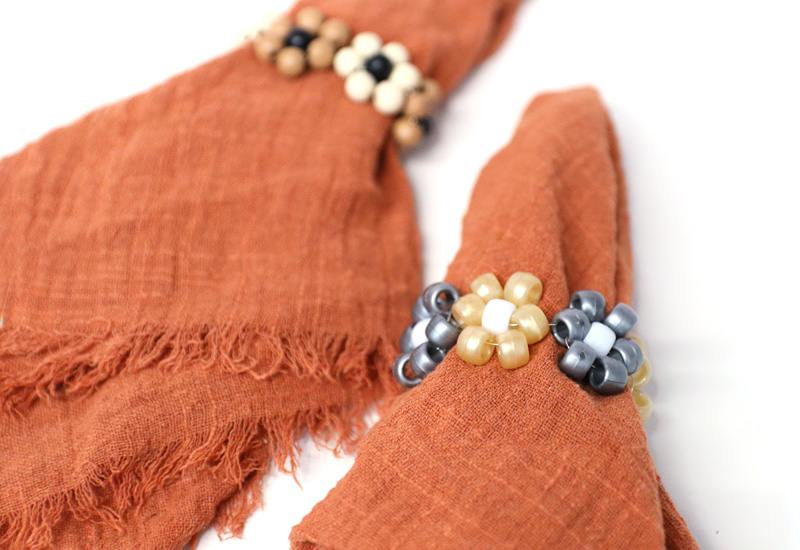
Which types of beads should you use to make DIY flower napkin rings?
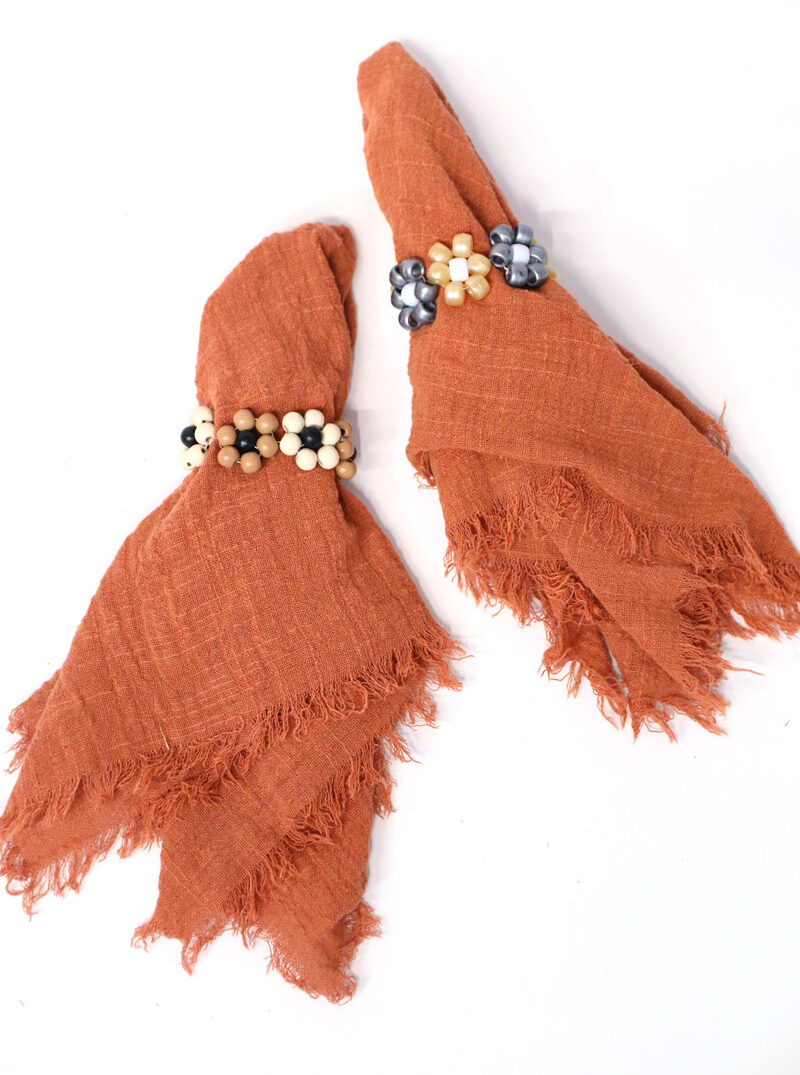
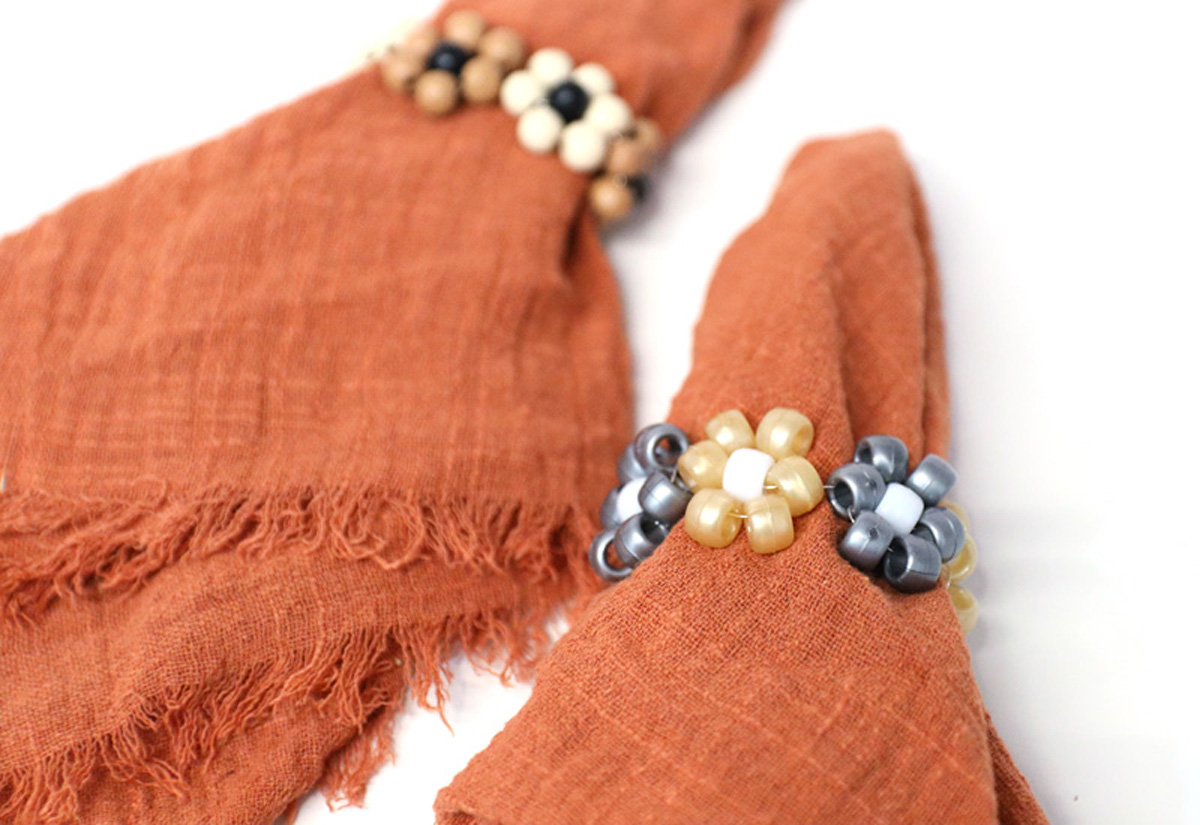
To make a good daisy chain, you’ll want a bead that leans to the rounder end of things. You can see the differences in the round wooden beads and the pony beads I used.
Pony beads are among the most affordable of beads, but they are slightly oval. You can arrange them to look like petals. But the wooden beads are also very affordable, and the totally round shape means that they look fabulous in any direction.
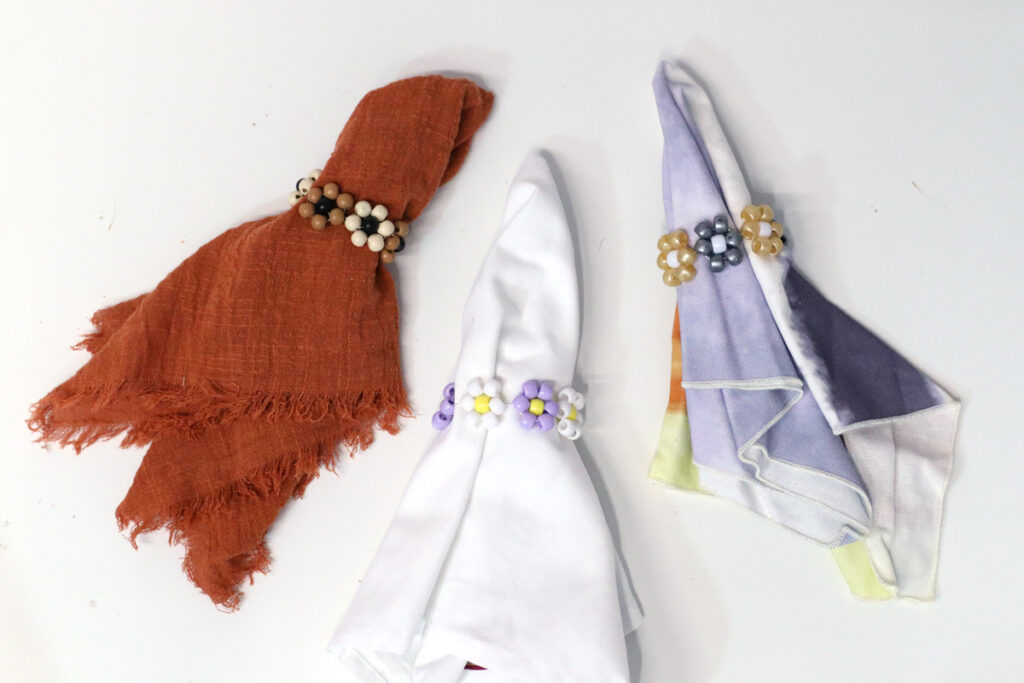
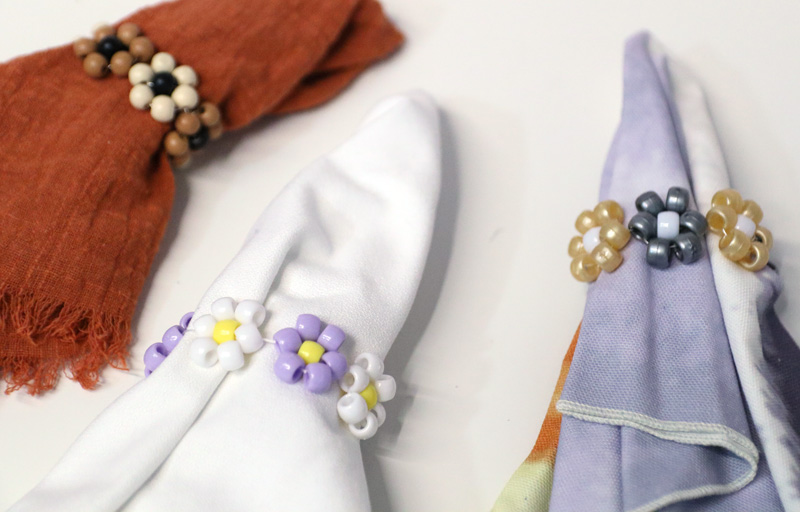
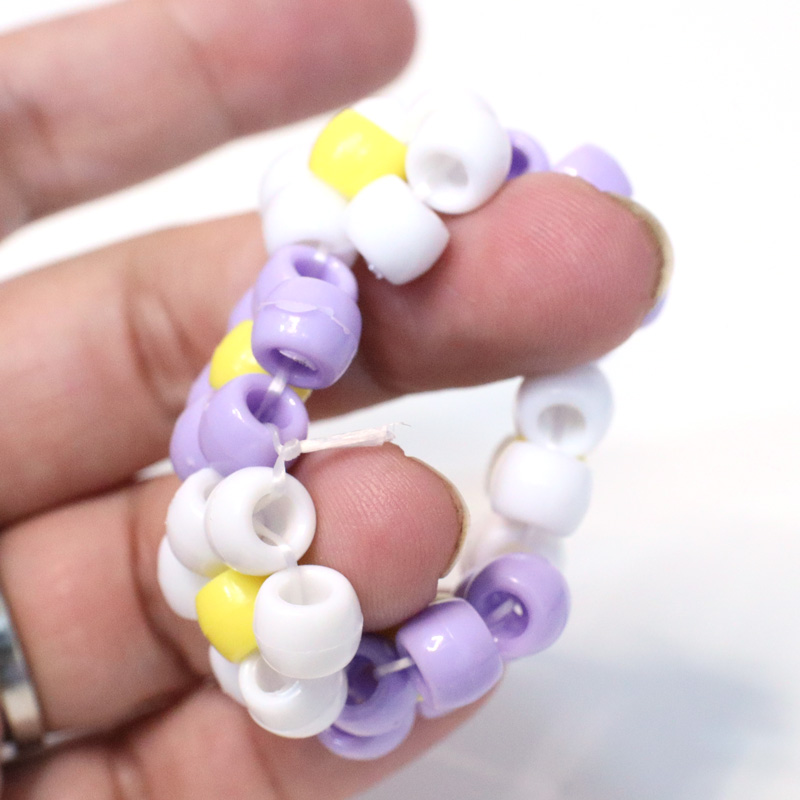
Even pony beads can vary. Here, I used colorful plastic ones in daisy themed colors. In the other one, I used metallic ones mixed with white for a slightly more festive vibe.
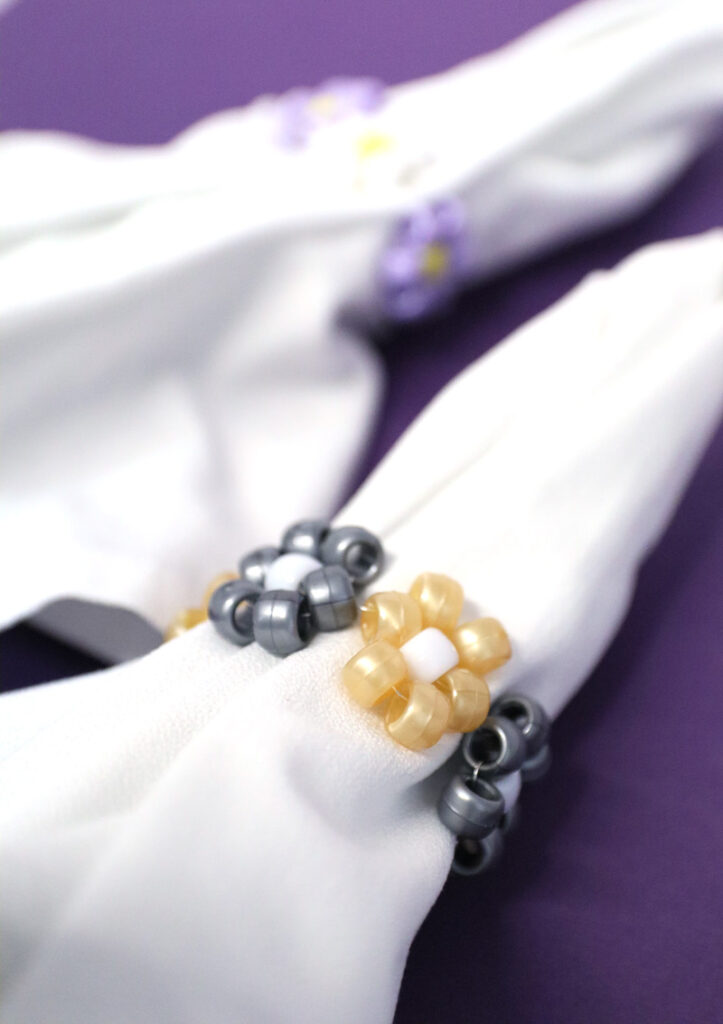
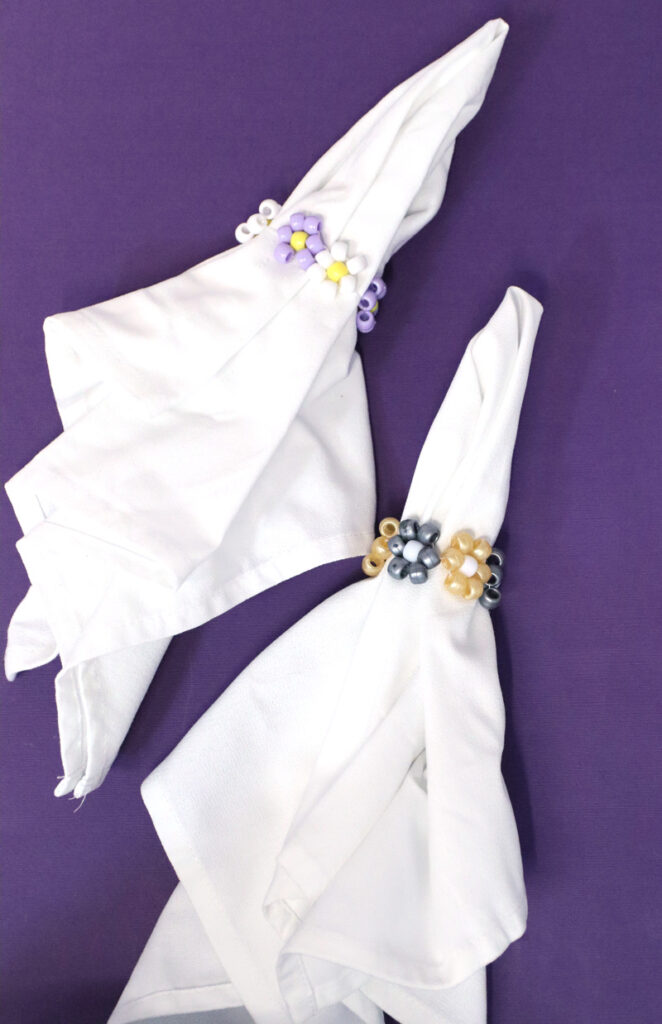
You can play around with crystals, gemstones, and other more upgraded materials if you want a higher end, less crafty and more artisan look. The main thing is that your beads should be roughly 8mm in size. To me, this is the perfect width for the napkin ring. The smaller your bead, the more flowers you’ll want to include.
What you need
- Beads: I used pony beads for one, and wood beads for the other
- Wire or elastic: Wire will be more rigid and easier to work with, with a more stable result. Elastic will actually stretch over your napkin, but won’t “scrunch it up” well.
- Scissors
How to make flower napkin rings
The DIY flower napkin ring tutorial below shows how to make it with elastic. The video shows it using wire. Both processes are the same.
1. Cut about 24 inches of elastic or wire. If you’re using elastic, tape it down to your surface. If you’re working with wire, you may be able to work with it in your hands.
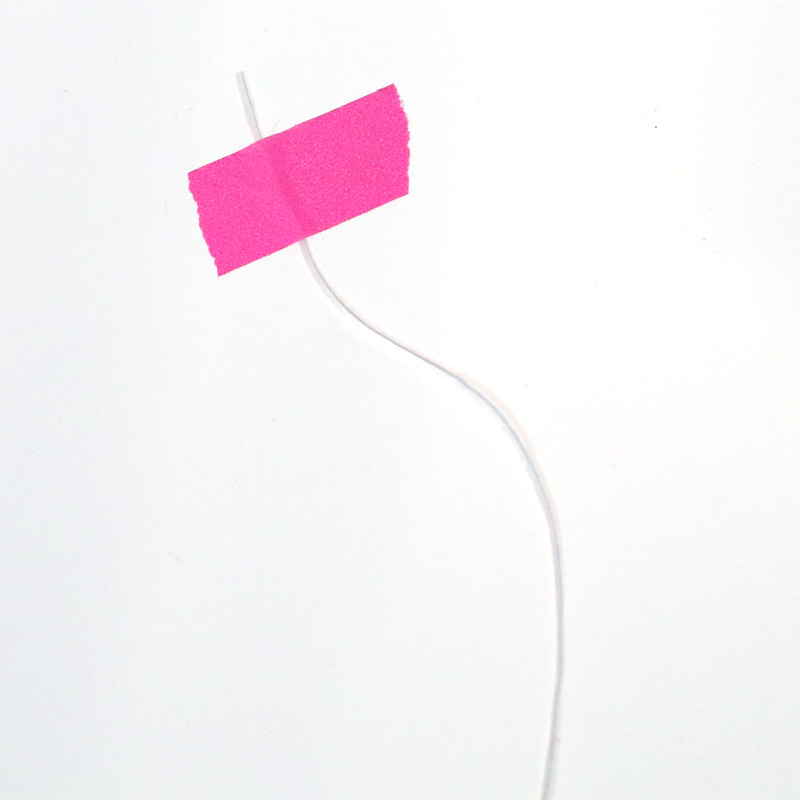
2. Choose your flower colors: one color for the center, and two colors to alternate for the petals.
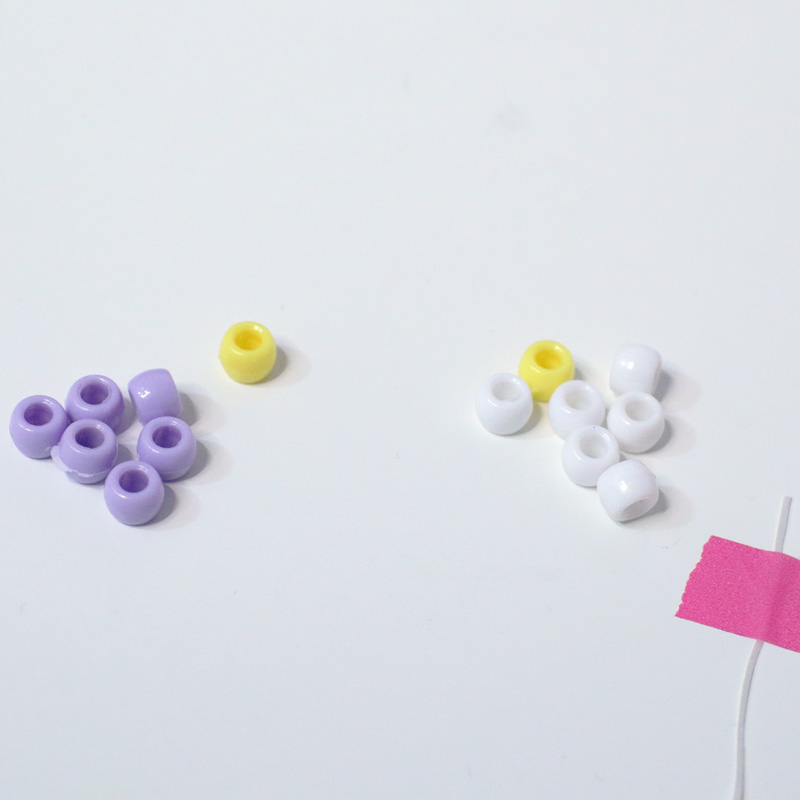
3. String: four of your petal beads (in one color) and a center bead. Bring it towards the end, leaving an inch or two of a tail.
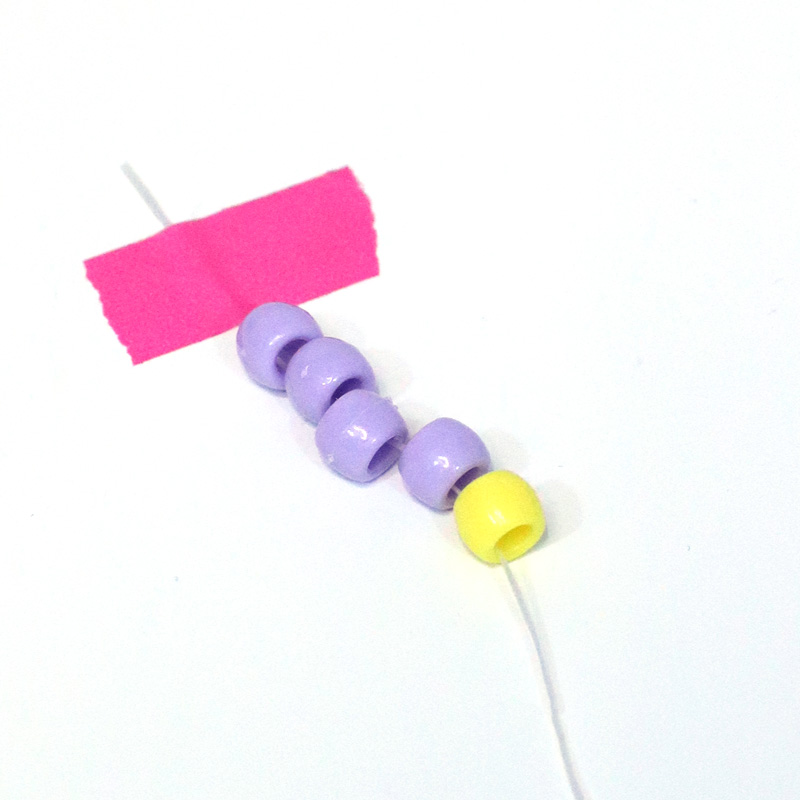
4. String your elastic back through the FIRST/TOP bead that you added.
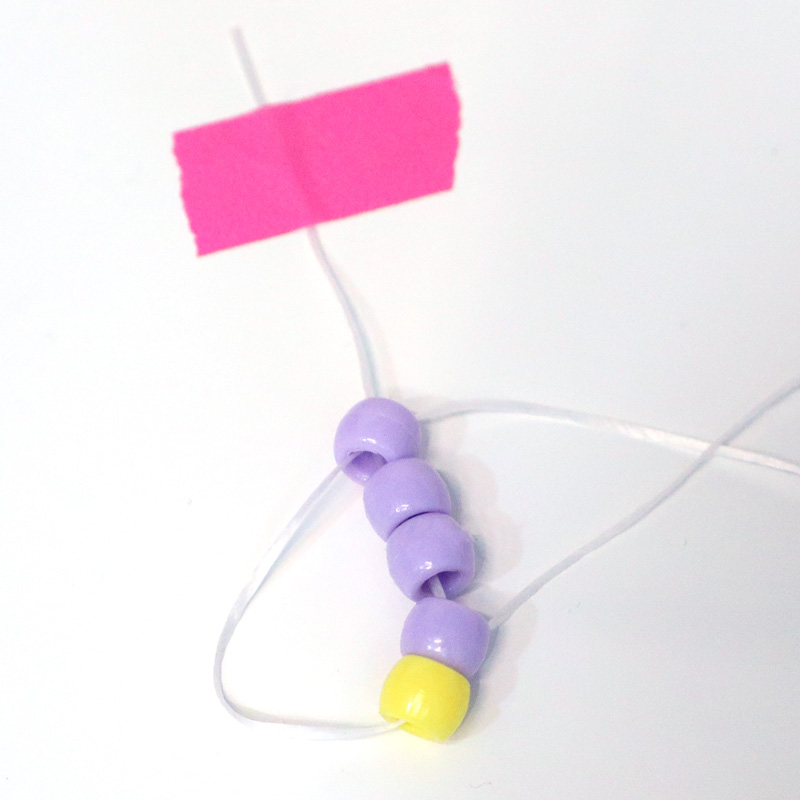
Pull so that the petal beads begin to encircle the center.
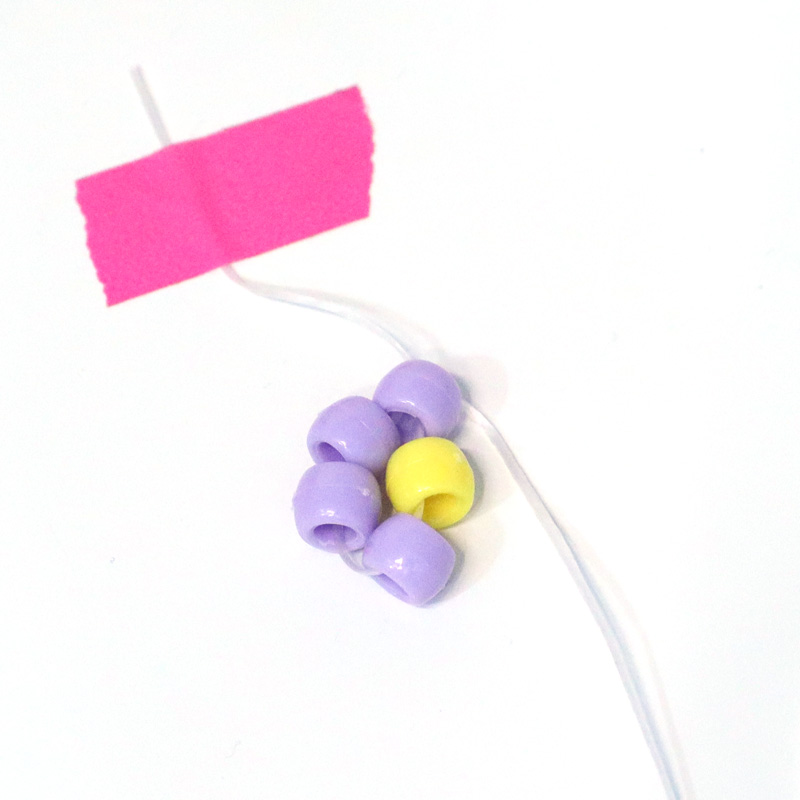
5. String on two more beads.
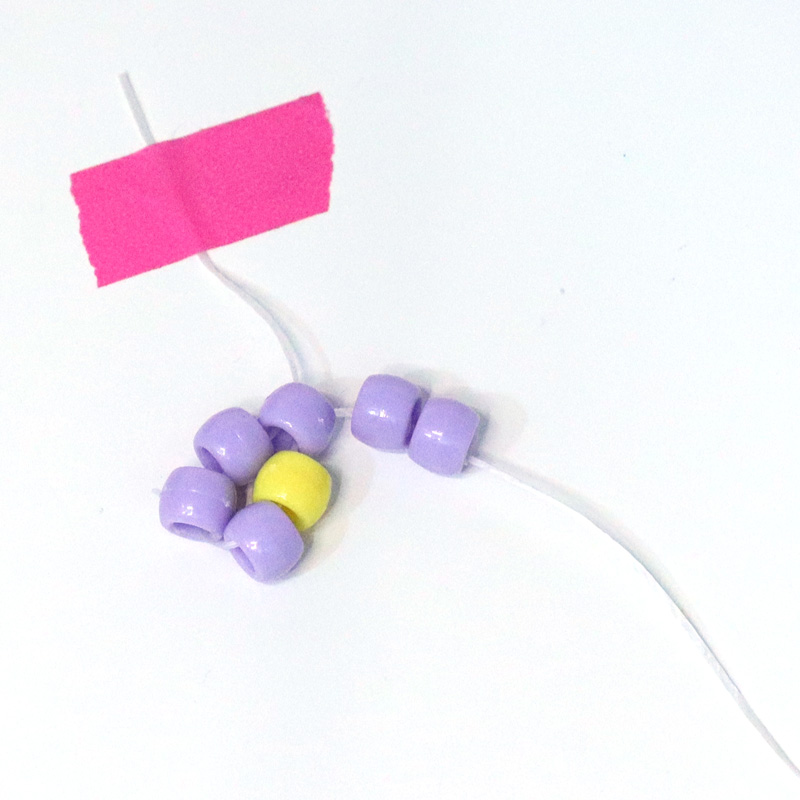
6. String your elastic through the bottom petal bead – the one right before your center bead.
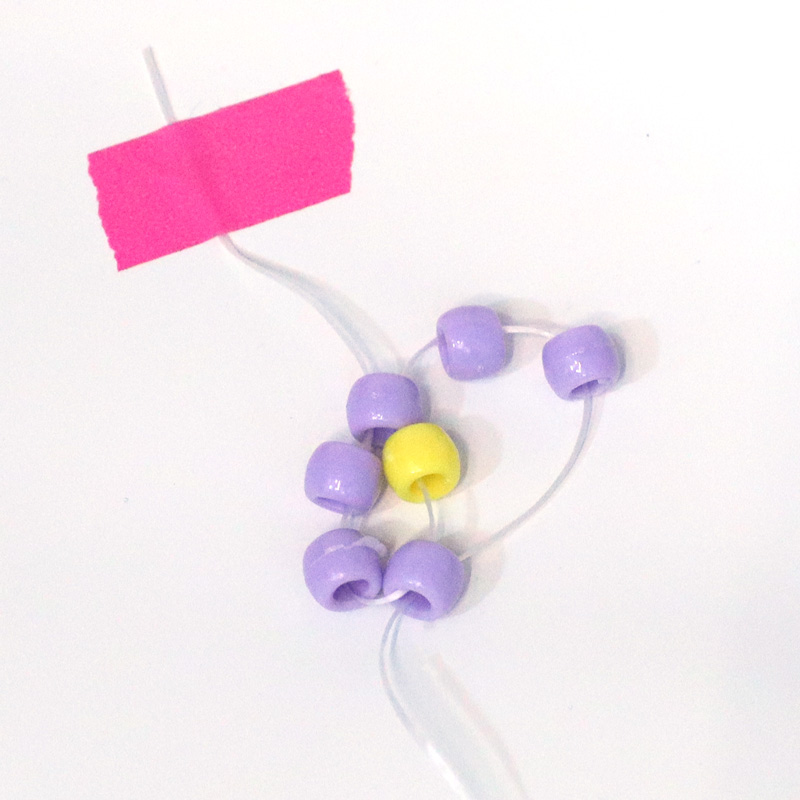
And then pull it tight so that the six petals encircle the center. Your first flower is complete! With wire it’ll hold well. With elastic, it’ll build as you create it, and be laid flat on the napkin surface. It’s okay if your flower is a bit lower than you intended, with a longer starter tail. But if you’d like, you can also “nudge” it higher. Follow-up flowers will need to be connected to each other.
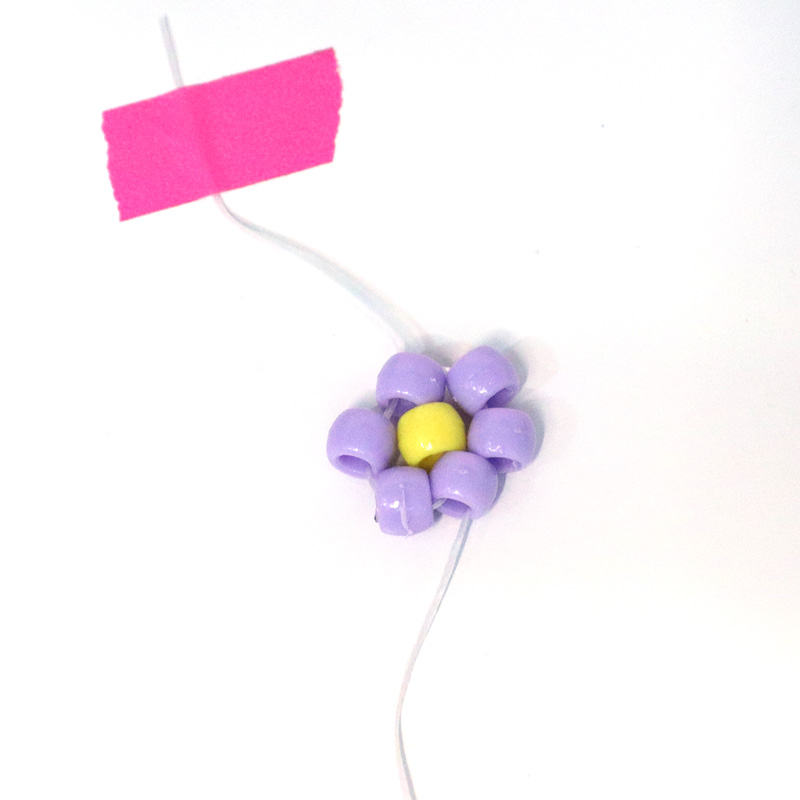
7. Repeat steps 2-6 with your second petal color.
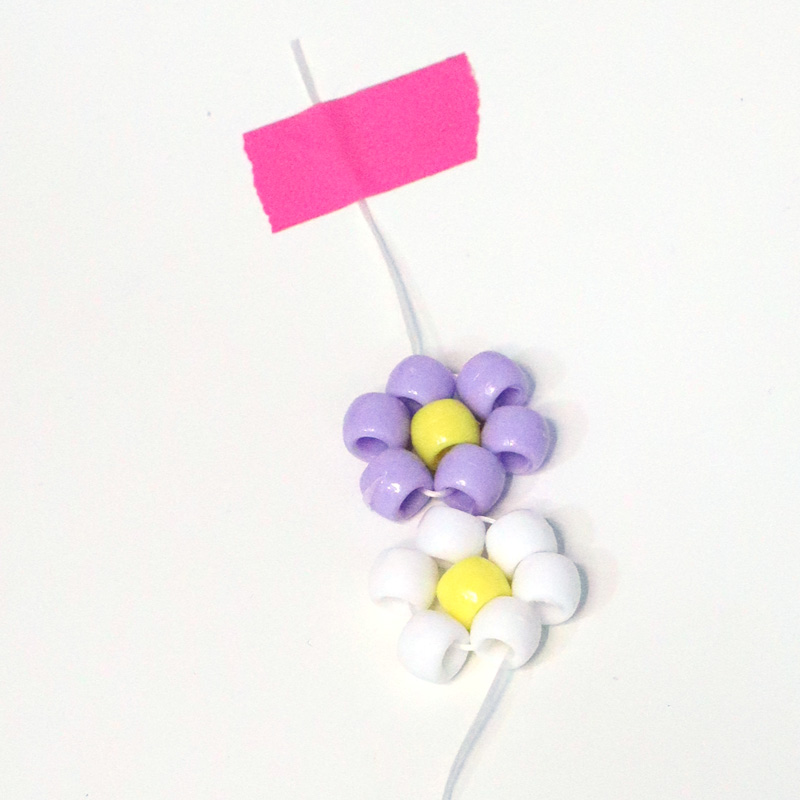
8. Make about six alternating colored flowers.
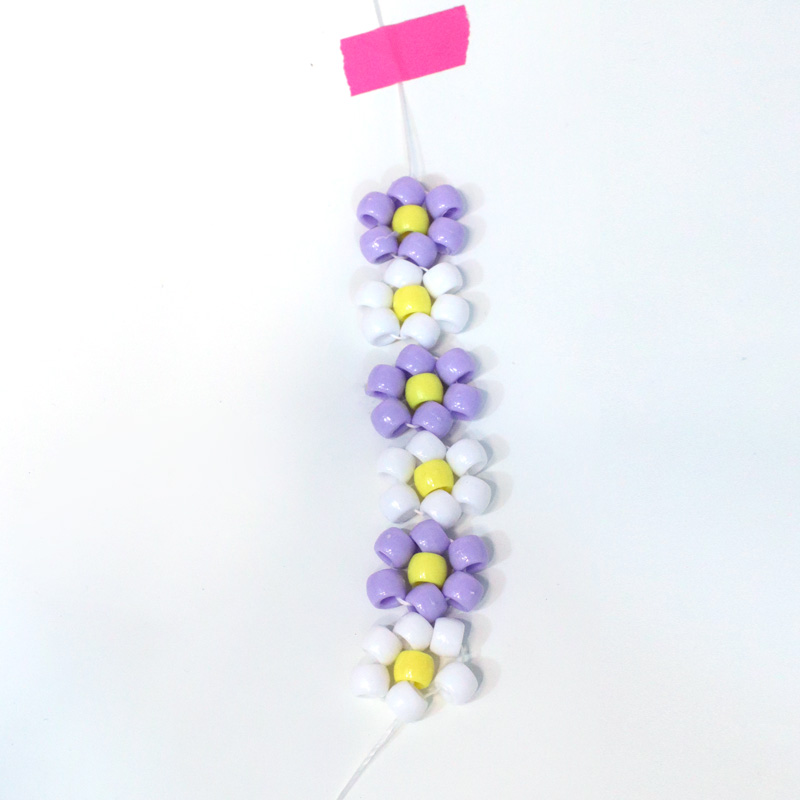
9. Completing your DIY flower napkin rings isn’t an exact science. I basically threaded the elastic through so that it met the other one, and held things together.
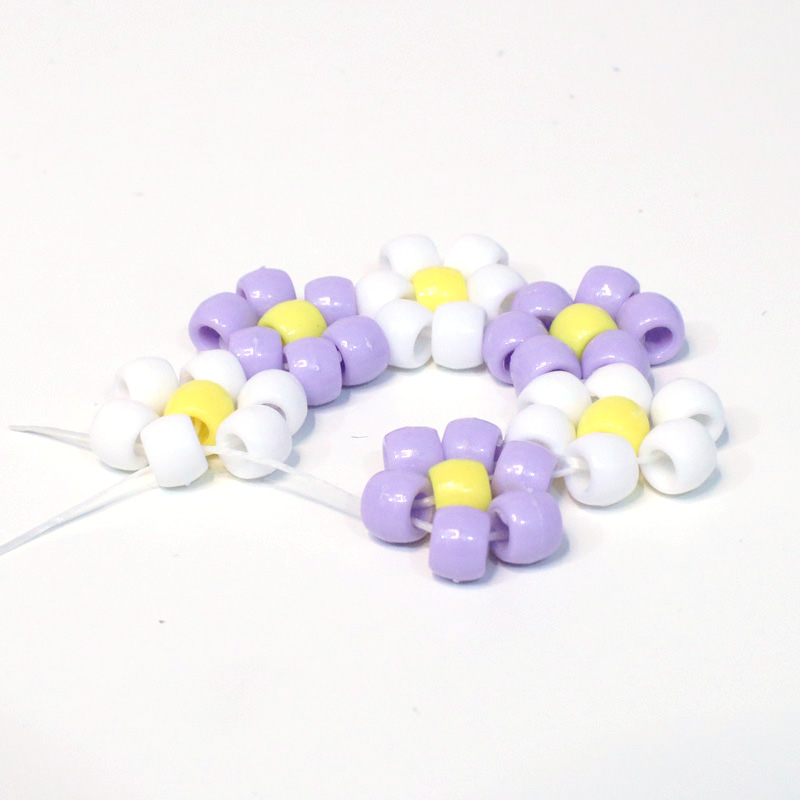
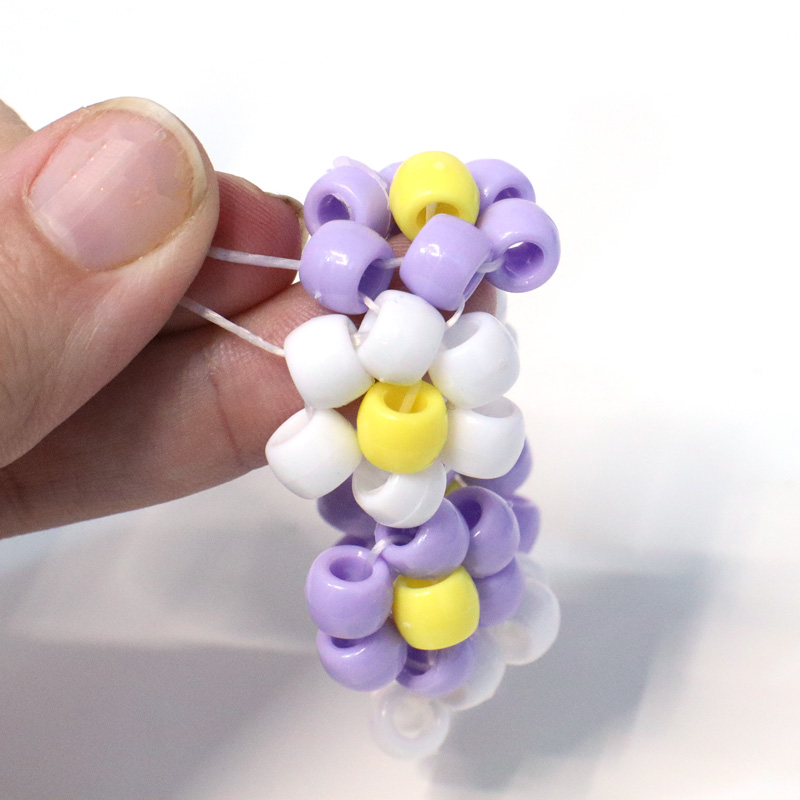
10. Knot tight and trim, and then tuck your knot into a bead to hide it. On the wired ones, you’ll want to twist the ends together instead of knotting, and once again hide the twisted end.
SLide your favorite napkin through and enjoy your DIY flower napkin rings for Shavuot or any time!
Enjoyed making these DIY flower napkin rings? Got anything you plan to change, any tips to add, any questions? Comment below!

Made these with my kids. They look really nice, kept the kids busy and they are so proud. Can’t wait to put them on our shevuos table. Thanks for the great idea with such clear instructions!