How to Make Lulav Rings
Learn how to make lulav rings to hold your lulav parts together! If you loved this, check out this lulav and etrog craft for kids. This post may contain affiliate links.
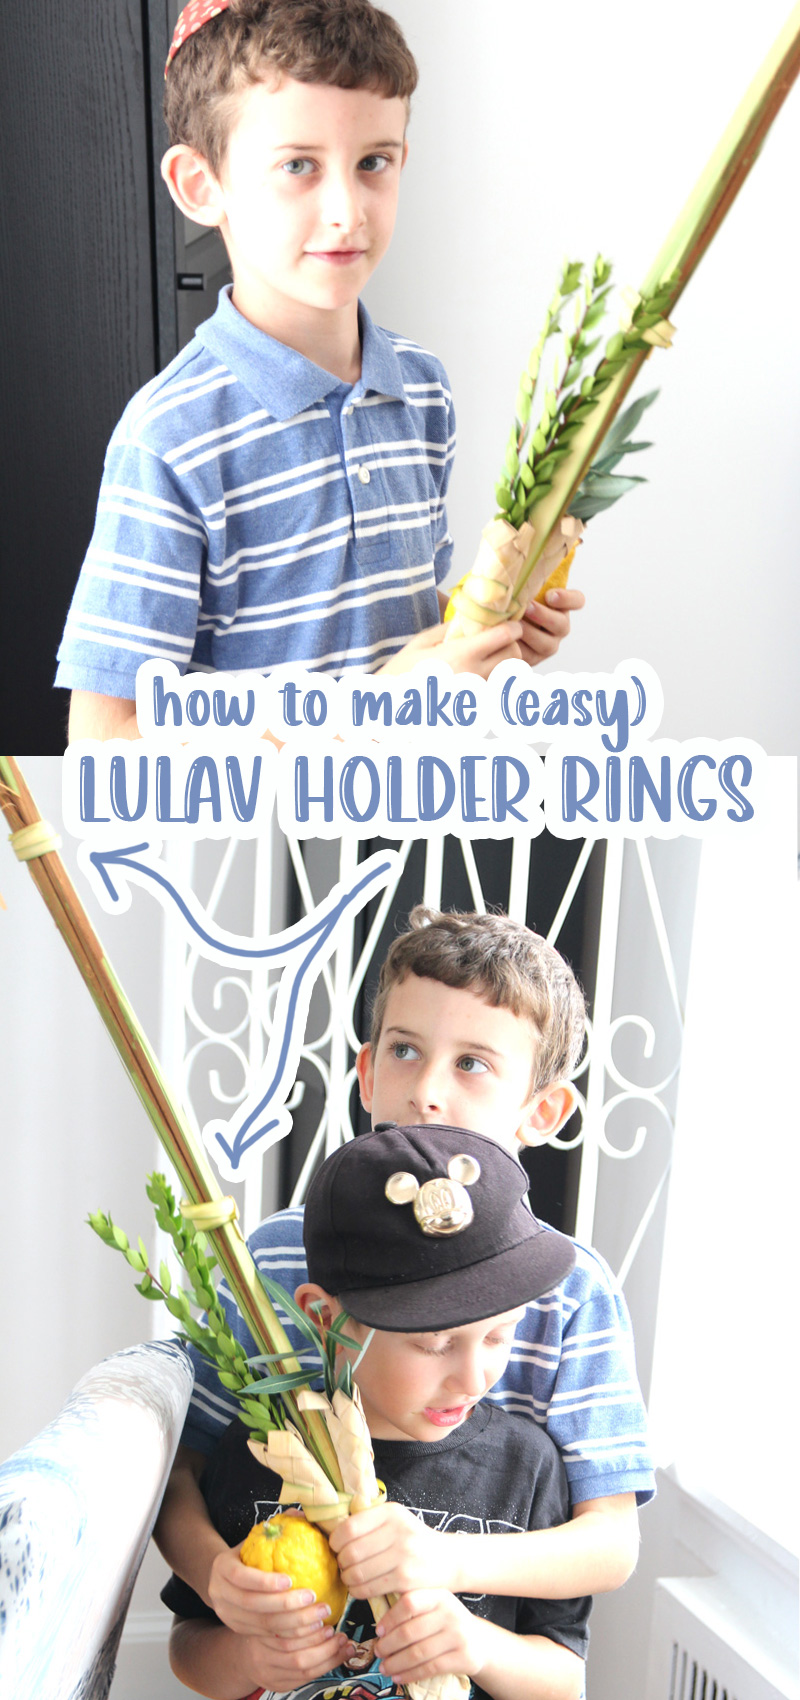
Last year, on a whim, I filmed and photographed my husband making lulav rings. I figured I’d share a tutorial here, because why not?
They come together in under a minute once you get the hang of it.
What are Lulav Rings and what are they used for?
The tradition is to use a part of the lulav itself to hold together the different items that make up the lulav (lulav – palm, hadassim – myrtle, and aravot – willow.)
While typically a woven holder with pockets for the three parts is used to hold things in place, most people like to secure things a little better.
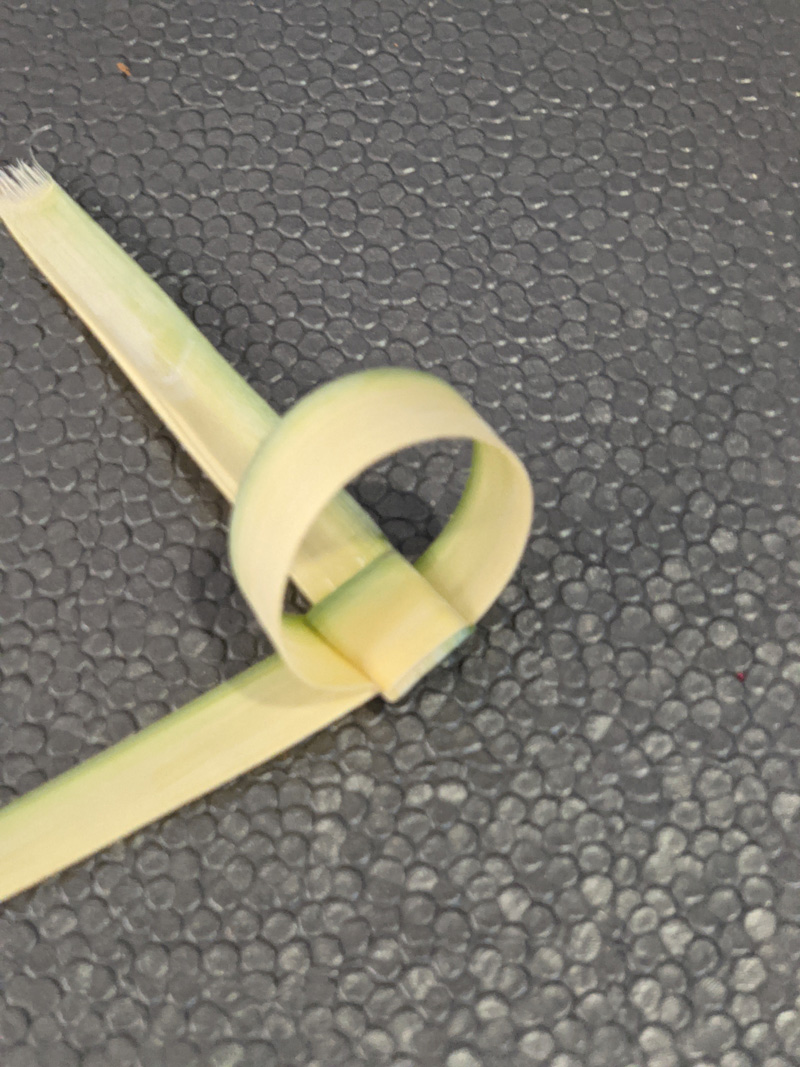
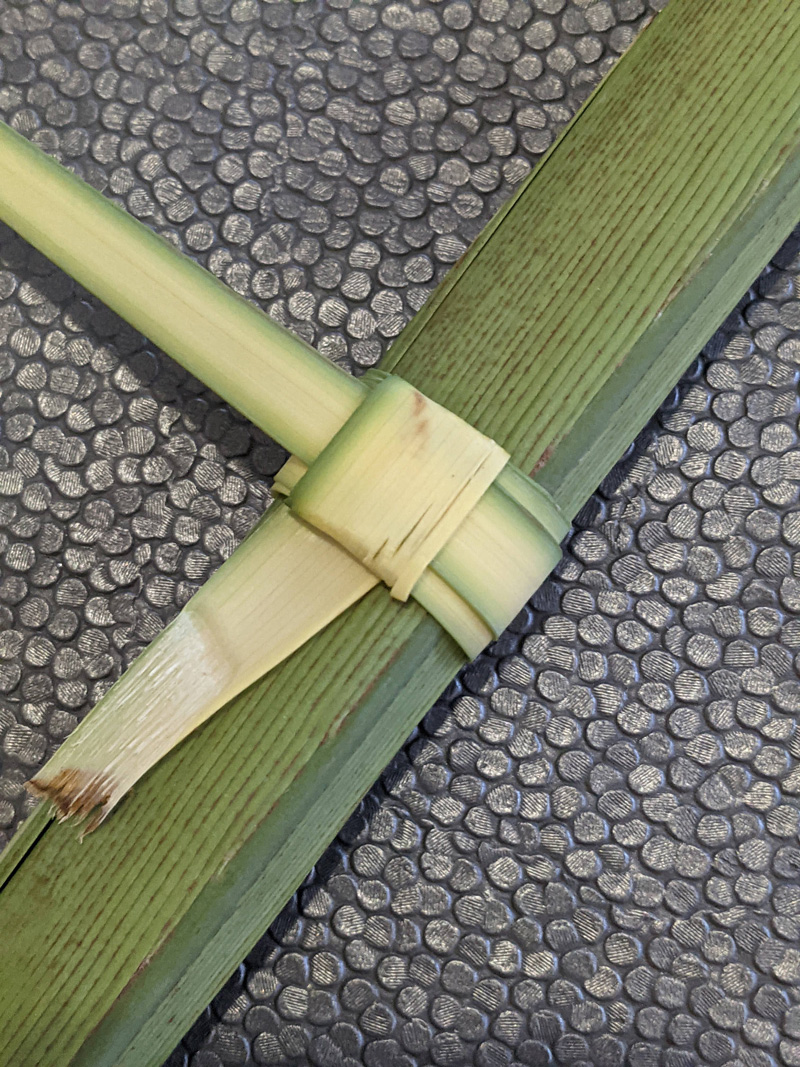
A lulav ring is made from a single leaf of the palm branch. It’s a slipknot ring that’s adjustable and is really fun to make. M (9) enjoyed learning how to make these last year, and making some himself.

Most people use three lulav rings at three increments to keep the whole lulav assembly in place.
What can you use to make them?
The cool thing about lulav rings is that they are made from the lulav itself, using no glue, no scissors – just the leaf!
An outer leaf is torn off. The resulting leaf has a pointy end and a frayed end. The pointy end works naturally to make the creation of your rings easier. It’s a fabulous little craft for kids too!
I think it’s the type of thing that classrooms can implement too – because why not? It’s simple and practical and the type of thing that makes kids feel like they’re taking an authentic role in the holiday prep.

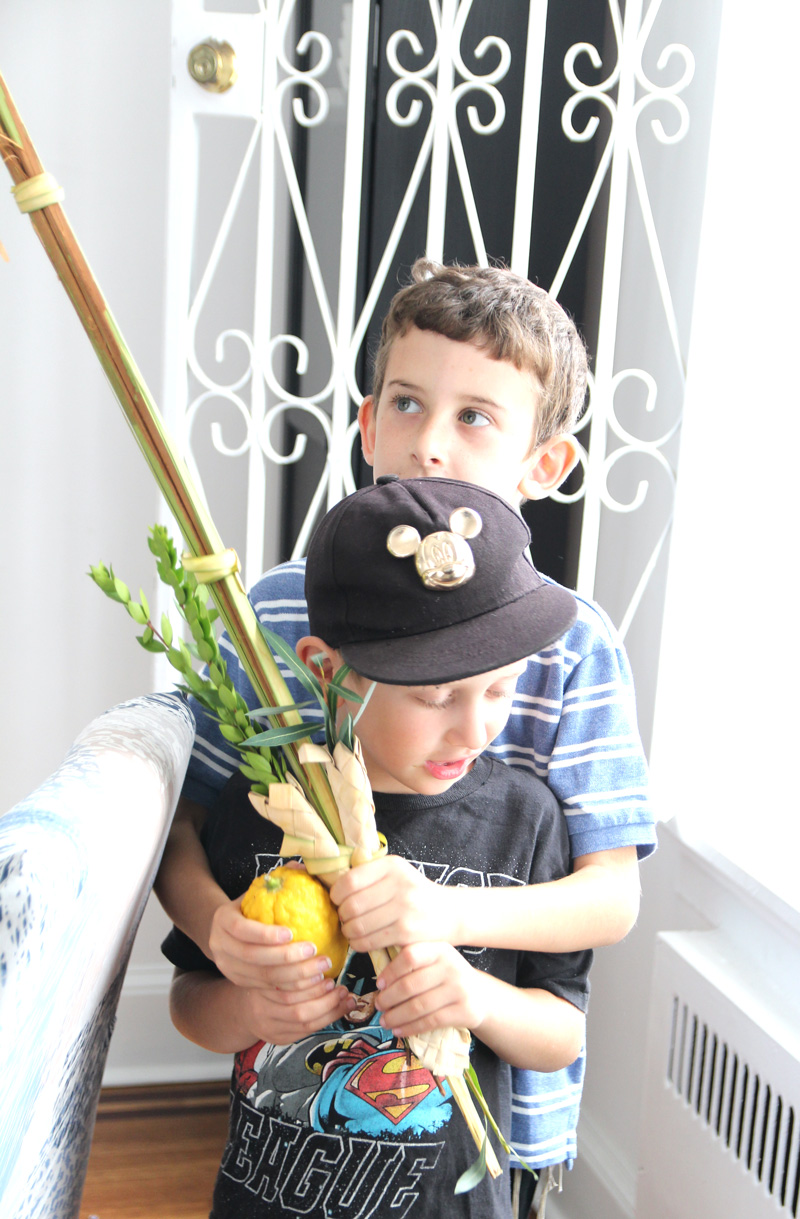
How to make lulav rings step by step
1. Strip off an outer leaf from your lulav.
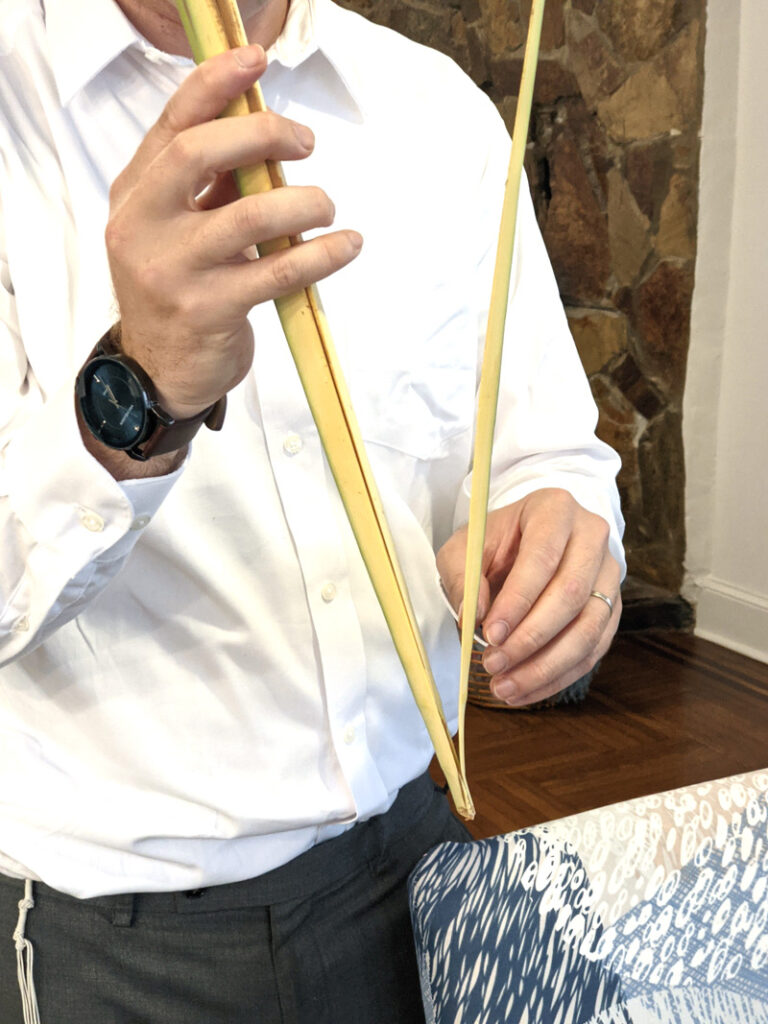
Separate it so you only have one layer.
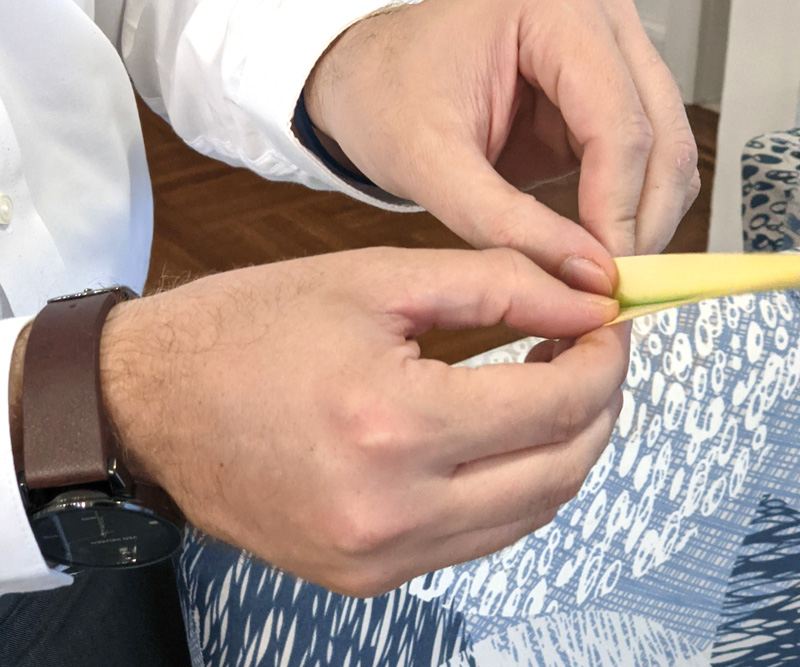
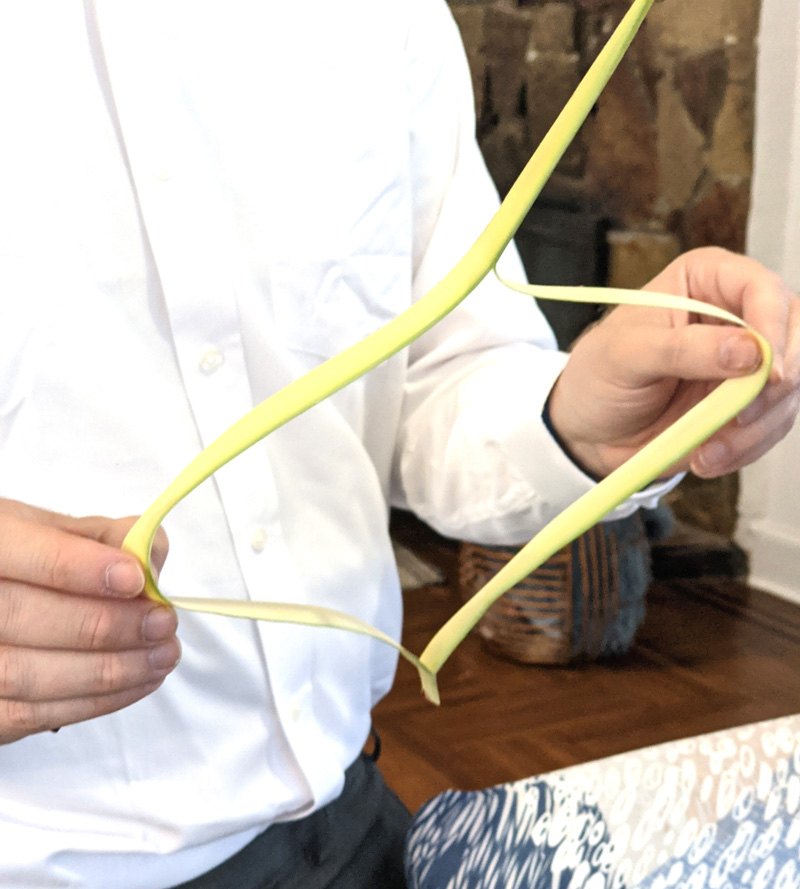
2. Hold it with the frayed edge on the right and the pointy edge on the left. Fold the right half upward at a 90 degree angle, about 1/3 of the way from the right.
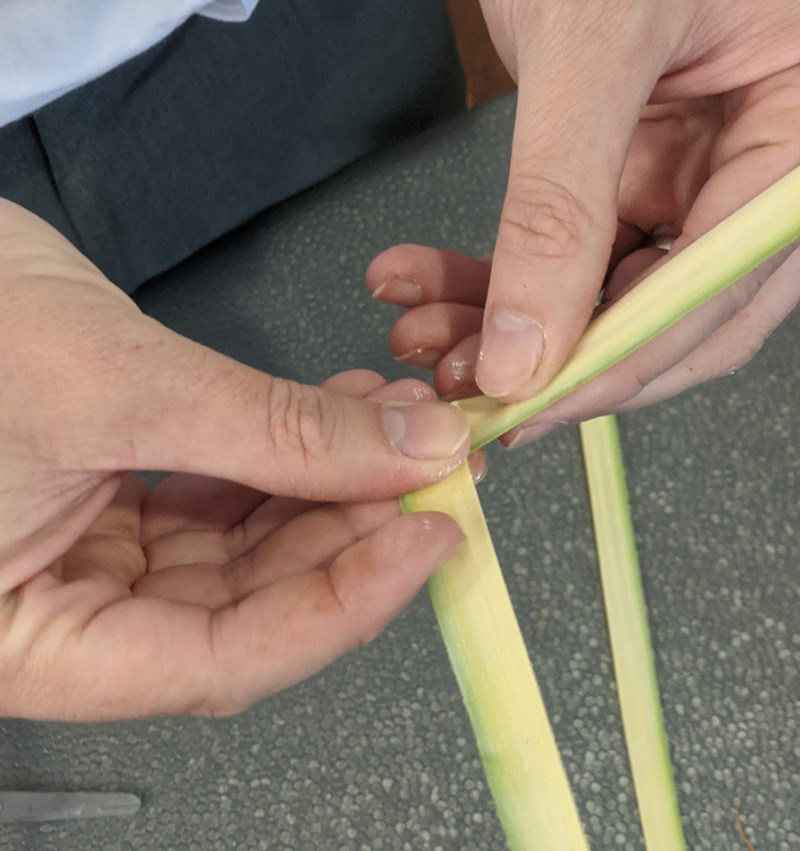
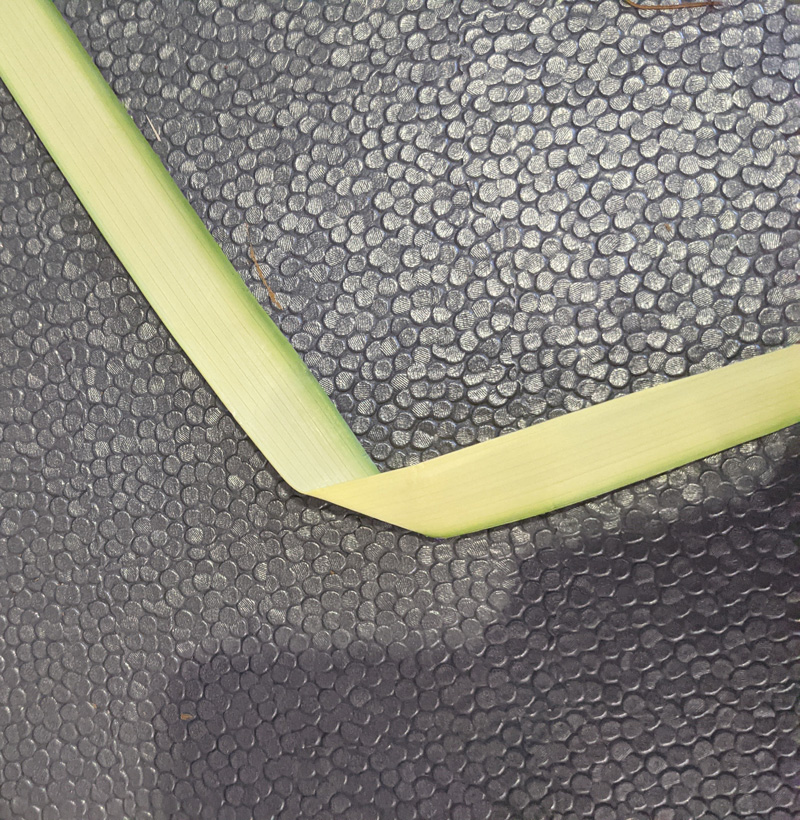
3. Some people will take the right portion and fold it over twice to the left (at the width of the upward pointing part) but my husband skips this step.
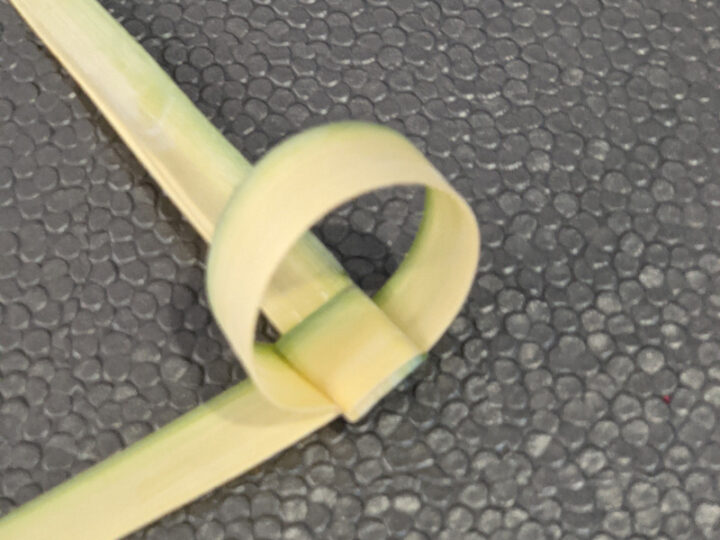
4. Fold the frayed piece back around – over the top, downward and then back up in front. You have a little loop formed in the back now.
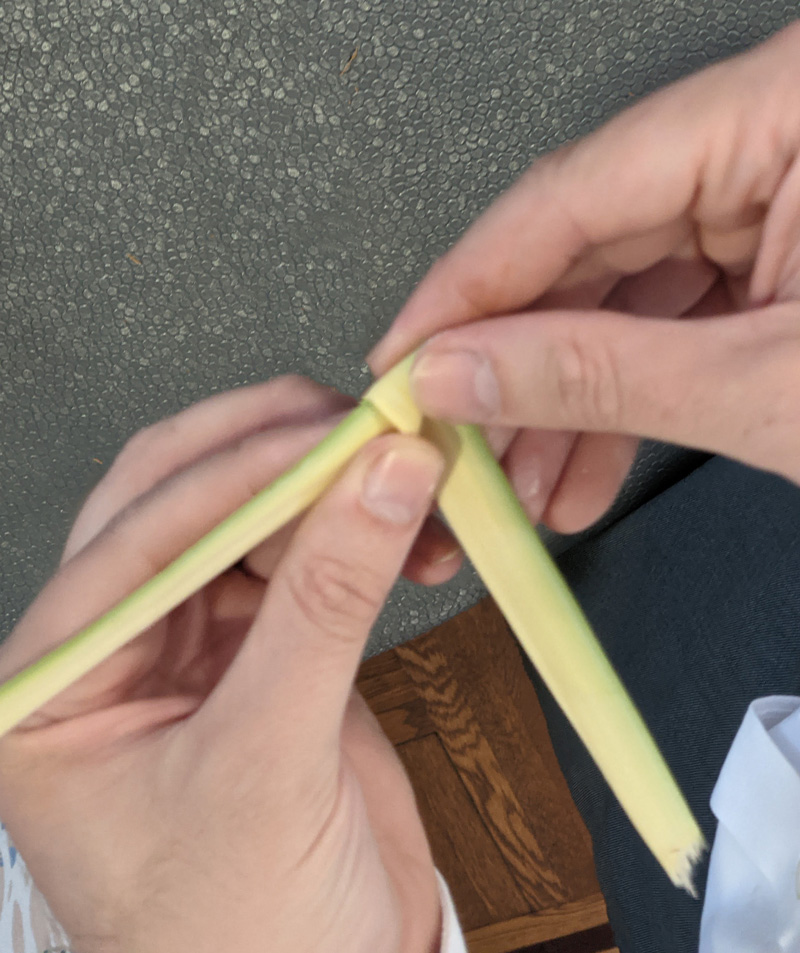
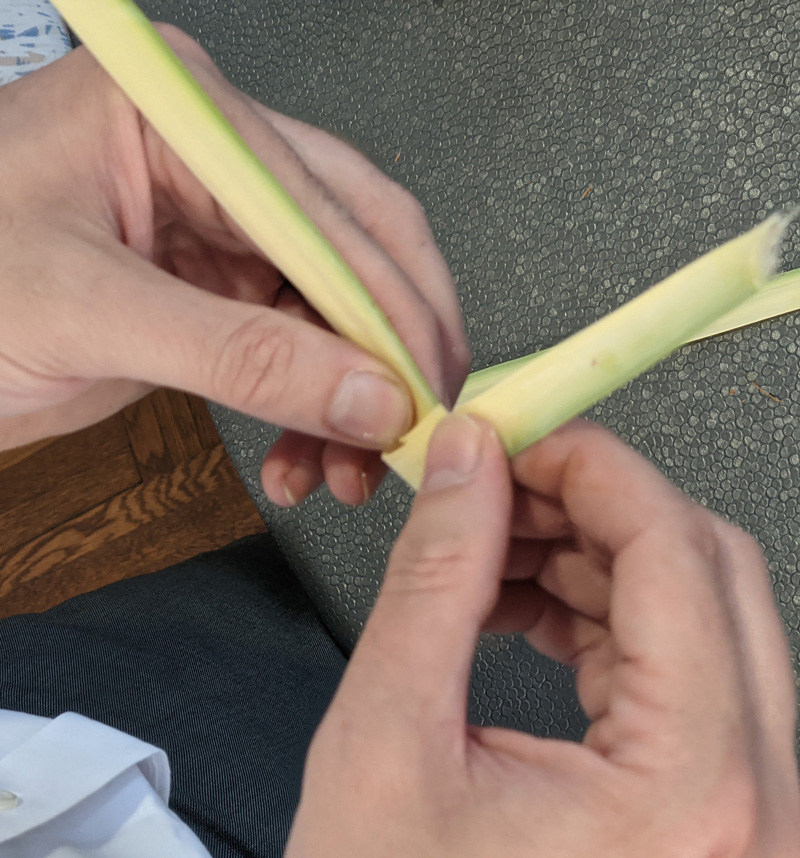
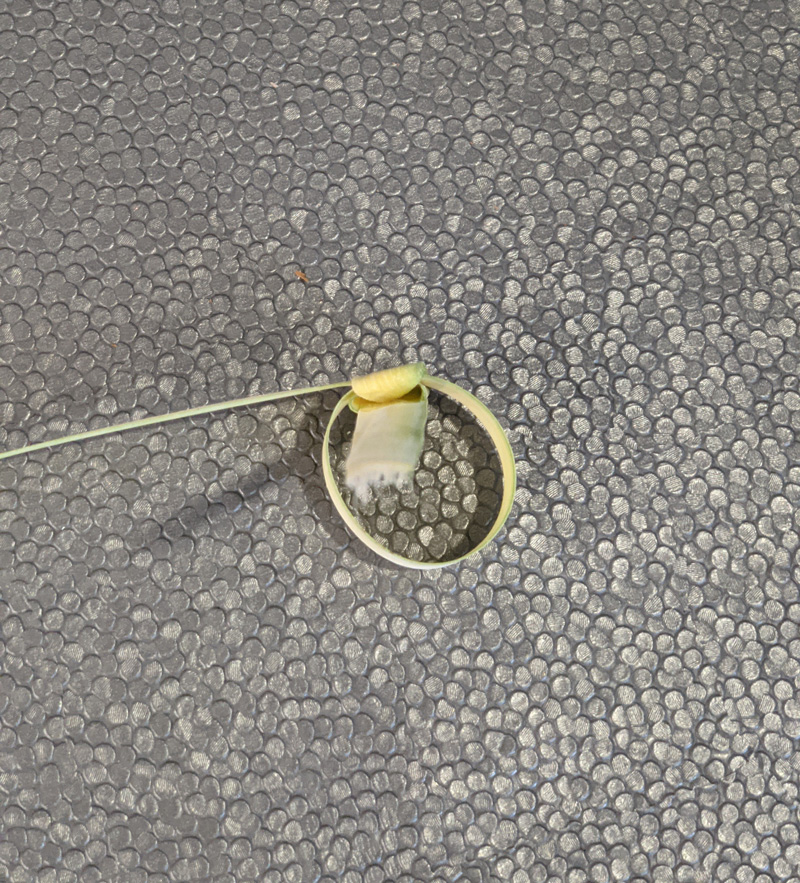
5. Bring the pointy edged piece of lulav on the left over, forming a ring, and slide it through the back loop from right to left to right.
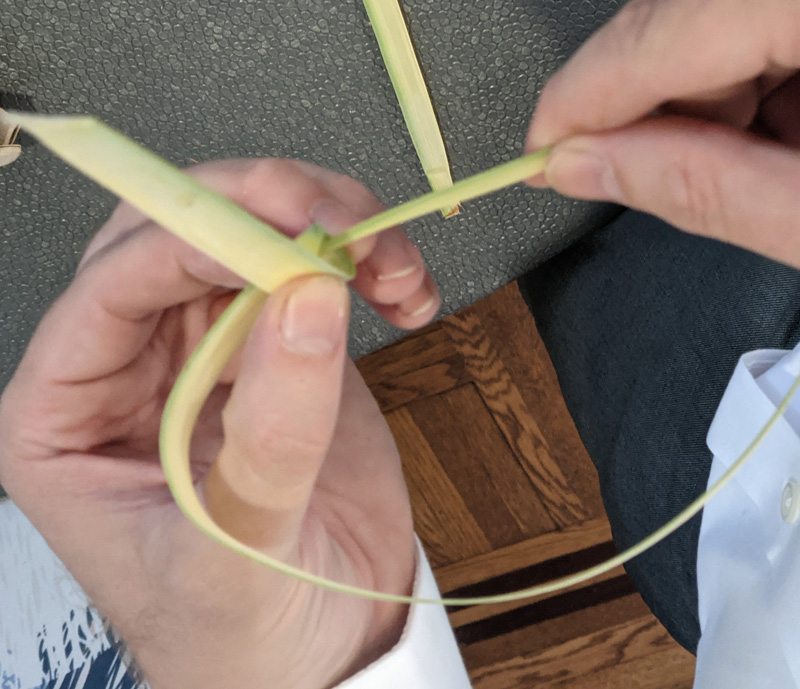
Pull it all the way through so that you’re back to a backward L shape, just a smaller one. This secures the frayed piece. You now have a more secure slider (similar to what you have on a watch) on the back. (FYI the images get slightly confusing here as my husband wasn’t consistent with the direction he’s holding his ring.)
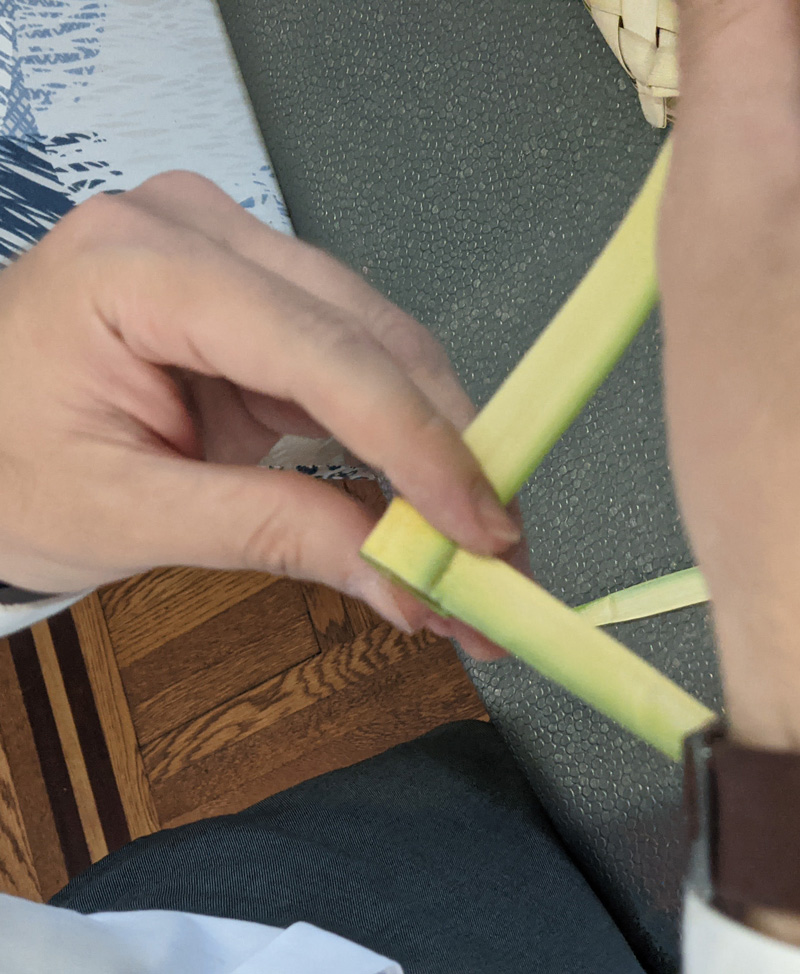
6. Repeat step 3, only don’t pull it all the way through. Size it how you’d like it.
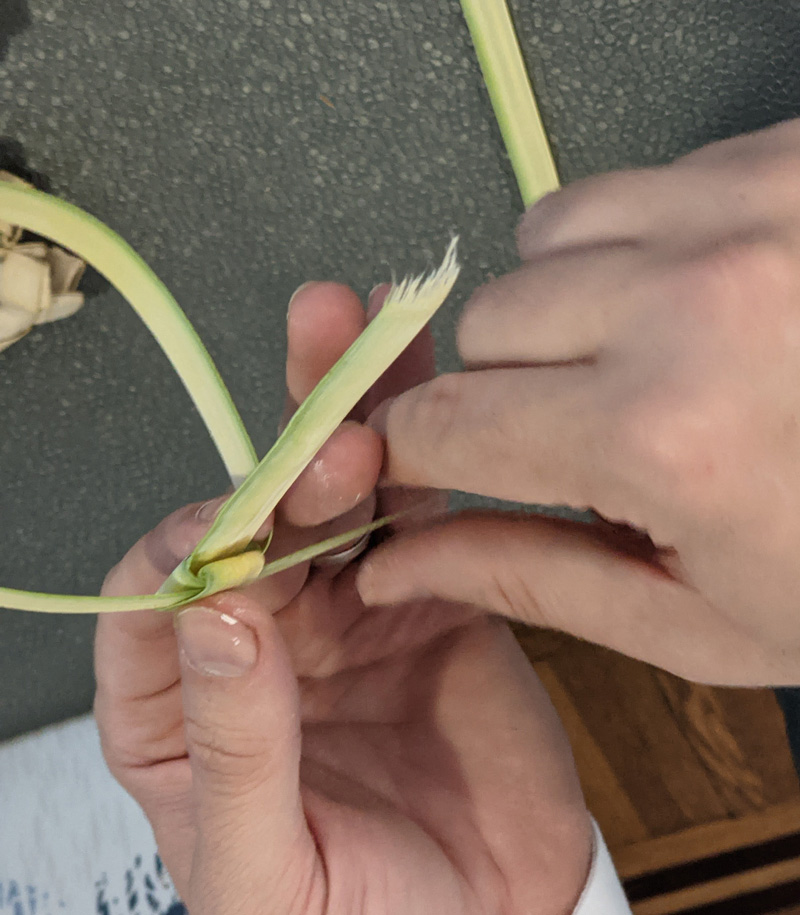
You now have learned how to make lulav rings that are adjustable and can be slid on and off the lulav, and tightened in place! Isn’t that cool?!
