Best Cholent Recipe Ever – Jewish Overnight Stew in a Dutch Oven
After years of fine-tuning my cholent recipe, I have stopped trying to improve it because I am more than satisfied with how it comes out. So I decided it’s time to share the best cholent recipe ever (according to my husband…) If you’re looking for a delicious chicken soup recipe for Shabbat, check out Rochel’s Instant Pot Chicken Soup! Disclosure: this post contains commissioned images and links.
Scroll through for the printable recipe card at the end and enjoy the best cholent recipe ever!
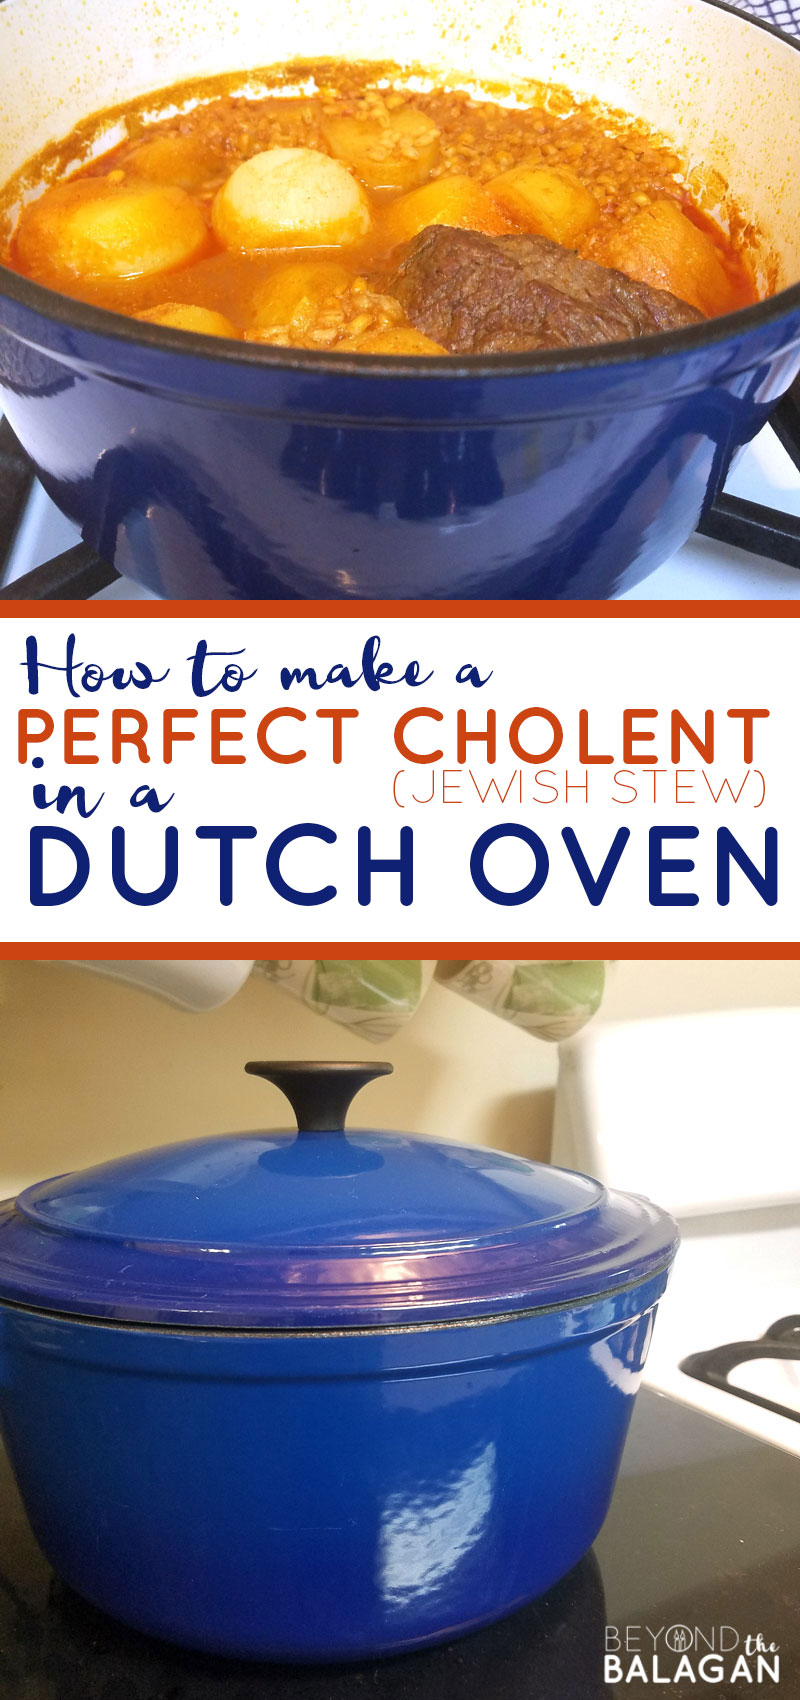
I always hated cholent. I didn’t know what people saw in it. I preferred other Shabbat lunch ideas that were lighter and easier to digest.
As I grew and my taste matured I started to kind of like it. But I never really loved it until I started making my own, and slowly developed the best cholent recipe ever.
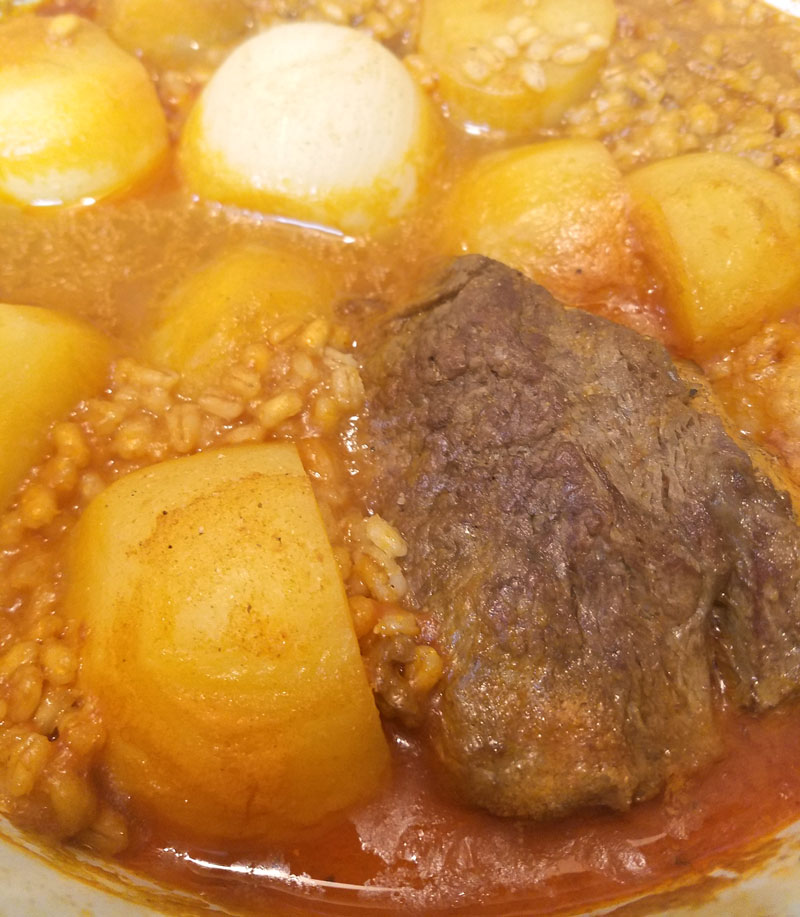
I started with my sister’s basic recipe, with my mother-in-law’s cooking method, and my a few of my mom’s tricks (whole potatoes, anyone?)
I slowly tweaked it over the years, always cooking it in a pot fully, then leaving it to slowly cook overnight on a hot plate, set on a timer to go off for 15 minutes every hour. (You can see my comparison of the top Shabbat hot plate options here)
Some of the best recipes are developed this way – a blend of assorted family traditions – just like my best potato kugel recipe.
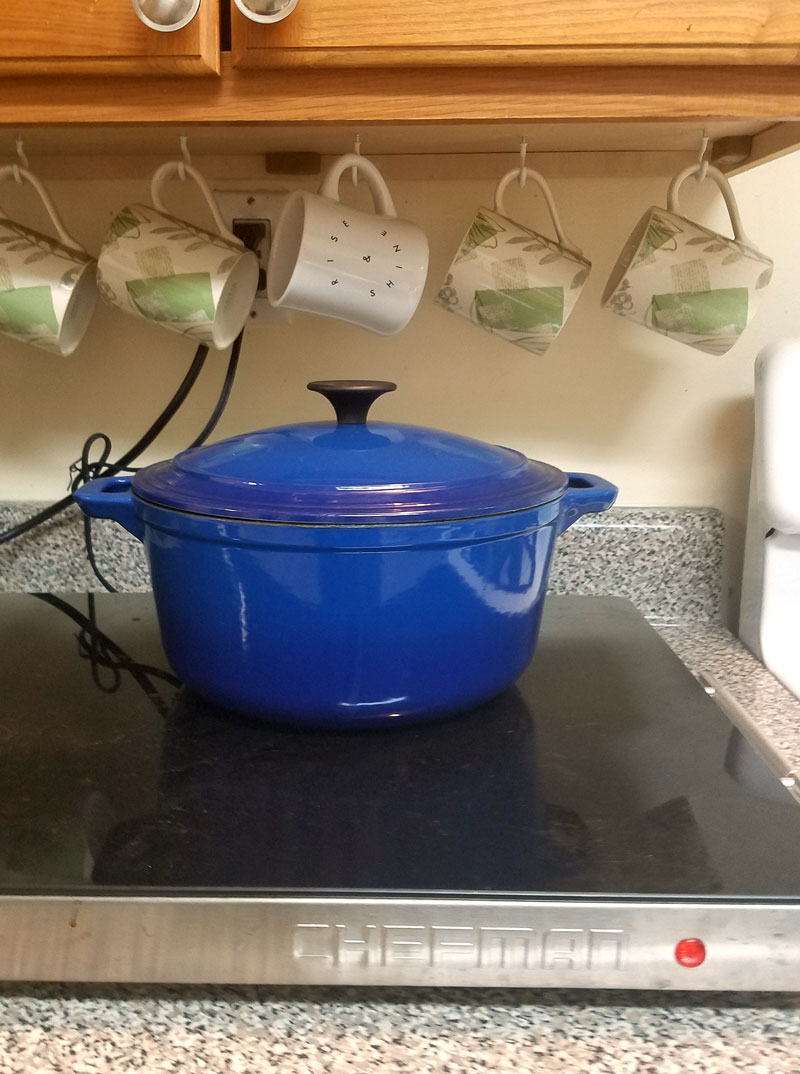
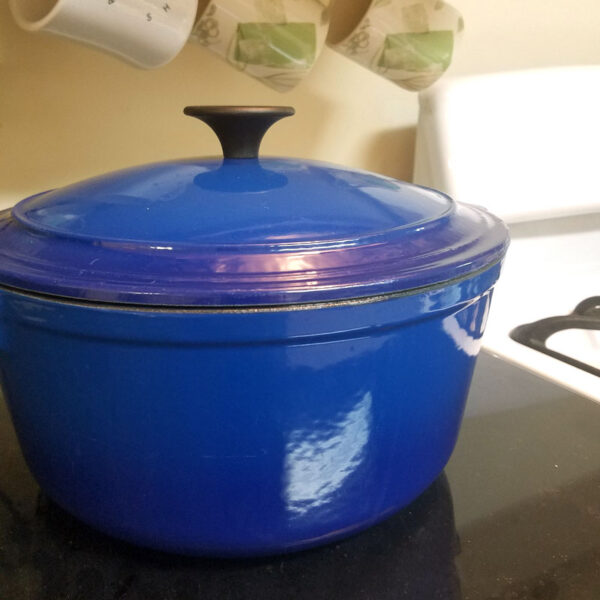
Then, recently, I faced a pot shortage and realized I needed a new “power pot” for weeks when I have lots of company. I decided to try something new and due to some suggestions I got on Facebook purchased an inexpensive 6 quart dutch oven. I found mine for really cheap in Burlington Coat Factory, but there are other great options online if you can’t find it there.
A dutch oven was the final touch that the best cholent recipe ever needed to be perfect.
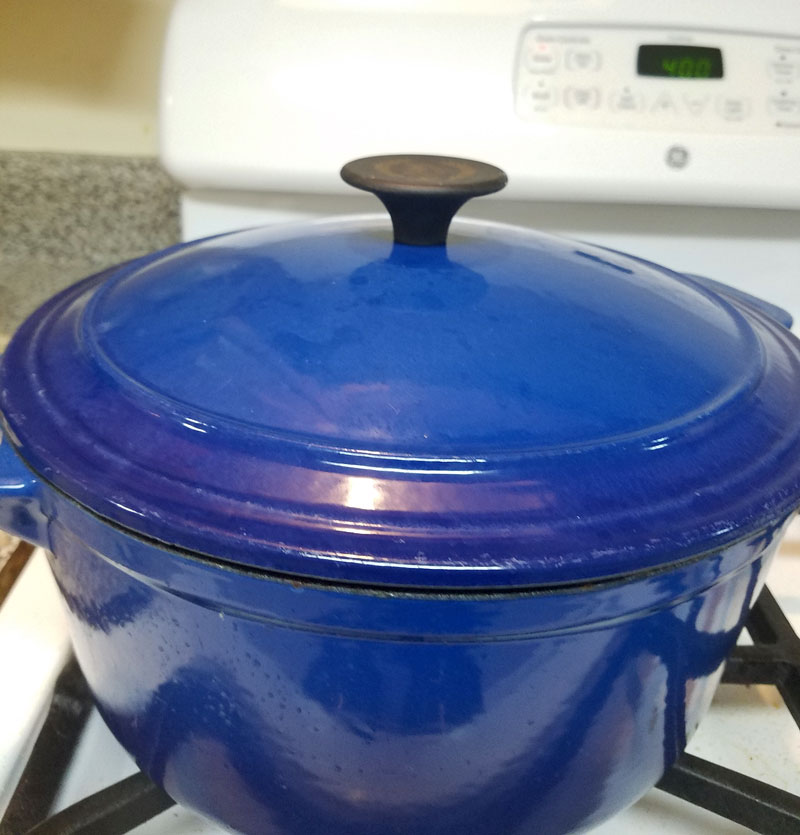
Why should the best cholent recipe ever be made in a dutch oven?
There are a few reasons why I love using the dutch oven but before I share them I want to make it clear that you CAN use this cholent recipe NOT in a dutch oven too. The cooking process is focused on using a dutch oven but it can easily be adapted for use in a crock pot or regular pot. I made it for years in a typical Farberware stainless steel pot and it was delicious. But here’s why I switched to the Dutch oven:
- The texture – oh, you simply cannot beat the perfect texture of a dutch oven cholent. If you’ve struggled with not drying out your cholent, but not having it too watery, the dutch oven will help you get that best cholent recipe ever. You’ll have barley that’s done to perfection, moist but not mushy. You’ll have creamy potatoes. You’ll have juicy, flavorful meat. And sometimes you’ll even get a slightly caramelized crispy crunch at the top that everyone will fight over. This is because of the way the lid locks in moisture.
- Oven to table – yep, you heard right! I bring the pot right to the table, place it on a rustic wooden trivet and have a homely look. I’d never bring a pot to the table, but when you have a Le Creuset-style enameled cast iron dutch oven, it has that homely rustic feel and looks great on the table – I even do this for guests! It keeps the cholent hotter for longer, and saves you from having to wash doubles of the most pain-in-the-neck dishes.
- IT DOESN’T STICK!! – Yep, you heard right. I was SO frustrated with spending hours peeling cholent of the bottom of a pot after every Shabbos. With the Dutch oven, you do have a bottom layer that’s maybe a bit overdone, but it just comes right off!
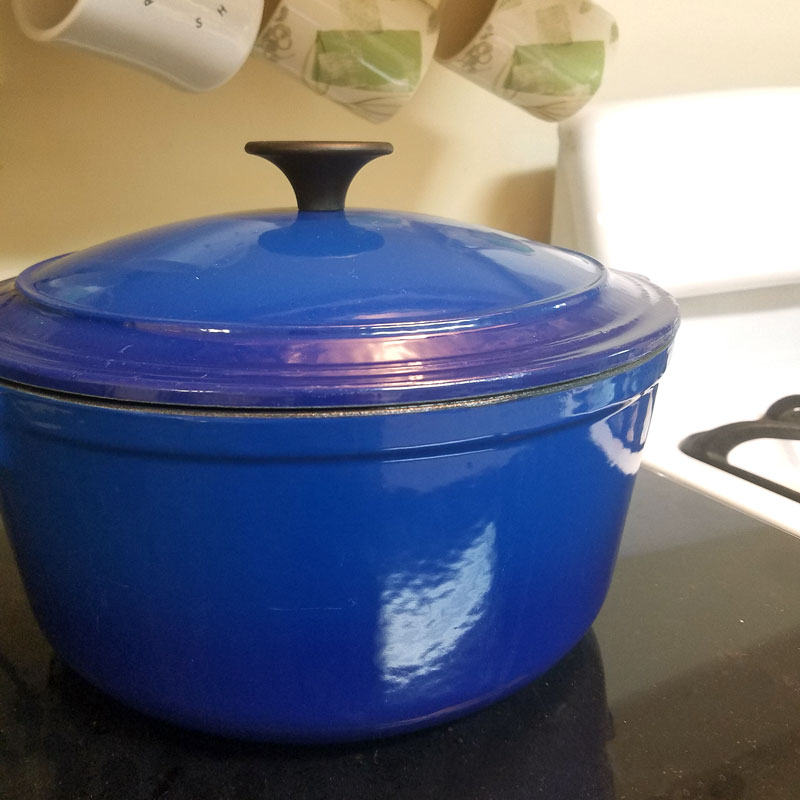
- Looks great on the counter too – Do you ever get frustrated with how after cleaning your whole house so that it’s spotless for Shabbos, you’ve still got a pot sitting on the counter all day? The cast iron enameled dutch oven that I use looks amazing on the counter – like it belongs. This is the least of my reasons for making the best cholent recipe ever in a dutch oven, but still a nice perk.
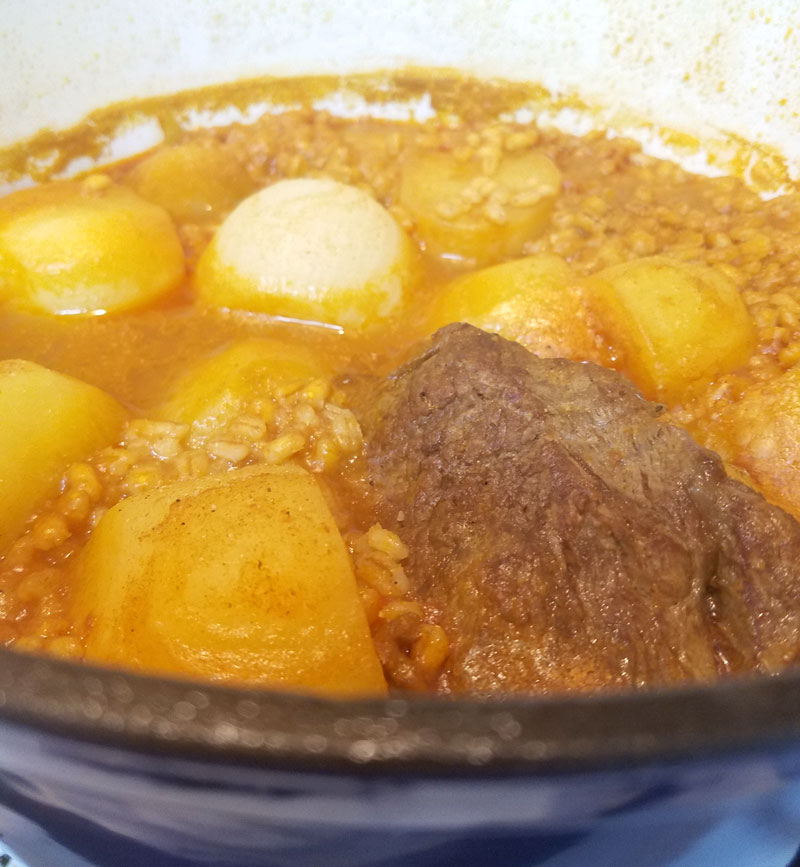
Which dutch oven should you use to make the best cholent recipe ever?
I can’t honestly tell you which dutch oven works and which doesn’t because I’ve only ever tried one. I use an off-brand one that I found in-store at Burlington Coat Factory. The finish got a bit ruined, but it still works totally fine, so if you’re looking to save, I’d recommend just going for cheap – it’s worth it.
The Le Creuset one is the “main brand” – and the top rated. I don’t know if the quality is that much better and worth splurging on, because I haven’t tried it. It also costs MANY times the price of a cheaper option. If you’d like to weigh in on this in the comment section, feel free!
Lodge makes a great budget-friendly option as does Amazon Basics.
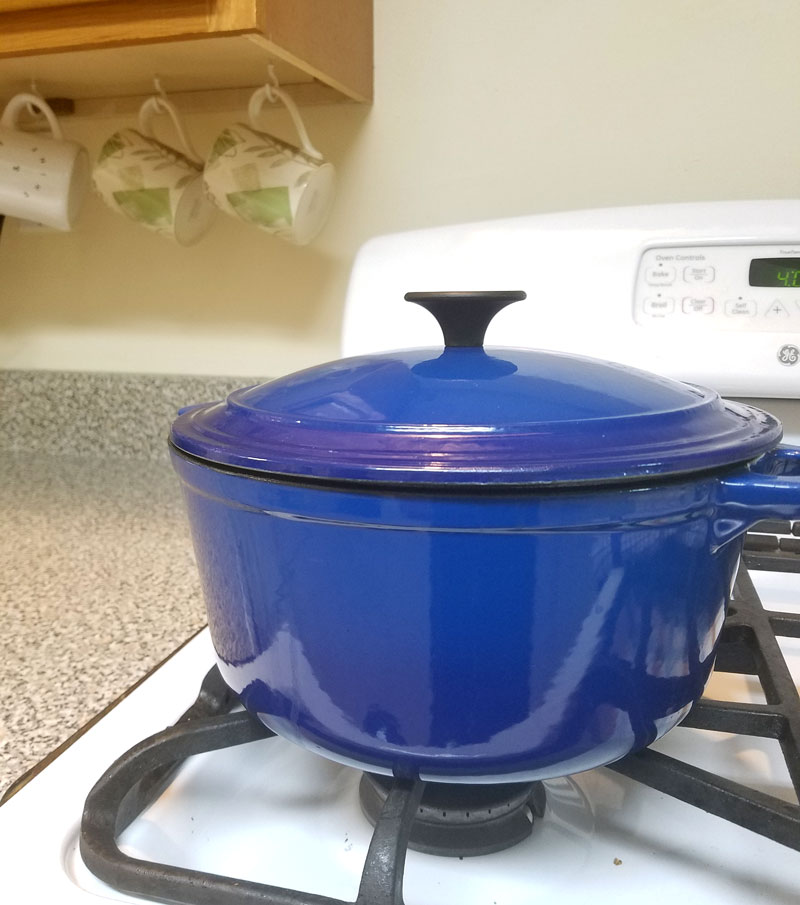
I’m assuming that non-enameled dutch ovens would work too, as long as they have that heavy, tight seal as well. I haven’t tried it, so I can’t share how well the non-stick feature works.
How to make the best cholent recipe ever in a dutch oven:
First of all, if you’ve made cholent before you’ll understand that cholent is very individual. There isn’t much of a scientific formula to the actual components (onion, potato, etc) – it’s about what your family likes. So I’ll share with you what I do, but adjust accordingly.
STEP 1: Heat some olive oil in a pan. Add a whole onion, turning it every minute or so so that a new part is browning. When it begins to brown, add your meat, and sear it. We use the cheapest meat that’s not a steak – so whatever’s on sale.
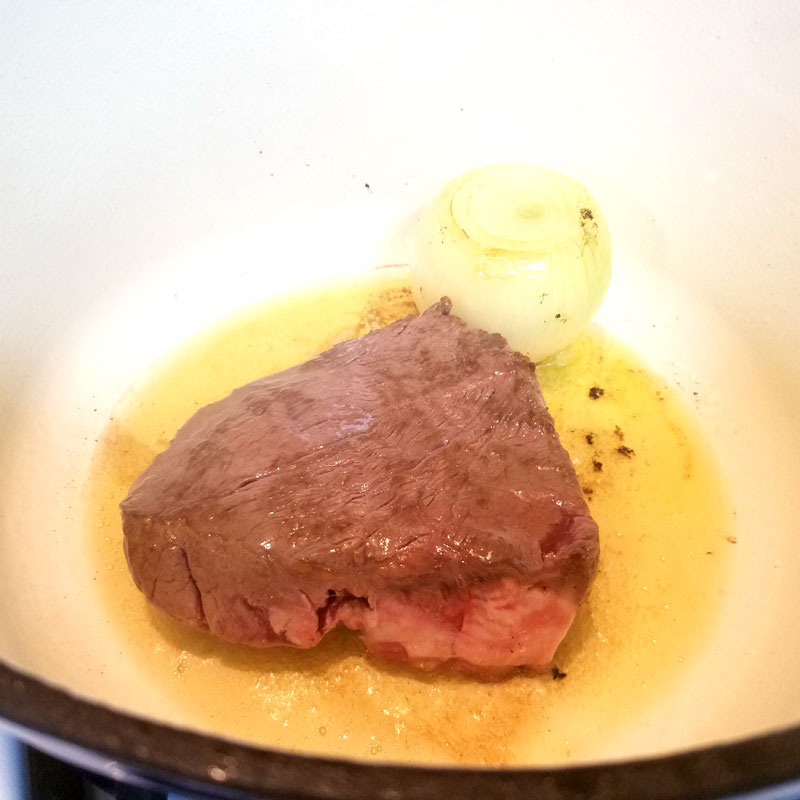
I use a two-pronged fork to hold it on its side so that it’s browned all around. Turn off your flame once your meat has been browned.
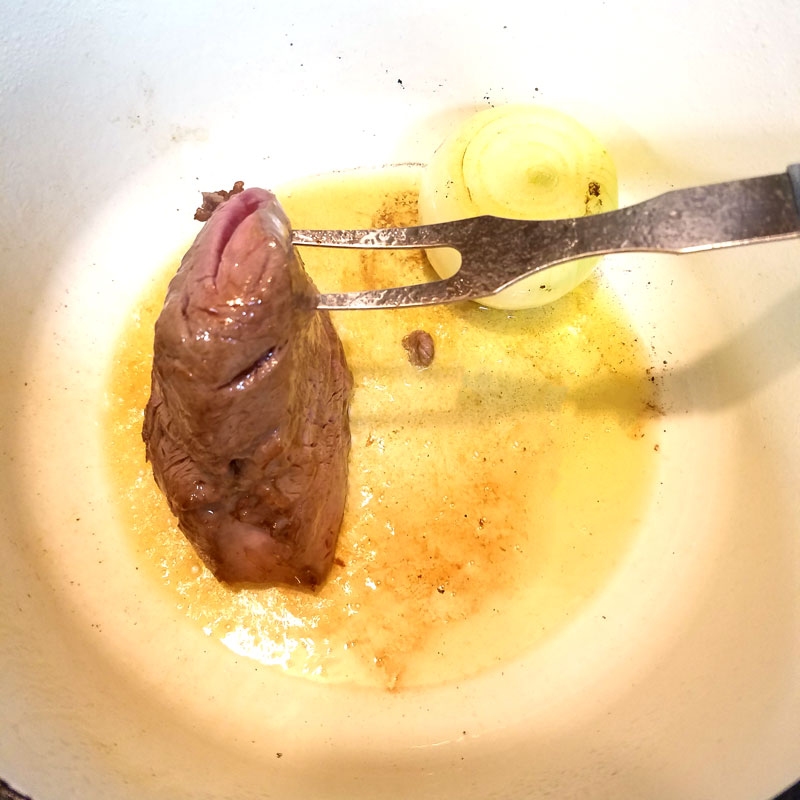
TIP: After my first time using my dutch oven to make the best cholent recipe ever, I started browning the meat and onions in a separate pot or pan. I try to use something I’ll be using for another recipe anyway, since I’m usually on a cooking spree when I’m prepping for Shabbos. I felt like frying in the dutch oven ruined the finish – I don’t know if this is usually the case – it could be just because mine was a cheap one.
STEP 2: Peel 5 medium sized yellow waxy potatoes (such as Green Giant Klondike Goldust or Yukon Gold) and cut in half or leave them whole. Cutting them too small will cause them to melt into your cholent. Using this type of potato gives you the creamiest, most delicious result.
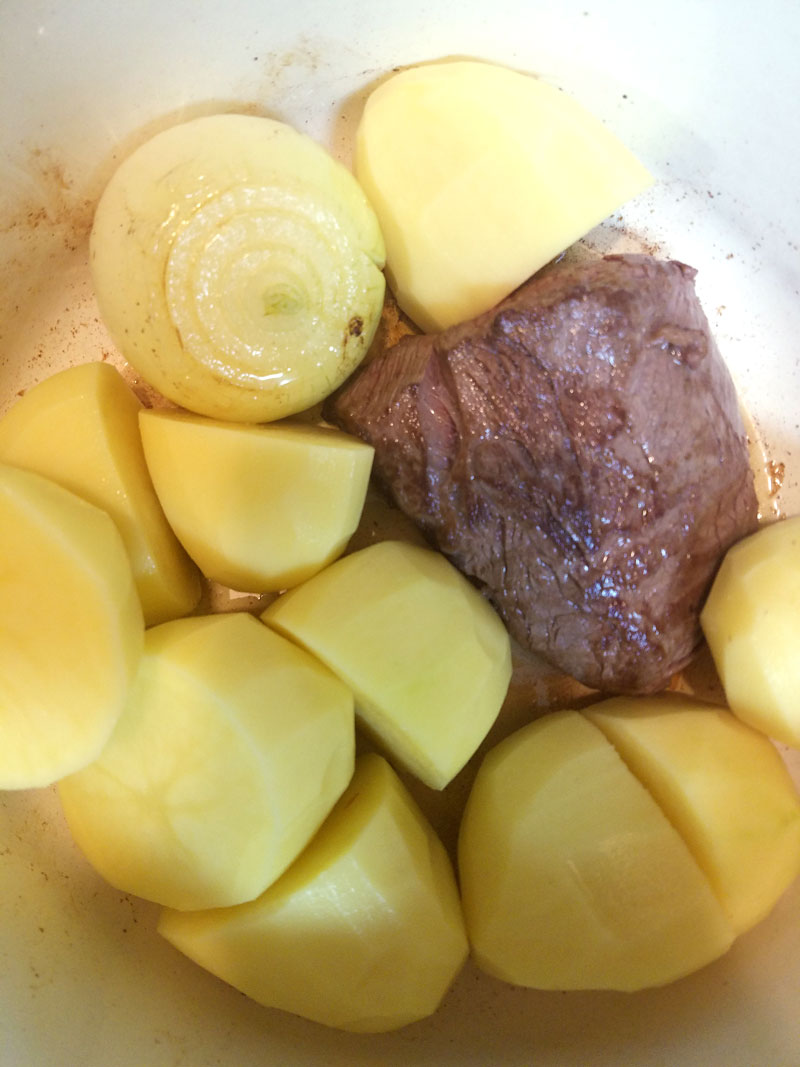
STEP 3: Cover your potatoes with water.
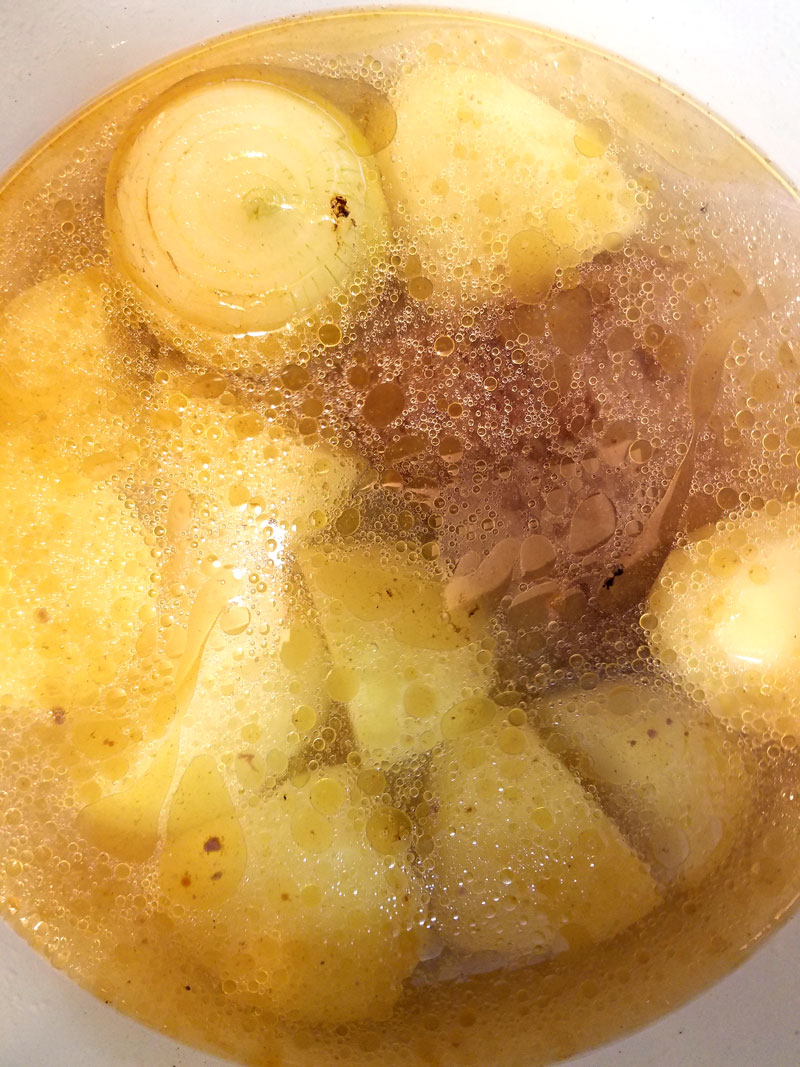
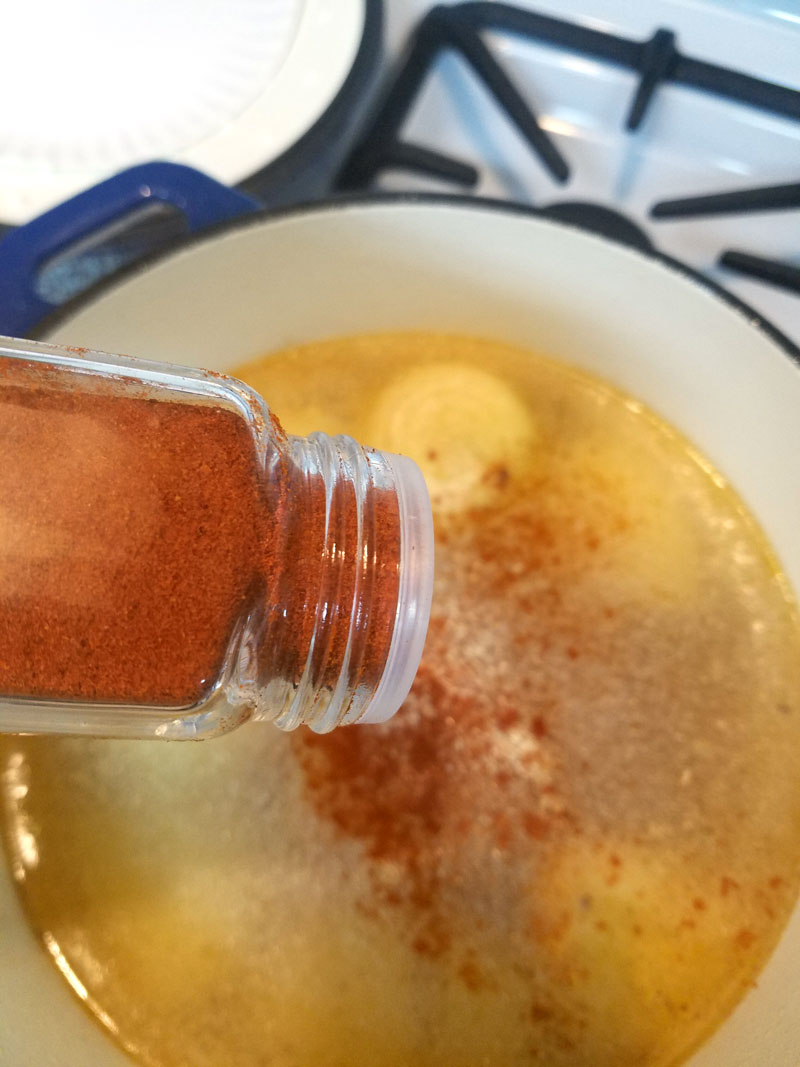
STEP 4: Turn your flame back on and season your cholent! Add a generous amount of paprika (a layer covering your water), a few shakes of pepper, about 1-2 T of Iodized salt (depending how big your cholent is) and plenty of onion and garlic powder. You can experiment with other seasonings too, depending on the flavor you’d like. Lately, I put chili powder in mine.
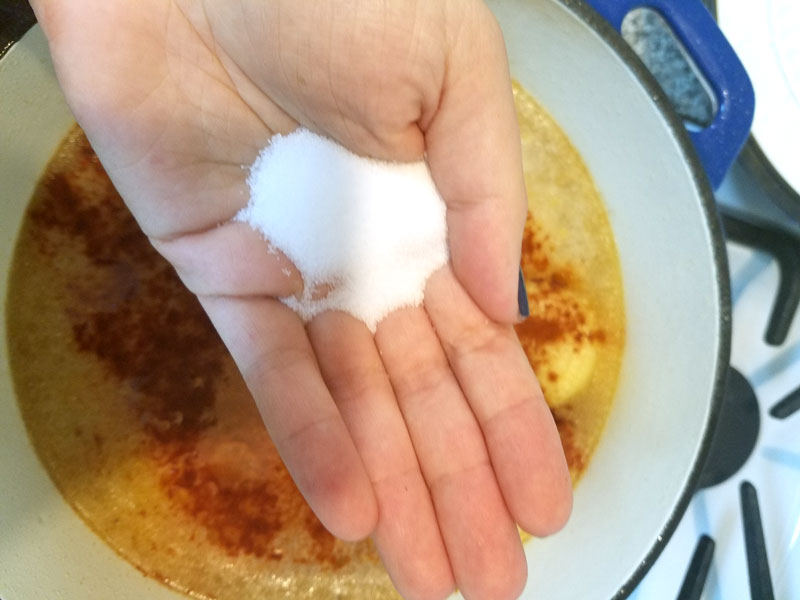
I never actually measure the salt but this is what I put into a smaller cholent.
Add ketchup (optional) – about 1/2 cup and honey – about 1/4 cup. The honey helps the top caramelize a bit. If you have a baby less than a year old who eats cholent, you can substitute the honey with duck sauce. Bring to a boil, reduce to a simmer, and cook about half an hour or until your potatoes begin to soften but aren’t falling apart.
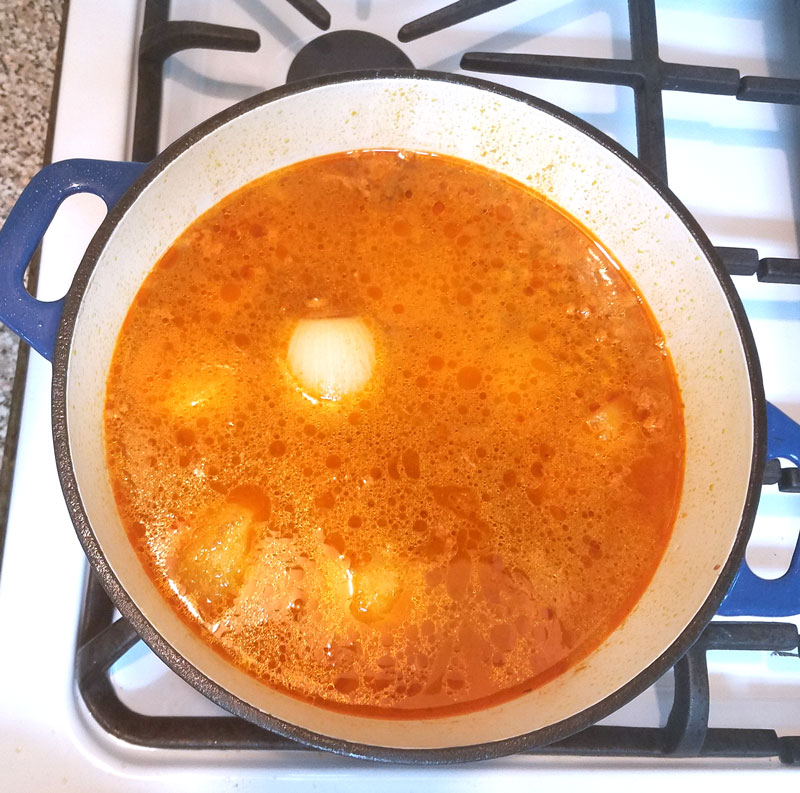
STEP 5: Add your barley. No, I don’t put in beans; I simply don’t like them. Add those at your own risk… I have added lentils in the past, but I’ve been skipping that lately. I usually put in 1/2-3/4 of a 1lb bag. Cover your barley with water plus an inch, and let it simmer uncovered until the barley is cooked (about half an hour). Watch it to make sure you have enough water since the barley tends to absorb a ton of it, and quickly!
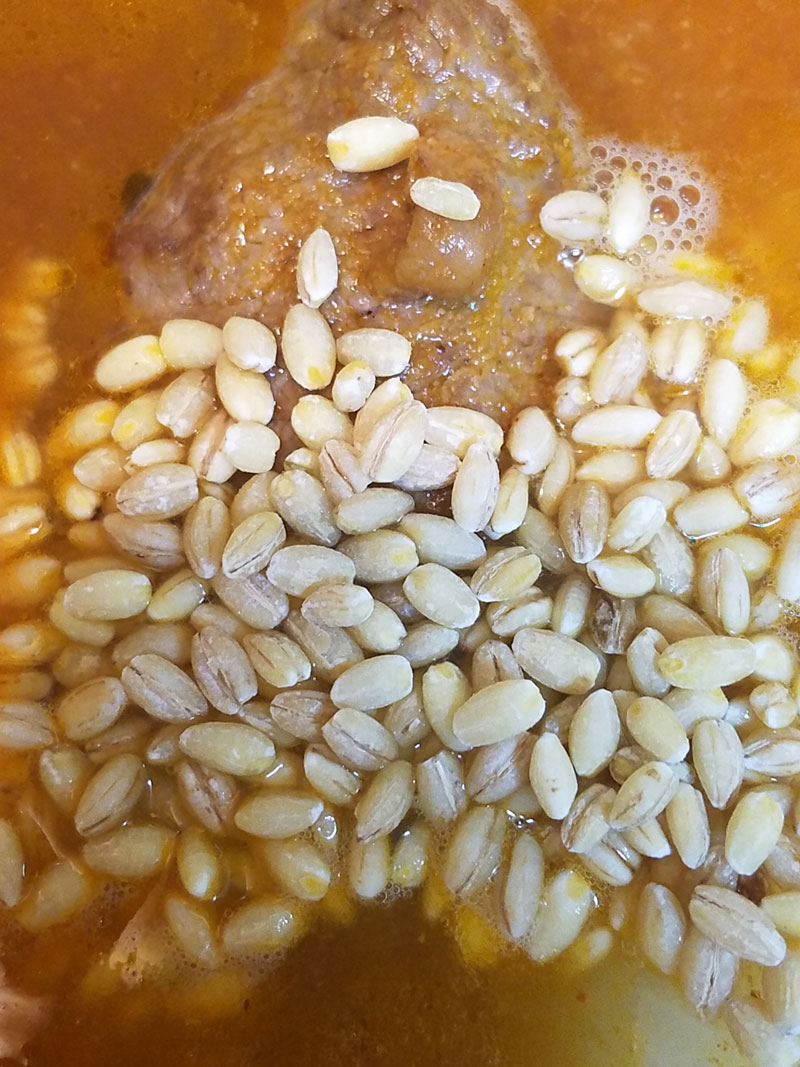
When your barley is cooked, make sure you have a thin layer of water covering your food (check it again right before Shabbos, since sometimes the barley absorbs more after you shut the flame).
Set it on your Shabbat hot plate to cook overnight. It’ll already be delicious after a few hours if you like to dig in early. We set our hot plate with a timer so that it’s not on continuously (we turn it off for 15 minutes every hour – not an exact formula, again, but short enough that the cholent stays hot enough to be cooking continuously even when it’s off).

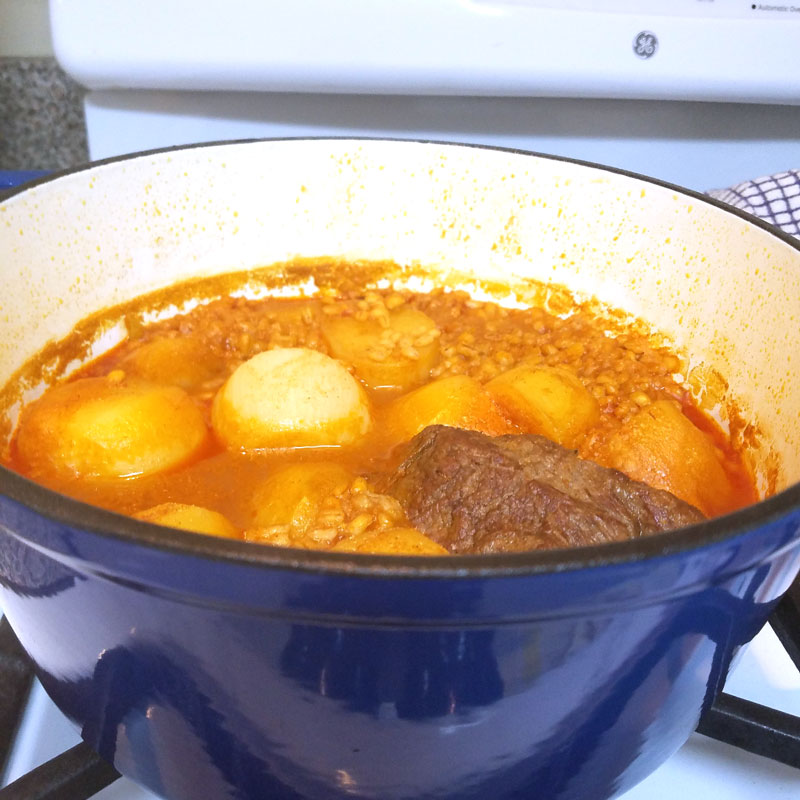
I hope you enjoy the best cholent recipe ever! Comment below: what do you put in your cholent recipe?
Want another fantastic Shabbat afternoon dish? Try my crock pot mushroom barley soup – perfect for that frigid winter day! And if you’re in need of something gluten free or Passover friendly, try my gluten free cholent!
| Servings |
|
- 1 lb meat Steak tends to dry out. We get the cheapest non-steak meat
- 1 whole yellow onion peeled
- 5 Yukon Gold potatoes
- 1/2 lb pearled barley
- 2 T olive oil for frying
- Water as needed
- 1 T paprika
- 1 T Onion powder
- 1 T garlic powder
- 1 T Iodized Salt
- 1/2 cup ketchup (optional)
- 1/4 cup honey or duck sauce
Ingredients
Seasoning (all measurements are approximate)
|

|
- Heat some olive oil in a pan. Add a whole onion, turning it every minute or so so that a new part is browning. When it begins to brown, add your meat, and sear it. Turn off your flame once your meat has been browned.
- Peel 5 medium sized yellow waxy potatoes (such as Green Giant Klondike Goldust or Yukon Gold) and cut in half or leave them whole.
- Cover your potatoes with water. Turn your flame back on and while it's heating season your cholent, adding all the "seasoning" ingredients and giving it a stir. Bring to a boil, reduce to a simmer, and cook about half an hour or until your potatoes begin to soften but aren’t falling apart.
- Add your barley. Add water if necessary to cover your barley, plus an inch, and let it simmer uncovered until the barley is cooked (about half an hour). Add water if needed as it cooks.
- Make sure you have a thin later of water covering your cholent, and that the meat is totally submerged. Set it on your Shabbat hot plate to cook overnight.
If your dutch oven can't handle frying, brown your meat and onion in a separate pan.
Don't chunk your potatoes too small - they'll melt into the cholent.
We set our hot plate on a timer so that it's not on all that time. We shut it for 15 minutes every hour so that it stays hot enough to still be cooking.
Your cholent will be ready to eat after a few hours, but the flavor strengthens and the crust forms when you leave it on overnight.
