Rosh Hashanah Toy DIY
The Jewish new year is right around the bend (well, actually it’s later than usual this year…) I made my son this Rosh Hashanah toy to go with his other interactive toys that I love making him for the holidays. Granted, it’s not my cleanest work to date, but he had so much fun with it! Disclosure: this post contains affiliate links.
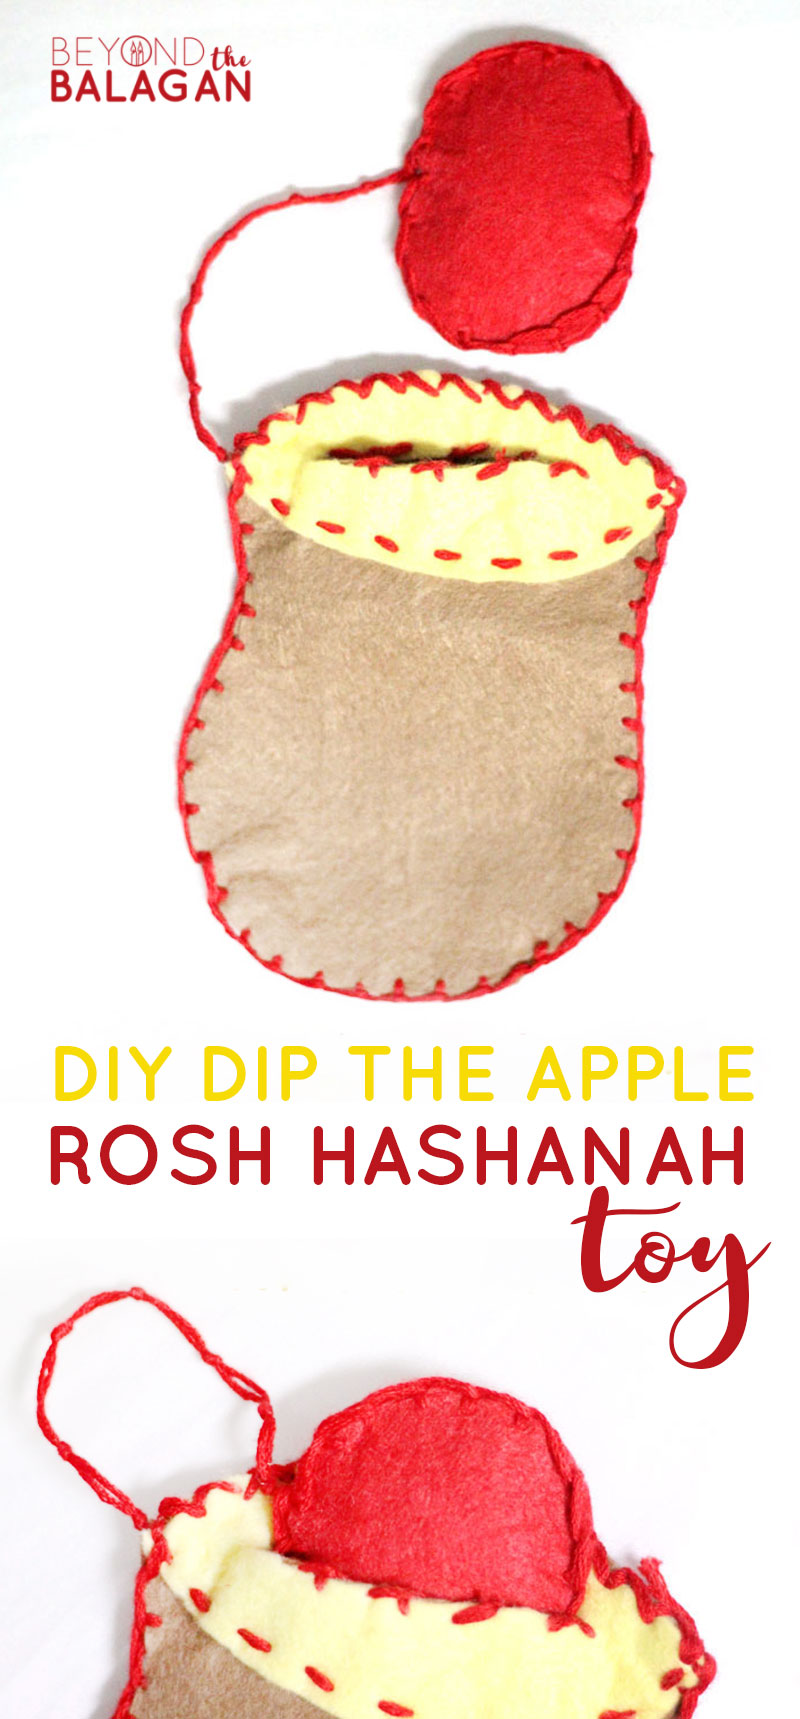
While my son WILL finally be starting preschool soon and learning about the holidays there, I wanted to continue my “tradition” of making him DIY toys for the holidays. I made him a seder plate for Passover, a Purim playset, and a fun Menorah he can “light” himself.
I want to do more for Rosh Hashanah but I do need a bit more time (maybe once school finally starts!!). For now, I made him a fun “dip the apple in the honey” set, to go with every preschooler’s favorite song…
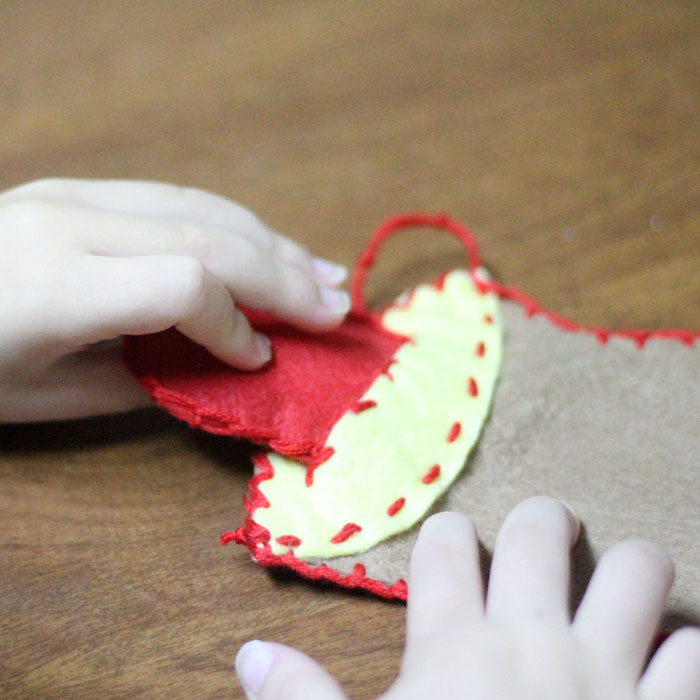
M really loves this Rosh Hashanah toy – it has that fine motor aspect that he really loves. I can’t say this came out as well as I might have liked, but the idea is there. I guess I was really too rushed, but you can do better than me!
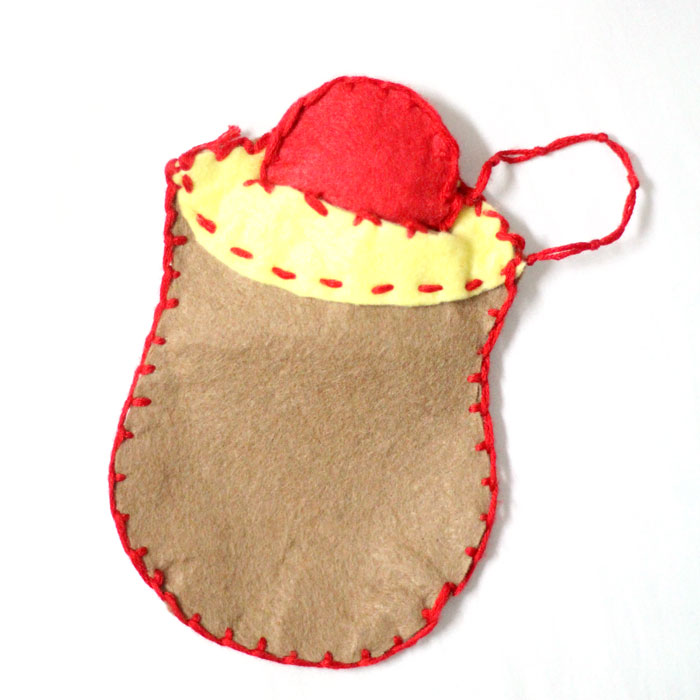
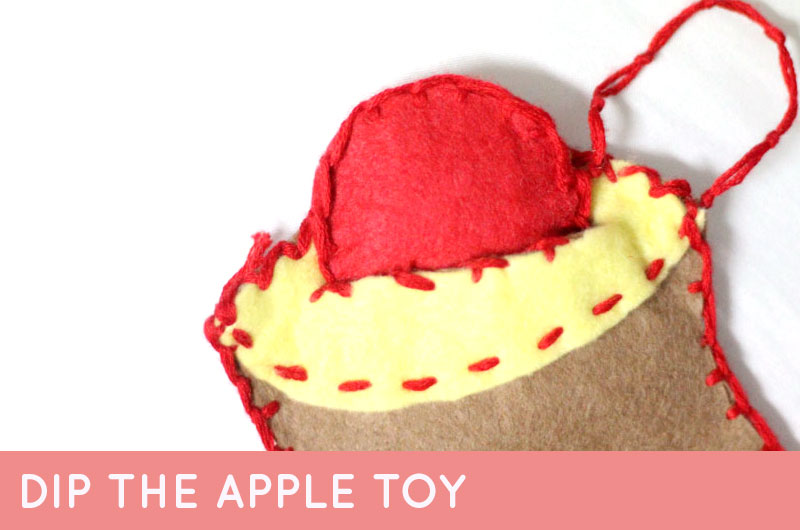
The apple on this Rosh Hashanah toy is attached so that it doesn’t get lost. You can coordinate the threads to make a neater look, or keep your stitch consistent. You an stuff the apple like I did or leave it flat. Either way, I’m sure your child will love it!
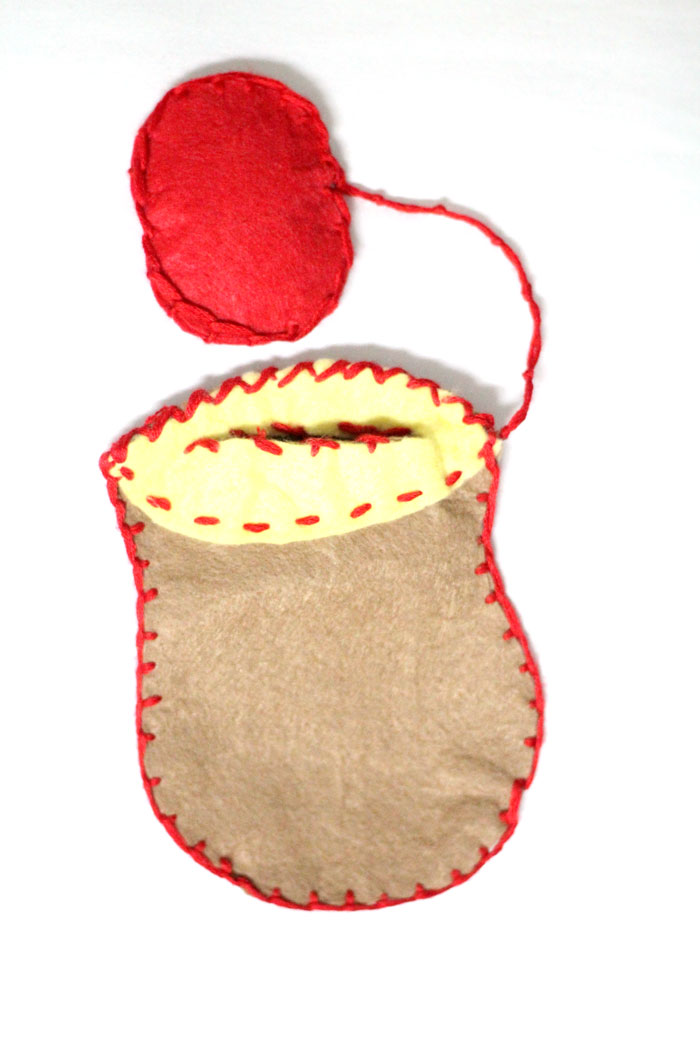
What you need to make this Rosh Hashanah toy:
- Felt
- A teensy bit of poly-fil stuffing
- Fabric + detail scissors
- Embroidery thread
- An embroidery needle
- Something to mark with (a chalk marker, permanent marker…)
How to make a DIY felt Rosh Hashanah toy:
1. Make the shape of an apple (I know, mine is more like a tomato… but my toddler recognizes it!)
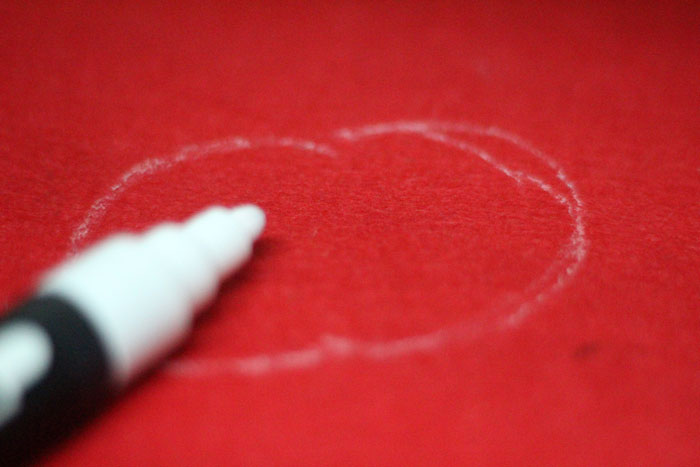
2. Cut it out and trace it to make another.
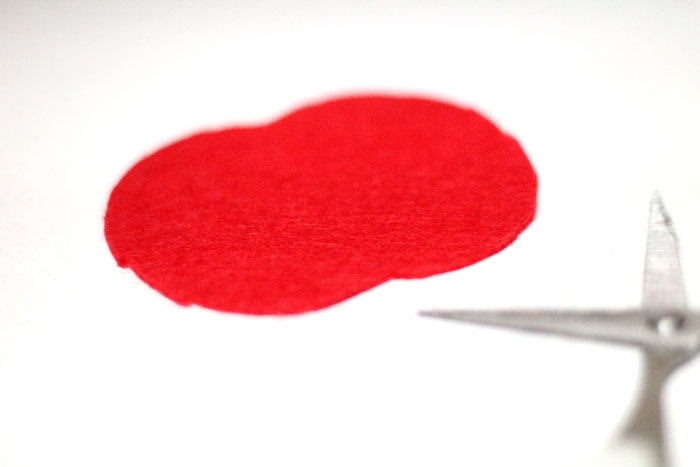
3. Using the apple as your guide for sizing, make the shape of a honey pot.
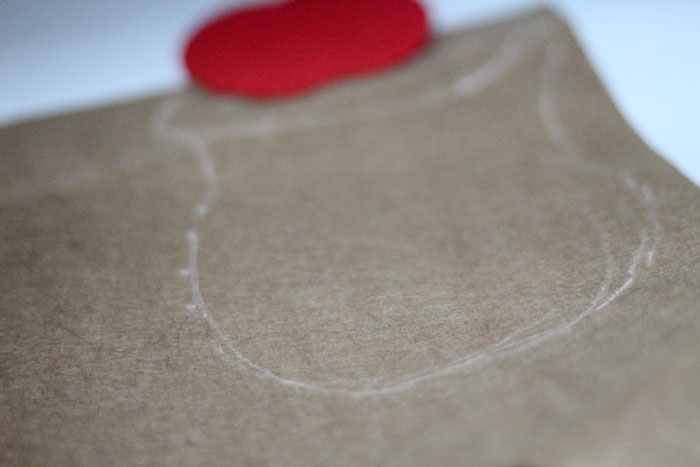
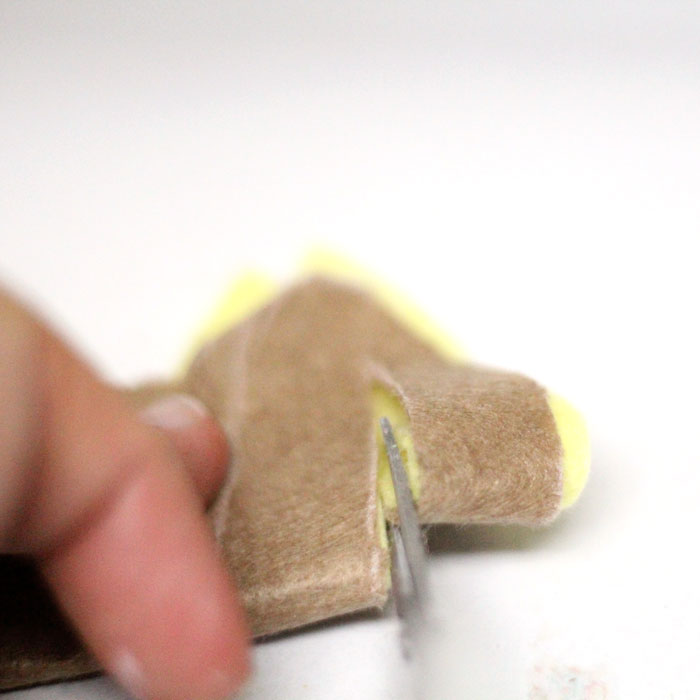
4. Make two of them and cut a slit the size of your apple in one.
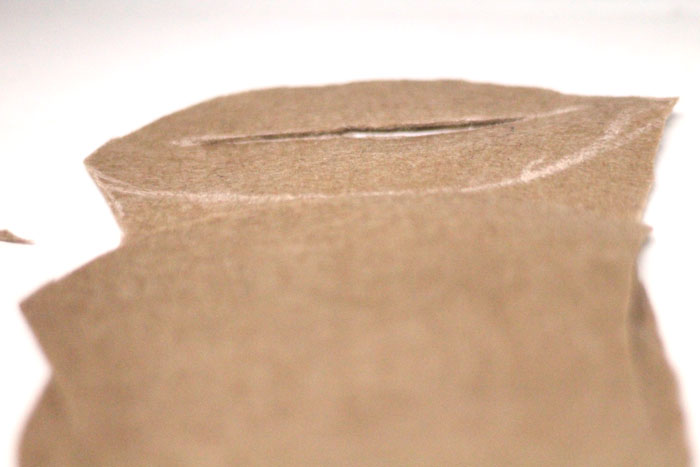
5. Trace the top/rim of your pot on yellow felt, and cut a slit in the same spot as on the pot.
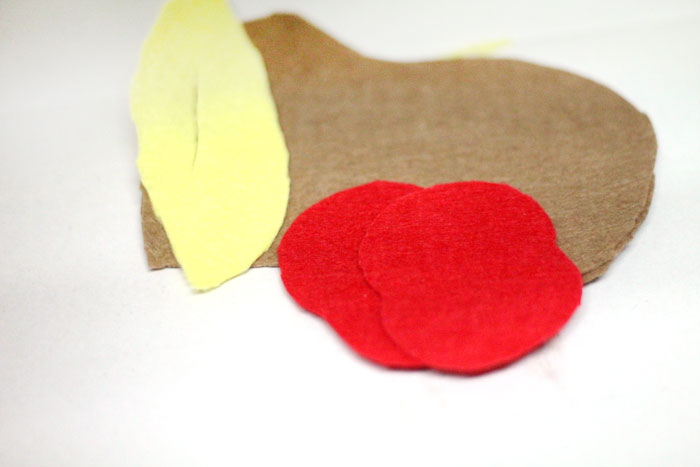
You should have the following felt cutout pieces: 2 pots – one with a slit, a yellow top for the pot, and two apples.
6. Start stitching the two halves of your apple together.
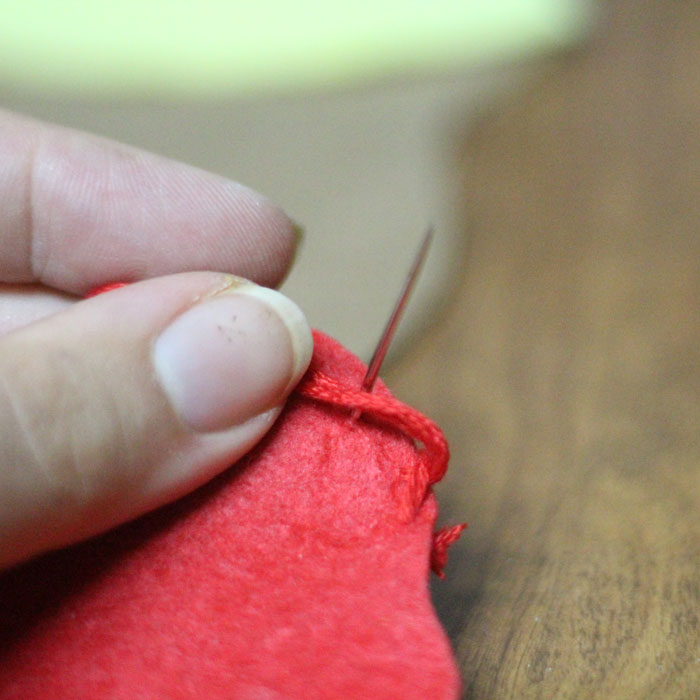
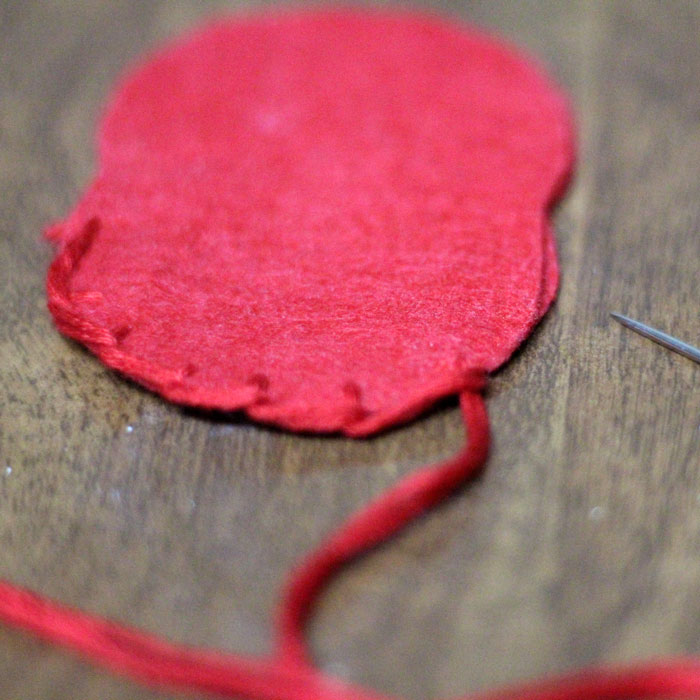
7. When you are almost done, fill it with stuffing and finish sewing it up.
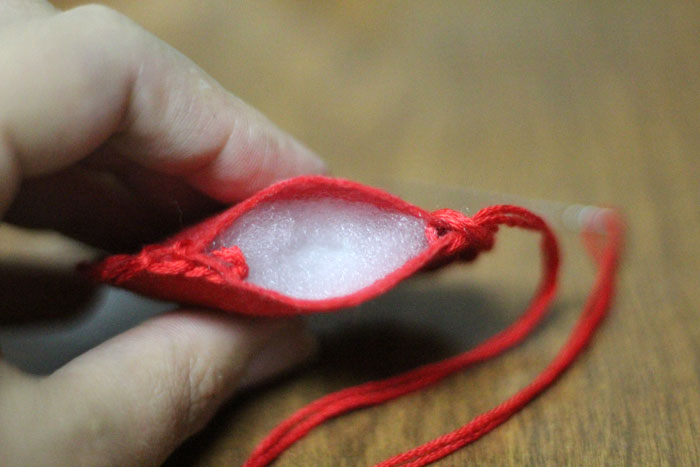
8. Double knot your thread when you are done, and don’t trim it.
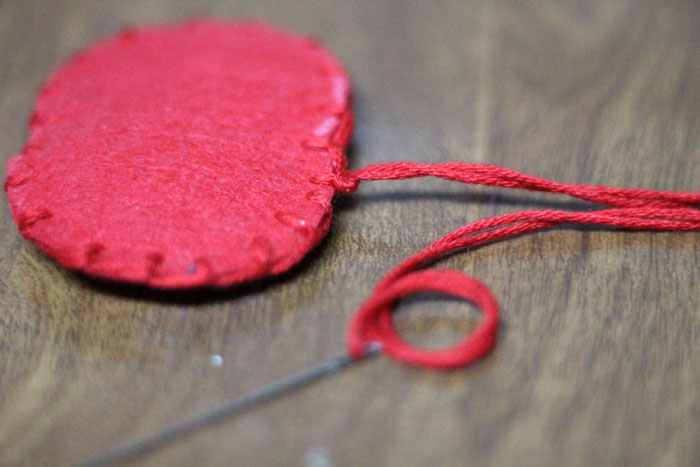
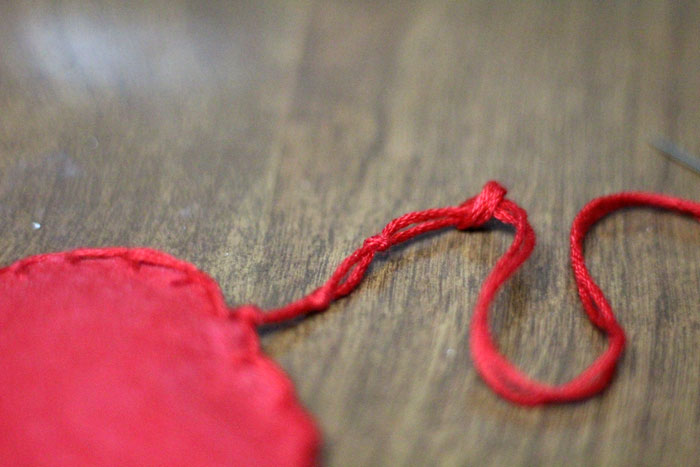
9. Create a few knots with about 1cm between them along the remaining thread. Do this until you are satisfied with the length that the apple will hang.
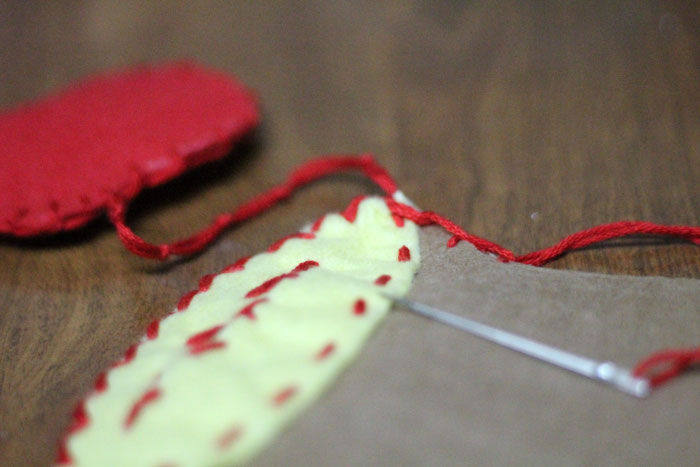
10. Start stitching the bottom of your yellow “honey” onto the front of the pot as pictured. I did a running stitch for that bottom part.
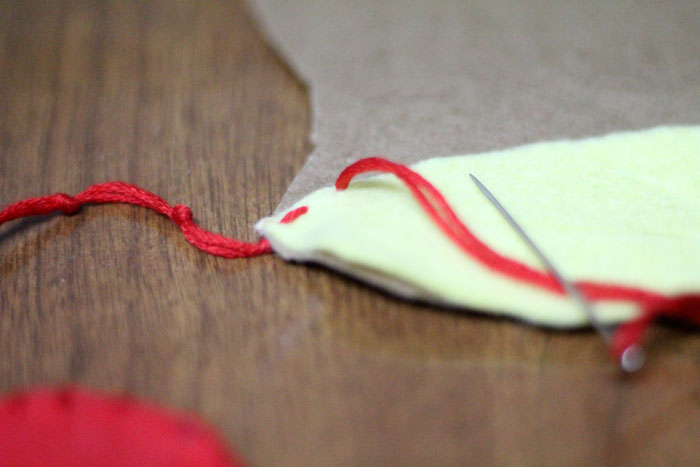
This is what the back looks like:
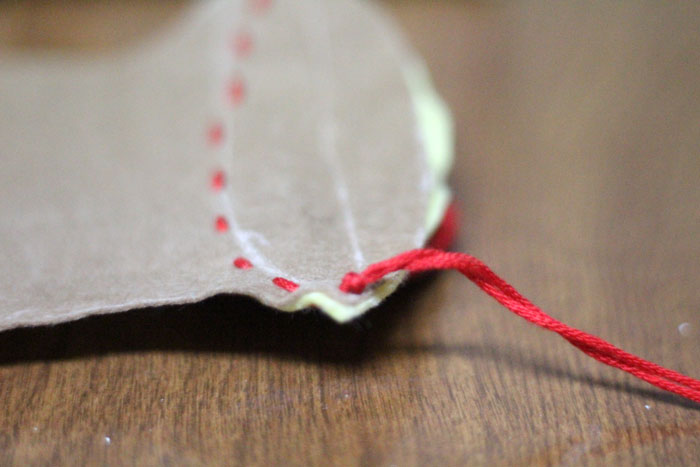
11. Next, stitch around the slit, attaching the front of the pot to the yellow “honey” and sealing it off.
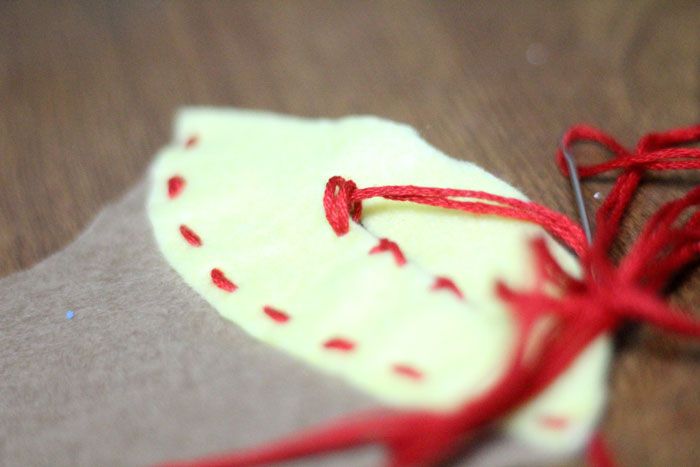
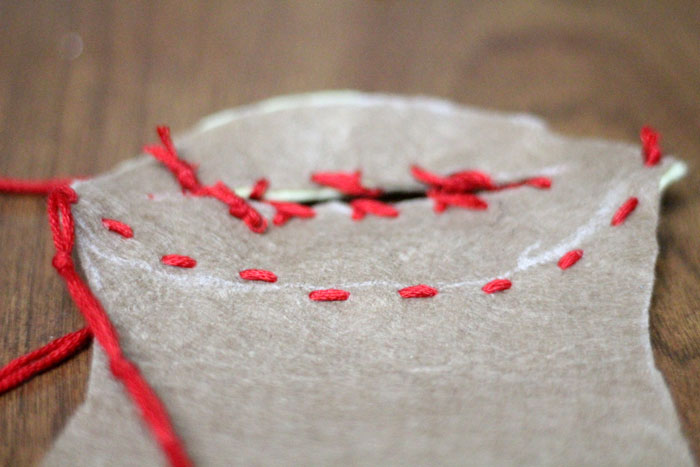
12. Start stitching the front and back together along the top of the pot.
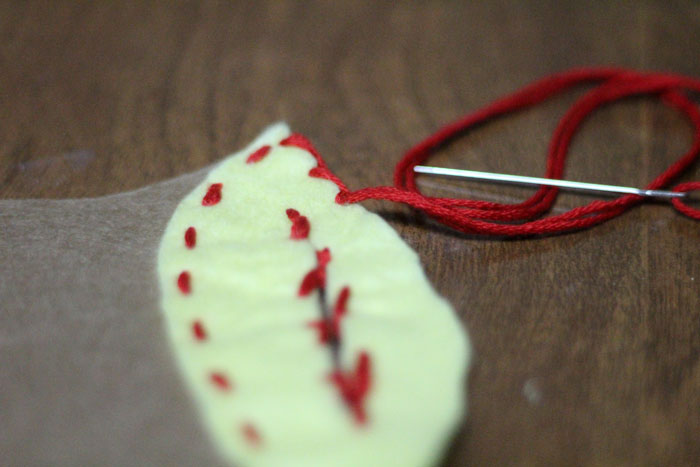
Continue around the whole edge.
This is what the back looks like:
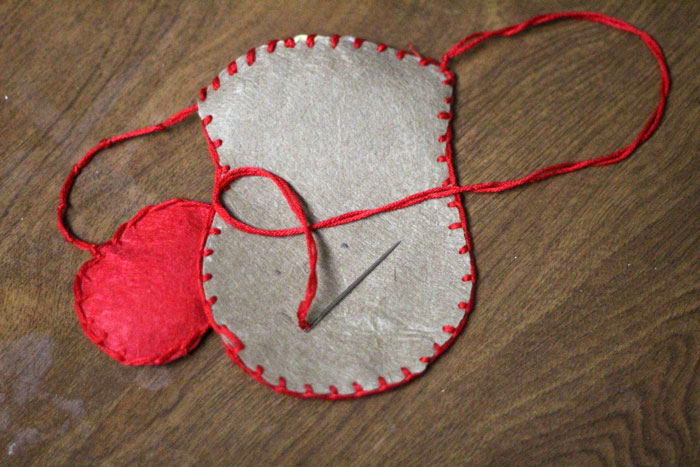
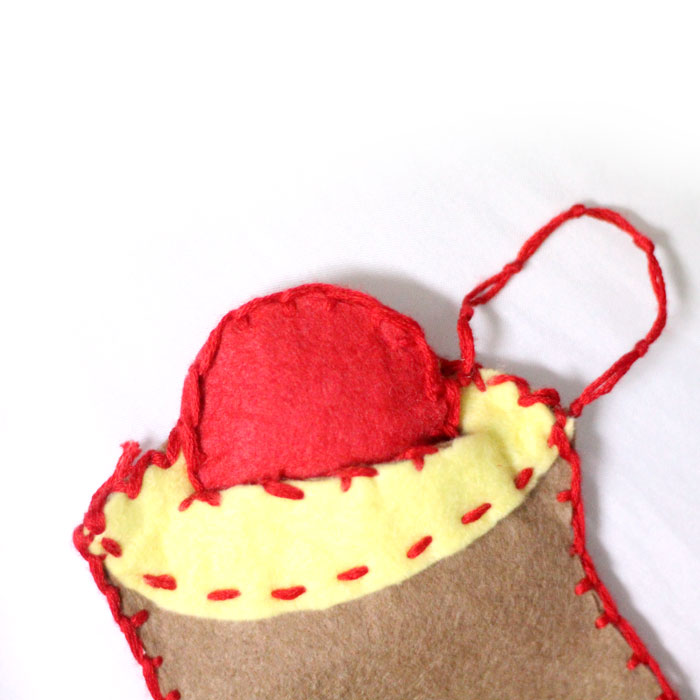
Finish it off and you have a fun Rosh Hashanah toy that allows your toddler to dip the apple in the honey!
What a great way to involve children in the holidays hands-on!!
[show_boutique_widget id=”1081466″]
This post was originally published on Moms & Crafters.

One Comment