Shrinky Dink Flowers
Craft these fun shrinky dink flowers for Shavuot – or any time you want! When you’re done, check out this fun flower crown craft. This post contains affiliate links.
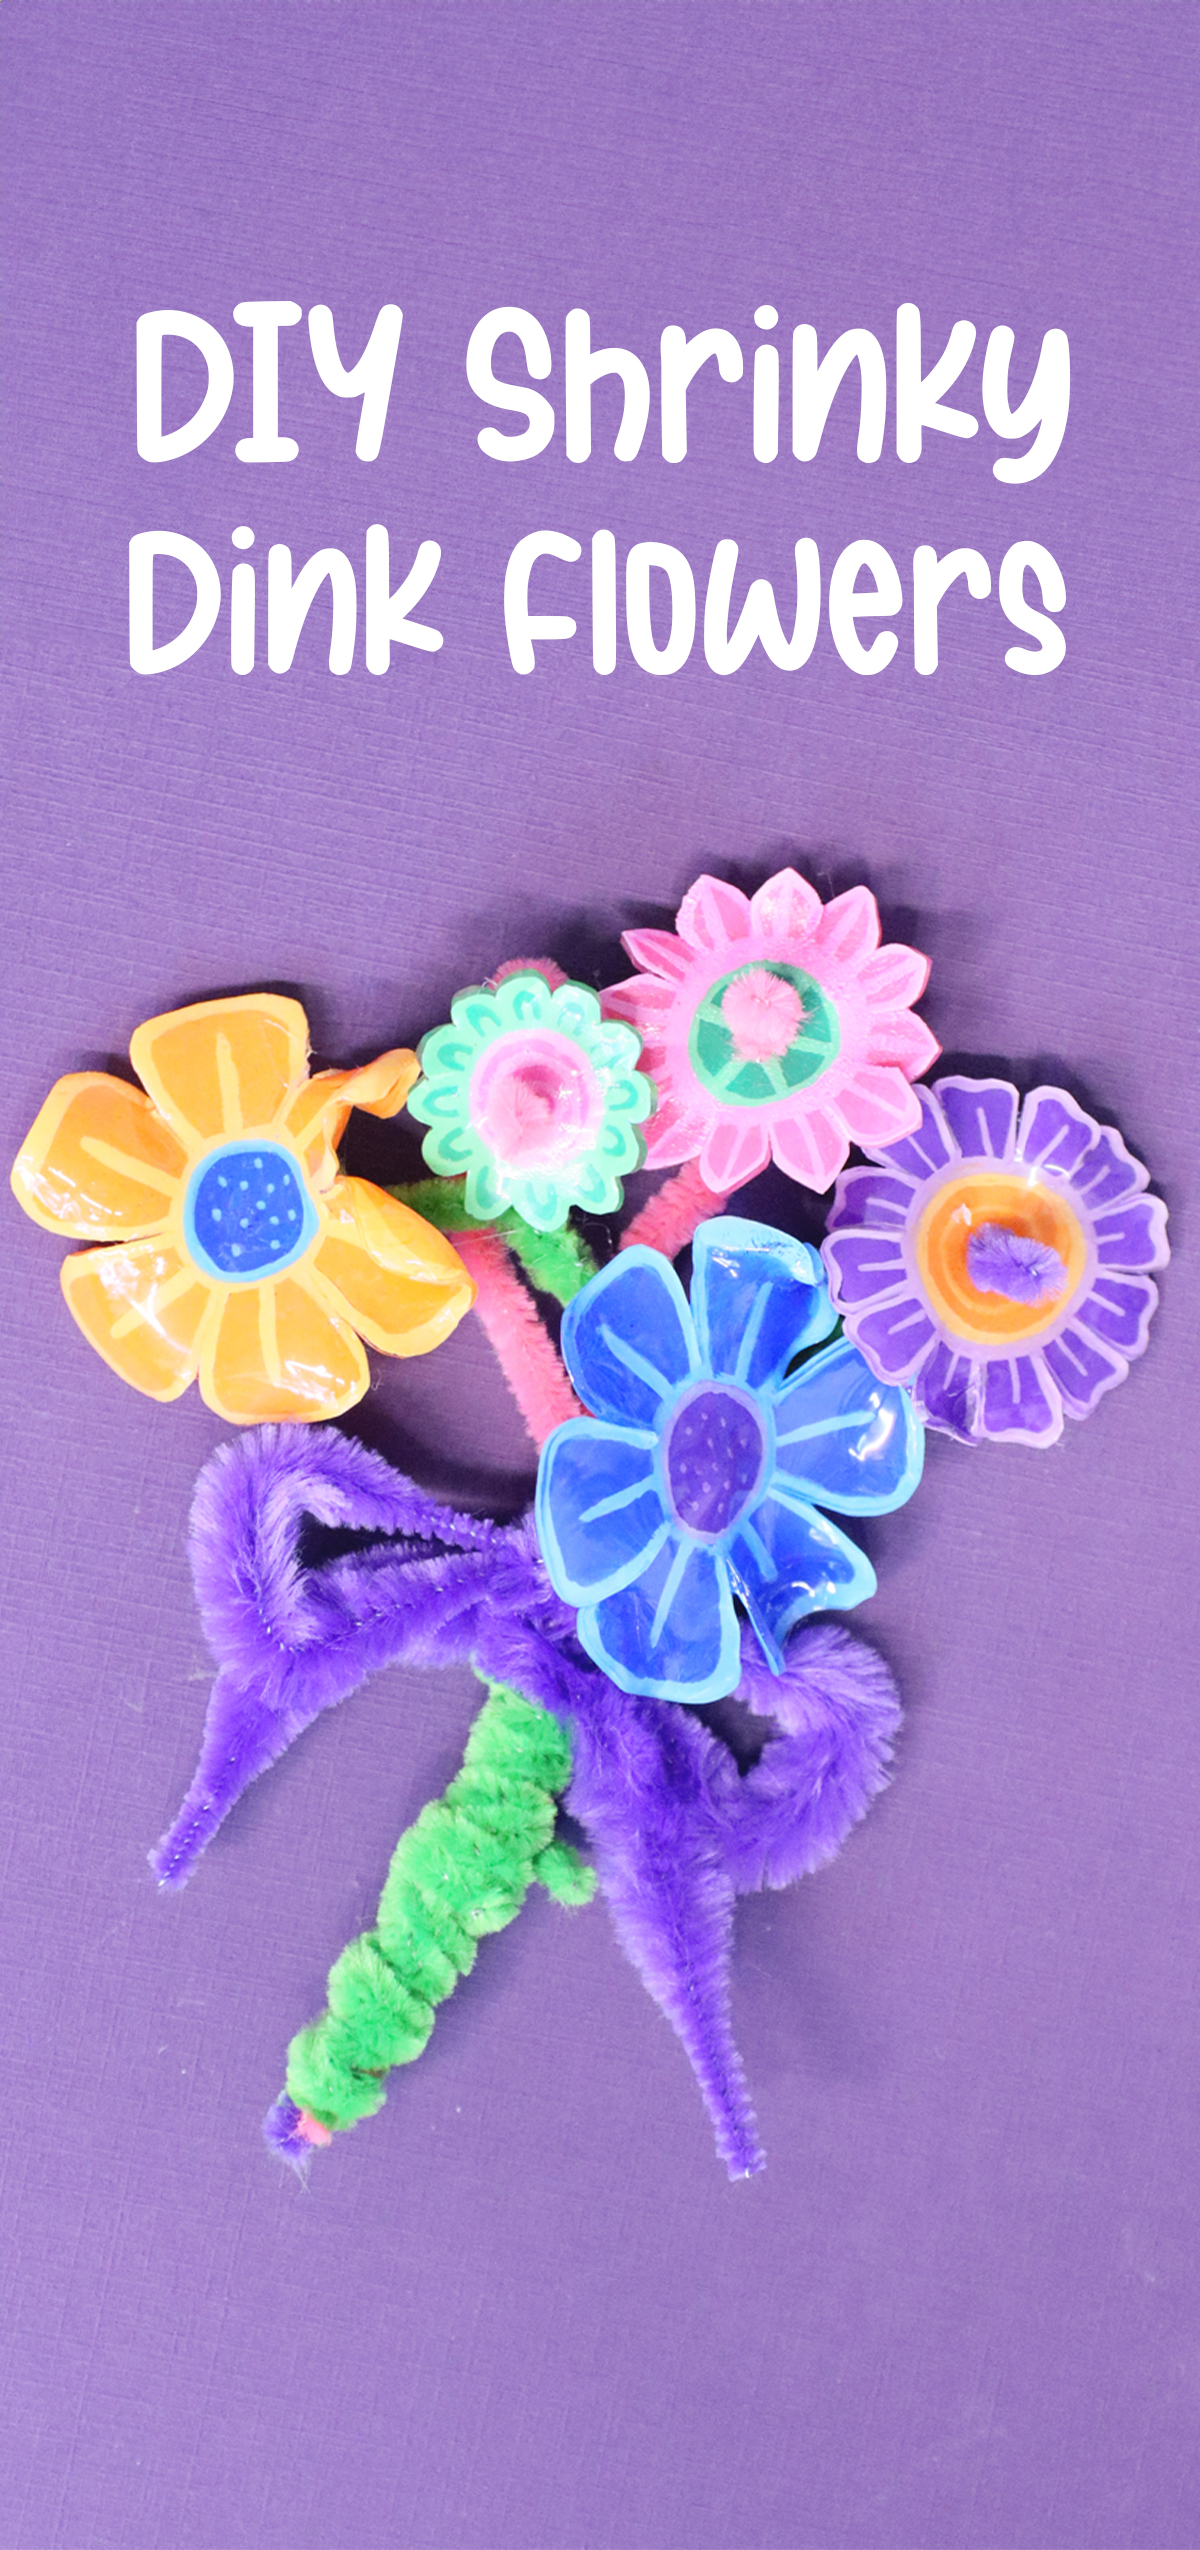
With Shavuot around the bend, and Spring here in full force, we are filling our house with flowers! I wanted to use shrinky dinks – yes, that nostalgic childhood craft – to bring this home (literally).
Today, I’m going to be sharing with you some fun, colorful Shrinky Dink flowers, ideas for what to craft with them, templates, and alternate ideas.
These are NOT the realistic-looking single petal flowers, so I apologize in advance, if that’s what you’re after, this isn’t the right post for you. But if you’re just looking for a fun, playful craft that virtually anyone can do, I have your back!
Tips for Crafting Shrinky Dink Flowers
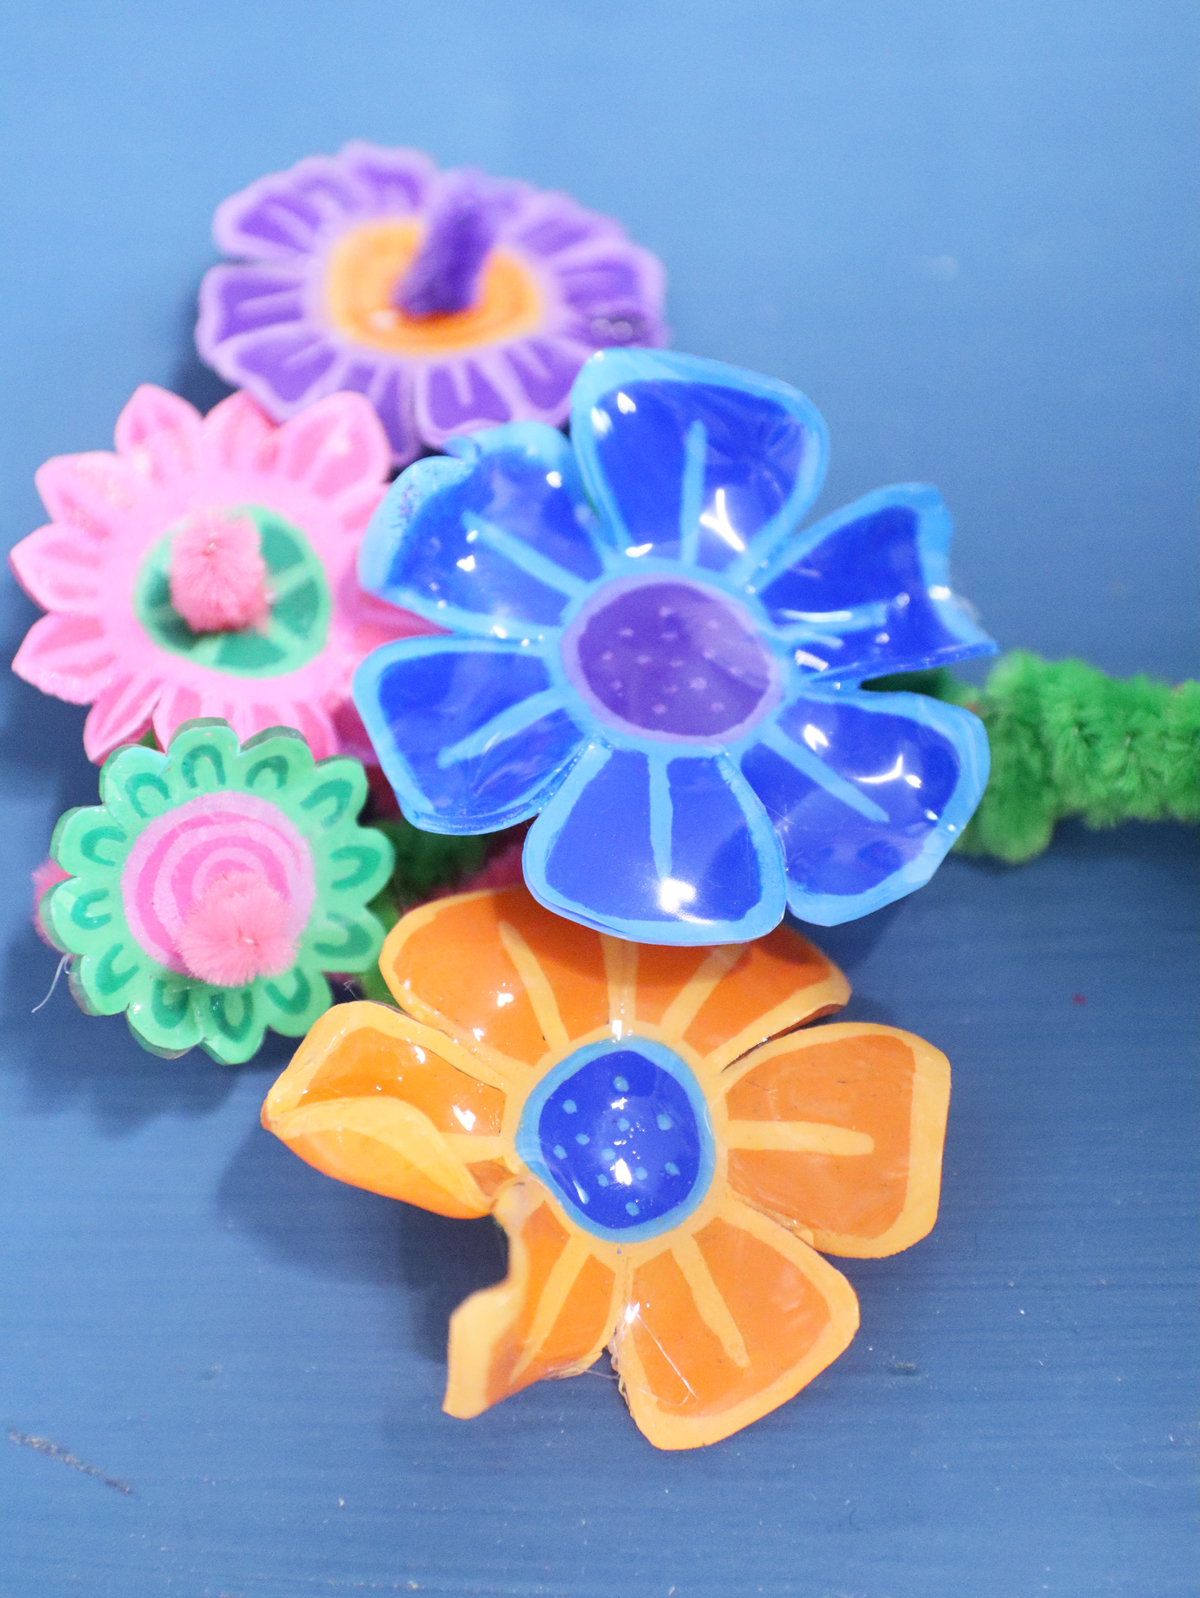
The process for making these is quite simple: trace a template, cut it out, and shrink it. I decided to stop the shrinking short to allow the petals to curl a bit. While you can shrink it in a toaster oven, I find that I have more control with a heat gun (or a blow dryer will do).
This is one of those crafts that are hard to get wrong, but there’s definitely a lot you can do to make it come out much better! Here are my best tips.
Which markers are best for Shrinky Dinks?
To make these Shrinky Dink flowers, I used Posca’s acrylic paint markers. When it comes to paint markers, quality does matter, and nothing I’ve tried compares to Posca. If you’re on a budget, this pack from Ohuhu is a strong choice.
Acrylic paint markers give you that rich, opaque color. They shrink nicely with one caveat: if you lay it on too thick (for example, if you allow it to pool) they’ll crackle. Otherwise, they’re my top choice. If I make a mistake, I can wait for it to dry and carefully color over it.
You CAN also use permanent markers such as Sharpies for this. The biggest difference is that you’ll have more of a translucent finish. It can be hard to see what you’re coloring as you do it, but the colors get much stronger when you shrink it. It works best if you outline it in black after, so if you’re doing this with a group, make sure to get a few extra blacks.
Sealing your shrinky dinks
One advantage of using Sharpies on Shrinky Dinks is that it absorbs much better into the plastic. However, both Sharpies and especially paint markers can scratch off.
This doesn’t matter if you’re making your shrinky dink flowers as a quick, just-for-fun craft, however, if you’d like it to last, I recommend sealing it. Leaving shrinky dink flowers partially curled will make sealing it a bit more of a challenge, however, it’s still quite doable.
Some ways you can seal it include:
- UV resin – probably the most durable and nicest, but also a bit of a to-do.
- Clear nail polish – the paint marker absorbed a lot of this, but it worked well after a few layers. This is a great solution if you are just making this yourself and want to use available supplies.
- Mod Podge Dimensional Magic – a fabulous solution that gives a resin-like finish without using resin. You do need to allow it to totally dry before using, or it’ll streak. You’ll also want to leave plenty of dry time after applying it.
These were the three that I tested, and all of them work. You’ll find lots more hacks online – just make sure to check the photos too – some say “hey this worked great” and show it all streaky or not so pretty looking.
What to do with your finished flowers
After I decided I was making Shrinky Dink flowers for Shavuot, I went ahead and made them quite small. I used this template (and the free one you’ll see attached) and thought I’d turn it into a bouquet.
If you’re making yours into a bouquet, it’s honestly better to go big, but you’ll need lots of Shrinky Dinks – especially if making this as a group craft. So do what’s best – I ended up making a mini bouquet that looks quite cute in a baby food jar with some pebbles to ground it (I didn’t photograph it – sorry!)
Some more ideas – some of which I should have gone with:
- Make them into pendants by punching a hole on a petal before shrinking.
- Make them into earrings by making a pair of one of the smaller flowers and punching a hole in a petal before shrinking.
- Turn them into hair clips by gluing them onto barrettes or flat pad bobby pins.
- Turn them into keychains by punching a petal before shrinking and adding a keychain.
- String a few of them and hang them from a dowel to make a wall hanging.
- Turn them into wind chimes by combining them with beads.
- Turn them into napkin rings – one way you can do this is by gluing a ribbon to the back and tying it onto the napkin. I would have done this if not for the fact that I was already making toilet paper roll napkin rings for Shavuot.
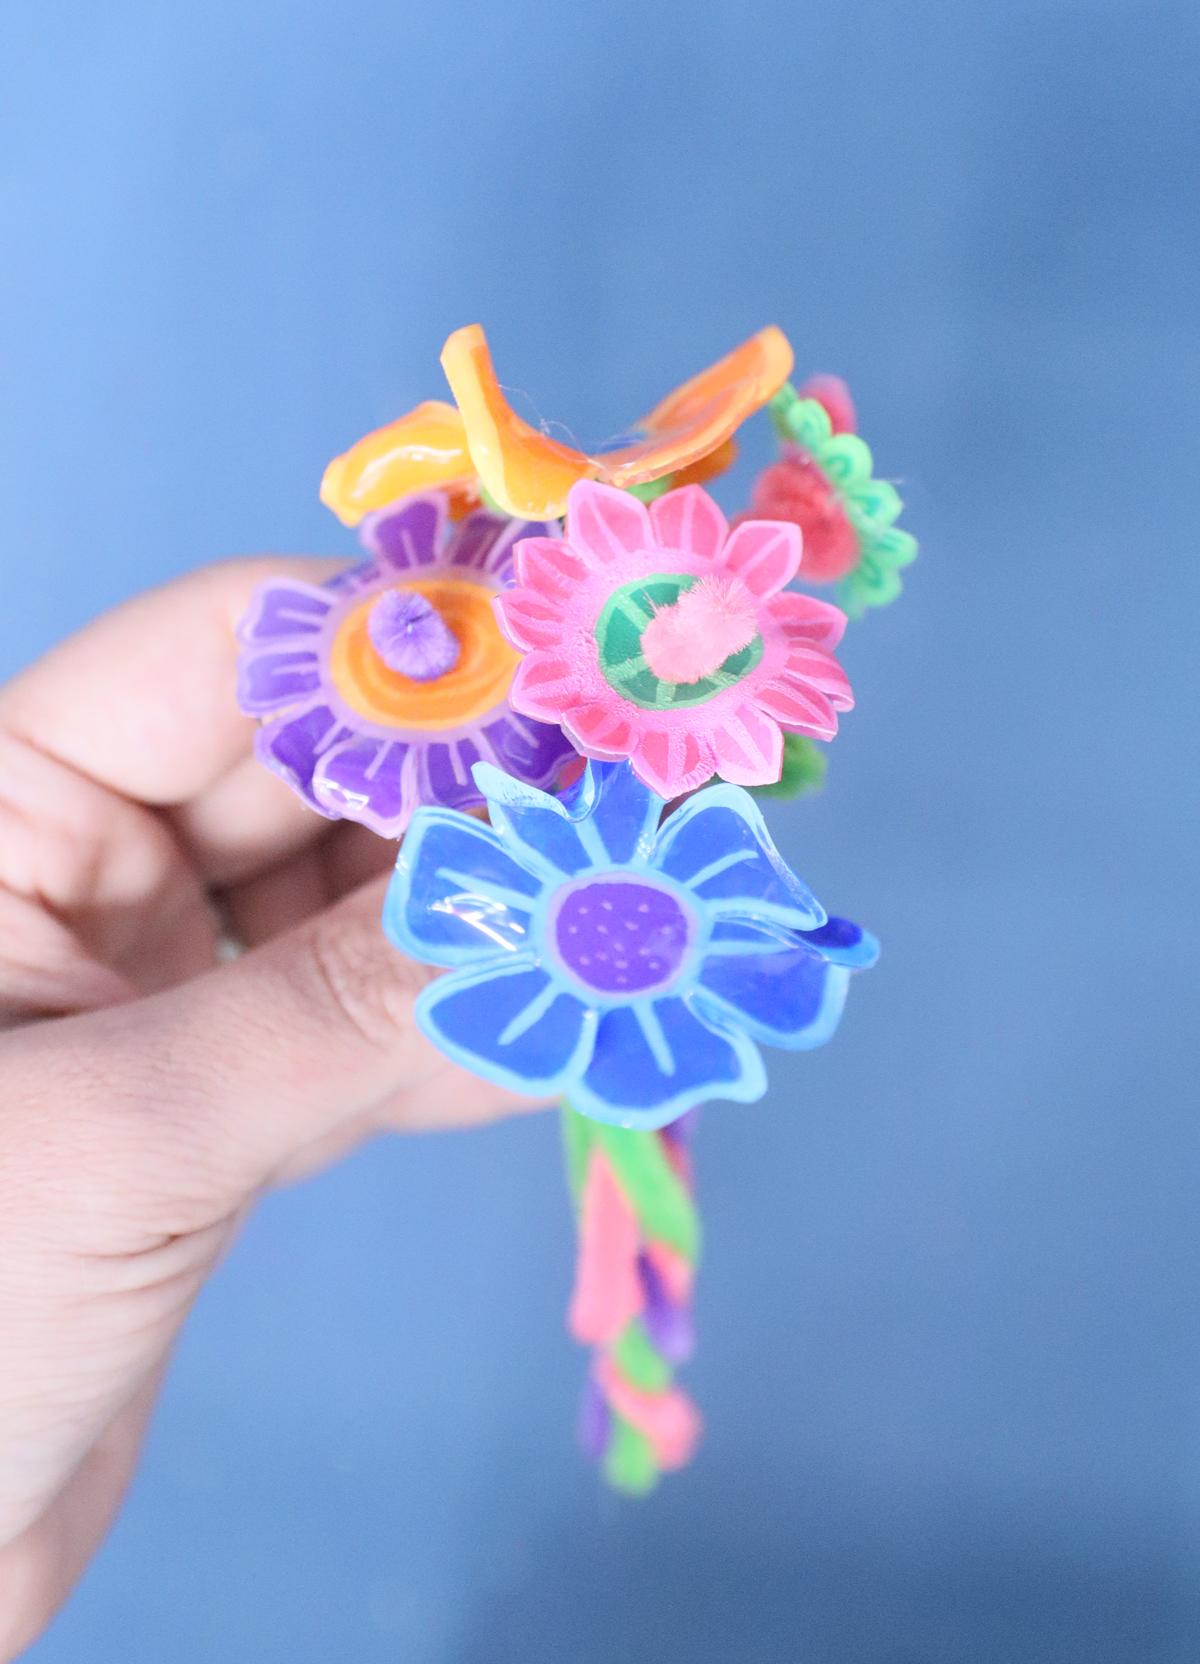
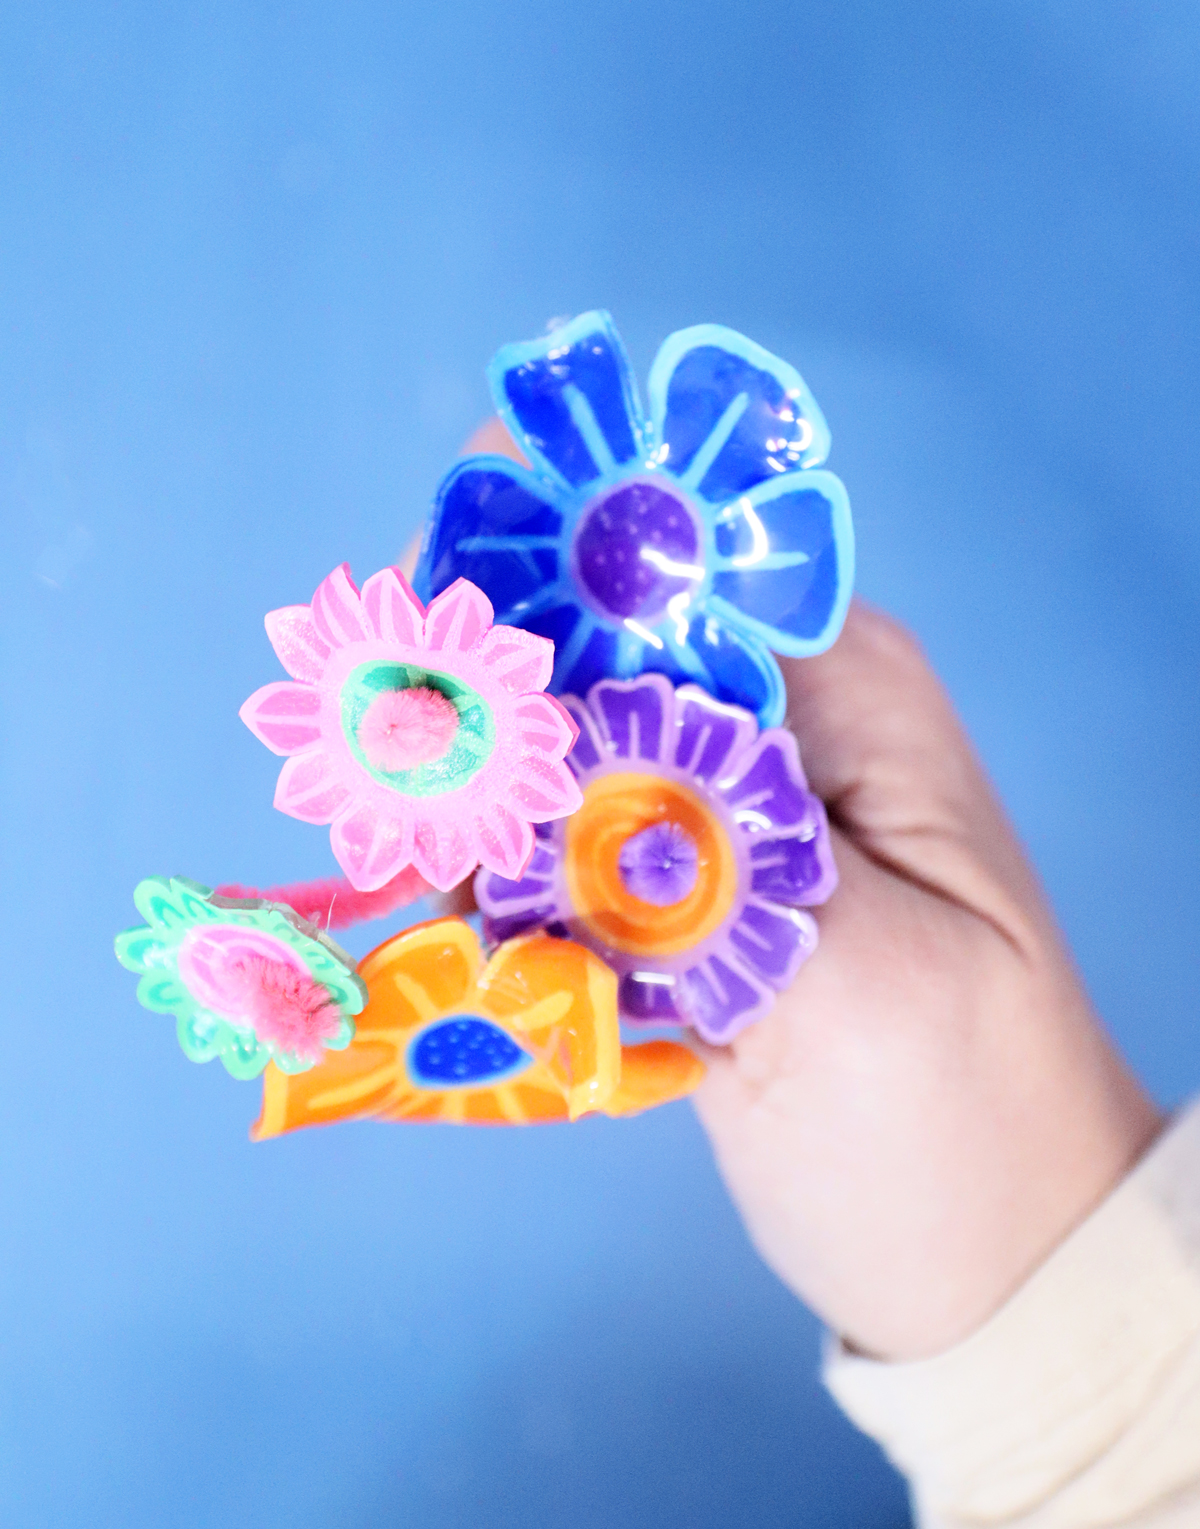
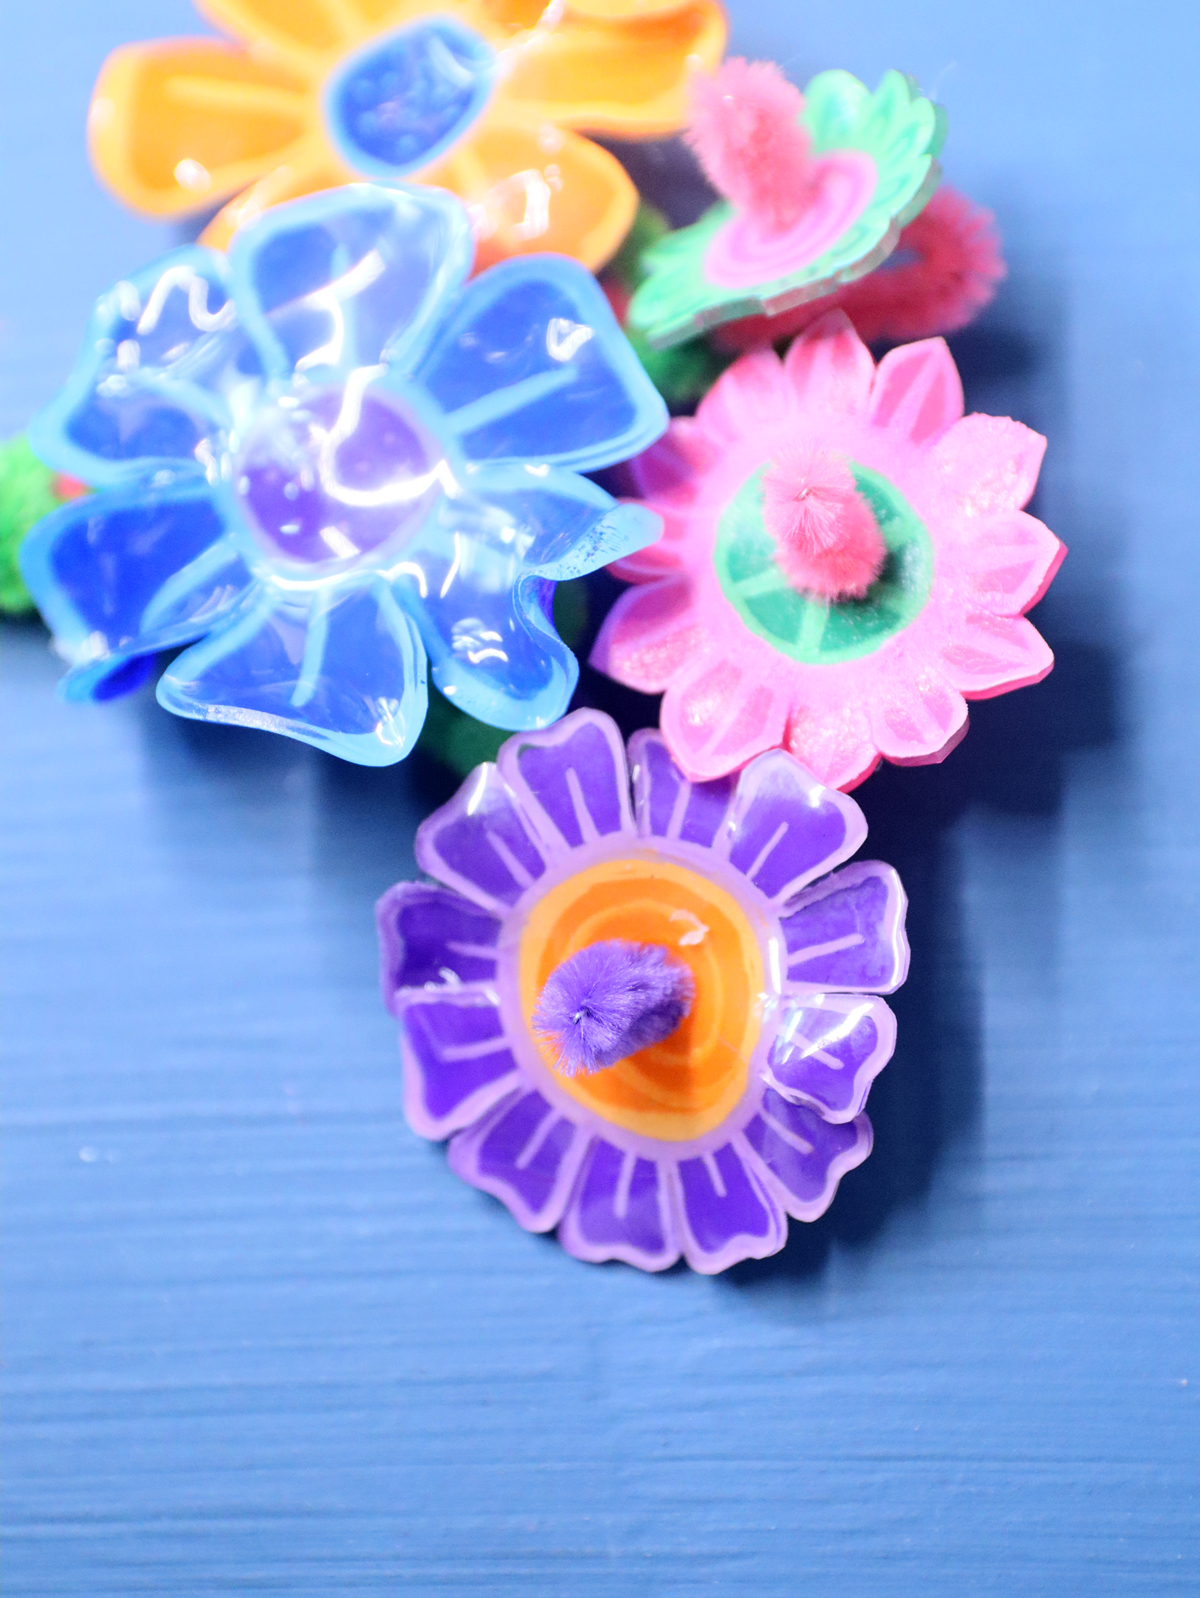
There are really endless things you can do, and even more ways to turn it into a bouquet. I wanted to stick to accessible materials and techniques, so I turned it into this mini bouquet using chenille stems.
Some I managed to punch a hole in the center of, some not, so I finished it off accordingly.
How to craft Shrinky Dink flowers
Watch the Video
Watch the full-length video on YouTube if you prefer to learn that way! Or scroll down for written instructions with photos.
Supplies Needed
- Shrinky Dink sheets
- Paper tape
- The template at the end of this post, printed on paper
- Posca or other good quality marker (see notes above)
- Scissors
- Heat gun, hair dryer, or toaster oven
- Something to peg it down with (I used a paper piercing tool)
- Hole punch (I used the 1/16th inch Crop-a-Dile Power Punch)
- Chenille Stems
- Hot glue gun
- UV resin, silicone brush, and UV lamp OR Dimensional Magic (see notes above) for sealing your shrinky dink flowers
Process
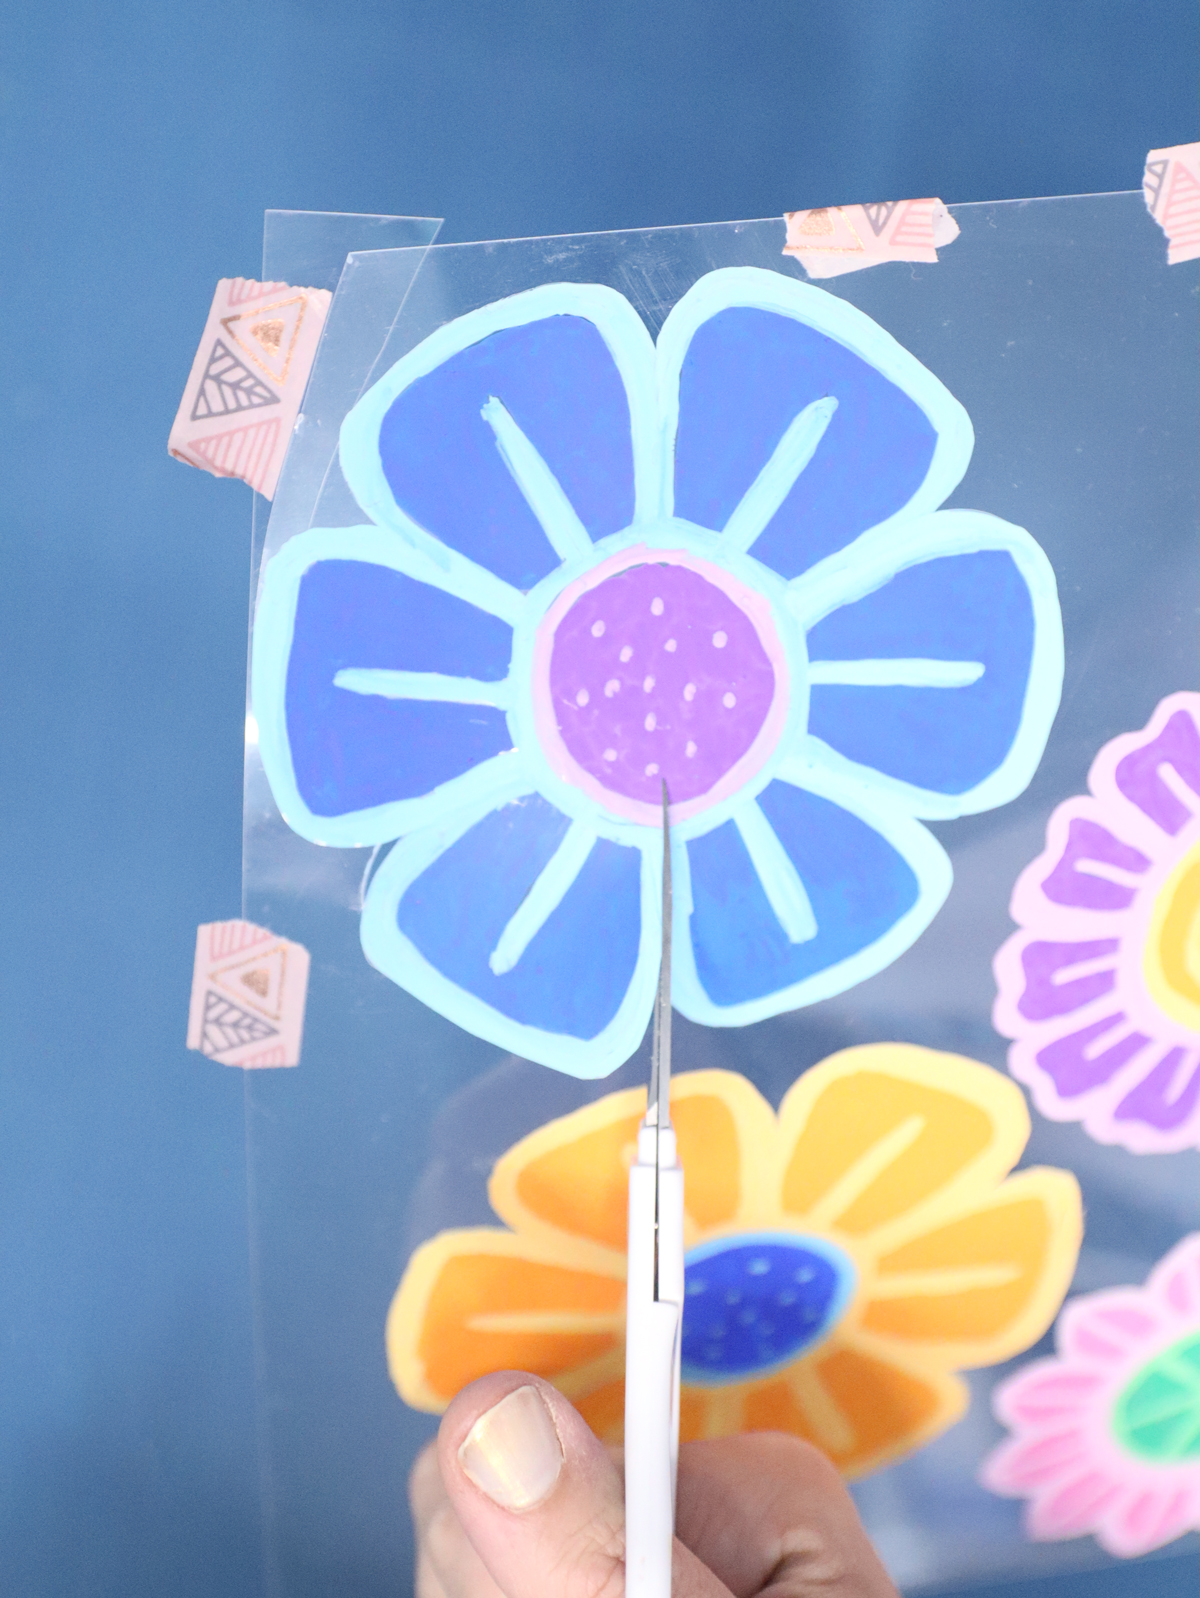
1. Tape your shrinky dink paper to the template so you don’t accidentally shift it and start coloring your design in. I chose to do a darker color on the inside first.
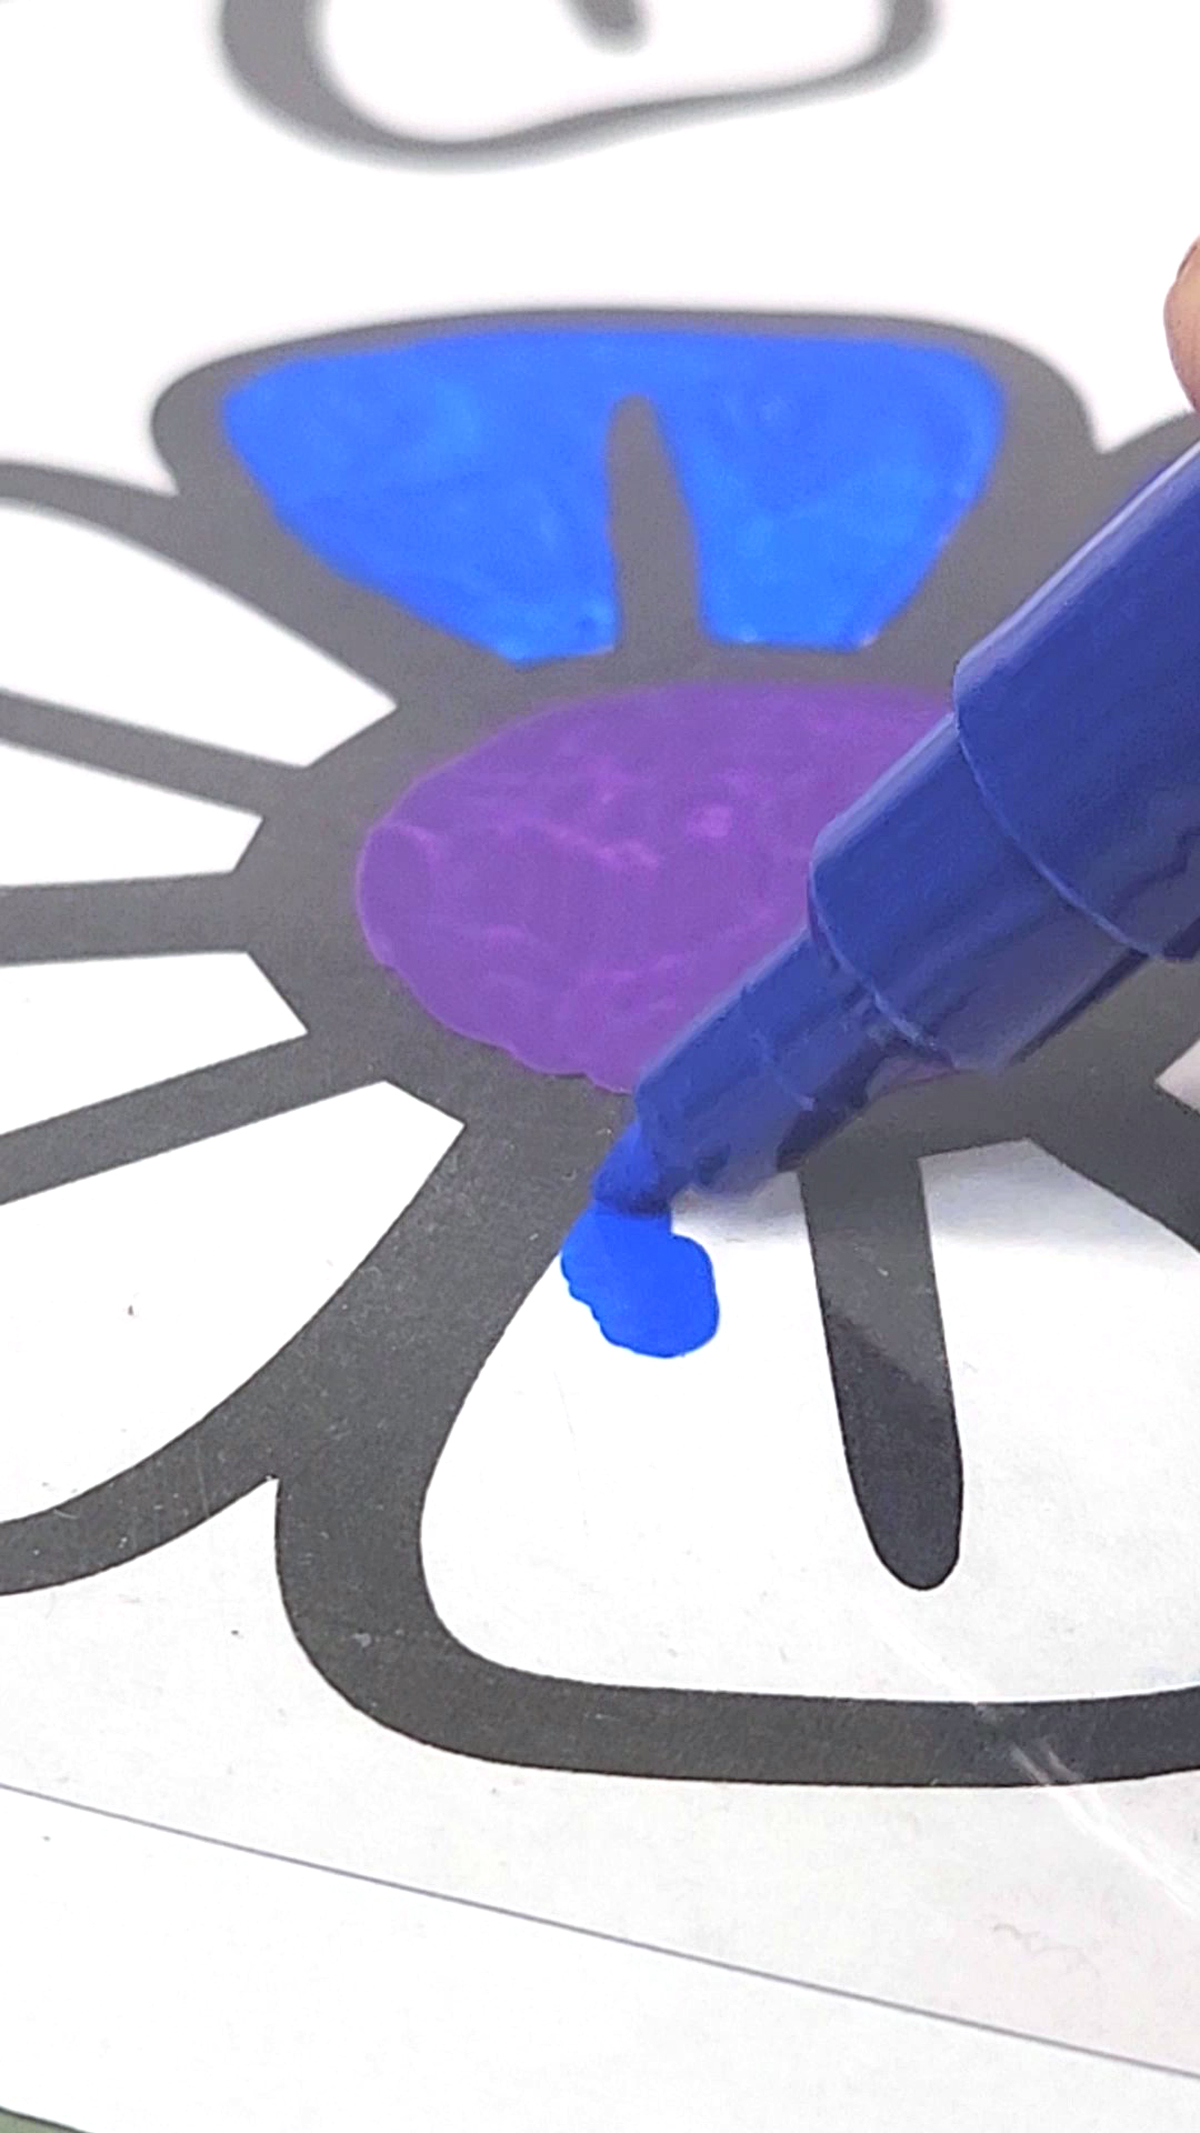
2. And then I filled in the thick outline with a lighter color.
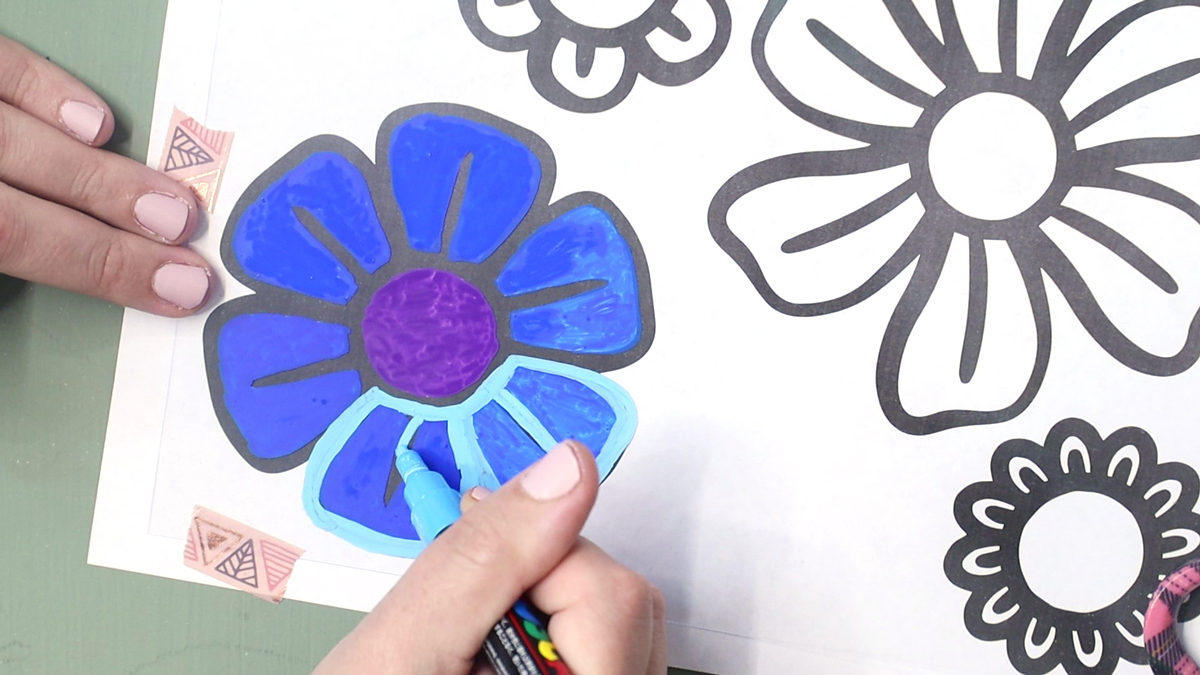
3. Make a few flowers.
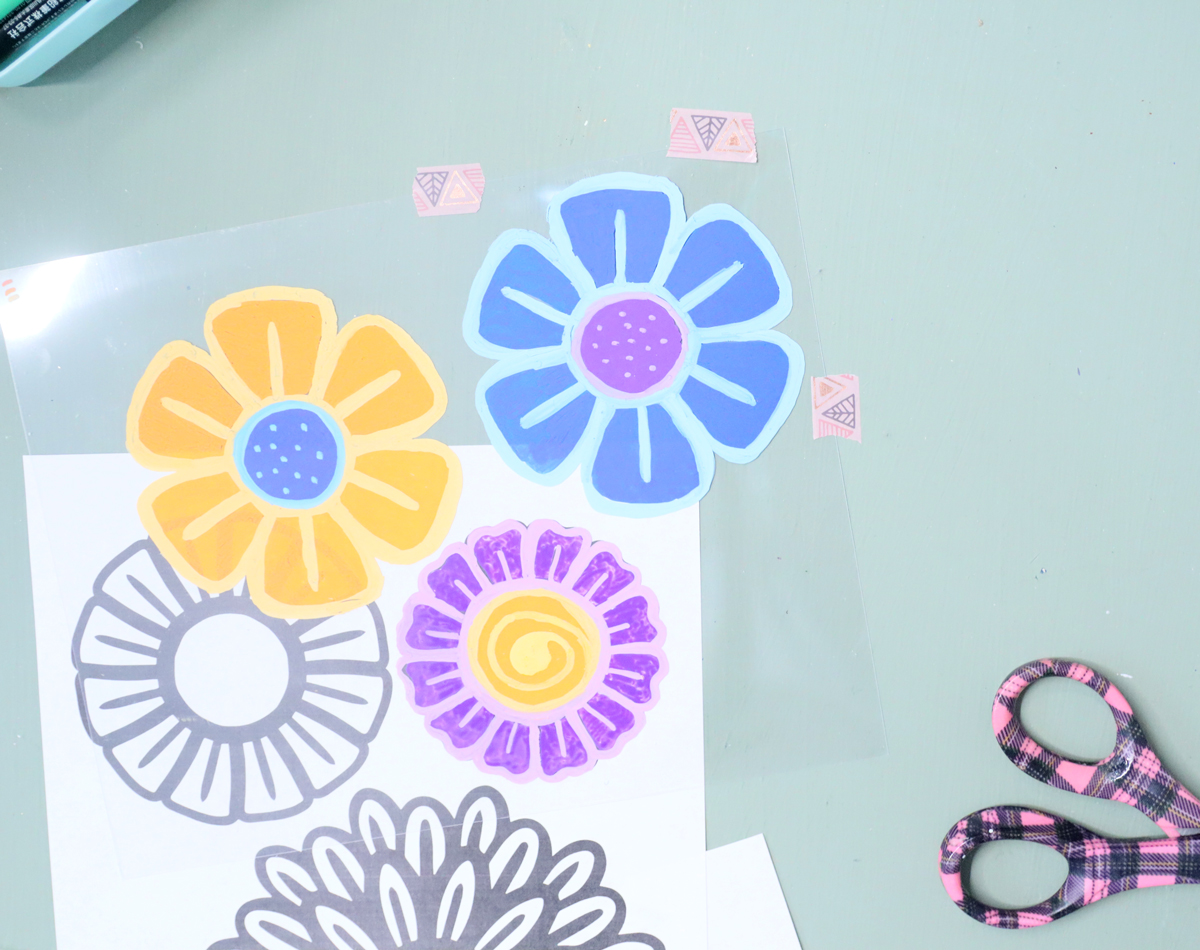
4. Carefully cut out your flowers. I recommend cutting between the petals too so that they shrink and curl, and separate. You can also punch holes as needed at this stage.
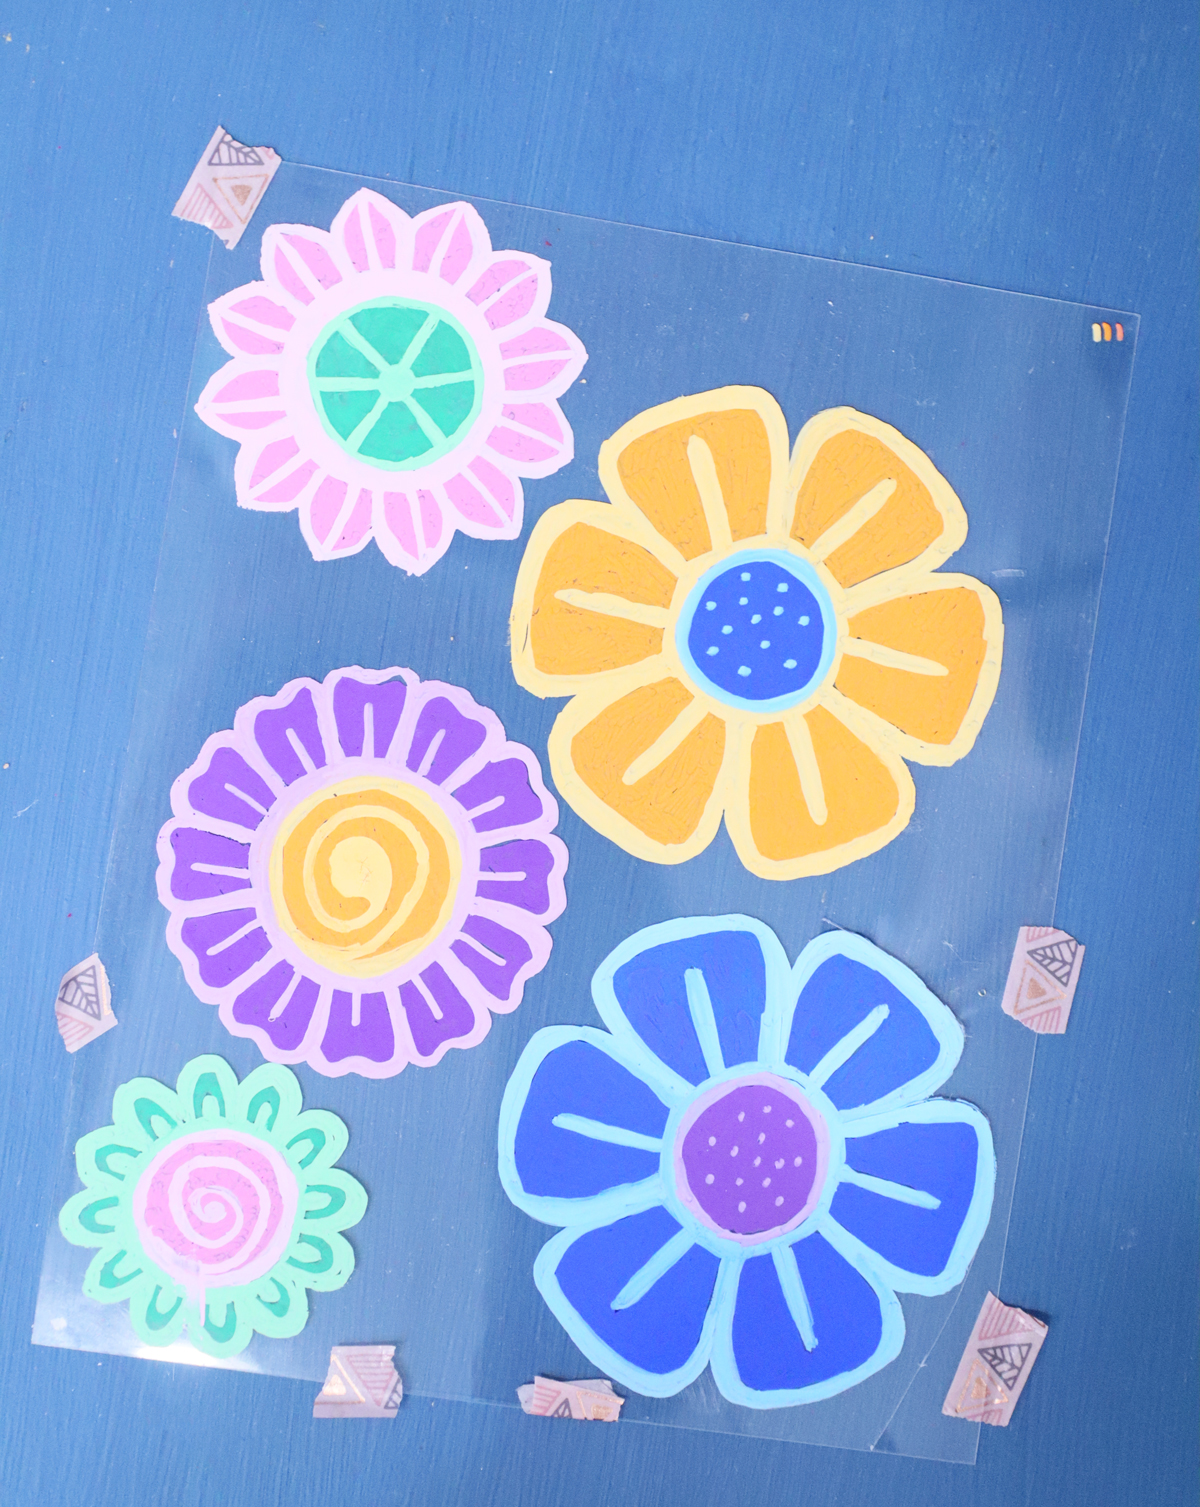
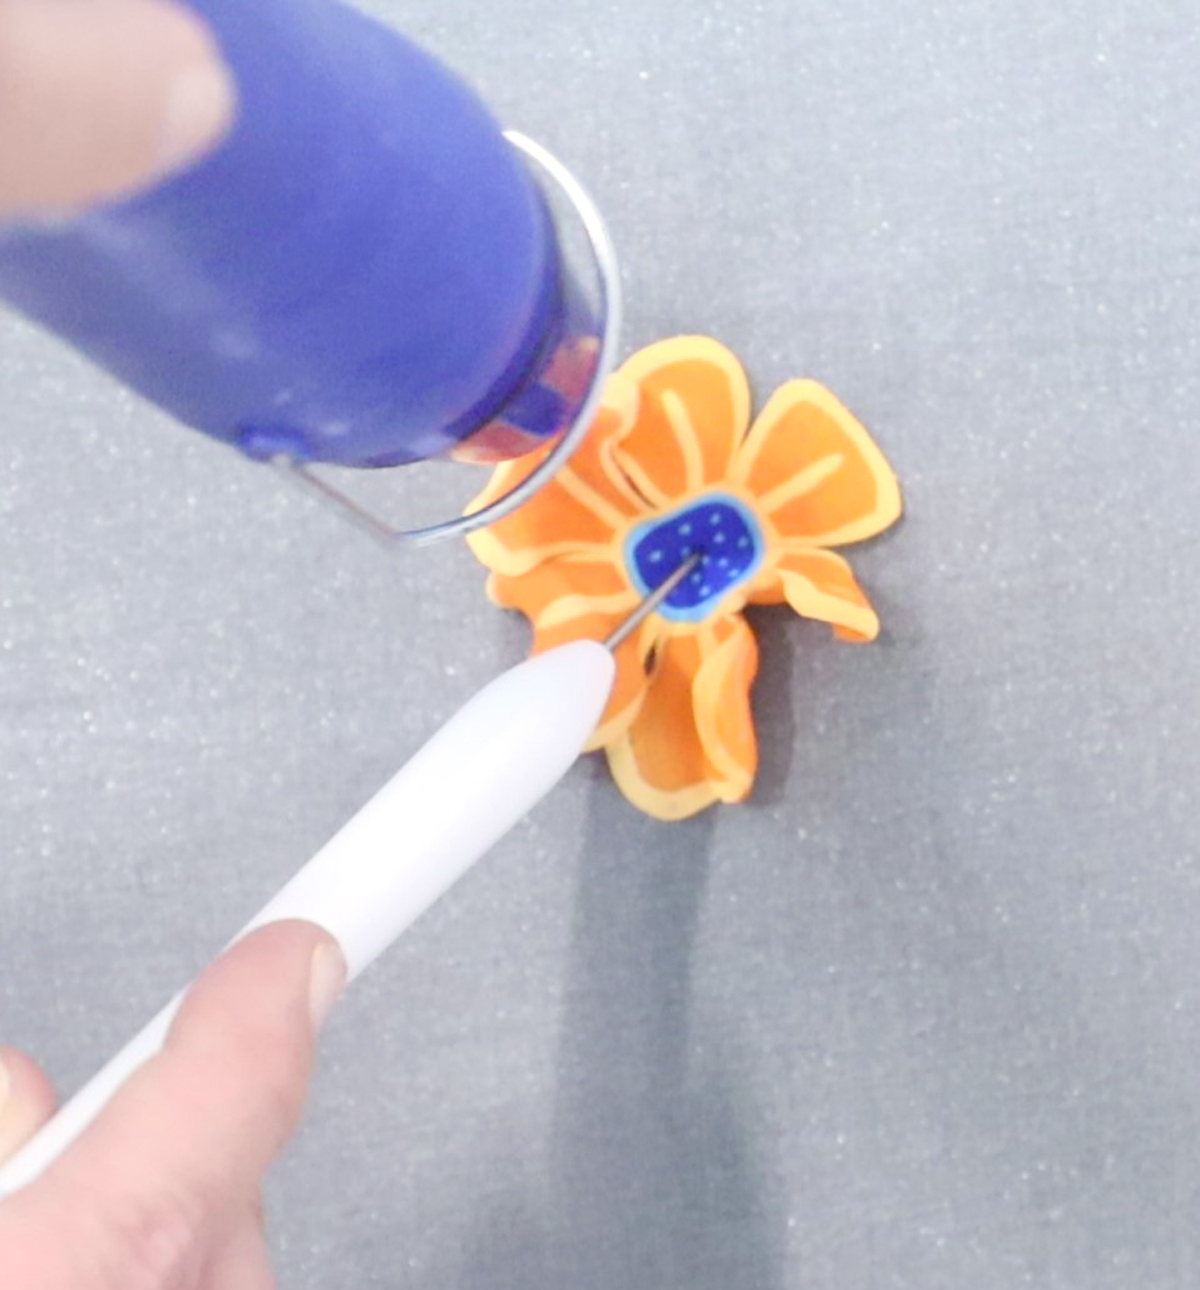
5. Place your flowers on a shrink-resistant surface and use something that can handle a little heat to pin it down. Start shrinking them.
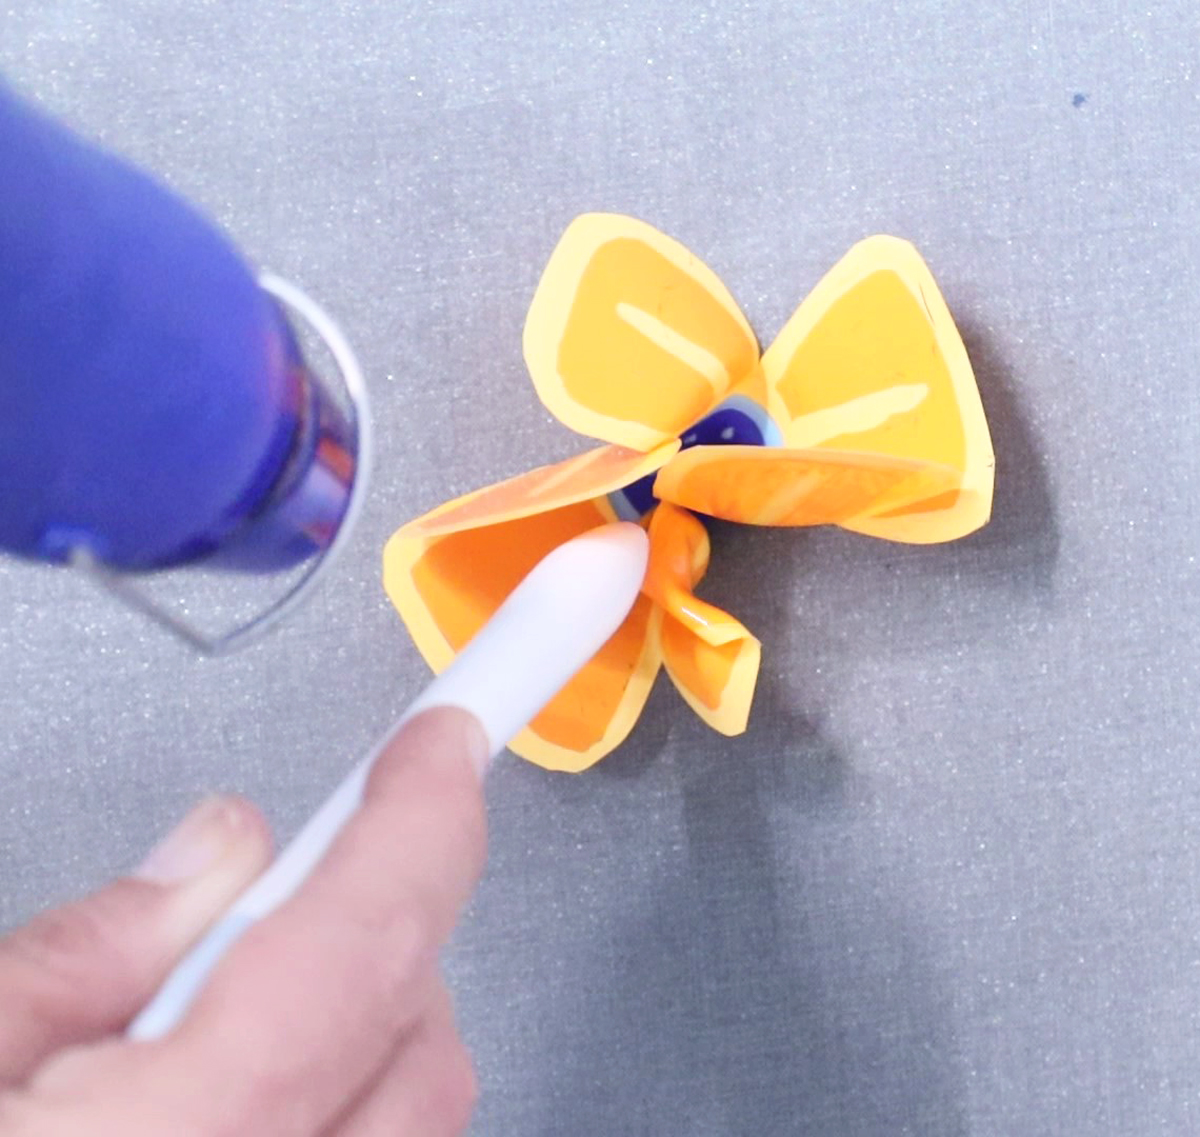
I stopped it before it was fully done while the petals were still a bit curled.
6. Seal your flowers using nail polish, UV resin, or Dimensional Magic.
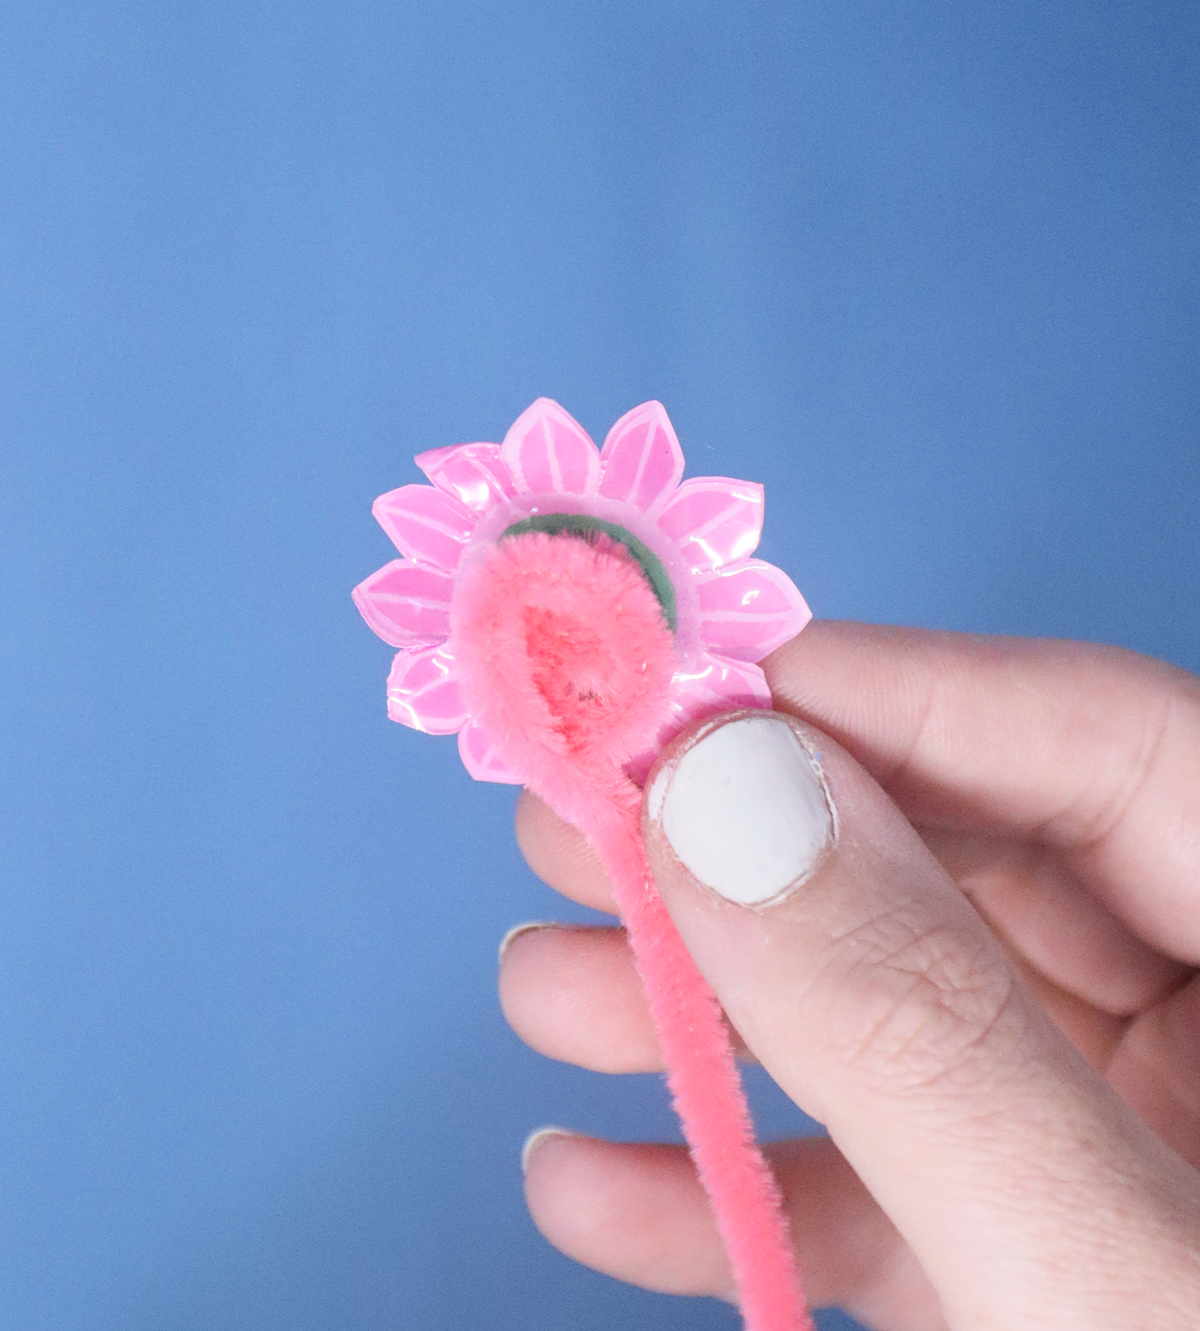
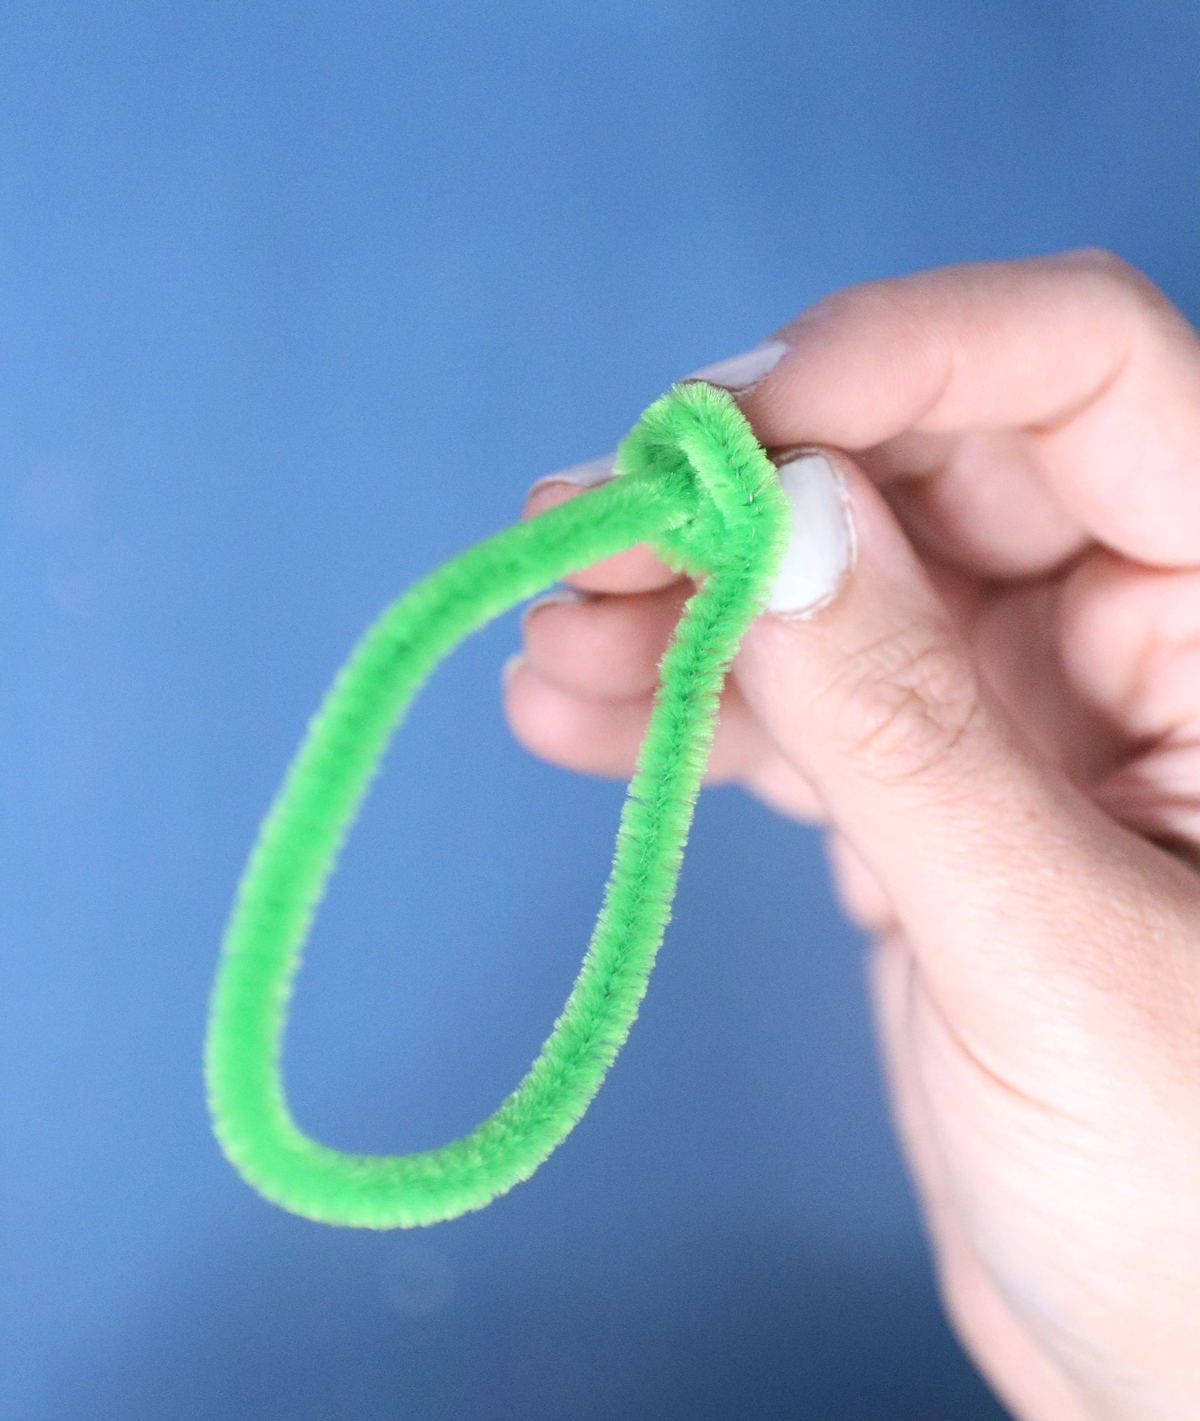
7. To finish them off as flowers, start by twisting the end of a chenille stem and poking it through the hole in the center of a flower.
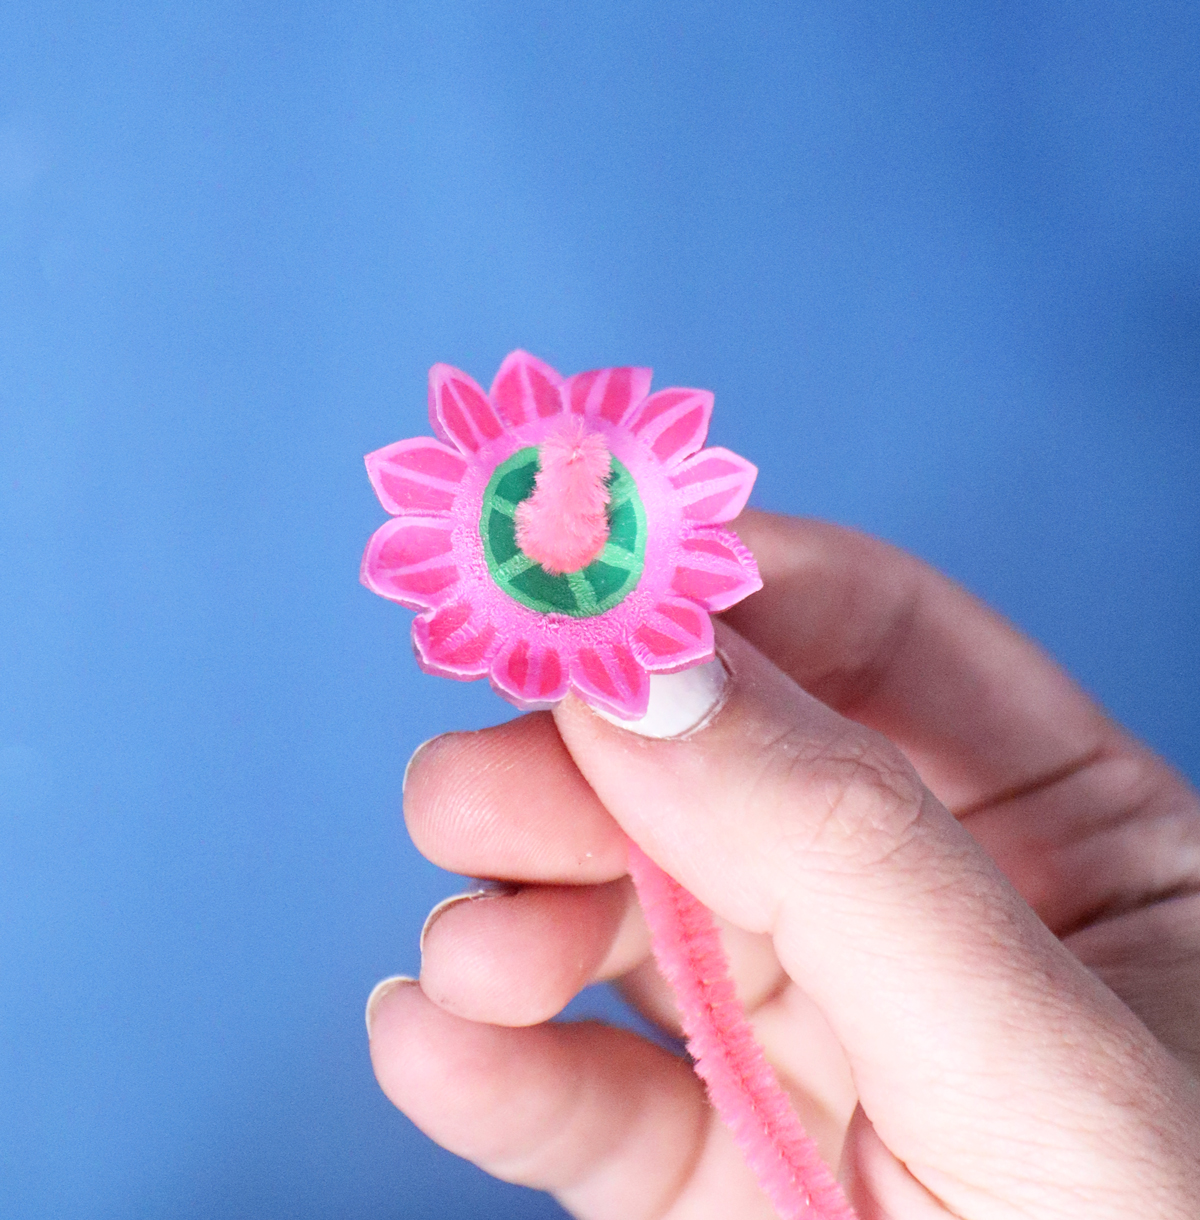
8. On the back, coil up the stem to fix it in place.
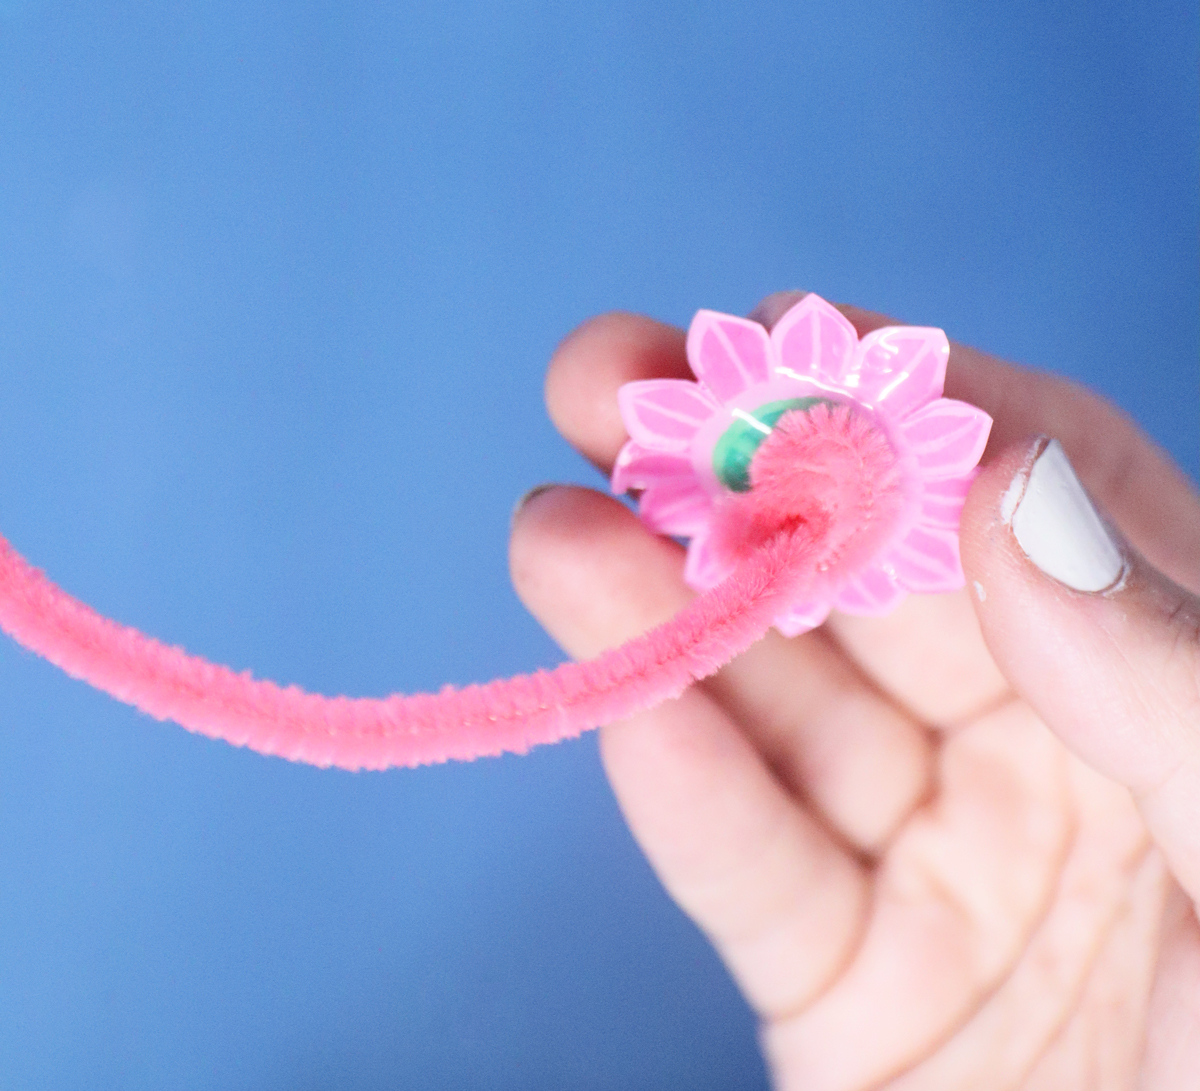
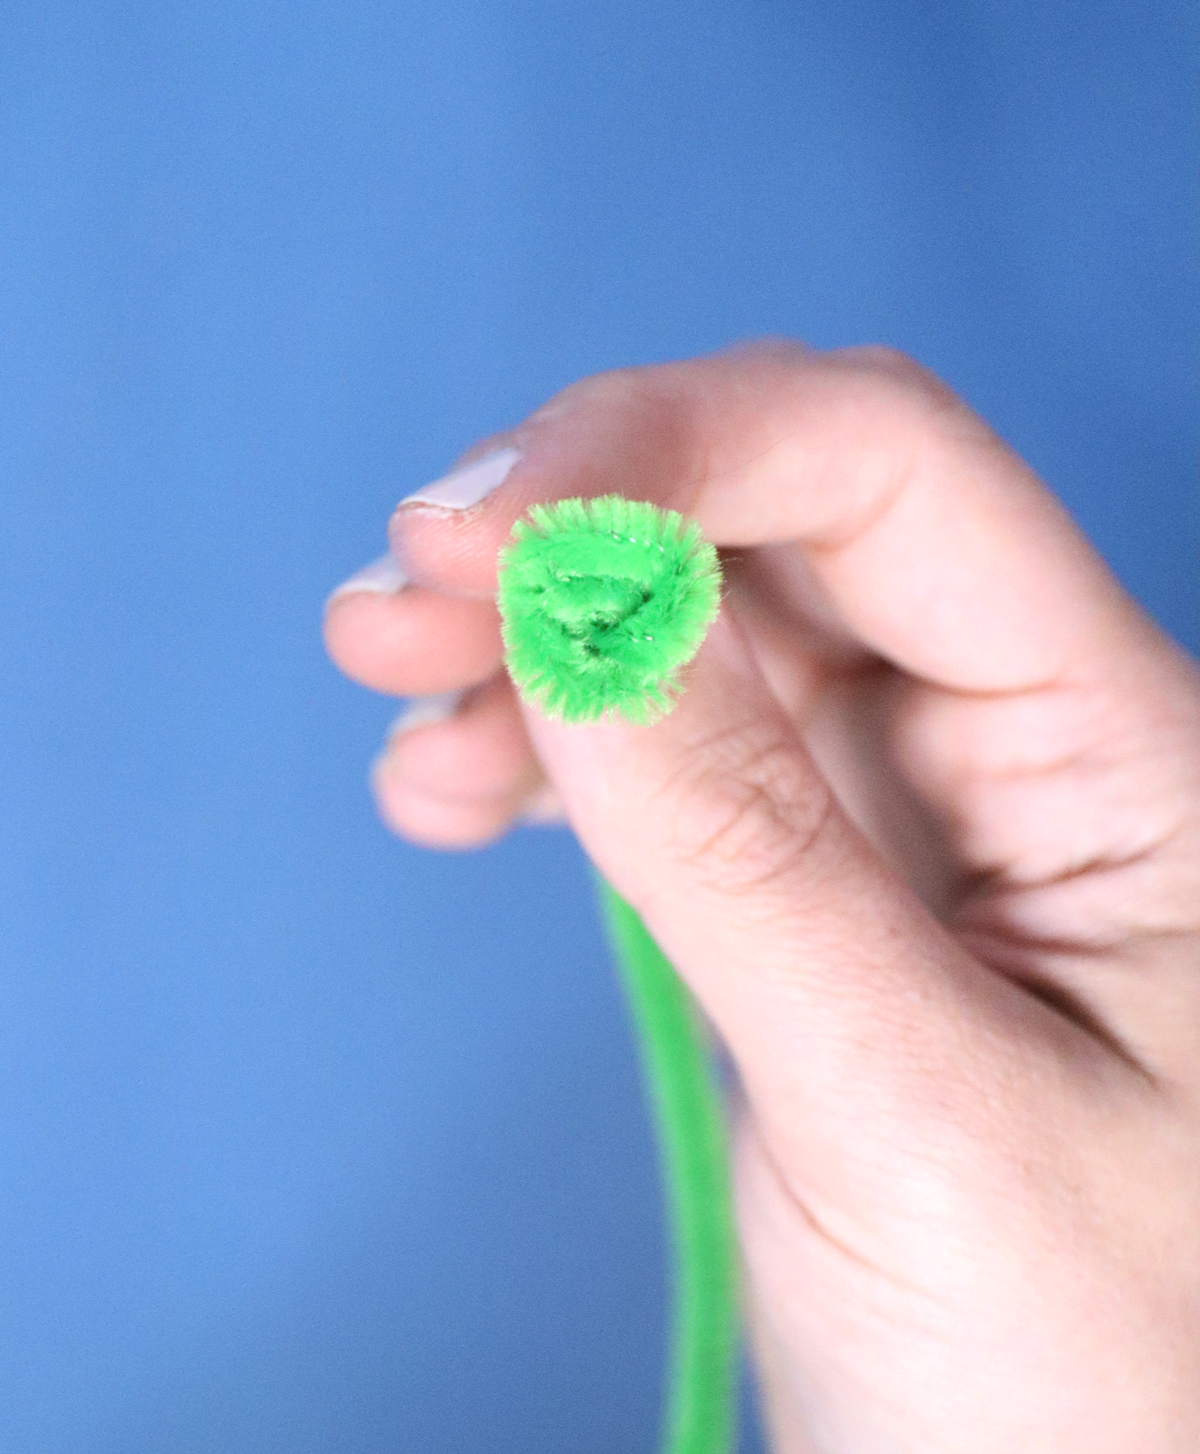
9. Thread the end of the chenille stem around the coil, and through the center of it.
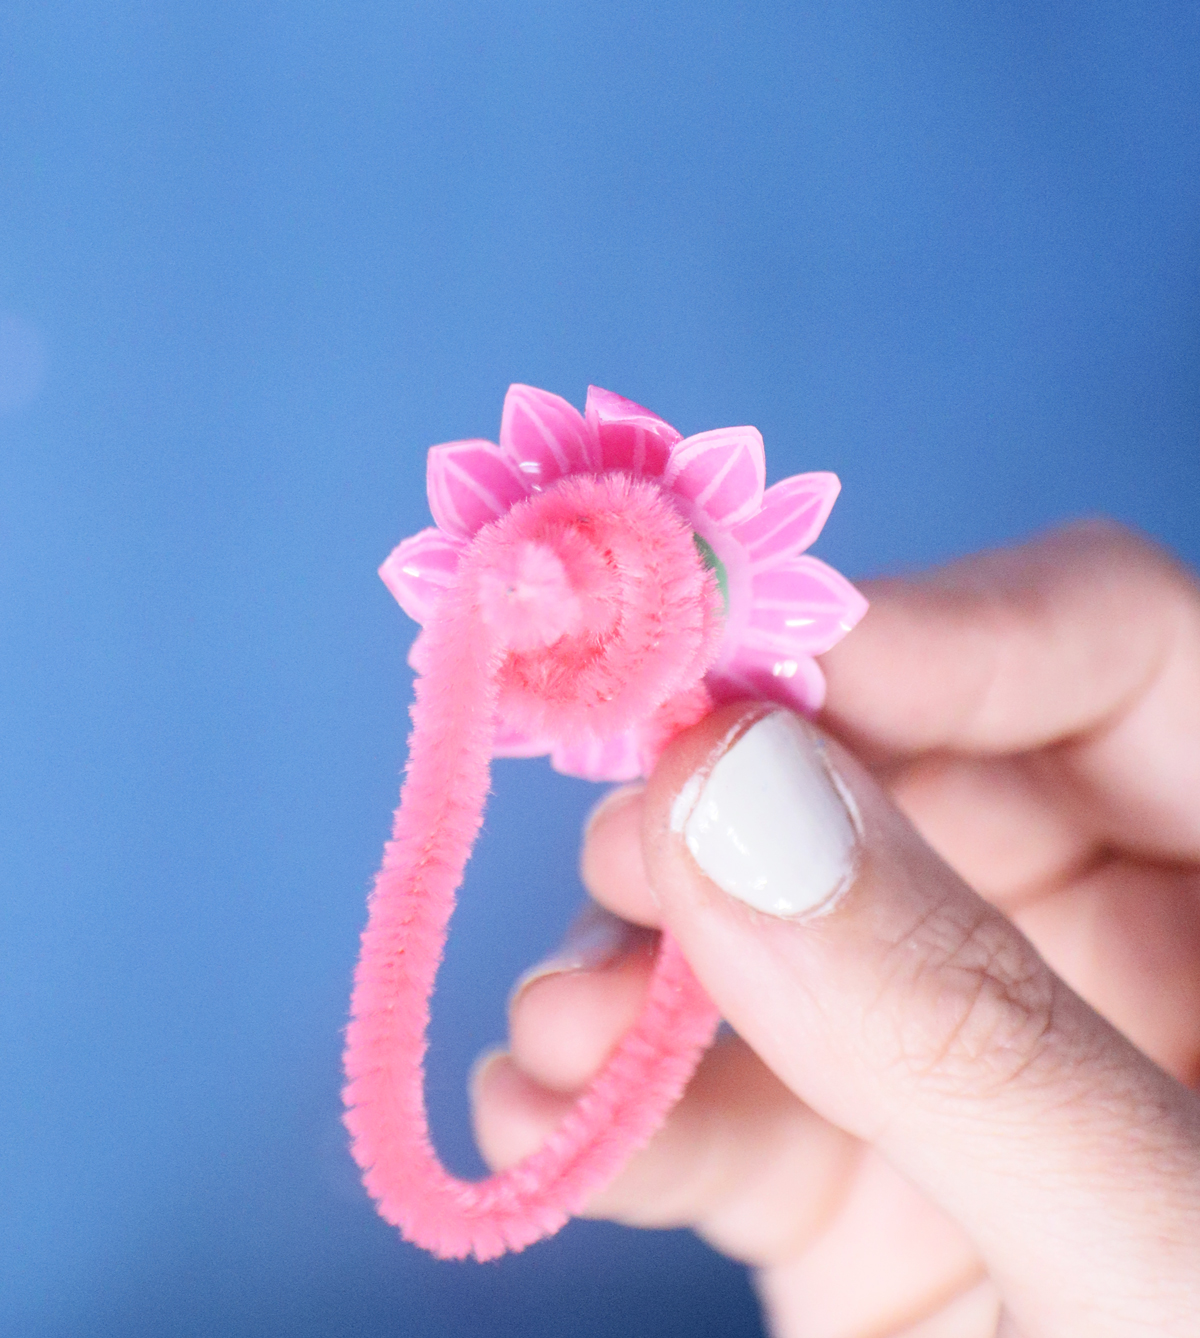
Pull it out. This helps “hold’ the coil.
10. To attach an undrilled flower: coil the end of a chenille stem.
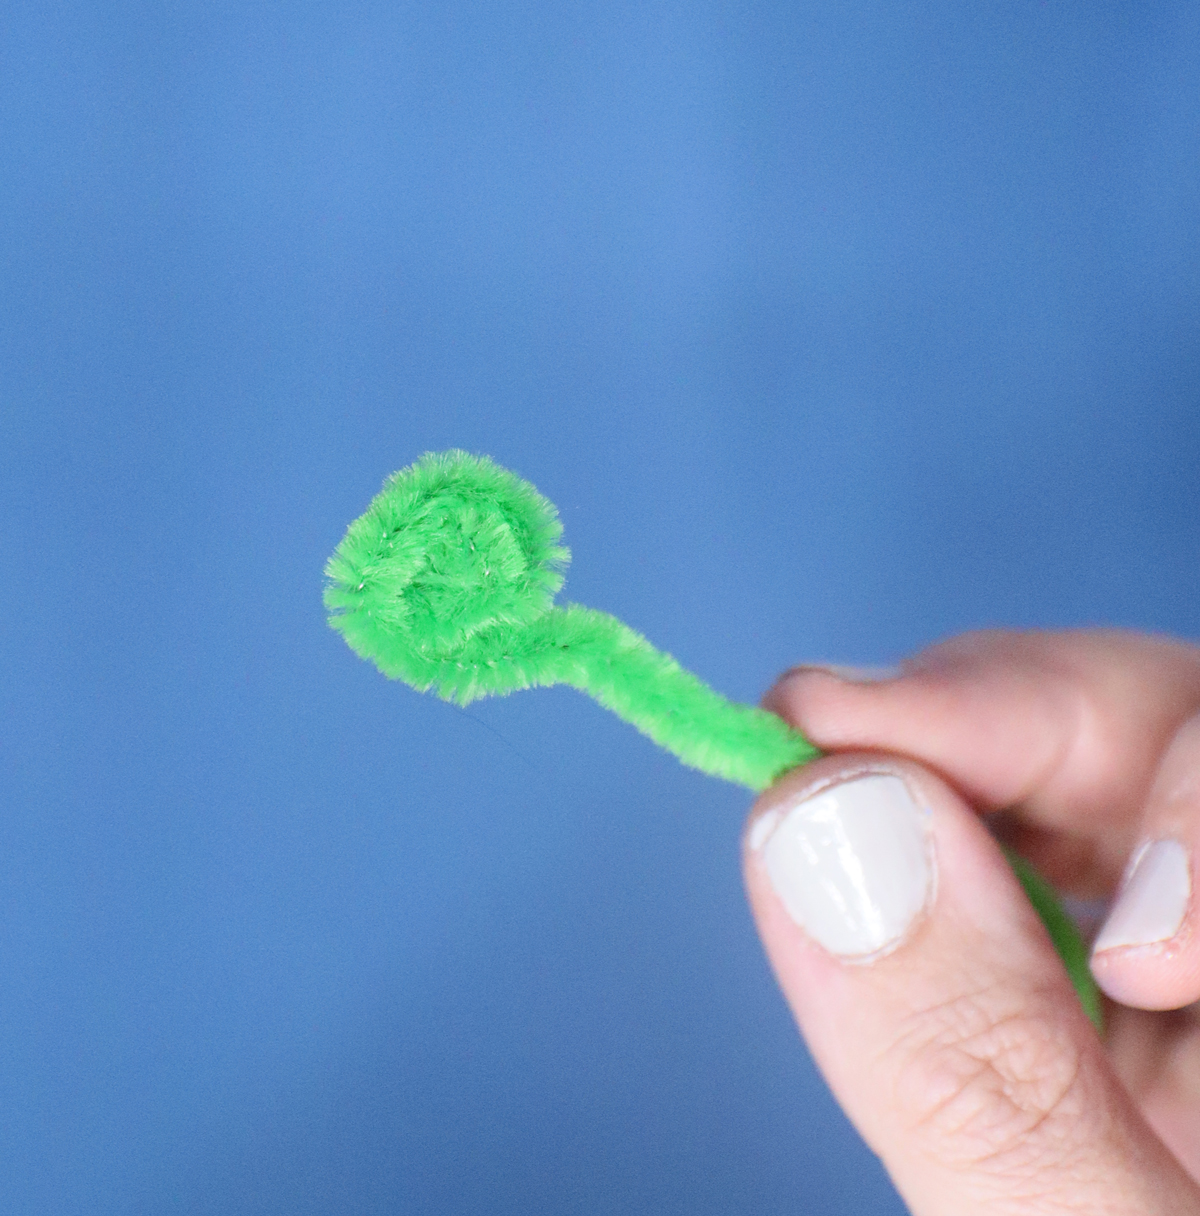
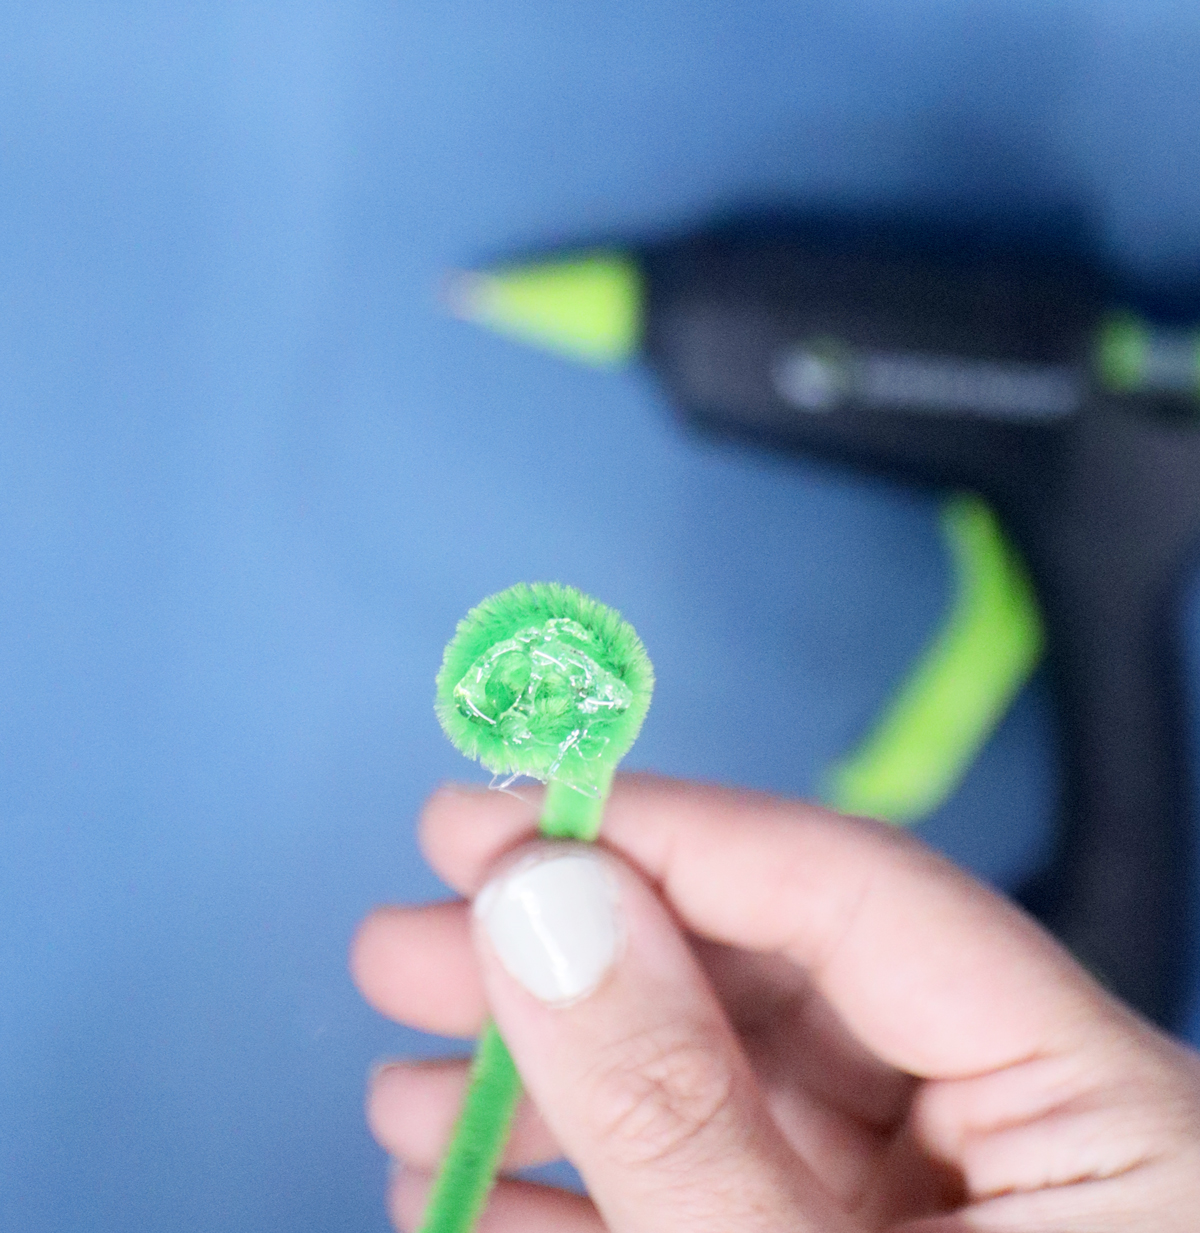
11. Thread the end of the stem through the coil
12. And pull it through to hold the coil.
13. Add some glue to the coil.
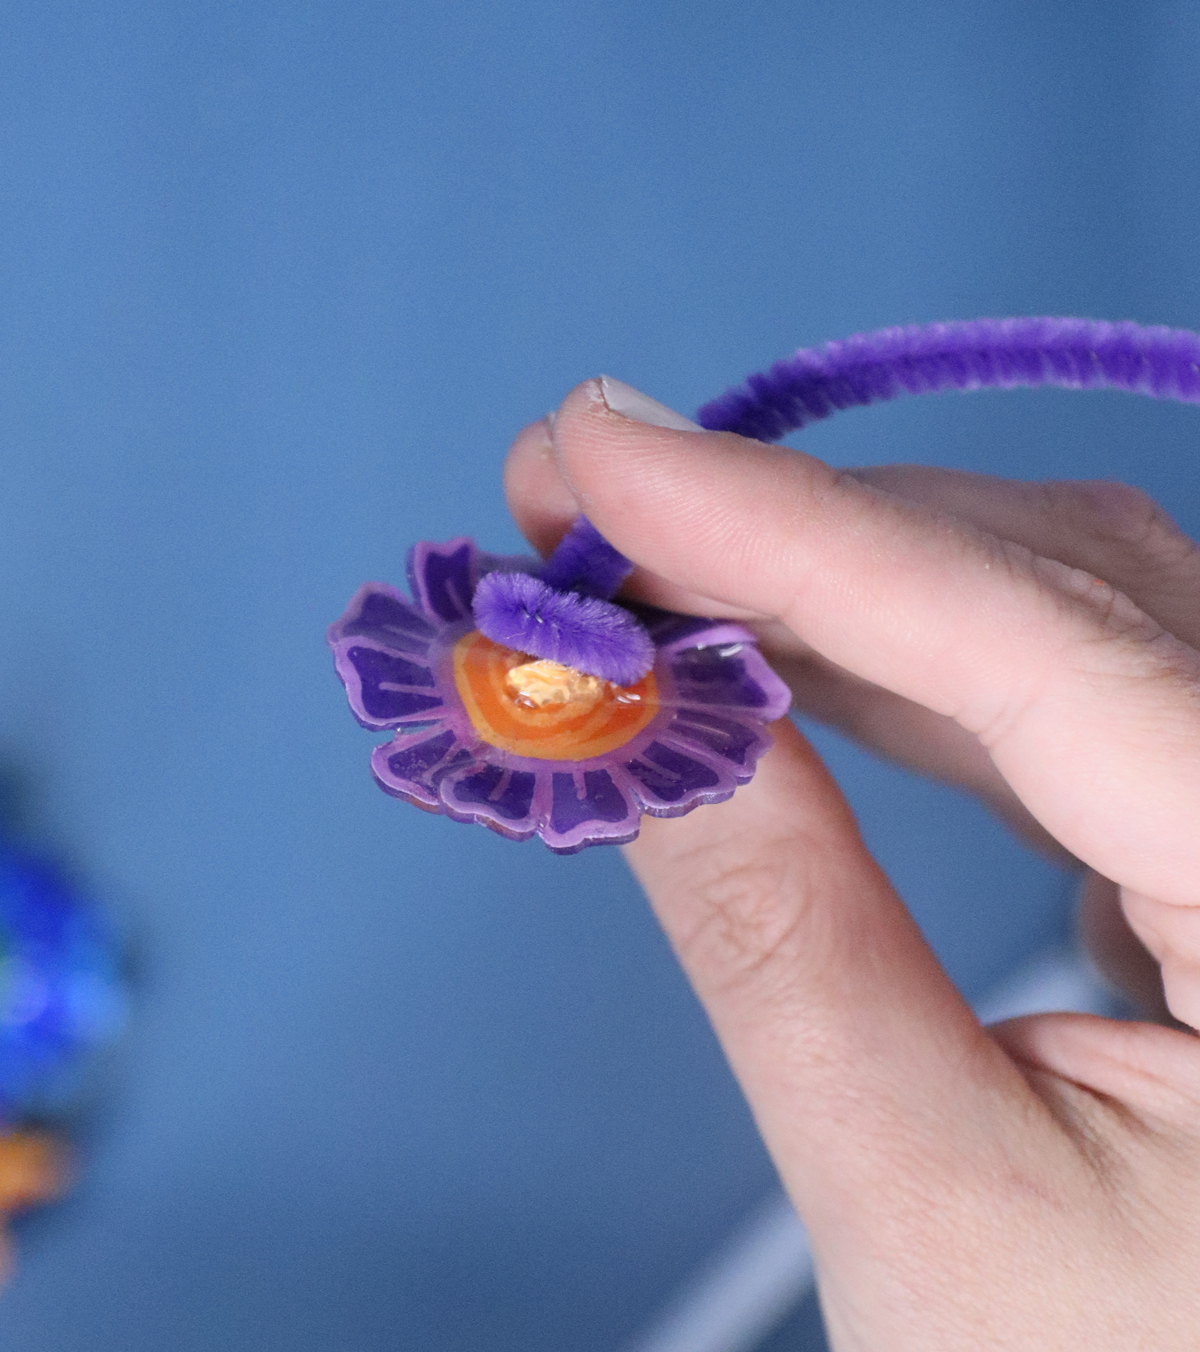
14. And glue it to the center back of the flower.

You can also glue the ones that have a hole to help secure it a bit better.
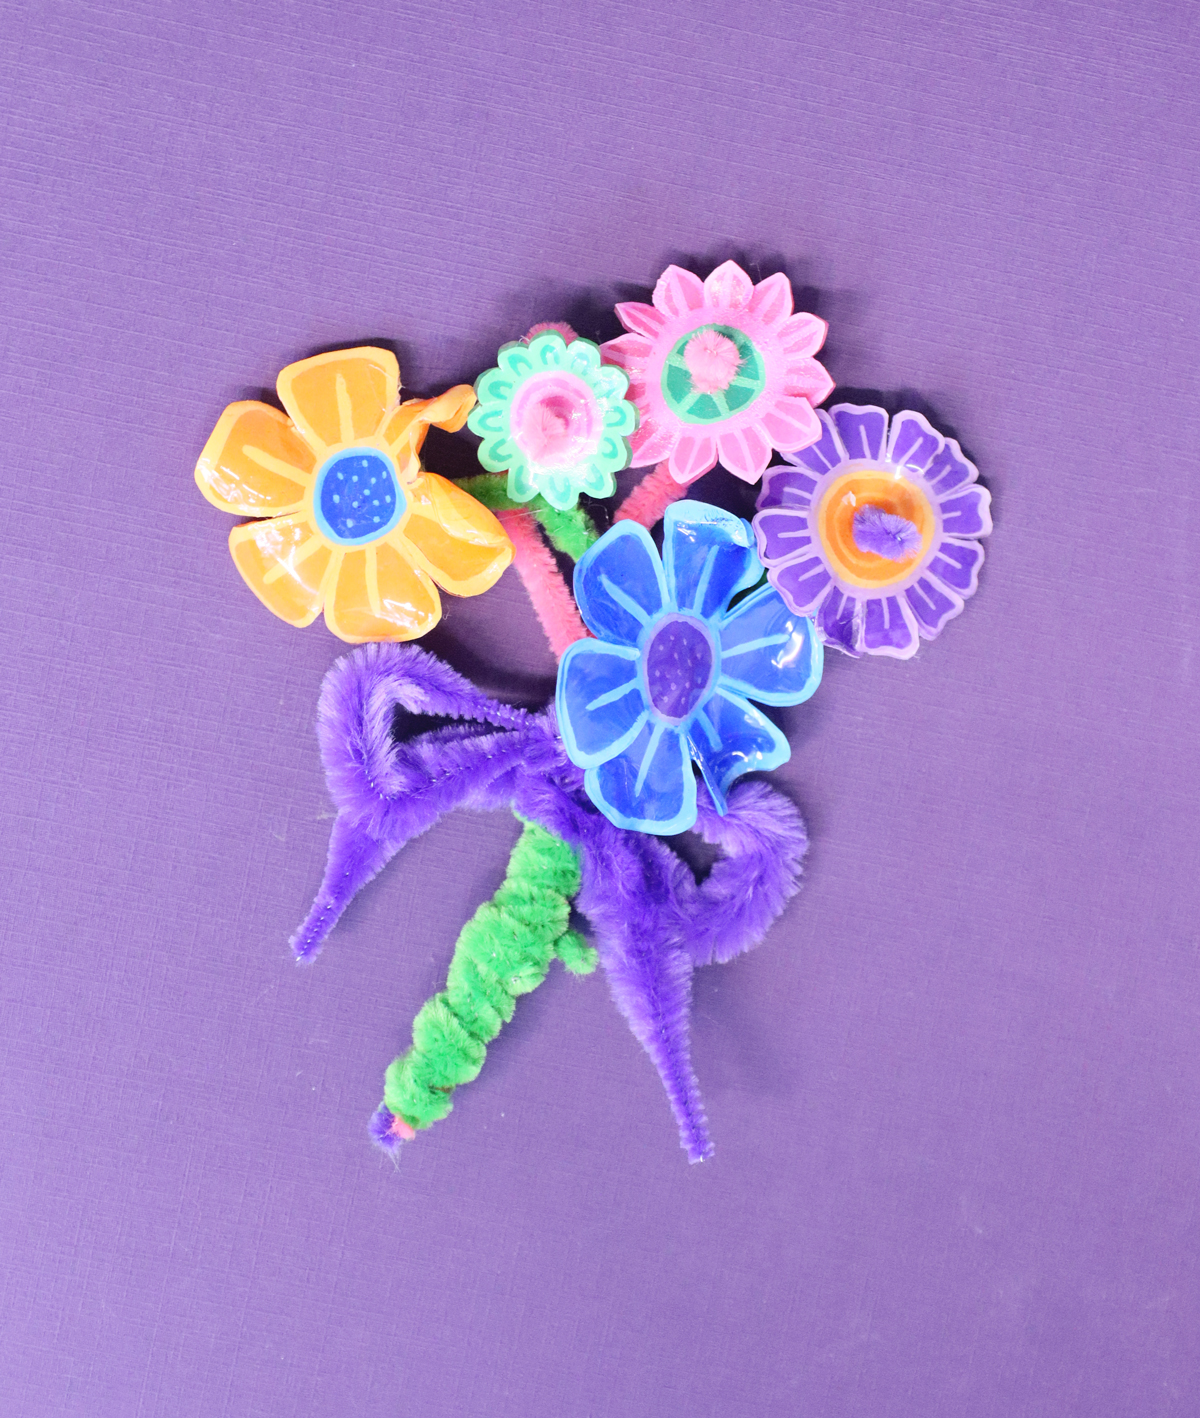
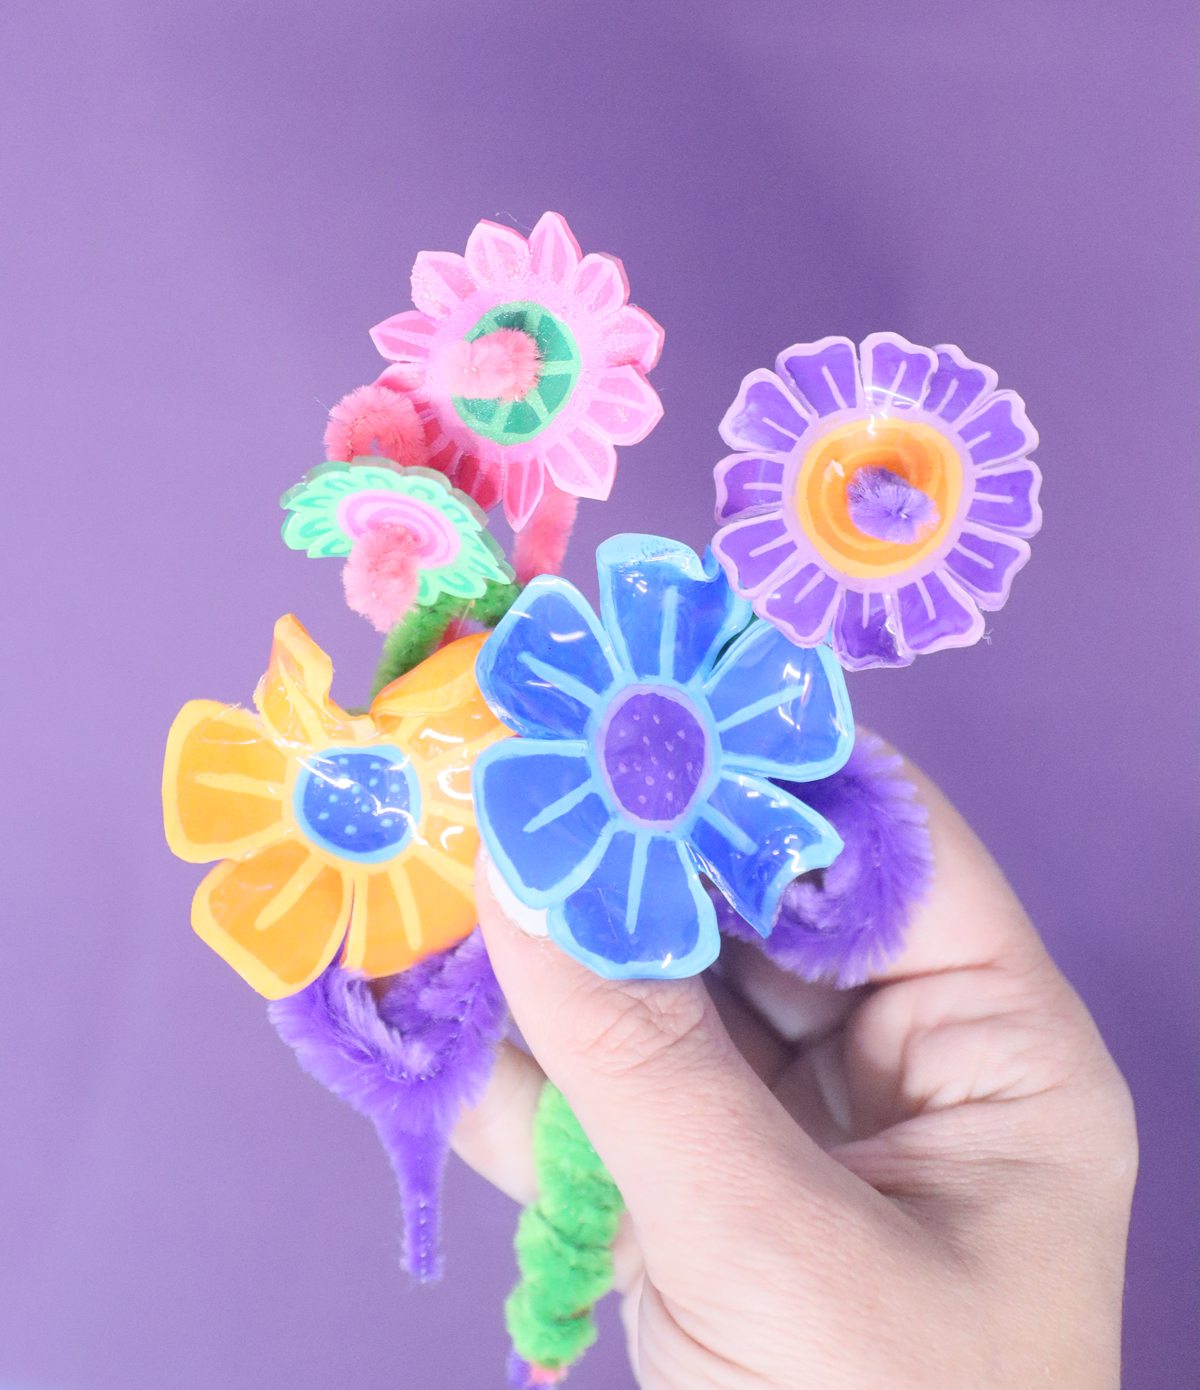
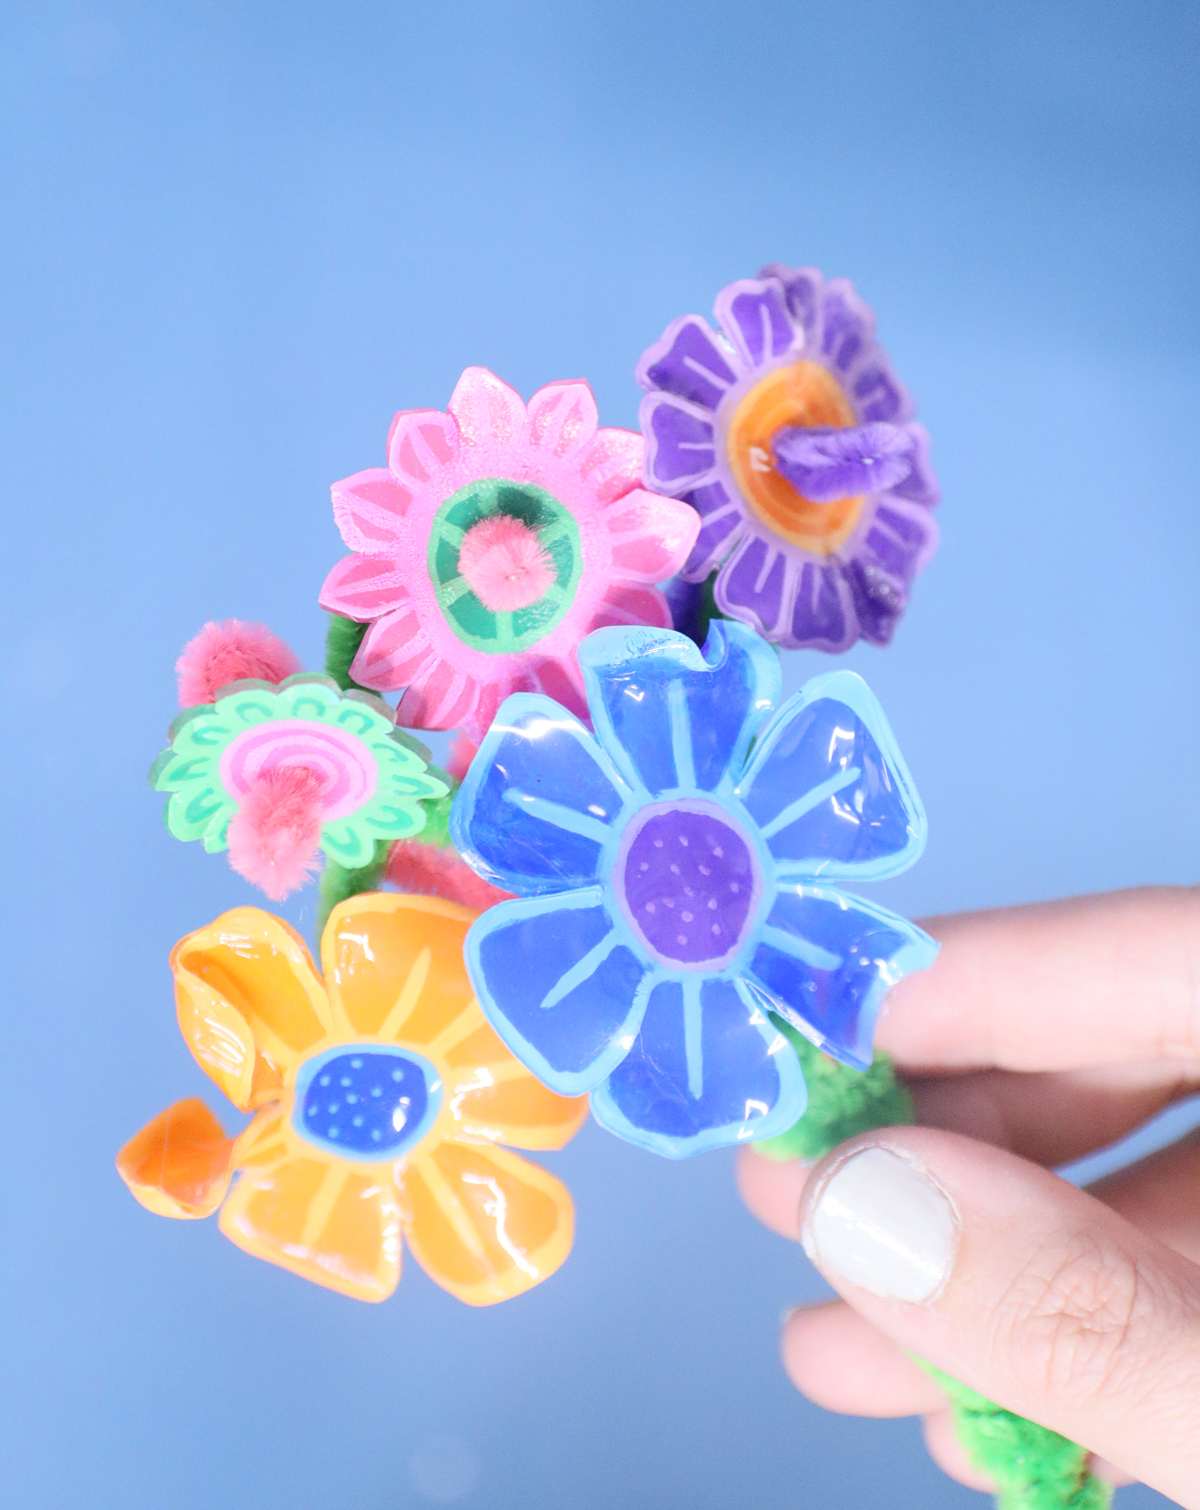
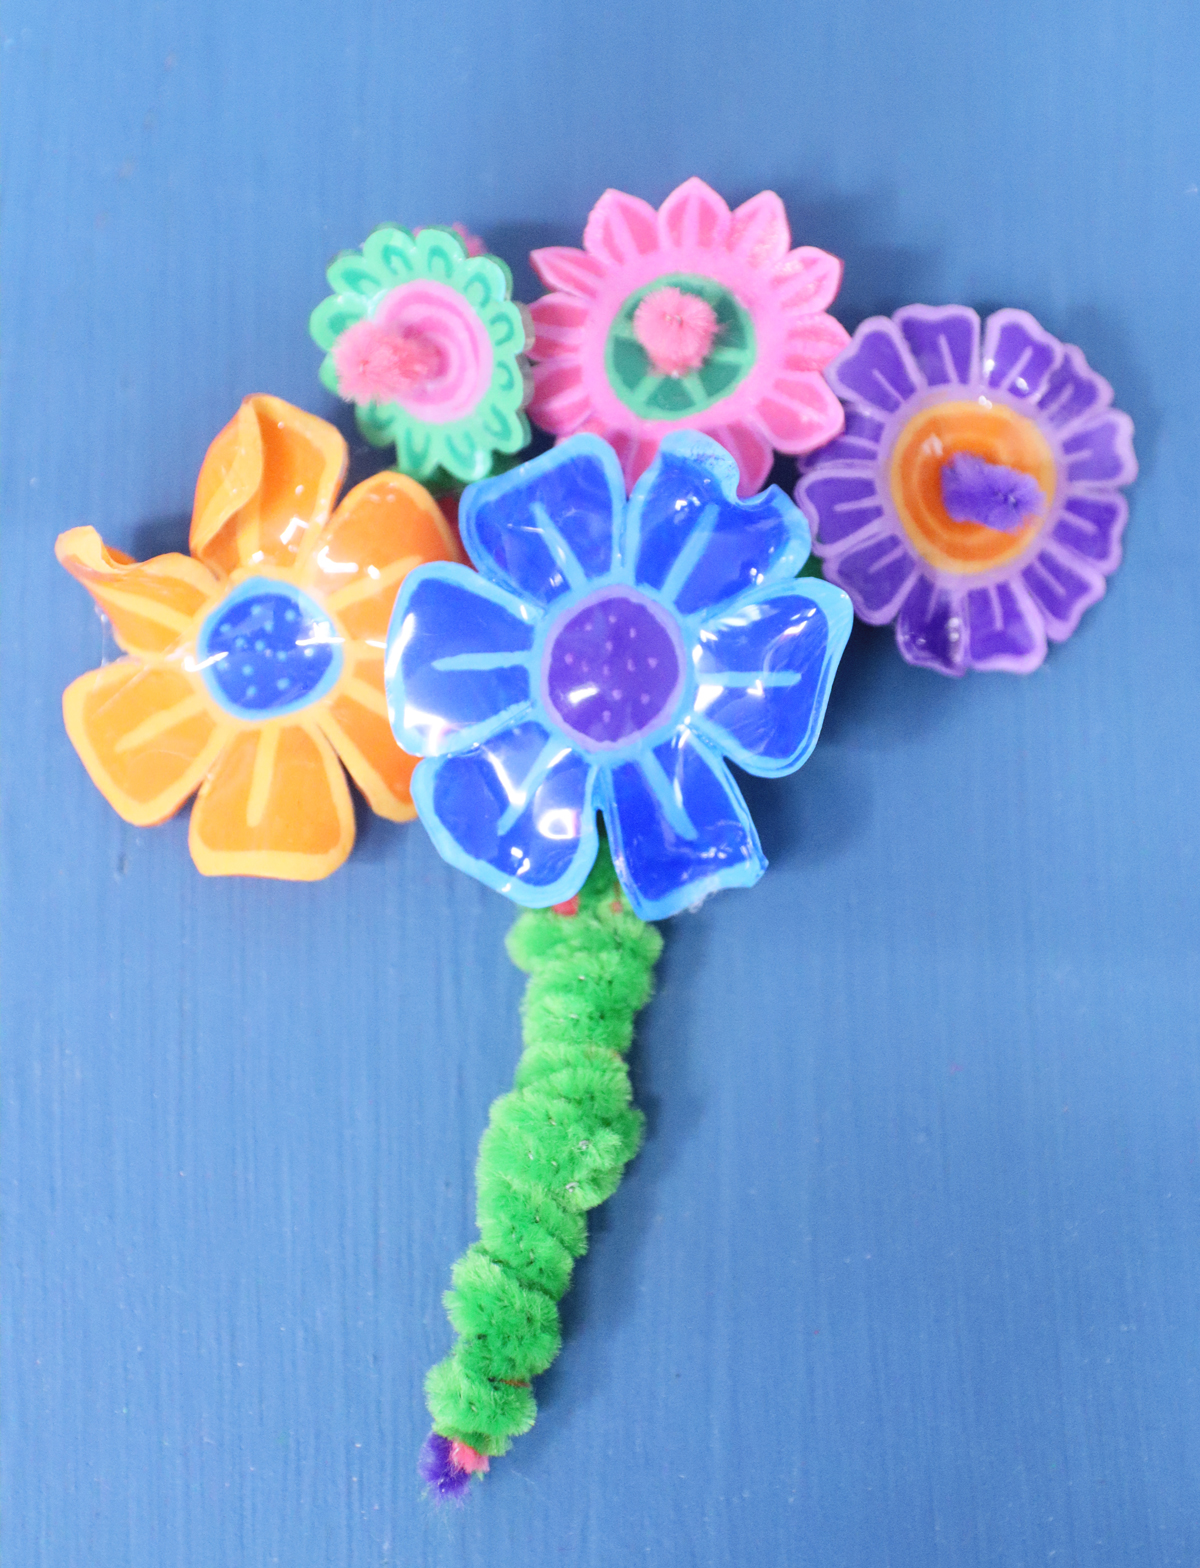
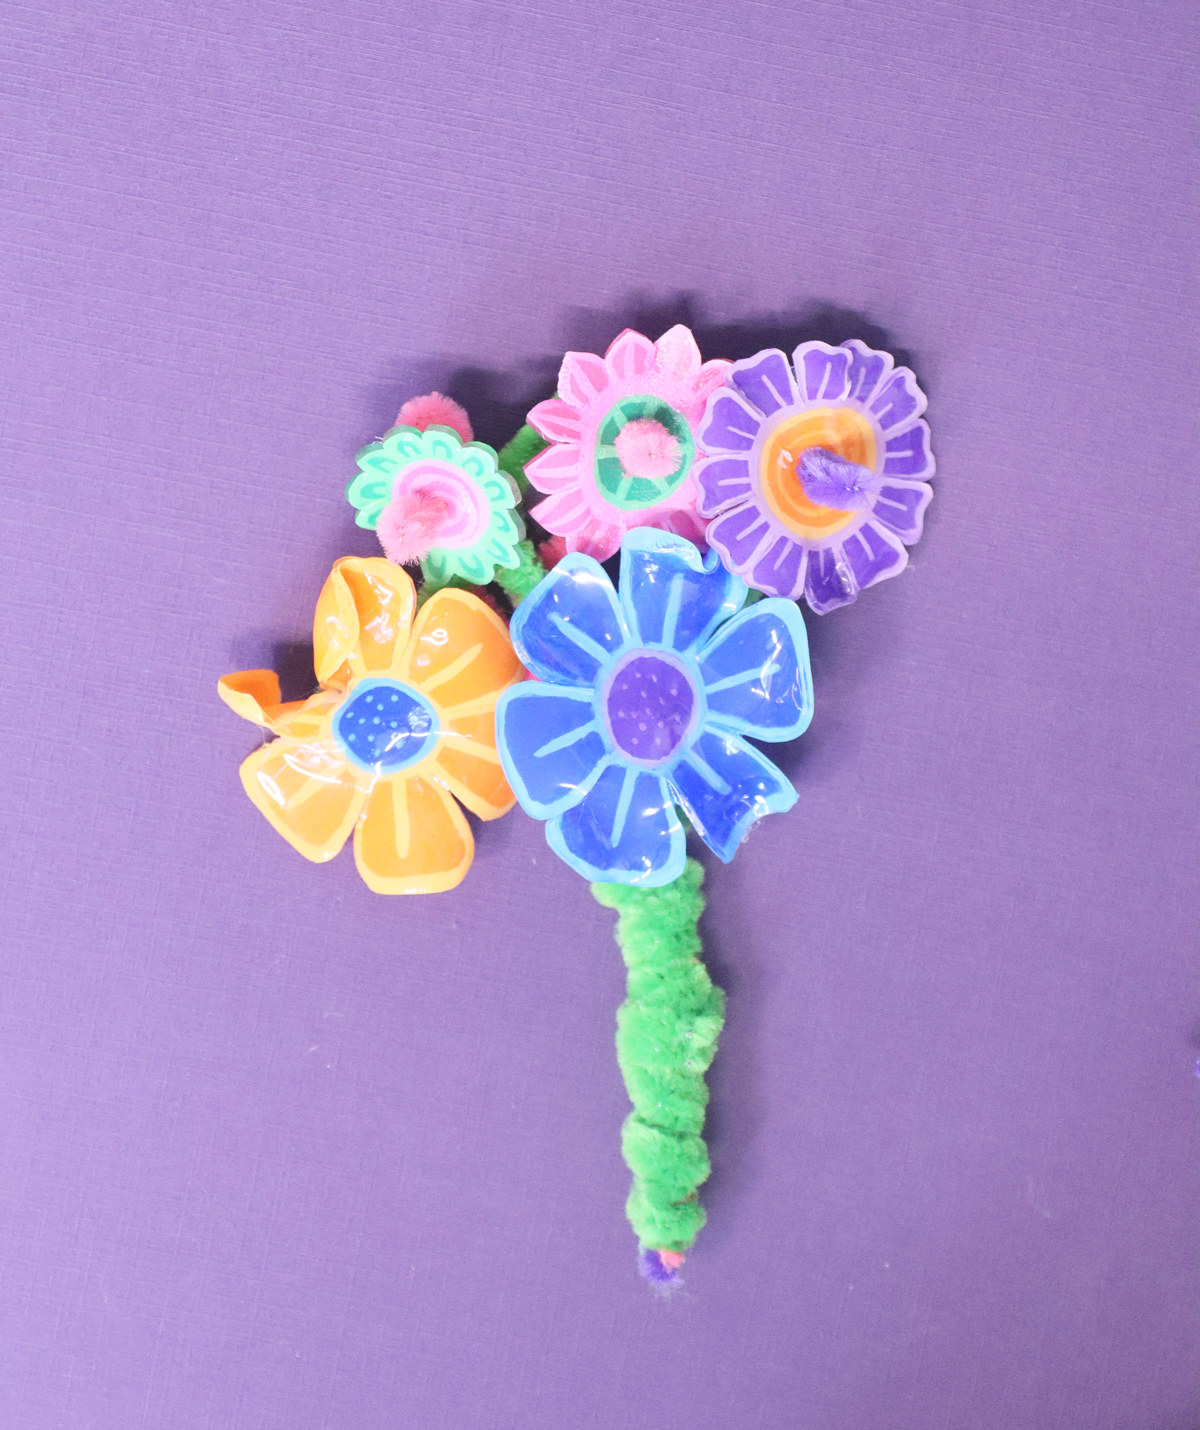
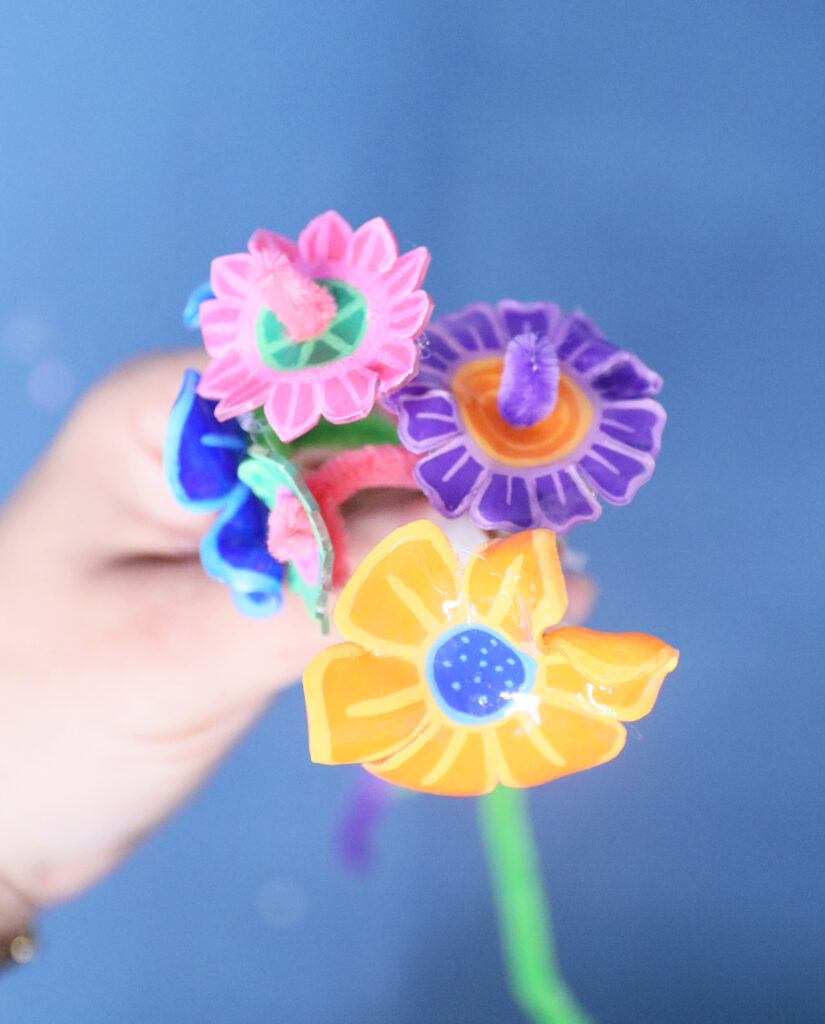
Gather your shrinky dink flowers into a cute little bouquet!
Download the Shrinky Dink flower templates
I made these using a template I created for these paper flowers, but decided to offer the ones that I used in this craft as a free download so that you can make it as well.
But if you want more options, definitely go ahead and get the bundle! It also gives you the larger size options.
The full bundle
The full set of flower templates in multiple sizes is available for a few bucks in my Etsy shop and on TpT. Purchasing premium products from me enables me to keep doing what I do, to give more focus to my Jewish blog, creating authentically Jewish resources for homes, educators, and parents.
The free sample
Download your free templates – the sizes and styles I used in this tutorial. It’ll arrive right in your inbox. By downloading, you’re subscribing to our FREE newsletter with updates on cool printables like this, and more. Choose which topics interest you! Unsubscribe at any time at the bottom my emails. I respect your privacy and the law, and won’t share or sell your email address.