Star of David Kippah Clips and Pins
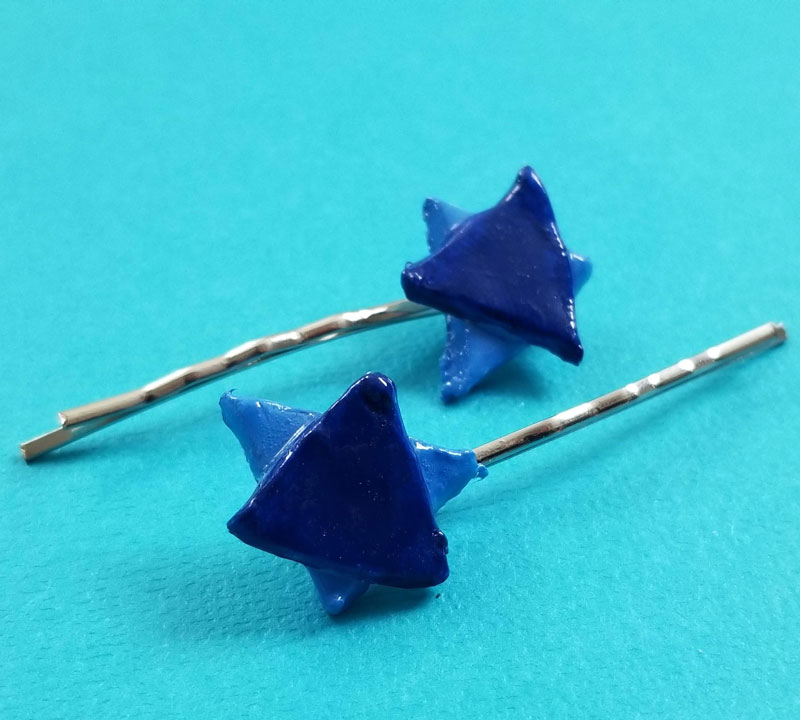
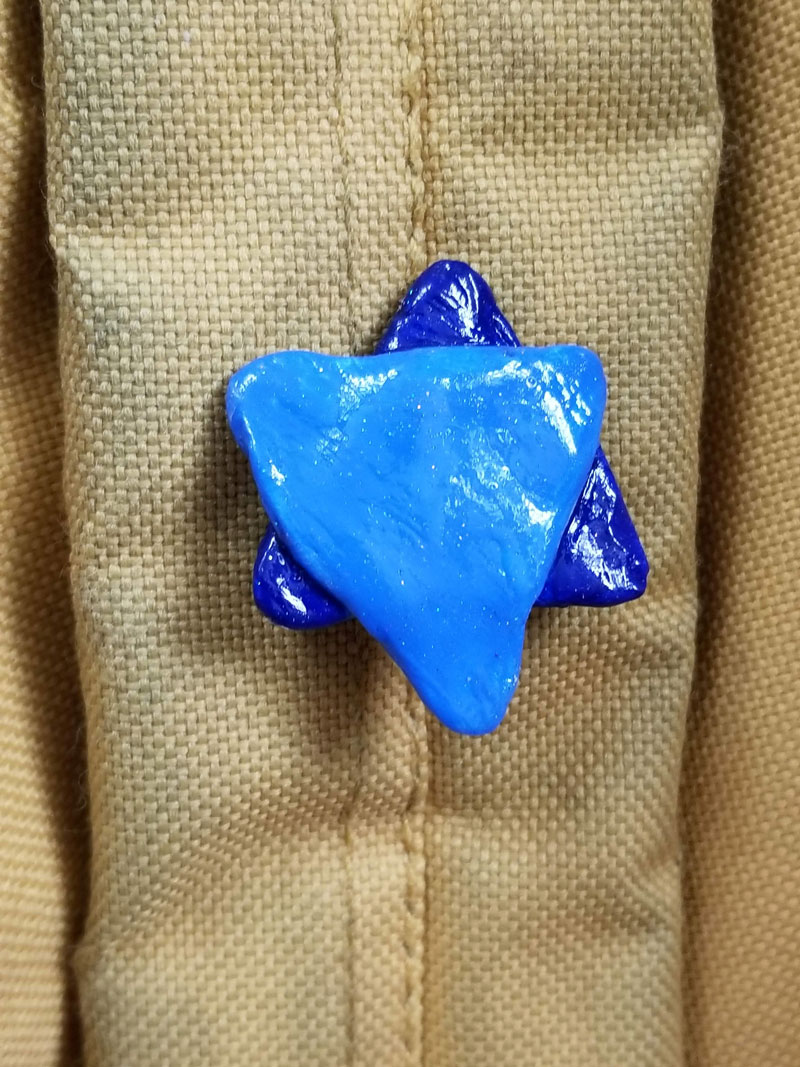
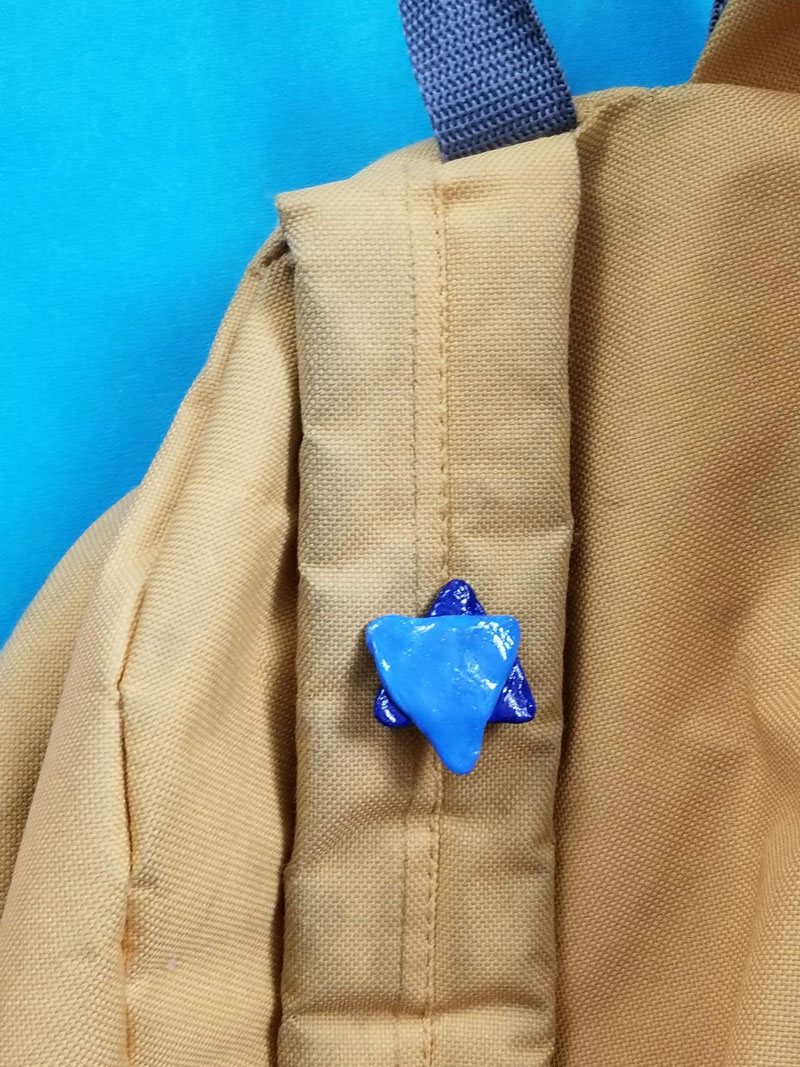
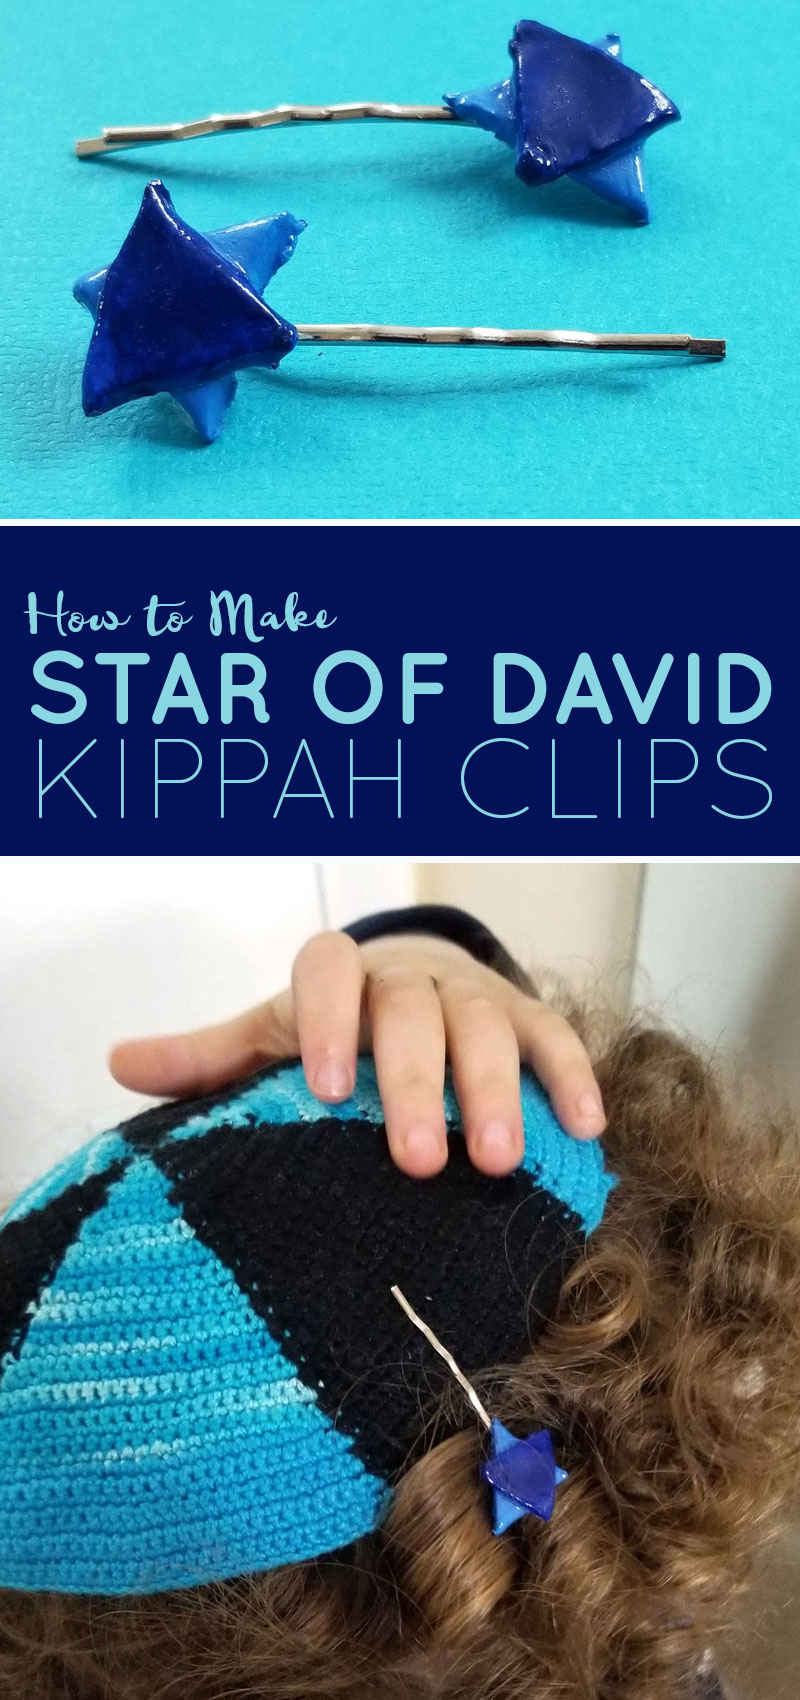
Y’s Upsherin (first haircut) is just a few weeks away and so I made these clay star of David Kippah clips for him to wear! I turned a larger version into a fun clip that can be used to decorate backpacks. Disclosure: this post contains affiliate links.
We are so excited as we plan Baby Y’s upsherin and third birthday party! OK, I may be crying just a little at the idea of cutting off his boingies… but hey, we’ll try a long-cut at first.
But meanwhile, we’re trying to sweeten the deal with some goodies for him.
M has such a huge collection of kippahs that it felt like a waste to buy many new ones. M’s are all in very good shape because he wears caps all the time, but I still picked up a couple special for Y.
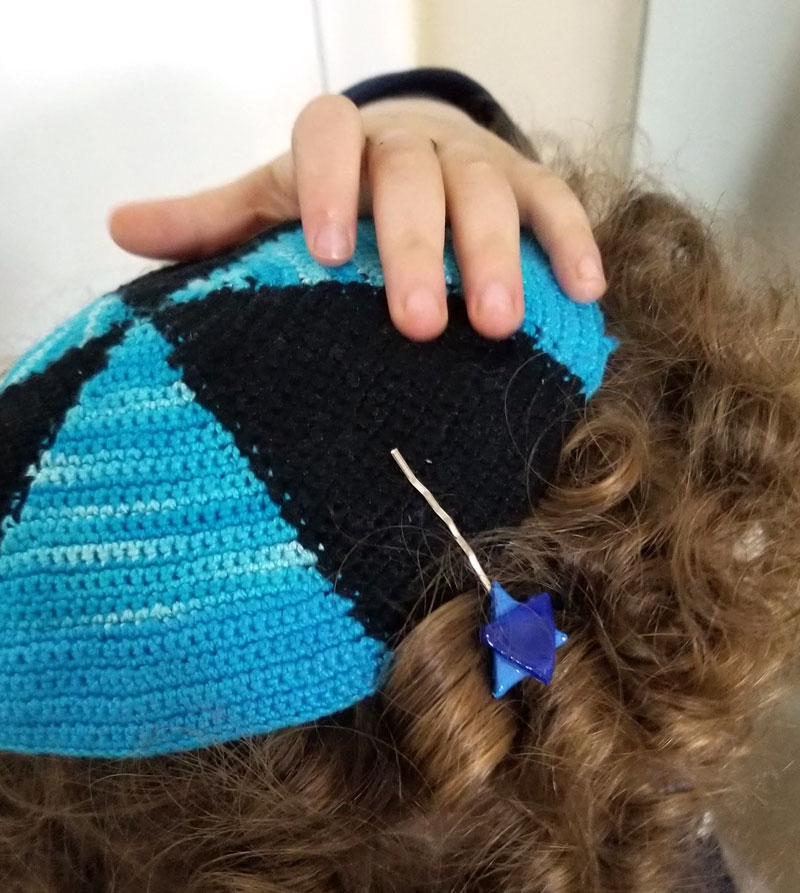
I also picked up some cute clips because with the longer haircut we hope to nail down, we know those kippahs won’t be staying in place.
To supplement, I also tried some DIY kippah clips. Because why not? He had fun watching and actually agreed to try them on. Usually he’s a “no cliiiiiiiiiip!!!!” tantrum kind of guy.
I also made a larger version with a pin back and pinned it onto M’s backpack. It’s fun for Israel trips, Birthright tours, or just to show some pride in our heritage on any given day.
My favorites were the kippah clips of course.
Not only are they adorable, they’re practical too AND I actually cut those out neatly so they came out much more polished looking.
What you need to make clay star of David kippah clips:
- Air dry clay
- Shaping tools and/or something to roll with and something to cut with
- Acrylic paint
- Fine flat paint brush
- Mod Podge super gloss
- Glue
- Flat pad clips (or try these) or pin
- Optional: sandpaper, nail file, or similar.
How to make clay stars of David and turn them into clips and pins:
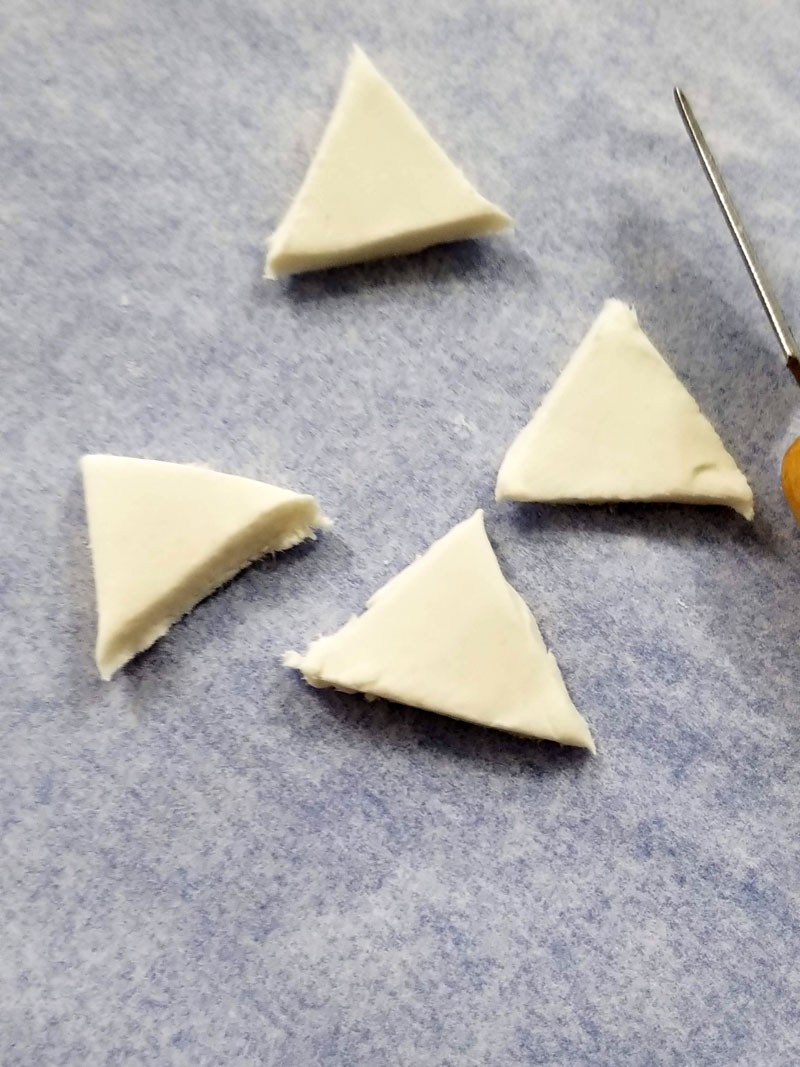
1. Form a ball with your clay and flatten it. Cut out two equilateral triangles per clip in the same size.
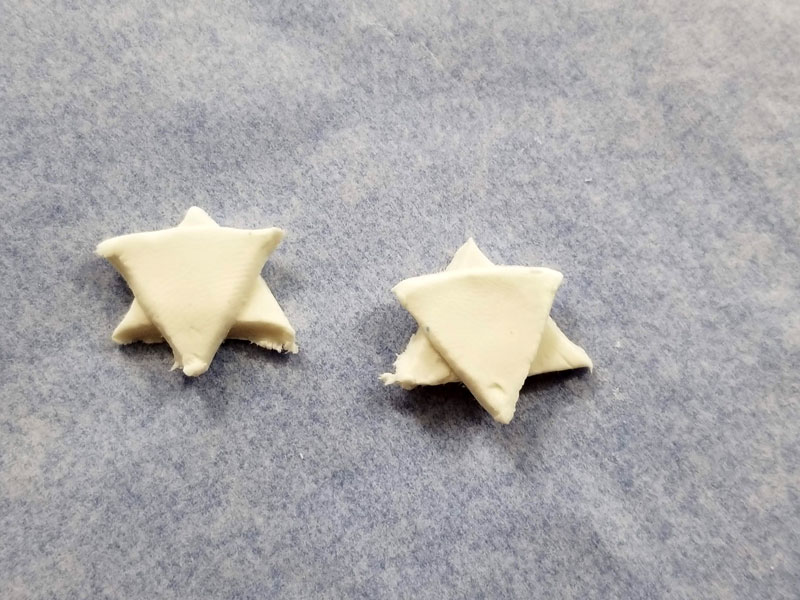
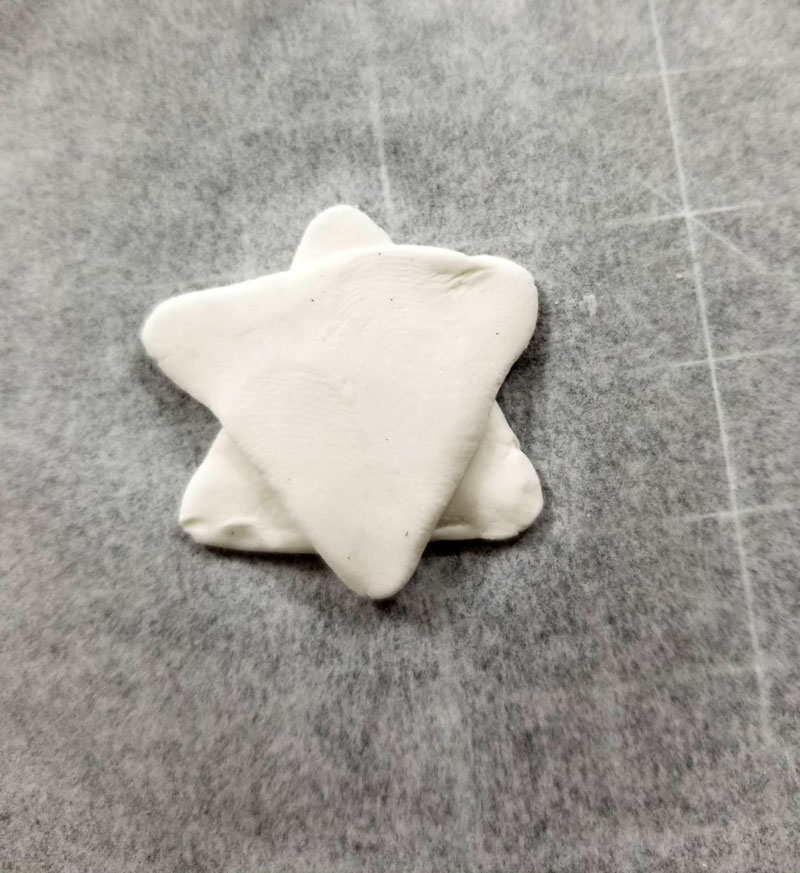
2. Layer your triangles on top of each other and press firmly in place.
You can also skip the tools and form the triangles by hand if you prefer that kind of look. Allow your clay to dry.
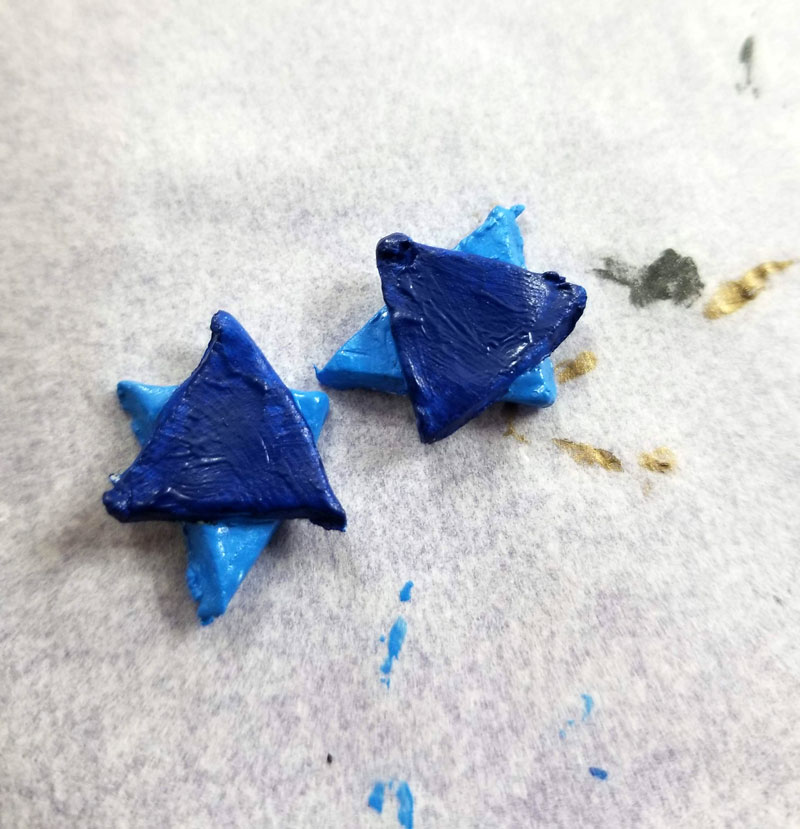
3. Paint your star of David. You may want to paint a second layer. Allow it to dry completely.
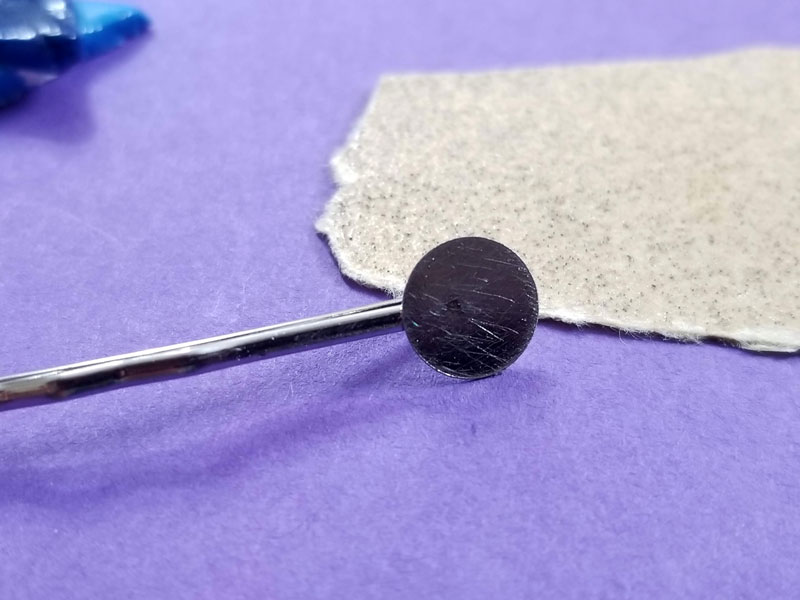
4. You can sand down your clip or pin surface if you’d like to help it adhere better.
5. Apply a dot of glue to both the pin flat pad and the star back. Allow it to get a little tacky by leaving it for a few minutes.
6. Then glue down your star and allow it to dry completely before even thinking about attempting to use it (yep, I learned the hard way….)
When you’re done, go tackle a toddler and clip on a kippah! Or just put it on display because your three year old will just want to wear a baseball cap anyway….
[show_boutique_widget id=”832489″]

