Star Of David Pendant Beading Tutorial
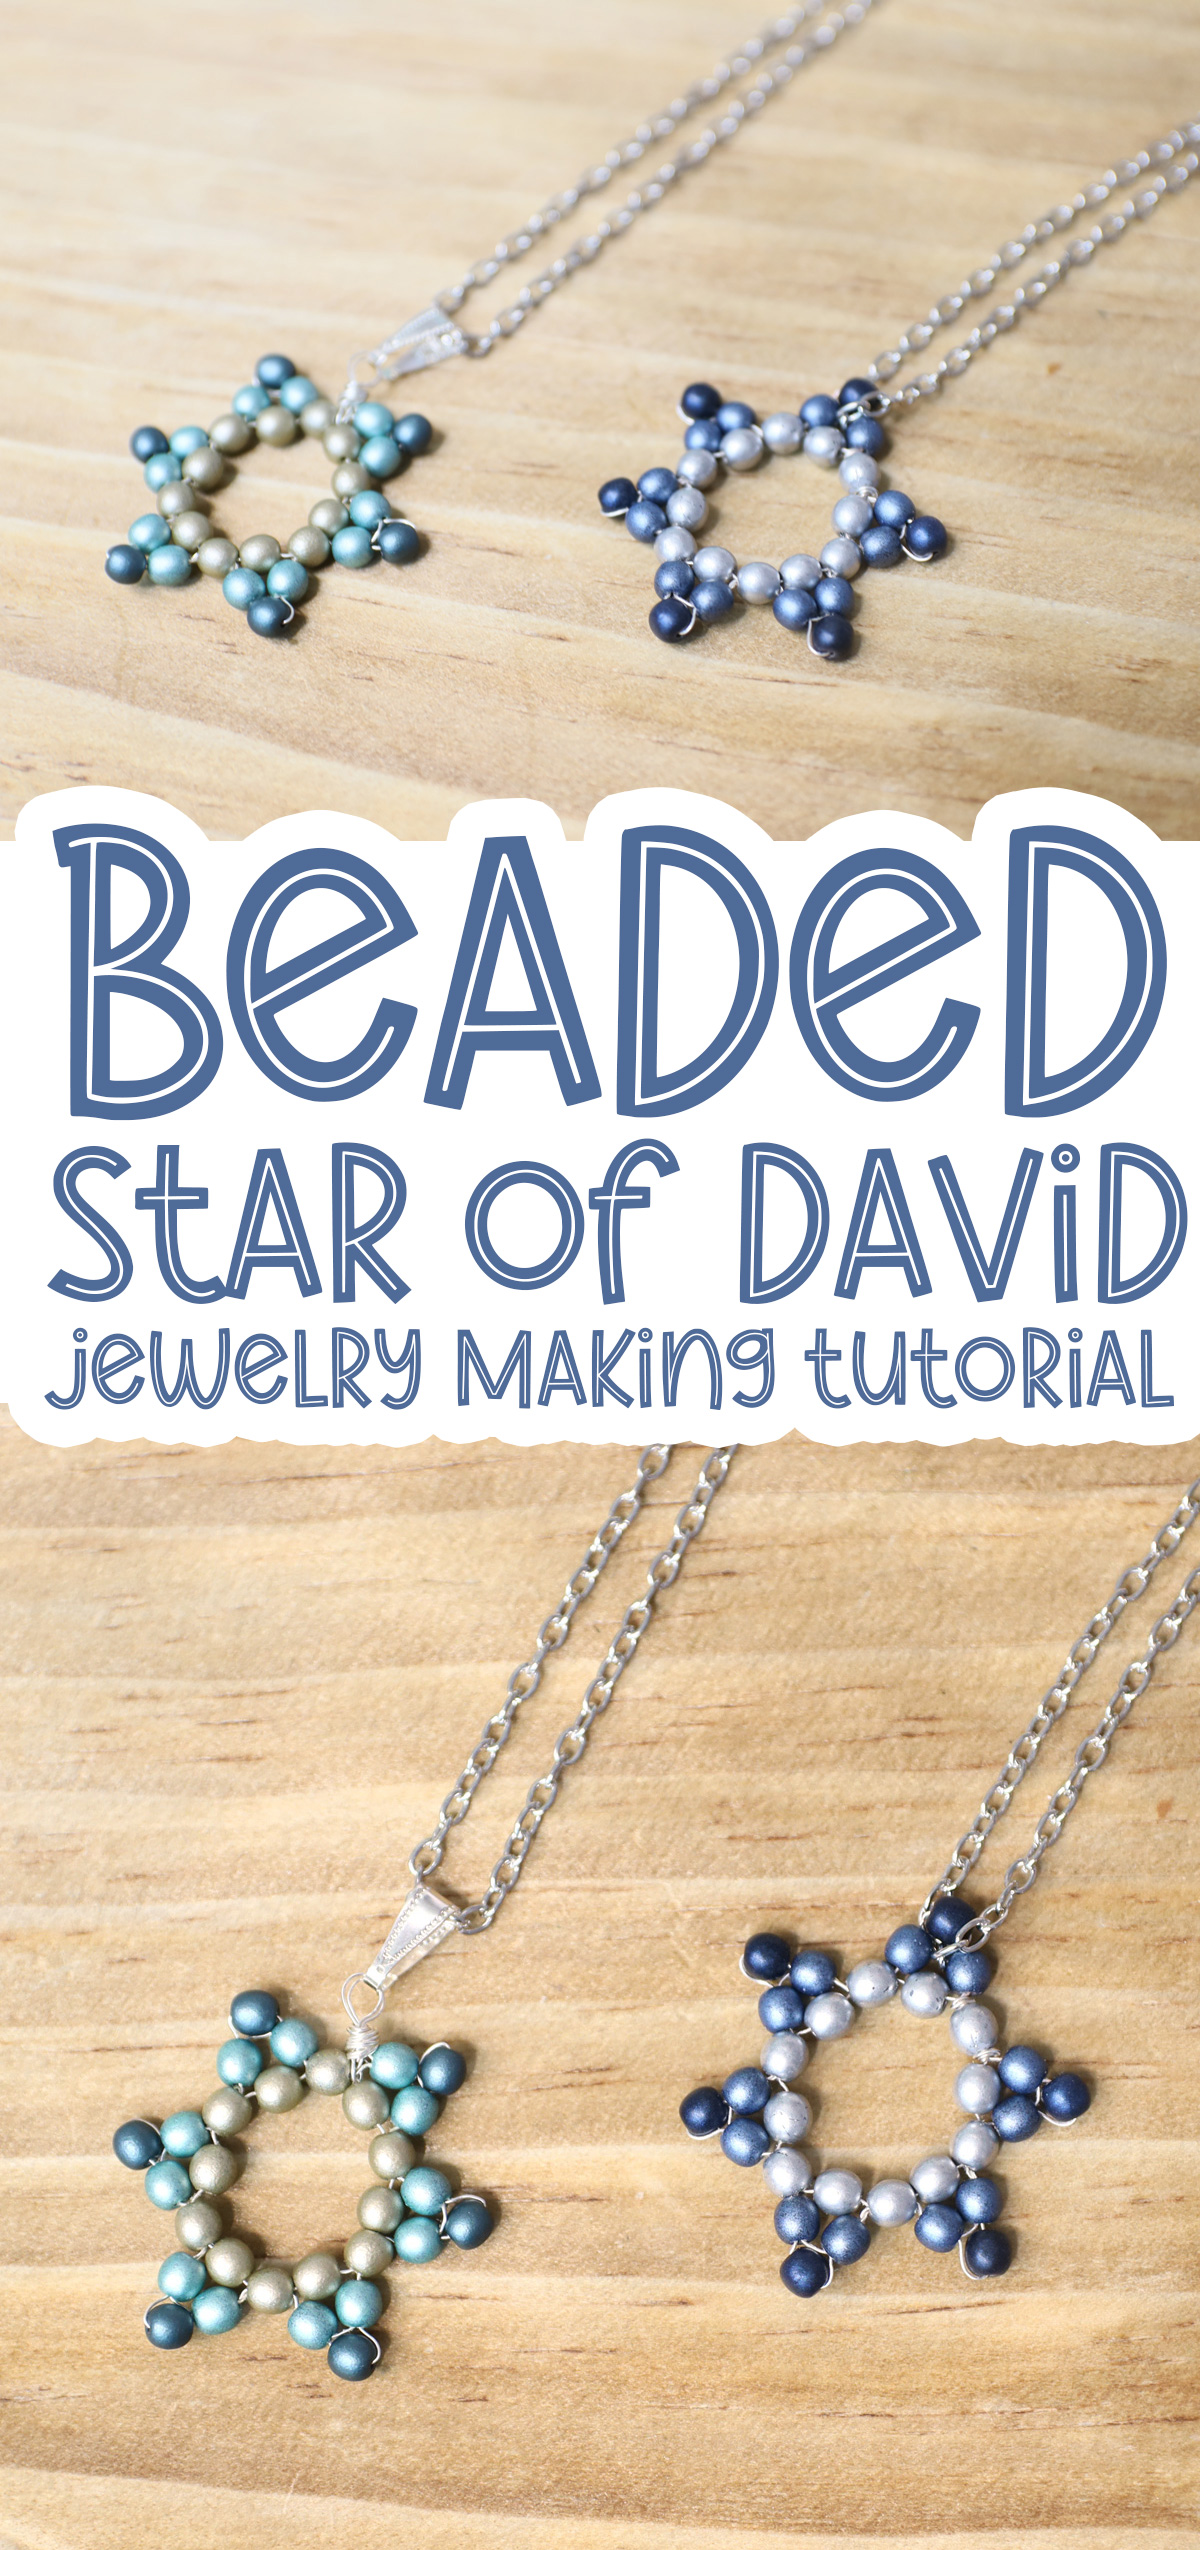
Enjoy this beautiful star of David pendant beading tutorial! Make one to keep, one to gift, and then try this DIY star of David necklace too! This post contains affiliate links.
Yom Ha’atzma’ut is coming, and boy do we need it. Never has it been so obvious how strongly we need a place to call home, never have we felt the existential threat in our generation like we do now.
I wanted to create a few Yom Ha’atzma’ut crafts, but with its proximity to Pesach, it’s actually really hard to create content in time. A couple of crafts that I tried didn’t work our or needed fine-tuning, so I decided to hold off on those until I can work them out better.
Meanwhile, I decided to adapt this wooden beaded Star of David to make some beautiful pendants.
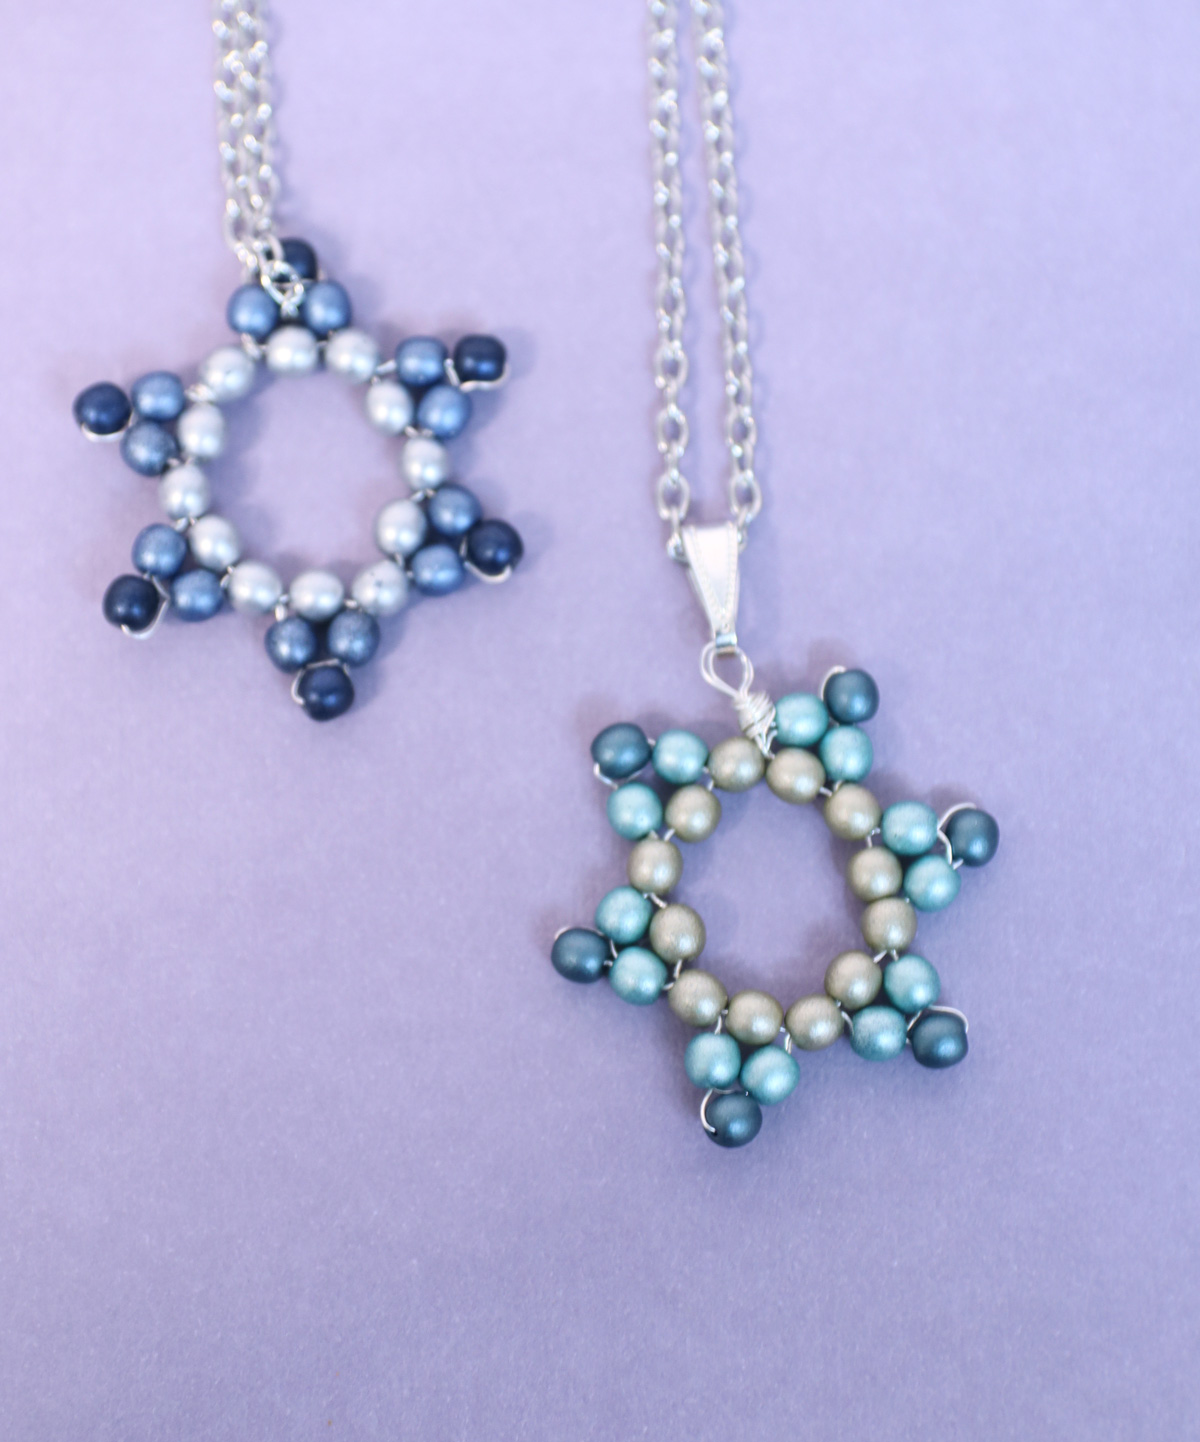
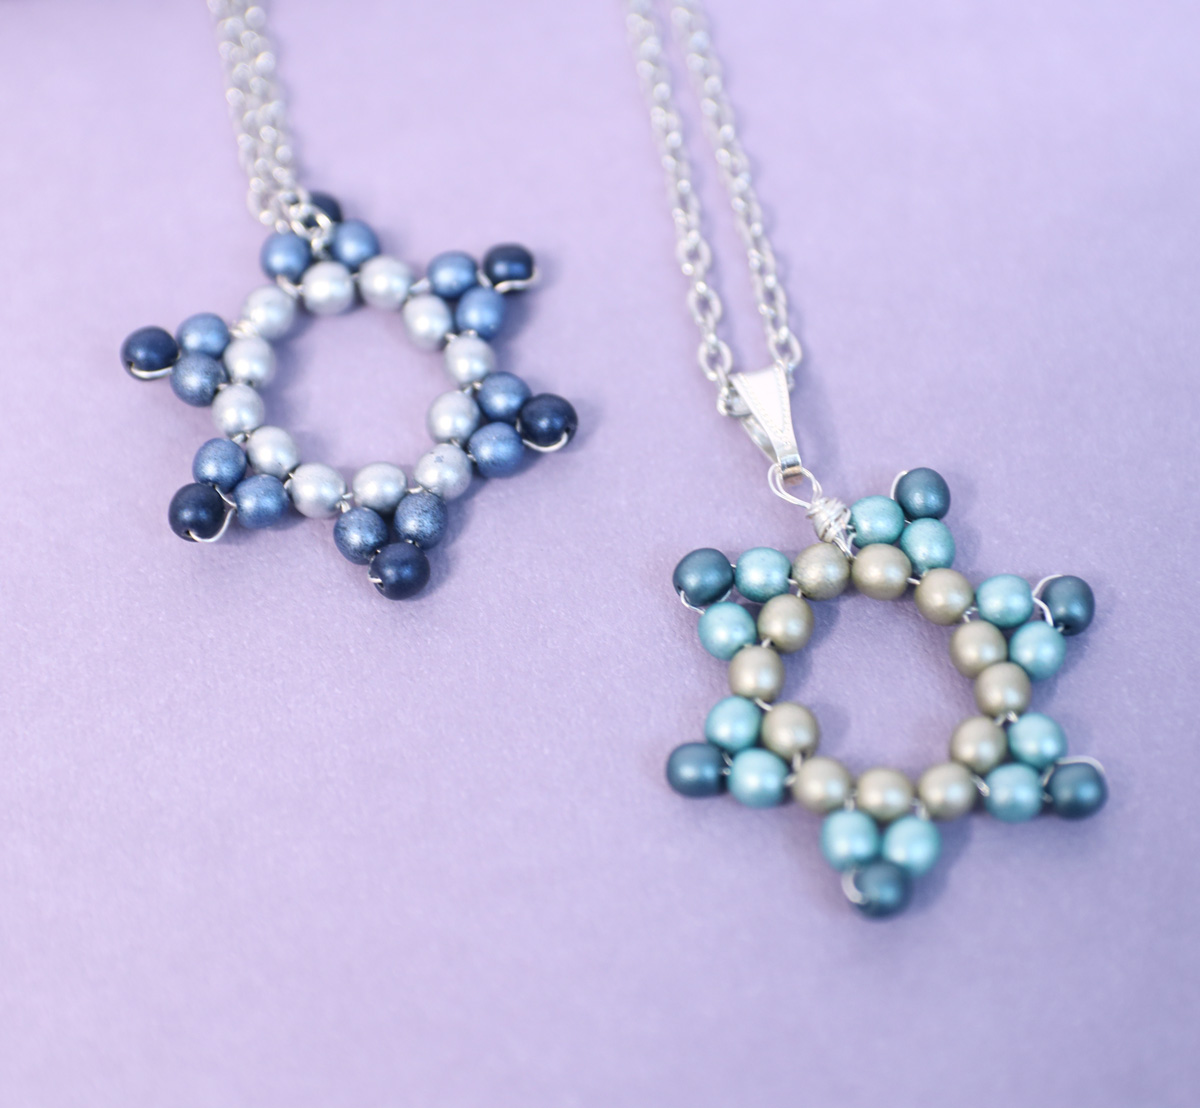
While the star of david beading pattern is essentially the same, the tutorial is adapted for the different materials. In fact, I tried this one as well a few times before I got the bead size, wire type and size, and all the tips and pointers right.
It’s a quite straightforward process, but I do recommend you read the details well.
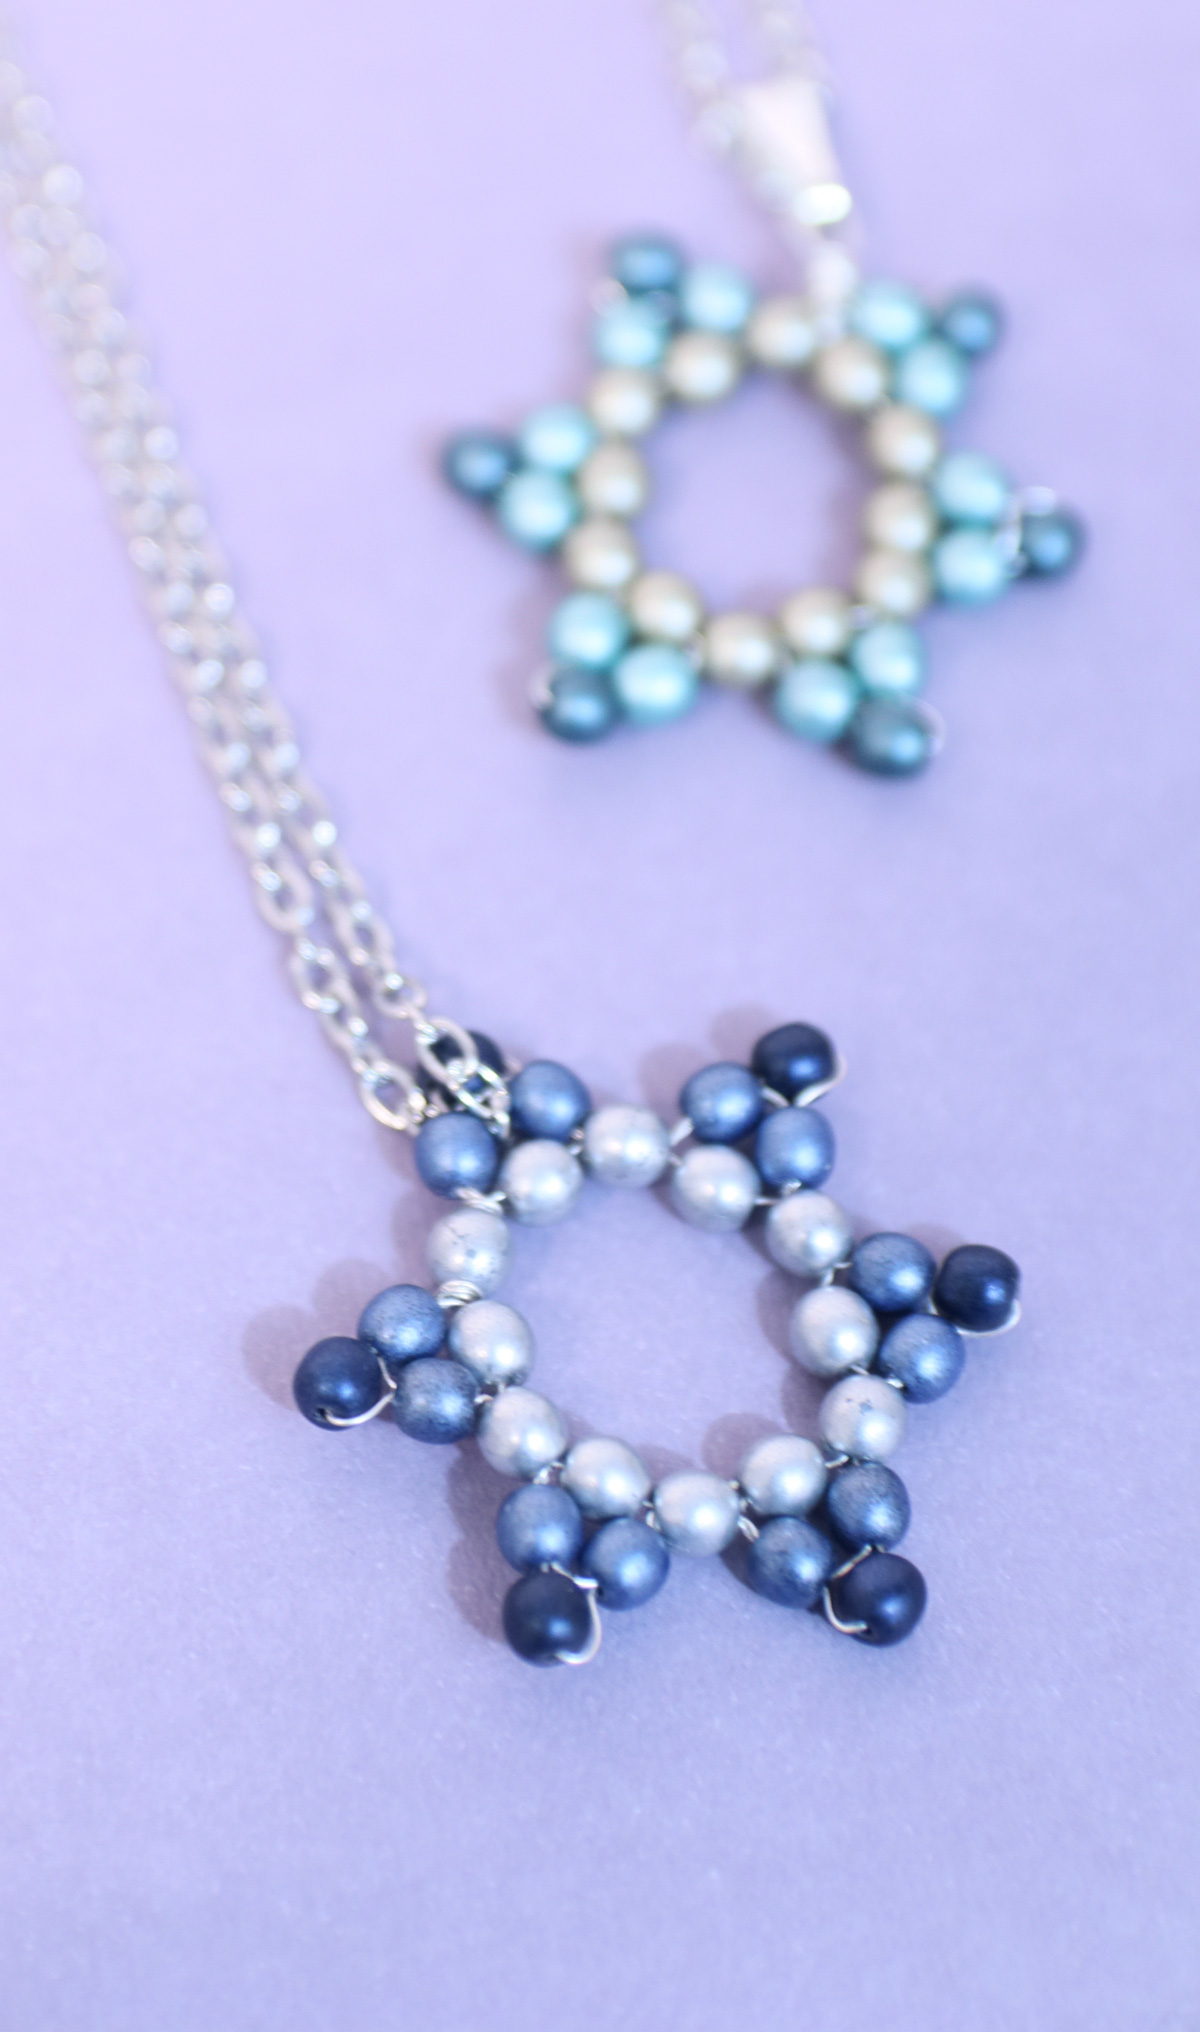
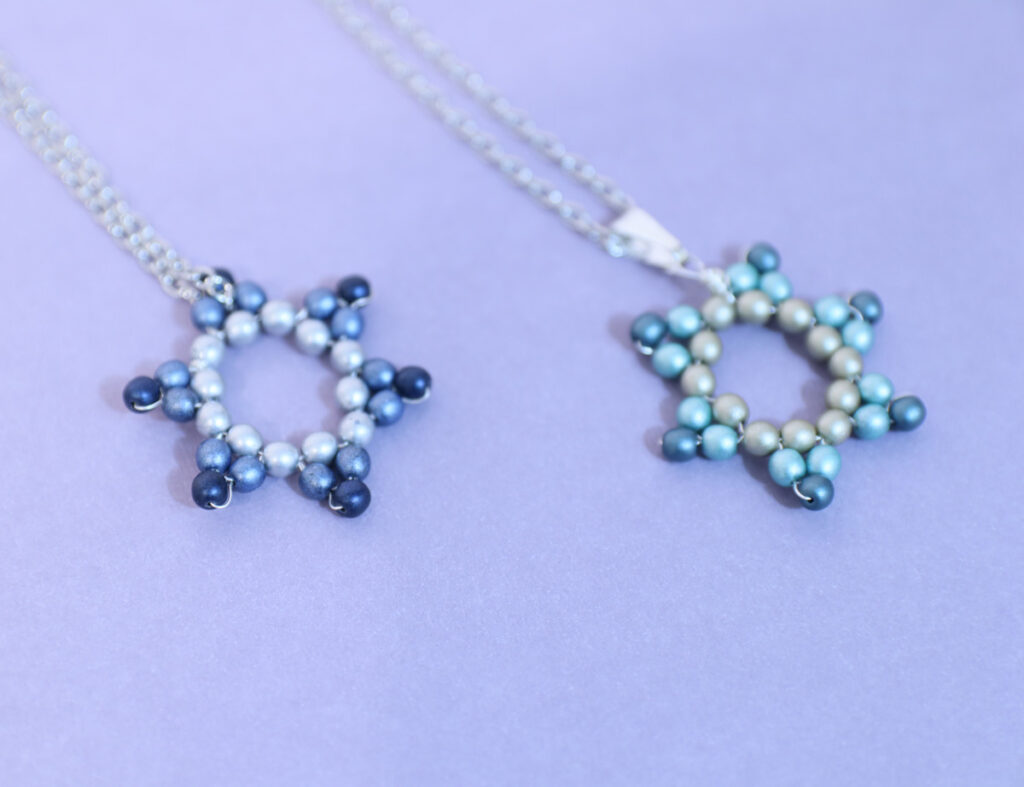
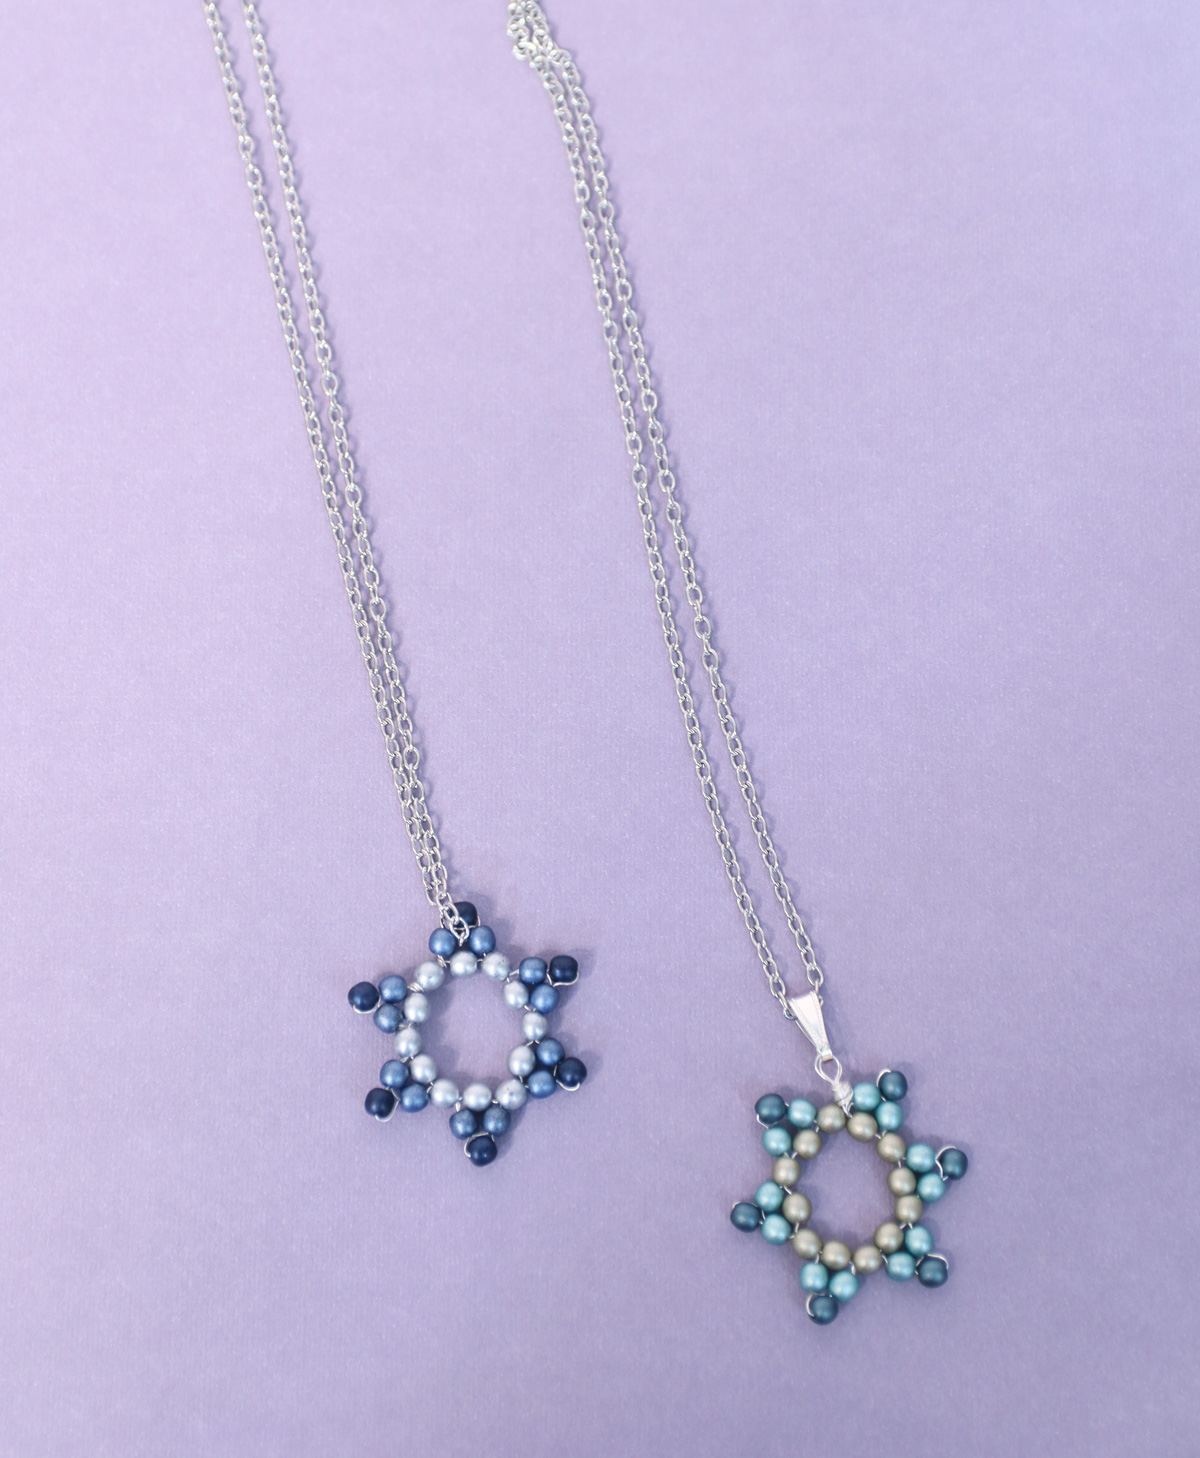
I created my star of David pendants in fun but muted colors, both the traditional blues and greens because there’s really no law that the Star of David needs to be blue.
These can be fun to layer with more delicate chains, or to wear on its own as a statement necklace. You can definitely use simpler round beads for an all-silver (or gold) look. Go glamorous with crystals instead, or classy with pearls.

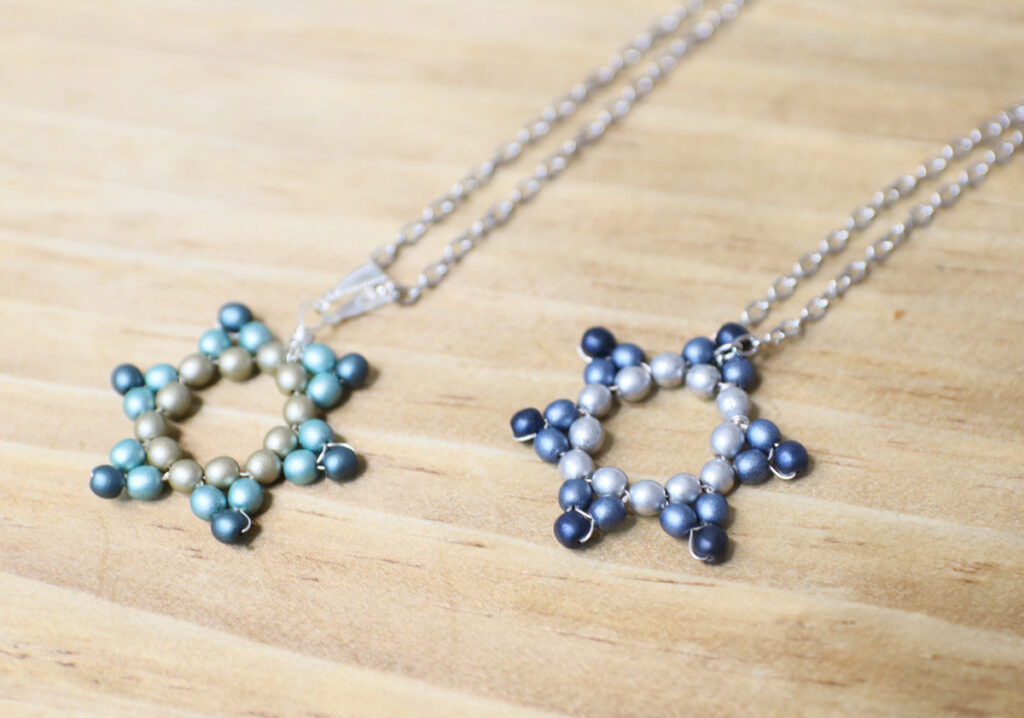
While this can be a fun workshop project, it’s a bit advanced for complete beginners, as you do need to work through some slight challenges in pulling it off.
A note about the correct beads for this Star of David beading tutorial
Most of my experimentation was built around the correct beads to use. They need to be small enough to create a pretty pendant. They work best if they’re smooth enough to sit nicely in place. They should be consistent in sizing.
And most importantly: the holes need to be large enough to fit the wire through 3 times.
The beads I used in the end are coated Czech glass beads that I have in my stash for over a decade. I also experimented with Swarovski bicone crystals, which worked out okay, but I snapped the wire towards the end. I would suggest rather using their round crystals if you want to go that route.
Wire and other stringing pointers
As this is a design that I usually make using string, my first instinct was to try Tigertail stringing wire. However, the tigertail was too wide for most beads – including those I preferred to use.
I did not want to use something like fishing line, as it’s a bit weaker.
I ended up using 28 guage permanently colored beading wire. While this can kink a little, it was the perfect solution.
When you go through your later beads, you’ll need to be careful not to pull too hard, or you can break your wire. However, once I got the hang of the right level of tension, it held up beautifully.
Star of David Pendant Beading Tutorial
I created this star of David beading tutorial using three different colors of bead just to make things clear for you. The beading tutorial has three layers that go in a circular pattern, and using different colors allows you to see clearly which beads belong to which layer. You can definitely make this monochromatic or make the points a separate color from the inside.
Supplies needed
- 4mm beads – 12 for the inner round, 12 for the middle, and 6 for the outer points.
- 28 gauge beading wire
- Jewelry pliers
- Optional: a pendant bail
- Finished chain
Instructions
1. Cut a length of wire about 3 feet long. Start by stringing 12 beads in the center.
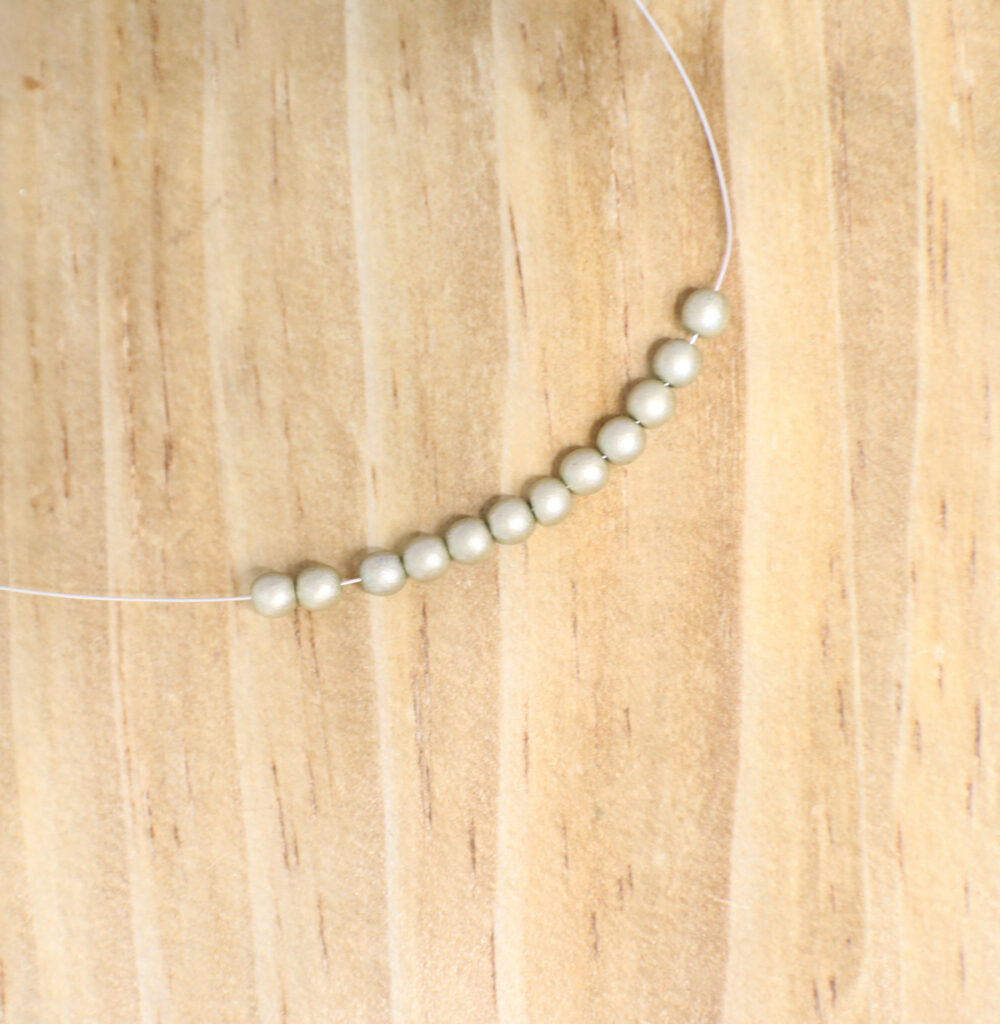
2. String the end of wire back through the first bead that you strung, so that you have a ring, with a wire on each side of that first bead.
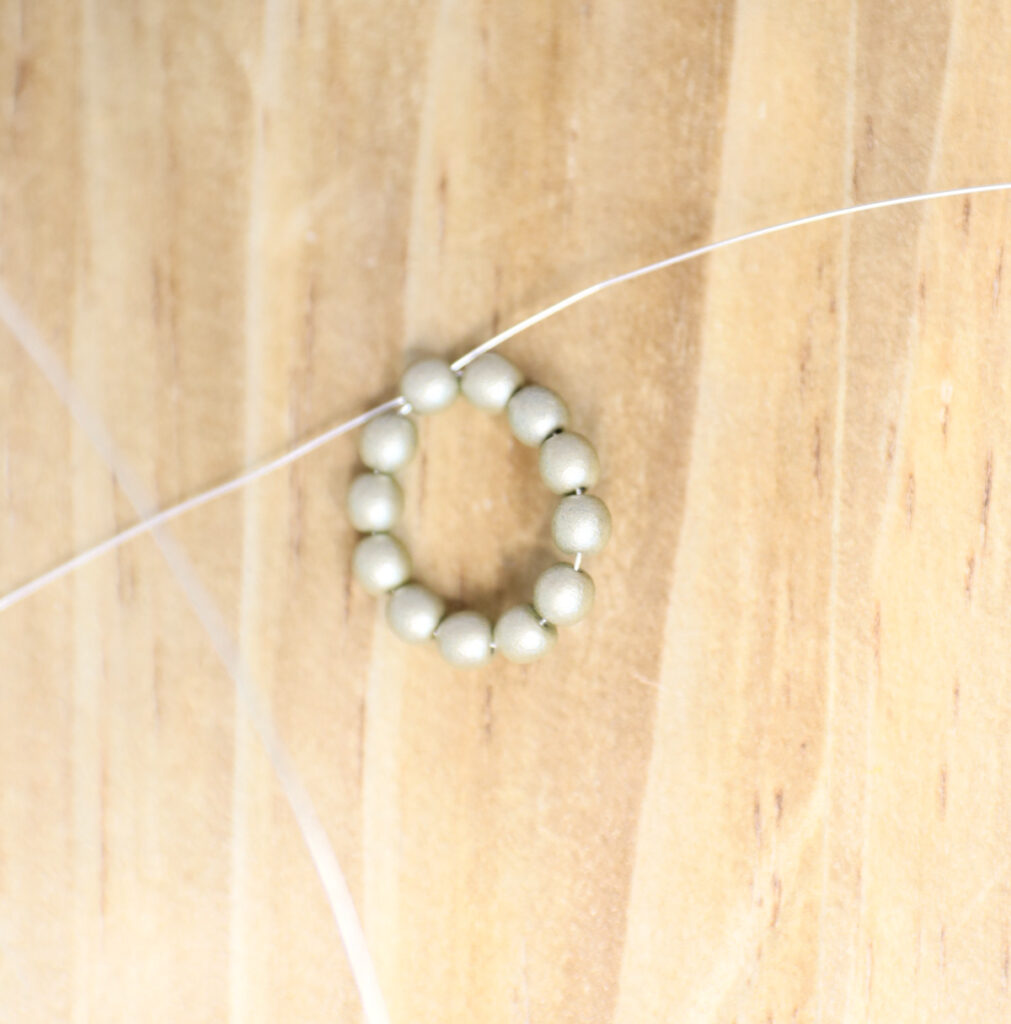
3. Starting on either side, string two beads.
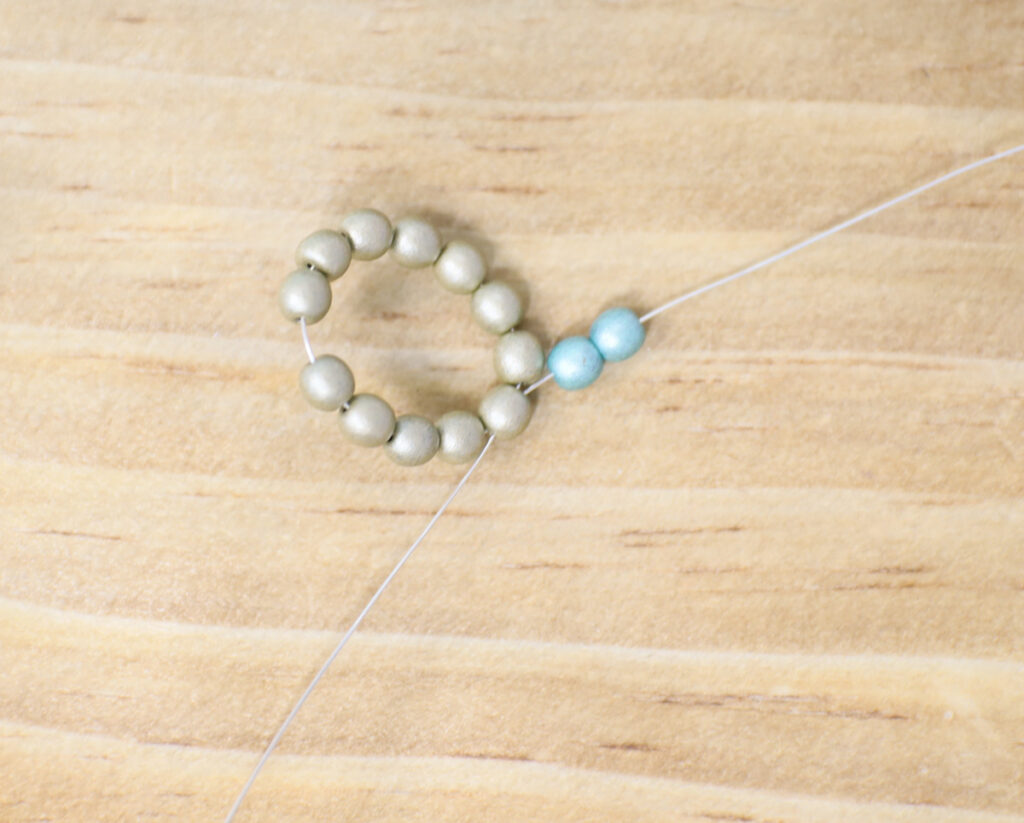
4. You’re now going to string your wire through your inner ring of beads each time you add another two beads, skipping one from the last you strung through. So skip a bead, string your wire through the next bead on the inner circle. The two second-layer beads should rest on top of that skipped bead. Don’t worry if the inside is getting a bit distorted, but do gently pull it tight and try to avoid unnecessary gaps and exposed wire.
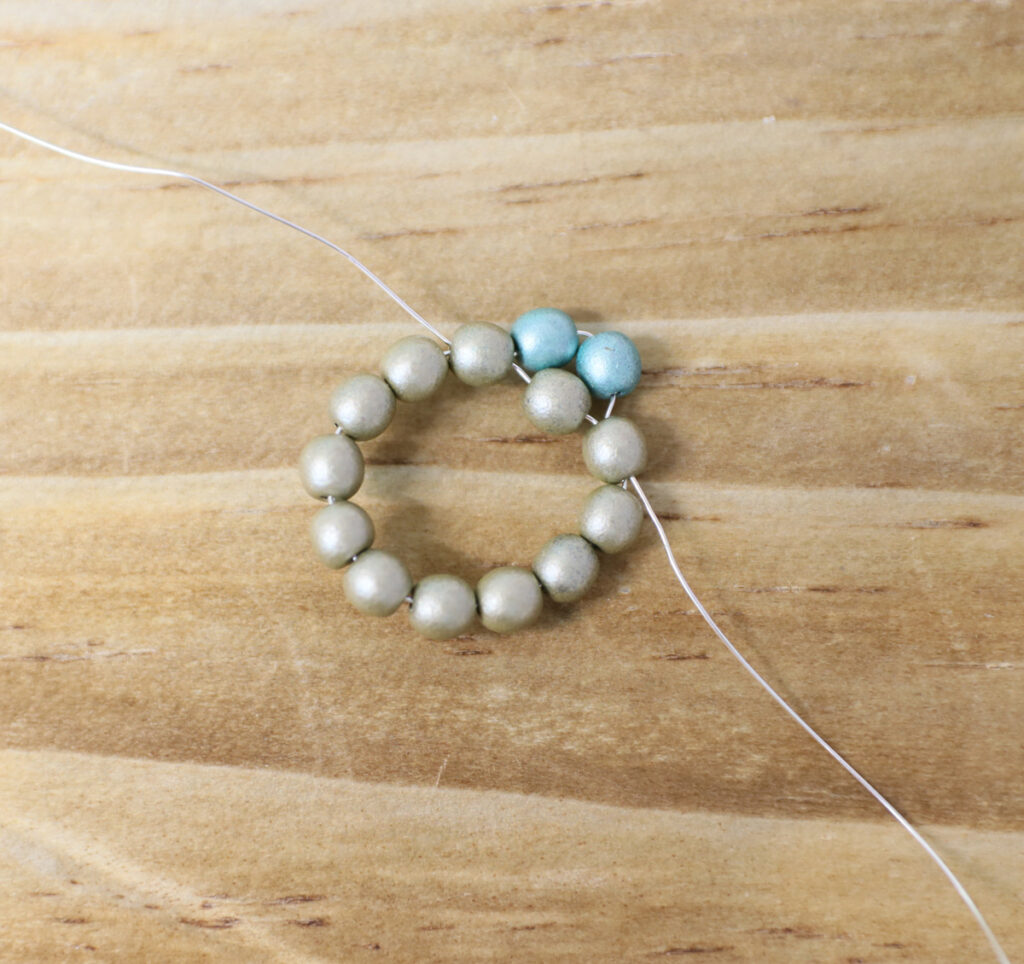
5. Continue stringing two beads, and threading it through every other center layer bead, until you reach your starting point – you should have six sets of two in your second layer, evenly spaced apart. Make sure to GENTLY pull each round tight enough that there are minimal gaps on the wire. Try to keep things straight to avoid kinking.
You may need to trim the tip of your wire as you go along if it gets too bent (you can also try straightening it with pliers as well, but you may need to trim it too.)
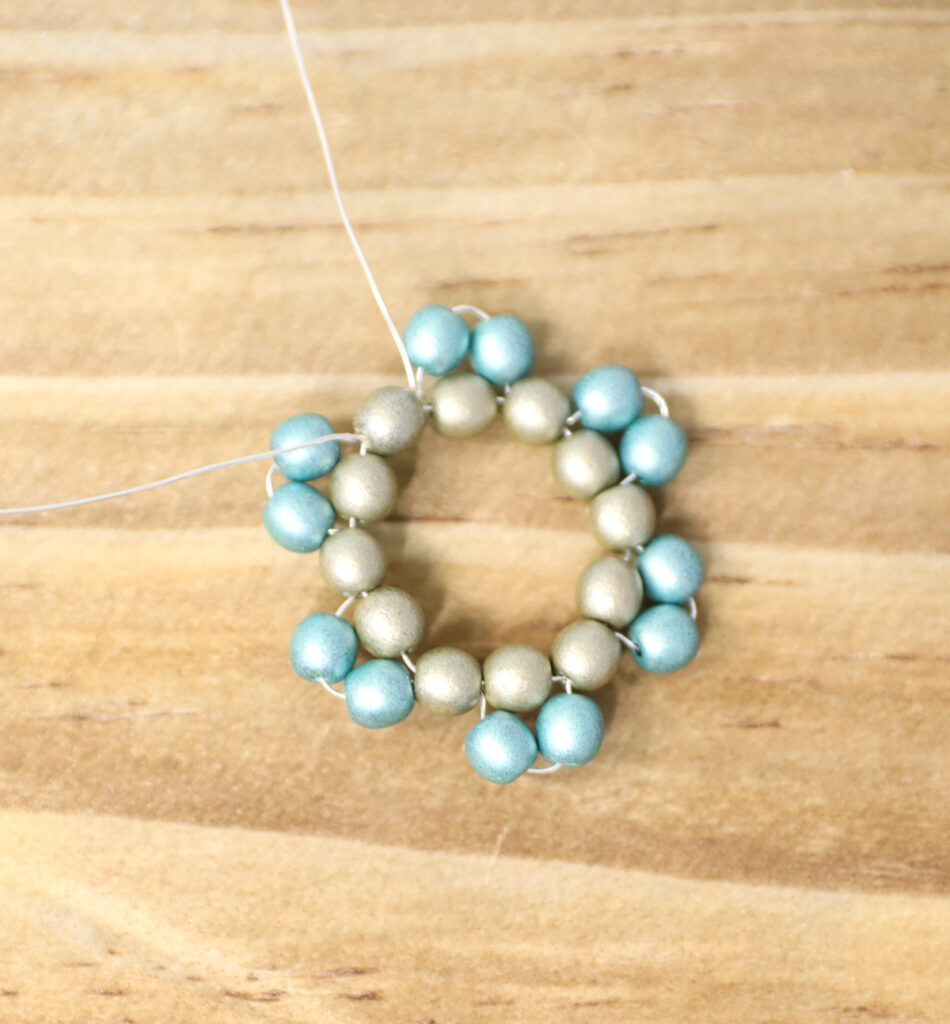
If you’re having trouble at any point stringing through a hole, bend the neighboring beads a bit back and pull that bead forward so that the hole is more accessible, then bend it right back once your wire is strung.
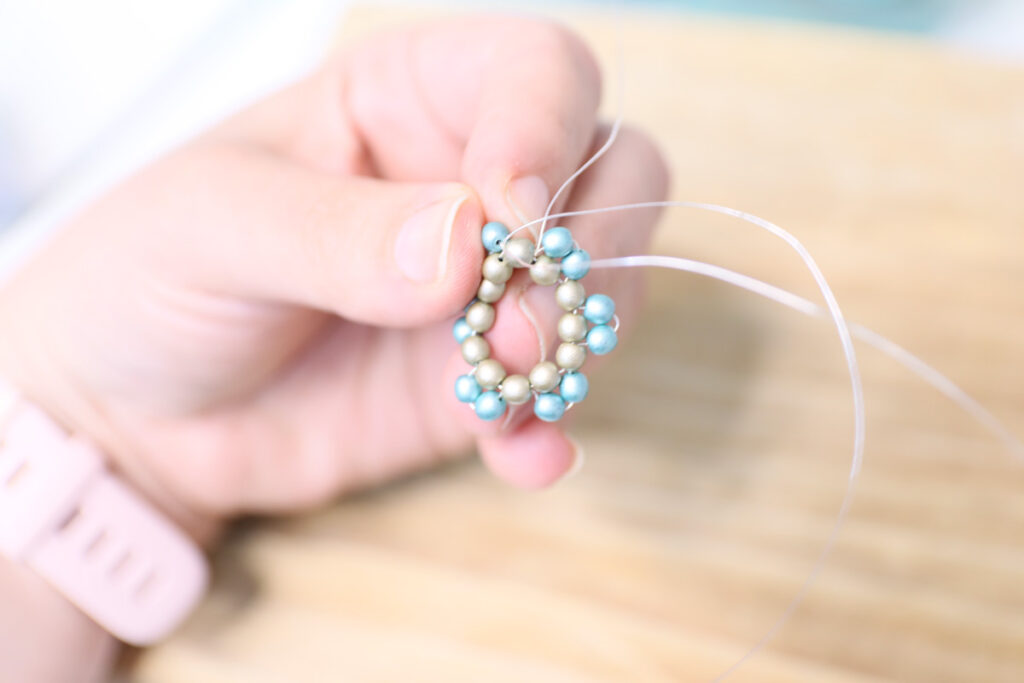
6. You’re ready for your final round. You’ll basically be running your wire around the perimeter of the entire Star of David, adding beads at the points – between your two second layer beads.
Run either side of your wire through the adjoining second layer bead. String on a single bead.
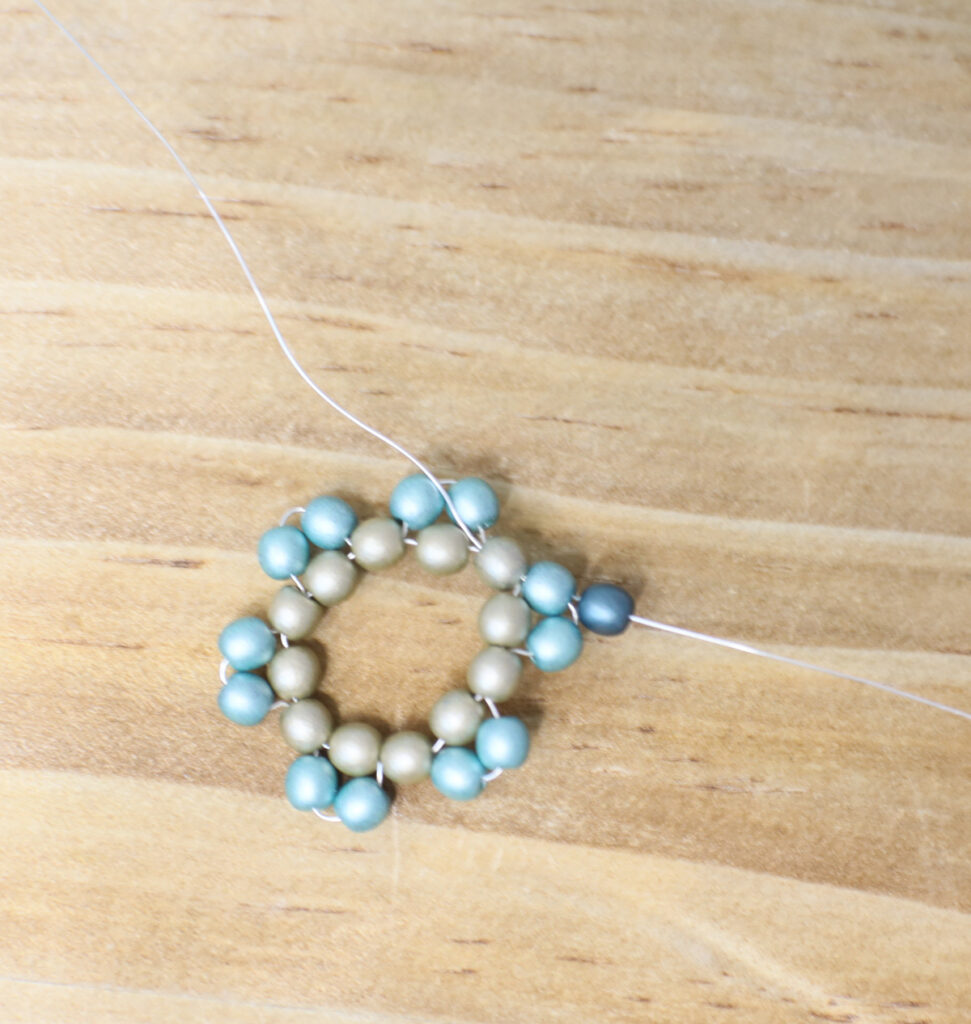
7. Run the wire through the next second layer bead, through the connecting first layer bead, and through the next second layer bead. Pull gently to secure.
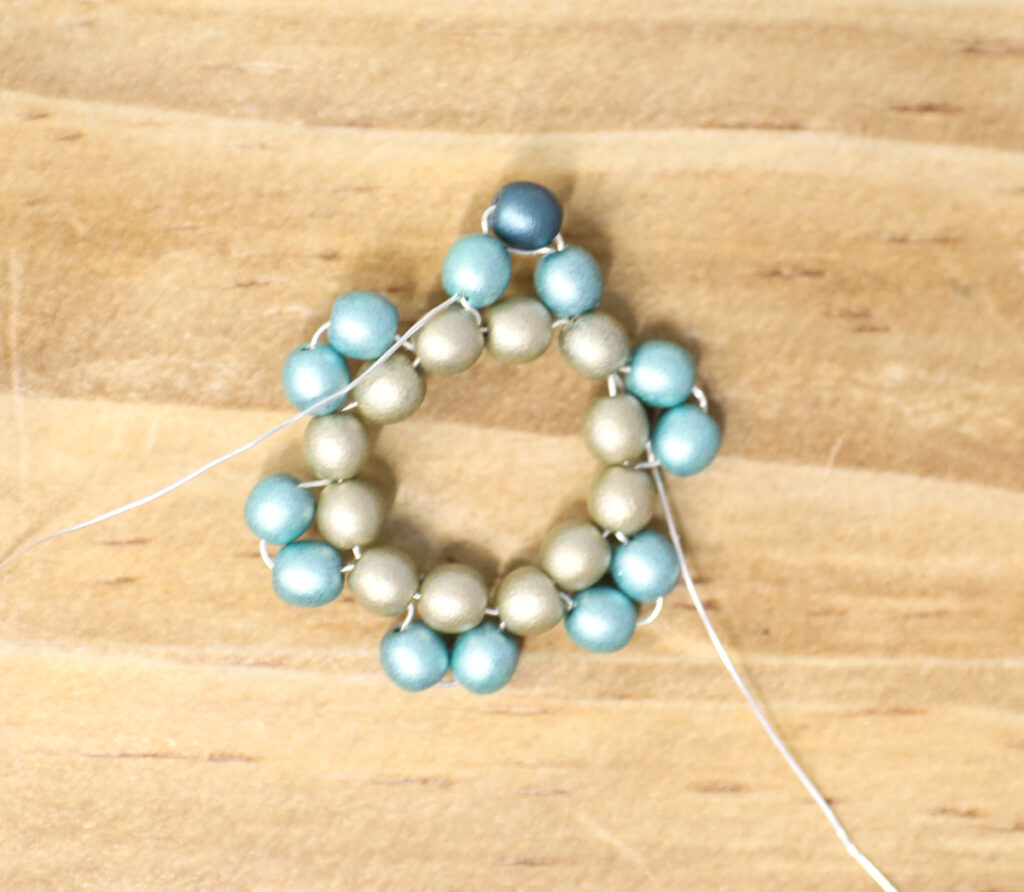
8. Add another bead. Continue running the wire through the beads around the perimeter of the star, adding a bead between the two second layer beads to form a point, until you’ve completed all six.
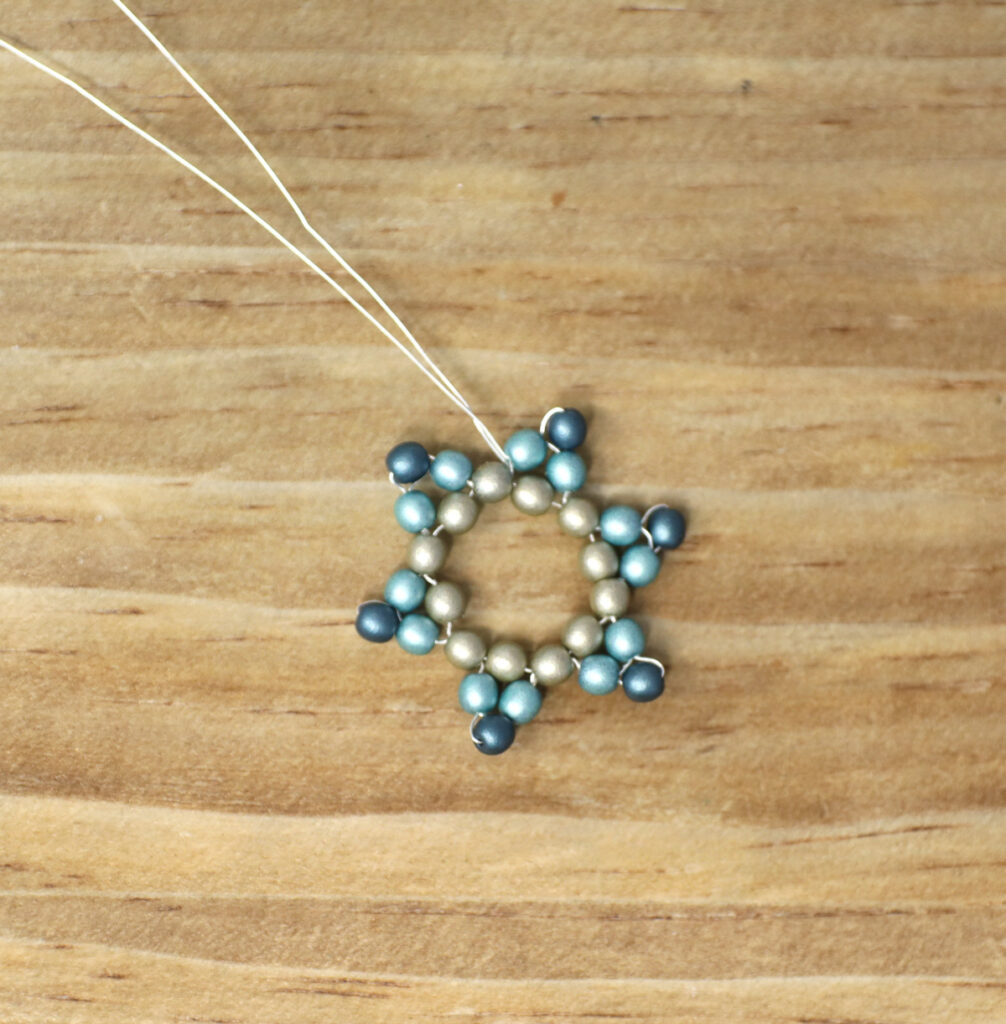
9. You can finish this off one of two ways. Either, run it through the last bead as well, till both wires meet. Form a loop using both wires.
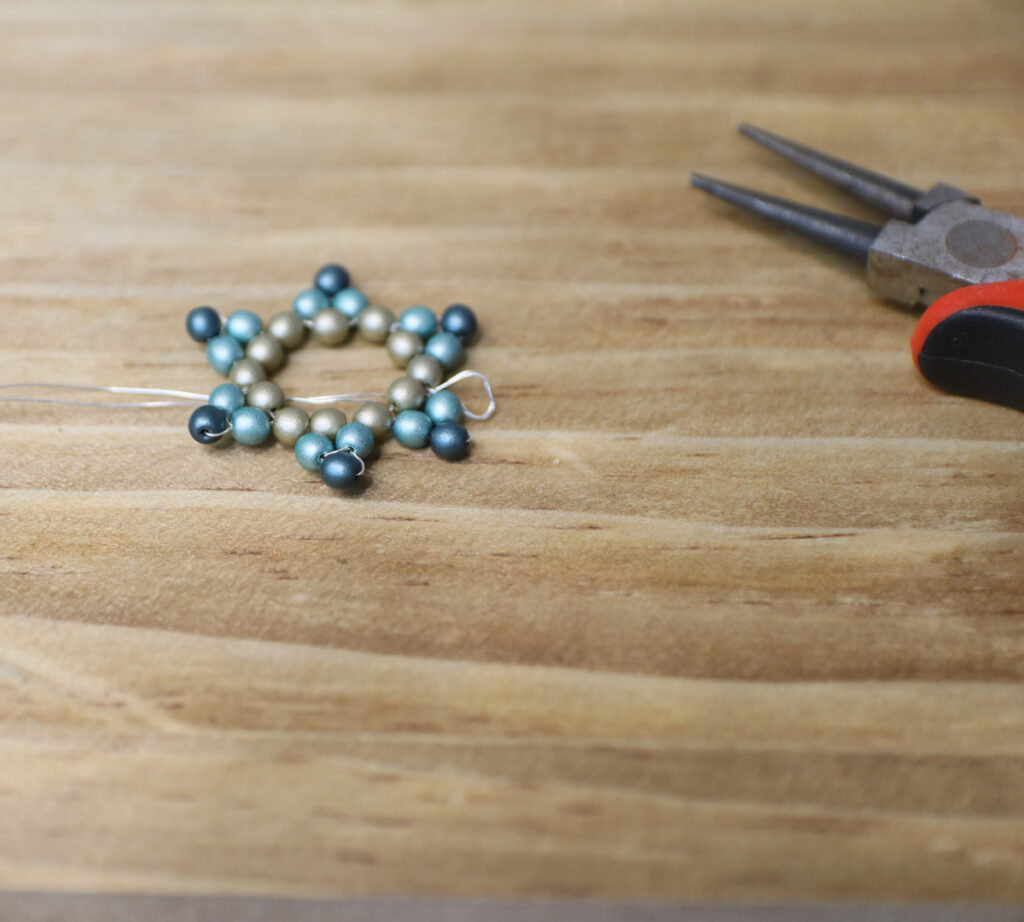
10. Wrap the wire’s “tails” through the star, then around itself to form a loop. Attach a pendant bail and a chain.
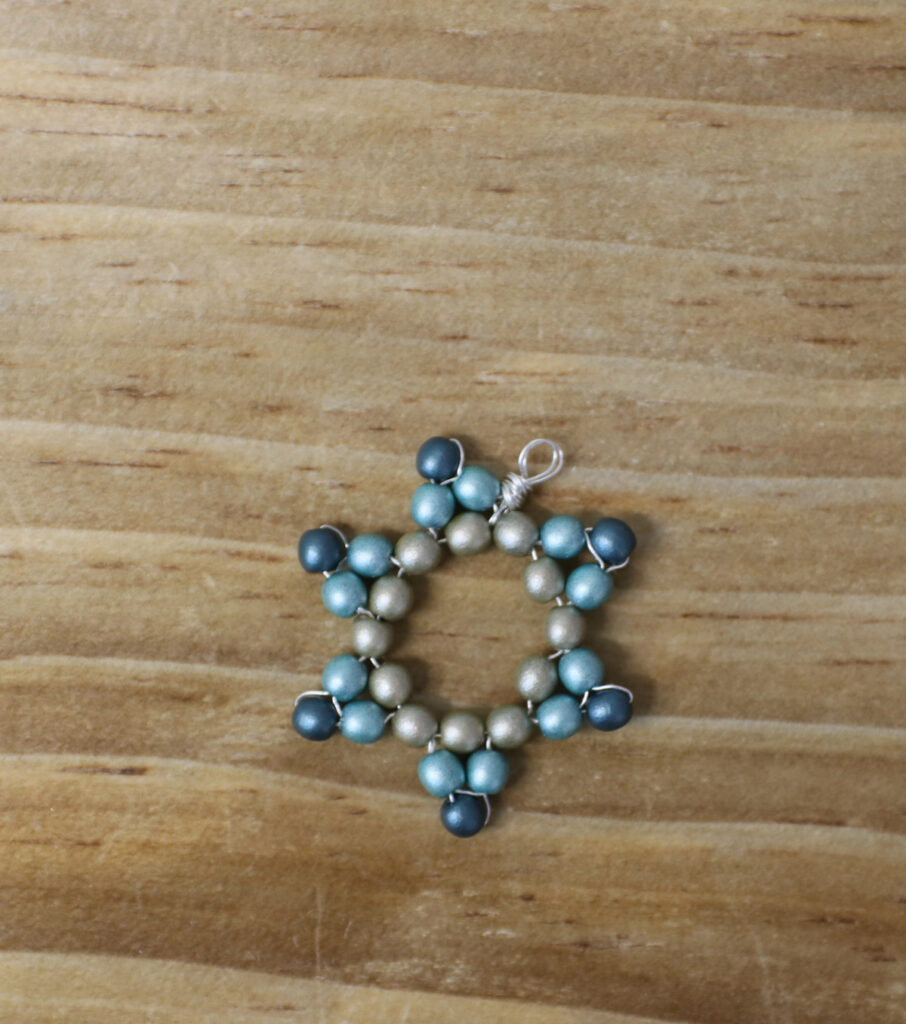
Alternatively, you can finish the star off “clean” by wrapping the wire tails a few times around the star itself, and trimming tight. Then, simply thread a chain through the slight gap between the outer and center beading layers on one of the star points.
Wear it with pride!
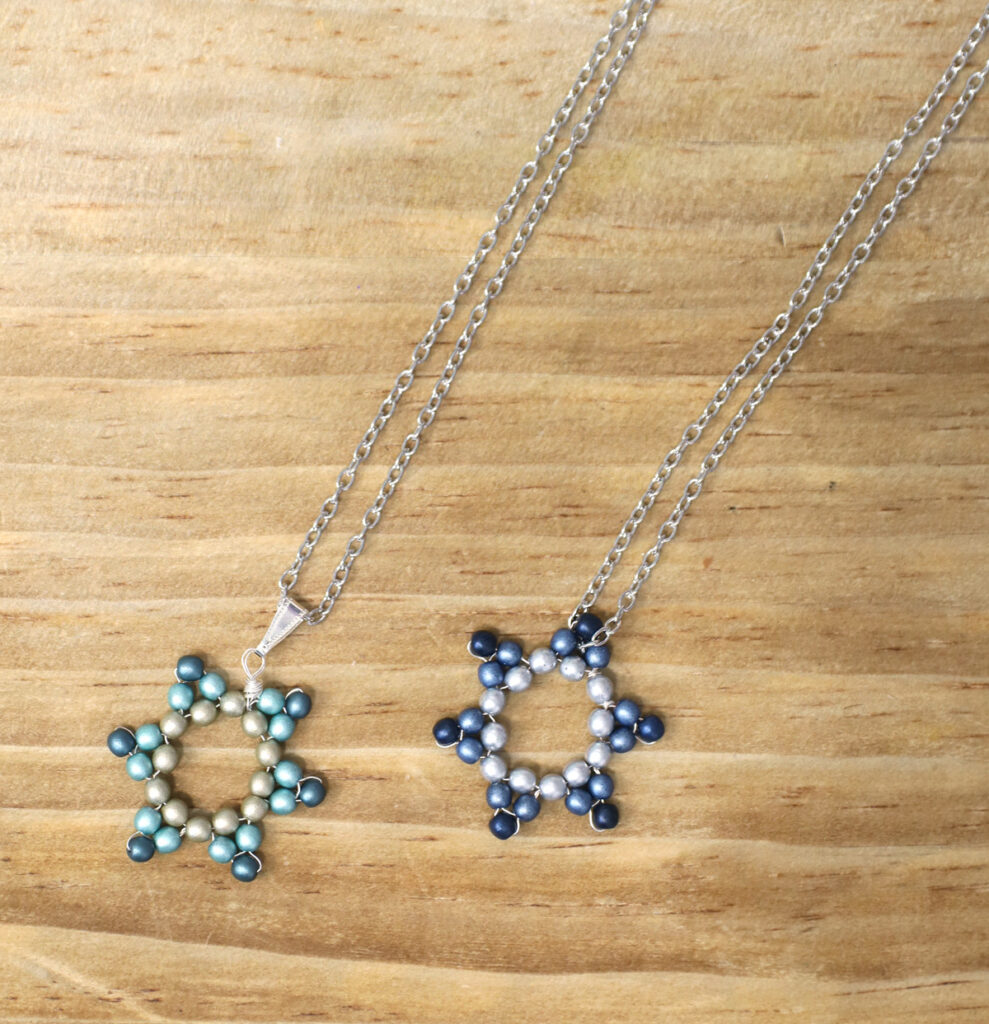
I hope you enjoyed this Star of David beading tutorial and DIY necklace! What do you want to see next in this space? Comment below!



Looks wonderful!! I may use it as an activity for my older adult women’s group, as well as my weekly grandkids chug!. Two ideas: one is, do three points from each original “tail” after the first inner loop, working in opposite directions. The second is, add the pendant bail at the same time as adding one of the “points” so that it hangs straight. I’ll play around.
Happy Yom haAtzma’ut, and besorot tovot.