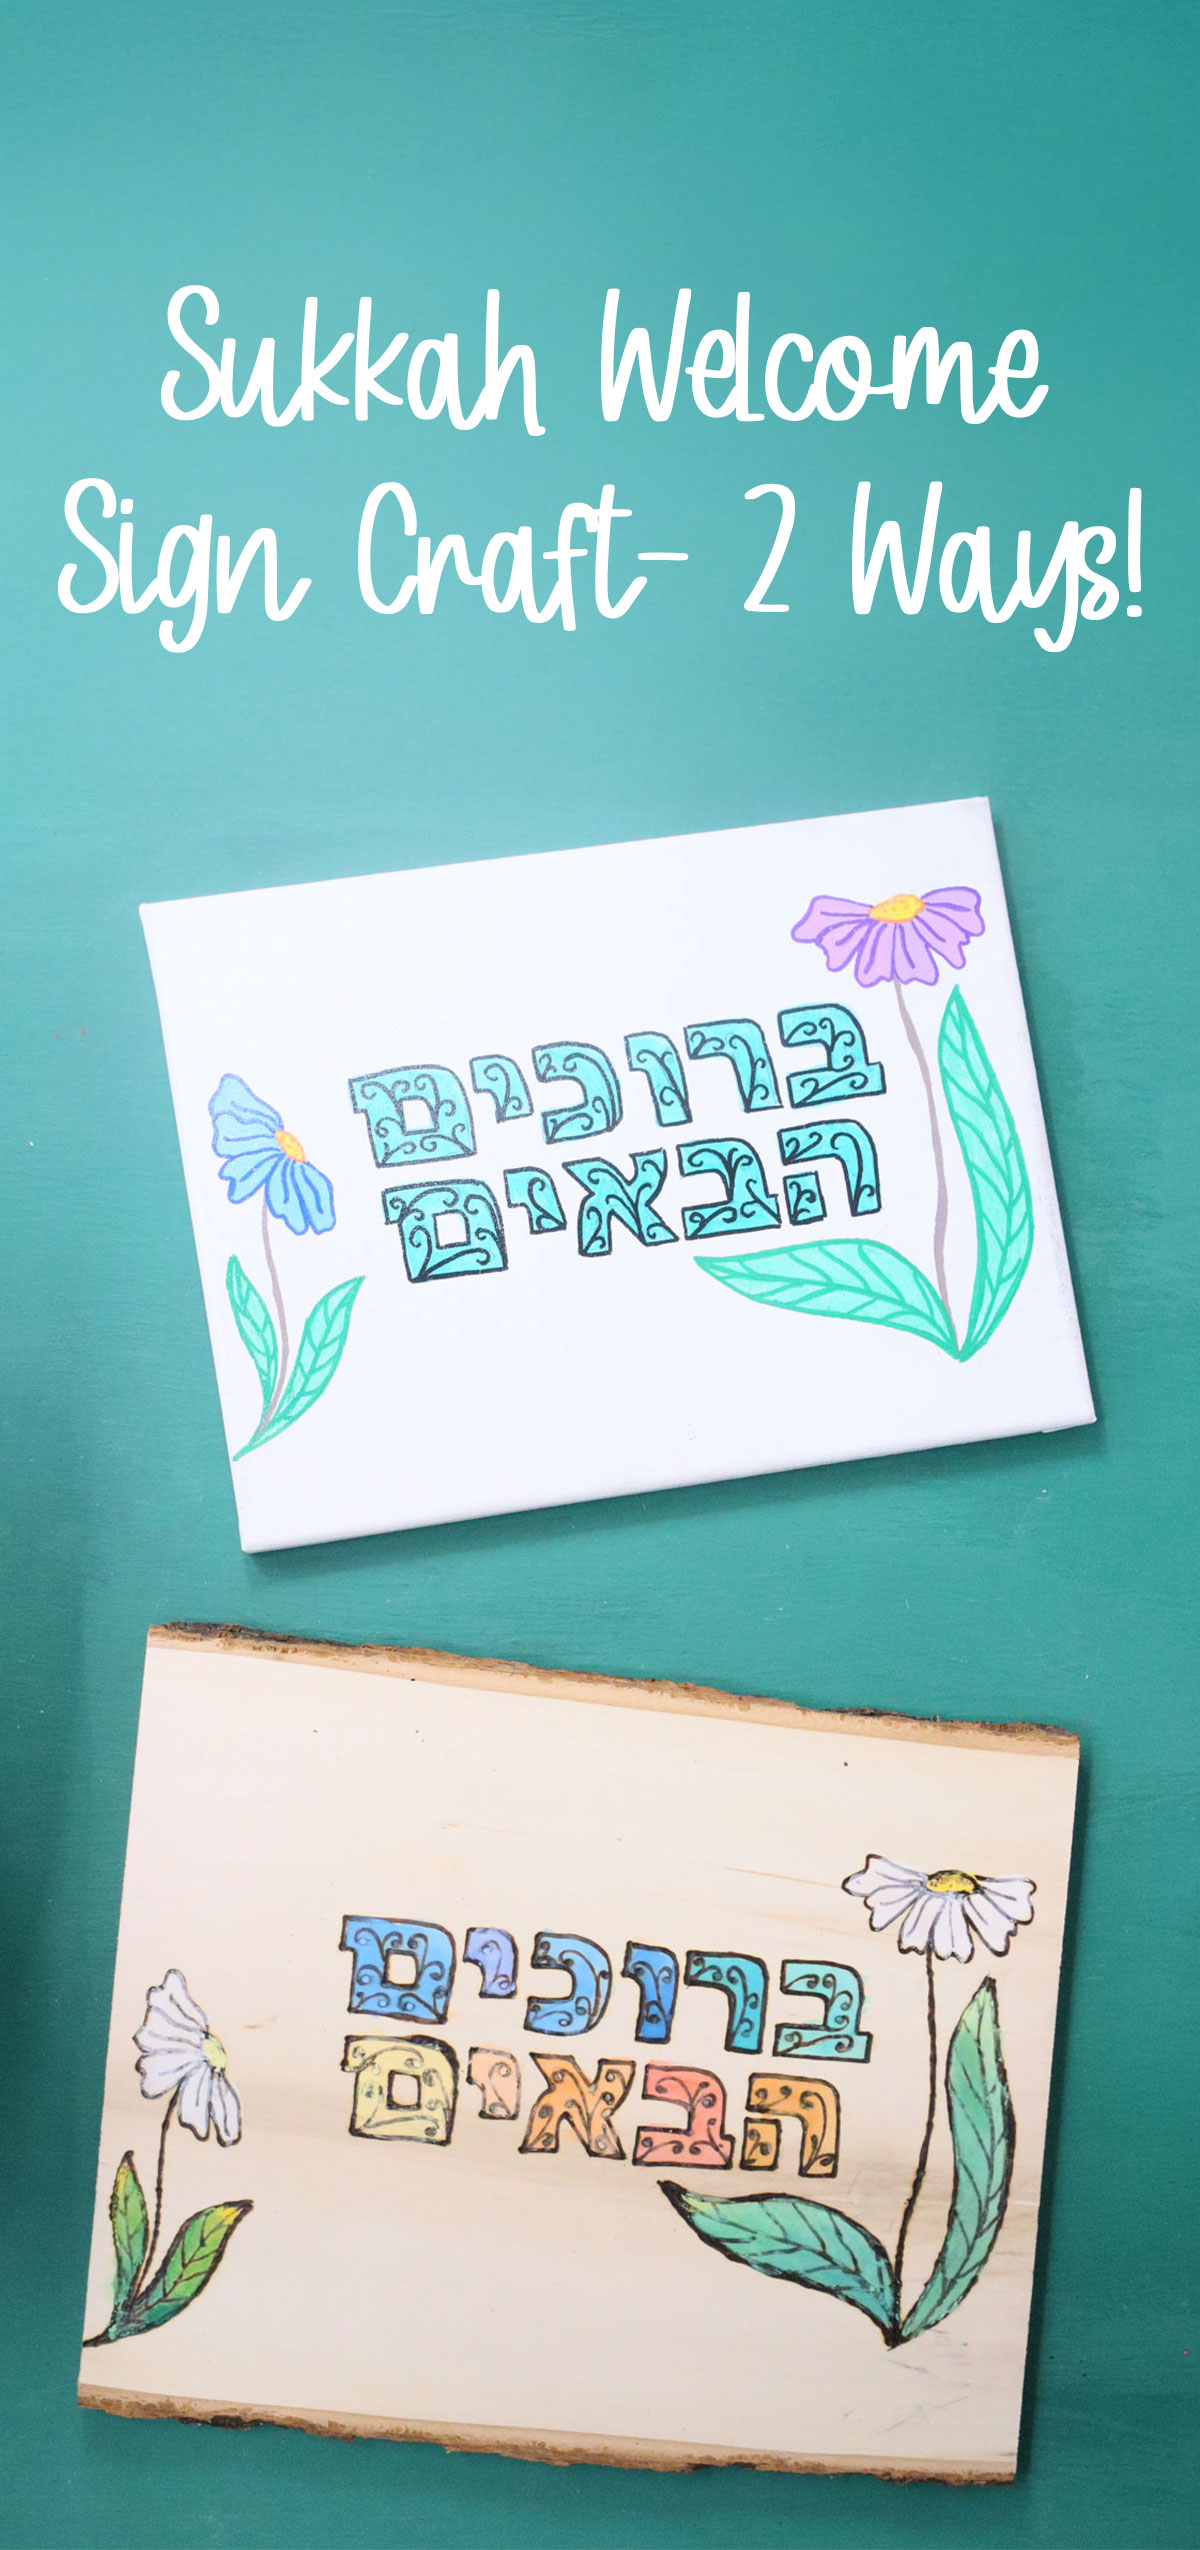
Sukkah Welcome Sign – Bruchim Haba’im 2 Ways!
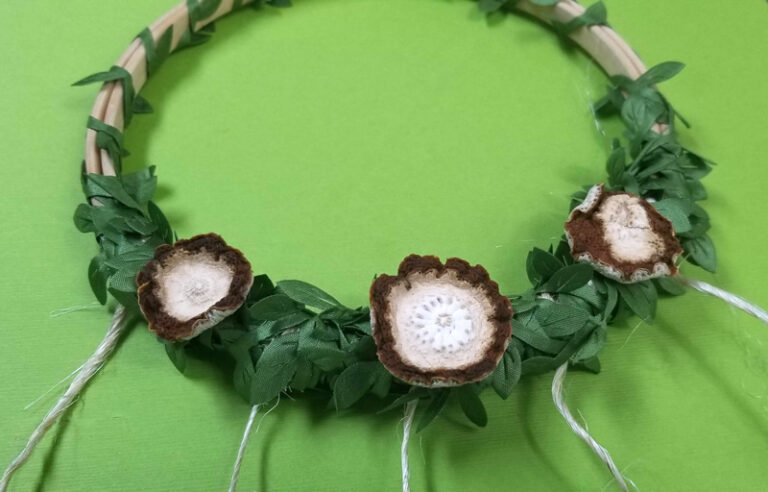
Ready to craft a really pretty Sukkah welcome sign? Choose one of two ways to craft a gorgeous Bruchim Haba’im sign for the door: wood burning or canvas drawing! When you’re done, check out this gorgeous pomegranate string art for the Sukkah too! This post contains affiliate links.
As we welcome guests or family into our Sukkah this year, why not greet them with a pretty sign?
My original idea in sharing this was to start with a wood panel (live edge, of course) and woodburn it! The template was designed with this in mind.
But not everyone is going to pick up a woodburning tool to do this, so I decided to make this a 2-in-1 tutorial and also show you how to do it with paint markers on canvas! That makes it accessible to more groups of people, too! It uses the same template and basic transfer technique.
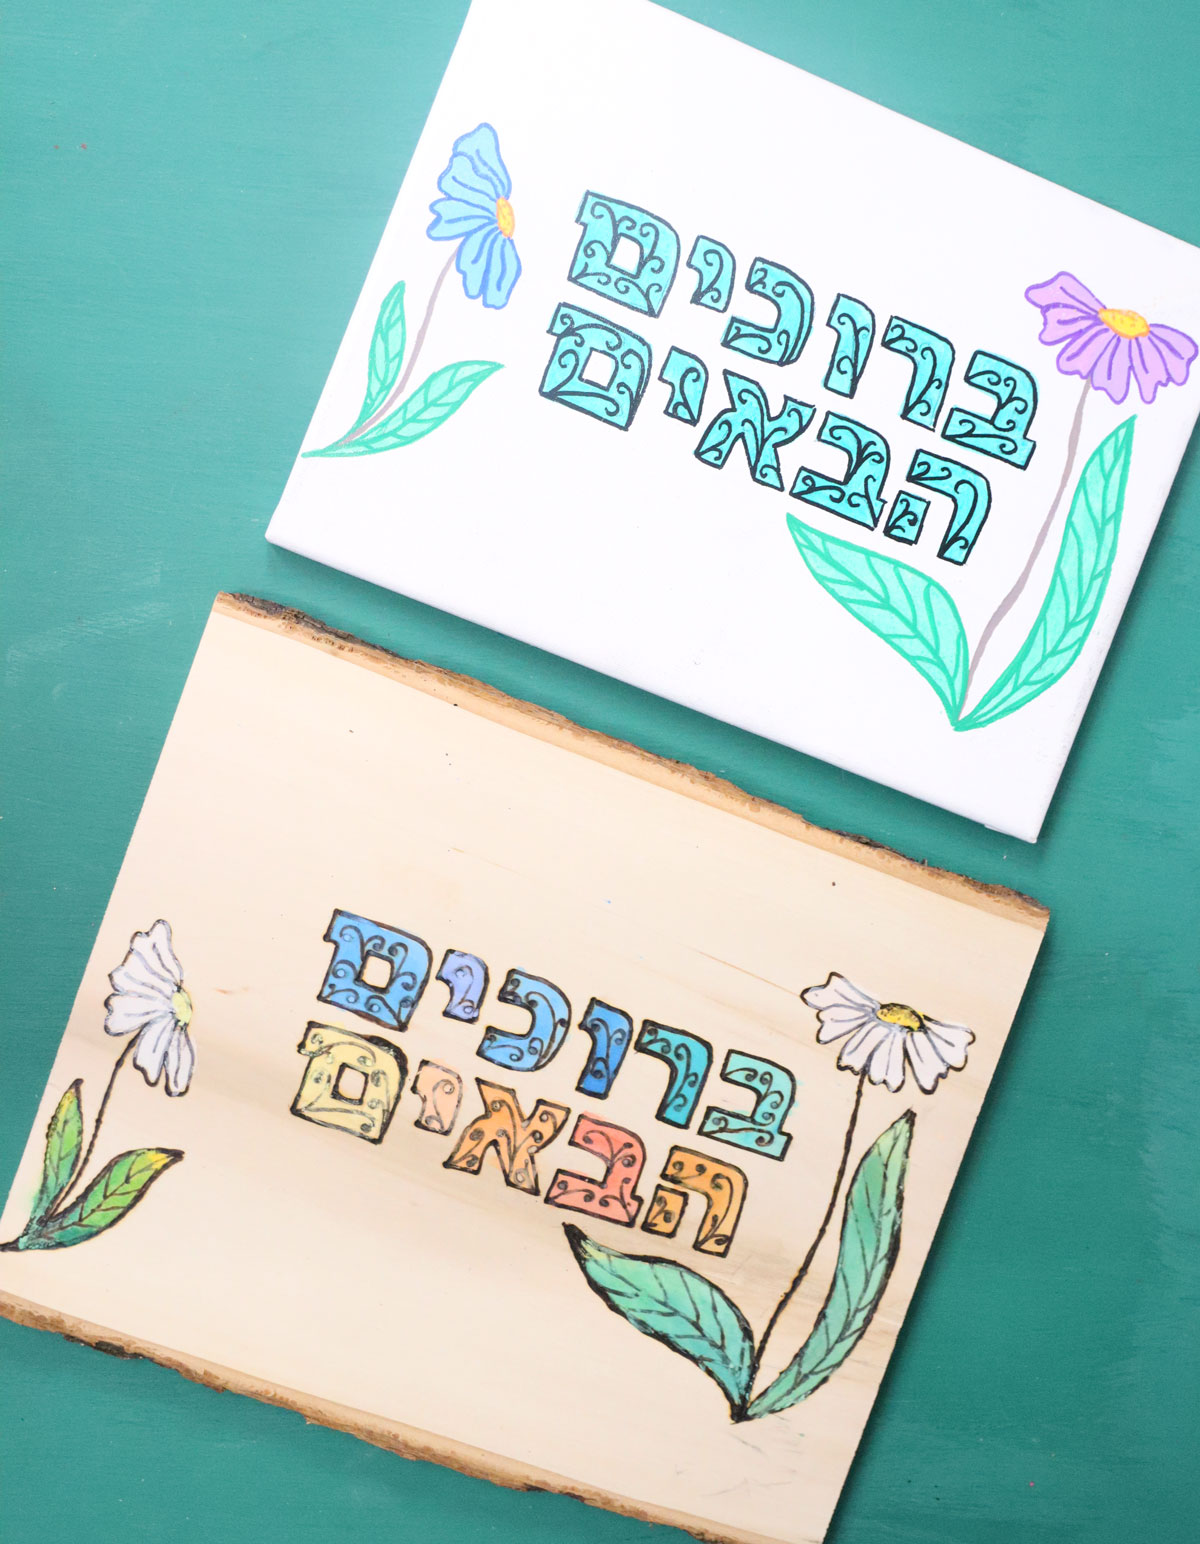
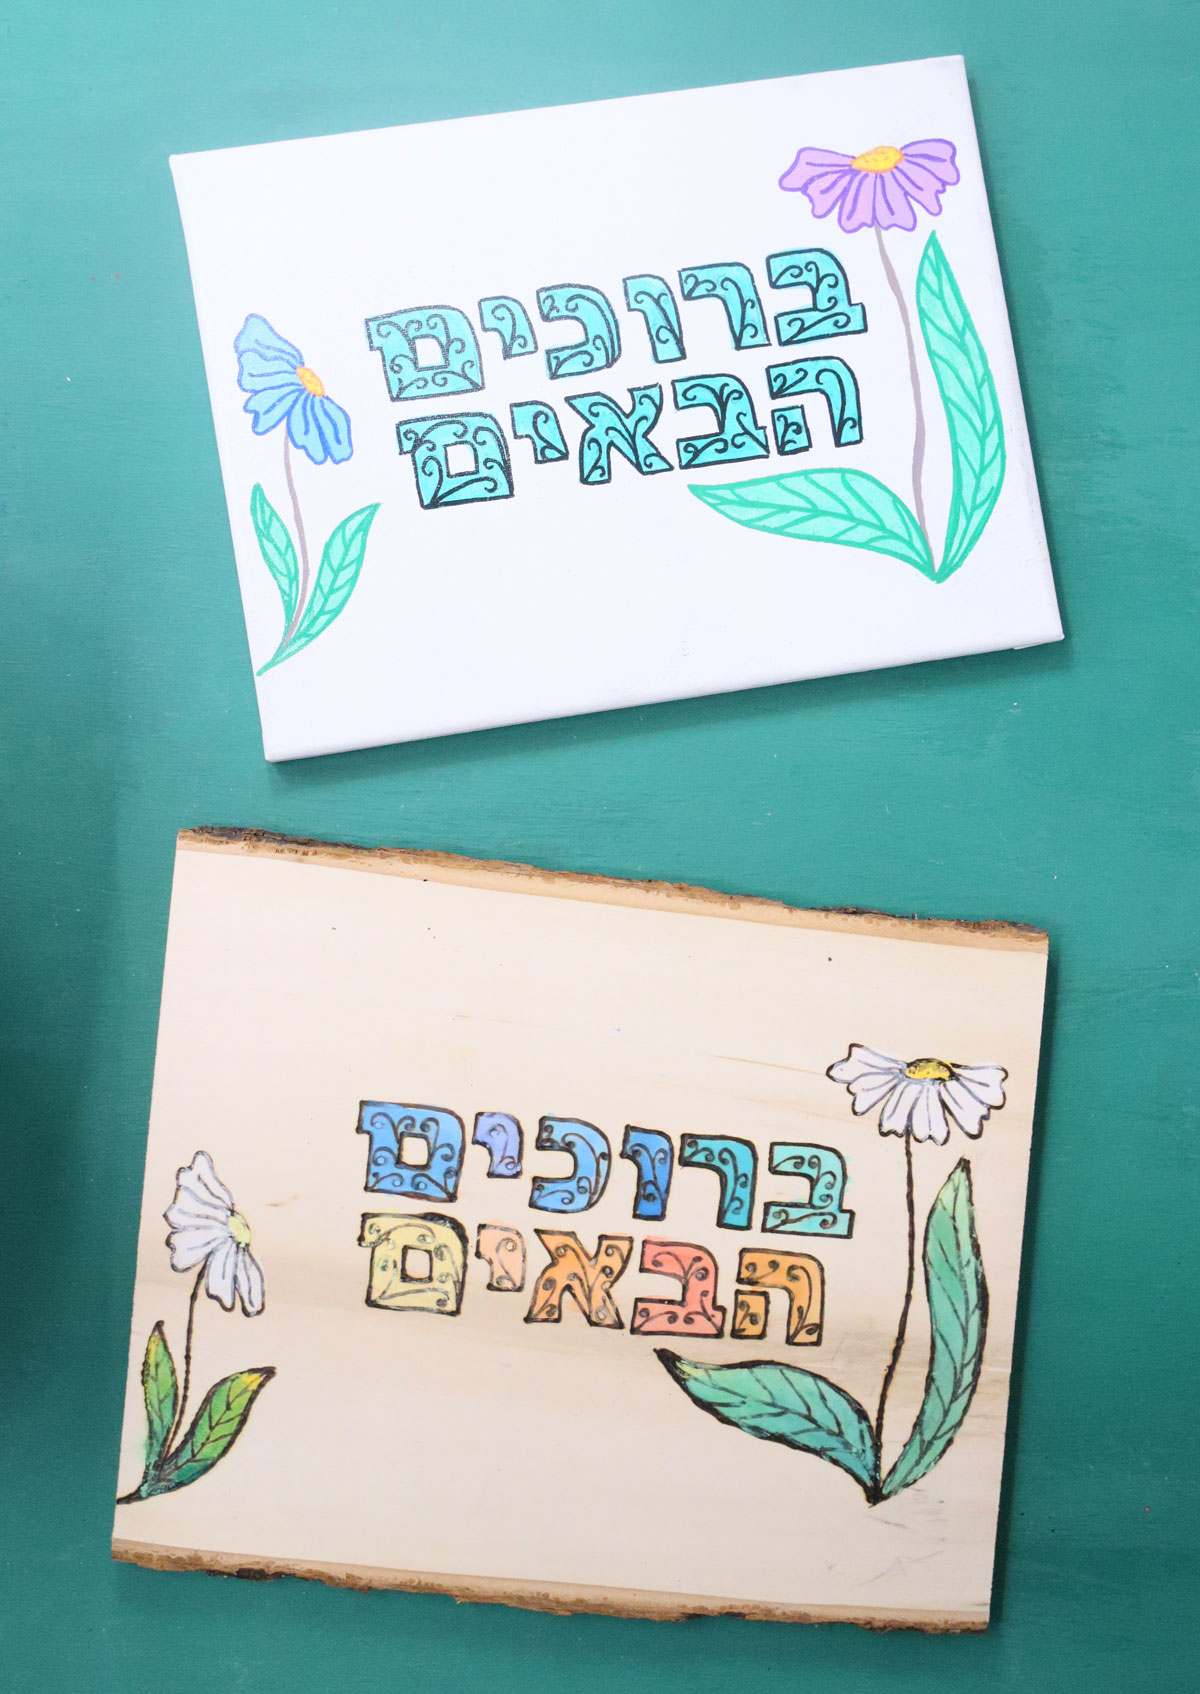
2 ways to craft a DIY Sukkah Welcome Sign
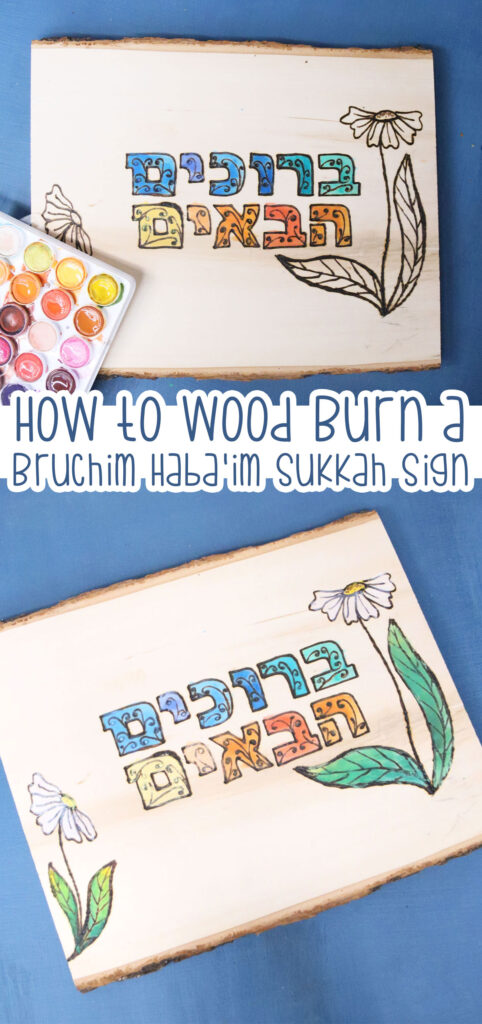
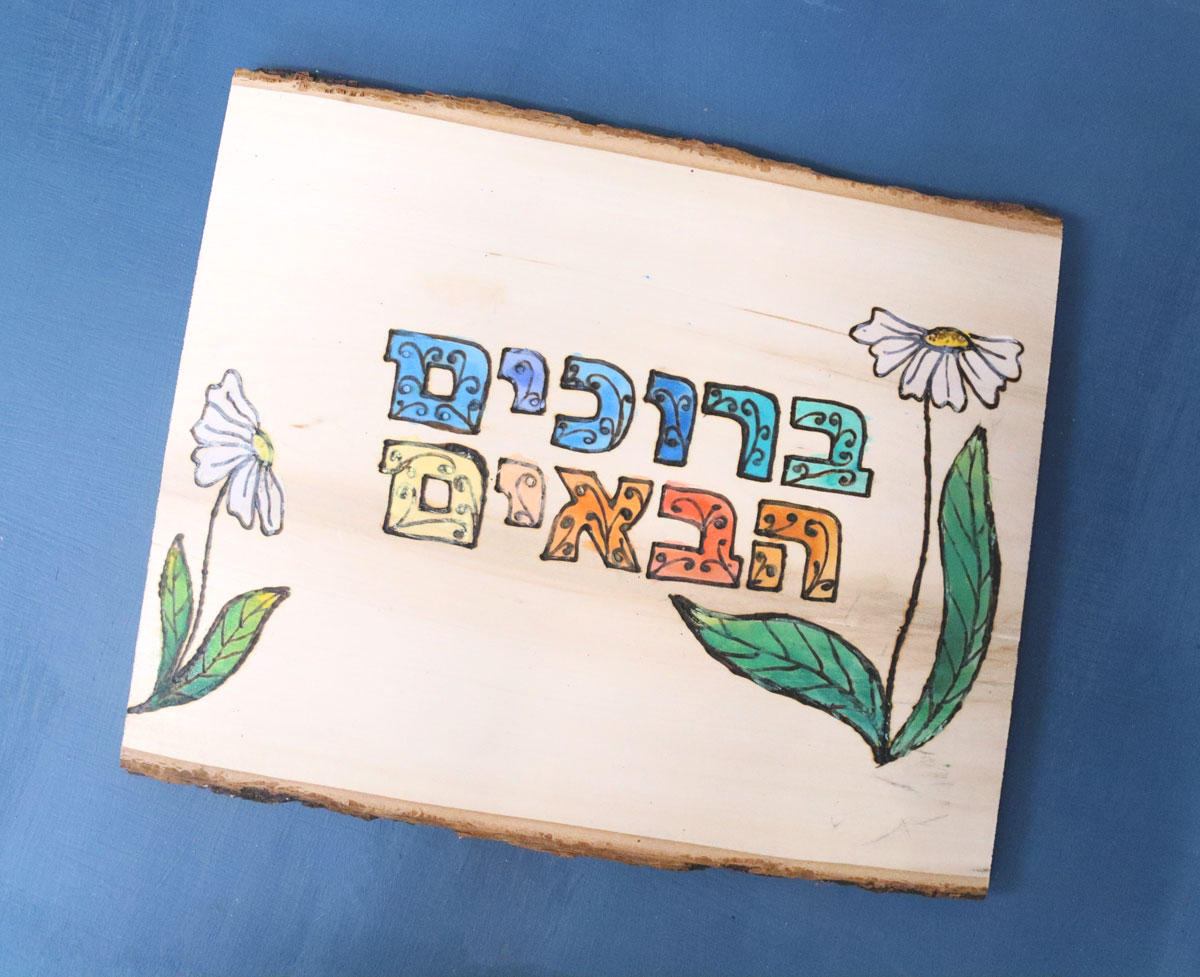
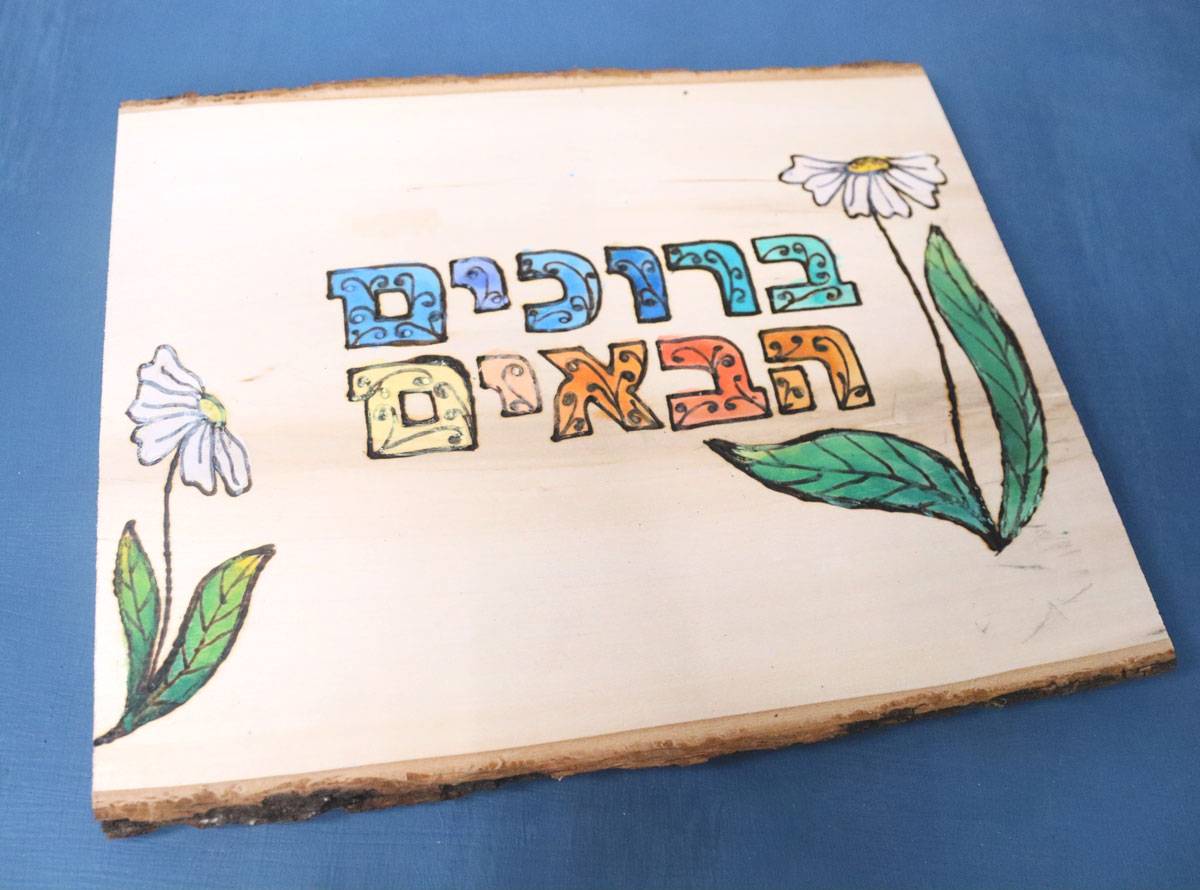
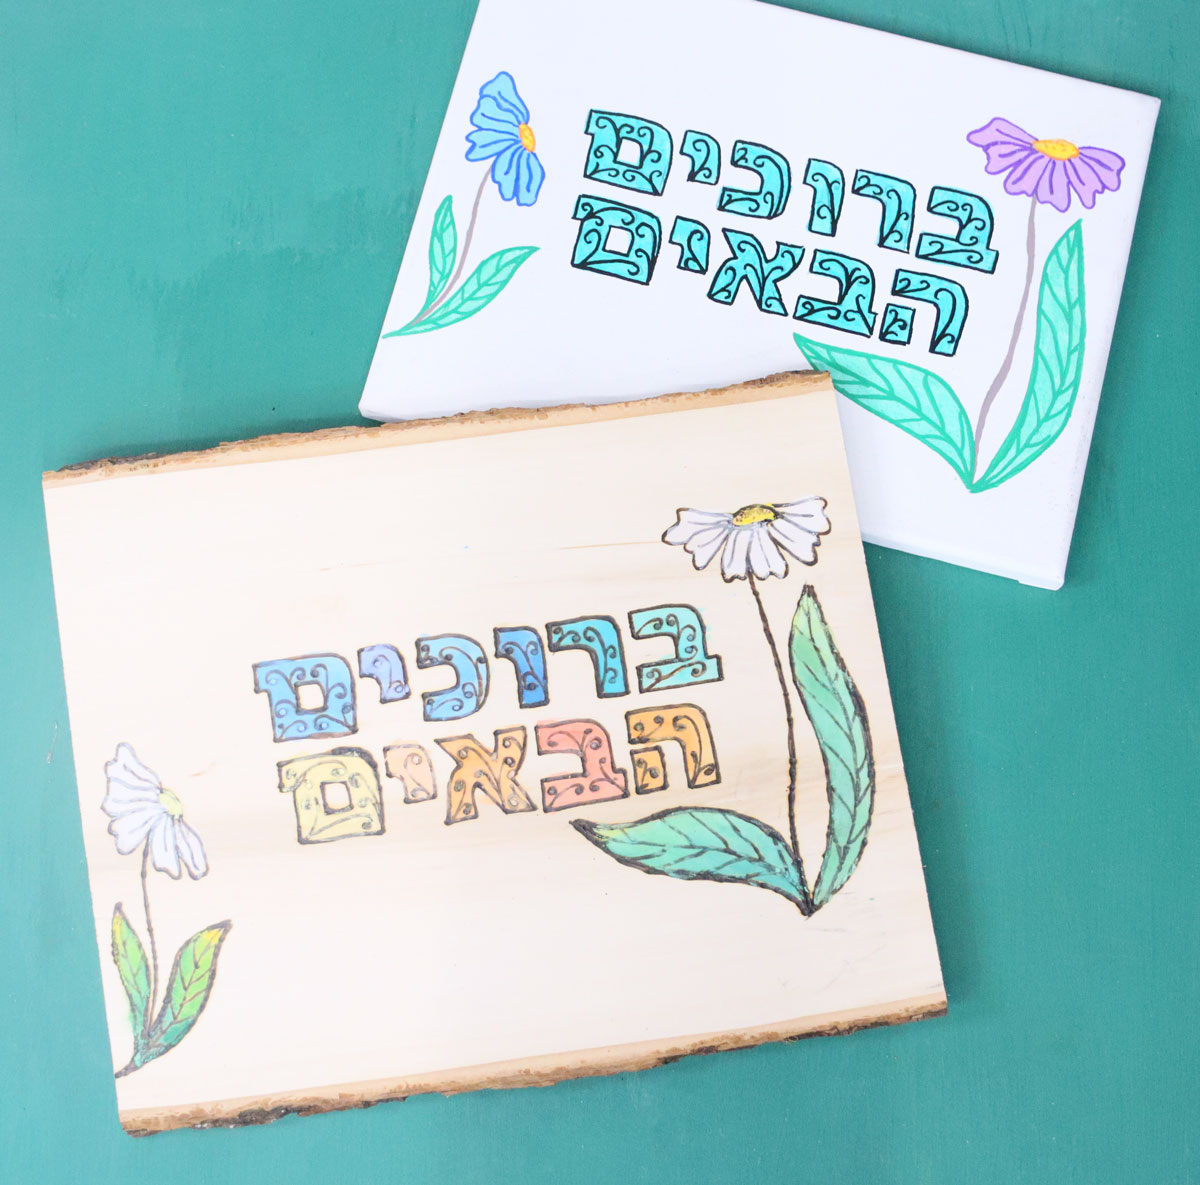
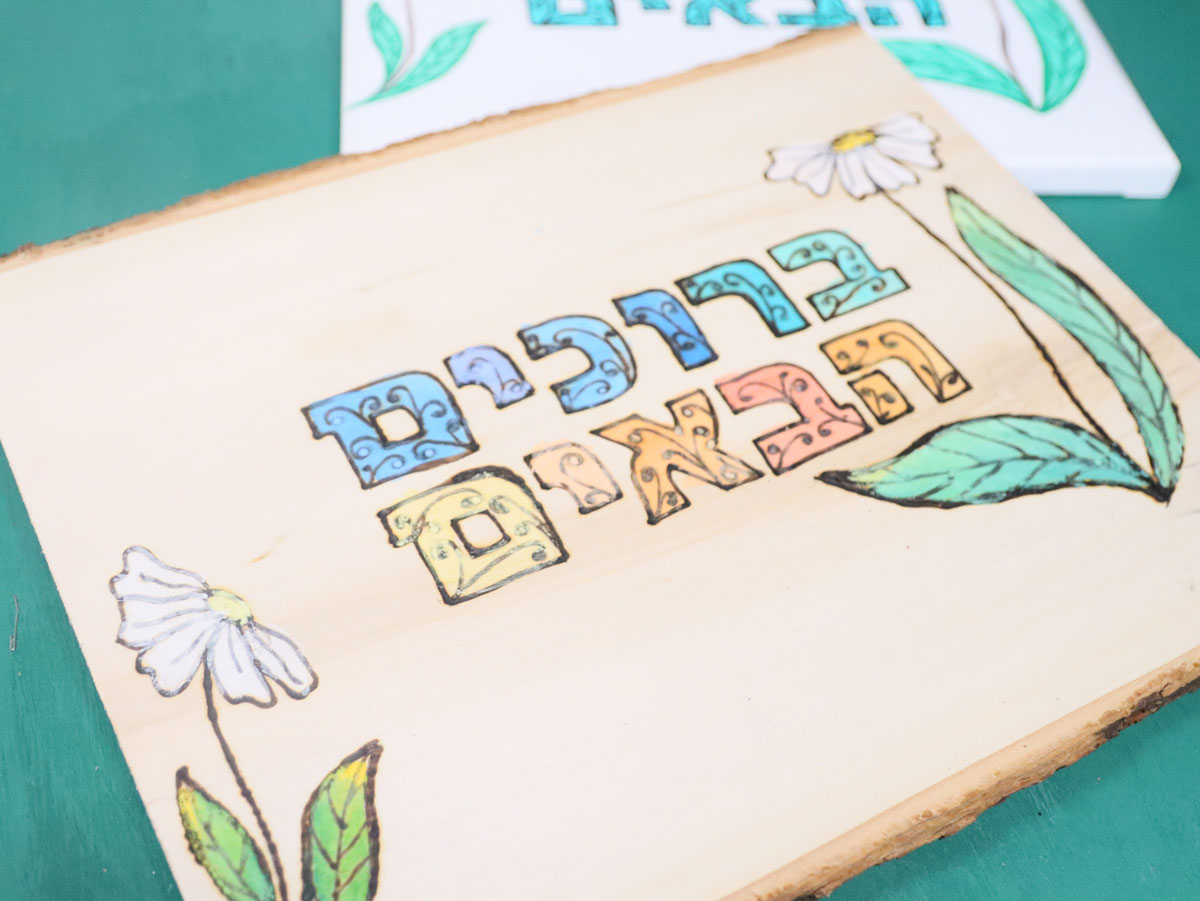
The wood-burning way
I absolutely love the process of wood burning, and while yes, I do own a laser engraver that could have done this mechanically, you lose the art that way!
If you’ve never woodburned before, you can still do this (I’m hardly an expert) – you can even check out some woodburning tutorials for beginners posts I had someone guest post on my main blog years ago.
Woodburning should only be done by an adult or someone old enough to be responsible, and should be done with extreme care, as the tip is HOT. You need to be careful to hold the tool above where you’d normally hold a pen. Work slowly and methodically. I recommend practicing on a scrap first.
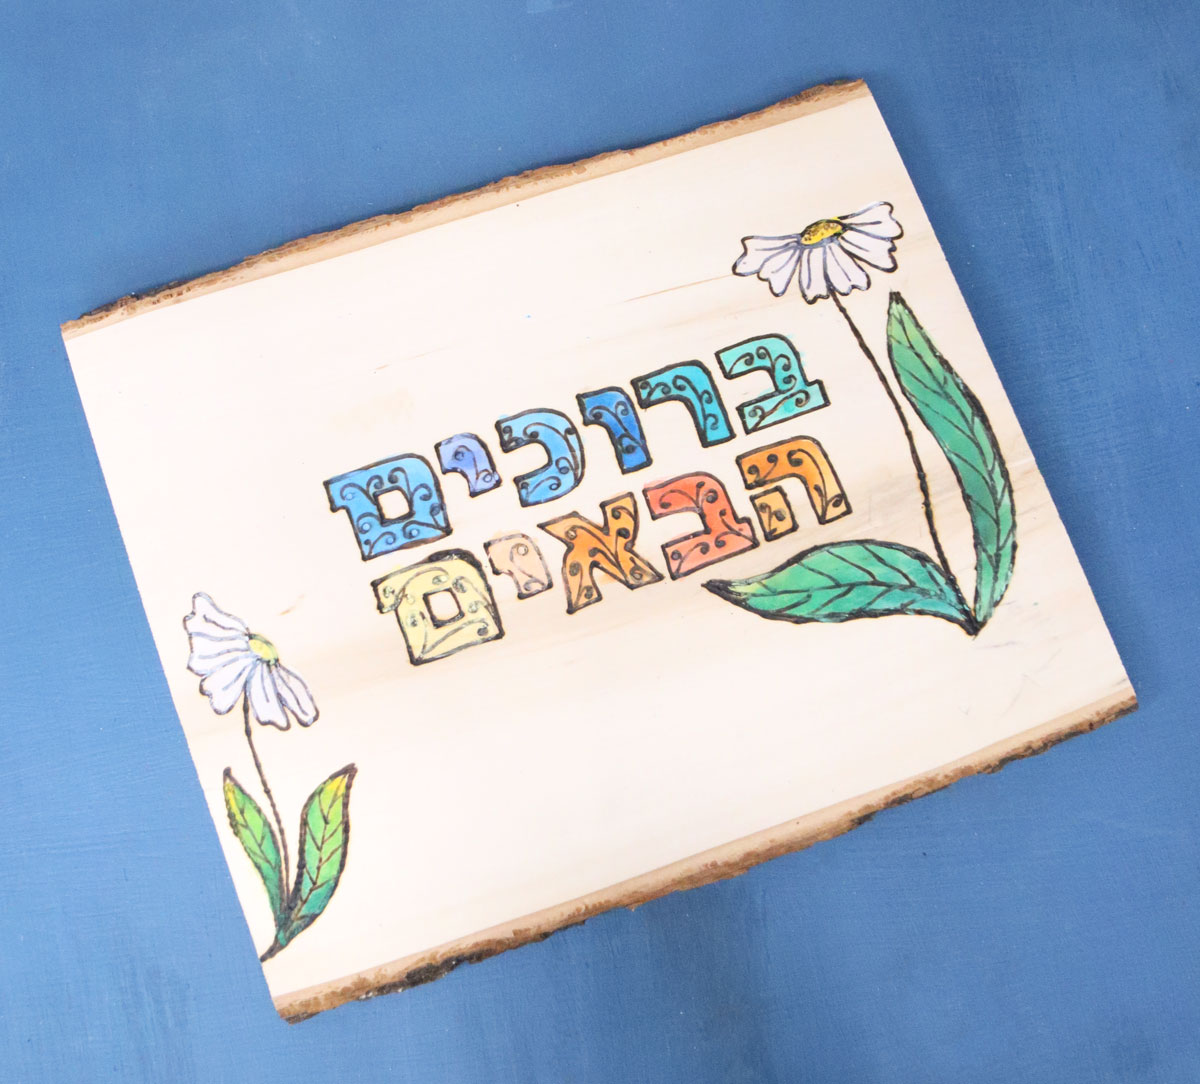
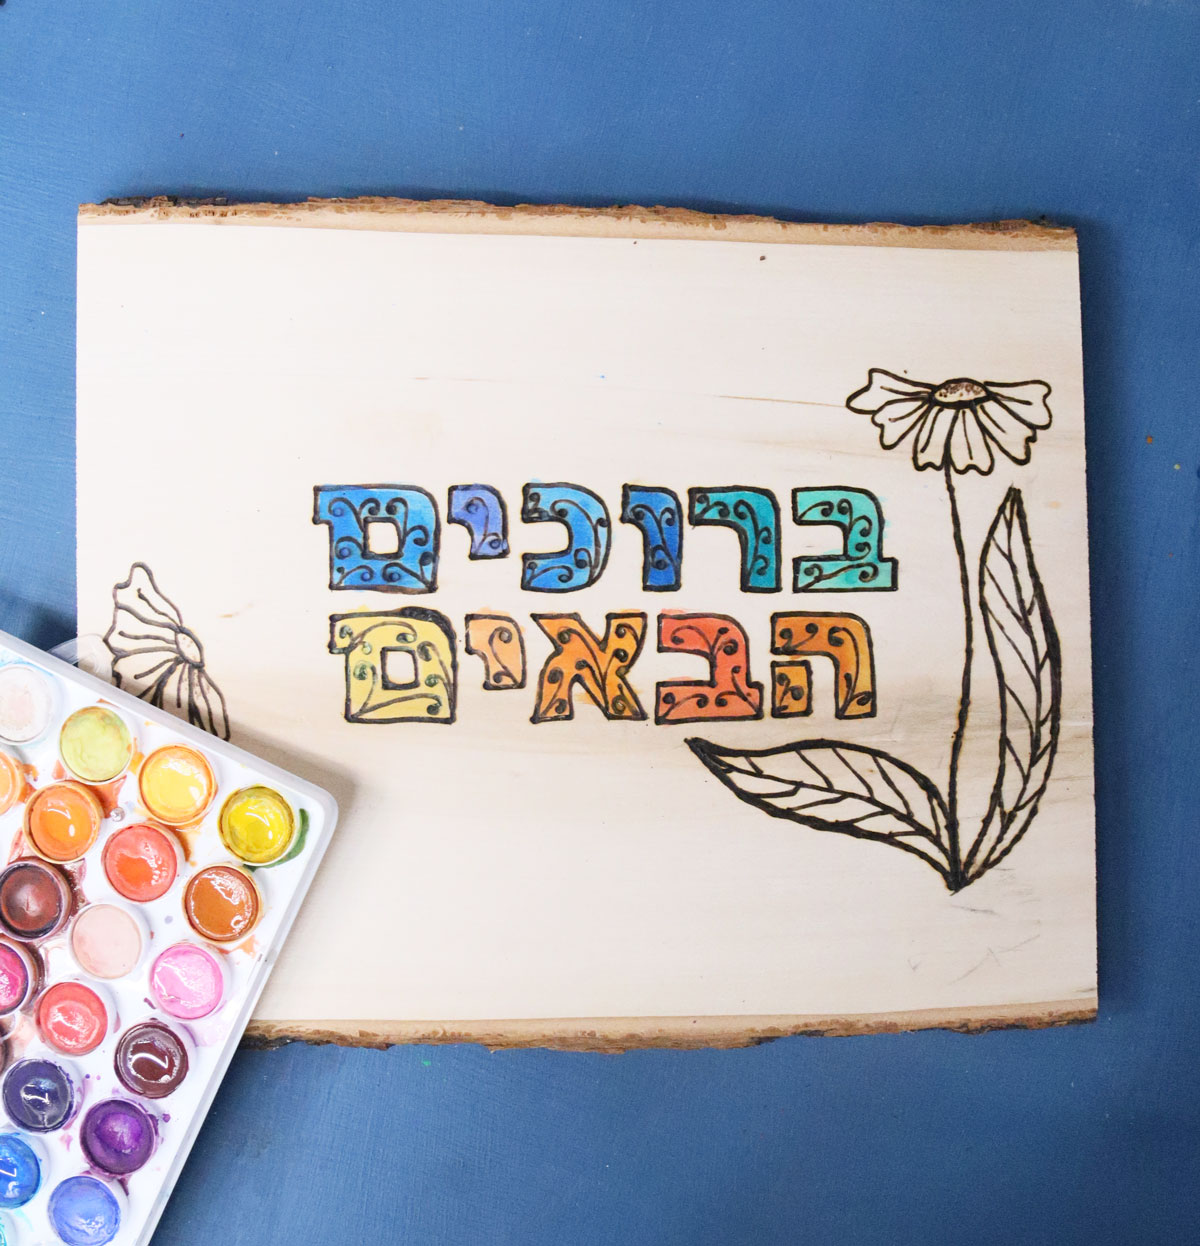
Coloring in a woodburned Sukkah welcome sign is optional, but it really adds a lot. I used watercolors.
For the baseboard, you have options, but a softer plywood works best. I used these basswood planks with live edge because they add a little character.
This version of the craft is fabulous for adult workshops or older teen group crafts, or to make yourself at home.
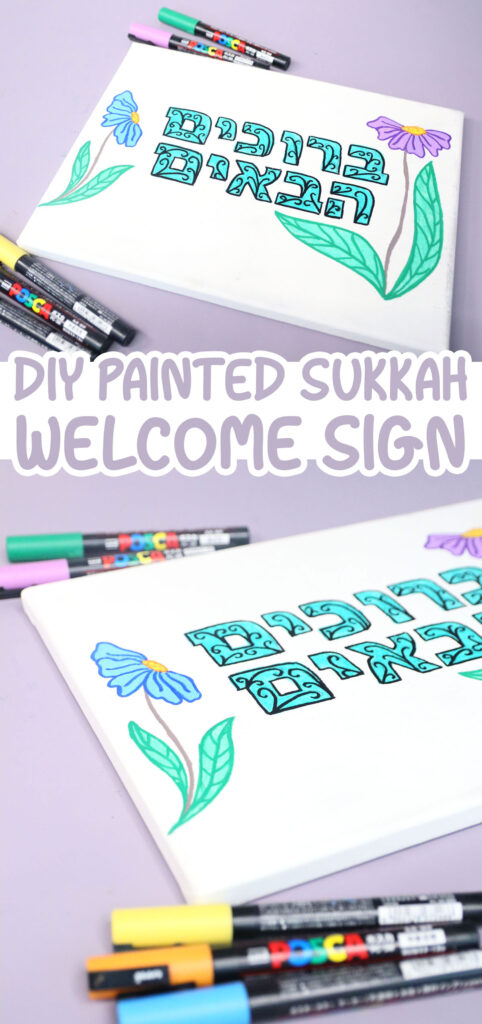
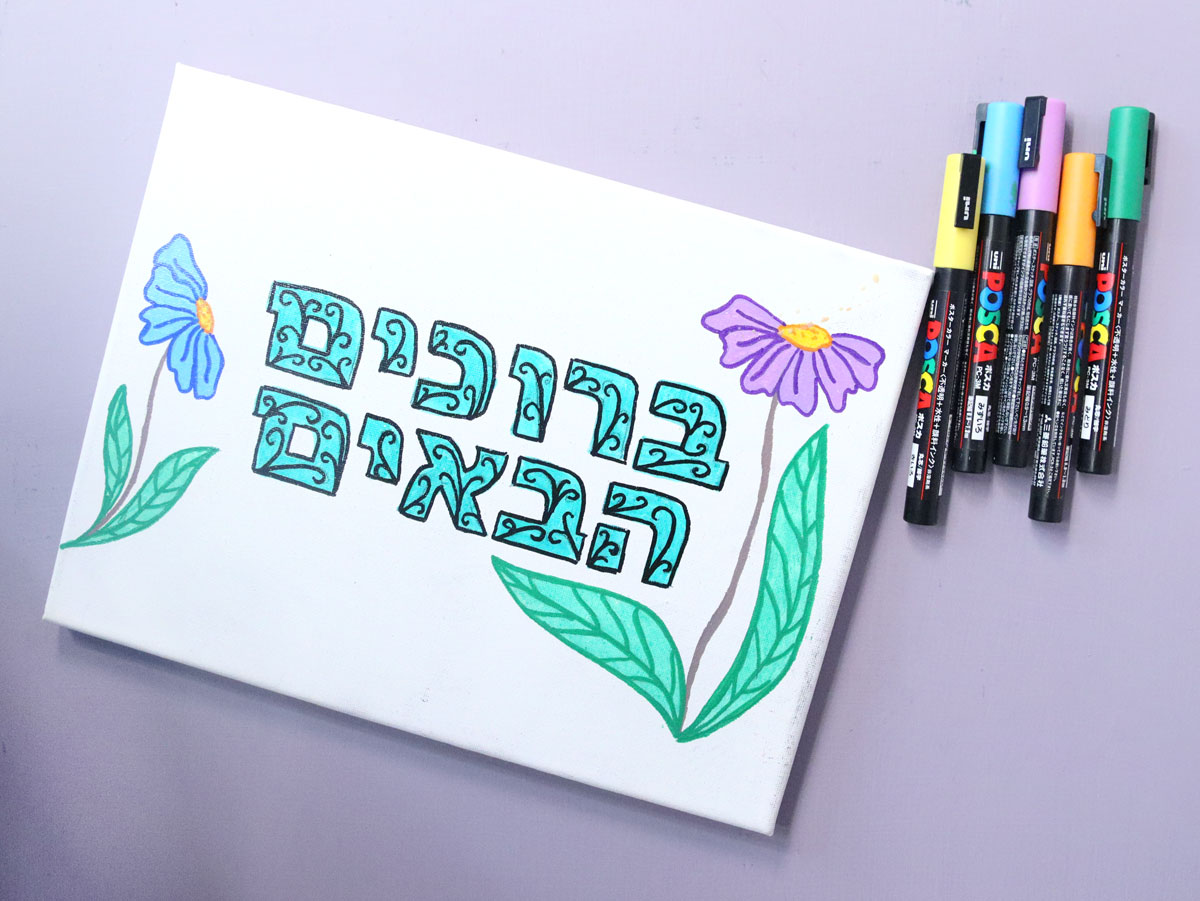
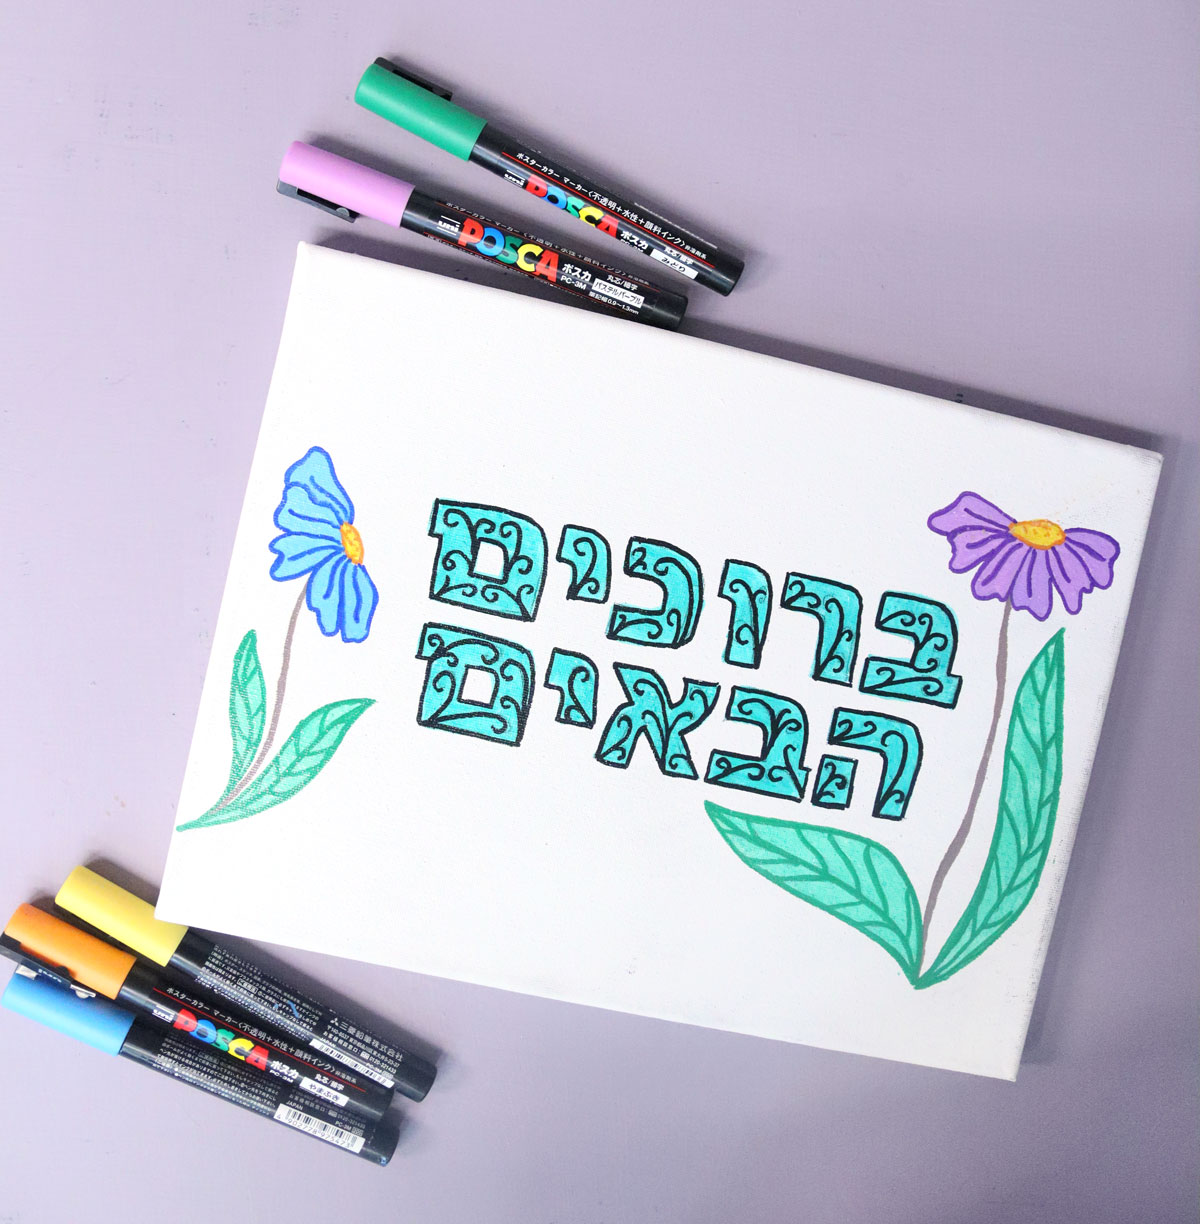
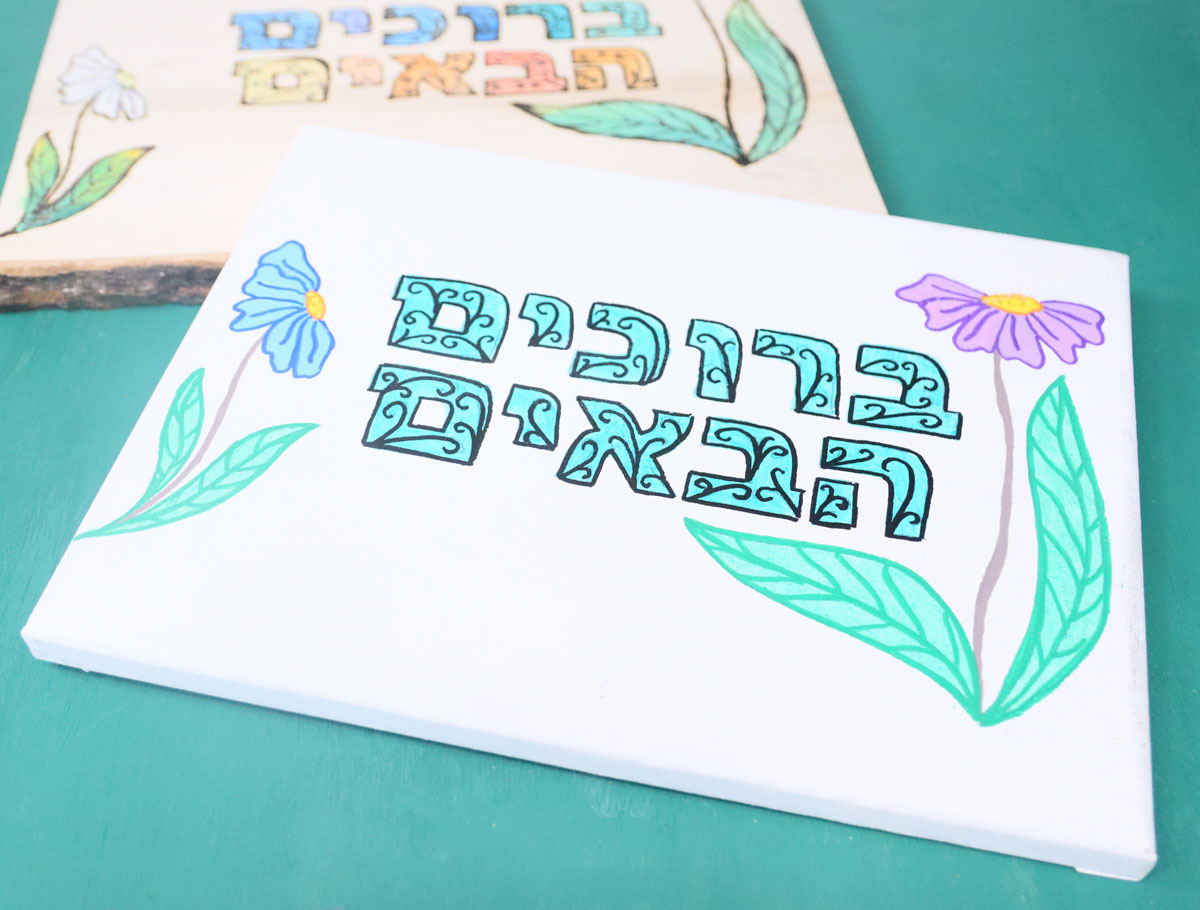
Paint markers
Since woodburning requires a lot of care and a level of responsibility, it’s not ideal in all settings.
While not as pretty, it’s much more relaxing and requires less skill and care. And yes, you can make it quite beautiful!

Paint marker quality does matter, so while you might not want to invest in something as pricey as Poscas, it’s worthwhile and will last better than cheaper options (yes, I’ve owned quite a few). I am not paid to promote them – I purchased these and do wholeheartedly recommend them. You want something that will last, won’t leak, will have consistent coverage, and will be nice, rich, and opaque.
If you can’t spring for those, try alternatives from brands like Ohuhu (dual-tipped acrylic markers) or Sharpie Creative markers (not the regular ones – those won’t look so nice here.)
I did not prime my canvas or anything, but you definitely can do that for a nonwhite background!
More ideas for making a Bruchim Haba’im sign with this basic process
If you love the look of the wood but aren’t about to start woodburning, you can definitely do the paint marker variation on the wood board! It would look fabulous, and while a bit more of a splurge than canvas panels, it’s worth it!
You can also paint these with actual paint, making a color-in type pre-printed canvas using the carbon paper. Then, use artist’s acrylics and the template as a framework to paint a more art-style Sukkah welcome sign. You can even frame it!
And yes, you can also paint on the wood.
Using your Sukkah welcome sign in the Sukkah
Hanging tips
While I didn’t think too deeply into how to hang these, generally, you will need to add some sort of hanging hardware to the back. Since every Sukkah is different, the hanging method will be different.
For a wood sukkah, I’d recommend a classic picture hanging hook on the back. You can then hang it from a nail. If your Sukkah is made of other materials (such as plastic or fabric), you may want to instead add two eyes to the top and hang it from the ceiling against a wall. That’s what I plan to do with mine.
You can, of course, also use mounting tape to hang it flush against the wall; however, the resilience of that will depend on the sukkah.
Weatherproofing tips
One big challenge we face with both DIY Sukkah decorations and purchased ones is weatherproofing them. The canvas has a wood backing that is absorbent. The wood panel is unfinished.
Ideally, you’ll also want to finish all wood elements with a waterproof wood finish. If this isn’t something you can do, you can really just pray for a little less rain and let things dry out very well before packing them away.
Either way, you’ll want to seal them with some kind of acrylic sealer. While the paint markers are permanent, if banged up a lot, they can get scratches as they don’t fully absorb. And the watercolors are totally water-soluble!
How to make a Sukkah welcome sign
You’ll need
For both
- The template, printed on regular copy paper (cardstock is too thick). Download it at the end of this post.
- A ballpoint pen
- Carbon paper
- Acrylic spray sealer
- Hanging hardware (see notes above).
- Low tack tape (such as painter’s, washi, masking)
For the canvas sign
- An 8×10 (or close to that) stretched canvas
- Paint markers (I recommend Poscas)
For the wood-burning sign
- Live edge wood panels (or anything like it)
- A wood-burning tool (you can do it with just the kit, but the wider tip that I used came in a separate set).
- Watercolor paints
- A thin but absorbent paintbrush
Step-by-Step Tutorial with Photos
Transferring your design
1. Tape your template onto the base, with the carbon paper sandwiched face down in between.

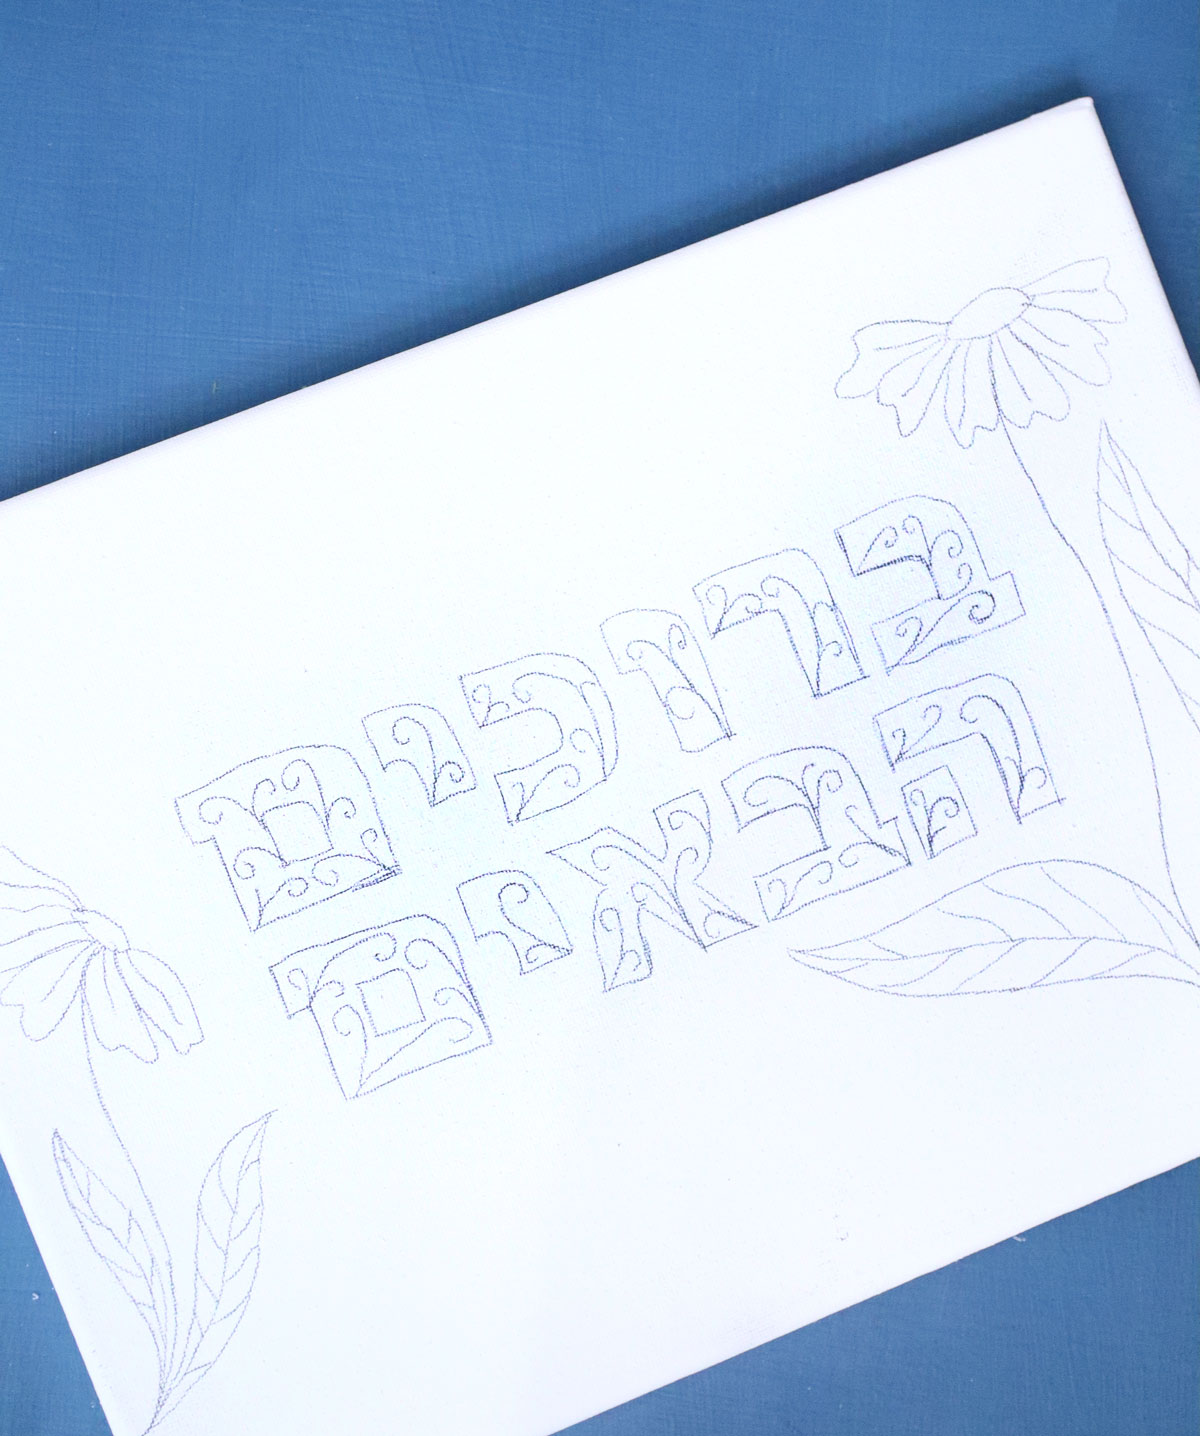
2. Using a pen, trace over the design, pressing down as you go along. With the canvas, don’t press so hard that you poke through – just a firm, confident stroke.
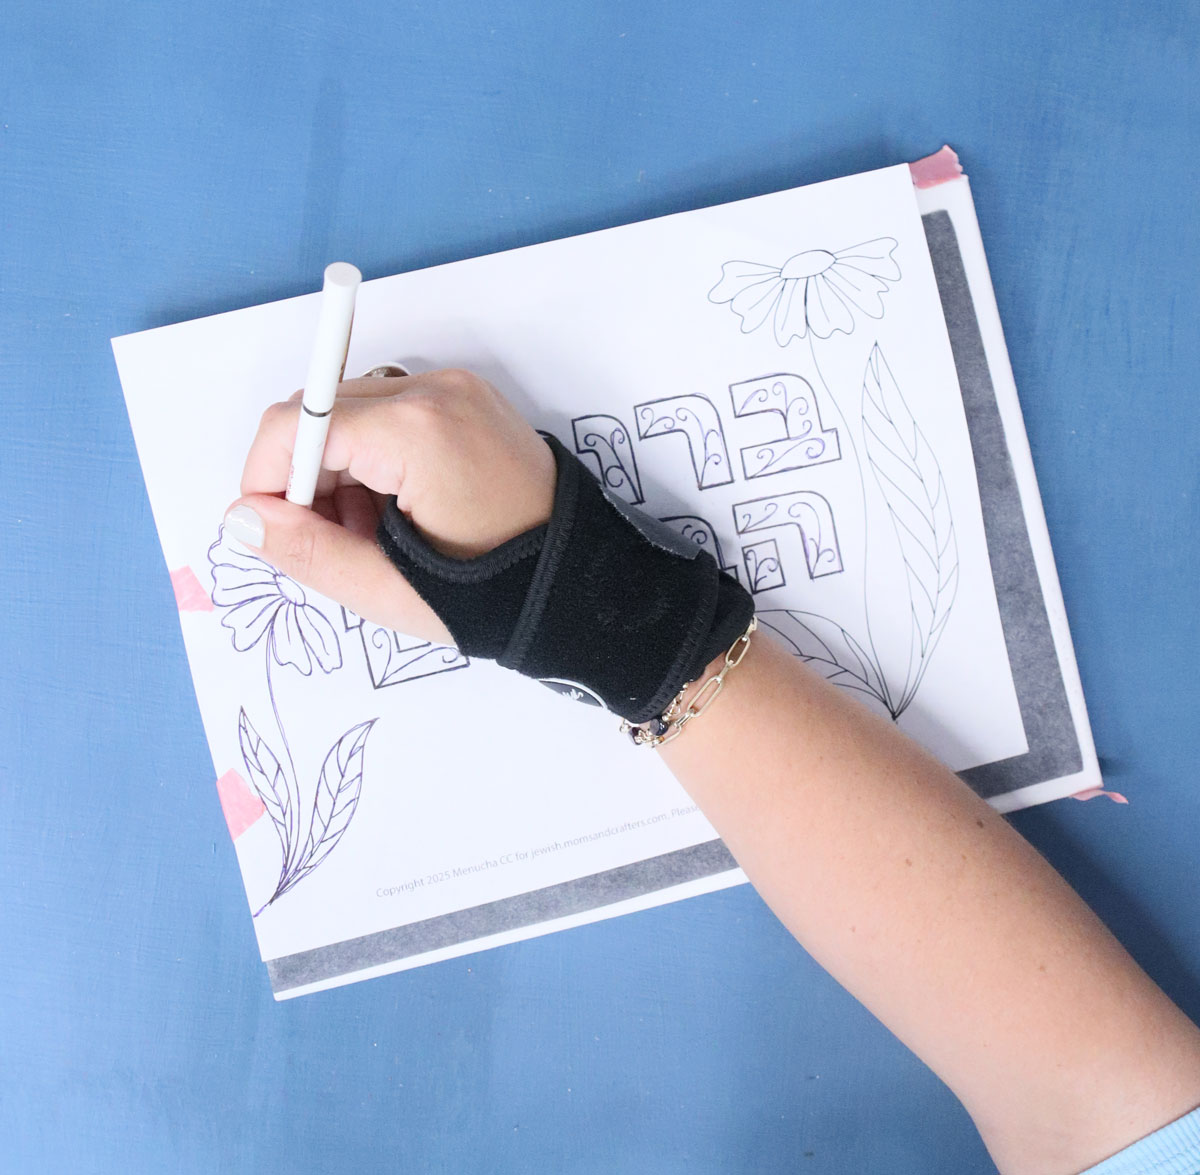
3. Once you’ve gone over the design, remove the carbon paper. It doesn’t have to be perfect – it might have some wonky spots. You can also move it around between tracing different parts, so that the flowers are placed closer to the edges if the sizing doesn’t match up perfectly.
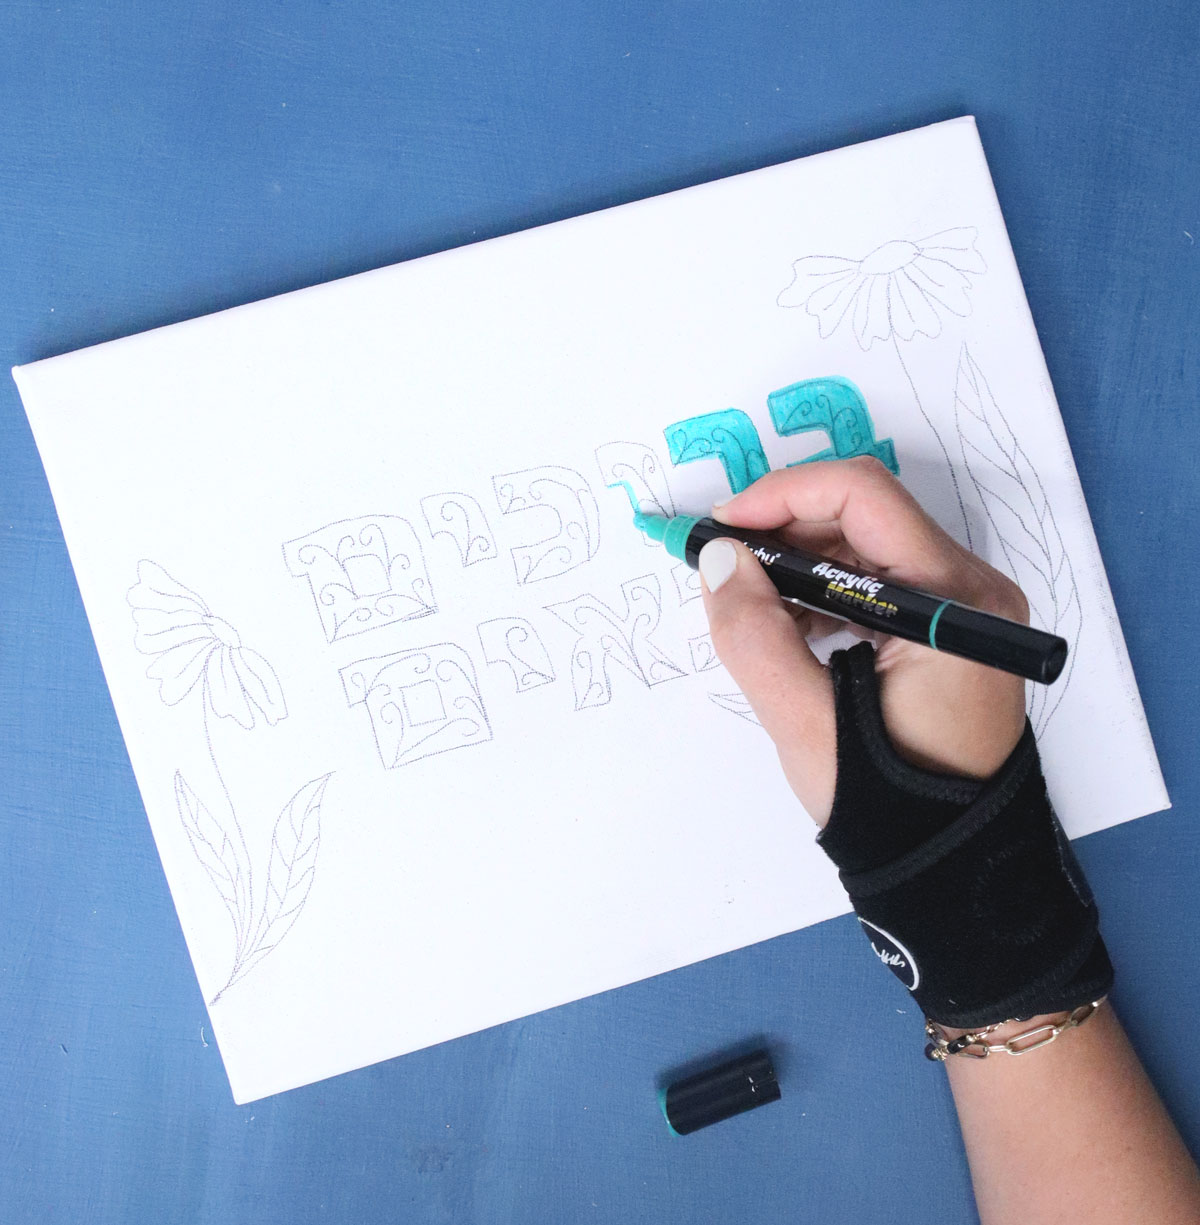
The paint marker sign
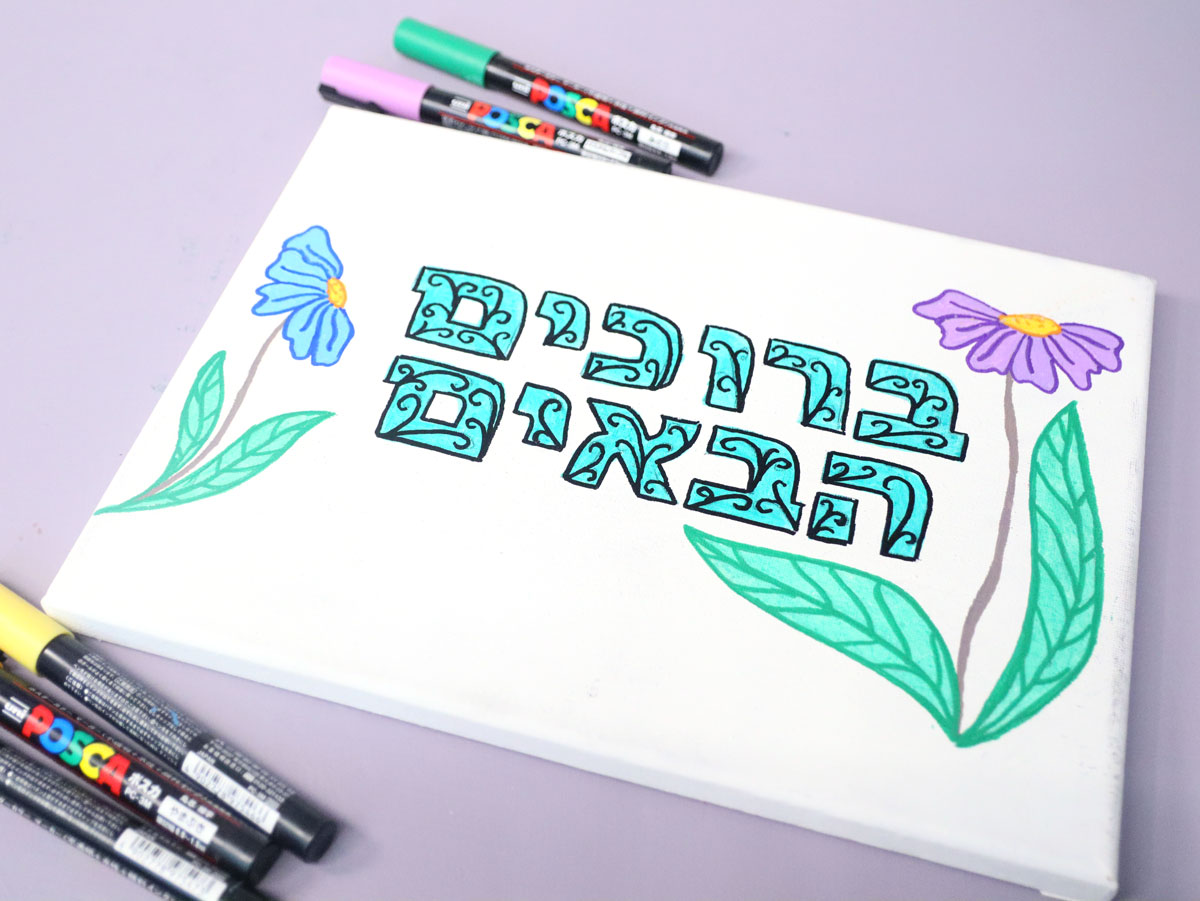
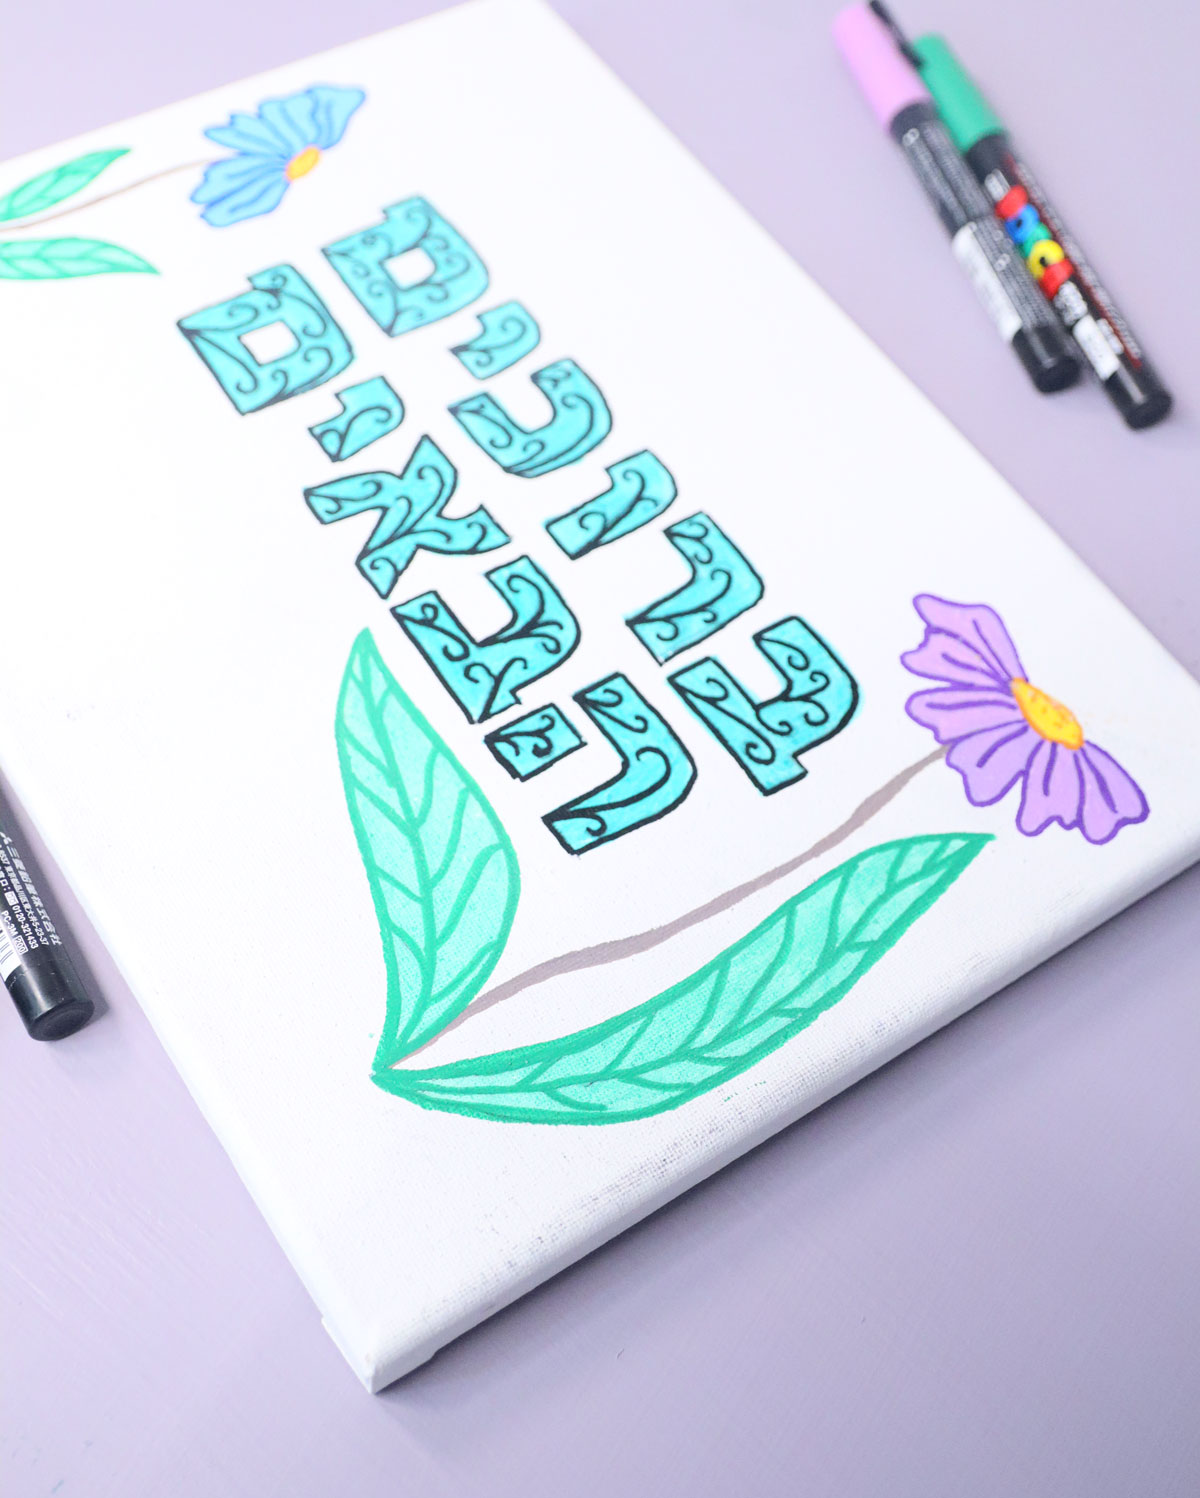
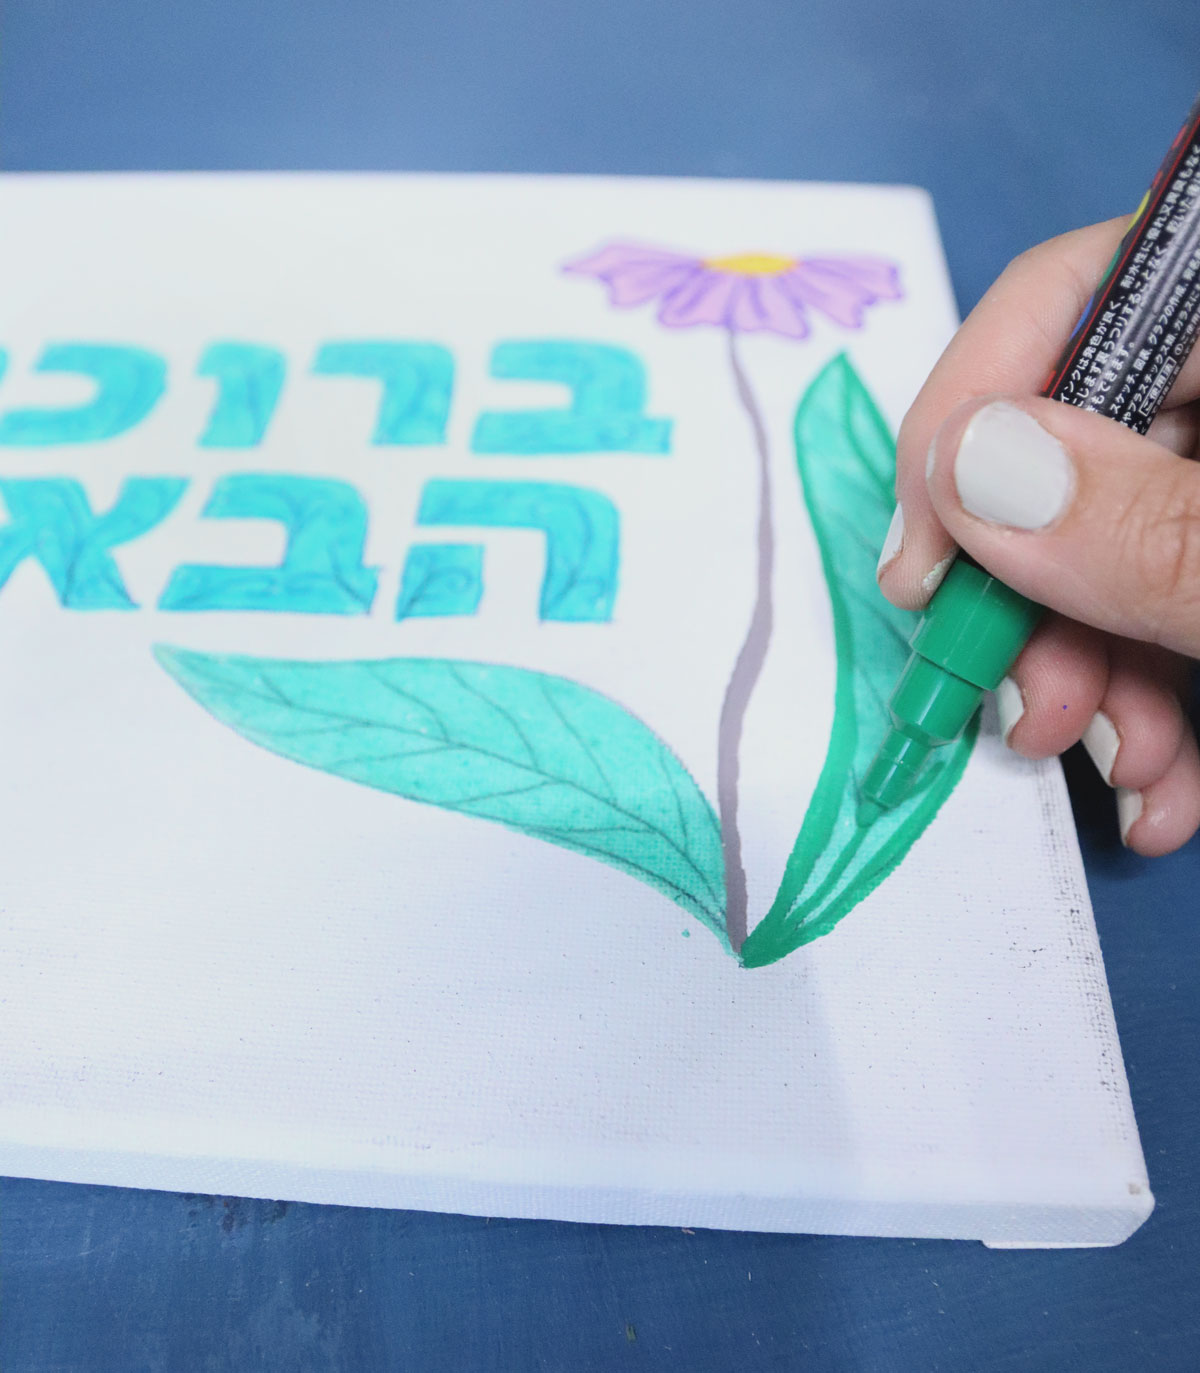
1. Start by filling in the main parts. You can see that I started with an Ohuhu marker that was really too sheer. I moved on to more opaque Poscas after. Color each part in -you should still faintly see the carbon paper markings.
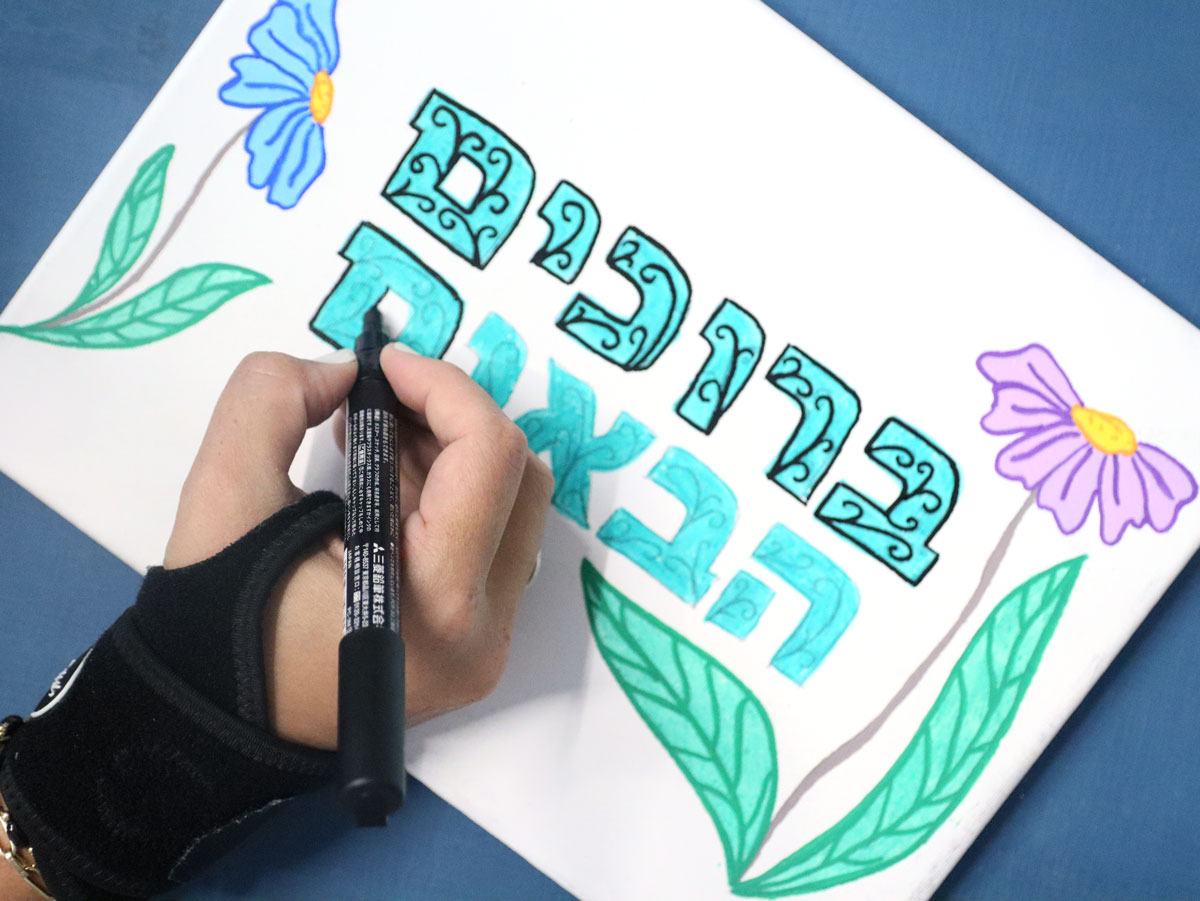
2. Go ahead and outline the carbon paper strokes with black or a darker color.
I used a darker color on the flowers and did the text in black.
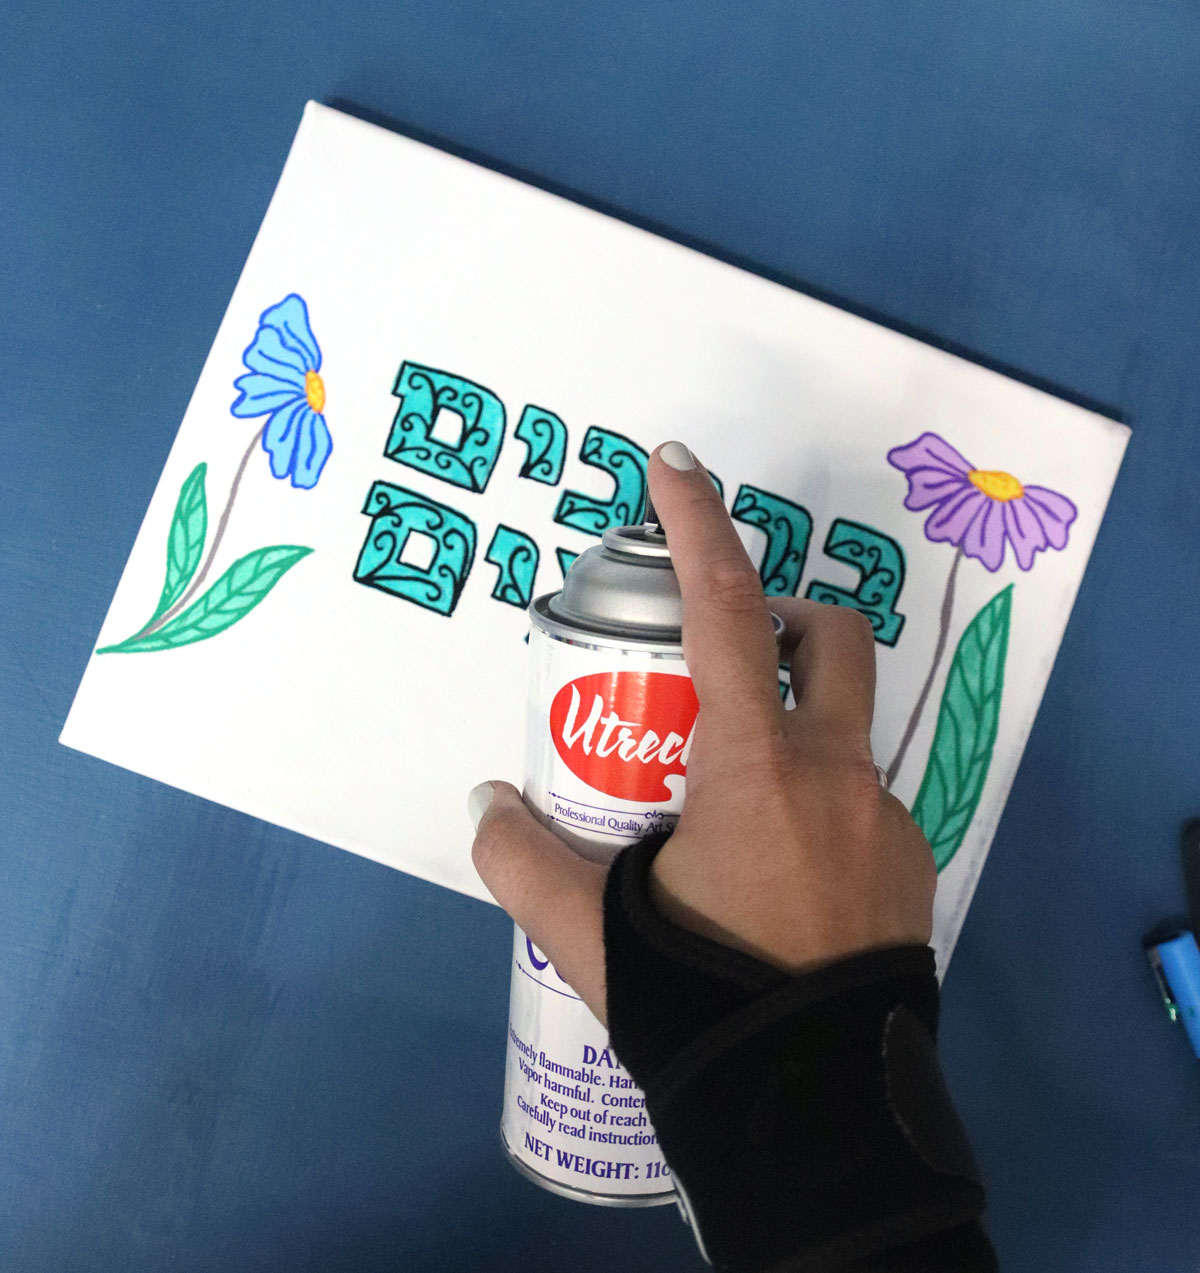
3. When you’re done, spray it with an acrylic sealer and allow it to dry before hanging.
The wood burned sign
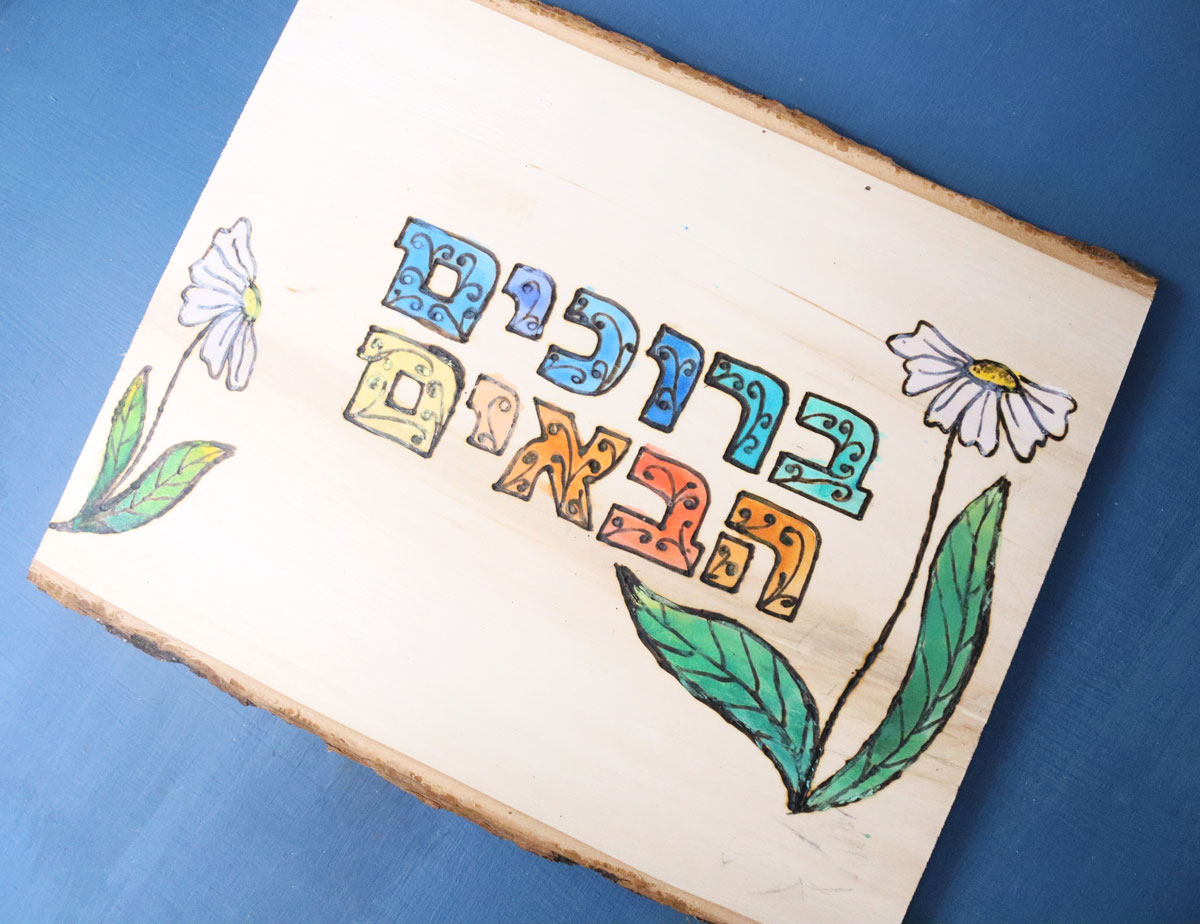
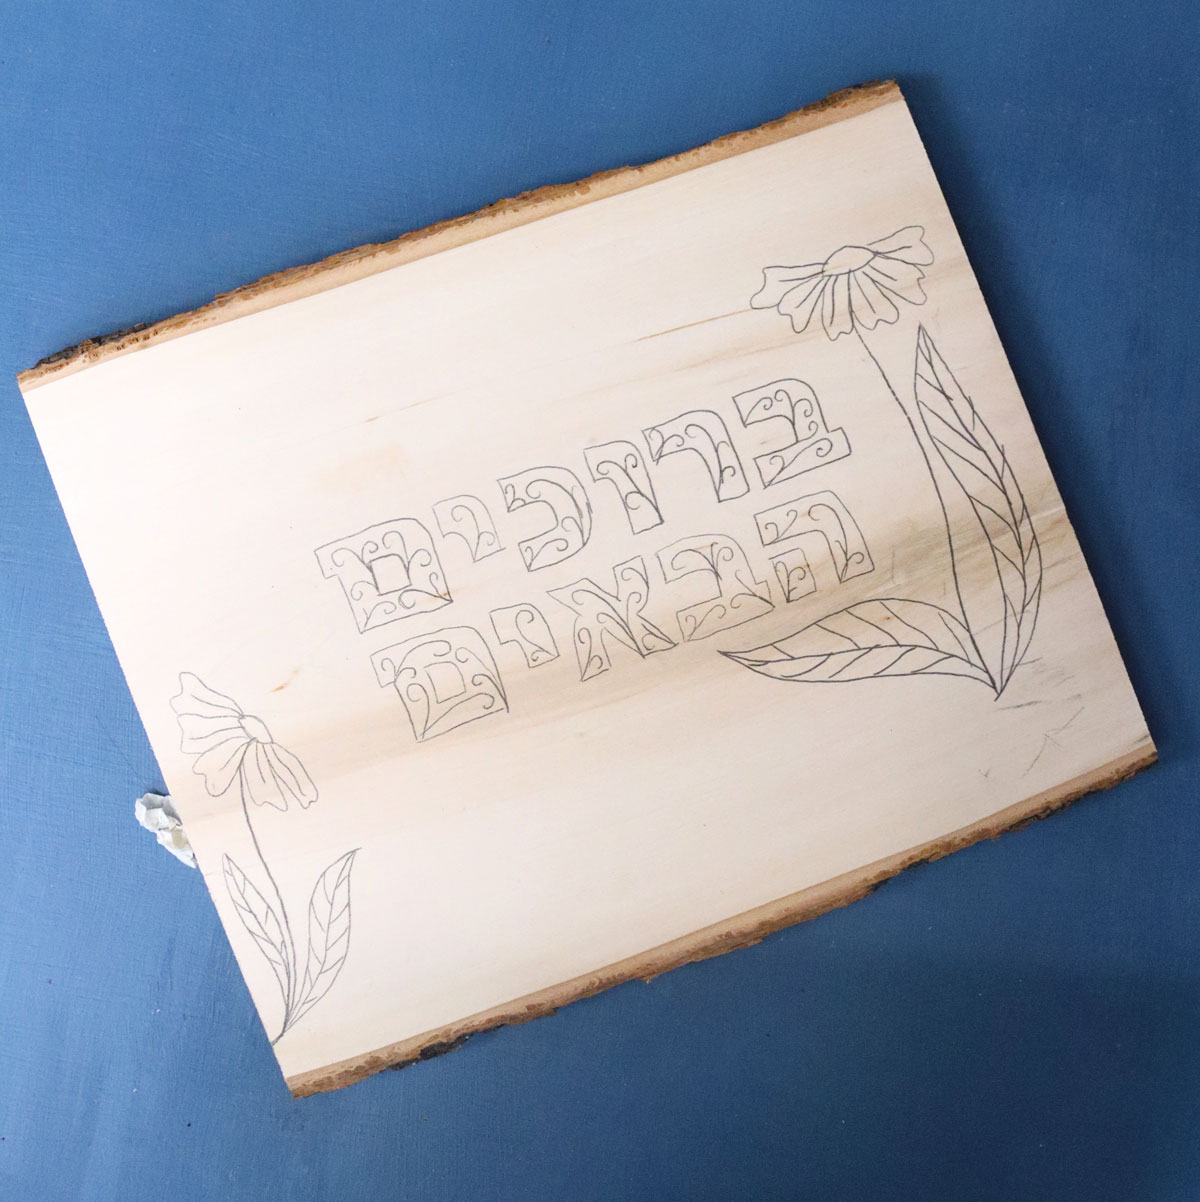
1. Transfer the design as instructed. I moved my carbon paper so that the left flower comes out of the edge.
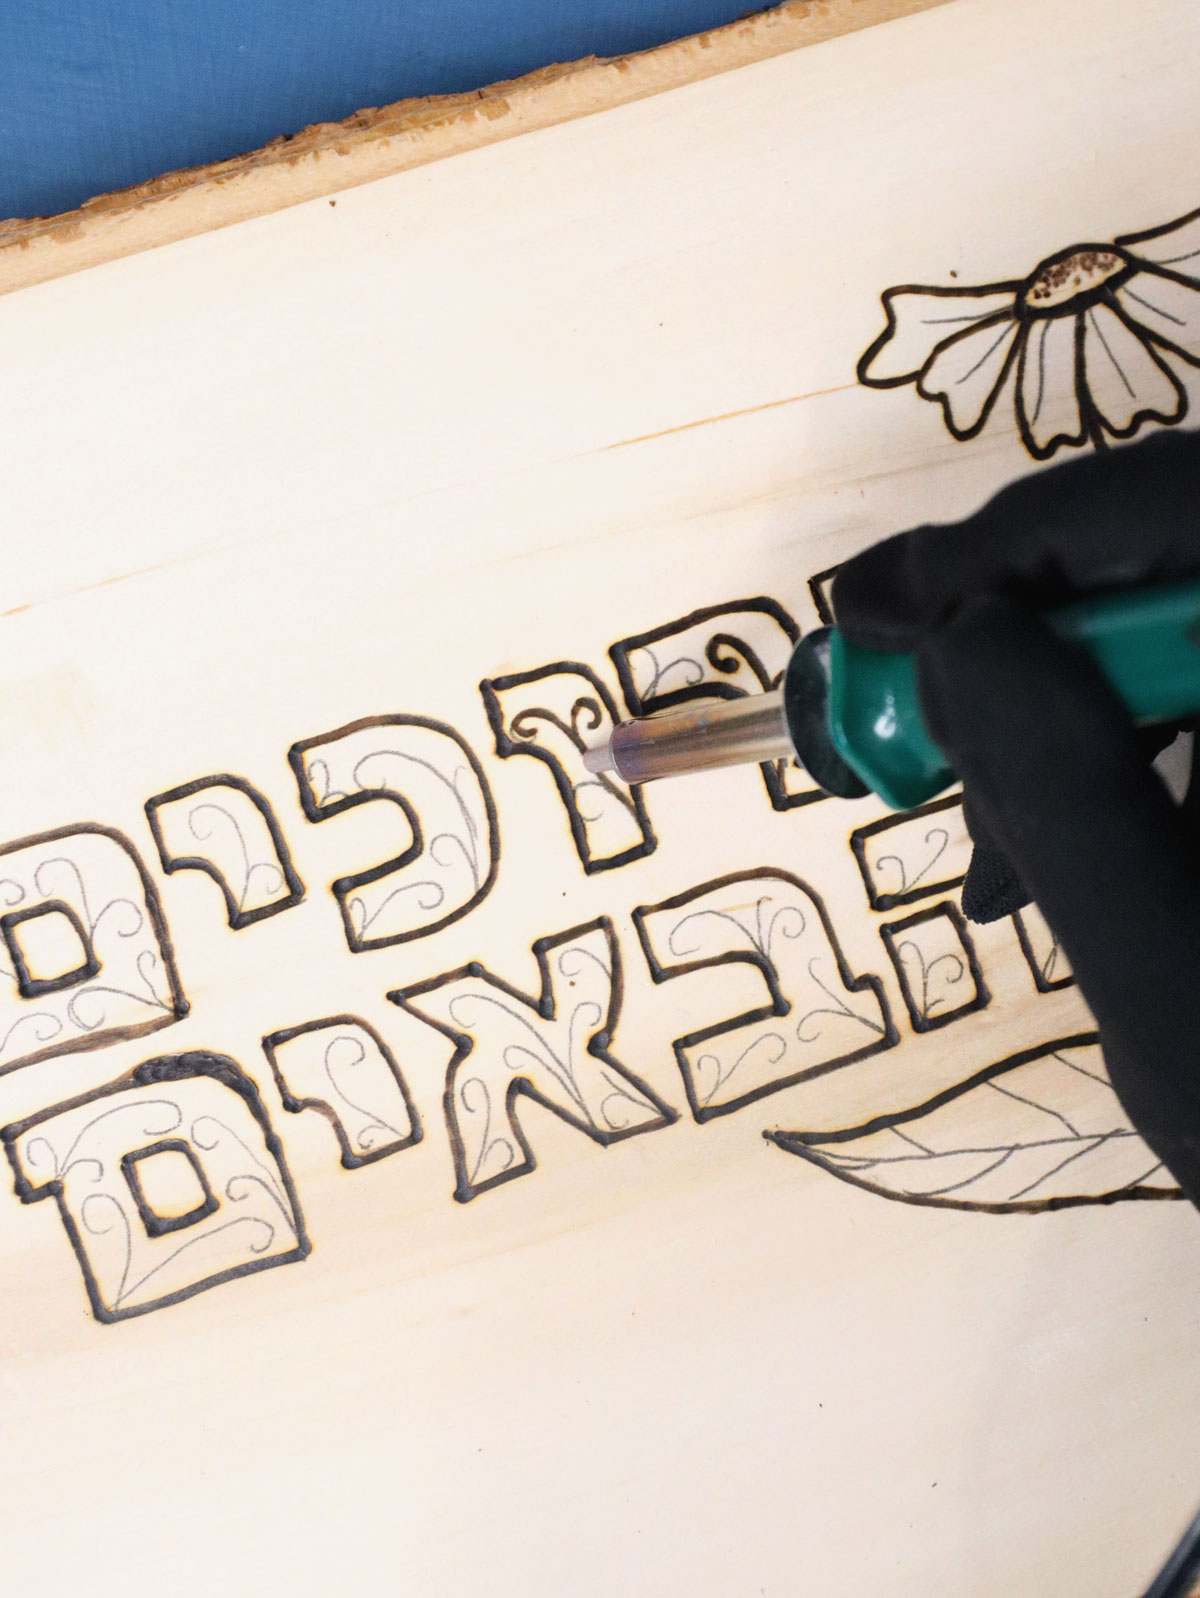
2. Go over the design slowly with a wood-burning tool. I used a pretty thick tip for this.
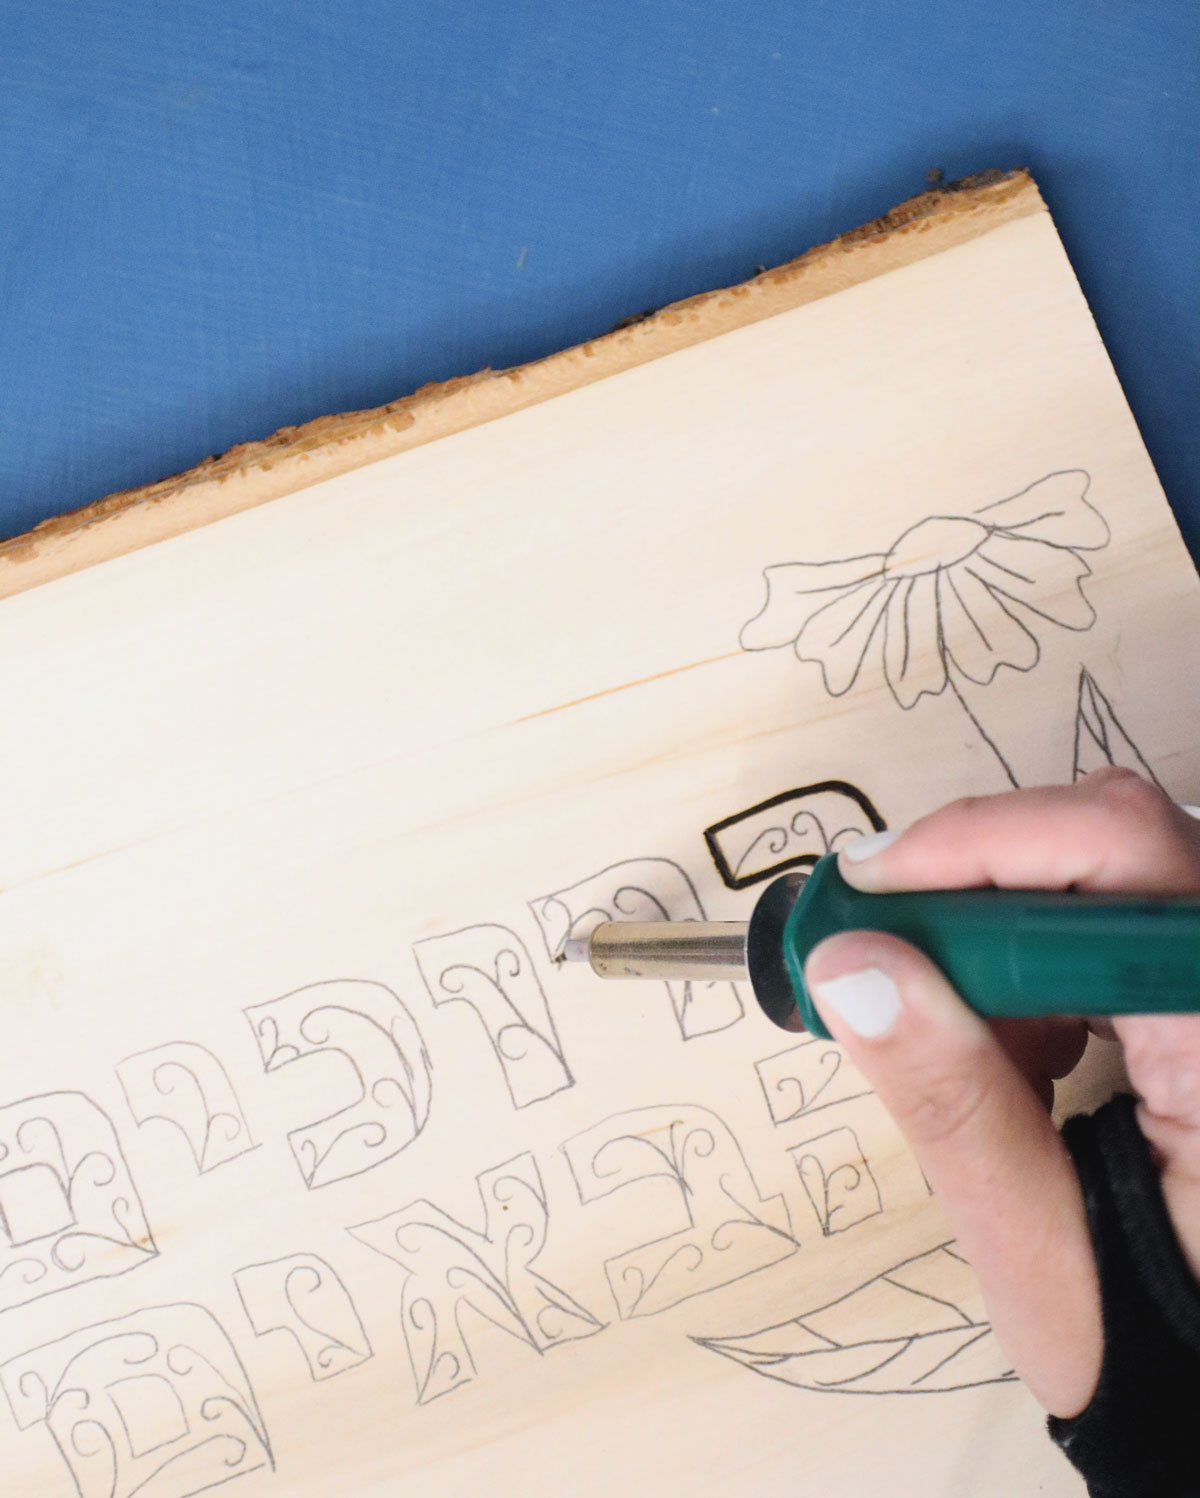
I went a little quicker over the inner details to make thinner strokes, and let it sit at the end of the curly bits for a second to make a darker dot.
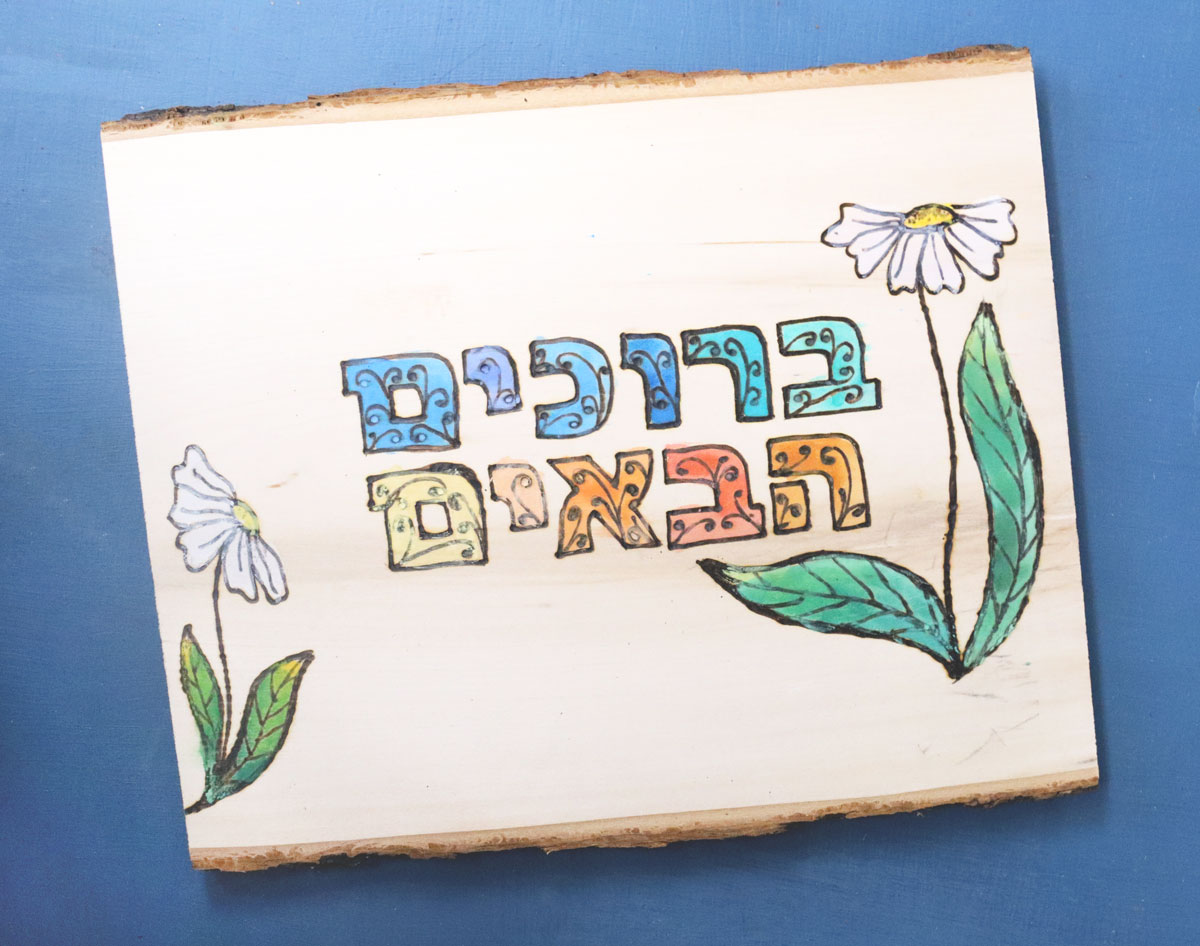
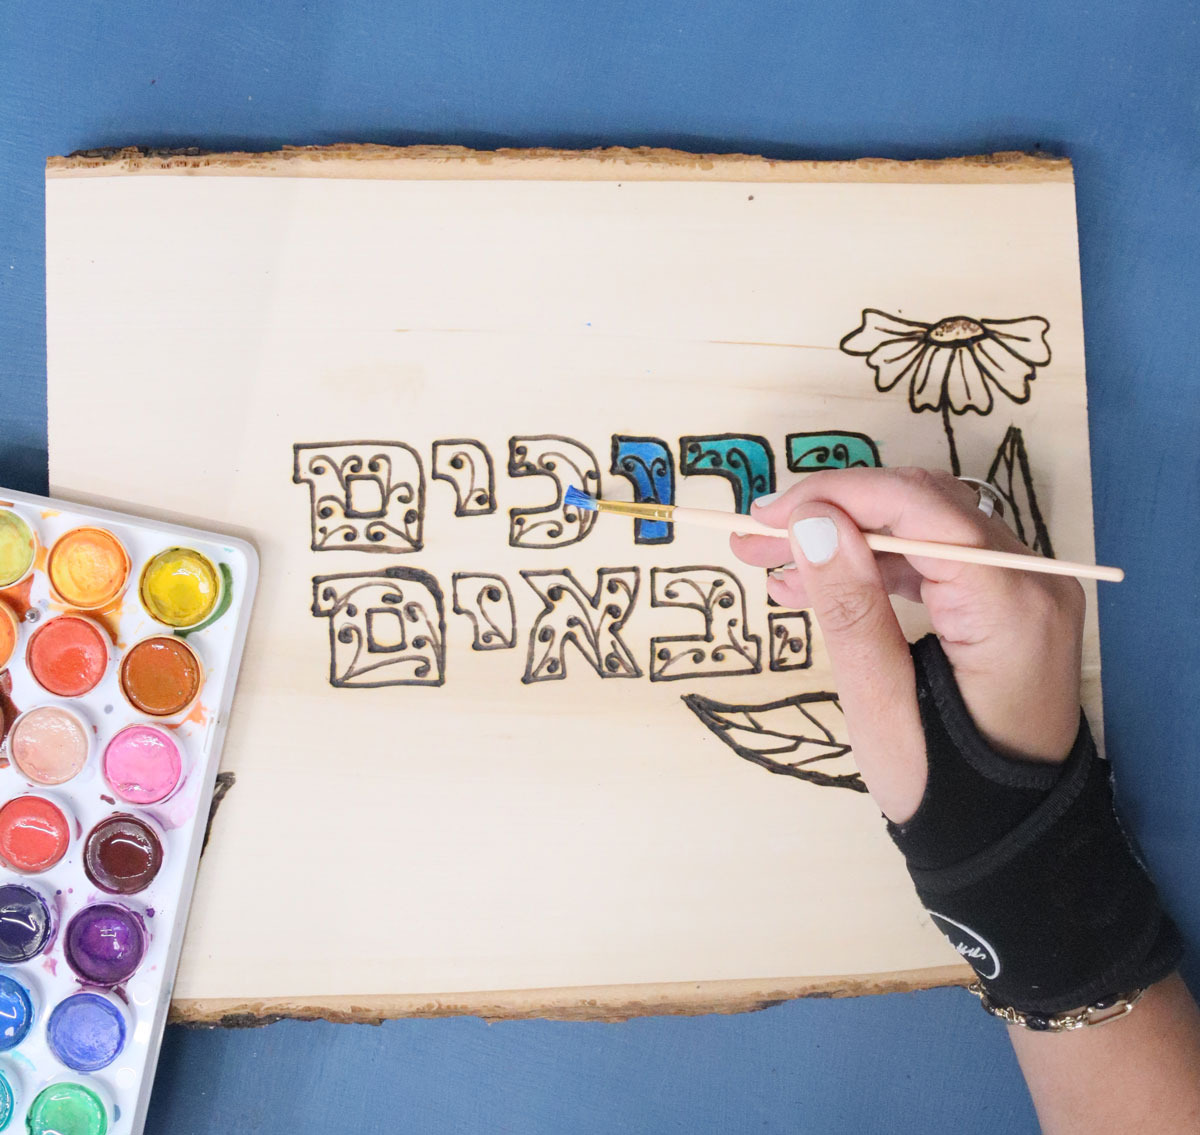
3. When you’re done burning your entire design, go ahead and fill it in with watercolor paints! The ones I had had a bit of a chalky finish that showed over the designs, so if you have one that doesn’t prioritize that. (I have like five watercolor palettes and this is the only one that would do that, but I didn’t test it and only saw when it dried!)
I recommend using a pretty thin wash and a thin brush so you don’t spill over your design too much. You just want to tint it.
4. Allow your design to dry, seal it, attach the hardware and hang it with pride!
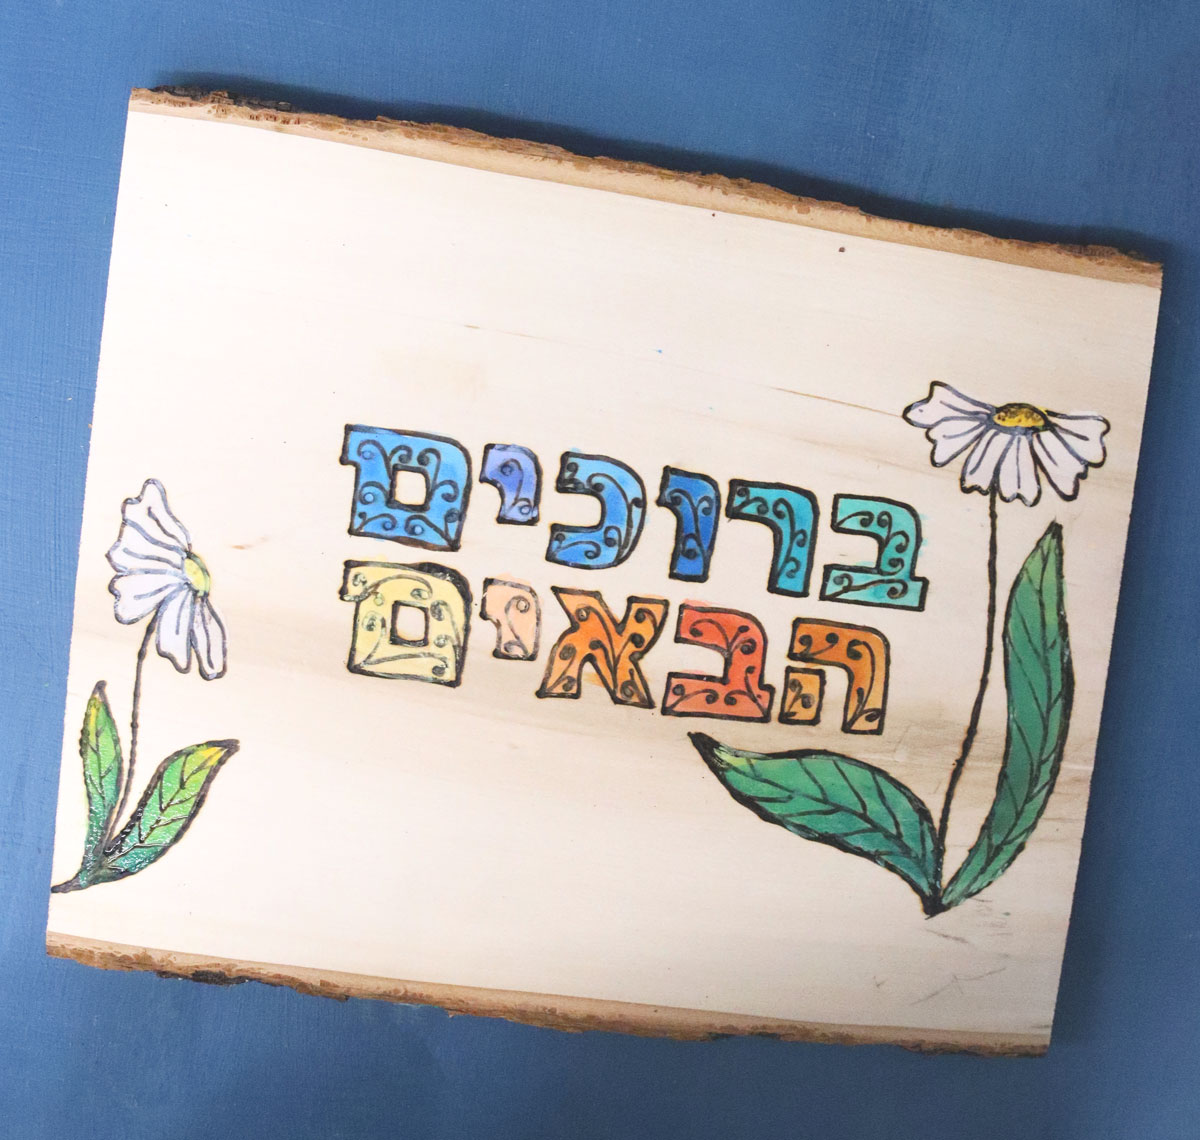
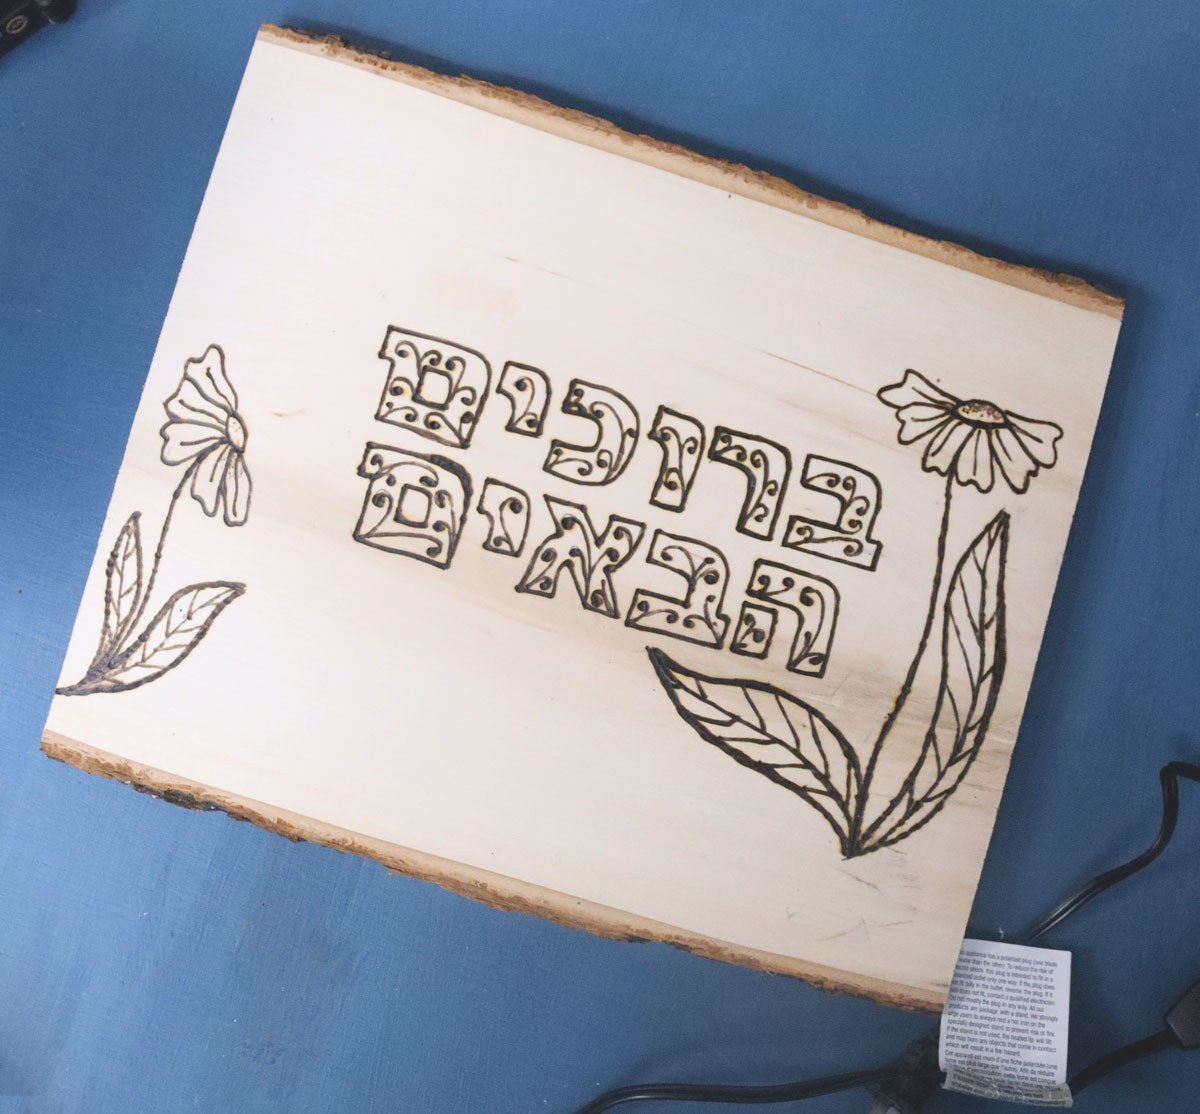
Your Bruchim Haba’im sukkah welcome sign is complete!
Download the Bruchim Haba’im sign template
Download your free template! It’ll arrive right in your inbox. By downloading, you’re subscribing to our FREE newsletter with updates on cool printables like this, ideas to simplify Jewish life, and more. Unsubscribe at any time at the bottom of my emails. I respect your privacy and the law, and won’t share or sell your email address.