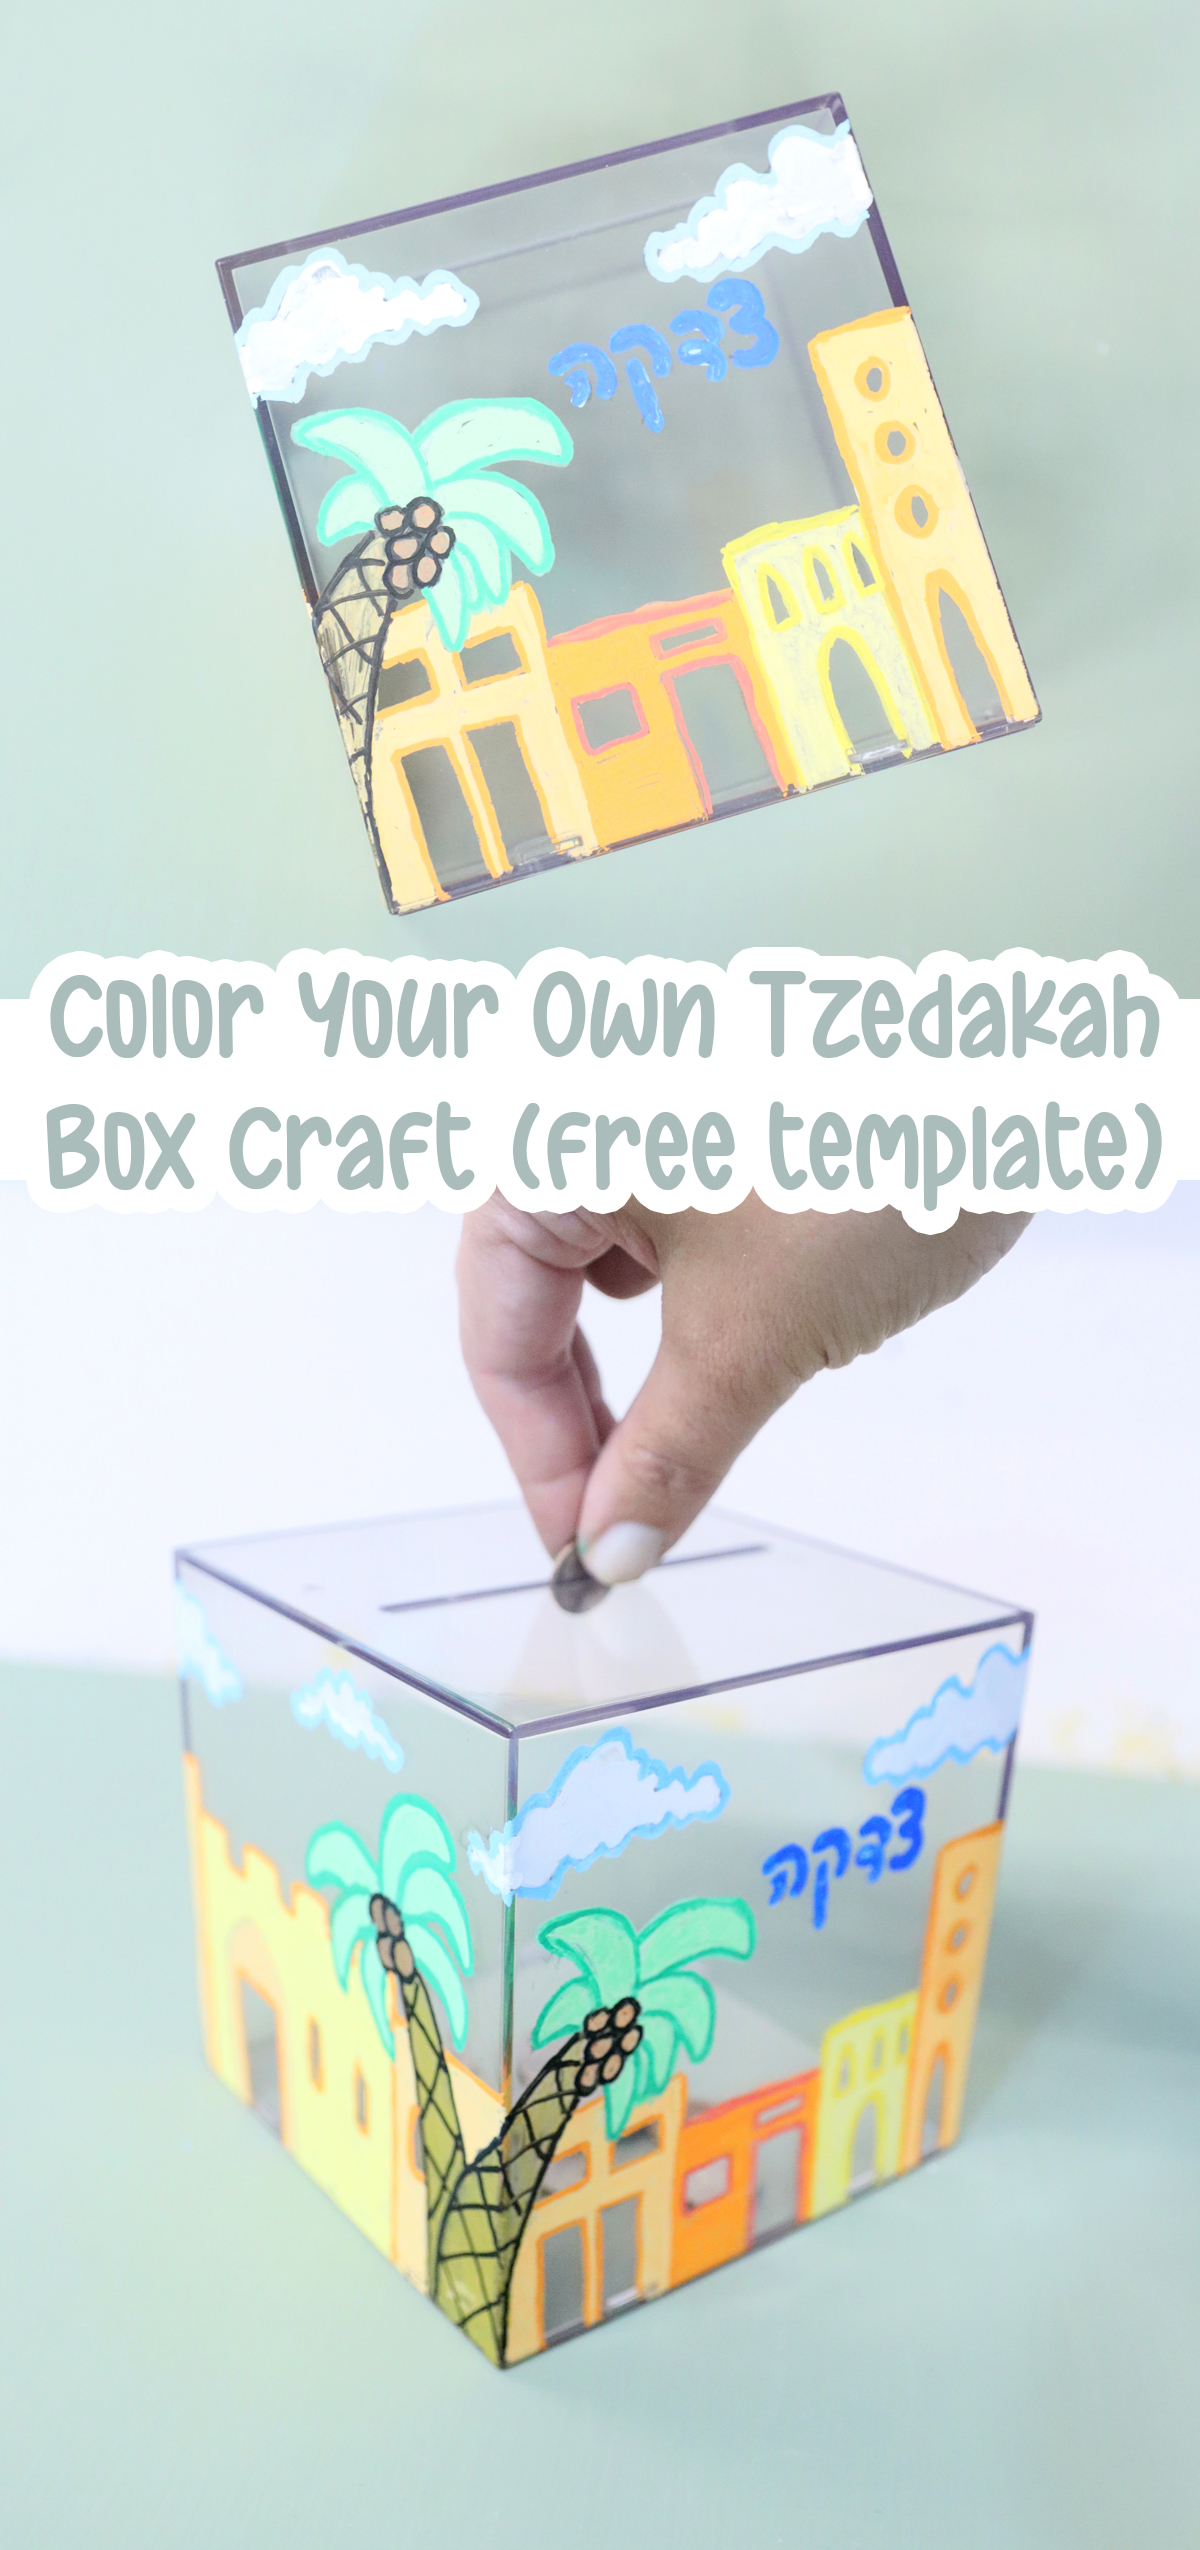
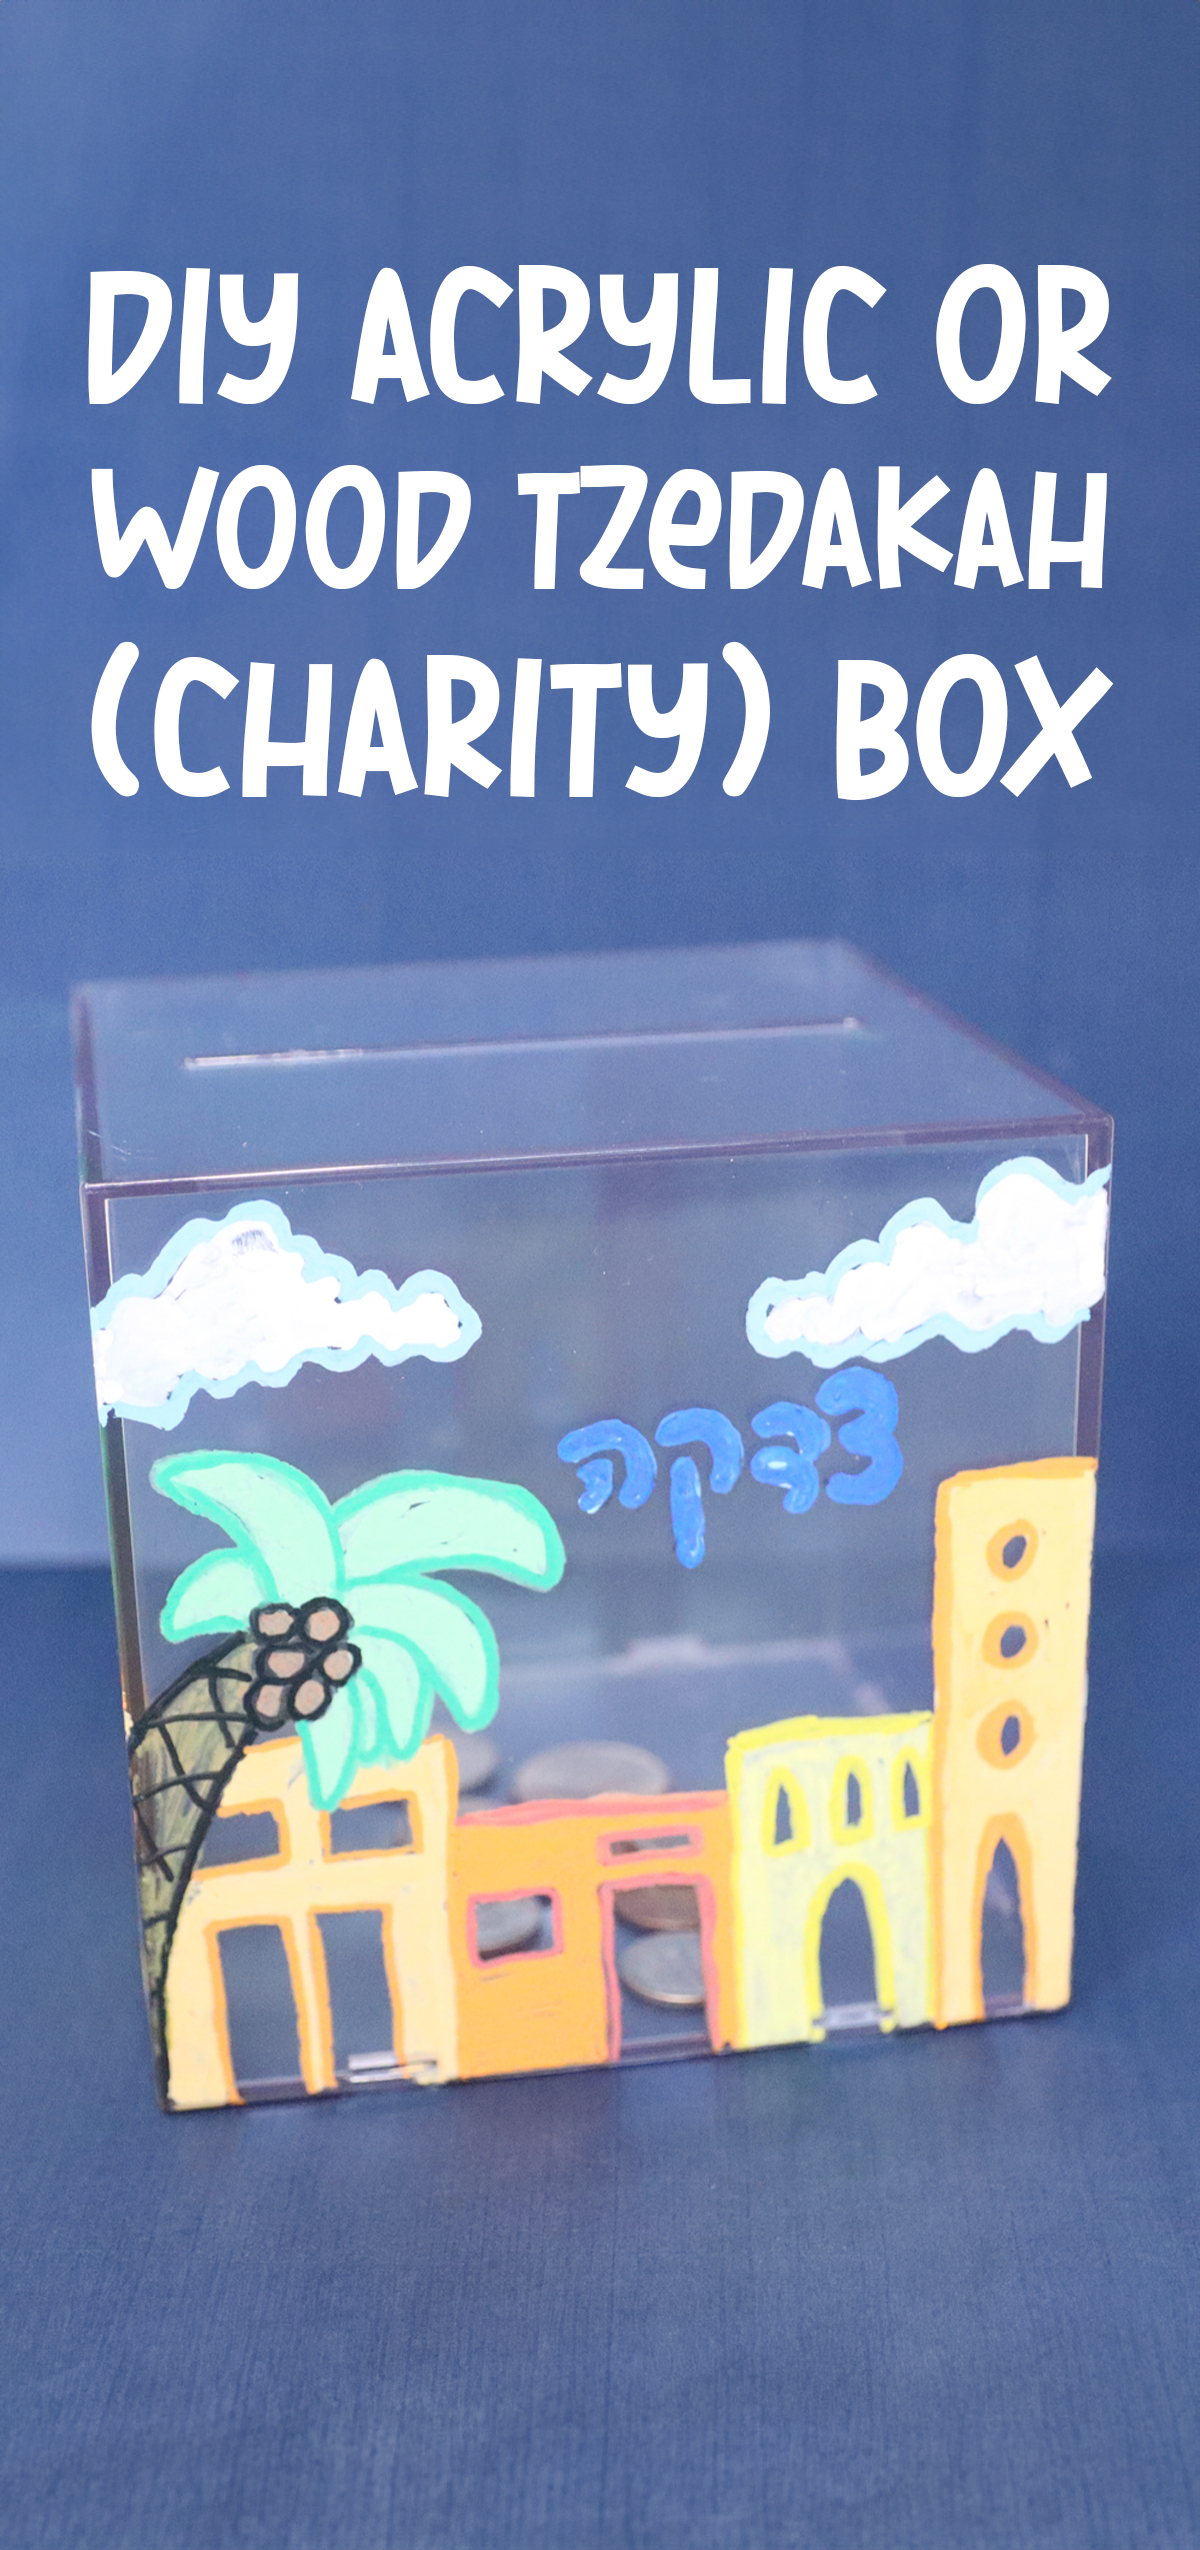
Tzedakah Box Craft – Wood or Acrylic (free template)
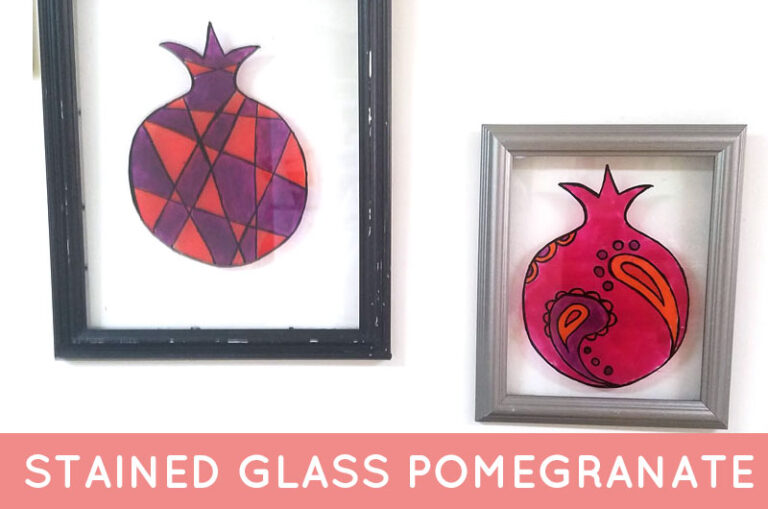
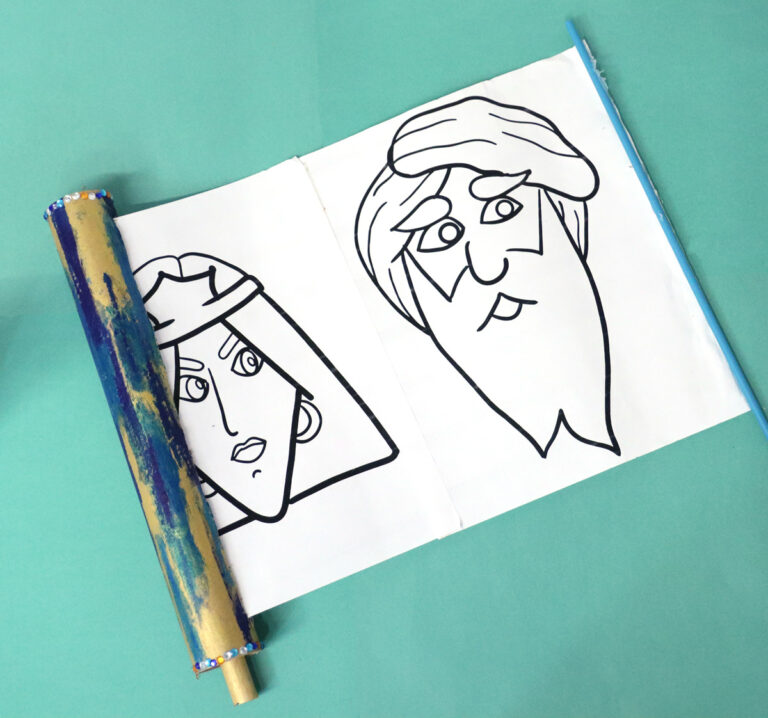
Craft a super fun Tzedakah box craft using the free templates with Jerusalem inspired motifs – or create your own! You can do this on wood or acrylic blanks. If you love this, check out these Miriam’s tambourine craft templates too. This post contains affiliate links.
I’ve been wanting to customize Tzedakah boxes for literally ages, but I actually had problems sourcing materials until I figured it out (more on that in a bit). I finally figured it out and I’m so excited to share with you this fun Tzedakah box craft that can be made using acrylic or wood blanks.
While I’m “theming” this as a High Holidays craft – perfect for Yom Kippur – it’s of course fabulous for any time of year. I sometimes struggle with ideas for year-round Jewish crafts, and this one is a win!
It’s also great for Rosh Hashanah and Yom Kippur crafting, because it fits with the theme of “Teshuvah, Tzedakah, u’Tefillah” – repentance, charity, and prayer cancel the bad decrees.
We focus so much on the repentance and prayer during this season – why not create something charity themed for a change?!
Tips for crafting this Tzedakah Box Craft like a pro!
As I mentioned, I had this planned for a while (and the template designed for years) until I figured it out, so I’ll walk you through the general process.
Which types of boxes can you use?
My original plan was as follows:
- Take a clear acrylic piggy bank.
- Tape the template to the inside.
- Trace it with marker.
I designed a 4.5 x4.5 inch template and bought a coordinating piggy bank… and then discovered that it didn’t open! It was a “break it to use it” type.
So I ordered another one that was advertised as opening and…well, it didn’t really open!
Finally, I ordered another cylindrical one that WOULD open, thinking that I’ll redo the template and… it came cracked. I had to give up. I decided to try working with the one that doesn’t open. It’s a great anti-theft measure if you have it in a public space and you can donate it with the box and crack it open when it’s full.
But I obviously couldn’t put the template inside!
I thought I’d just freeform the design and share the craft. I DO like to make these things fun for non-artists too (and if you ARE artistic, skip the template!) But better something than nothing, right?
Then I decided to try the old-fashioned methods of pattern transfer: carbon paper! I didn’t think it would work on acrylic but guess what? It did! Problem solved.
The truth is, you can totally craft this on wood as well. I KNOW that you can transfer the template to wood using carbon paper. And if you can find wood piggy banks that open, you’ll be able to reuse it more!
This tutorial uses an acrylic box, and everything I’ll be sharing was tested on acrylic. If you’re using wood, test your techniques on a sample project first before doing them with a group. You can also test things on scrap wood.
Transferring the design
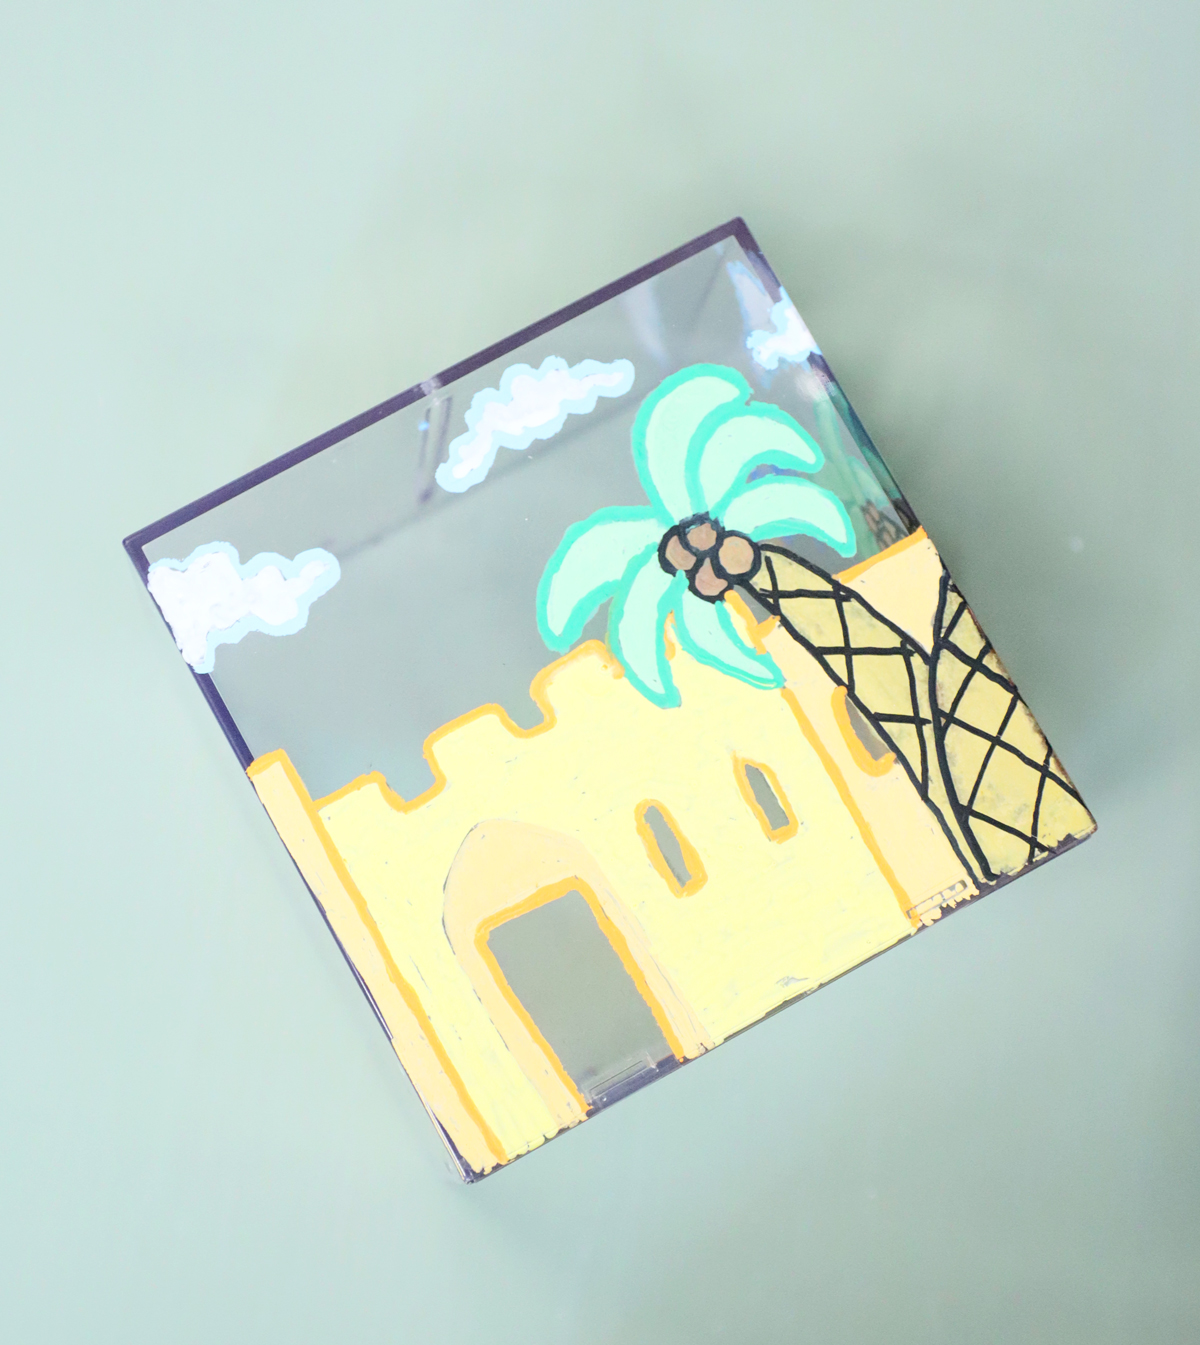
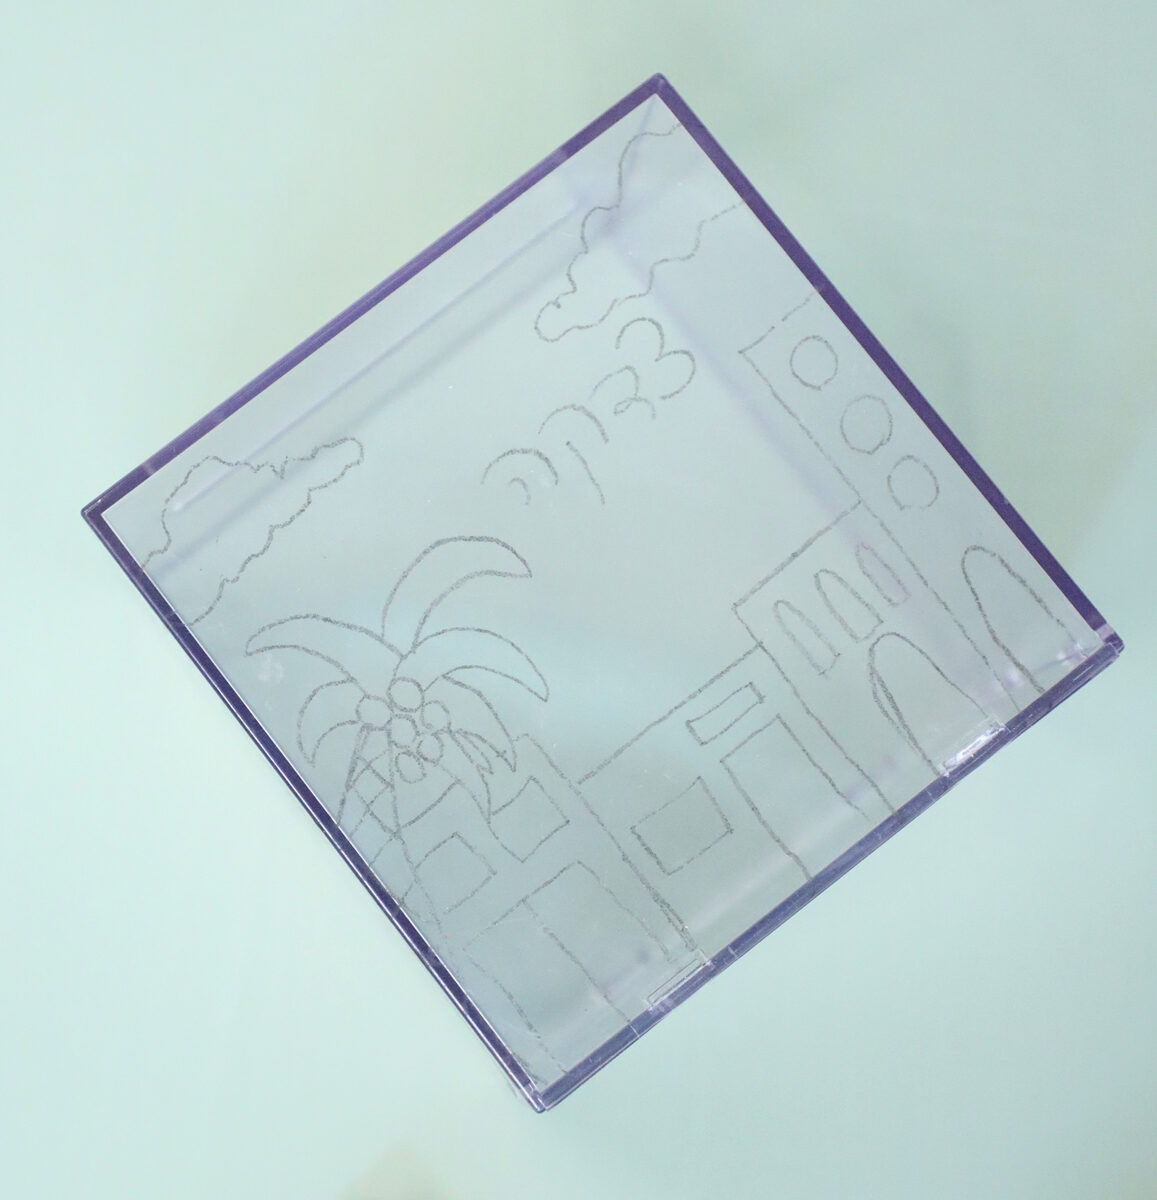
While we can’t transfer the design by placing it inside, we did use carbon paper to trace over it and have a framework to work with. It’s not as clear, but it works!
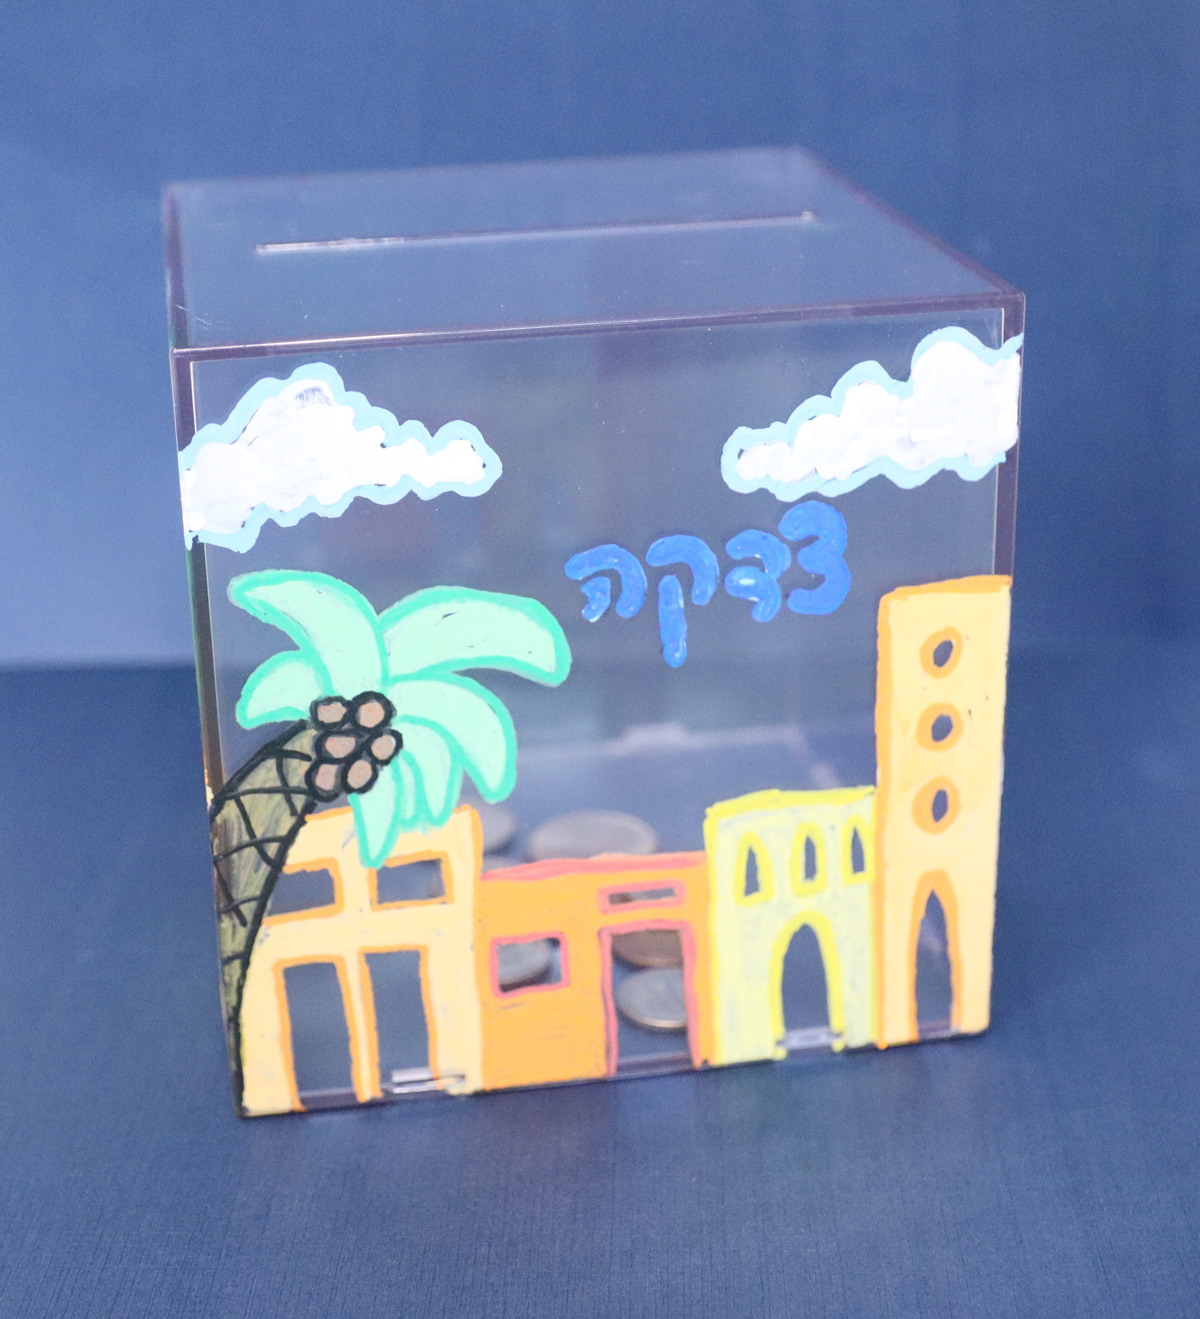
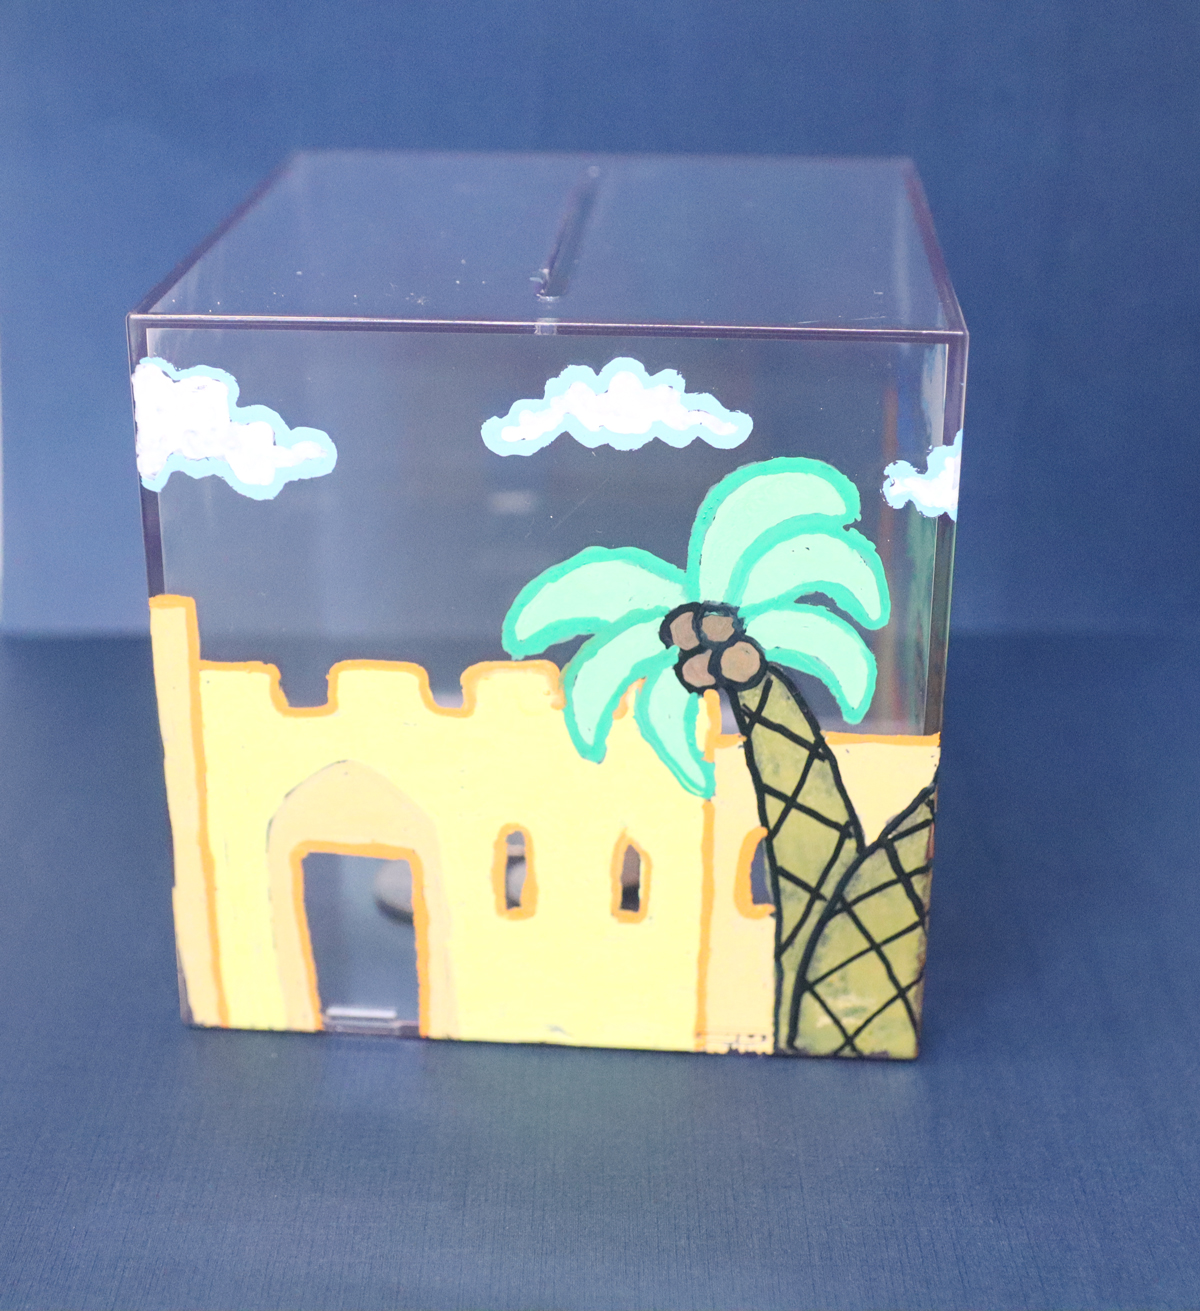
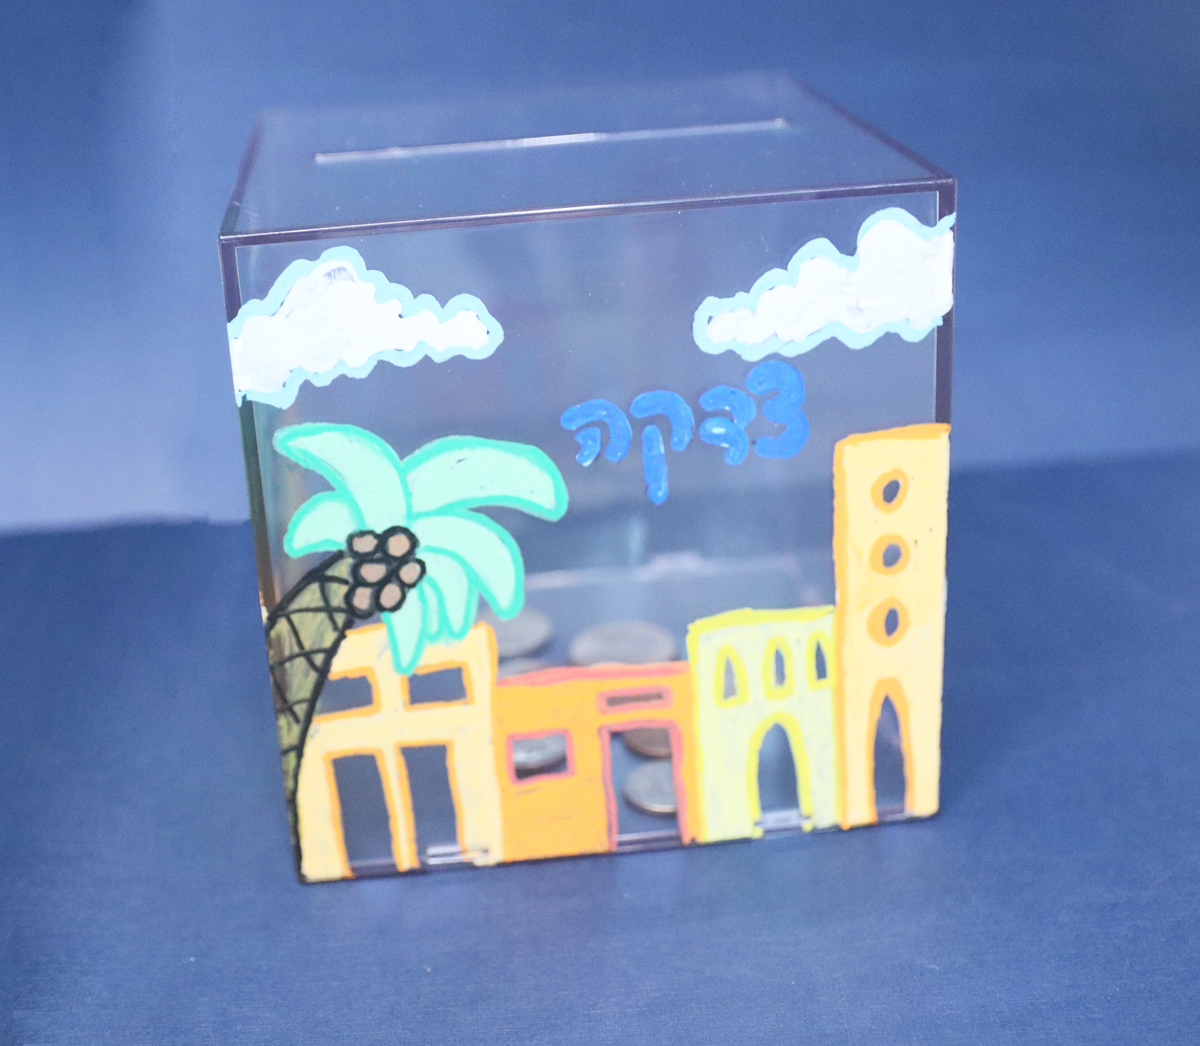
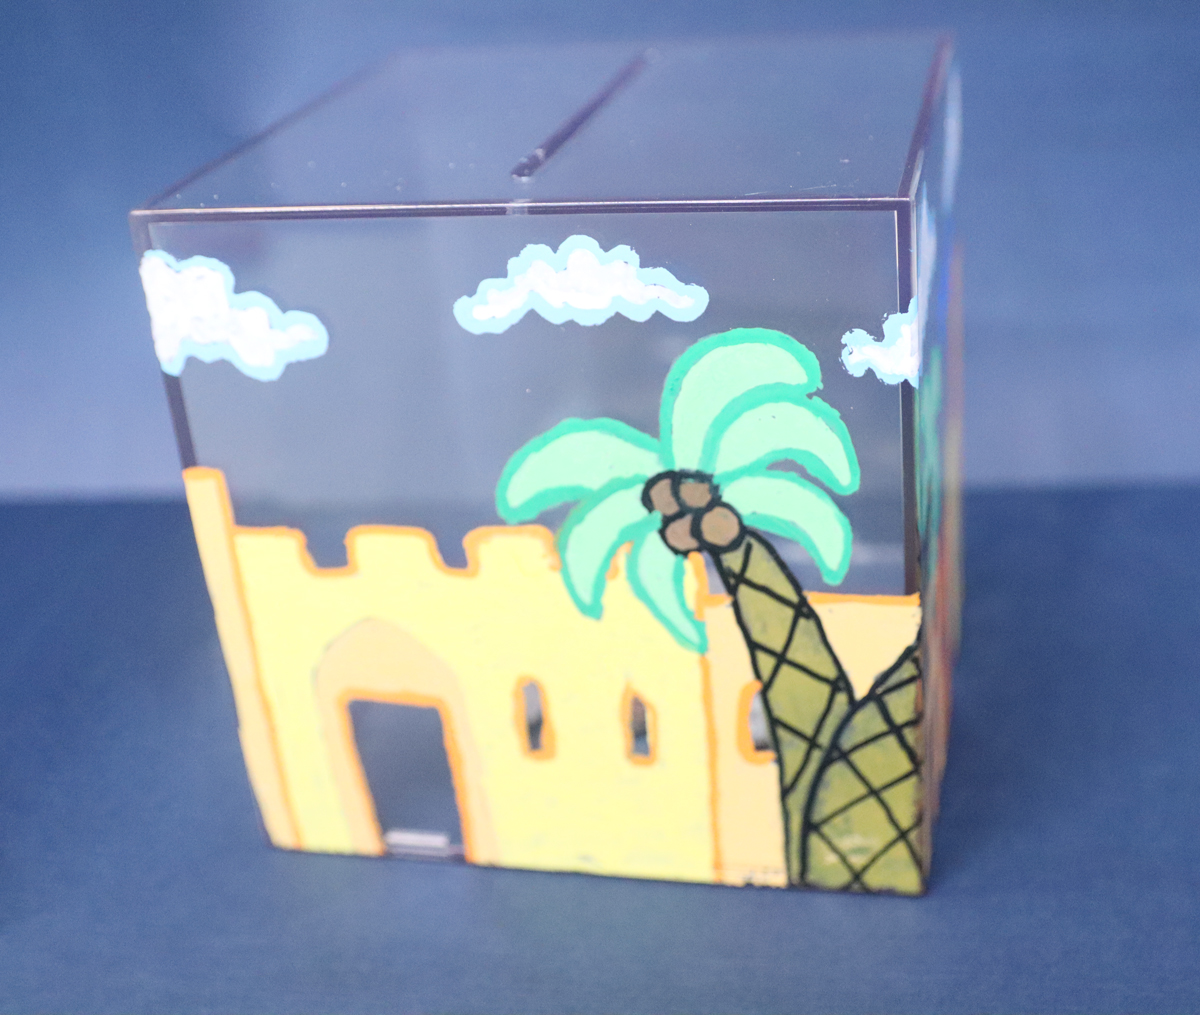
The design is made up of two panels. Those panels connect- on both sides (you may need to adjust the lines slightly). That means that you can repeat the designs continuously on all four sides. I made only two since four wouldn’t photograph nicely.
If you want, you can definitely freeform your own design. I do recommend actually tracing your box and plotting out your design on paper so that you don’t ruin your blank. Meaning, I recommend making your own template if you want to design this on your own.
Coloring your Tzedakah Box Craft (tips and tricks)
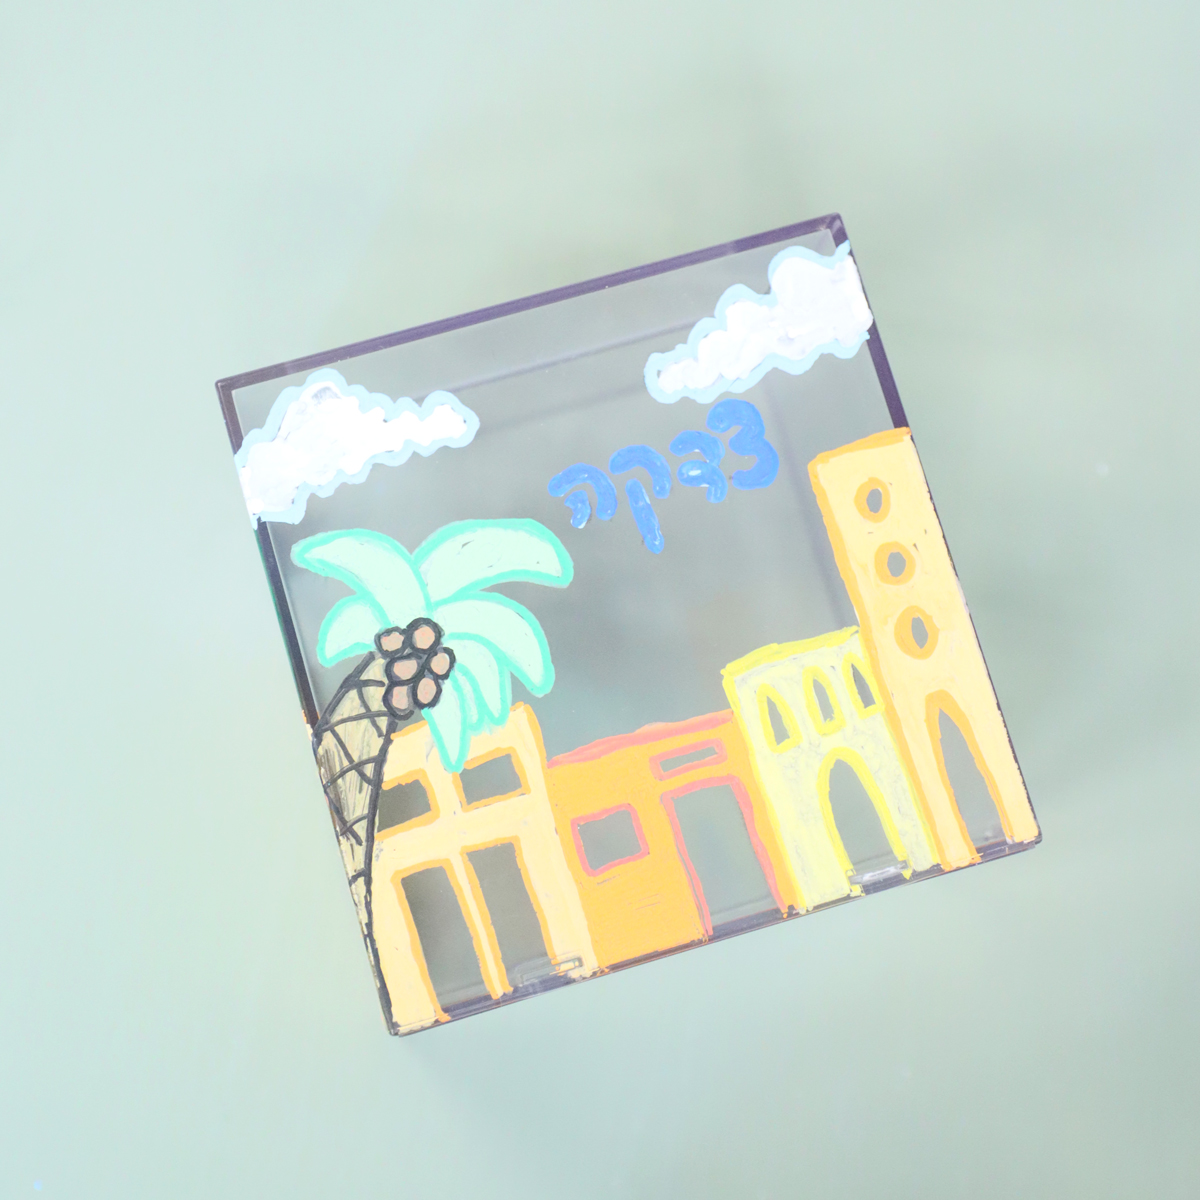
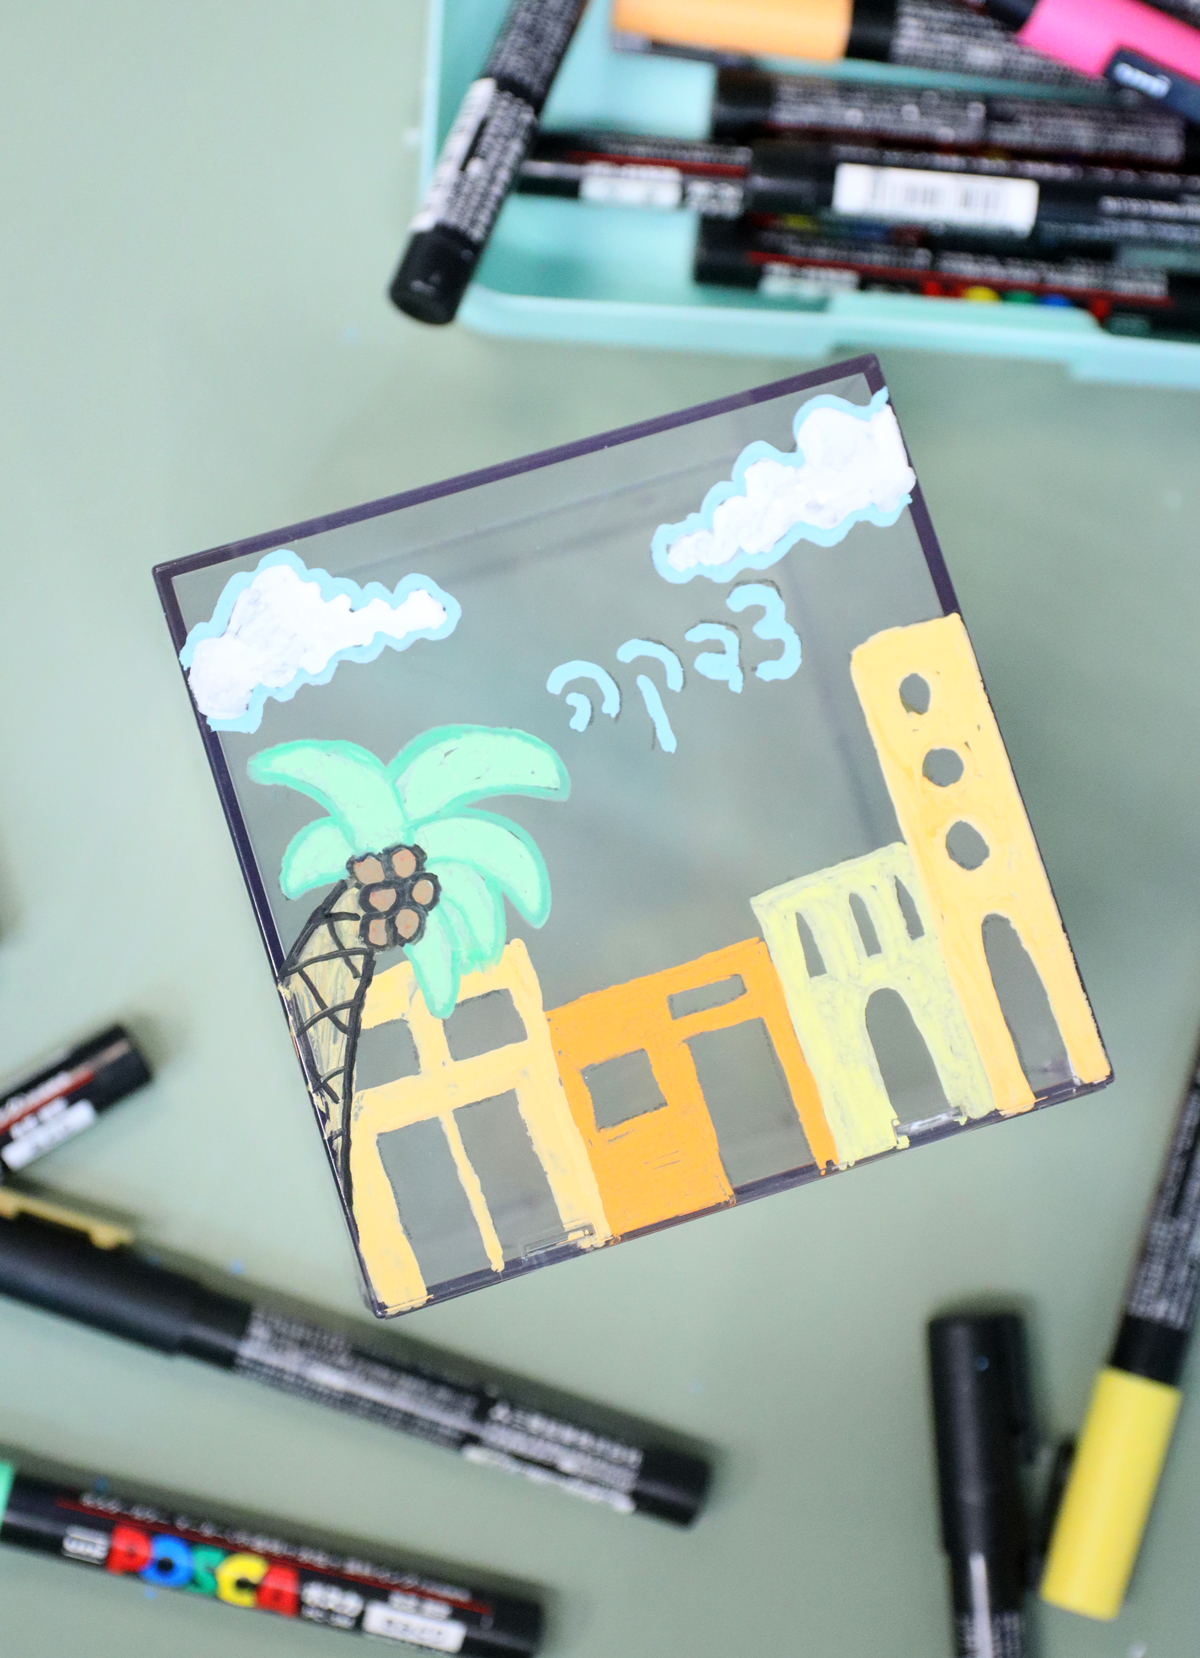
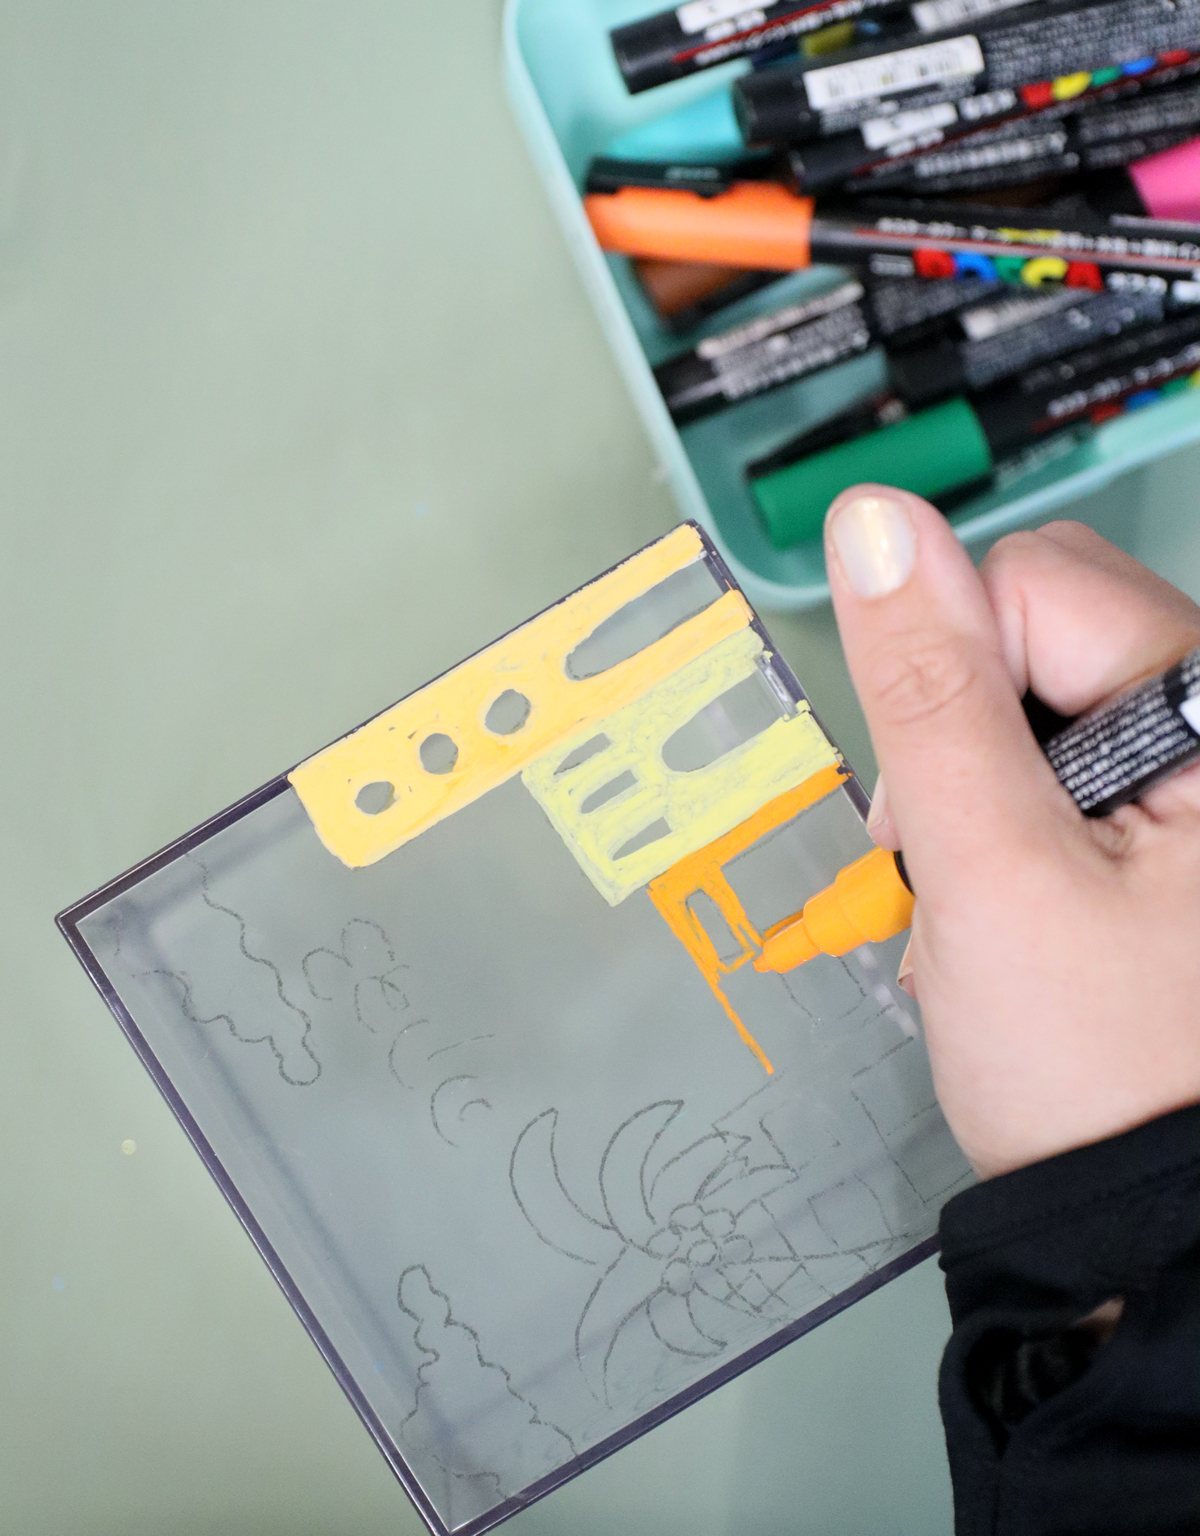
To color the box, I used paint markers. I did play around a little with cheaper ones (which I do sometimes use in different projects) but ultimately, the Posca markers won. You’ll want good coverage on this with consistent results, and no “drag” in the dry paint when you go over it, and Poscas just worked the best. I used the 3M size.
While it is a bit pricey (and trust me, I get budget constraints!) I personally justified the purchase by thinking of each marker like a little bottle of paint, because that’s really how I use it. You don’t need a pack of EVERY color either, although having multiple tones does help get a nicer affect.
I haven’t tested it, but I’d imagine that if you have a wood box base, quality will matter less as it’ll absorb in – just make sure it’s good enough that your color doesn’t run.
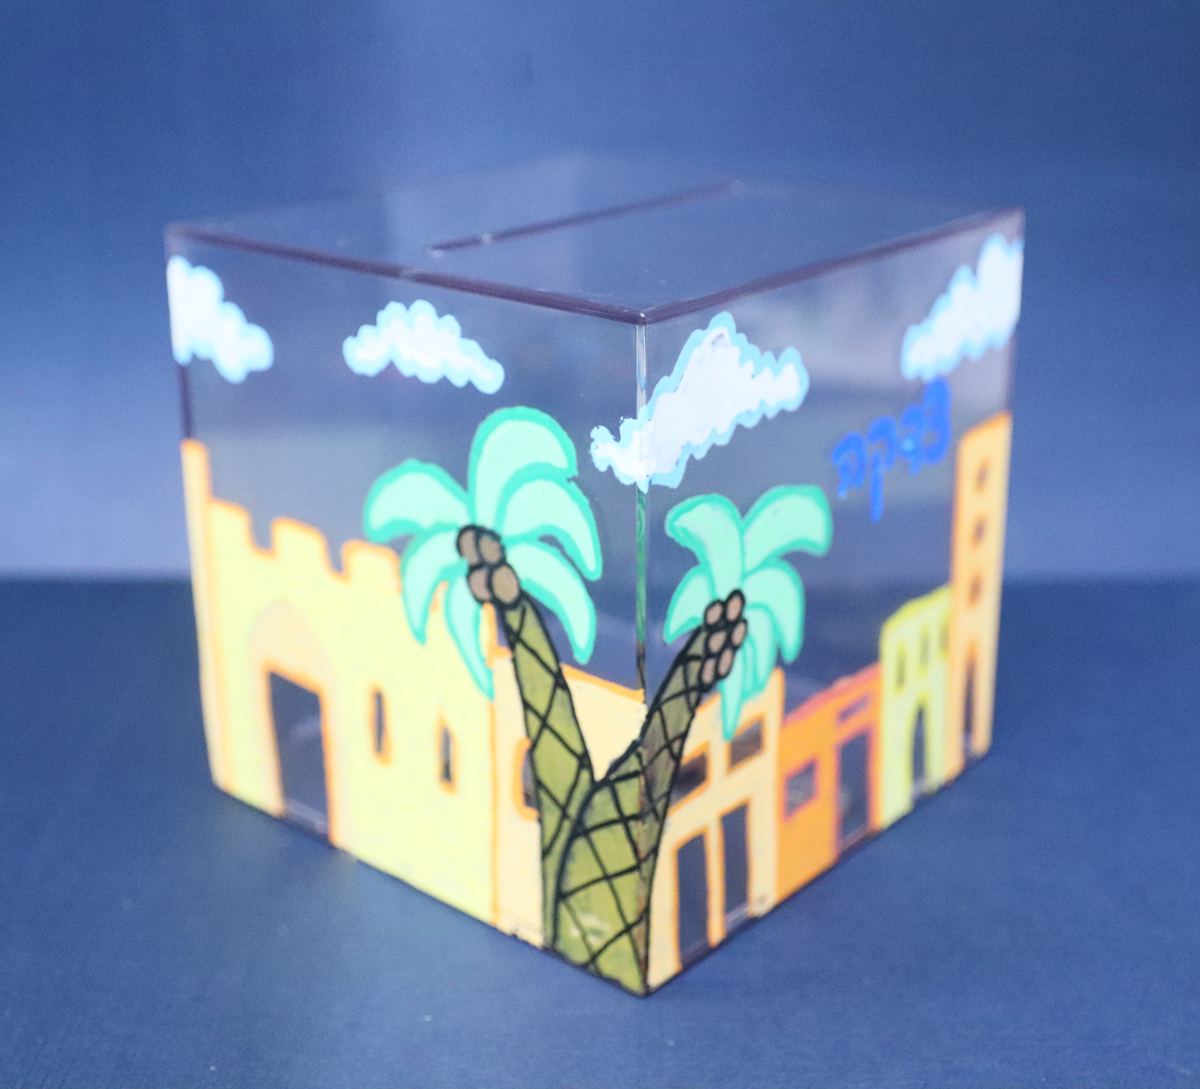
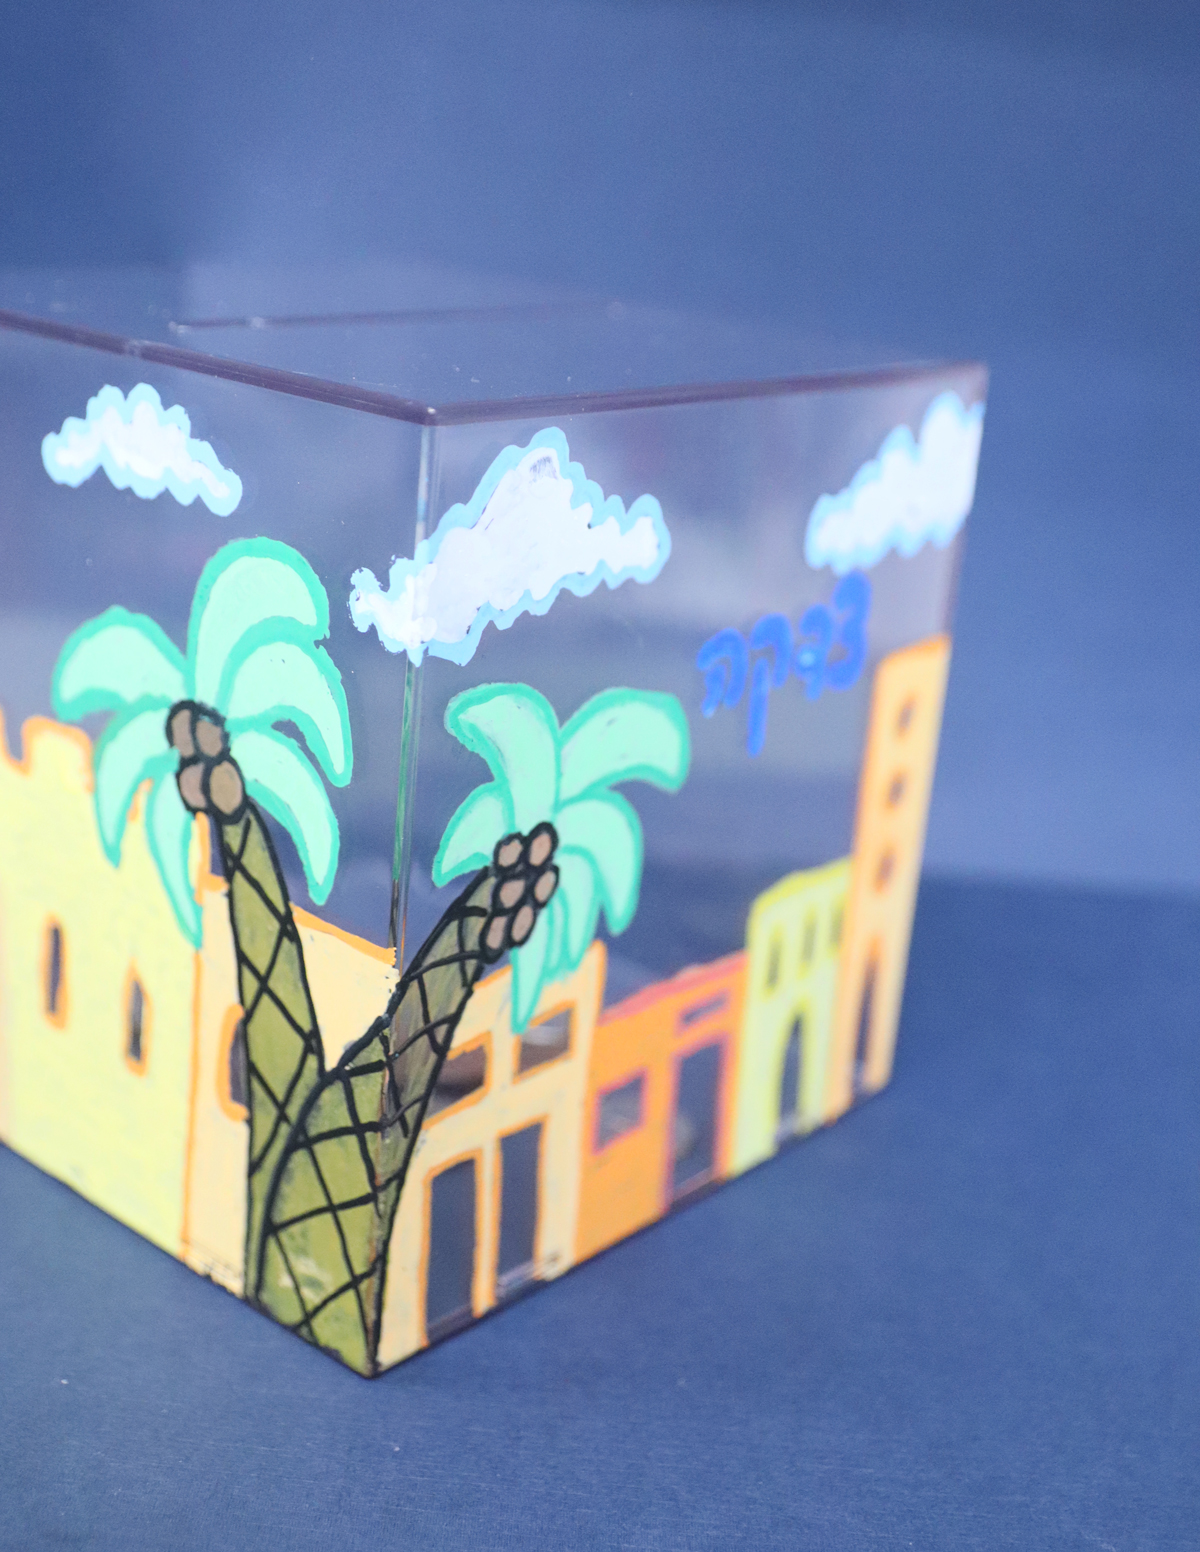
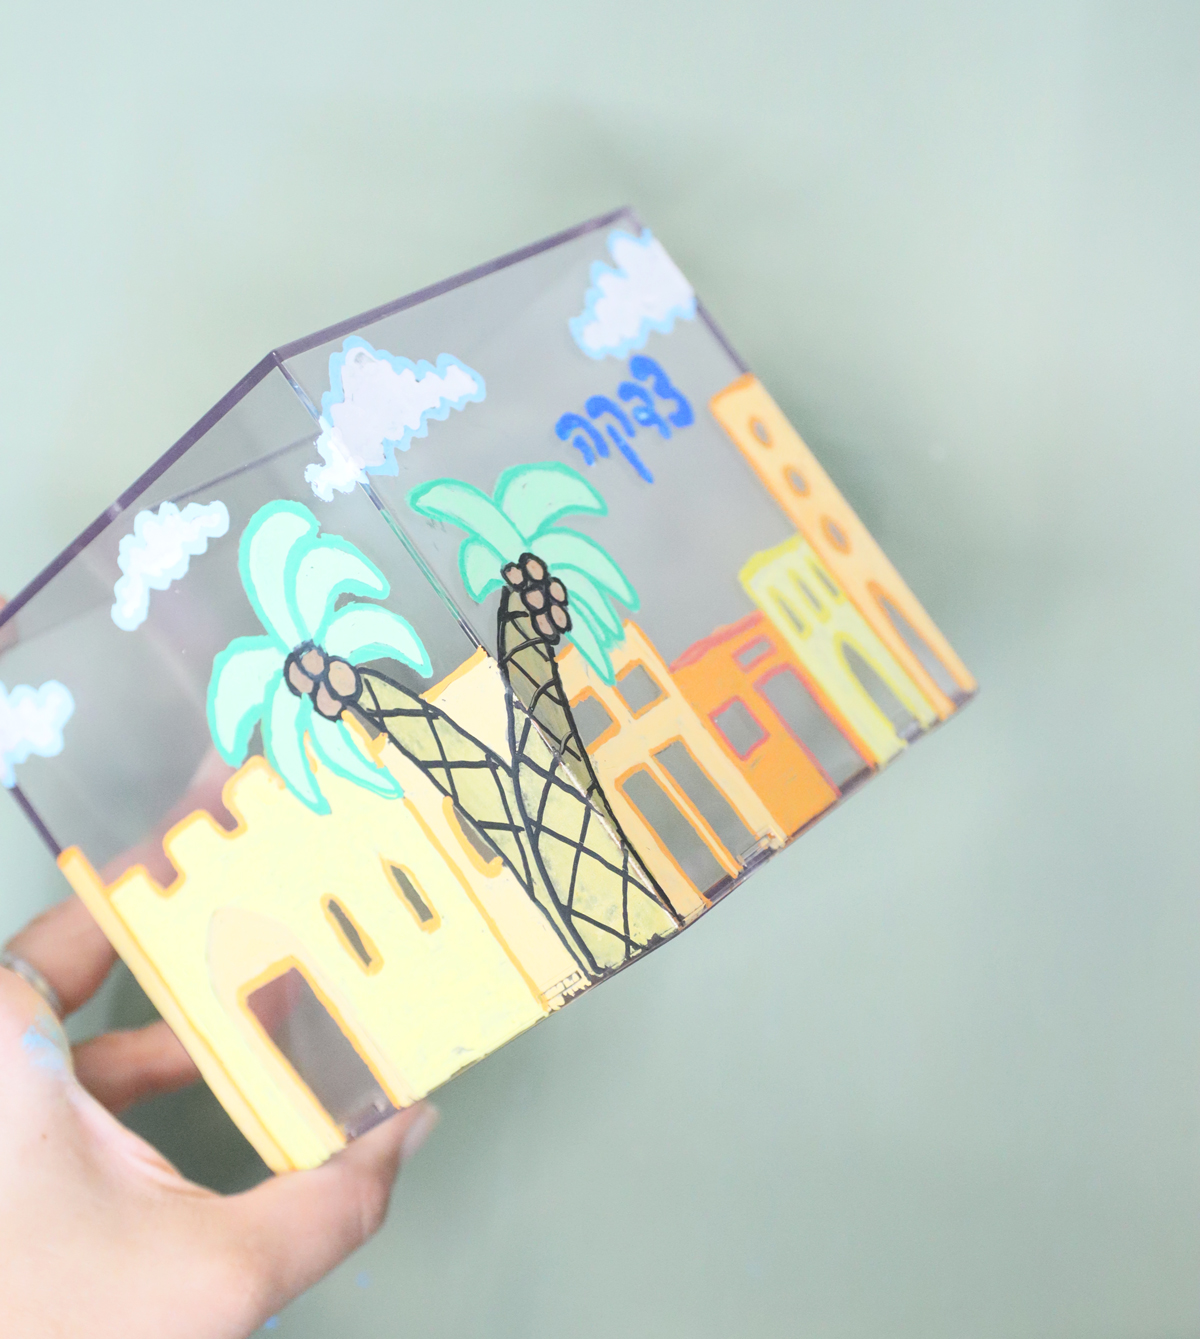
My favorite way to color this is to fill in blocks of color and then outline it in a darker shade of the same. If you’re more limited in your color palette, fill in the colors and then outline them in black (like I did on the trunk of the palm tree).
Finishing it off
Sealing your Tzedakah box craft will ensure that the paint doesn’t scratch off by mistake. I recommend a spray on acrylic sealer for best results. This is not mandatory if you’re doing a simple take-home craft for summer camp or school, but if you’re looking for more of a “real” final finished result, I HIGHLY recommend sealing it.
Again, it’ll be less prone to scraping off if you use a porous base (such as wood) rather than a smooth one (like acrylic).
How to make this tzedakah box craft
Supplies needed
- Wood or Acrylic piggy bank blank (the template is designed for a 4.5×4.5 inch blank. Print it at scale if needed)
- The template (print it at the end of this post) printed on regular copy paper.
- Carbon paper
- Paper tape (masking, washi, etc)
- A blunt pencil
- High quality paint markers, such as Posca (note – you can use a good quality “knockoff” like Ohuhu if your base is wood).
- Recommended: acrylic spray sealer
Watch the Video:
Watch the full-length video on YouTube if you prefer to learn that way! Or scroll down for written instructions with photos.
Process
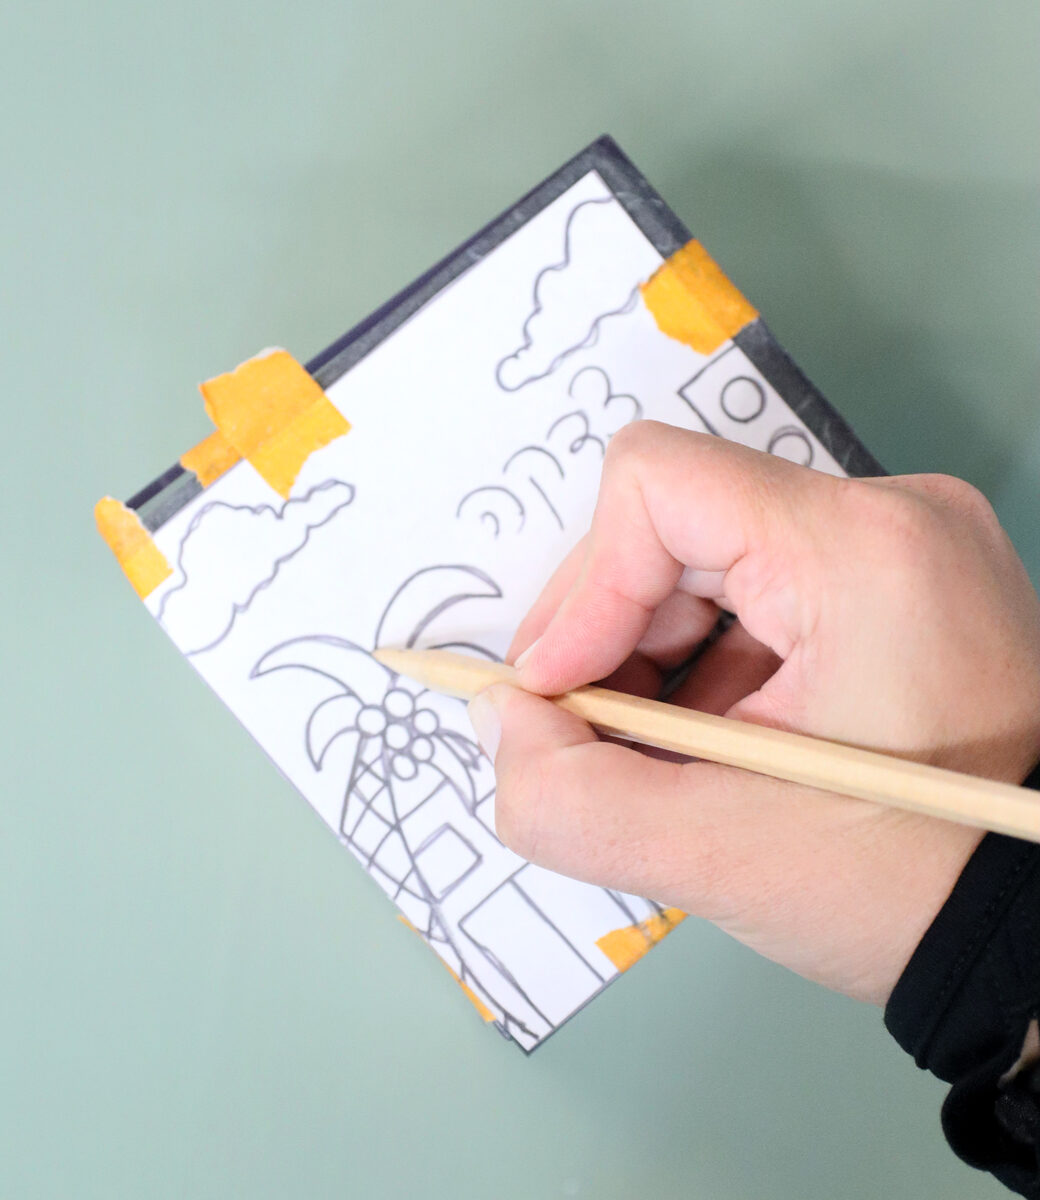
1. Cut out your template and a piece of carbon paper to match. Tape it onto your box so that the carbon paper has the dark side facing the box, and the template is over that.
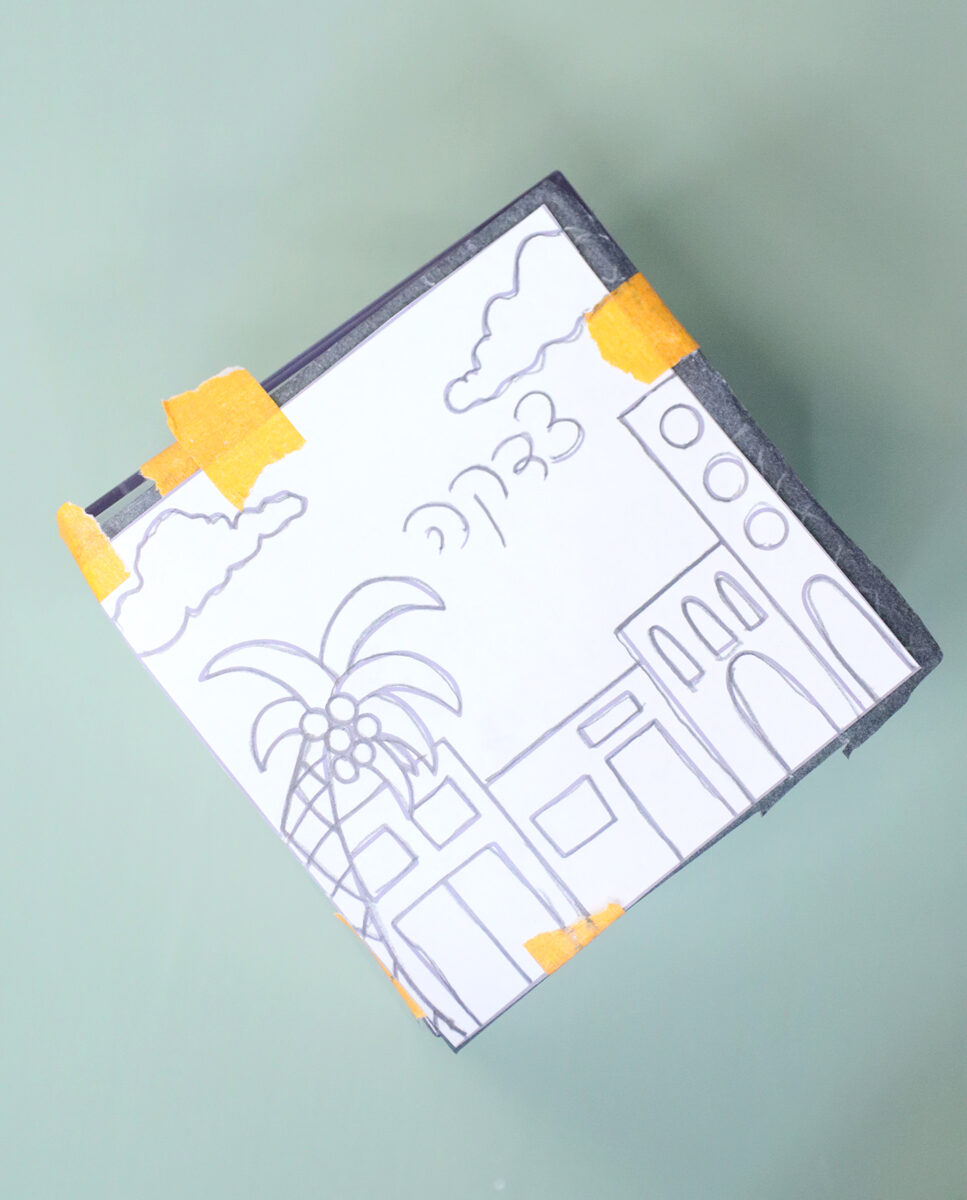
2. Trace over the drawing with a blunt pencil, pressing as you go.
3. Remove your template and carbon paper. You should have a pretty clear tracing of the design.
4. When you do the next side, make sure to connect the design and fill in any missing gaps as needed. You can go all the way around on all four sides like this if you’d like (the tall building on the far right of right most panel connects with that tiny beginning of a building on the left of the left panel -and the clouds connect too).

5. Start coloring! I recommend filling in the small spaces first and then adding a darker outline on top.
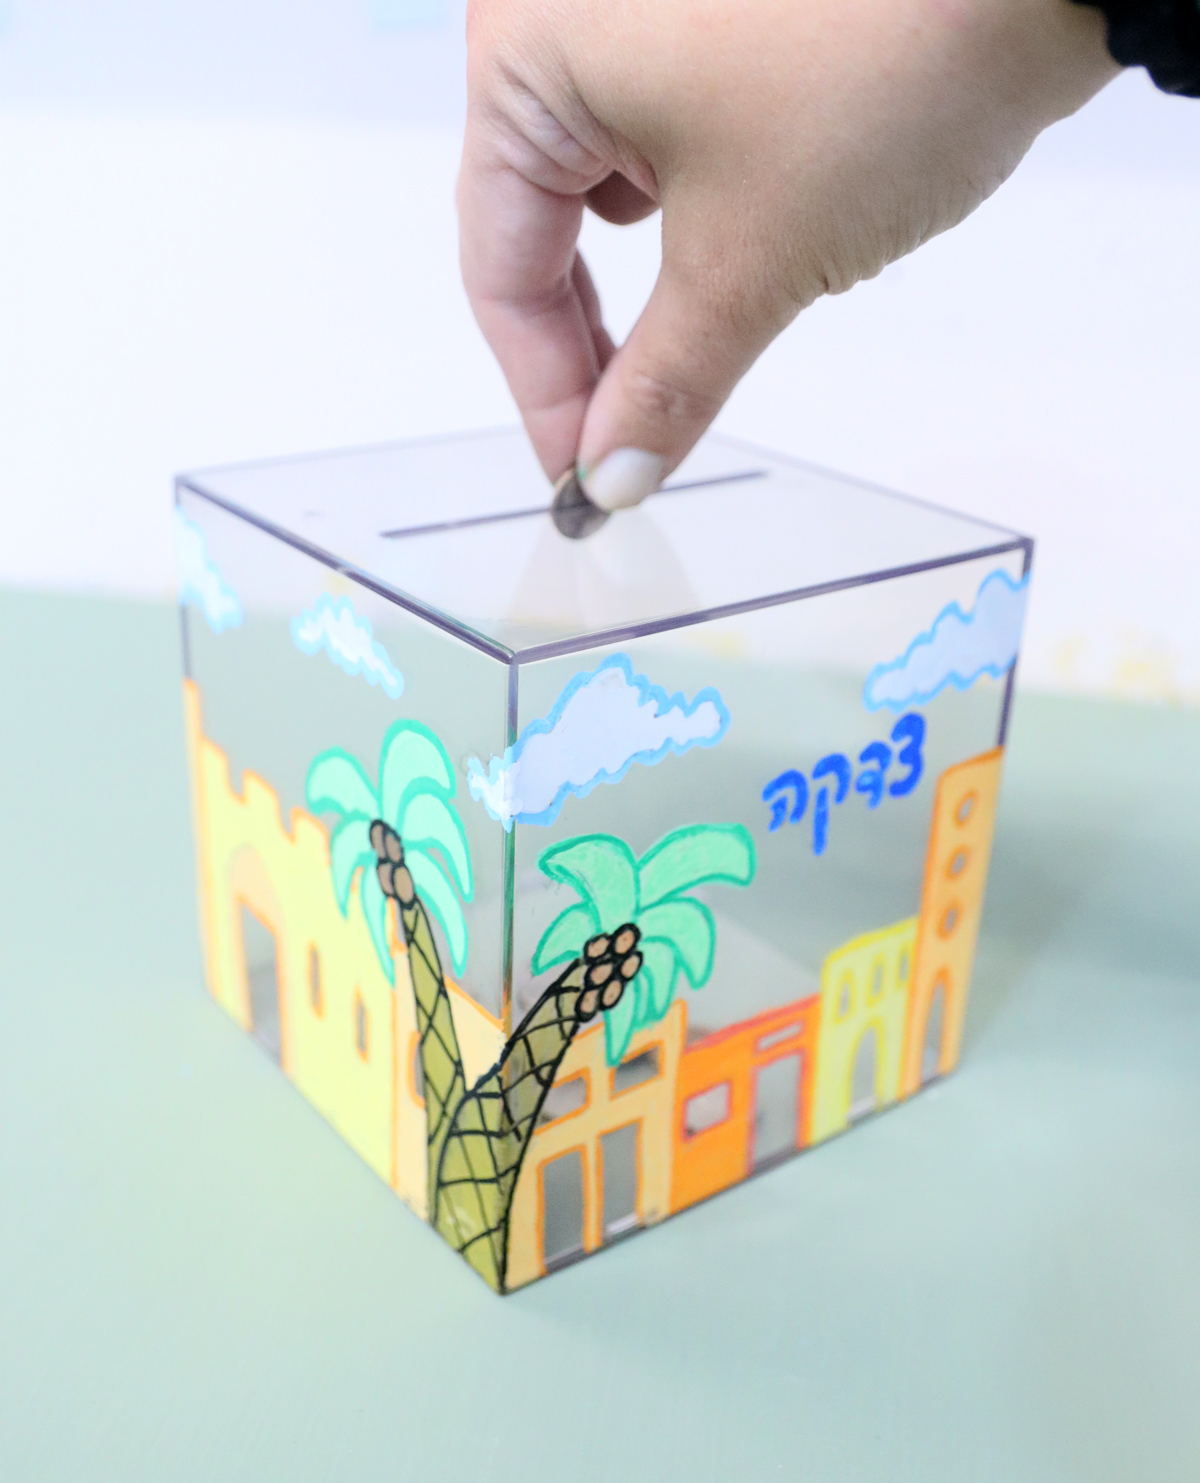
6. When you’re done, seal it so that your design doesn’t scratch off. Your tzedakah box craft is complete!
Download the Tzedakah box craft template
Download your free template! It’ll arrive right in your inbox. By downloading, you’re subscribing to our FREE newsletter with updates on cool printables like this, ideas to simplify Jewish life, and more. Unsubscribe at any time at the bottom my emails. I respect your privacy and the law, and won’t share or sell your email address.
What will you be crafting this tzedakah box craft for? Comment below!

Such a fun craft and perfect for Rosh Hashana.
Amalia
xo