Stained Glass Menorah Tray (free templates)
Craft a fun and easy faux stained glass Menorah tray using the free printable templates! When you’re done, give this mosaic menorah tray a shot too! This post contains affiliatel inks.
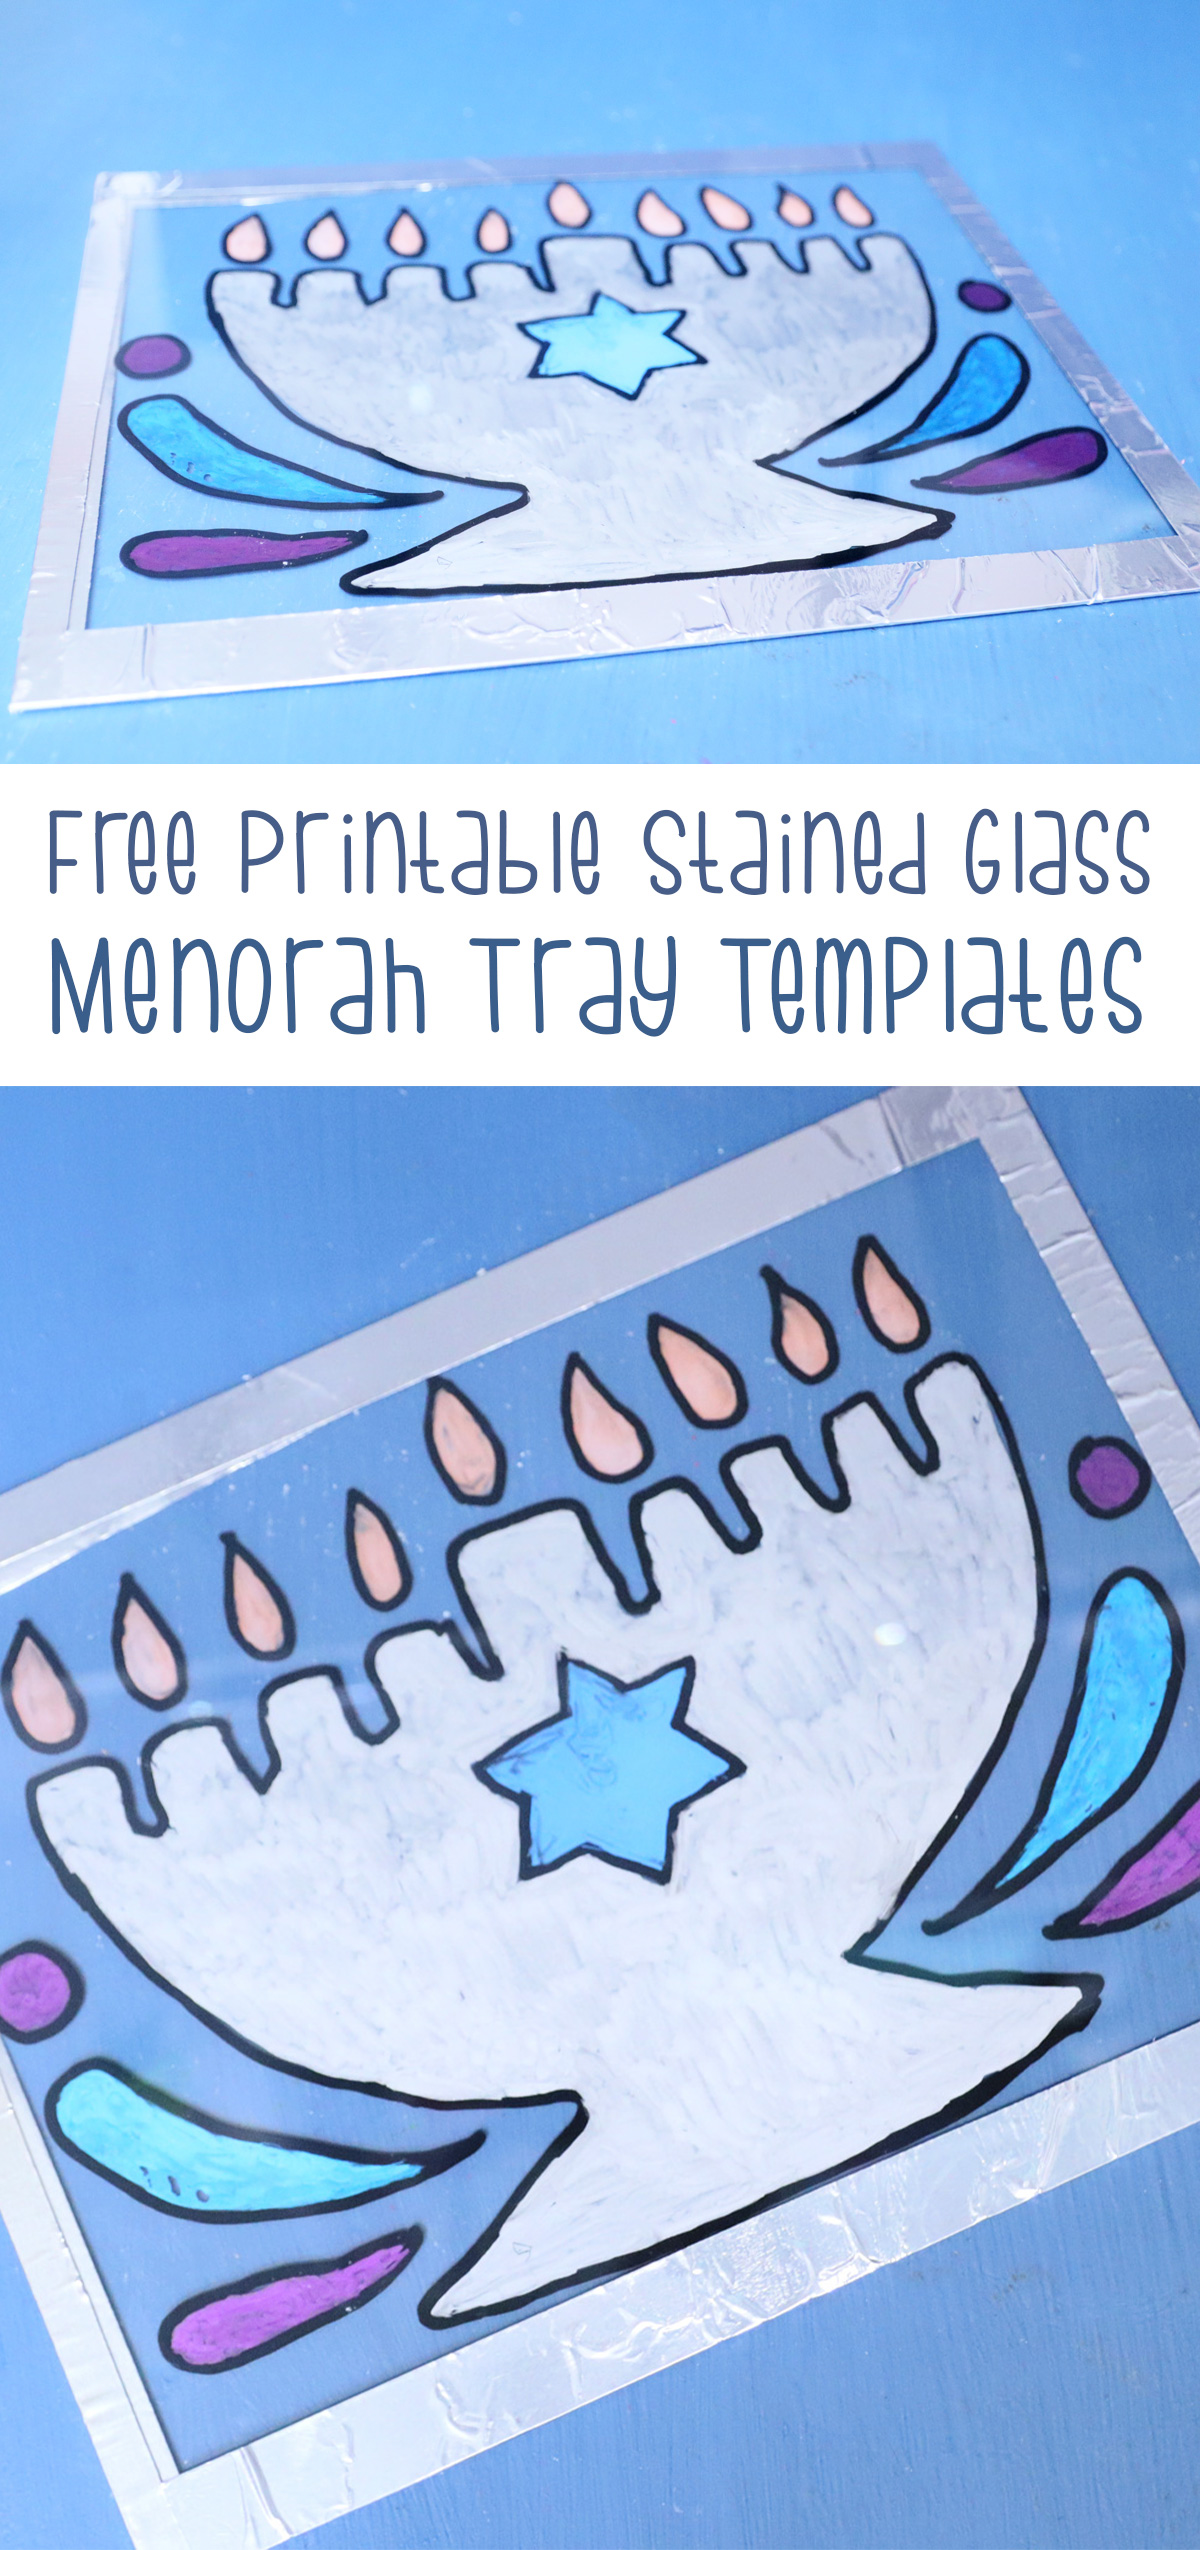
I got a little carried away with Menorah trays this year – and in truth, it’s a really fun craft to make for Chanukah. It’s a bit different than another Menorah (though we love those too – try this air dry clay Menorah next!) But it’s just as useful.
I will be sharing everything below, including my experimentations, the slight drawbacks of this craft, and how to craft it best. So while you can skip around using the table of contents below, I do recommend skimming the post text for important info.
I’m always careful when crafting Menorahs and Menorah-adjacent crafts with which materials I use. For this stained glass Menorah tray, I once again chose materials that wouldn’t catch fire. For that reason, stained glass was a perfect crafting choice for this, but what about the frame?
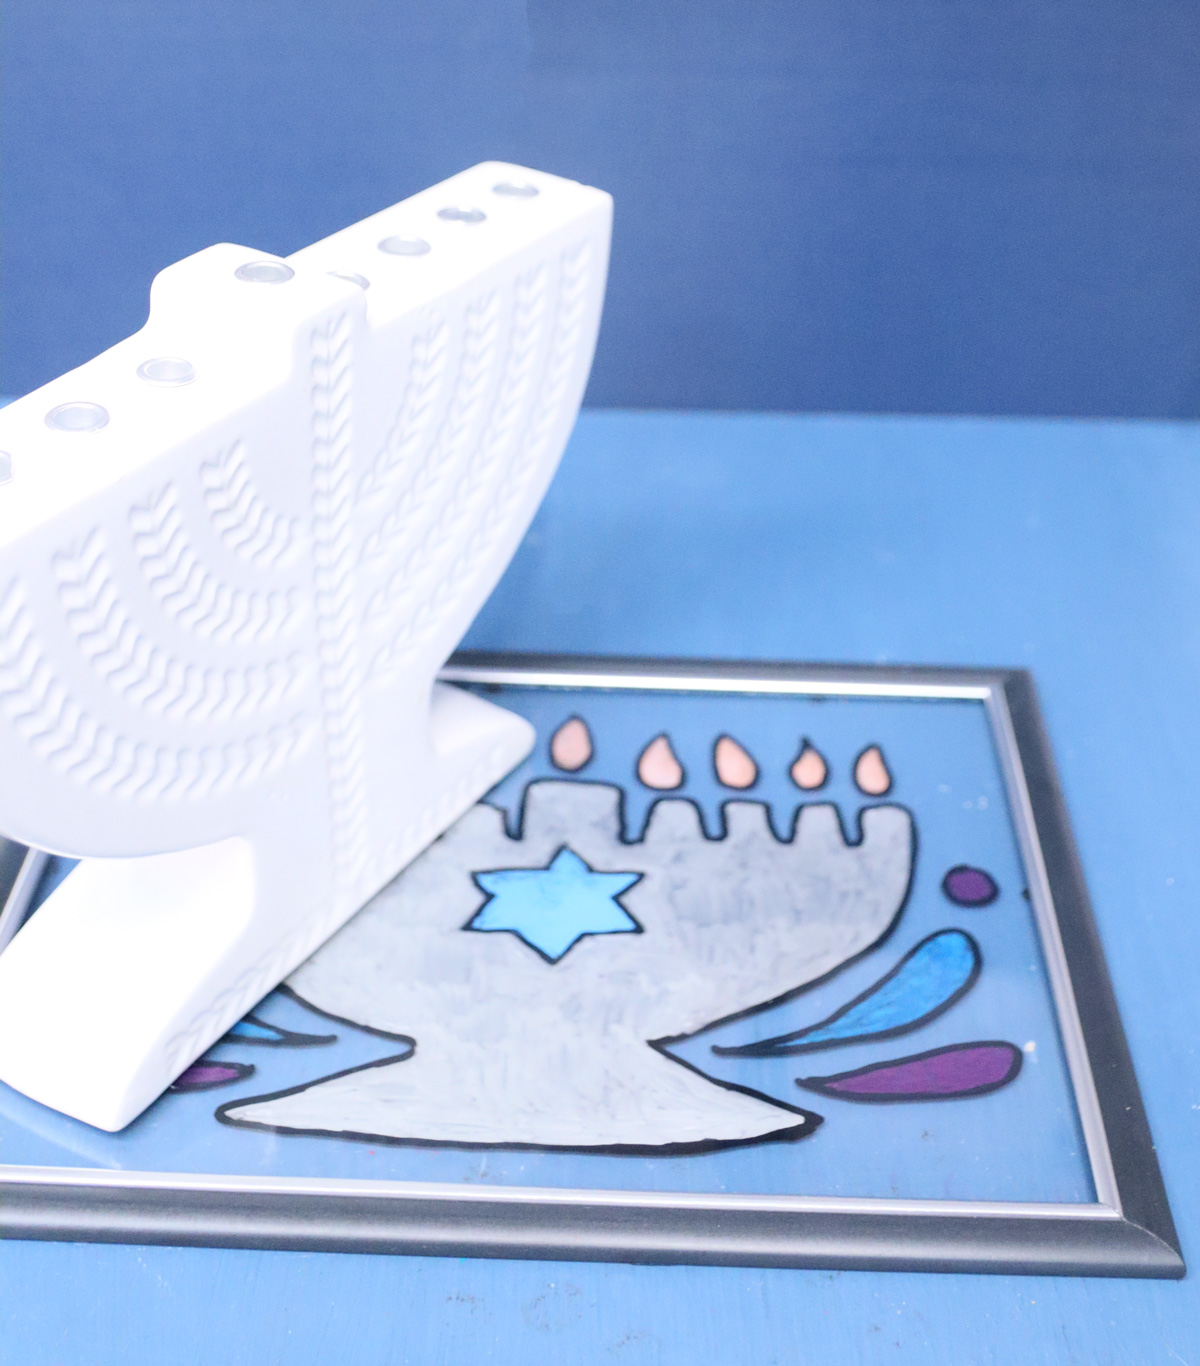
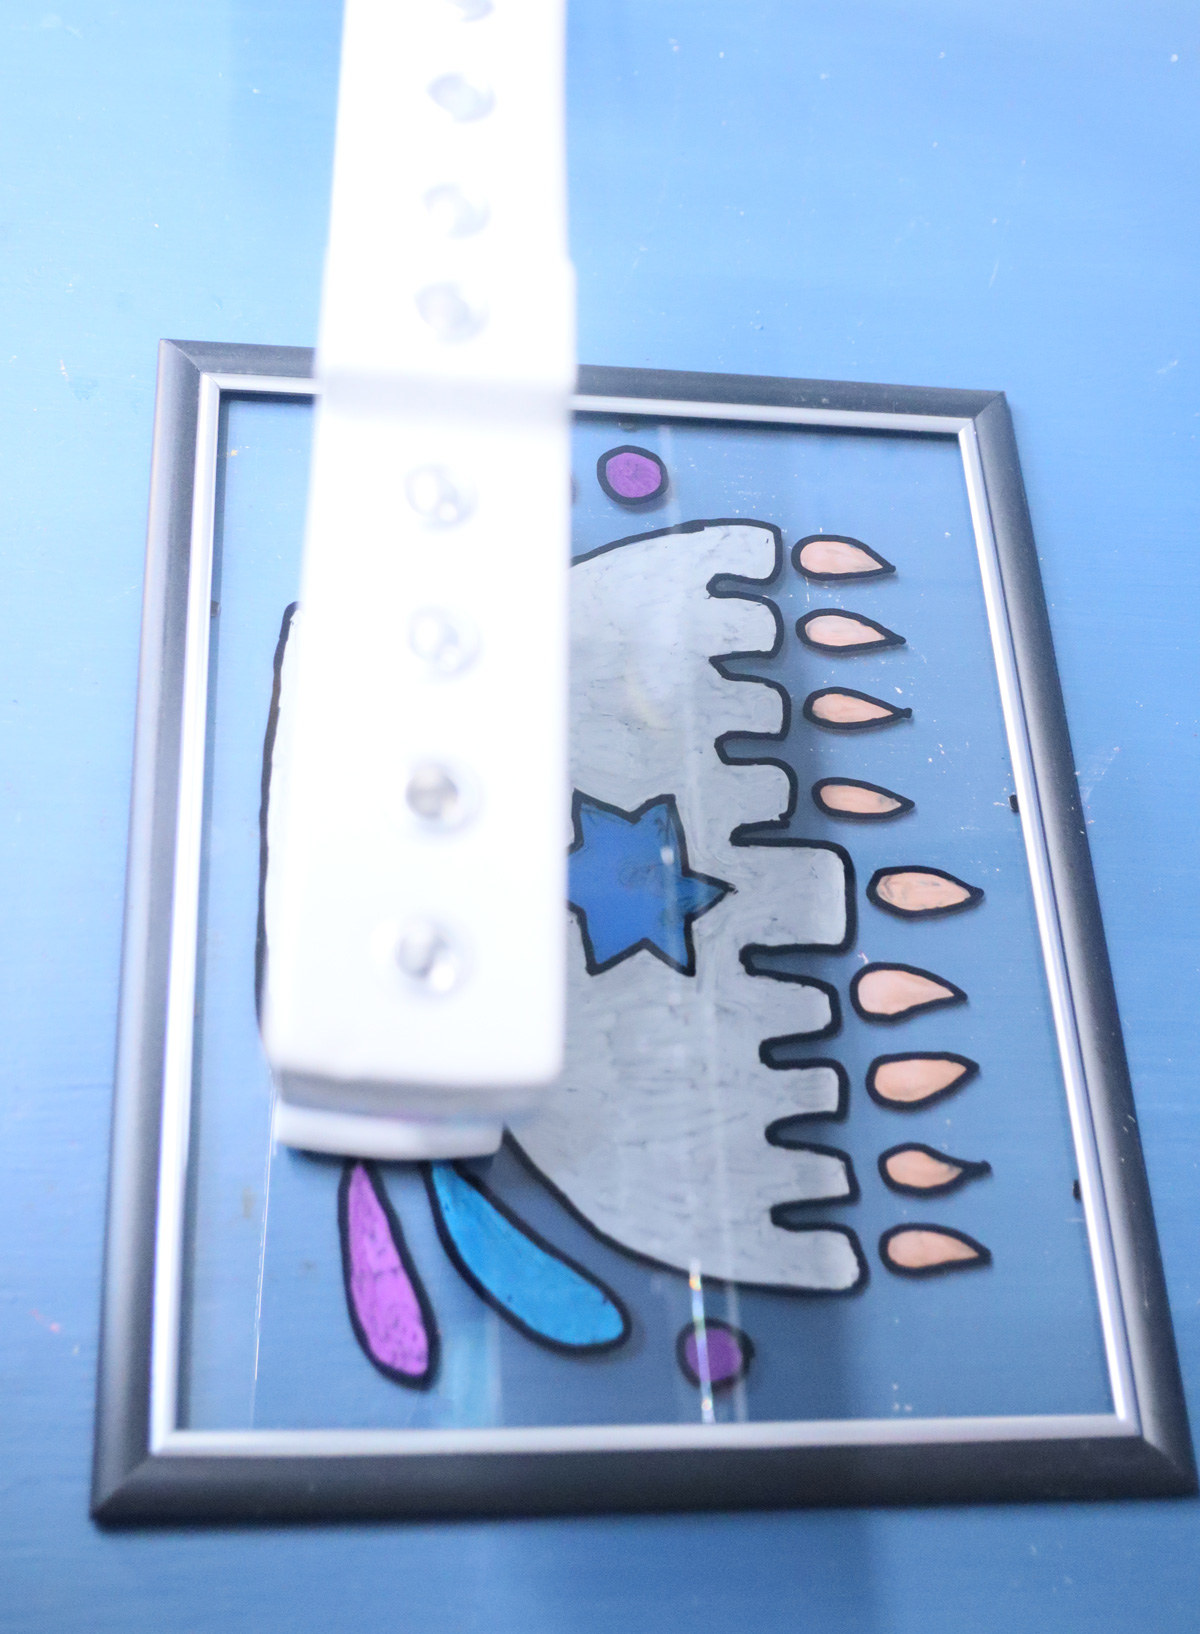
I’m going to share all my tips, my thought process with the materials, and ideas for adapting it for different age groups below.
This craft comes with a free template – available to download at the end of the post. I created FOUR styles – one with a Menorah, and one that says “Chanukah Sameach” in Hebrew, a similar one that says Happy Hanukkah in English, and a dreidel.
I’m going to share another idea I crafted with this template (though it might have to wait for next year).
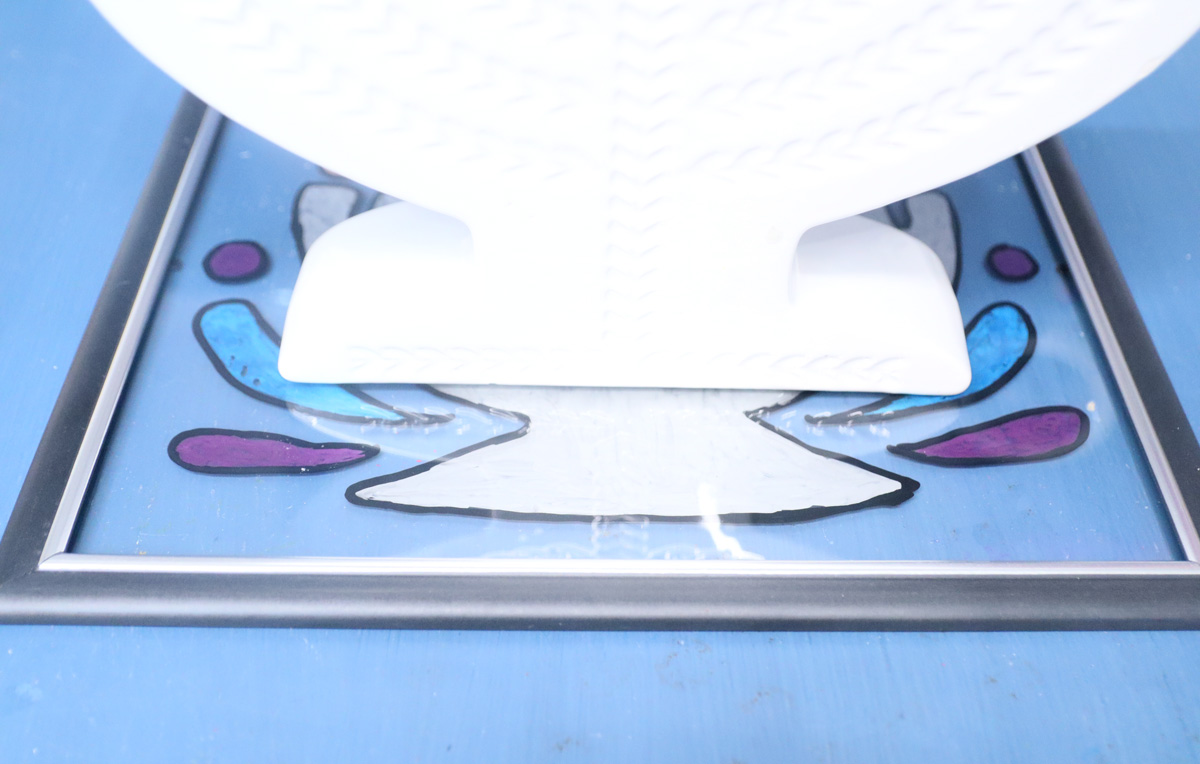
You can also use those to color and craft, or make Hanukkah suncatchers by simply using the process below, but doing it on acetate and hanging it as-is.
Either way, the templates are fun to use regardless of whether you’re making this craft or not. The ones with text are mirrored, so you’ll need to fix that if using for non-reversed purposes.
How to craft your Stained Glass Menorah Tray
Crafting with different age groups
This DIY stained glass Menorah tray can really be crafted by different age groups. It’s simple to trace the design onto a glass surface and then coloring is something anyone can do at any age.
- For toddlers and younger preschoolers: prepare the tray by pre-tracing the design. It’s not overly complex and should take a few minutes per tray. Tape the glass down well to a base (maybe the table they’re crafting on) and send it home well wrapped and packaged.
- For older-preschool and grade school: Tape the template in place and allow them to trace it. Show them how to hold the marker properly to avoid dragging and smudging their hands in it. Again, tape the glass down well to a base (maybe the table they’re crafting on or a cardboard support) and send it home well wrapped and packaged.
- For older kids: Provide templates, however, encourage them to try coming up with their own designs too!
Which materials you use may also need to switch depending on the age group – more on that below.
Choosing your markers
Gallery Glass: I’ve done Hanukkah stained glass in the past using Gallery Glass faux stained glass before. I chose not to use it for a few reasons. The main reason is that I want this to be the type of thing that can be completed in classrooms, at Hanukkah parties, and in single-session workshops. However, if you’re creating that for yourself that can be a great option.
Another concern is flammability. I don’t know how fire-safe Gallery Glass is. I can tell you that it WILL look much more like stained glass if you use it. I think it should be fine, but look into it before using.
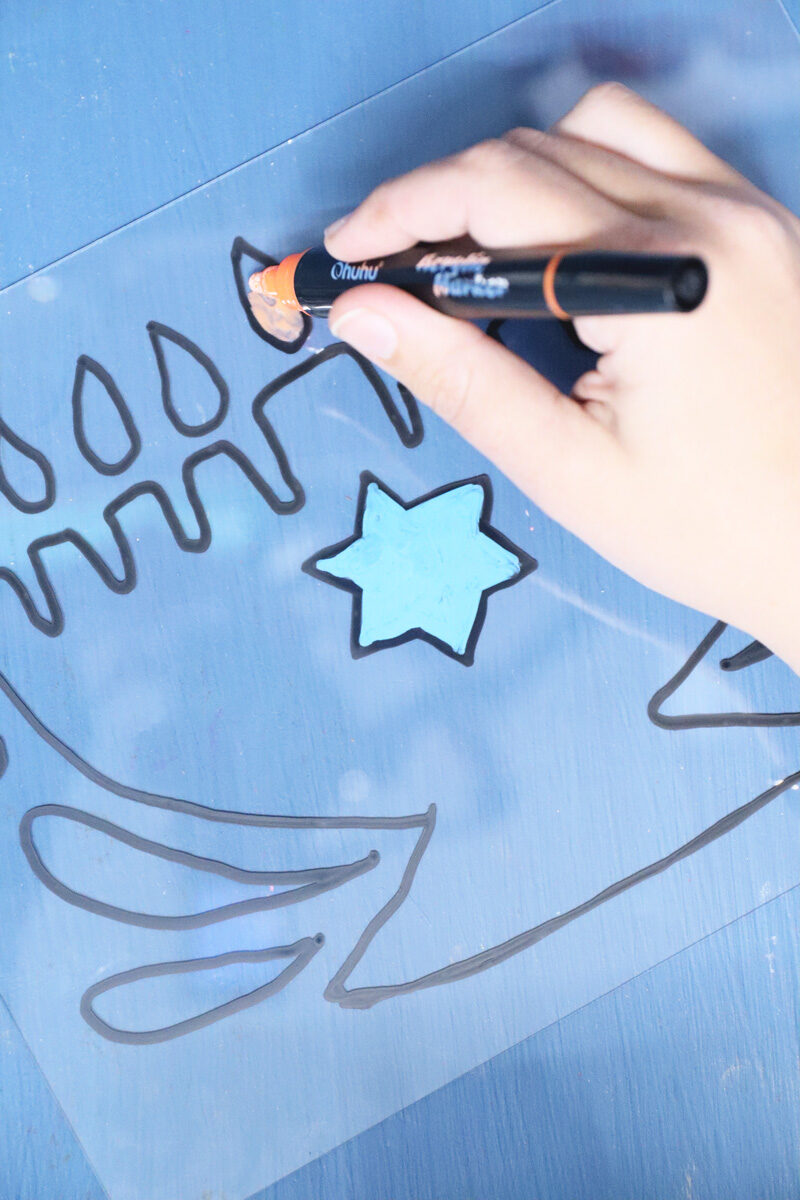
Paint markers: I used paint markers, because of its rich, opaque colors. I used Ohuhu’s dual tip acrylic paint markers because I didn’t want to waste my Poscas on this, and it did a fabulous job.
Paint markers are definitely the easiest way to go. While you are coloring on the back, I would still try to stick with non flammable materials, so make sure you’re using water-based markers and not oil-based paint markers.
The biggest drawback of paint markers is that you don’t have the transparency of stained glass.
Sharpies- I have mixed feelings about this. When you’re crafting with younger kids, you’ll find that they don’t see much of what they’re doing on a clear surface. It can be frustrating. The black also tends to lift when you outline and then color in.
In addition, Sharpies are flammable because they are alcohol-based. HOWEVER, the alcohol evaporates as the marker dries, and therefore, dried Sharpies should not be flammable. In any case, test in a controlled environment before you use it with young kids, and stick to coloring on the back of the stained glass Menorah tray.
Finishing it off
The final little detail is choosing your frame and finishing it off. One issue I ran into is that most affordable frames have wood or plastic frames. How flame-proof the frame of a Menorah tray needs to be is something that I do wonder about (most people have the Menorahs on the table which is not flame-safe) but I do believe it’s best to exercise caution if you can.
My main craft was made using a plastic Dollar Tree document frame. I find that plastic usually just melts/burns if confronted with fire (some products have glues that catch fire). Wood frames are probably the worst options. If you can find affordable metal frames that is ideal.
Another issue is using glass with young kids. The Dollar tree glass that I used was SO thin, it really did scare me. Other frames have thicker glass. It can also have sharp edges when out of the frame. Be careful.
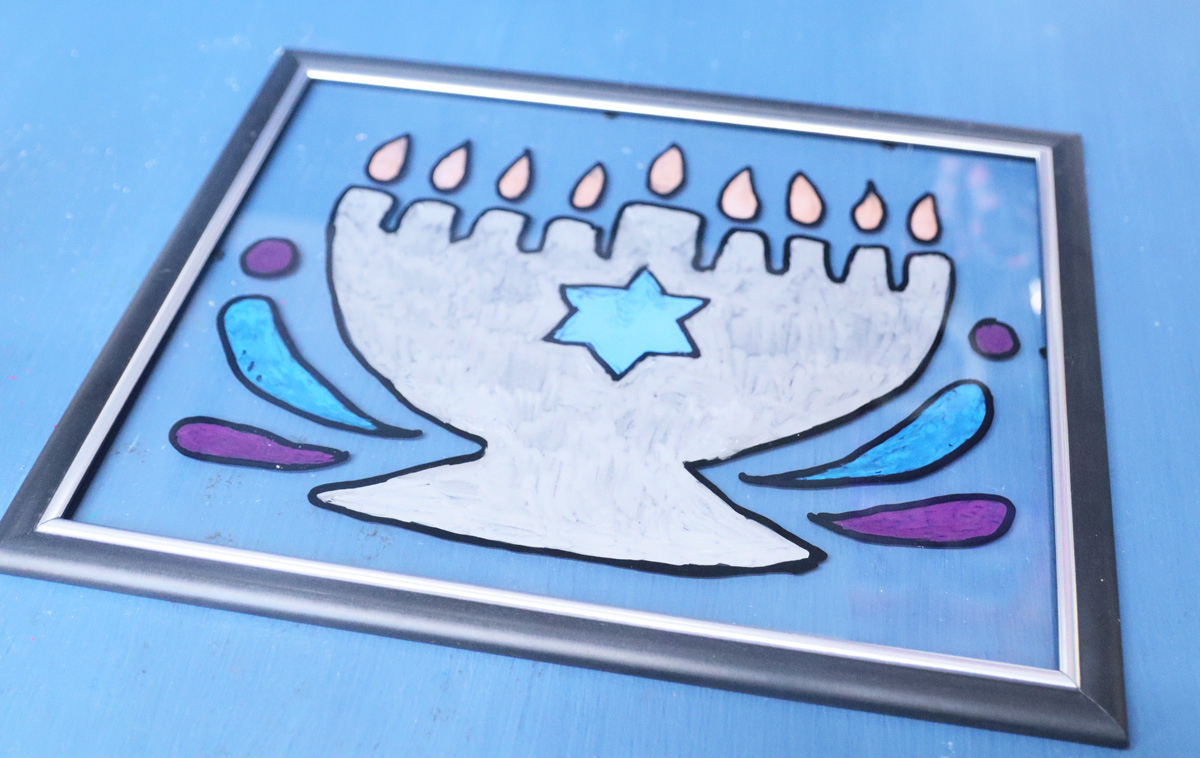
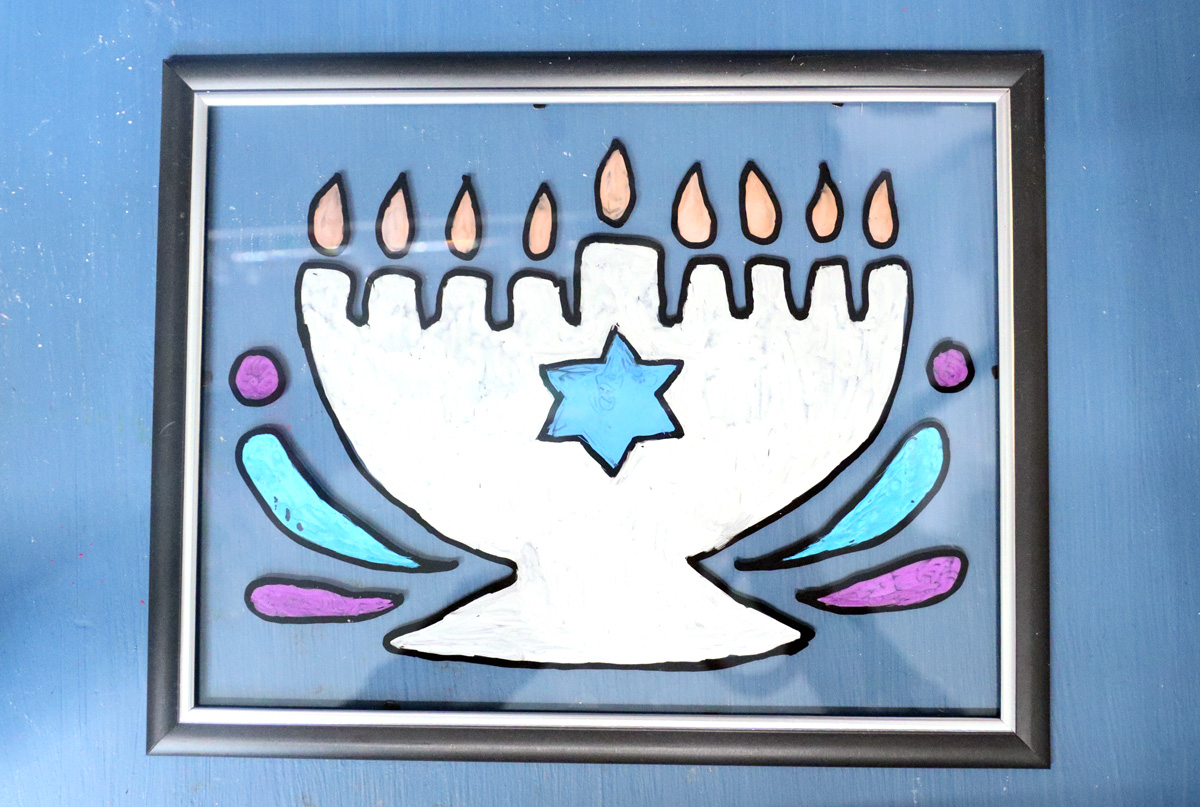
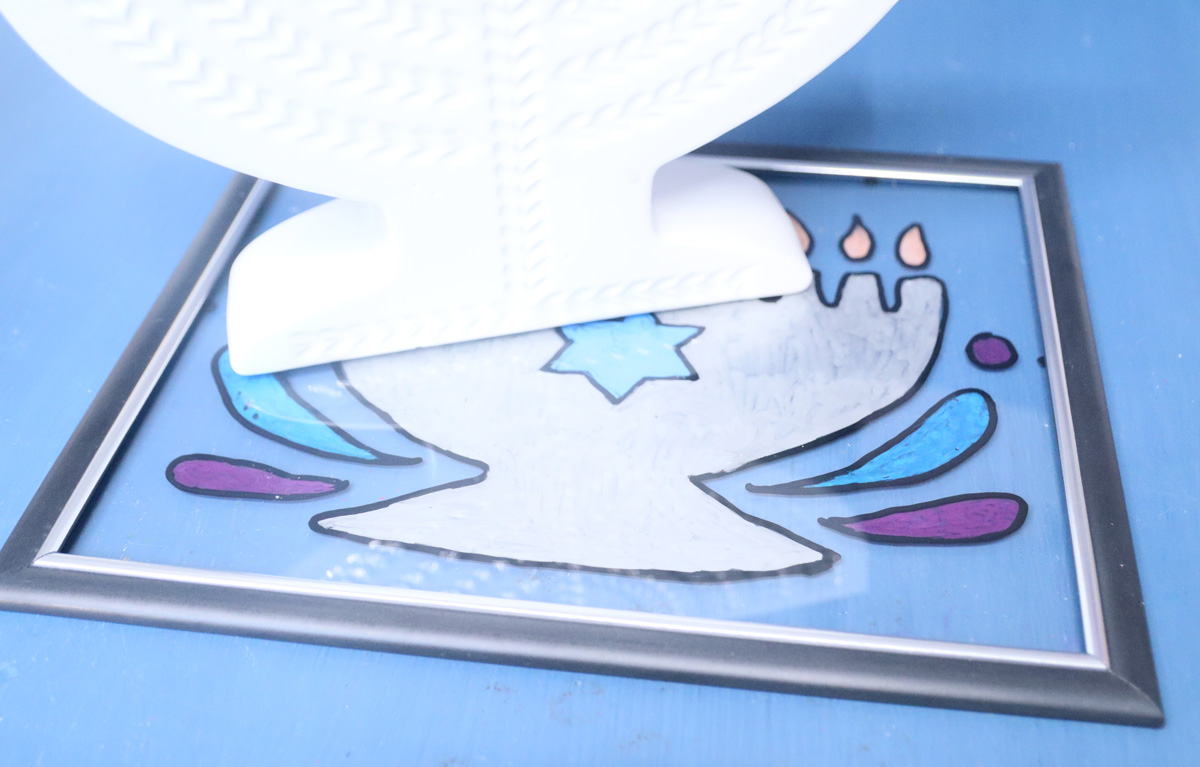
My original intention was simply to place it back in the frame and use that as the tray. However, I realized that it wasn’t so stable (maybe because the glass was so thin.
So either choose a good frame, or, finish off your edges with foil tape, like I eventually did.
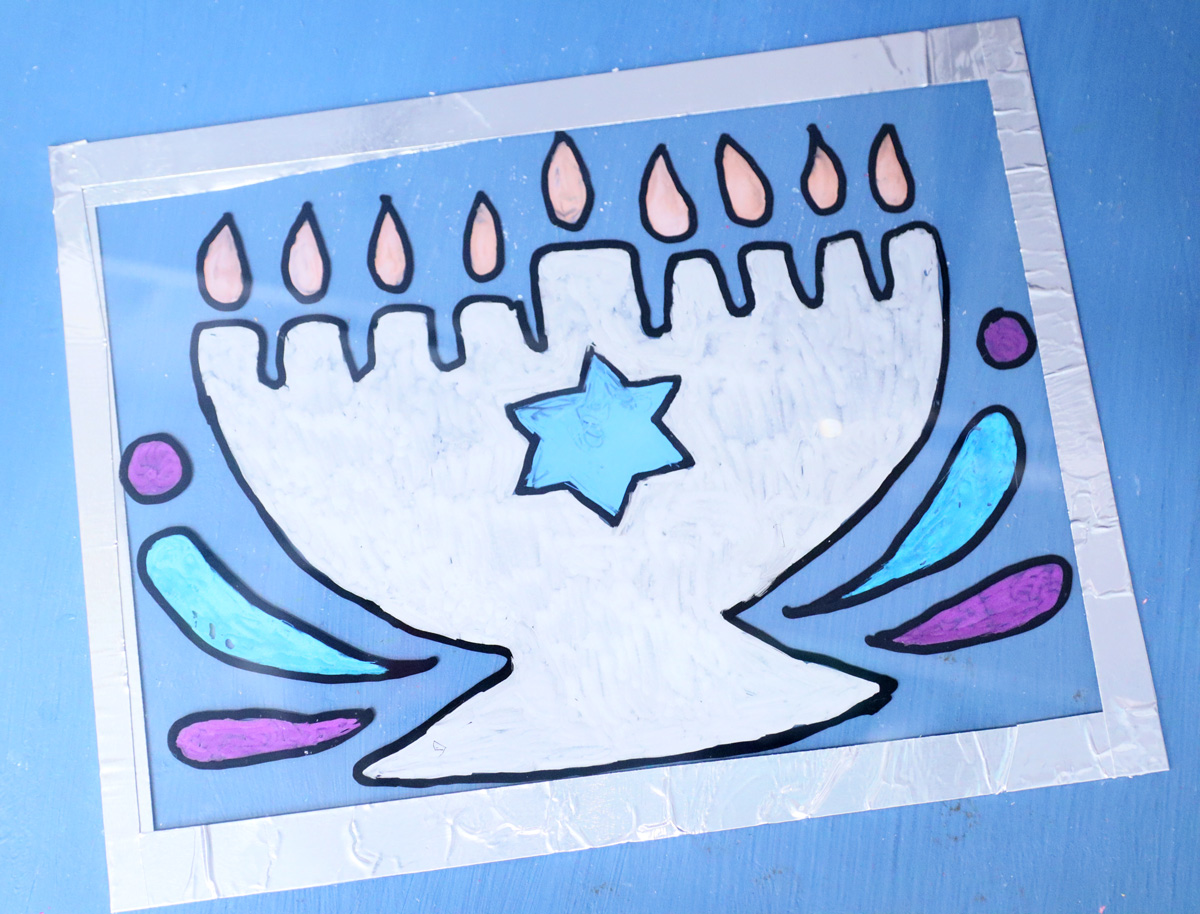
There are probably other solutions that just add more time to the craft – such as making a clay frame (make sure you use a nonflammable clay).
Please share if you try anything that works! Meanwhile, you do have a fun and functional craft, if not perfect and polished.
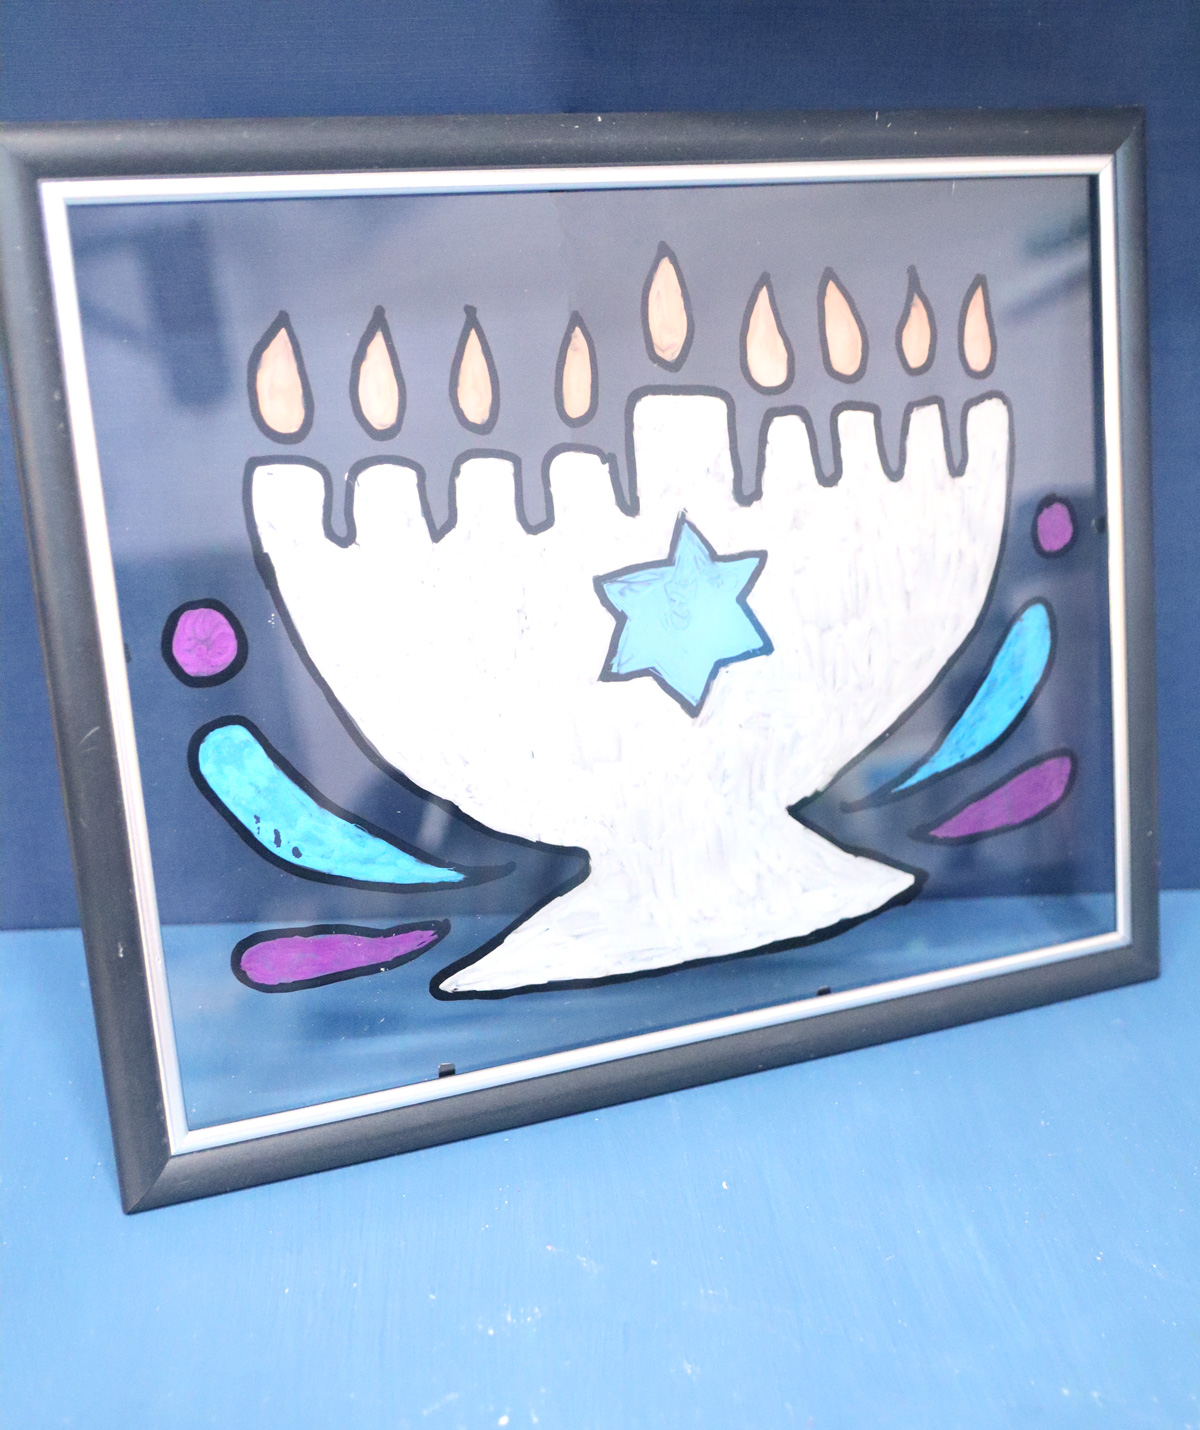
I also did NOT seal the back – I’m assuming an acrylic spray sealer would work best. This will keep the design from scratching and is only really needed if using paint markers. Again, check into flammability of the dry product (as opposed the the pressurized can, which can definitely explode but won’t be near your Menorah).
Stained Glass Menorah Tray Step by Step Instructions
Materials
- Picture frame – 8.5×11 document frame or 8×10 photo frame
- Water-based Paint markers – I used Ohuhu’s double tipped markers. Tip: get a bonus pack of black markers if crafting in a group, since everyone needs one
- The templates – there are two styles – (at the end of this post) printed out on paper. Tip: if using an 8×10 frame, you might want to print it scaled at 90%
- Recommended: foil tape for around the edges.
- Recommended: sealer
Process
1. Carefully remove the glass and any papers from the frame. The edges of the glass can be sharp.
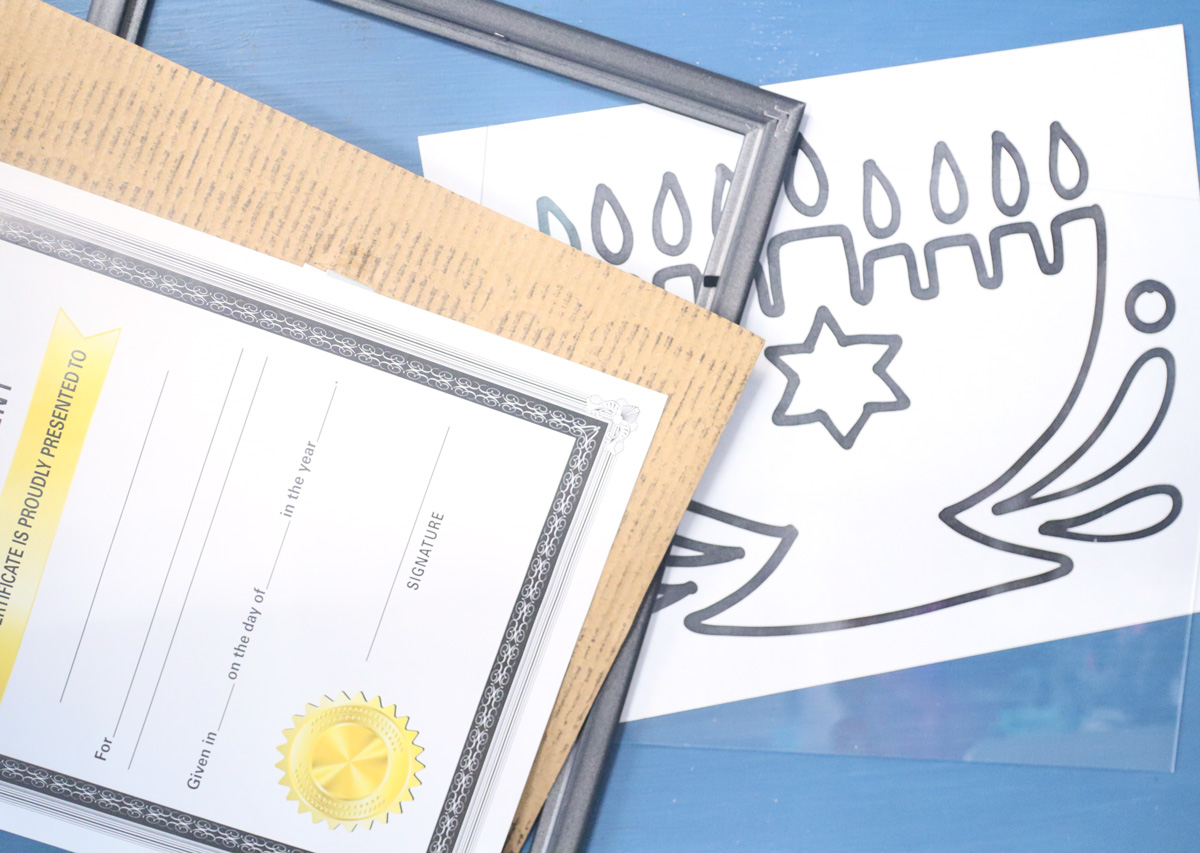
2. Place the template down on a flat surface and the glass on top. It won’t need to be taped down if you’re an adult crafting, but for kids you’ll want to tape it down (and for younger kids, avoid having them handle the glass at all. Keep it taped down at all times that they’re crafting.)
Trace the shape with a black paint marker and give it a few minutes to dry.
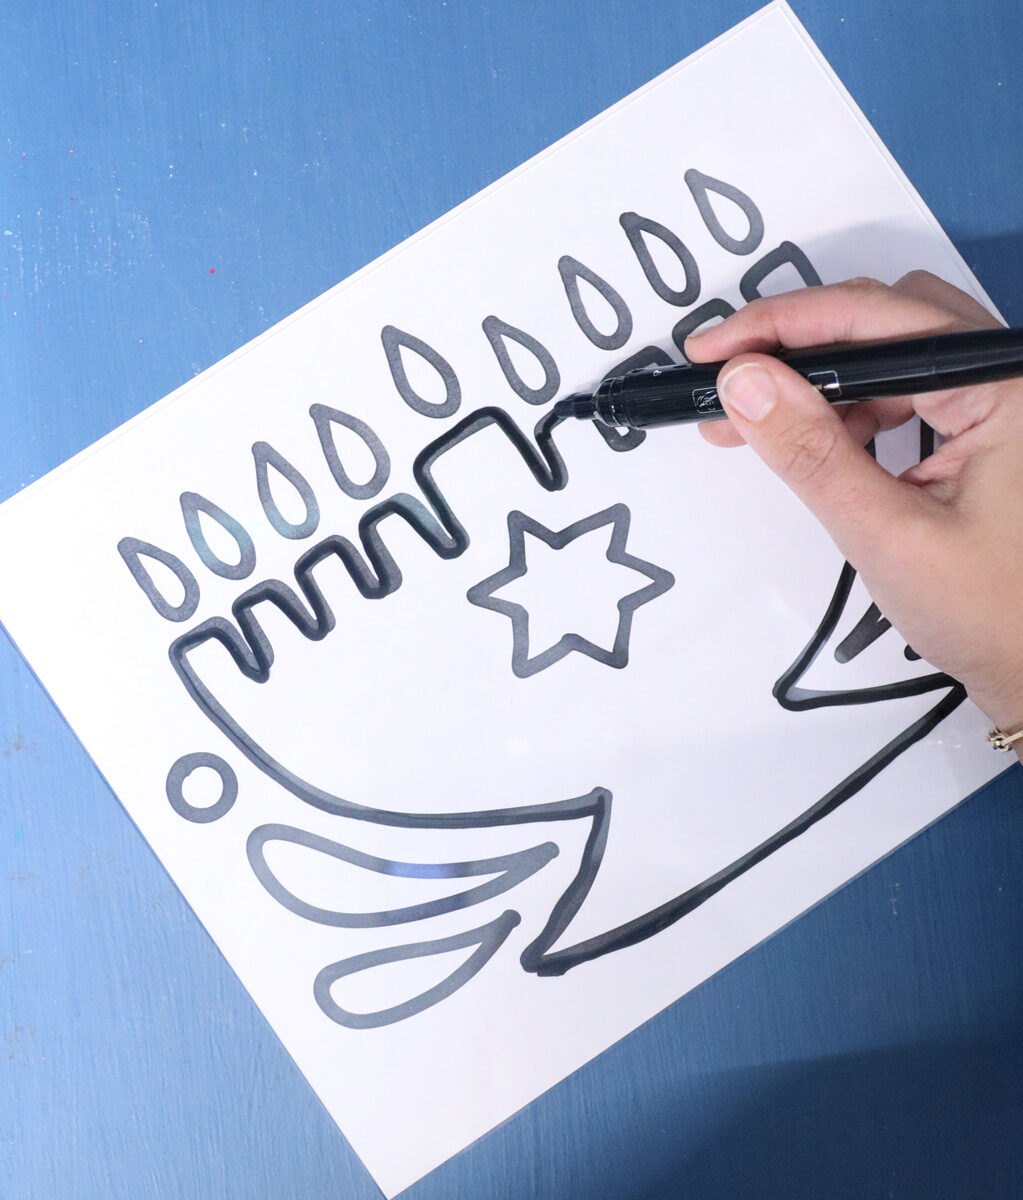
3. Color in you traced design.

Allow it to dry.
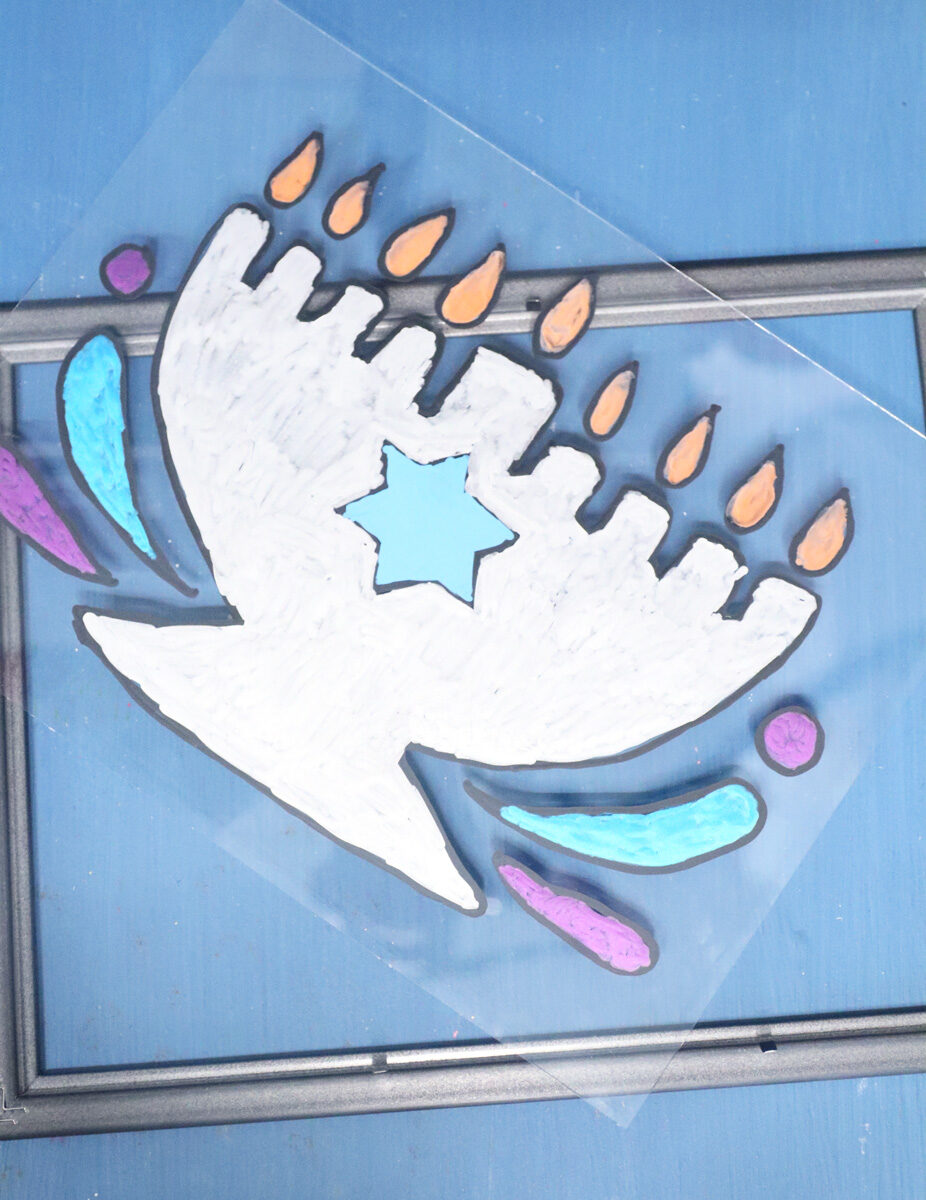
4. Place the colored stained glass Menorah tray back into the frame, so that the colored side faces the back, and secure it in place. Discard the backing and papers that came with the frame. You can hot glue it in place (on the back around the perimeter) if you want to secure it further (the glue will melt if it comes in direct contact with heat – but it shouldn’t, it’s not actually used with heat).

5. Alternatively, trim pieces of foil tape to fit each side of your glass. I needed to cut mine in half width-wise too.
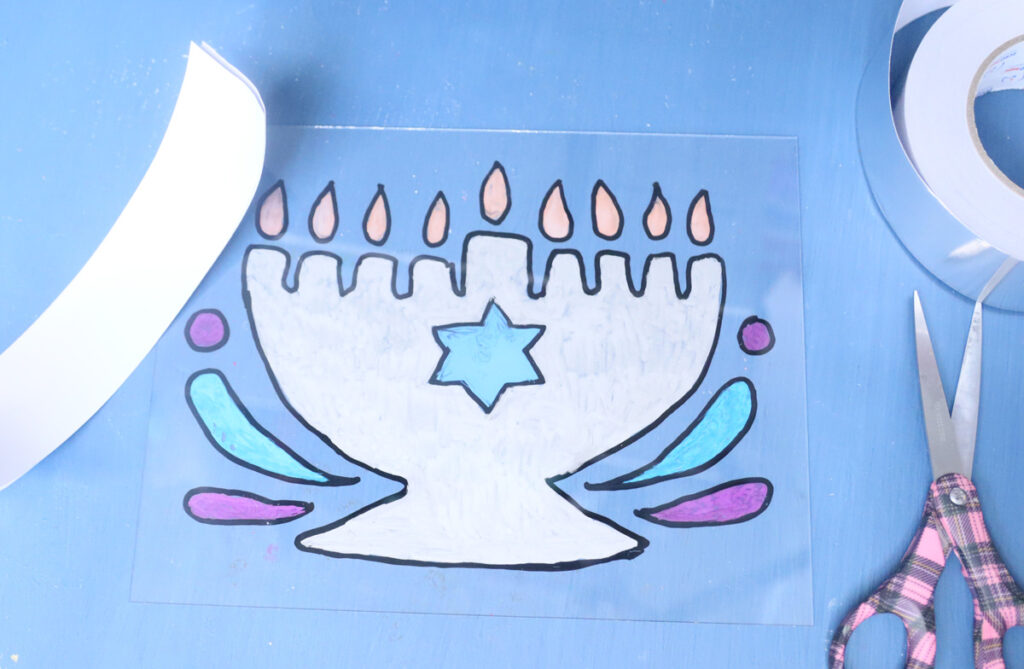
6. Tape around the perimeter of your tray.
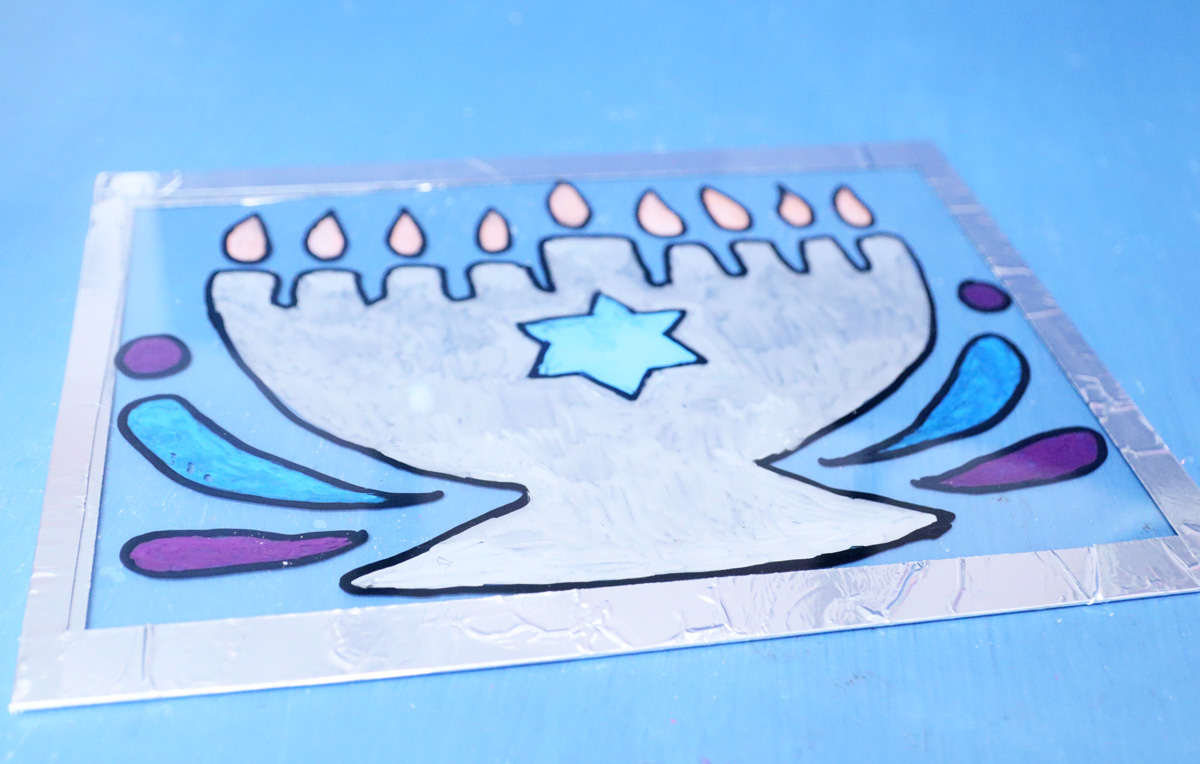
Your stained glass Menorah tray is complete!
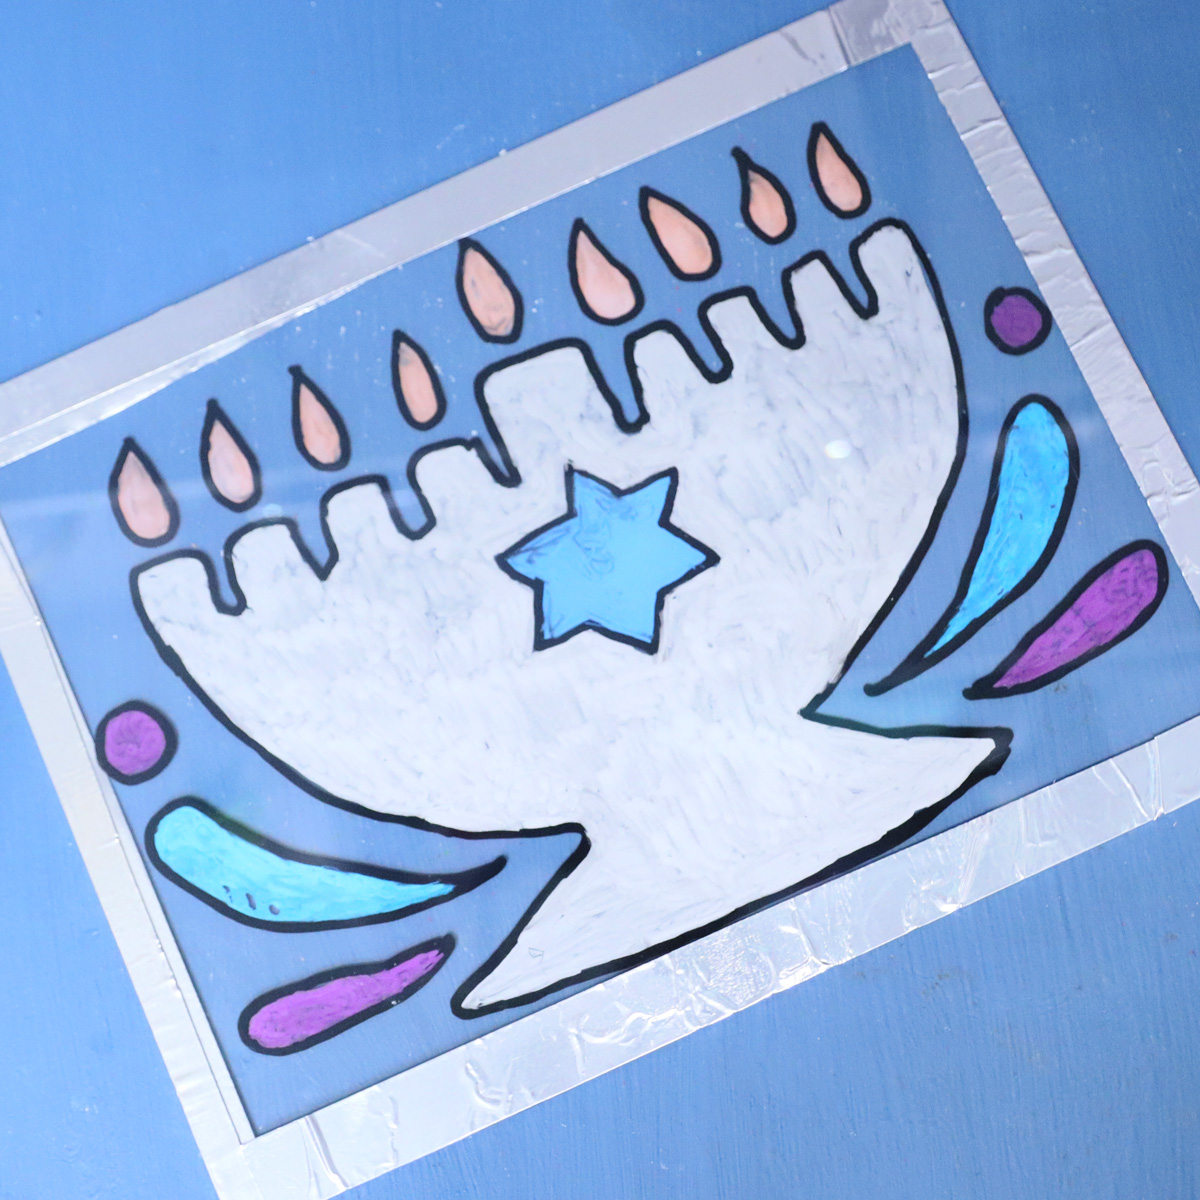
Download your free stained glass Menorah tray template
Download your free template! It’ll arrive right in your inbox. By downloading, you’re subscribing to our FREE newsletter with updates on cool printables like this, ideas to simplify Jewish life, and more. Unsubscribe at any time at the bottom my emails. I respect your privacy and the law, and won’t share or sell your email address.
