Torah Aleph Bet Craft for Preschool
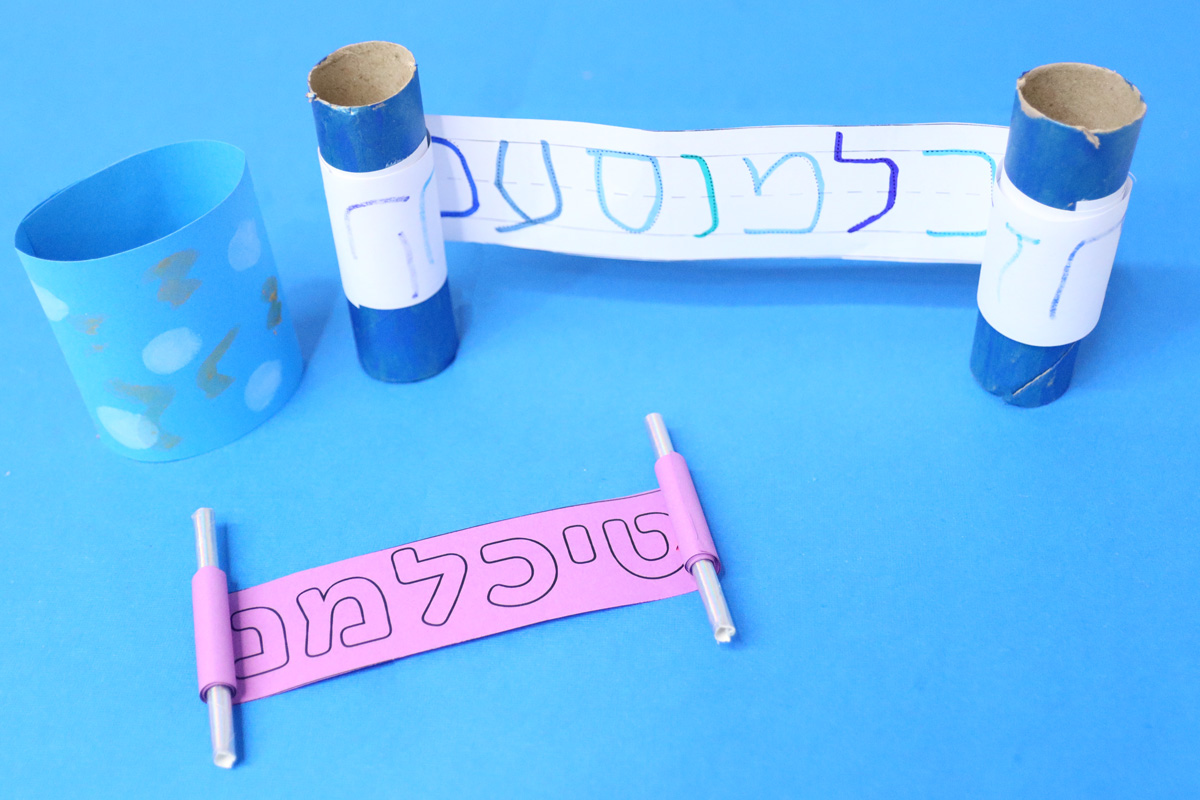
Make this adorable little Torah craft with an Aleph Bet practice element too! When you’re done, give this Shavuot centerpiece craft a go too. This post contains affiliate links.
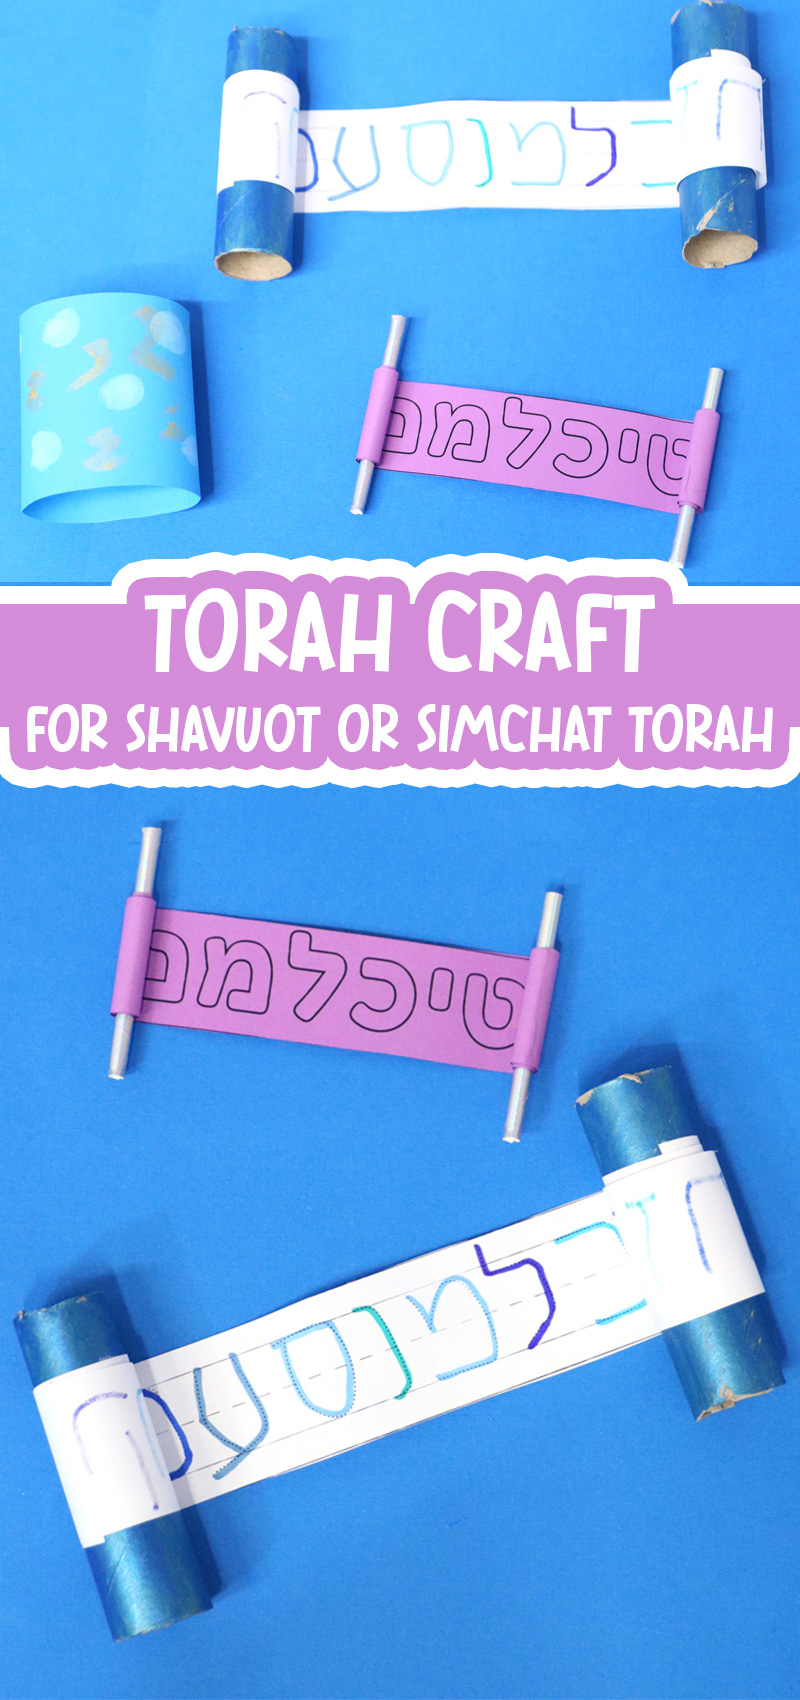
Shavuot is around the bend and I’ve been wanting to come up with a really cute craft for toddlers and preschoolers. Granted, it’s a hard age because how much can they do? I wanted a Torah craft, but I also wanted to put something in the scroll…. but what?
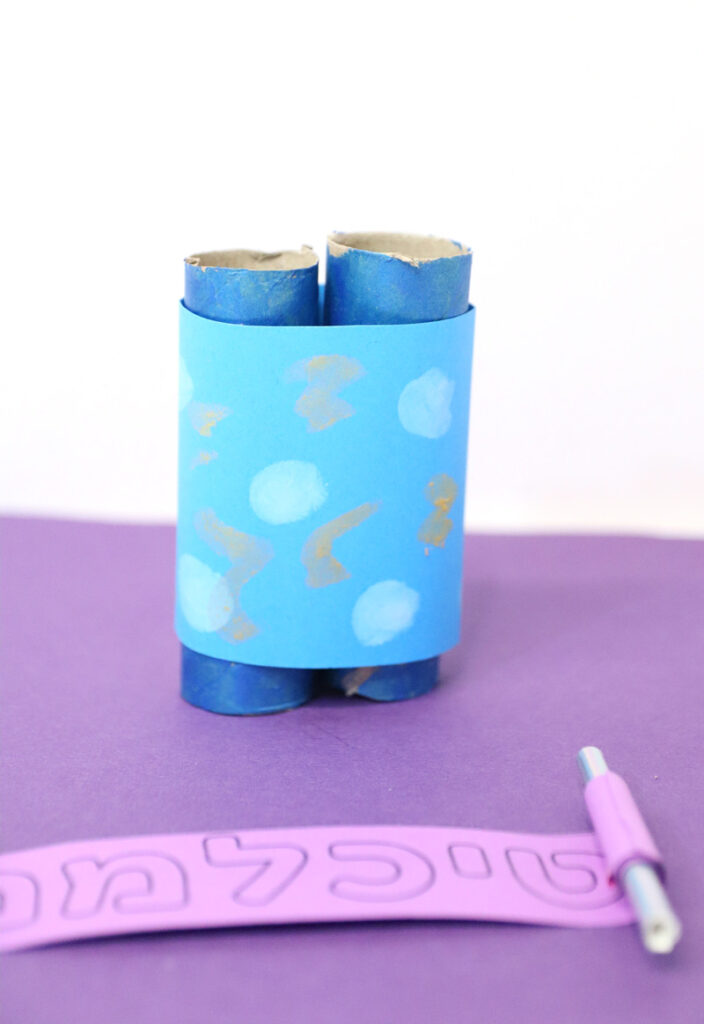
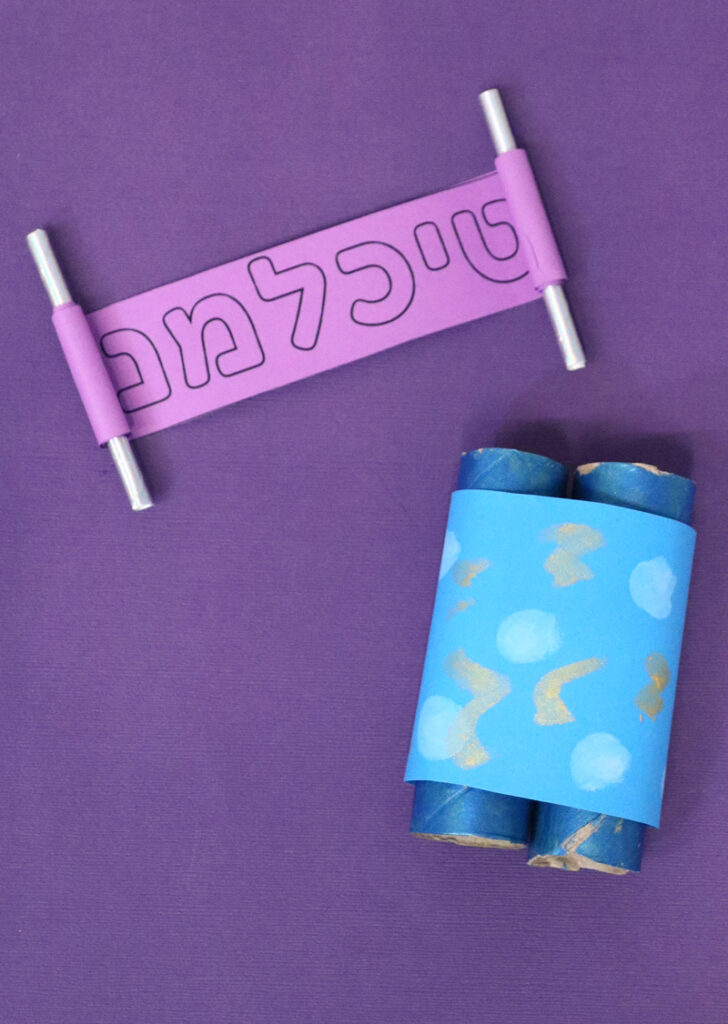
My husband suggested that I start with the Aleph Bet – literally!
Of course, kids also get involved with painting (in our case with paint sticks), cutting straight lines to the best of their ability, and working those fingers to roll that Torah up.
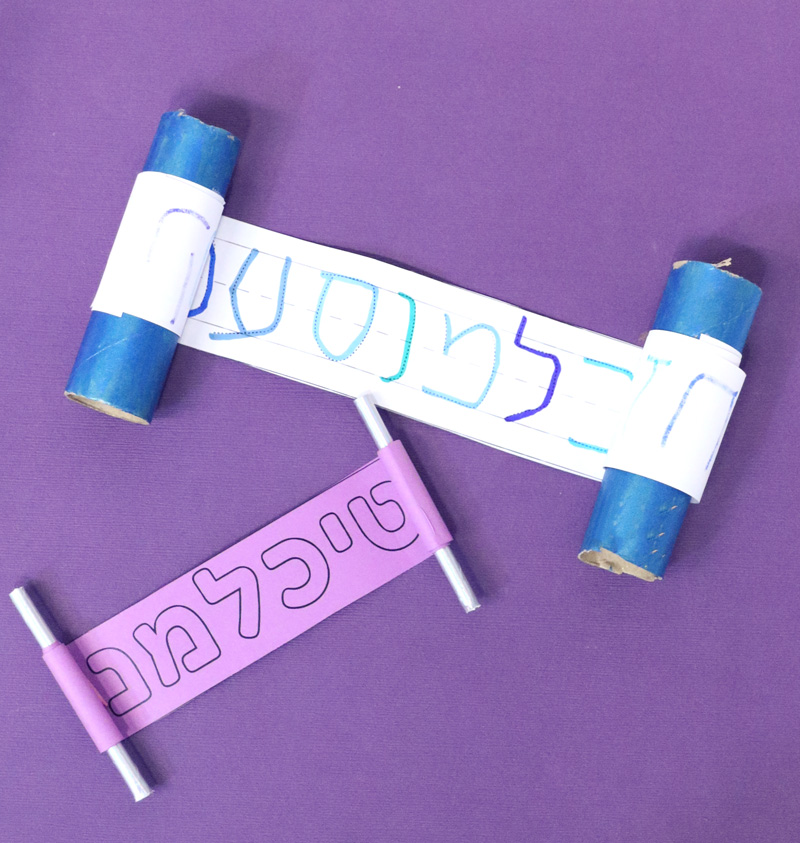
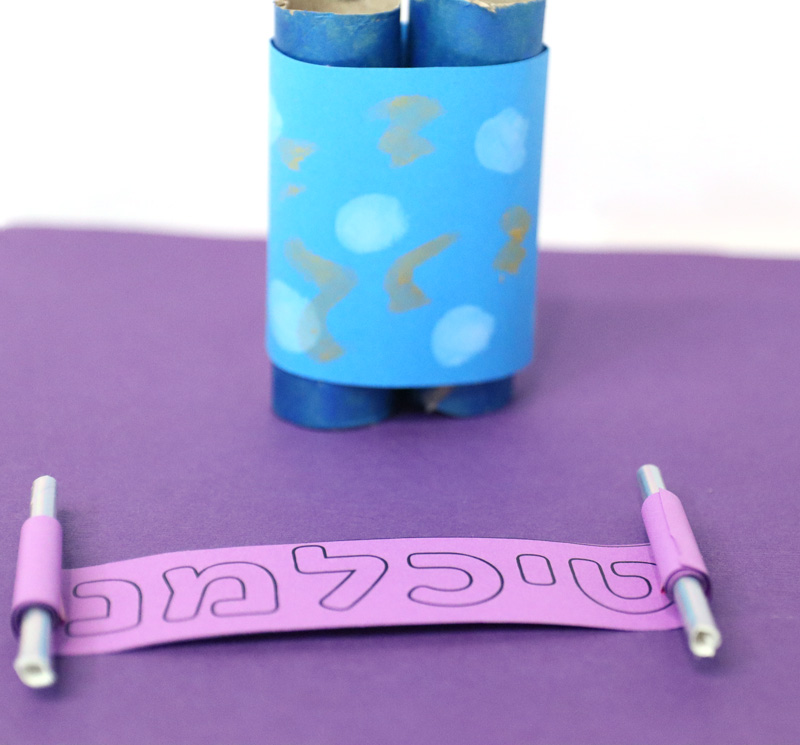
The many different ways to make this Torah craft
I included a free template with the following variations in mind.
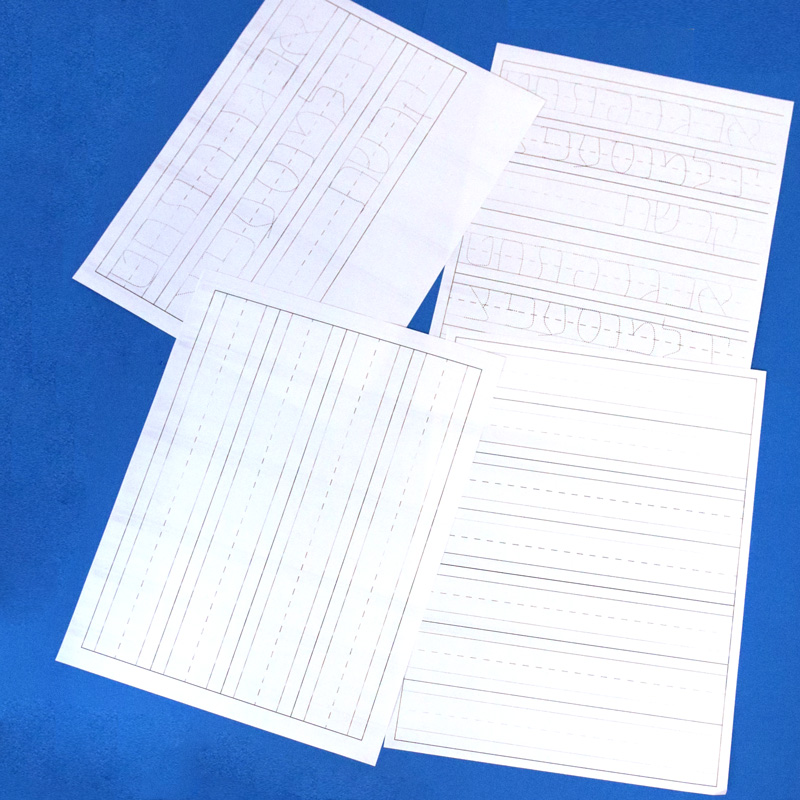
On the inside of the Torah craft:
- You can include a plain scroll, and let kids draw their own pictures
- You can use the outlined color-in aleph bet scroll
- You can use the trace-your-own aleph bet scroll
- You can use the plain handwriting paper to write your own letters.
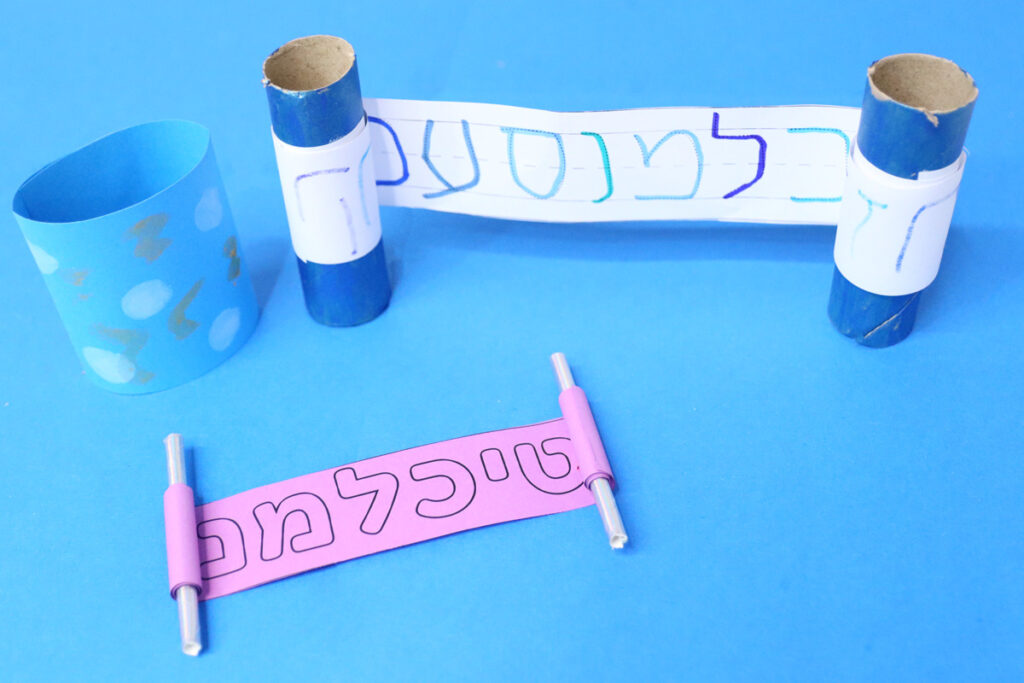
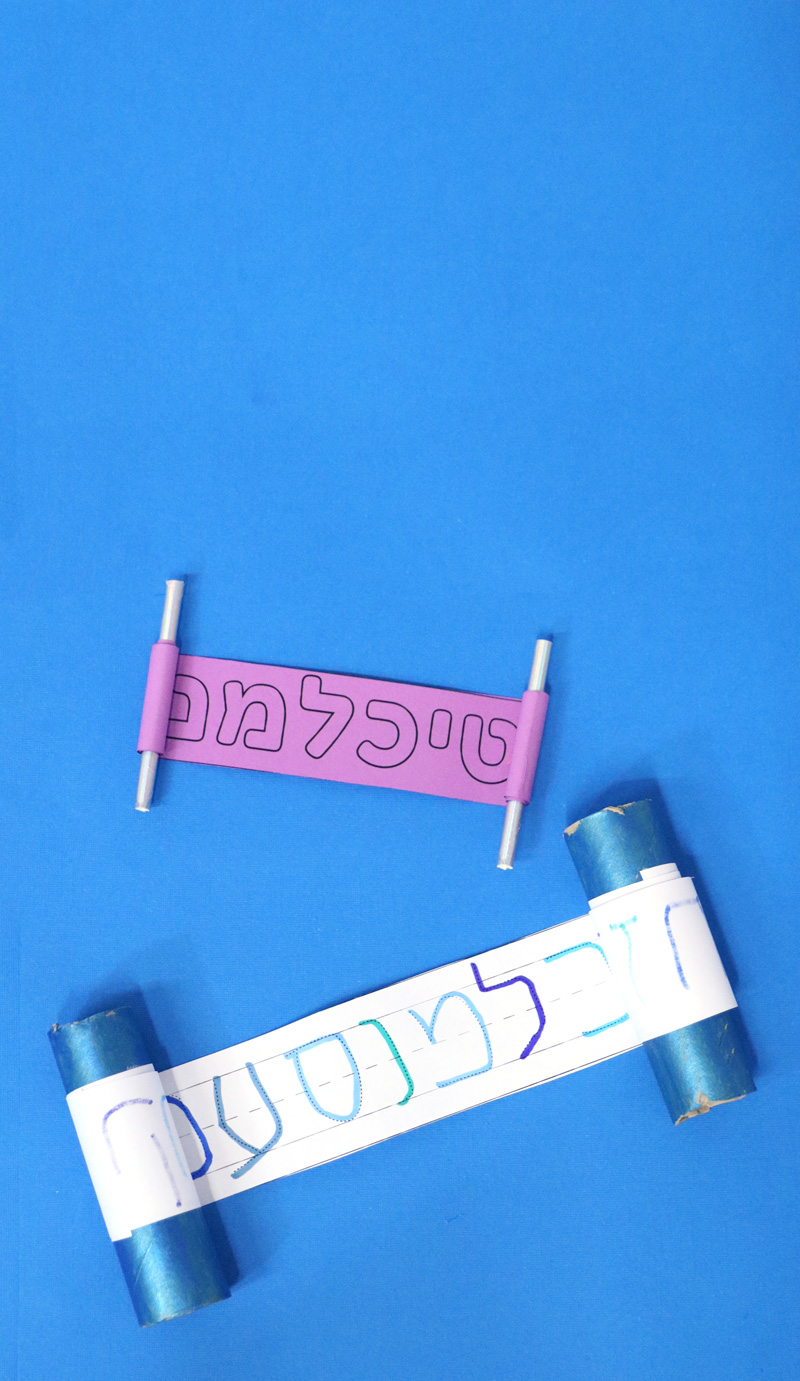
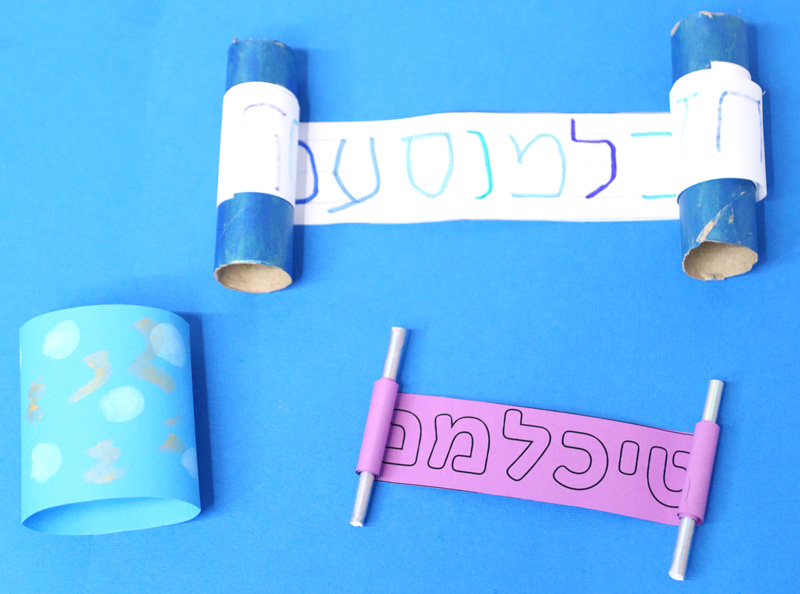
I also included two sizes for the scroll. One is sized for cardboard tubes, cut a bit larger than it. I recommend using narrower wrapping paper (or foil) tubes rather than wider tubes, such as toilet paper – if you can find it. I get mine at the Dollar tree. Otherwise, paper towel rolls cut to size would work – they’re just less sturdy.
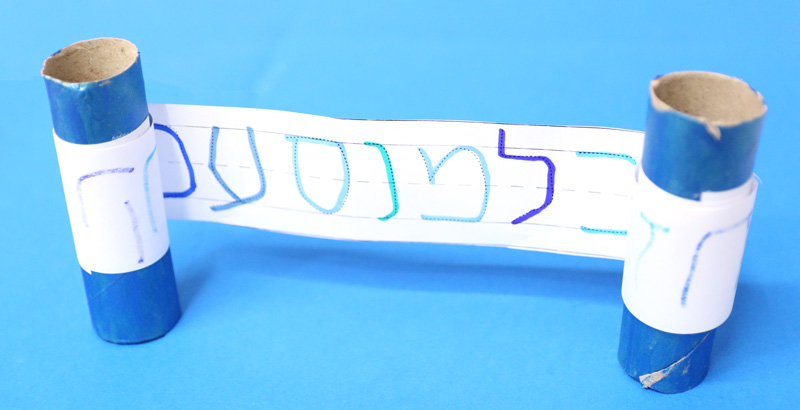
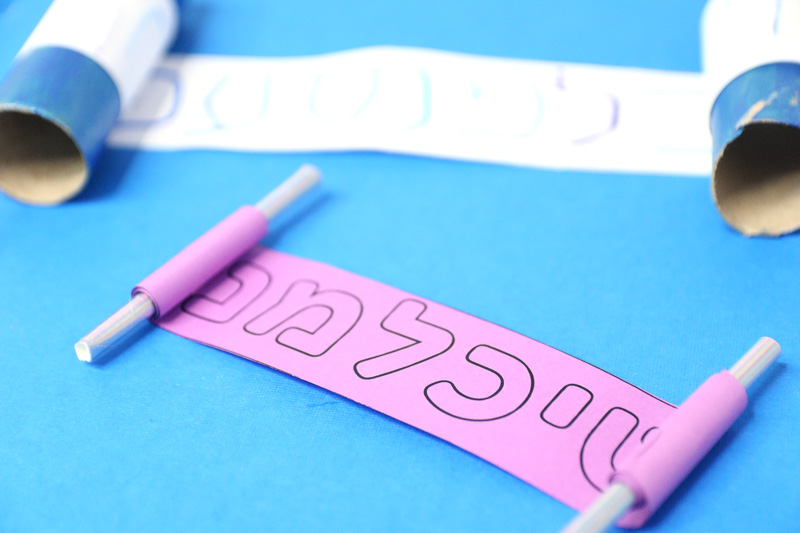
The other uses paper straws. I love this mini version.
A few other ideas for handles:
The Torah does NOT stay rolled up easily – you’ll want to either make a paper cover, or just secure it with a rubber band or hair tie.
What you need
- Cardboard tubes or paper straws. Mason bee tubes are great for this too.
- The preferred template, printed on white or colored copy paper
- Optional: colored paper to make your cover.
- Scissors – these are a fabulous first pair!
- Markers – I love these because they don’t dry out when kids leave them uncovered (up to a few weeks)!
- Paint – I actually like to use paint sticks – OOLY and Kwik Sticks are my favorite – because they’re fast drying and not too messy
- Glue or double sided tape (I used the latter). I find that the glue line style works best.
How to make your Torah craft
1. Print out the template that you’d like to use. The horizontal ones are for the larger rolls and the vertical ones are for paper straws (or something small). The same applies for the outline color-in aleph-bet version.
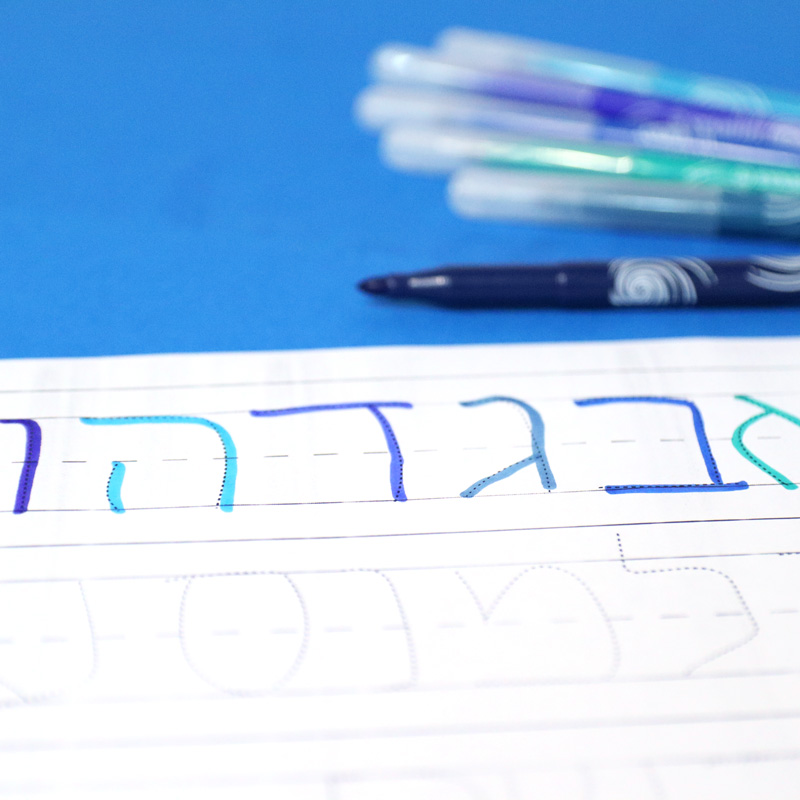
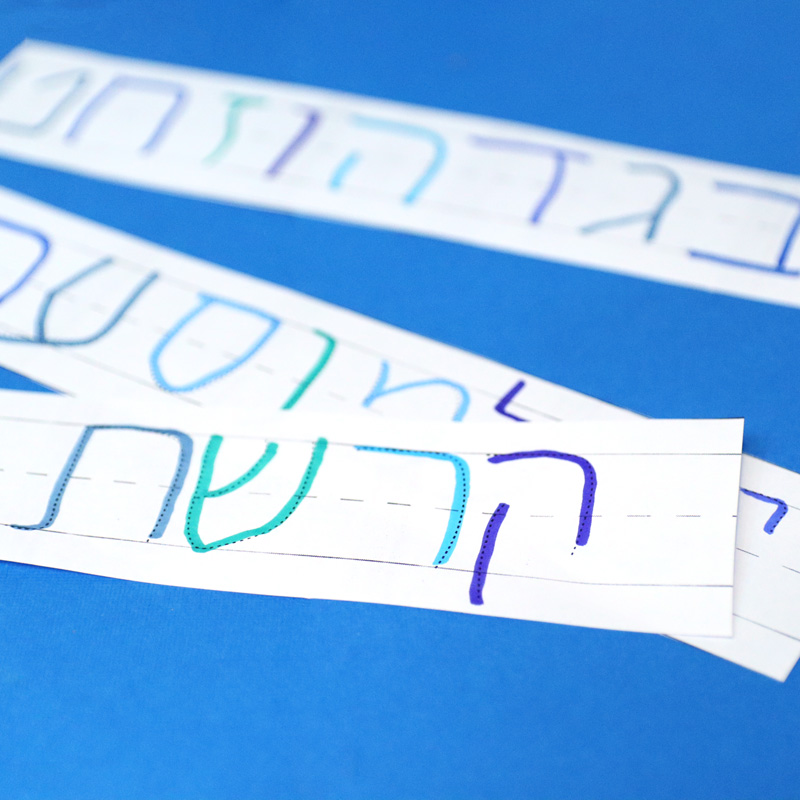
2. Kids can now use markers to color or trace the letters!
3. Prepare your tubes. Cut them to at least an inch taller than the slip of paper on each side.
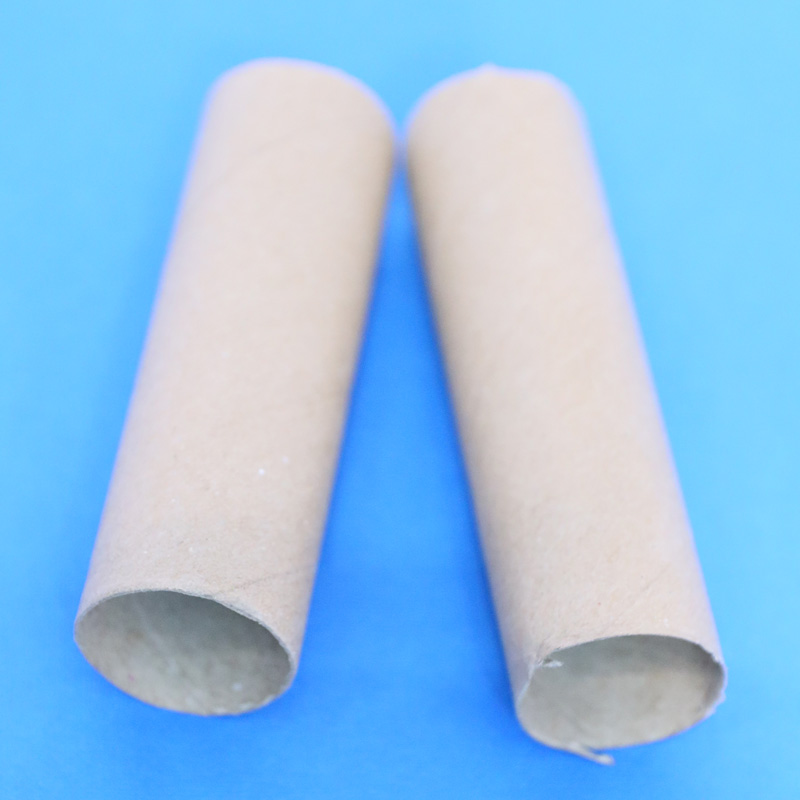
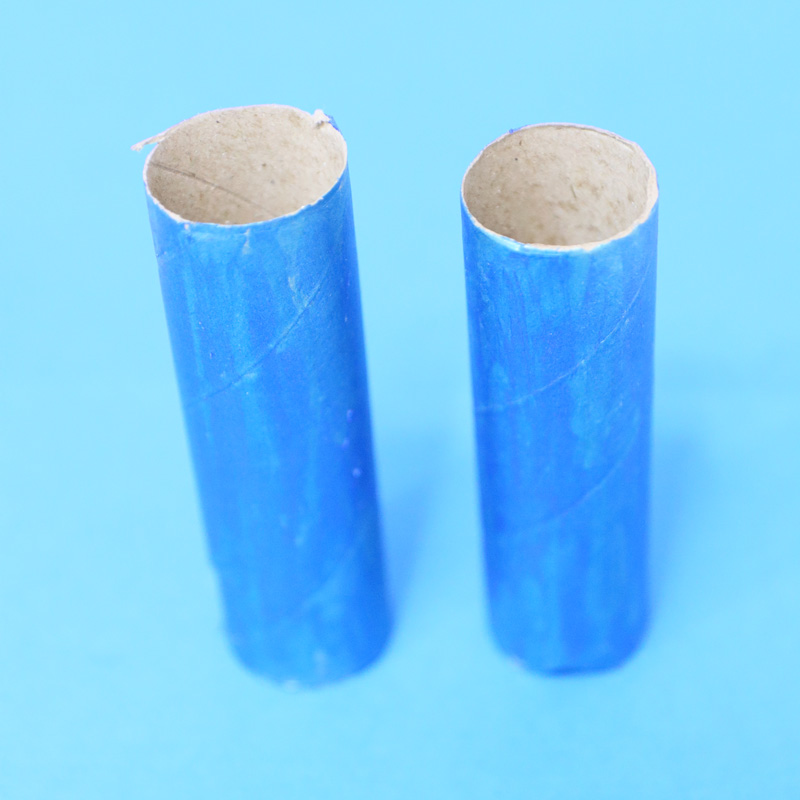
4. Paint or color htem.
5. Cut out the strips – trim the neds if you need to, but keep in mind that it’ll overlap – under the tube and on each other when you tape it together.
6. Use double sided tape to tape the ends together.
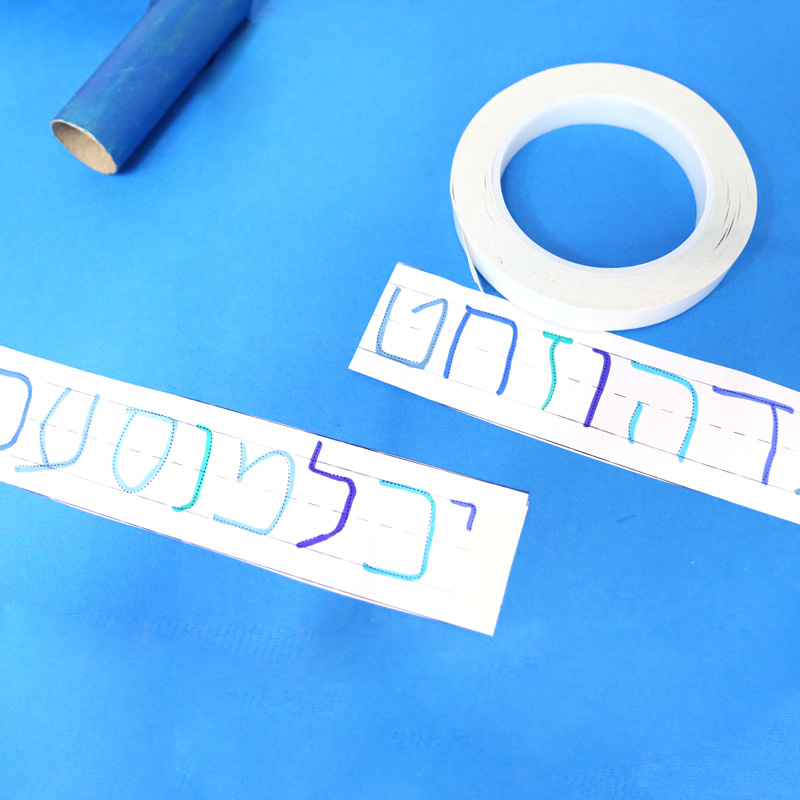
7. Attach it to the tube on each end: place a strip of double sided tape on the top of the scroll, and place the tube centered on top.
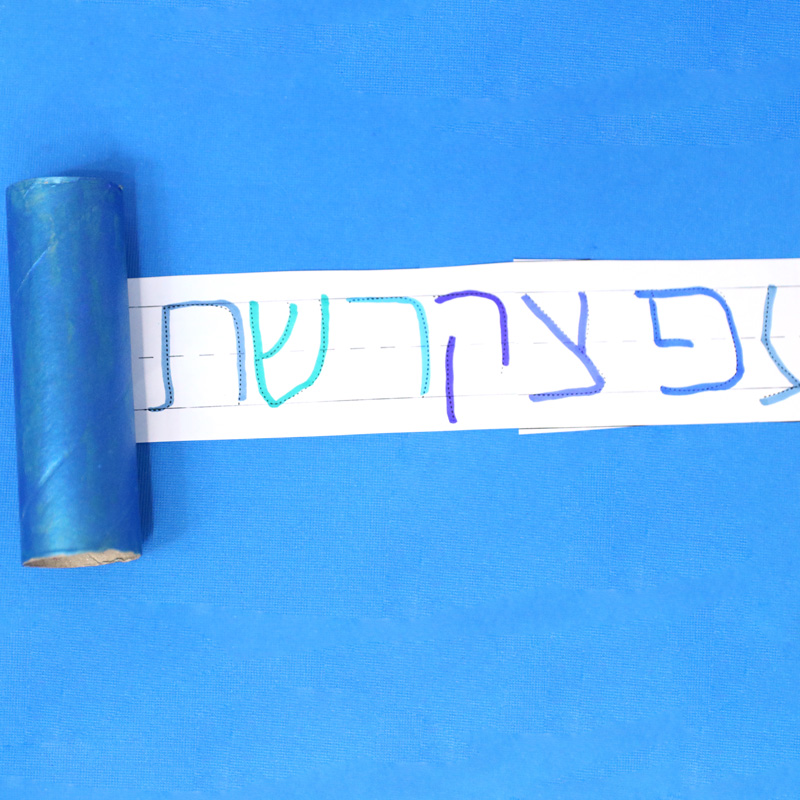
8. Roll up your scroll!
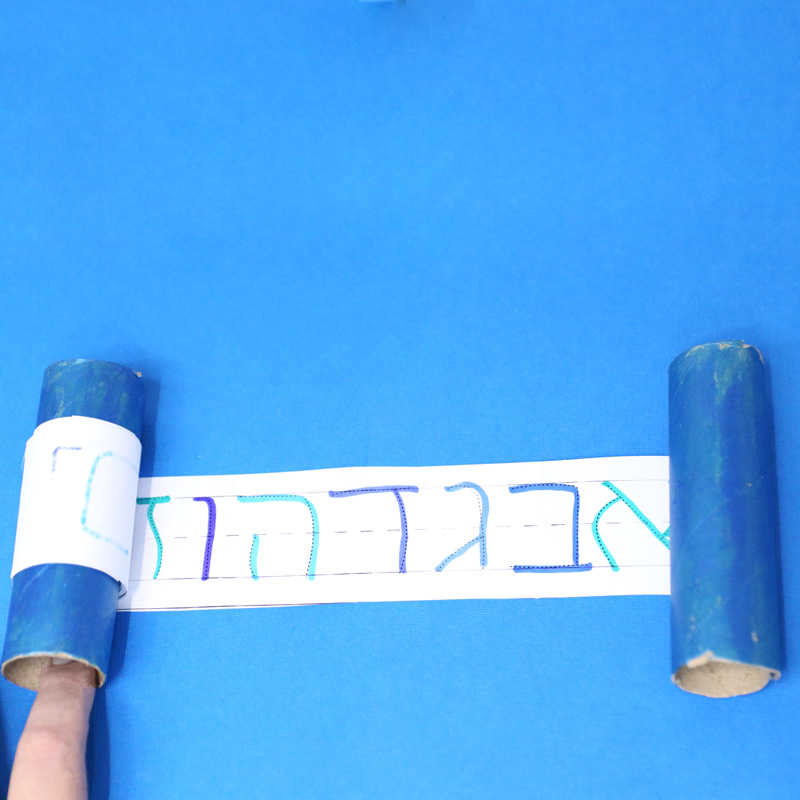
9. Want to make a cover? Simply prepare a piece of paper high enough to cover the scroll and wide enough to fit around with a bit of overlap. Decorate as you’d like.
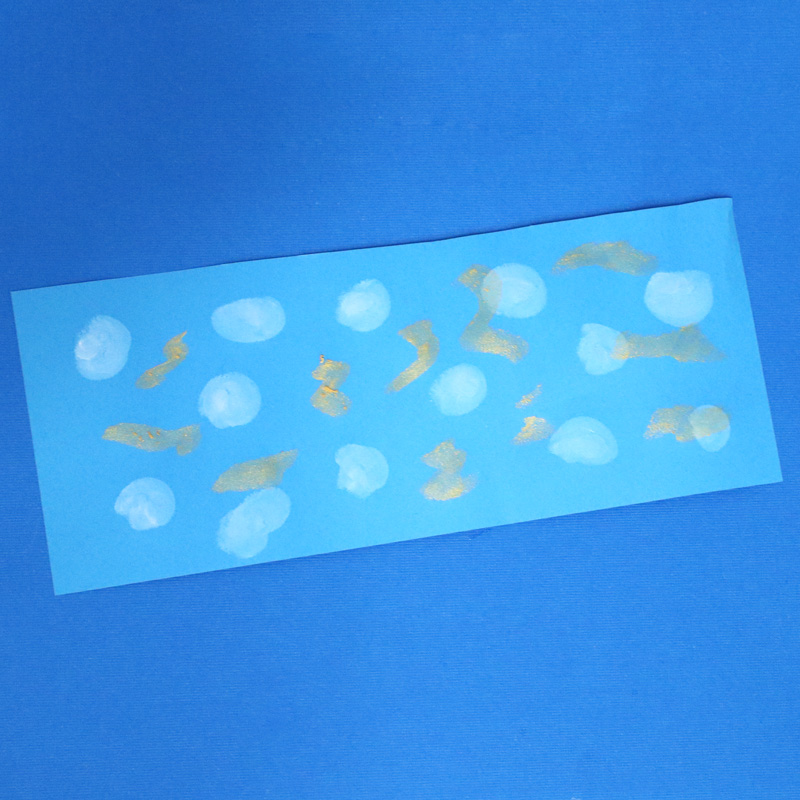
10. Secure the ends together with double sided tape and slide it over. You can, of course, write “torah” on it too.
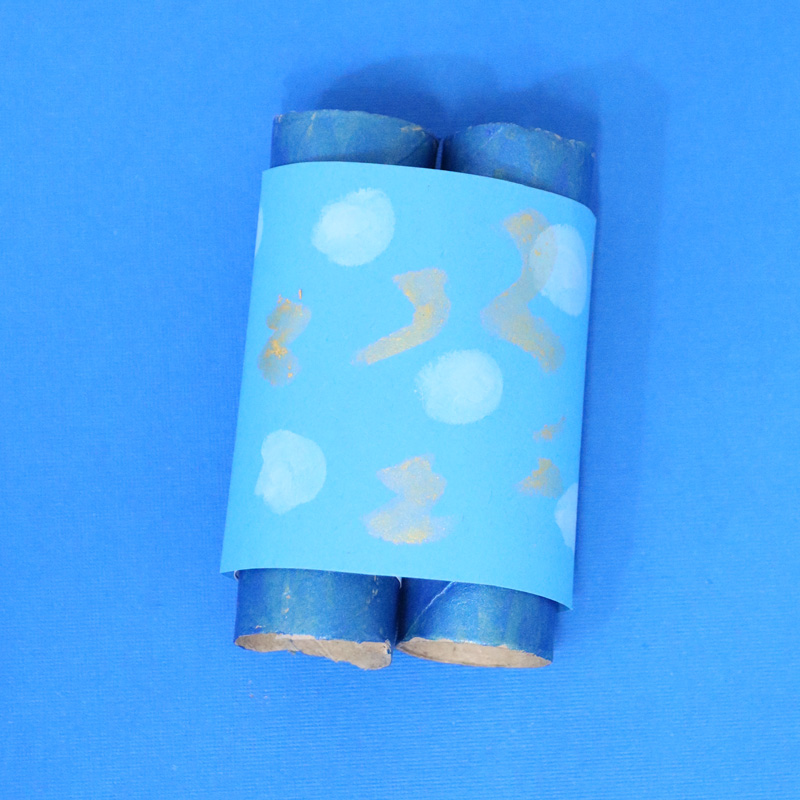
Your Torah craft is complete! Which variation are you making? Comment below!
Download the free templates
Download your free template! It’ll arrive right in your inbox. By downloading, you’re subscribing to our FREE newsletter with updates on cool printables like this, ideas to simplify Jewish life, and more. Unsubscribe at any time at the bottom my emails. I respect your privacy and the law, and won’t share or sell your email address.
I love this idea. I think my 2nd and 3rd graders will love making their own scroll. Thank you.