How to Make a Flat Crochet Dreidel for Hanukkah (Beginner-Friendly Tutorial)
Looking for a soft, colorful way to bring more Hanukkah spirit into your home? This crochet dreidel is a fun spinoff on the popular Chanukah toy – showing the motif of the popular shape! When you’re done, try making a resin Menorah tray too. This post contains affiliate links.
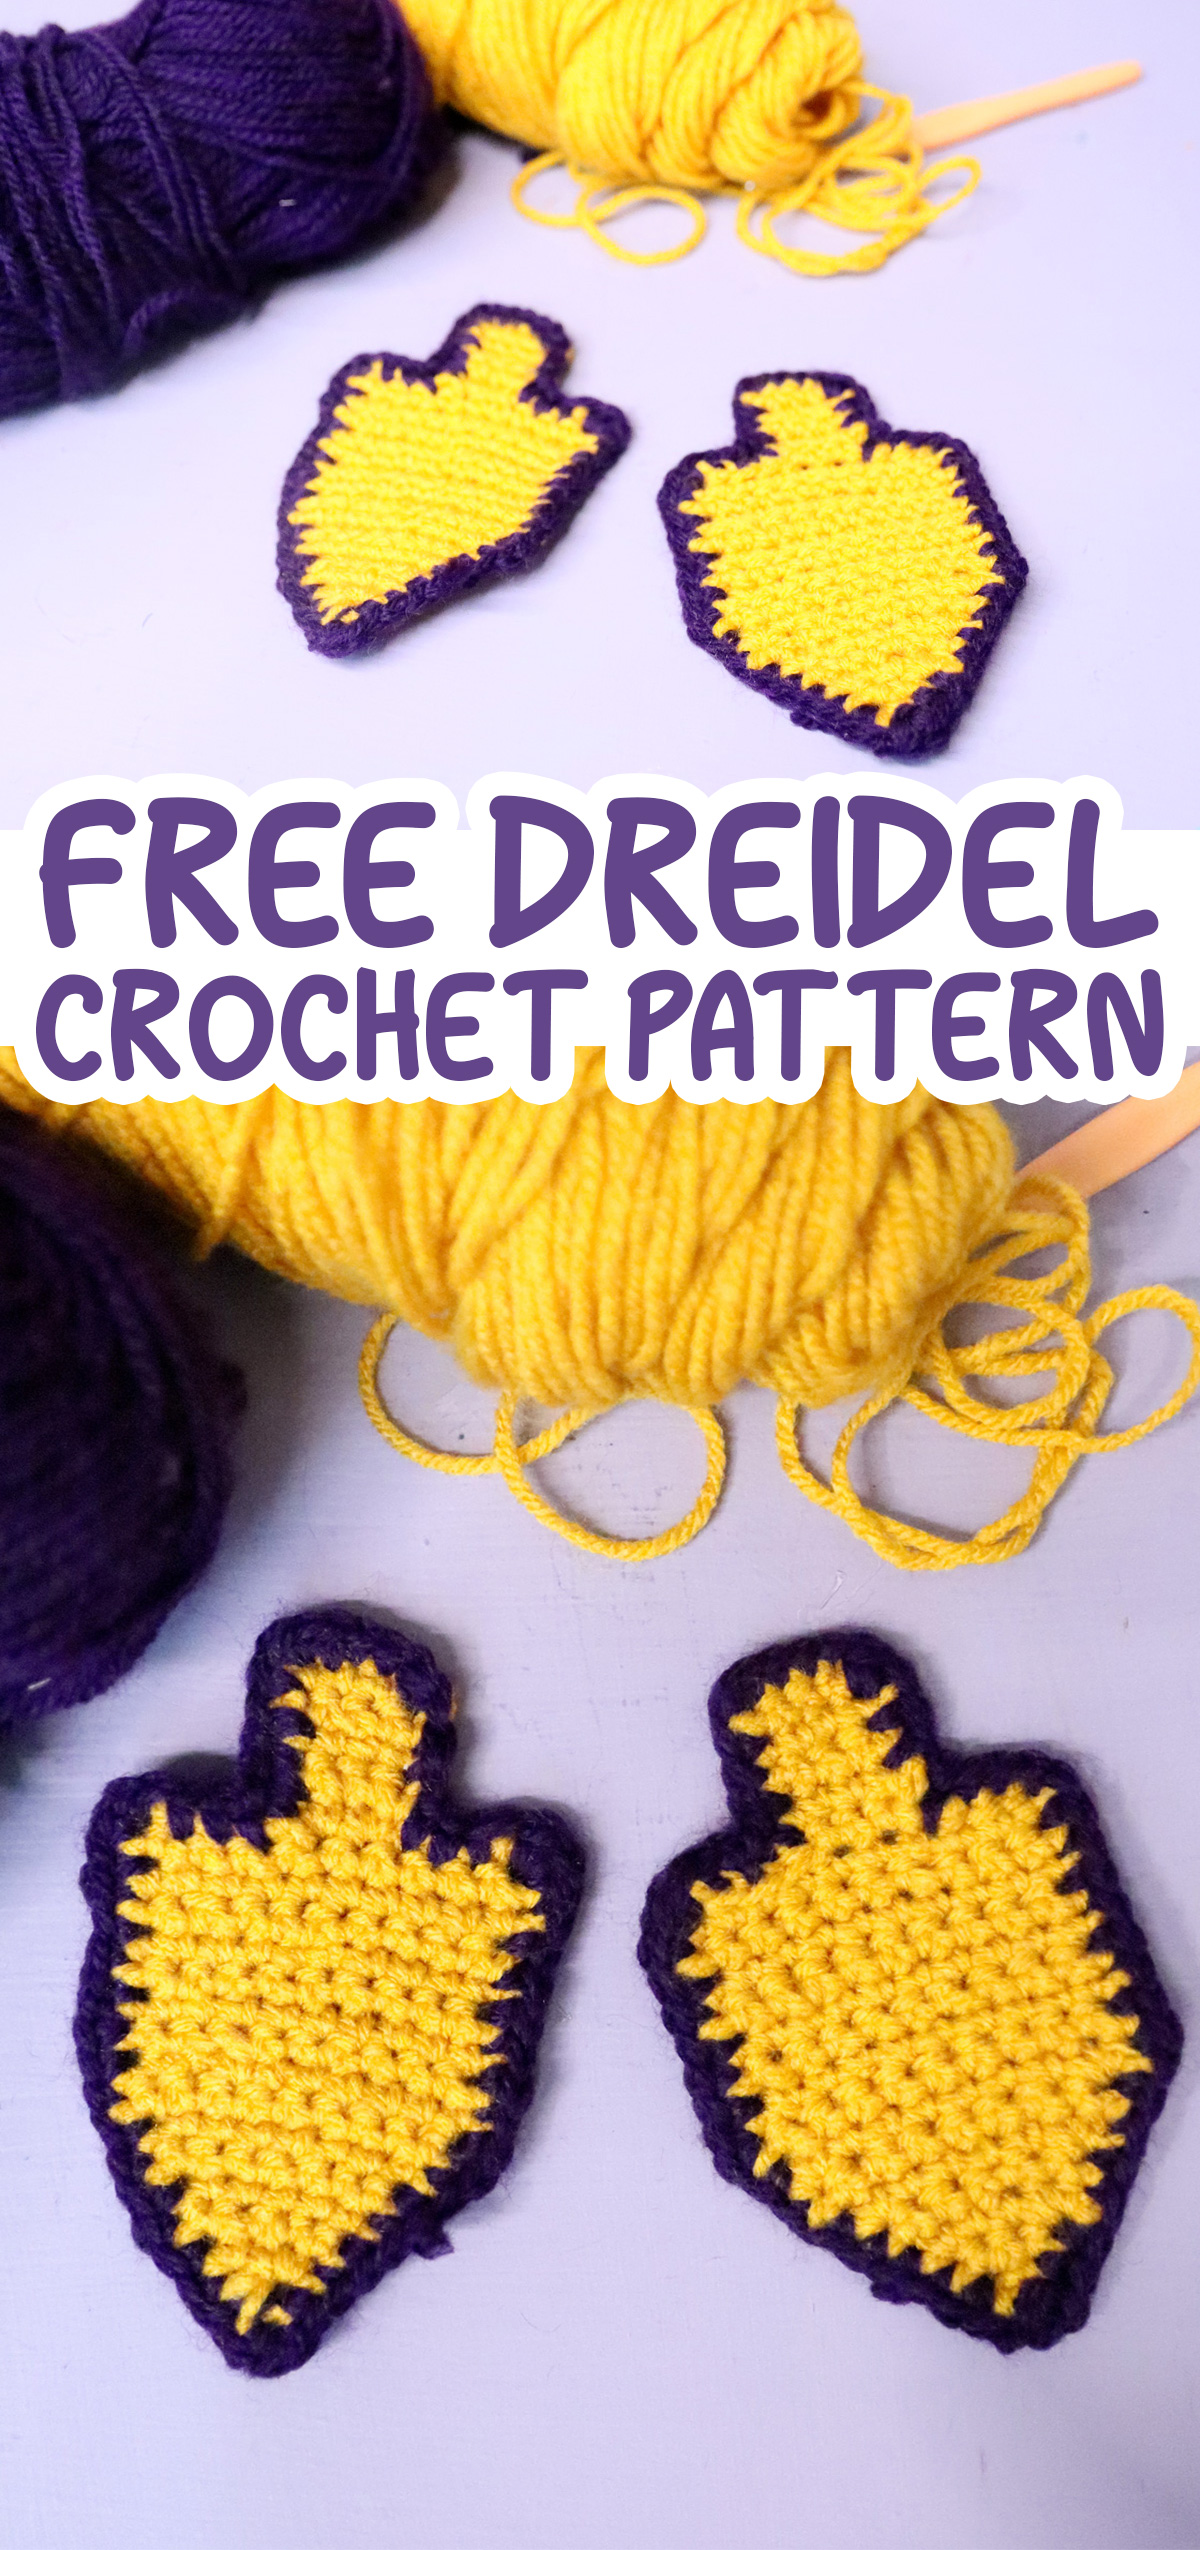
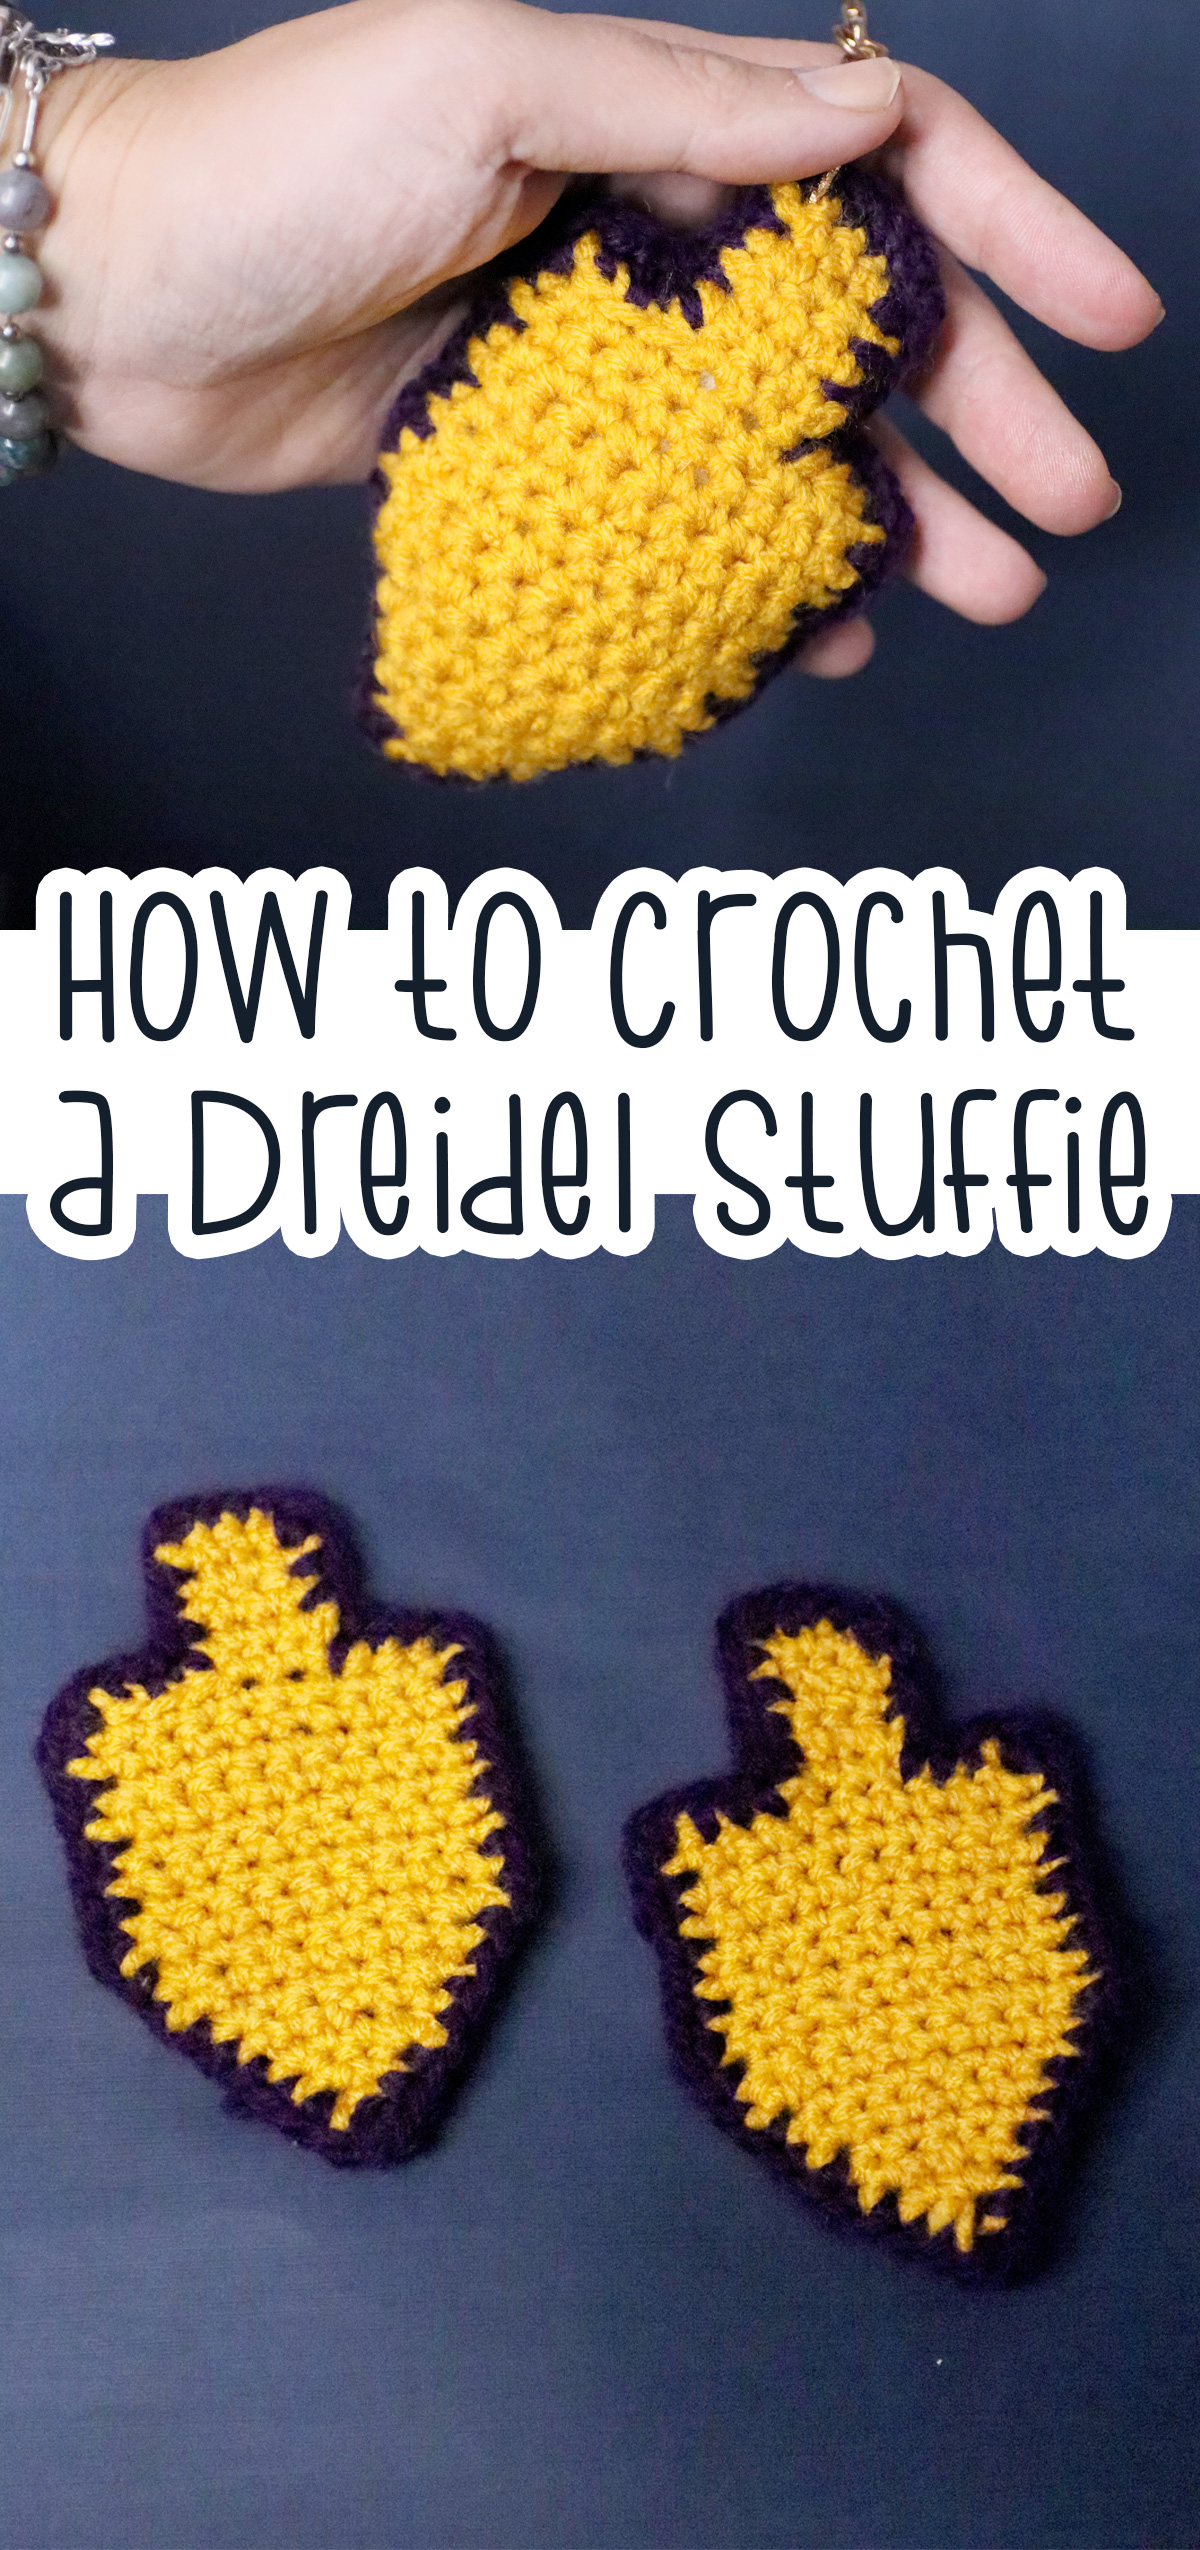
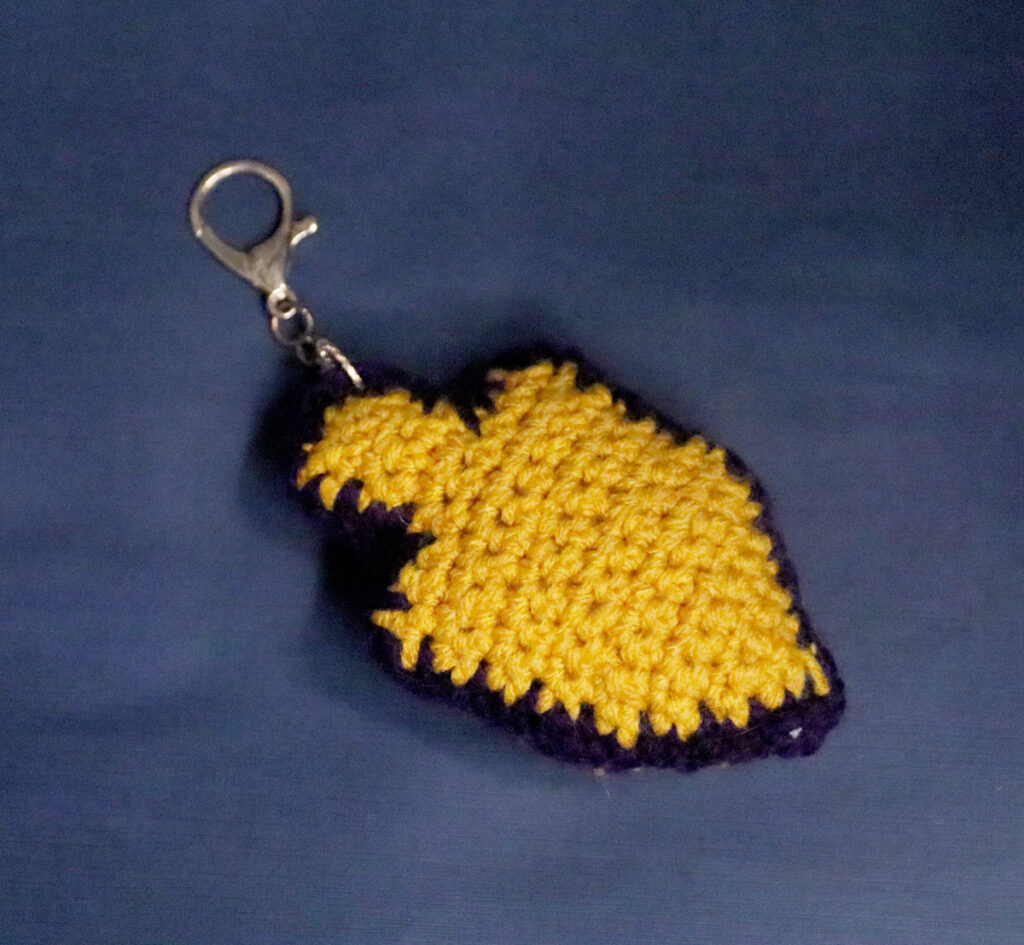
This project creates a flat, textured dreidel that you can use as decor, an applique, a gift accent, or even turn into a lightly stuffed bag charm – by crocheting two and sewing them together. It uses simple stitches, is easy to resize, and works in both traditional and nontraditional Hanukkah color schemes.
While I had originally planned mine as a sweater applique, it has been dangling proudly from A’s backpack since even before Rosh Chodesh as she kidnapped it right off the bat.

In this post, you’ll get a deep explanation of how this is made rather than a flat pattern – so that you can really understand the construction of it, what supplies and skills you need, and practical tips to help you follow along with the pattern more confidently. If you like to learn visually, there is a video tutorial too.
You can also pair this with other Hanukkah projects from the big Hanukkah crafts for all ages collection to round out your holiday prep.
Tips for Success, Safety, and Creative Variations
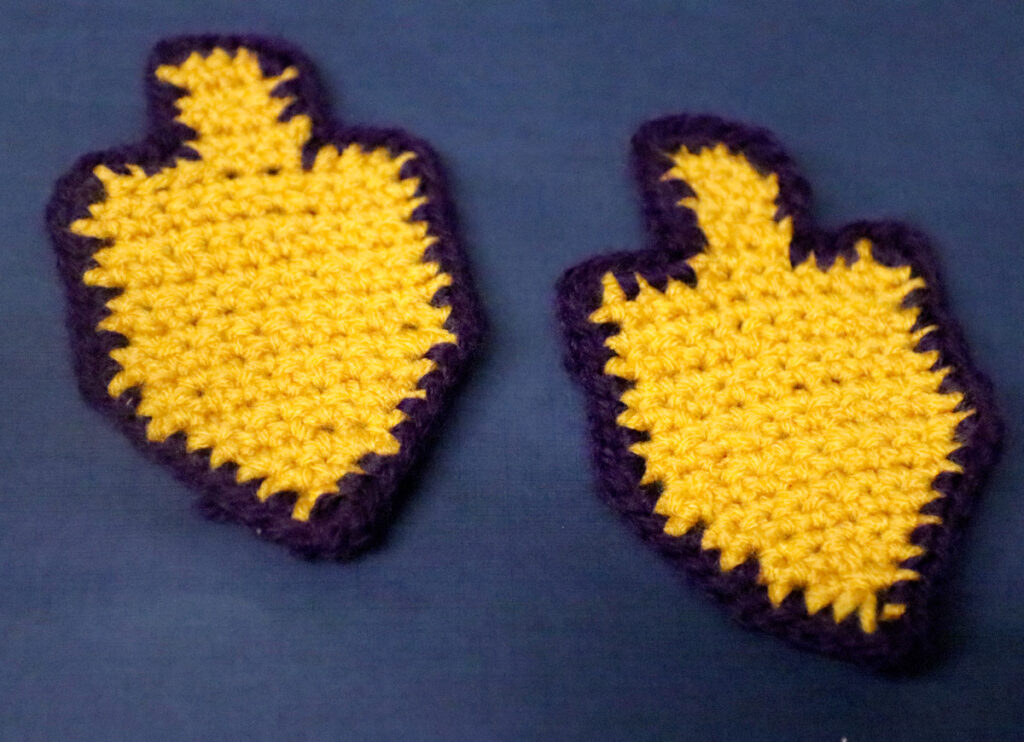
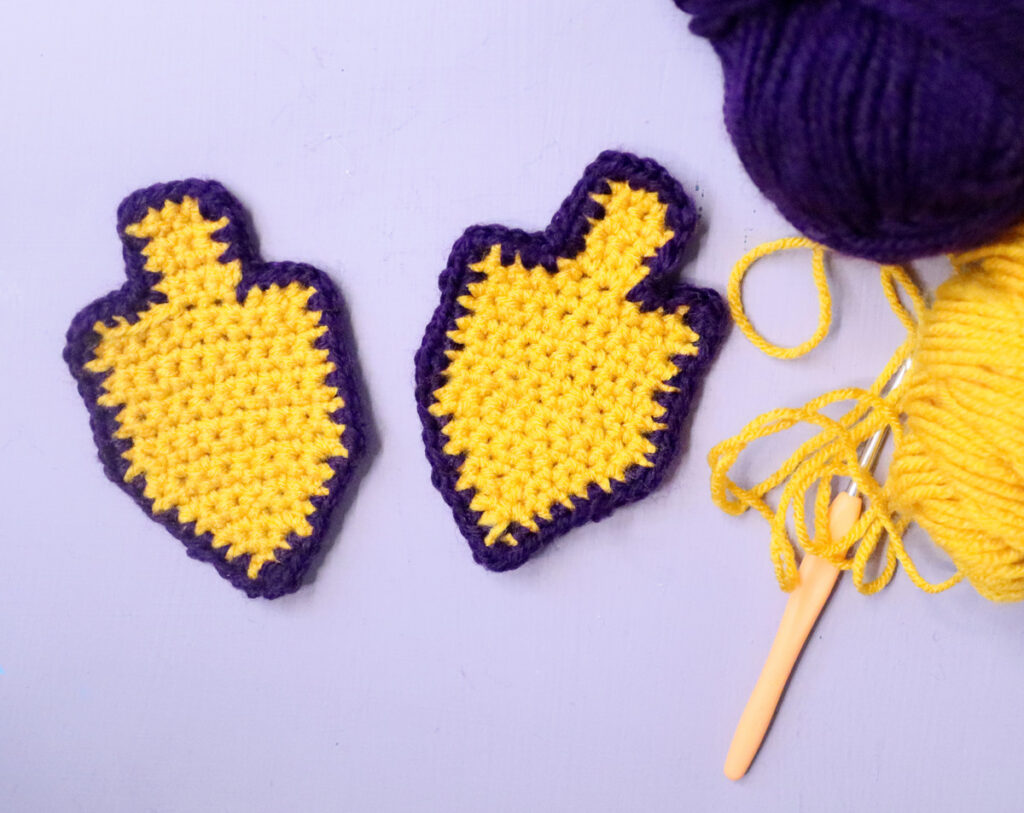
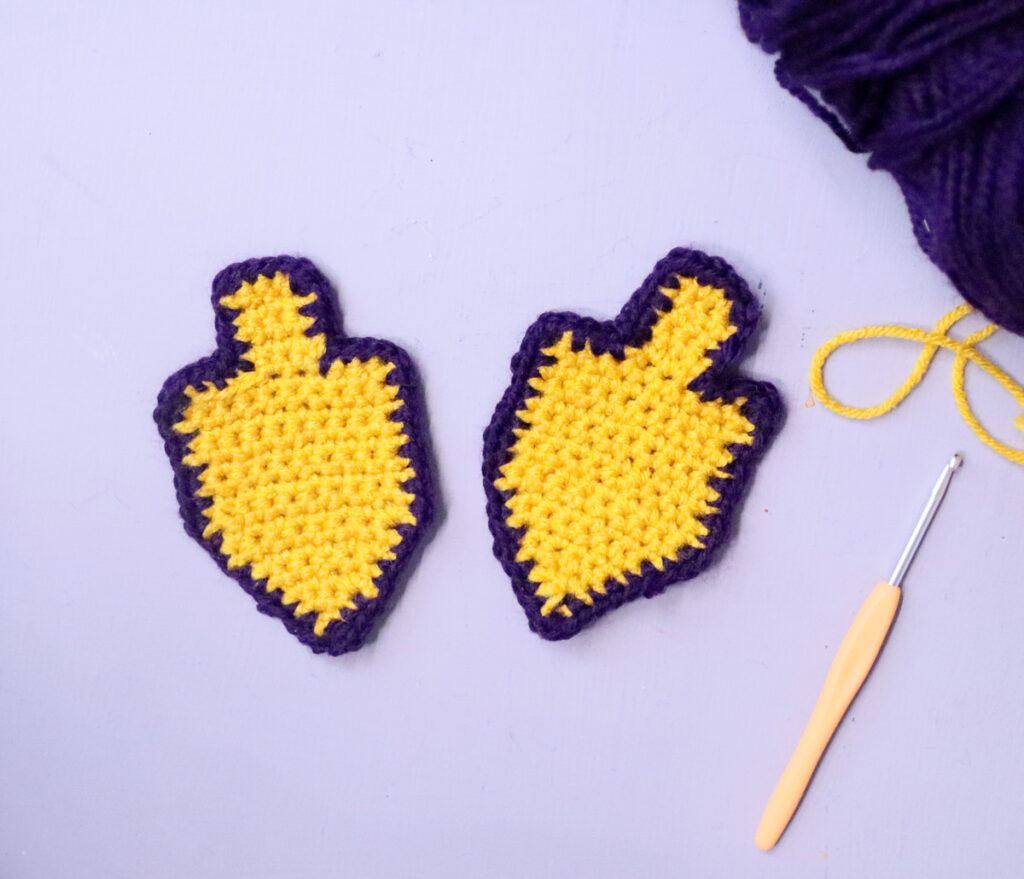
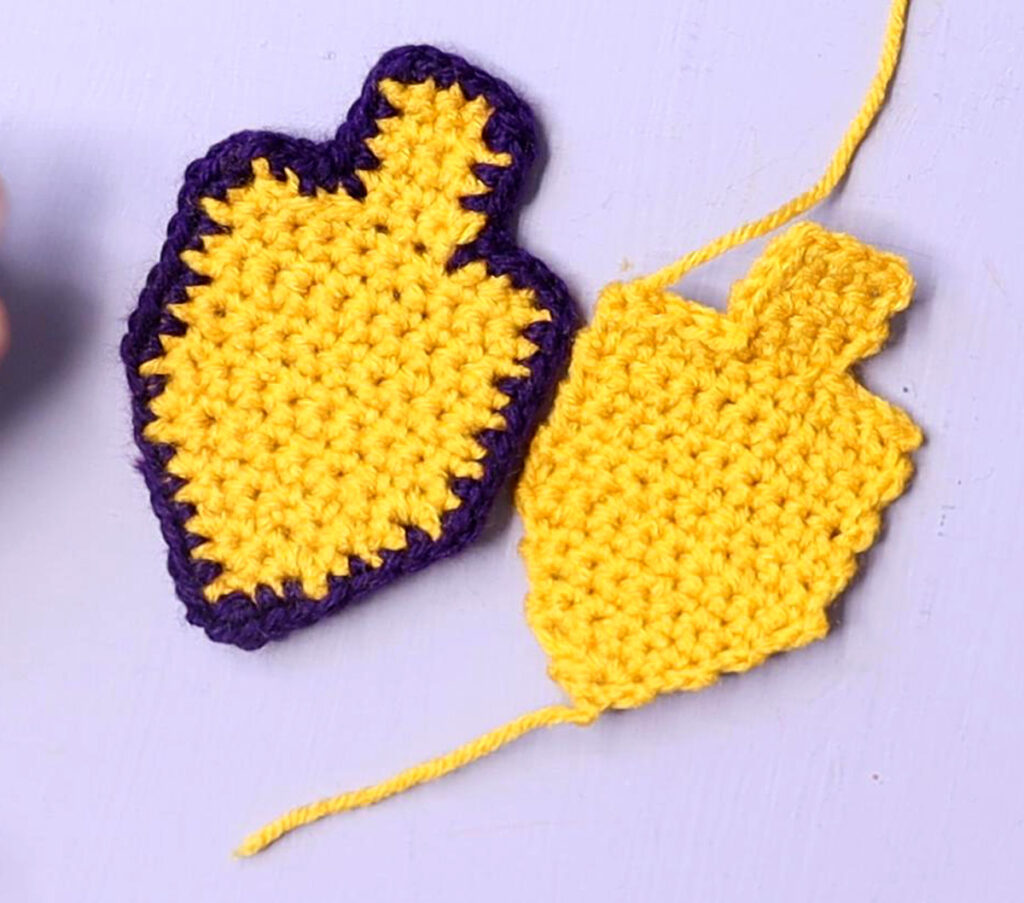
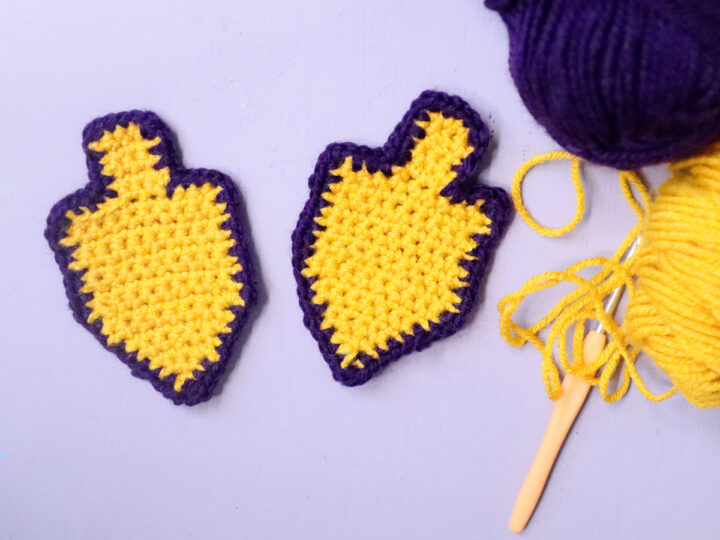
The dreidel in the tutorial is flat and fairly small, with a contrasting border that gives it a crisp outline. You can keep yours simple, or play with color, size, and finishing to match your style and who will be using it. The border is optional but adds so much character.

Fun Ways to Use a Crochet Dreidel
This little flat dreidel motif is surprisingly versatile. Here are some fun and easy ideas for how to use your crochet dreidel:
- Make a whole string of them for a garland and hang them across a mantle, window, or bookshelf – or the front of your Menorah table.
- Tie one onto a wrapped present as a reusable “gift tag” that the recipient can keep.
- Sew a dreidel onto a sweater, tote bag, or backpack as a soft and textured applique.
- Make two of the same size, place them wrong sides together, stitch around the edge, lightly stuff, and turn it into a flat plush or bag charm (this is what I did with mine!)
- Skip the border and make a smaller version to glue to a headband or hair clip.
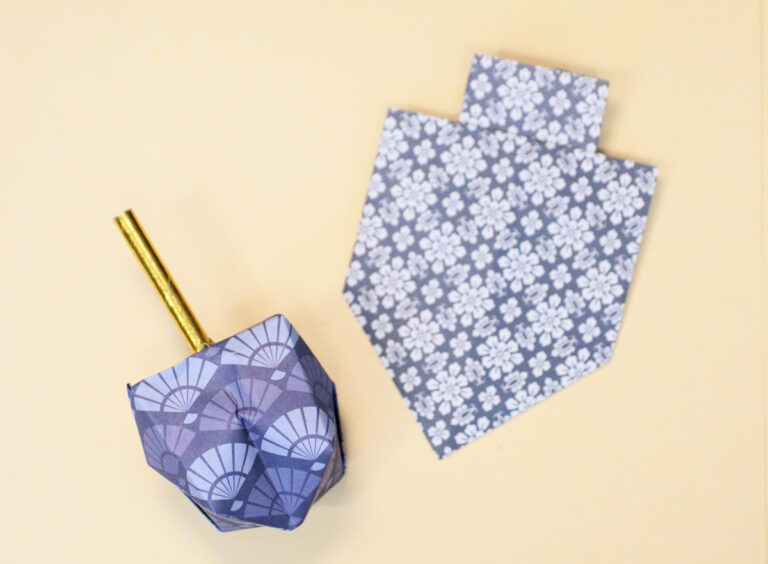
If you want more dreidel-themed decor that goes well with this project, the origami dreidel craft tutorial is a fun paper option to mix in for garlands and table decor.
Beginner-Friendly Tips for a Neat Crochet Dreidel
A clean shape comes down to consistency more than perfection.
- Keep your tension on the firm side so the edges stay straight and the triangle stays crisp.
- Count stitches at the end of each row, especially while you are shaping the triangle and then working the straight “body” rows.
- Use a locking stitch marker if you tend to get confused with where your first stitch is.
- If the tip or sides look a little lopsided, pause and recount your stitches. If everything is good, it may just need some blocking.
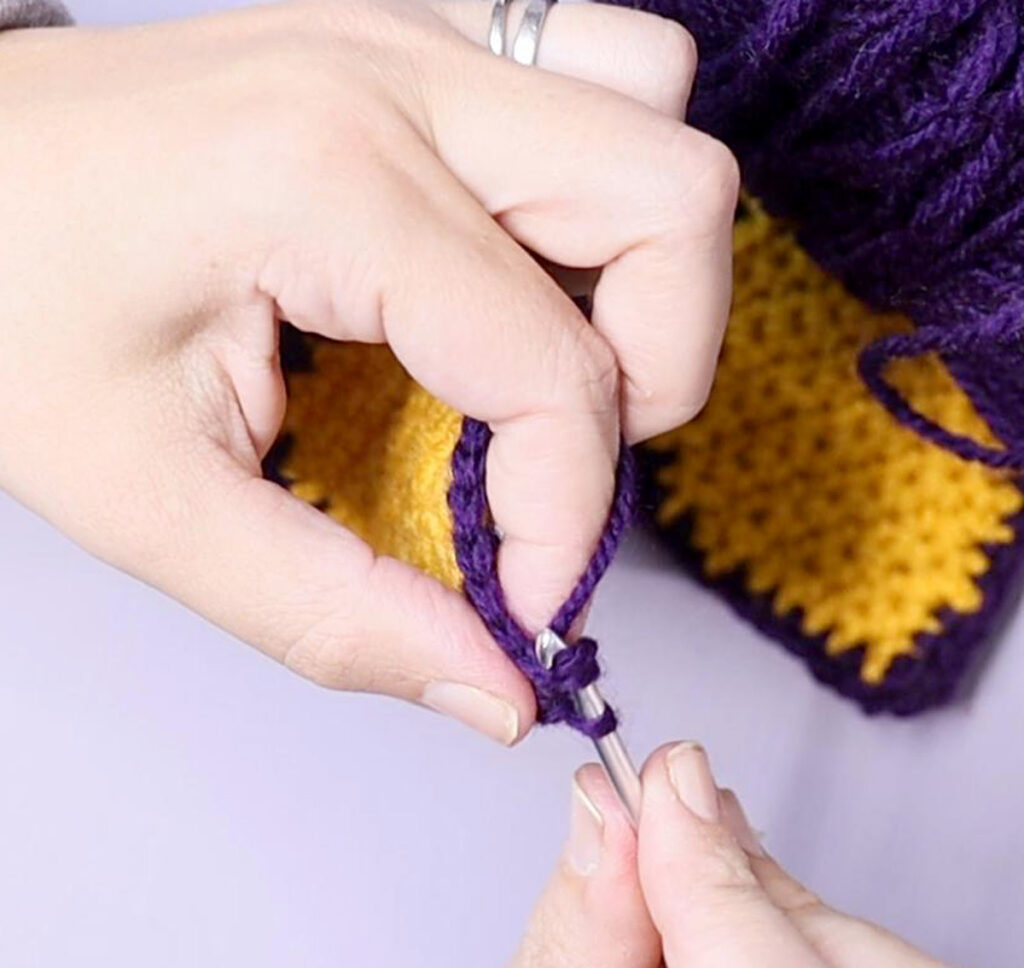
The border can feel misplaced around tight edges – that’s normal. Go slowly, place your hook between rows where the yarn naturally wants to go, and add an extra stitch or two in corners (depending how sharp it is) so the border is sharp instead of curved.
Creative Ways to Customize Your Dreidel
If you are making this for babies or toddlers as a plush toy or teether, think safety first:
- Avoid beads, buttons, or hard plastic pieces as embellishments.
- Secure every end firmly and weave tails well into the fabric.
- If you add letters or a face, embroider them or crochet them in, instead of gluing on anything small.
Then have fun with the design:
- Use a single color for the body and a contrasting border, or flip that scheme for a whole set.
- Work a rainbow set of dreidels or match family colors so each person has “their” tone.
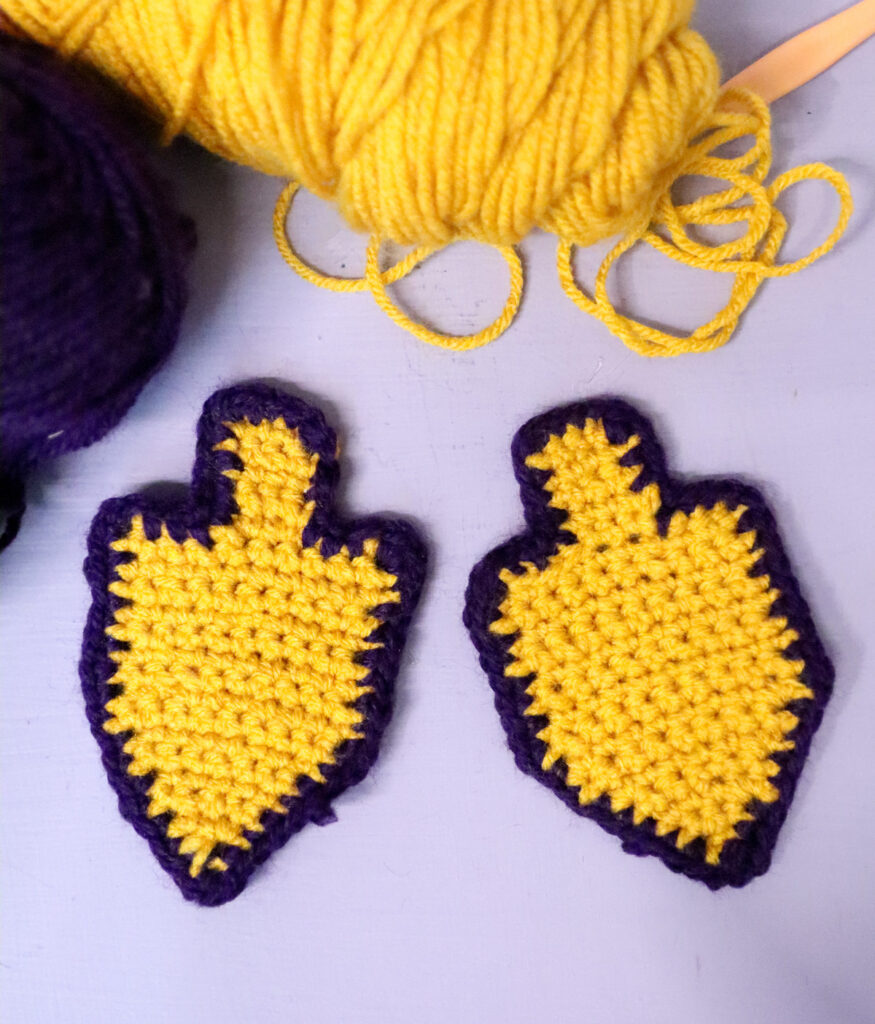
- Try rich jewel tones instead of only blue and white, just like the purple and yellow version in the video.
- Add simple embroidered letters on one or both sides if you like.
For another soft, kid-friendly dreidel idea that pairs nicely with this, try the dreidel sewing and lacing craft for kids – a craft that kids can make too!
Supplies and Skills You Need to Crochet a Dreidel
This project uses basic materials that many crocheters already have on hand. You do not need fancy yarn or tools.
You will see the following in the video:
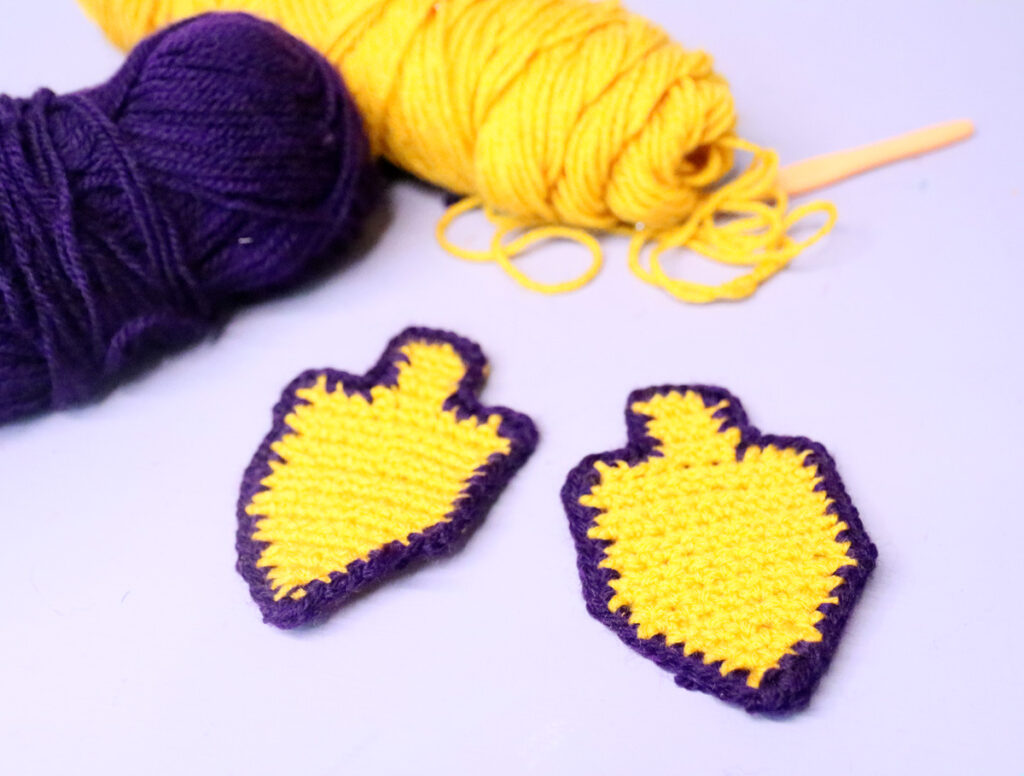
- A worsted weight (medium, category 4) acrylic yarn for the main color
- A second color for the border
- A 4-5 mm crochet hook (labeled as size G-H)
- Scissors
- A yarn or tapestry needle for weaving in ends
- Optional: pins and a blocking board or foam pad for shaping at the end
Skill-wise, this crochet dreidel is very friendly for advanced beginners. You should know how to:
- Make a slip knot
- Work foundation chains
- Single crochet back and forth in rows
- Increase in single crochet by placing two stitches into one space
- Slip stitch across an edge to move to the center without adding height (I show you how to do this very clearly)
- Single crochet around an edge as a border
You will not see complex stitch patterns. Almost all the shaping by increasing or decreasing single crochets.
Yarn, Hook, and Stuffing: Choosing the Right Materials
The video uses standard acrylic worsted yarn, specifically Red Heart Super Saver. This is a practical choice: it is sturdy, easy to wash, and it’s affordable.
A 4 mm hook works well with most worsted yarns and gives a firm fabric. If your stitches are very tight, you can go up to 4.5 mm, as long as the fabric does not become floppy. My mom worked it with a 5mm hook when testing the project and recommends that.
If you want to turn it into a stuffie, you’ll need something to fill it with. A small amount of polyester fiberfill is enough. I don’t recommend poly pellets for this, as they can “leak” through the holes between the crochet.
Color-wise, you are not locked into blue and white. The purple and yellow version in the tutorial shows how bold contrast makes the shape pop. I love the nontraditional take and it’s quite bold. I originally chose the yellow because it just shows well in tutorials and the purple because of the contrast, but overall I’m happy with that choice.
Step-by-Step Overview of the Crochet Dreidel Pattern
Basic Crochet Stitches and Techniques for This Project
Here is what you will use, in plain language:
- Chain (ch): The starting “string” that you build the first row into and the turning chain at the start of each row.
- Single crochet (sc): The main stitch of the entire dreidel. It creates a dense, sturdy fabric.
- Increase: Work two single crochets into the same stitch to make the row wider. This builds the triangle base and rounds the tip.
- Straight rows: Work one single crochet into each stitch to keep the width the same. This creates the straight sides of the “body.”
- Slip stitch (sl st): Insert the hook, yarn over, and pull straight through both loops. This moves you along the edge or joins the border without adding height.
- Border: Single crochet around the whole outside, placing extra stitches at corners and points so the border can bend.
Watch the video
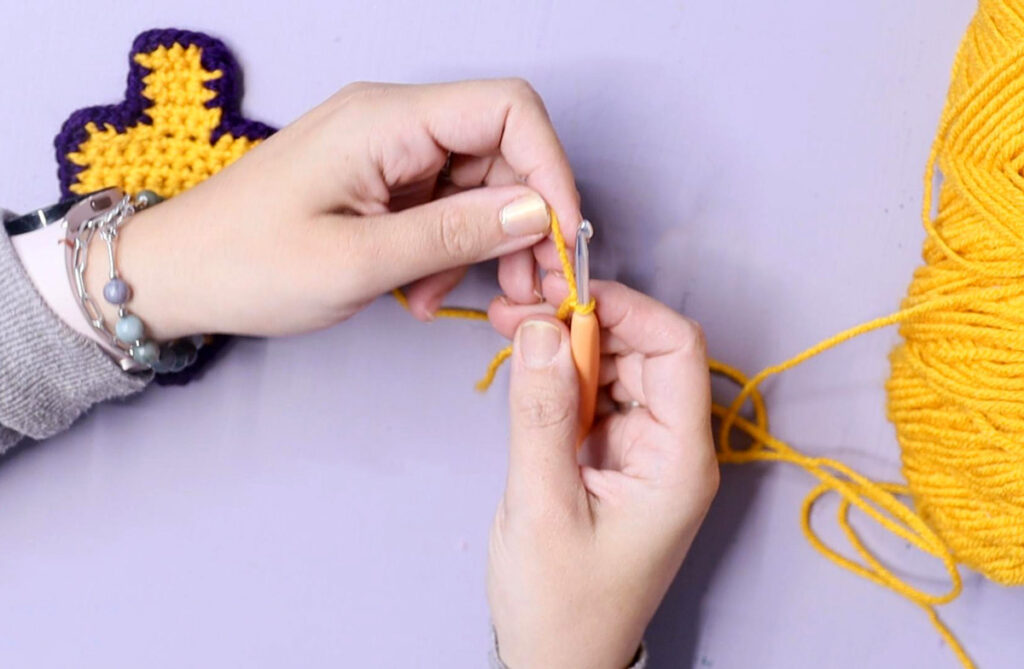
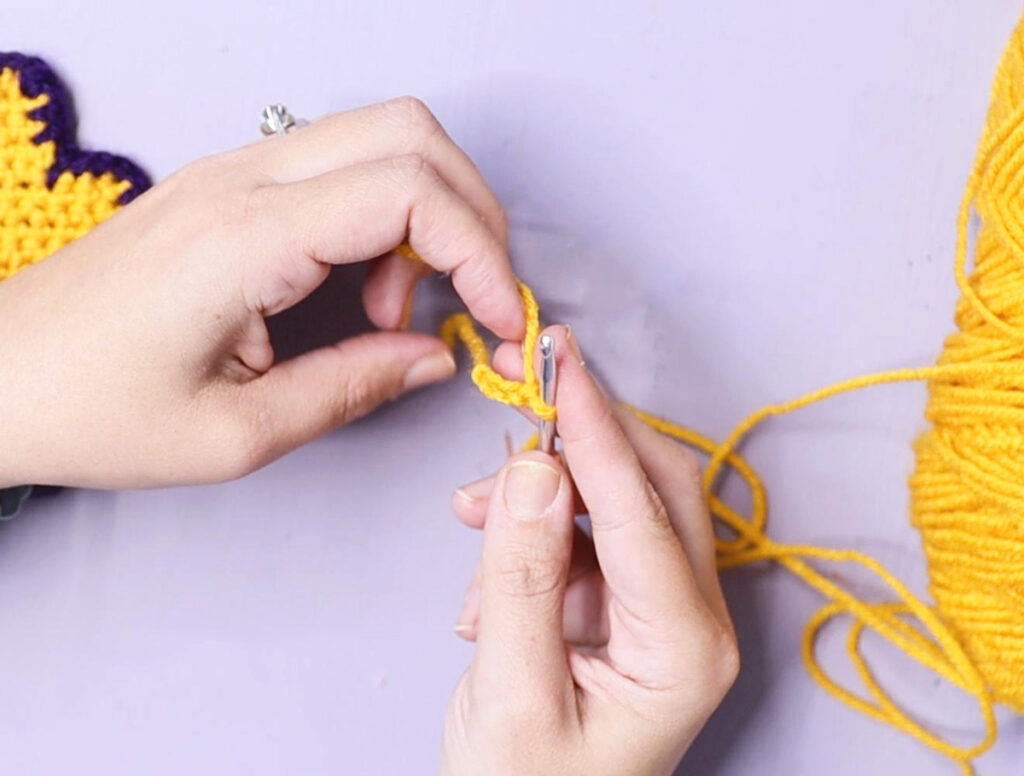
The YouTube video shows every motion in close-up, so if you know these stitch names but forget the exact hand movement, you can just copy what you see.
How to crochet a flat dreidel – Step by Step
This is not a “properly” written pattern. Instead, think of it as a step by step tutorial to help you understand what is happening in each section while you watch the tutorial. You can also find a printable “recipe card” version of this in pattern format at the end of this post.
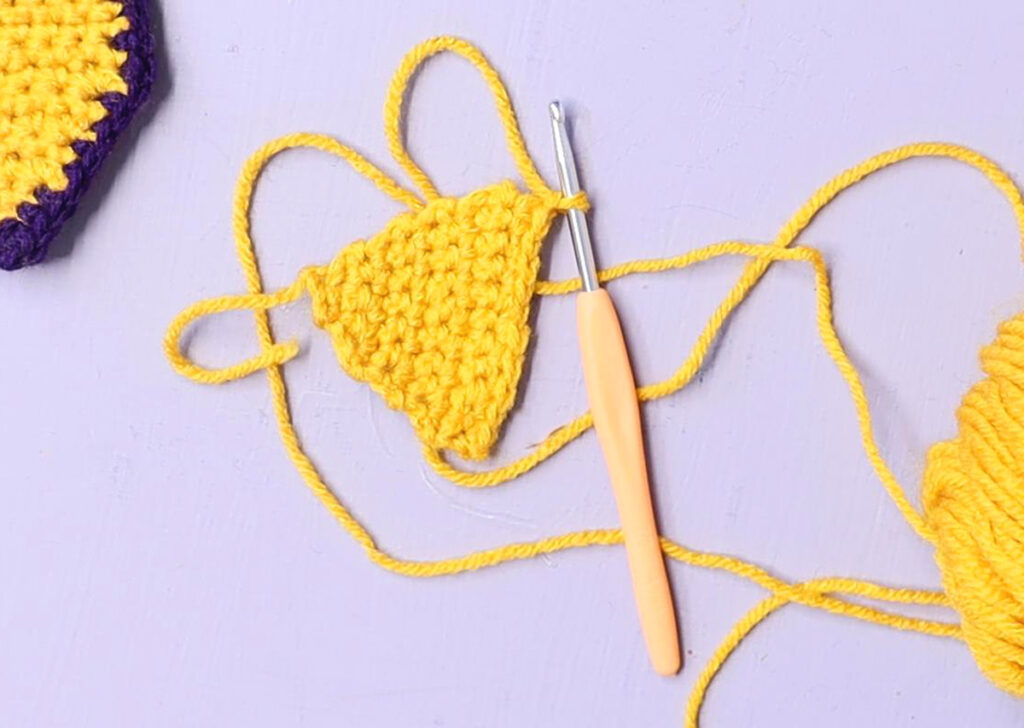
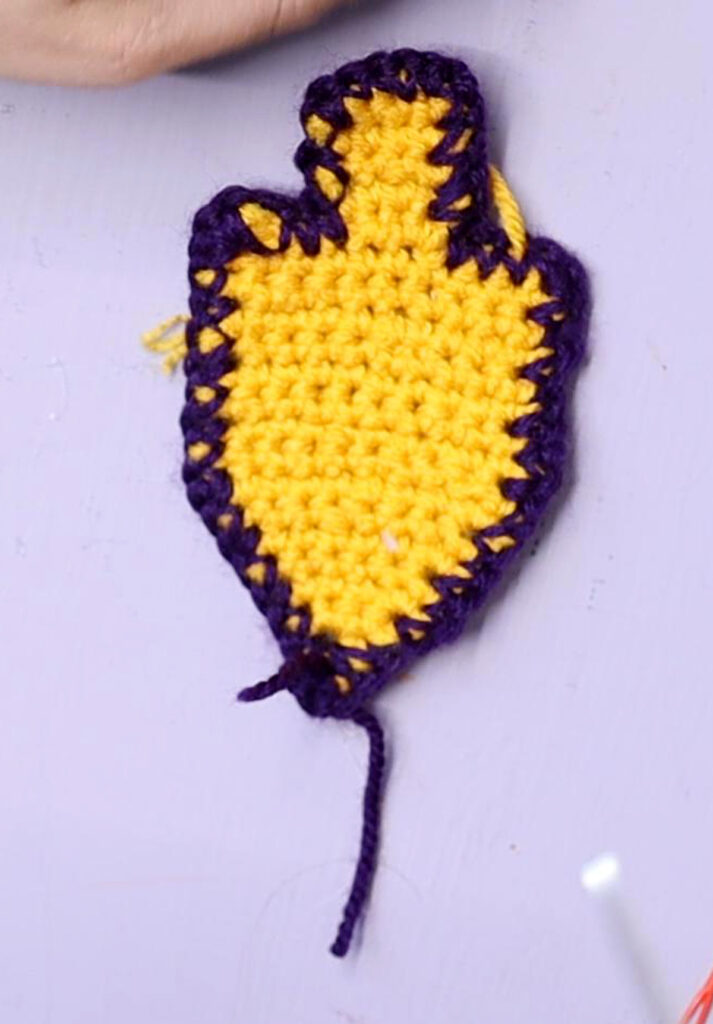
The flat dreidel has three main parts:
- The triangle base, which forms the point.
- The square or rectangle body, which is the main middle section.
- The top “stem”, worked as a small rectangle off the upper edge.
Then the contrasting border ties it all together and cleans up any small uneven spots.
For more dreidel crafts once you are done, try the fuse bead dreidel templates for a fun and functional project with kids.
Shaping the Body of the Dreidel
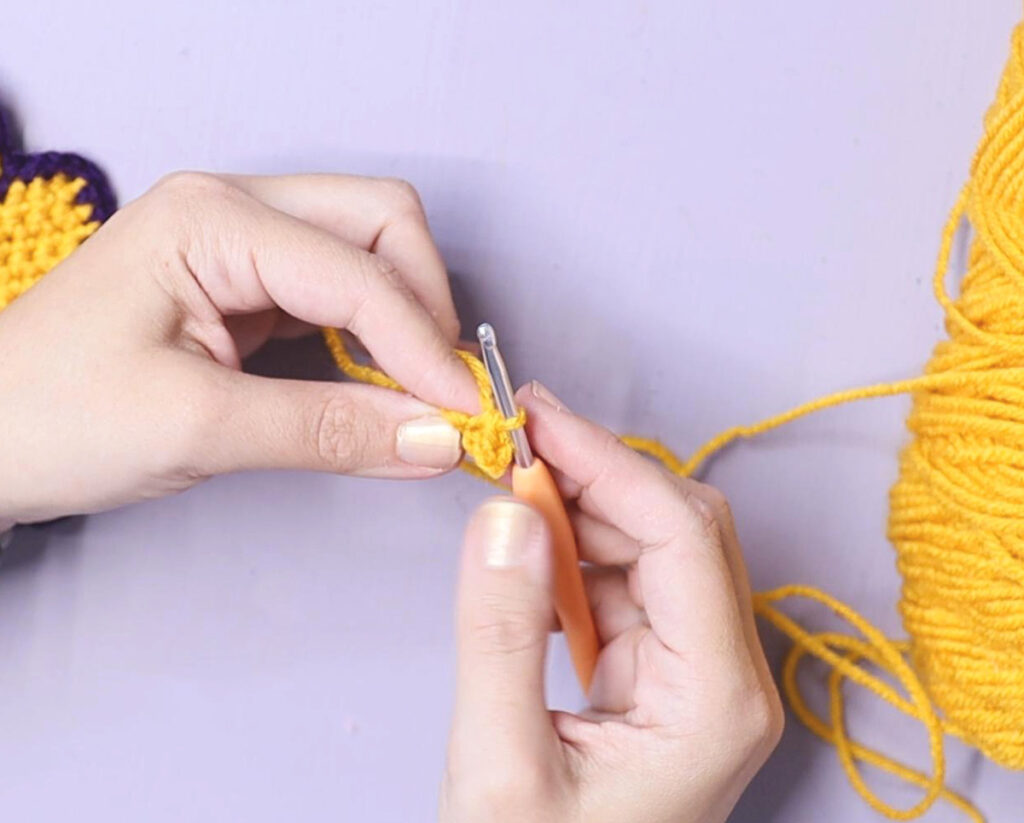
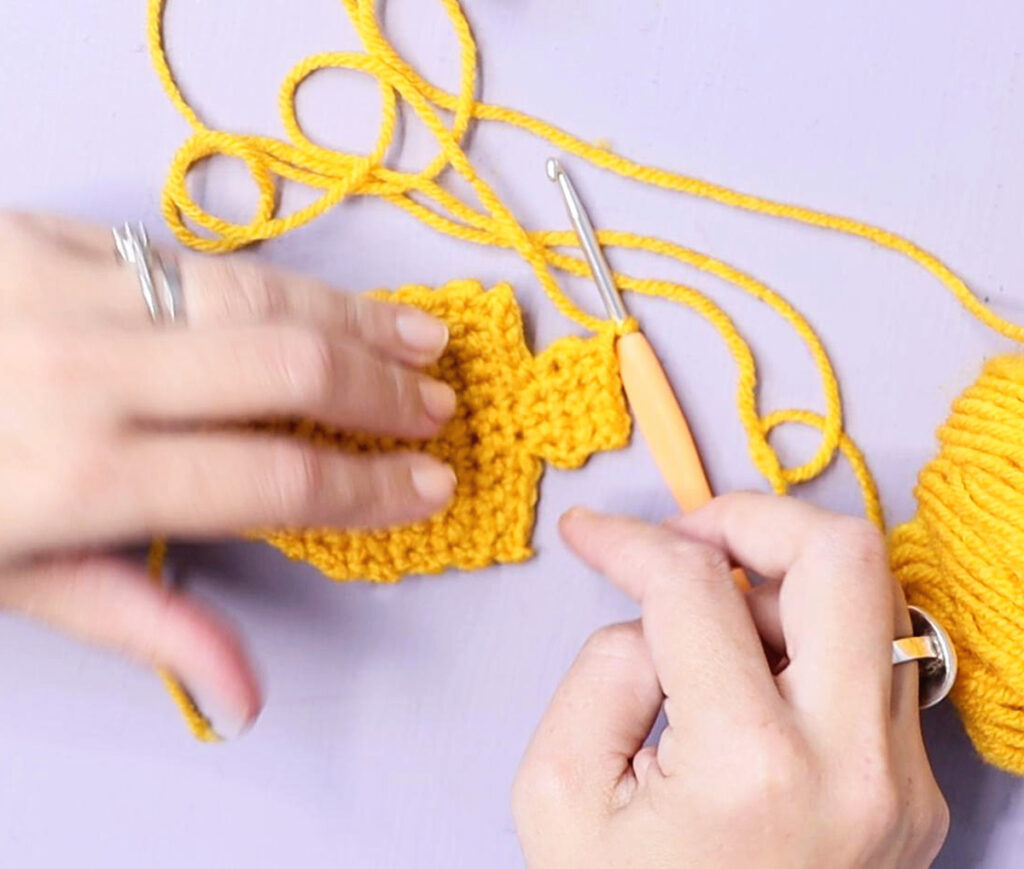
You start with a short foundation chain and work single crochet into it to create the very bottom edge. From there:
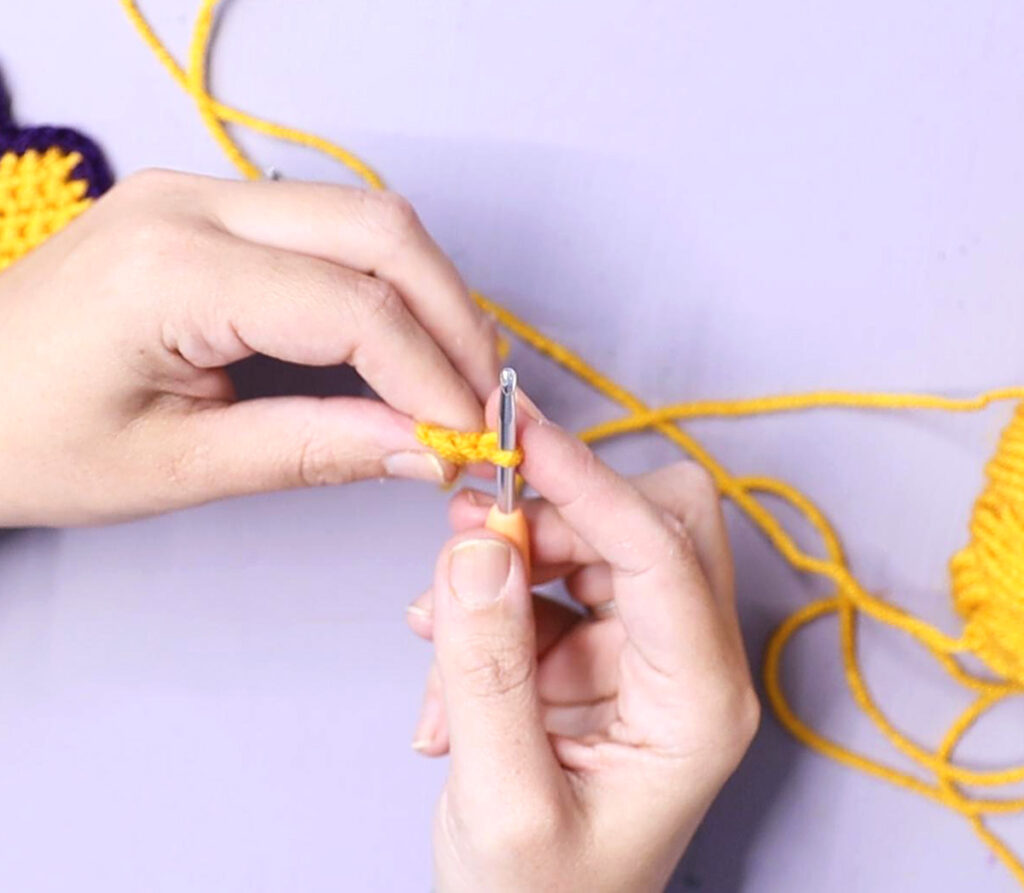
- For the first few rows, you increase at both ends of each row, which quickly builds a soft triangle point.
- After that, you still increase, but only every other row, which keeps the triangle from becoming too long and pointy.

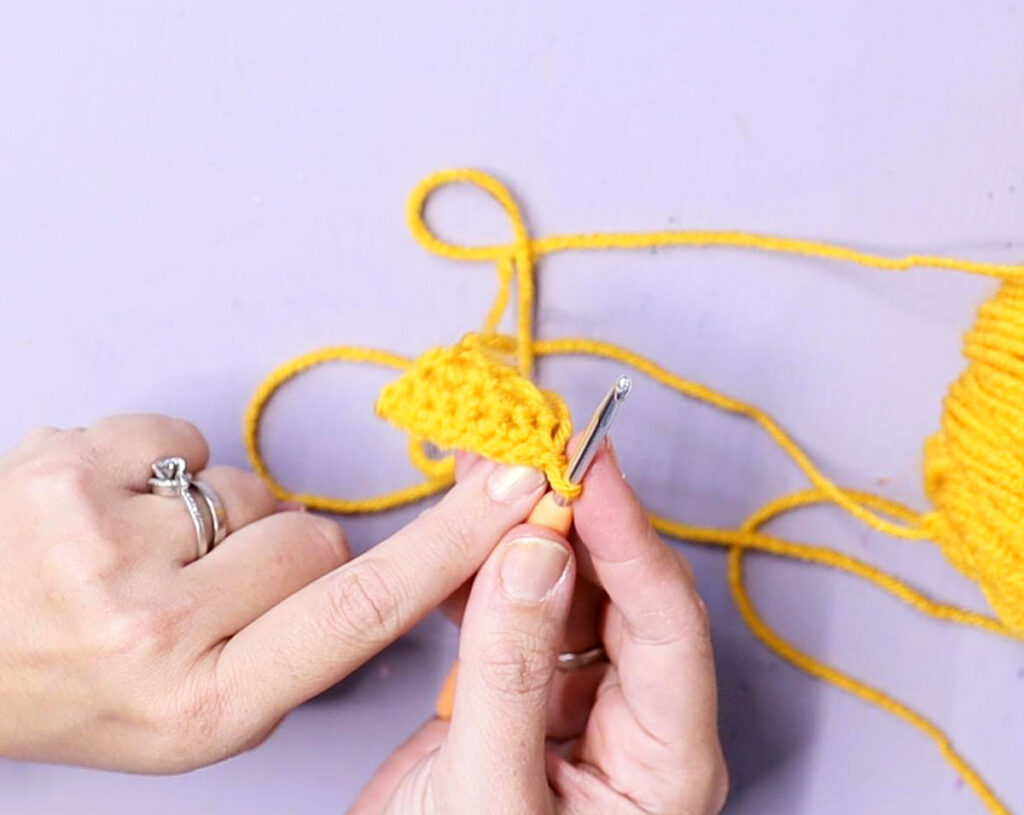
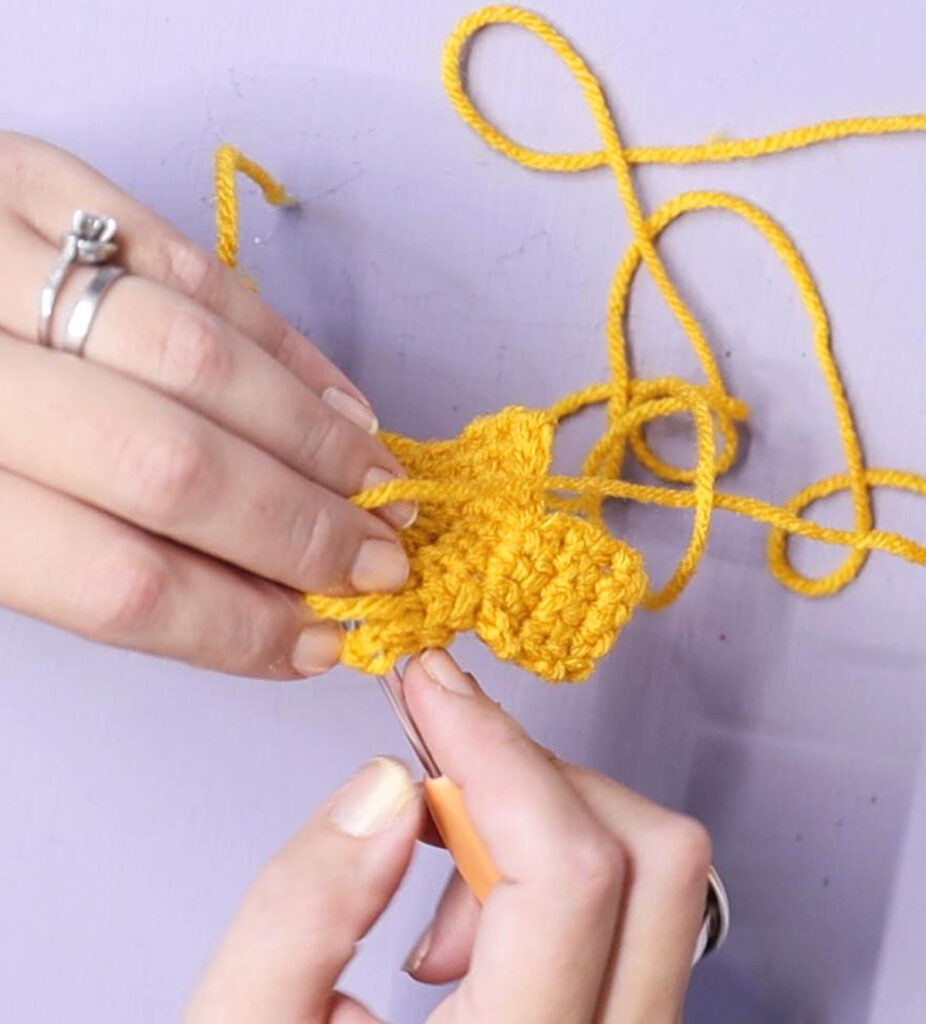
Once the triangle is as wide as you like, you stop increasing and simply:
- Chain 1 to turn.
- Work one single crochet in each stitch across.
- Do this for 8 rows (or until you’re happy with the proportions).
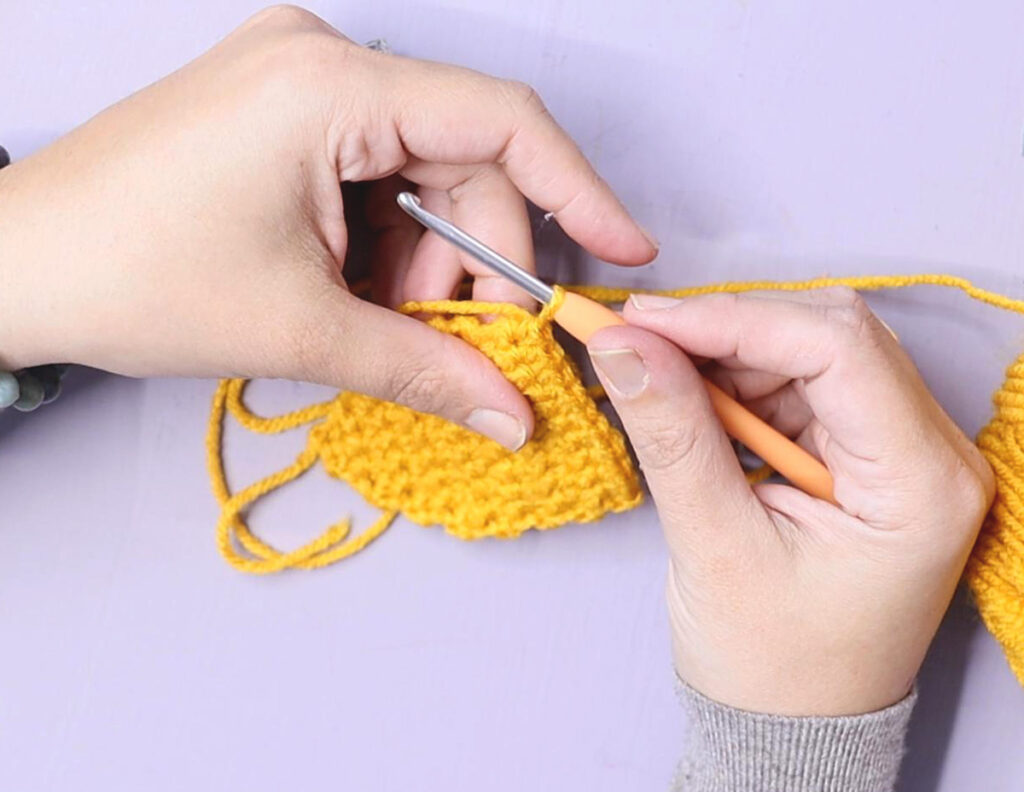
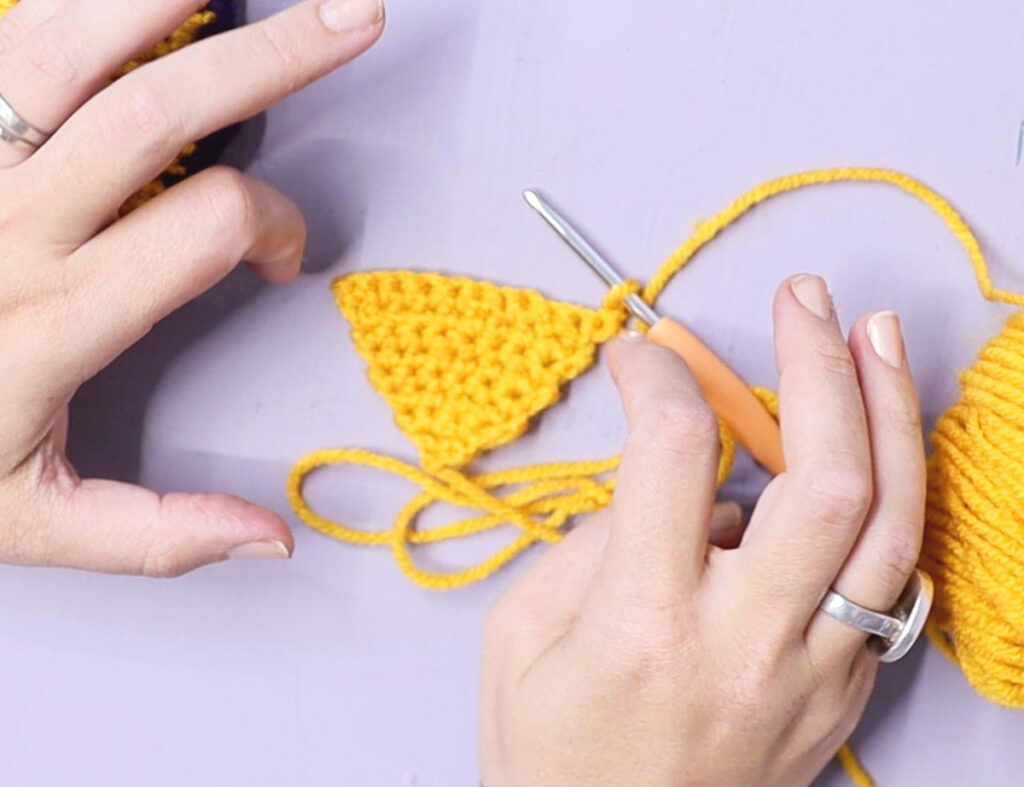
Those straight rows stack up into a square or slightly taller rectangle. The height is not fixed; you gauge it visually so the body feels balanced with the triangle. If you want a bigger dreidel, you repeat the same pattern of one increase row and one straight row for longer before you switch to straight-only rows.
You can gently tug on the edges as you go to encourage the fabric to sit flat and look like a natural dreidel shape.
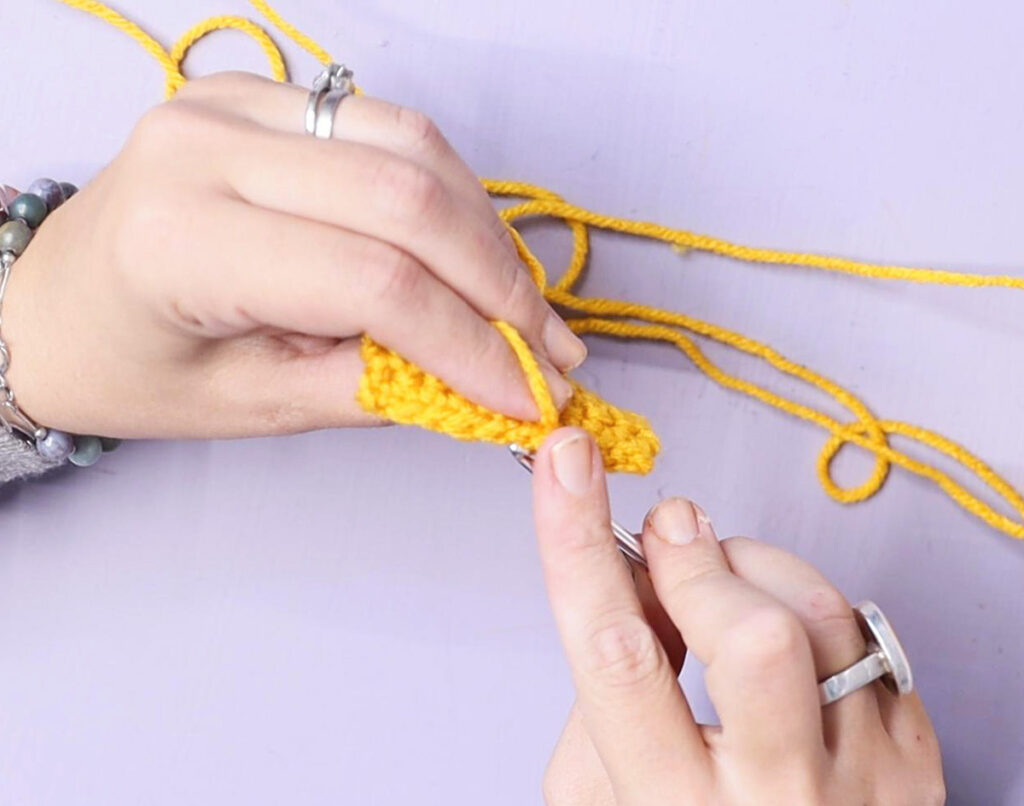
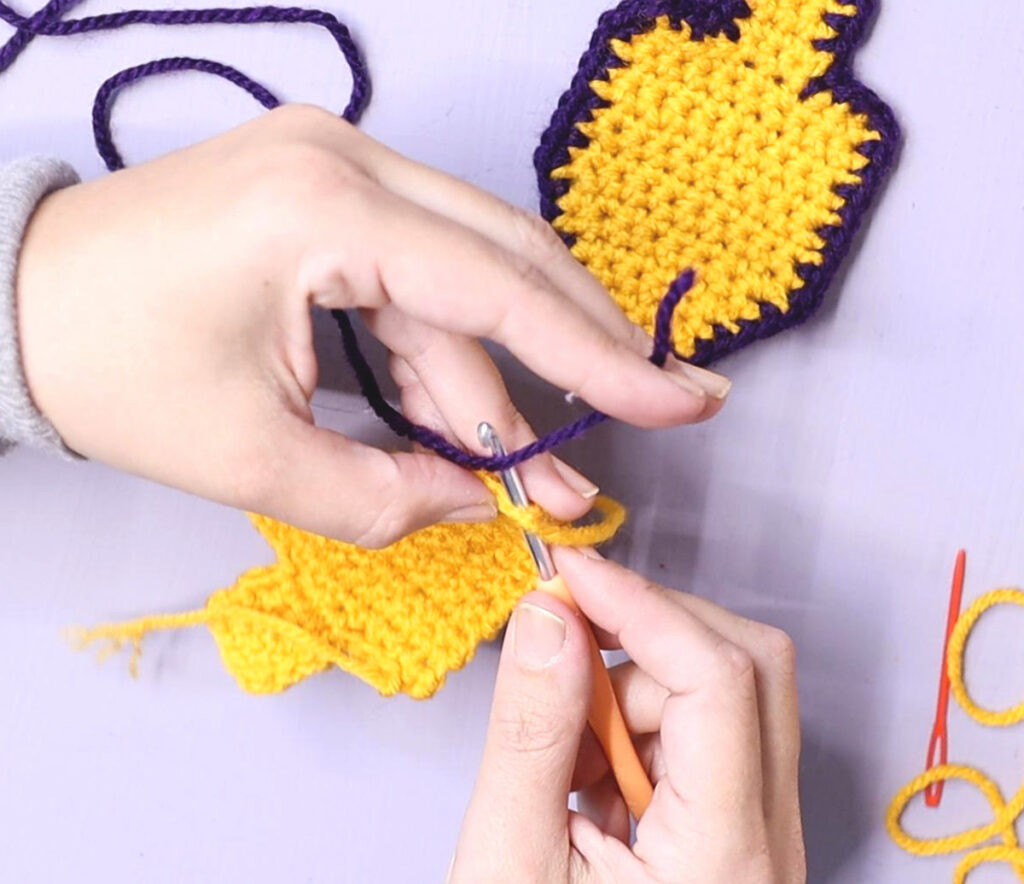
Crocheting the Stem
The top stem is not made separately. Instead, you:
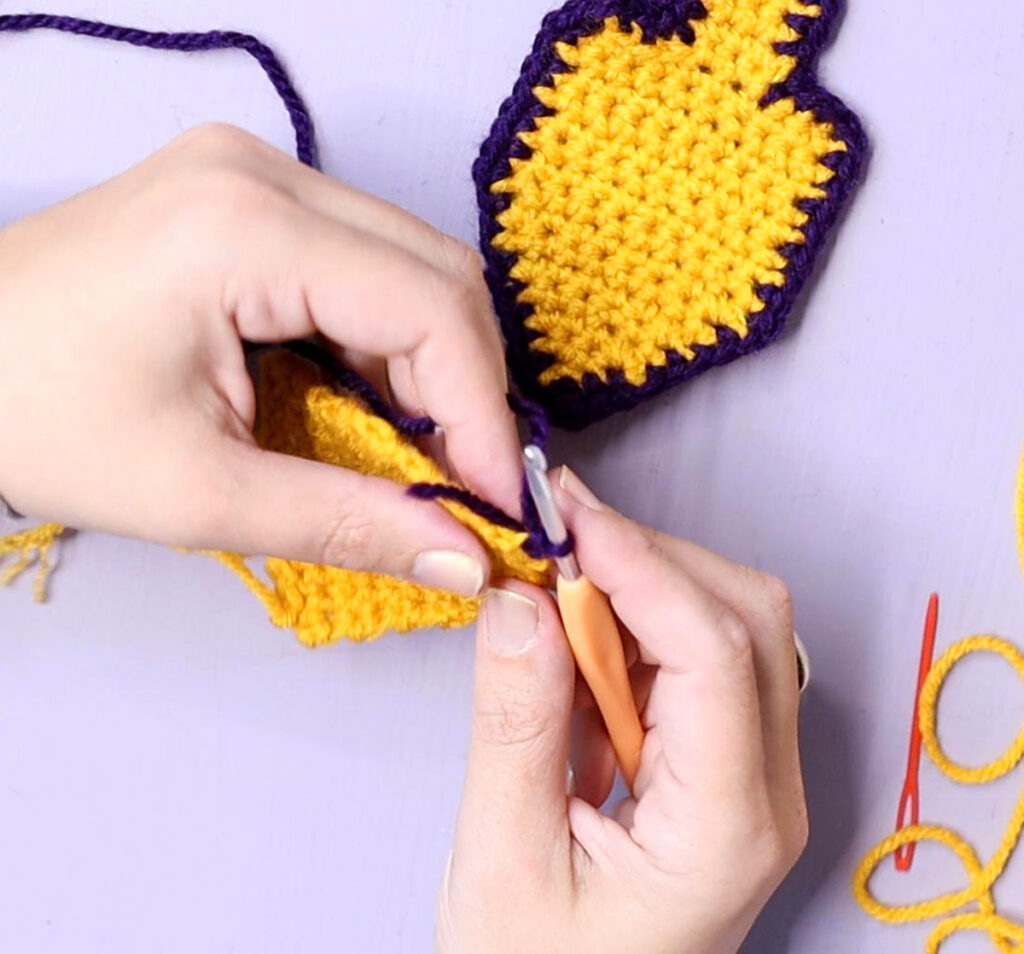
- Slip stitch part of the way across that top edge to reach the center two, since you want the stem to sit in the middle.
- Once you are at the right spot, start working single crochets again to form a small block of stitches that sticks up from the top edge.
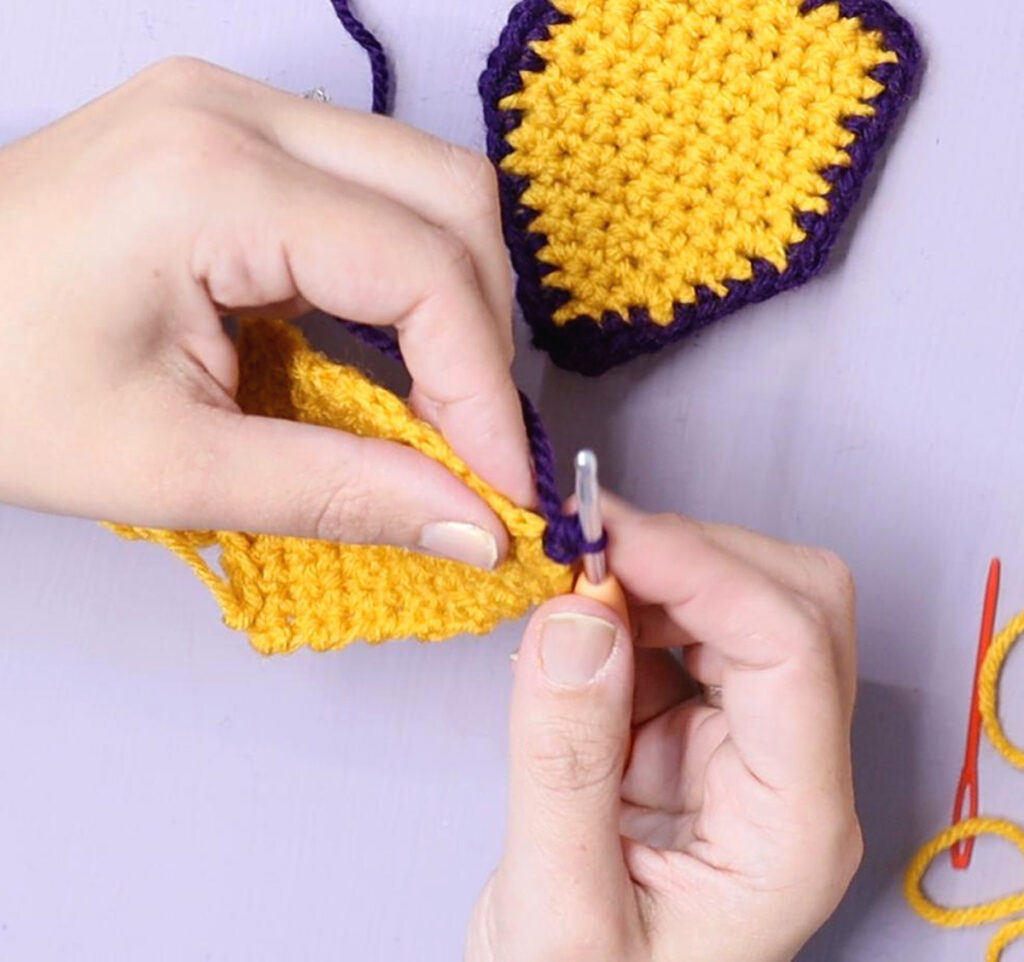
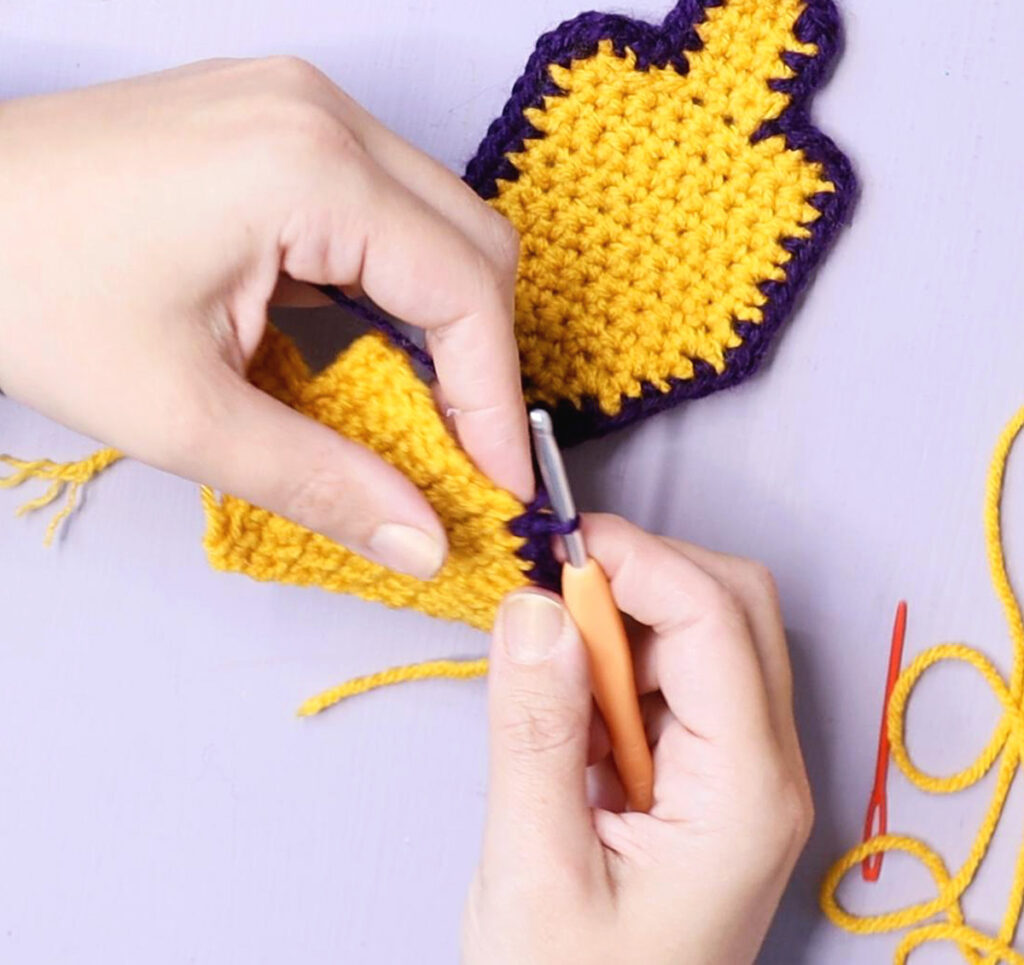
You go back and forth over that small set of stitches to make a short, flat stem. After a few rows (end on the opposite side where you started), you slip stitch back down the side of the stem to rejoin the top edge of the body. Then you slip stitch across any remaining unworked stitches so the entire top edge has the same finished height.
This clever technique keeps everything in one piece, with no extra sewing steps after.
Adding Hebrew Letters and Finishing Touches
The crochet in the video focuses on shape and border, and not detail, so you can choose how detailed you want to go.
Some simple options:
- Use a yarn needle and a contrasting yarn to embroider nun, gimel, hey, shin as thick, straight lines on the front.
- Cut felt letters and hand stitch them on.
- Keep the crochet plain and let the familiar shape speak for itself.
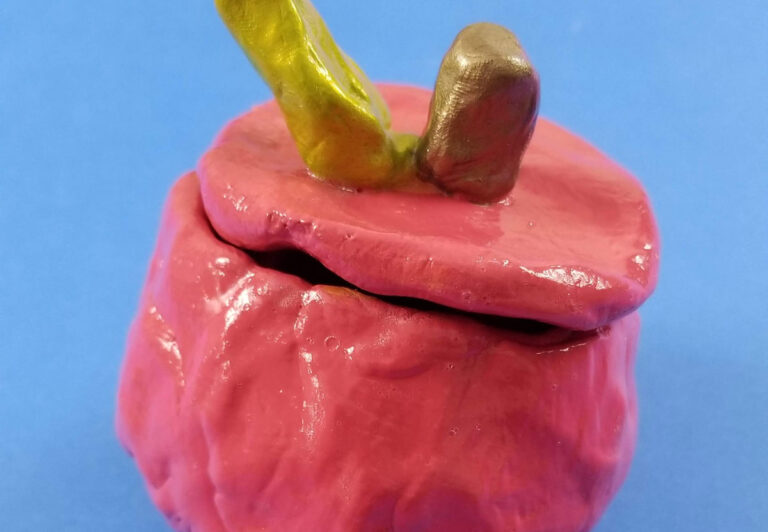
If you want a deeper dive into the letters and their meaning, the clay dreidel making tutorial explains what each one stands for and how it connects to the Hanukkah story. You can also check out this dreidel rules printable coloring page where I share how to play in a fun poem format.
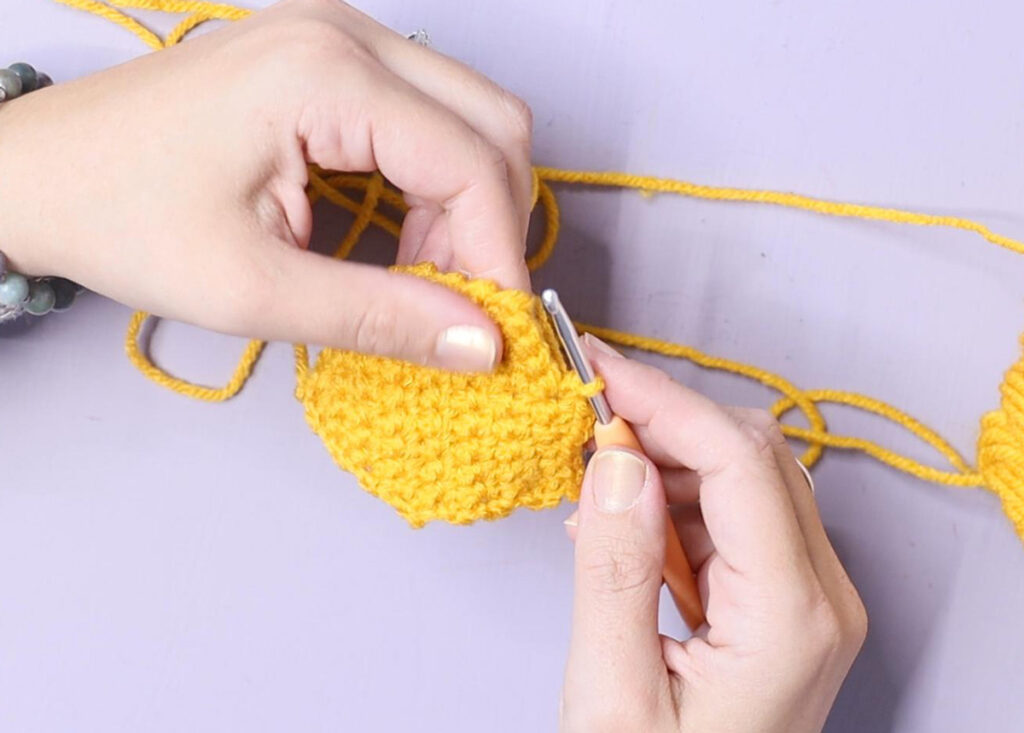
To finish the crochet part:
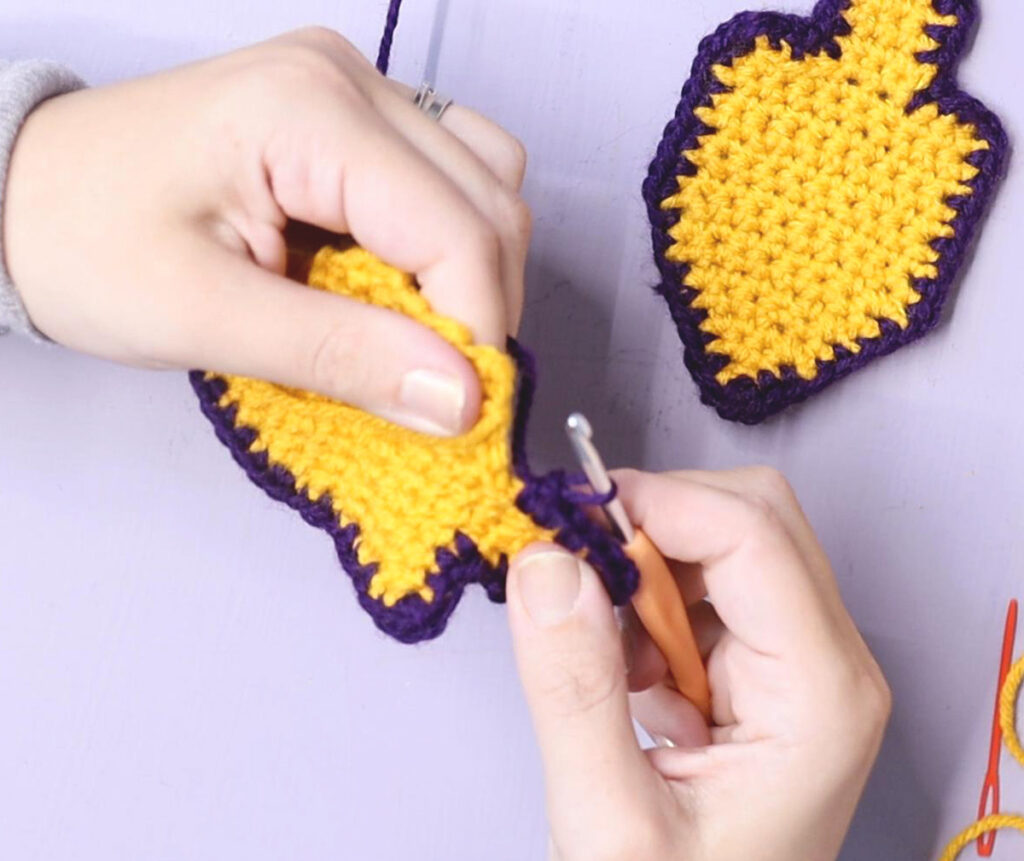
- Attach your border color at the very tip of the dreidel.
- Single crochet around the entire edge, placing stitches between rows up the sides and across the top.
- Work two or three stitches into sharp corners and into the bottom point so they form points and not rounded edges.
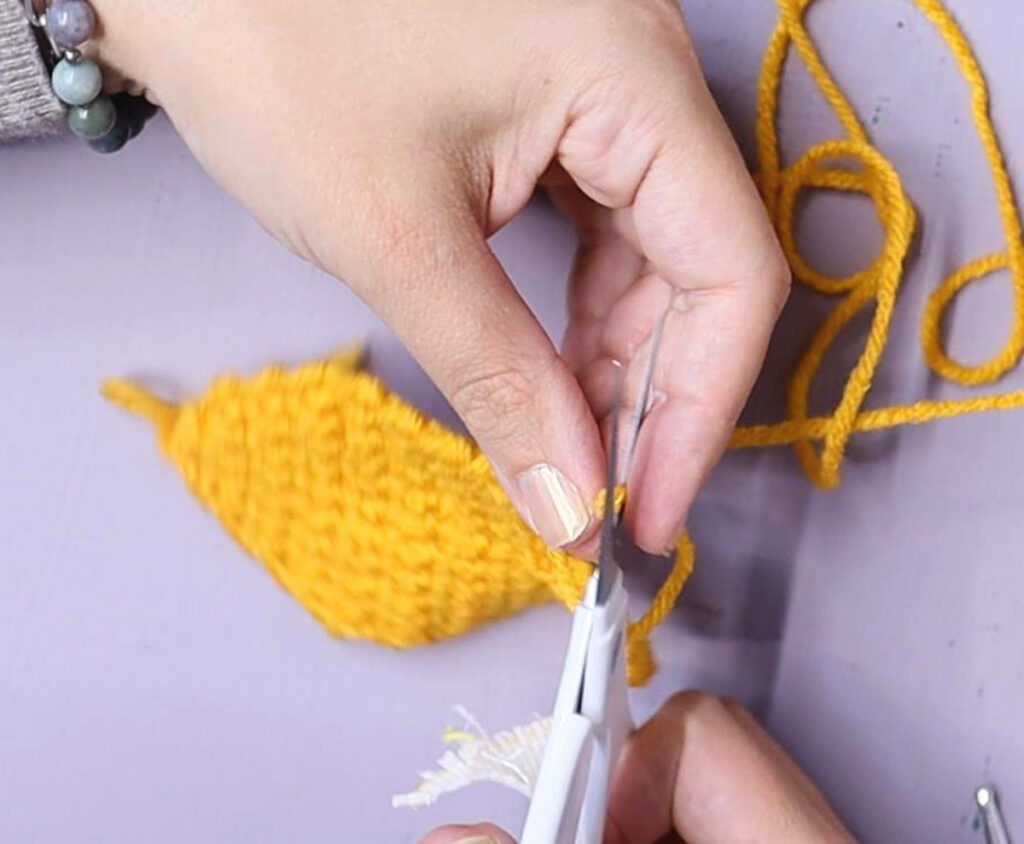
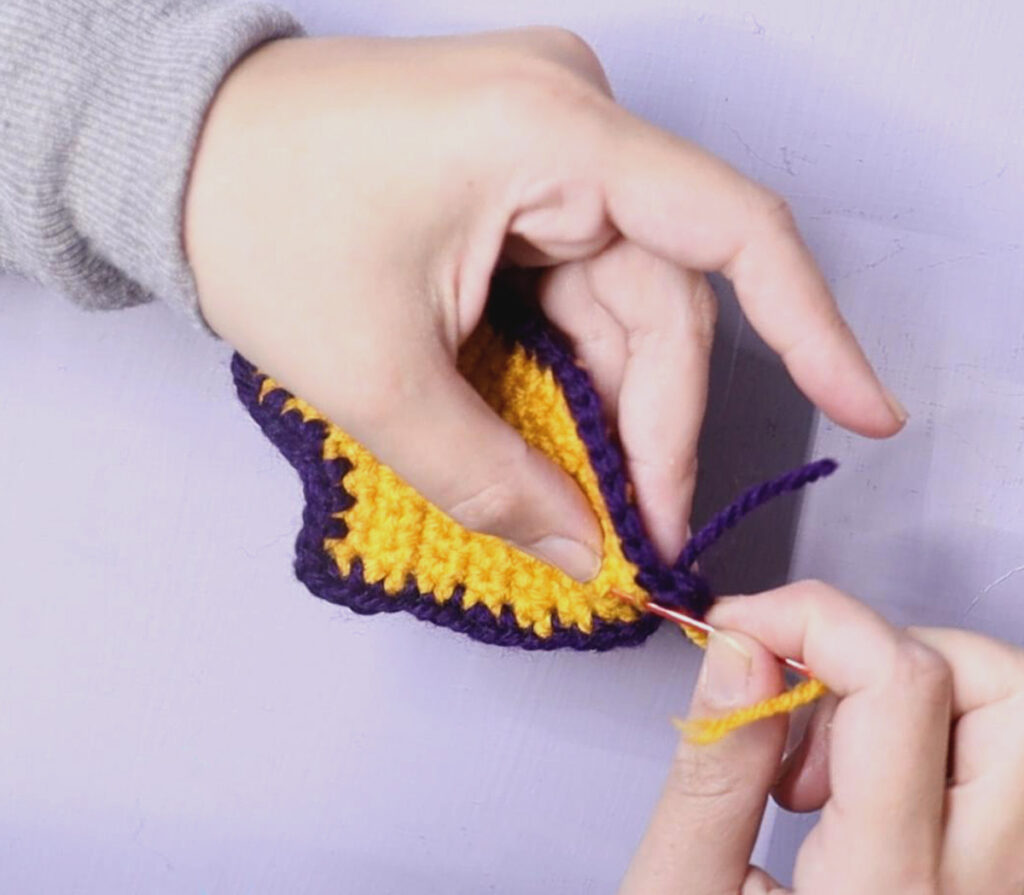
- Join to the first border stitch with a slip stitch and fasten off.
Finally, weave in all your ends. If the shape looks a little wonky, pin it to a board, lightly wet it, and let it dry in the ideal shape. This blocking step makes a big difference, especially for the stem.
Finalizing your crochet dreidel
A flat crochet dreidel is a small project with a lot of heart. It uses simple stitches, just one main shape, and a tidy border, yet it can become a garland, a soft applique, a keepsake bag charm, or a gentle toy for little hands.
If you are ready to try it, follow along with the video tutorial, grab your worsted yarn and 4 mm hook, and keep this guide nearby as your roadmap. The video will show you every stitch, and these notes will help you understand what you are building at each stage so you can adjust size and details with confidence.
When you are done, explore more Jewish and Hanukkah projects in the comprehensive Hanukkah crafts list and keep adding handmade touches to your home. A soft, handmade dreidel adds warmth to the holiday, invites conversation, and gives kids a safe, cozy symbol of a story they love.
Happy crocheting, and may your handmade crochet dreidels bring extra joy to your Hanukkah this year.
Crochet Dreidel Printable Pattern
Make this crochet dreidel to use as an applique for a Hanukkah sweater, turn into a mini plushie, use as gift tags or decor... It's an easy beginner-level flat dreidel
Materials
- Suggested yarn: Medium weight (worsted)
- Hook: Size G-H (4-5mm)
Tools
Instructions
Gauge is not important; just keep your stitches even. Foundation Row: ch 3
Row 1: Sc into second st from hook, sc, ch1, turn (3 st in row
Row 2: (Begin increase rows): 2 sc into second st from hook, 2 sc into next st, ch1, turn.
Rows 3, 5, and 7: 2 sc into second st from hook, sc to last st, 2 sc into last st on the row, ch1, turn.
Rows 4 and 6: Starting from second st from hook, sc to end of row, ch1, turn.
Rows 8-14: (Body of dreidel) Starting from the second st from hook, sc across the row, ch1, turn. (10 st in row)
Stem
Row 1: Starting from second st from hook, 4 sl st, 3 sc, ch1, turn.
Row 2, until desired height, ending with an odd-numbered row: Starting from second st from hook, 3 sc, ch1, turn.
Sl st down the side of the stem and across to the end of row 14 of the body. Pull yarn through loop and cut.
Border
In a contrasting color, starting from the bottom point, sc into the ends of each row. Make two sc into the sts at the two lower angles and at the top corners of the stem. Make 3 sc into the top two corners or the body (the “shoulders” of the dreidel).
When you’re back at the point, add another sc into the point, cut the yarn, pull through, weave in loose ends.
Notes
Follow the trend to enlarge your crochet dreidel or to make it smaller. Make two and sew them back to back, stuff for a little plushie. Add a keychain for a bag charm.