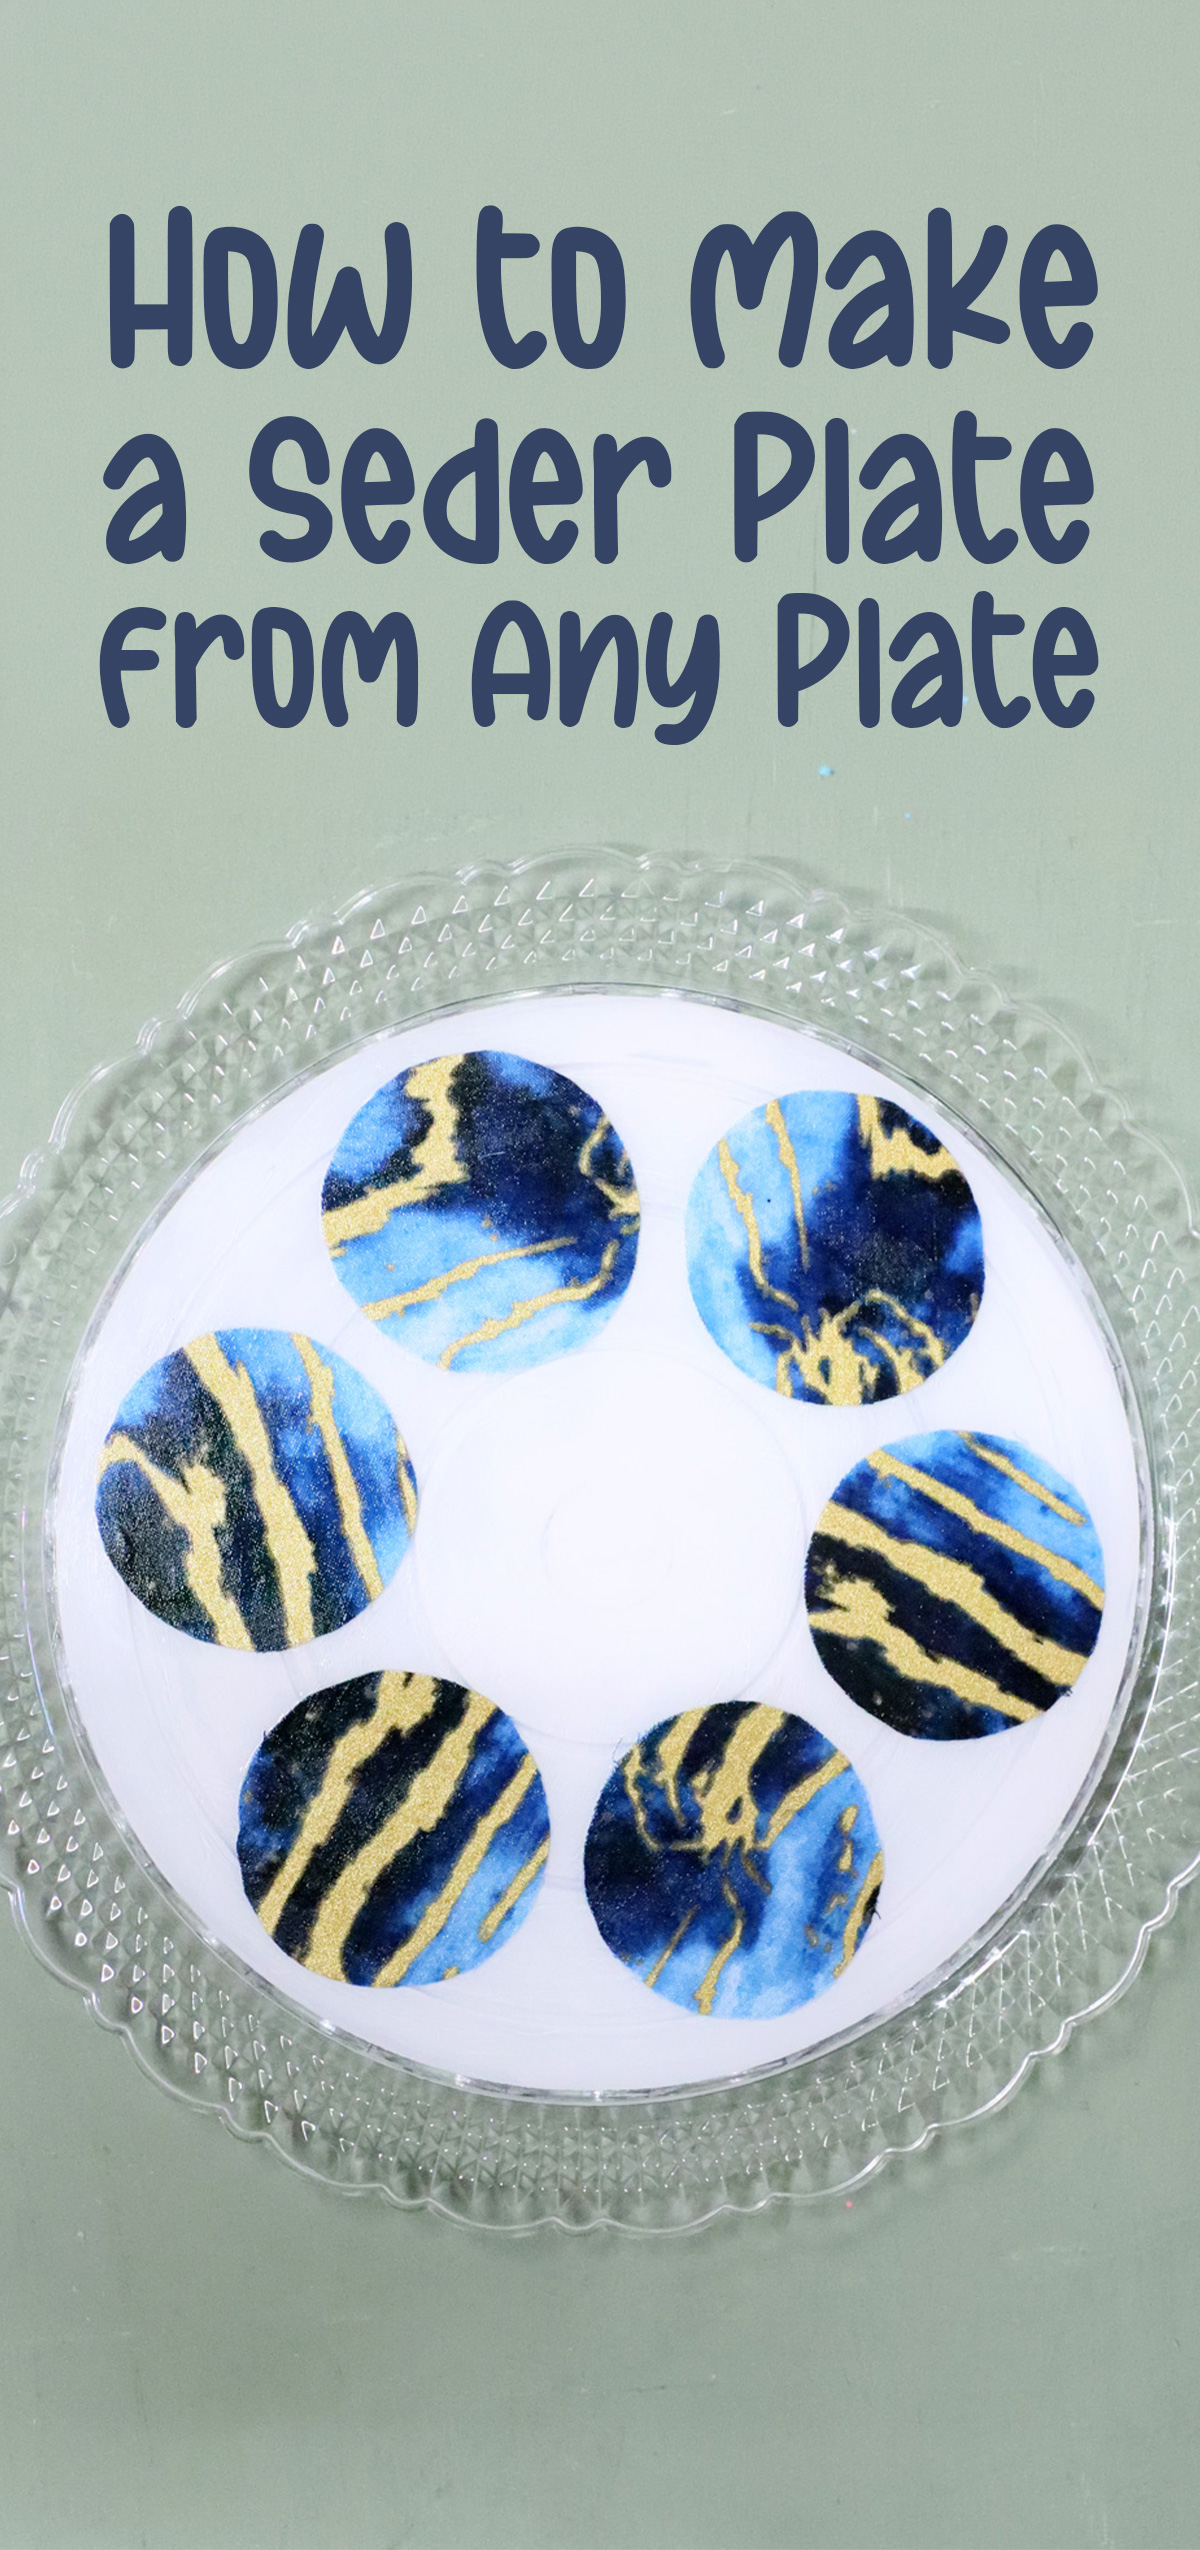
Decoupage Seder Plate Craft – Functional DIY Ke’arah for Kids!
Craft a super cool and versatile decoupage seder plate craft that is totally usable and easy enough for kids. If you want something more advanced and artsy, try making this mosaic seder plate instead.
Last year, I picked up this pretty plastic serving tray from the dollar store, with the intention to turn it into a decoupage Ke’arah – or seder plate. I wanted a craft that kids of multiple age groups can craft and then actually use.
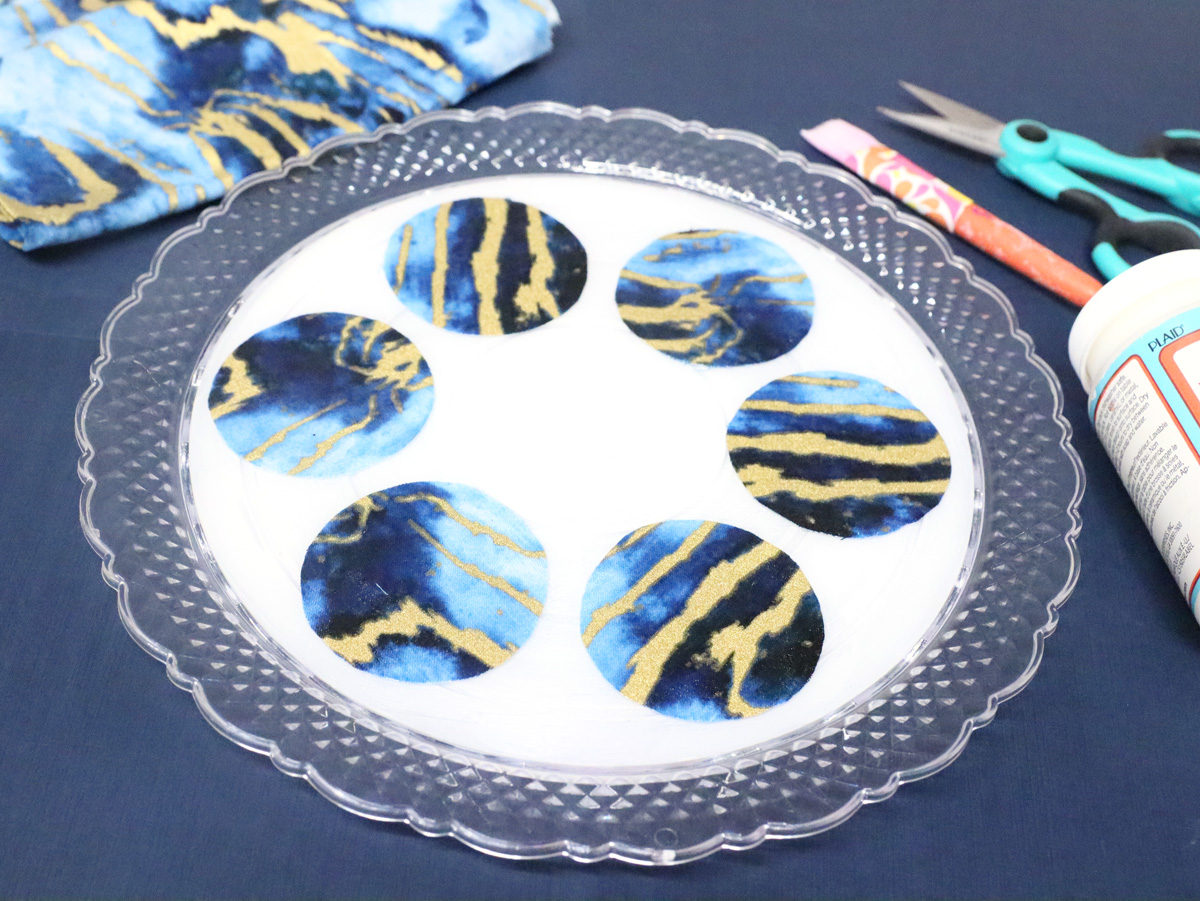
I created this decoupage seder plate craft using fabric, craft paint, a base plate and some Mod Podge. It’s quite simple, can be adapted to different age groups, different materials, and finished different ways.
In this post I’ll be sharing with you the process that I followed as well as loads of ideas for adapting it. But the basic premise is: decoupage fabric circles to a foundation plate to make markers and spaces for the different foods.
The basics of making a decoupage seder plate
I’ll be sharing with you here what I did to create this from start to finish, including my mindset behind the materials I chose.
The foundation plate
To make this, I used a clear plate that’s a bit larger than a typical plate. That’s ideal, since a Seder Plate is usually a statement centerpiece. Mine is a decorative one from Dollar Tree (meant as a cake plate).
The only issue was that originally, I had wanted to decoupage the reverse of the plate. That way the surface is food-ready (more on that below.) But the plate I got had a very not-smooth back, with loads of ridges. So I ended up decoupaging the front.
I will share in the next section of this post, some alternate ways to make this decoupage seder plate craft, including food safety concerns, specific alternate plates, and more. But the one I used is really pretty and came out quite lovely.
Decoupage Mediums to try
Mod Podge comes in many different mediums. Some of them finish harder than others. When making a functional, usable finished craft like this, I always recommend using a hard finishing formula.
I used Dishwasher Safe Mod Podge, which works wonderfully and might be a bit of overkill for a kids seder plate craft like this.
If you’re making this with older kids who may want to actually have their own usable seder plate, dishwasher safe Mod Podge works, but takes 28 days to cure to dishwasher safe. But also, most people won’t put it in the dishwasher anyway. It just make it good and waterproof, even after a few days.
Other good options for function are Mod Podge Super Gloss (the regular gloss doesn’t finish hard) or Outdoor Mod Podge.
What to decoupage
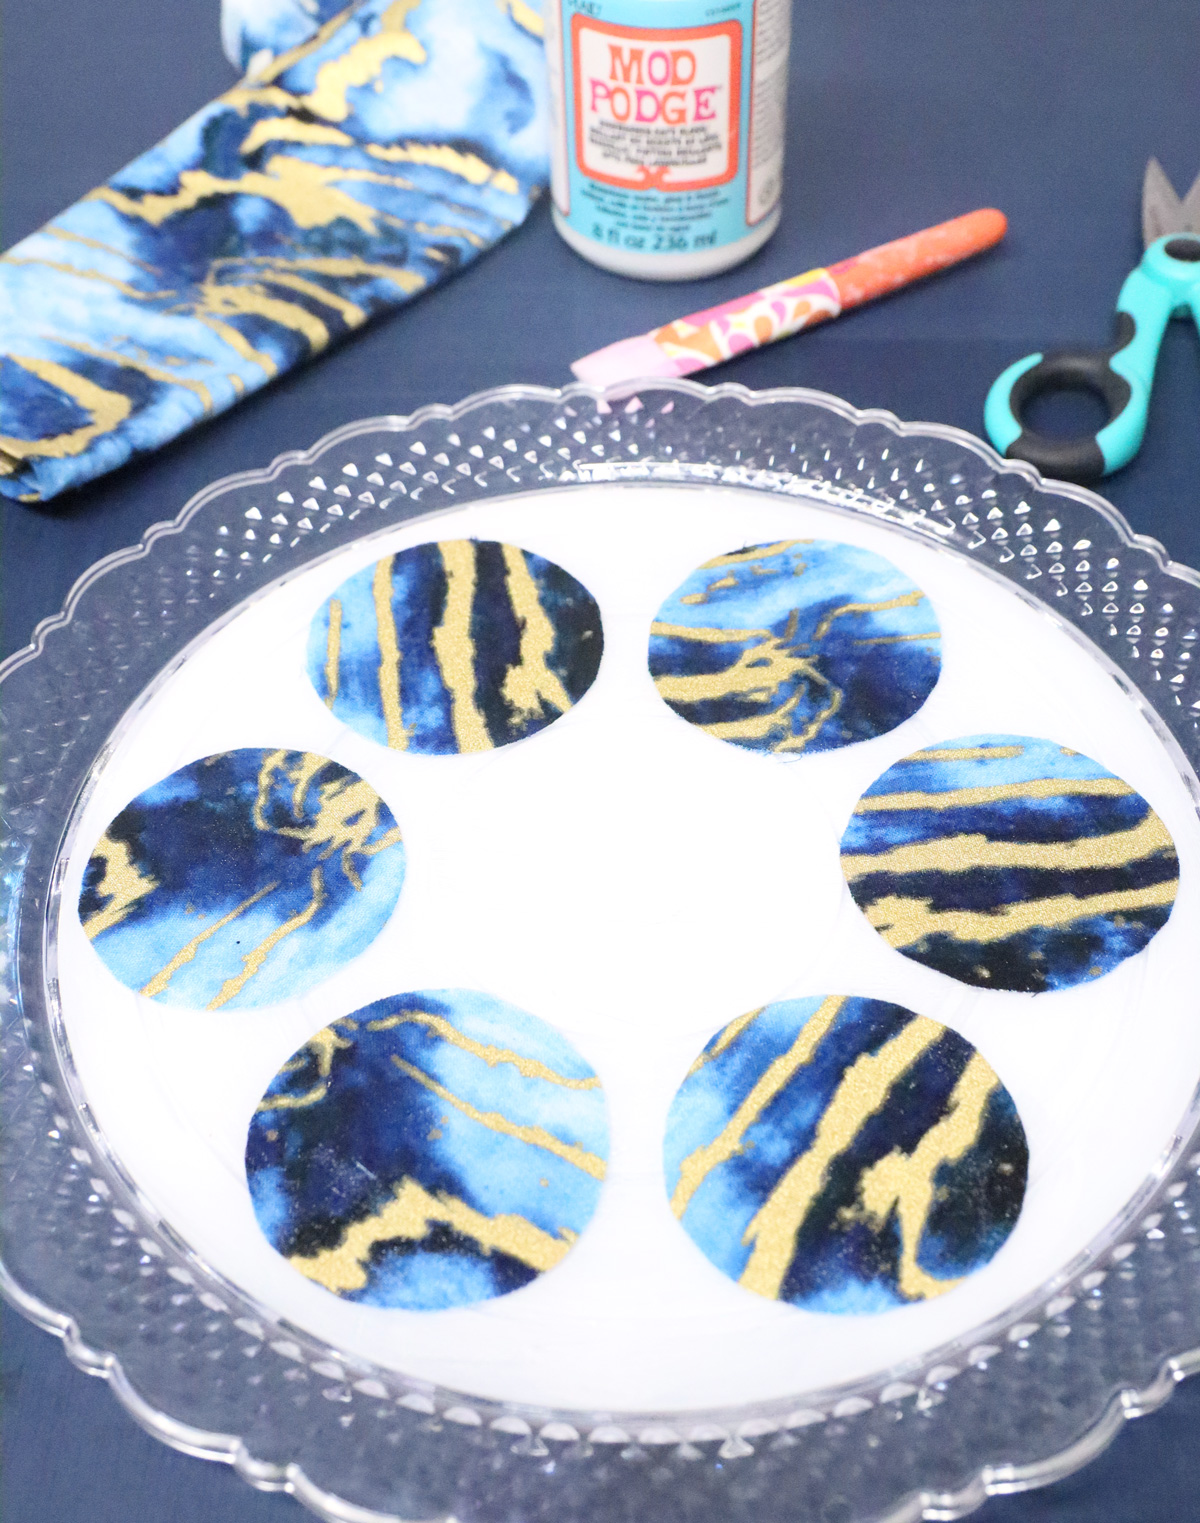
I absolutely love the look of decoupage fabric. It still retains the look of the textured fabric, and comes in many fun prints.
The easiest fabric to work with will be a quilting cotton fabric in a bit of a stiffer texture. I had some leftover from mask-making (remember those days) that is bright and graphic.
If you’re crafting this with a group, getting a fat quarter bundle with an assortment of simple, graphic prints is ideal.
More ways to decoupage a seder plate craft
Here’s your full rundown of variations and more ways that you can make it your own.
More things you can decoupage
Fabric can be a bit harder to cut than other options (although stiff fabric is a bit easier than soft fabric). So you don’t need to stick to that!
Cut your circles out of fun scrapbook papers for a similar eye-popping look (minus the fabric texture.)
You can also use circles that feature the images of the foods (you can even steal it from this craft template.) Have kids color the images and then decoupage them on. Please note: decoupage can cause many mediums to run, so do test in advance, or only use glue on the back.
If you find mini doilies in a size that works with your base plate, go ahead and give that a try!
More ideas for your base plate
For something more substantial and durable (an “adult-ified” version of this), go for a large glass plate or platter.
You can use an opaque ceramic plate and decoupage to the front. Upcycled serving plates (Kosher for Passover, of course) can work too.
You can also use more basic plastic plates for younger kids, or even colored plates (if you’re decoupaging to the front.)
More ways to decorate the plate
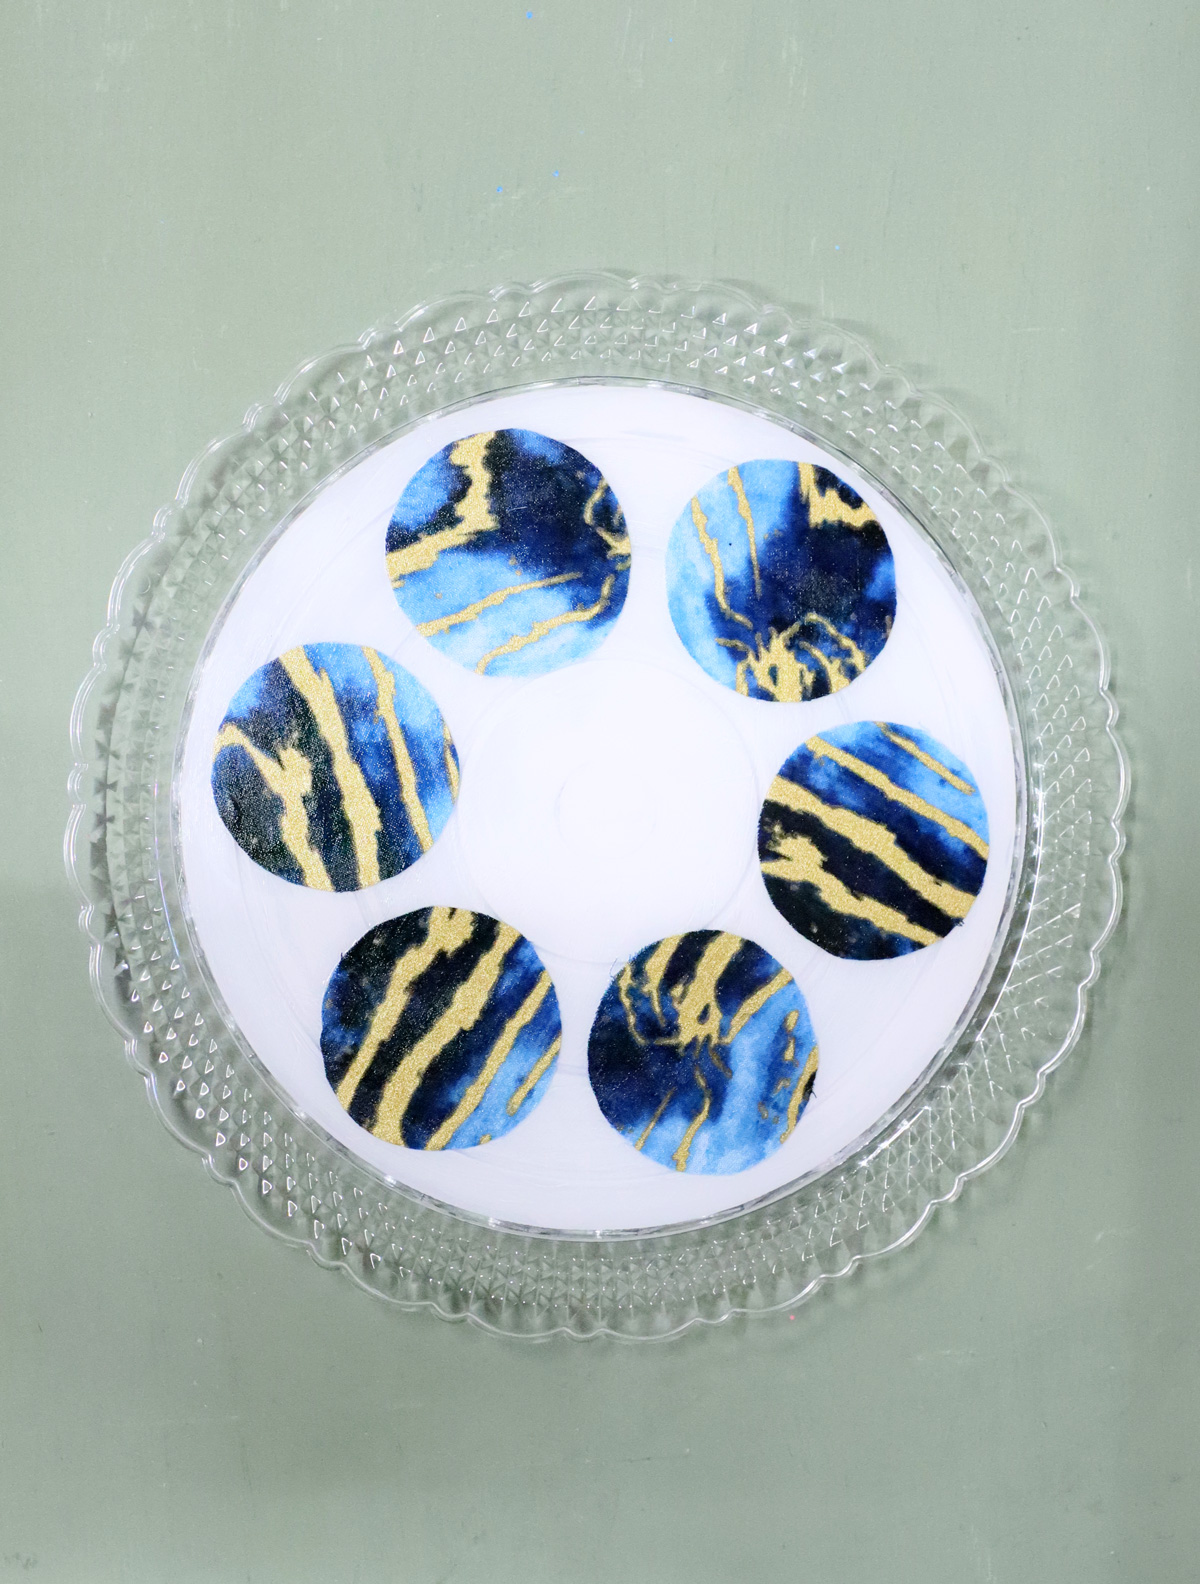
I painted my plate white to provide contrast for my fabric circles. Different colors can be used – they should just contrast nicely with the fabric.
You don’t even need to paint the plate – it just makes the circles stand out more.
For more of a kid-crafty look, glitter glue, stick-on gems, and other decorations can be added. Lines of gems or glitter glue can be used to outline the circles too.
Finishing it up
I didn’t really think beyond marking spots for the foods. You can, of course, add small glass or plastic bowls (make sure they fit) as a modular seder plate. Keep them transparent so that the design still stands out.
For a kid-crafting, more “pretend” experience, you really don’t need to add bowls. But if you do, glue them on.
If you’re making a more durable, real-life use version of this, consider adding the names of the foods using Cricut cut decals, or even Aleph Bet/alphabet stickers.
Adapting the seder plate craft for different age groups
This craft is purposely open-ended and adaptable to different crafting skills and needs. Here are some pointers (but you know your crafter best):
- Toddlers: Pre-cut circles with the pictures for them to color. Have them glue it on, guiding them. Skip the decoupage 🙂 You can offer clay, paper cutout or felt toys for them to play with. They can paint the plate before gluing circles on top, or after gluing the circles on bottom.
- Preschoolers: A similar approach to toddlers, but you can throw in things like stick-on gems and they can cut the circles themselves.
- Younger school age: Go for rigid plastic platters or plates, and let them cut out scrapbook paper circles. They can trace a template (make one that fits your plastic plate size) and cut it out themeselves. Bring out the regular Mod Podge, and do it in two stages. First decoupage the circles and seal it. Then, paint the back of the plate.
- Tween/Middle school: Here’s where you can bring out the stiff fabric – just make sure you have good fabric scissors for them to use, or they’ll get frustrated. Bring out the hard finishing Mod Podge for this age group.
- Teen and adult: I’d definitely see if I can get better base plates (glass or ceramic) for these age groups. You can even allow them to finish their crafts with ceramic paint markers or paints.
Care and post-crafting a decoupage seder plate
Here are some general tips for how to treat your finished seder plate.
Sealing your craft and food safety
The Mod Podges I suggested above are going to basically protect your craft. However, they are not food safe. They ARE non-toxic, they’re just not FDA approved for direct food contact.
My approach to seder plates is usually to assume the foods aren’t eaten (they are left out for SO many hours) but if they might be eaten, your best options are:
- Either have little bowls to actually put the foods in.
- Or, decoupage to the back of the plate only (you’ll need a smooth-backed plate for that, though. The ones I used wouldn’t work). Leave the top the original plate surface.
For very young kids, it really won’t matter – they won’t really be using it. If you’re afraid they may, you can also just stack another clear plastic plate on top of their craft.
Washing your seder plate after use
The finishes that I suggested are supposed to make it washing-friendly. The outdoor Mod Podge will allow it to be soaped down and rinsed. I wouldn’t soak it, though. Same for Super Gloss Mod Podge.
The Dishwasher Safe formula is absolutely good enough to put it in the dishwasher. I have decoupaged glass plates with fabric using that and run it through the dishwasher many times safely (just make sure to follow cure time directions).
The paint is another story. If the paint is exposed, I’d really just wipe the front clean and leave it at that. You can also seal the paint with Mod Podge.
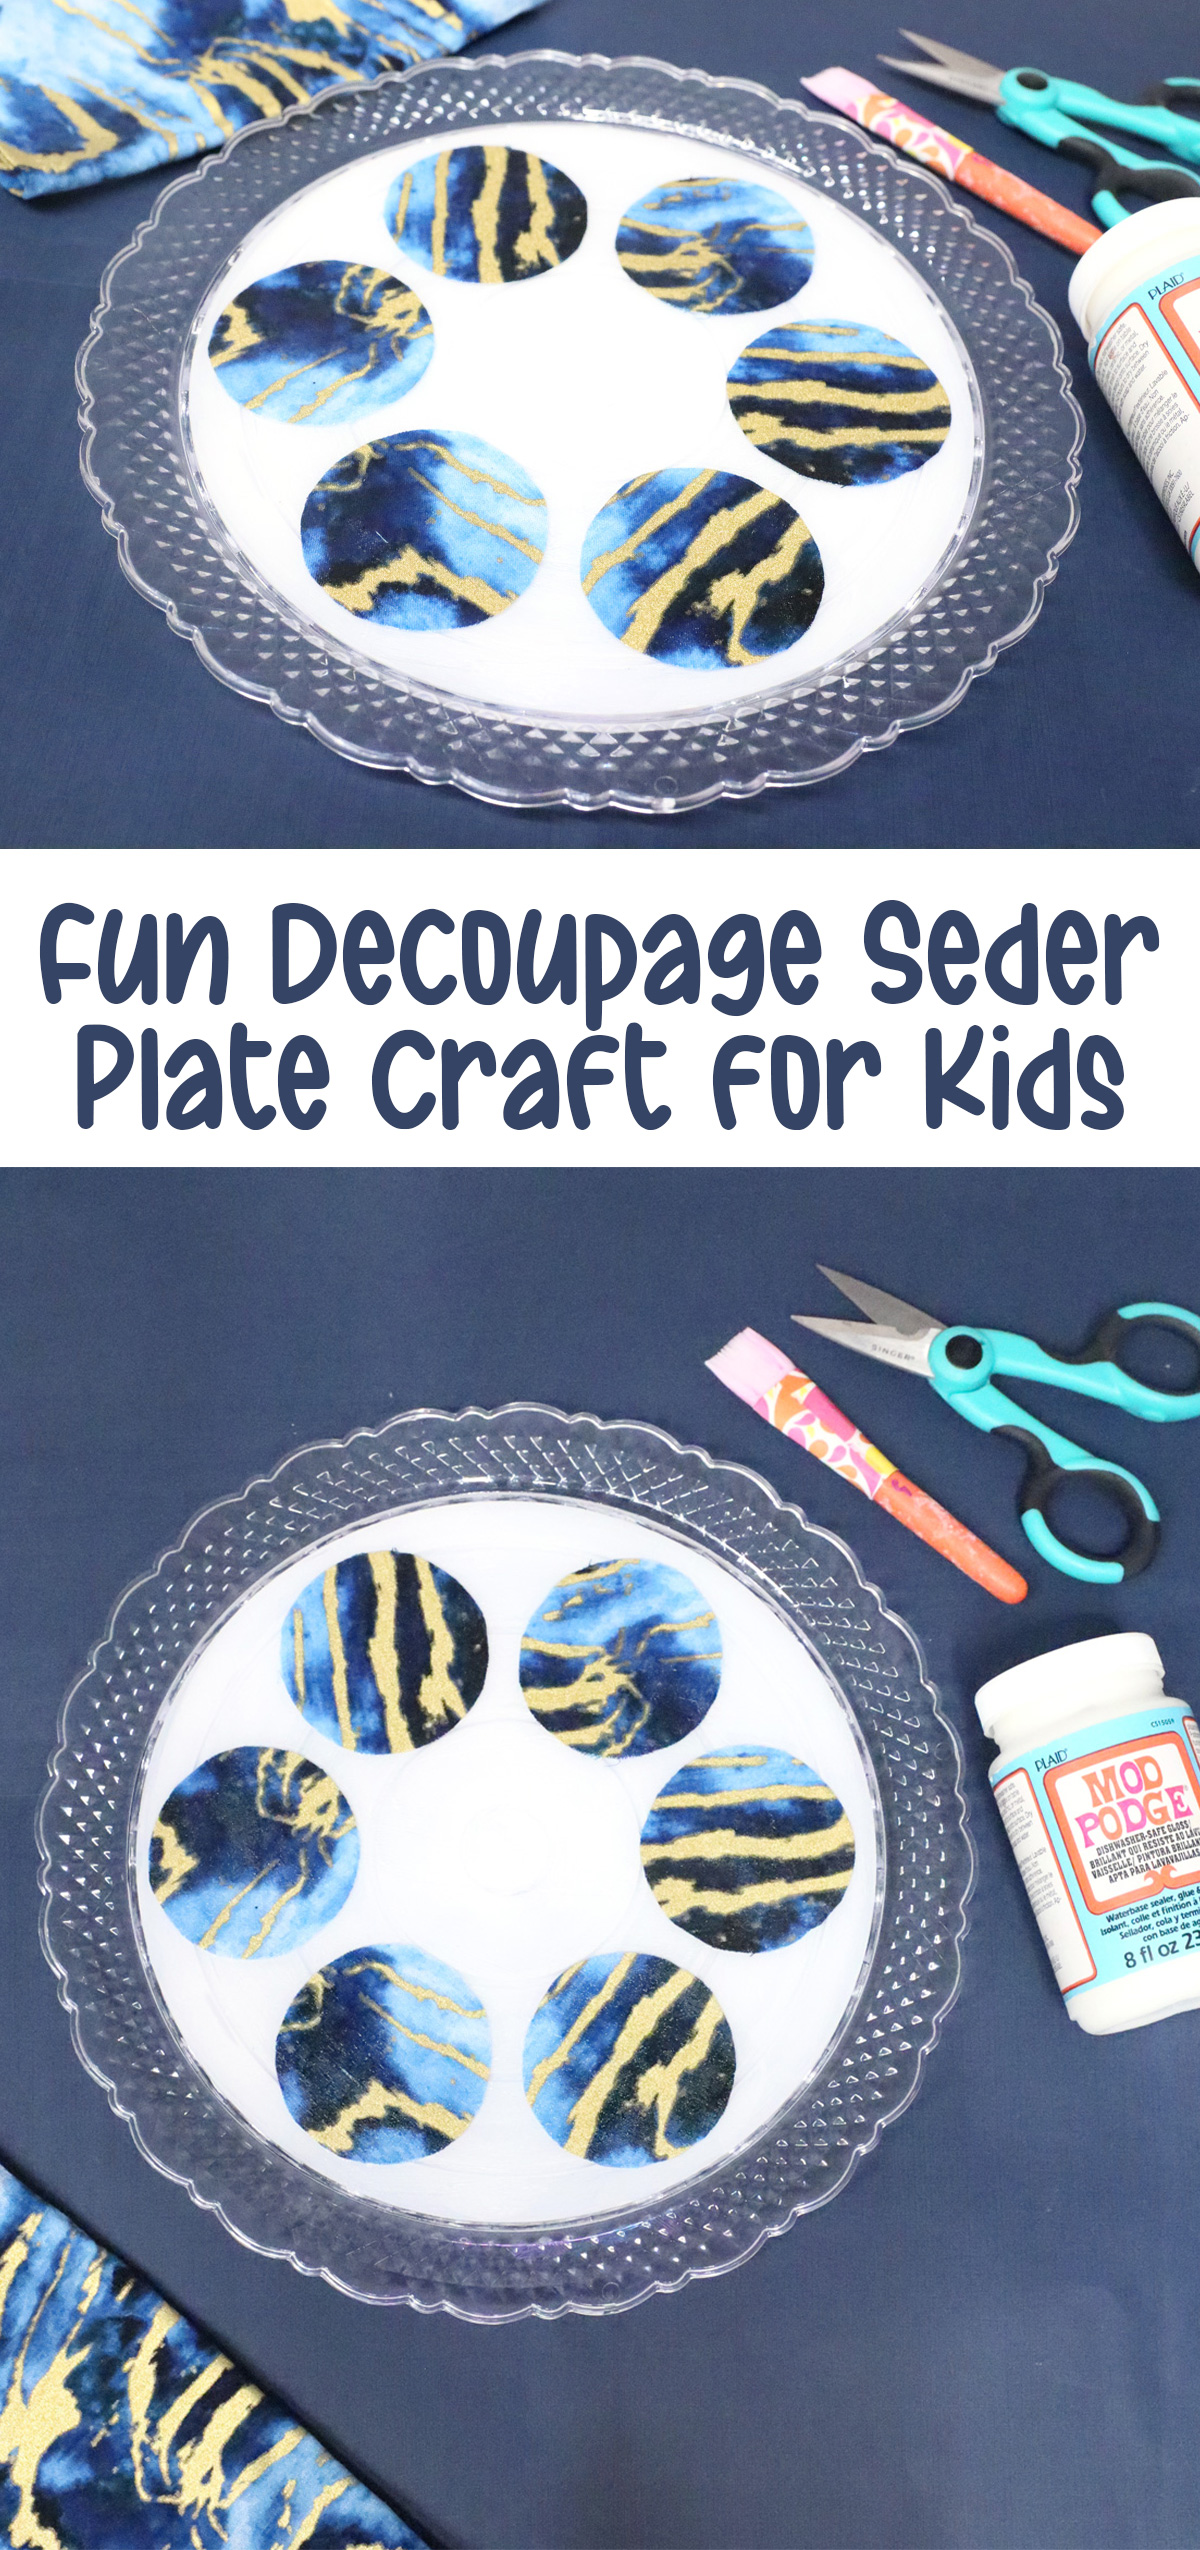
How to decoupage a seder plate craft – step by step
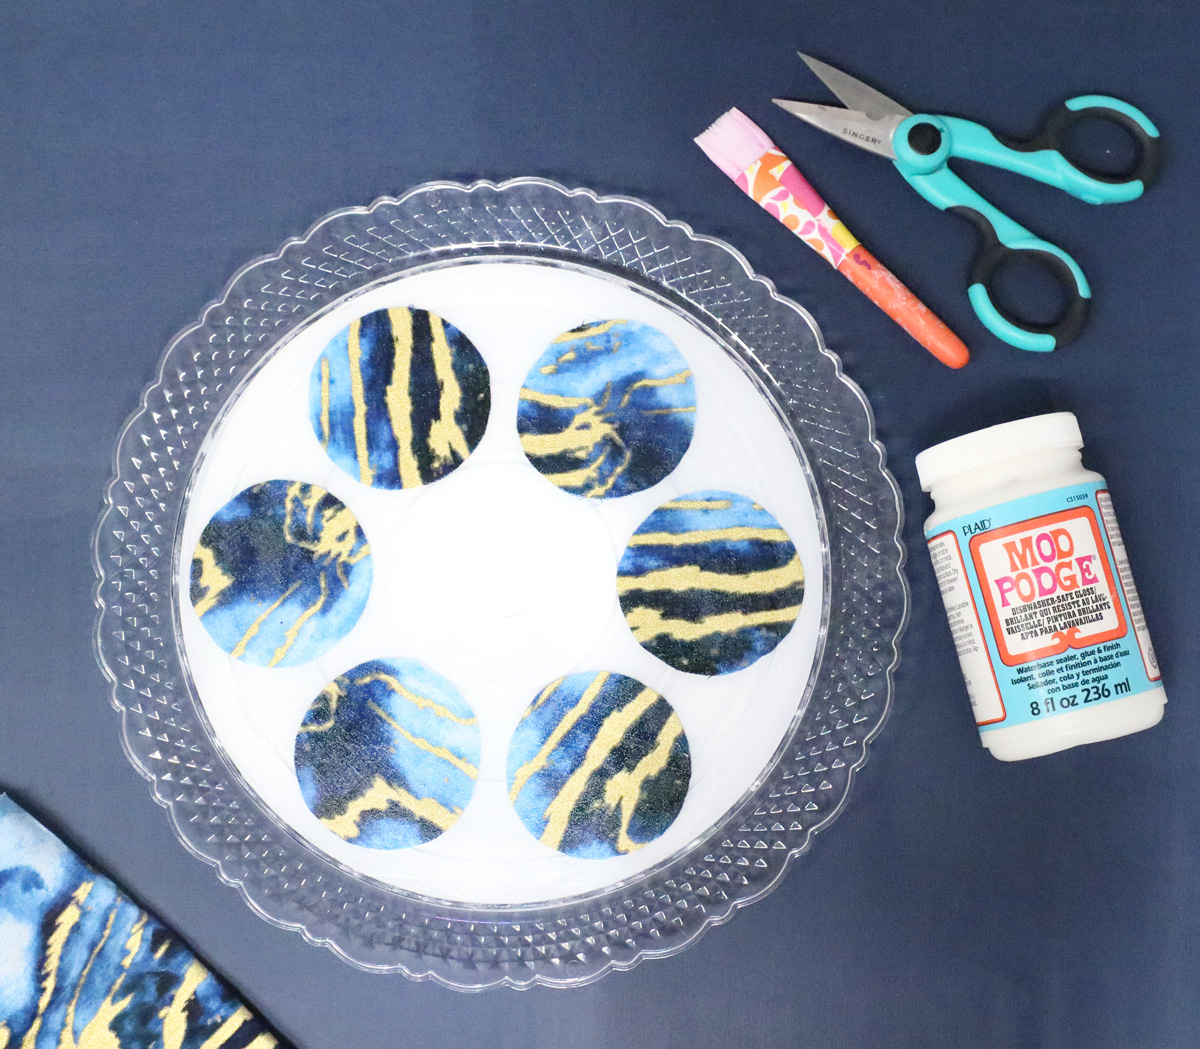
You’ll need
- A base plate – I used these but a smooth-backed rigid plastic or glass plate would be ideal
- Fabric scraps or fat quarters – I used one from this bundle. I recommend something stiff and easy to cut, that won’t fray easily
- A circle to trace. Mine is 2.5 inches, but size something to fit your plate
- Good fabric scissors
- A pen/marker/erasable fabric marker to trace
- Decoupage – see notes above. I used Dishwasher Safe Mod Podge
- A paint brush for Mod Podge and one for the paint
- Good quality acrylic paint in a contrasting color
Watch the video
Watch the full-length video on YouTube if you prefer to learn that way! Or scroll down for written instructions with photos.
Process
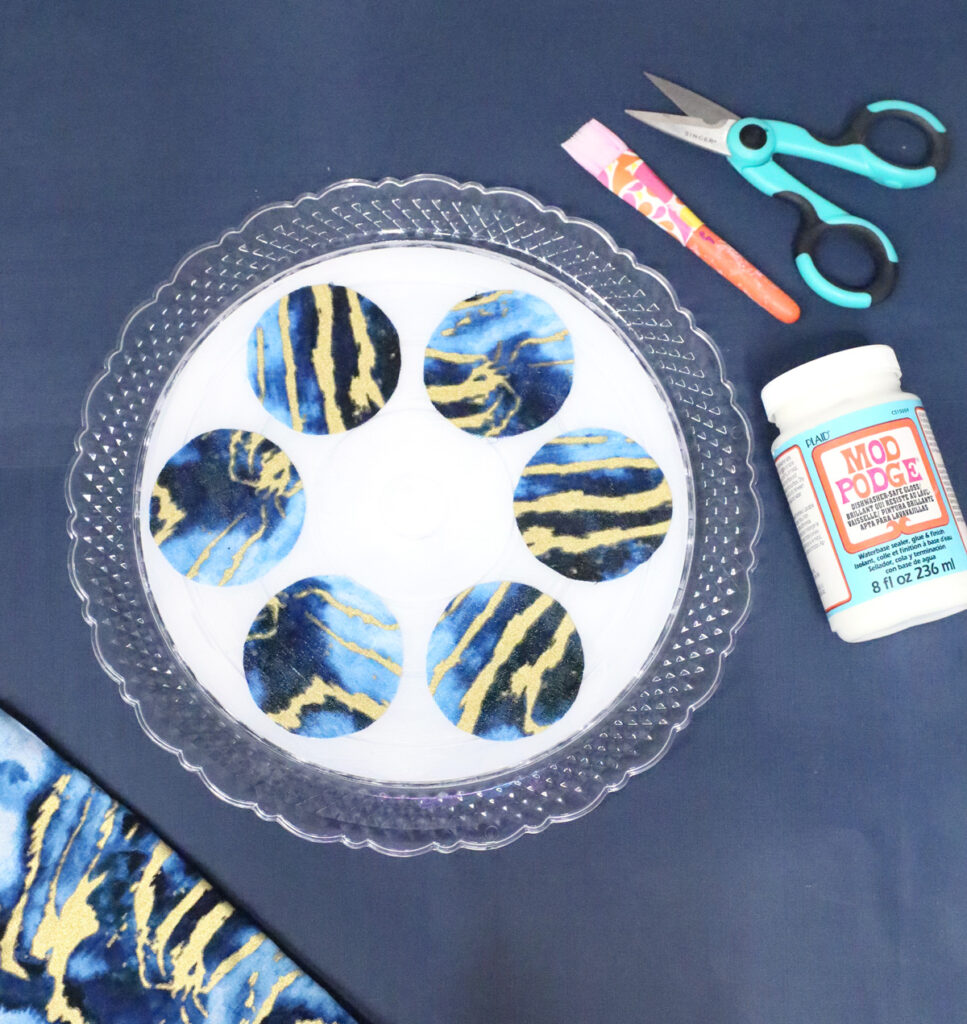
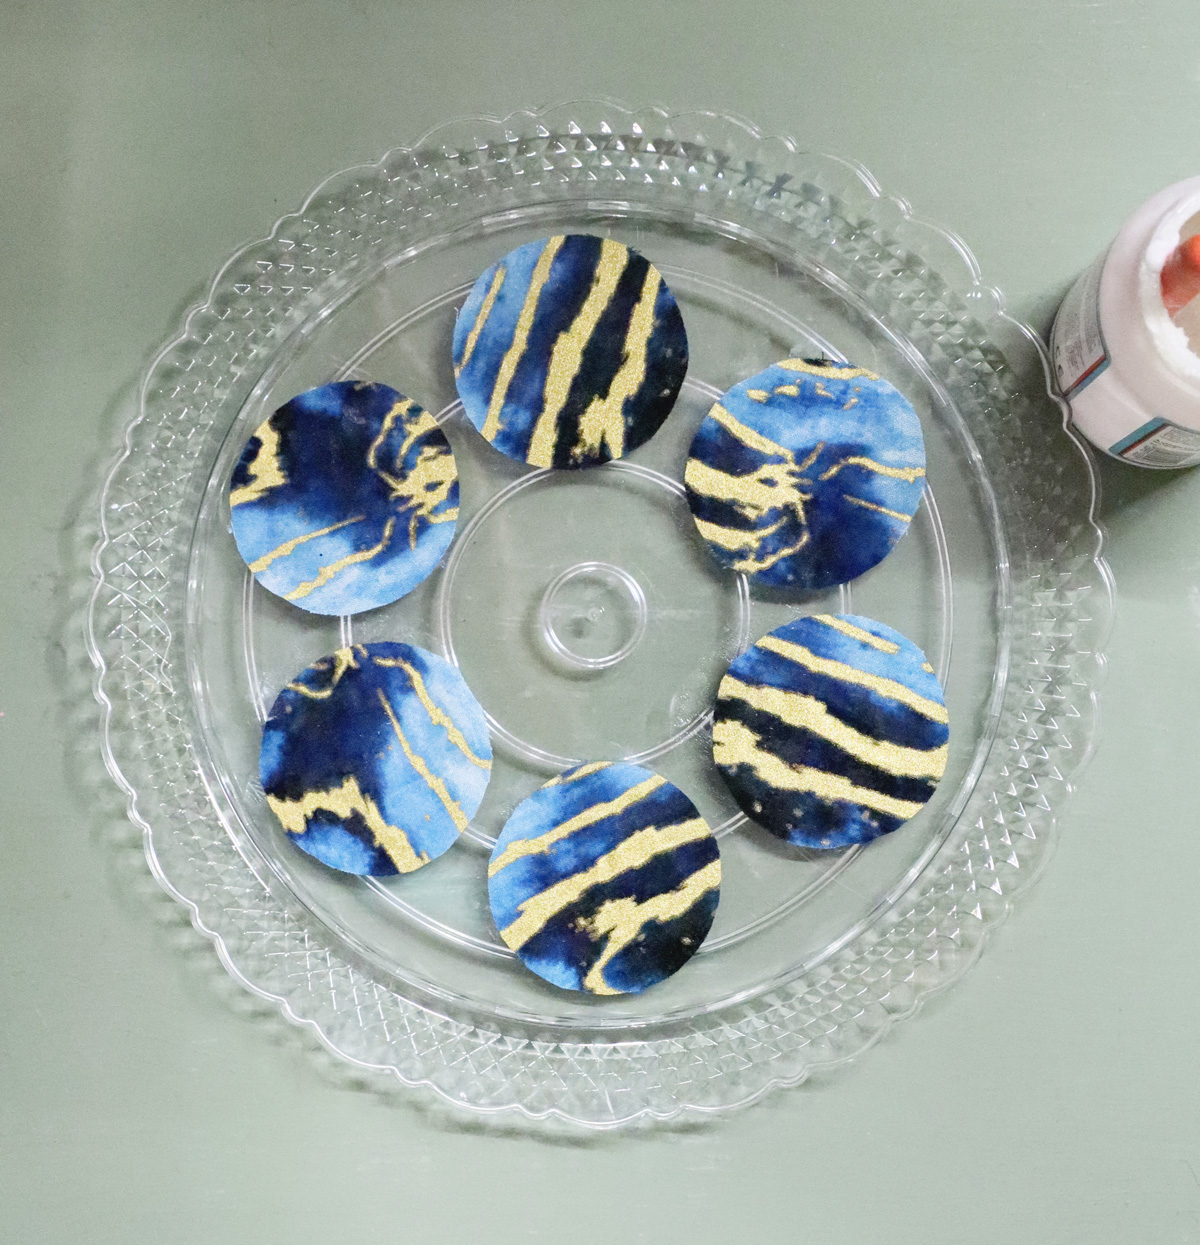
1. Trace your template six times on the back of your fabric.
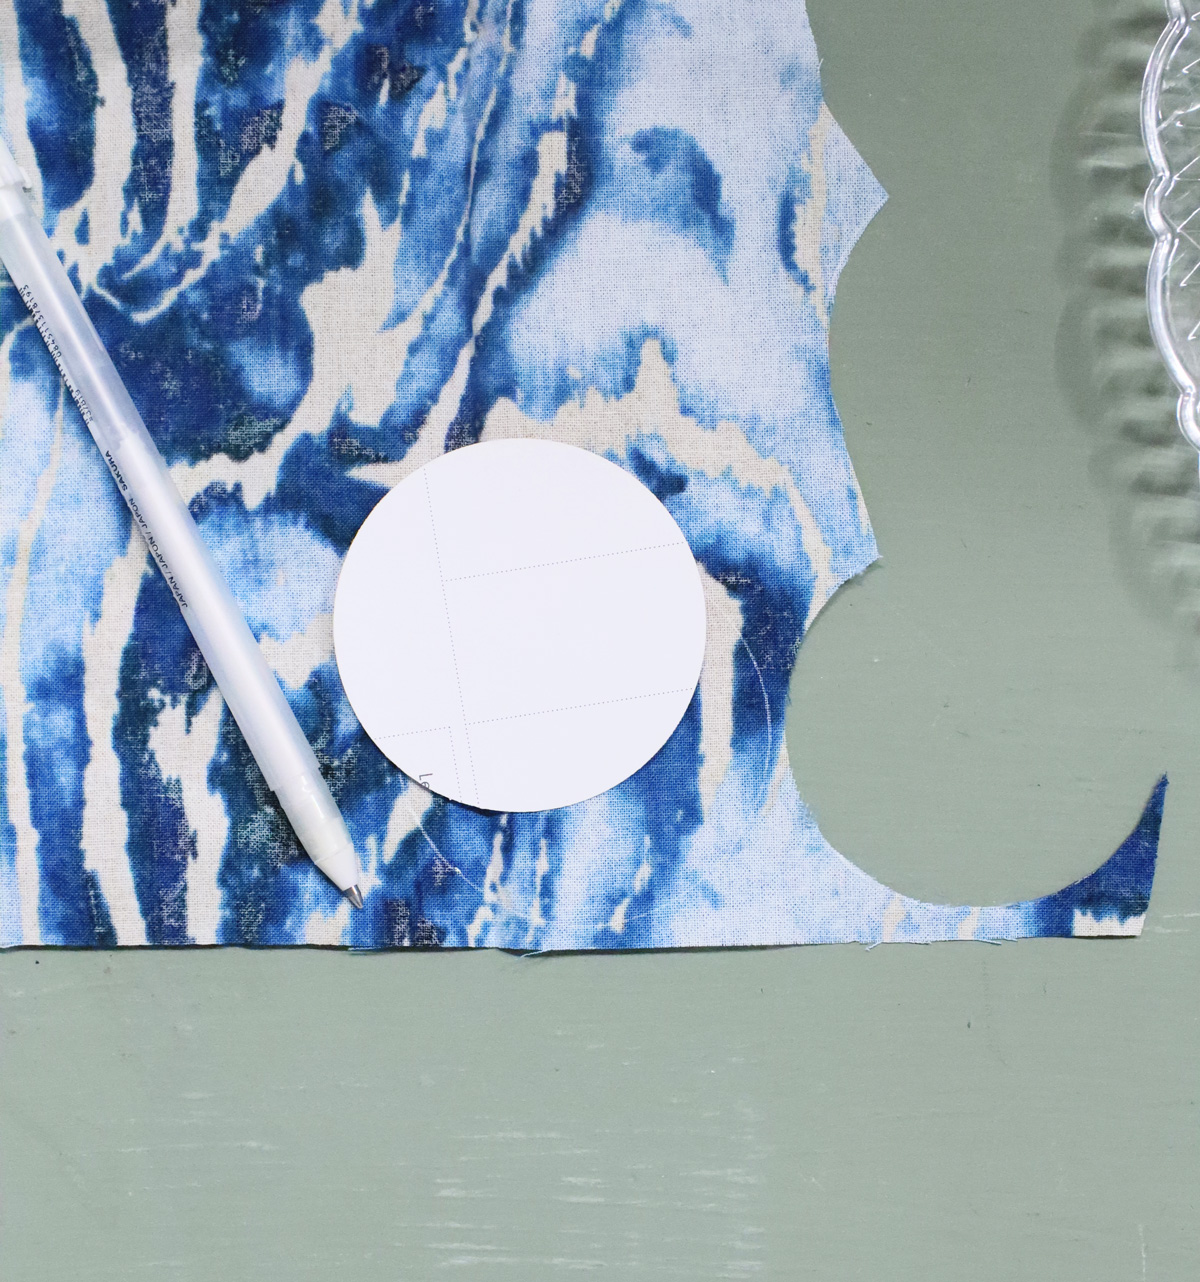
2. Carefully and slowly, cut them out.
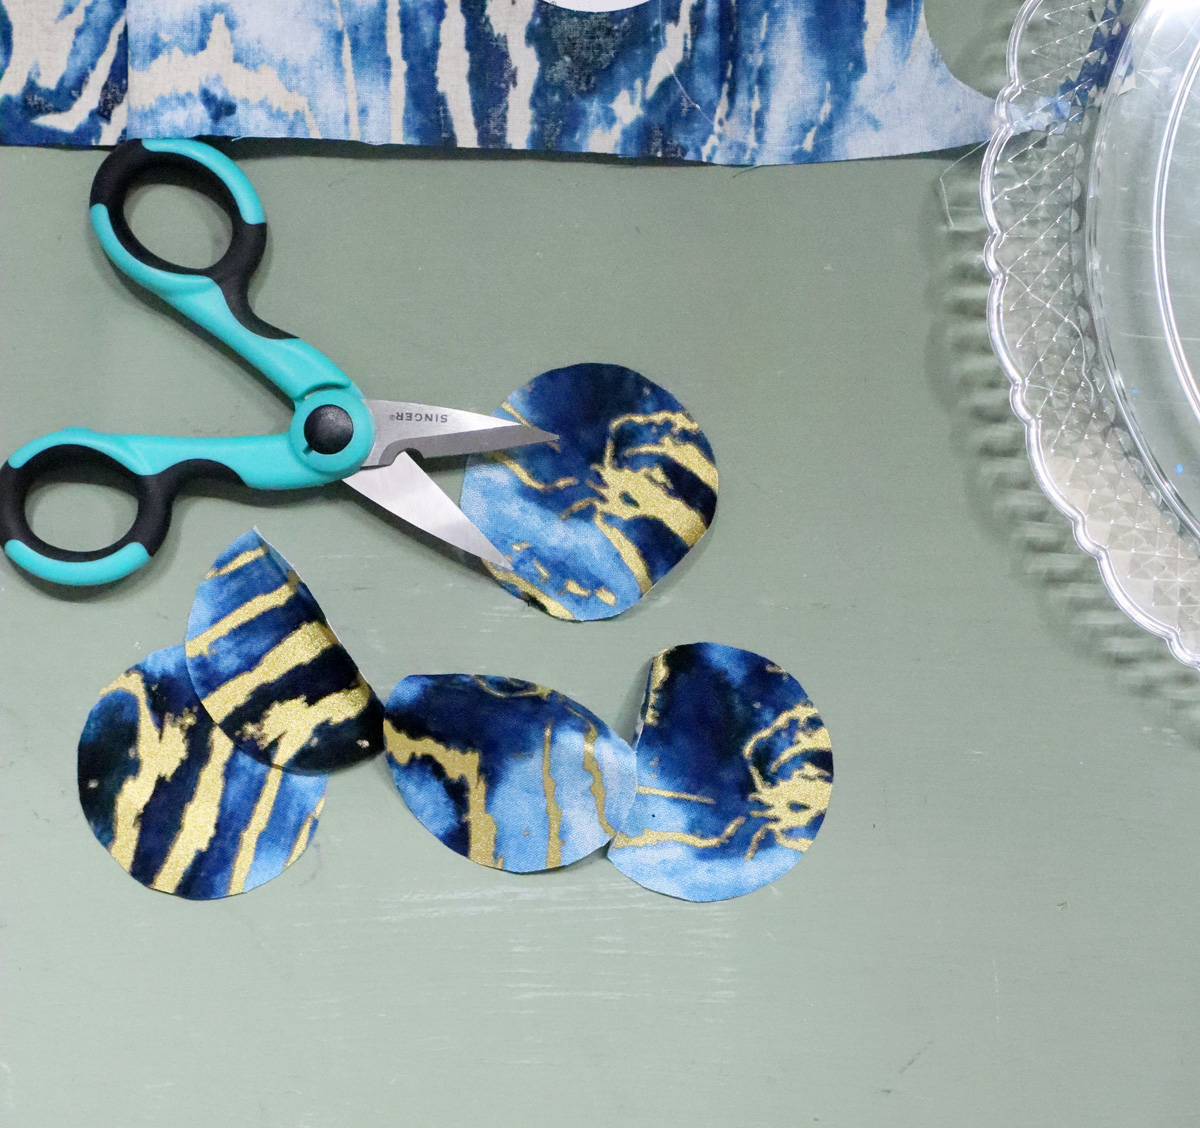
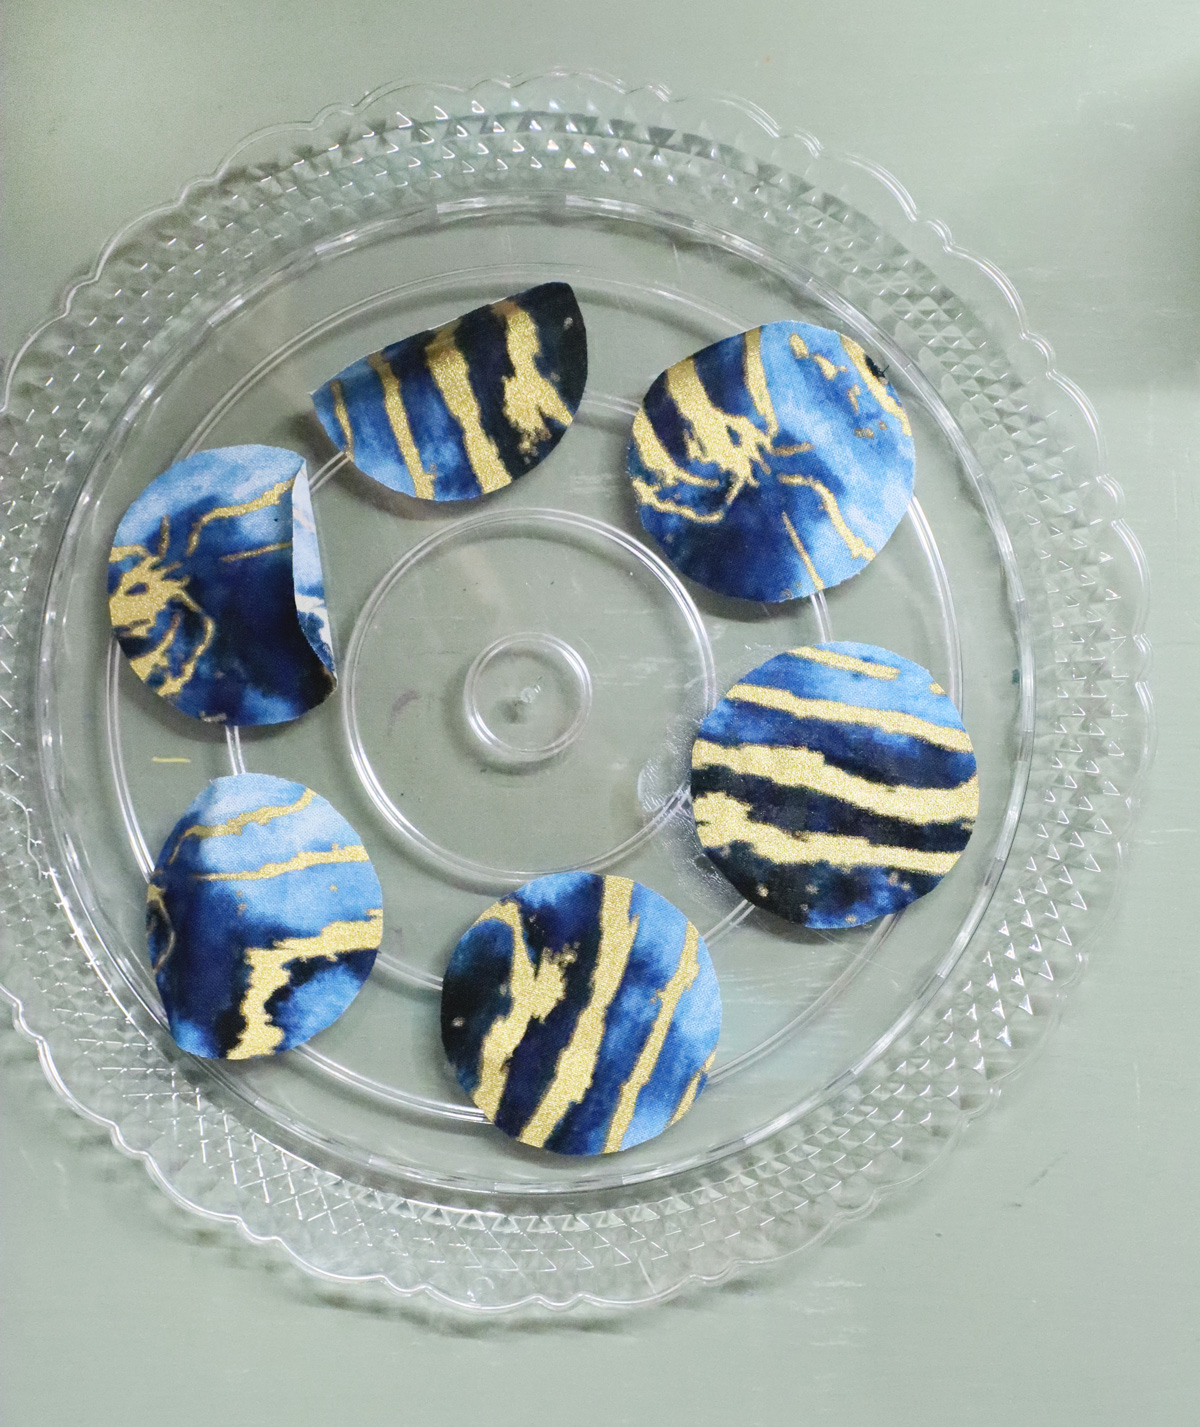
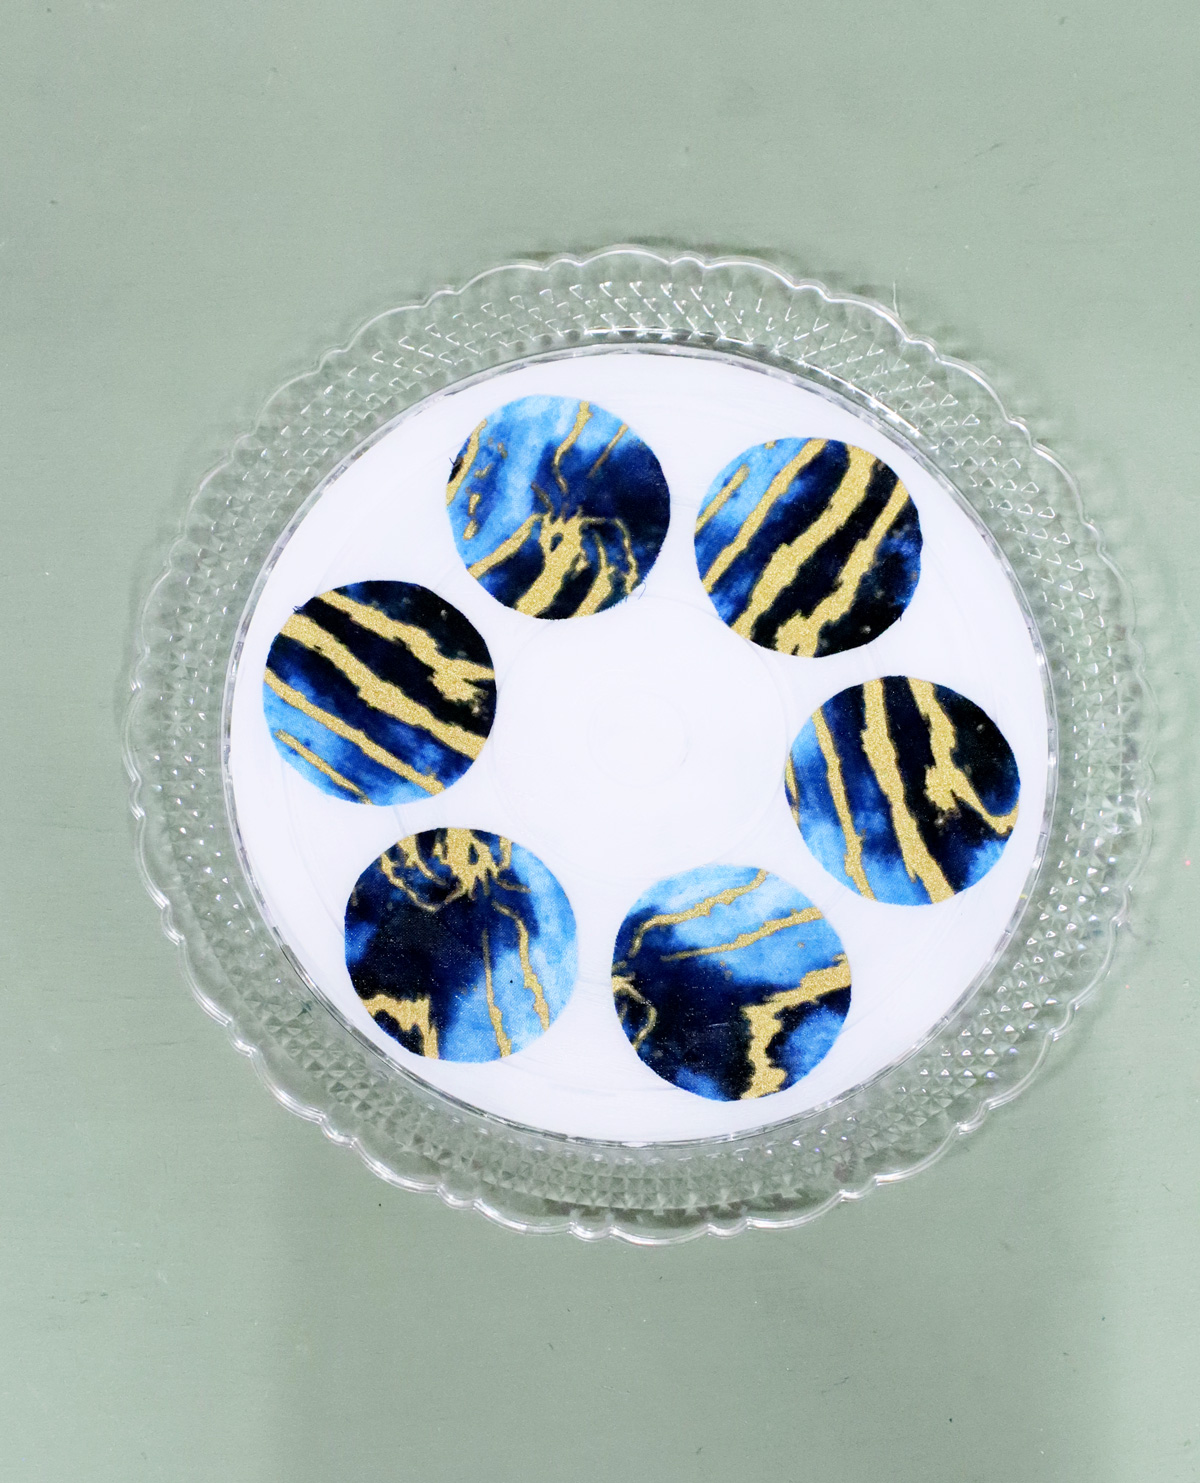
3. Arrange them in an equally-distanced circle around your plate. You can do this on the back if you’re using a smooth-backed clear plate, just make sure the good side of the fabric faces down if you do this
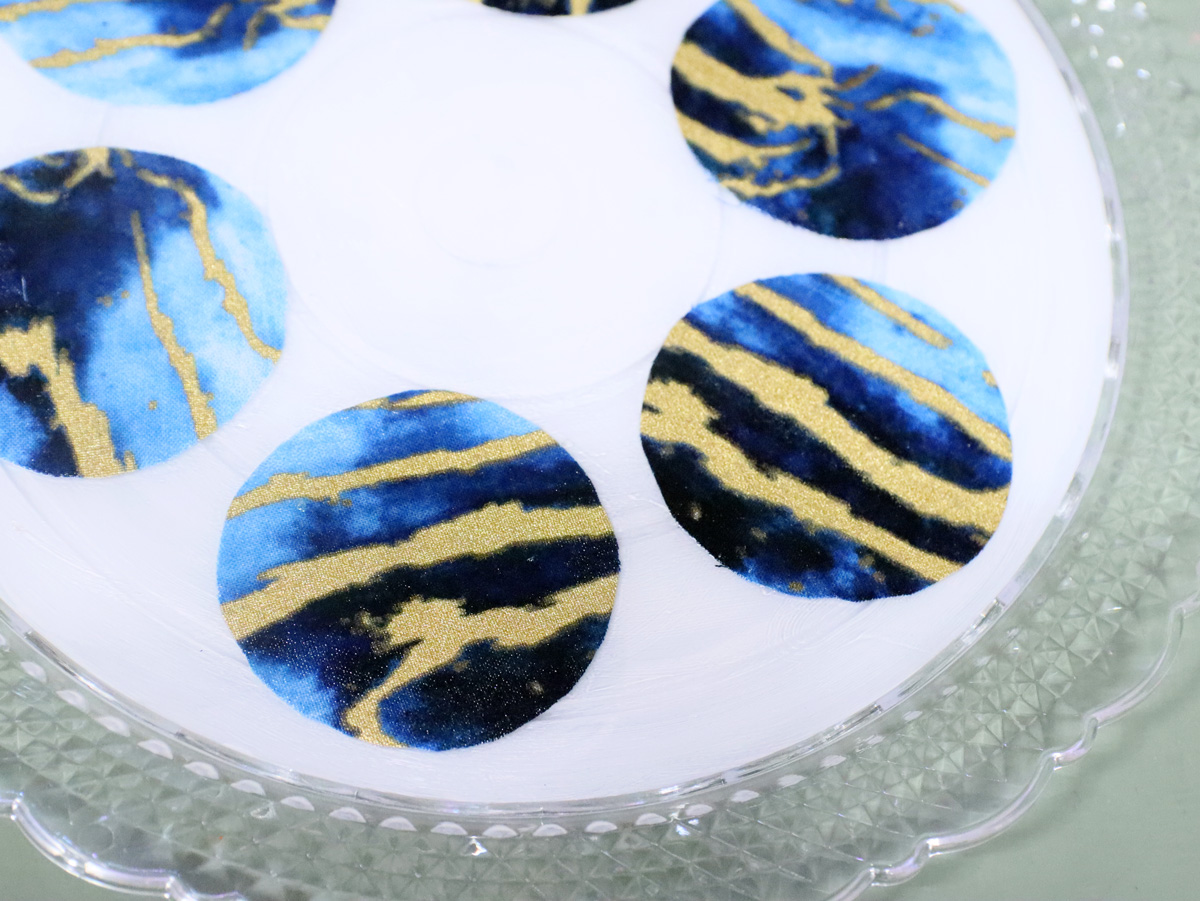
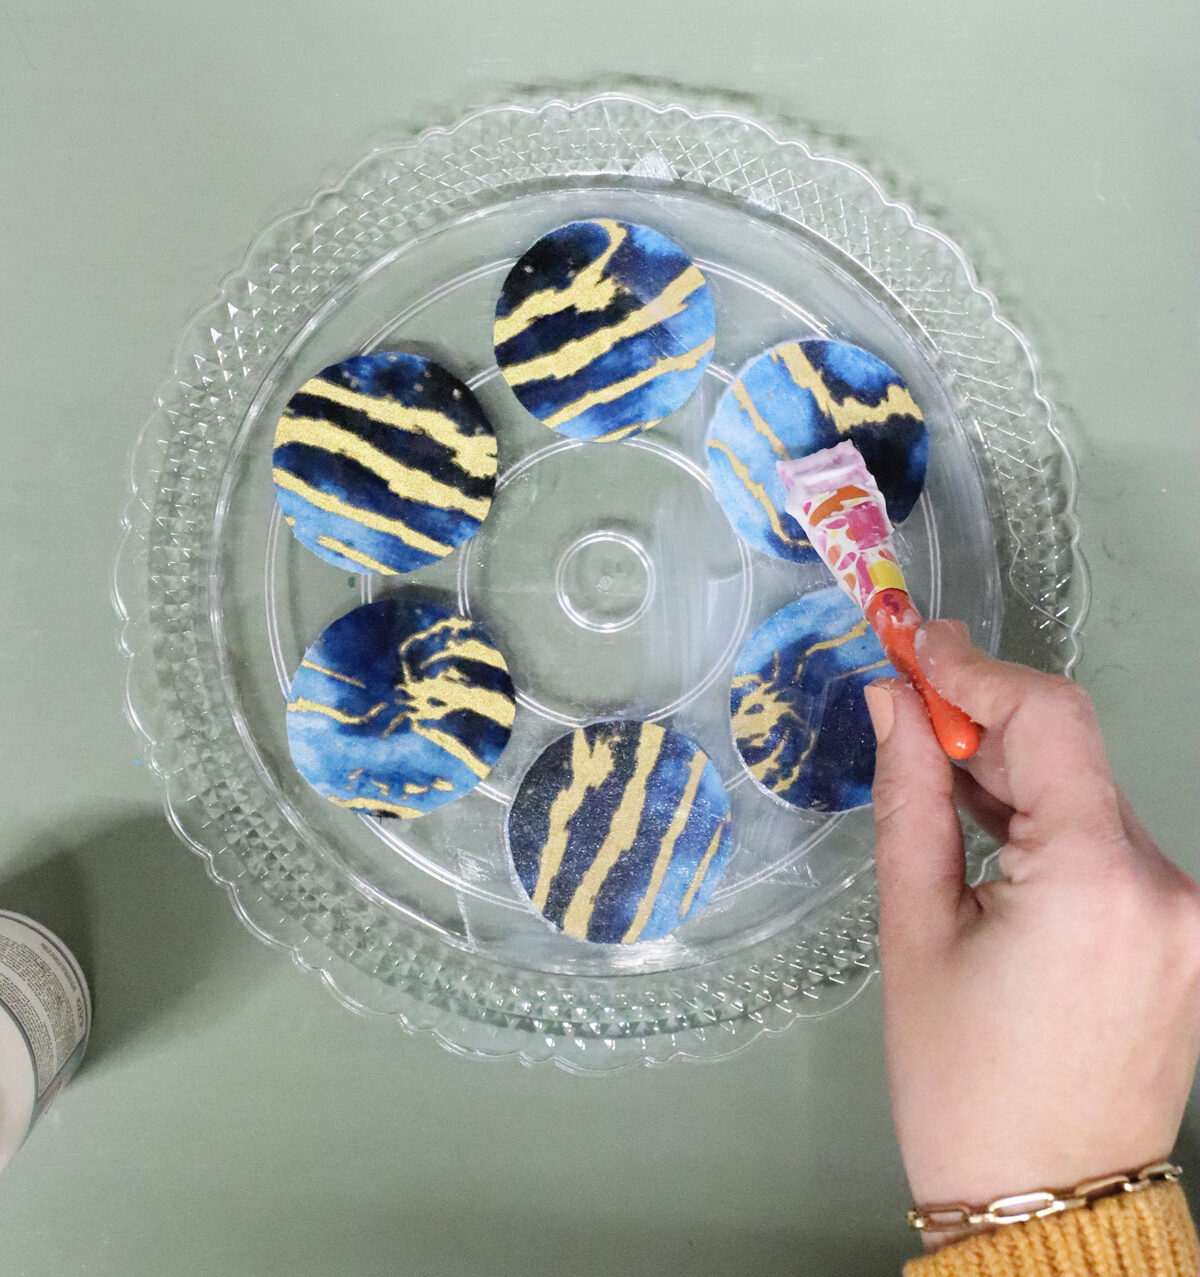
Then, one at a time, apply a thin, even layer of Mod Podge to the back.
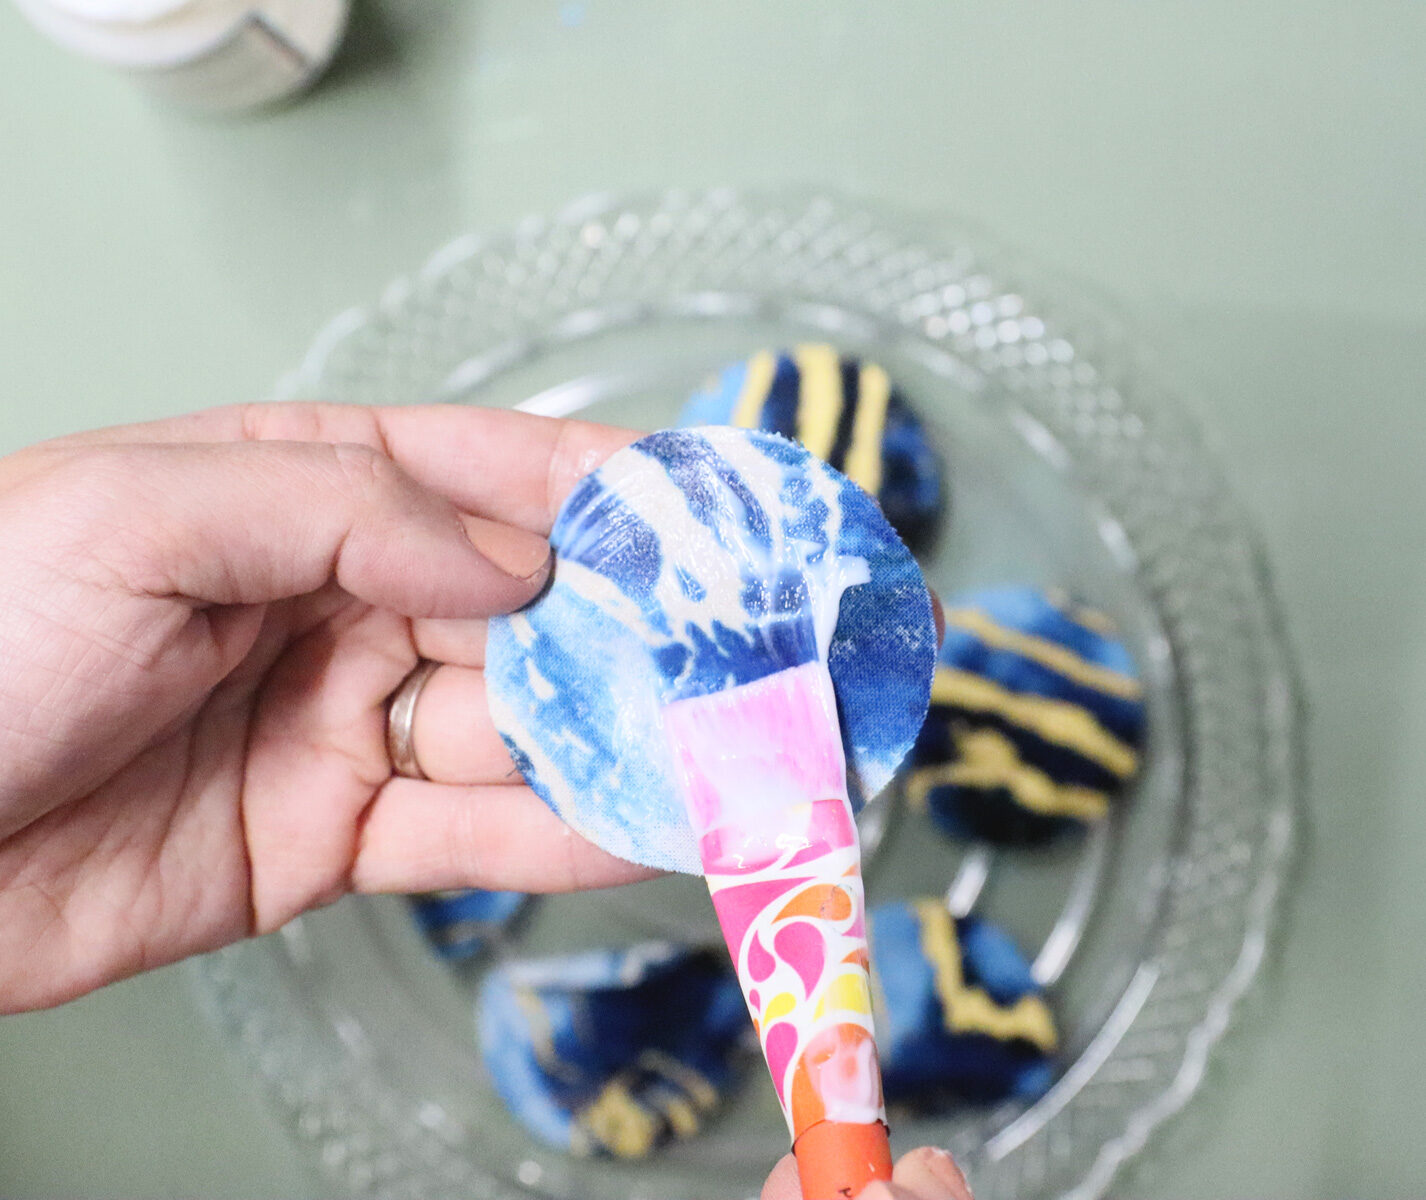
4. Carefully glue it to the surface of the plate. Smooth it out, allowing any excess Mod Podge to ooze out of the sides. If it’s more than a thin smear, wipe it off.
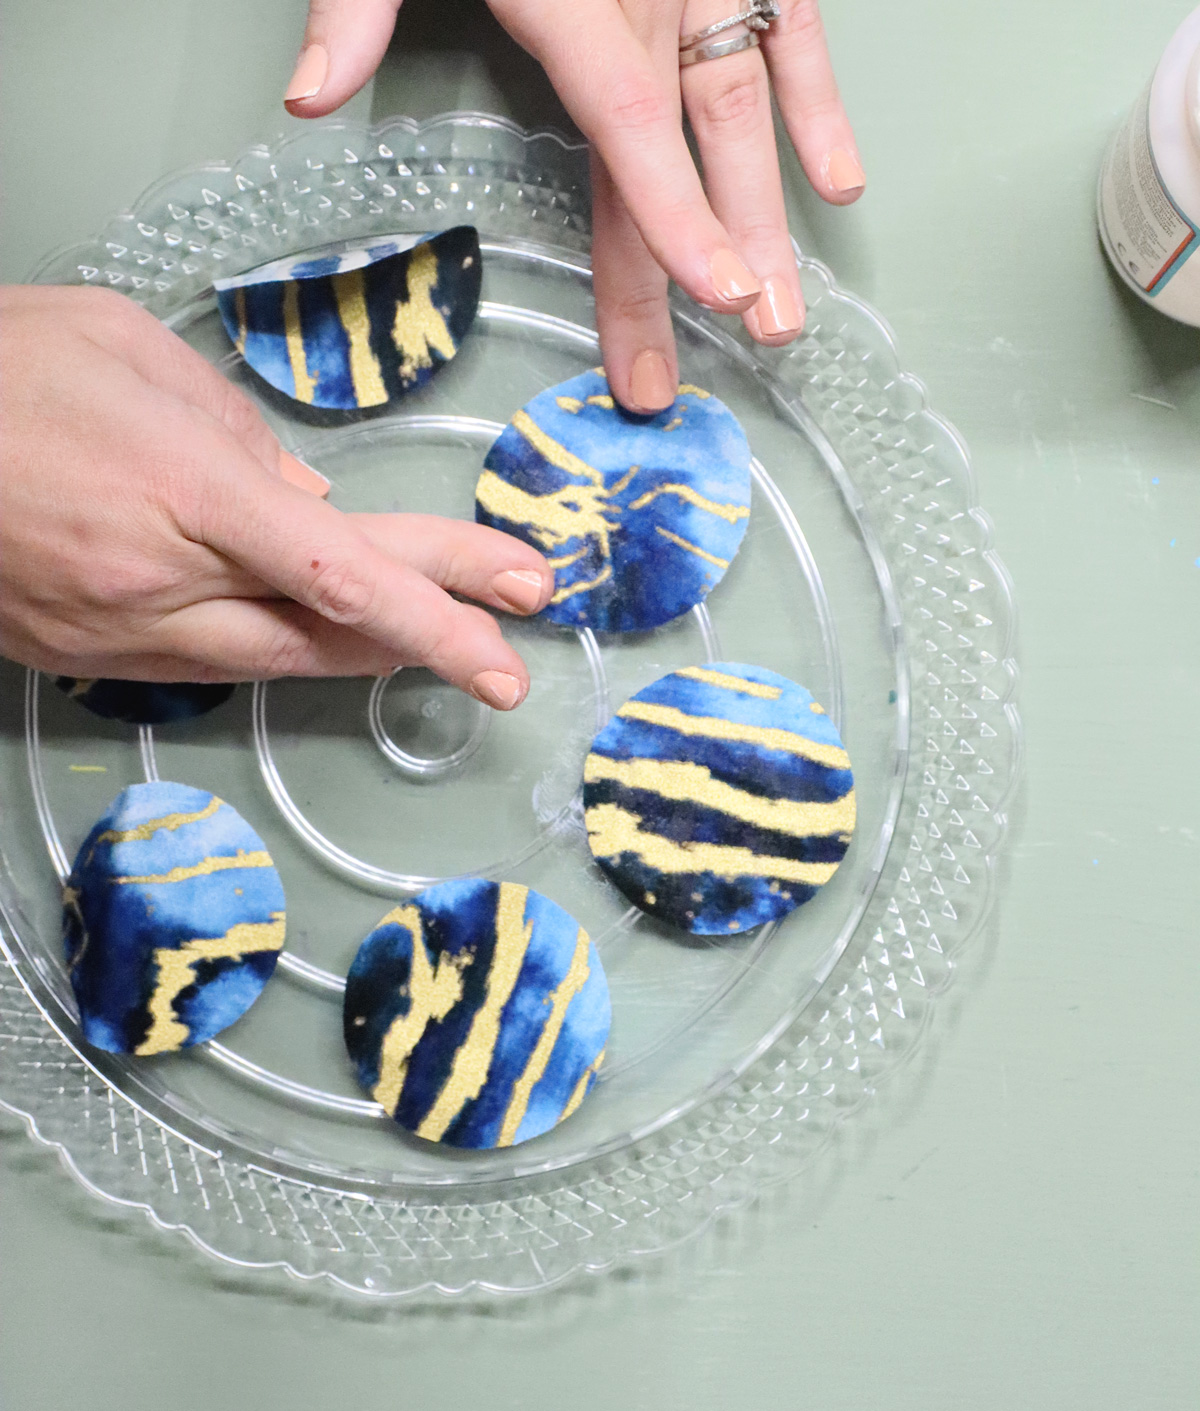
Repeat with all your circles.
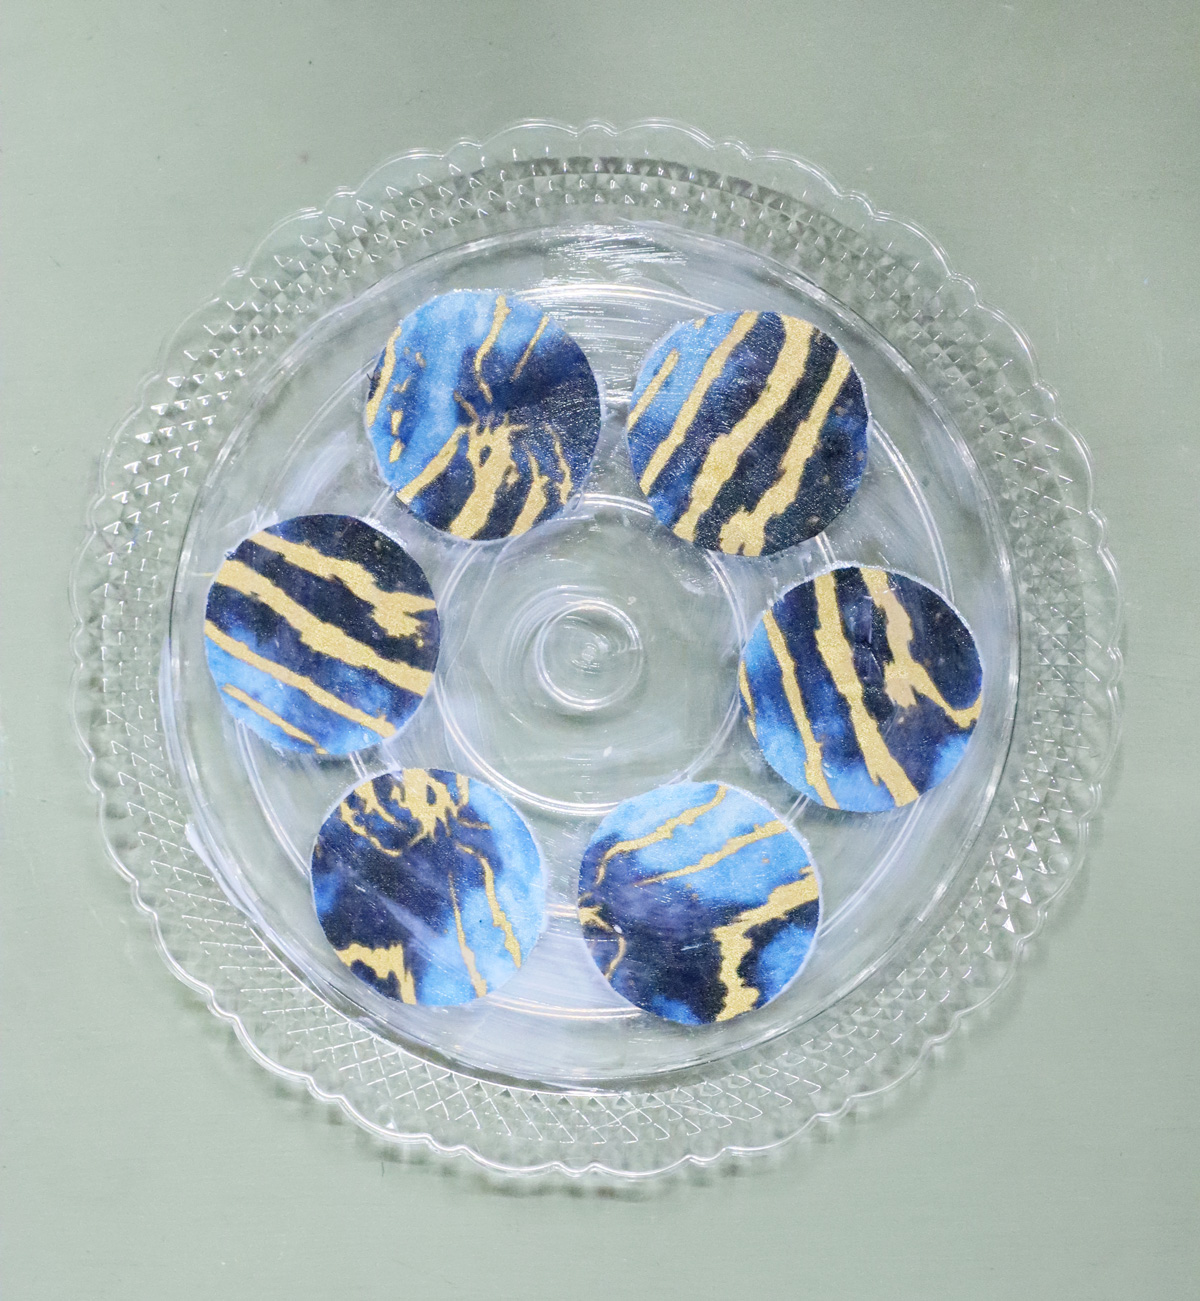
5. Give it a few minutes to set just so that the circles don’t glide around. Cover it with a thin layer of Mod Podge. The trick with Mod Podge is: don’t overwork it. Just spread neat, even strokes. Err on the side of thin, and seal with multiple layers if needed.
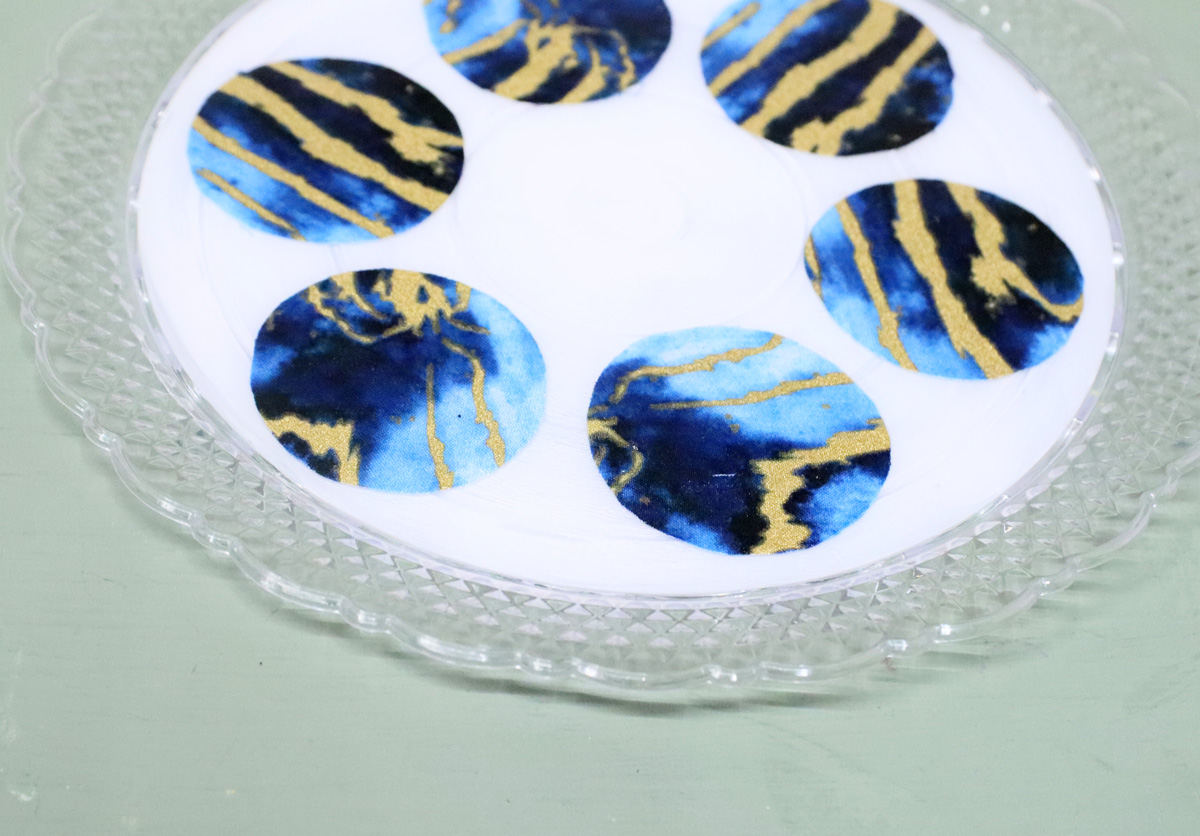
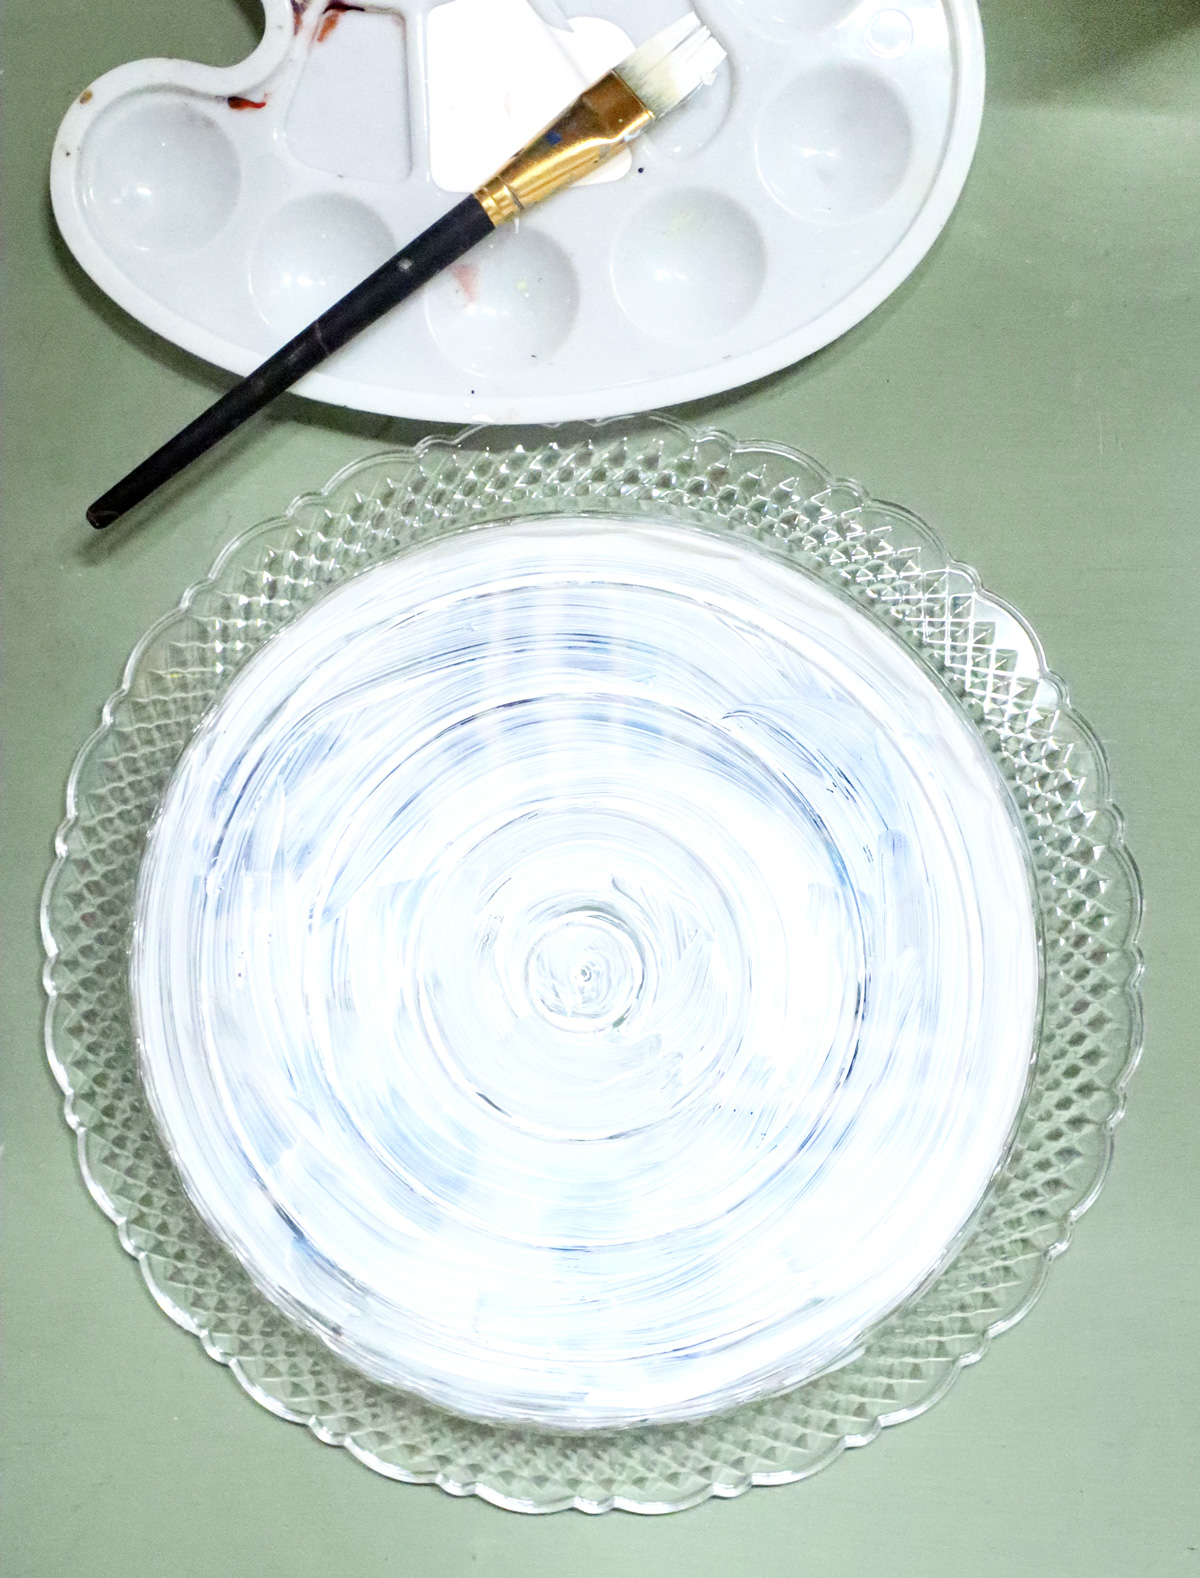
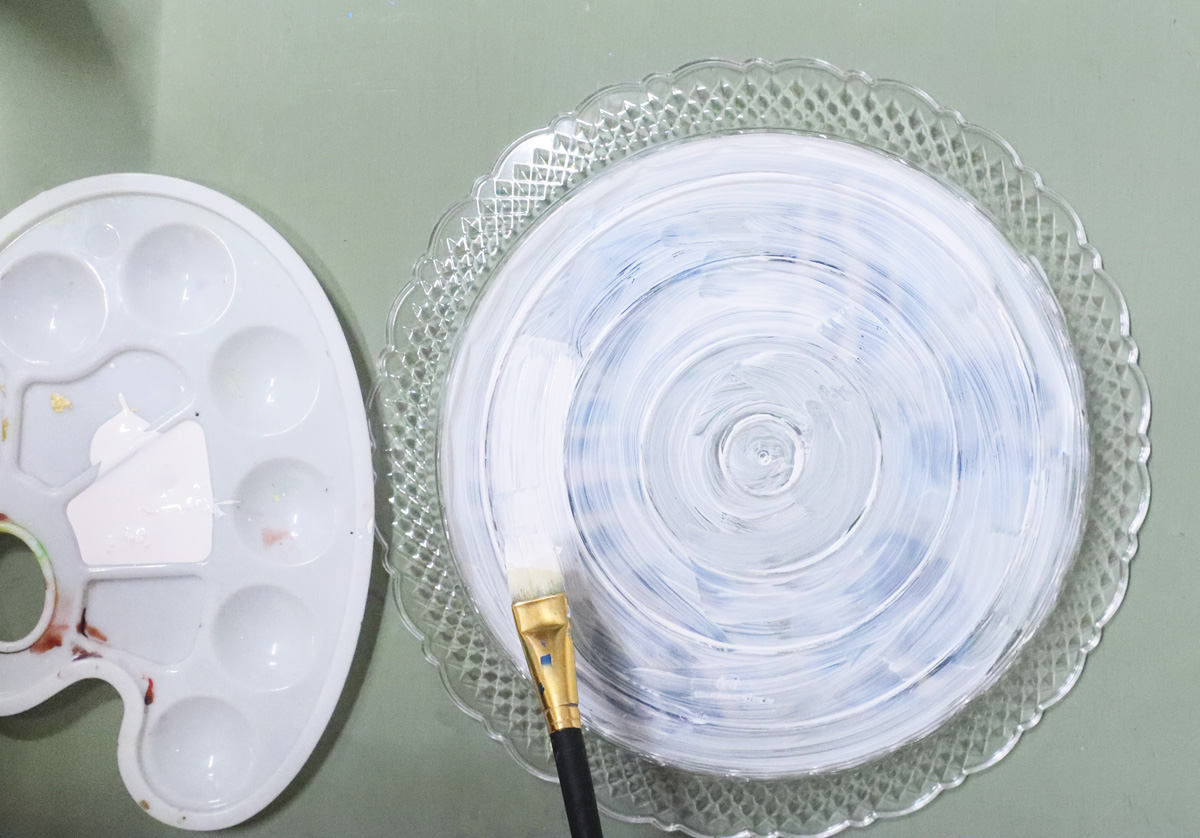
6. When the circles have dried, flip you plate over and paint the back. If your circles are on the back, paint right over them. I decided to leave the border unpainted.
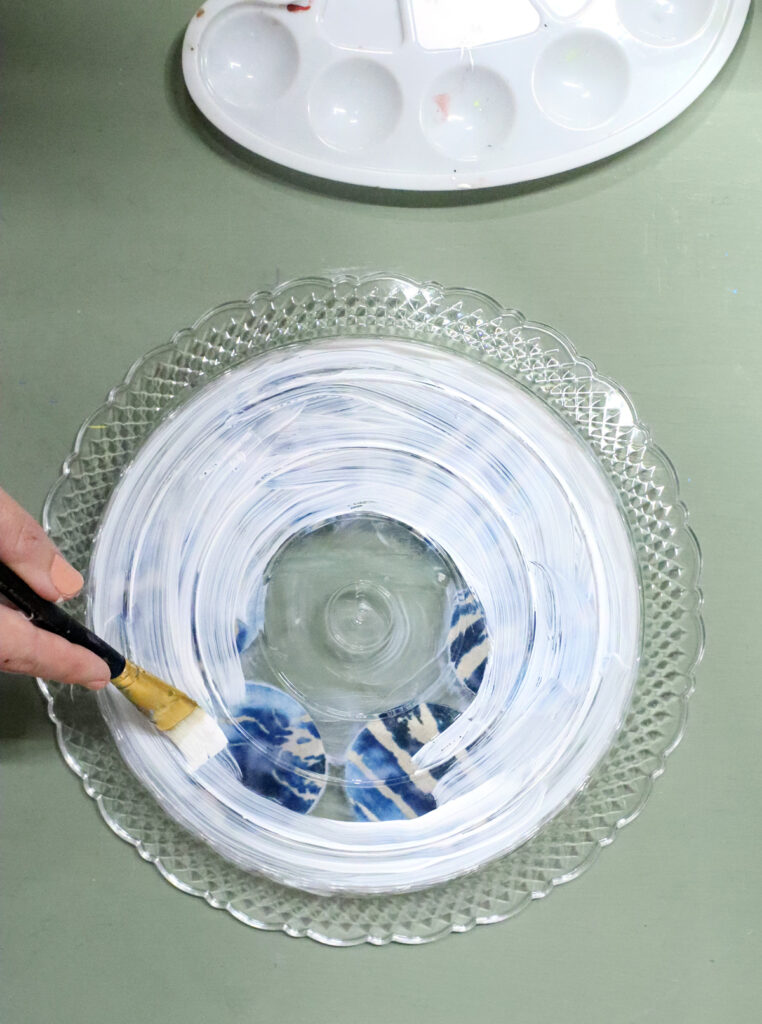
7. Paint doesn’t adhere so well to smooth surfaces, so you may need to apply a few layers. Again, a few smooth, even, thin layers beat one thick layer every time.
Note: you may experience some chipping on the final project. Sealing it can help but won’t be perfect. This adds to the “shabby chic” charm of this decoupage seder plate craft.
You decoupage seder plate craft is complete!
How will you be crafting your decoupage seder plate craft? Comment below!