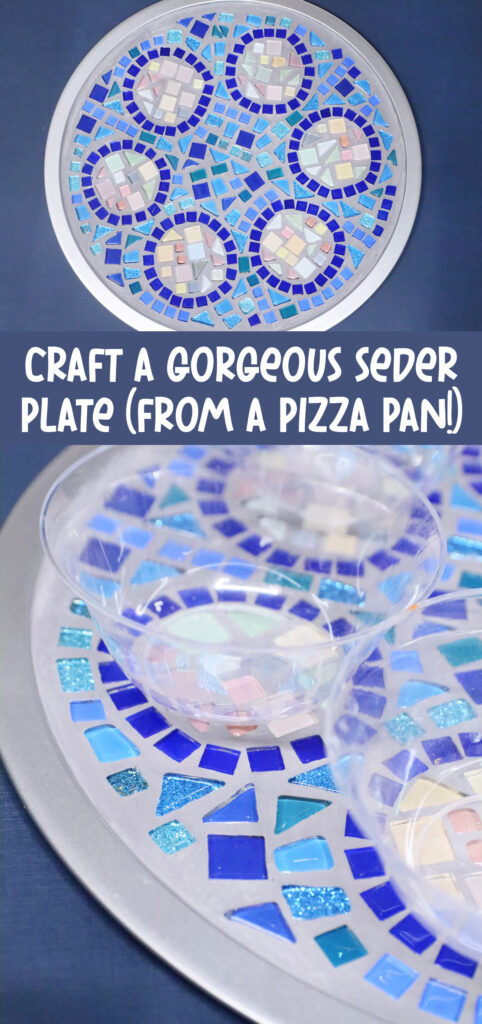
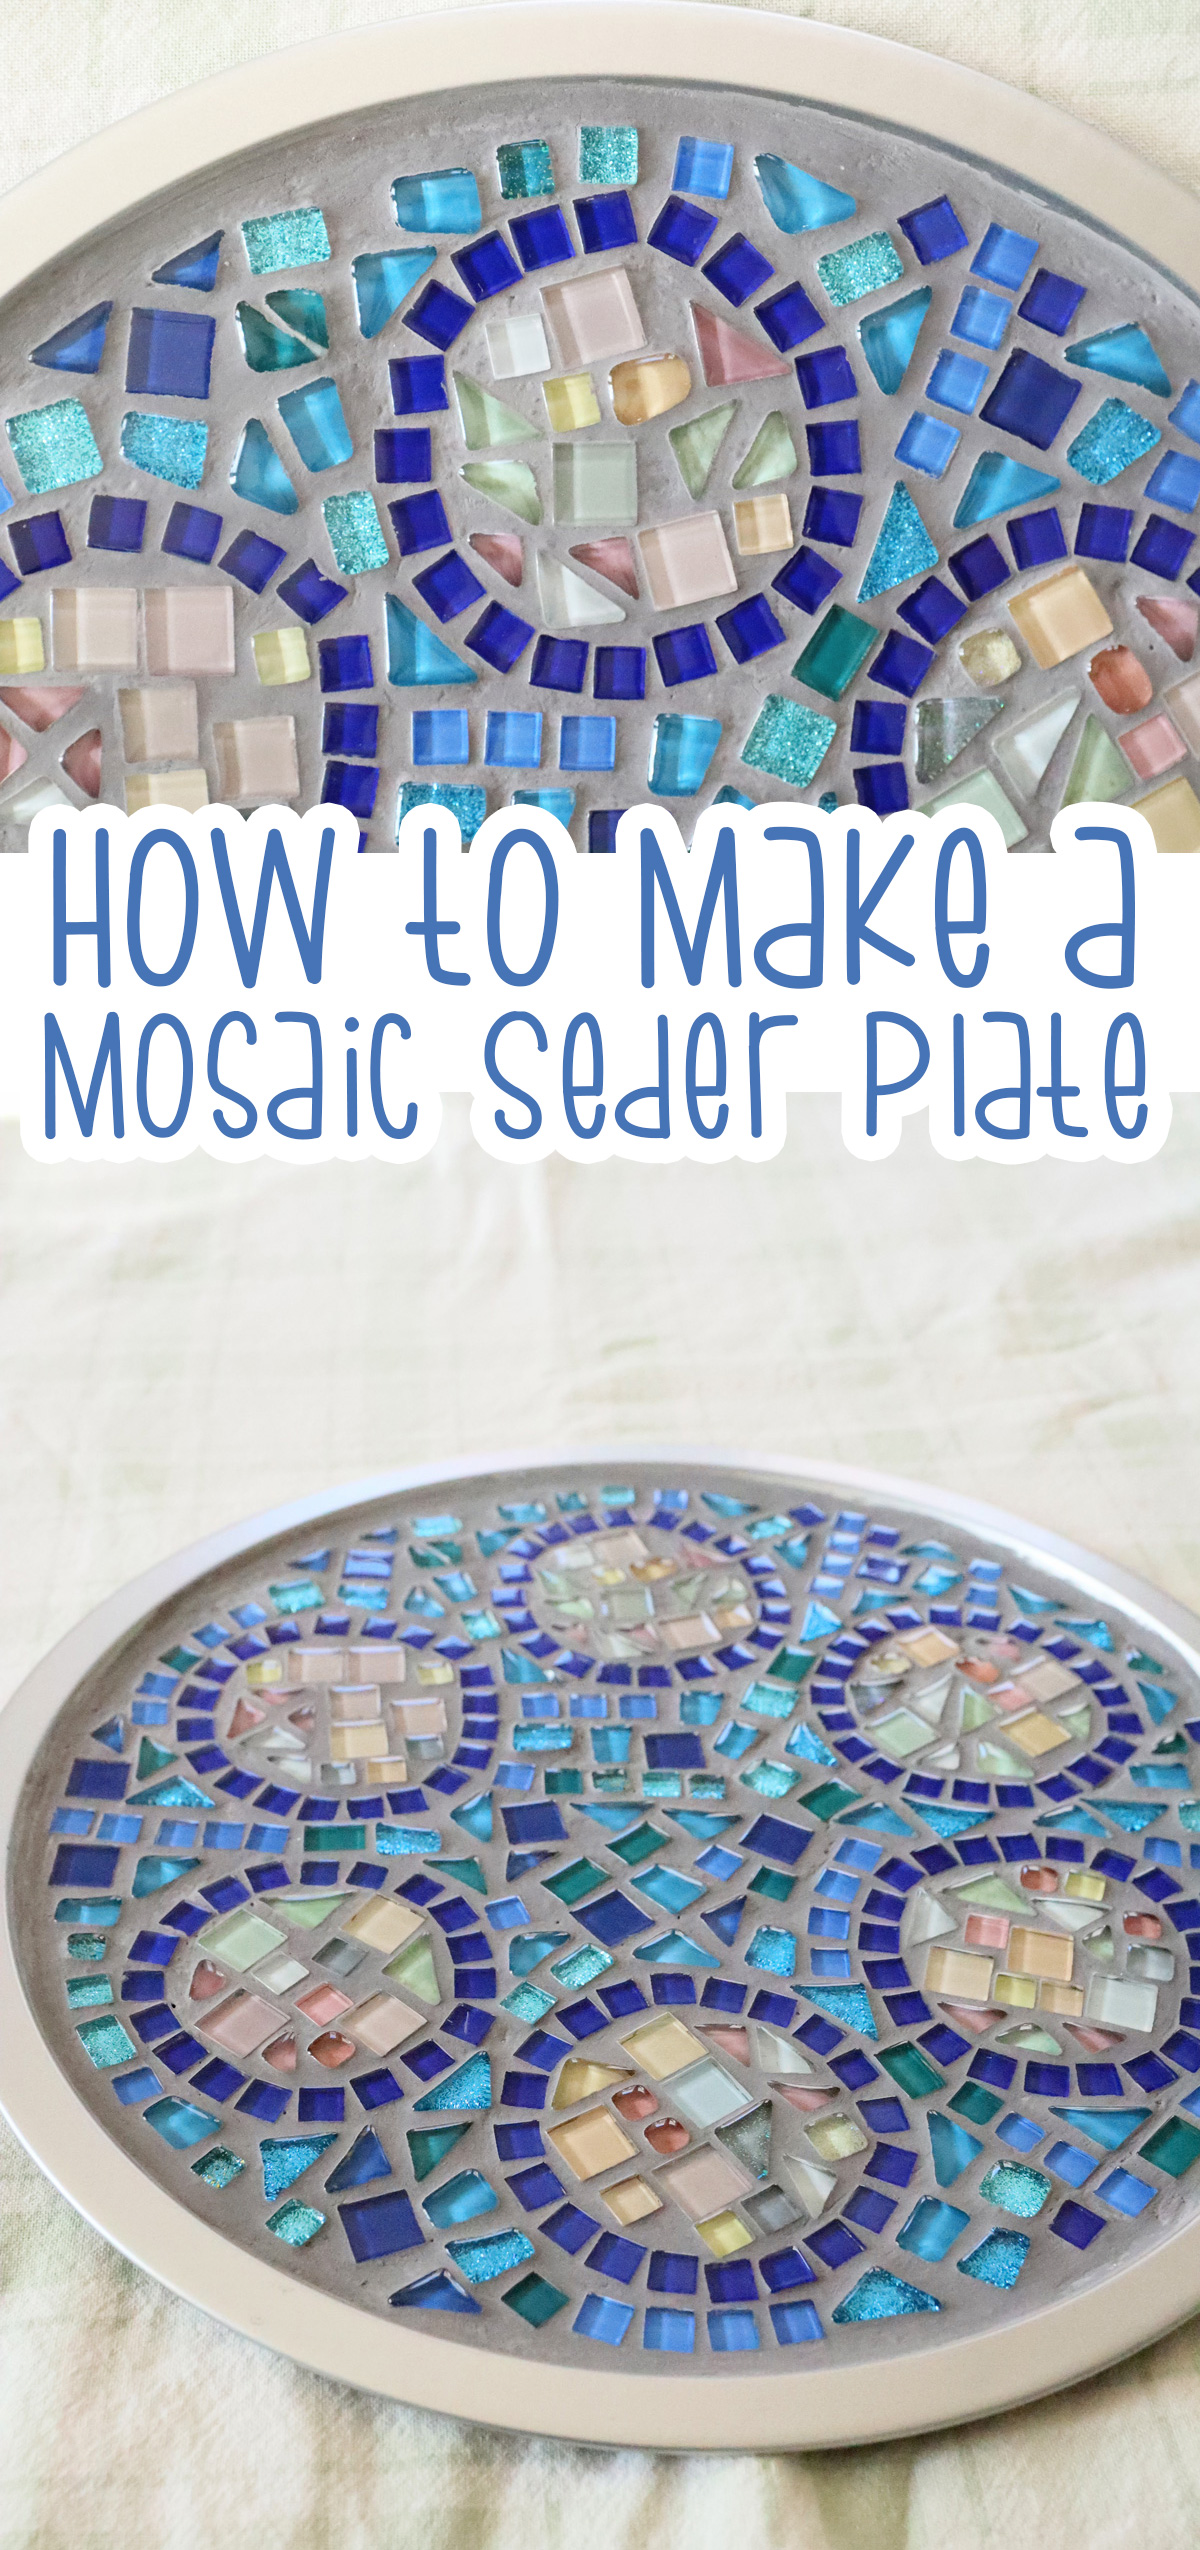
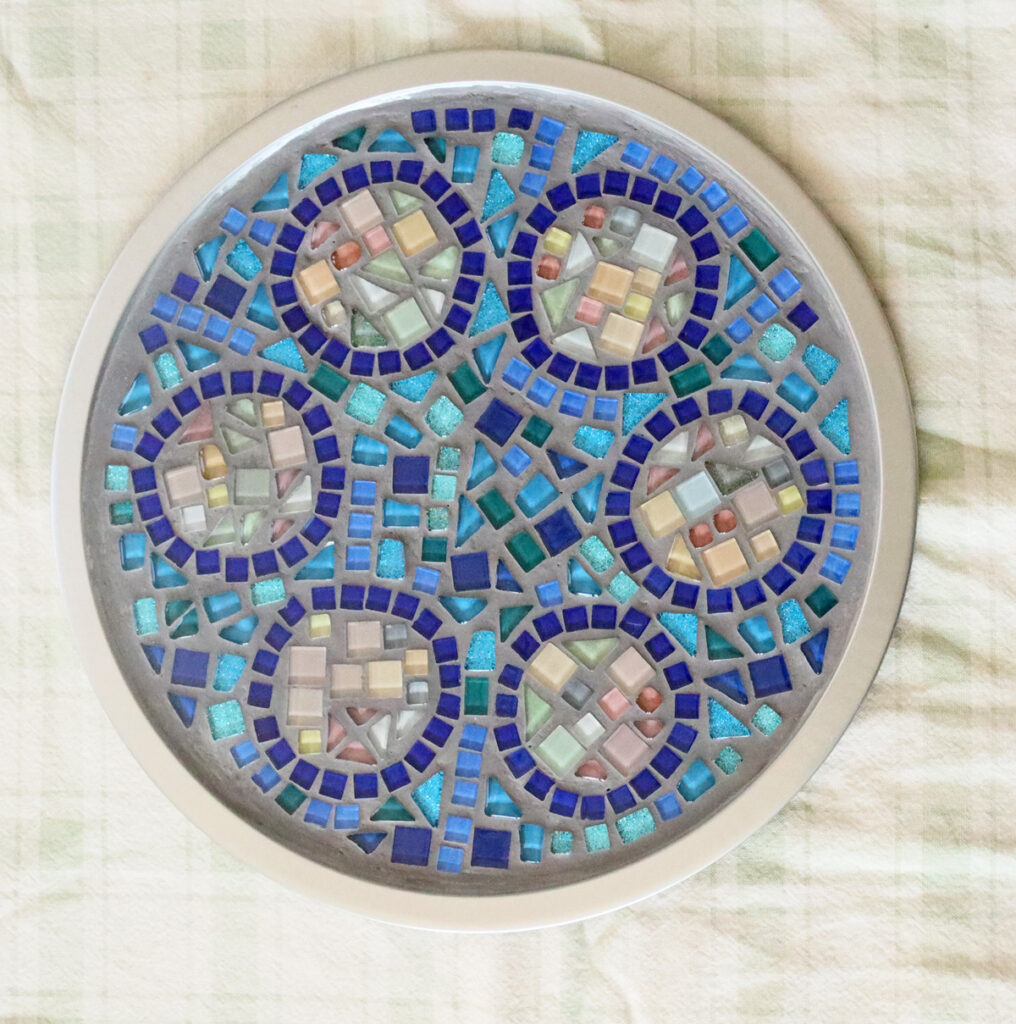
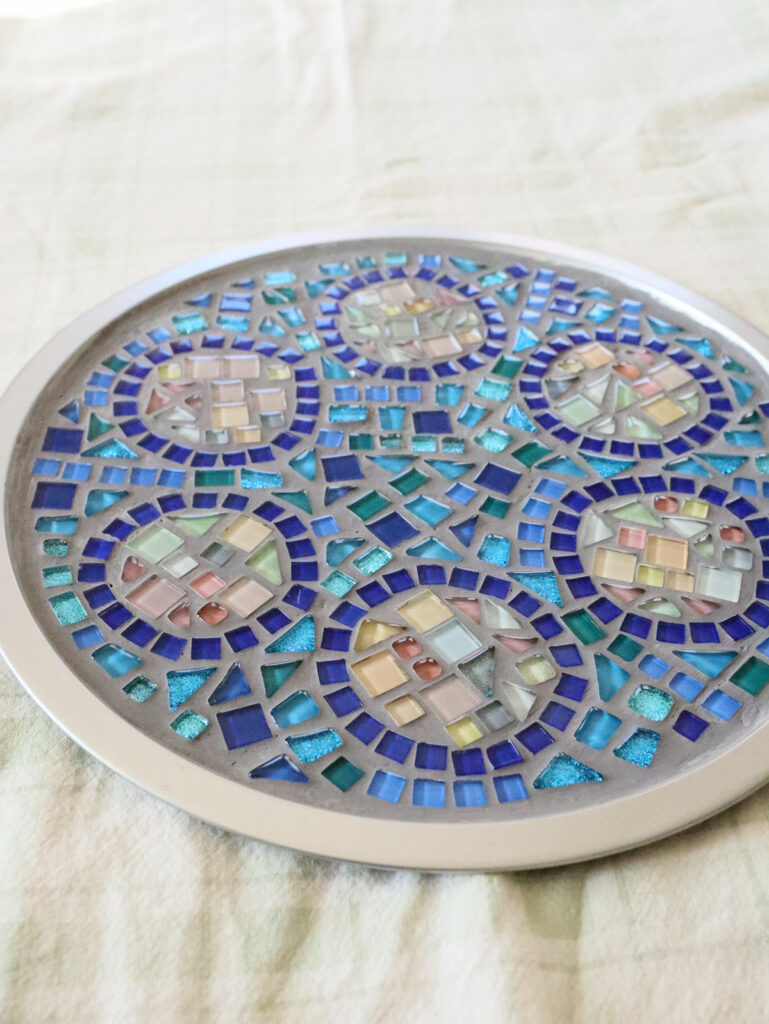
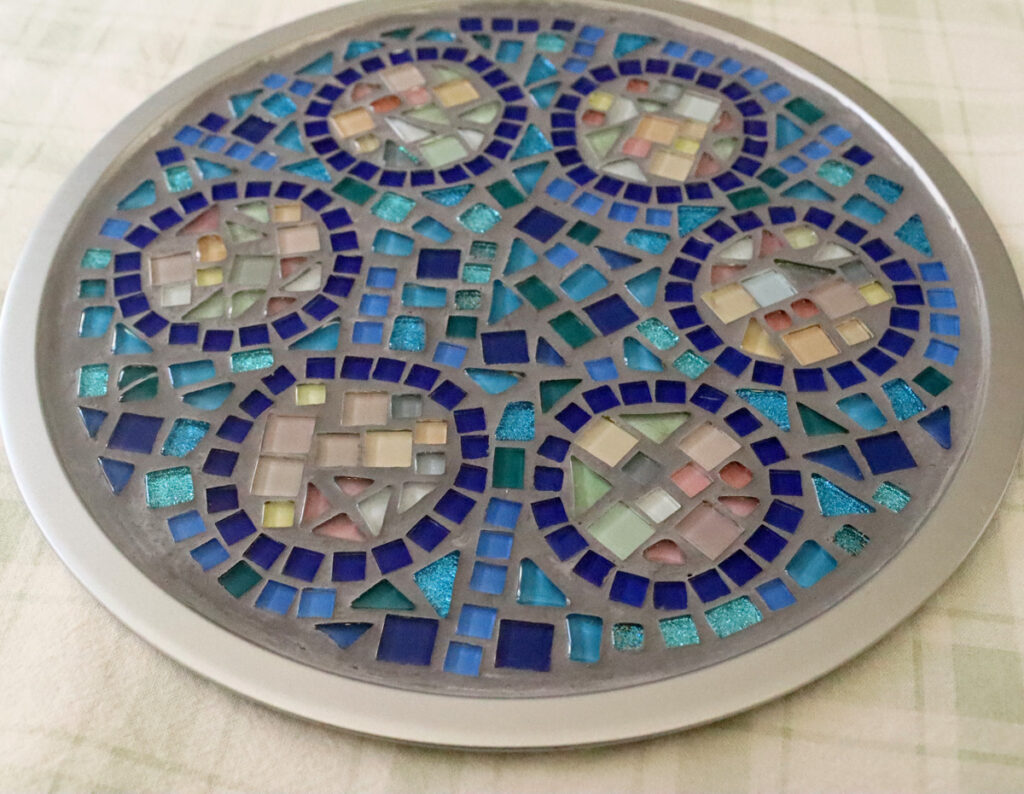
DIY Mosaic Seder Plate
Learn how to make a DIY mosaic seder plate out of – believe it or not – a pizza pan! If you want another cool DIY seder plate idea, try this resin seder plate too. This post contains affiliate links.
Last year, I made I gorgeous DIY mosaic Menorah tray for Hanukkah and it was such a big hit, I had to try it another way. I used a sheet pan as the base for that one, so when I found these pizza pans, I realized that I needed to turn it into a seder plate.

I used a NEW pizza pan – this is important as pizza is Chametz and it wouldn’t be appropriate for Pesach if it was used.
I want to point out that this can be really cool as a matzah plate too. The shape and proportions are fabulous for that. And since it’s a flat seder plate, you can just follow the same process.
Choosing Supplies for your DIY Mosaic Seder Plate
When it comes to any craft, the supplies you choose make a big difference. I went through some ups and downs with this one, so please read this carefully. I did some oopsies and I’ll share them with you so that you don’t make the same mistakes.
Which tiles should you use?
I used glass craft tiles for this. Because the form of the seder plate – the designated spots for the foods – is effectively just circles marking their spots – you do need relatively small ones. I had hoped to repurpose leftover floor tiles (the mesh mosaic kind) a friend had given me, but they were too large and deep.
So I did what I did for the Menorah tray: I bought big packs of mixed tiles. This turned out to be a mistake. You’ll want specific colors to show contrast between the tiles and the background. So choose your colors and purchase accordingly. You’ll need a nice amount of tiles.
I ended up using a mixed color pack and 2 blues and greens packs.
The base plate
You’ll need a base to build your mosaic on. I used a new pizza pan from the dollar store. Anything rigid in the correct size can be used. You can try wood blanks in a 12 inch round, MDF or chipboard, or anything that won’t bend and crack your mosaic.

Gluing on the tiles
To glue on the tile, I used Weld Bond. This creates a pretty solid adhesion. I did have to crack some tiles off when I did some of my oopsies (more details are in the YouTube video below) but you’ll find it’s pretty solid with sticking smooth to smooth.
Some people use E6000 for this, but I find it to be too hard to use and heavy on the fumes. I like to use Weld Bond and glue it in batches, brushing the glue on with a paint brush.
Grout
Grout can sound intimidating, but it’s really not. It’s a step that I highly recommend taking as it really secures the tiles in place, and pulls the whole project together visually.
You can mix up your own powder grout, as I did. Or, get pre-mixed grout. Grout should be the consistency of peanut butter and comes in many different colors.
I had some gray grout left over from home projects, and used that. Choose something that’ll have some contrast with your tiles. Look at the color shown on the packaging – it dries lighter. Consider a colored grout, as it stays looking cleaner than white grout.
Planning and Crafting the DIY Mosaic Seder Plate Correctly
Again, making my DIY mosaic seder plate did not go as smoothly as it should have considering it was a remake of a craft I had already done but in a different shape. I’ll share my tips below so that you get it right the first time!
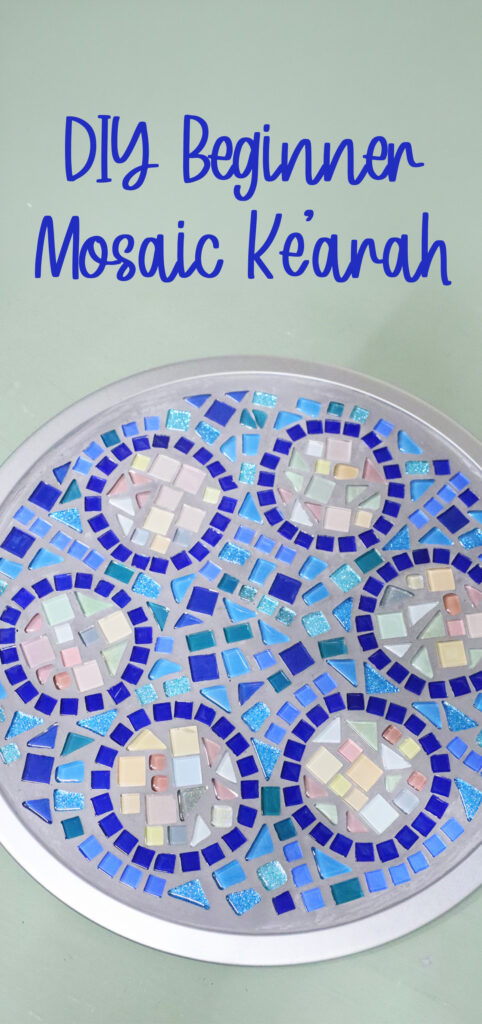
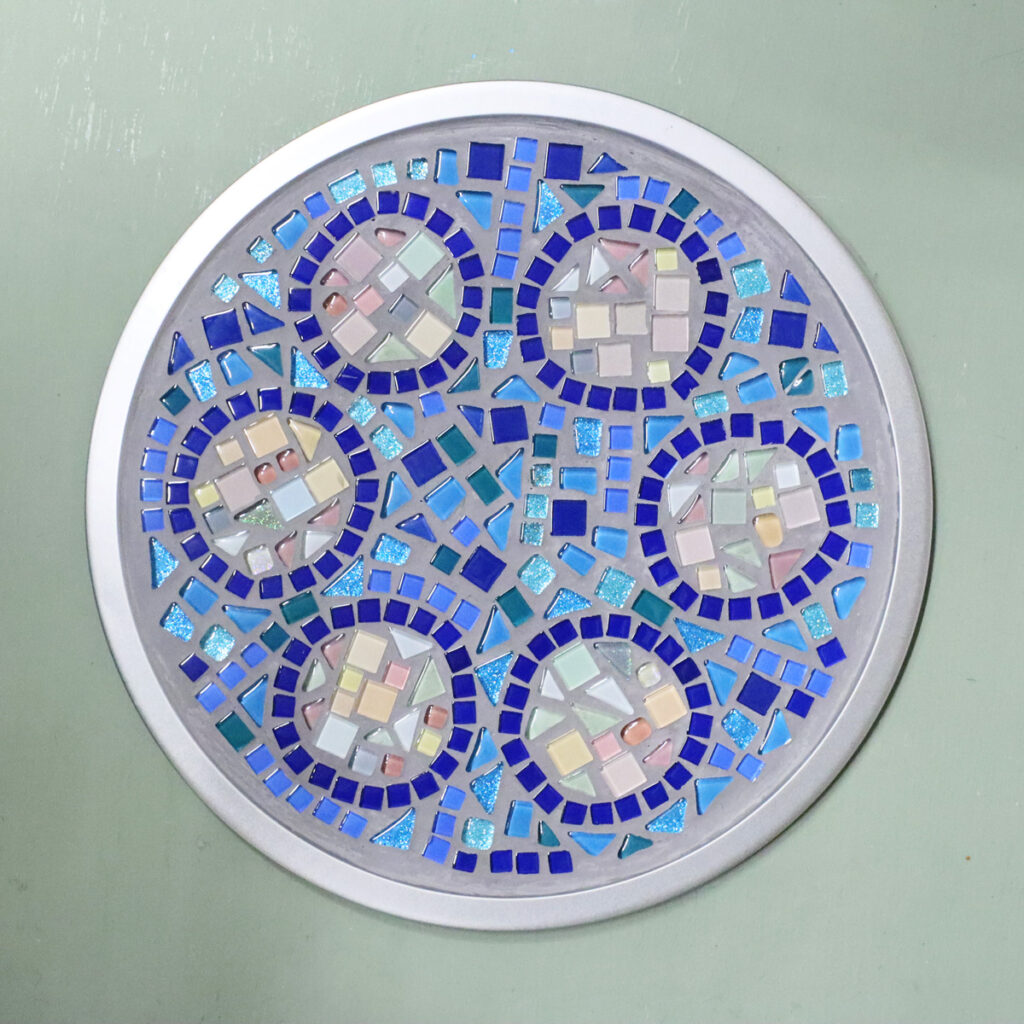
The Circles
If your design is the sum total of your food placement guidelines – what makes it a “seder plate” and not just a mosaic platter (which is cool too), you need it to be very visible. This was my main challenge.
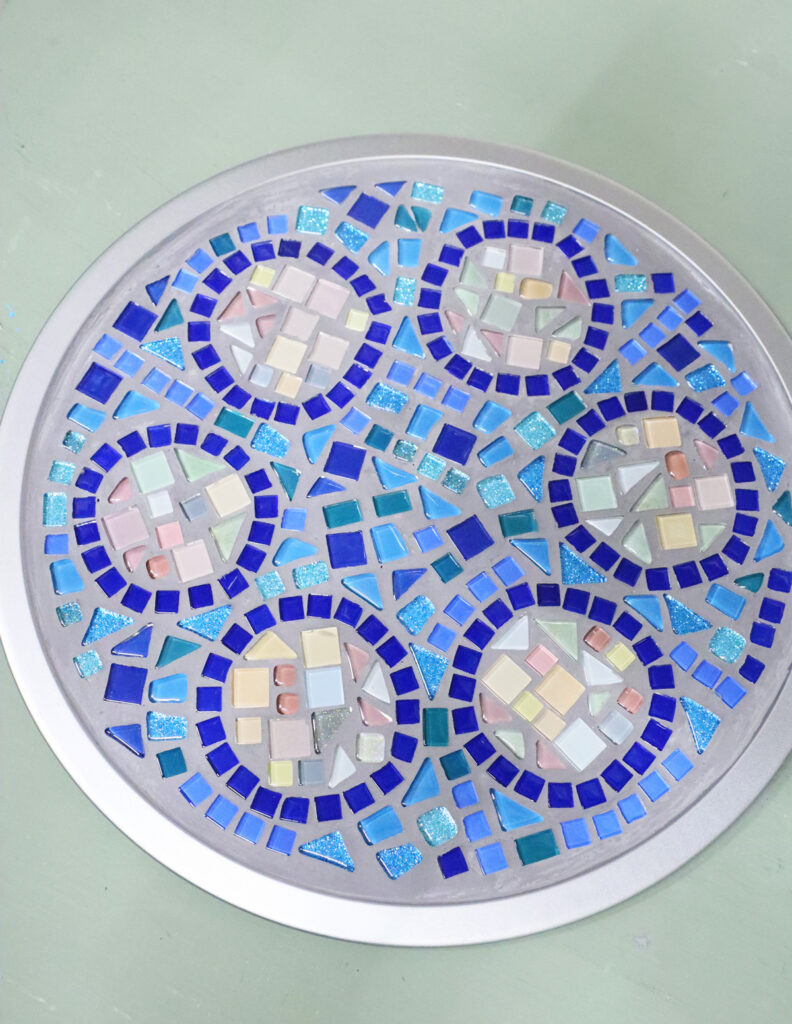
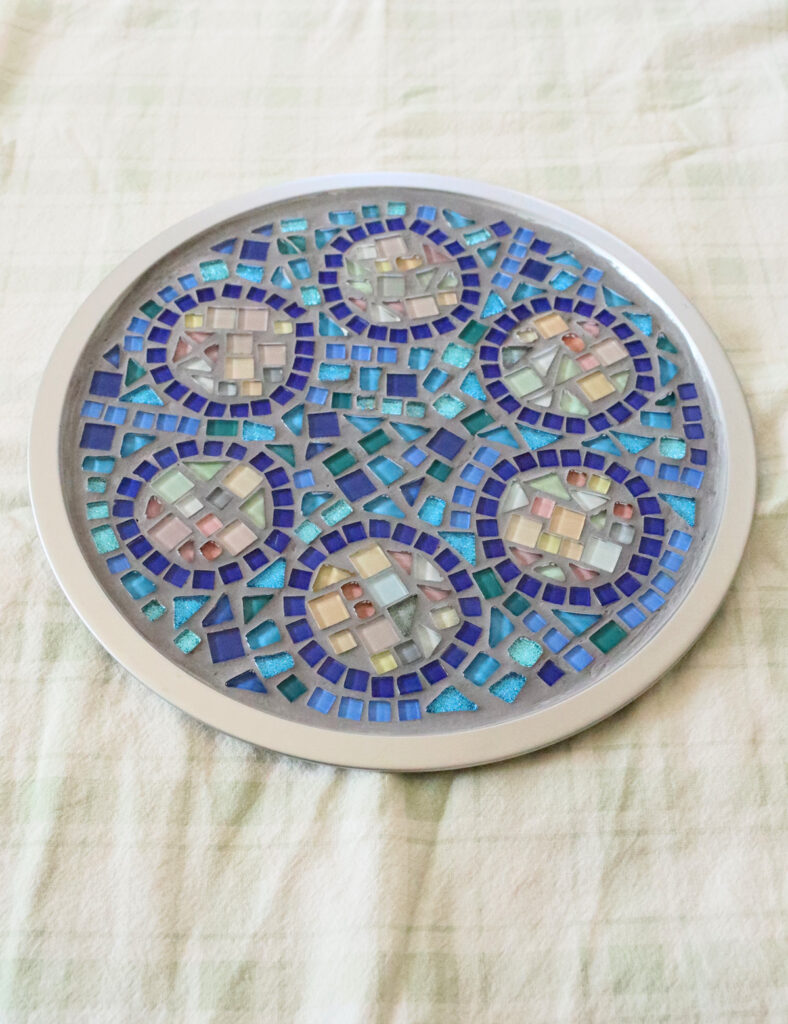
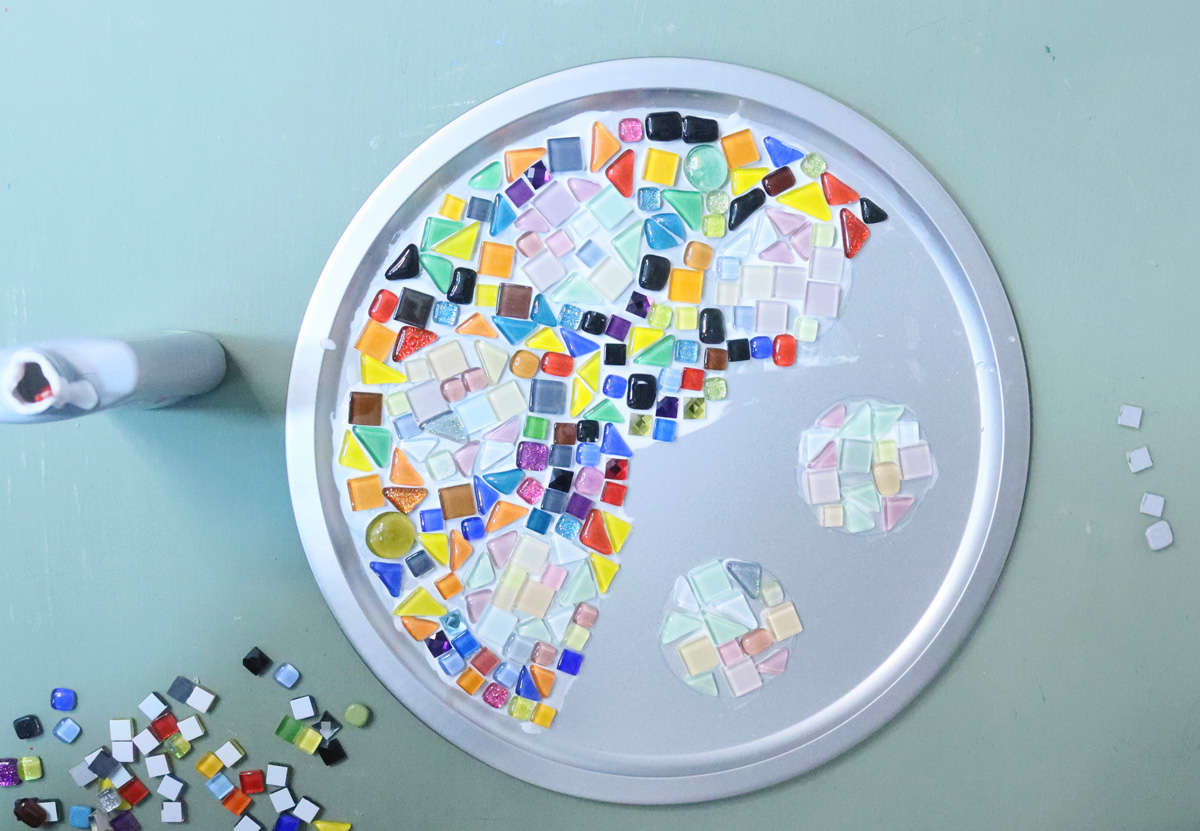
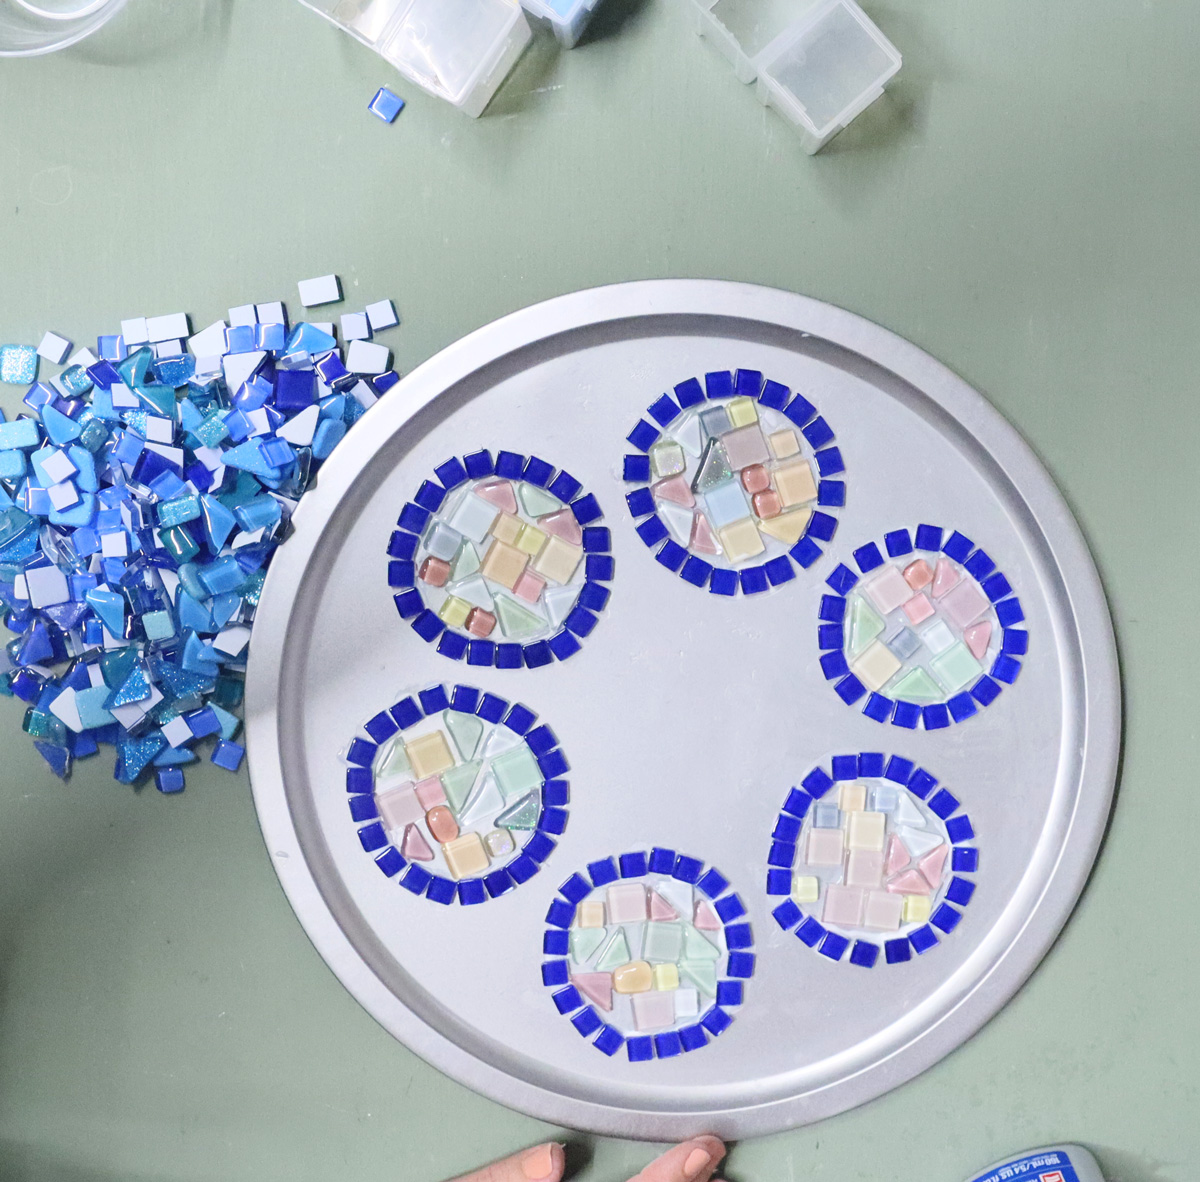
I started by picking out the almost-white pieces of the mixed color package. I filled in the circles that I had outlined with it.
Then, when I tried to make the background, I realized that it really does need a border, so I chose the cobalt blue small square tiles to do that with.
The Background
At first, I had planned to do the background colorful, like I did with my Menorah tray. But then I realized that it wasn’t quite looking like I wanted it to. It was a mess, and the circles weren’t clearly defined.
I HAD planned it before, but it just wasn’t right, and I had already started gluing. I managed to push the tiles off with pliers, removed as much glue as I could, and started from scratch.
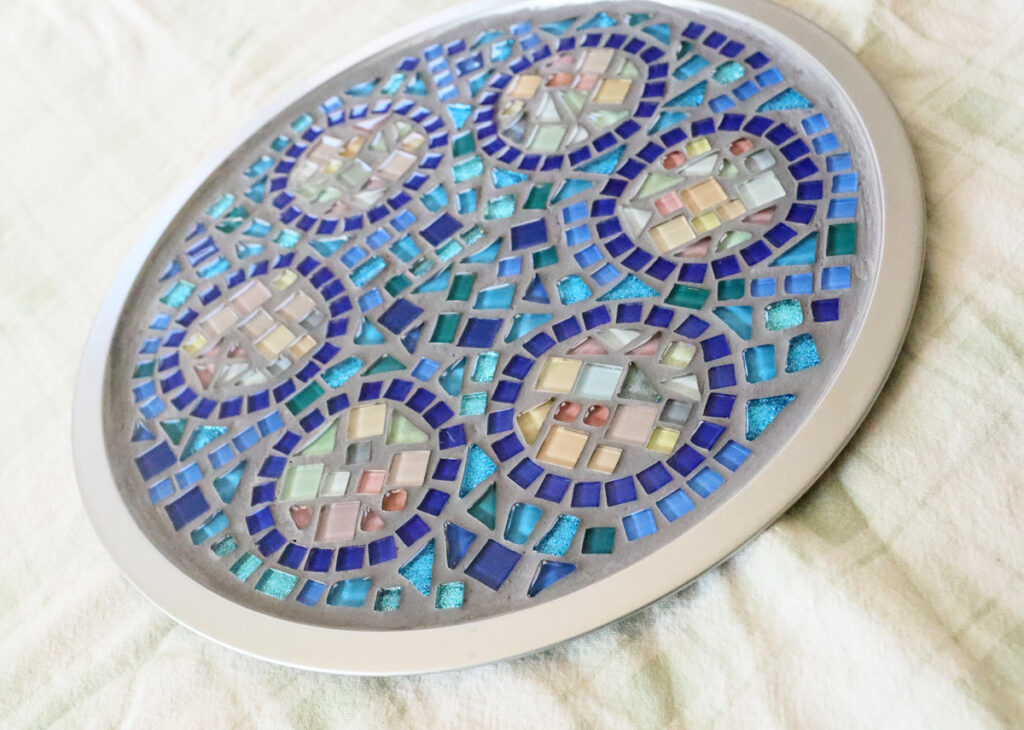
I purchased mostly-blue packs – a mixed one and a square one (it’s a bit inconsistent, so be prepared for more variation than you want. You can also get specific tiles). I chose the ones I wanted and worked with that.
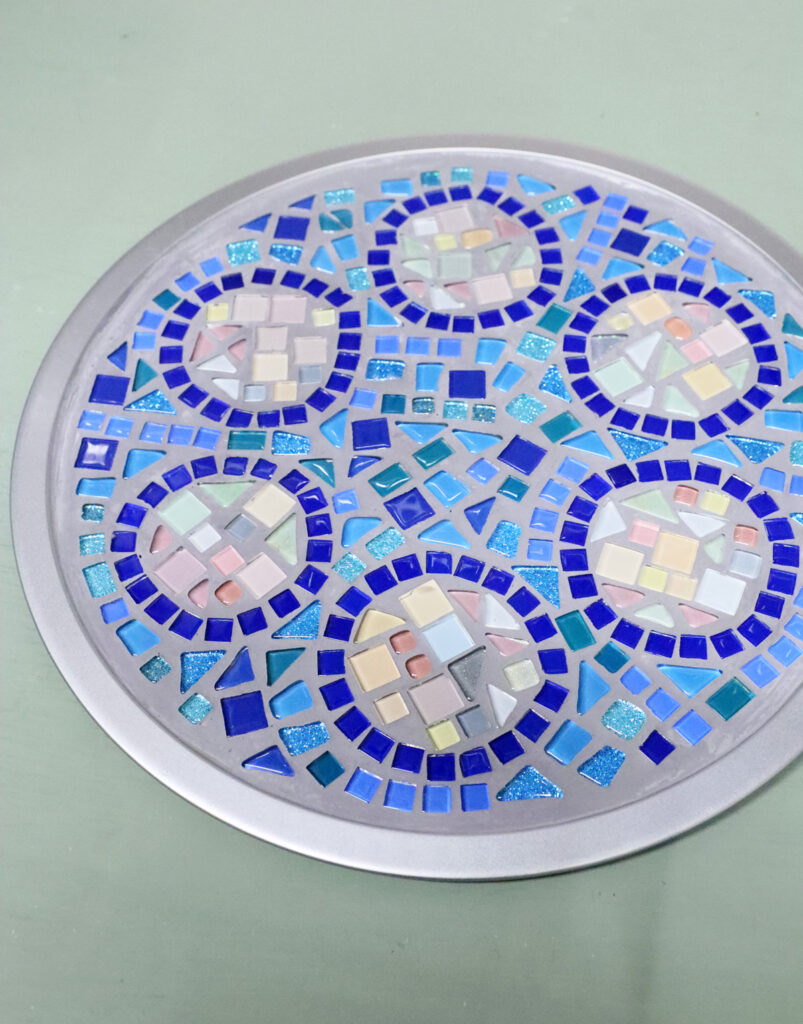
At first I wasn’t sure I’d love it, but it was good enough. After grouting, it all came together and I absolutely love it.


Variations and finishing tips for the DIY Mosaic Seder Plate
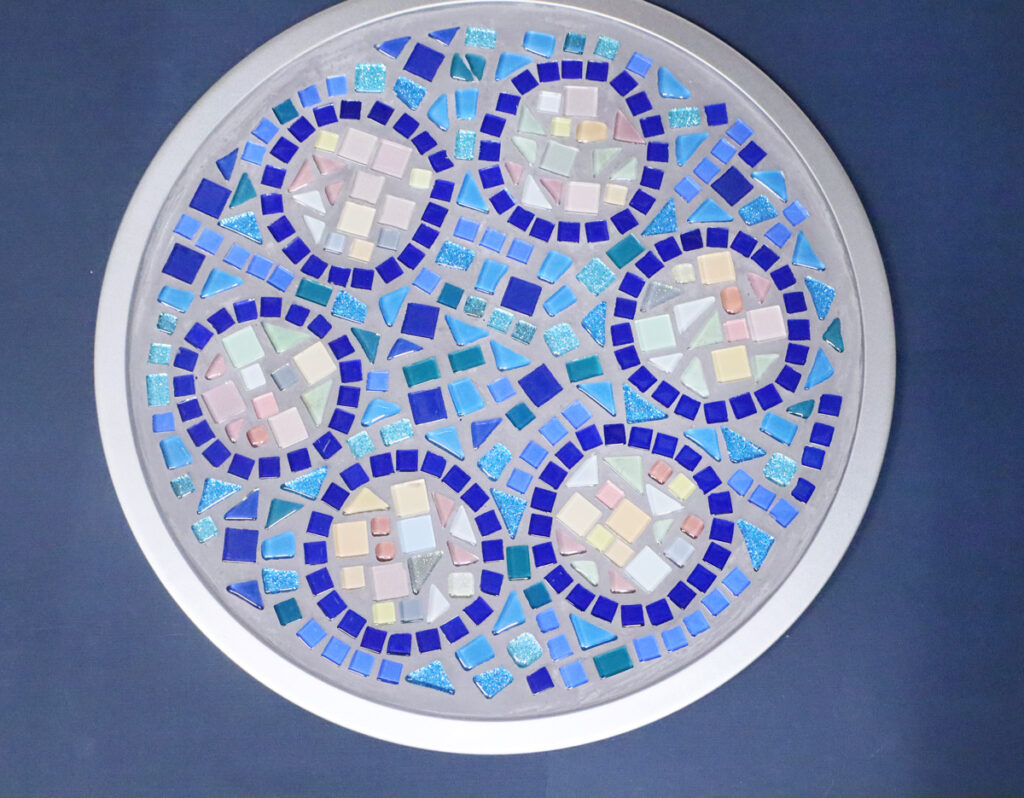
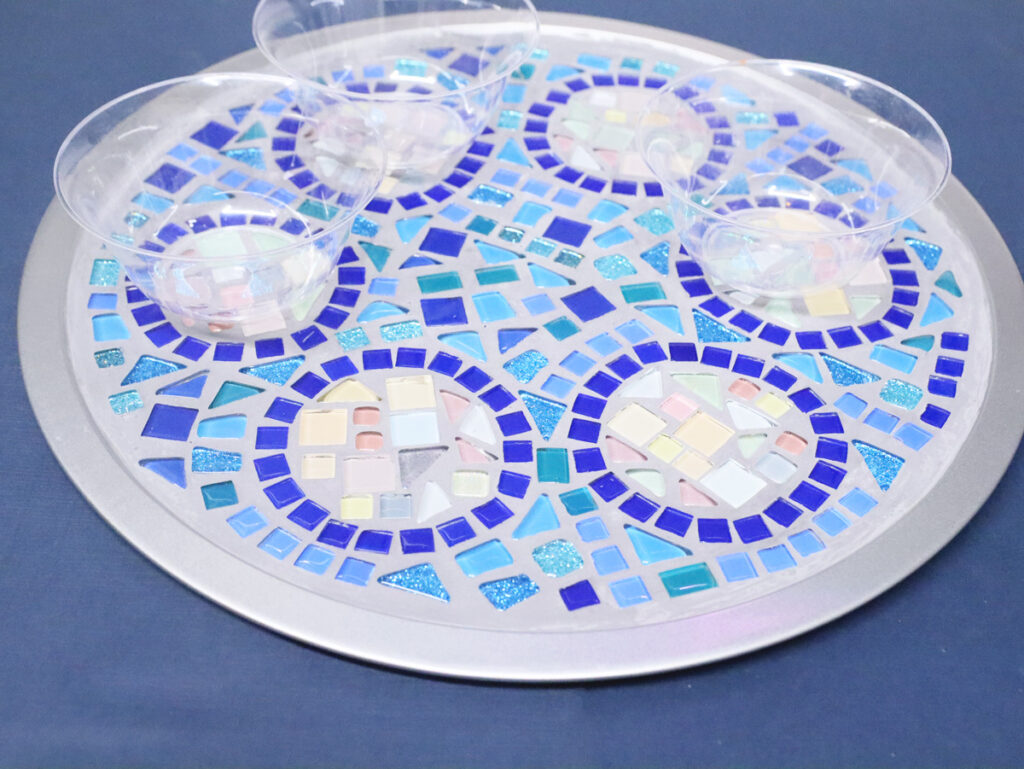
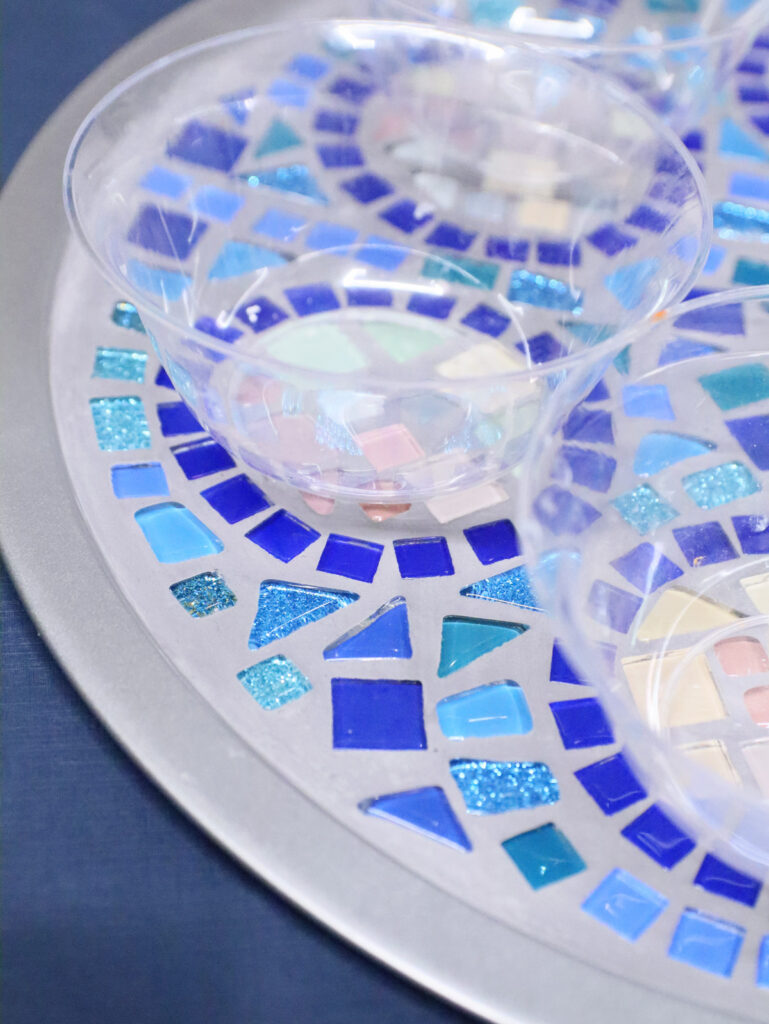
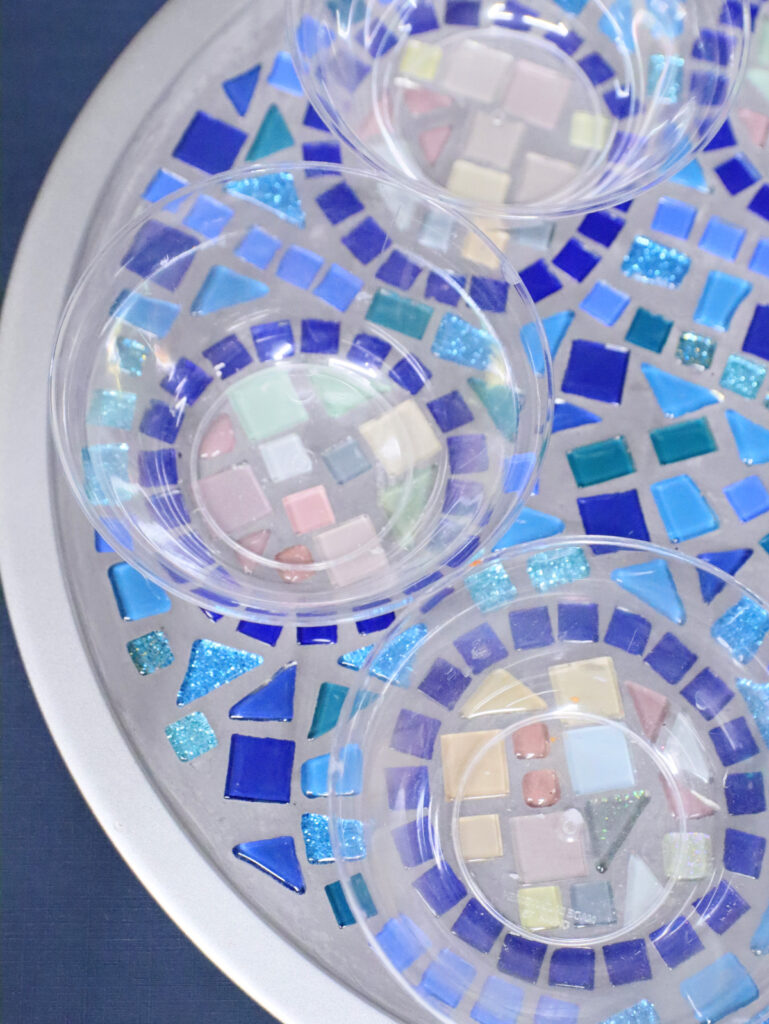
I kept mine just as-is. I plan to simply place small glass bowls of the correct size on each circle and fill that with the correct foods. However, I do want to share some ideas for how to finish it off.
Adding Bowls
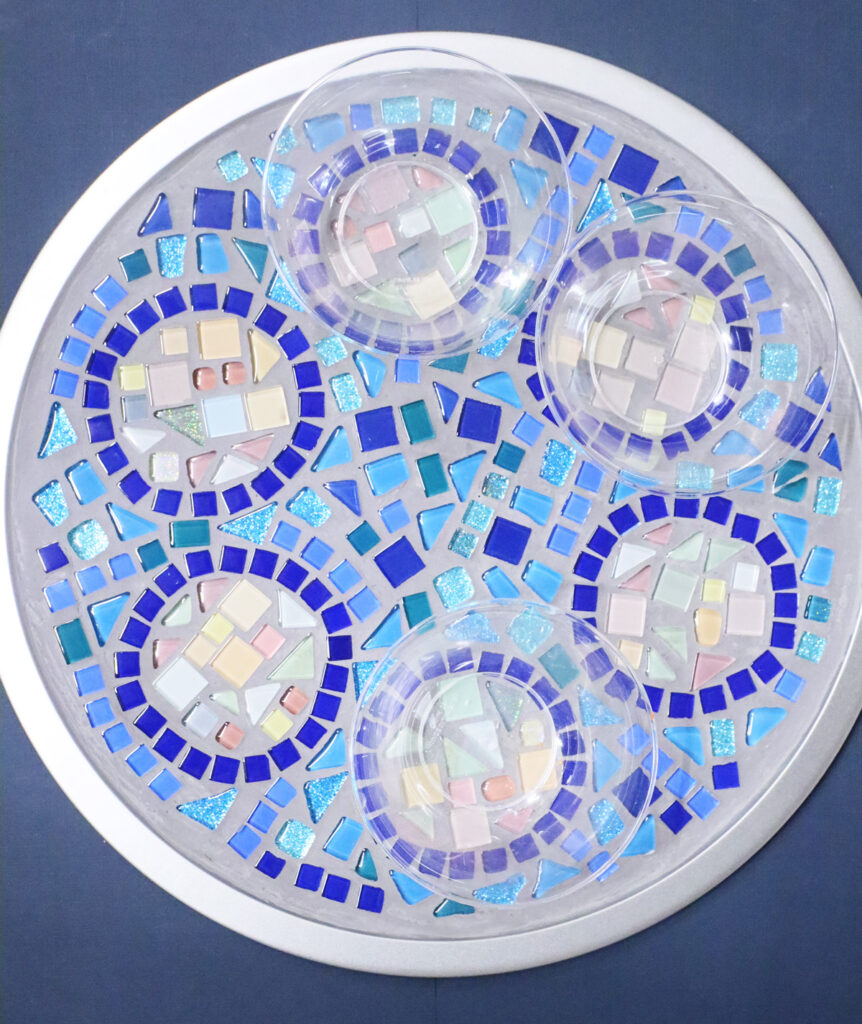
Small glass bowls that are placed in each spot really are my favorite fix for this seder plate. It allows it to remain modular and take up very little space in storage. It also allows you to use it as a Matzah plate after the Seder is over. If you do plan to do that, you’ll want to seal it – more on that below.
You can also use it as-is, without any bowls. Again, you’ll want to seal it if you do.
Another idea is to secure bowls in place. Keep in mind that simple, relatively dry foods that are not typically eaten after tend to sit on the Seder plate, so a quick wipe to clean it usually works.
Sealing your Plate + Food safety tips
I did not seal my plate because I plan to use modular bowls on it. However, if you plan to put food directly on, you’ll probably want to seal it. If you plan to eat that food, you probably want to seal it with something food safe.
Resin is one good solution. However, it does darken the grout. It creates a relatively easy, highly washable high gloss surface. Aluminite Clear Cast Epoxy resin is my favorite food safe option.
Counter sealer – The good news is, tile is a pretty easy material to make food safe. Since tile and grout are sometimes used in countertops, there are plenty of food safe sealers that are meant to be relatively resilient.
Simplifying things for younger kids
This is very much an adult (or teen) DIY that teaches a real life skill. Some skilled kids may be able to do it with supervision. If you want to simplify any steps, here are some tips:
- Allow kids to glue on their tiles in whichever order. Have a professional (or a parent/teacher) grout and seal it, adding the bowls in the correct spot.
- Outline the circles for the kids, and allow them to make it like I did. Have an adult grout it for them.
- Skip the grout. Some tiles will fall off. This works if you’re really just looking for it to be a semi-functional kids’ craft.
- I did a version at first where I really just outlined circles with tile. This makes it much cheaper, and easier for kids, however, the tiles don’t stay on very well.
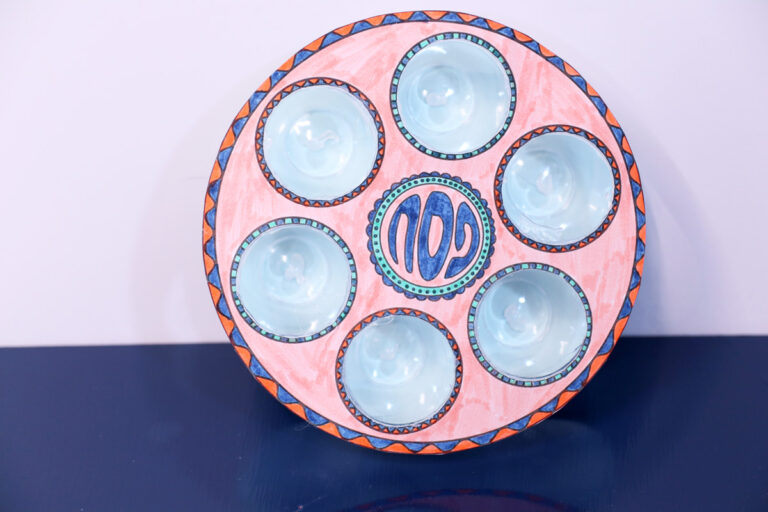
I do plan to share another seder plate craft that’s more kid-friendly this year, and you can find more on the blog (such as this paper seder plate that’s super popular).

How to Craft a DIY Mosaic Seder Plate (Step by Step Tutorial)
You’ll Need
- Mosaic tiles – I ended up using tiles from this set for the inside of the circles, this set (mixed blues), and this one (blues and squares) with plenty left over
- A 12 inch round flat pan
- Weld Bond glue
- A flat brush (recommended)
- A circle to trace (I punched mine from laminated cardstock scraps using a 2.5 inch punch. You can also trace a bowl to make a template – I recommend preparing 6 templates).
- A permanent marker
- Grout (powdered or pre-mixed)
- A mixing bowl or pail (something you can ruin – if mixing your own)
- A pan or bin of water (something you can ruin)
- A mixing spoon (something you can ruin – if mixing your own)
- Something to cover your work surface
- Gloves
- Scraper – anything flat and rigid (such as a membership card you don’t need)
Watch the video
Watch the full-length video on YouTube if you prefer to learn that way! Or scroll down for written instructions with photos.
Process with Photos
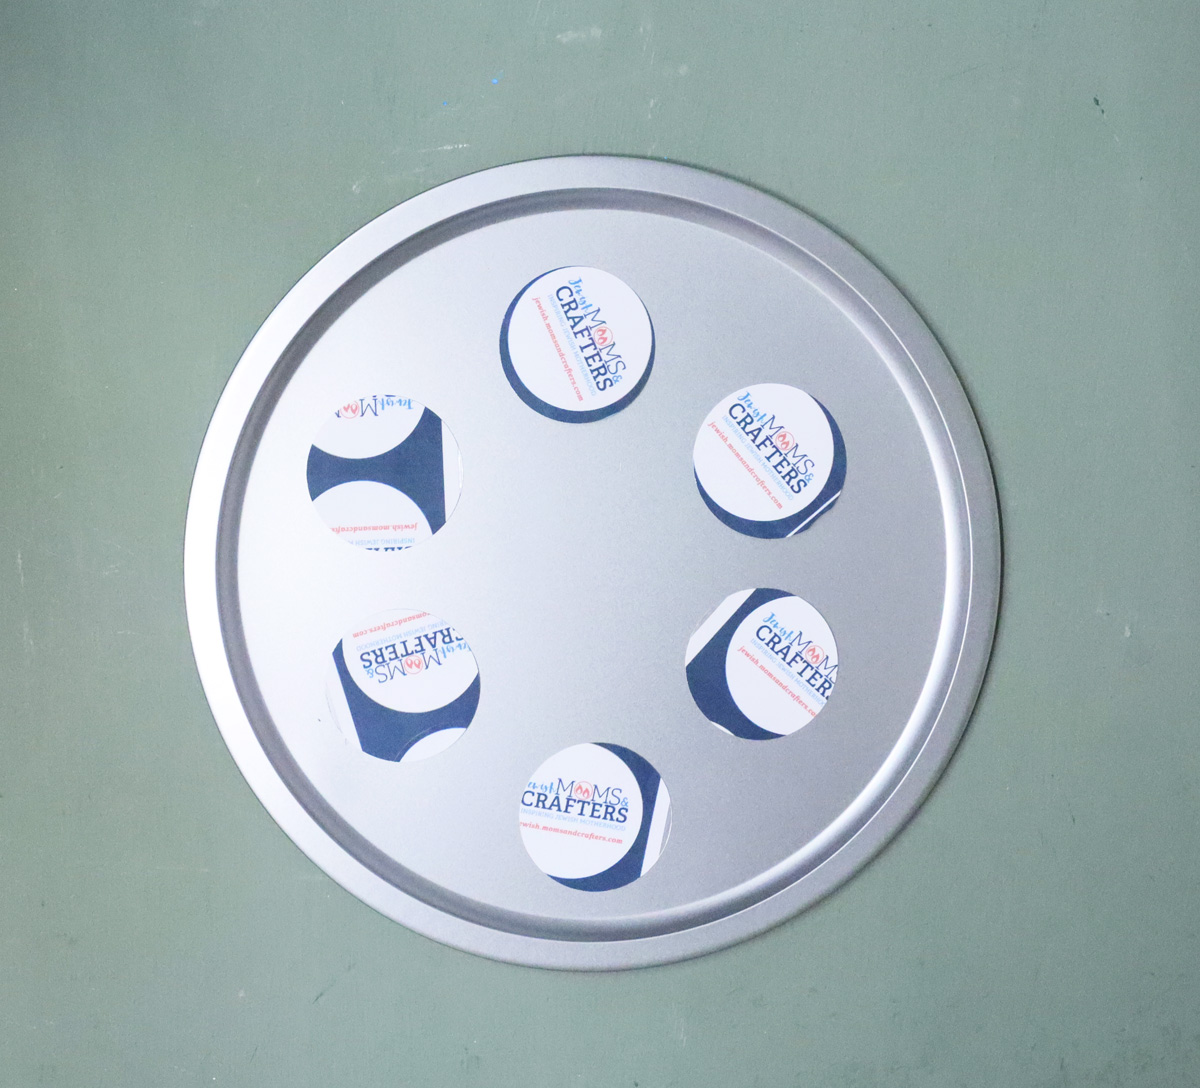
1. Measure your circles and cut 6 of them from a stiff material. Arrange them in a circle on your pan, equally spaced apart.
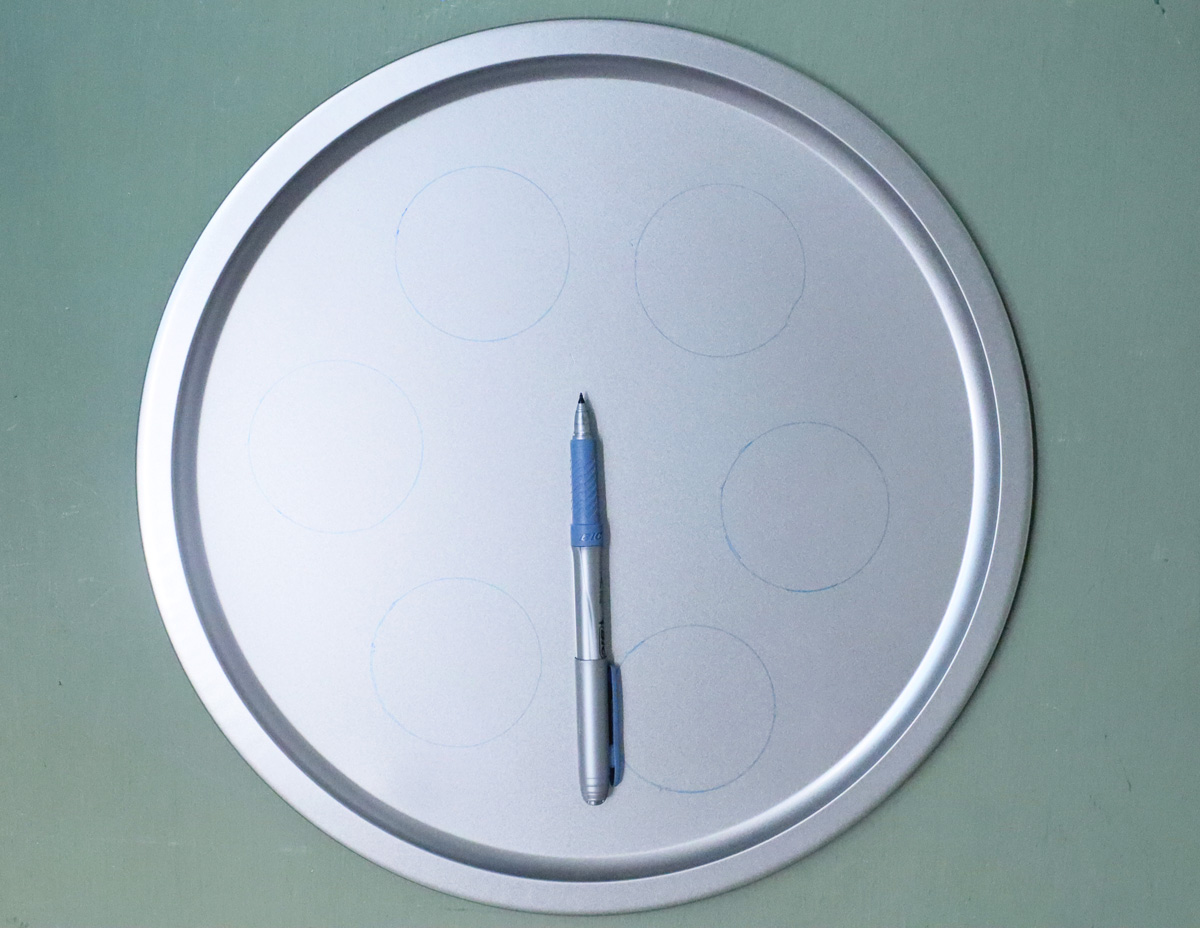
2. Trace your circles.
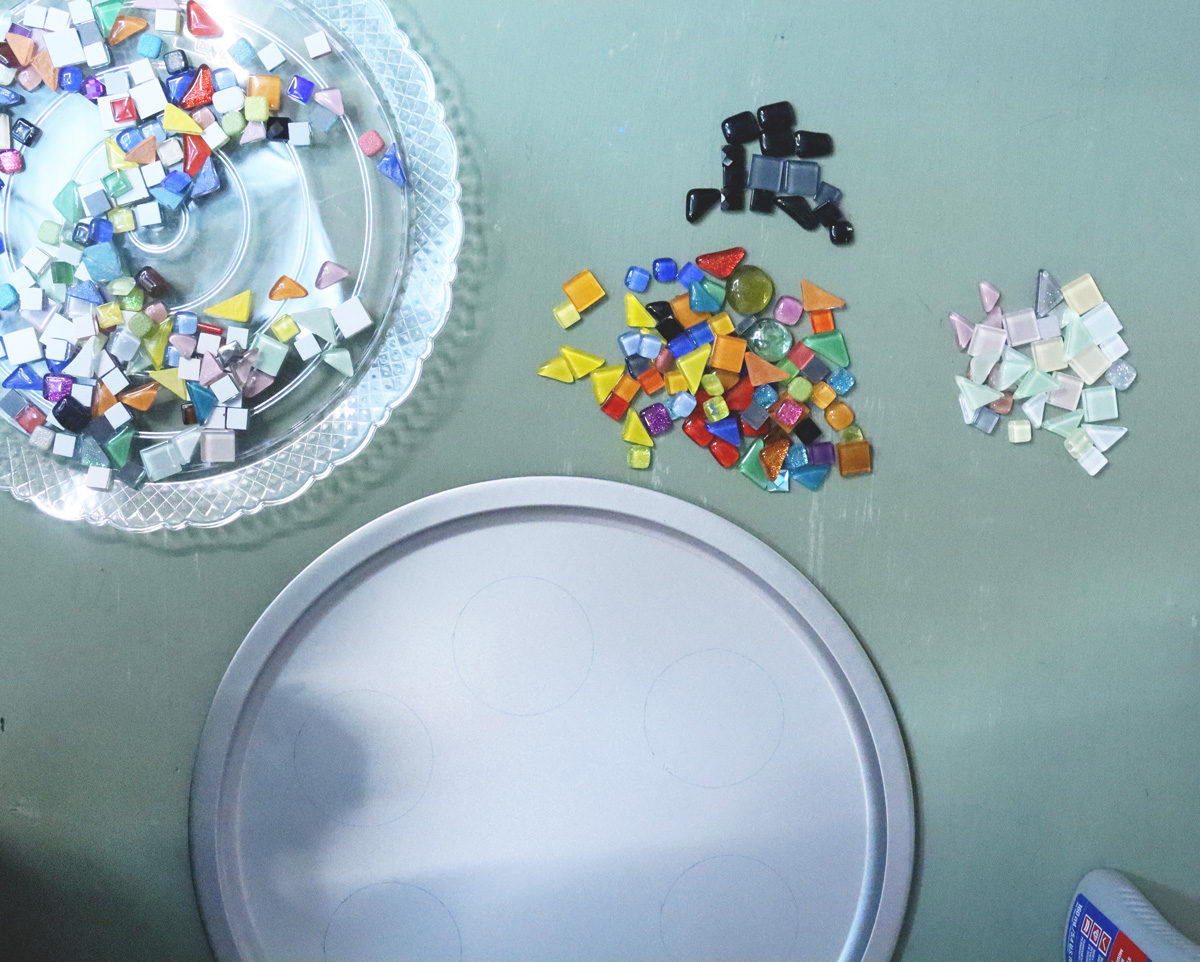
3. Start planning your design. I sorted my tiles, choosing the lighter ones for inside the circles.
4. Roughly place your tiles before starting any gluing .

5. Glue them on in increments, working on a small area at a time. Brush on your glue and lay down one tile at a time.

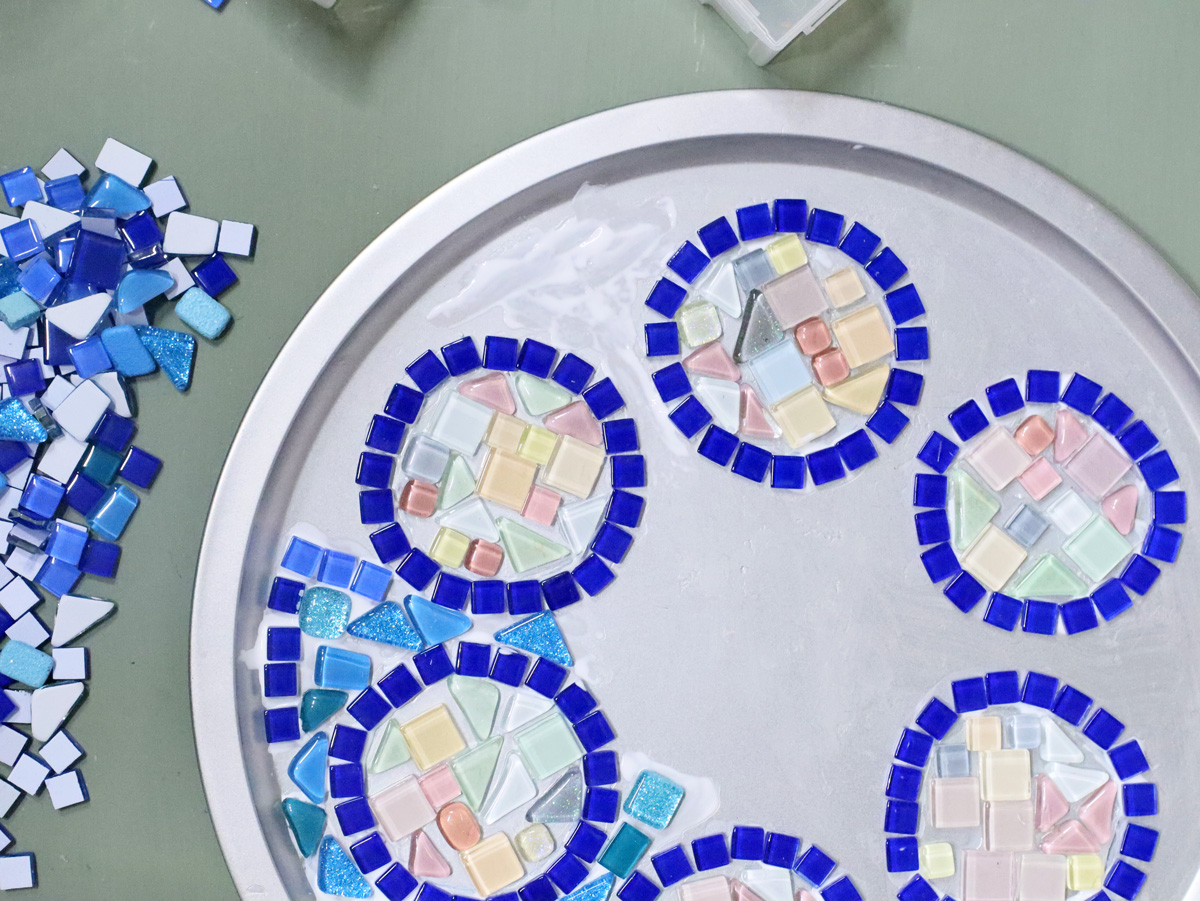
6. Again, plan your design before gluing. I allowed my circles to dry before doing this step to make sure they stay secure and in place. I placed my cobalt tiles around the light centers and liked how it looked but decided to ditch the larger ones and keep it even.

7. Again, working with a small portion at a time, start gluing your tiles down around the original circles that you drew.

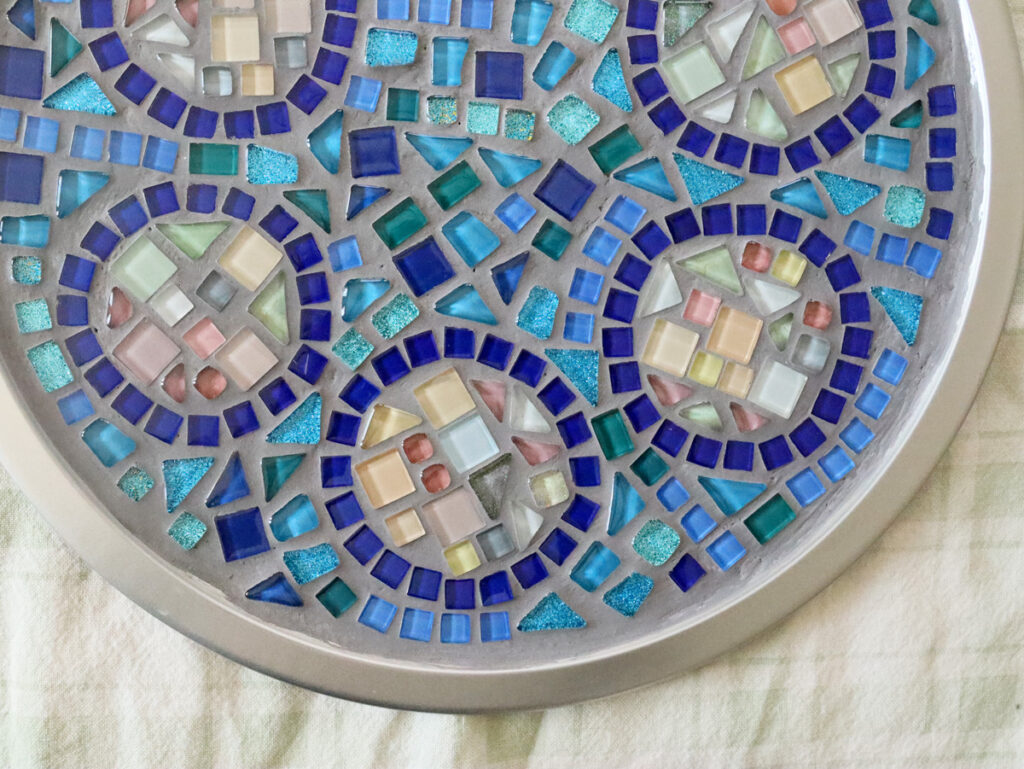
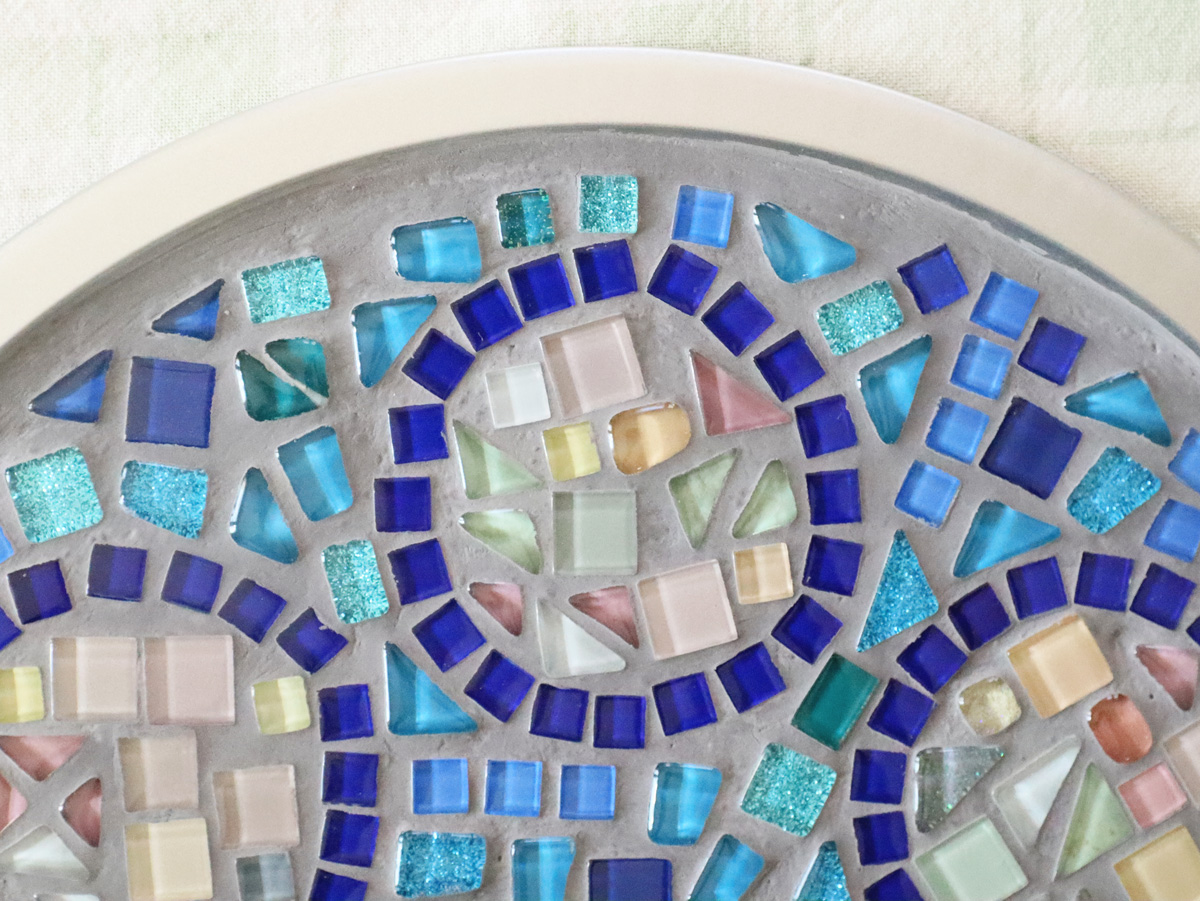
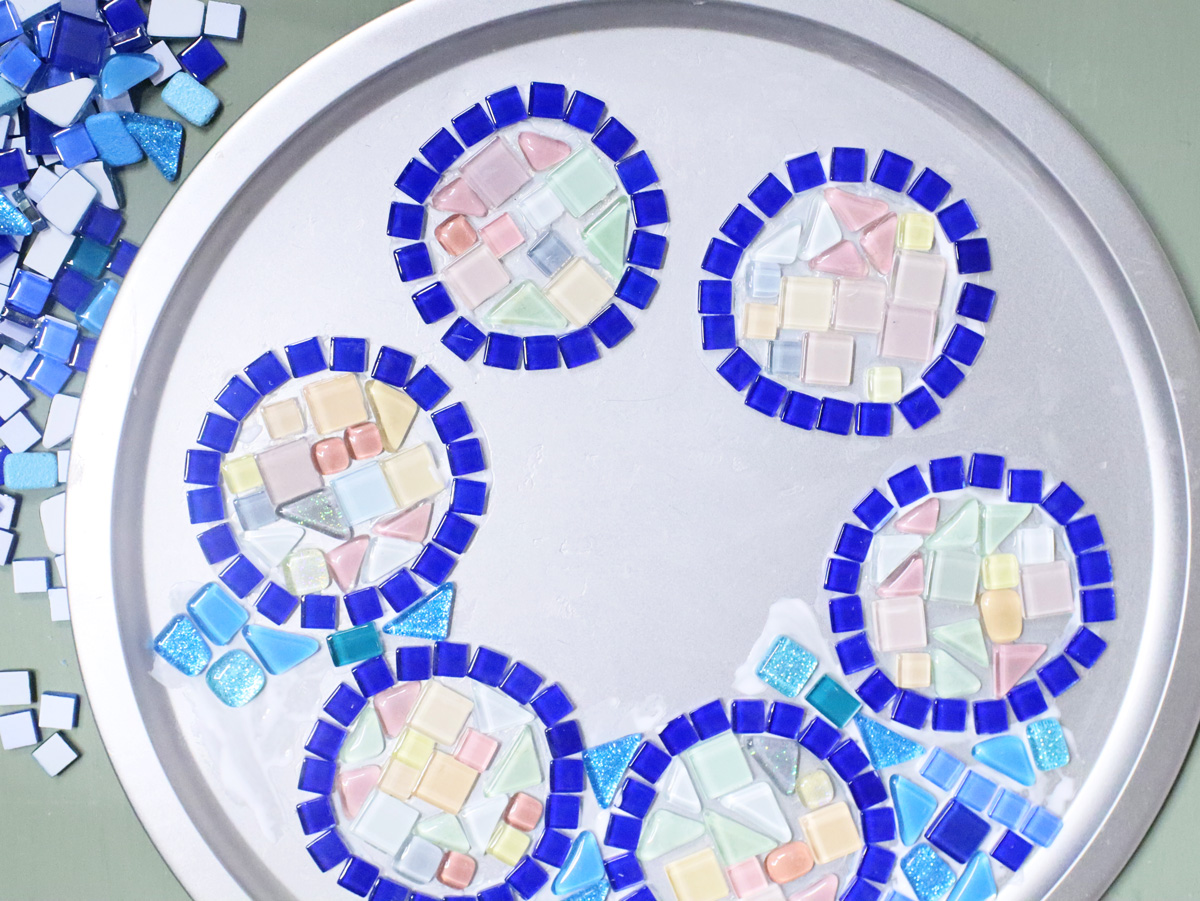
8. Now fill the background! Working with different shades of blue, and section by section, I filled in the spaces. You will want to start with the tighter spaces since those have more specific needs, and then move onto the larger gaps.
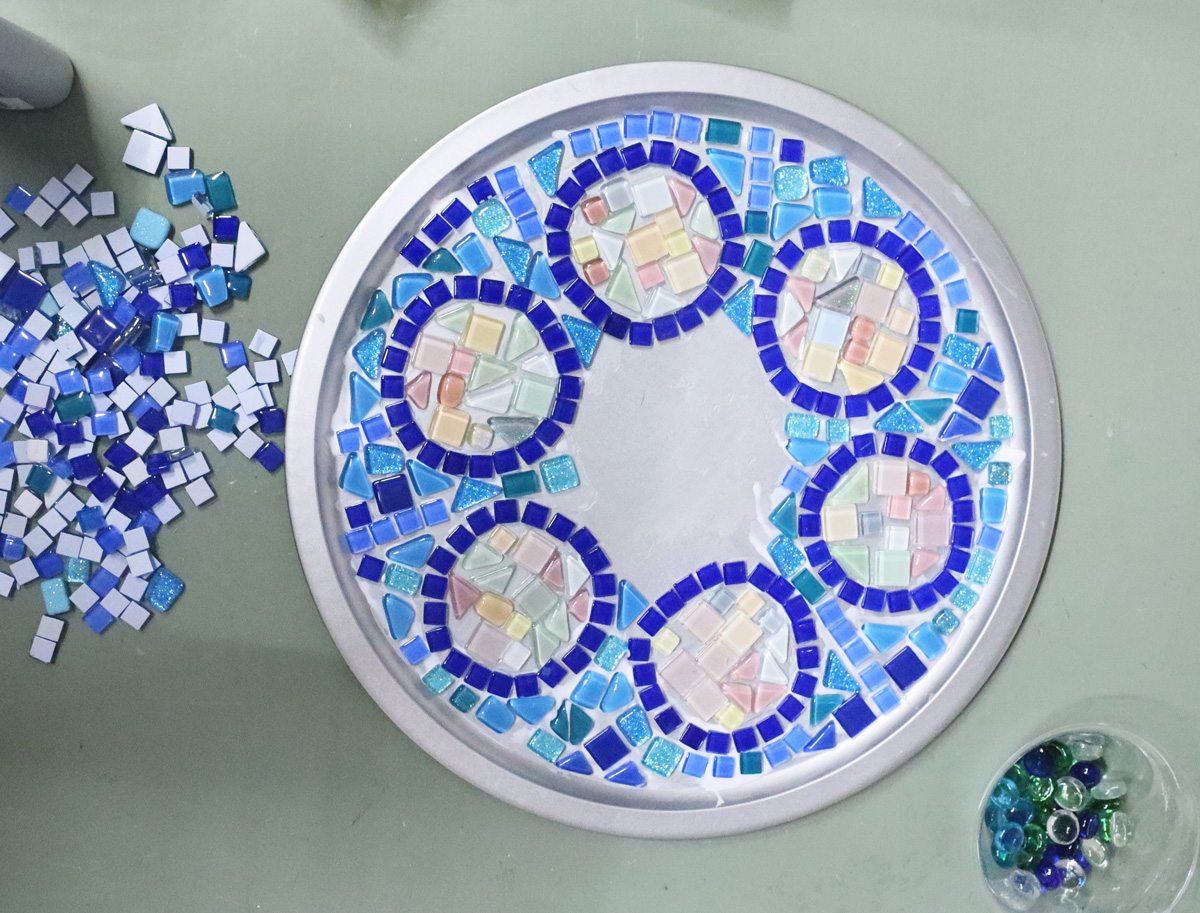
9. Eventually, you’ll move on to the center area. You can do a specific design there, but I kept it random. I don’t recommend tiling the border, because that’ll be harder to grout and won’t stay as secure.
10. When you’re ready to grout, follow the package instructions for proportions, and mix up your grout!
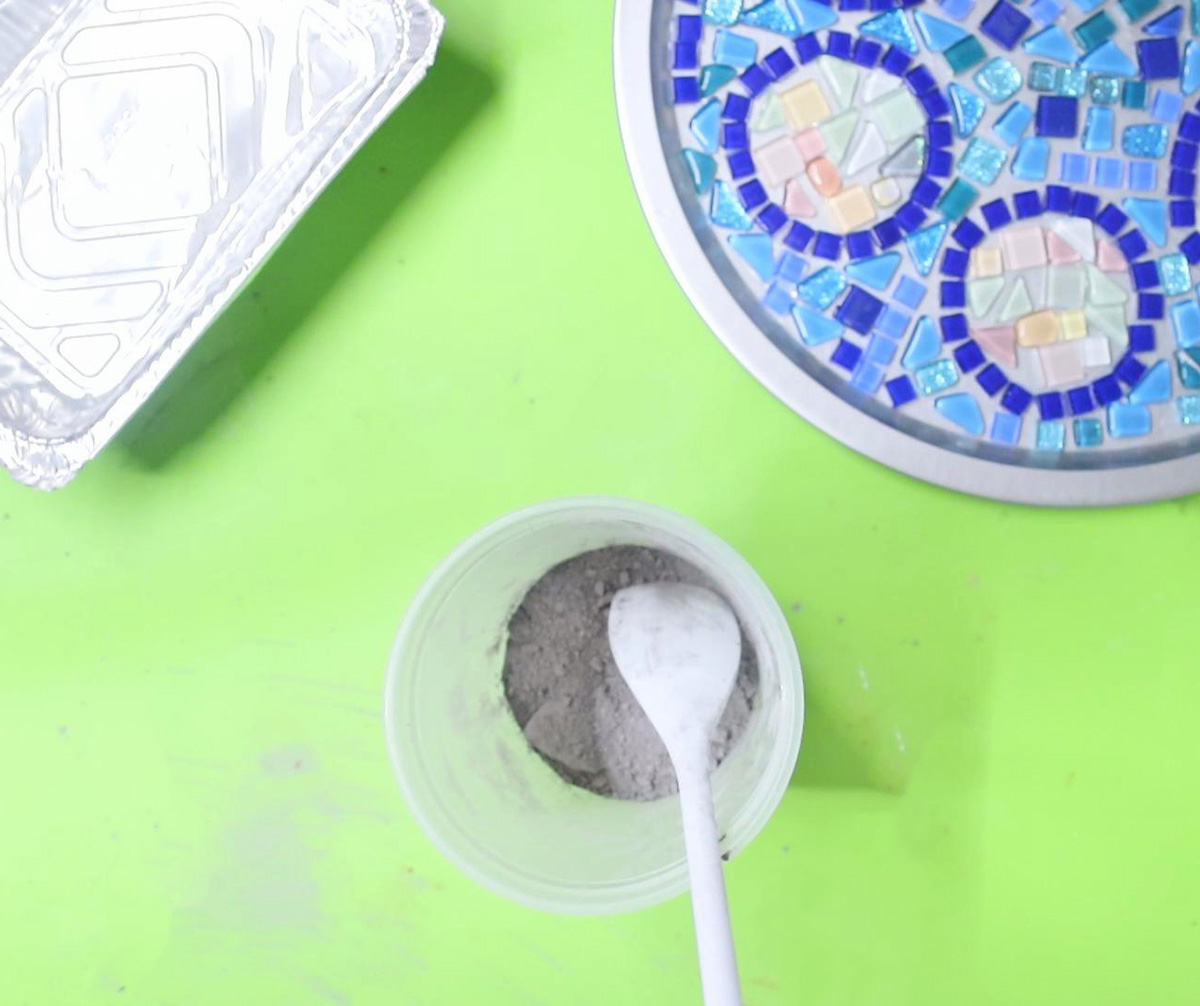
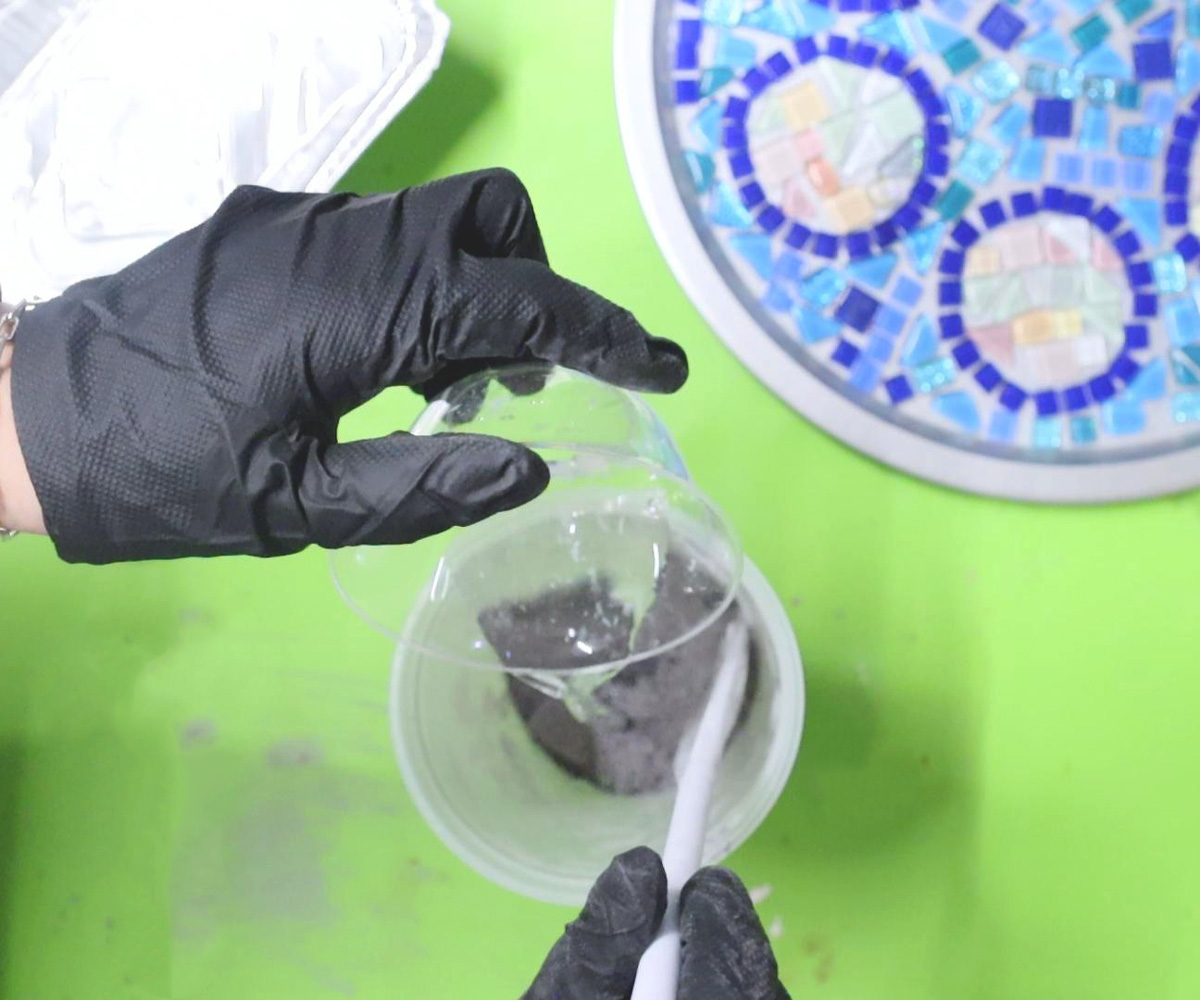
You should have a peanut butter like consistency.
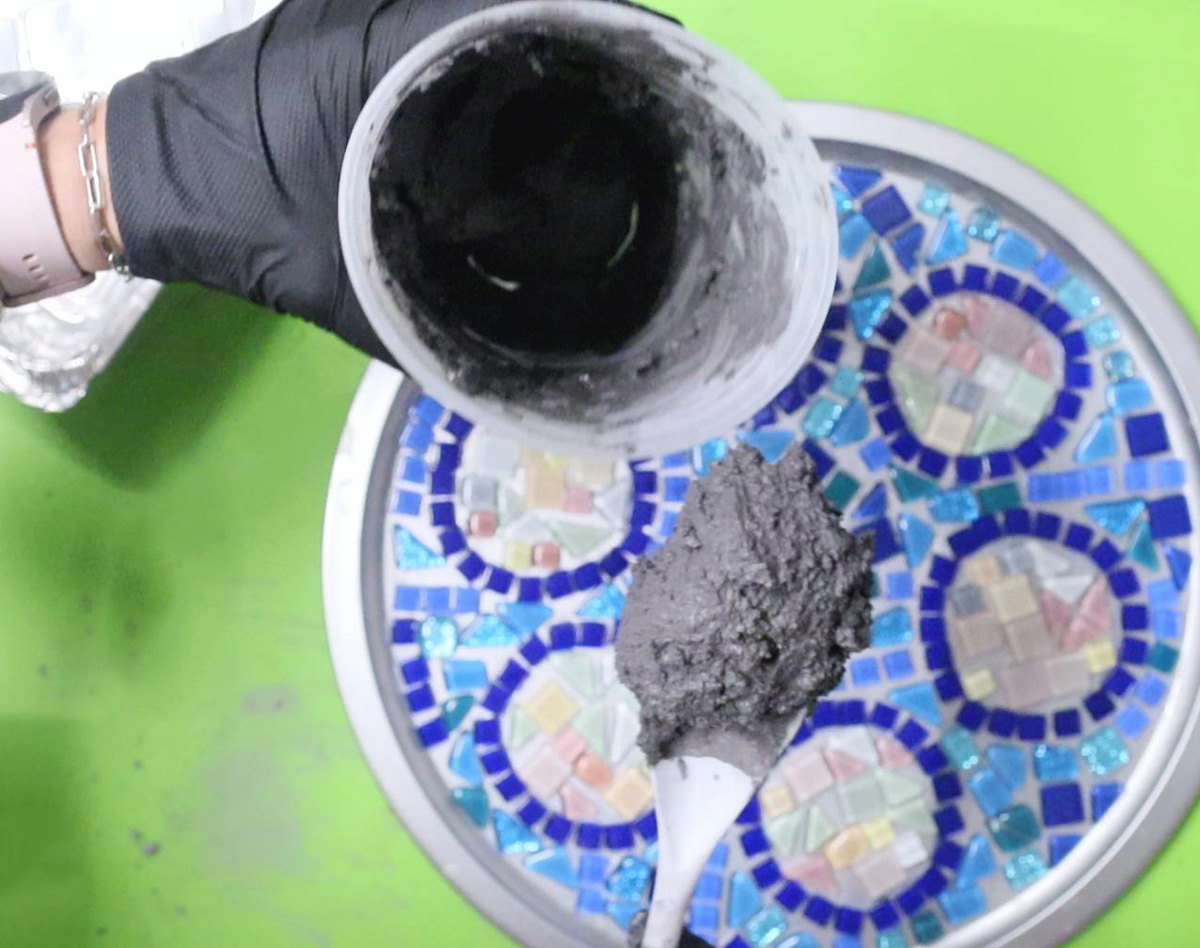
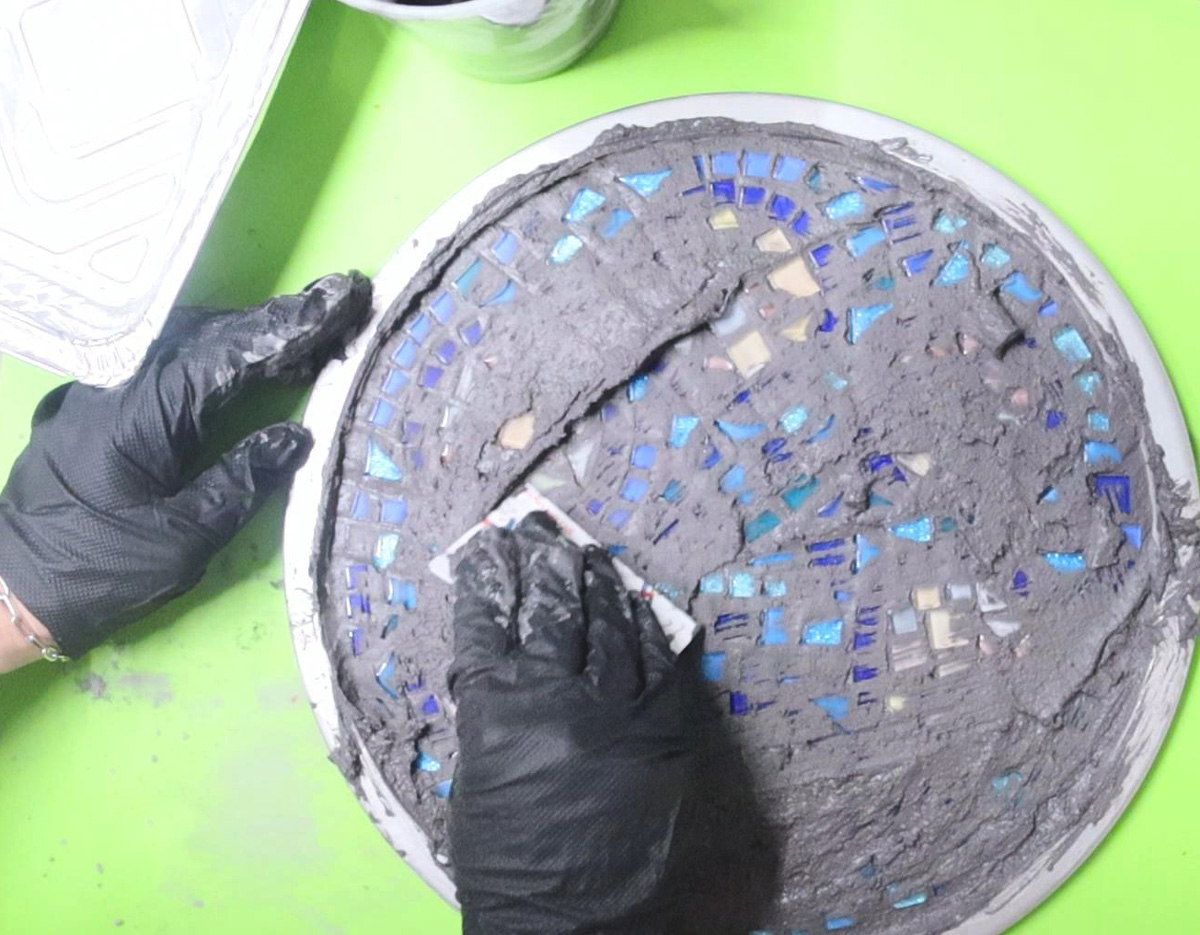
11. Spread your grout on the surface of your mosaic. This is the scary part, but don’t worry, your project will be more than fine!
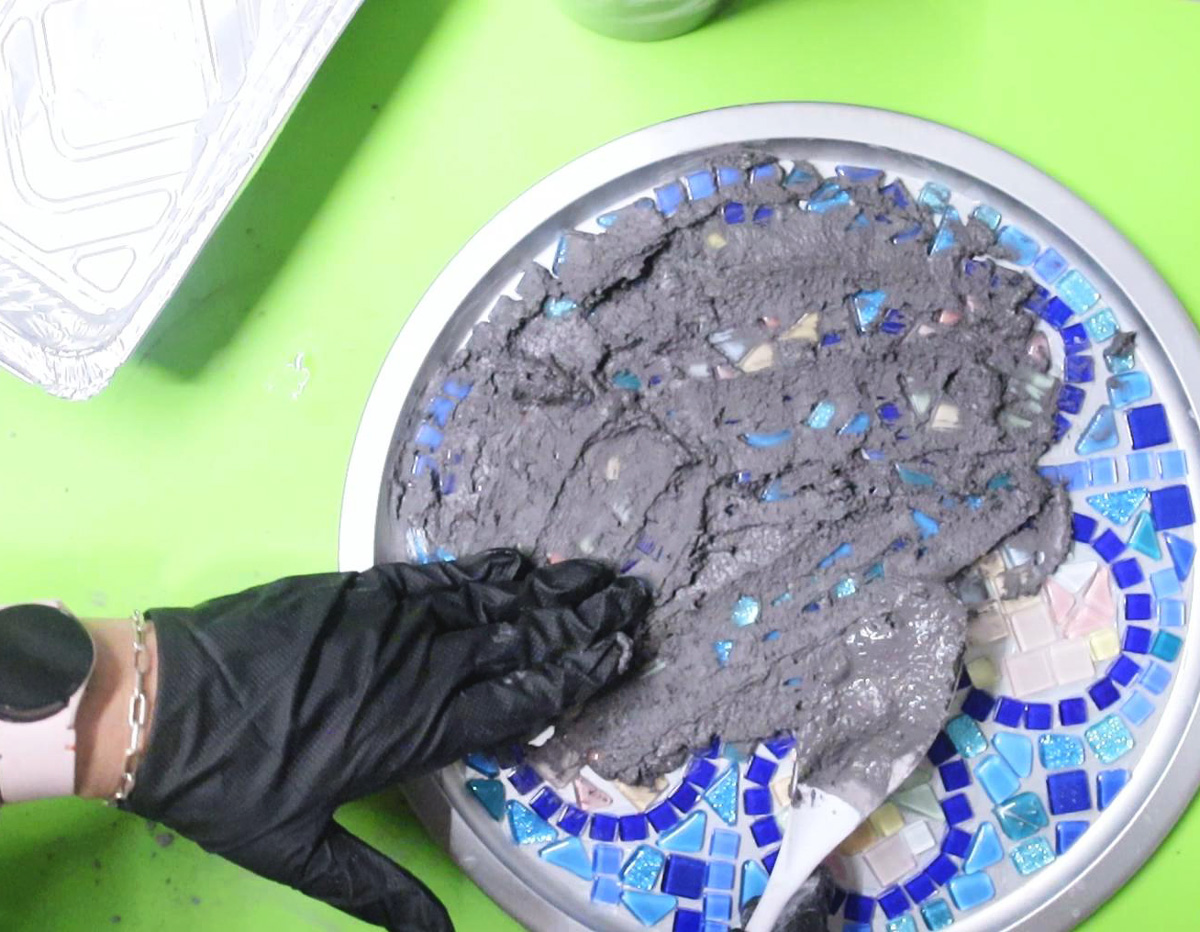
12. I used my (gloved) hands to distribute the grout, and a scraper (out-of-use membership card) to get it in the cracks and scrape off the extra.
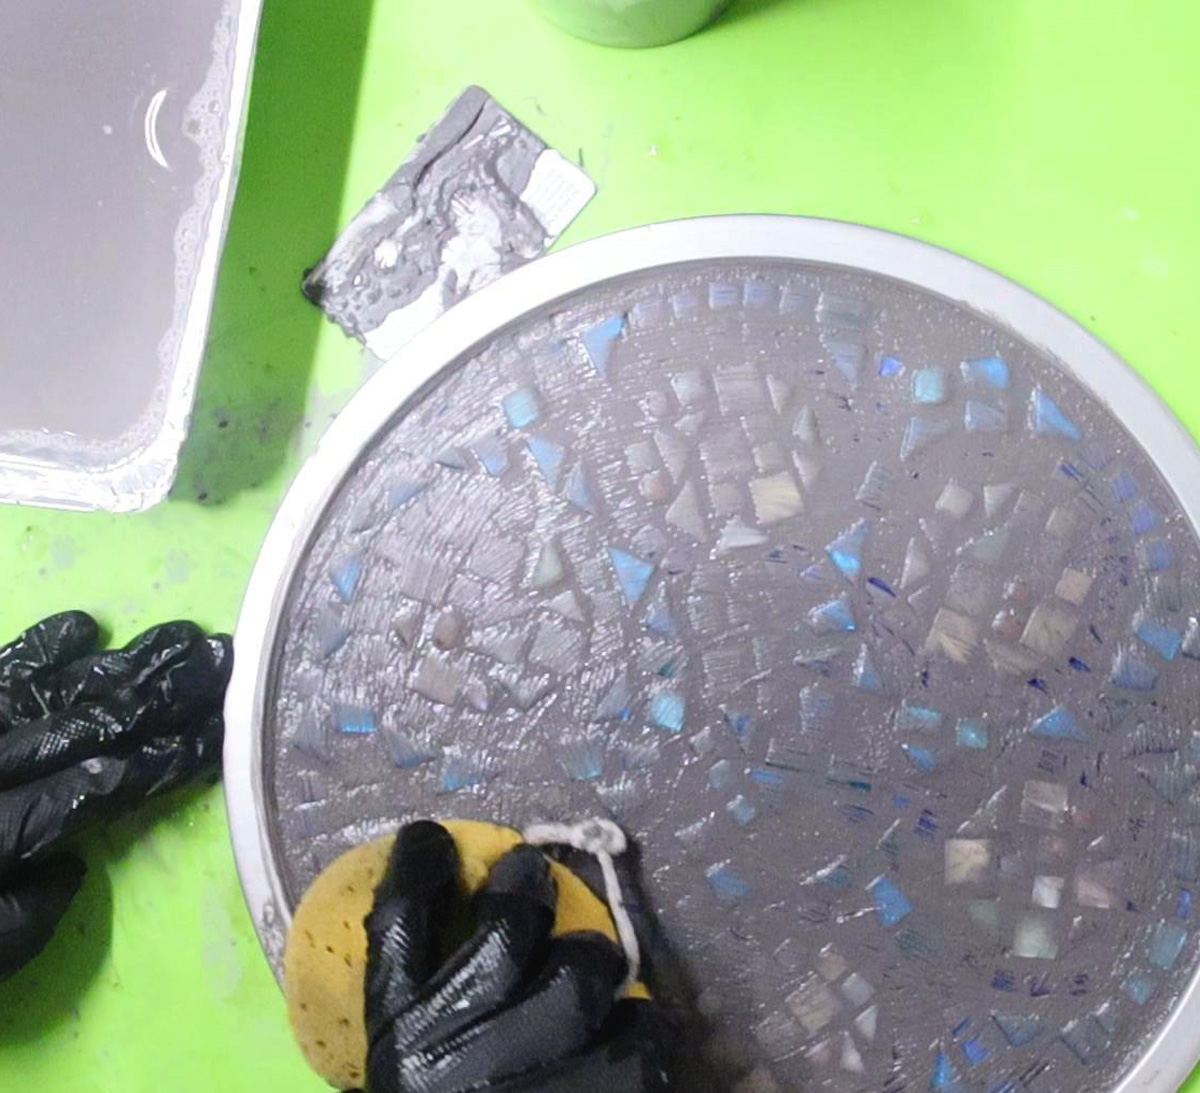
13. Take a very slightly damp sponge (if yours has a rope like mine does, cut it off before you start!) Use it to smooth out the surface, gently removing any excess. Clean up your edges.
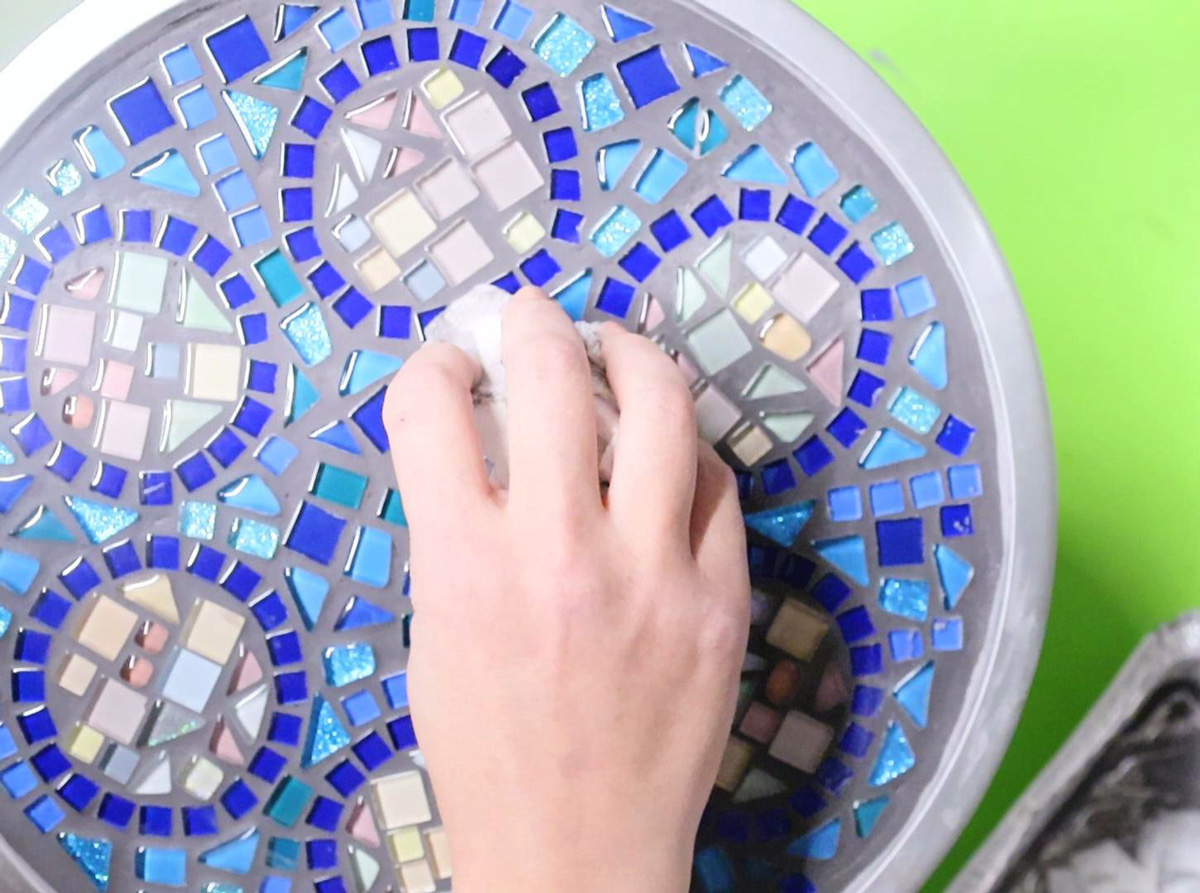
14. When your grout starts drying and looking lighter, start rubbing some of it off the surface very lightly with a dry paper towel. Tip: as long as the grout is still wet, as you wipe, you’ll be pulling grout out of the cracks. Go easy on it and play it by ear. Do what works. You can do this in multiple stages, checking in on it, wiping a little. Or, just wait until the surface of the whole grout is touchable but it’s not dried through and wipe.


15. When it clouded over a bit more, I gave it another damp sponging… That got rid of most of what was needed.
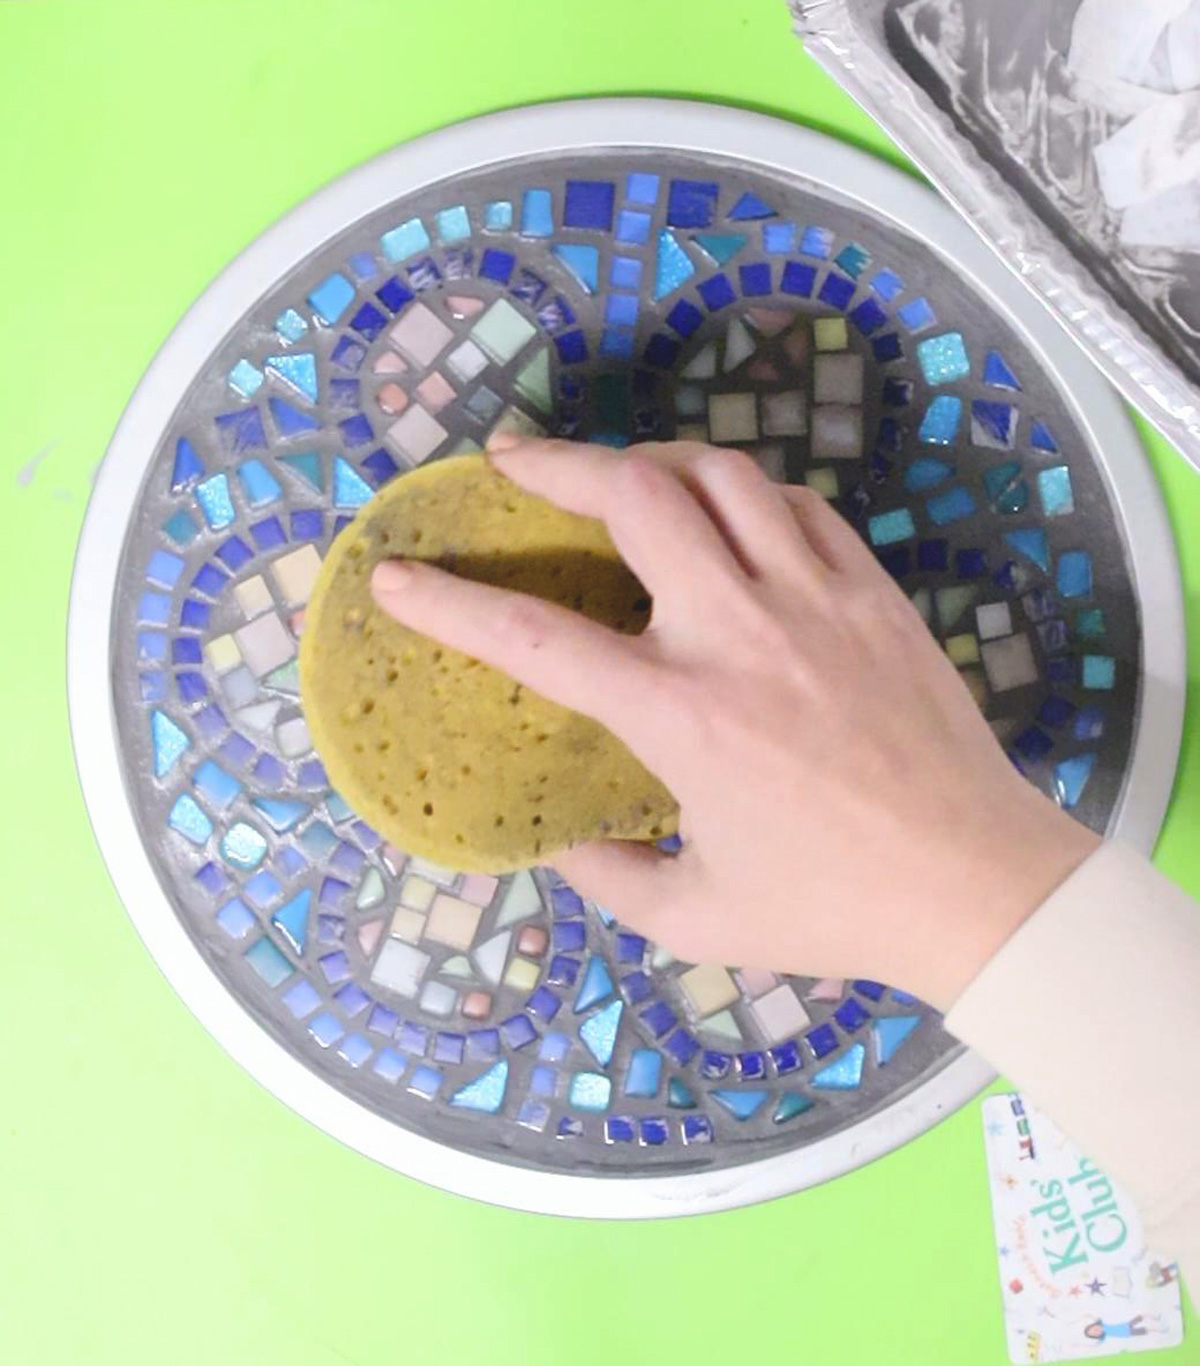
And then a final dry paper towel wipe when it was pretty much solid (but not yet totally dry) was the final wipe down it needed.
Allow it to dry completely (overnight, a day or two.. whatever you feel it needs.) Finish it off how you’d like (notes above) and your DIY mosaic seder plate is complete!