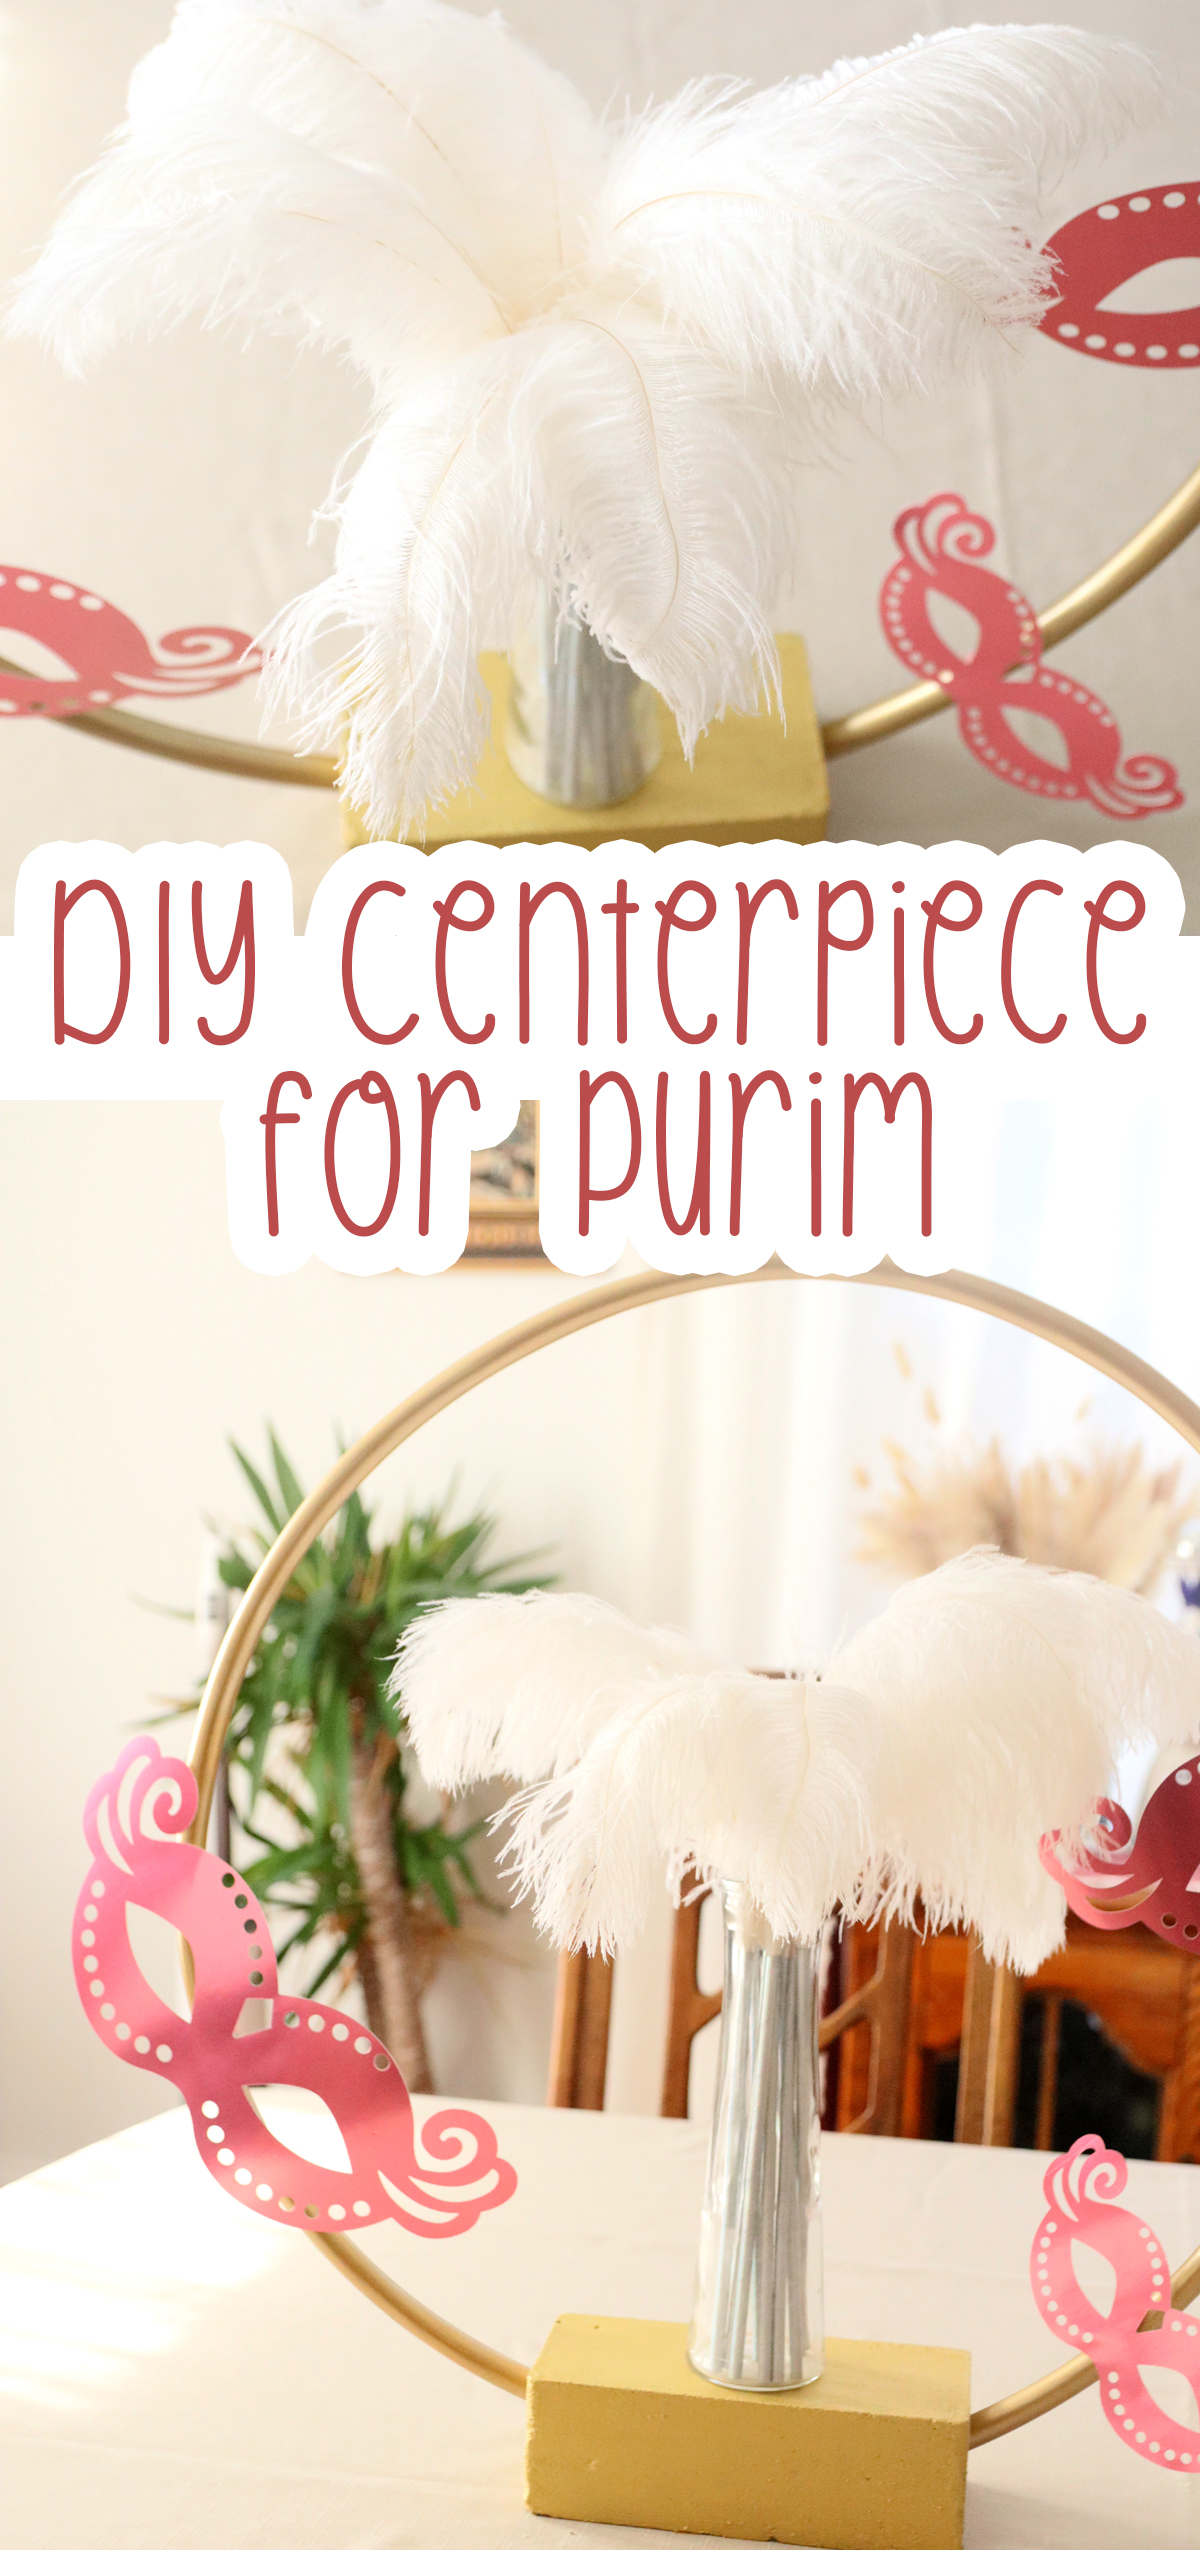
DIY Purim Centerpieces
Craft these gorgeous and festive DIY Purim centerpieces that can actually be customized for any holiday! When you’re done, check out these Purim carnival booth ideas too. This post contains affiliate links.
There’s nothing quite as festive as a pretty centerpiece to bring the holiday spirit into your home and I love having something themed in the center of my table.
And if you’re making a larger scale Purim event – whether it’s a big seudah (meal) or an event for your school/shul – you probably want something large and affordable, that’ll really stand out in the room.
What I love about this DIY Purim centerpiece that I’m about to share is that it’s really the framework for a centerpiece for any holiday. In fact, I attached the Purim elements temporarily, so that I can reuse it.
How you can switch up this DIY Purim centerpiece
Explaining my choices
I wanted something that was vaguely Purim-esque and my mind right away turned towards feathers. They just scream “costume” and large ostrich feathers make quite a festive, cheerful, but still classy statement.
But I felt it wasn’t “Purim enough” to share with you as a Purim centerpiece and I have to add masks. I’m sharing this because you SO don’t need the masks, but you CAN add them if you want a real Purim vibe.

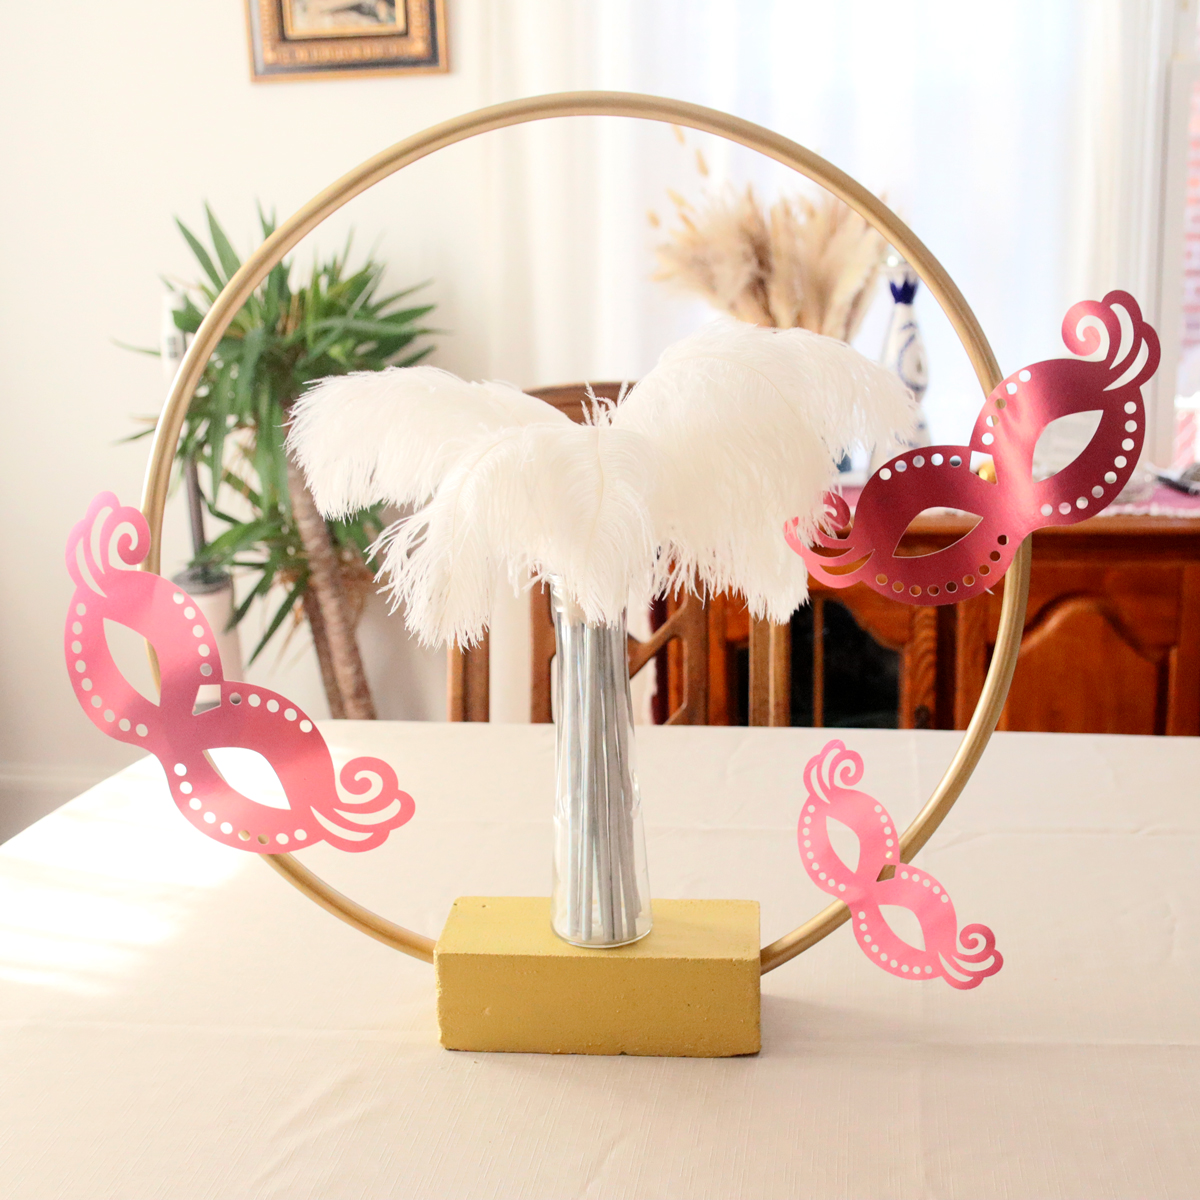
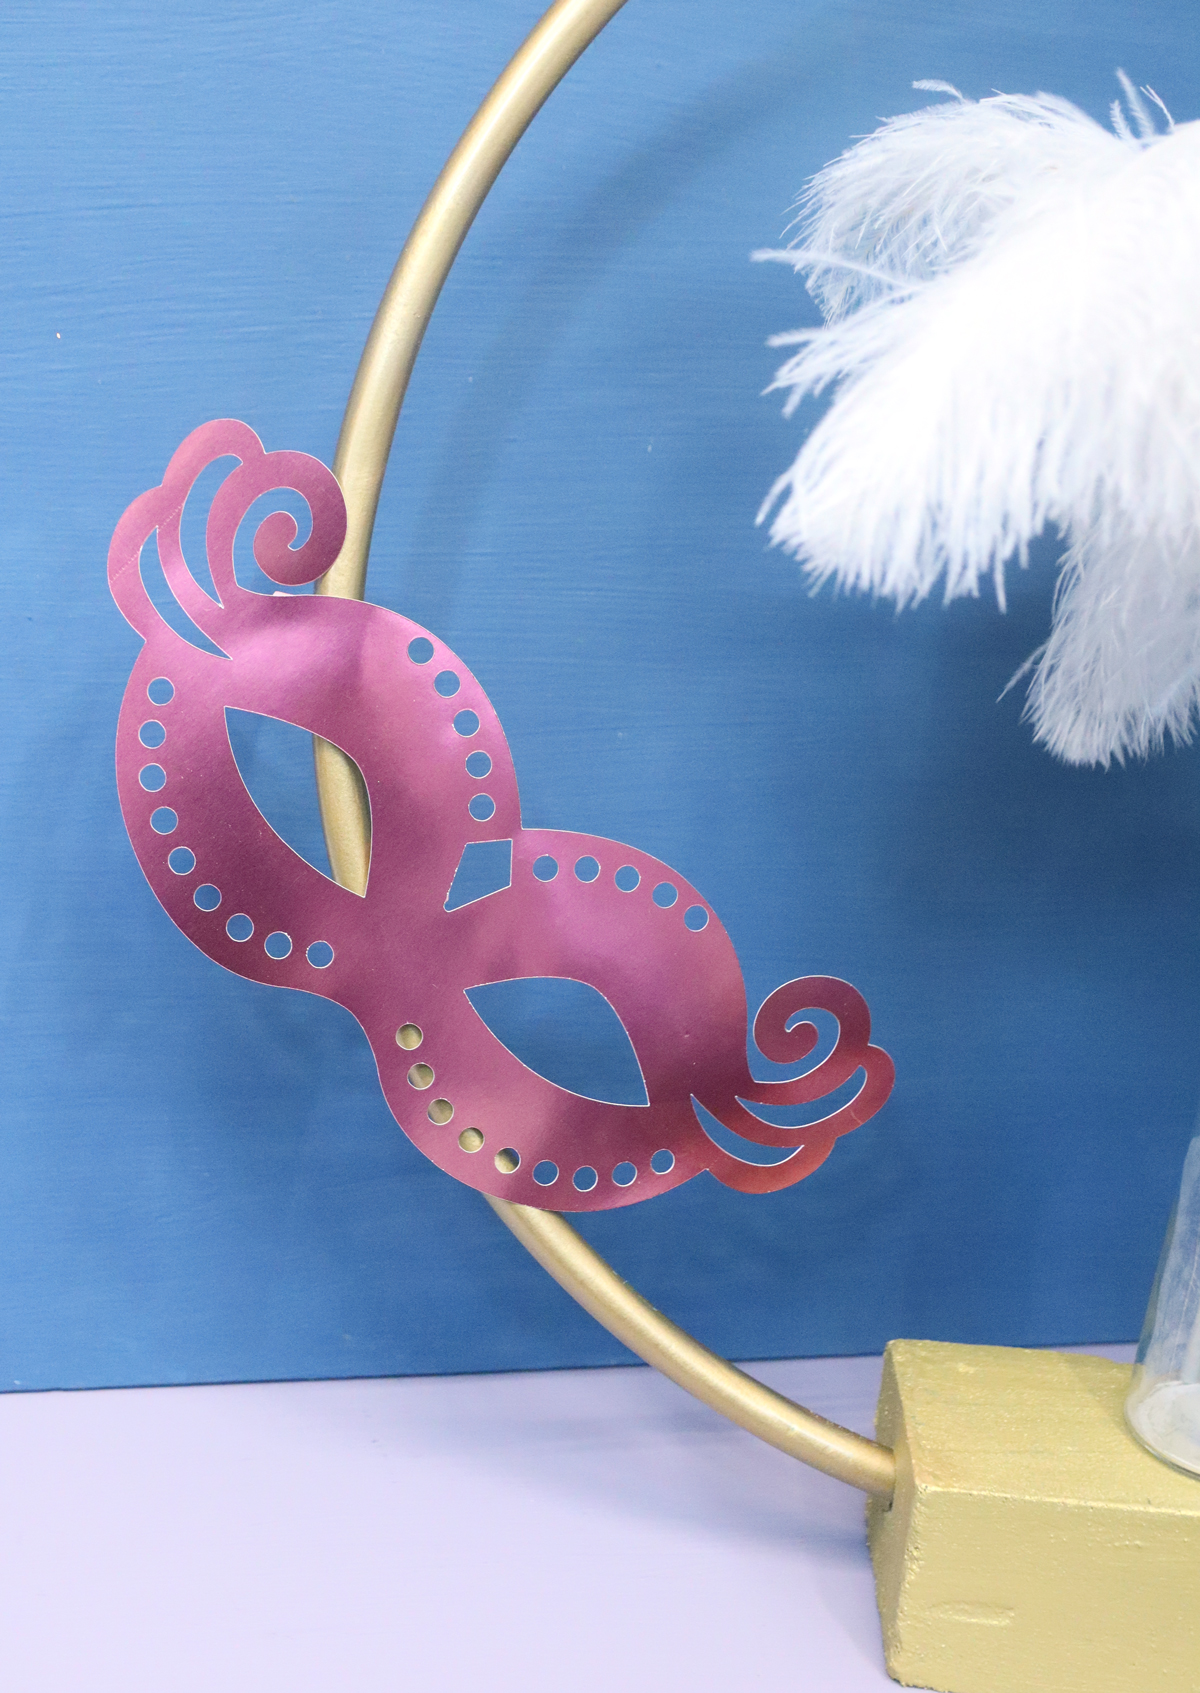
I wanted to keep it simple and modern but elegant, but still have a “glam” Purim vibe – which is why I chose gold as the main color. I added the metallic pink for a festive touch but frankly I regret that color choice.
And I also was working on a time crunch and couldn’t wait to order masks to pin around the edges so I cut some on my Cricut, which may have taken away from the polished look a bit.
Ideas for how to switch things up
So here are some “mix ‘n match” ideas for this DIY Purim centerpiece. All these are things I considered before making my final design choice. The vase in the center is totally removable. The main element is the frame and the stand for the vase that you use as the base for any centerpiece.
- Add fresh flowers to the vase – you already have the masks and don’t need the feathers
- Use masquerade masks in any color, shape, style you want
- Skip the masks entirely OR
- Include other Purim elements around the frame
- Wrap vines or florals around the frame
- Prop graggers in the vase (works great with florals around the frame, or combined with florals)
- Skip painting the floral blocks and use an abundance of faux florals the same way you would real to create a floral base. Note: technically you can use real florals but since you don’t have the block in a base, it would leak water. You can probably give it minimal water and put it on a tray but you’ll need to be on top of it and it probably wont’ last as long.
I taped my masks on but you can absolutely hot glue it if you don’t plan to reuse it. You can also attach things with zip ties.
How to make a DIY Purim centerpiece
You’ll need
- Floral foam blocks (this may work with regular foam blocks but I like the smoother surface of the floral block)
- Mod podge
- A wide brush for the Mod Podge
- Acrylic Paint (I used FolkArt Brushed Metal dark gold)
- A small hula hoop – if you go for too large a hoop it’ll throw it off balance. I believe mine is 20 inches. Mine is from the Dollar Tree
- Gold spray paint
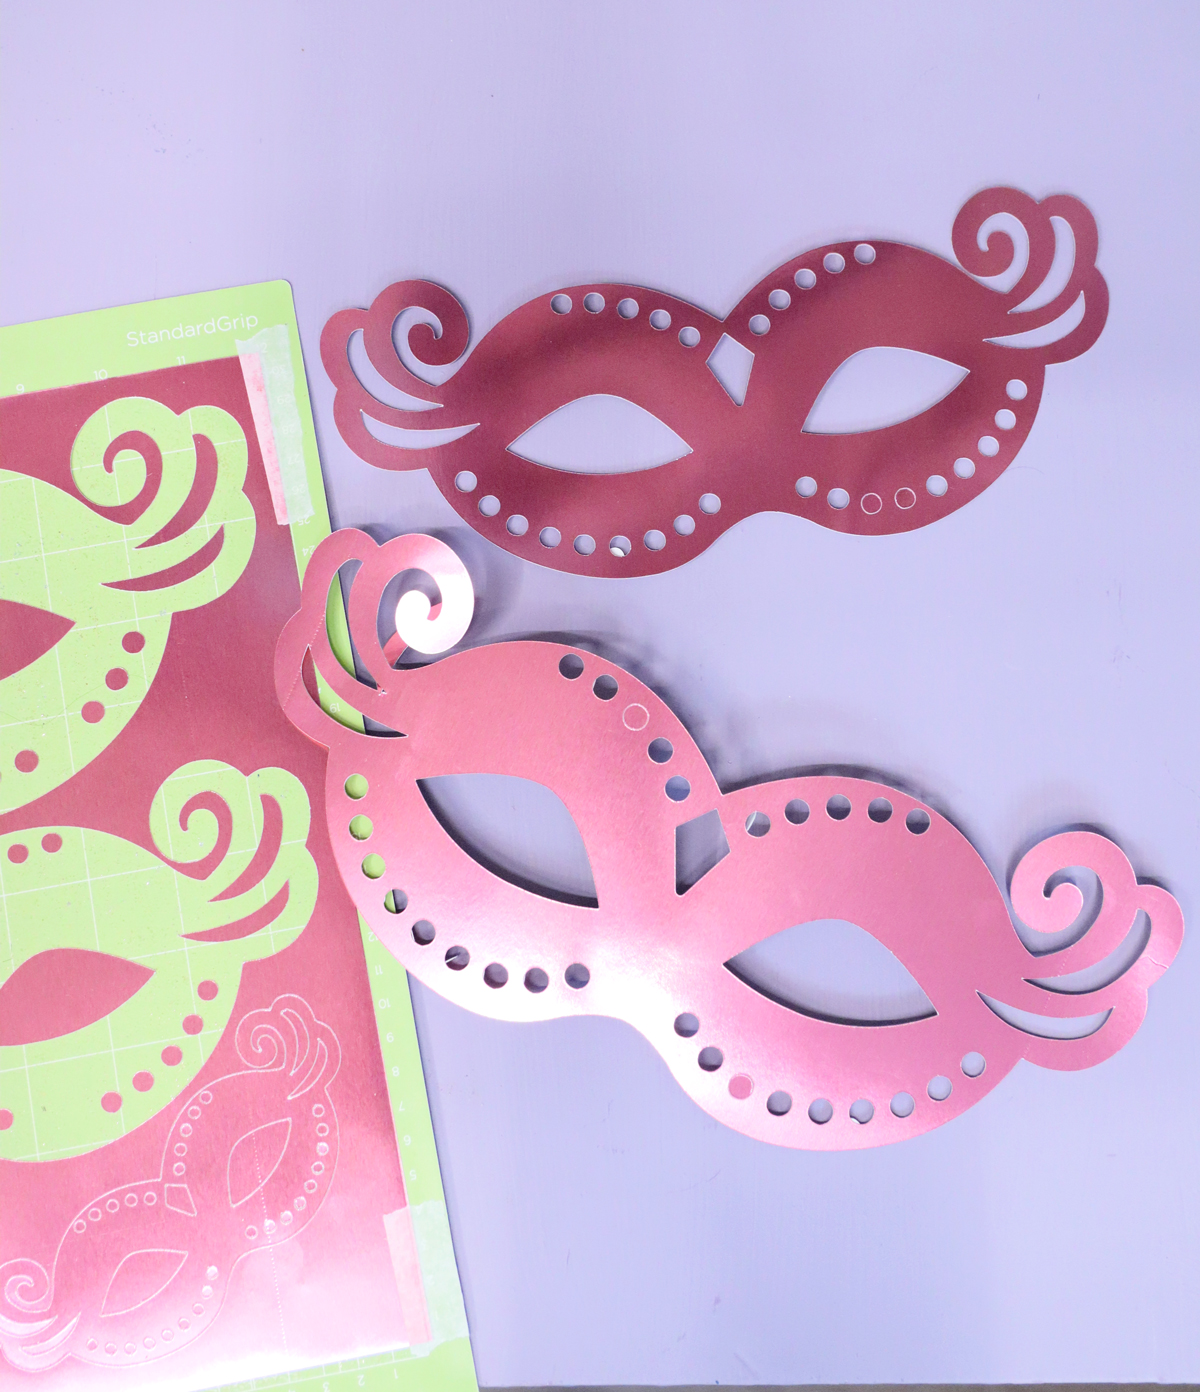
- Masks to match – buy or make on your Cricut. I made mine from metallic pink poster board.
- Ostrich feathers
- Straws to match (I used metallic paper straws) will likely be needed to give your feathers height.
- A vase of choice – I used a simple glass vase from the dollar store
- Hot glue, tape, or zip ties to affix masks
Process
Watch the full YouTube video here or scroll down for the step-by-step written tutorial with photos:
There is a fair amount of dry time needed for this, so I’m sharing this not by element created, but in the sequence that I created it to allow for drying time.
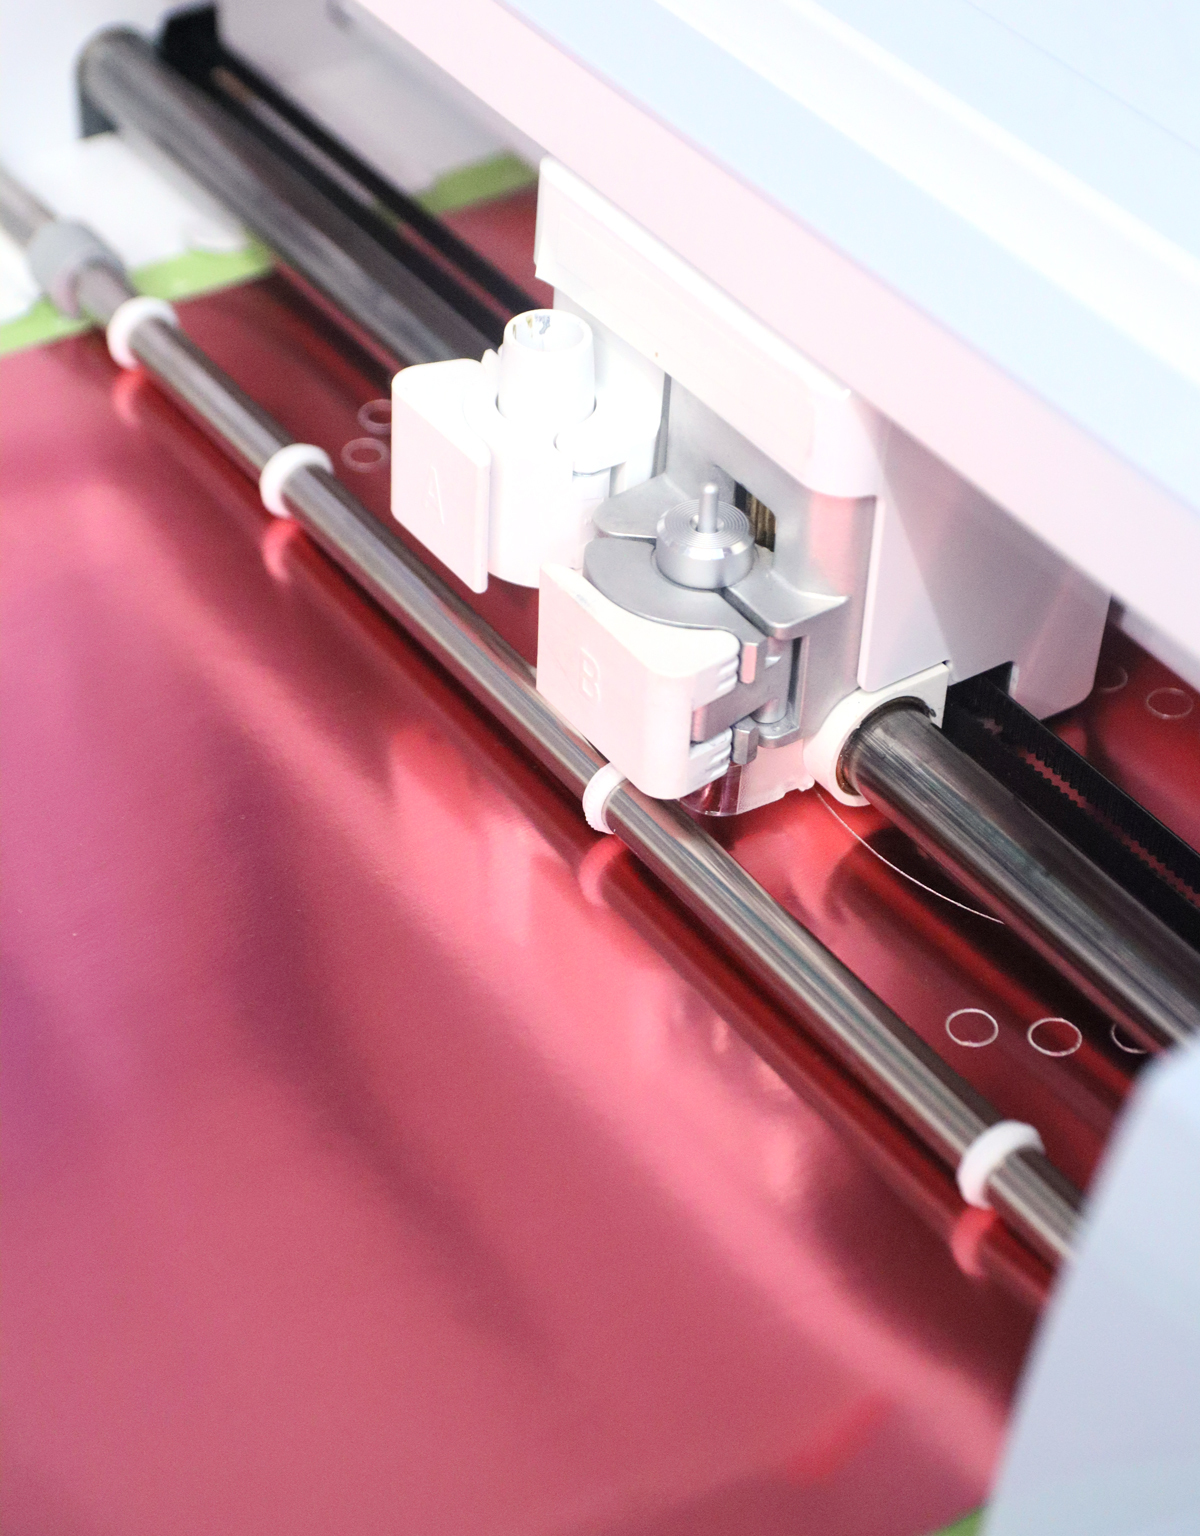
1. Prepare your masks if needed. I cut mine on my Cricut.
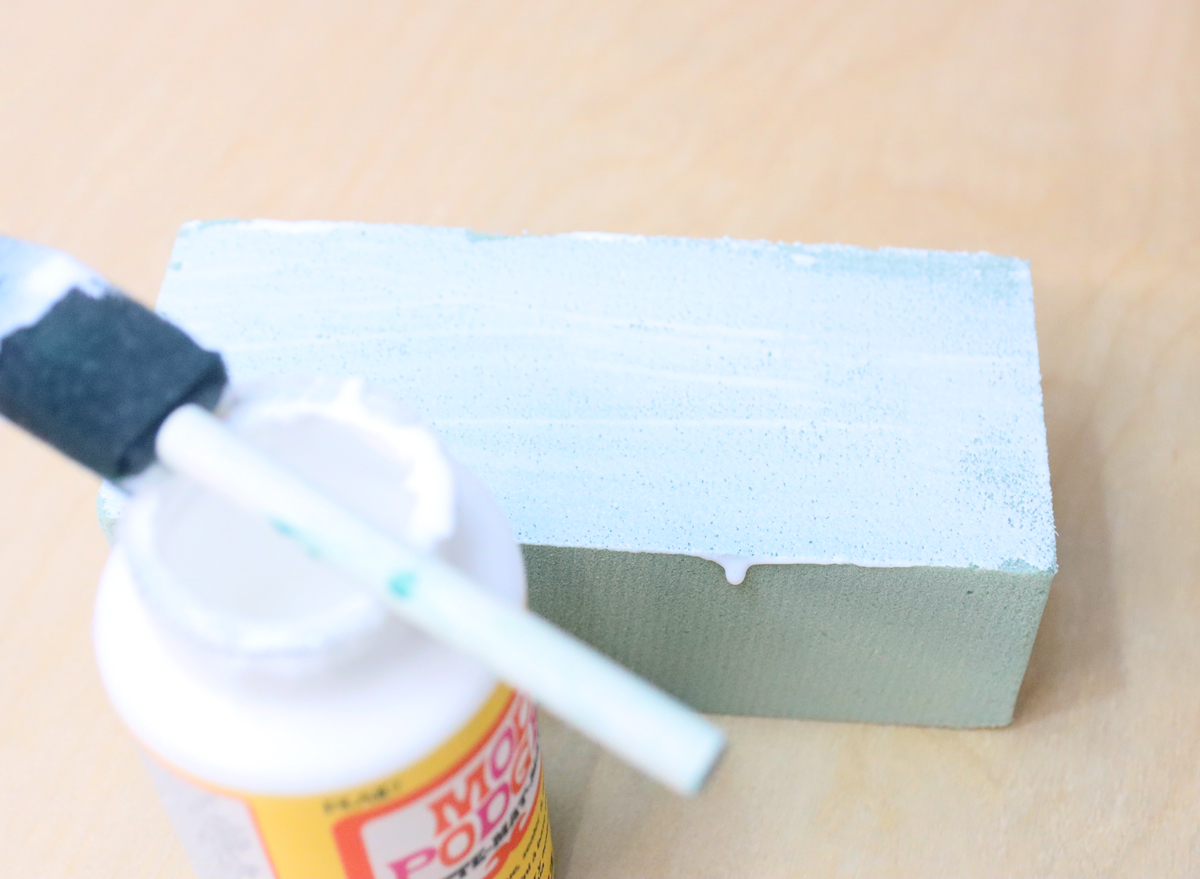
2. Prime your floral block using a GENEROUS amount of Mod Podge. Floral blocks are super absorbent and they’ll crumble if you try painting straight so just slop on generous amounts of Mod podge on any side you’ll be painting. I skipped the bottom. Set it aside to dry.
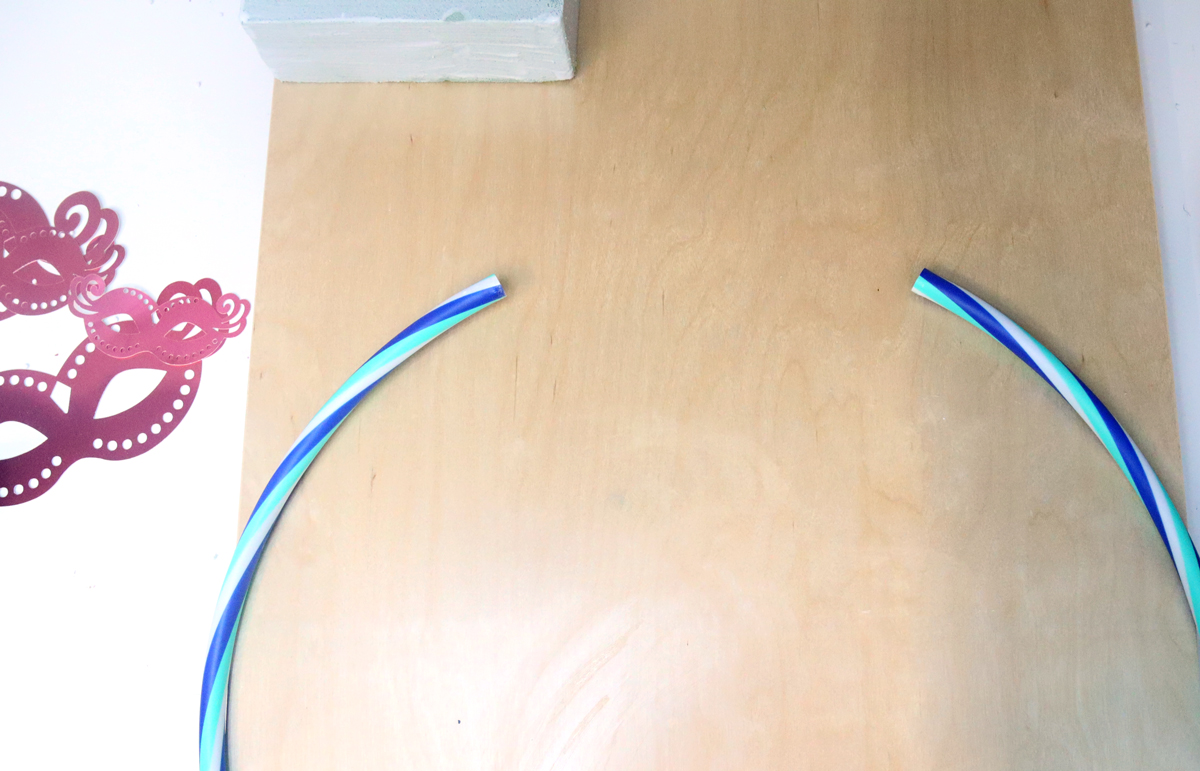
3. The hula hoop I used was really a large tube connected with a connector piece that can be opened and removed. If yours is sealed, open it some other way. Empty anything that might be inside.
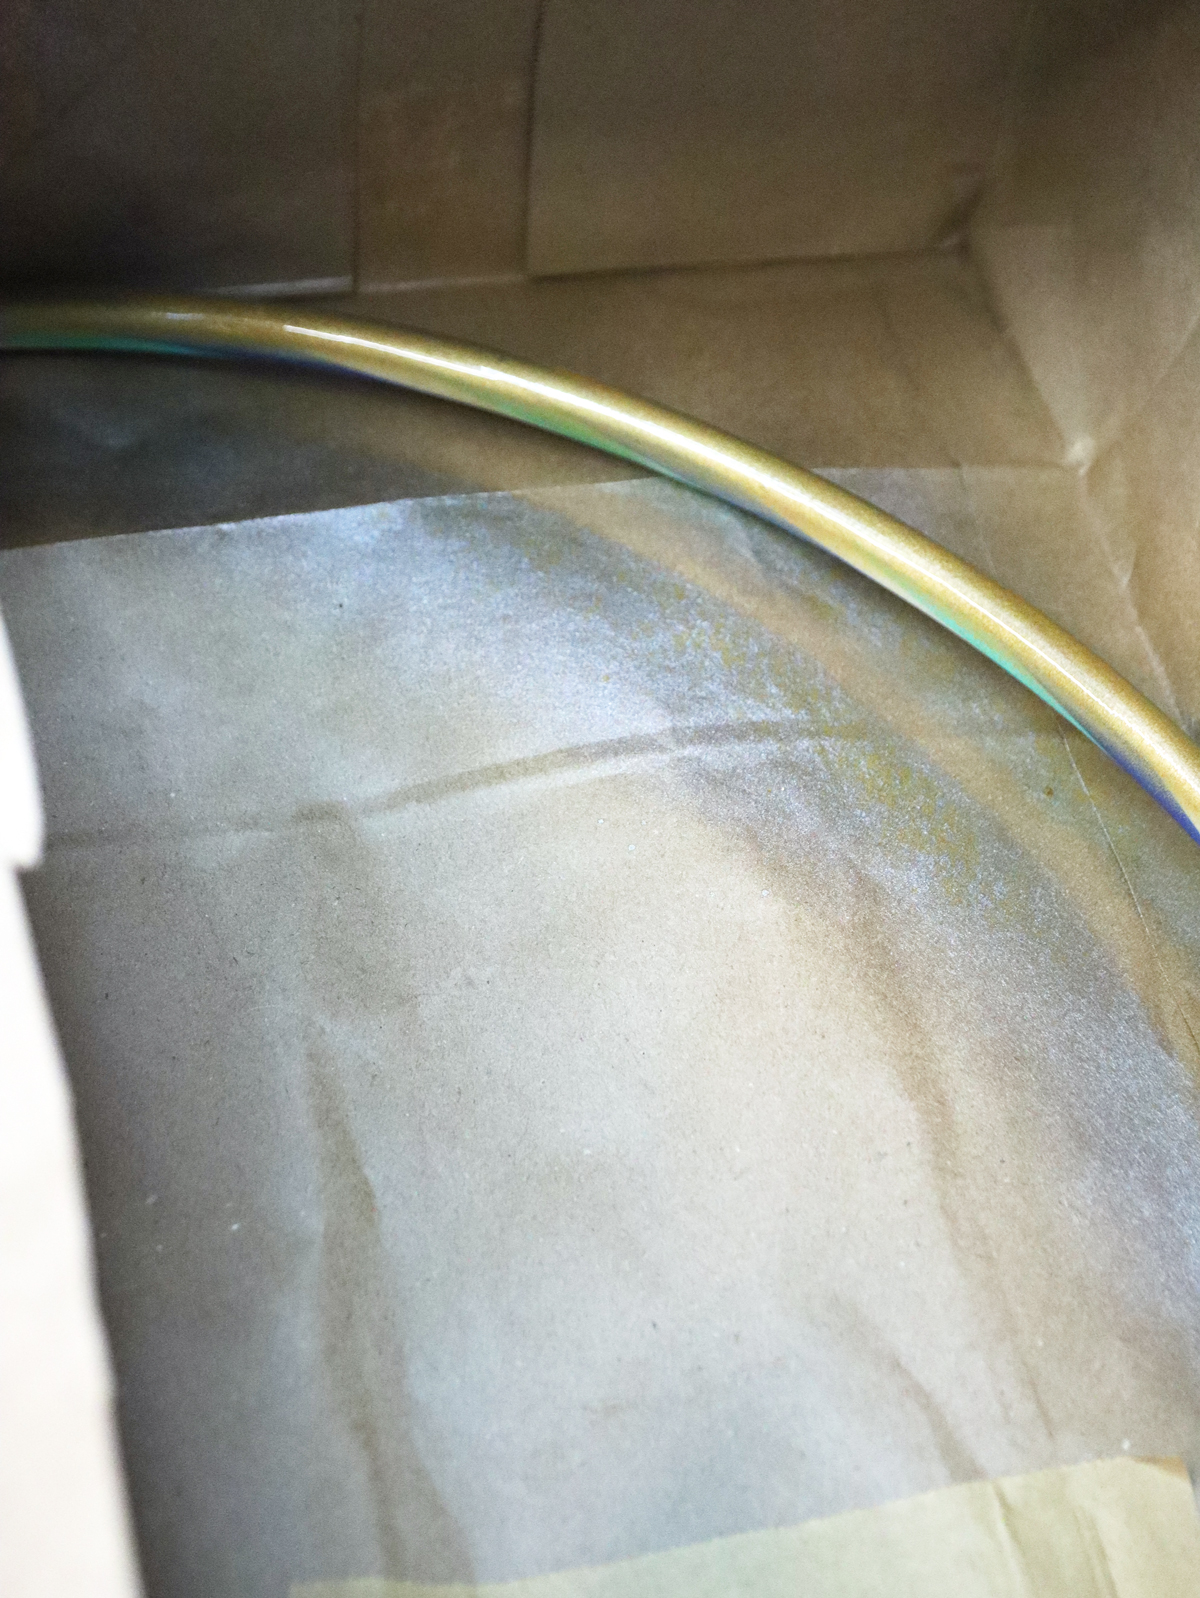
4. Spray paint the hoop gold and set it aside to dry. I did this in a few batches (it helps to have fast-drying spray paint for this).
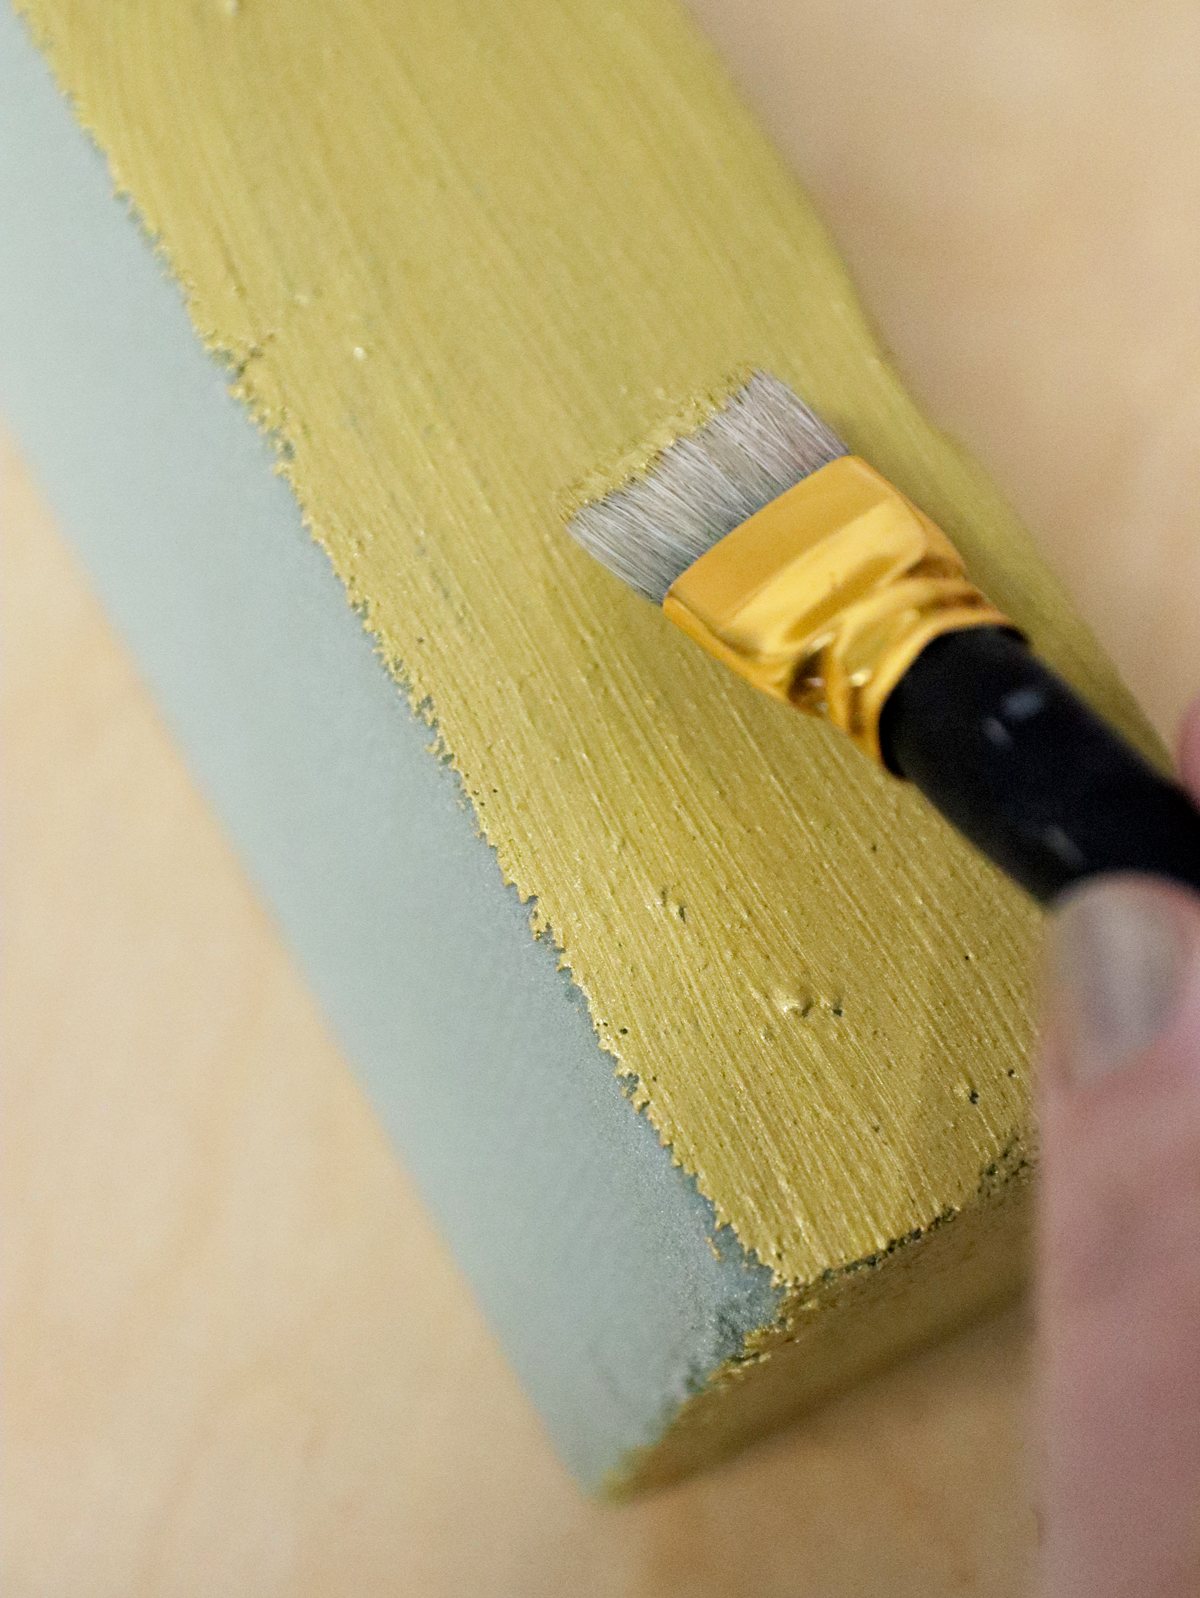
5. Paint the block once the Mod Podge is totally dry. Go gentle so it doesn’t crumble. Allow it to dry completely.
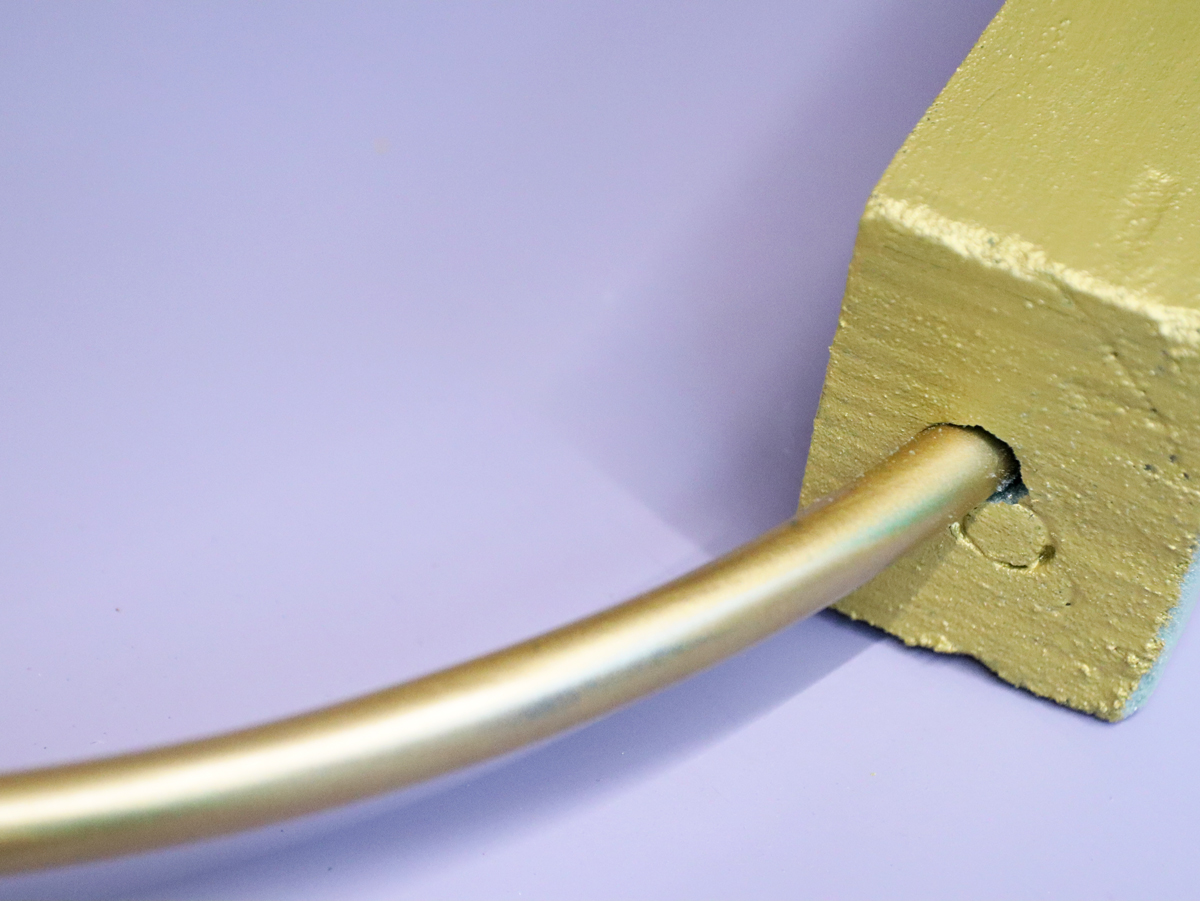
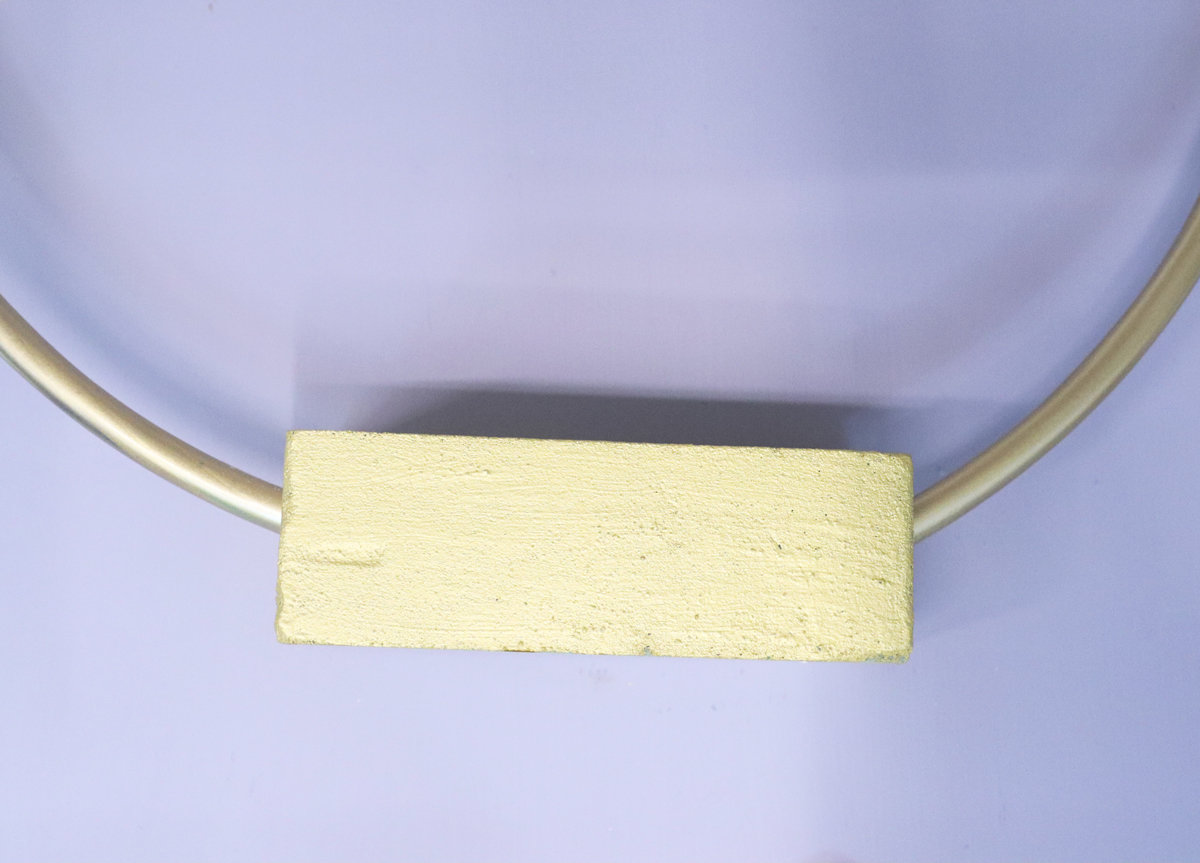
6. You should be able to shove the hoop into the two small sides of the block now. It goes in at an angle, so make sure to first see how you want it positioned and then do it. It should be totally supported by the block and easily stand on its own.
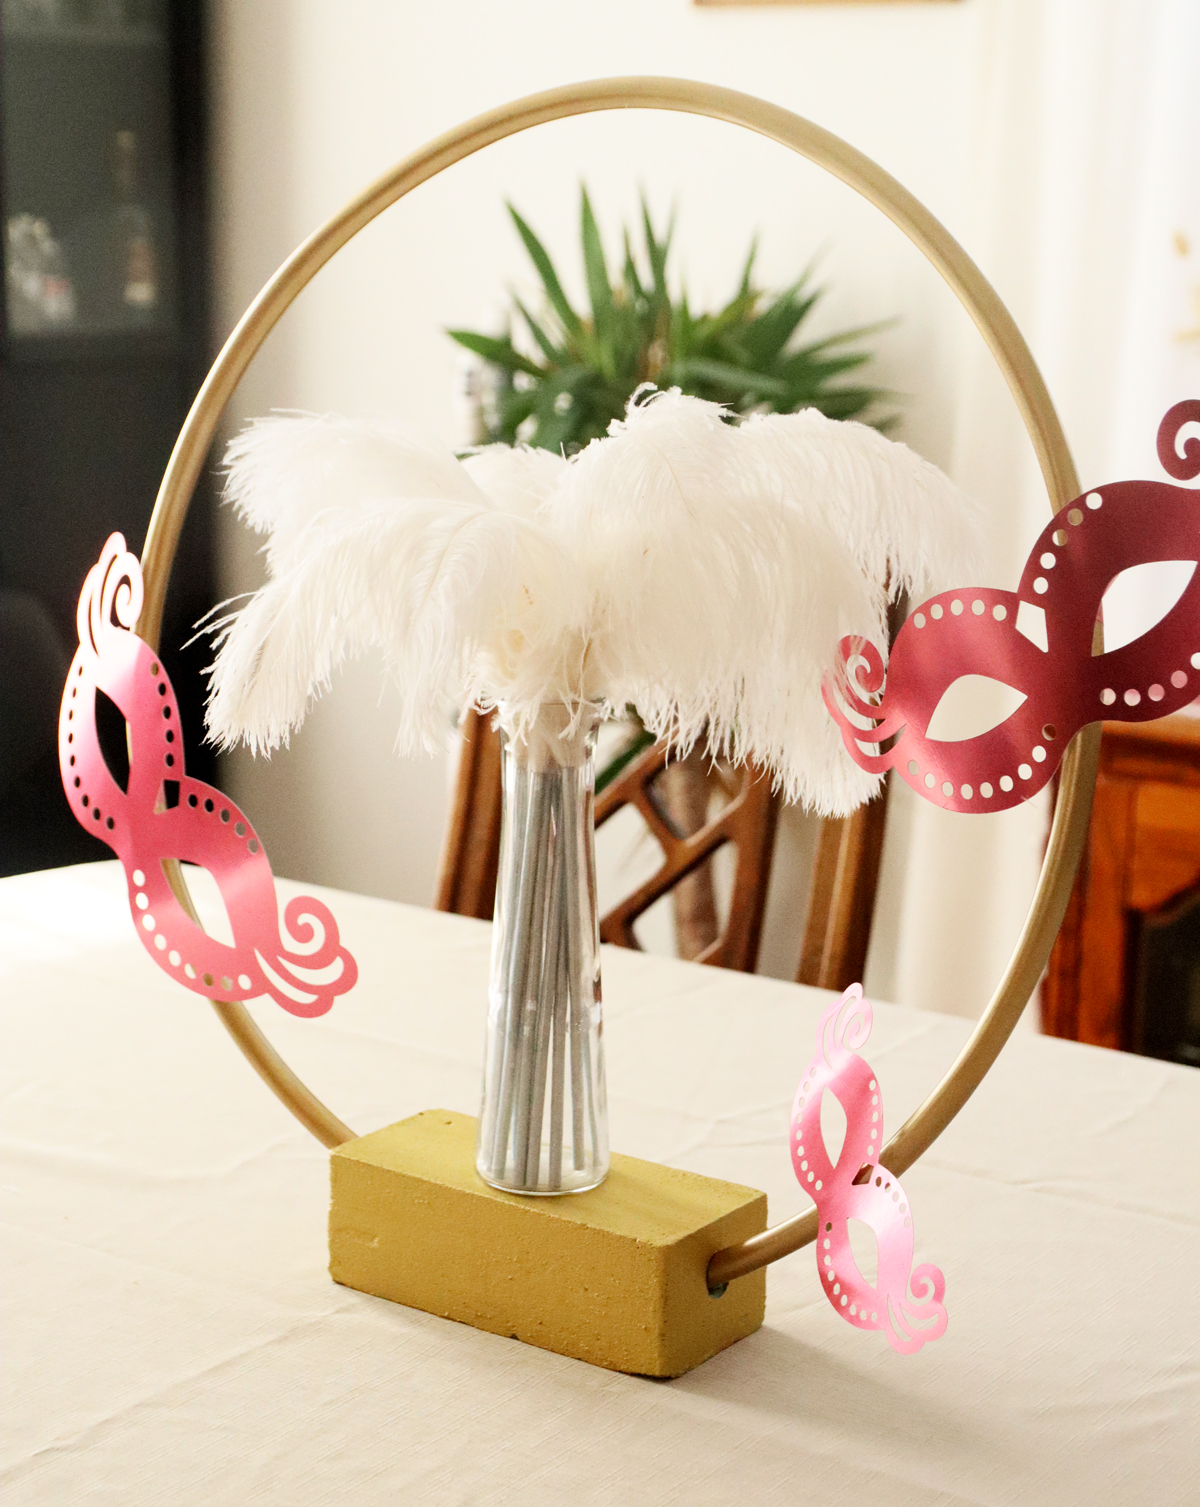
At this point, you have the framework for the DIY Purim centerpiece complete and ready to “decorate” however you’d like. This is how I did mine:
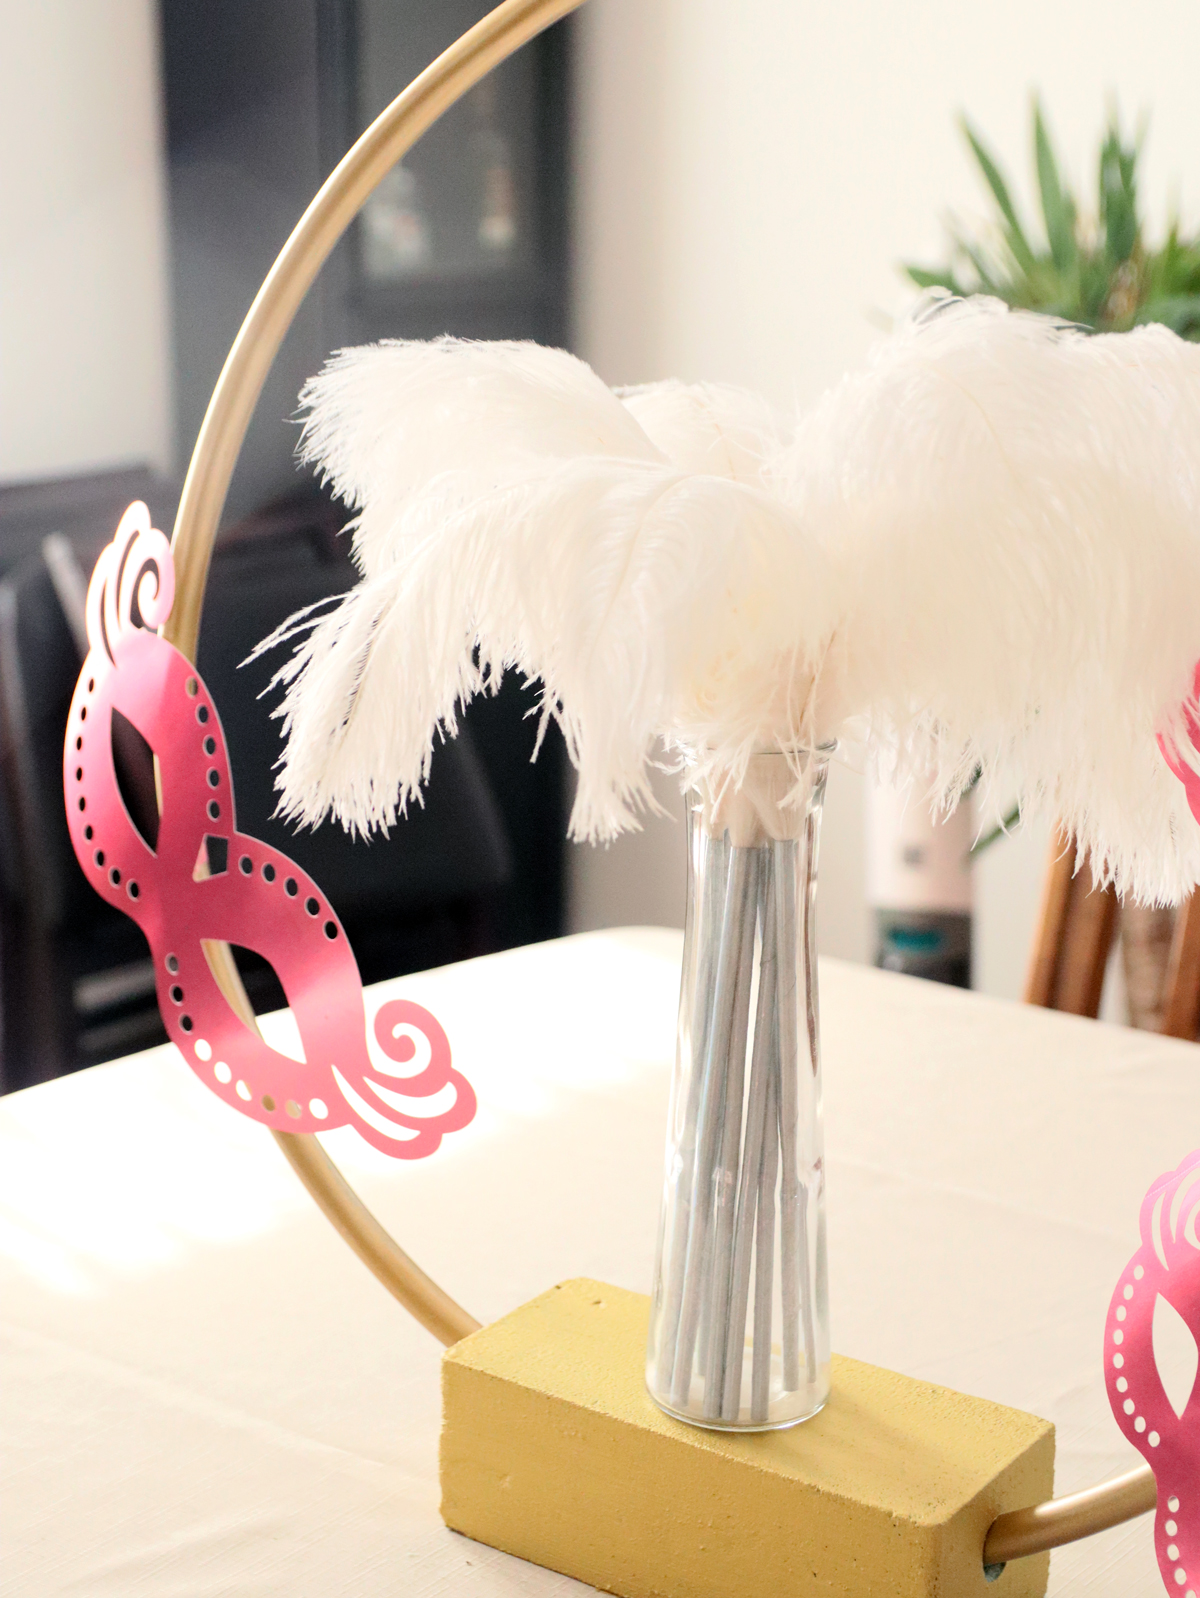
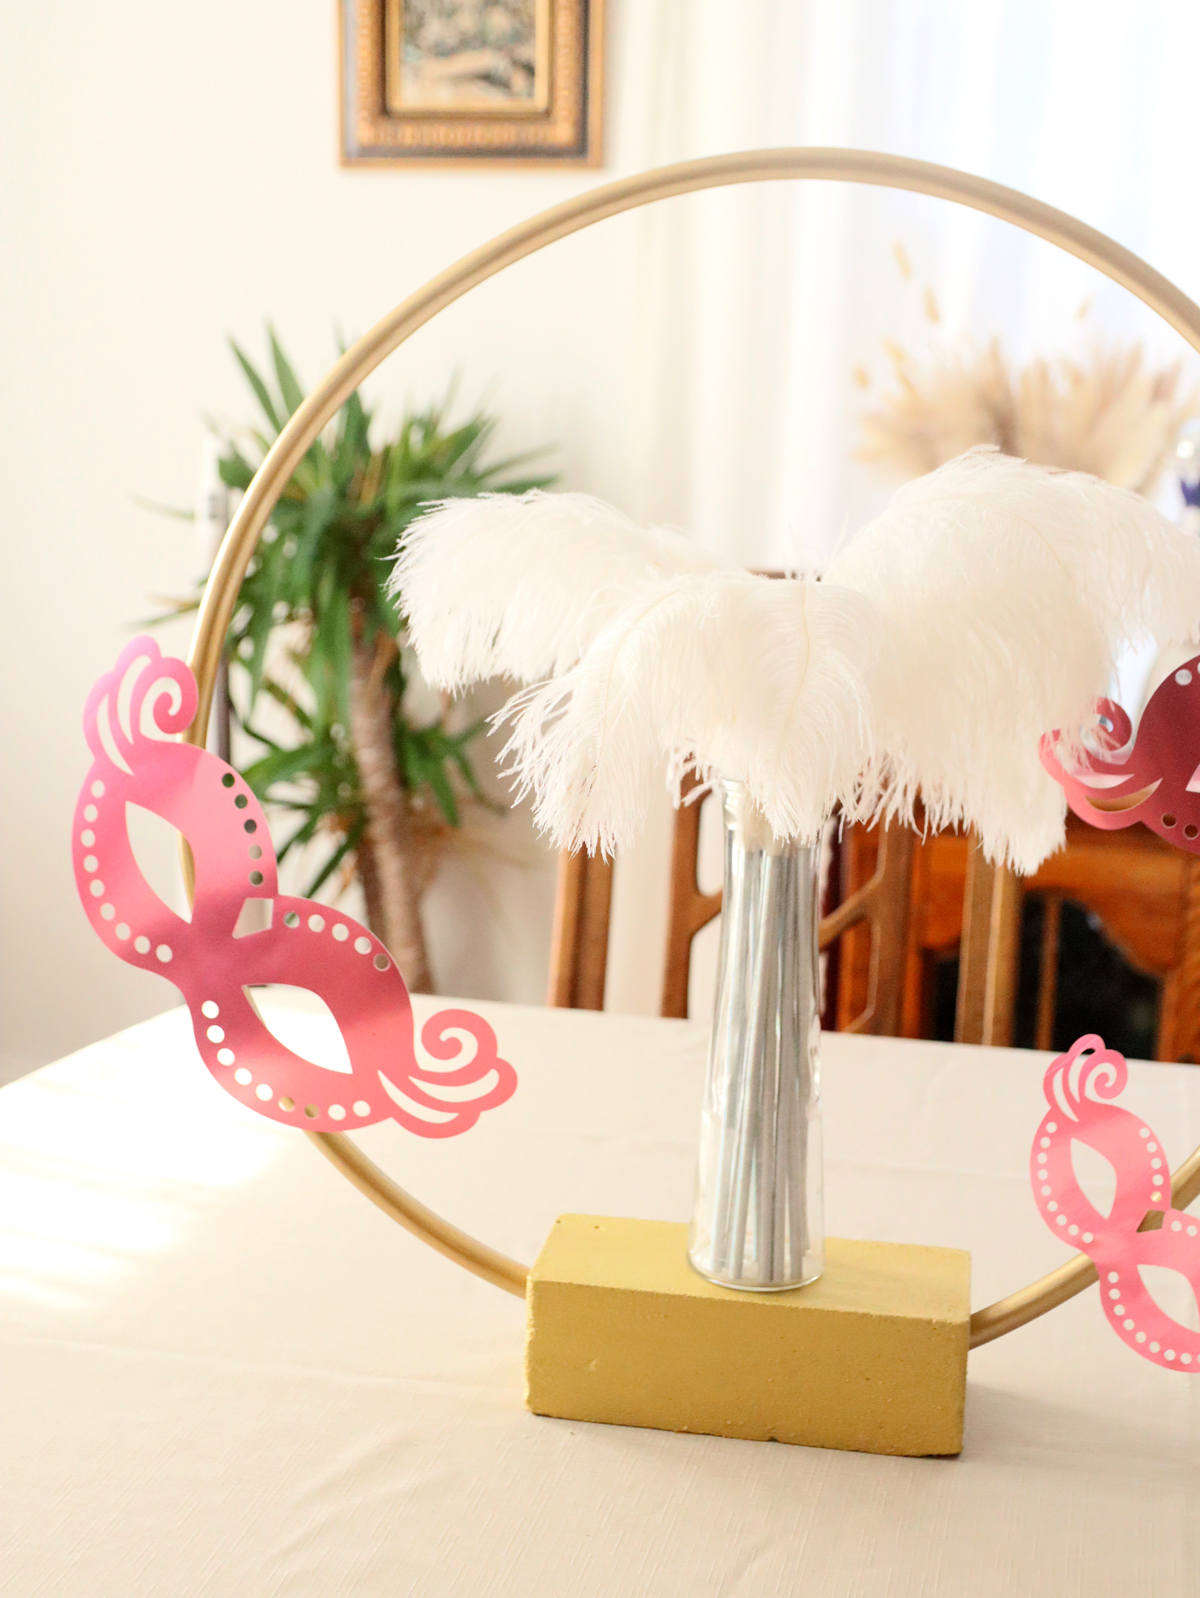
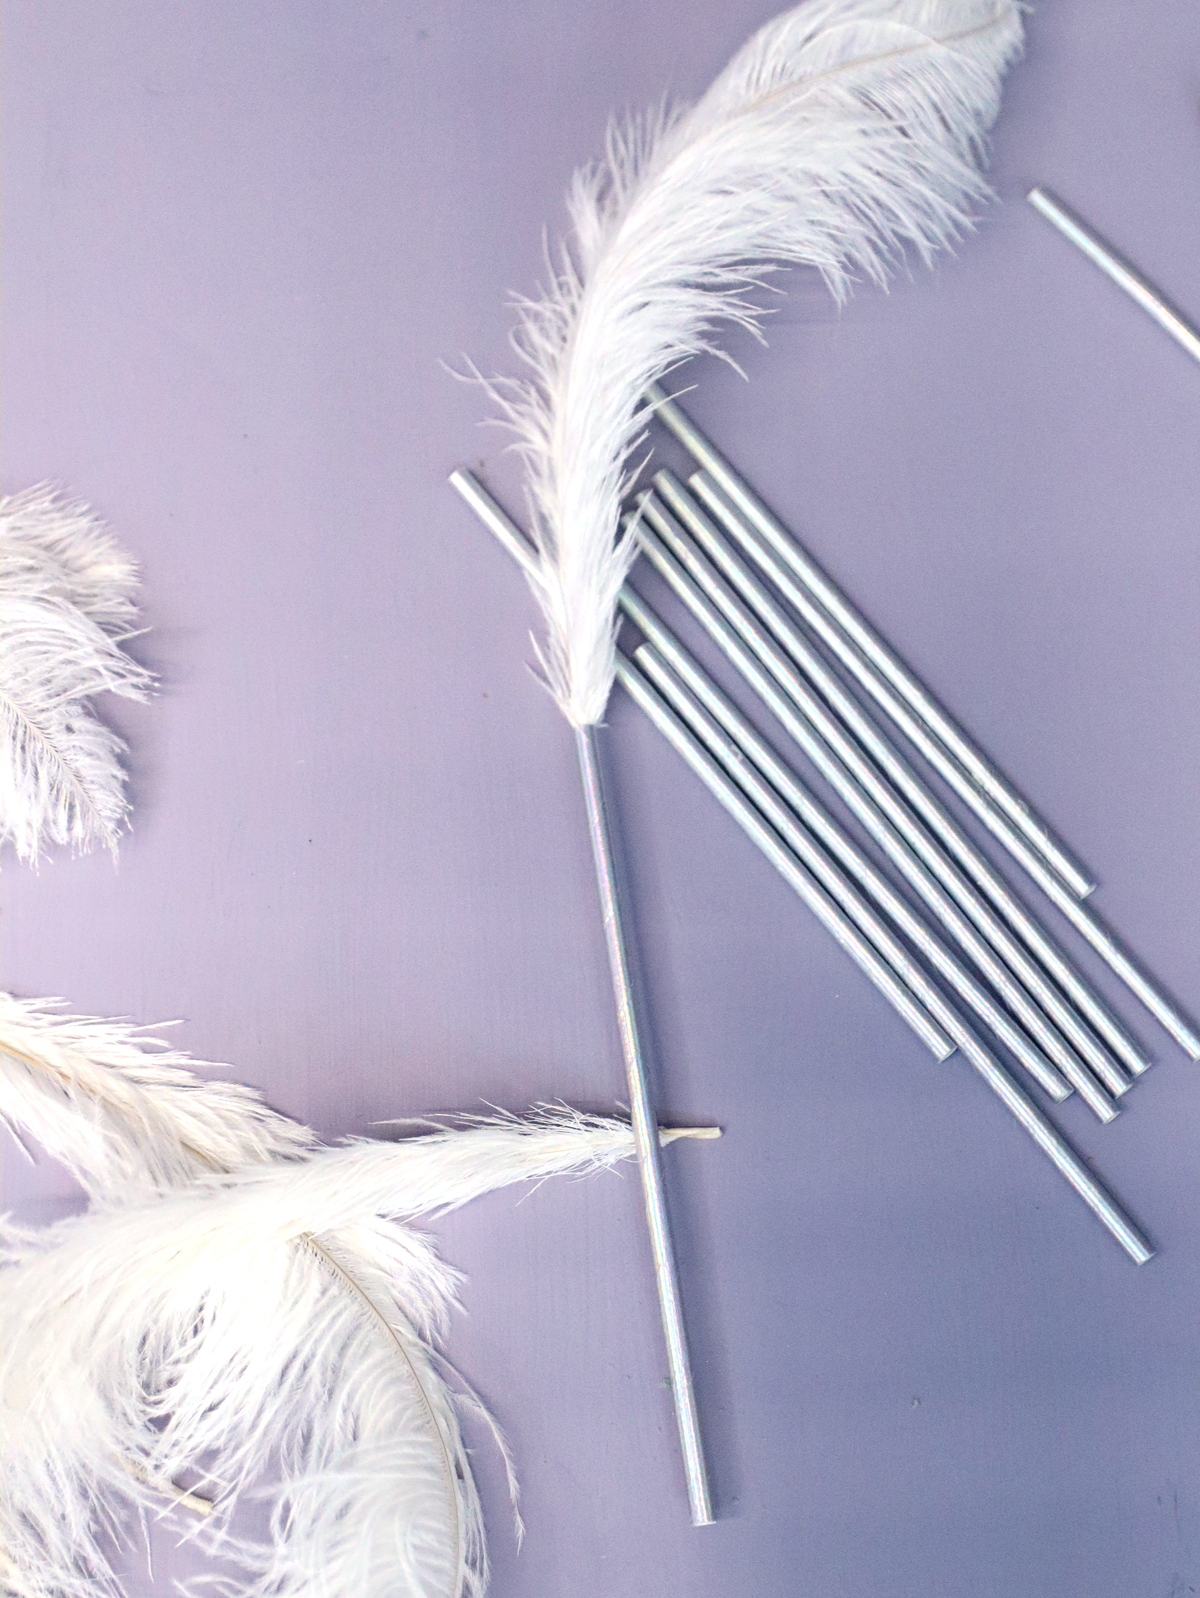
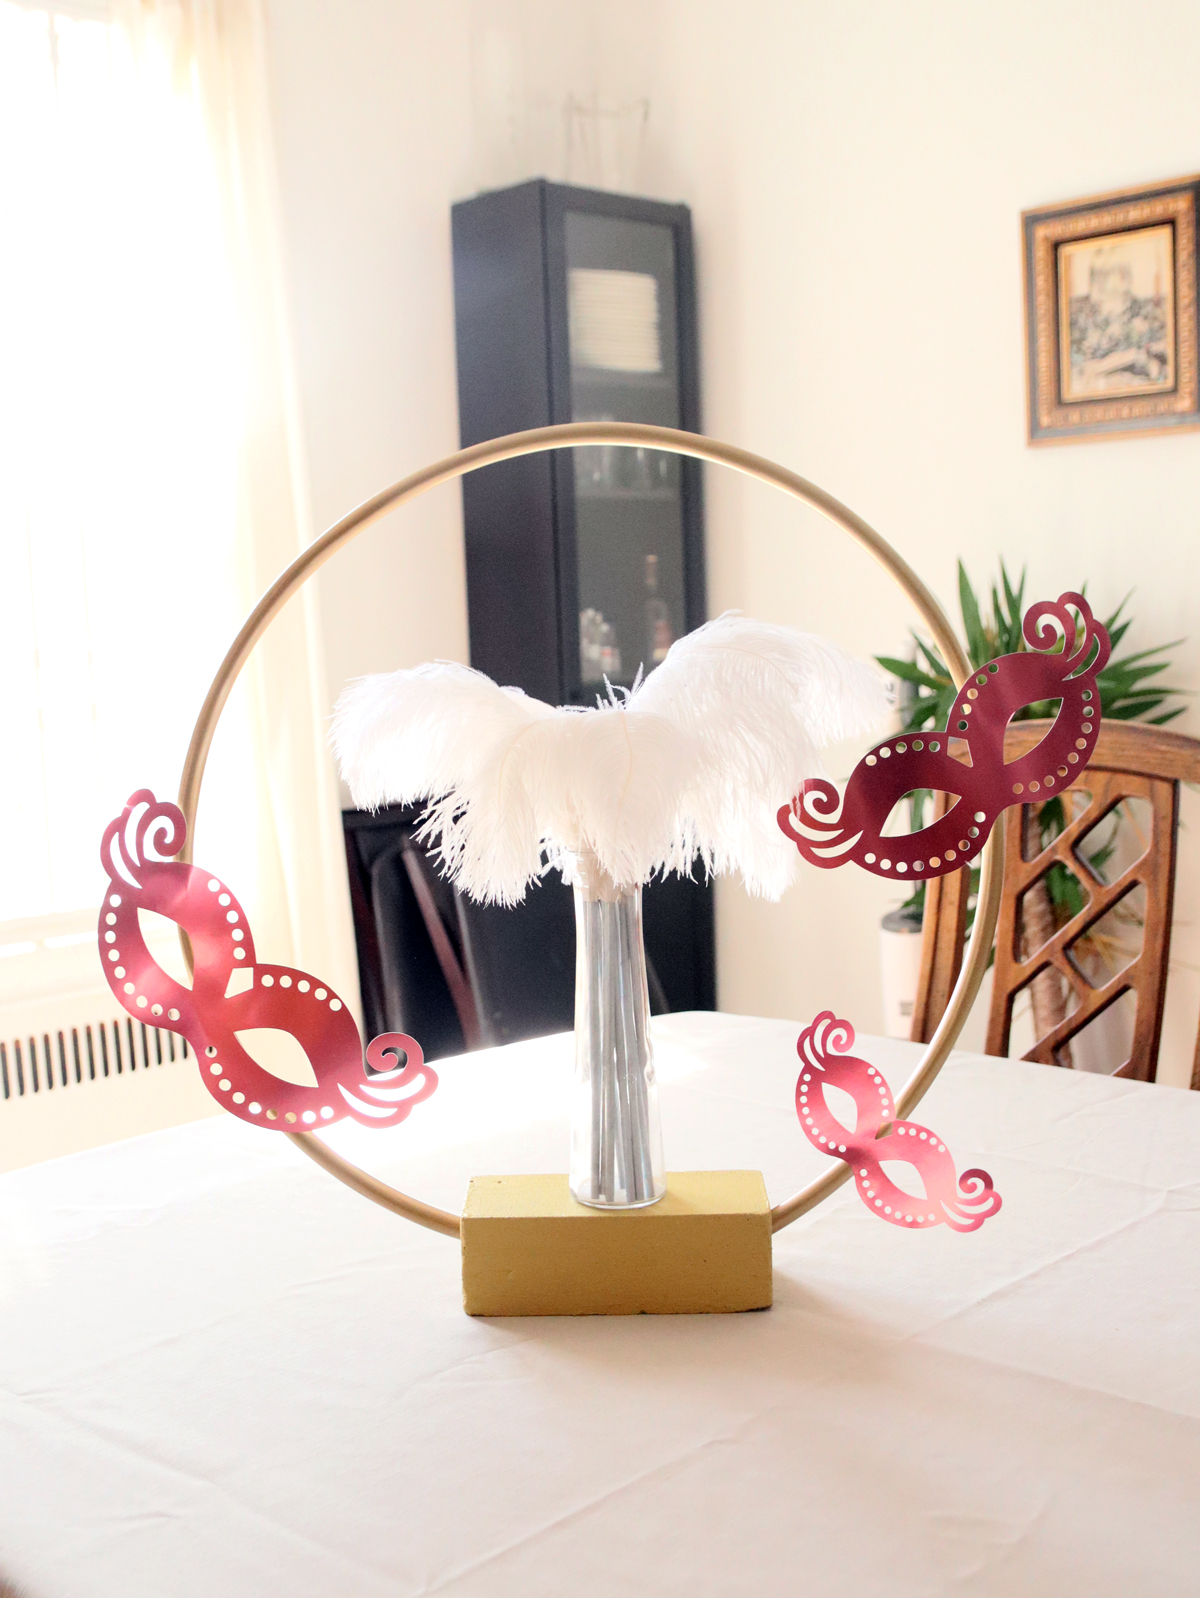
7. Insert the feathers into straws so that they are propped up.

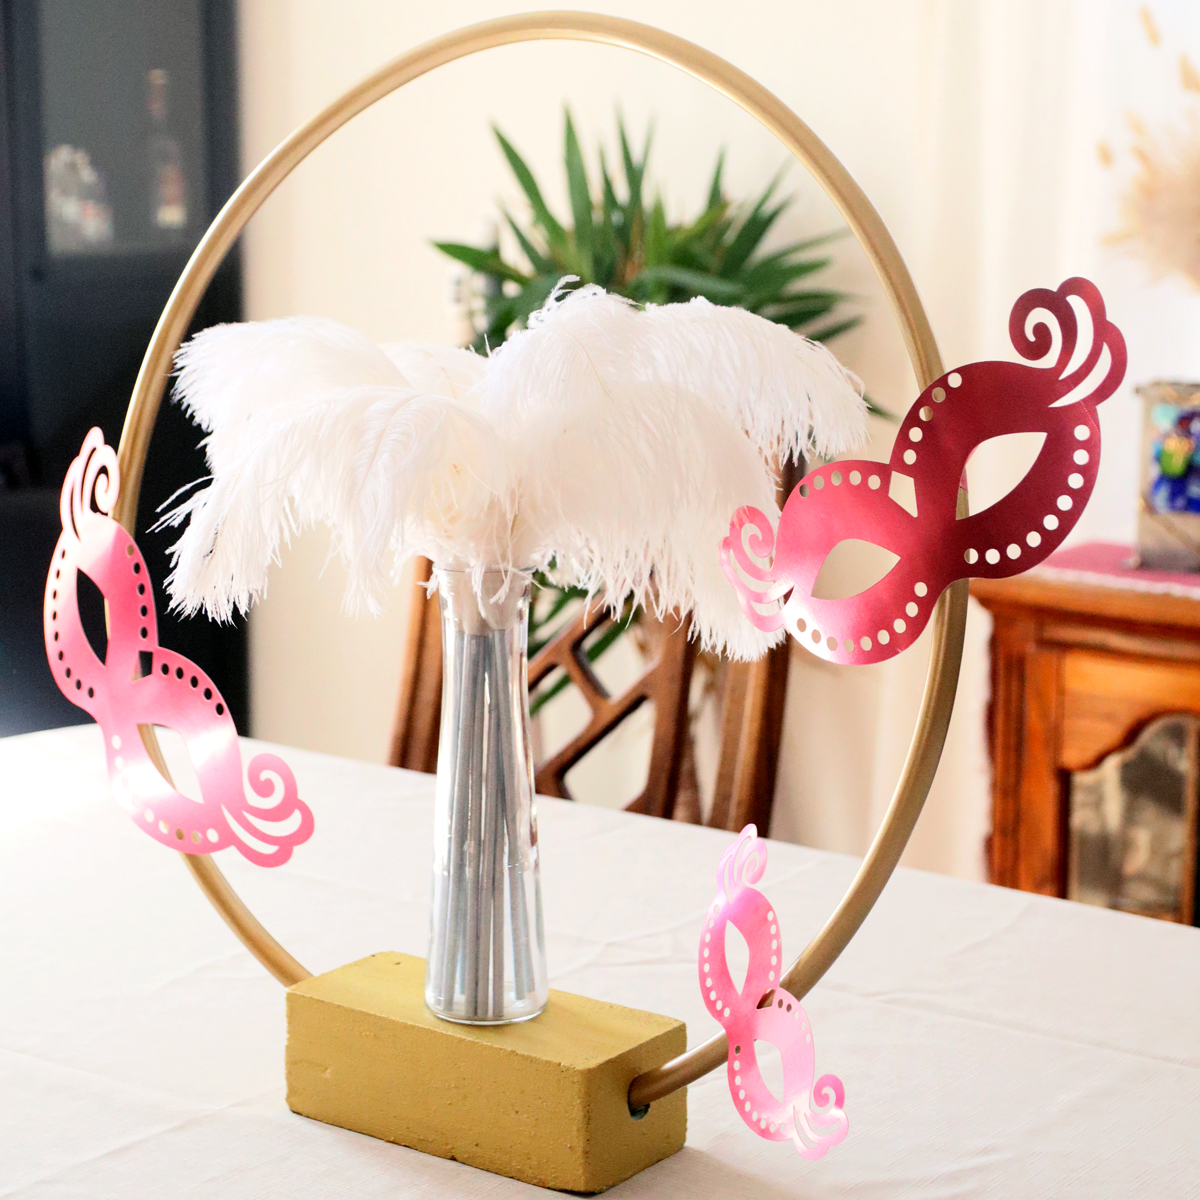
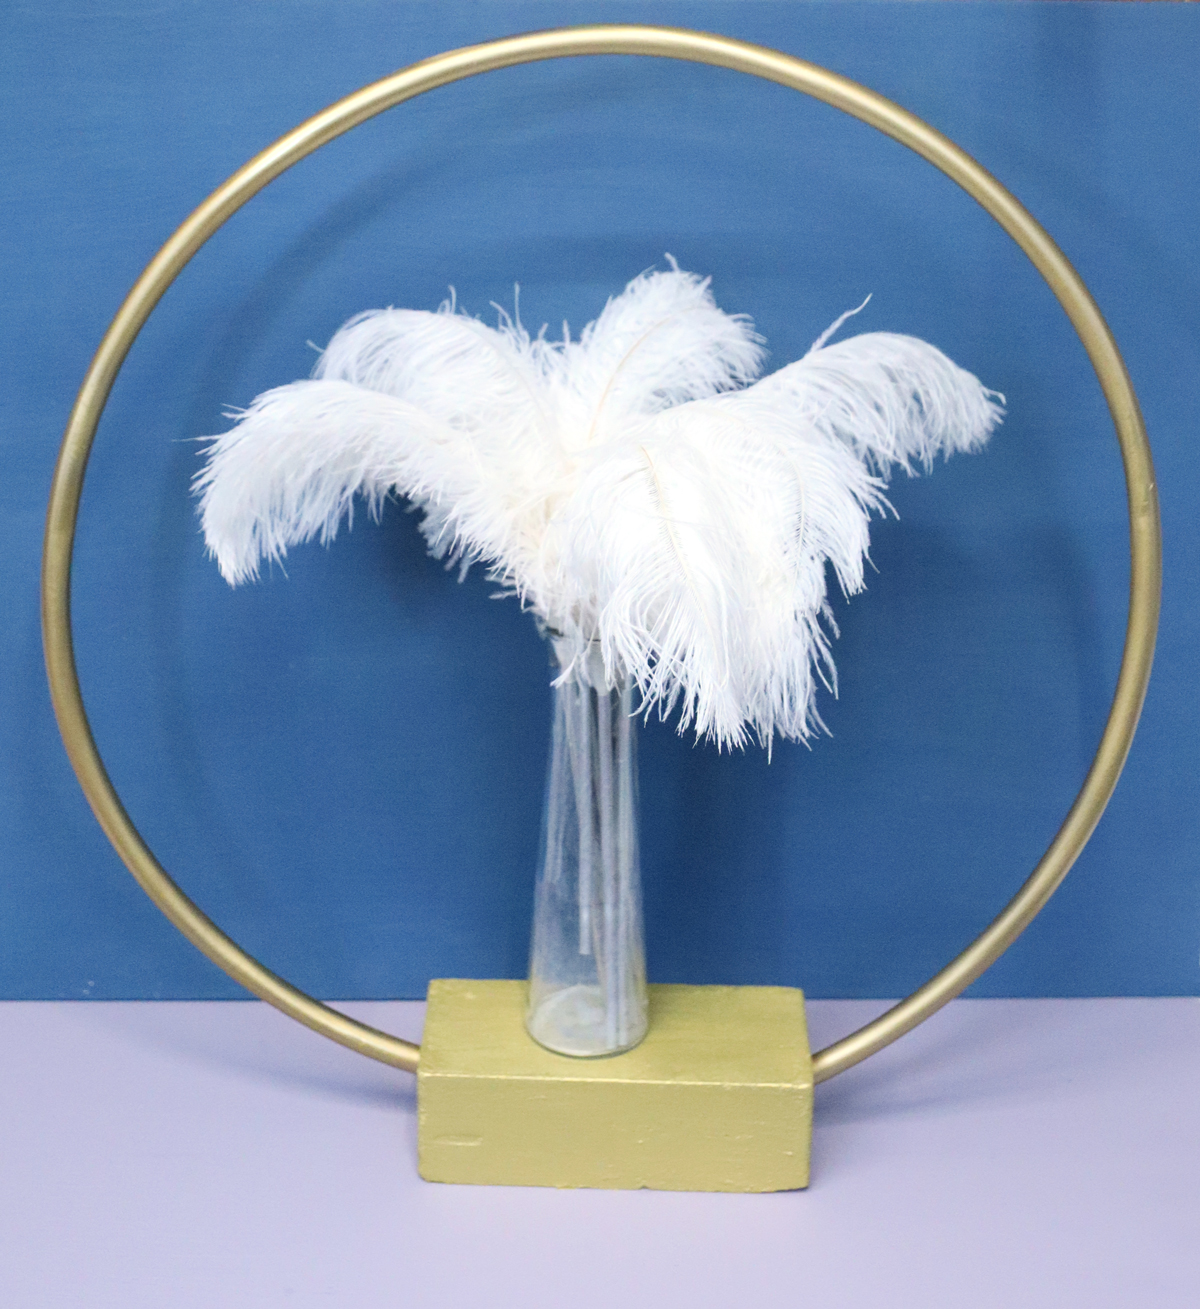
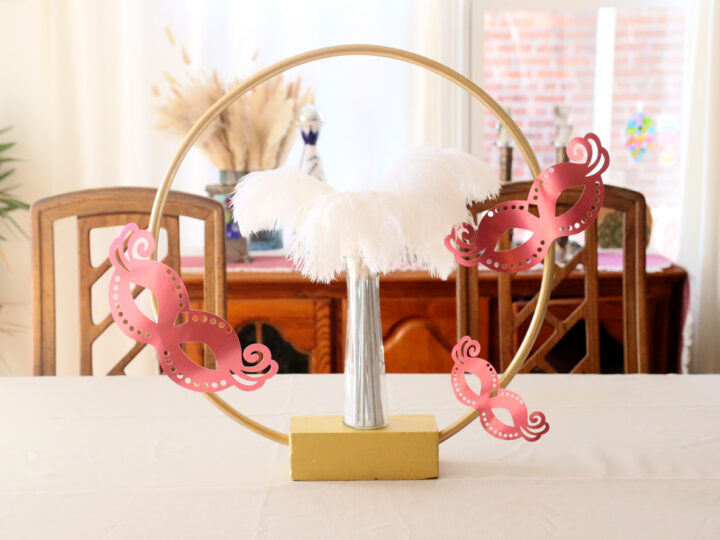
8. Place the vase on the center of the base, and add the feathers. You are not necessarily fixing this in place (you probably can if you want to but I didn’t). But you want it placed to do the next step. Look how gorgeous it is.
9. Add your masks, arranging them so that they are balanced and placed nicely around the feathers.

When you’re ready to set it up, place the hoop with base in the center of the table and add the vase on top of the base.
Got any other ideas to switch up this DIY Purim centerpiece? Or any other centerpiece you’ve made for Purim that you loved? Comment below!
How To Make Purim Centerpieces
Craft these gorgeous and festive DIY Purim centerpieces that can actually be customized for any holiday!
Materials
- Floral foam blocks (this may work with regular foam blocks but that's what I had)
- Mod podge
- A wide brush for the Mod Podge
- Acrylic Paint (I used FolkArt Brushed Metal dark gold)
- A small hula hoop - if you go for too large a hoop it'll throw it off balance. I believe mine is 20 inches.
- Gold spray paint
- Masks to match - buy or make on your Cricut. I made mine from metallic pink poster board.
- Ostrich feathers
- Straws to match (I used metallic paper straws) will likely be needed to give your feathers height.
- A vase of choice - I used a simple glass vase.
- Hot glue, tape, or zip ties to affix masks
Instructions
There is a fair amount of dry time needed for this, so I'm sharing this not by element created, but in the sequence that I created it to allow for drying time.
1. Prepare your masks if needed. I cut mine on my Cricut.
2. Prime your floral block using a GENEROUS amount of Mod Podge. Floral blocks are super absorbent and they'll crumble if you try painting straight so just slop on generous amounts of Mod podge on any side you'll be painting. I skipped the bottom. Set it aside to dry.
3. The hula hoop I used was really a large tube connected with a connector piece that can be opened and removed. If yours is sealed, open it some other way. Empty anything that might be inside.
4. Spray paint the hoop gold and set it aside to dry. I did this in a few batches (it helps to have fast-drying spray paint for this).
5. Paint the block once the Mod Podge is totally dry. Go gentle so it doesn't crumble. Allow it to dry completely.
6. You should be able to shove the hoop into the two small sides of the block now. It goes in at an angle, so make sure to first see how you want it positioned and then do it. It should be totally supported by the block and easily stand on its own.
At this point, you have the framework for the DIY Purim centerpiece complete and ready to "decorate" however you'd like. This is how I did mine:
7. Insert the feathers into straws so that they are propped up.
8. Place the vase on the center of the base, and add the feathers. You are not necessarily fixing this in place (you probably can if you want to but I didn't). But you want it placed to do the next step. Look how gorgeous it is.
9. Add your masks, arranging them so that they are balanced and placed nicely around the feathers.
When you're ready to set it up, place the hoop with base in the center of the table and add the vase on top of the base.
Got any other ideas to switch up this DIY Purim centerpiece? Or any other centerpiece you've made for Purim that you loved? Comment below!
Notes
Here are some "mix 'n match" ideas for this DIY Purim centerpiece. All these are things I considered before making my final design choice. The vase in the center is totally removable. The main element is the frame and the stand for the vase that you use as the base for any centerpiece.
- Add flowers to the vase - you already have the masks and don't need the feathers
- Use masquerade masks in any color, shape, style you want
- Skip the masks entirely OR
- Include other Purim elements around the frame
- Wrap vines or florals around the frame
- Prop graggers in the vase (works great with florals around the frame)
- Skip painting the floral blocks and use an abundance of faux florals the same way you would real to create a floral base. Note: technically you can use real florals but since you don't have the block in a base, it would leak water. You can probably give it minimal water and put it on a tray but you'll need to be on top of it and it probably wont' last as long.

Great job!!!!!
Simple,elegant and versatile.
Annie