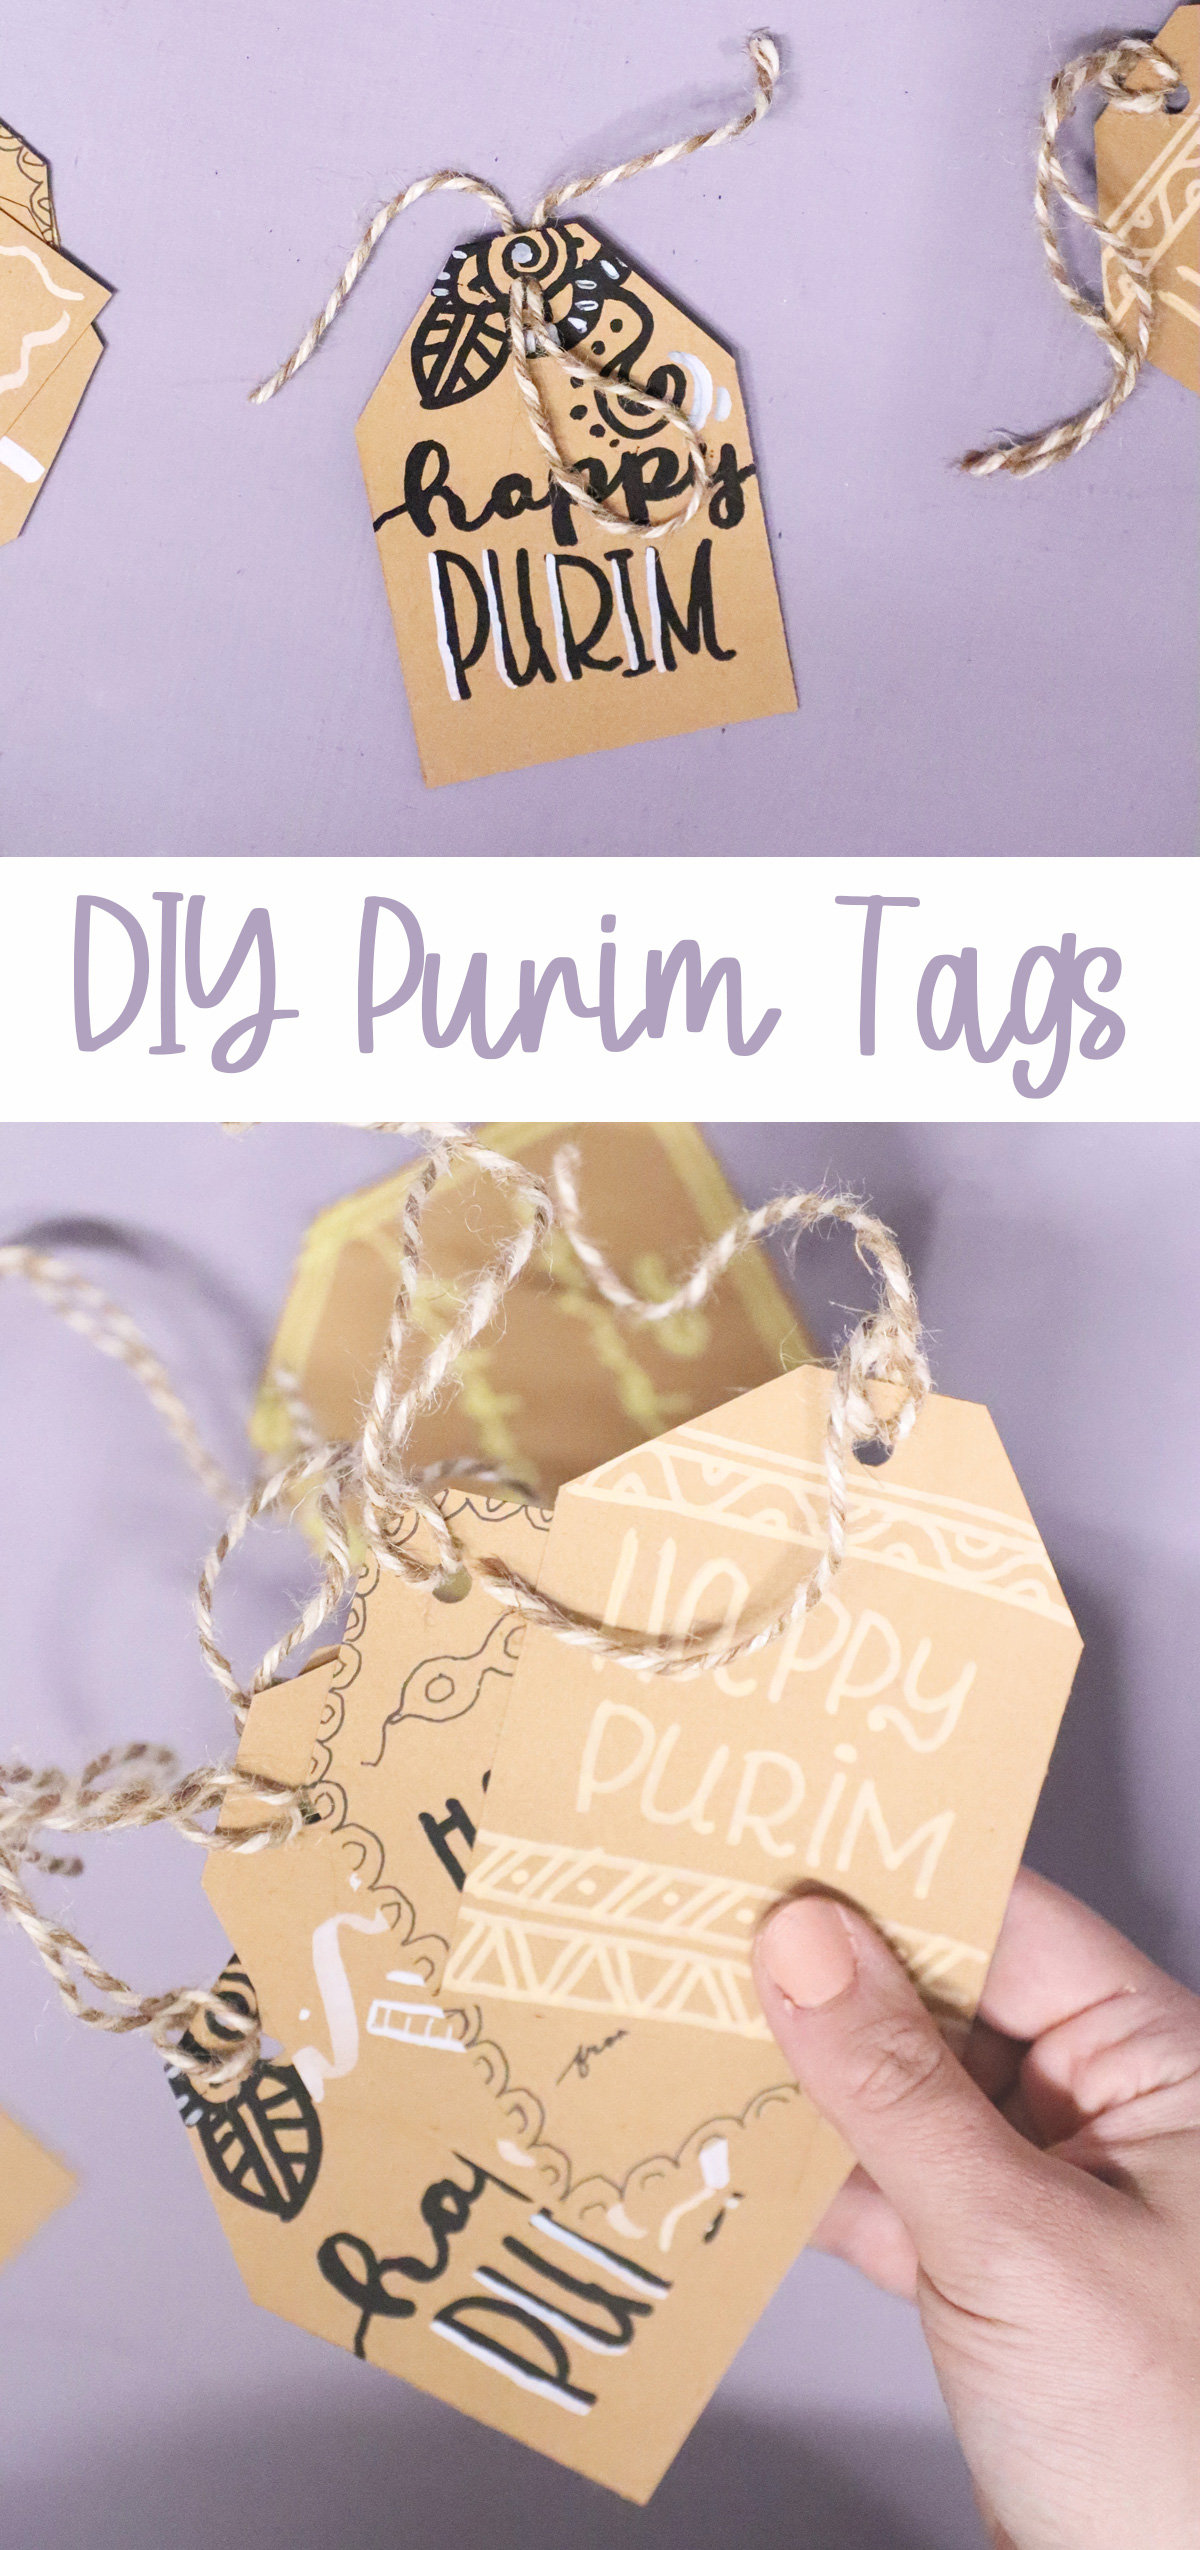
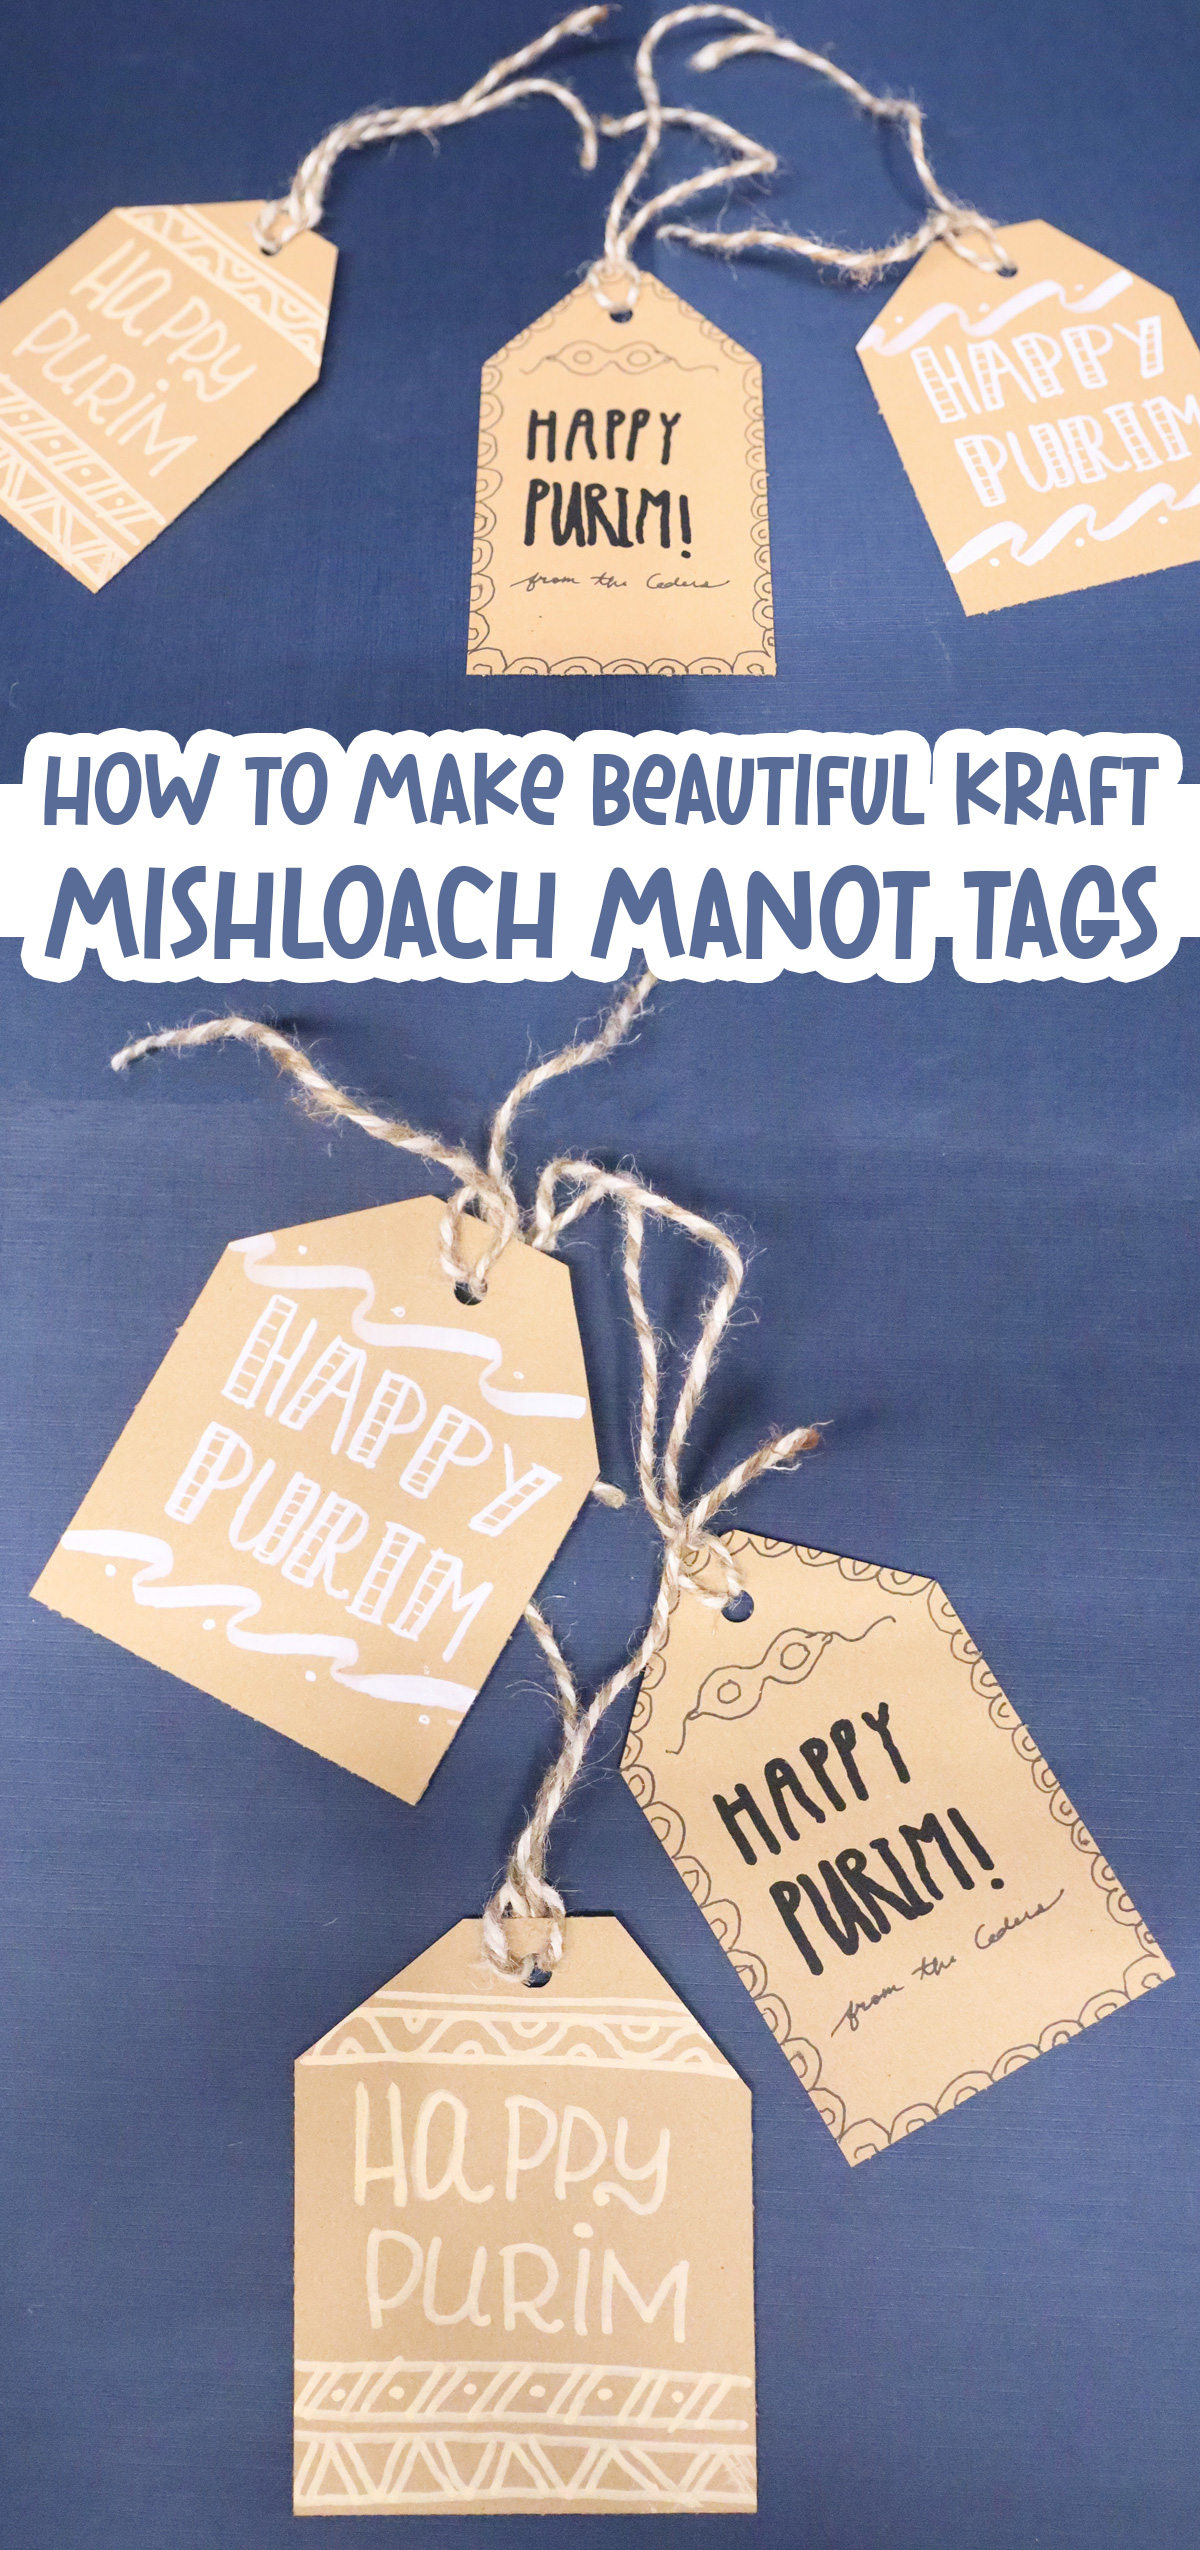
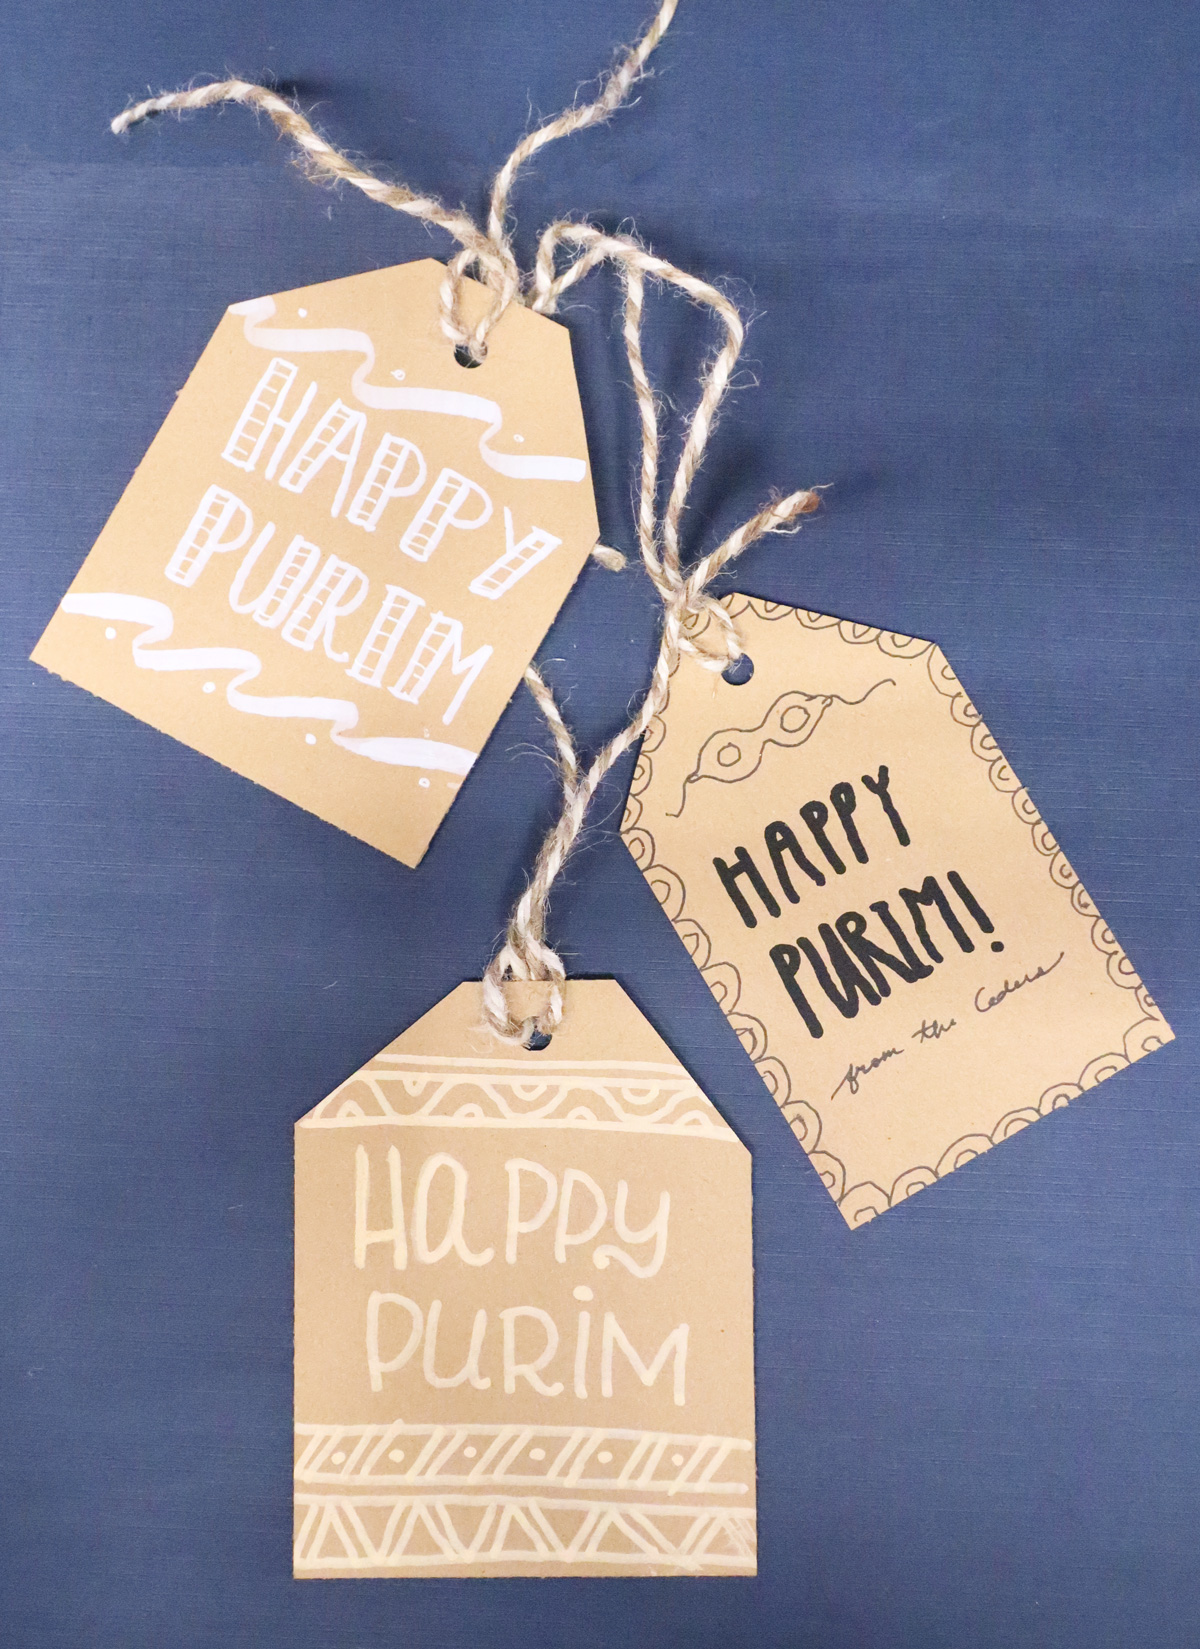
DIY Purim Tags for Mishloach Manot
Craft these gorgeous Kraft DIY Purim tags for your Mishloach Manot packages! When you’re done, check out my big list of Purim themes too. This post contains affiliate links.
I wanted to share a doable tutorial for DIY Purim tags to supplement the slightly more complex sewn paper tags I shared a few years ago.
I decided to go a little rustic and create some fun Kraft tags that anyone can make. This does require a little more confidence and illustration, but with a little guidance, anyone with a bit of a creative streak can doodle these!
Each tag takes just a couple of minutes to doodle, making them perfect for making a pile of tags. They’re also great for doing at lettering workshops, in the classroom, or for a Mishloach Manot exchange. I feel like it’s a great way to incorporate a bit of skill learning in a regular Purim craft workshop – that is, hand lettering.
Tips for making DIY Purim Tags
Here I’ll walk you through my material choices and more tips for success. You’ll find a step-by-step process at the end of this post.
Kraft Board vs other materials
I chose Kraft board as a sturdy and rustic looking material. It can match many different package types and is really easy to find. Keep in mind the weight (thickness) of the Kraft board that you use.
If you want to go even quicker with this, you can use pre-made tags. You can find that in all sorts of materials. Black is a great option for a really chic look. Avoid patterns or anything busy.
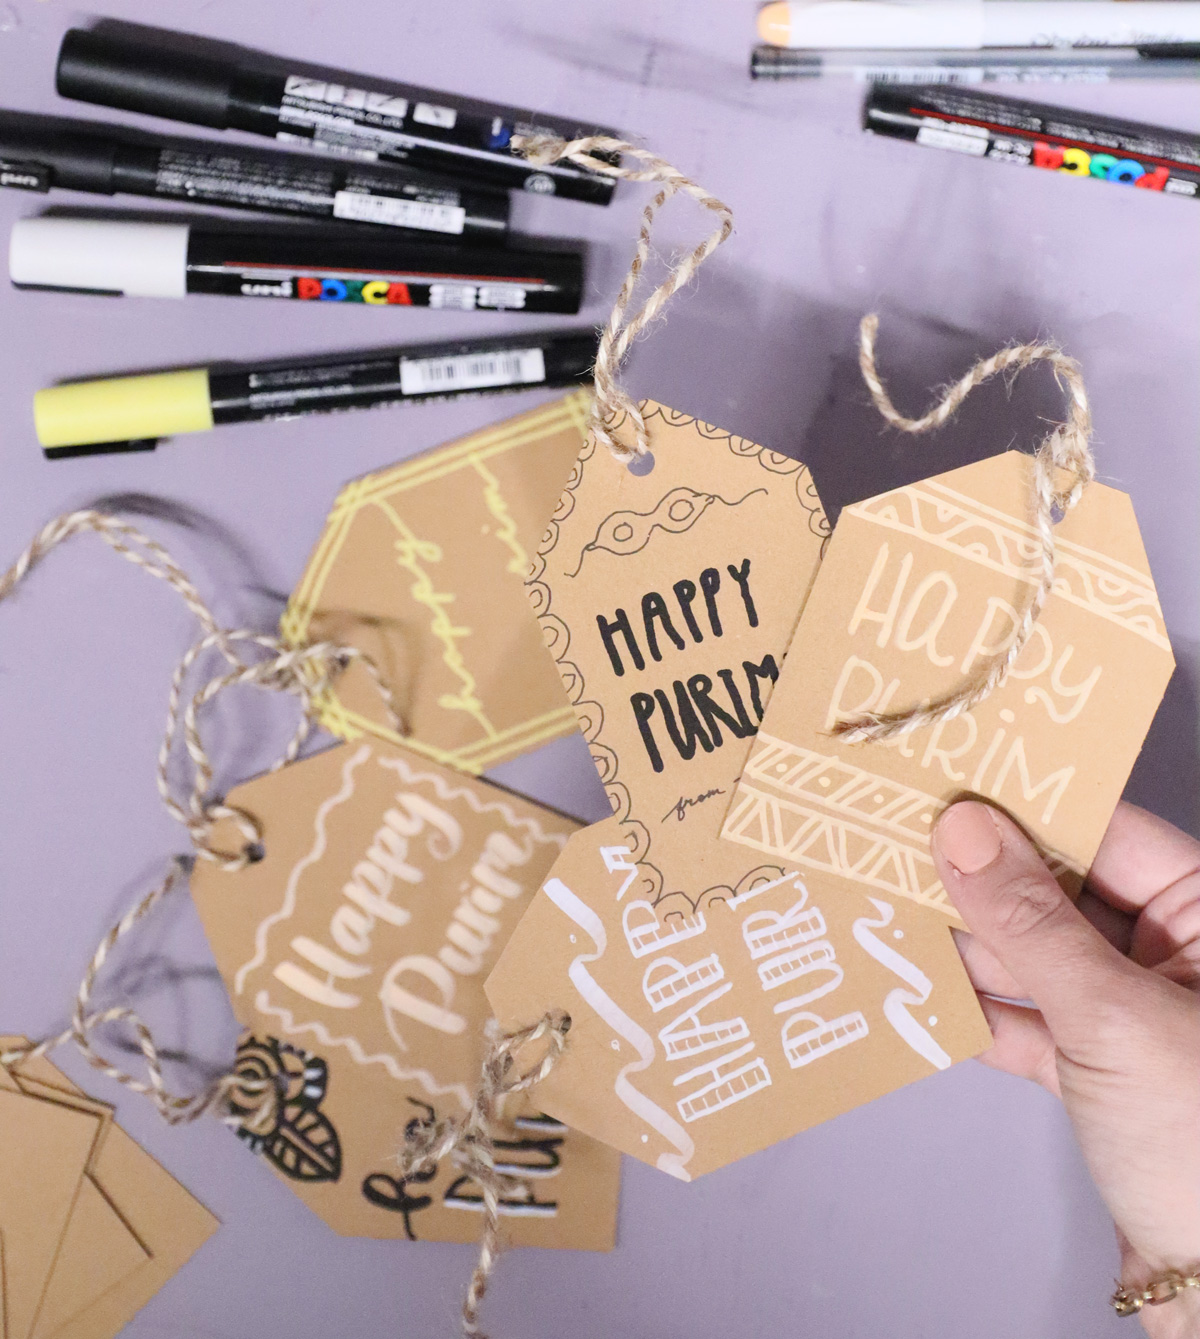
The best markers to use
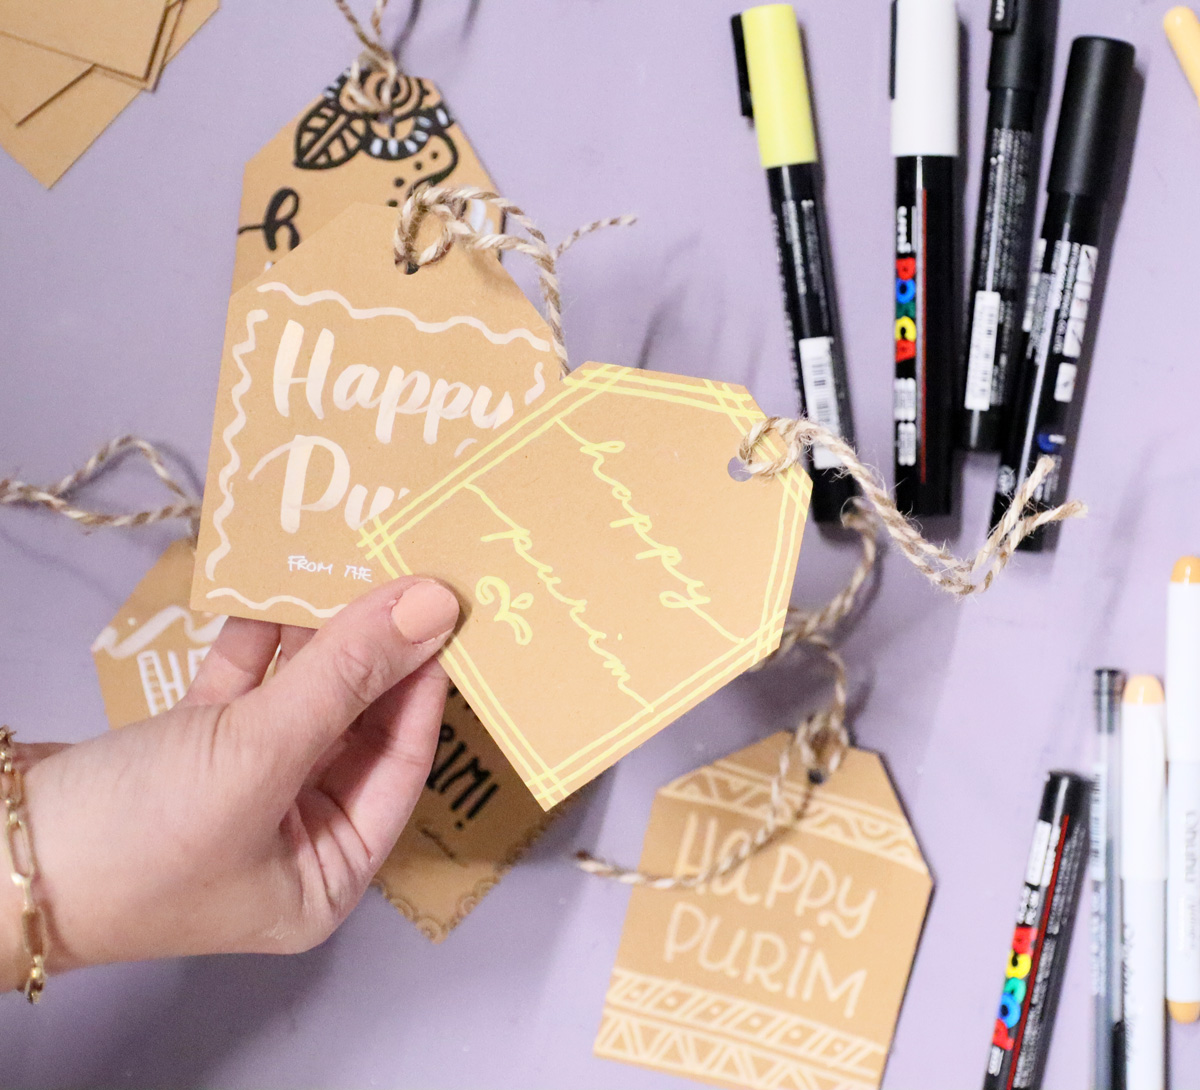
I tested my full range of markers for these DIY Purim tags, and my main discovery was really in color. Look for markers that are well-pigmented (brand DOES matter, though mid-range markers will work well here.)
You want an OPAQUE (not see-through) marker like an acrylic marker – not something that’s meant for layering like an alcohol or classic water-based marker.
For a high quality option that’ll last you a long time, try Poscas (the 3M size is a good in-between size that’s fine enough for some detail but thick enough for coverage.) For a mid-range option, Ohuhu has a few lines that will work. These brush tips are great for brush lettering (and were really a favorite for this craft), and these are great for both bold and fine lines.
And finally, gel pens look great on this. I recommend Gelly rolls (again, cheaper gel pens are often disposable, but you can get a small pack with just/extra blacks or whites for this.)
The colors you choose will matter. Test the colors in advance on your chosen paper.
Cutting your tags
I cut my tags myself. While, as I mentioned above, you CAN buy pre-made tags, it’s really easy to cut a basic tag shape.
A few options for cutting neat tags:
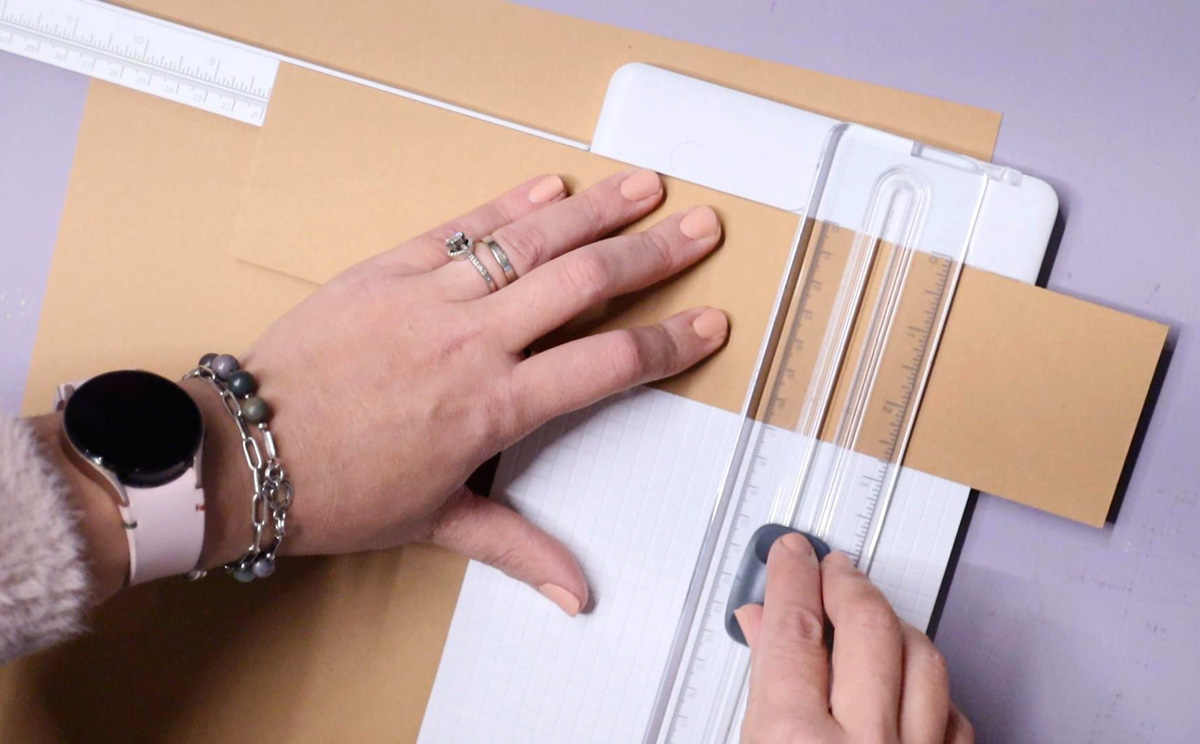
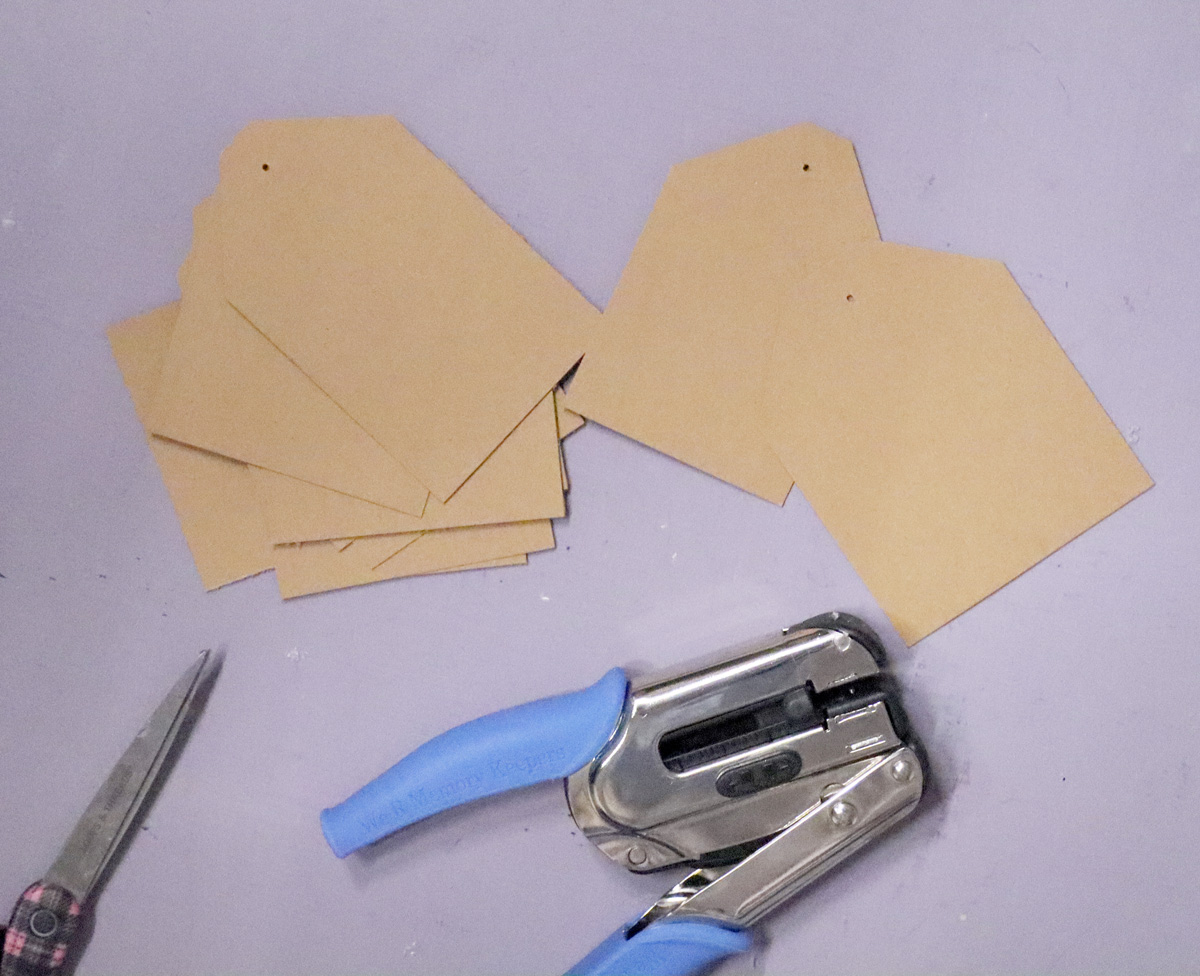
- I used a paper trimmer to cut the rectangles, and a quick snip with scissors for the angled top.
- A 2-2.5 inch circle punch makes a fun round tag.
- Or cut square tags and use a corner punch (I use this on my business cards) to give it a polished feel.
- You can even get a tag-shaped punch.
- If you’re a Cricut owner, they have tons of base tag shapes you can use.
Tips for lettering your DIY Purim tags
Hand lettering is a whole art in itself, but it’s surprisingly simple. I like to advise that it’s not about your handwriting – it’s about drawing each letter.
If you’re doing this on your own, definitely watch a video or two on some hand lettering tips before getting started. But, unlike traditional calligraphy, you don’t need to really learn and remember a large variety of fonts.
Setting up the structure
If you’re concerned with your DIY Purim tags looking neat, penciling in lines can help. I simply imagined the main square (minus the top portion) and started from there.
You can definitely pull out a ruler and make some grids to show where you want to place your letters. To avoid having to map out each letter, you can start your words from the center. For Purim, for example, R is the center letter and should be centered. But because there’s a narrow I, make it slightly to the right of center.
Decide where/if you want doodles and borders and work from there.
Lettering tips and inspiration
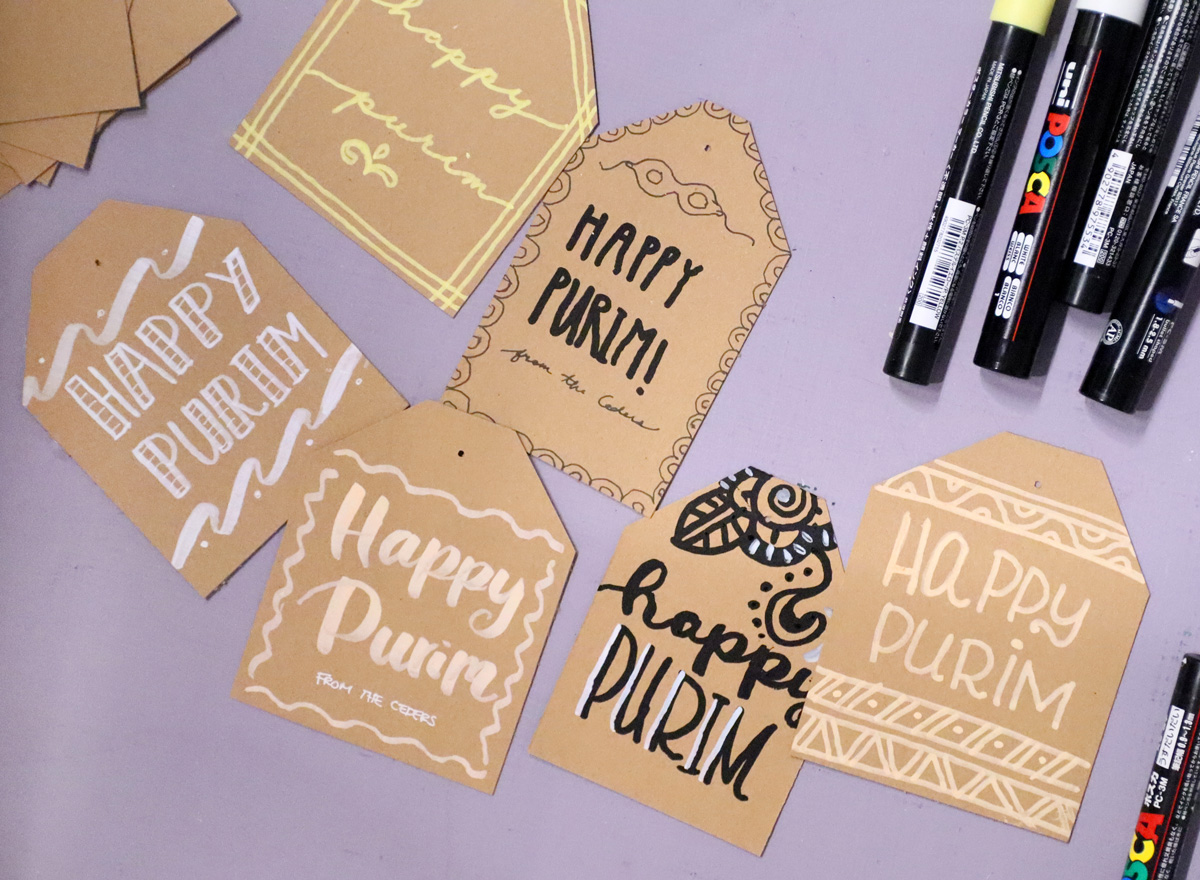
Lettering is about drawing the letters instead of just writing them. I played with many different types of lettering. You can definitely practice some ideas on scrap paper before taking it to the tags.
Some specific ideas I like to play with:
- “Bubbles” or rectangles for only one downward stroke of each letter
- Filling with doodles vs. leaving blank vs. filling in blocks
- Tall and skinny with very short top-portions of letters (like the semicircle on the P) or very fat and chunky letters with exaggerated top-portions of letters.
- Playful all-caps
- My favorite: brush lettering. Start with very basic script and the following rules:
- Up strokes are skinny, down strokes are thick.
- DRAW, don’t write, your letters.
- Work slowly
You can definitely play with alphabet stickers, “Ransom note” magazine cutouts, etc.
Doodles, borders, and more!
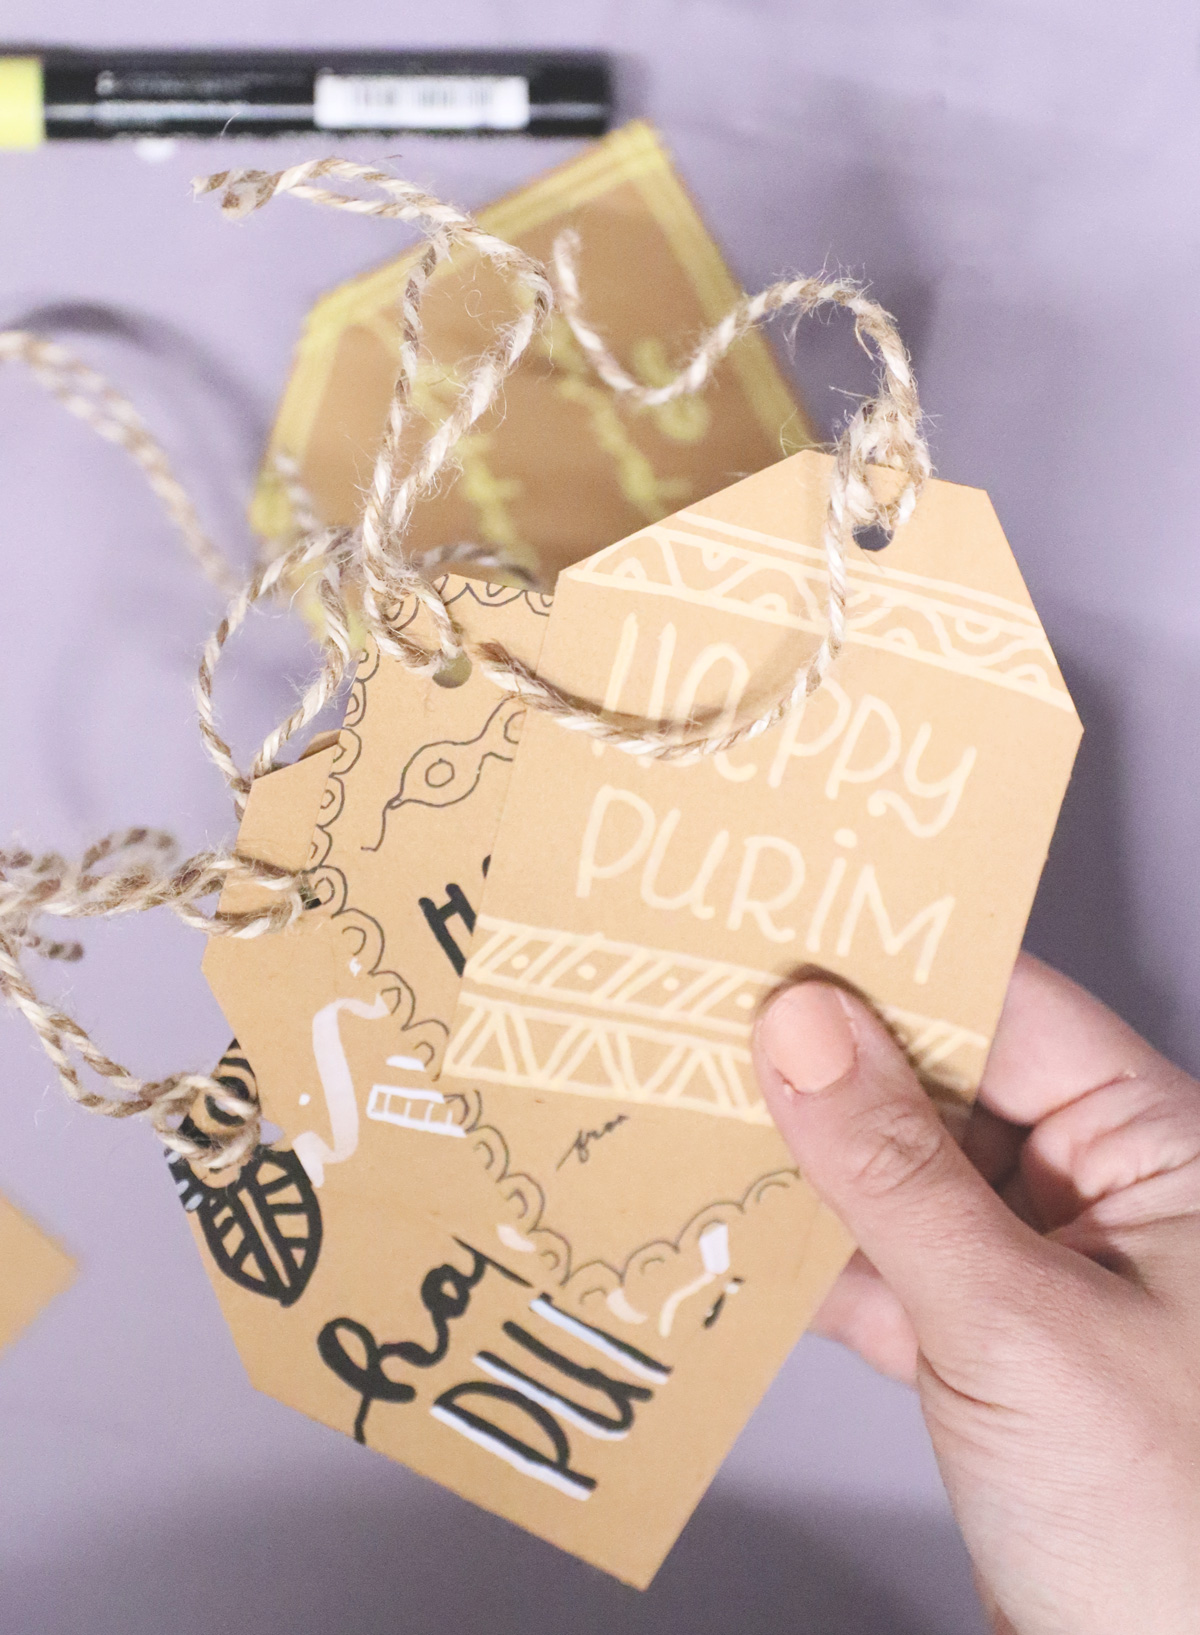
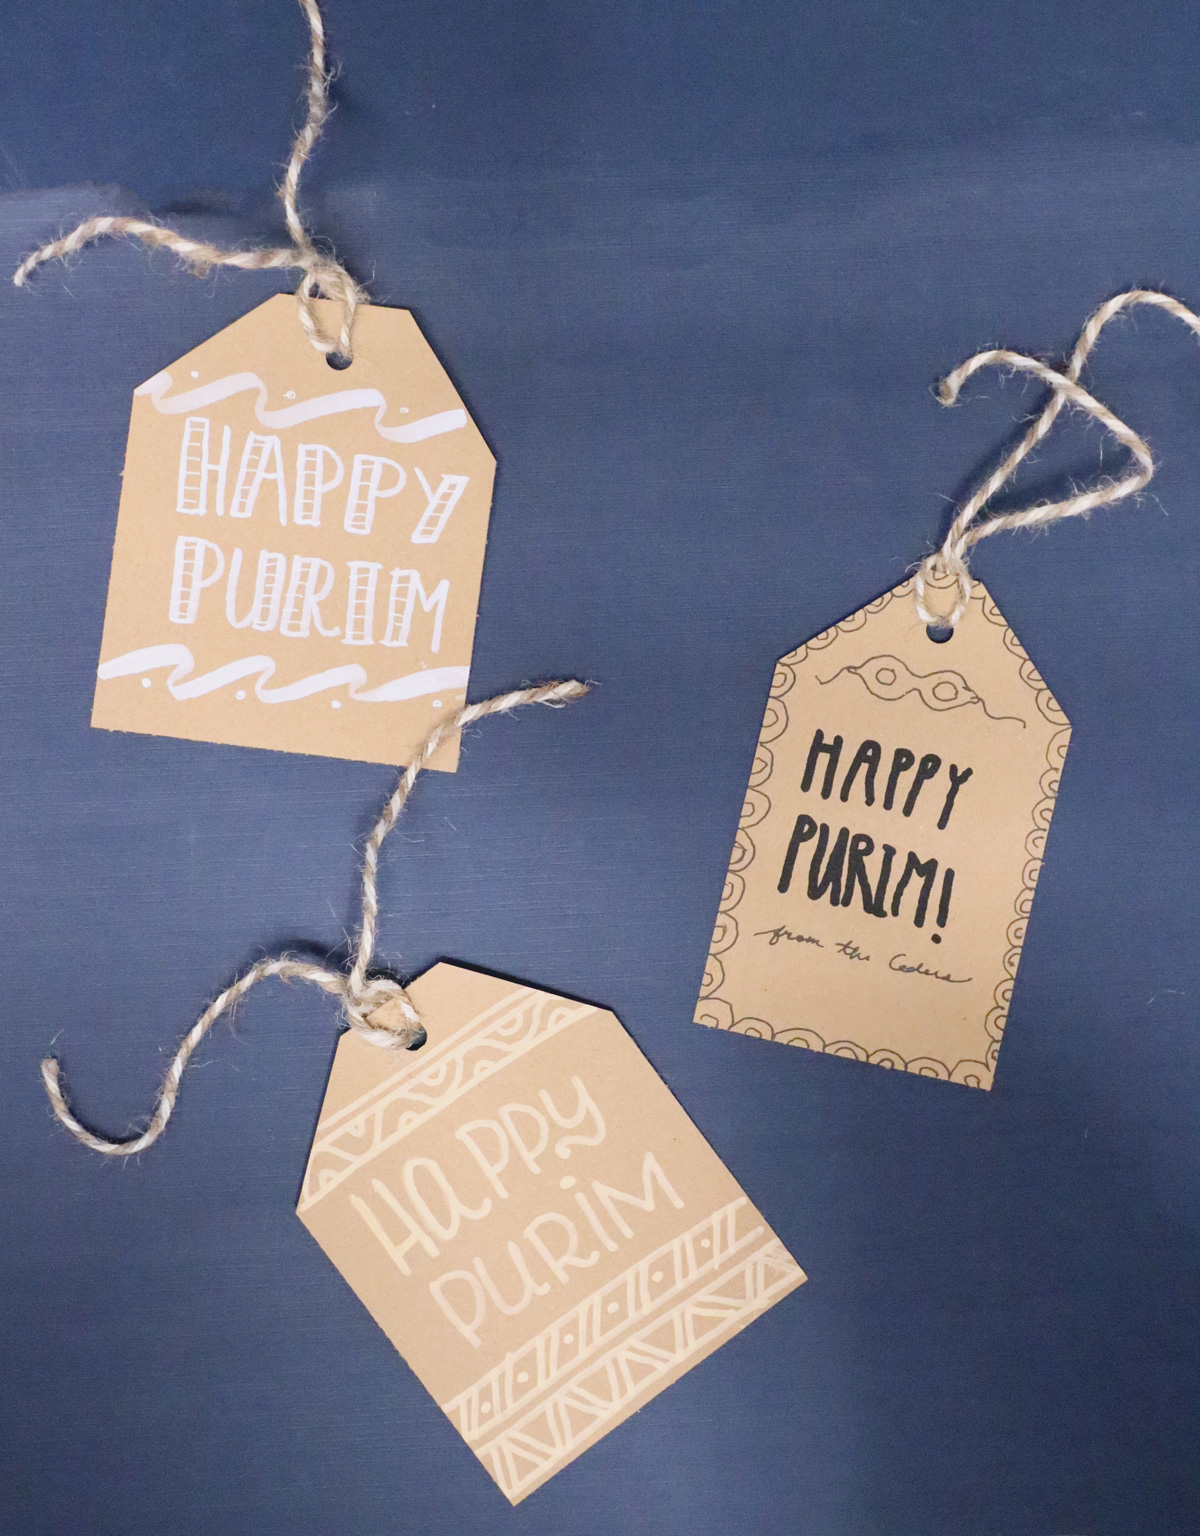
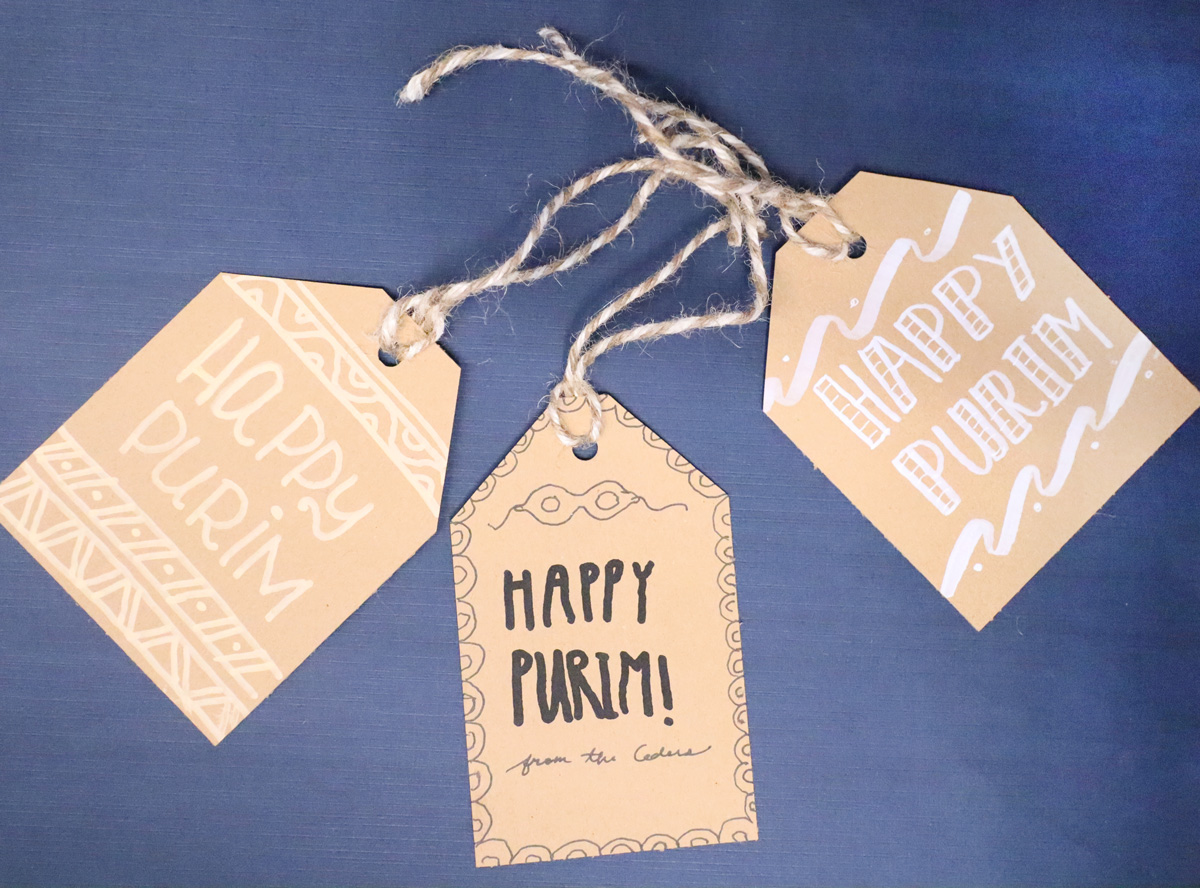
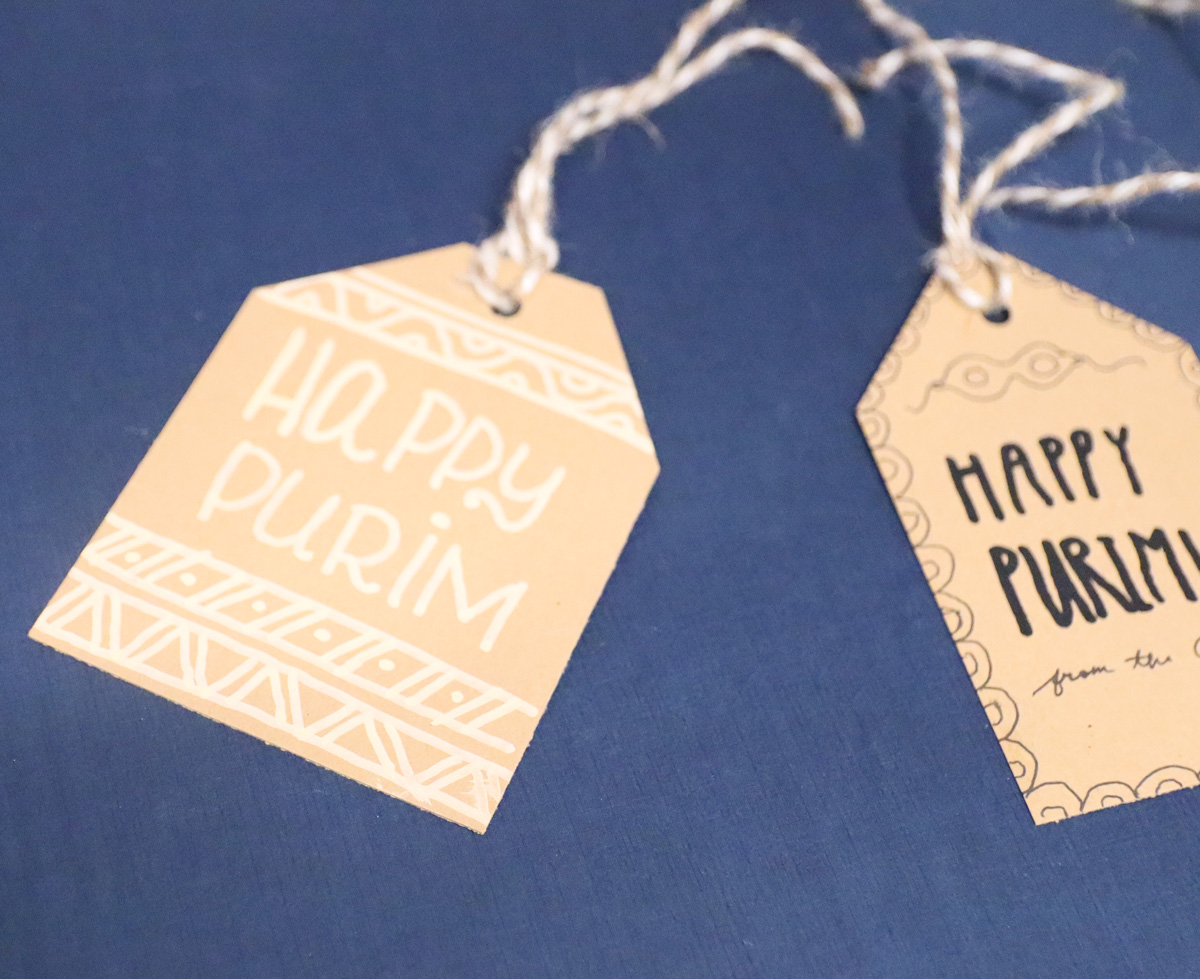
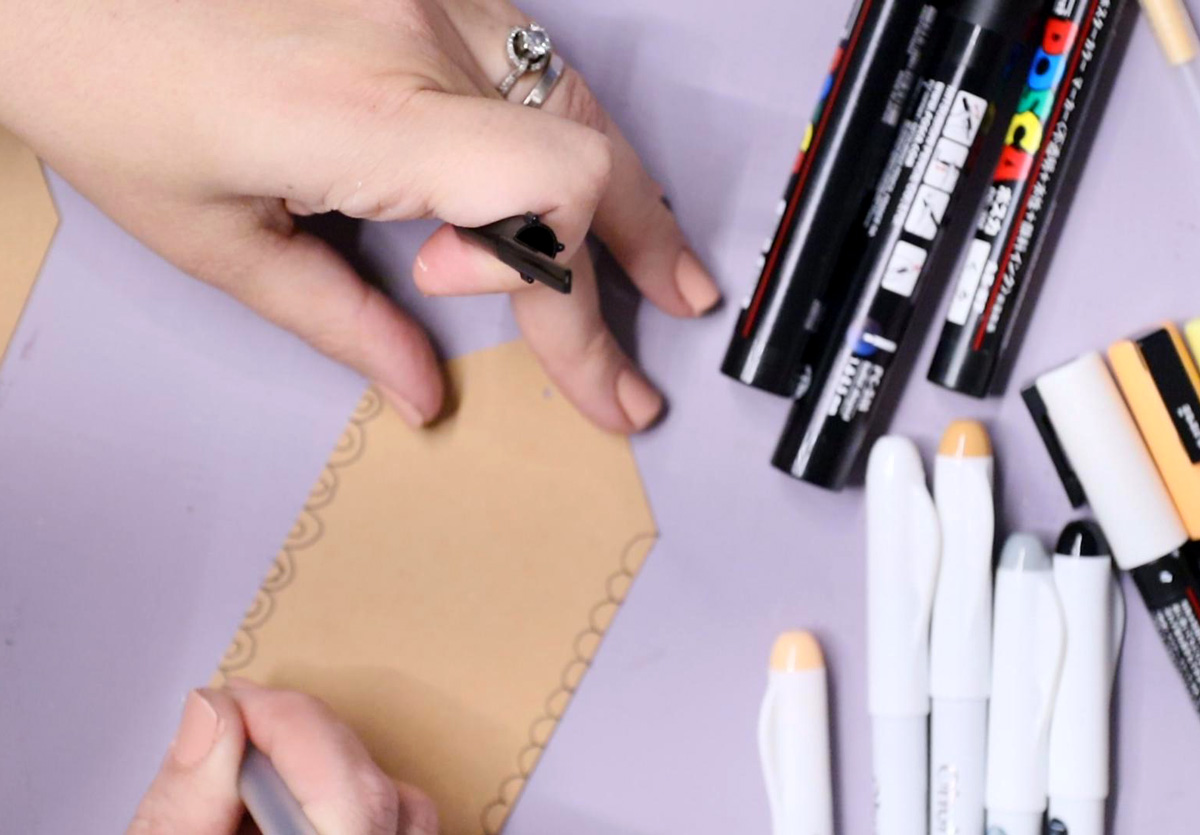
To add a little pizzazz, I switched between doodled borders, images, and both! I really like simple pattern borders the most. This can be around the whole tag, around the focal “square” of the tag, around just the words, top/bottom, etc.
Hamantaschen are the easiest to doodle and so appropriate for Mishloach Manot. Dont’ just stick to Purim – think flowers, paisley, butterflies…
And if you’re not confident with your doodles, pull out the craft stash!
Think: adhesive bling, Purim stickers, dot sticker borders (cut in half) with added doodles around them…
How to make DIY Purim tags for Mishloach Manot
Obviously, I’ve shared so many variations above, but this will take you through the basic process that I followed.
You’ll Need
- Kraft board
- A paper trimmer
- Scissors
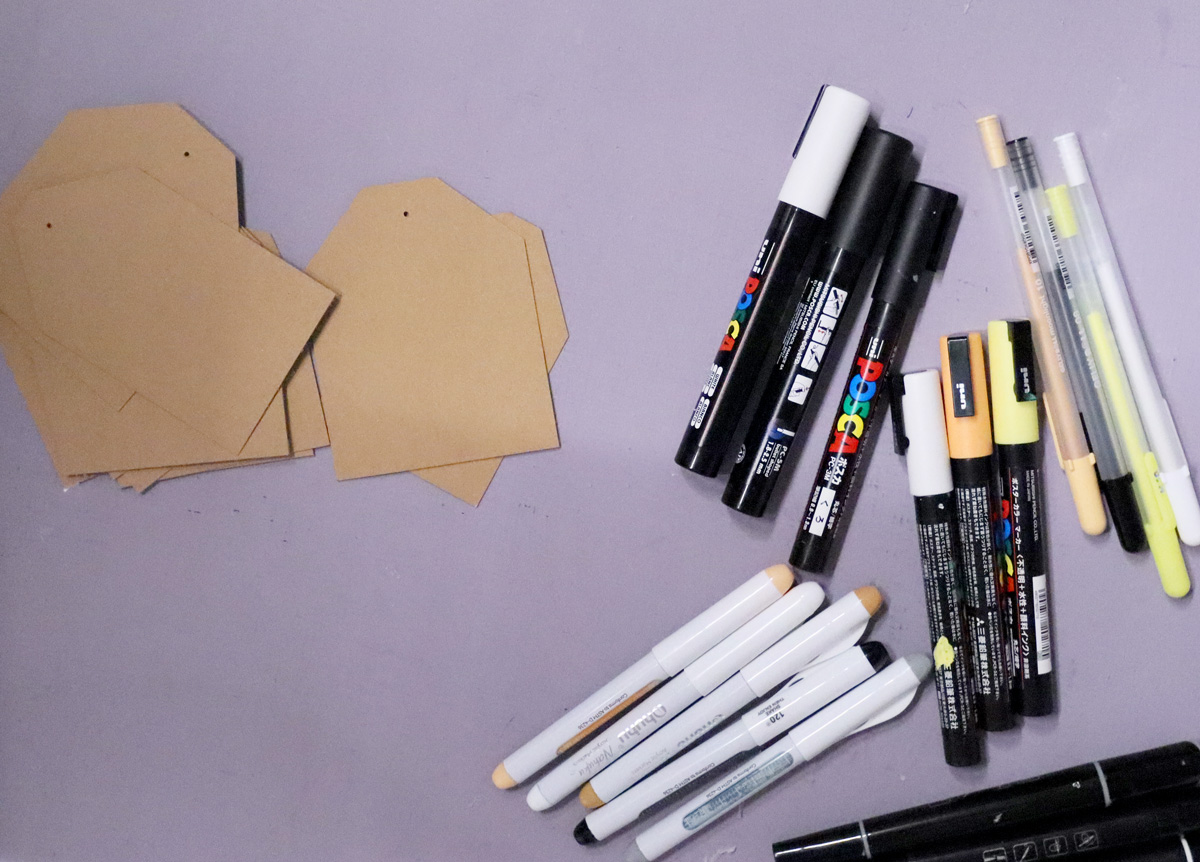
- Paint markers and gel pens in white, black, off white, etc. I used a mix of Posca, Ohuhu direct ink brush markers, Ohuhu double tipped markers, Gelly roll gel pens, etc.
- Hole punch (standard 1/4 inch is best)
- Twine
Watch the Video
Watch the full-length video on YouTube if you prefer to learn that way! Or scroll down for written instructions with photos.
Step by Step Tutorial
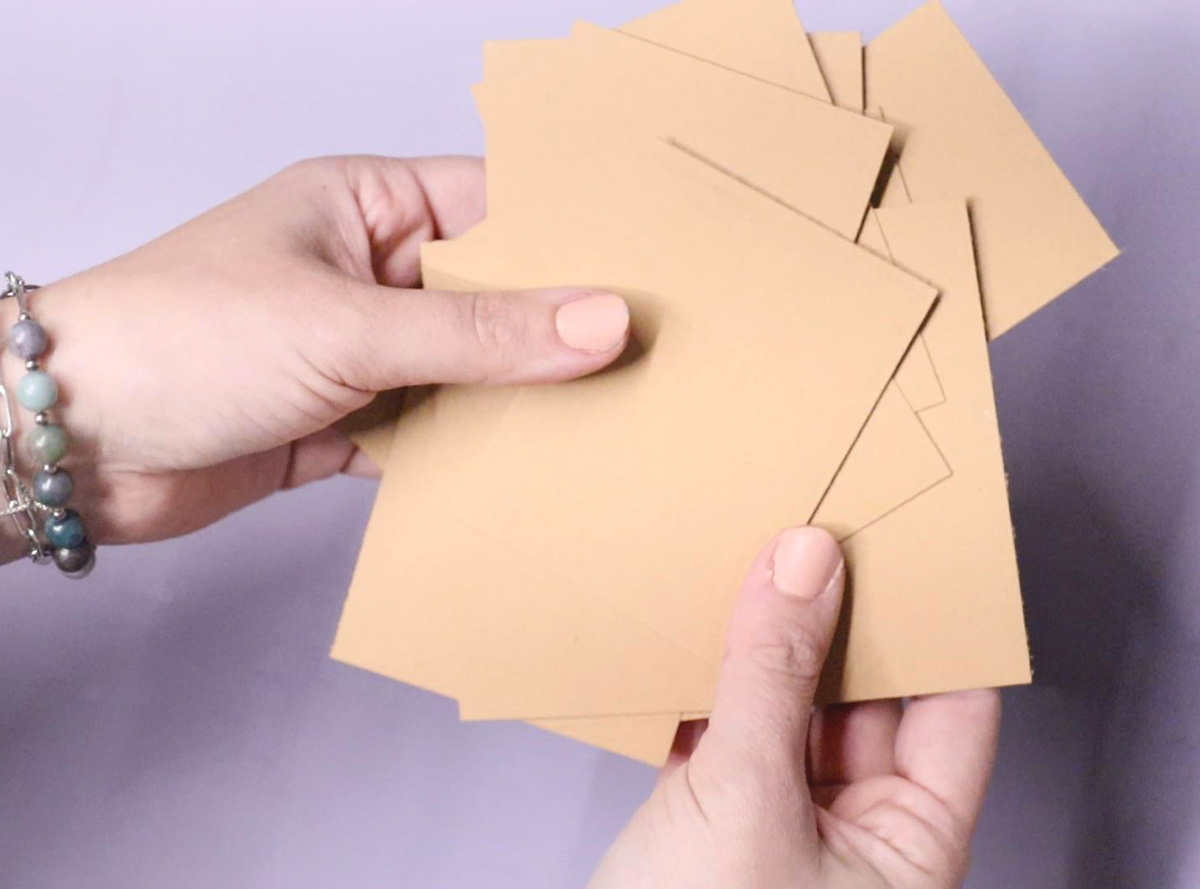
1. Cut your tags to size. Decide how large you want them (about 2×3 inches is great). Cut your Kraft board into strips the correct width and then cut the strips to the correct height.
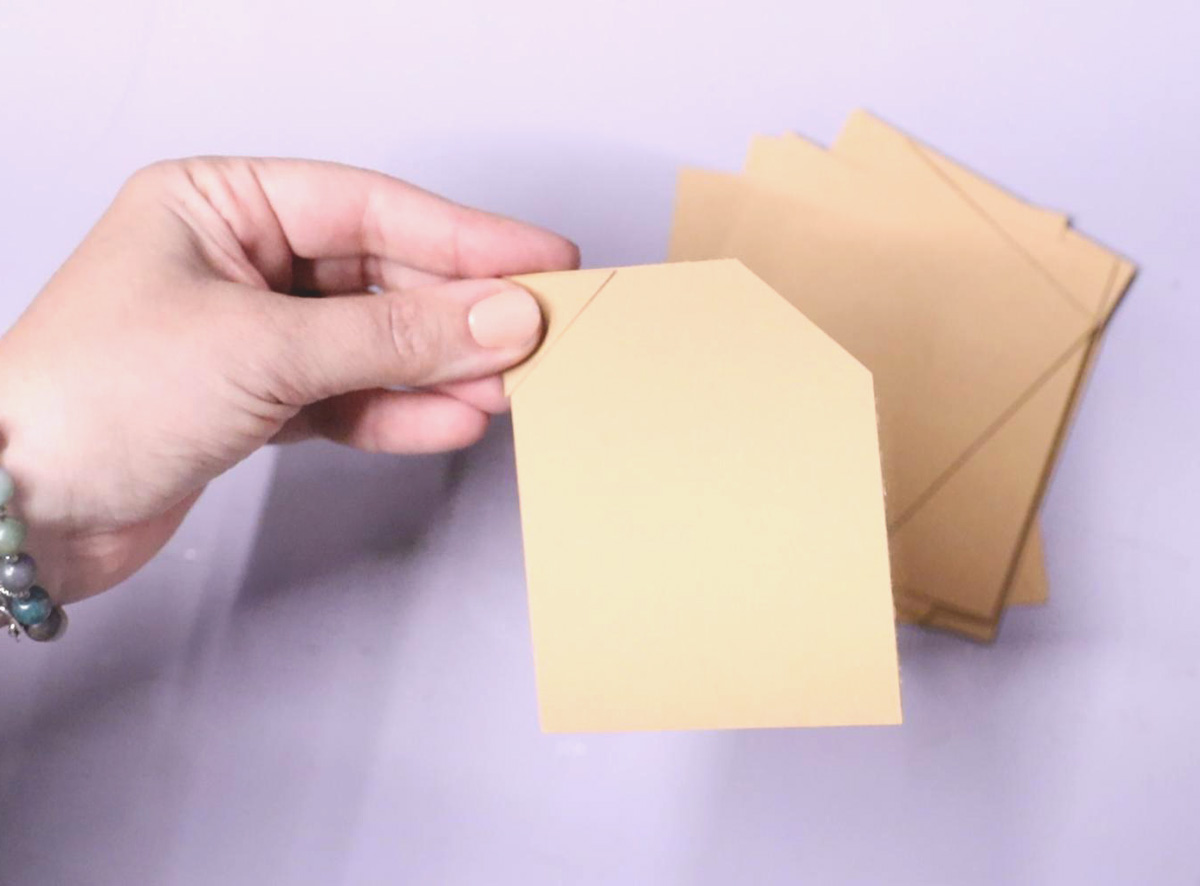
2. Snip off a small corner on the top.
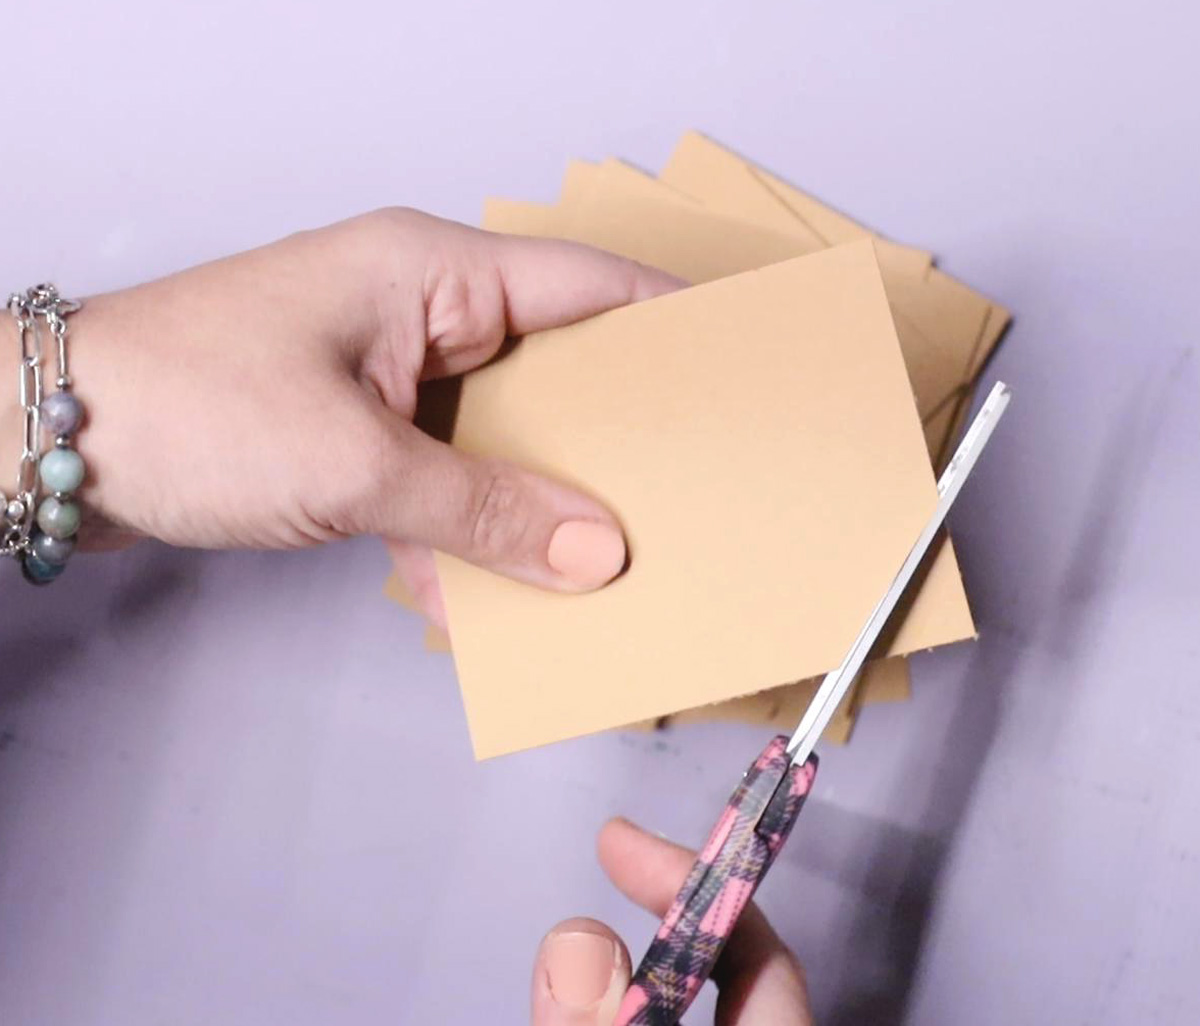
3. Flip that corner over to measure and cut the second corner. A quick, confident snip will get you the neatest cut.
4. Punch your holes. I tried to do 1/16th inch holes at first, but ended up punching them larger when my twine didn’t fit, so I do recommend going with a standard 1/4 inch punch to begin with.
5. Choose your markers. Test them on your corner scraps.
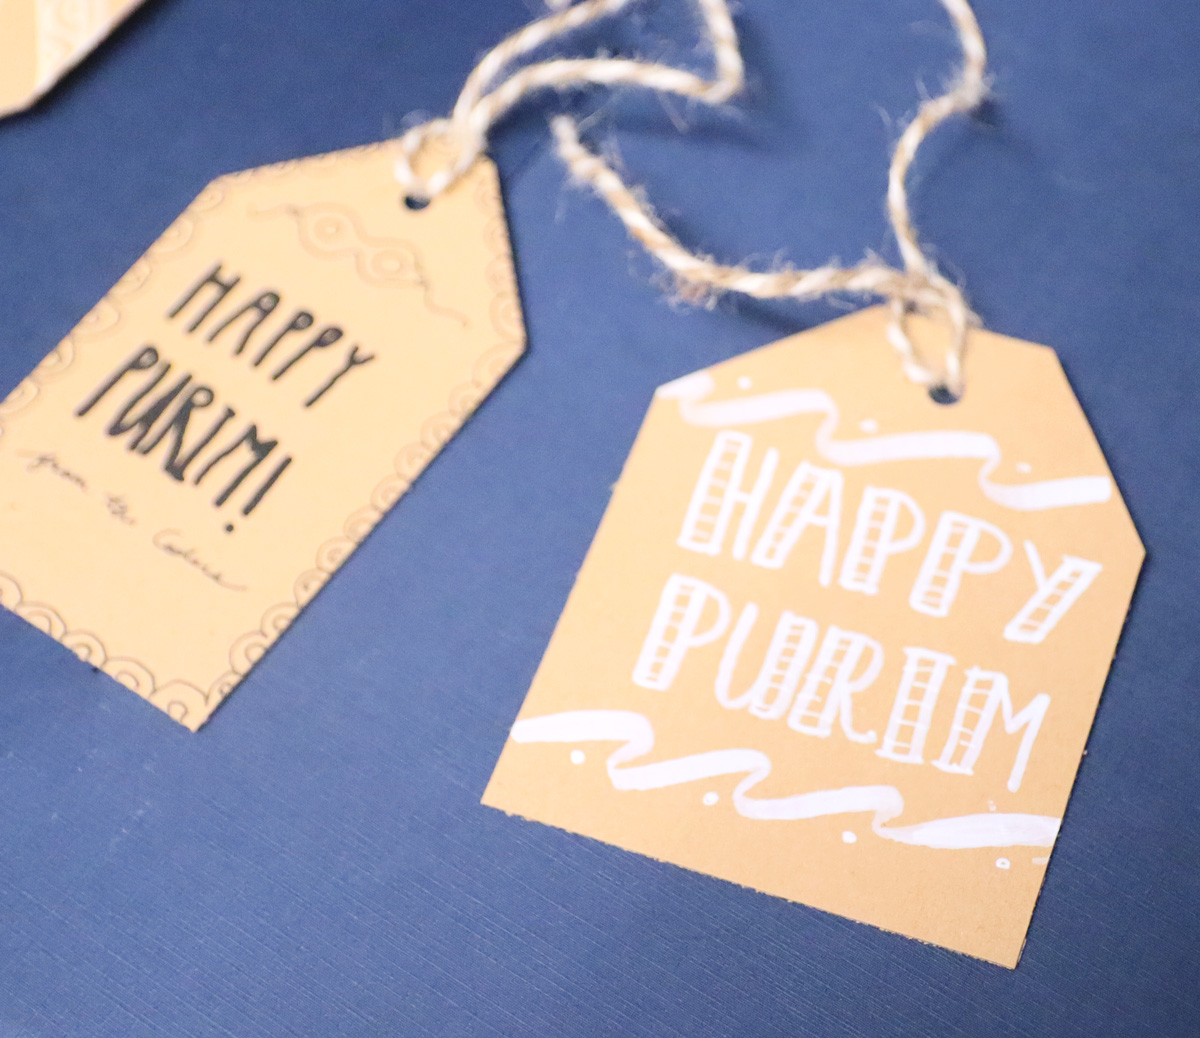
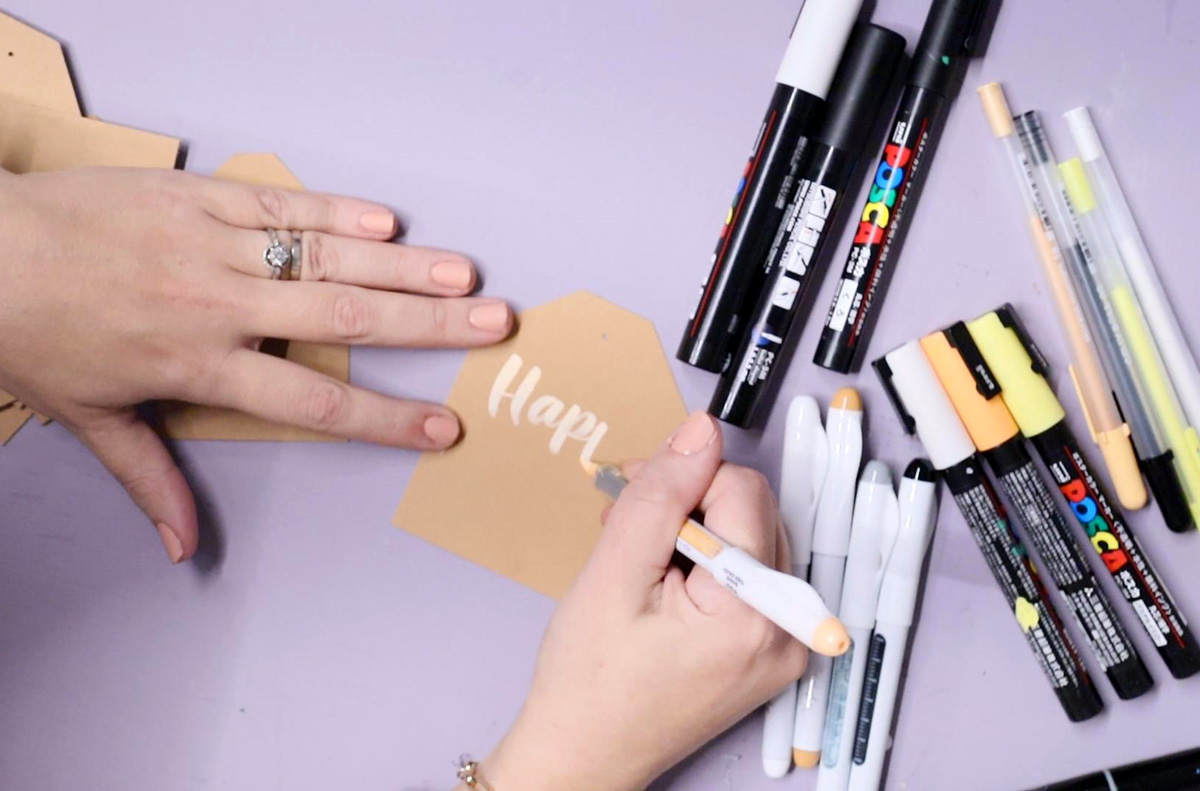
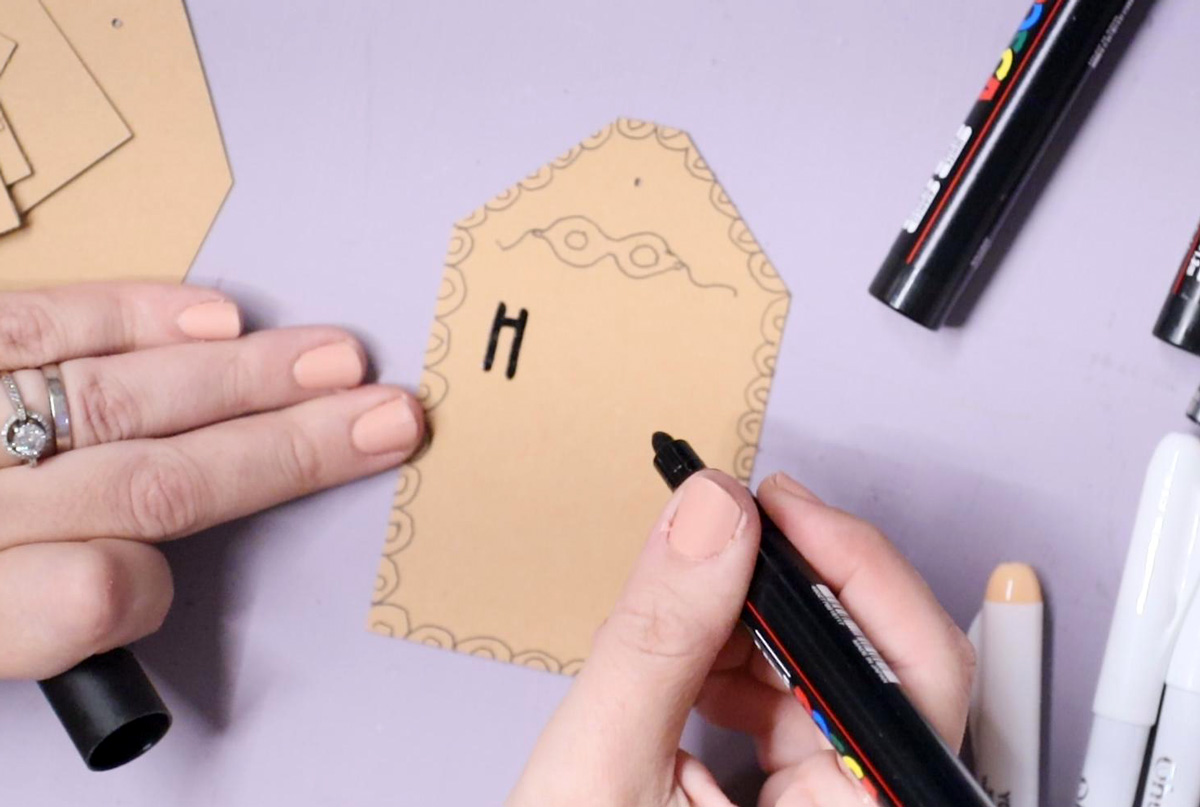
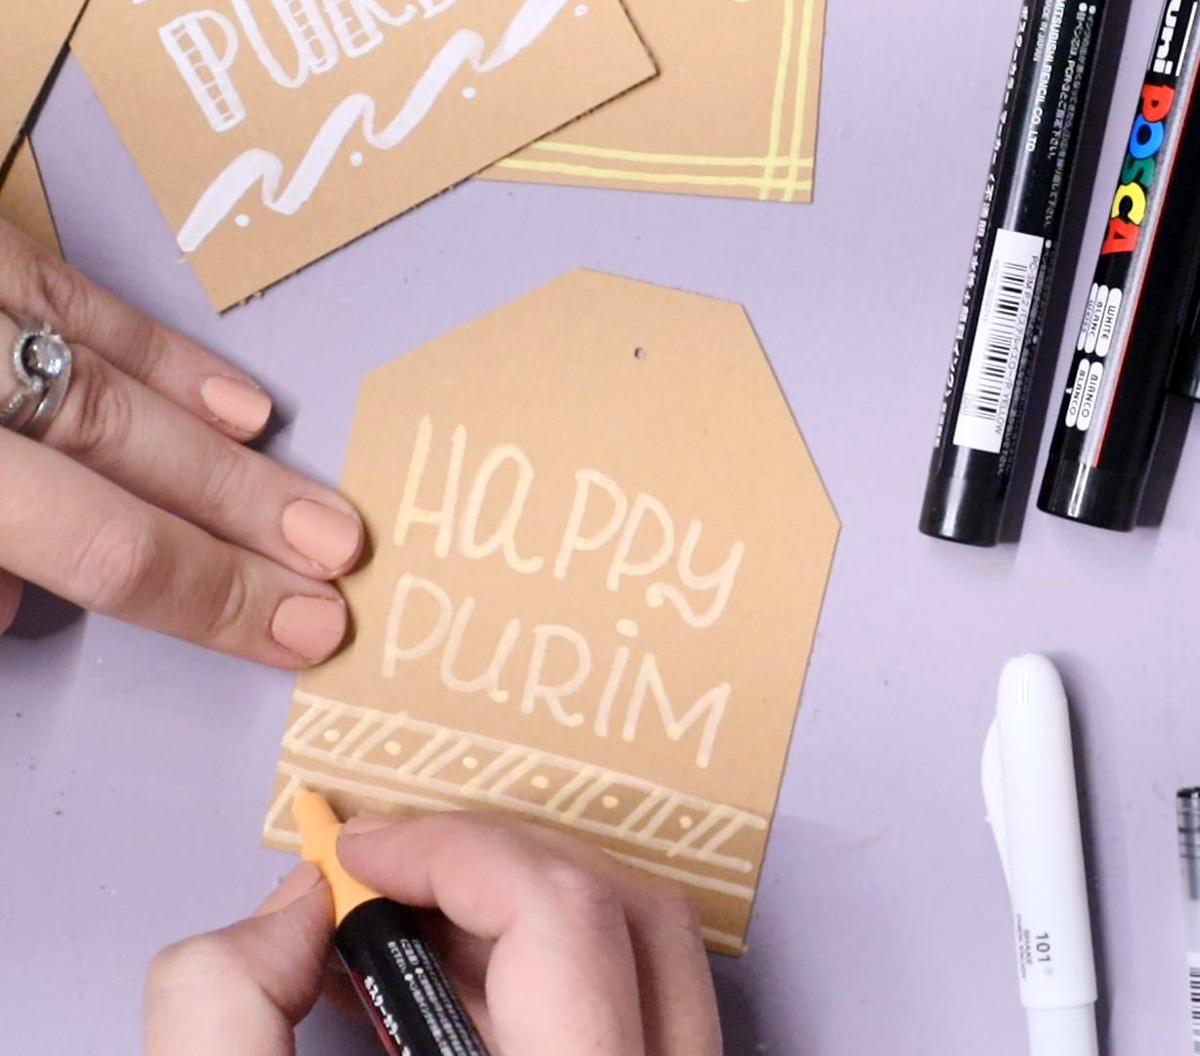
6. Start lettering! Opt for high contrast where possible, but light beiges that show up really milky will look amazing too!
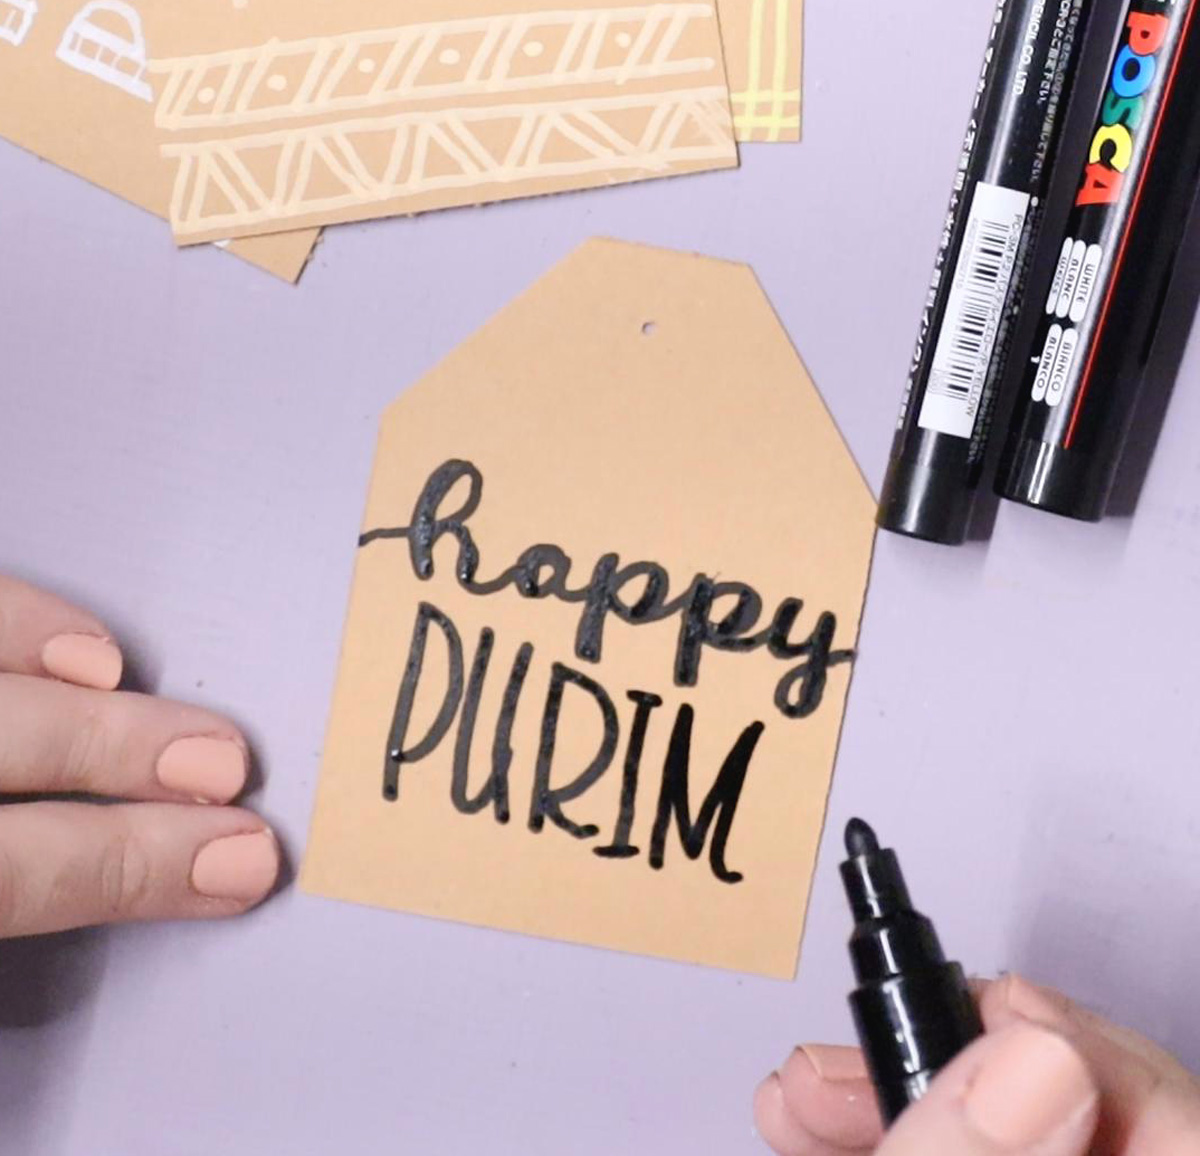
Start with some lettered text.
Or start with your borders.
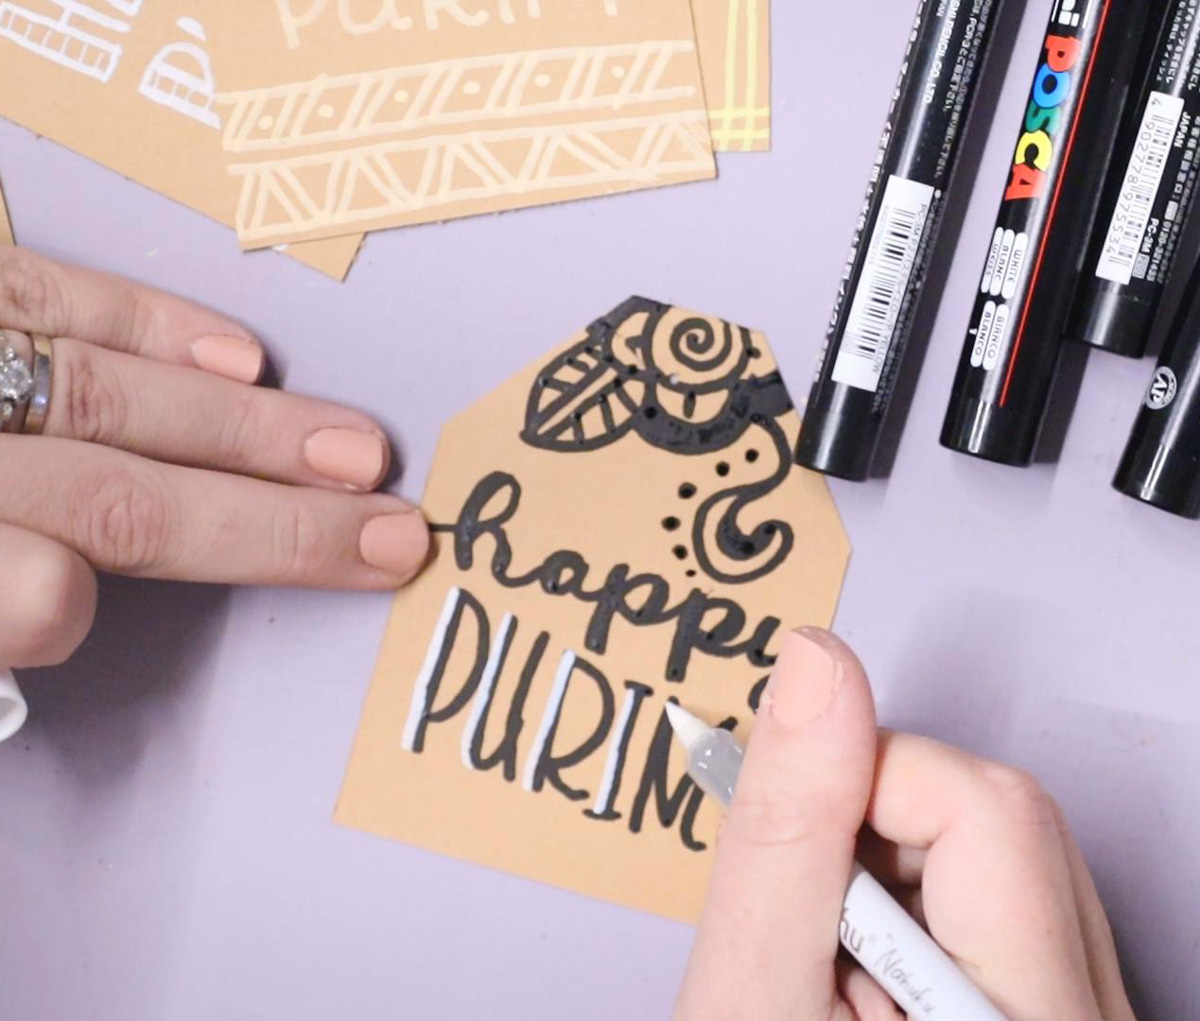
Mix up bold and thin strokes. Mix images with patterns.
Try doubling up and adding patterns. Images don’t have to be Purim-themed.
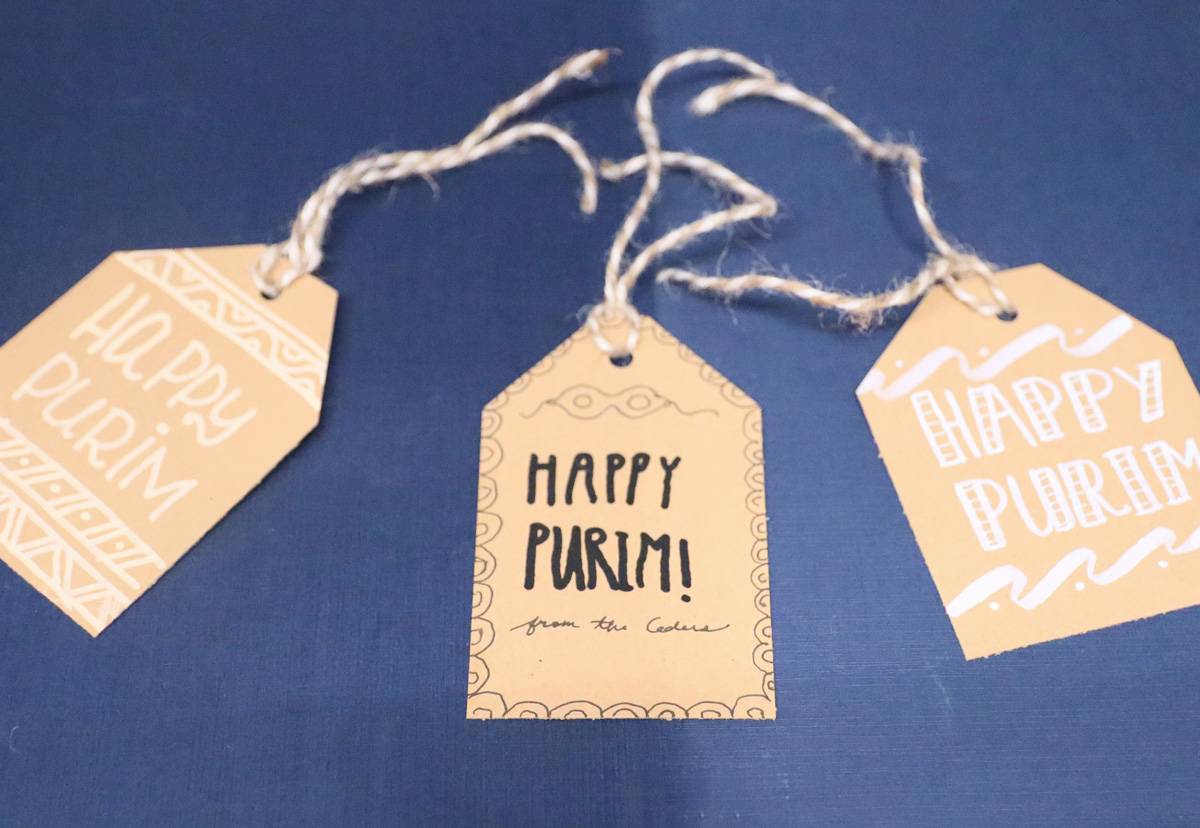
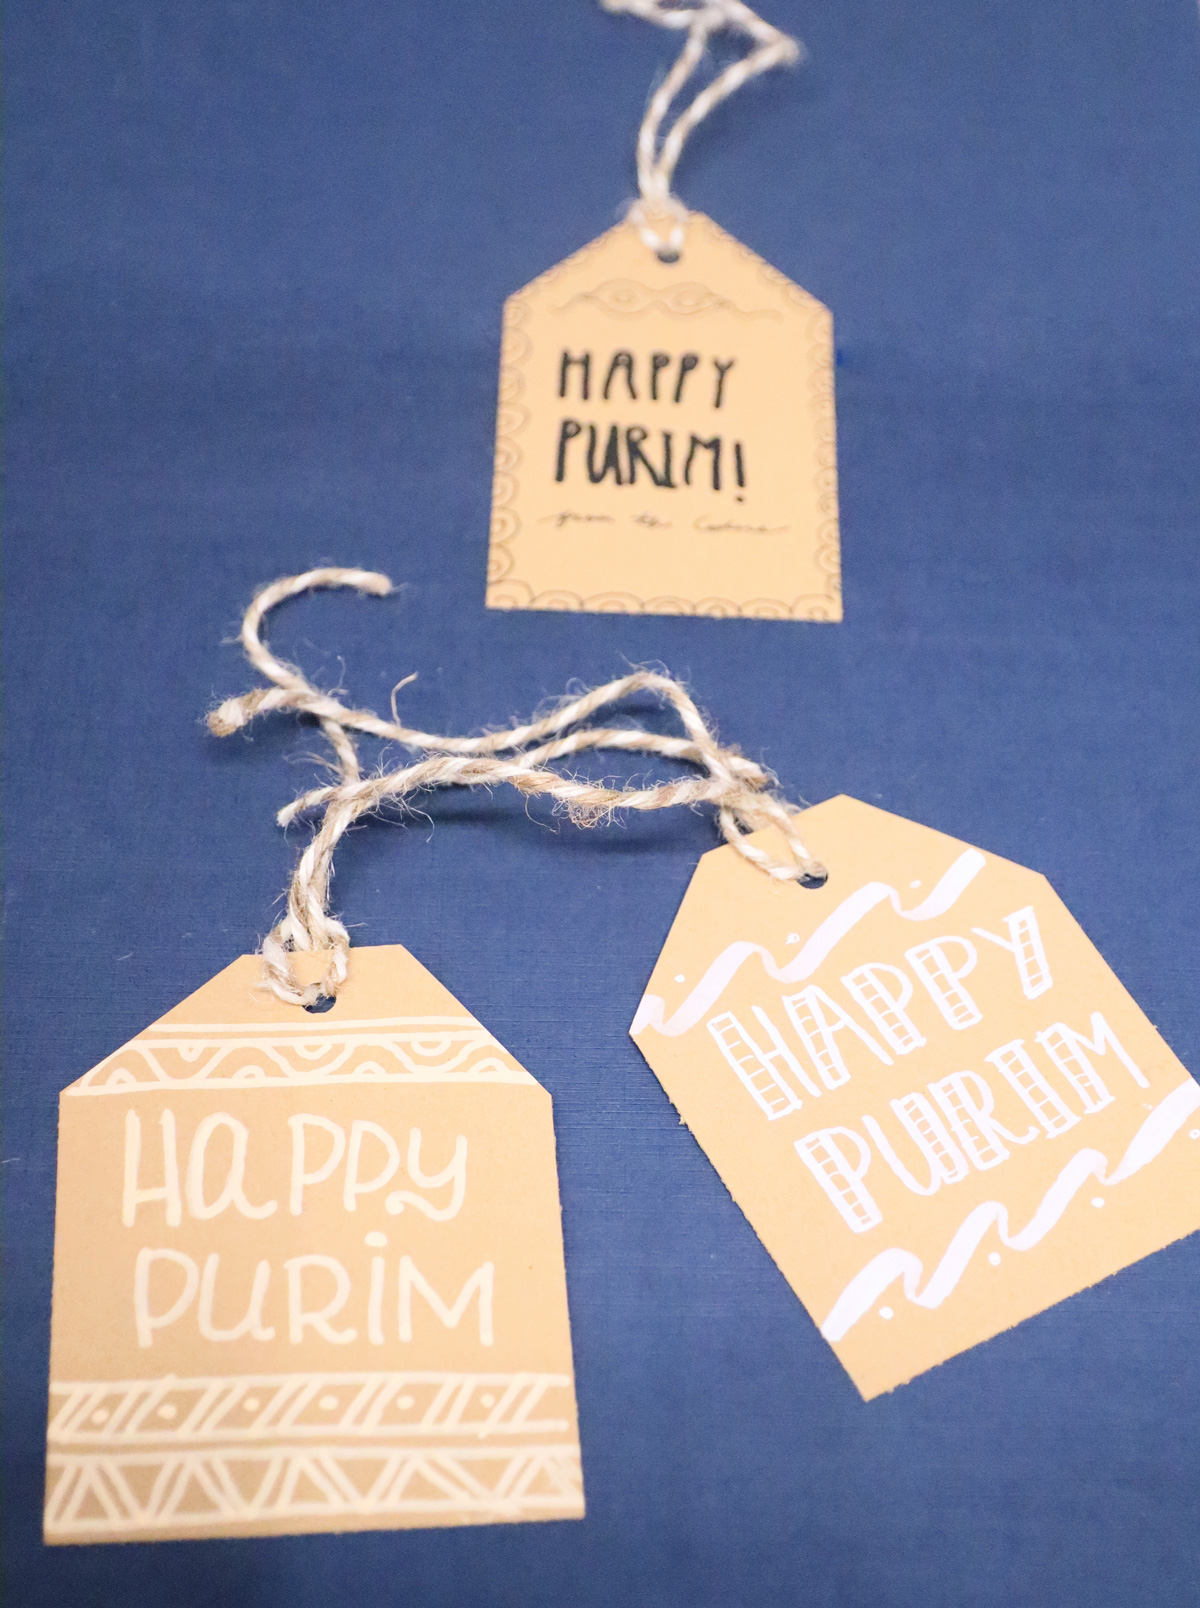
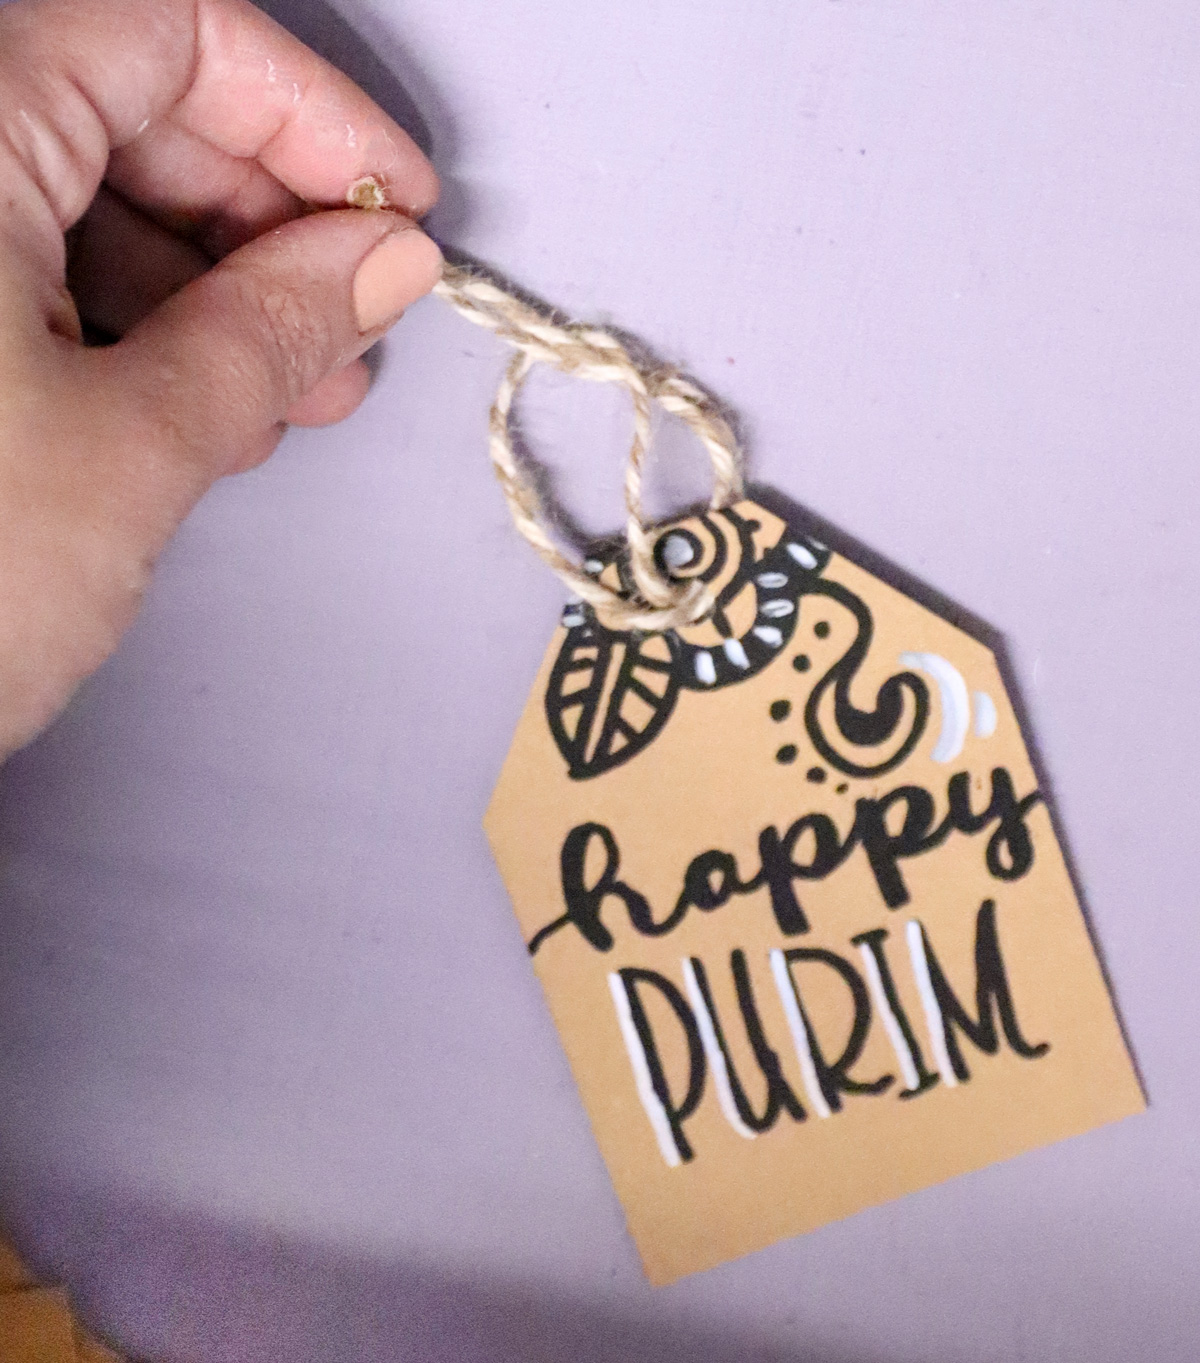
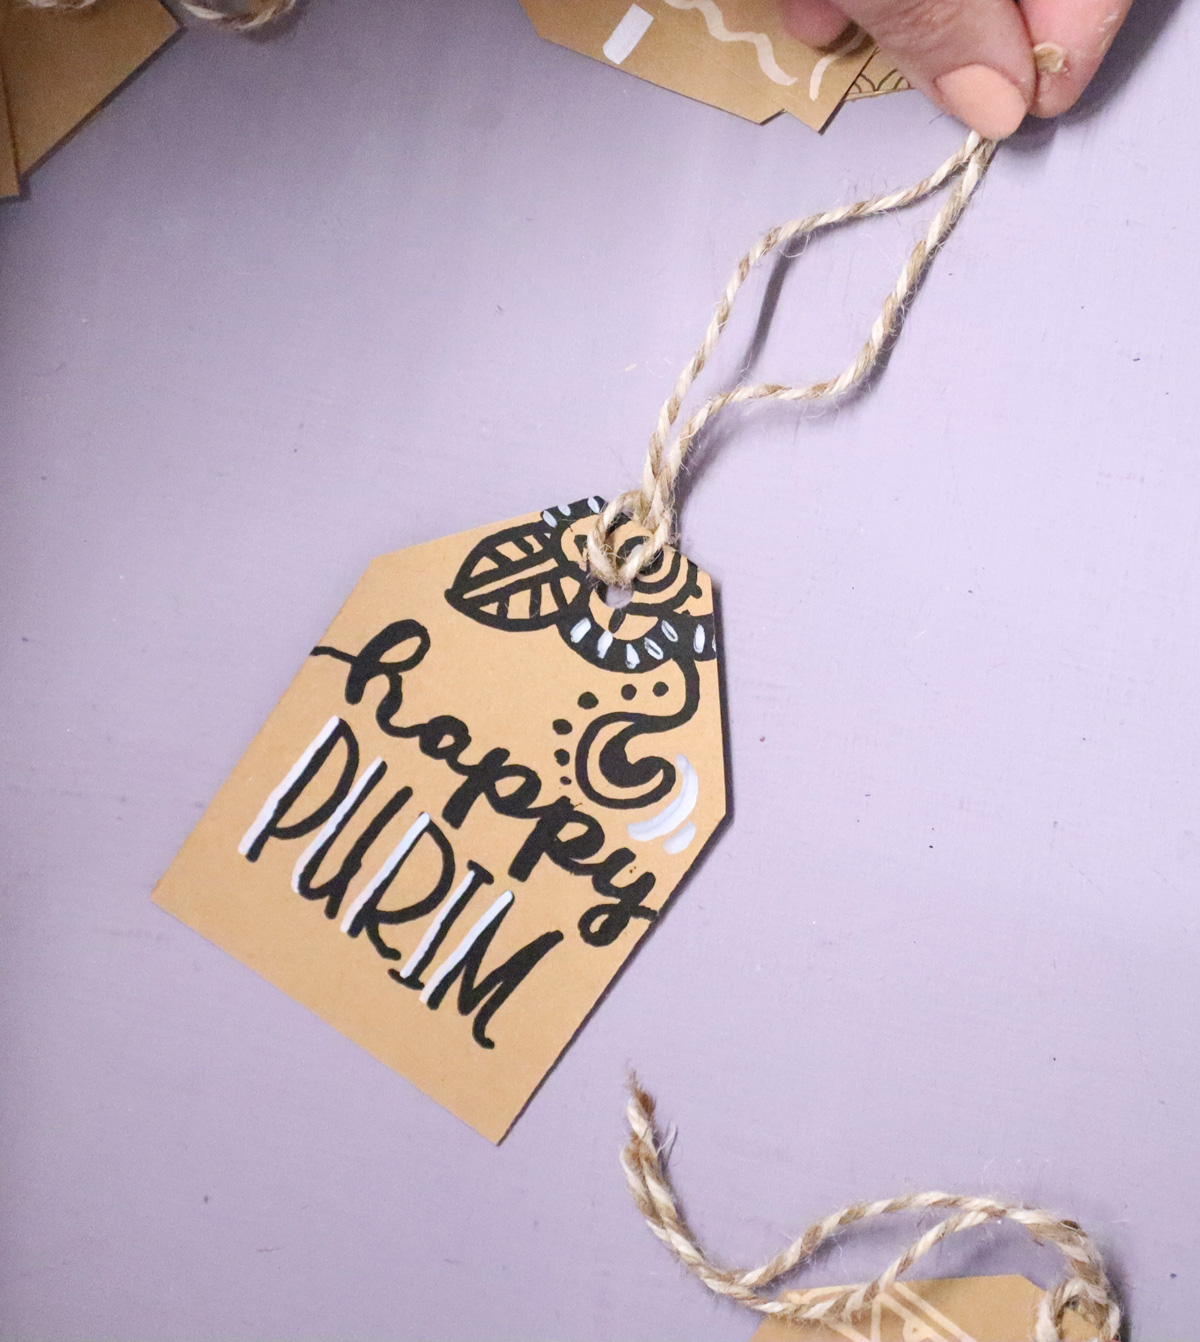
7. Add a string. Cut a length of twine about 4-5 inches long. Loop the center through the hole from back to front.
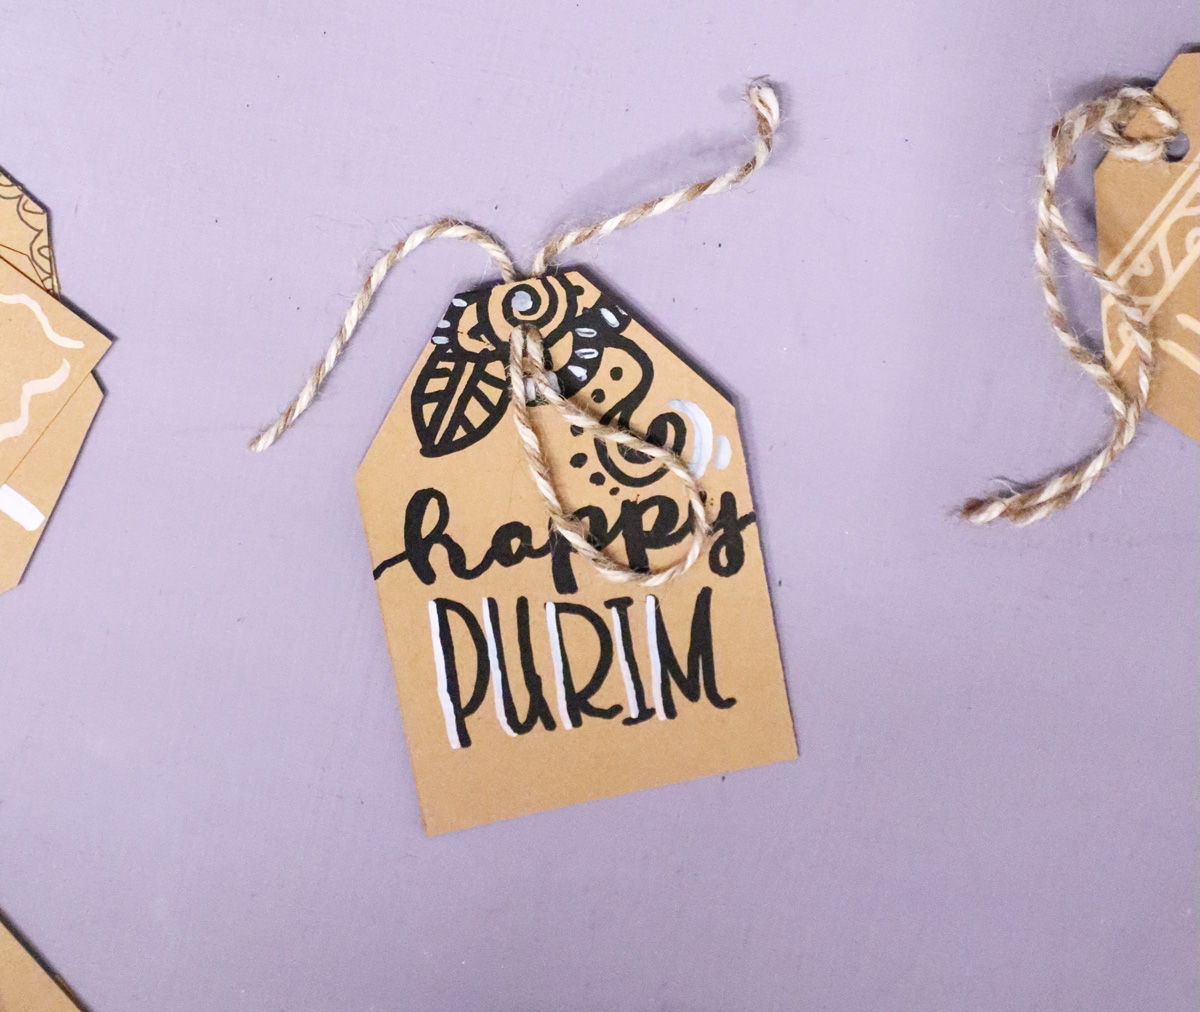
8. Put the ends of the strings through the loop you formed on the front and pull tight.
Your DIY Purim tags for Mishloach Manot are complete!