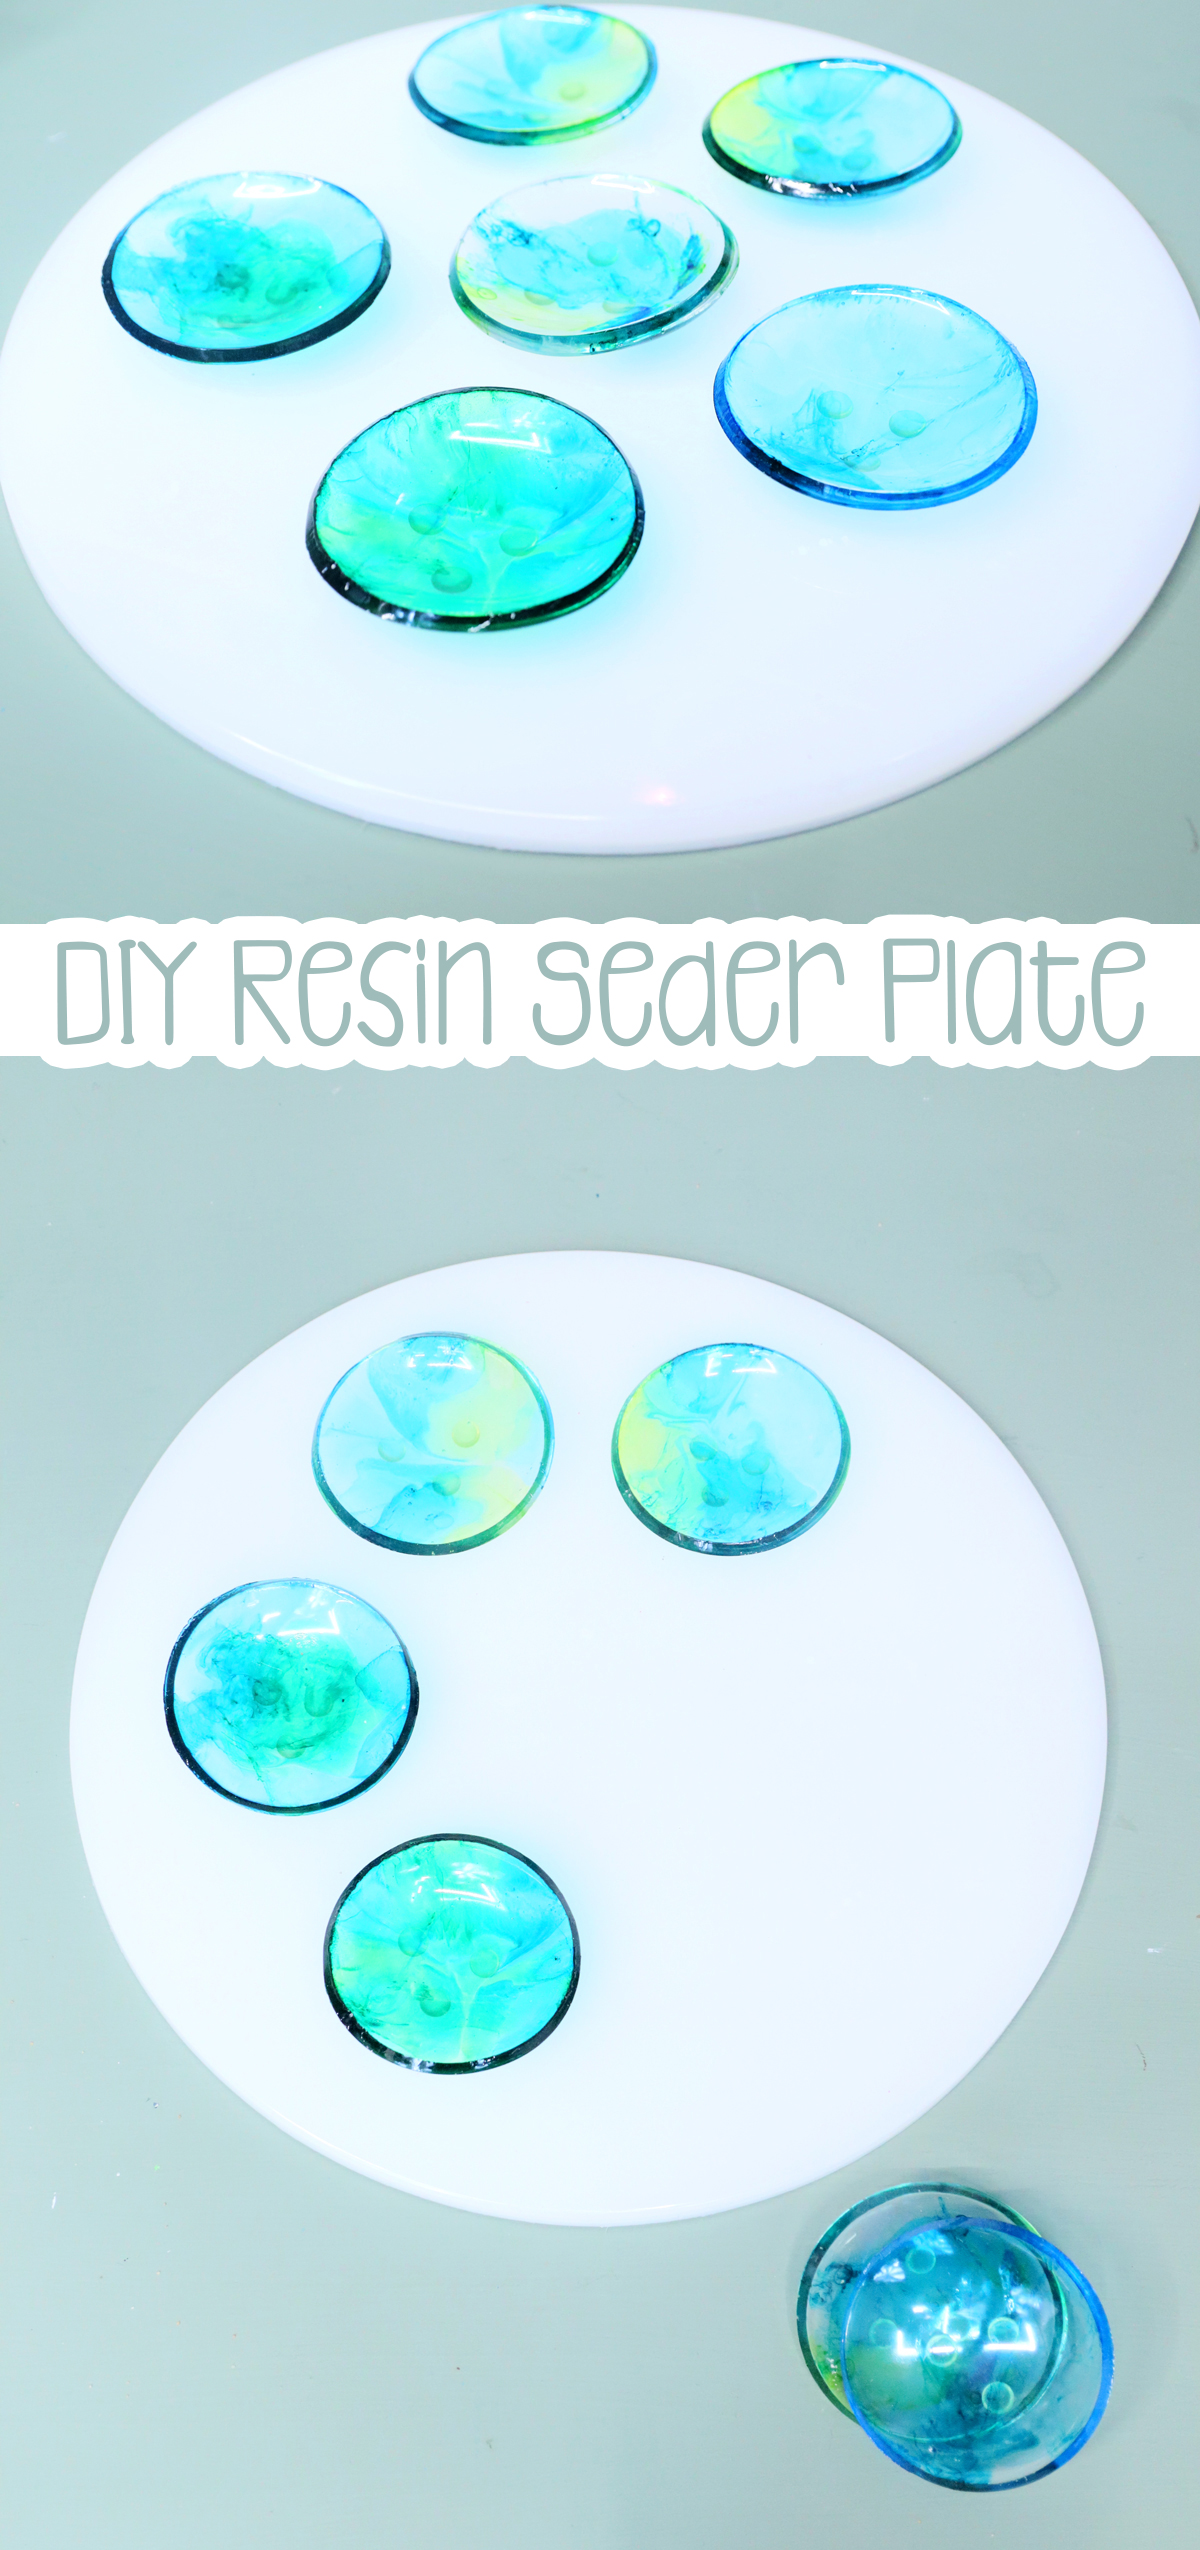
DIY Resin Seder Plate
Learn how to make a DIY resin seder plate, including tips and tricks and alternative ideas! When you’re done, check out how to make a clay seder plate too! This post contains affiliate links.
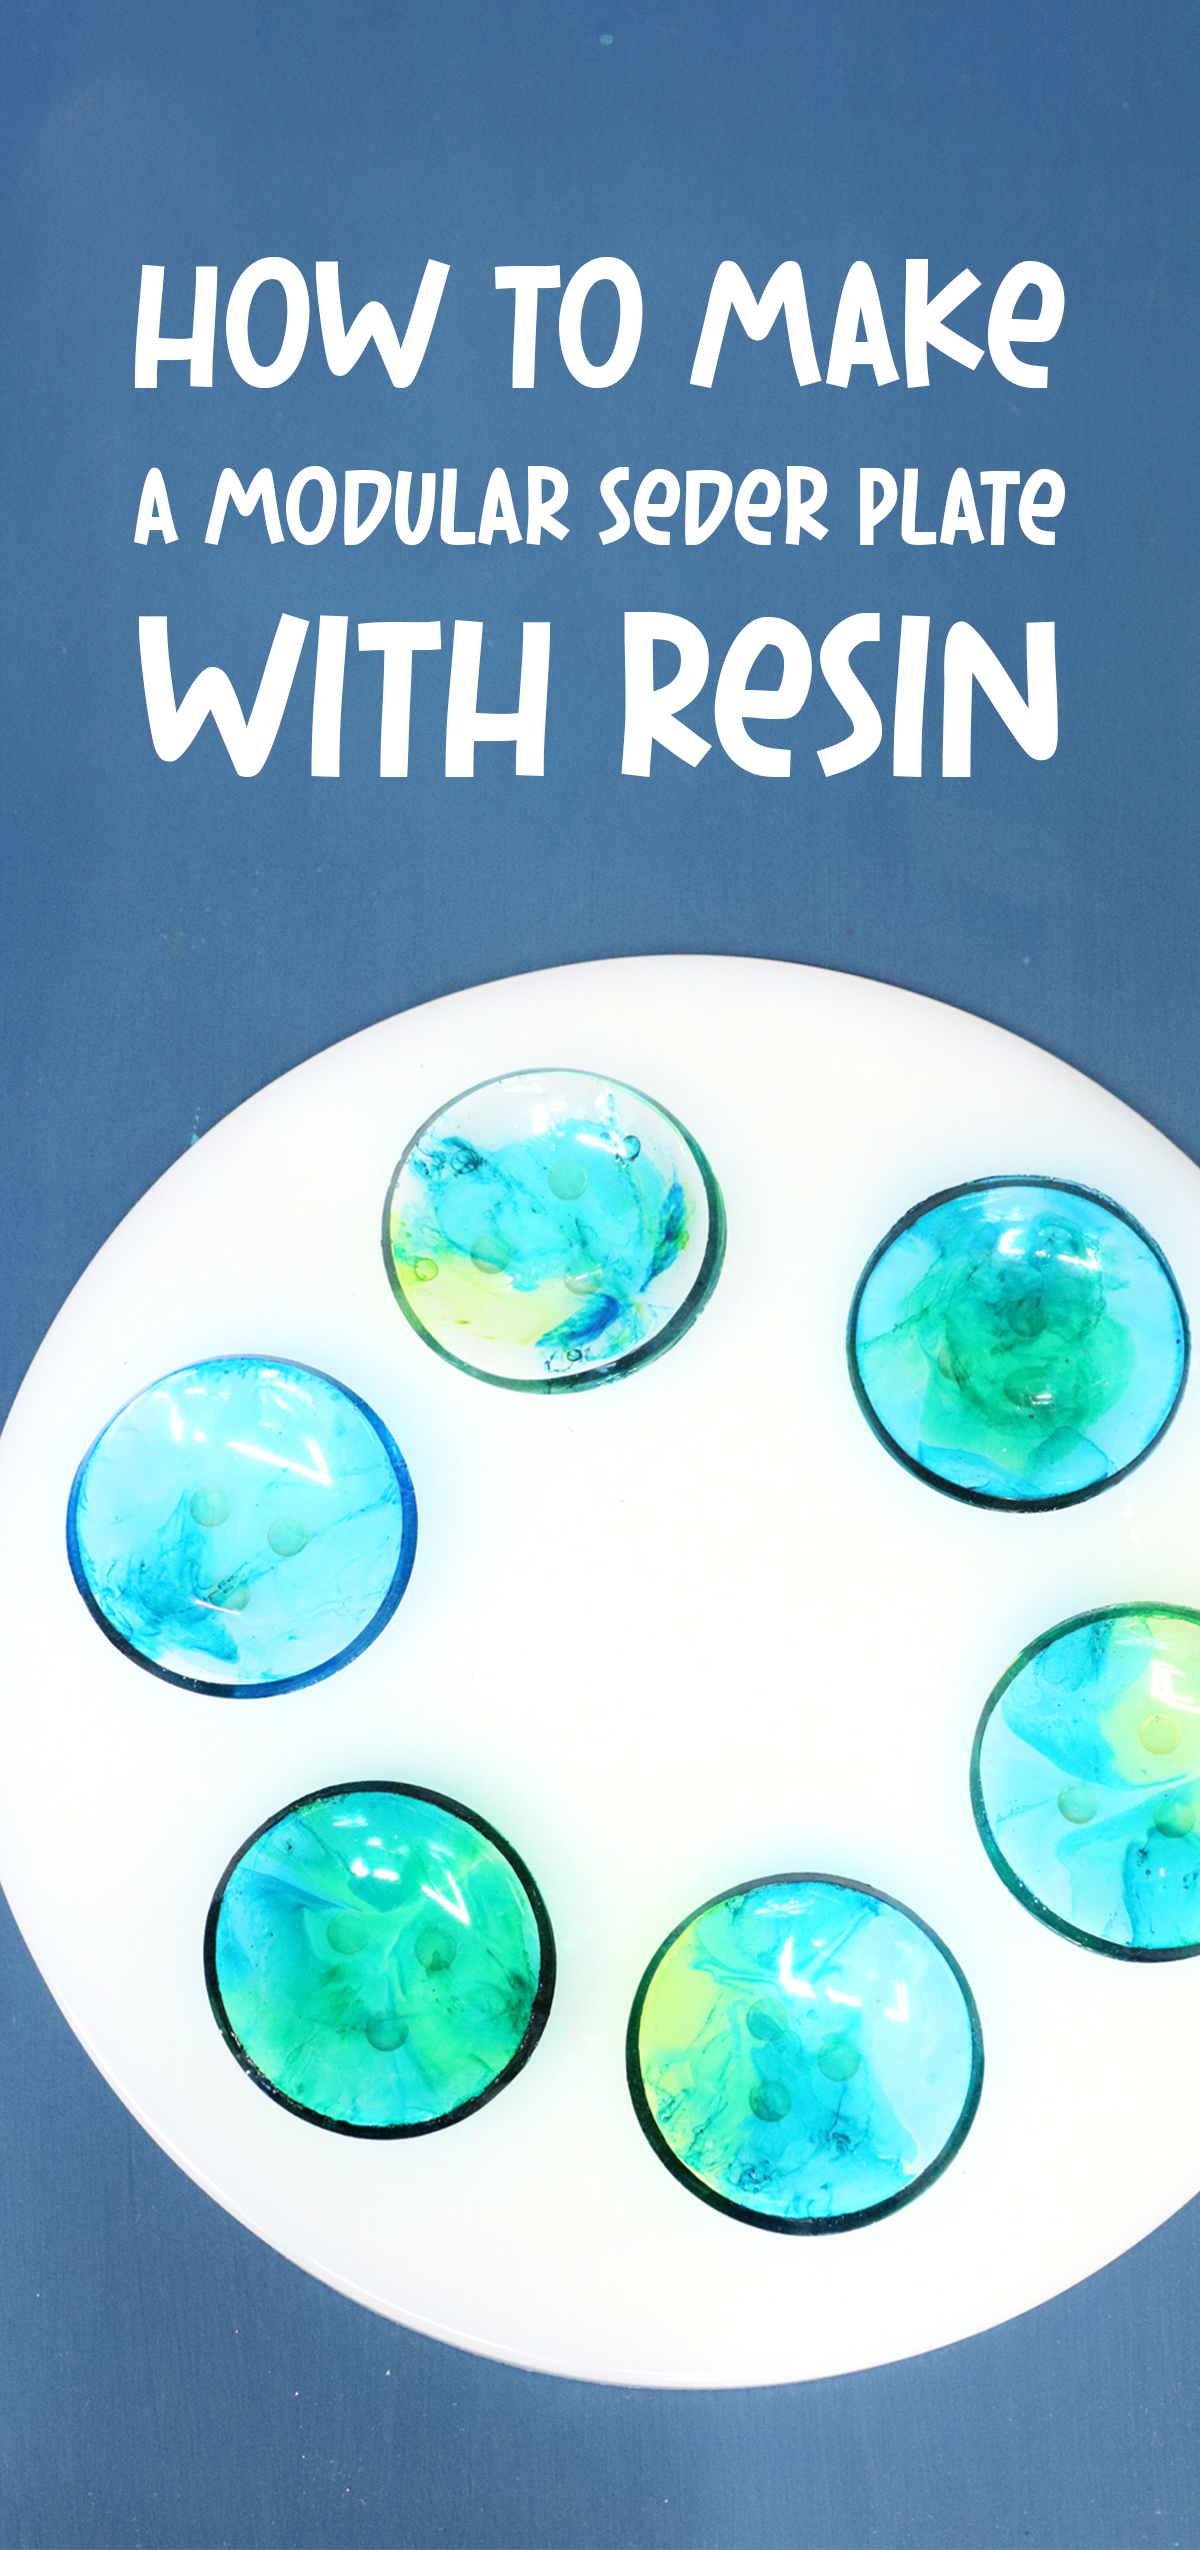
Sometimes a project starts with a simple decision: I am GOING TO make a resin seder plate and then a vision: colorful translucent bowls on a sparkling white base.
And then it evolves from there.
Making this DIY resin seder plate was quite the journey that I chronicled in my Instagram stories (yes – this is a shameless plug, make sure you’re following me if you don’t already!)
I ended up going with shades of blue and lime green just so it feels more within my husband’s comfort zone. And the sparkling white base wasn’t quite what I imagined, mainly because I ran out of white dye in the first round – and forgot that I can simply use acrylic paint!
This post is long but not because of nostalgia and memories – I’m trying to give you as much information as possible for making your own DIY resin seder plate so that you can work through it in the most efficient way possible. And because that’s my job.
Finding molds for a resin seder plate
There are a few ways to approach making resin Judaica when there are so few molds (especially affordable ones) already available and I’ll address each one – because they are ideas you can definitely try – and then share what I ended up doing.
I’d like to point out that any way you go, you’ll likely encounter some trial and error. So be prepared for a challenge! I’m going to share the exact process, but since your circumstances (environment, brand of resin, length of time you heat gun to pop bubbles, etc.) aren’t the same as mine, you’ll still need to experiment.
Get a seder plate mold
The first question is: can you even just get a seder plate mold? I’ve found a few on Etsy but the price is… worthwhile maybe if you’re a very successful resin seller and need something quick and easy I guess? And probably fair considering the labor it entails.
Personally, I wanted something with more presence and so I moved on.
MAKE YOUR OWN seder plate mold
The next option is to make your own mold for epoxy resin casting. You do this using a 2-part silicone compound, much like you use for resin, only the result is silicone.
You’ll need a sample to mold, which shouldn’t be too hard: go and buy a one-piece seder plate that you like and use that as your cast.
Again, for me this is “copy/paste” on another item and another step. Plus, the 2-part silicone is pricey. So while totally doable, I wasn’t sure it was the approach I wanted. I may try this in the future, though.
Indentations in a round mold
Another idea I had was to get a nice, deep mold and make indentations for the bowls in the resin when it’s partially cured. This can make a gorgeous one-piece seder plate and yes, I do recommend you give it a swing if you have the time and energy to experiment and this is what you want.
I, however, decided to go with a different option… I’m sharing the above ideas just to show you how many ways you can approach resin seder plates – and because mine does require some experimentation even if following my tutorial!
Separate bowls and base
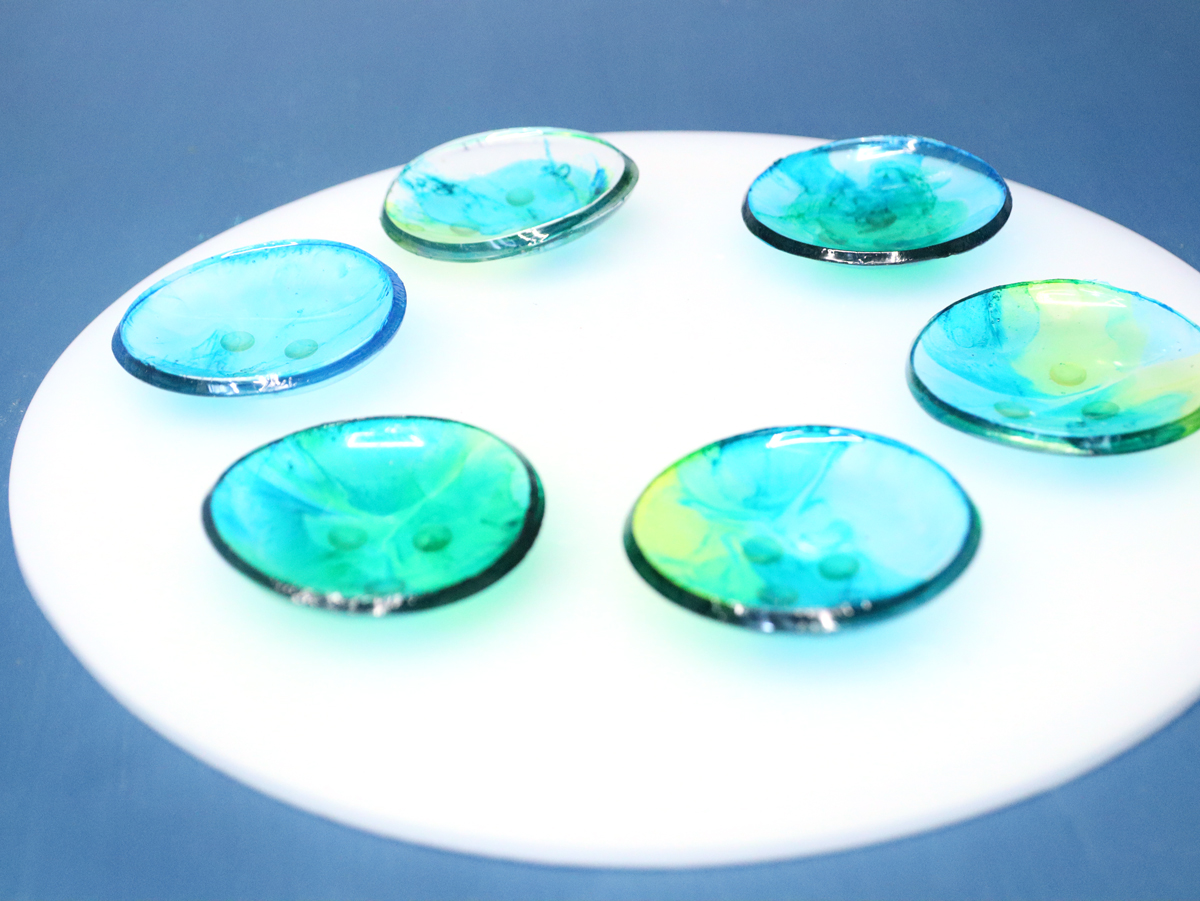
My final idea for making a DIY resin seder plate was to make a large round base and add resin bowls on top. Many modern seder plates are structured this way.
It offers a very clean design, that allows you more control over placement of the bowls in the final assembly stages of your process. And you can play with different materials for the different parts – like I did!
Tips for crafting a resin seder plate
Here are some guidelines gleaned from my process – mainly why I made certain decisions I did.
Making mini bowls from a coaster mold
For the base, I got a large 14 inch side table mold that’s deep but doesn’t need to be filled fully.
Your instinct might be to go ahead and buy some resin bowl molds to use as bowls… But I instead used a 6-pack of 4 inch coaster molds.
Why do it this way?
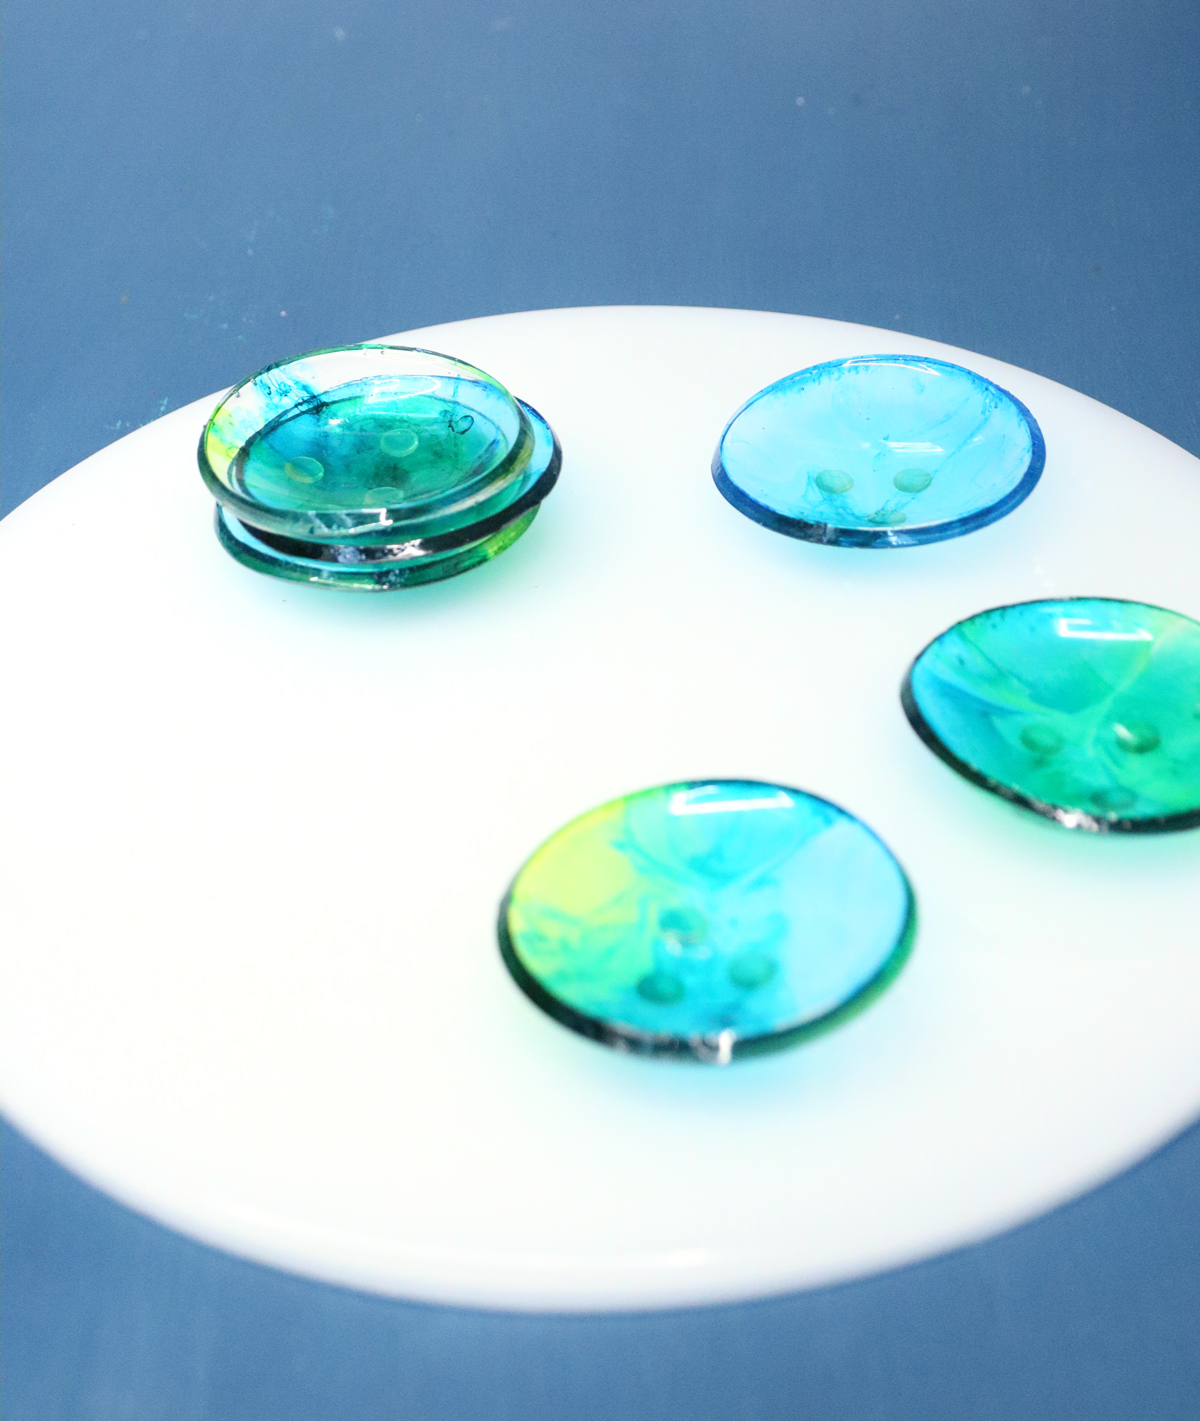
The reason is simple: I wanted a very shallow bowl, not a deep one. Think of the seder plate – with its slight curvature bowls. They allow the items inside to be fully visible. To do this, you need to take the bowls out when it’s partially cured – no longer sticky but still flexible.
The thing is… doing it like this really complicated the process. You NEED TO EXPERIMENT. I started with one, and then kept it near me all day. I checked after one hour, three, four, six… after seven hours it felt right and I took it out.
When I went back and did it again with six bowls… it WASN’T good after seven hours, because there were other variables at play that I didn’t account for.
Factors that effect cure time
To make the mini bowls from coasters, you need to be very aware of the factors that play into cure time.
- Heat gun – how long you zap the bubbles with a heat gun for. On the trial one, I did. On the “real” one I managed to avoid most bubbles and didn’t heat gun it. Heat can accelerate the curing process.
- Thickness – If you make it too thick, it’ll take longer to be ready to demold. It also doesn’t come out as good. In my experiment, I underfilled my mold. I slightly overfilled my coaster molds when I was crafting it “for real”. When I fixed it, I underfilled them.
- Environment – The first time, I brought my trial up to the kitchen so I can keep testing it. Then, when crafting it, I kept it in my basement, which is colder. Factors like temperature AND humidity can play into cure time.
In a nutshell: test your first bowl in the correct environment, using the exact method you’ll use to craft your resin seder plate.
To keep it modular or attach?
I decided that I wanted my bowls to remain modular – that is, disconnected.
- That way I can reuse the base as a matzah plate! And the bowls as smallish dip dishes.
- It’s very compact to store that way.
You can attach it using resin – either UV resin, or epoxy – after you’re done crafting it. Resin can easily be used as a “glue” to connect resin parts. Just use it sparingly.
Putting it all together
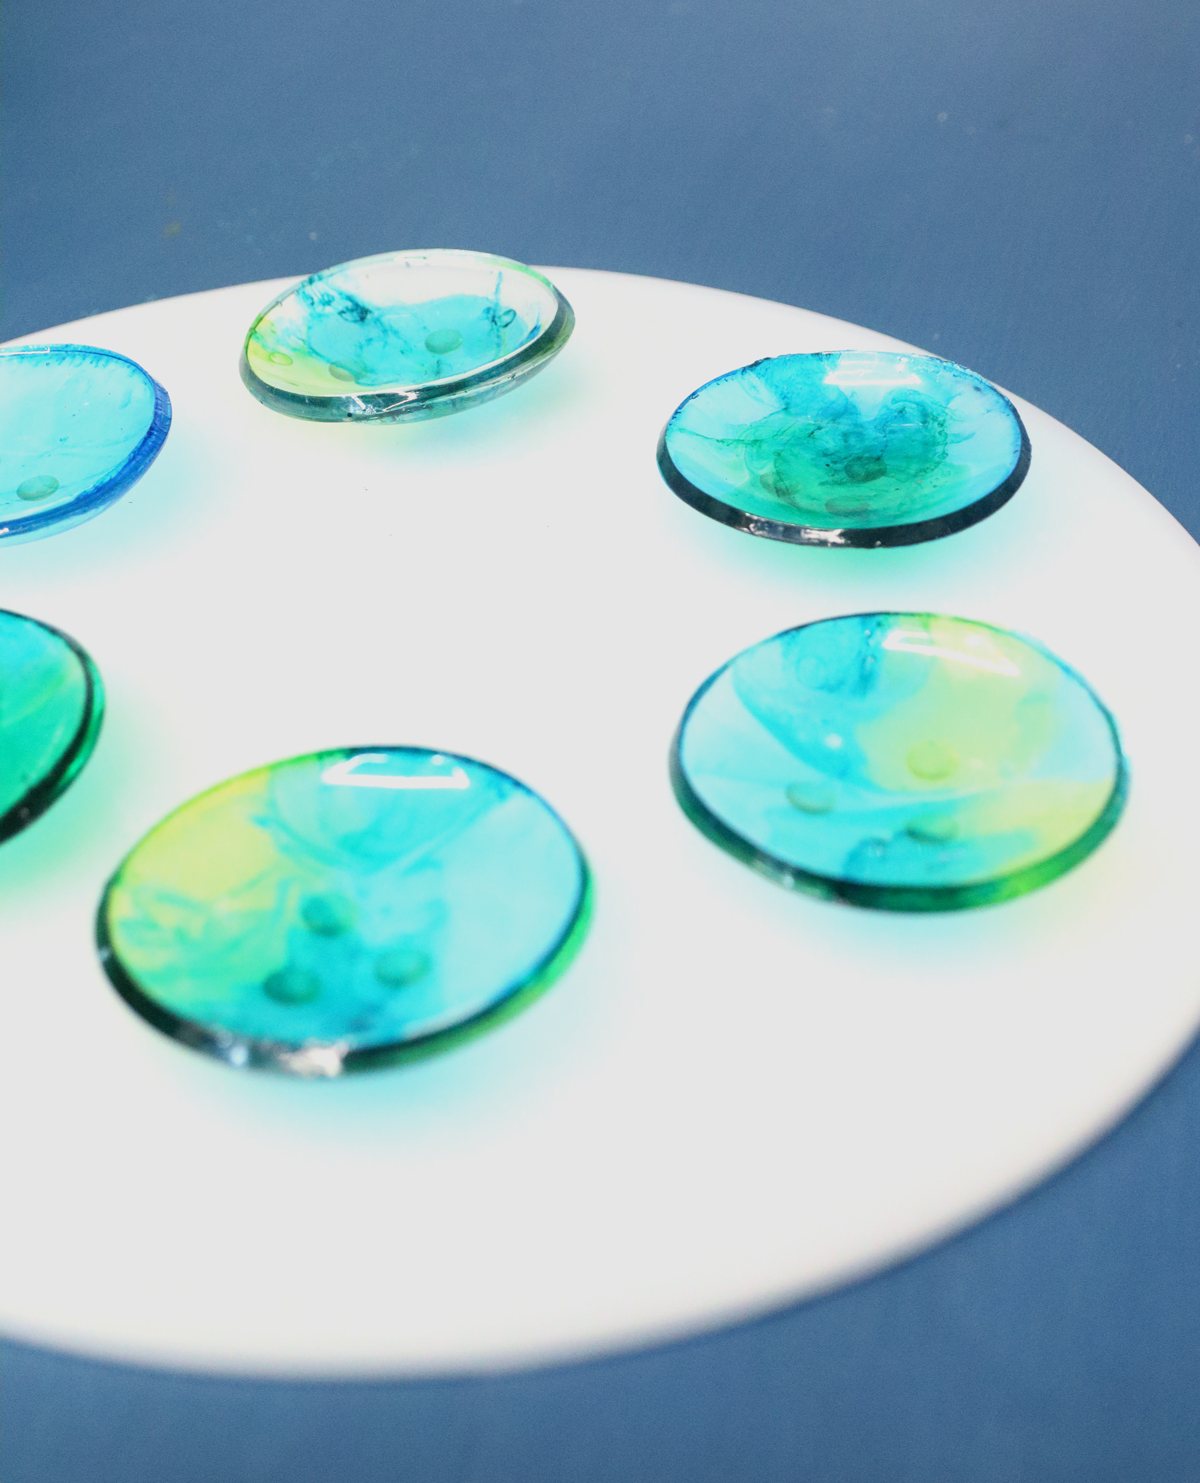
Since I kept it modular, I did put those small cabinet silicone bumper thingies on the bottom of each bowl so that they don’t just slide around. They worked magically but don’t look that pretty. You will not see it, though, once your seder plate foods are inside.
You can also use hot glue, but that’ll be harder to keep neat.
I also added very small felt furniture slider pads to the bottom of the plate. This isn’t 100% necessary, but it’s worth doing to make it feel less flat on your surface, and to make it easier to move around.
You CAN also make separate resin legs for it, if you have the correct mold, and attach it separately. I may do this at a later date using a shot glass mold that I own. Each shot glass can make a hollow leg.
Adding words…
So how do you add the words on the seder plate? I honestly like mine without. I reference the Haggadah for arranging the plate – I don’t need the guide on my plate itself. I find that it looks cleaner without words.
My best recommended way to do this is to cut words from your Cricut, apply it to cured and demolded resin, and then seal it with a top coat of clear resin.
You can probably also print it on transparency film and apply it between layers of resin.
Material tips for making a Resin seder plate
With resin, it’s important to choose the right materials to use.
Is resin even food safe?
Food safety is a big issue when making resin “food” items. However, I know that in our home, the seder plate foods aren’t even eaten!! So it doesn’t matter.
There ARE food safe resins (once fully cured). But not all of your mix-ins and colorants will be food safe. If you think you might use it for direct contact to food, just make sure the top/bottom layer (whichever one will be the top of the plate and contact food) is made with clear, food-safe resin.
A word about alcohol inks
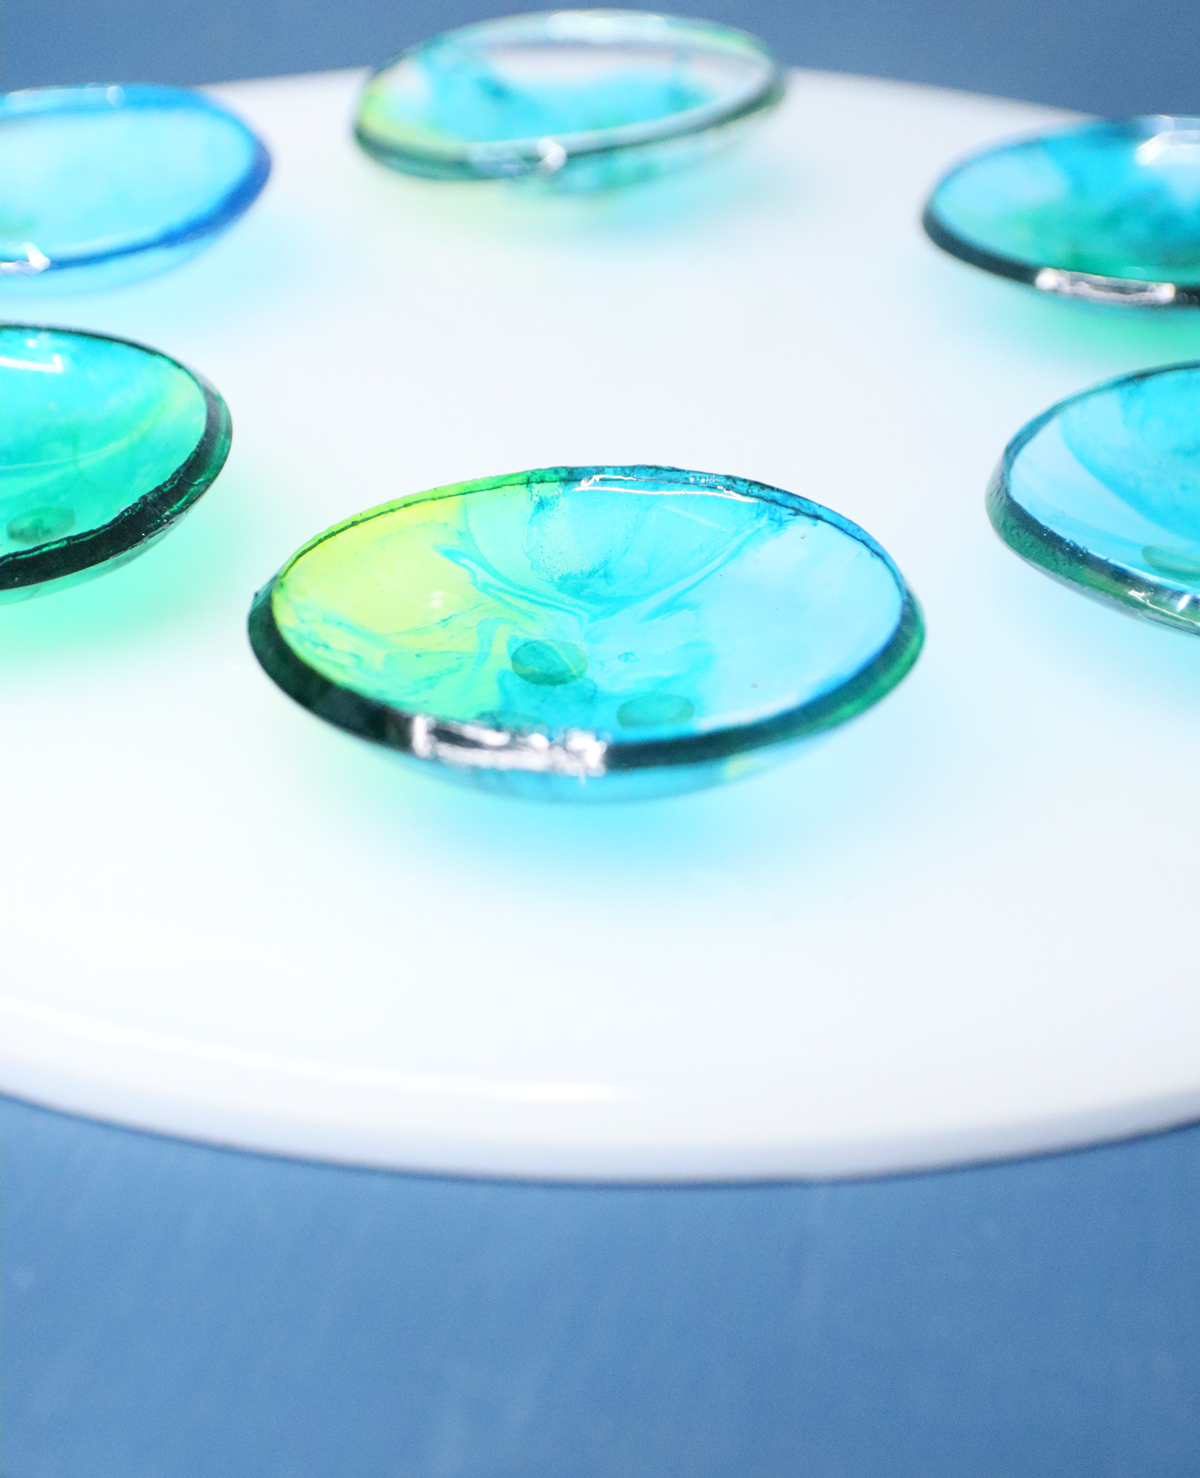
And a final word: I used alcohol inks to color the bowls. They give a gorgeous glass-like effect with naturally-occurring dynamic patterns and movement. But they can also fade dramatically with exposure to light. Keep this in mind if you choose to use them.
I used acrylic paints to get the strong white on the back of the seder plate. You can use food color if you want to keep the bowls food safe.
How to make a resin seder plate (step by step)
Materials needed
Tools, etc.
- A respirator mask
- Mixing and measuring cups dedicated to resin (I recommend silicone ones)
- Stirring sticks – I recommend silicone ones like the ones included in the kit above
- Nitrile gloves
- 14 inch round mold
- 6x 4-inch coaster molds
- Level
- Heat gun
Materials
- Resin – I used Alumilite clear casting resin (from Michaels)
- White resin dye/acrylic paint
- Alcohol inks
- Adhesive Rubber cabinet bumpers (roughly 6-8 mm circles)
- Small adhesive felt furniture pads
- Small plastic bowls (around dip bowl size)
Watch the YouTube video
Watch the full-length video on YouTube if you prefer to learn that way! Or scroll down for written instructions with photos.
Step by Step Instructions
Making the Base
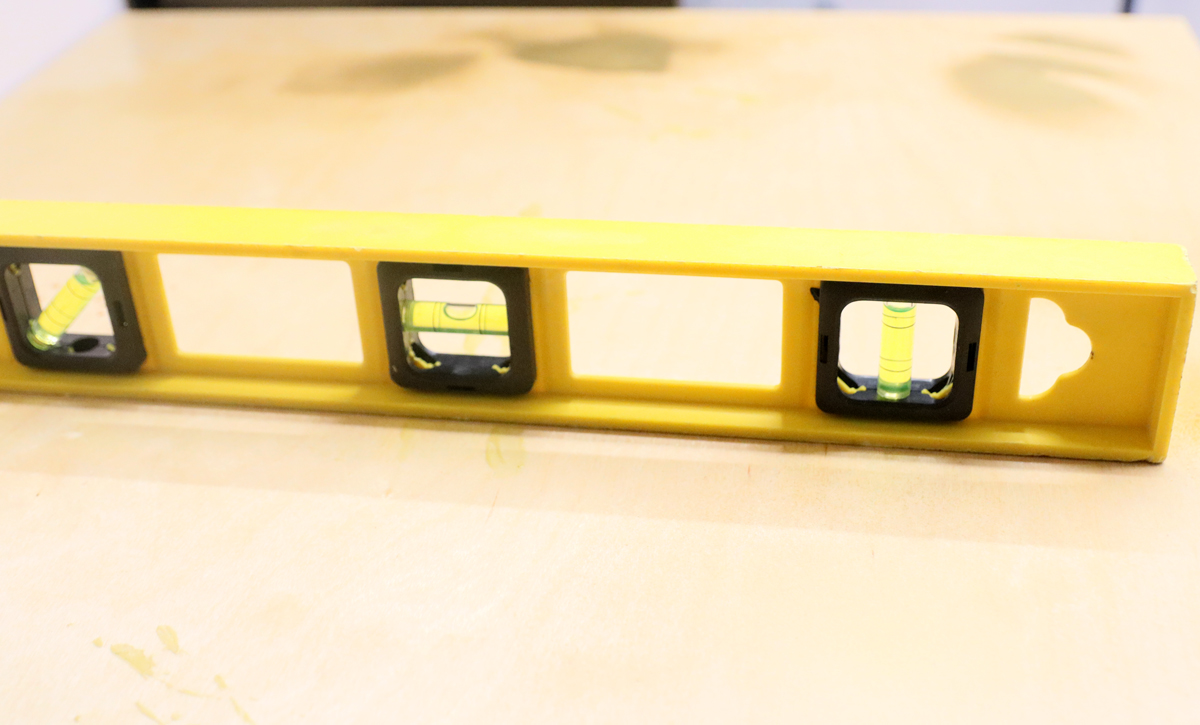
1. Level your surface. This is a critical step with any resin surface but especially with larger ones! I skipped this with my resin Menorah tray and it caused issues. I recommend having a large slab of wood to work on, and leveling it using books underneath the sides as needed.
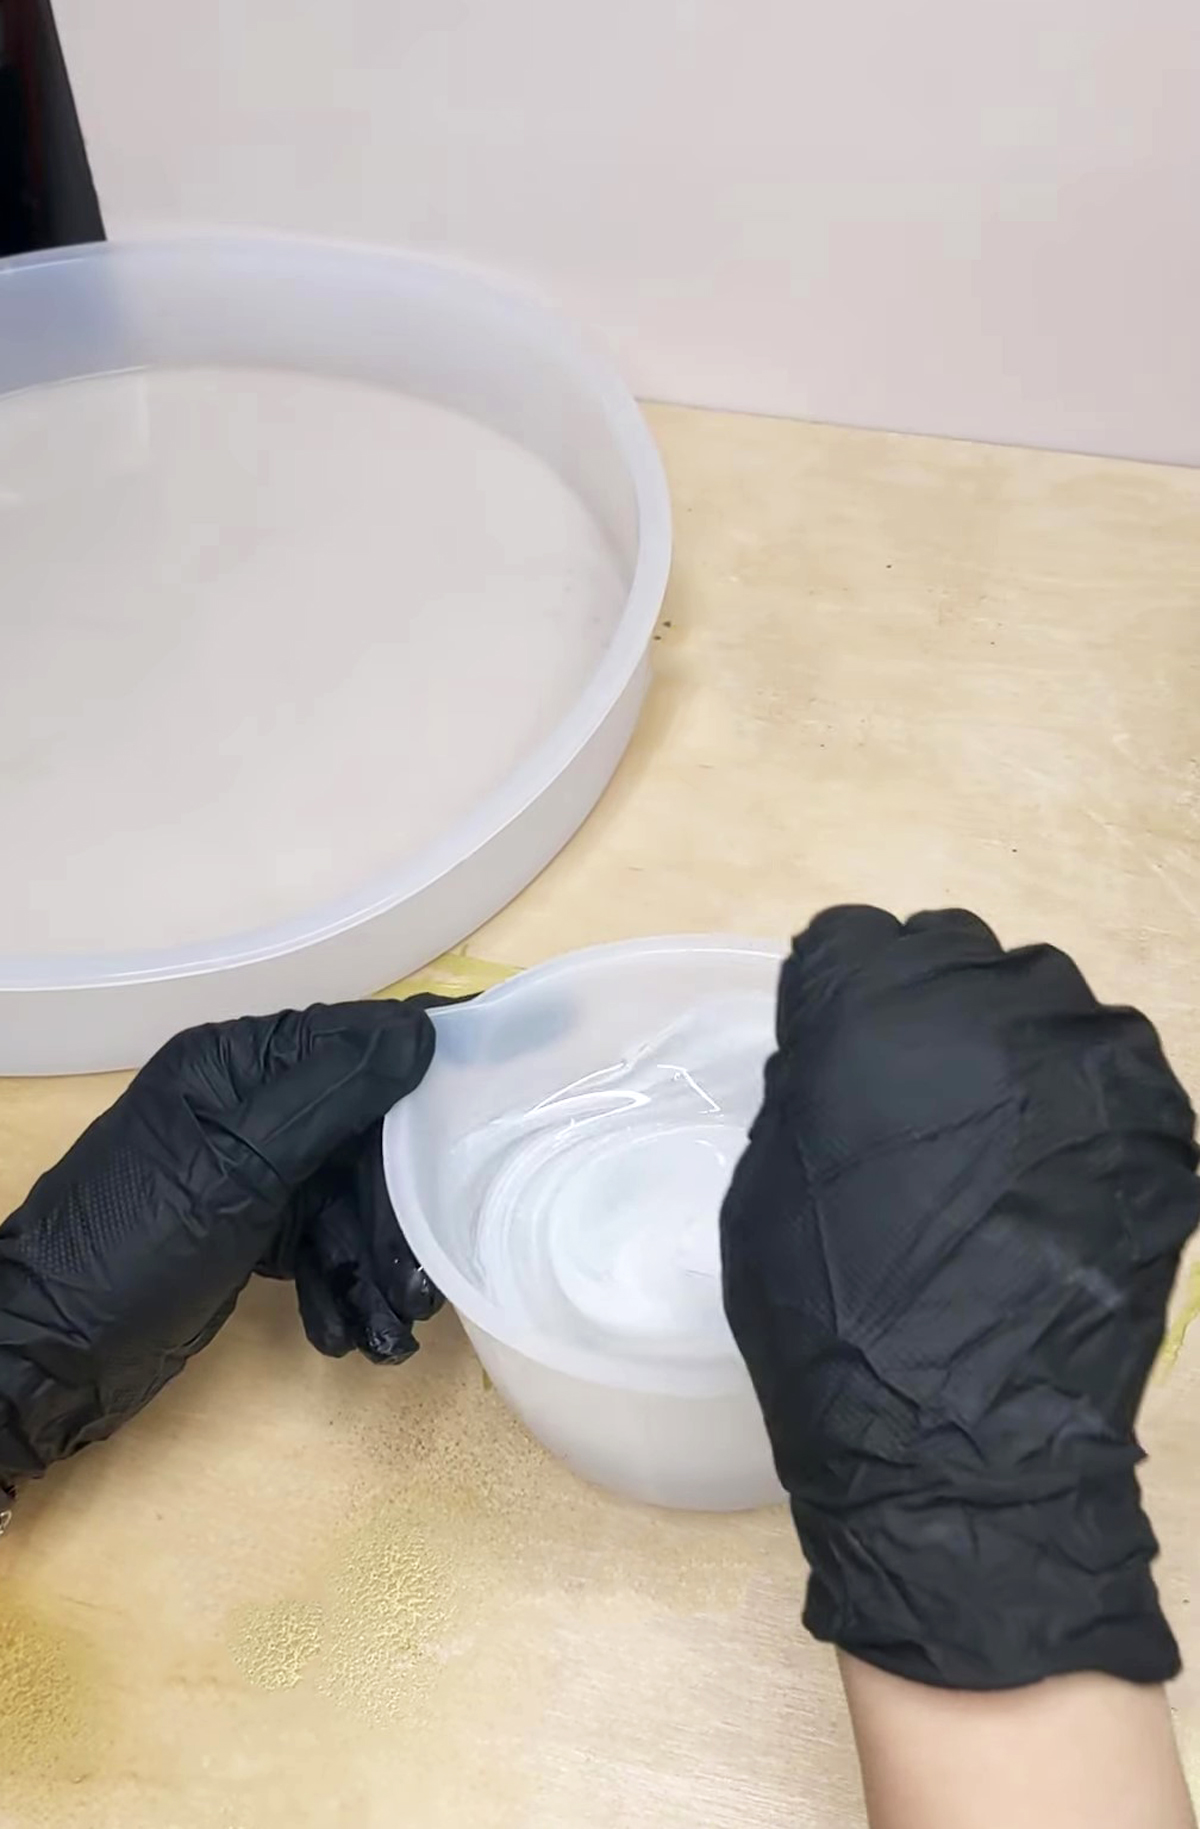
2. Mix your resin together as per package instructions – until there are no more striations. To make it food safe, start with a layer of food-safe clear resin and allow it to cure.
I made mine with a slightly translucent top layer (the first in the mold) and a solid white back layer (last in the mold.) Add white dye or acrylic paint and mix it until it’s fully mixed in.
3. Pour the resin into your mold and make sure it reaches every corner.
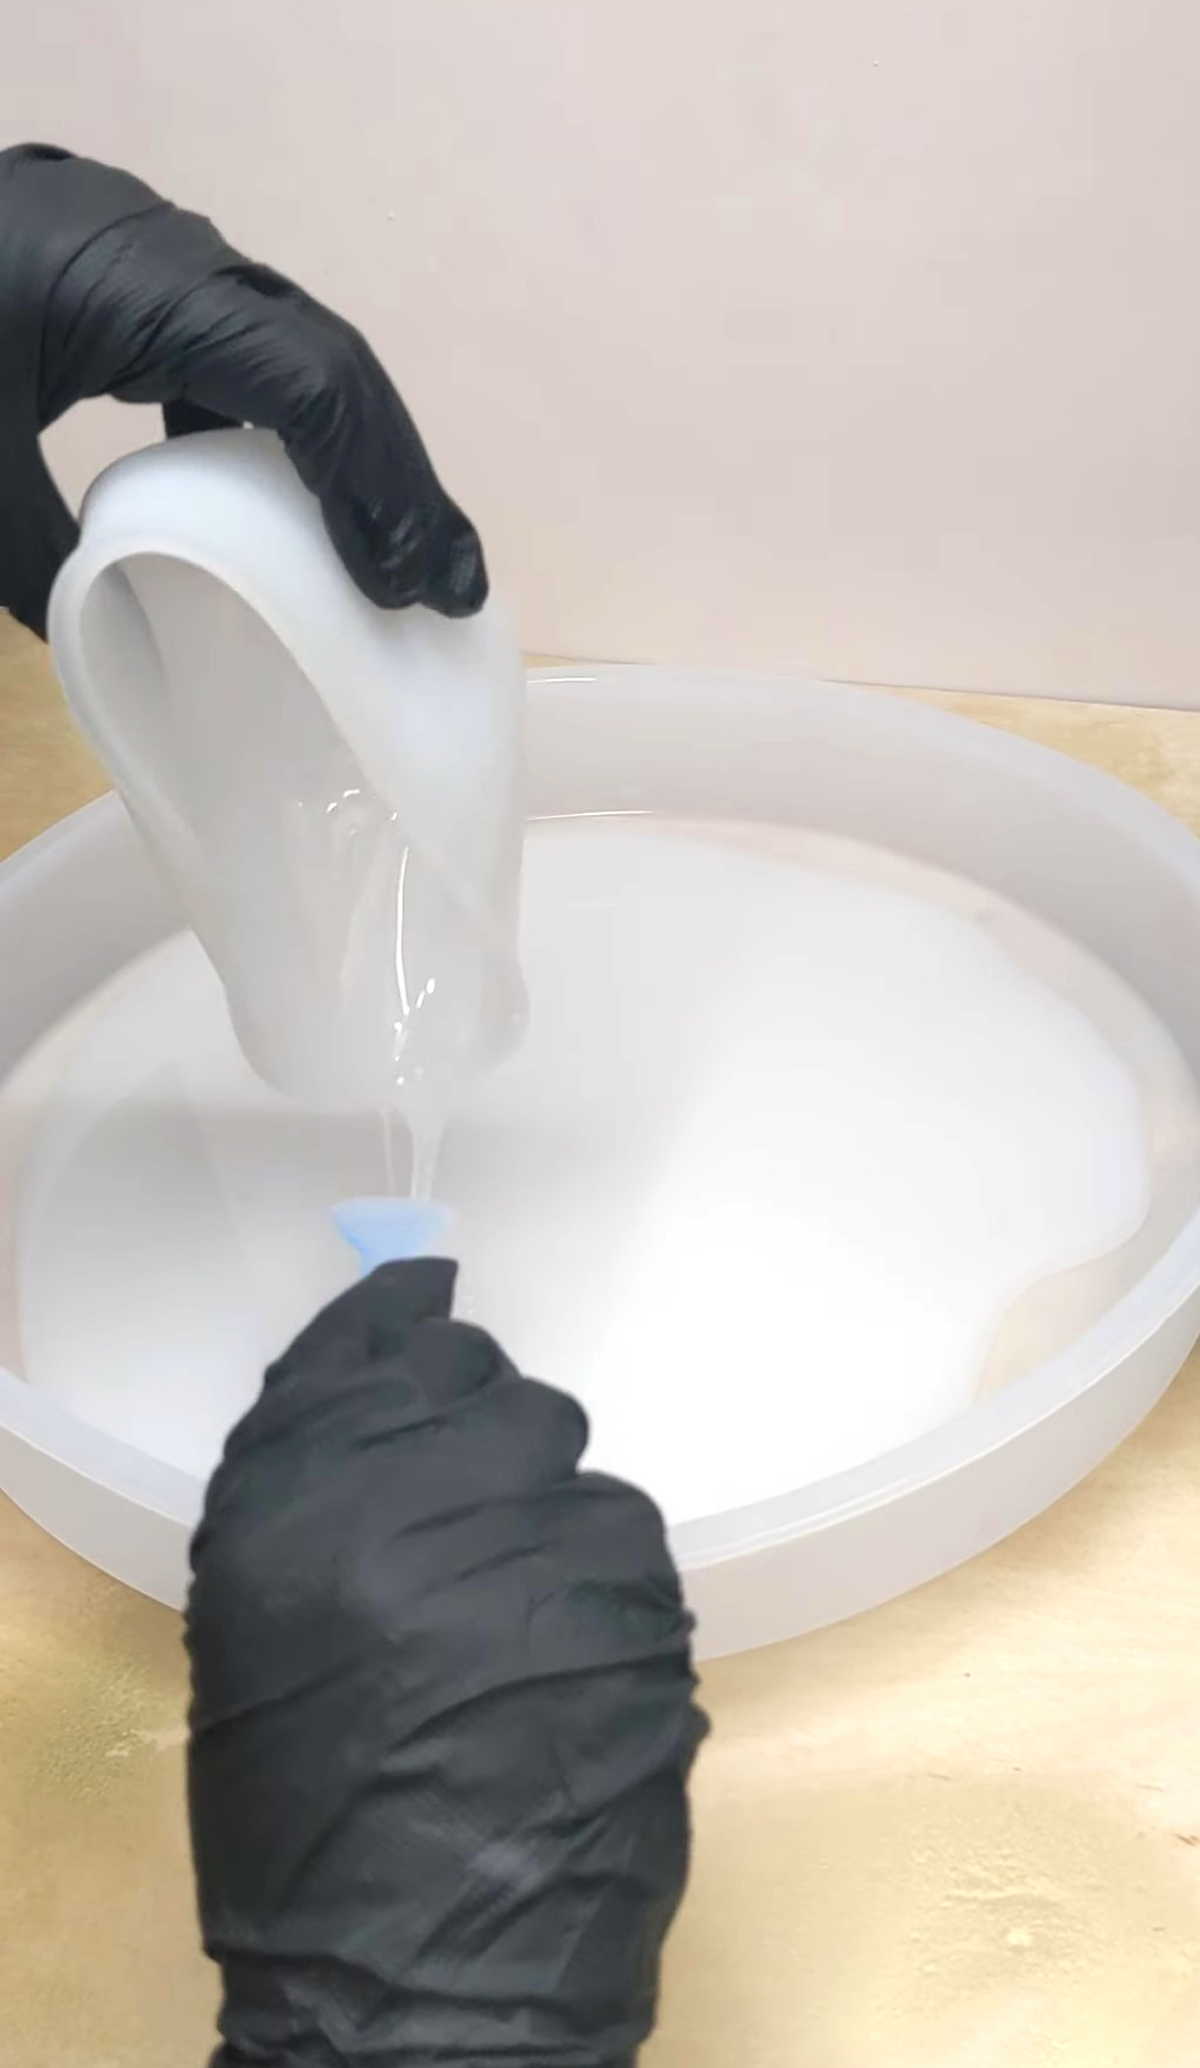
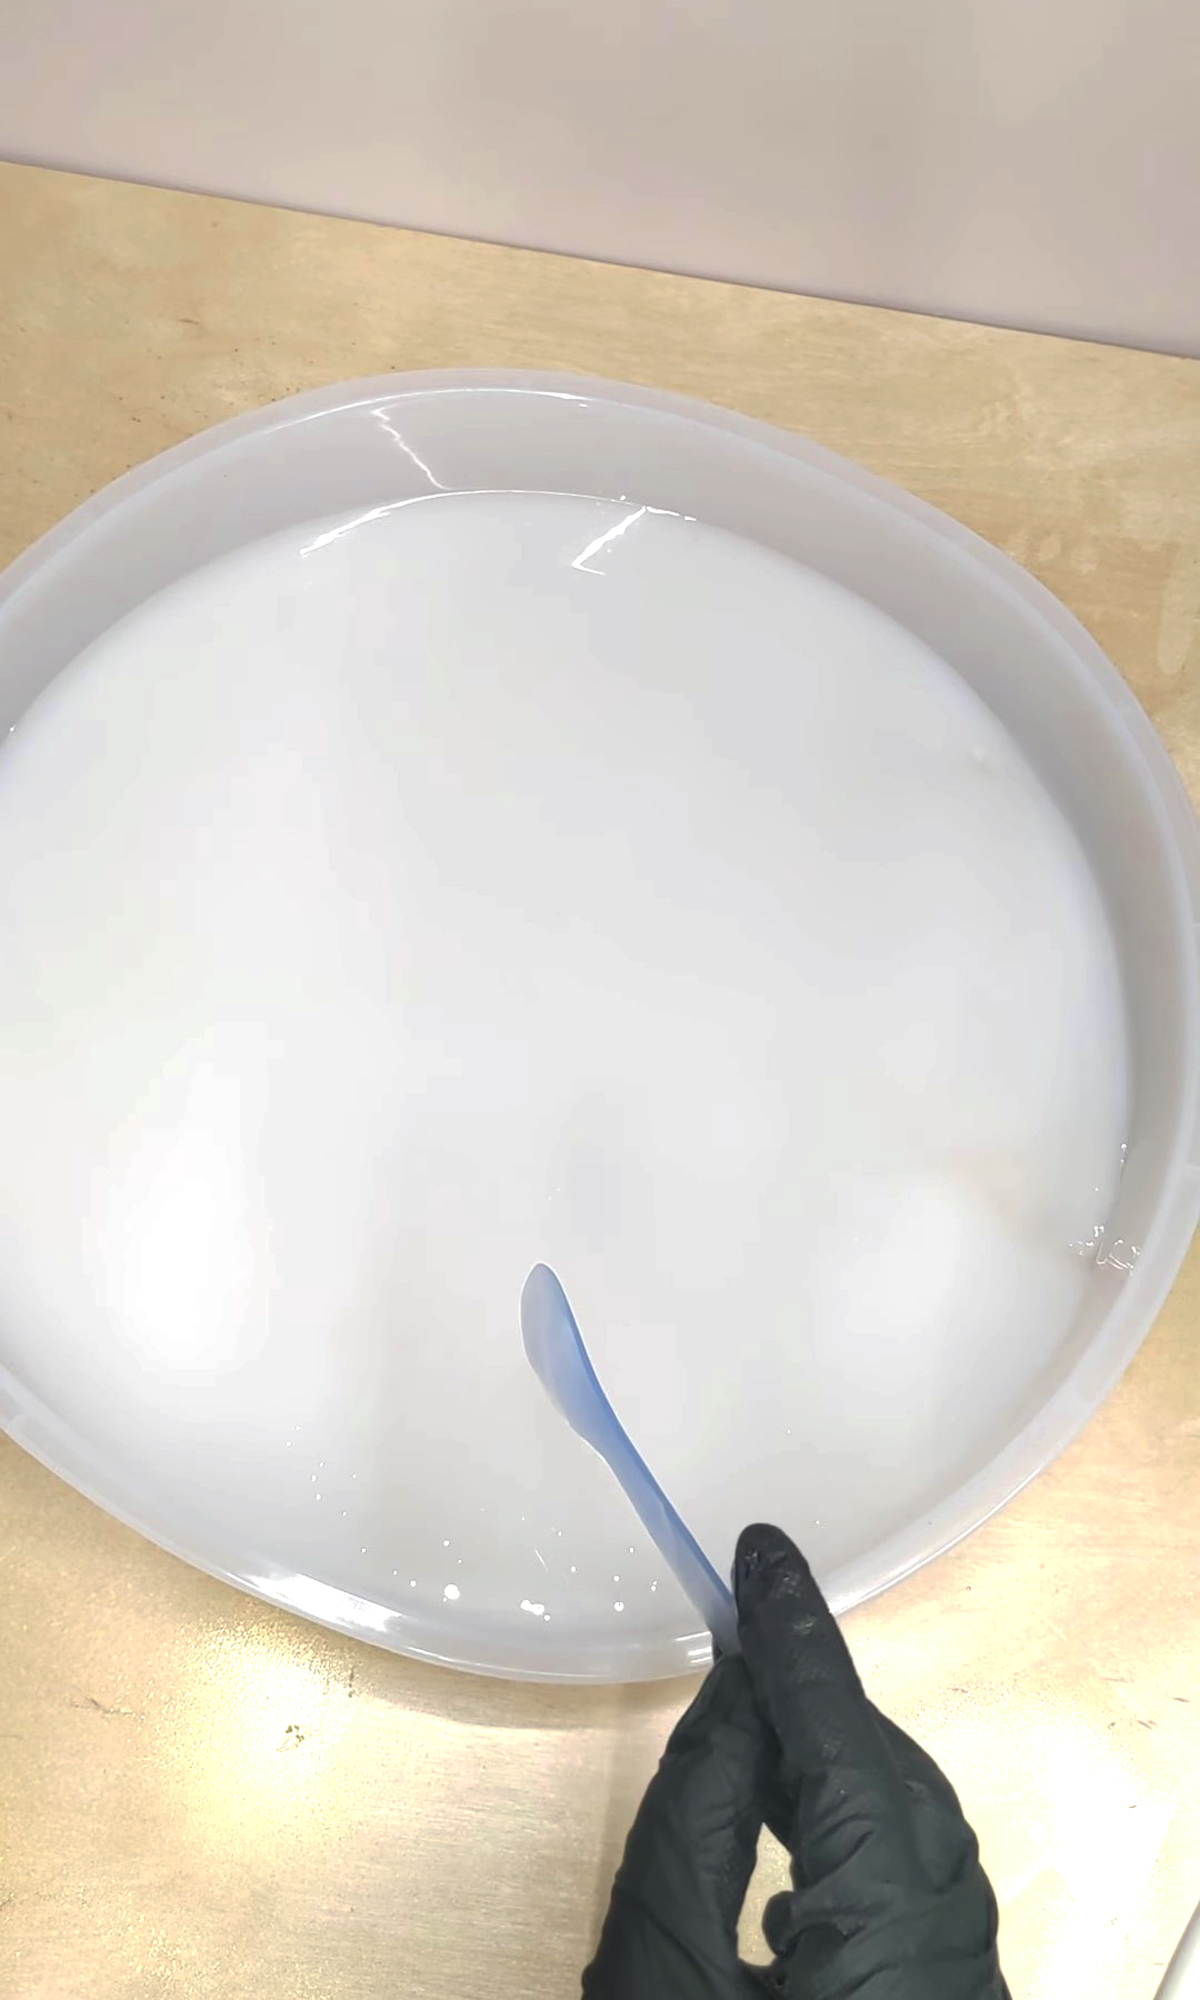
4. To add a slightly marbleized texture, I added some straight white dye into the plate, and streaked it in. I did not have enough to make this really look like I wanted, though.
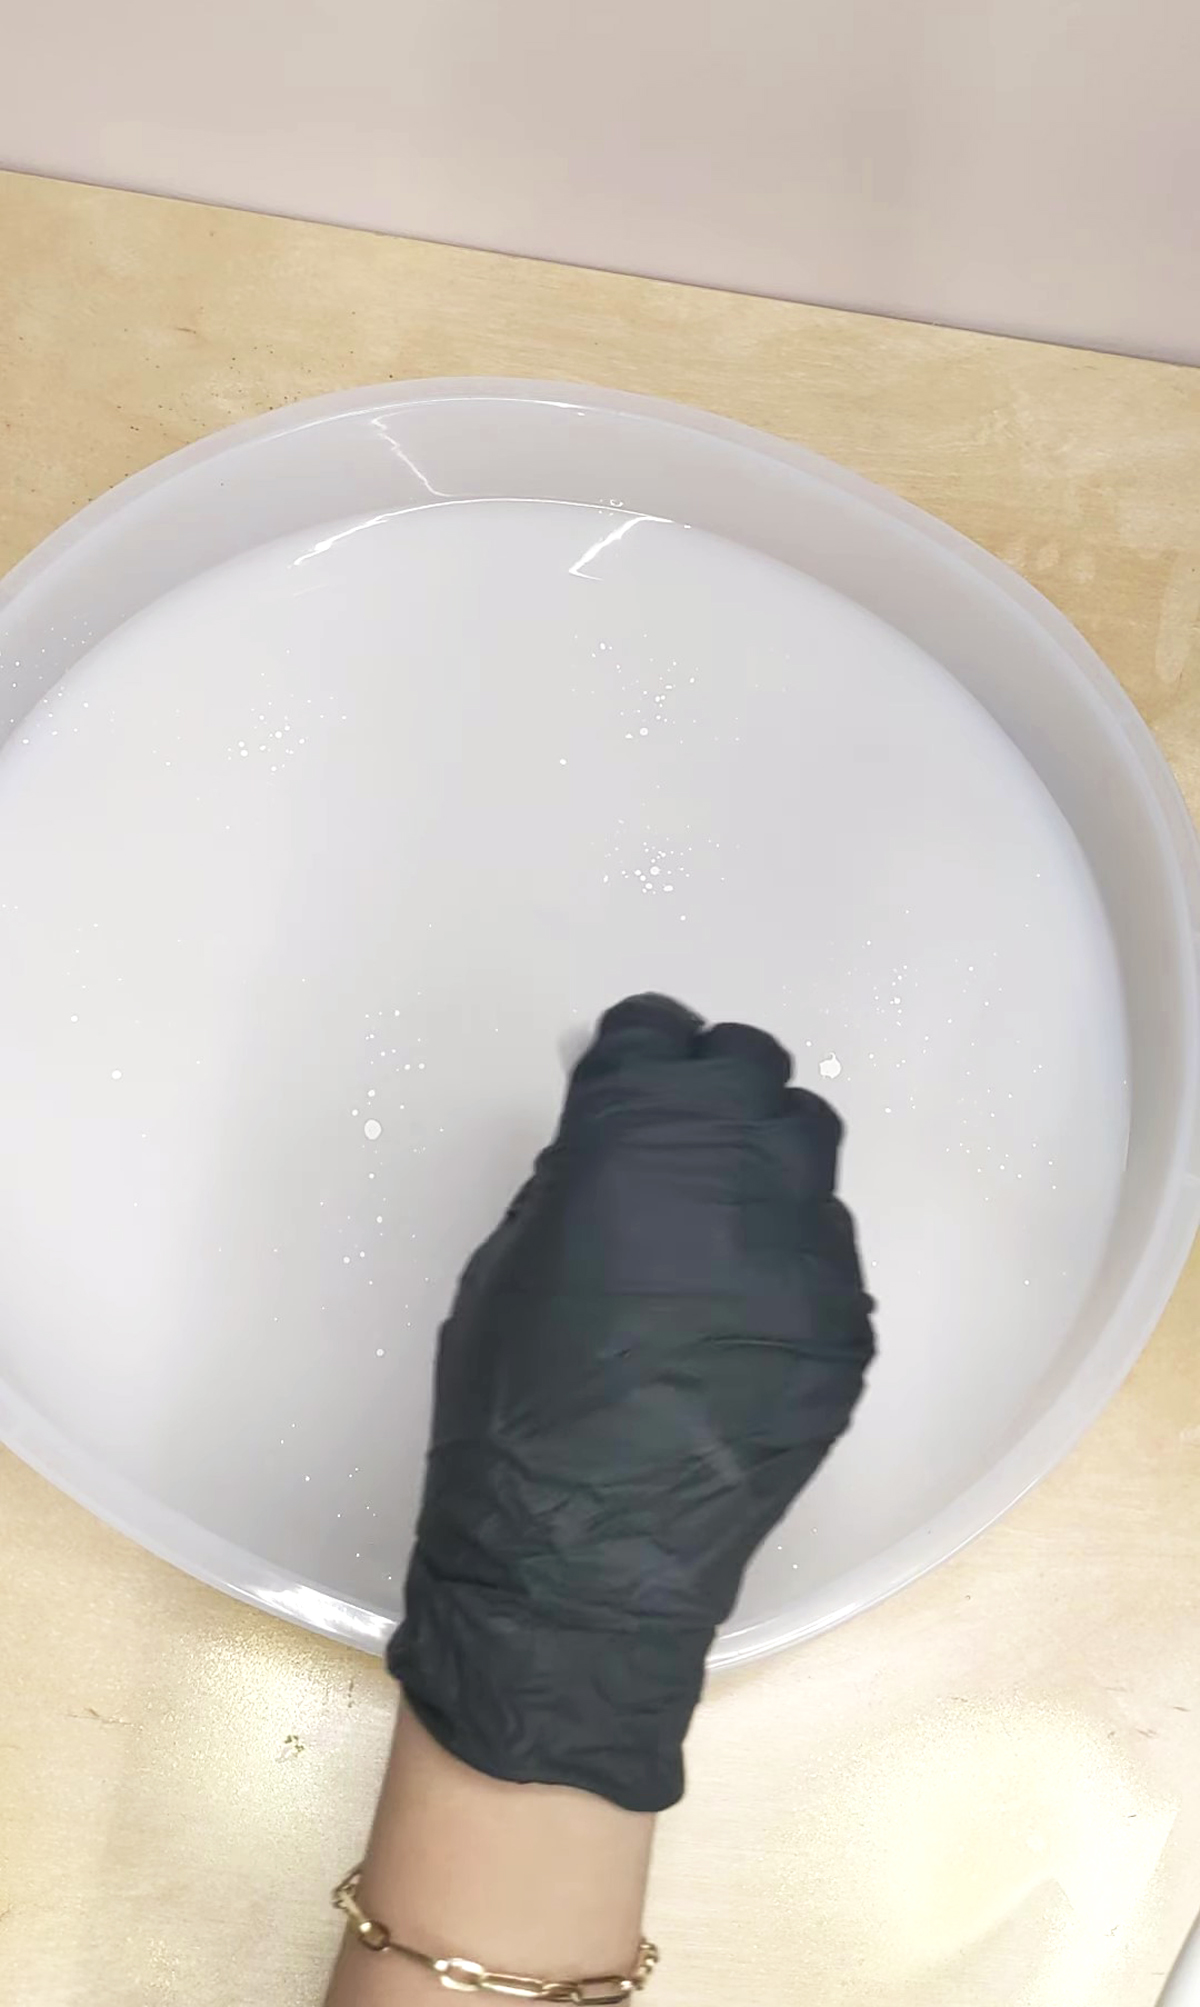
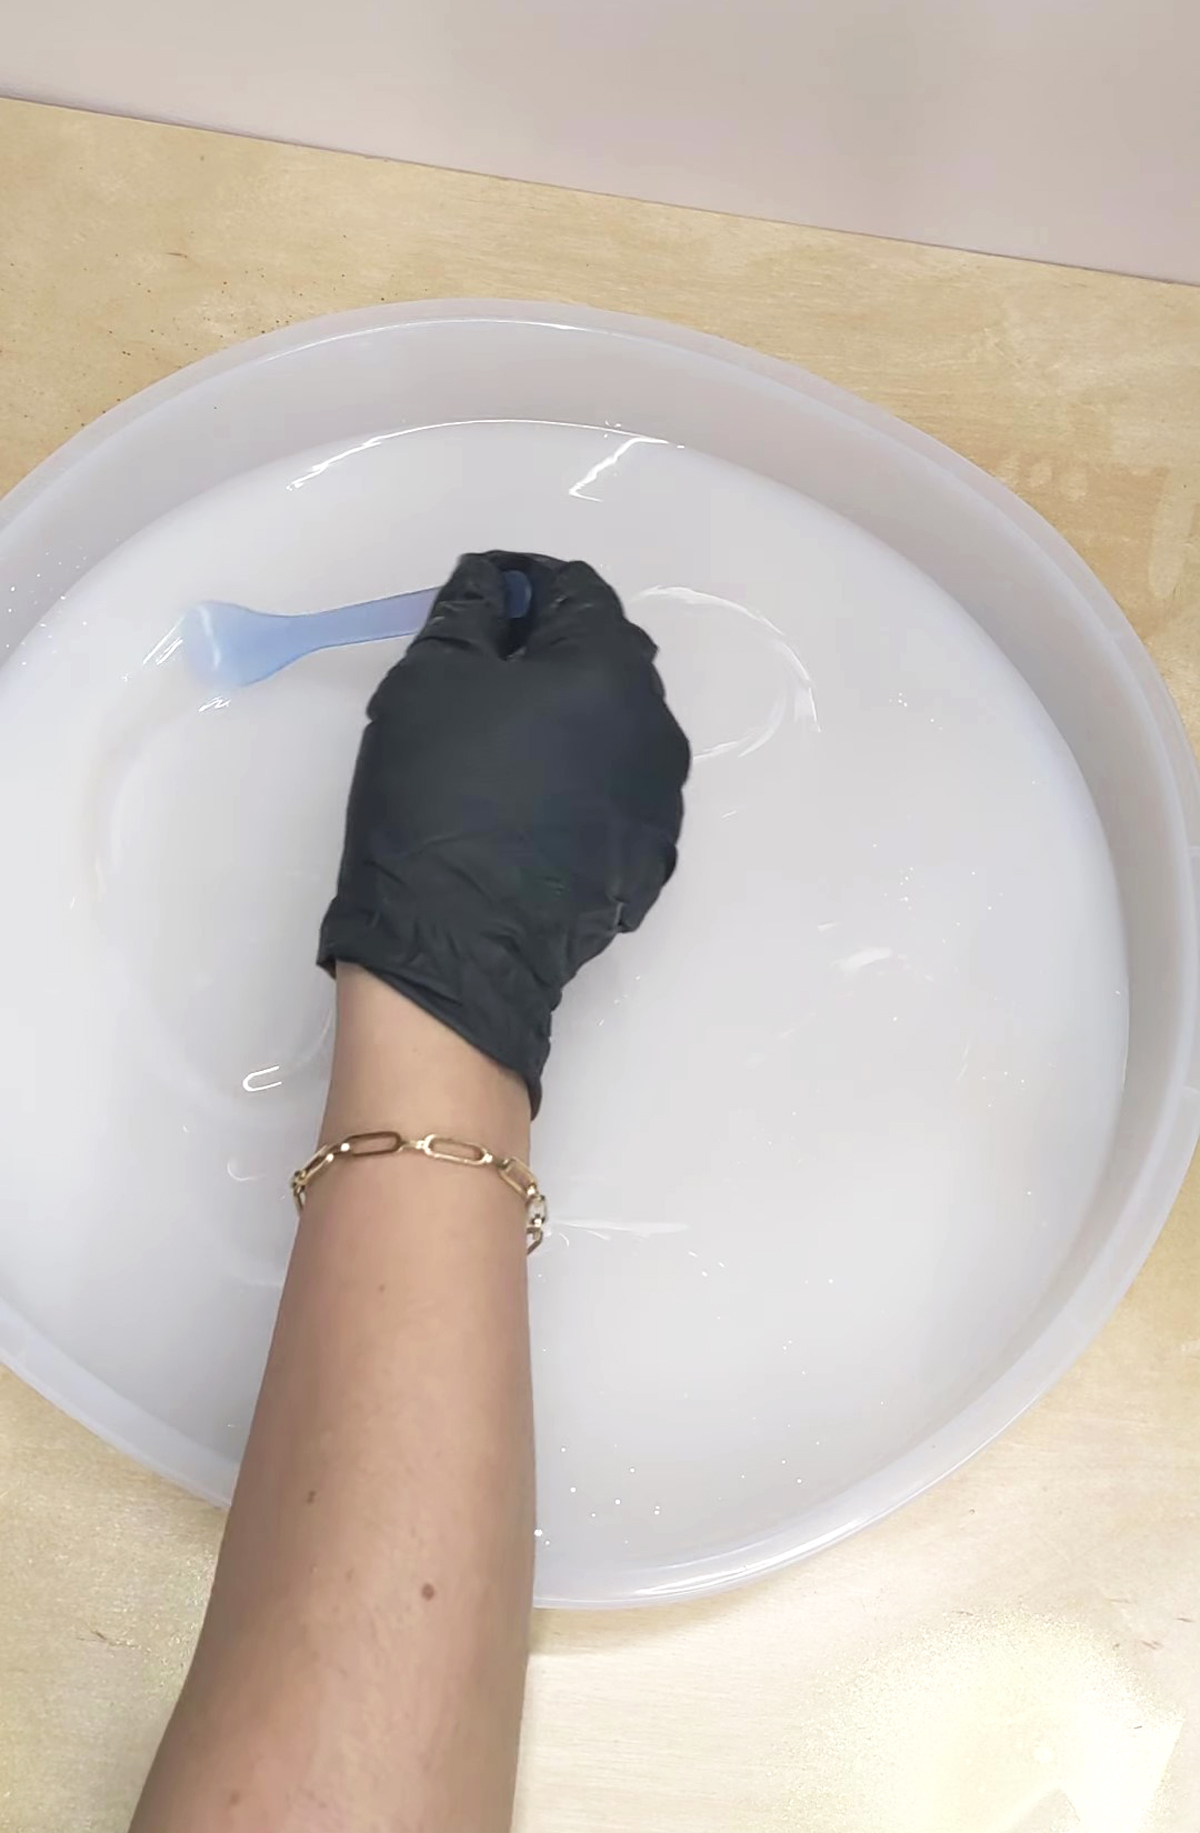
5. Zap your air bubbles with a heat gun.
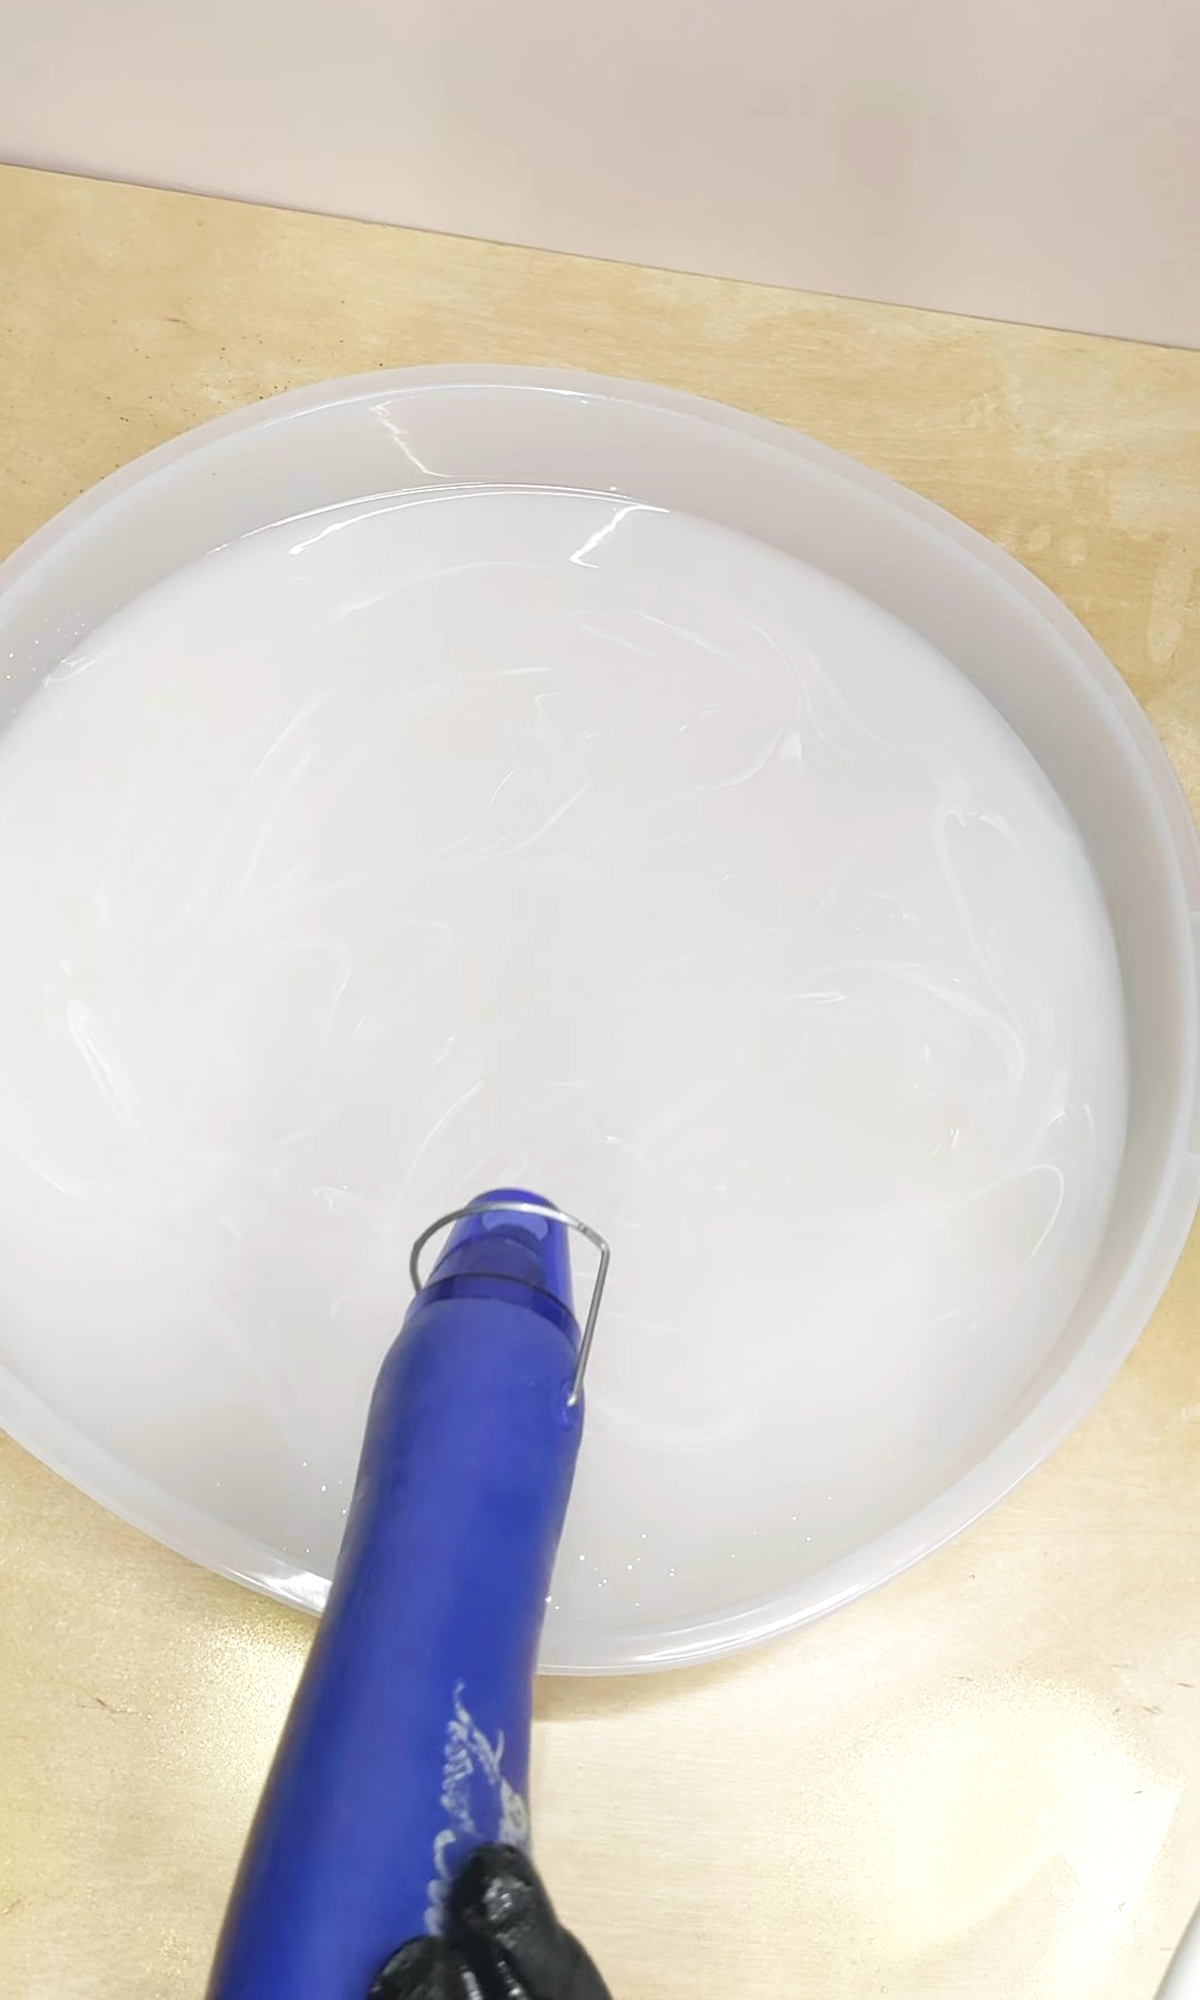
6. After I ran out of white dye and to make a solid white layer, I mixed up new resin with white acrylic paint. You can do this straight away for your entire resin seder plate base if you prefer.
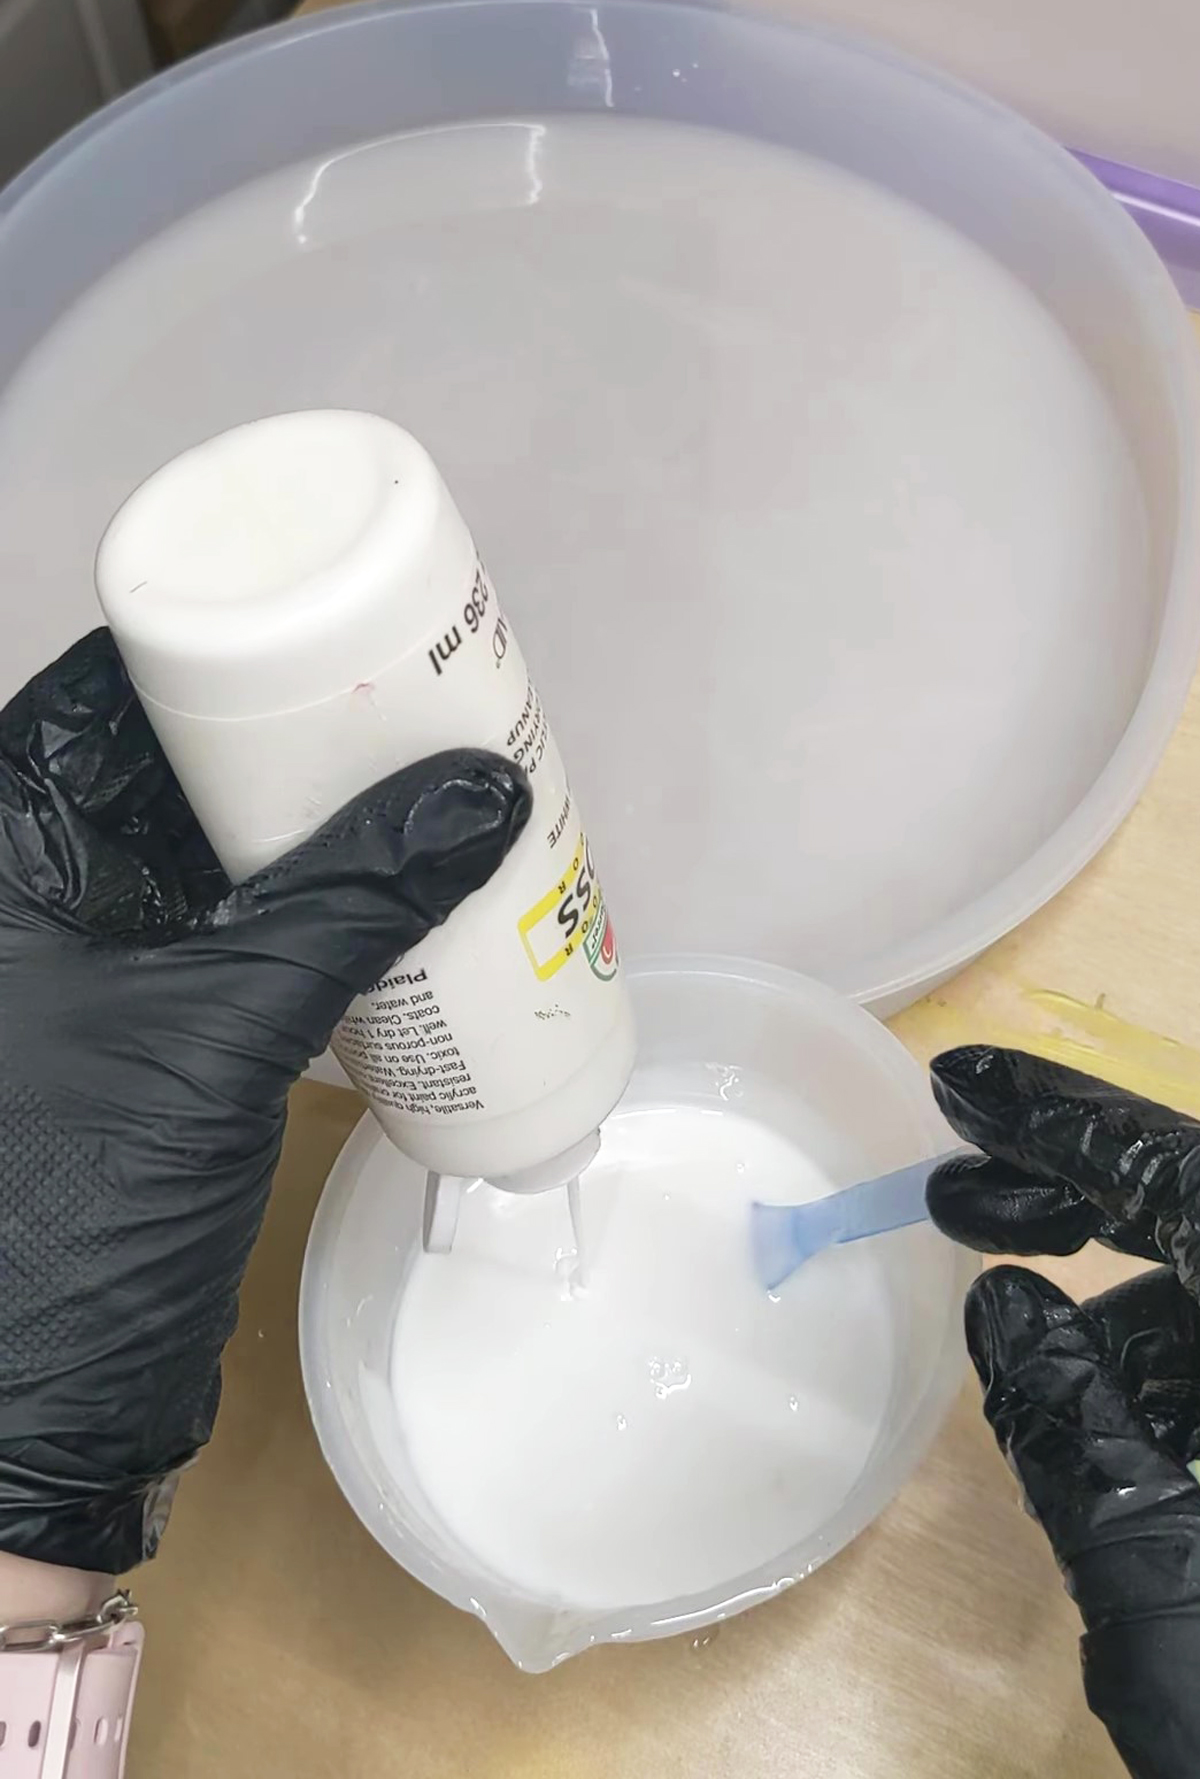
7. Pour it over, covering the entire surface. Decide how deep you want your resin seder plate to be and fill it till there. End table molds like you probably purchased are HUGE and use up a ton of resin. You don’t need to fill the whole thing. Mine is about half an inch thick. You can do 1/2 inch to an inch.
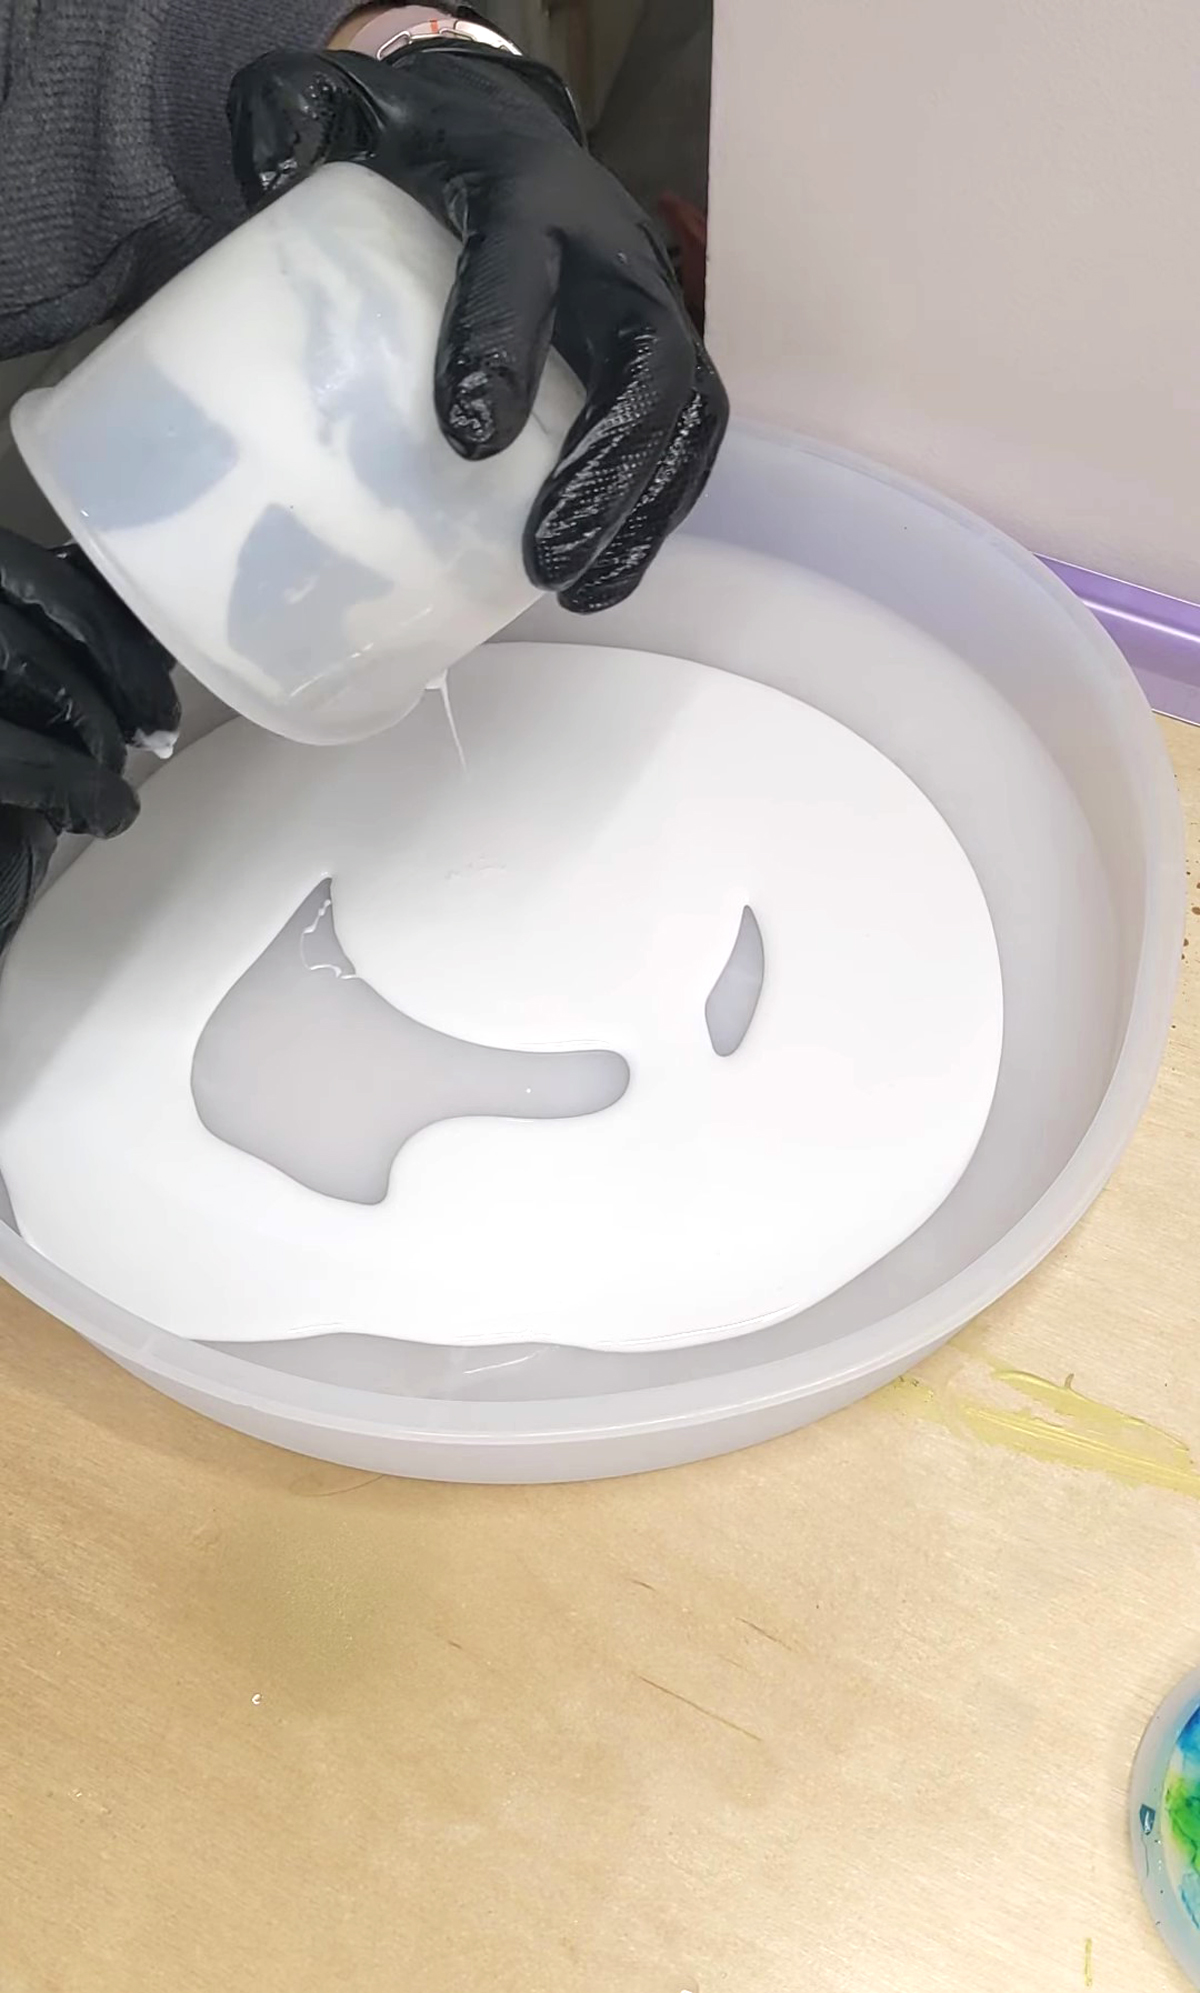
Allow it to cure completely (2 days usually) and remove from the mold.
Making the Bowls
Important: do a test coaster first to see how long you need to wait for it to partially cure!
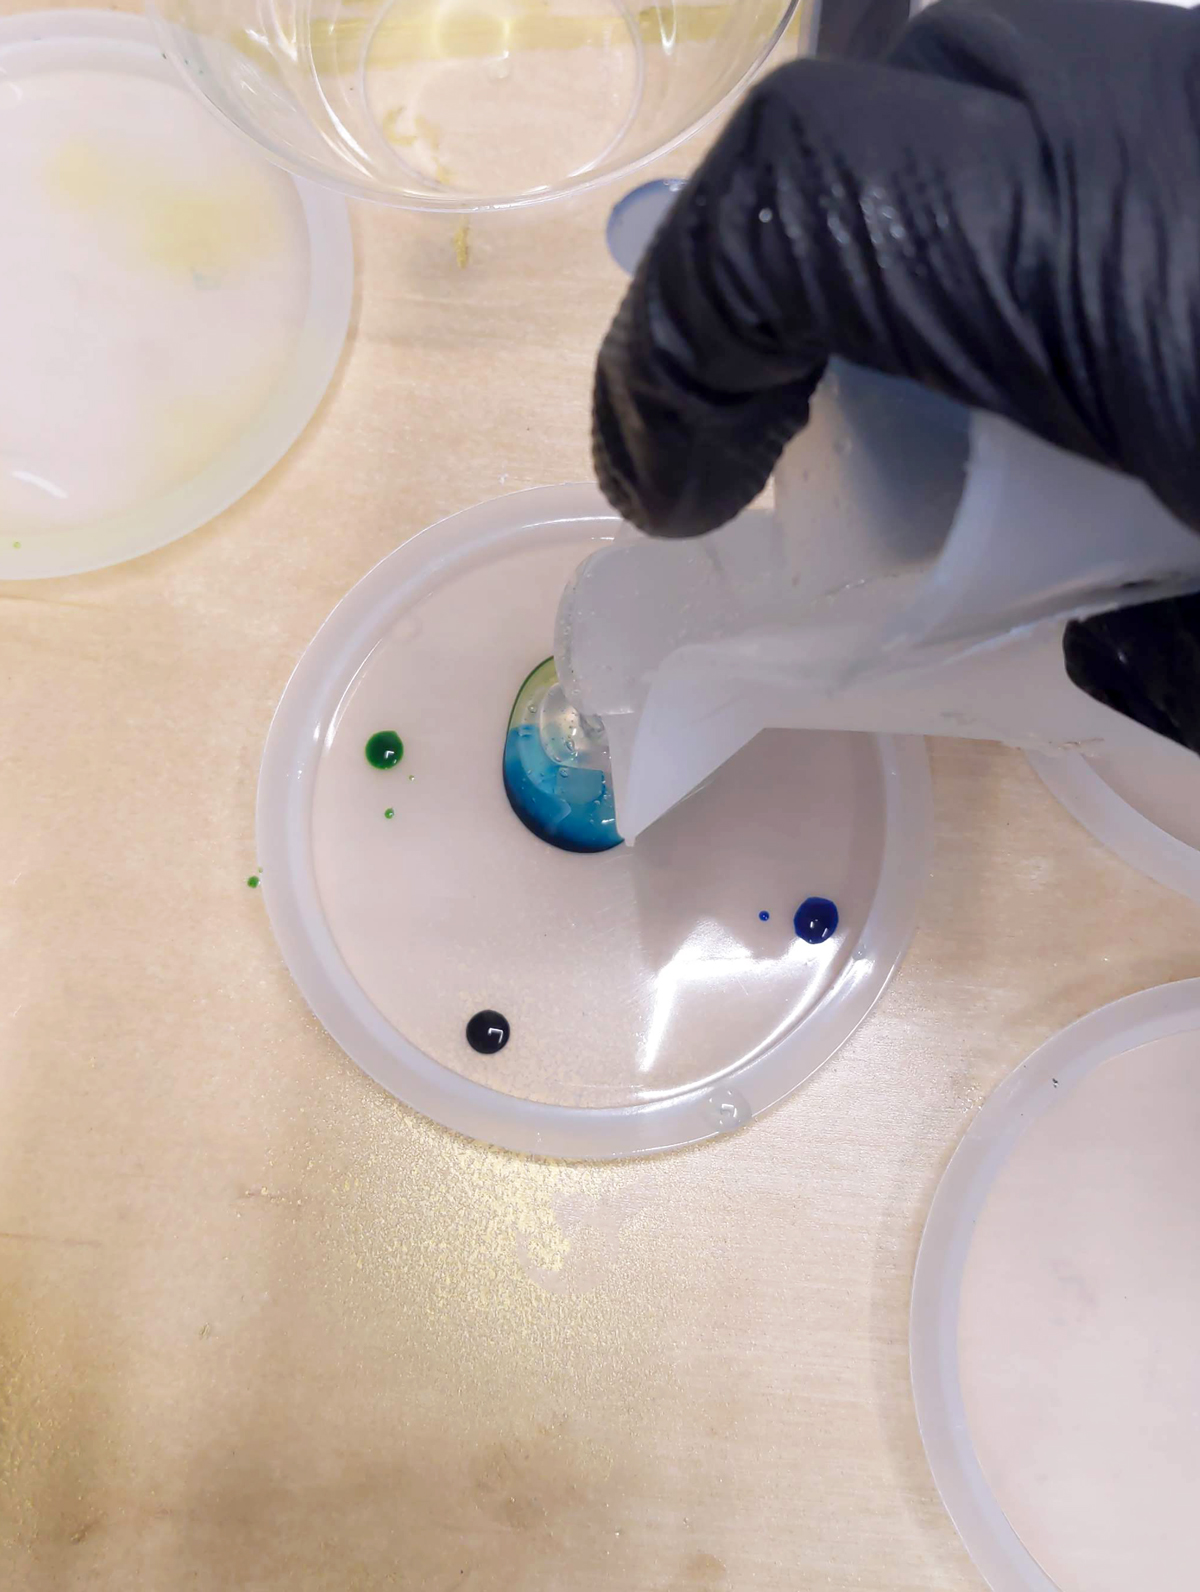
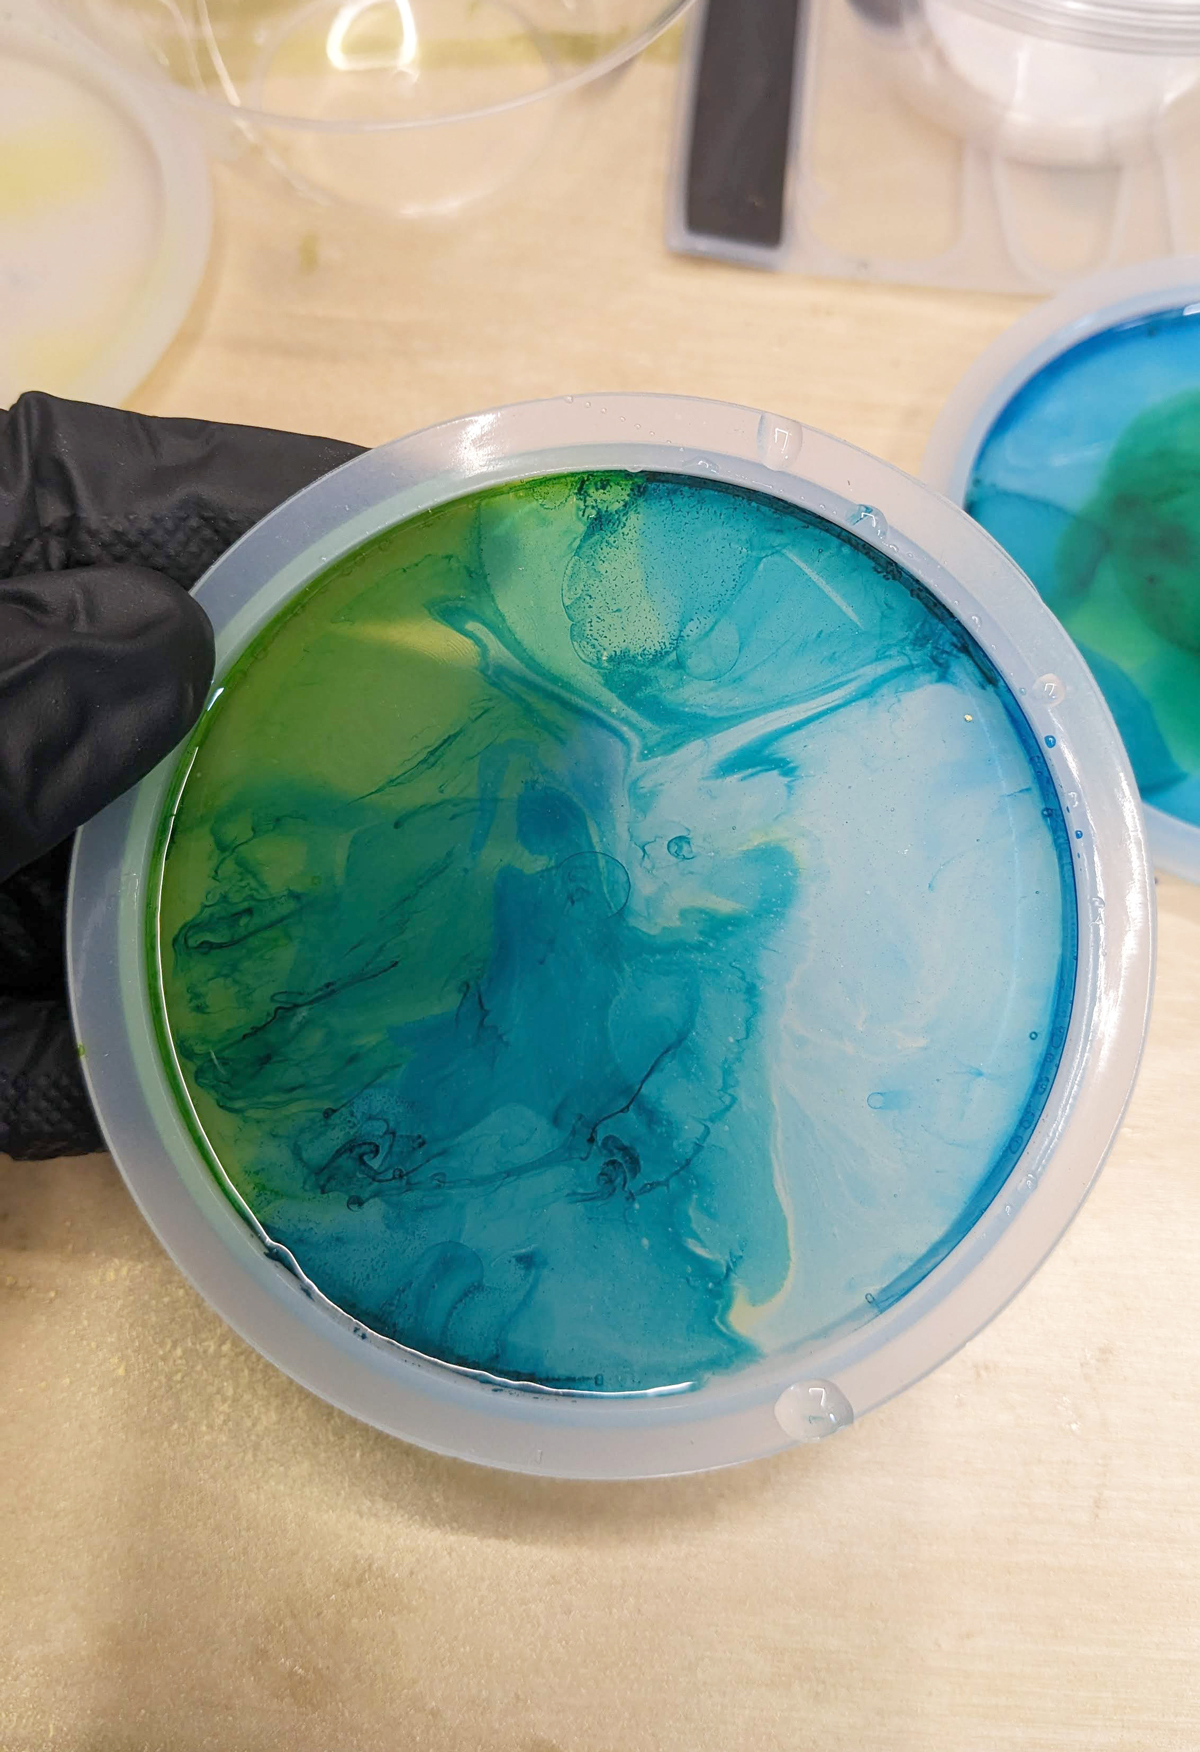
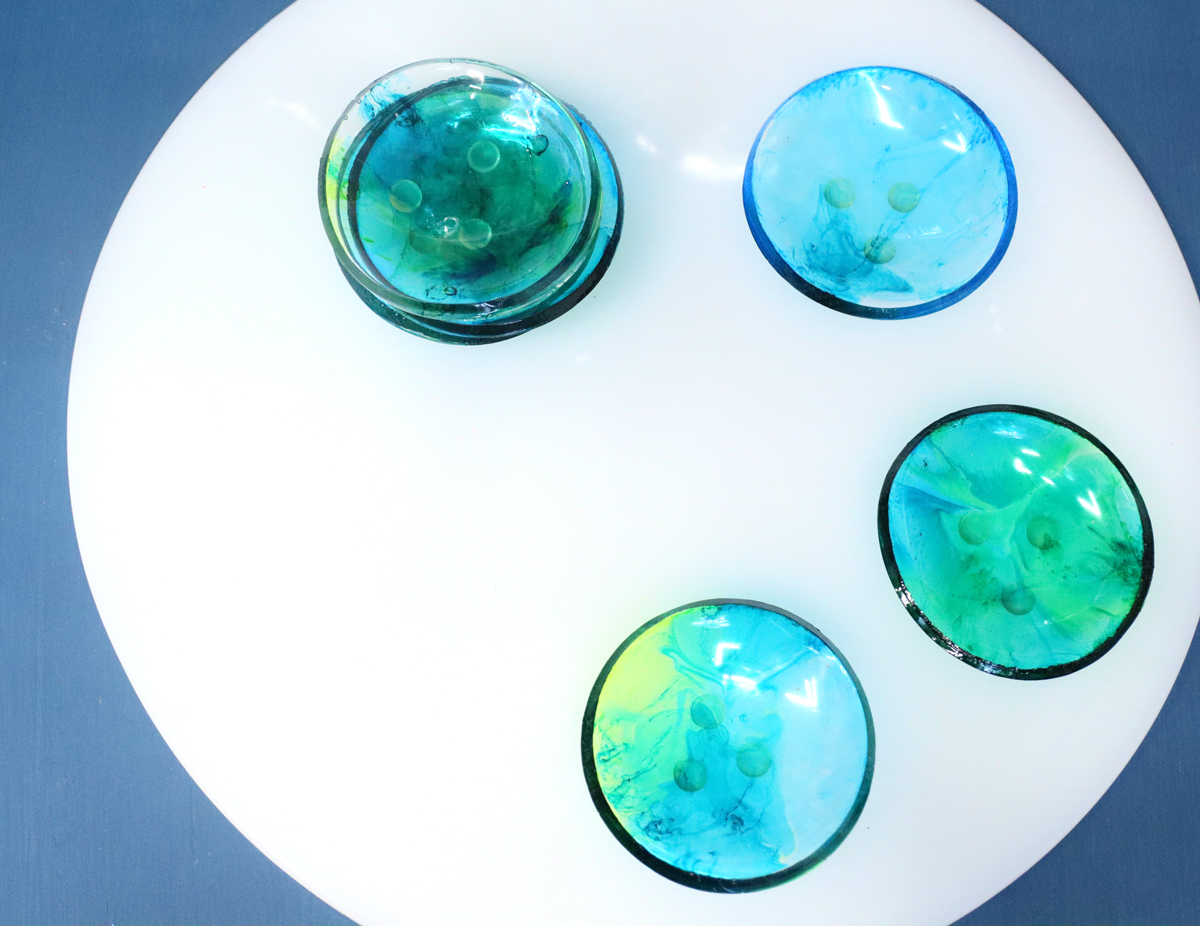
1. Prepare clear resin. Working on one coaster at a time, add a few drops of alcohol ink directly to the mold. I used blue, lime green, and teal.
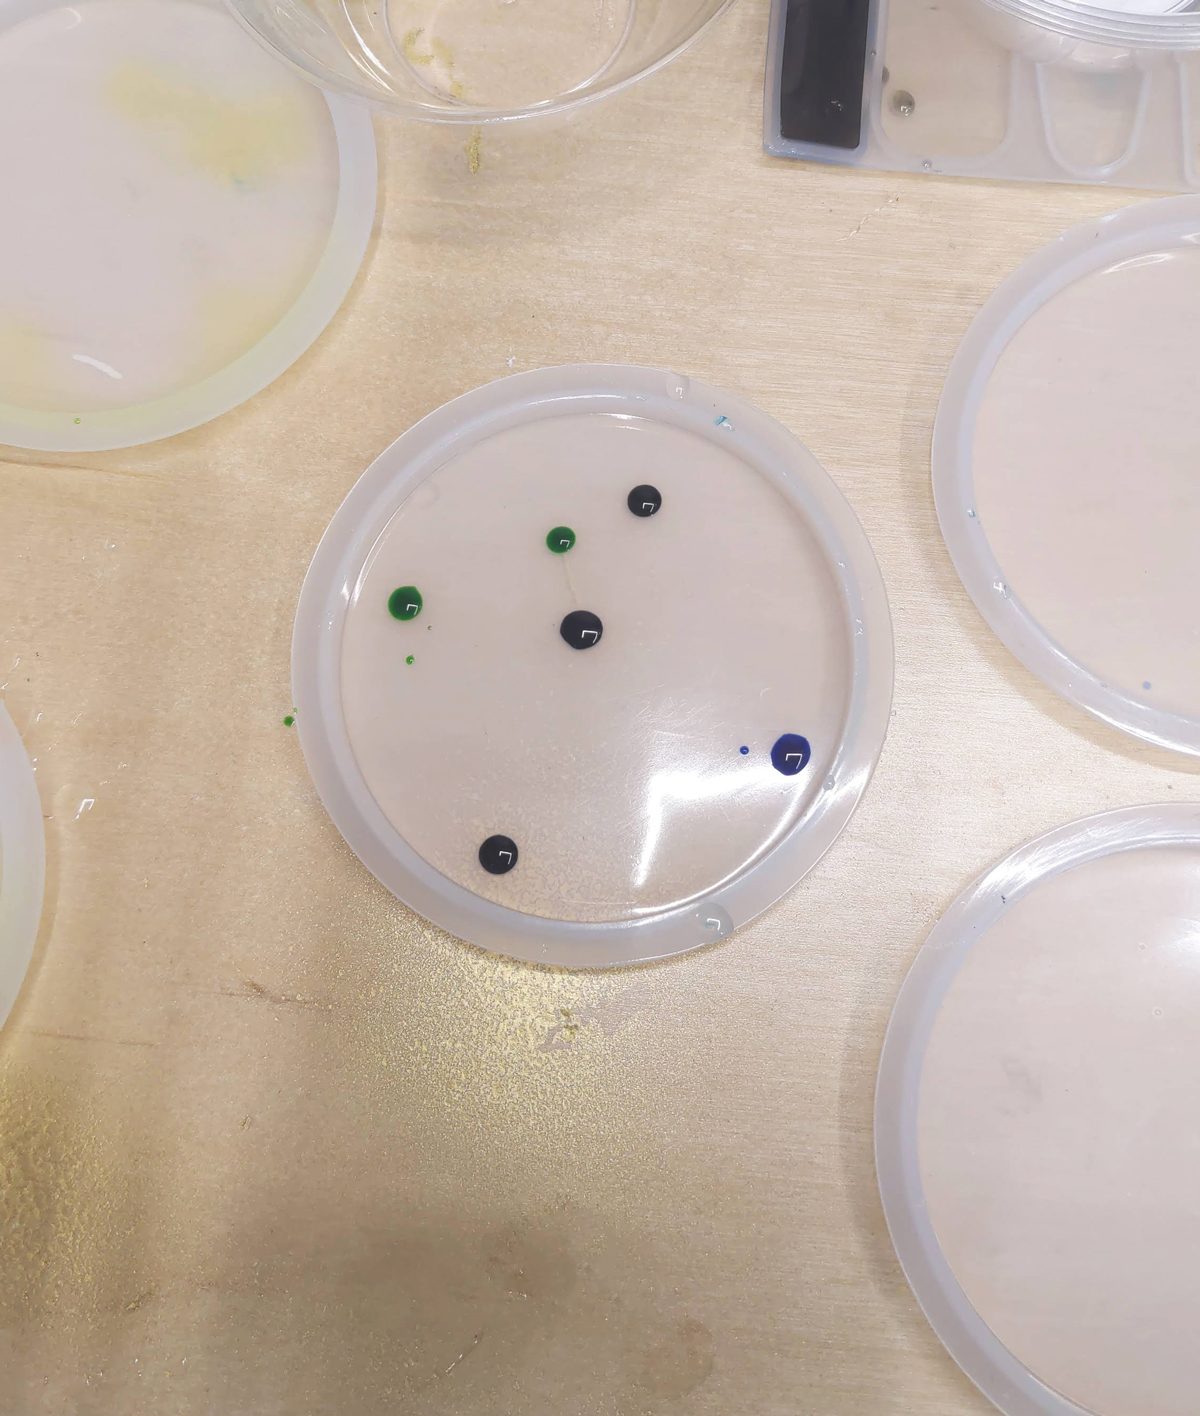
2. Right away (alcohol evaporates quickly and the inks begin to dry), pour the resin around the coaster, focusing on the ink spots. Fill the coaster about 1/2-2/3 of the way.
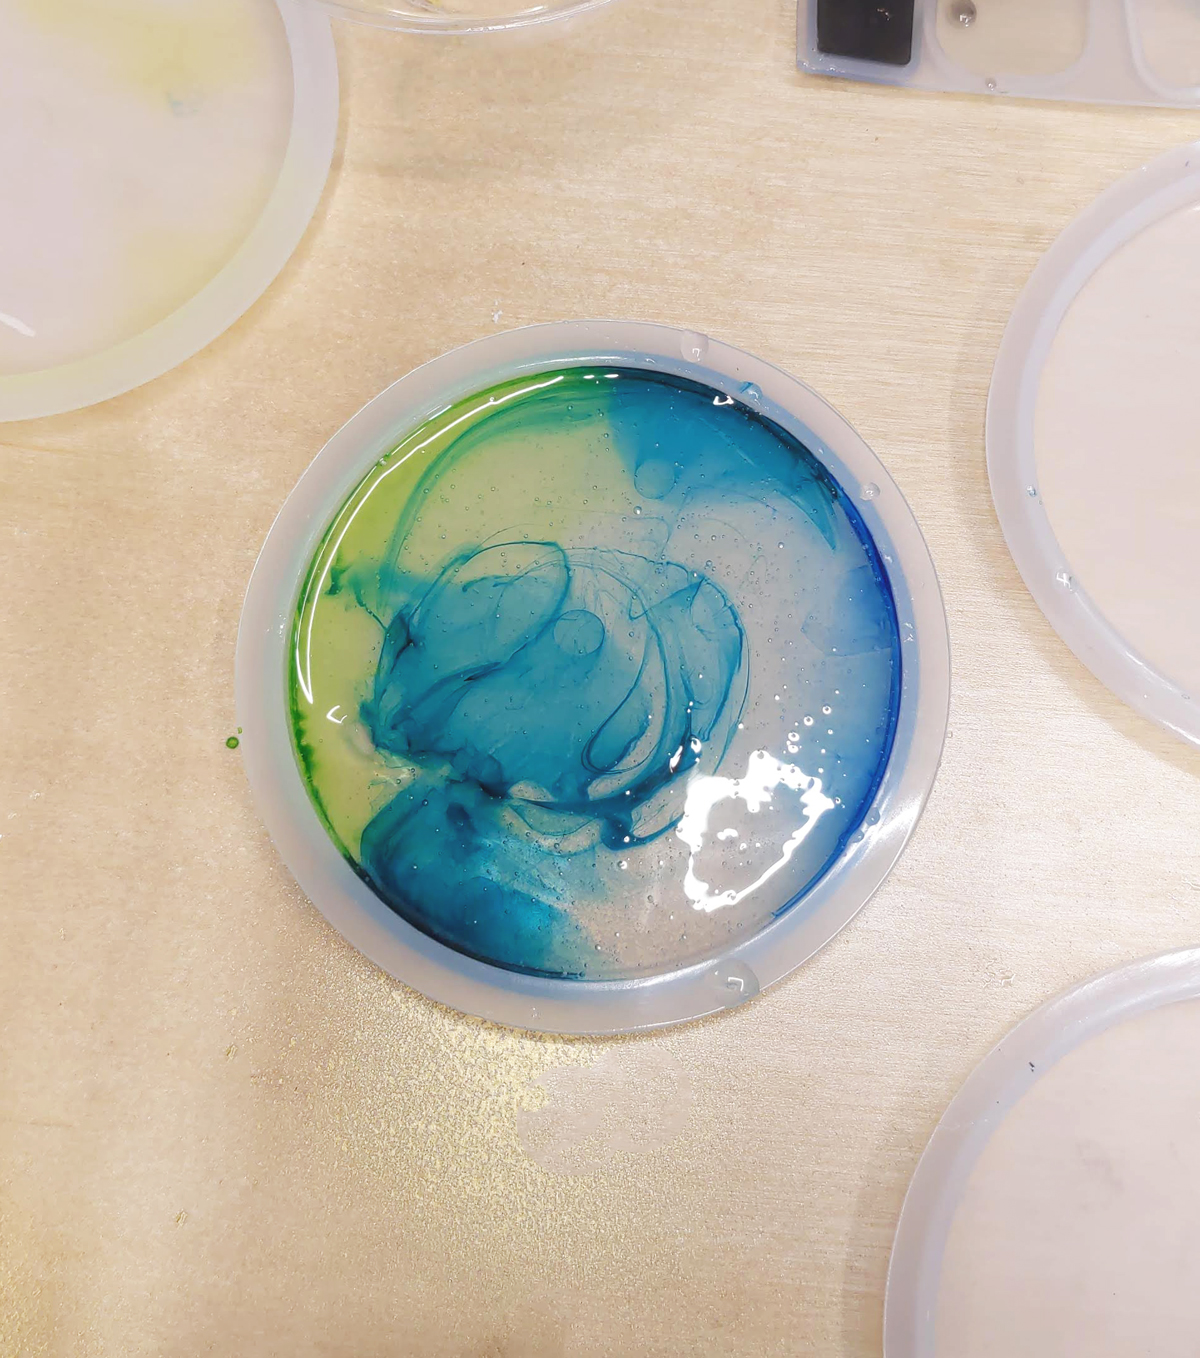
3. The inks should swirl naturally. You can “encourage” it a little with your silicone stick, but don’t overdo it or you won’t have those dynamic swirls – it’ll keep moving on its own.
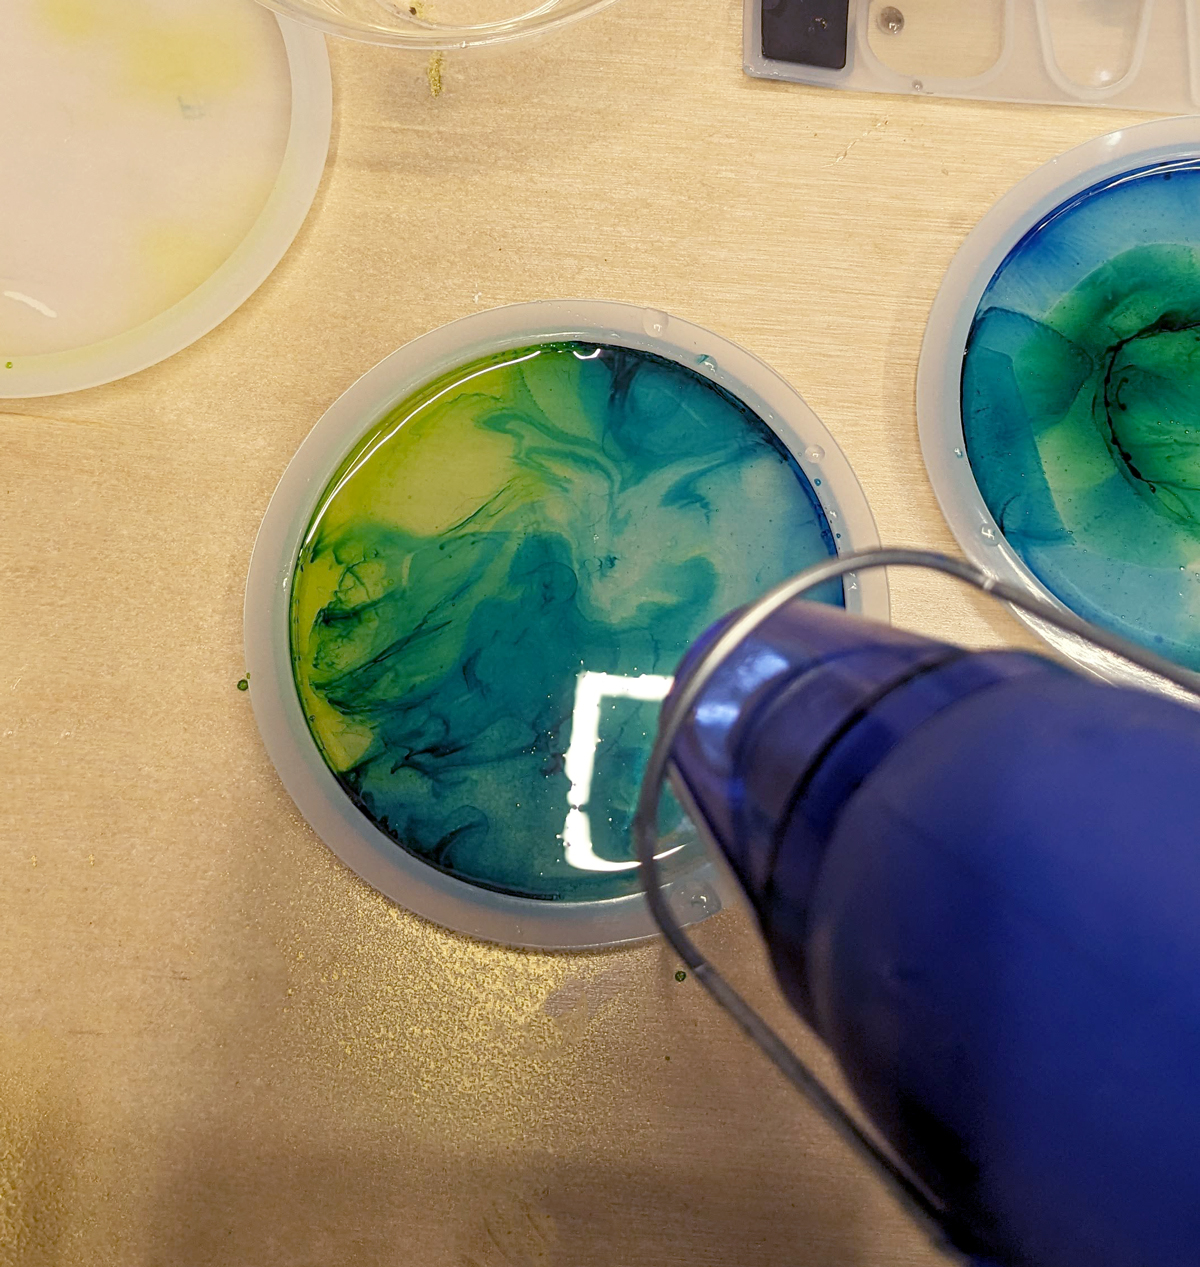
4. Zap the air bubbles with a heat gun, moving it around constantly so you heat it evenly. Again, don’t overdo it – you’ll move the inks too much AND cure your coaster prematurely.
5. Allow your coaster to partially cure – for me 7.5 hours ended up being perfect. You know your coaster is ready when it’s still flexible but no longer sticky, and can easily be removed from the mold. If it seems to no longer be sticky at the top, but is sticking to the mold, give it another half hour and check in again. It’s probably still sticky lower down.
6. Gently release it from the mold. Use gloves to avoid fingerprints (I actually recommend getting smooth gloves for this stage, as it’s still soft, and will leave an impression).
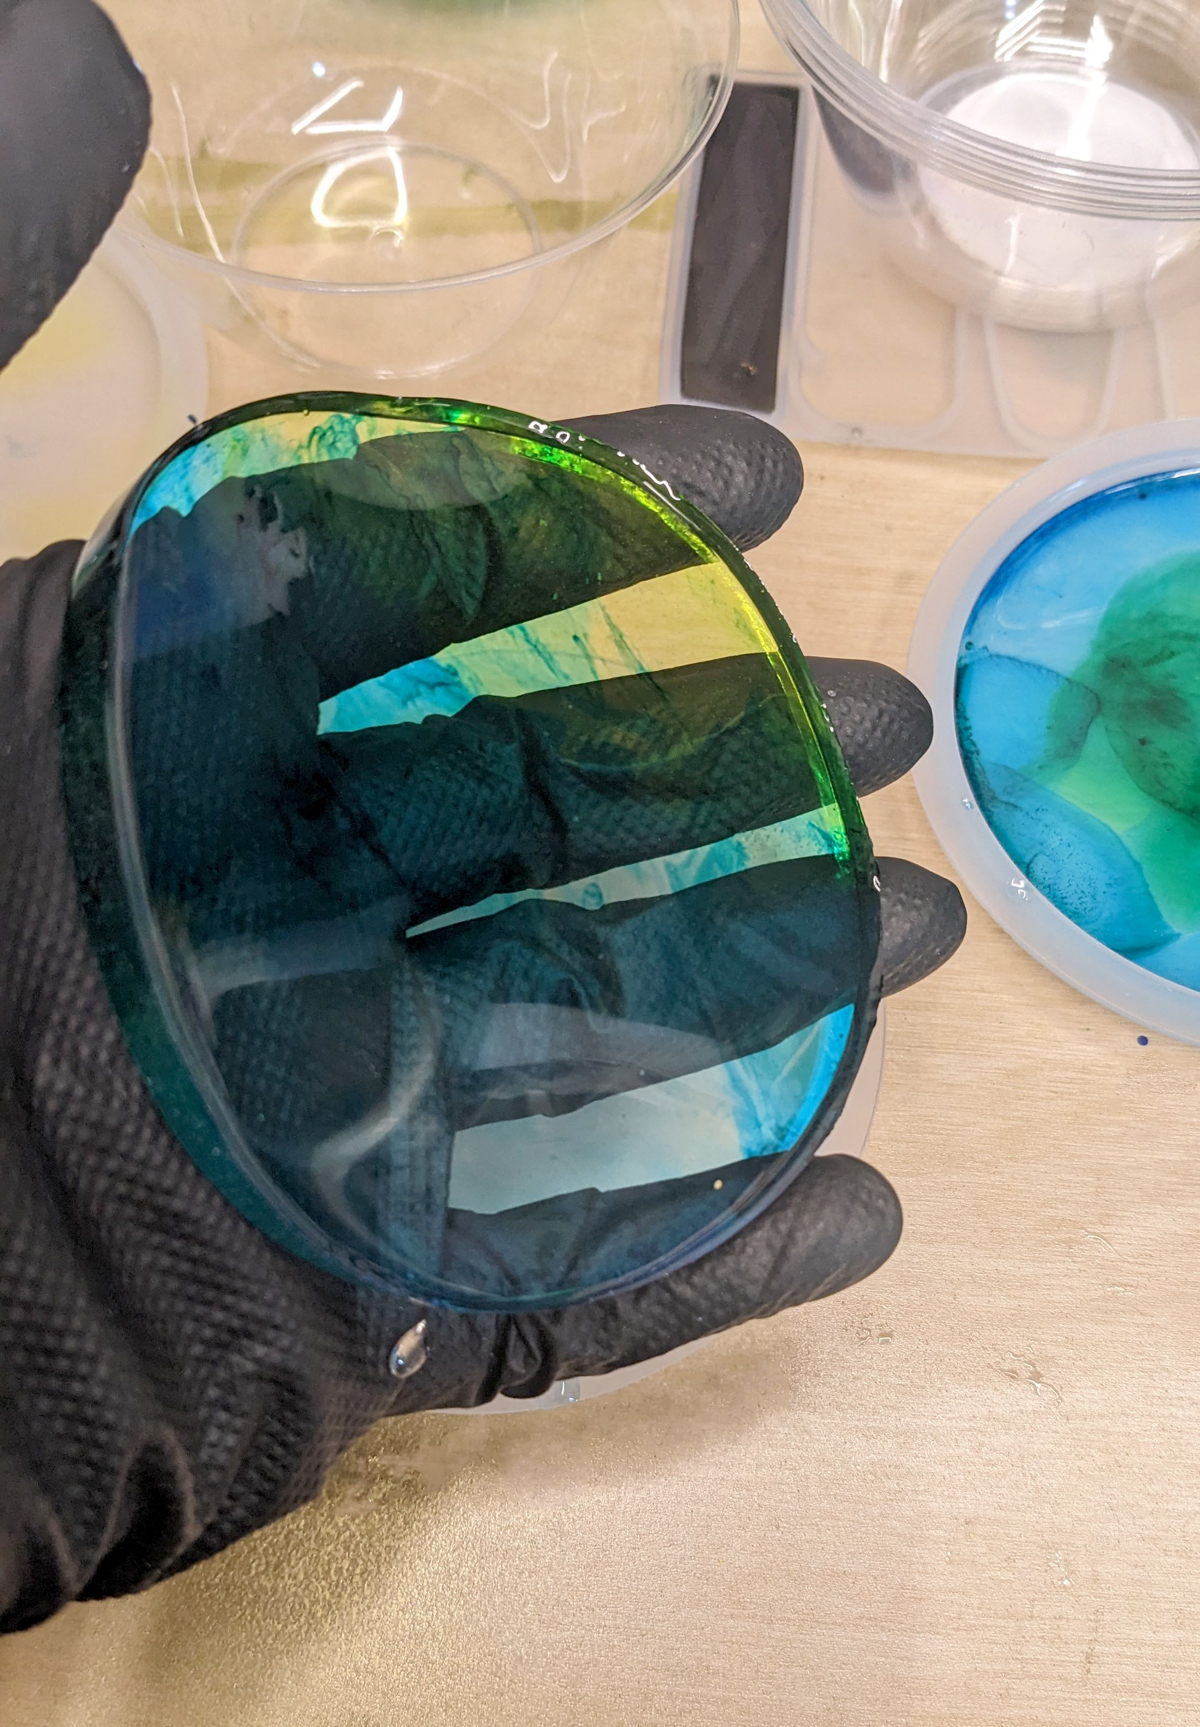
7. Gently press it into a bowl so that it curves the amount you want it to. Allow it to cure the rest of the way.
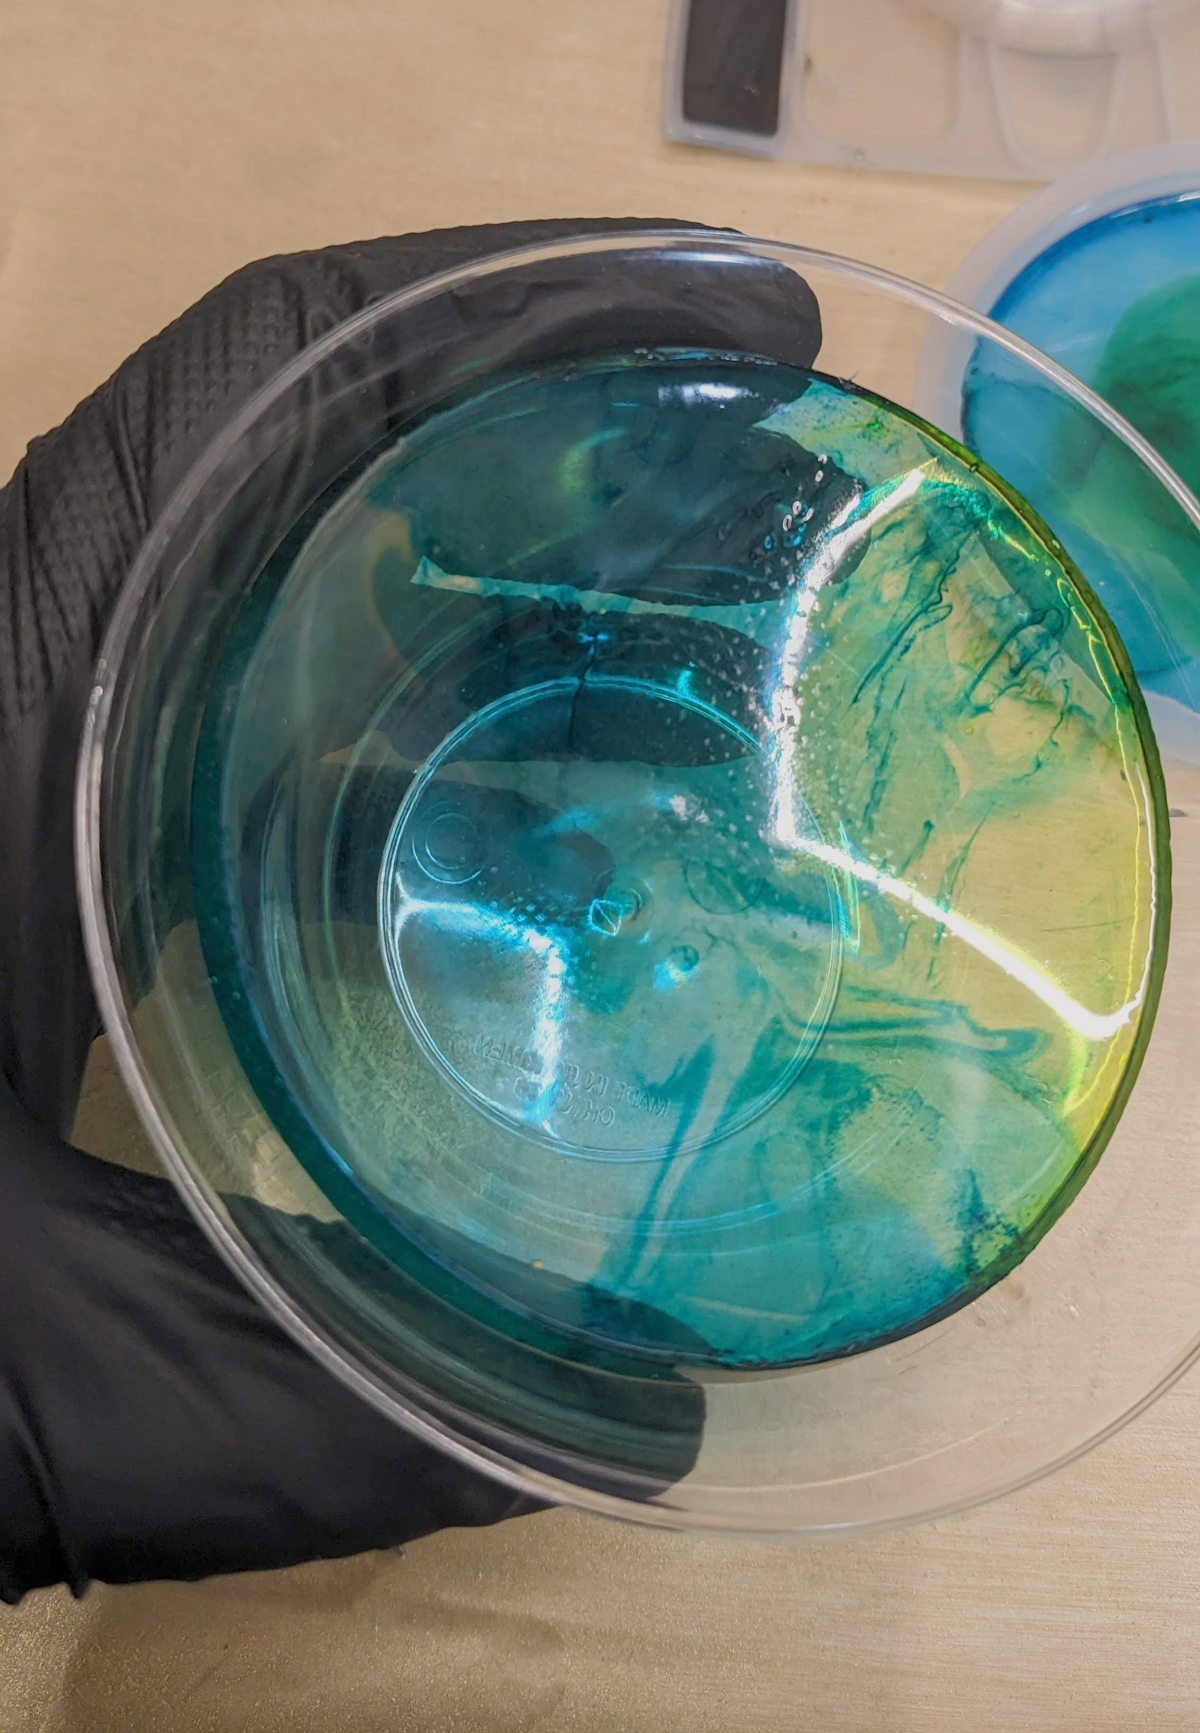
8. When it’s fully cured (according to package recommendations – likely 2 days) remove it from the plastic bowl. You may want to polish up your resin parts – sand the edges, polish them, etc. But I like the slightly rough handmade look so I didn’t do that on this craft.
Assembling your resin seder plate
1. To finish up a modular seder plate, start by adding adhesive bumpers to the bottoms of your bowls. I added 3 in a triangle shape.
2. Add felt sliders to the bottom of your seder plate – again, three in a triangular shape, close to the ends.
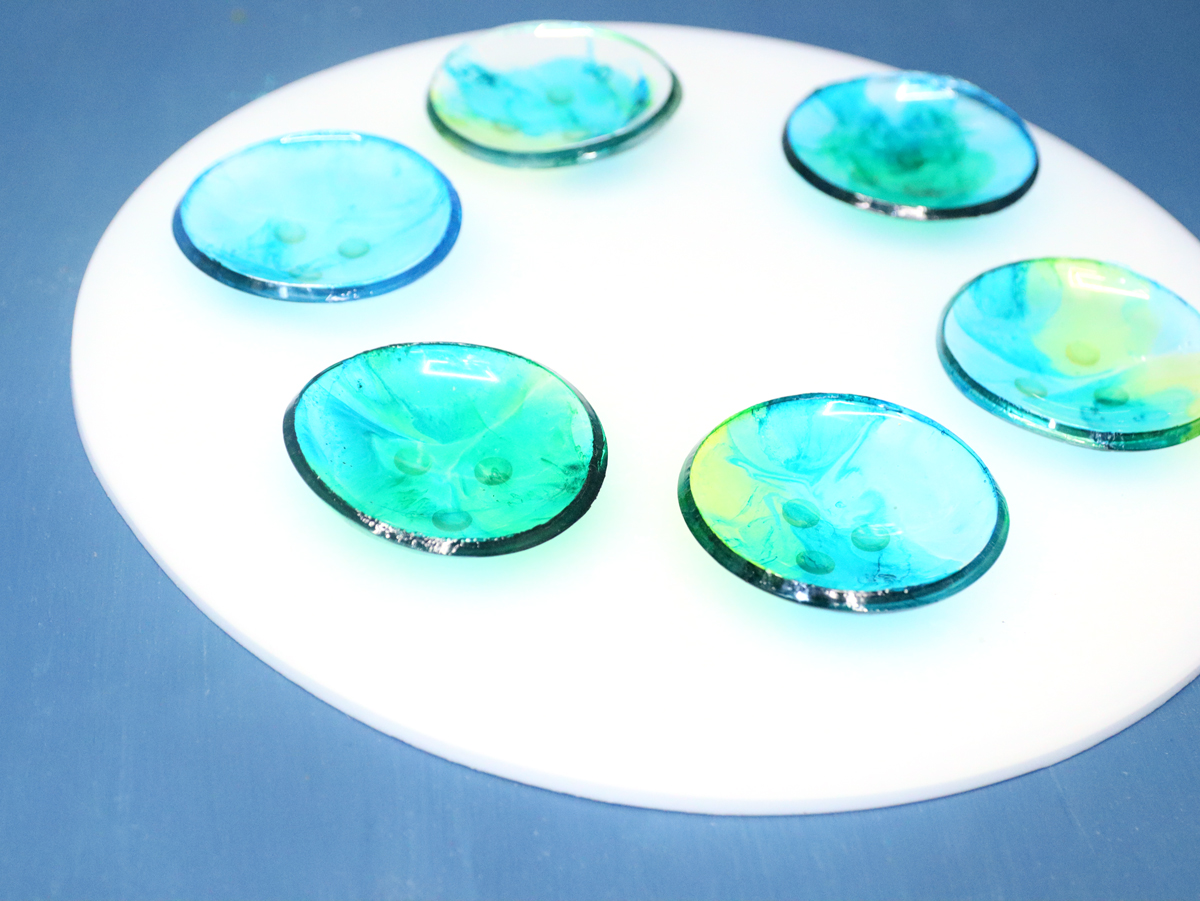
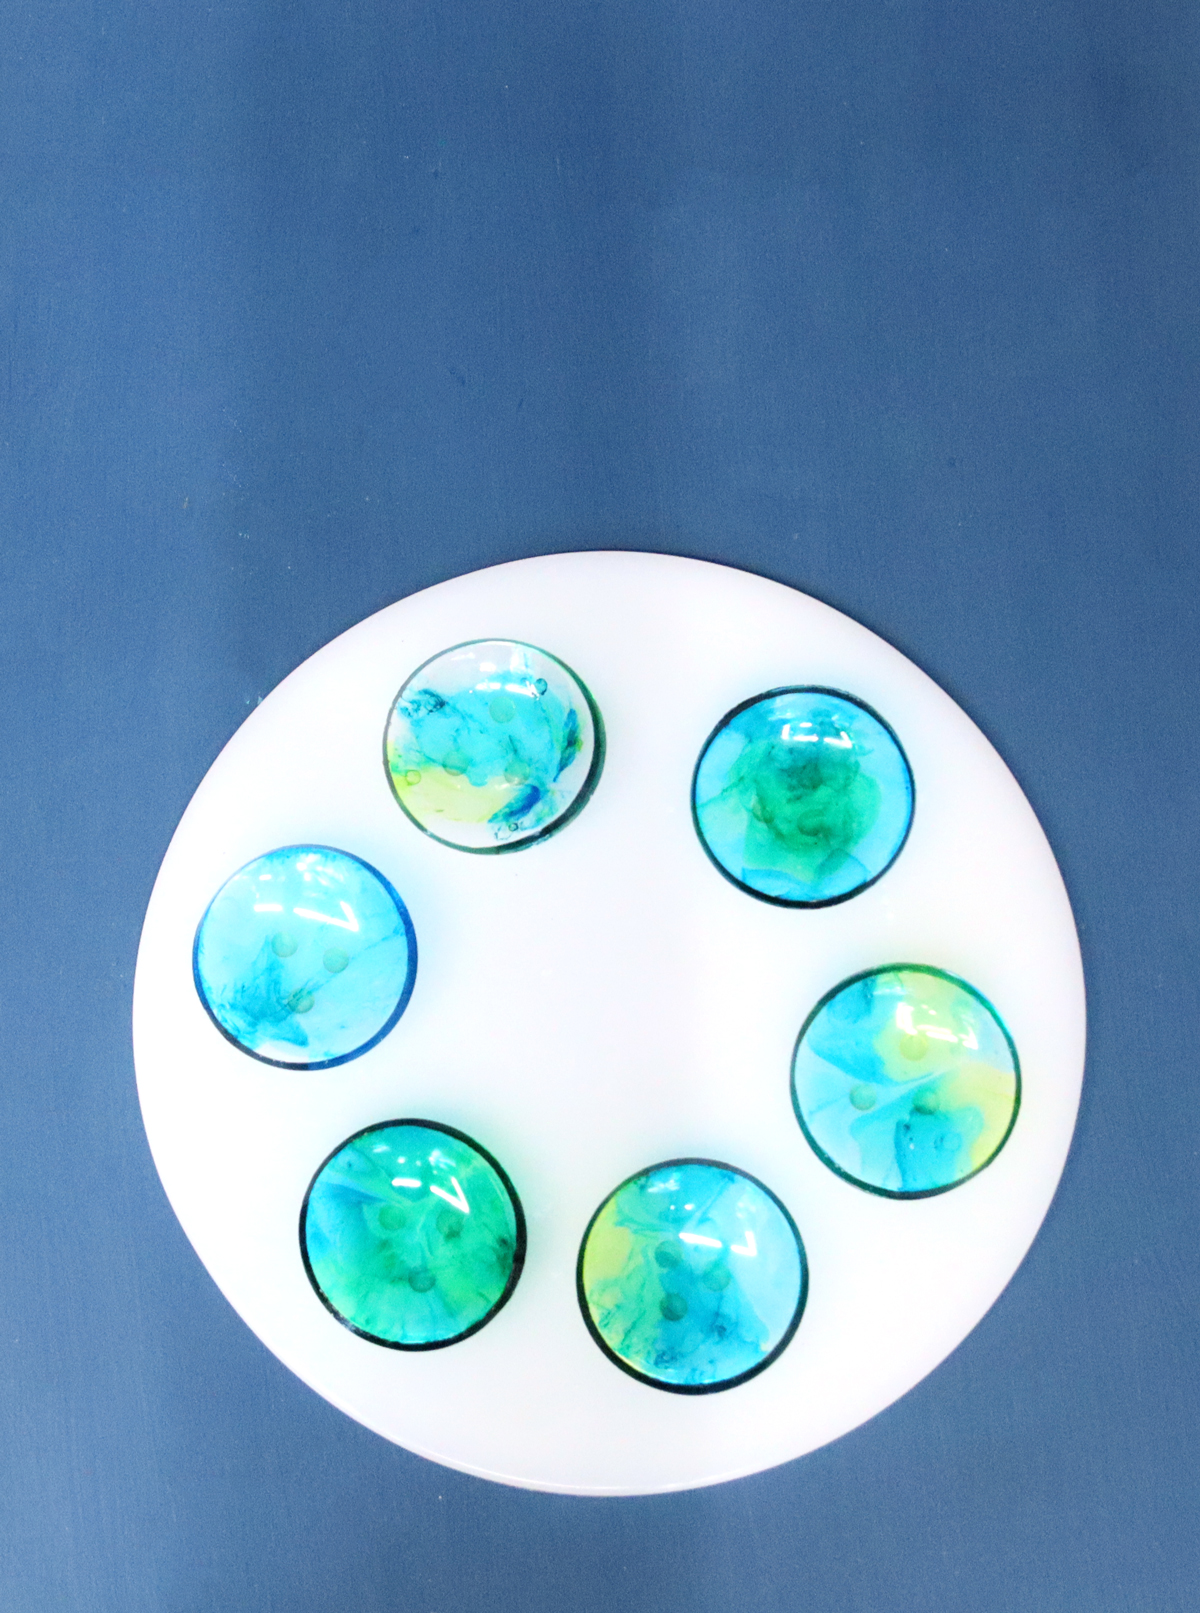
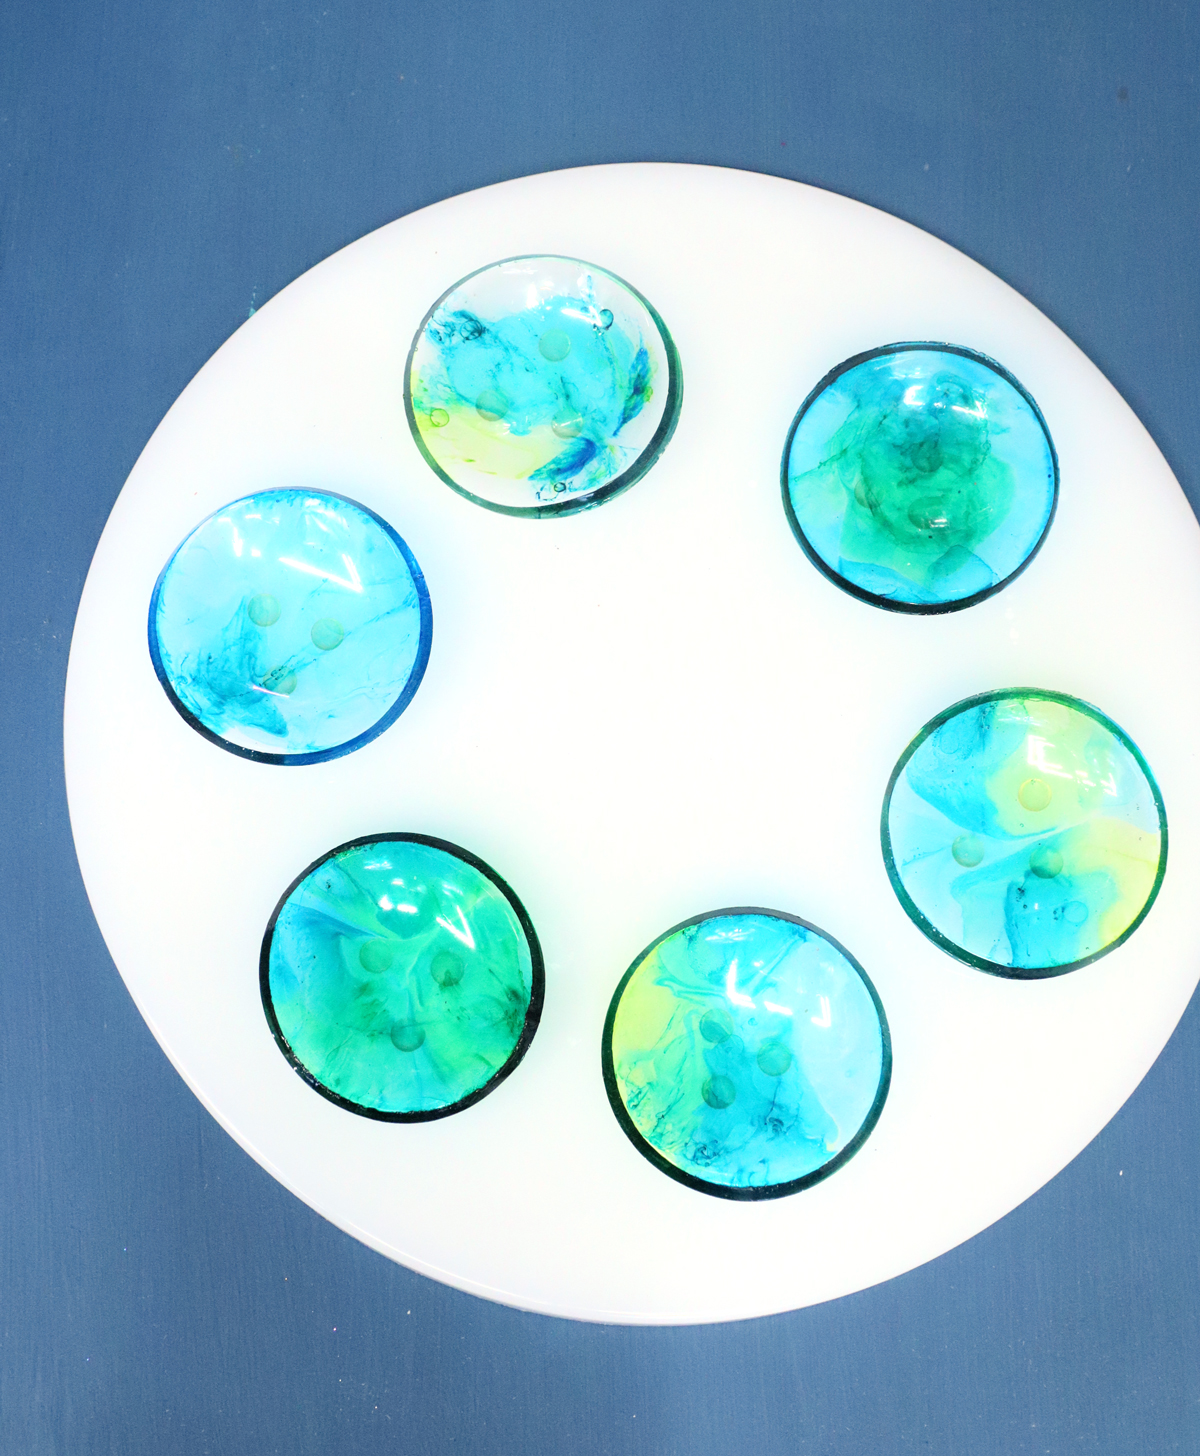
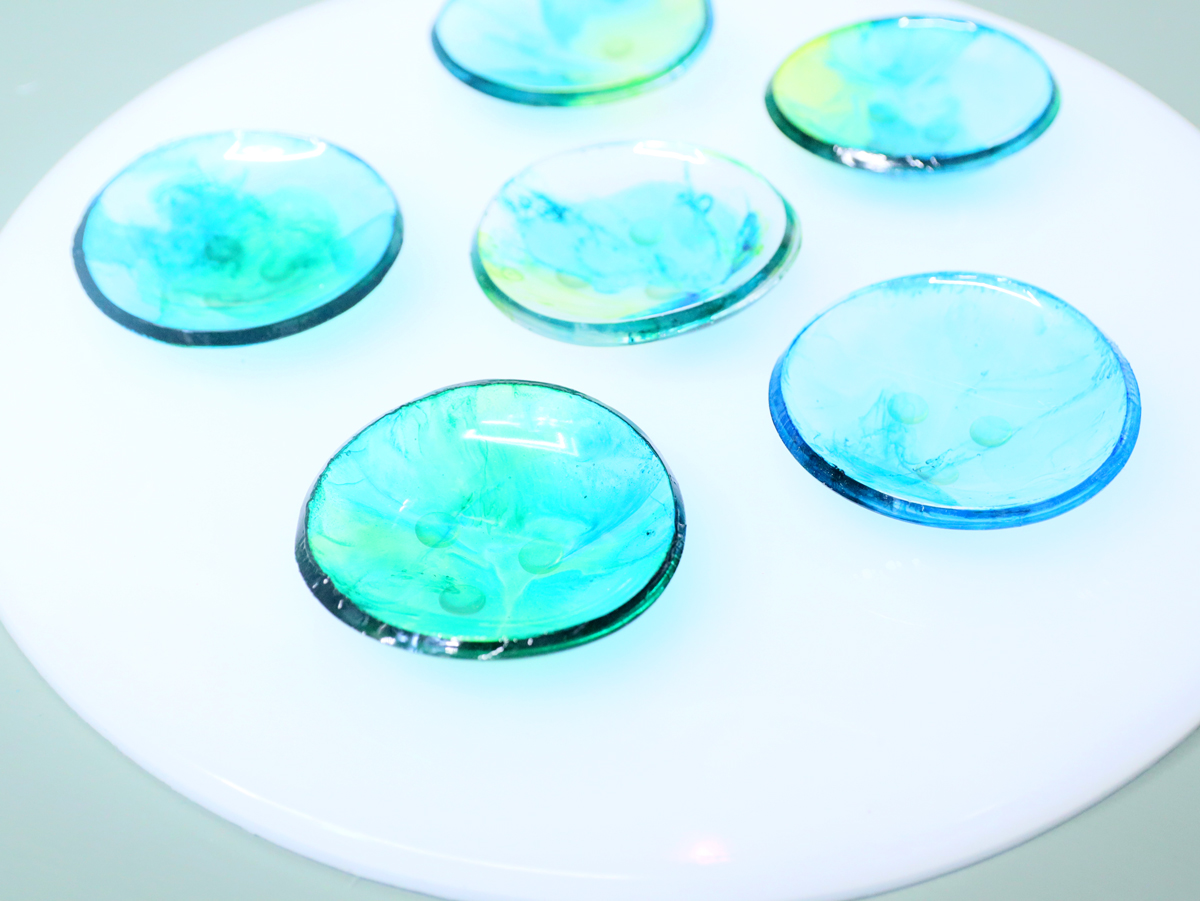
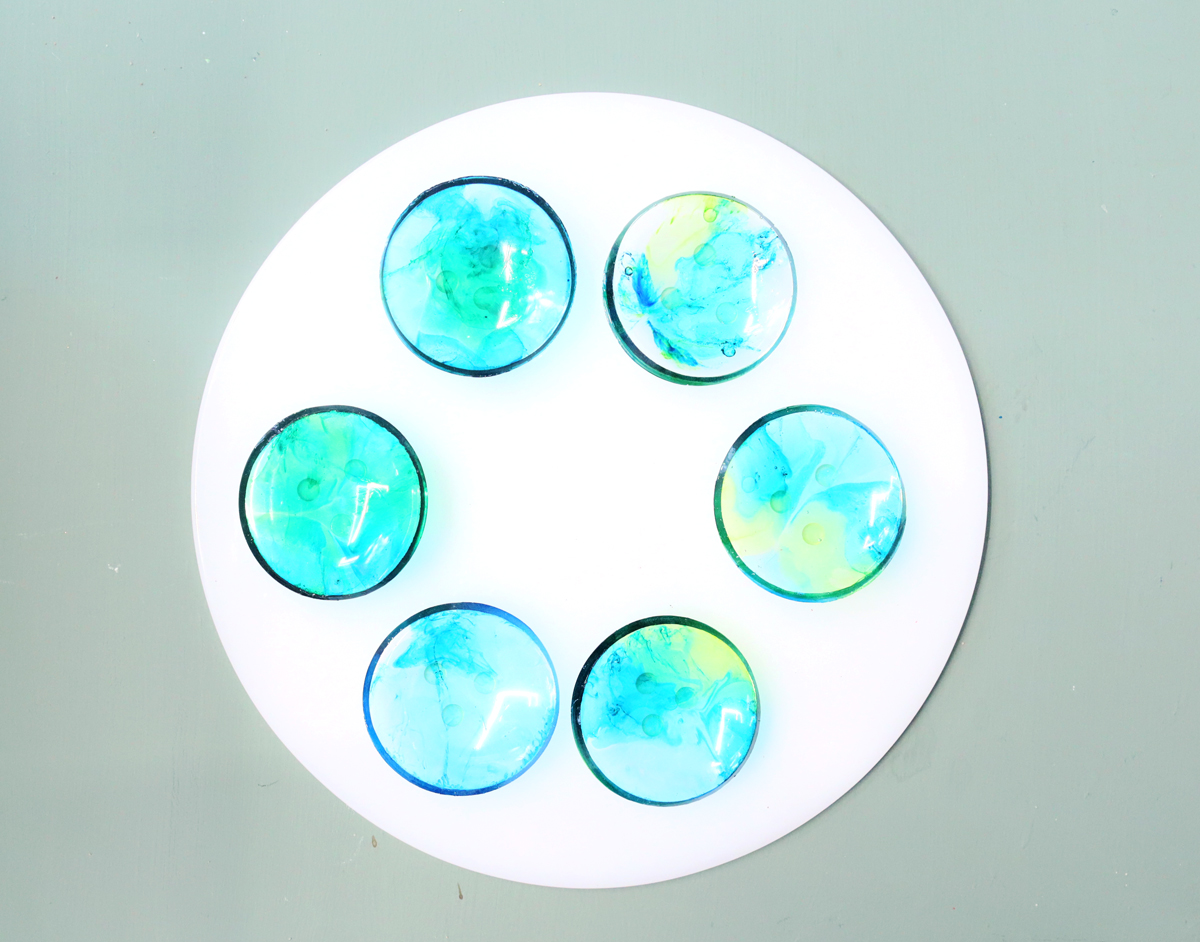
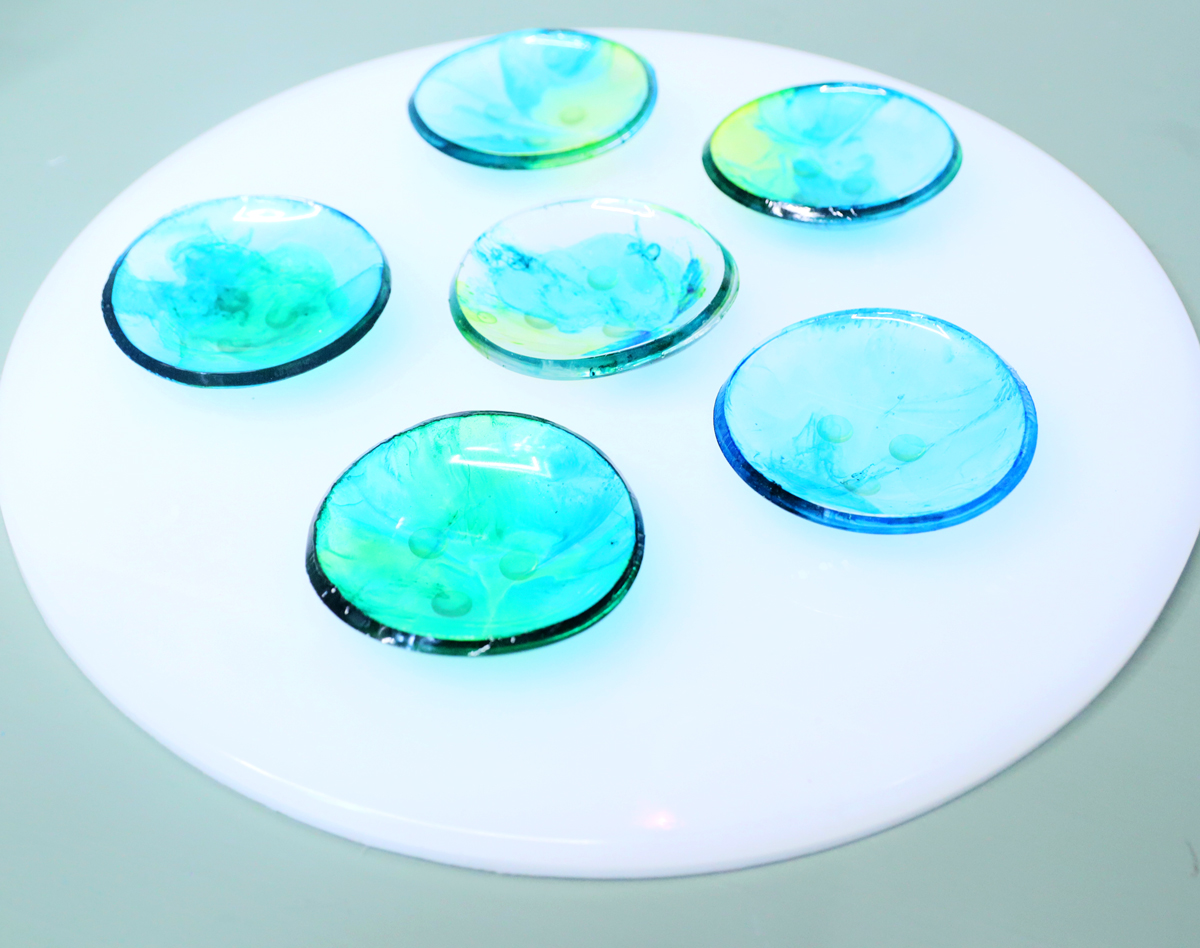
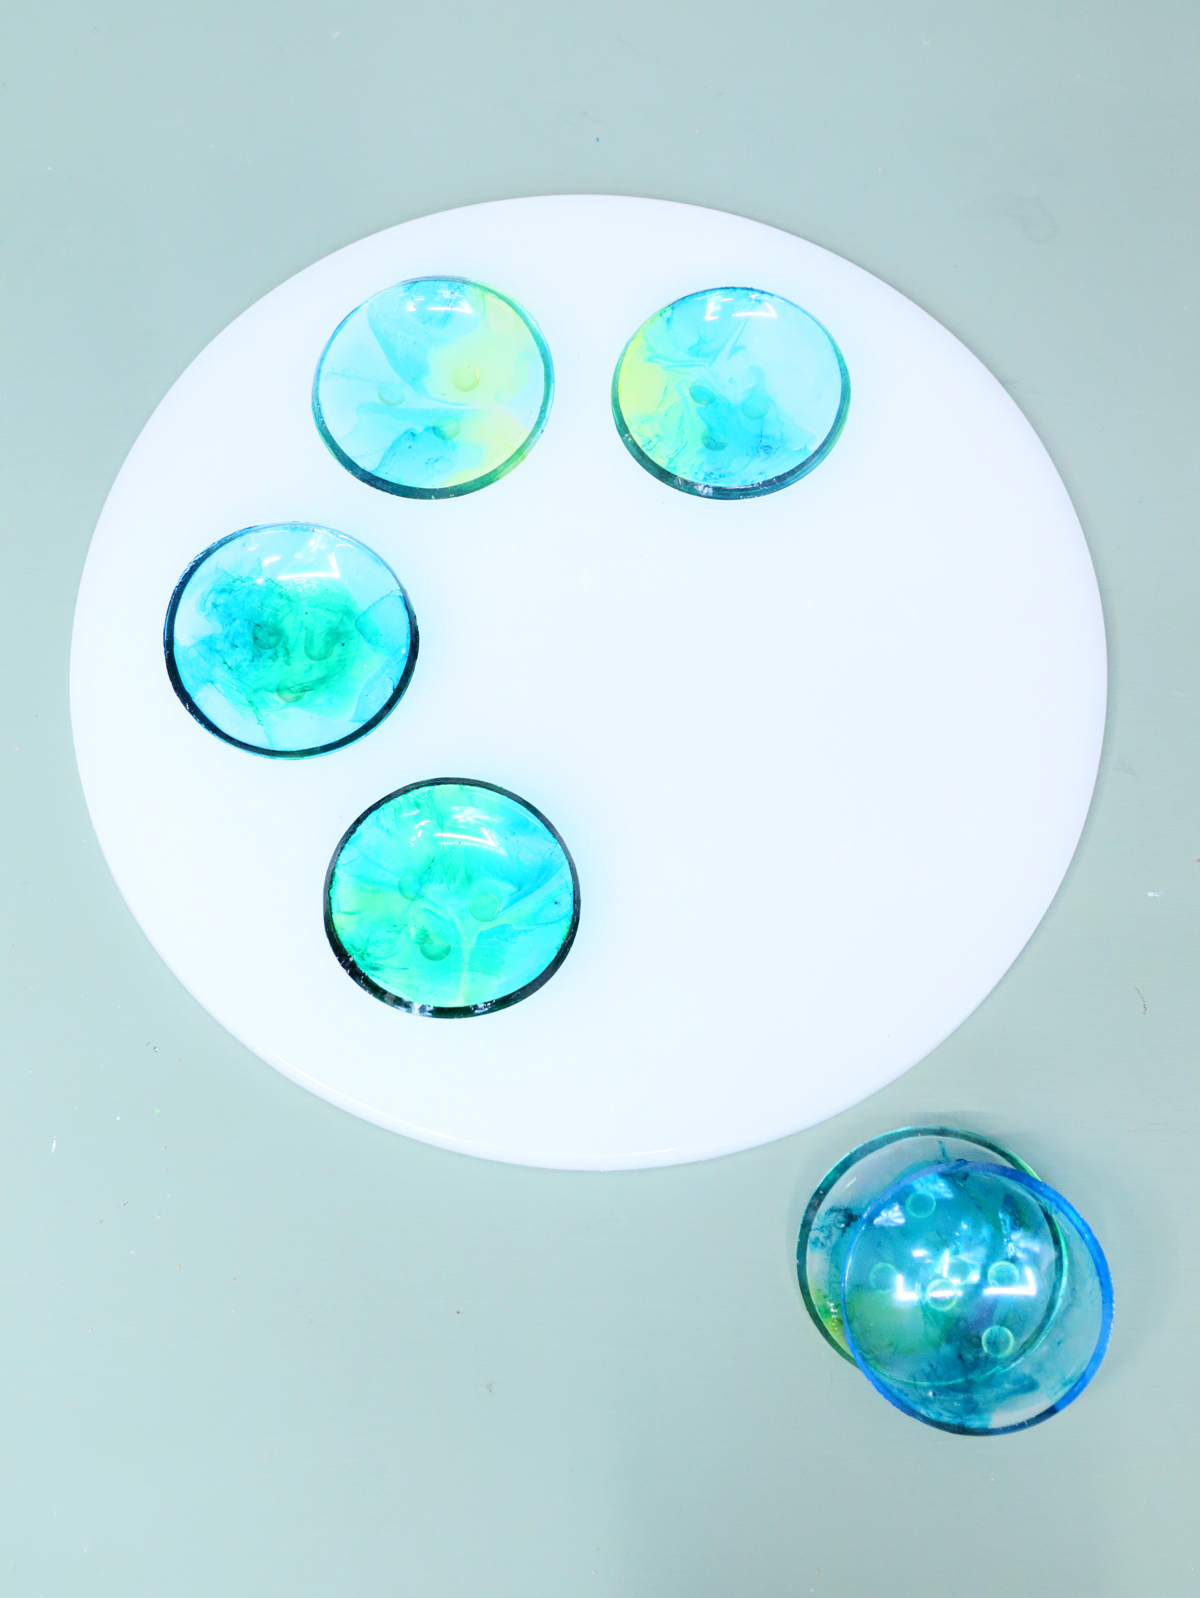
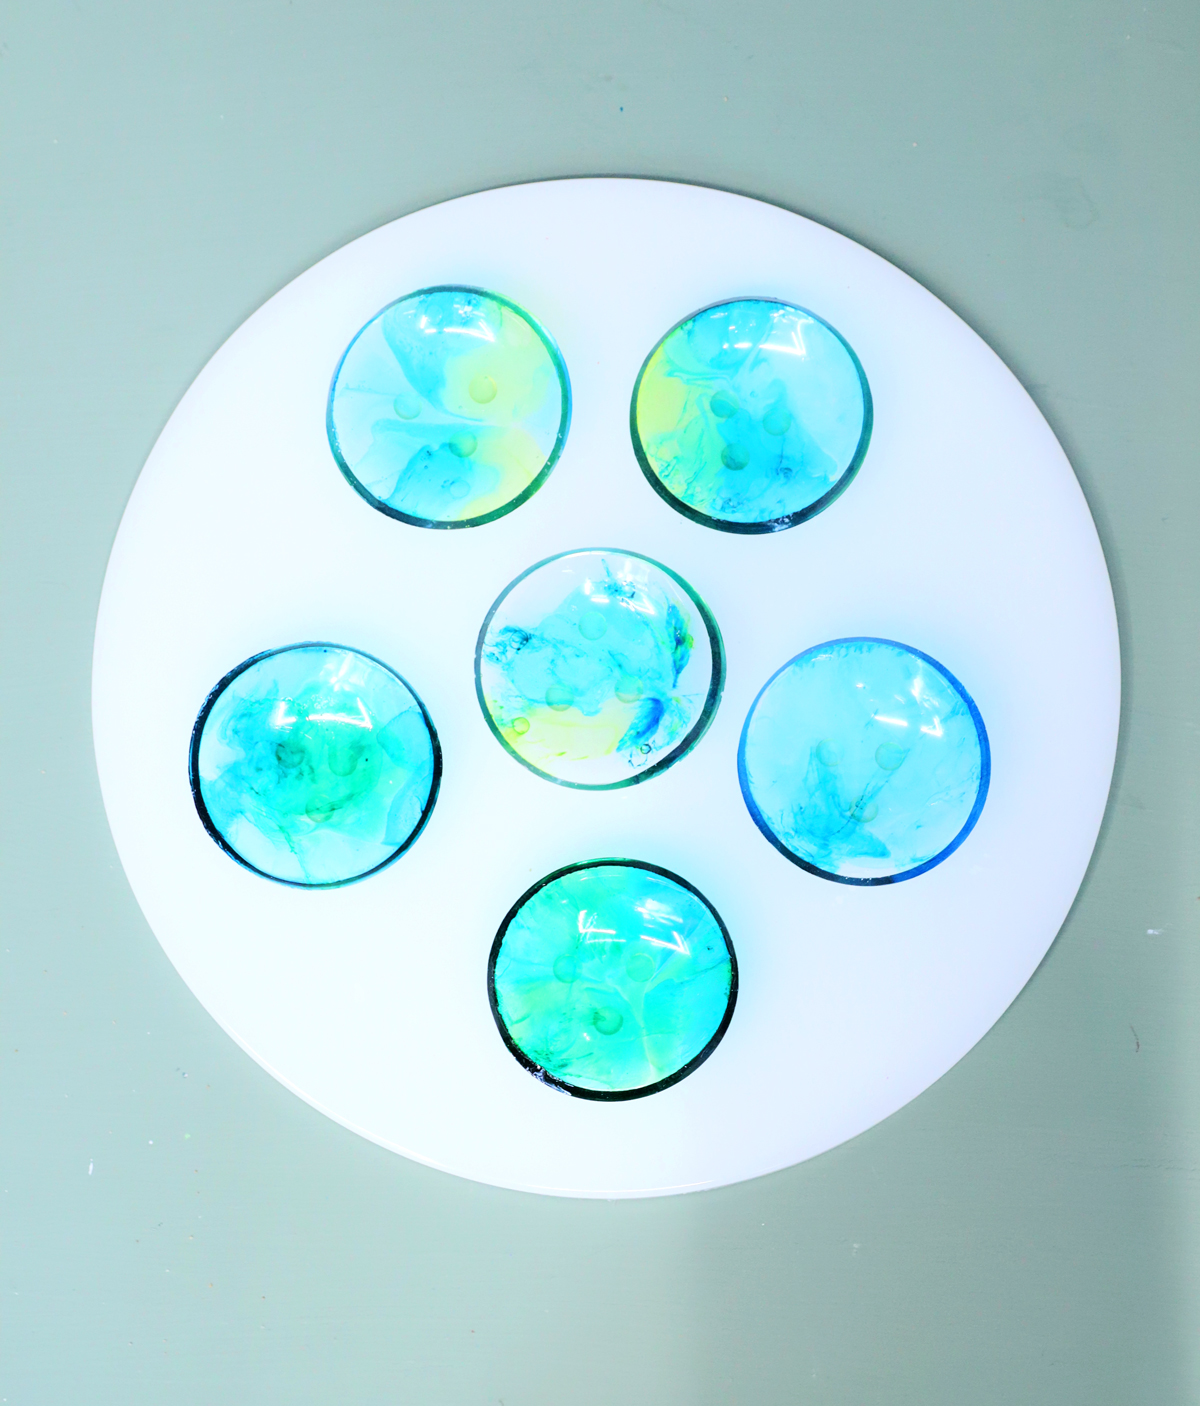
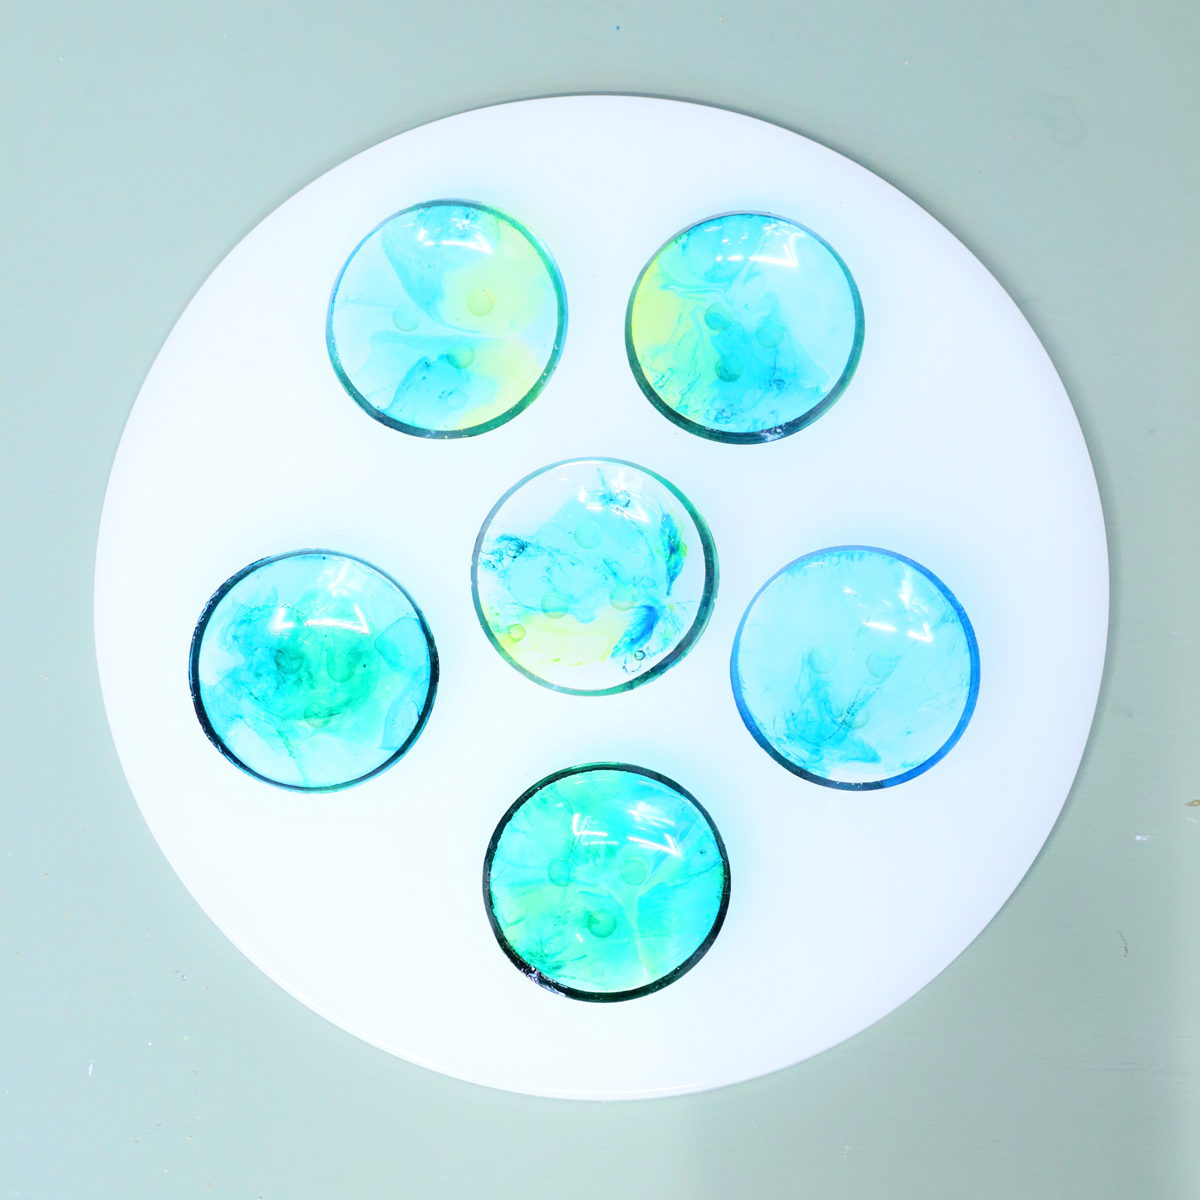
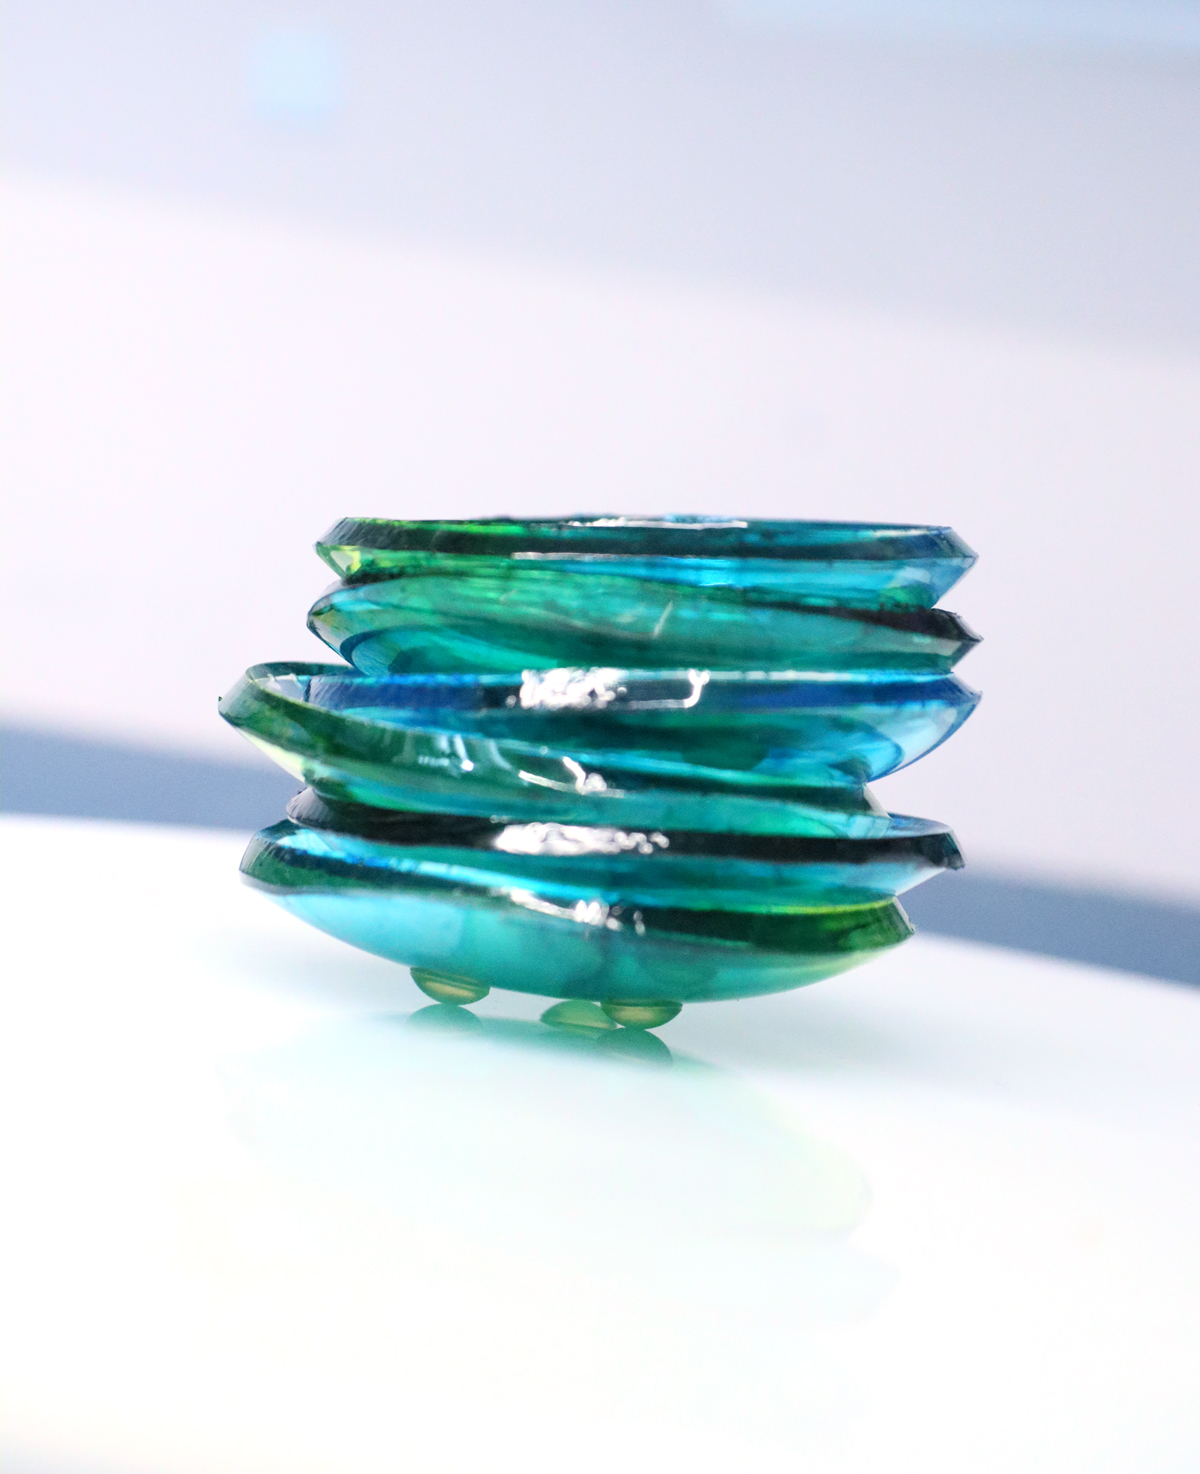
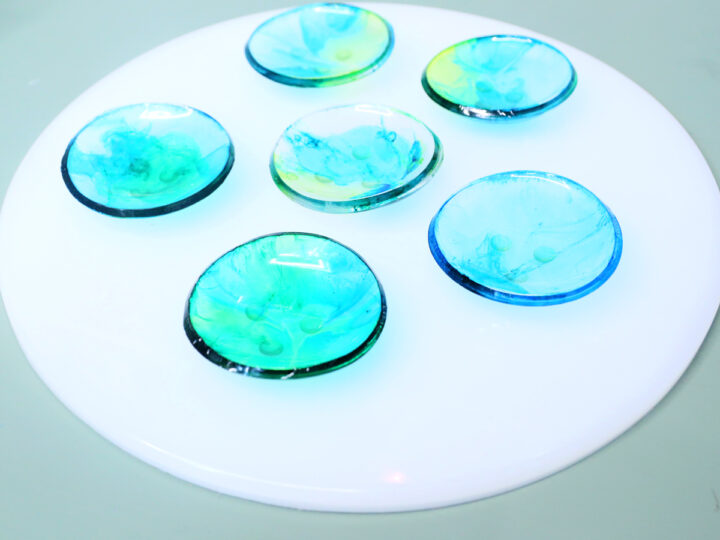
3. Arrange them in your preferred setup – a ring of six, or one in the center and five around it!
Your resin seder plate is complete!
If you’ve made this DIY resin seder plate, please drop a comment and share your feedback – I’d love to hear how it went for you!
DIY Resin Seder Plate for Passover
Learn how to make a DIY resin seder plate, including tips and tricks and alternative ideas!
Materials
- Resin - I used Alumilite clear casting resin (from Michaels)
- White resin dye/acrylic paint
- Alcohol inks
- Adhesive Rubber cabinet bumpers (roughly 6-8 mm circles)
- Small adhesive felt furniture pads
- Small plastic bowls (around dip bowl size)
Tools
- A respirator mask
- Mixing and measuring cups dedicated to resin (I recommend silicone ones)
- Stirring sticks - I recommend silicone ones
- Nitrile gloves
- 14 inch round mold
- 6x 4-inch coaster molds
- Level
- Heat gun
Instructions
Making the base:
1. Level your surface. This is a critical step with any resin surface but especially with larger ones! I skipped this with my resin Menorah tray and it caused issues. I recommend having a large slab of wood to work on, and leveling it using books underneath the sides as needed.
2. Mix your resin together as per package instructions - until there are no more striations. To make it food safe, start with a layer of food-safe clear resin and allow it to cure.
I made mine with a slightly translucent top layer (the first in the mold) and a solid white back layer (last in the mold.) Add white dye or acrylic paint and mix it until it's fully mixed in.
3. Pour the resin into your mold and make sure it reaches every corner.
4. To add a slightly marbleized texture, I added some straight white dye into the plate, and streaked it in. I did not have enough to make this really look like I wanted, though.
5. Zap your air bubbles with a heat gun.
6. After I ran out of white dye and to make a solid white layer, I mixed up new resin with white acrylic paint. You can do this straight away for your entire resin seder plate base if you prefer.
7. Pour it over, covering the entire surface. Decide how deep you want your resin seder plate to be and fill it till there. End table molds like you probably purchased are HUGE and use up a ton of resin. You don't need to fill the whole thing. Mine is about half an inch thick. You can do 1/2 inch to an inch.
Allow it to cure completely (2 days usually) and remove from the mold.
Making the bowls:
Important: do a test coaster first to see how long you need to wait for it to partially cure!
1. Prepare clear resin. Working on one coaster at a time, add a few drops of alcohol ink directly to the mold. I used blue, lime green, and teal.
2. Right away (alcohol evaporates quickly and the inks begin to dry), pour the resin around the coaster, focusing on the ink spots. Fill the coaster about 1/2-2/3 of the way.
3. The inks should swirl naturally. You can "encourage" it a little with your silicone stick, but don't overdo it or you won't have those dynamic swirls - it'll keep moving on its own.
4. Zap the air bubbles with a heat gun, moving it around constantly so you heat it evenly. Again, don't overdo it - you'll move the inks too much AND cure your coaster prematurely.
5. Allow your coaster to partially cure - for me 7.5 hours ended up being perfect. You know your coaster is ready when it's still flexible but no longer sticky, and can easily be removed from the mold. If it seems to no longer be sticky at the top, but is sticking to the mold, give it another half hour and check in again. It's probably still sticky lower down.
6. Gently release it from the mold. Use gloves to avoid fingerprints (I actually recommend getting smooth gloves for this stage, as it's still soft, and will leave an impression).
7. Gently press it into a bowl so that it curves the amount you want it to. Allow it to cure the rest of the way.
8. When it's fully cured (according to package recommendations - likely 2 days) remove it from the plastic bowl. You may want to polish up your resin parts - sand the edges, polish them, etc. But I like the slightly rough handmade look so I didn't do that on this craft.
Assembling your resin seder plate:
1. To finish up a modular seder plate, start by adding adhesive bumpers to the bottoms of your bowls. I added 3 in a triangle shape.
2. Add felt sliders to the bottom of your seder plate - again, three in a triangular shape, close to the ends.
3. Arrange them in your preferred setup - a ring of six, or one in the center and five around it!
Your resin seder plate is complete!
Notes
Making mini bowls from a coaster mold
For the base, I got a large 14 inch side table mold that's deep but doesn't need to be filled fully. Your instinct might be to go ahead and buy some resin bowl molds to use as bowls... But I instead used a 6-pack of 4 inch coaster molds.
Why do it this way?
The reason is simple: I wanted a very shallow bowl, not a deep one. Think of the seder plate - with its slight curvature bowls. They allow the items inside to be fully visible. To do this, you need to take the bowls out when it's partially cured - no longer sticky but still flexible.
The thing is... doing it like this really complicated the process. You NEED TO EXPERIMENT. I started with one, and then kept it near me all day. I checked after one hour, three, four, six... after seven hours it felt right and I took it out. When I went back and did it again with six bowls... it WASN'T good after sever hours, because there were other variables at play that I didn't account for.
Factors that effect cure time
To make the mini bowls from coasters, you need to be very aware of the factors that play into cure time.
Heat gun - how long you zap the bubbles with a heat gun for. On the trial one, I did. On the "real" one I managed to avoid most bubbles and didn't heat gun it. Heat can accelerate the curing process.
Thickness - If you make it too thick, it'll take longer to be ready to demold. It also doesn't come out as good. In my experiment, I underfilled my mold. I slightly overfilled my coaster molds when I was crafting it "for real". When I fixed it, I underfilled them.
Environment - The first time, I brought my trial up to the kitchen so I can keep testing it. Then, when crafting it, I kept it in my basement, which is colder. Factors like temperature AND humidity can play into cure time.
In a nutshell: test your first bowl in the correct environment, using the exact method you'll use to craft your resin seder plate.
To keep it modular or attach?
I decided that I wanted my bowls to remain modular - that is, disconnected. That way I can reuse the base as a matzah plate! And the bowls as smallish dip dishes. It's very compact to store that way.
You can attach it using resin - either UV resin, or epoxy - after you're done crafting it. Resin can easily be used as a "glue" to connect resin parts. Just use it sparingly.
Putting it all together
Since I kept it modular, I did put those small cabinet silicone bumper thingies on the bottom of each bowl so that they don't just slide around. They worked magically but don't look that pretty. You will not see it, though, once your seder plate foods are inside.
You can also use hot glue, but that'll be harder to keep neat.I also added very small felt furniture slider pads to the bottom of the plate (3 in triangle formation). This isn't 100% necessary, but it's worth do
You CAN also make separate resin legs for it, if you have the correct mold, and attach it separately. I may do this at a later date using a shot glass mold that I own. Each shot glass can make a hollow leg.
Adding words...
So how do you add the words on the seder plate? I honestly like mine without. I reference the Haggadah for arranging the plate - I don't need the guide on my plate itself. I find that it looks cleaner without words.
My best recommended way to do this is to cut words from your Cricut, apply it to cured and demolded resin, and then seal it with a top coat of clear resin. You can probably also print it on clear paper and apply it between layers of resin.