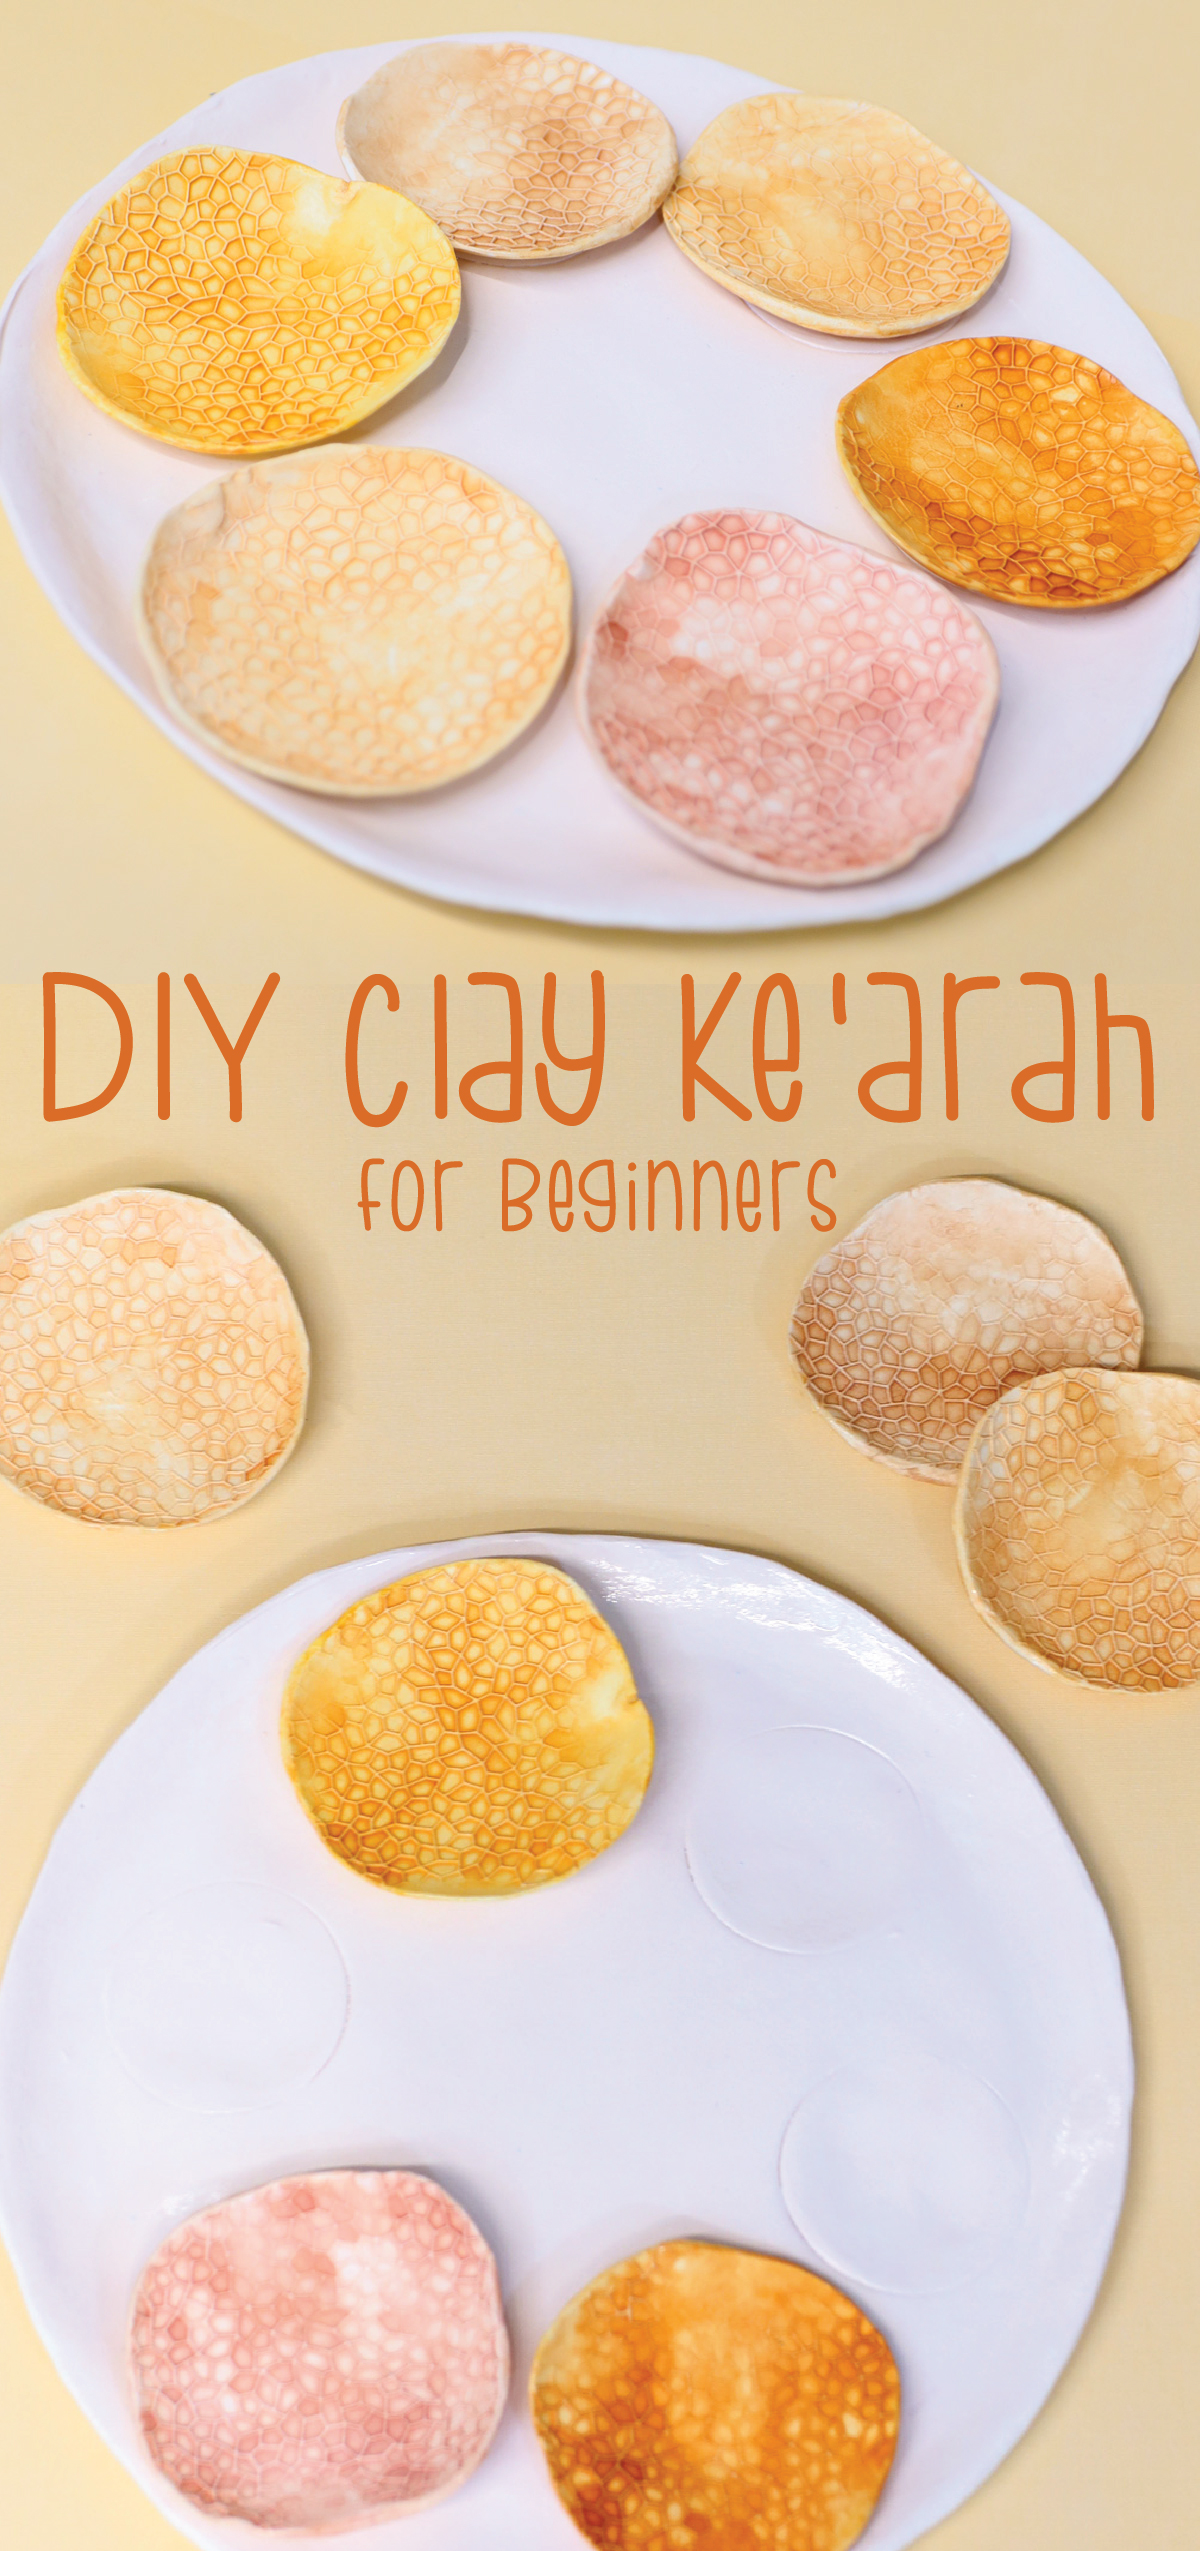
DIY Seder Plate from Air Dry Clay
Craft a gorgeous DIY seder plate from air dry clay – no advanced skills required! If you need something for the littles, try this paper seder plate template instead. This post contains affiliate links.
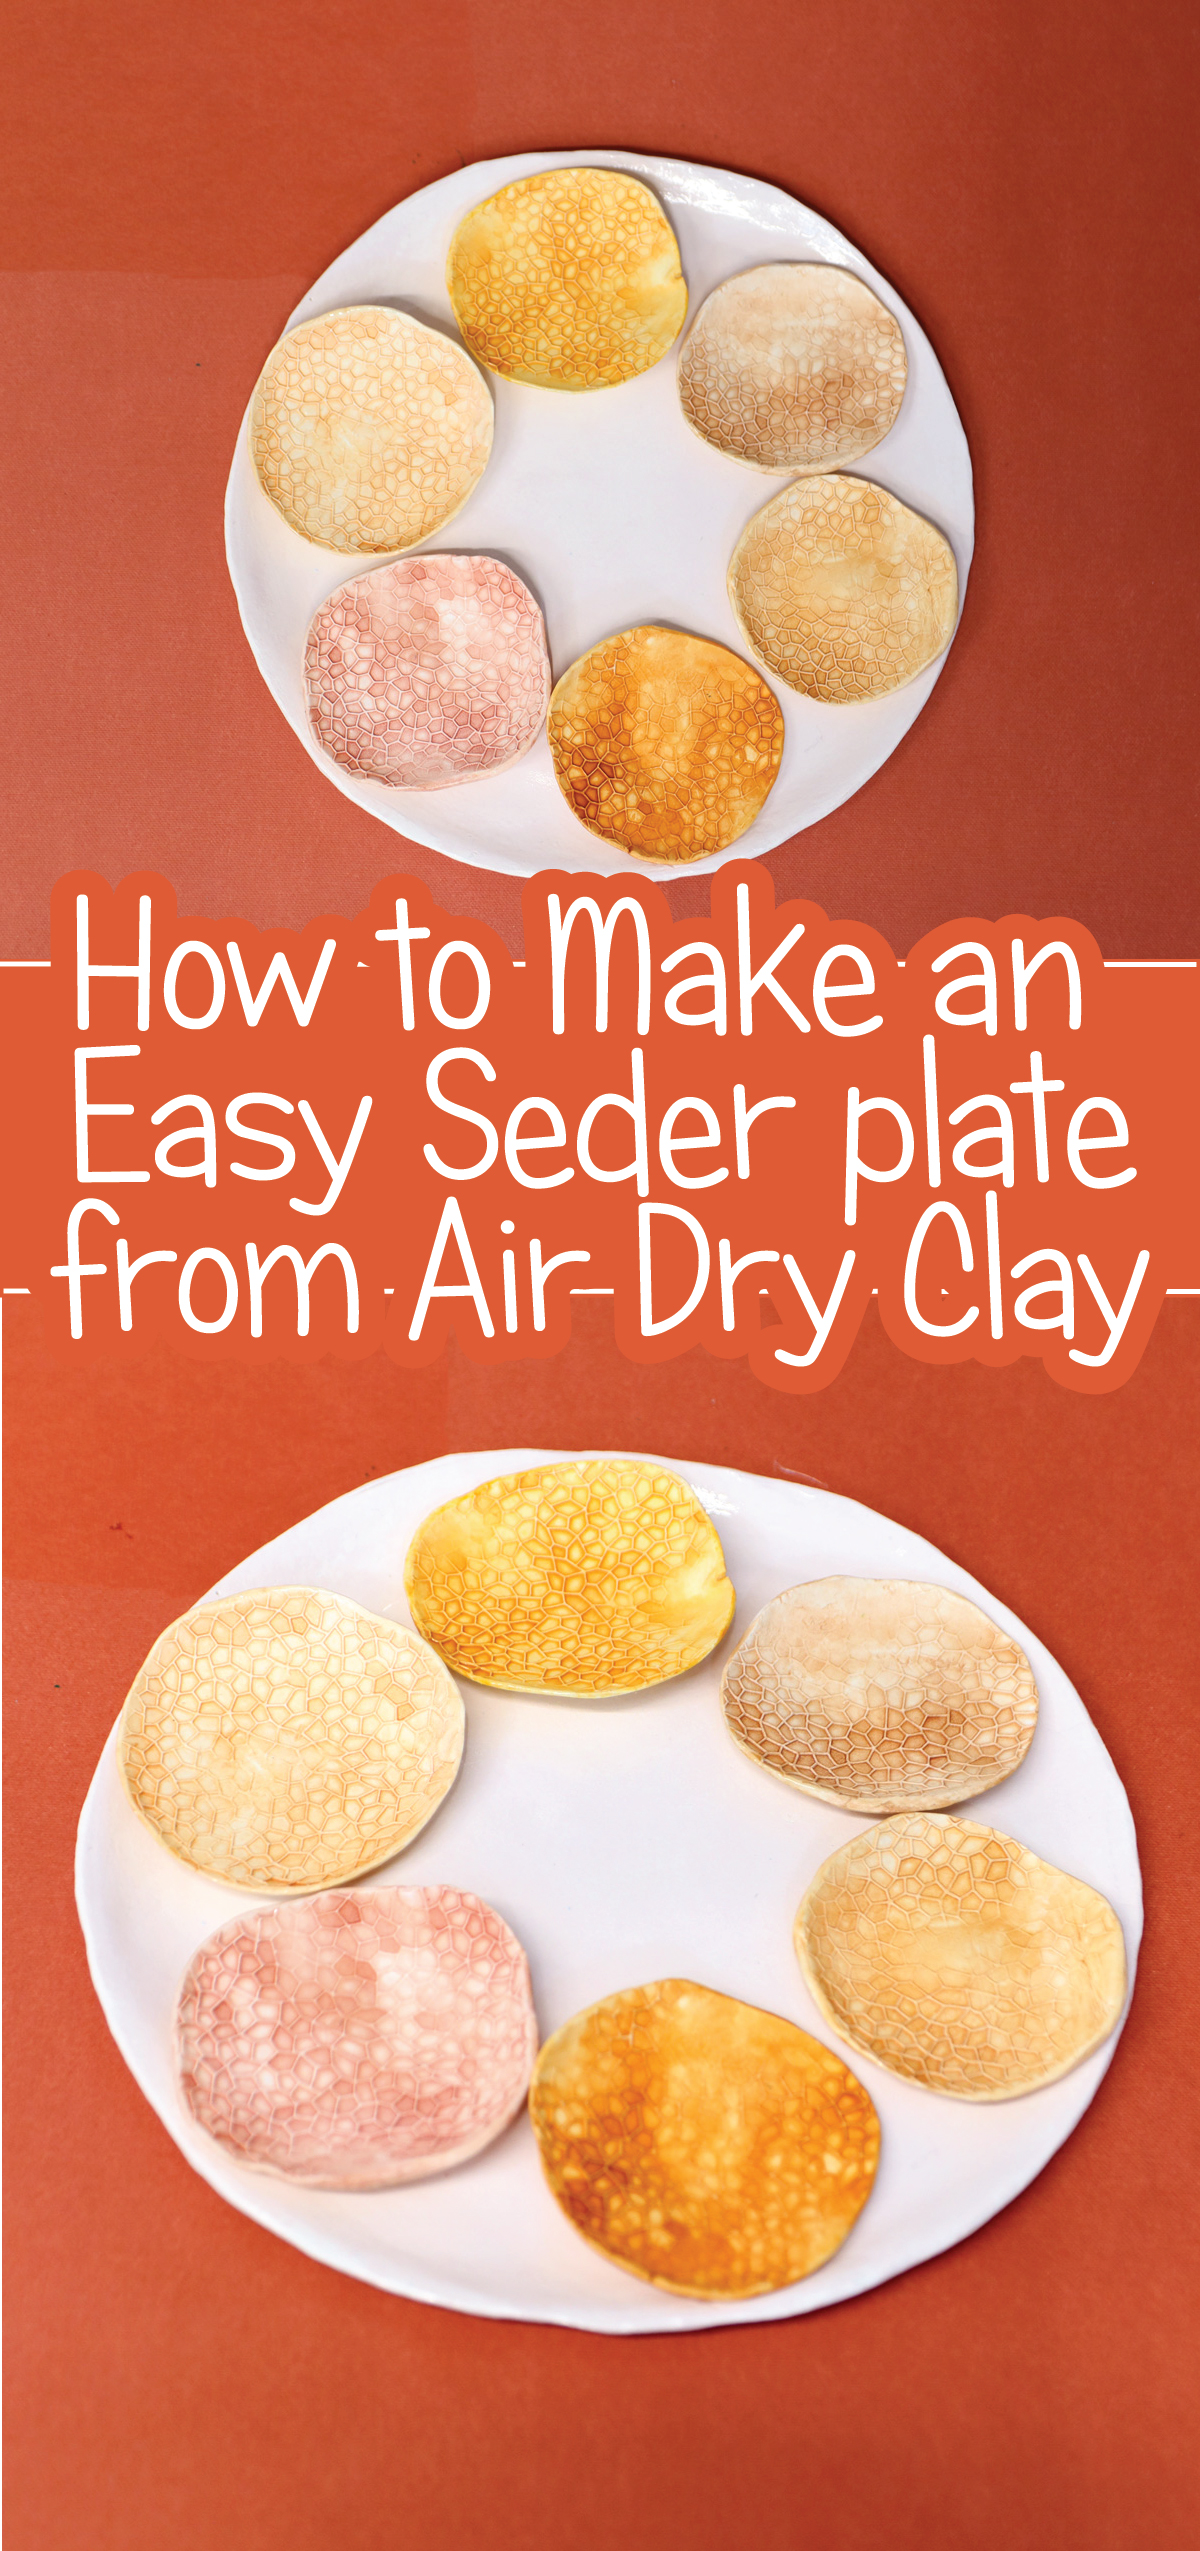
I like to see just how far I can stretch the most basic craft supplies, so while planning Pesach, I picked up some good old air dry clay, nothing fancy, and decided to make a DIY seder plate!
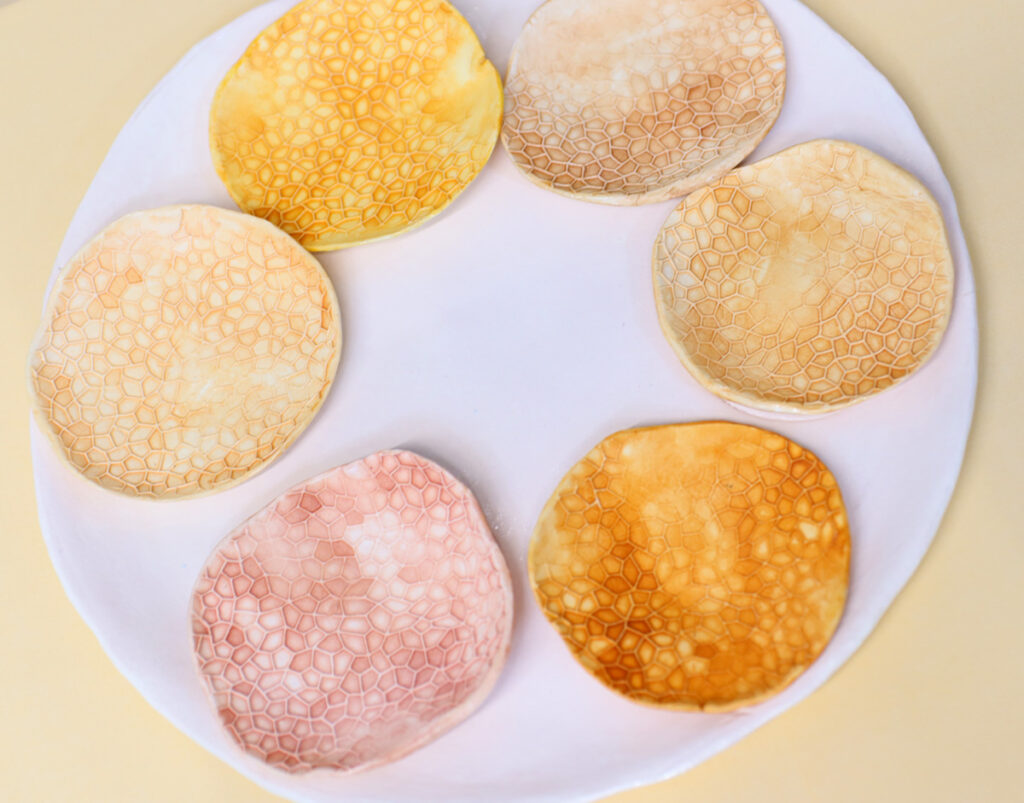
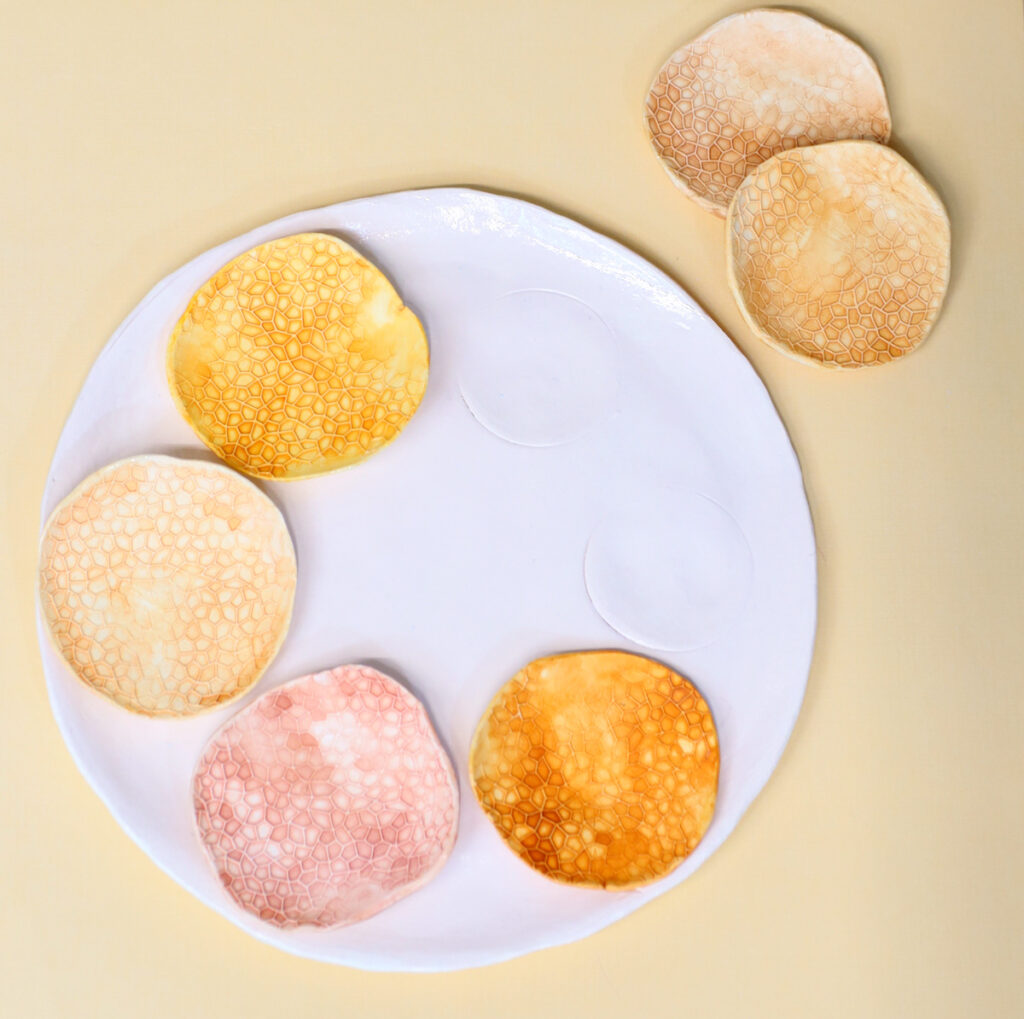
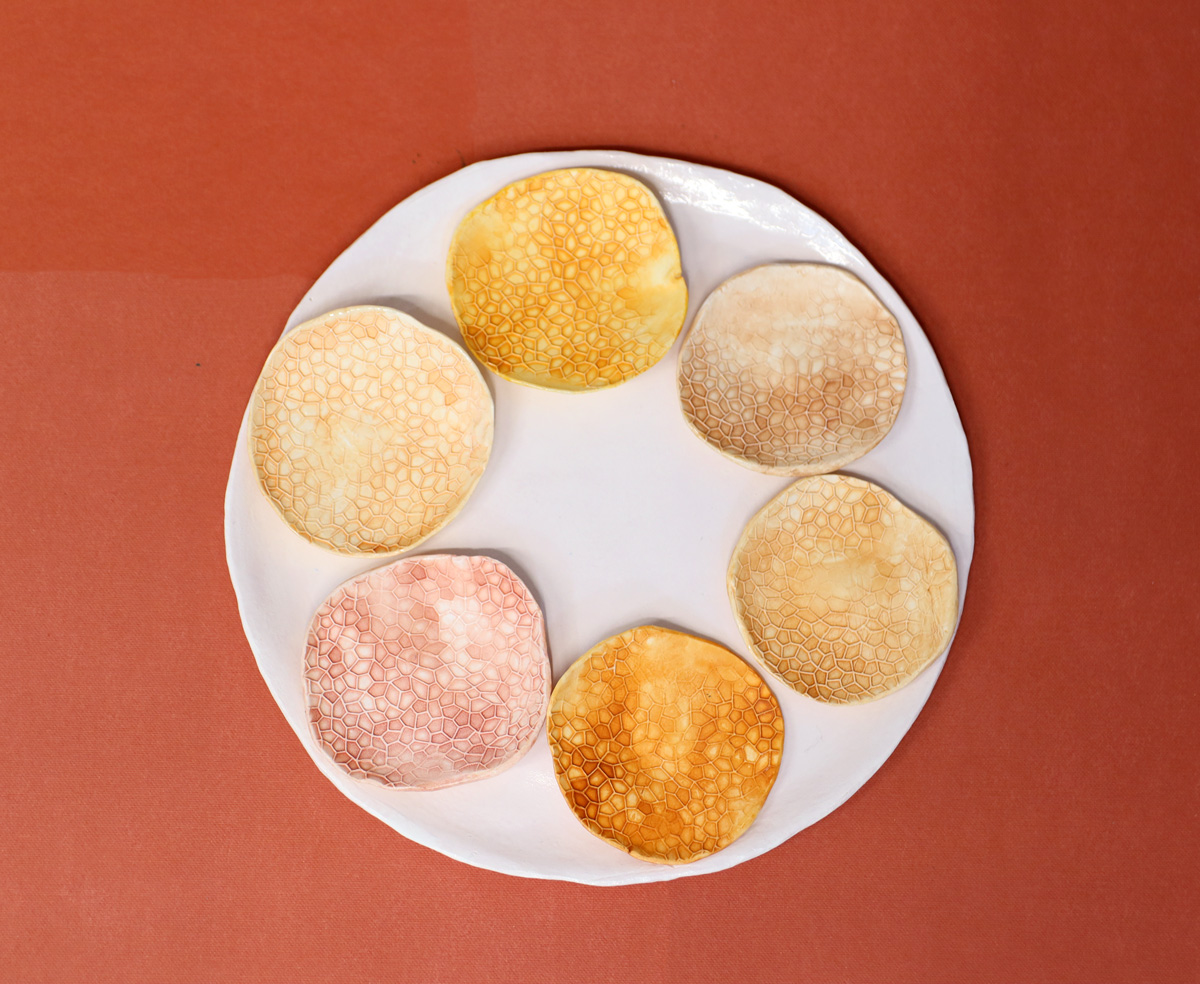
When you want to craft your own seder plate, there are a few considerations: size, durability, ease of storage… In theory, a seder plate is simply a circular section dish with six bowls. Breaking that apart allows you to come up with all sorts of things. And keeping it modular (by not attaching the bowls) makes it easier to store.
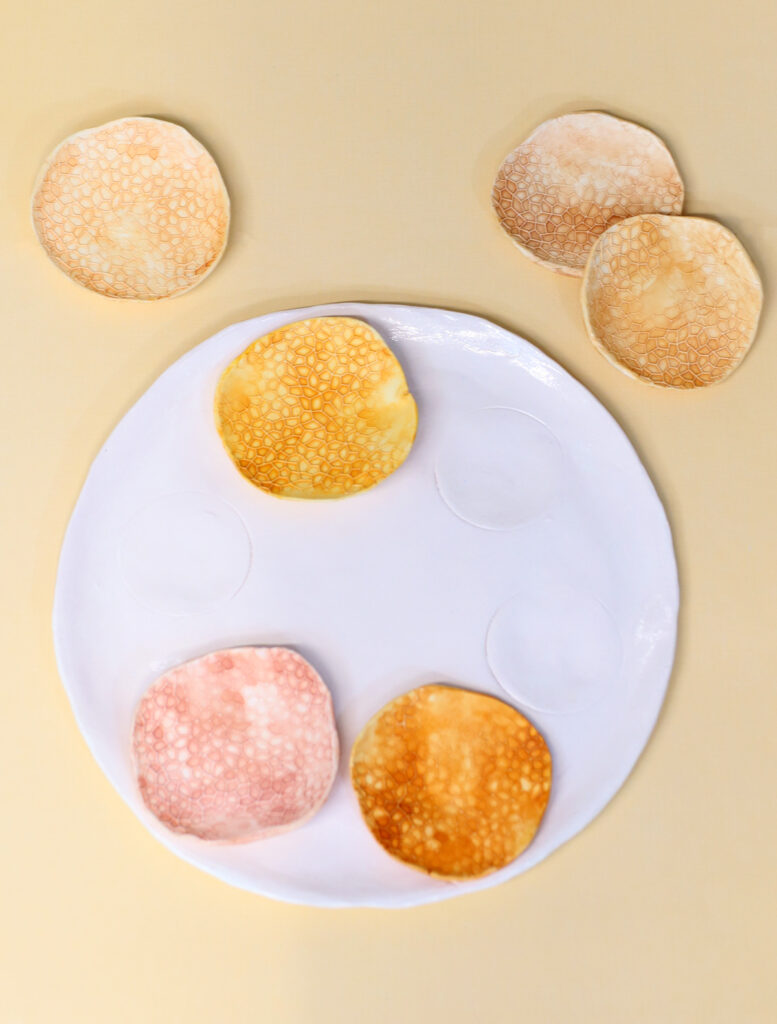
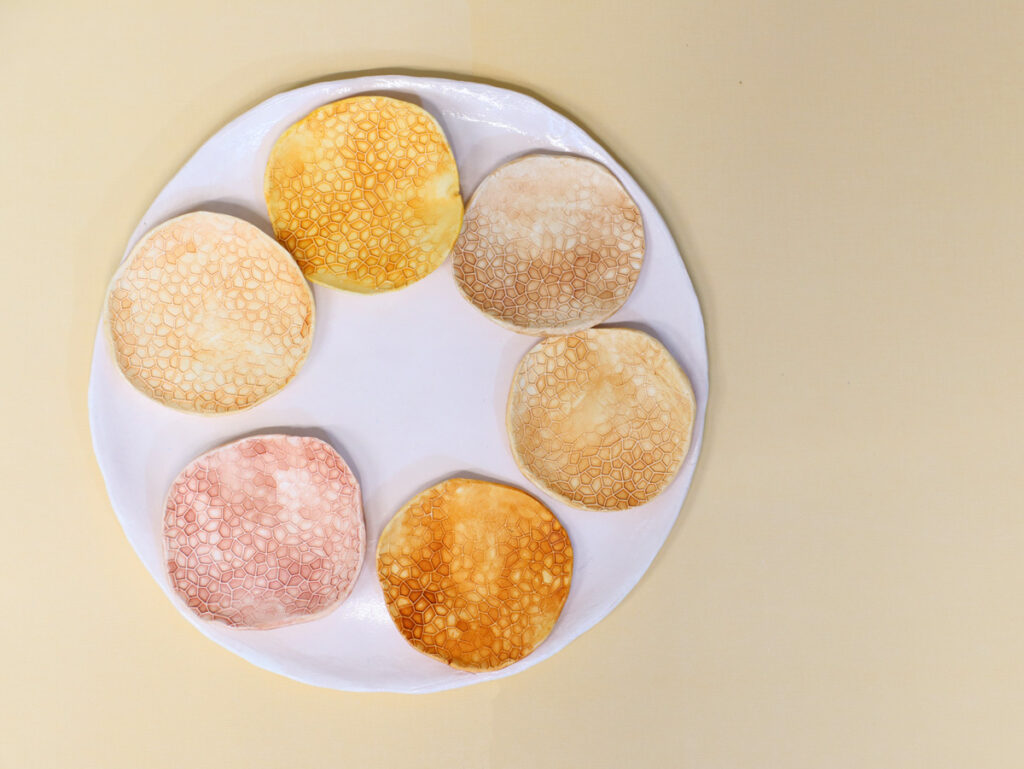
Remember: only a small scrap of food is usually placed on each (it sits out for many hours and is often discarded after the seders).
So all you need really is a small marking, and enough of a well that the egg won’t roll away.
A few different ways to make a DIY seder plate from air dry clay
When I made this, I wanted it to look “real”. But my intention was also to come up with a process that even kids can use.
How I made mine
Roll out the design
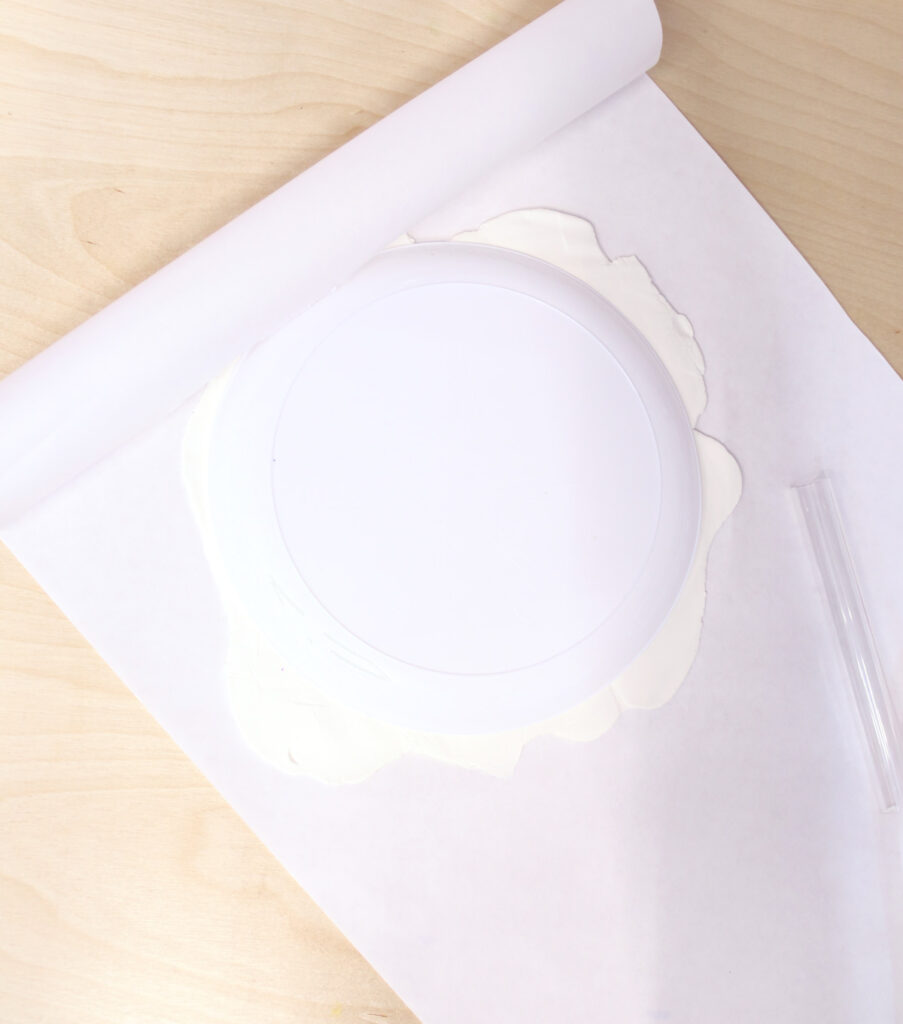
I started by rolling out my clay and then traced a plastic plate (my Passover stuff aren’t out yet). I used a knife to cut it to size and placed it on the same plate to mold it. . I created a template for the bowls and cut them with a knife, then placed them in small dip bowls to mold them.
I wet my fingers as I went along to smooth, and to create indentations for the bowls.
My base seder plate is smaller than most seder plates (I used a smallish plastic dinner plate – about 8-9 inches), which is actually nice. It’ll probably be a second plate for a long table, and it’ll take up less space on the busy table.

Painting, coloring, and decorating
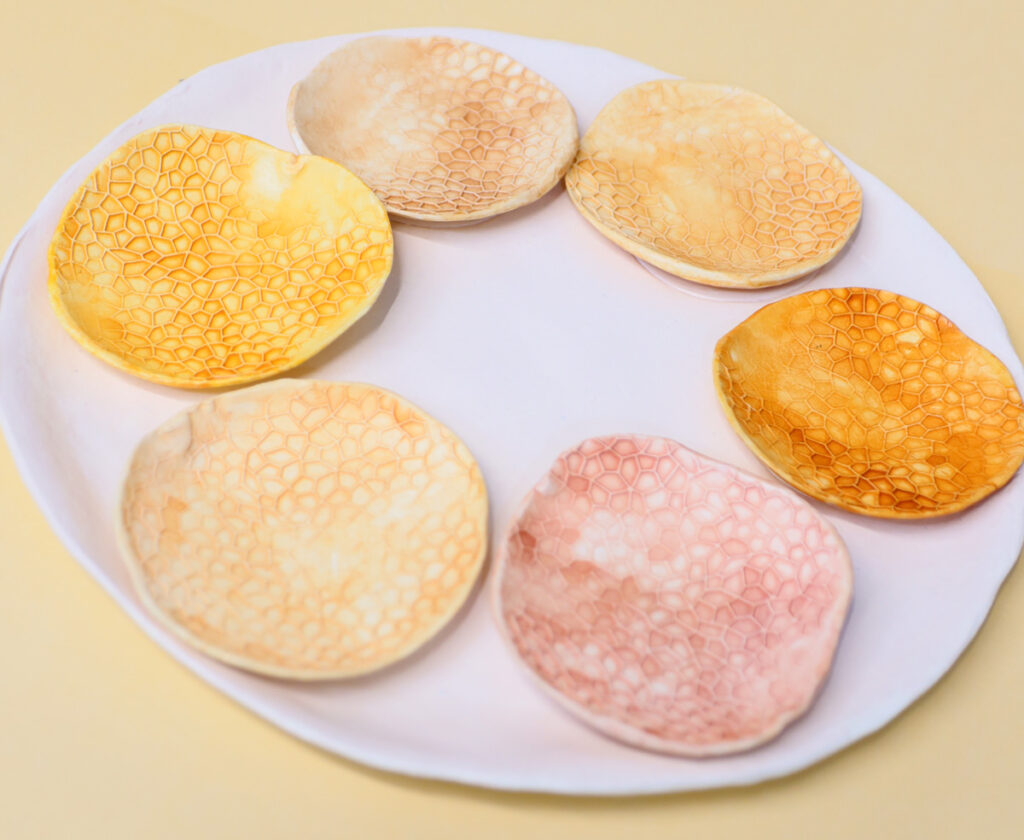
I also made mine using different textures and finishes.
I used a clay texture sheet to add a fun geometric texture. You can also use anything you have, and even roll on coarse sandpaper to add a rough, natural finish.
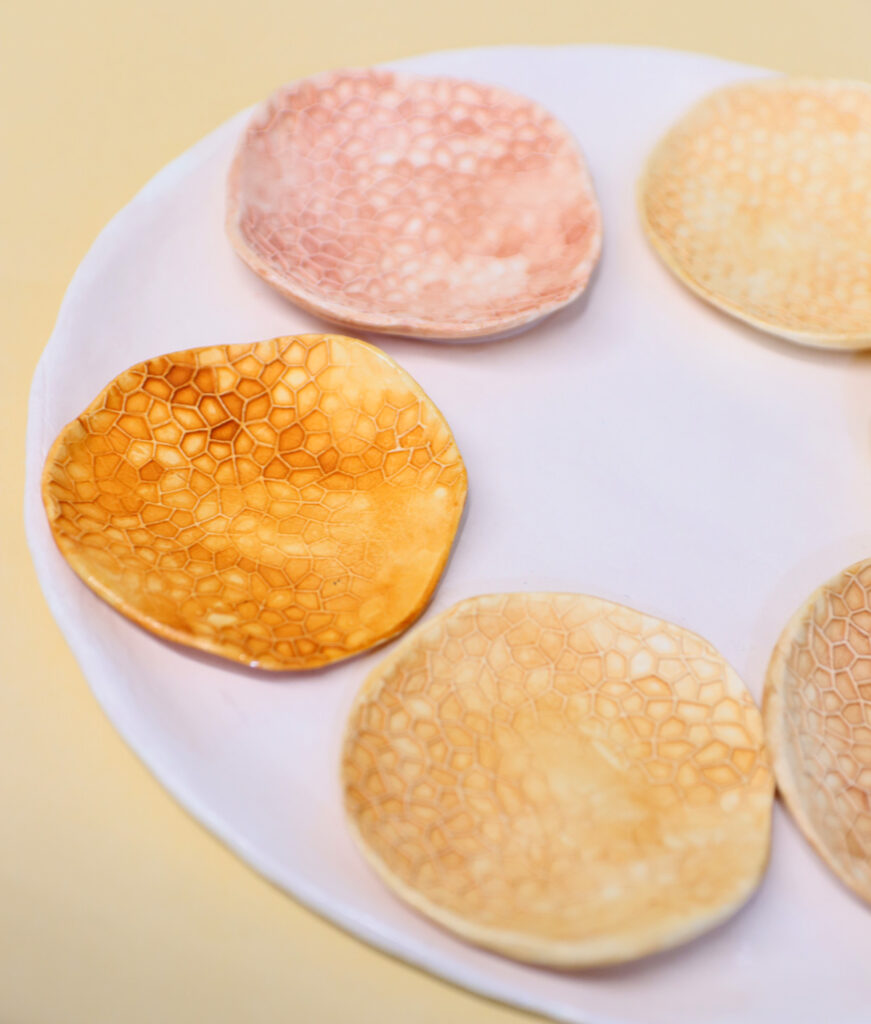
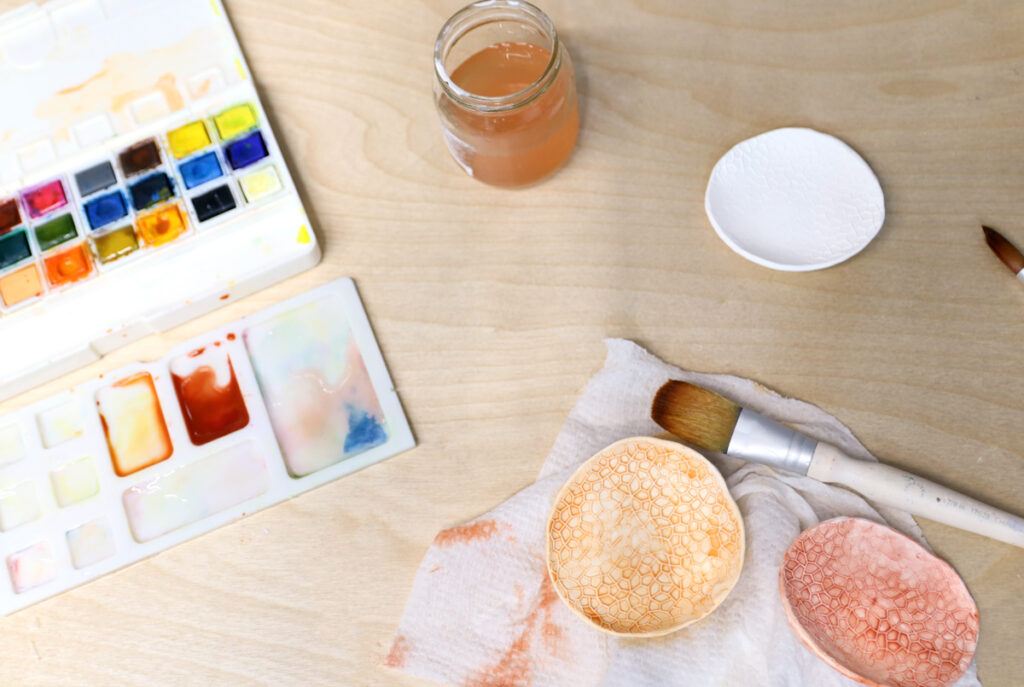
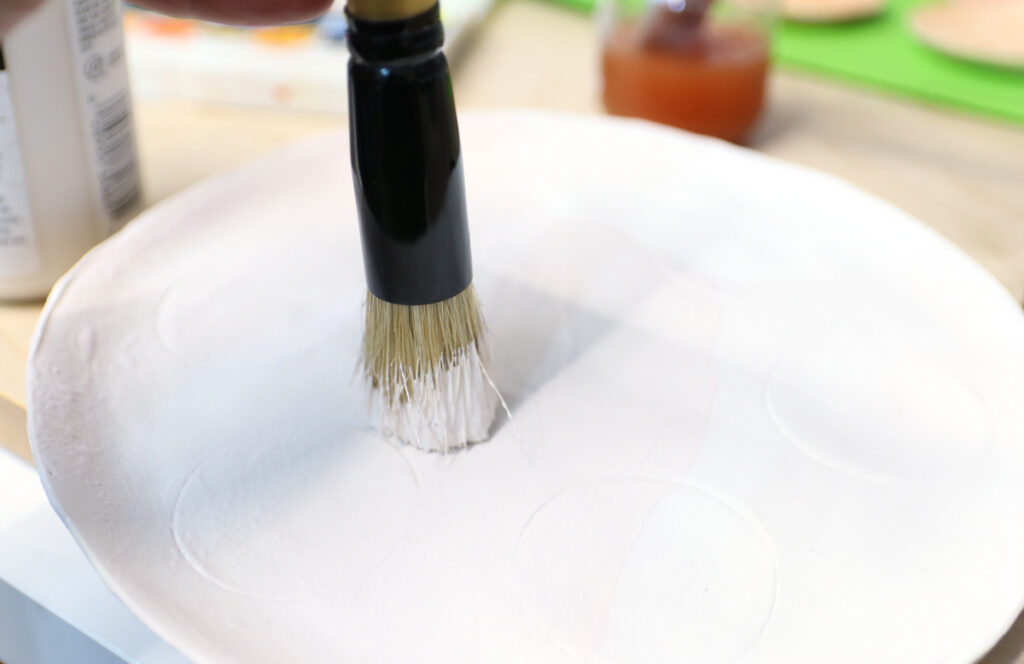
I painted mine with watercolors, a process that actually sets the air drying time back because of how wet it is. However, it pools beautifully in the marks left by the texture sheet, really highlighting the design. It can also be painted with acrylics (as I did with the base plate) or tinted before crafting using paints or dyes (but those tend to stain hands while working.
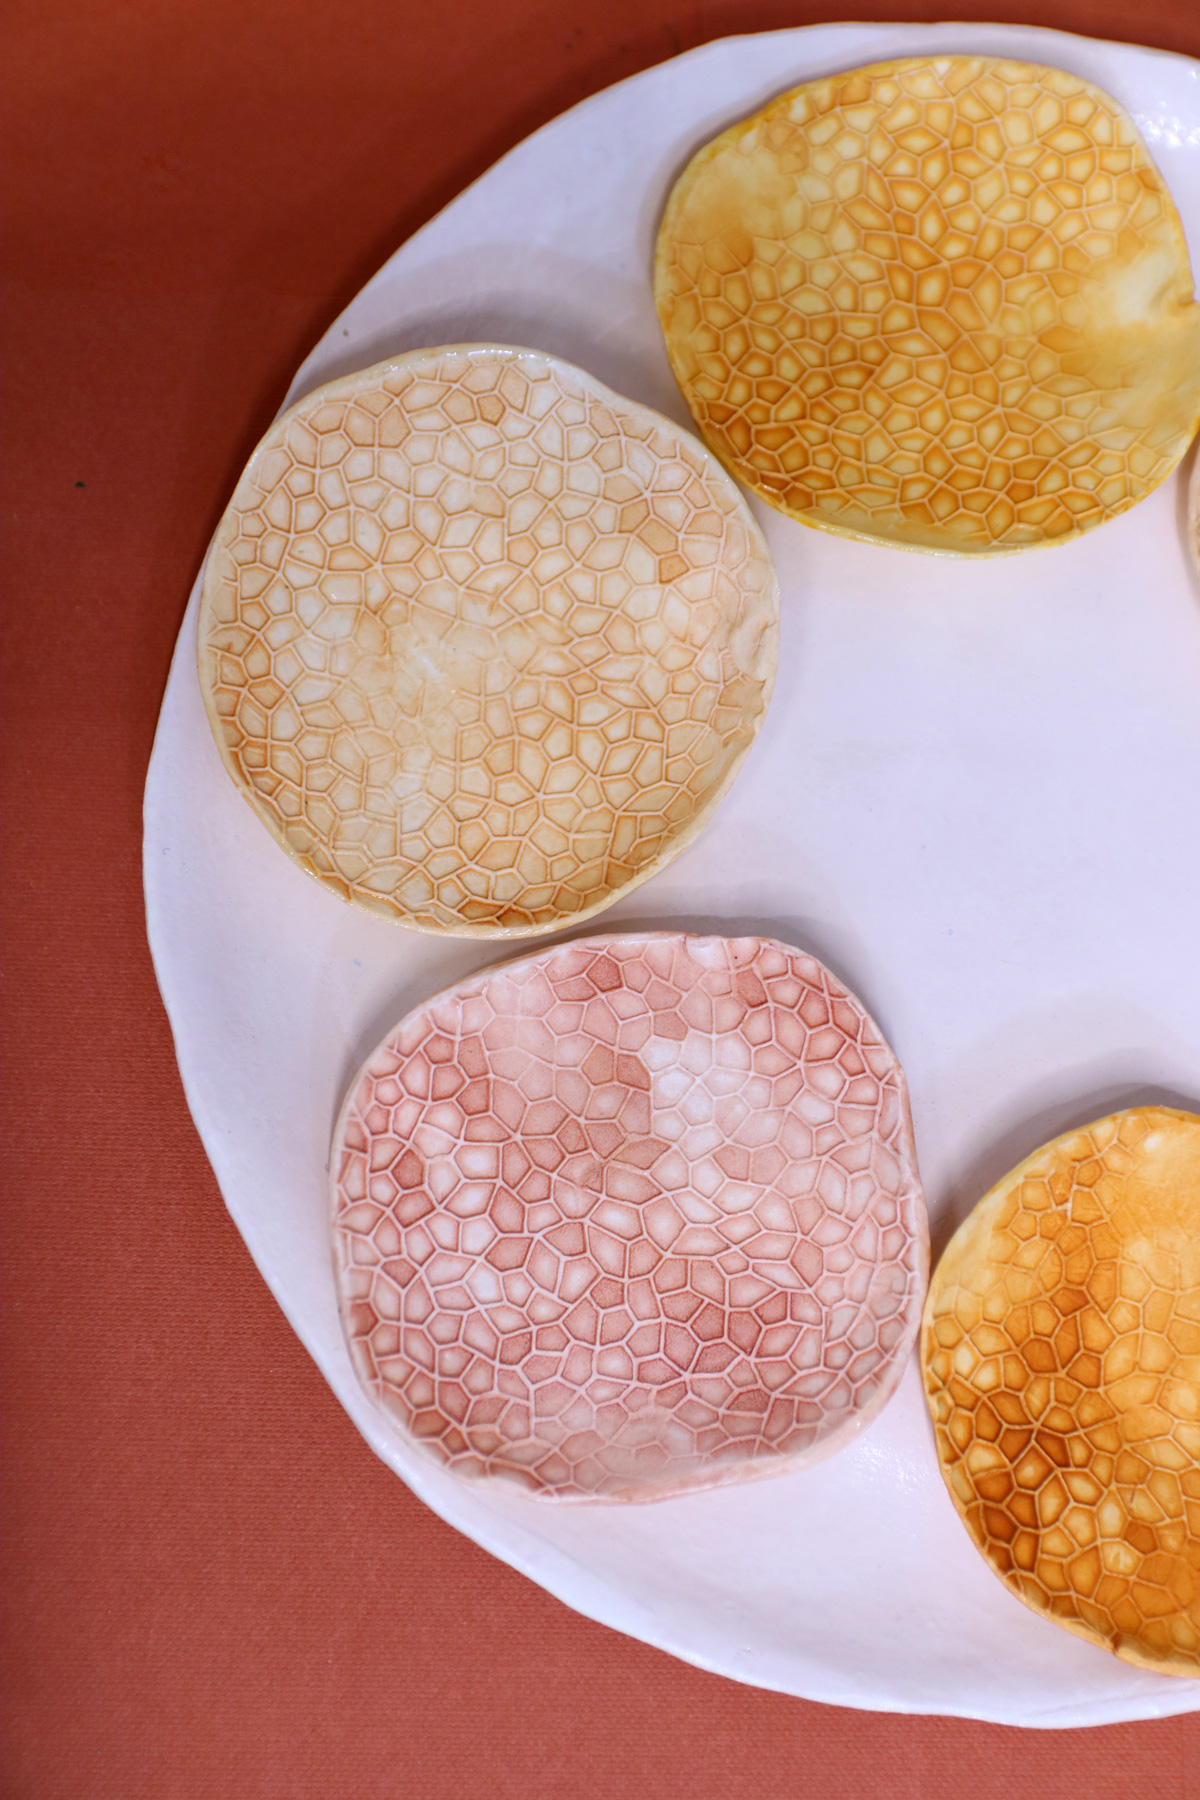
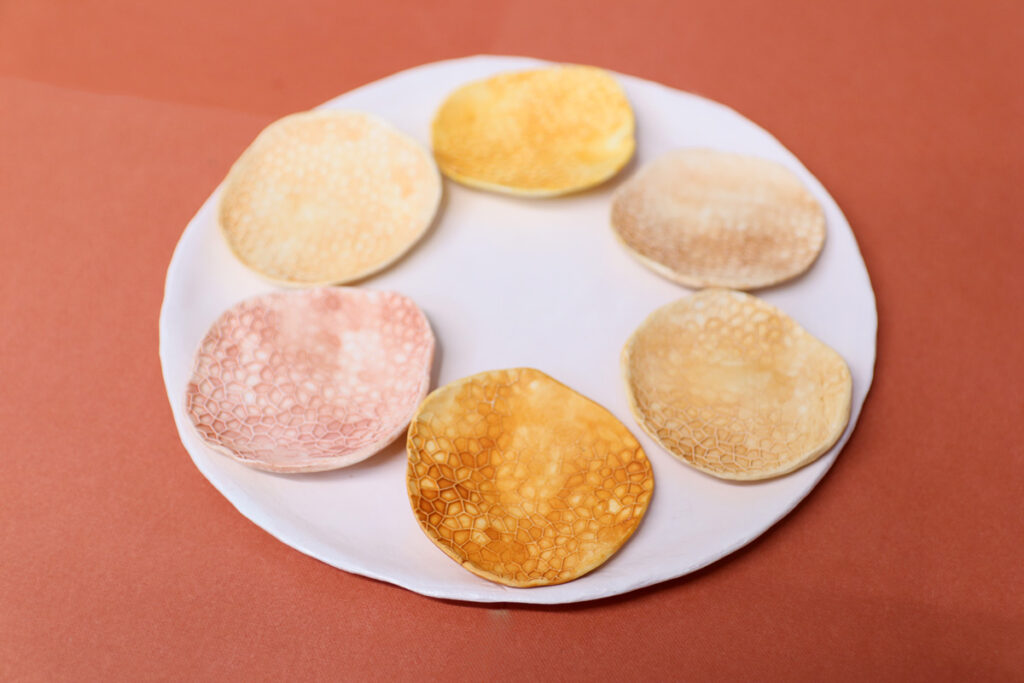
I chose to leave it modern and simple, but you can also letter or paint on images of the items on the plate, or their names, using acrylic paints or paint markers. You can even etch in designs with clay tools!
Finishing things off
As I mentioned, I kept mine modular, so that it’s easier to store. That means that I didn’t connect the bowls, but I did create small indentations where they belong. You can glue yours on after all parts are created but not sealed, or while crafting.
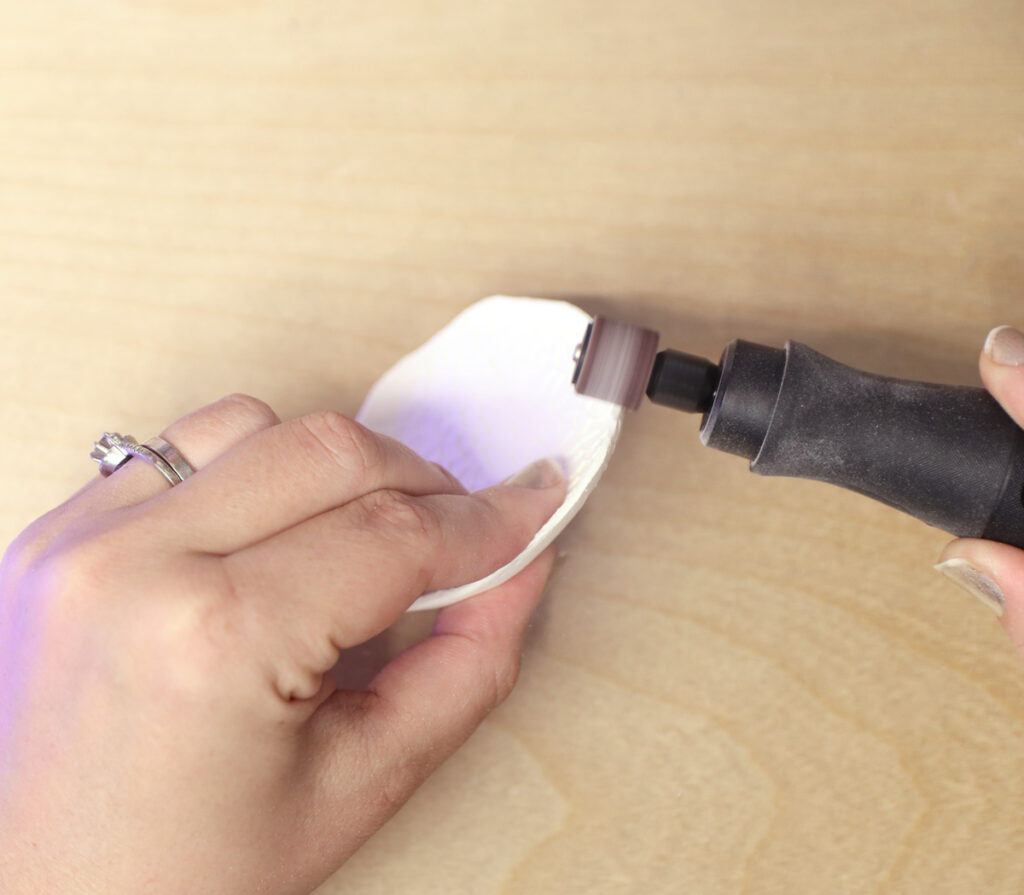
To clean things up, I geared up with a respirator mask and goggles, and used a rotary tool with a sanding drum attached (I love my Worx MakerX) to really clean up the shame. I DID leave it organic and imperfect, but I got rid of any roughness on the edges. If you like to create pretty clay creations, I highly recommend you invest in one to clean up your work!
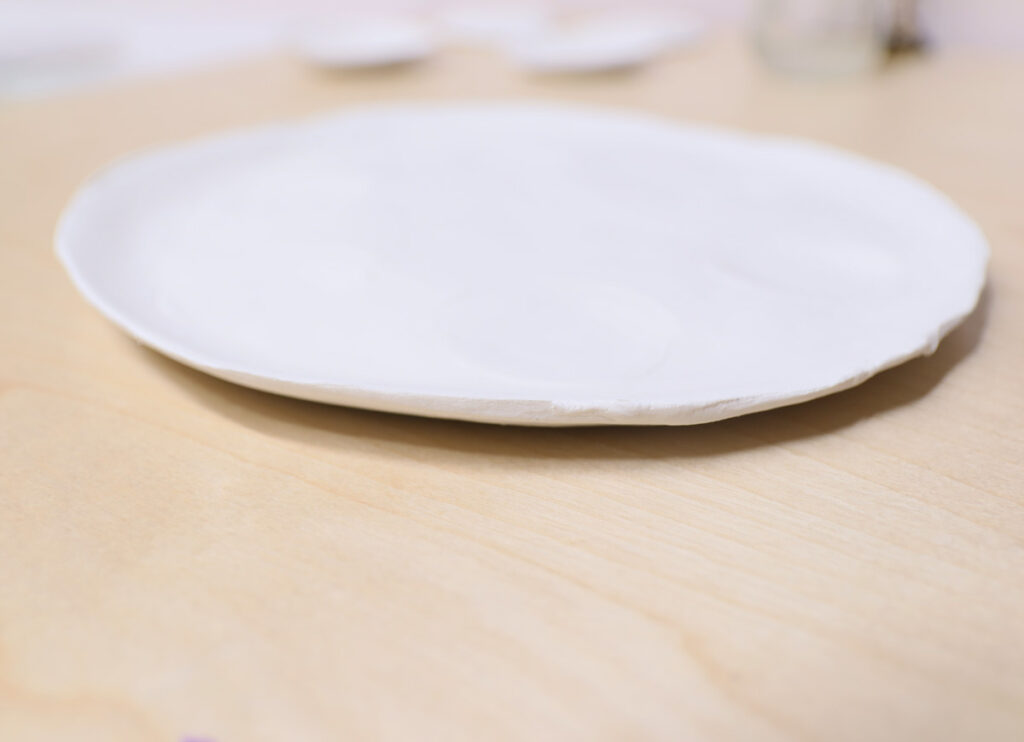
Sealing it
And finally, I started off by sealing it using an acrylic sealing spray. I figured it’ll just be wipe-clean and that’s fine – it doesn’t get heavily used, I can use a bit of plastic wrap underneath, and I don’t have a Passover dishwasher anyway. then, I decided to make it fully washable by sealing it with dishwasher safe Mod Podge. I still don’t have a Passover dishwasher, but at least it makes it sink washing-friendly.
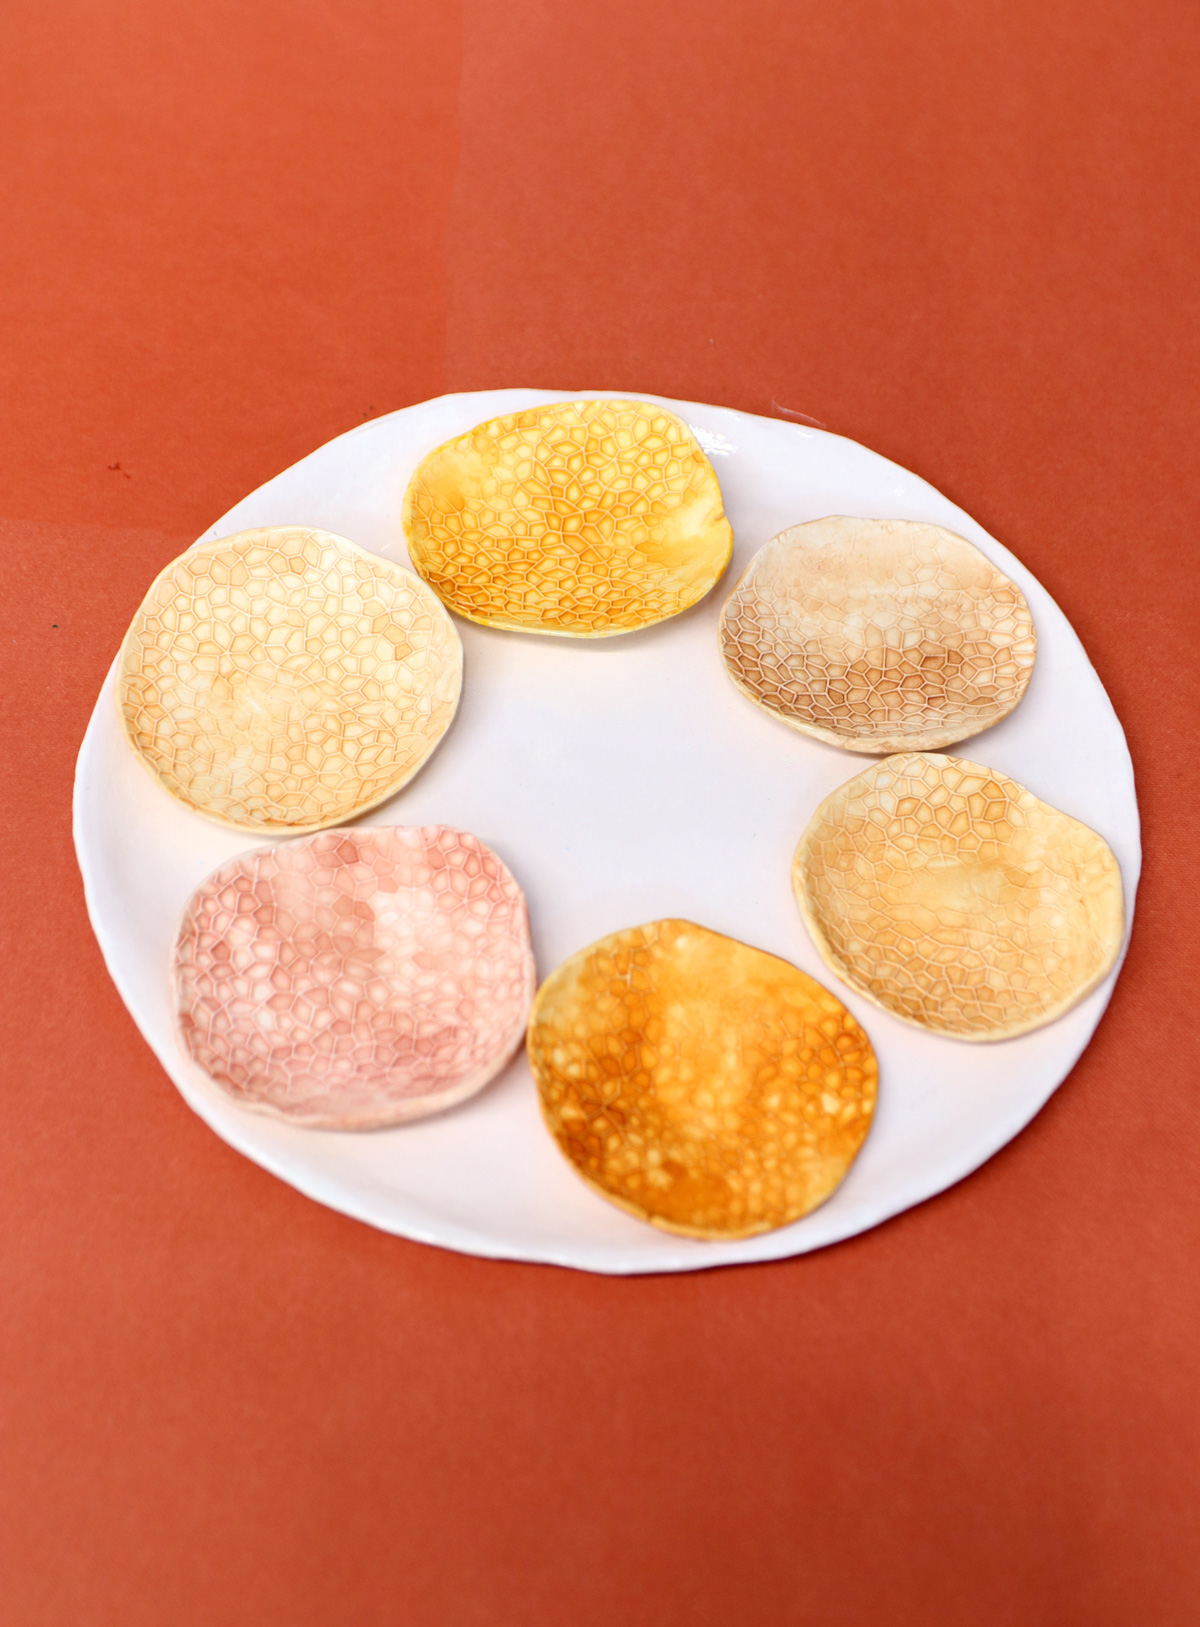
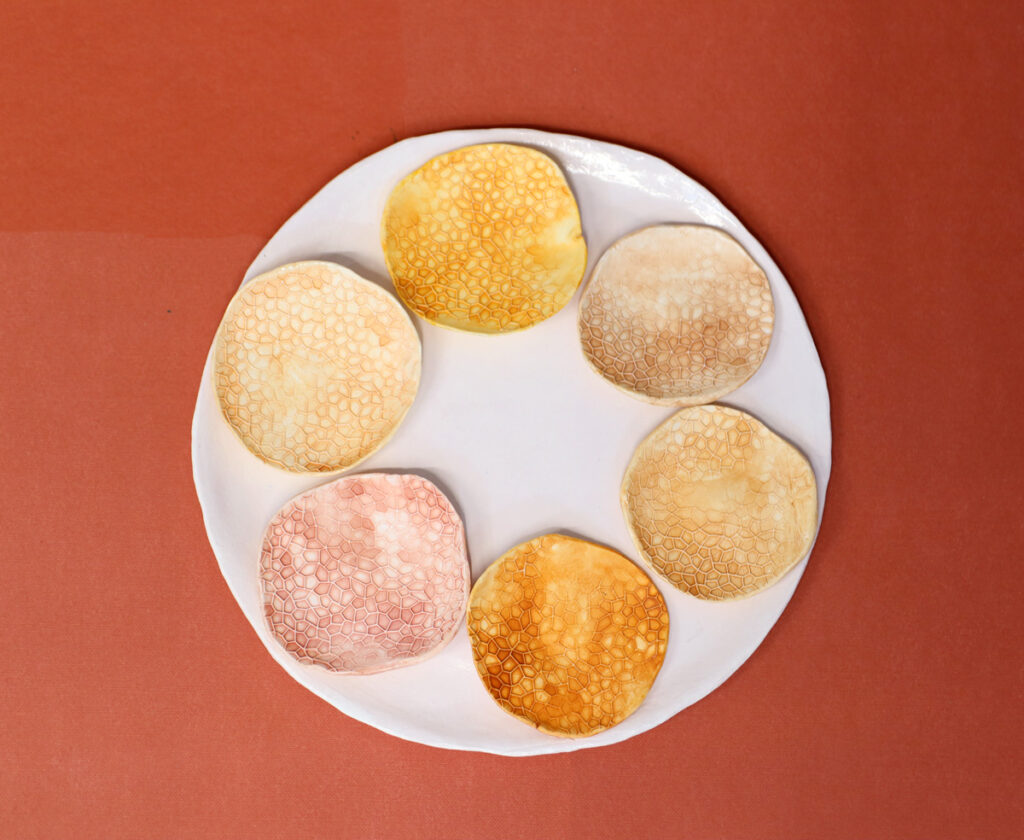
Heads up: Dishwasher safe mod podge takes about a month to fully cure (it dries in a few hours), so if you’re crafting this closer to, stick to wiping it clean until next year.
Making a clay seder plate with kids
My original idea was for this to be a kid-friendly craft, but then I ended up crafting it “for real” and professionalizing it for my own fun. However, it still is – it just won’t come out quite as nice.
And making a DIY seder plate from air dry clay is a super fun craft for teens to create for Pesach!
Young kids can simply roll out a circle, pinch it into shape, and press in six sections using a small bowl. They’ll probably roll it out thicker to begin with, making it easier to create small wells for the foods. You can also cut circles for them to trace to press it in, or even create a full template with circles cut out
Younger kids are best off painting theirs using washable paints.
The ability to REALLY use the DIY seder plate is based on the finishes used. This gets more complicated if you’re crafting with younger kids, requiring a grown-up to potentially finish it off. Acrylic spray moves much faster, but also isn’t quite as good as a real glaze or Dishwasher Safe Mod Podge.
How to make a DIY seder plate
Materials
Basics
- Air dry clay: I used Sculpey Air-Dry – about half a package worth. It’s a clay that I like in general – it’s light and airy, and it dries very lightweight. I haven’t fully tested it against other clays for this project. Crayola air dry I’m sure would work as well, I do, however, find that it’s a bit more dense (and possibly more brittle when dry).
- A rolling pin – clay will pick up on the texture, so if you want it glossy, use something smooth, if you want it to be matte, wood works.
- Something to protect your surface (such as parchment paper).
- Craft knife
- Plate to use as a mold
- Bowls to use as molds (ideally six) – should be small enough to fit six in a circle or five in a circle with one in the center on your base plate (you’re only using the bottom 1/2-1 inch of it so if it spreads out a lot, you can measure from that point.) I used 4 oz dip bowls from Dollar Tree.
- Jar or cup with water
- Optional: rotary tool with sanding drum, protective goggles, and respirator mask
- Clear coat or varnish (such as Dishwasher Safe Mod Podge)
Decorating it
This is listed separately because it’s all really optional/variable
Process
1. Pull off a nice chunk of clay (more is better – it’s hard to add on if you don’t take enough to begin with.) It shouldn’t need much conditioning, but you can definitely do a little to soften it.
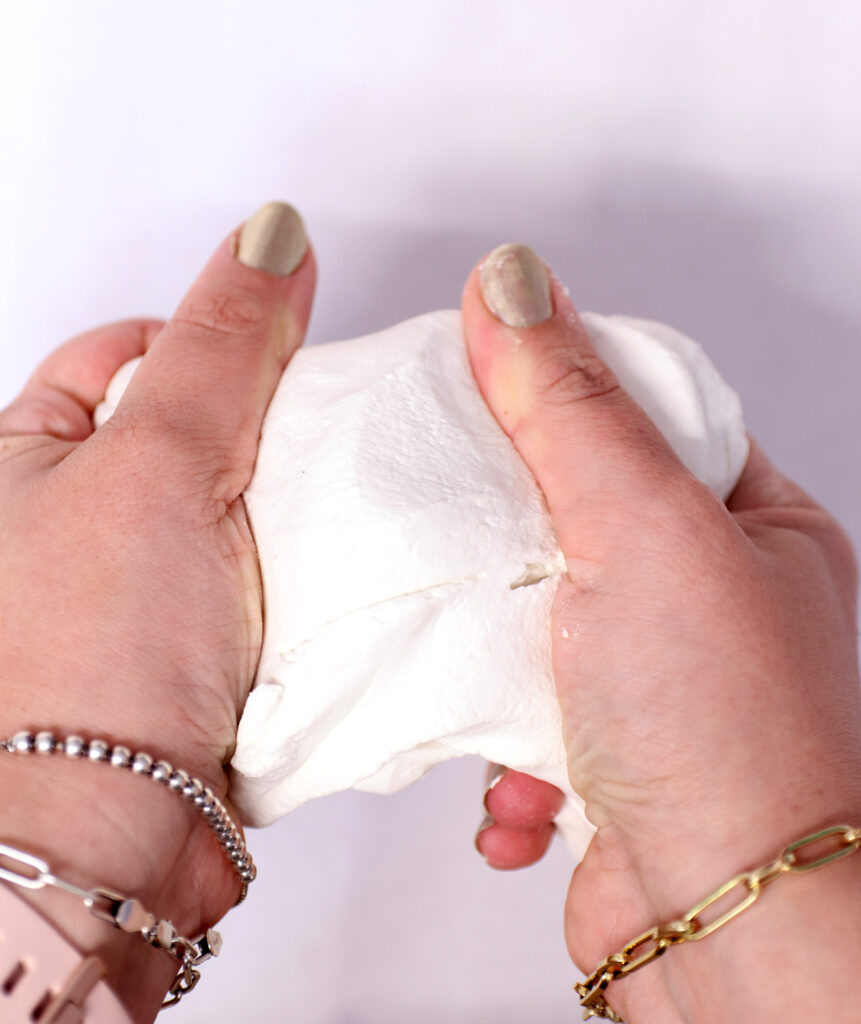
2. Press it down on a protected flat surface (you can use wax paper or freezer paper if you’d like).
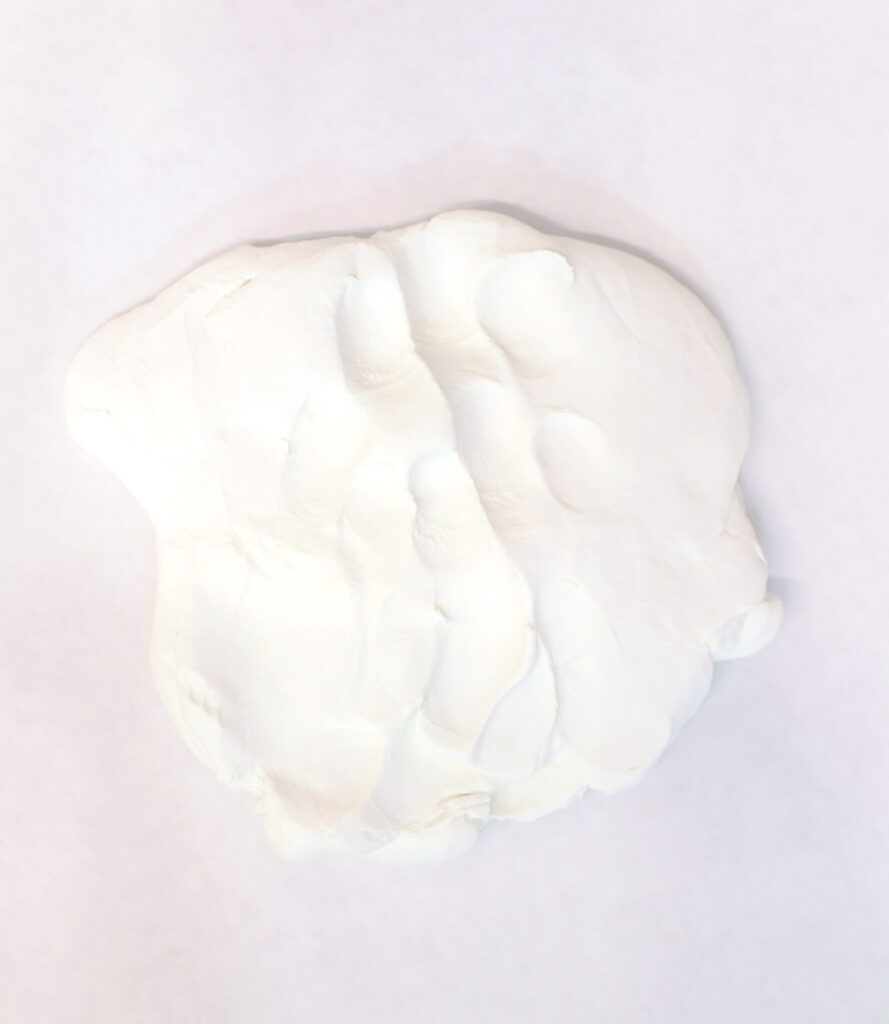
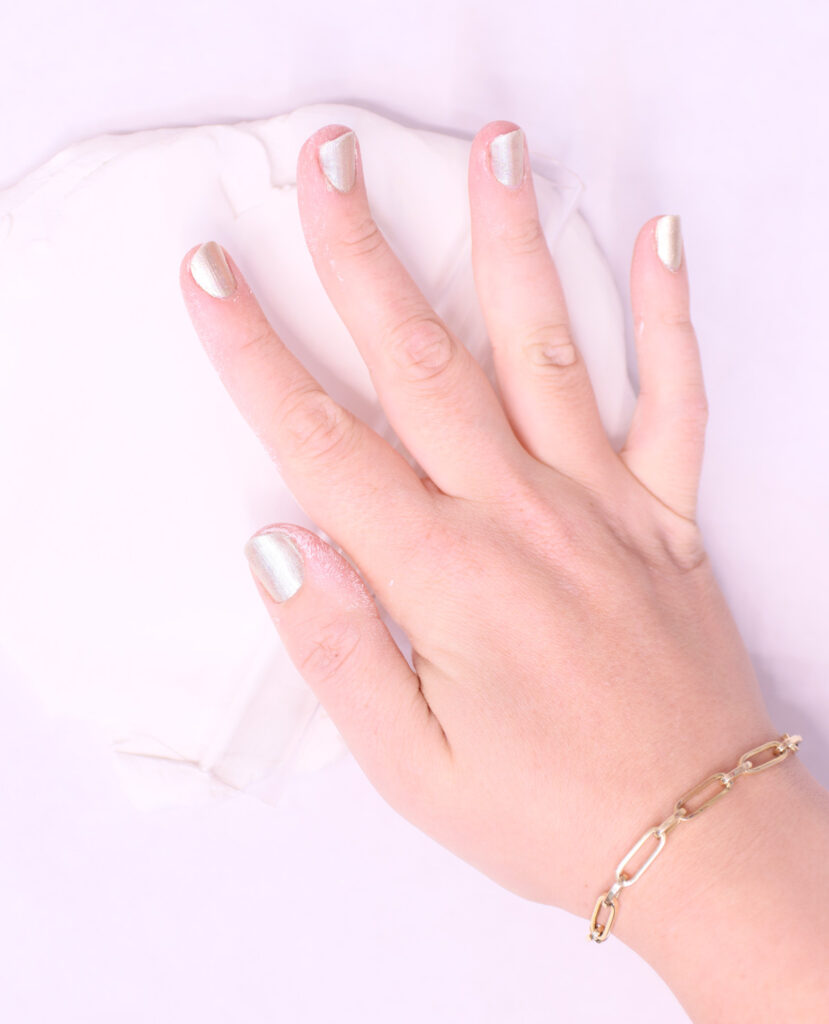
3. Roll it out using a rolling pin. I used my acrylic clay roller however, it was a bit tough to do since it is so small! You might want to spring for a full sized one for clay crafting purposes.
Roll it to about 1/4 inch thick so it’s not too brittle, but also not too thick.
4. Trace a plate that you’ll be using as a mold and use a craft knife to cut around it.
5. Dip your fingers in water and smooth out the edges.
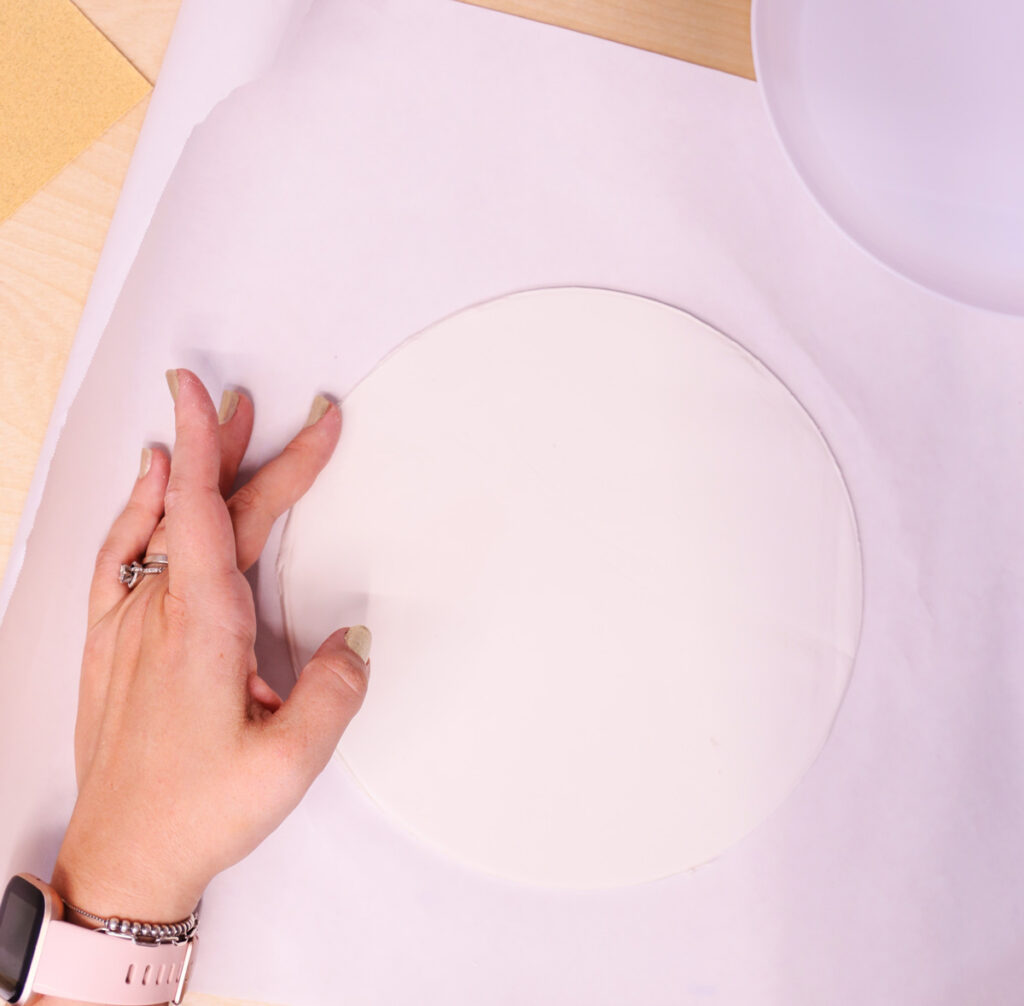
6. Place the whole shebang on the plate, allowing it to dip into the curve of the plate.
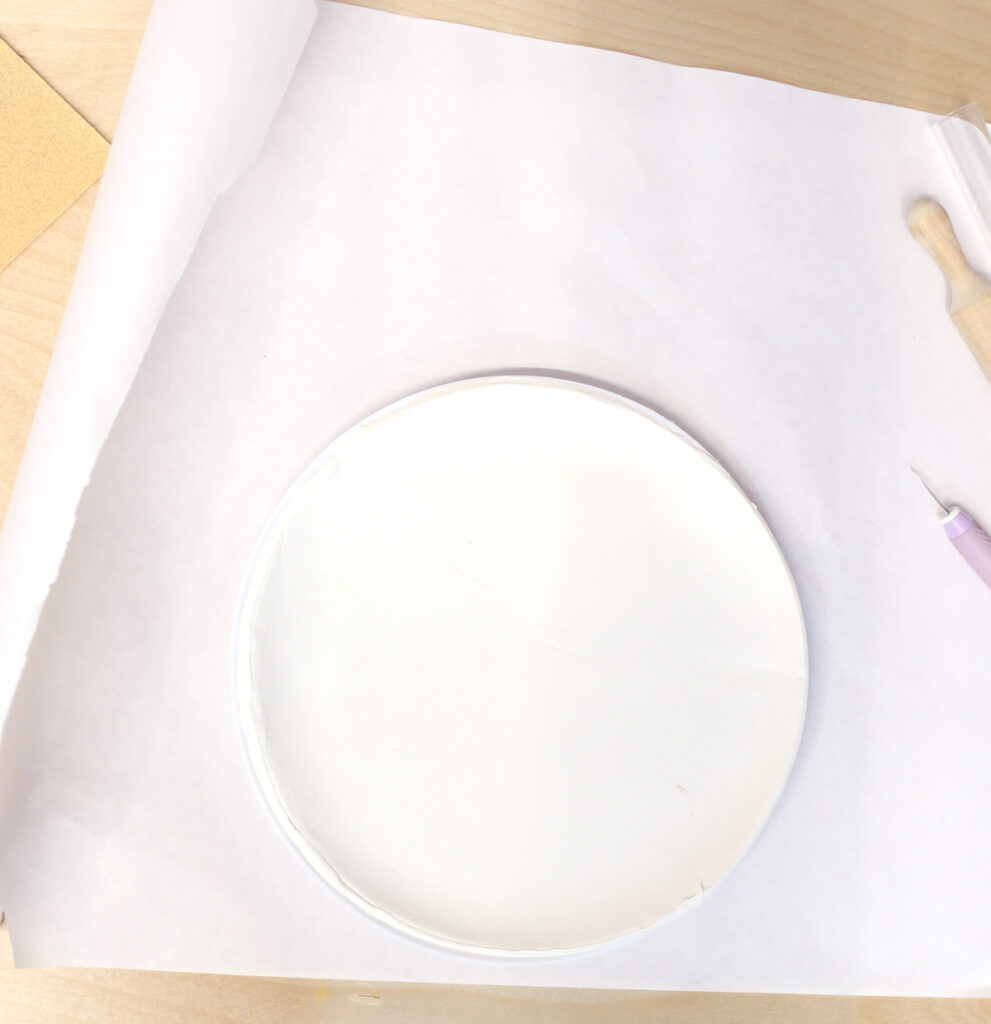
7. Smooth out any imperfections, and help mold the clay to the plate by dipping your fingers in water and smoothing it out. Don’t use too much – just dip your fingers and work.
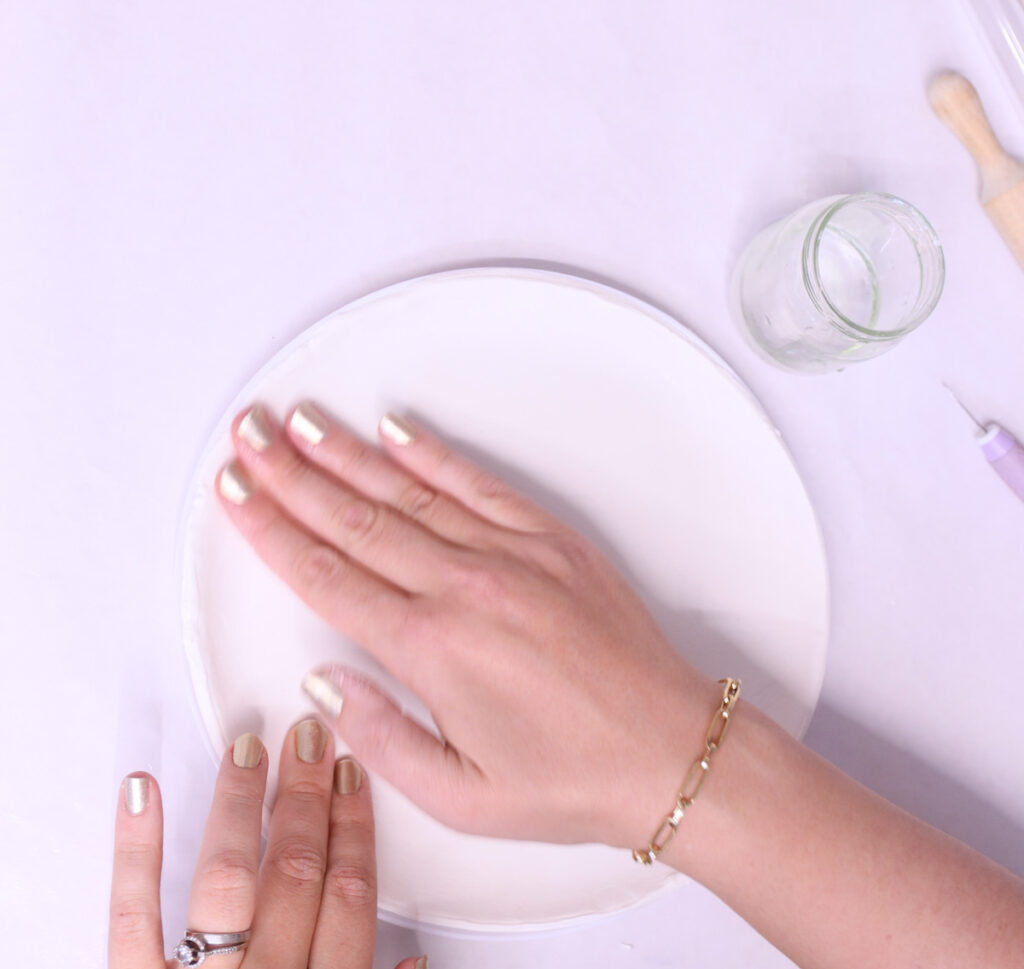
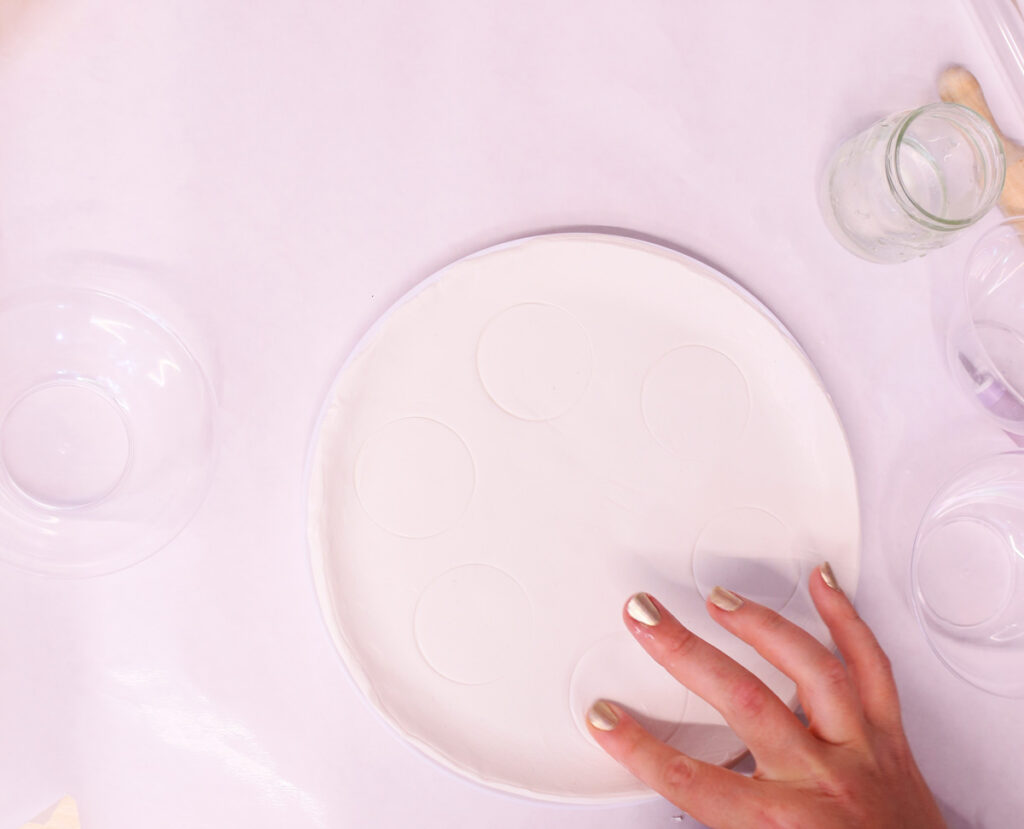
8. Use condiment or dessert-sized bowls to mark the placement of your seder plate bowls. Press them in a little in place to make a mark.
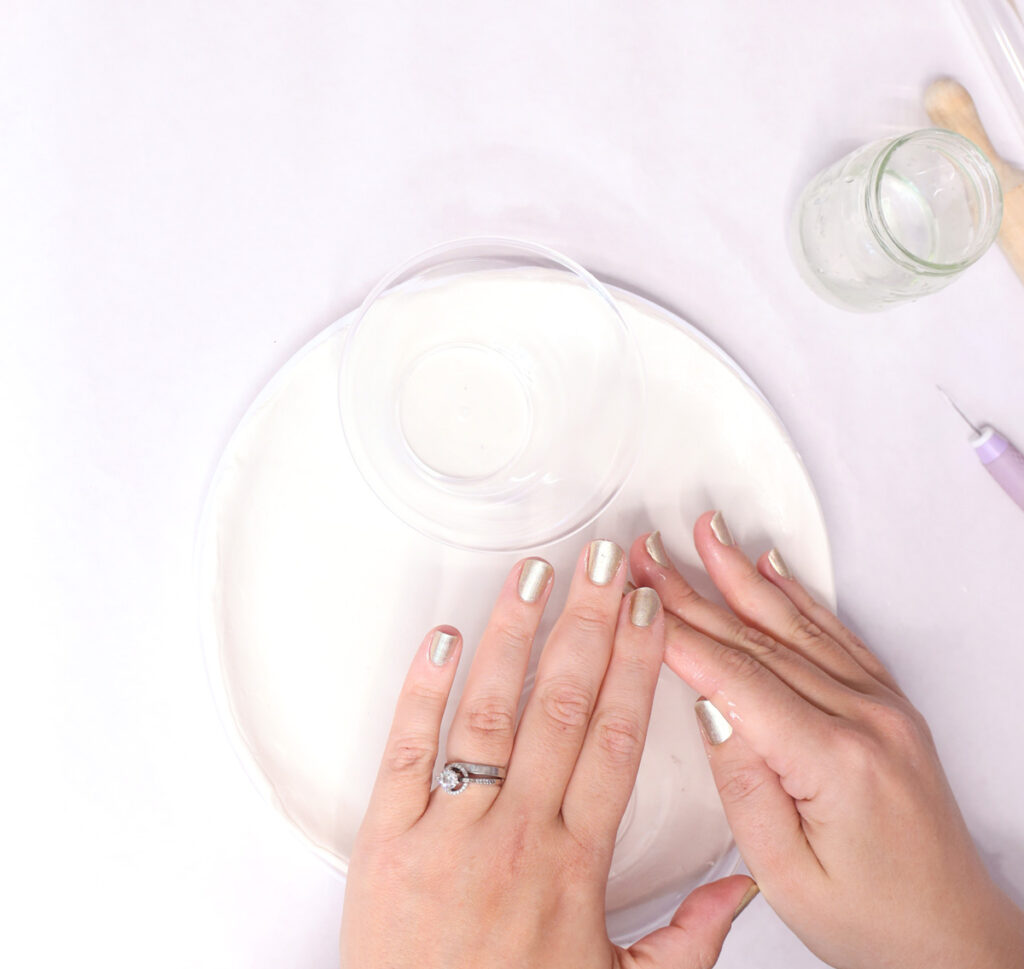
You should have six marks, roughly equally spaced, in a circle.
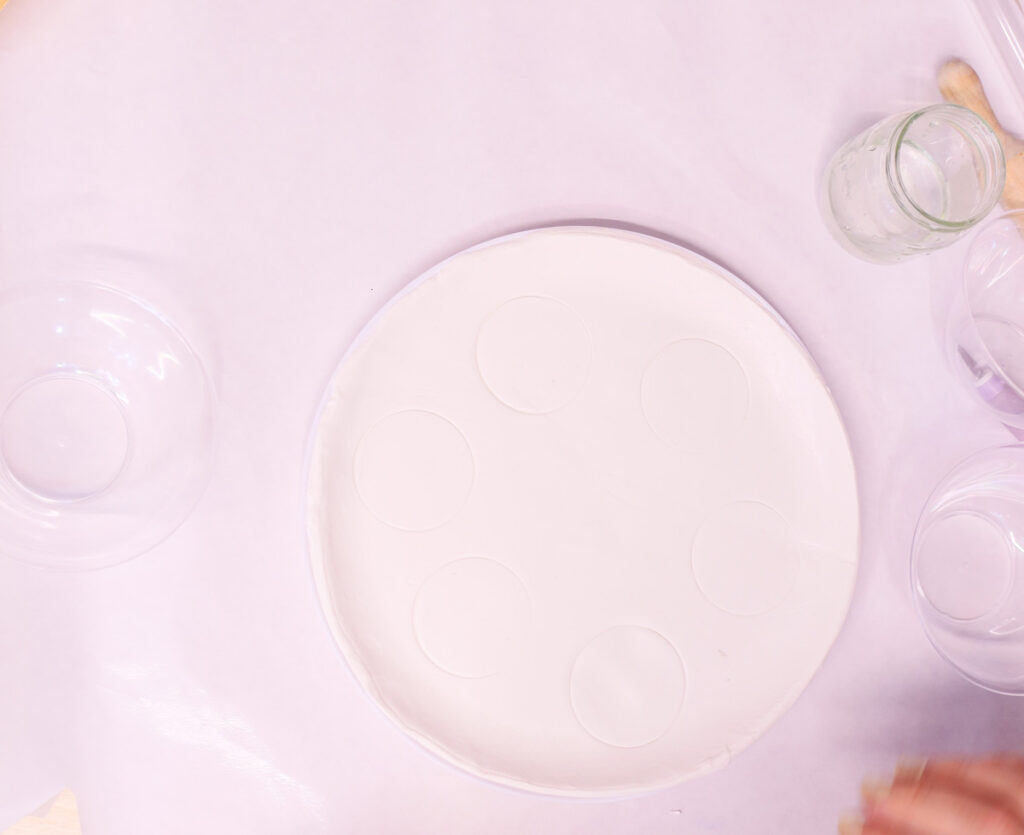
9. One again, dip your fingers, smooth, and indent to create very subtle wells for the bowls.
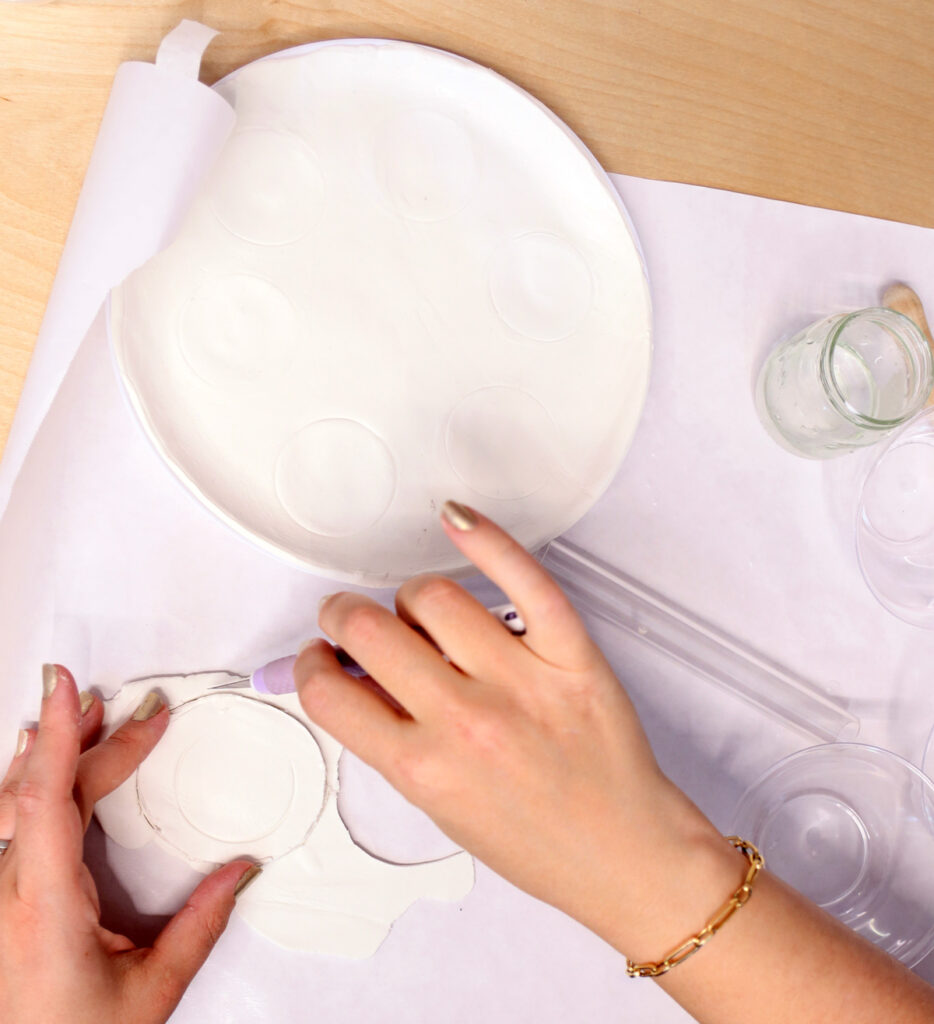
10. Roll our more clay (or use the scraps from the first batch if you have them.) Measure the base of the bowl, plus about 1/2 inch around. Cut out that circle. Repeat for six bowls.
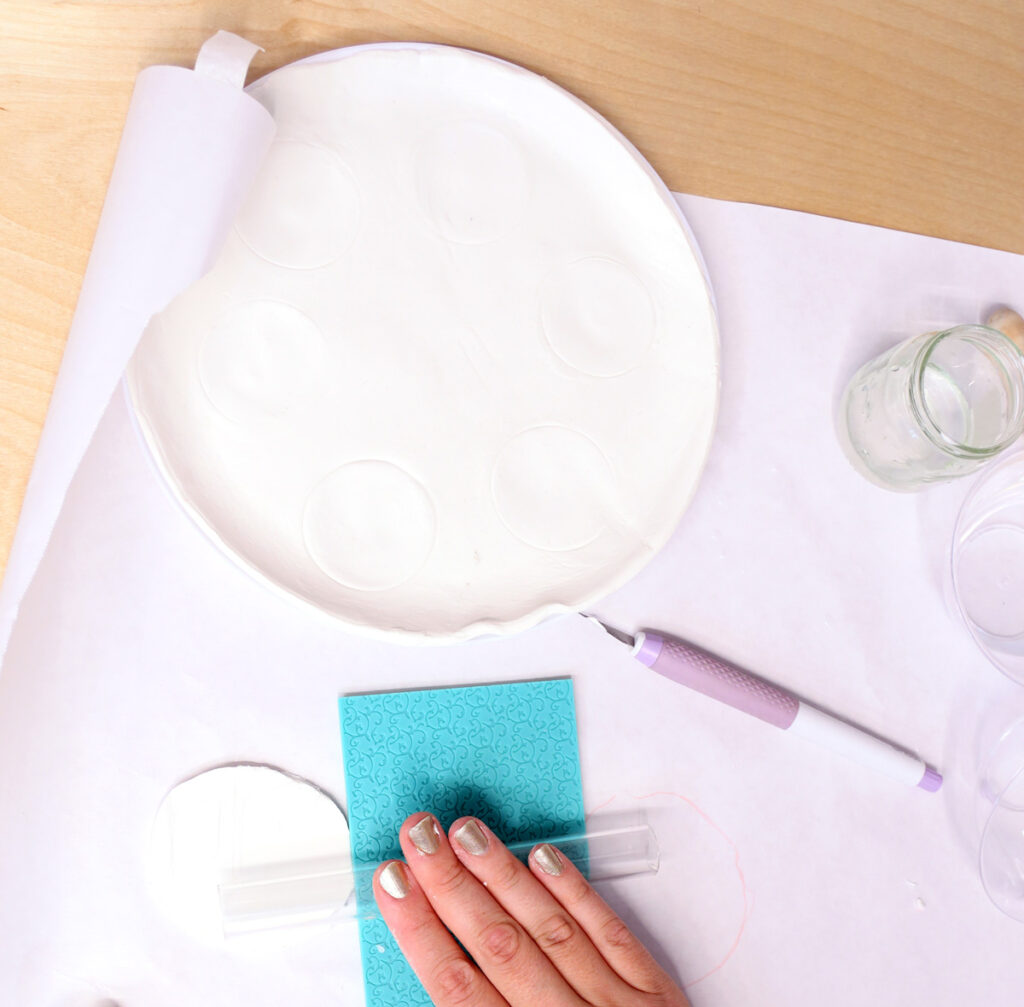
11. If you’re adding texture, place the texture plate on top of the circle, and roll, applying even pressure. Roll equal amounts of times in each direction, since it’ll slightly expand your circle, and you want it to stay more or less circular.
12. Place each small circle in a bowl, gently pressing, while being careful not to ruin the design
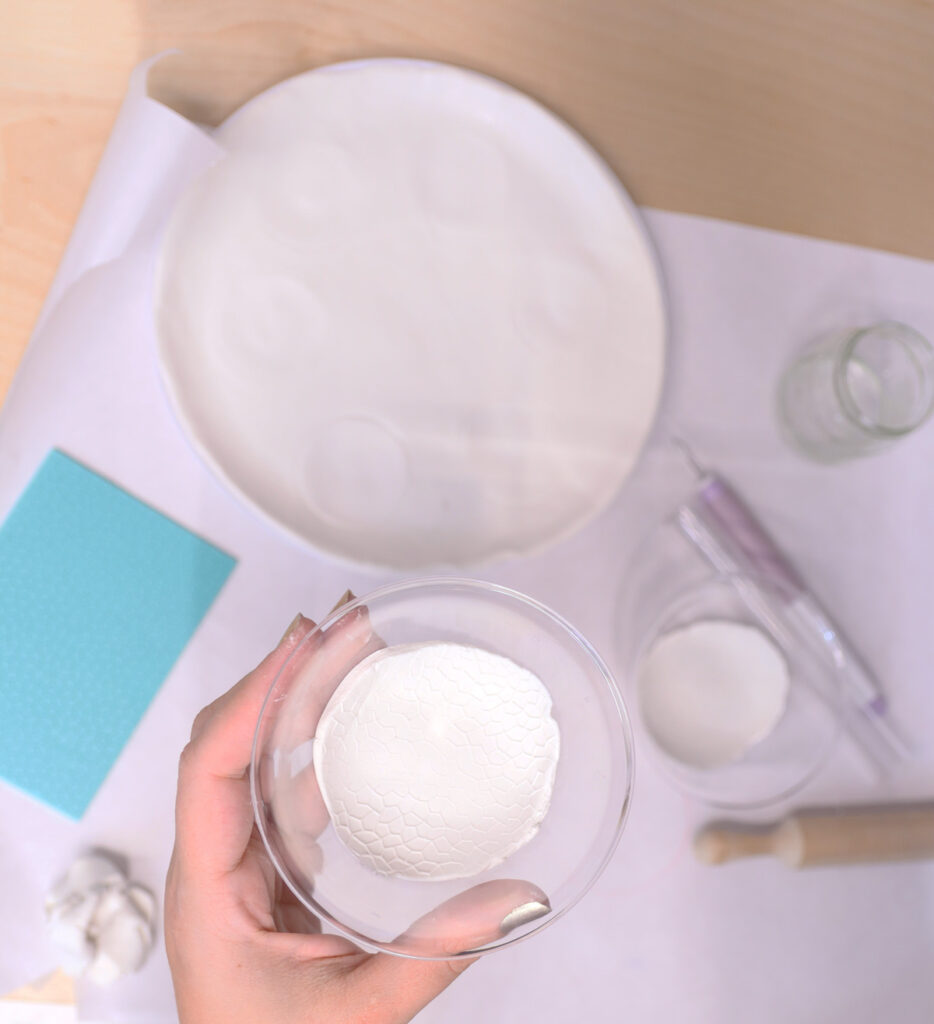
13. Allow your bowls and plate to cure overnight. If it feels like it’s holding its shape, you can demold and allow a few more days for it to fully cure. The plate needed two days before demolding.
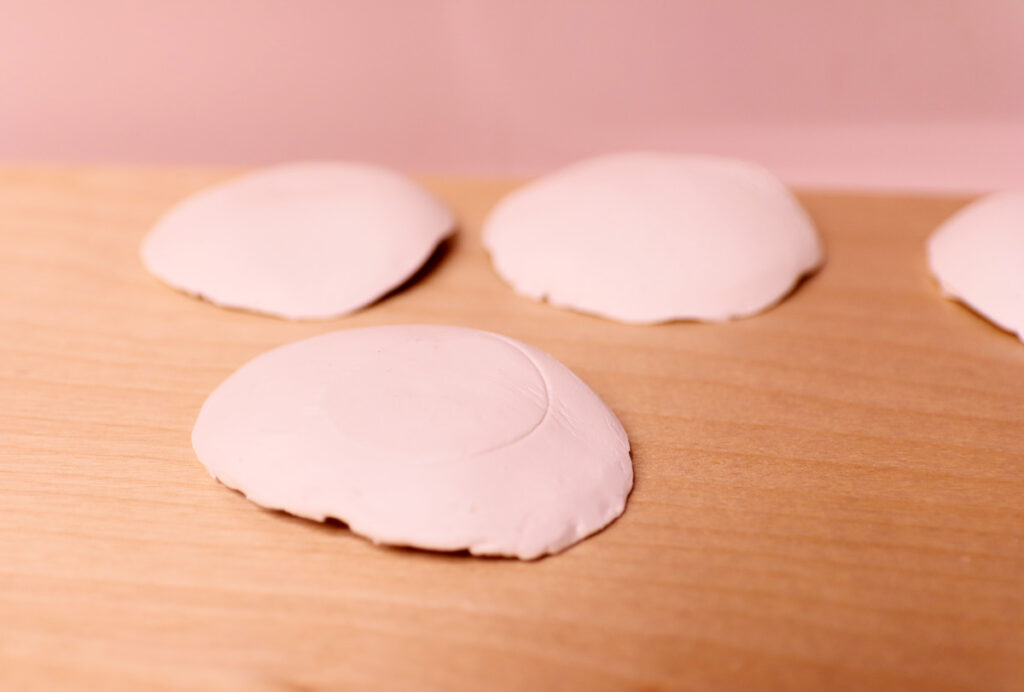
14. Once it’s completely dry, you can sand and round off the edges (optional).
15. Once it’s completely dry, you can paint your design! I used a thin wash of watercolors in earthy tones.
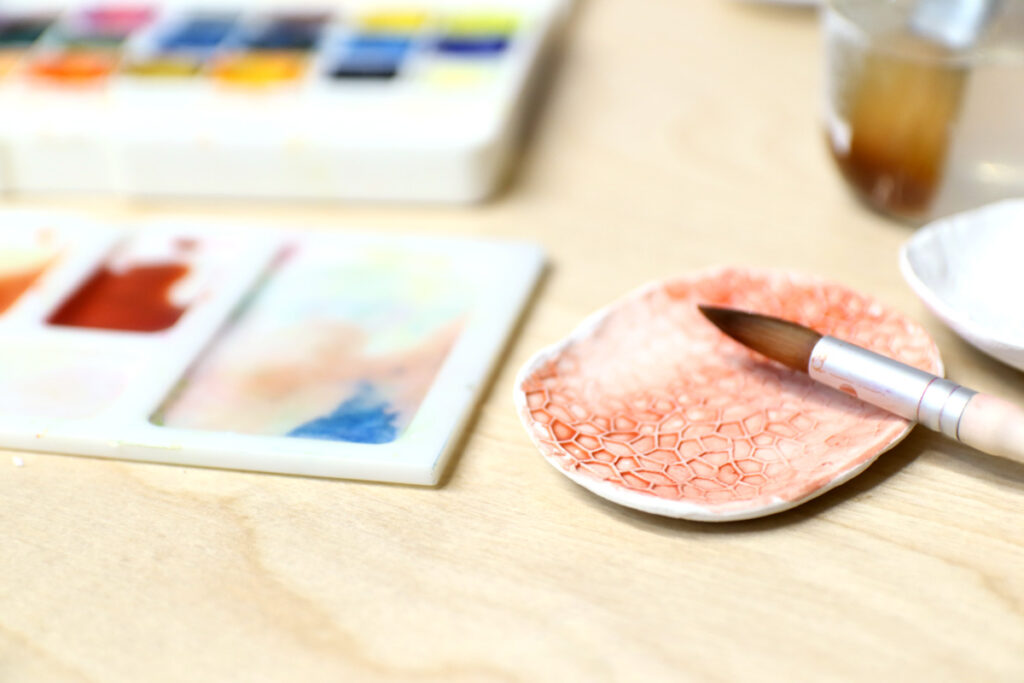
On the plate, I used ivory paint, applied with a texture brush.
16. When your DIY seder plate has completely dried, you can seal it. I did a layer of clear coat acrylic and then two layers of dishwasher safe Mod Podge.
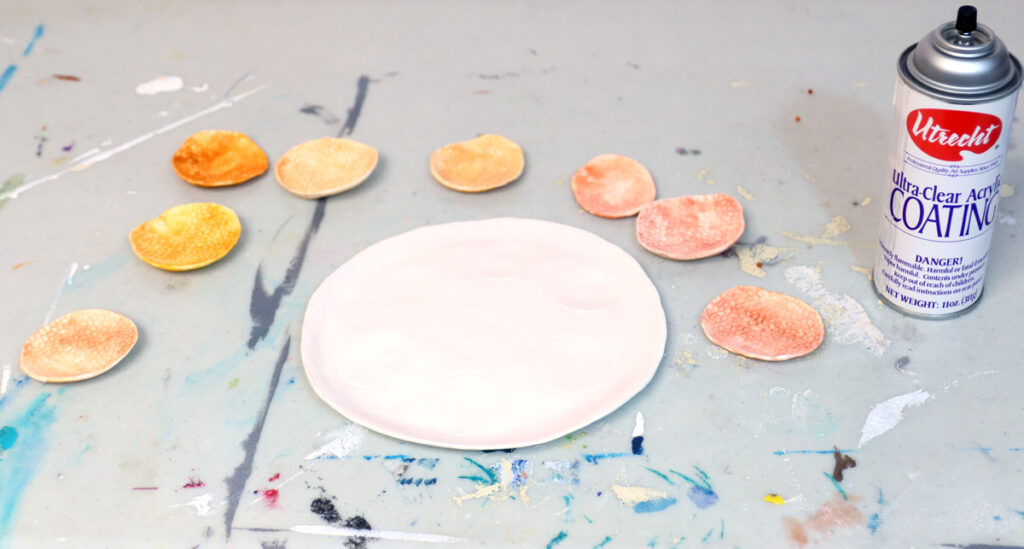
Enjoy seeing your beautiful DIY seder plate on your holiday table!
