How to tone a wig – make it less brassy and orange!
Last week I shared with you my Amazon wigs review and told you that while I do love it, it came out a bit brassy for my taste and it needed to be fixed. This week, I’m going to share with you how to tone a wig so that it’s less brassy and orange. Disclosure: this post contains commissioned links.
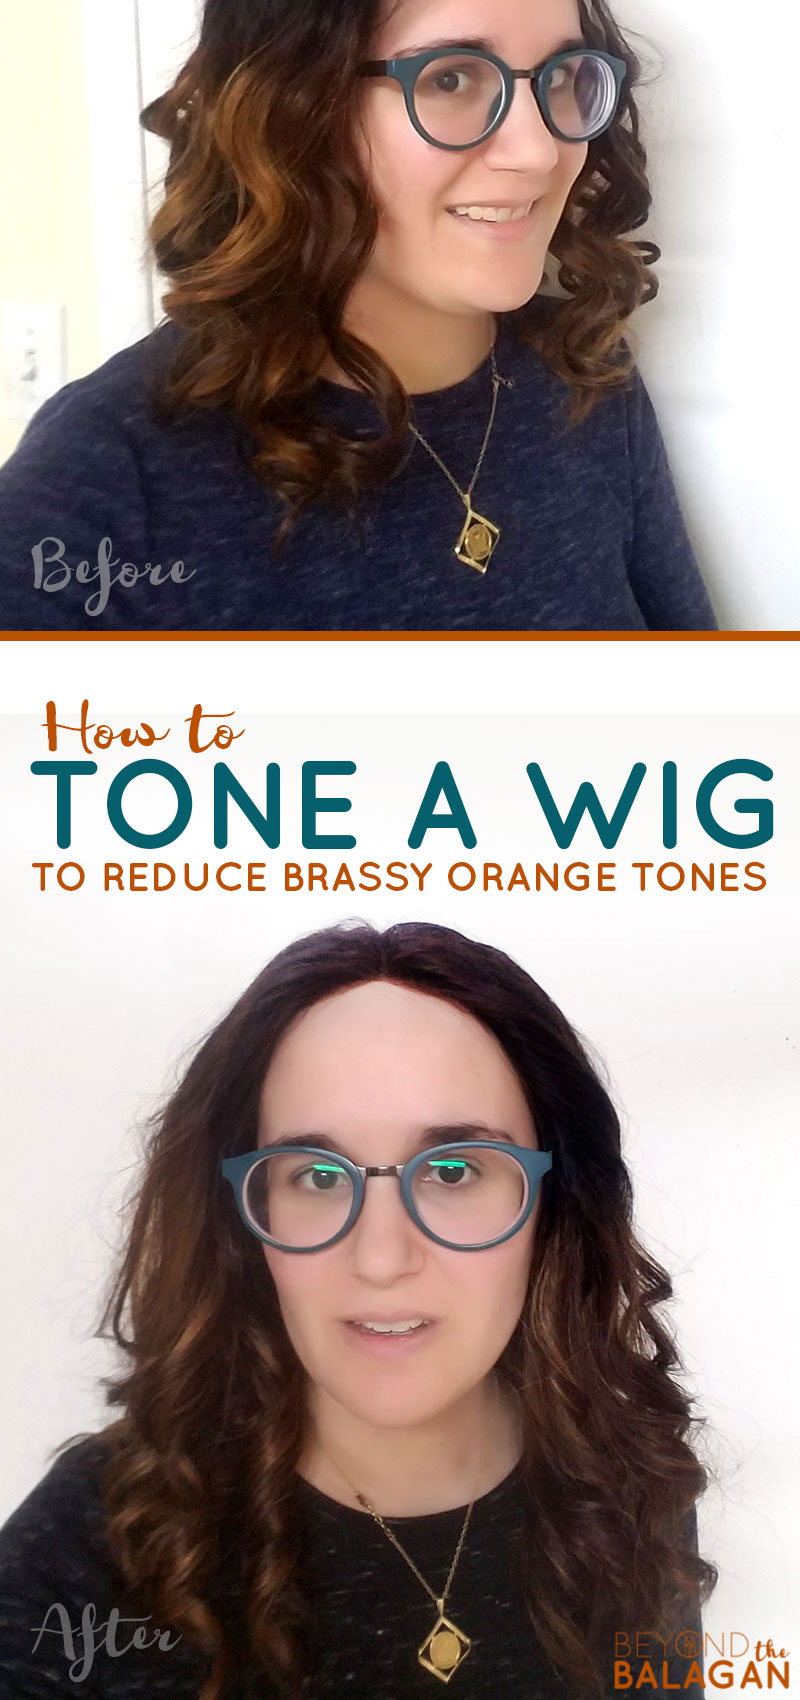
So you bought or highlighted a wig and it looks… flaming orange!
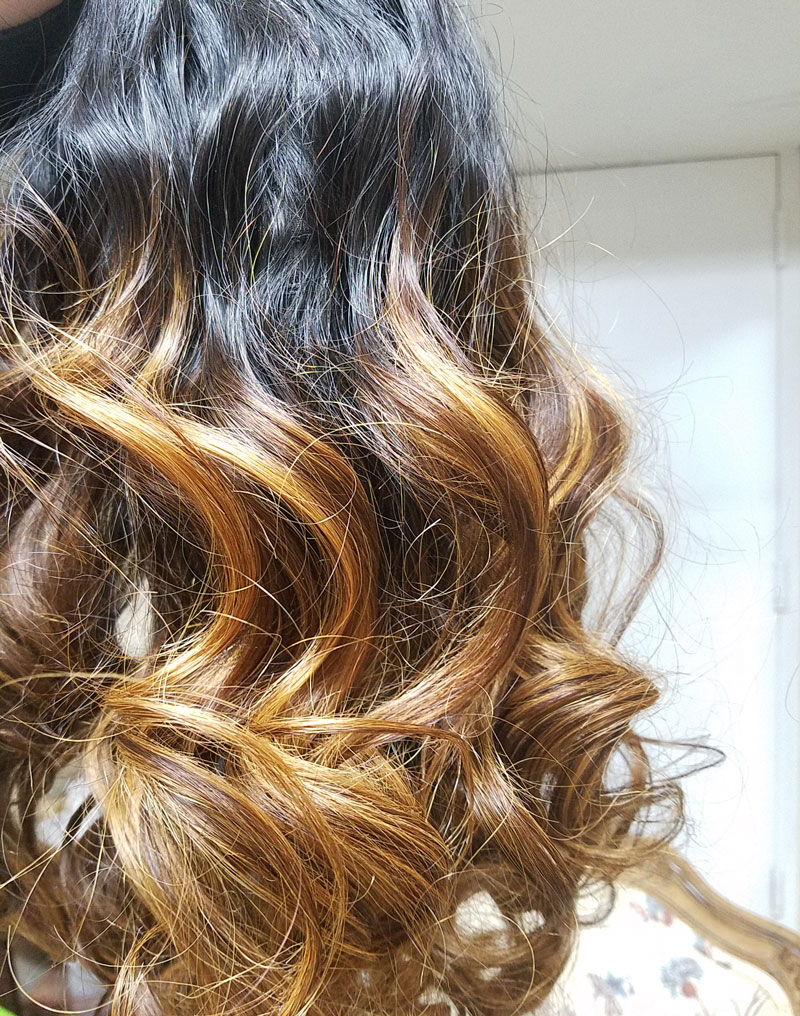
If you understand color theory, you’ll know that the way to dull a color is to mix it with a complementary color on the color wheel. So if you mix orange and blue you get… brown.
You’re not exactly going to be making brown here, but you’ll be dulling your color so that it’s not as bright and fake. As you can see in my before and after photos, the color is still quite there, the ombre is still full of character, and I am still obsessed with my wig.
Before:

After

In some lights it still shows up quite orange but much better than before!
Before I begin sharing with you how to tone a wig, I need to disclose the following:
- I am not a professional stylist. I simply followed package instructions, experimented a bit, and came up with this.
- In my case, there was low risk in doing it myself. If you can afford it or are working with a pricier wig, you may want to take it to a hairstylist.
- I was “playing it safe” and doing it a bit less than I should have. I’m going to give you advice for supplies and instructions to it as I did it. If you’d like a stronger effect, you can use a stronger developer than I did, leave it in for the maximum time listed on the bottle instructions.
- I also did it all in one batch, which meant that I didn’t do as thorough a job as you might want to do. You can do it in sections and you’ll do a better job at it.
Whatever you do, one of the first things you need to know when learning how to tone a wig is that you always first do a “test run” on a small, inconspicuous piece of hair. Colors and effects vary so much, so try it out in a spot that it won’t matter first!
If you’re ready to give it a go on your own, here’s how to tone a wig!
What you need to tone a wig:
- Liquid Toner – I used Wella Color Charm T18
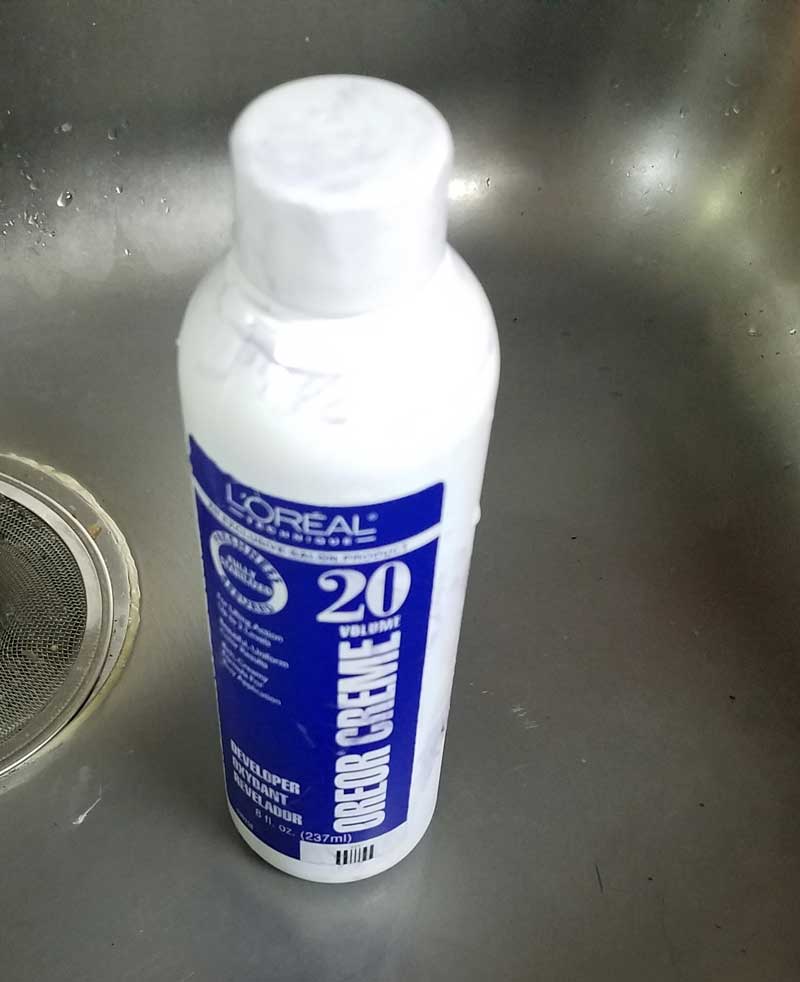
- Cream developer. I used 20 volume; if you want a stronger result, get a higher number
- Large butterfly clamps if you plan to tone your wig in sections.
- A fine tooth comb
- A bowl and spoon to mix it in – don’t use metal for this. Cheap plastic is perfect
- Something to protect your surface, such as a large garbage bag.
- Gloves to protect your hands.
For maintenance and to style it:
- Color balance blue shampoo
- Butterfly clamps if you didn’t already use it to tone your wig
- A cheap 1 inch flat iron
- Hair mask
- Recommended: a cork canvas wig head with clamp and t-pins to keep your wig steady and stable while styling
Note: I know that it can be depressing when you see the cost of supplies to care for your own wig. But keep in mind that a single wash and set (never mind toning, dying, etc) averages around $35 in most locations. Most of the supplies above will last you for a while – the only things that are single use are the toner and developer. You may need to shell out a bit for equipment initially but it pays for itself many times over.
[show_boutique_widget id=”723790″]
How to tone a wig, step-by-step:
1. Cover your surface and put on your gloves. Mix your dye with your developer according to package instructions. First, Follow these instructions on a small, discreet part of your wig before repeating it with the whole thing.
Place your developer mixed with dye all over your wig. Note: you can do this process on a wig head if you’d like (it might stain) but I just did it flat on the garbage bag.
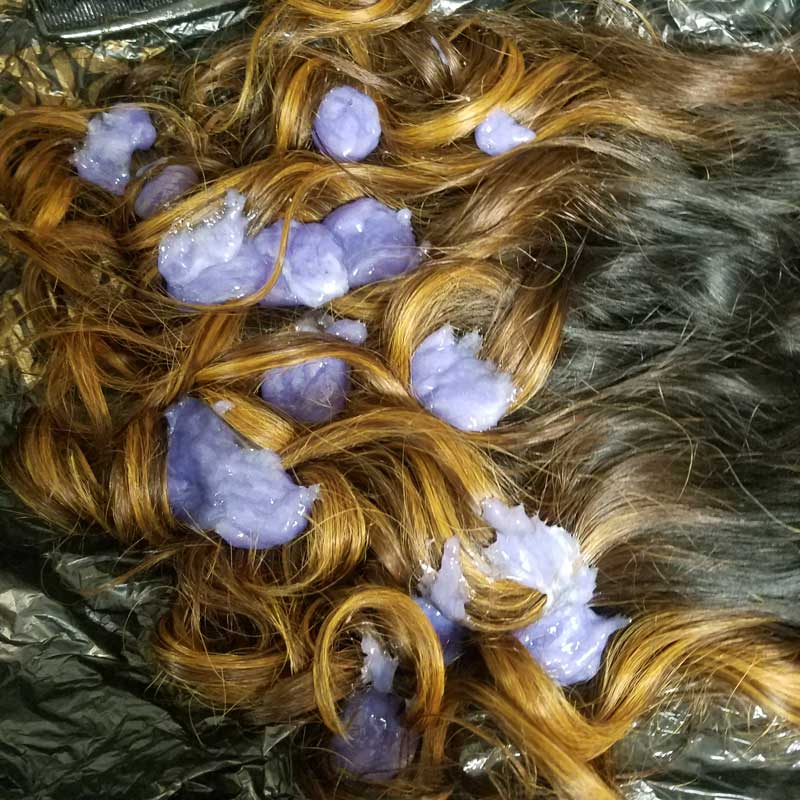
2. First, spread it through your wig using your (covered!!) hands.
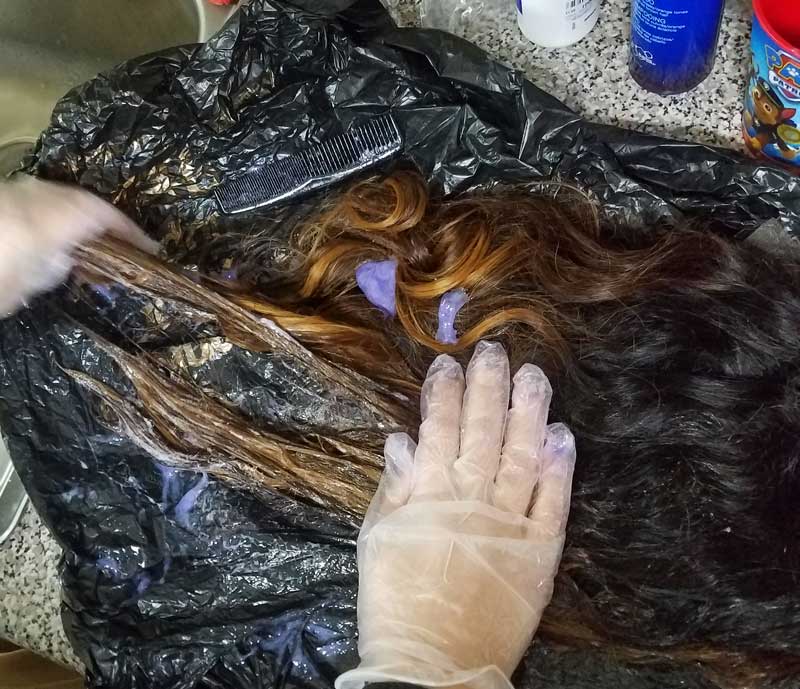
Comb it through your wig, making sure you get all your surfaces and hairs. I focused on the bottom part of the wig, where the ombre was since the top didn’t have any highlights and didn’t need to be toned.
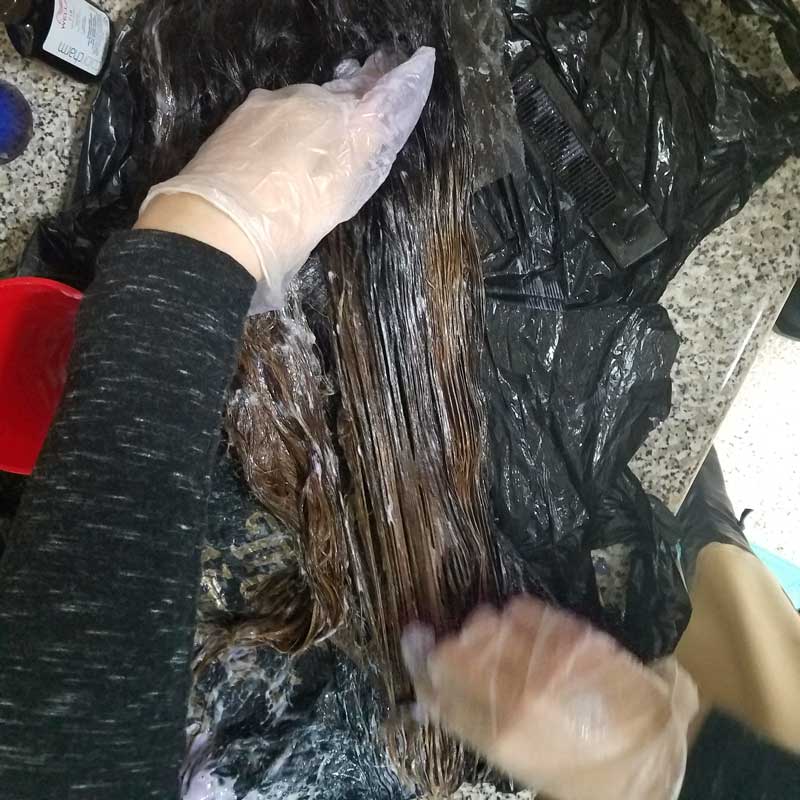
Let it sit according to package instruction and rinse it out when you’re done.
3. It’s now time to wash it! Using a blue-tinted shampoo is great for color maintenance. Gently massage your shampoo into the wig.
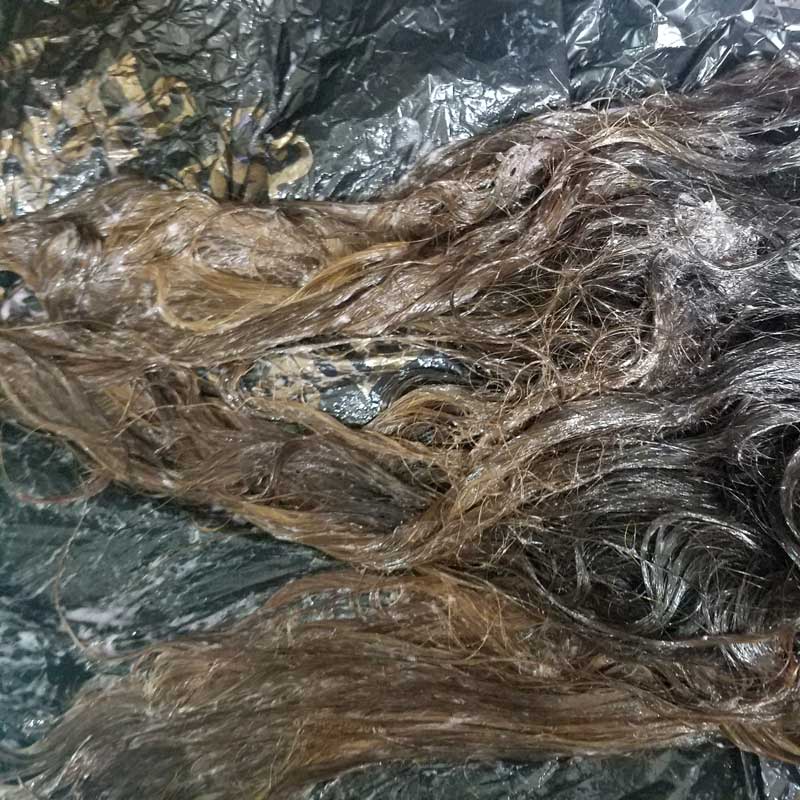
4. Rinse out your shampoo.
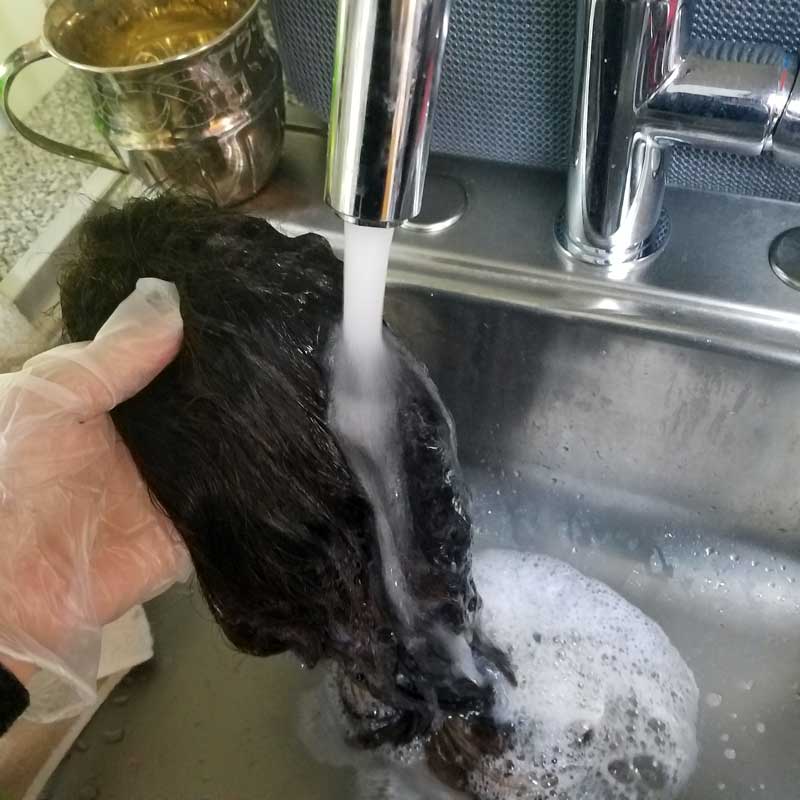
5. A couple of tips for conditioning your wig: Do not apply conditioner near the roots as it can cause hair loss. Also, I like to let my conditioner sit on the wig for half an hour to really seep in. When you’re done, rinse it out.
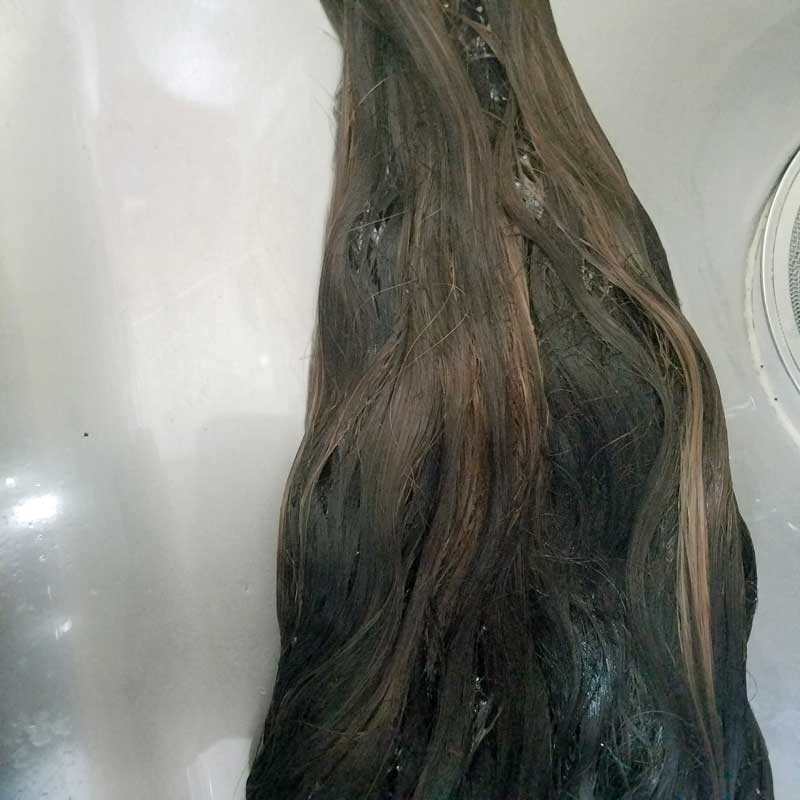
6. I like to let my wigs air dry so that I don’t use more heat than I need to on it.
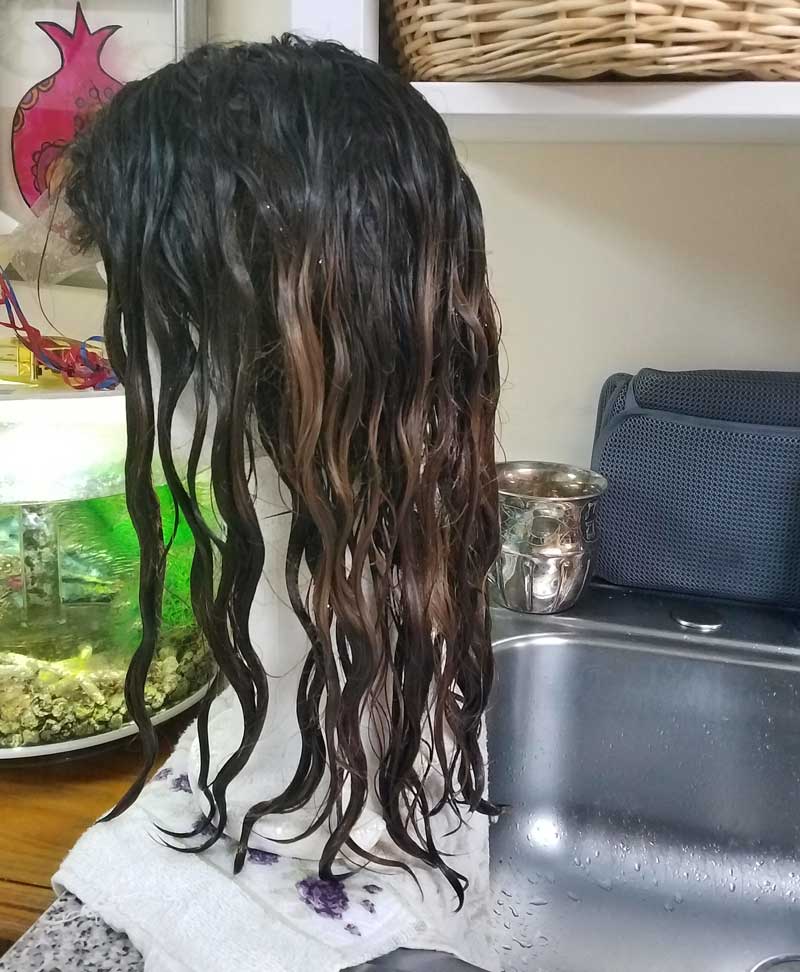
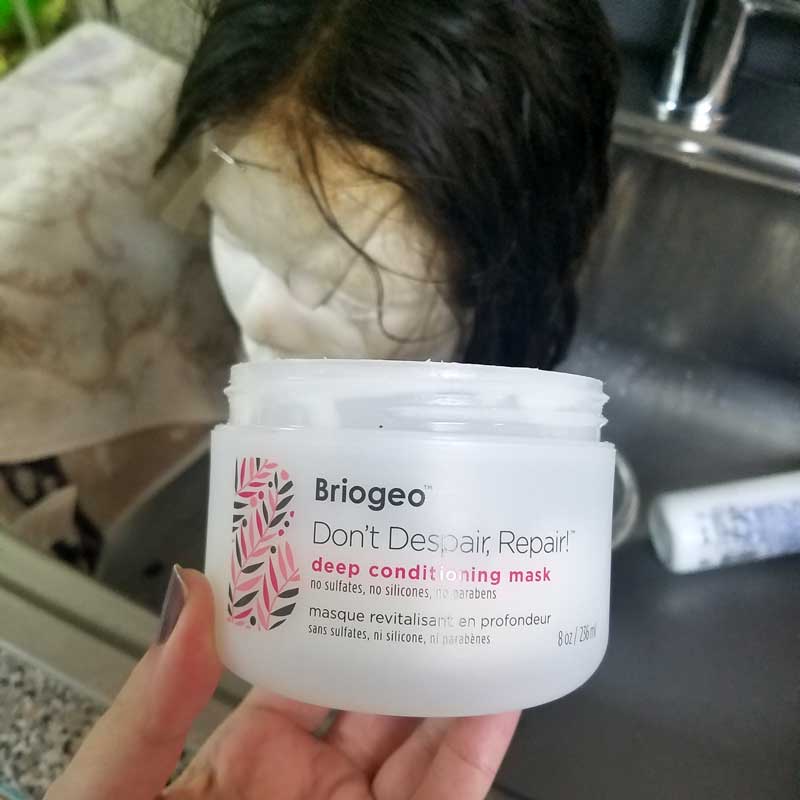
If you’d like, you can use a hair mask to help restore some moisture. When you dye (or tone) a wig, you’re causing some damage and applying a hair mask can really help. It’s not cheap but it’s also not more expensive than a single wash and set in most places, and it lasts for many uses!
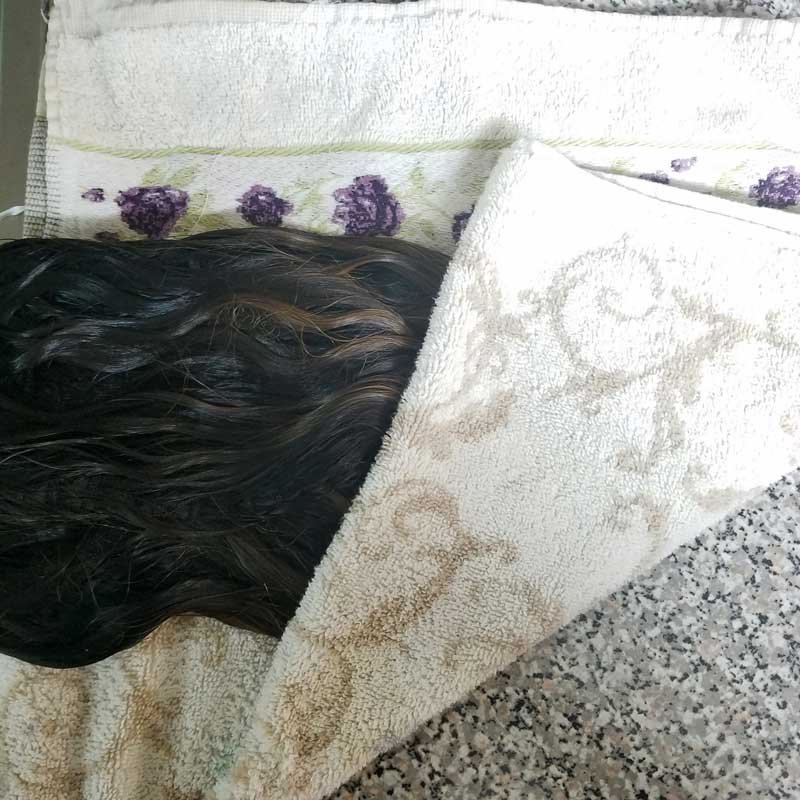
When you’re done, towel dry your wig so that it’s not dripping wet and let it air dry.
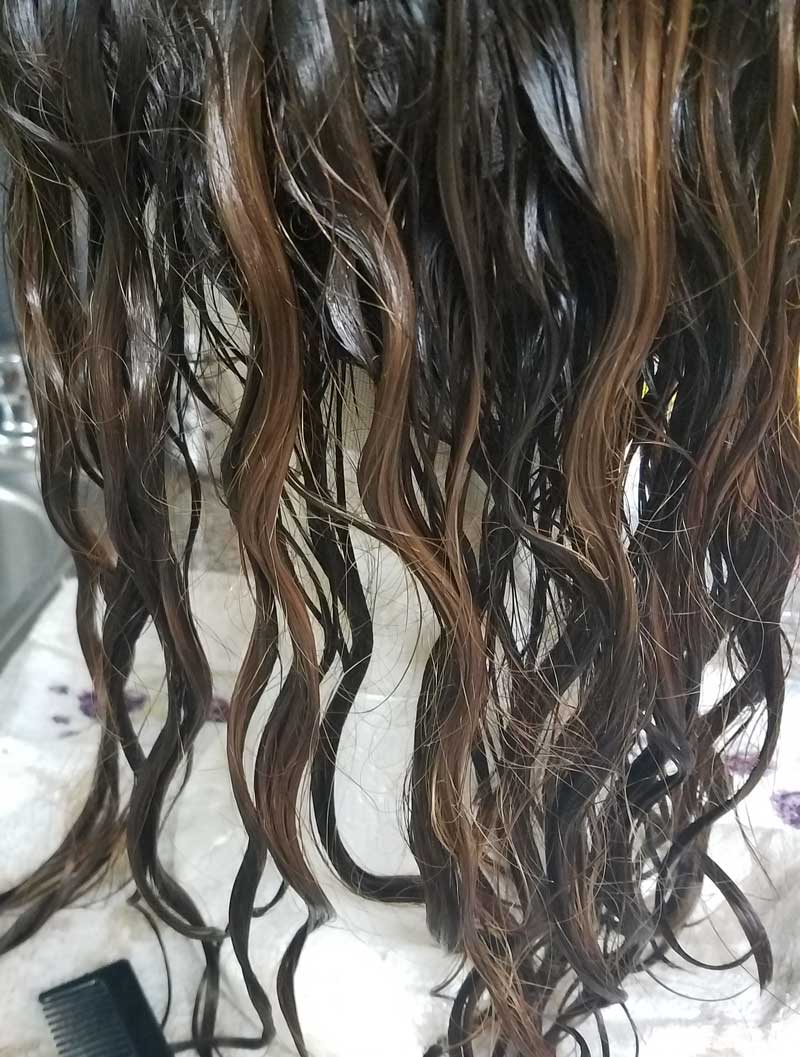
I brushed it gently from the bottom up while it was still damp to get any knots out.
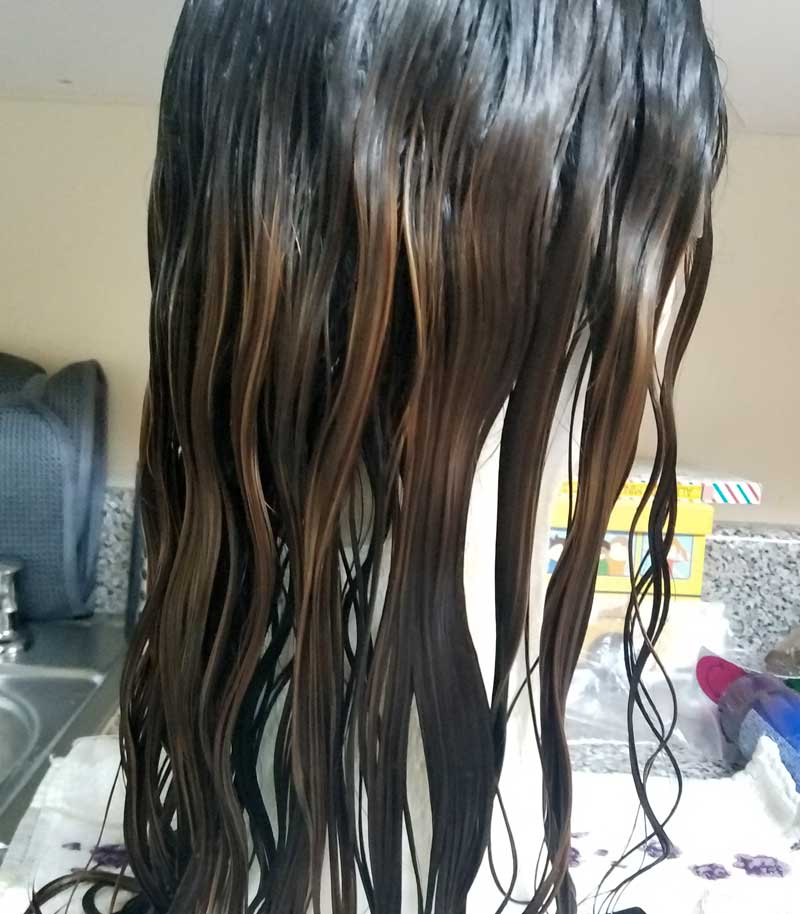
But then this is how it dried… not pretty!
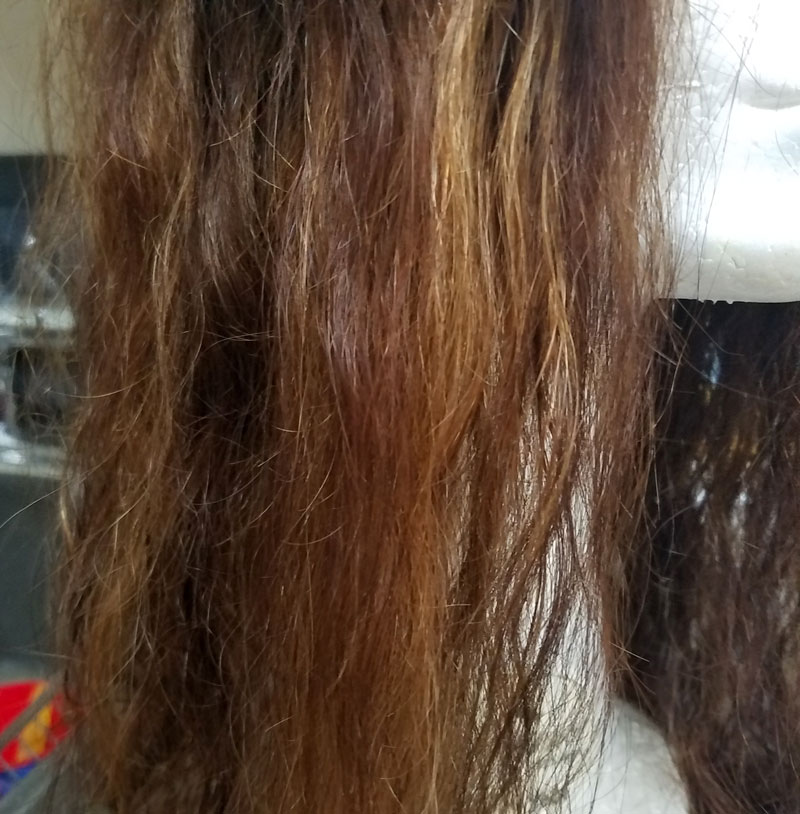
To style my wig, I used a cheap flat iron and create natural curls using that. You simply twist the hairs around the iron, starting by clamping the tips in the middle of the iron, and then slowly turning it so that the hair curls around. Hold it for a couple of seconds and let go.
Using a flat iron instead of a curling iron gives a more natural curl. Using a cheap one usually helps your wig last longer as they’re not as hot and don’t burn the hairs as much.
And this is the final result of my toned and styled wig!
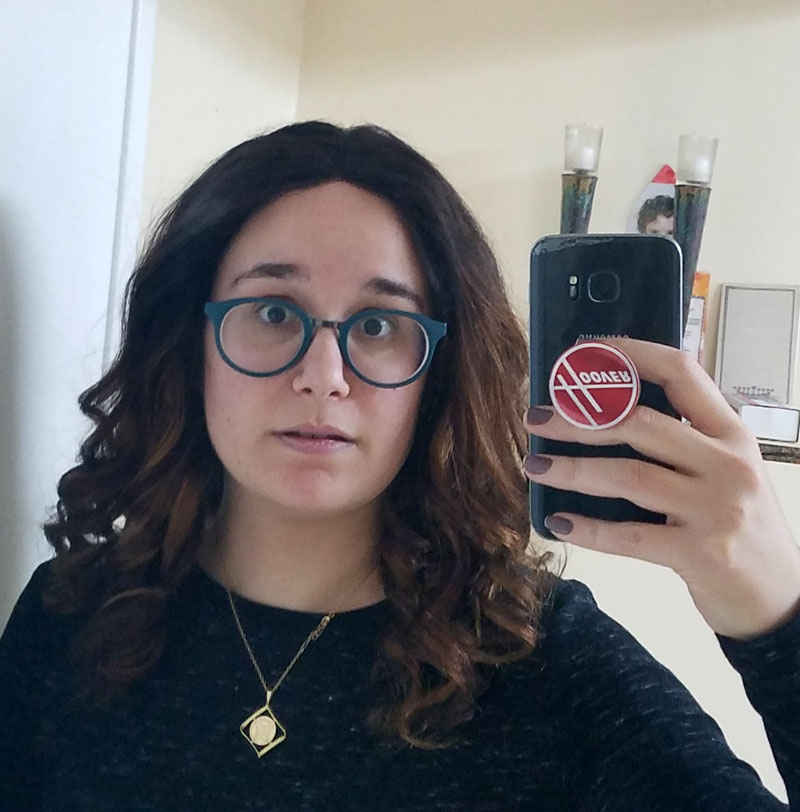
This is how it looks after some wear and abuse:

I’m in love!!
Has this article been helpful in teaching you how to tone a wig? Do you have any tips or advice to add? Comment below!
And don’t forget to check out our tips for organizing your mitpachot as well as our cool DIY LEGO Kippah!


I think that I bought the same wig, sis! Thank you for this article. I bought a human hair wig but it is sooo red (advertised as brown with highloghts) looks like a botched dye job. Thanks for ur help.