Kotel Suncatcher and Art Project
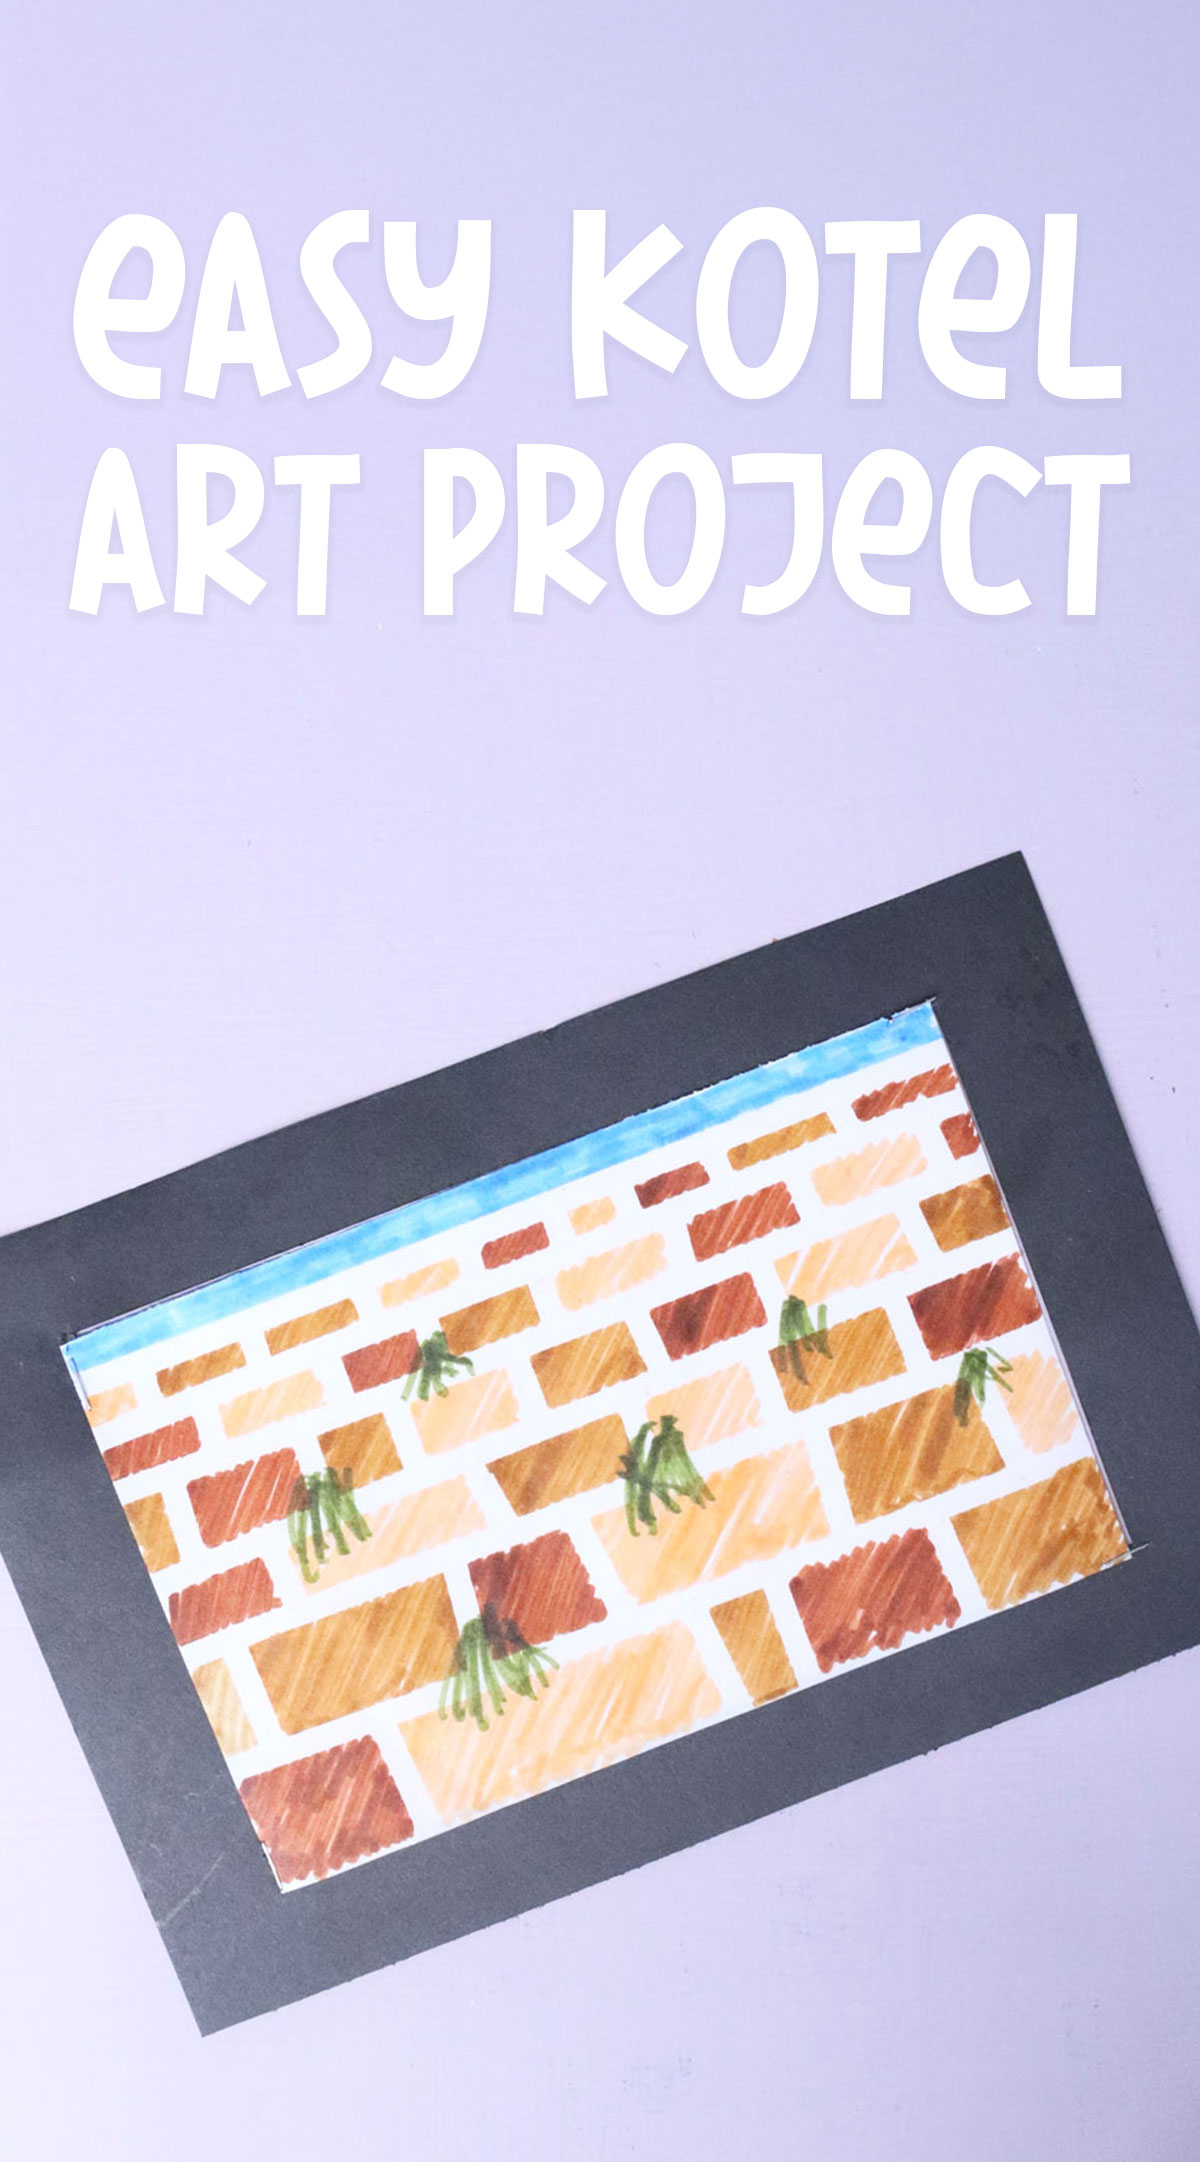
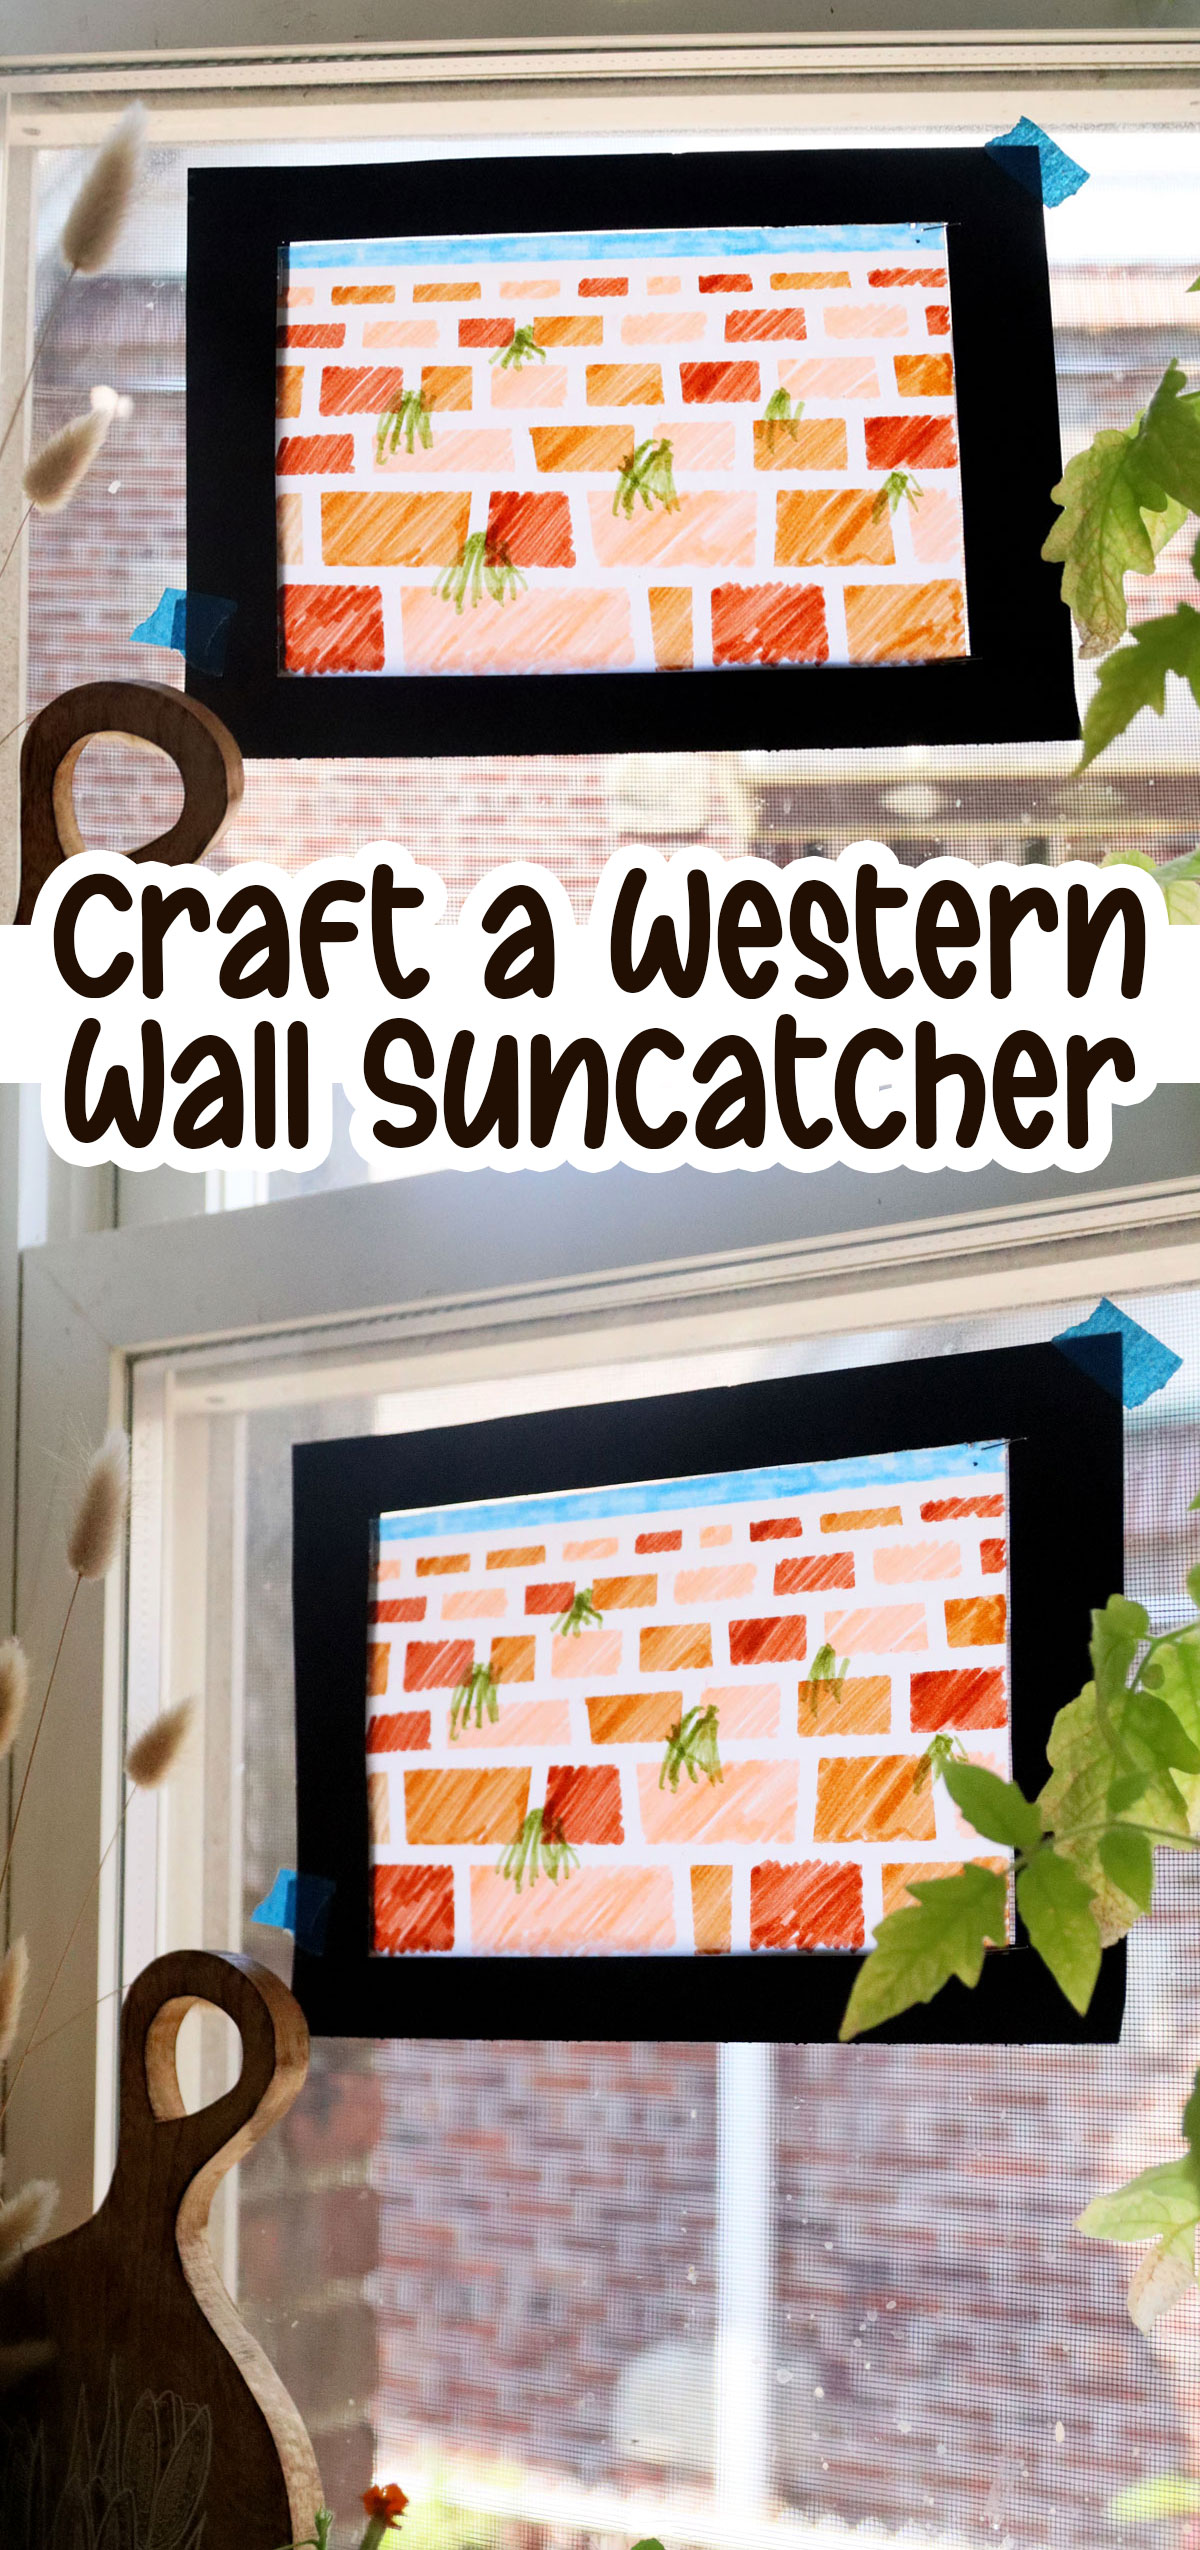
Craft this fun Kotel suncatcher and which can also work as a standalone art project! Want more Kotel ideas? Check out this fun DIY Mizrach sign too! This post contains affiliate links.
The three weeks are the morning period for the destruction of the Holy Temple in Jerusalem and the generations of suffering in exile since.
In Jerusalem, standing tall and proud, is the remaining segment of the surrounding wall of the Beit Hamikdash – the Kotel, or the Western Wall.
During the Three Weeks and Nine Days, as we mourn, it’s the perfect time to craft Kotel crafts! You can check out this Kotel black glue art, and this salt painting craft – as well as this glue resist watercolor art as well.
It’s also the perfect time to focus on unity as our Rabbis have told us that the destruction came because of internal strife. I highly recommend that you check out these Jewish diversity puppets for crafting during this season too.
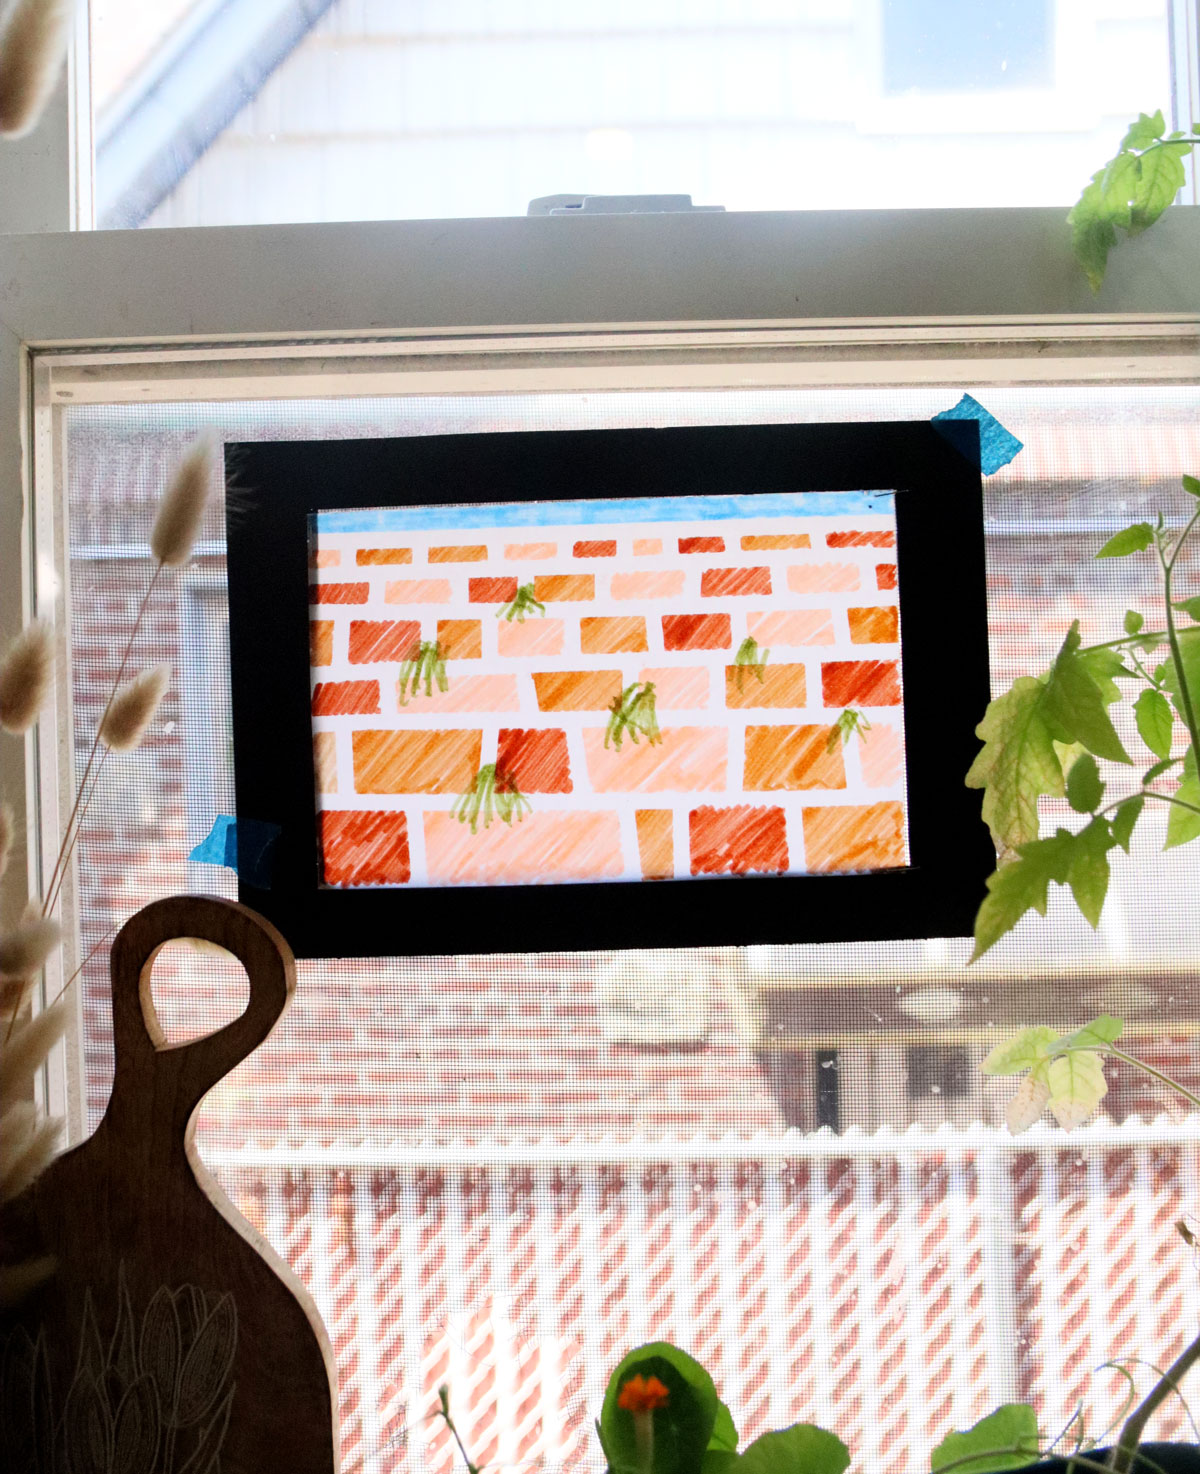
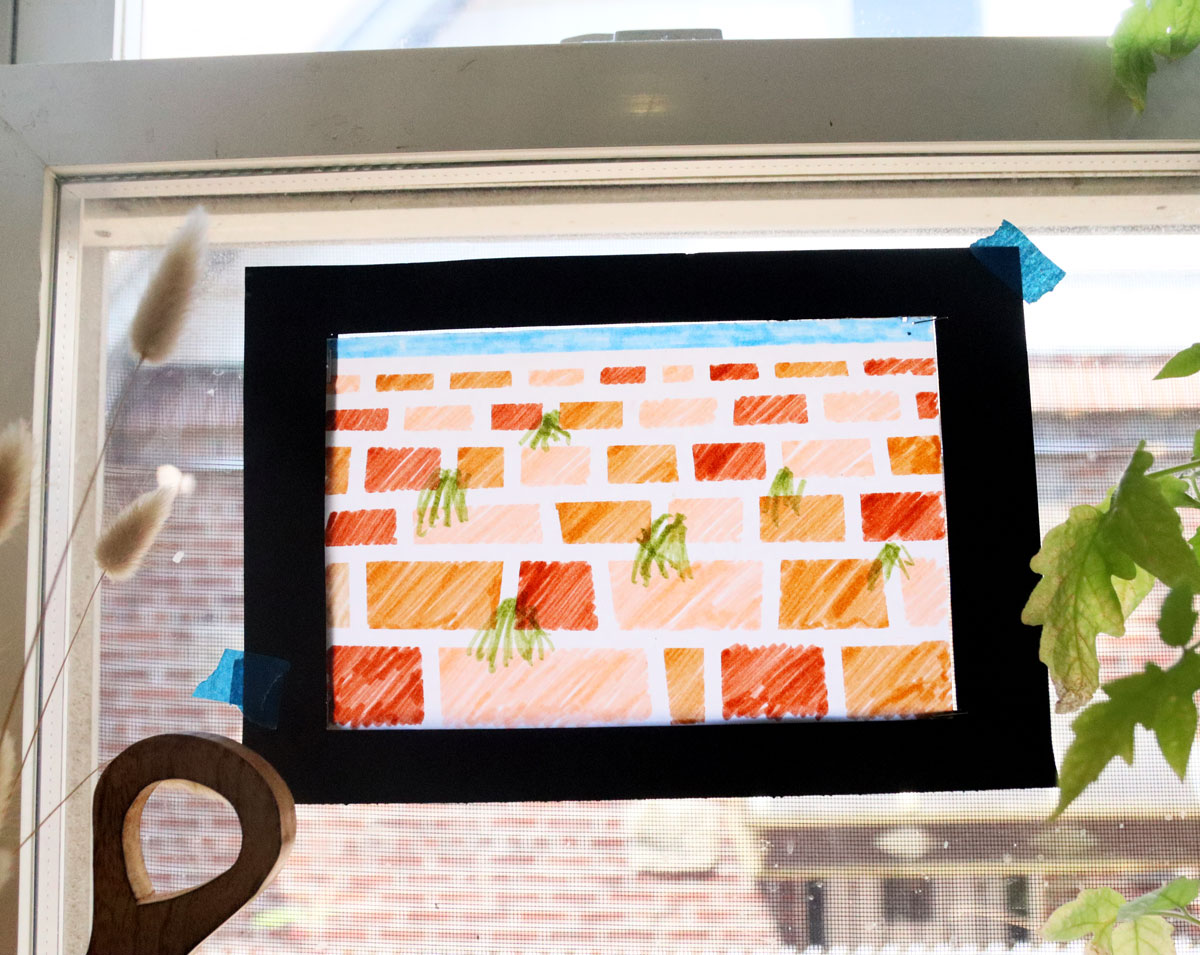
Now back to our Kotel suncatchers – This is in fact a 2-in-1 project!
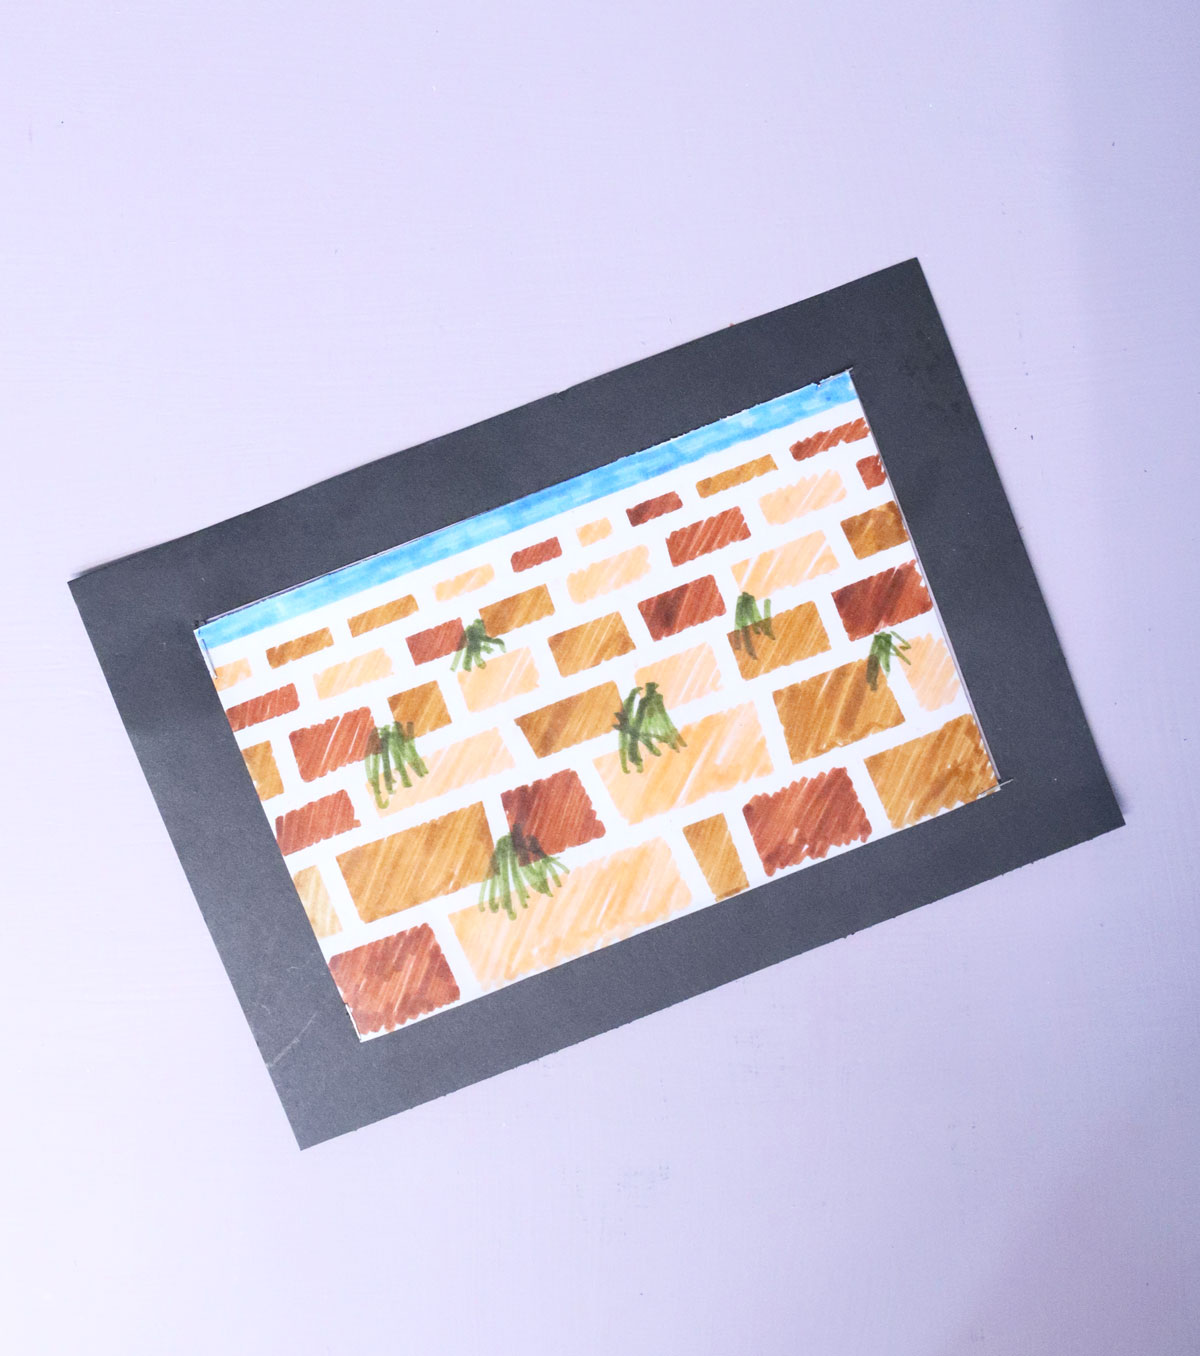
- You’ll be learning how to use washi tape to create a resist and really easy Kotel art. You do NOT need to be an artist to do this! I share the basic structure of the Kotel and how to get that uneven stone look.
- You’ll be using baby oil (other oils should work as well – try them on a test sheet first) to make your paper translucent, making it the perfect suncatcher to hang on the window!
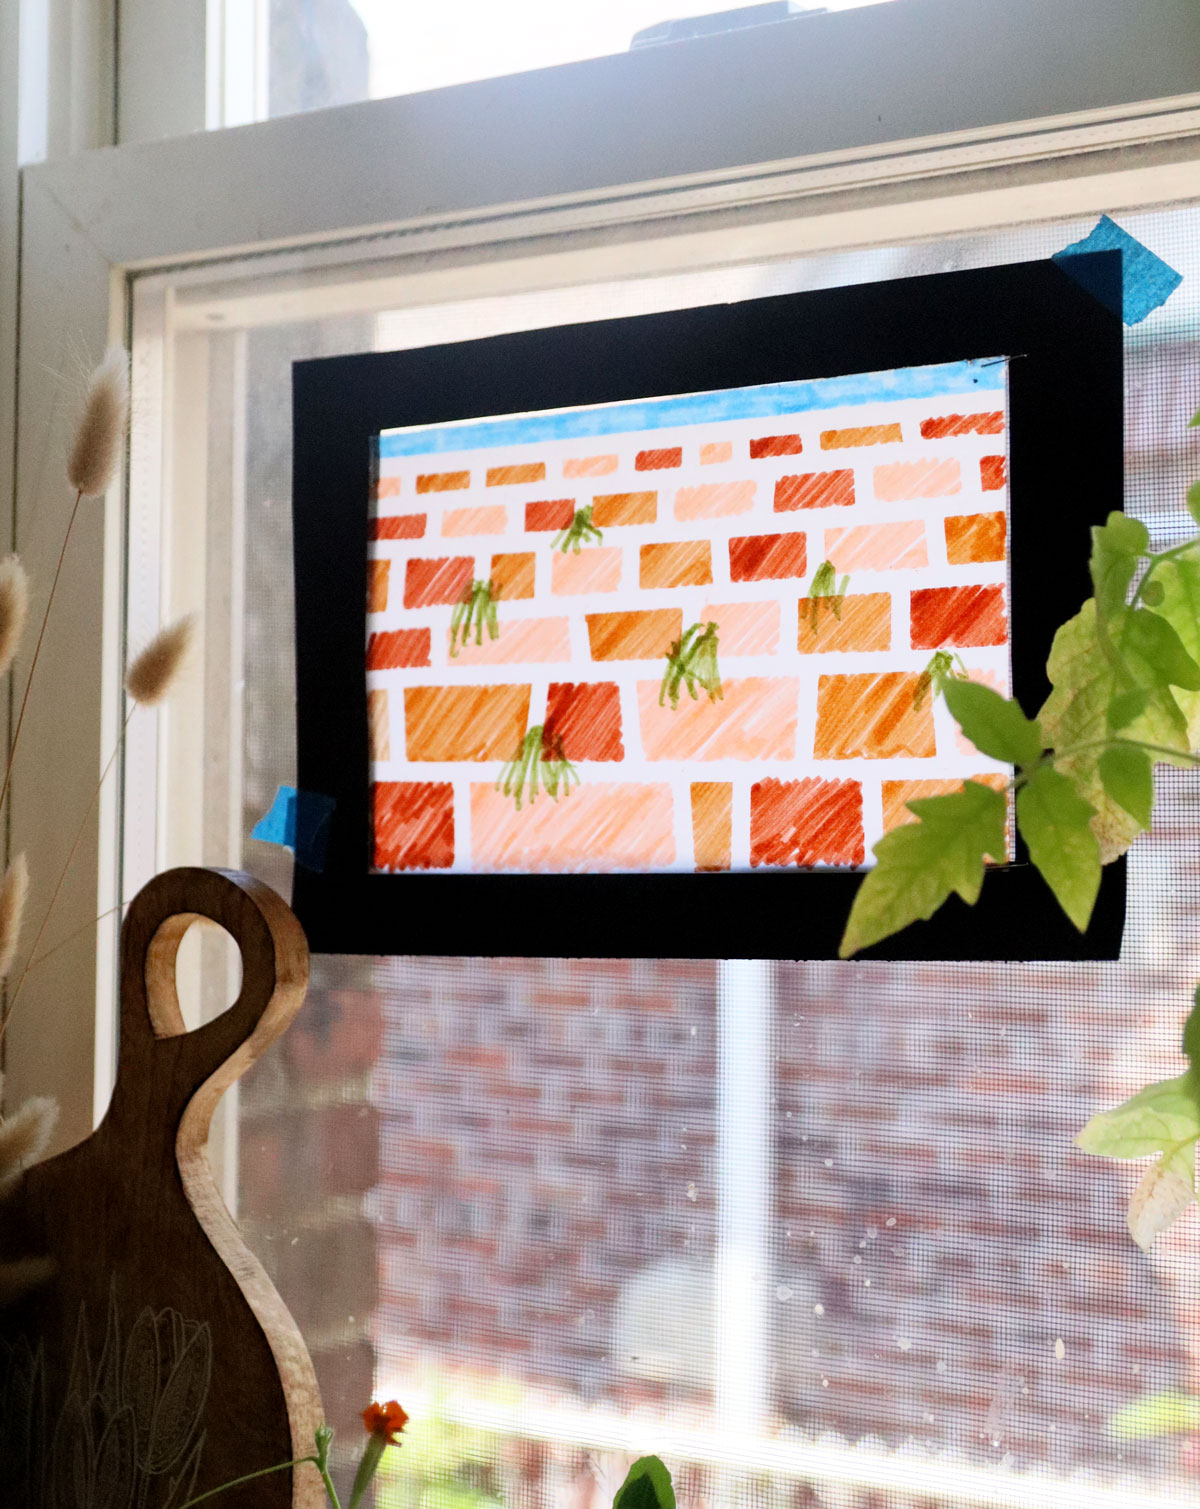
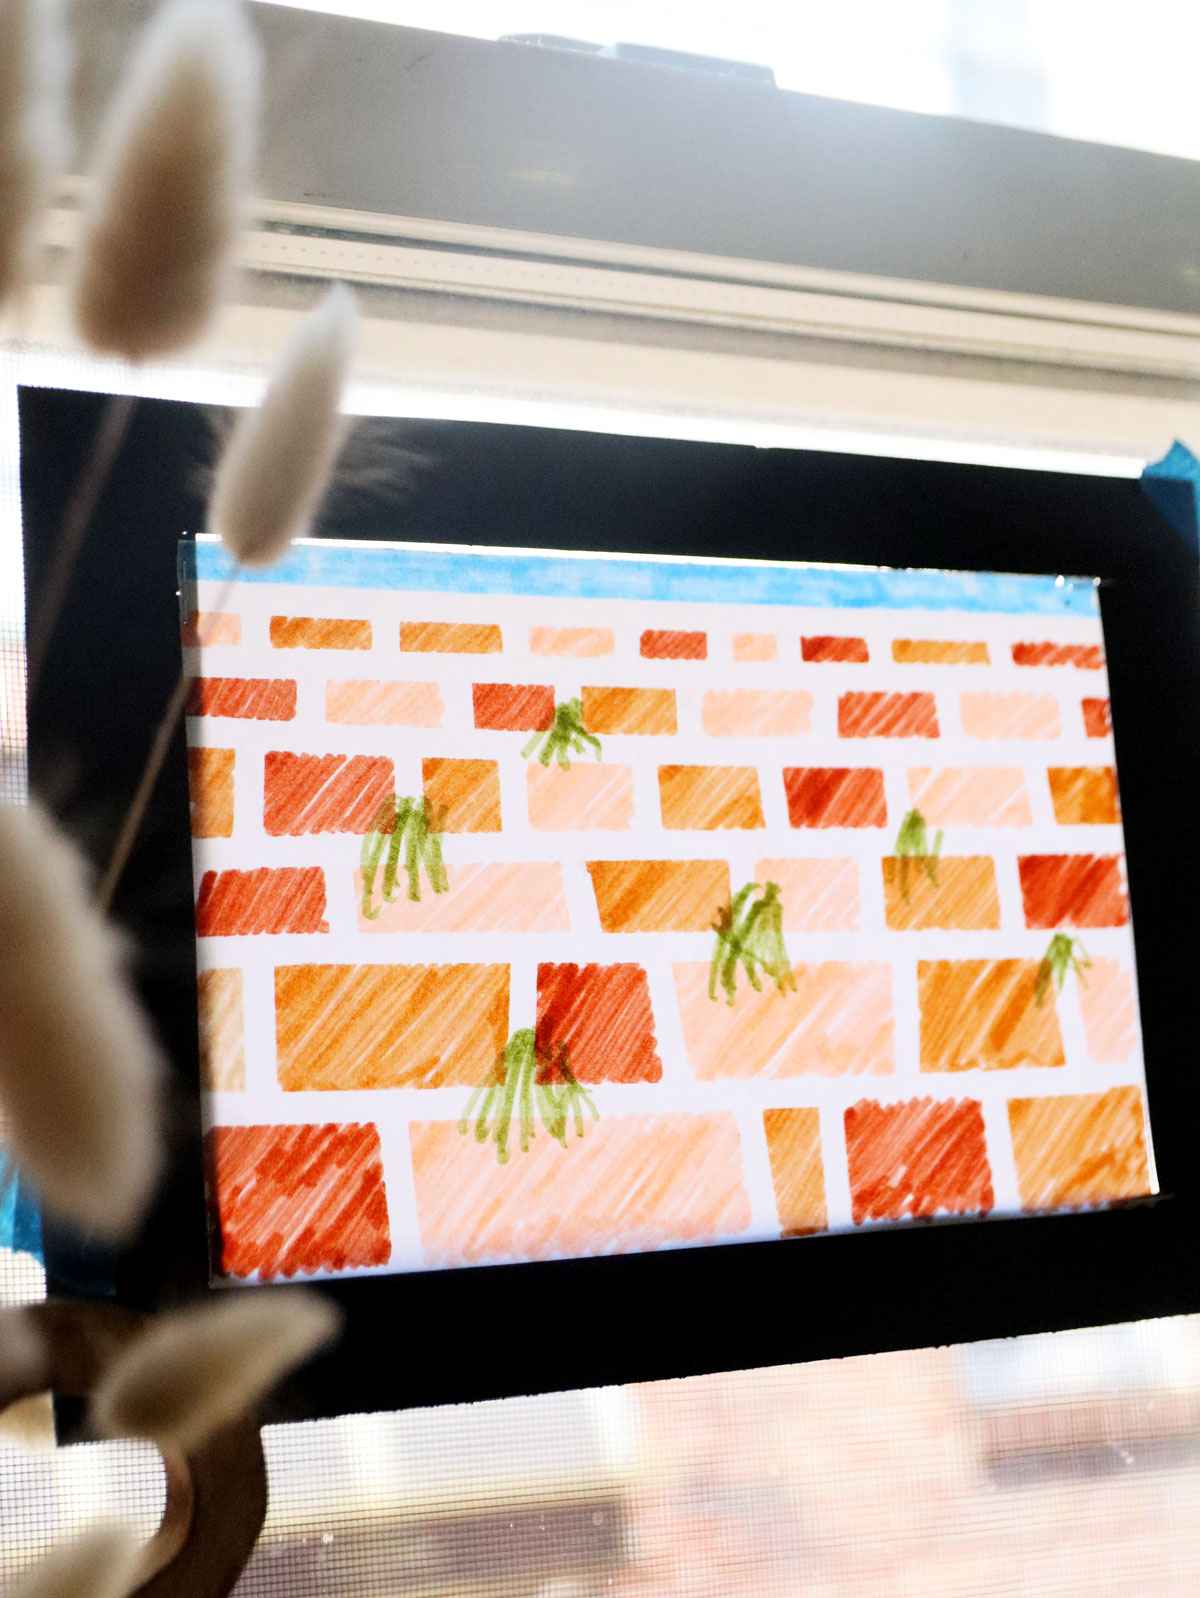
You’ll probably want to hang onto these Kotel suncatchers for Sukkot, to use as DIY Sukkah decorations too! They are fabulous for hanging on a Sukkah window to catch the sunlight.
Of course, hanging these on the Eastern wall will mark “mizrach”, or East, the direction of Jewish prayer (which is towards Jerusalem).
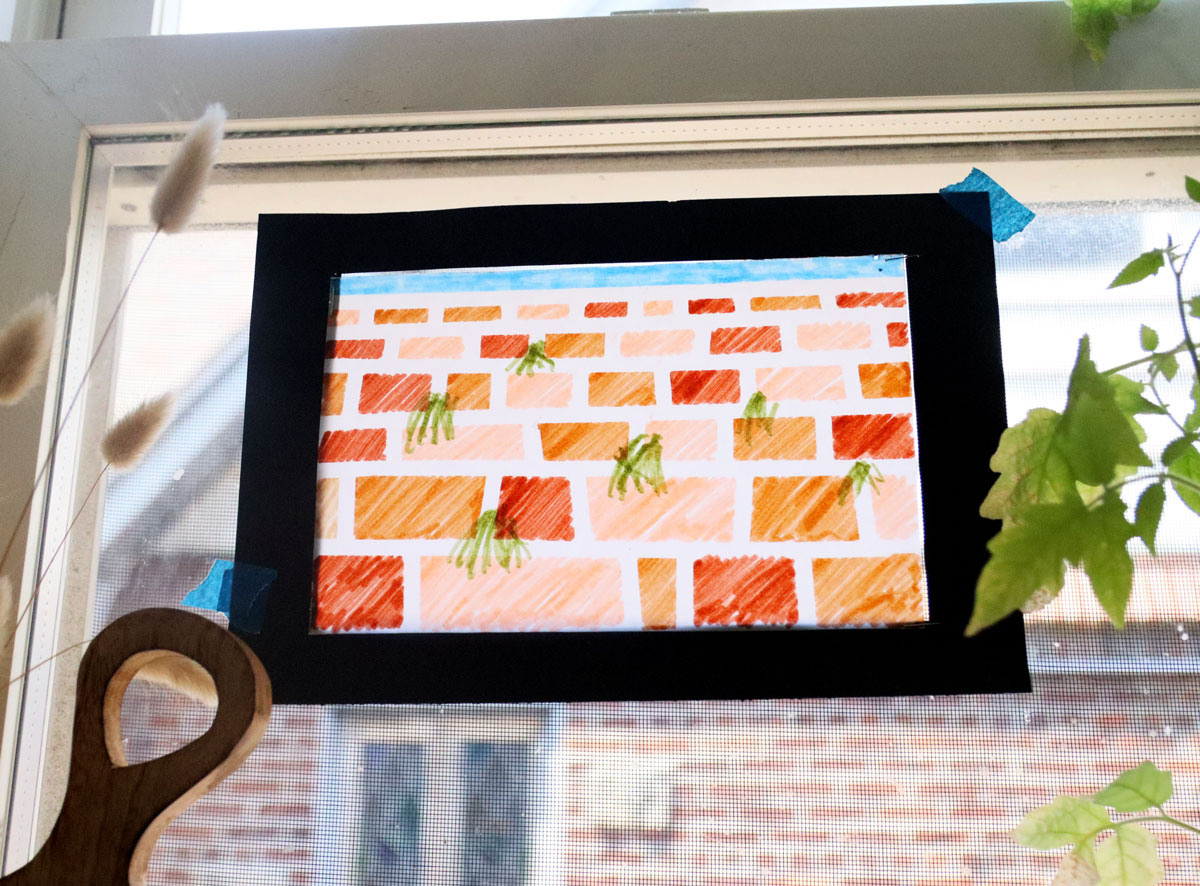
How to make a Kotel suncatcher art project
You’ll need
- Regular white copy paper (not cardstock)
- A paper trimmer (or scissors)
- Regular kids’ markers. Crayons, colored pencils, other types of markers may work too – test them in advance. Have a few shades of tan and light brown, a muted green, and as sky blue.
- Thin washi tape
- Baby oil
- A clothespin and a cotton ball
- Paper towels
- A protective surface
- Black cardstock
- Scissors or craft knife
- Stapler with staples (use a full sized one).
How to make your Kotel suncatcher
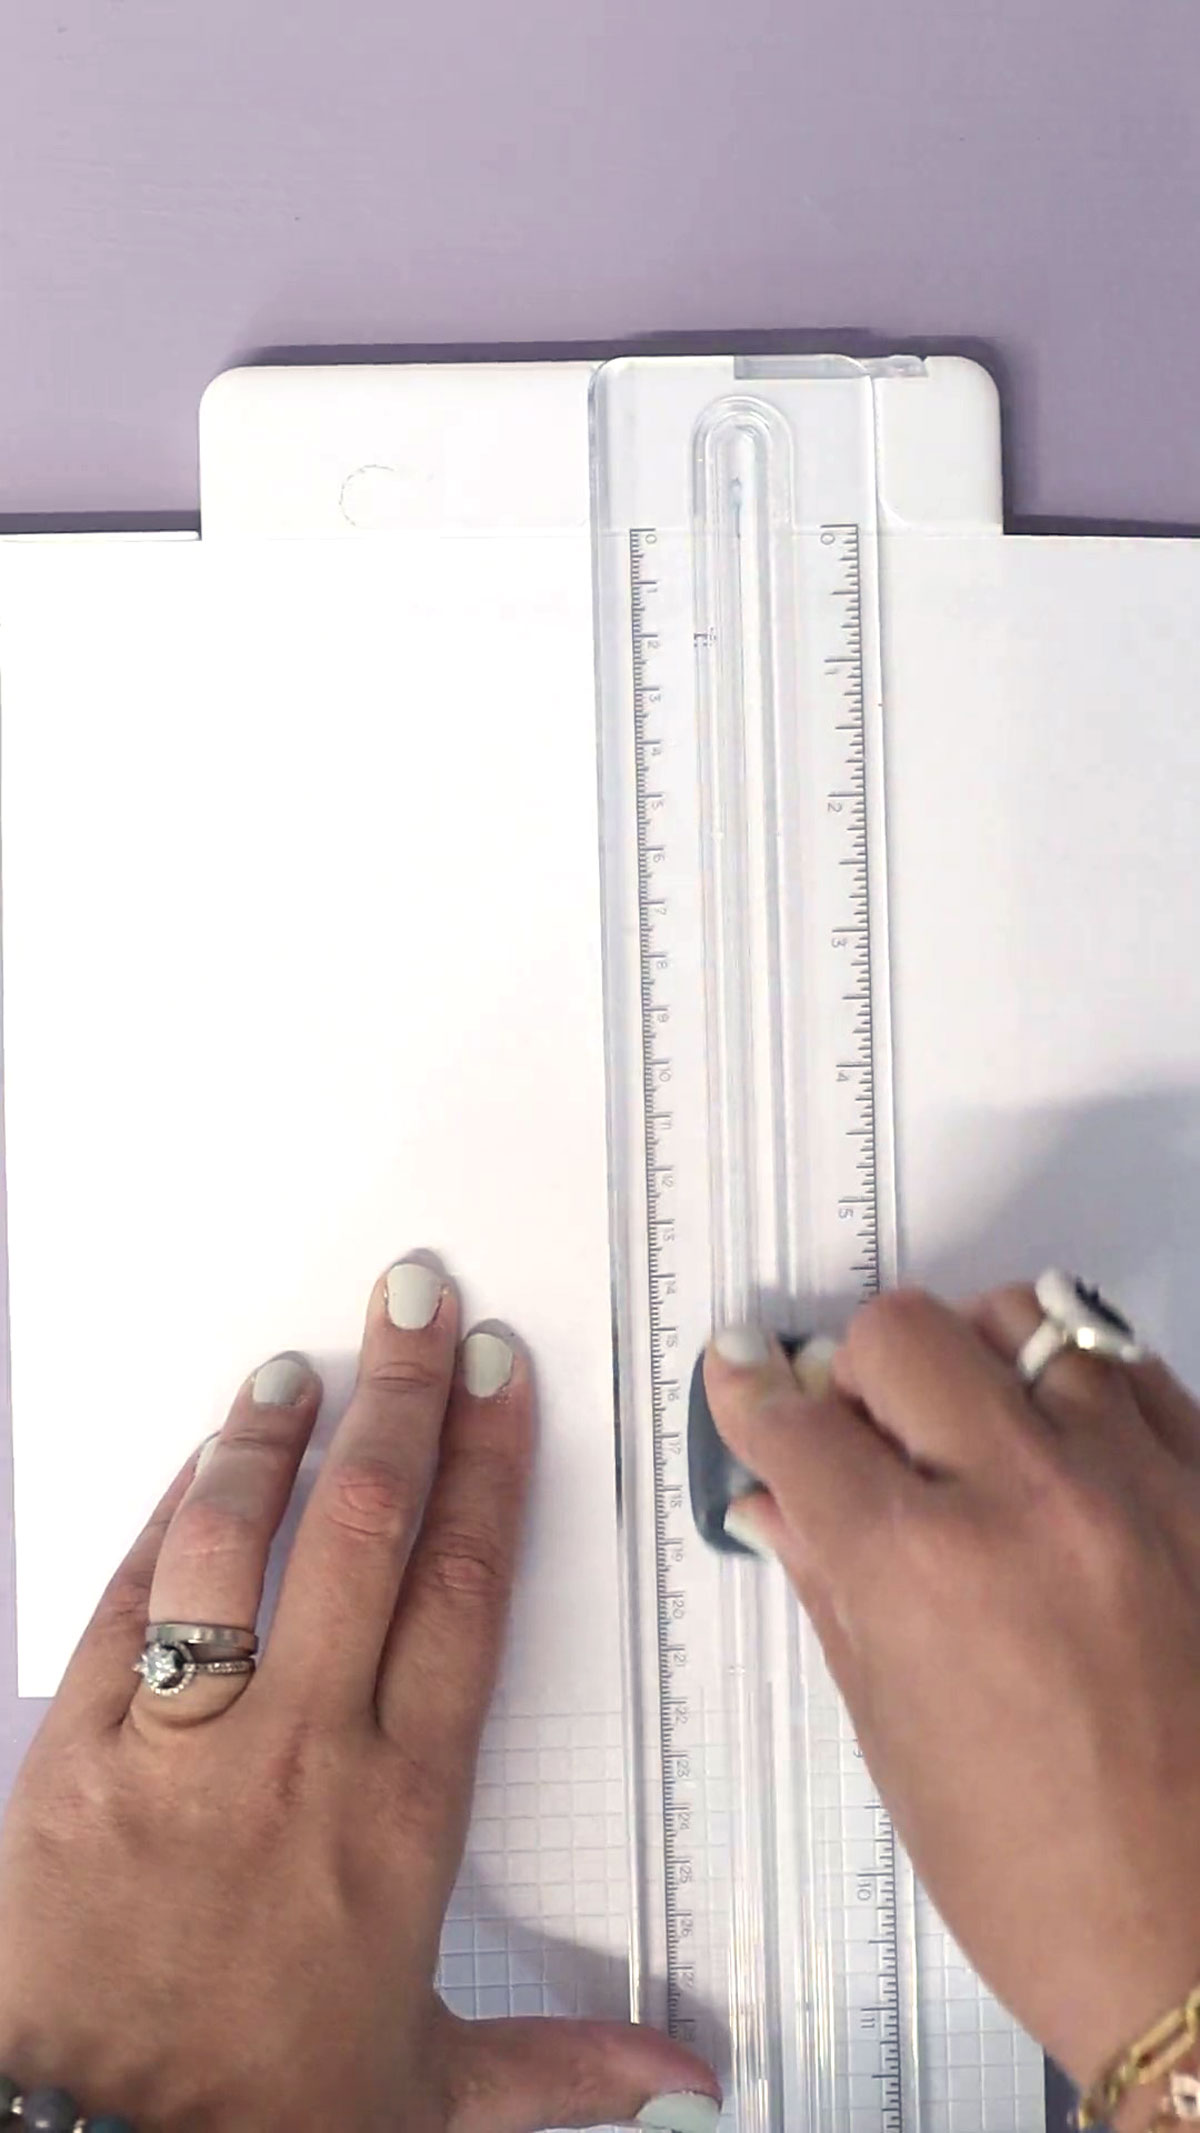
1. We’re using a half-sheet of paper for this! This will make it easier to frame it later. Trim your paper in half.
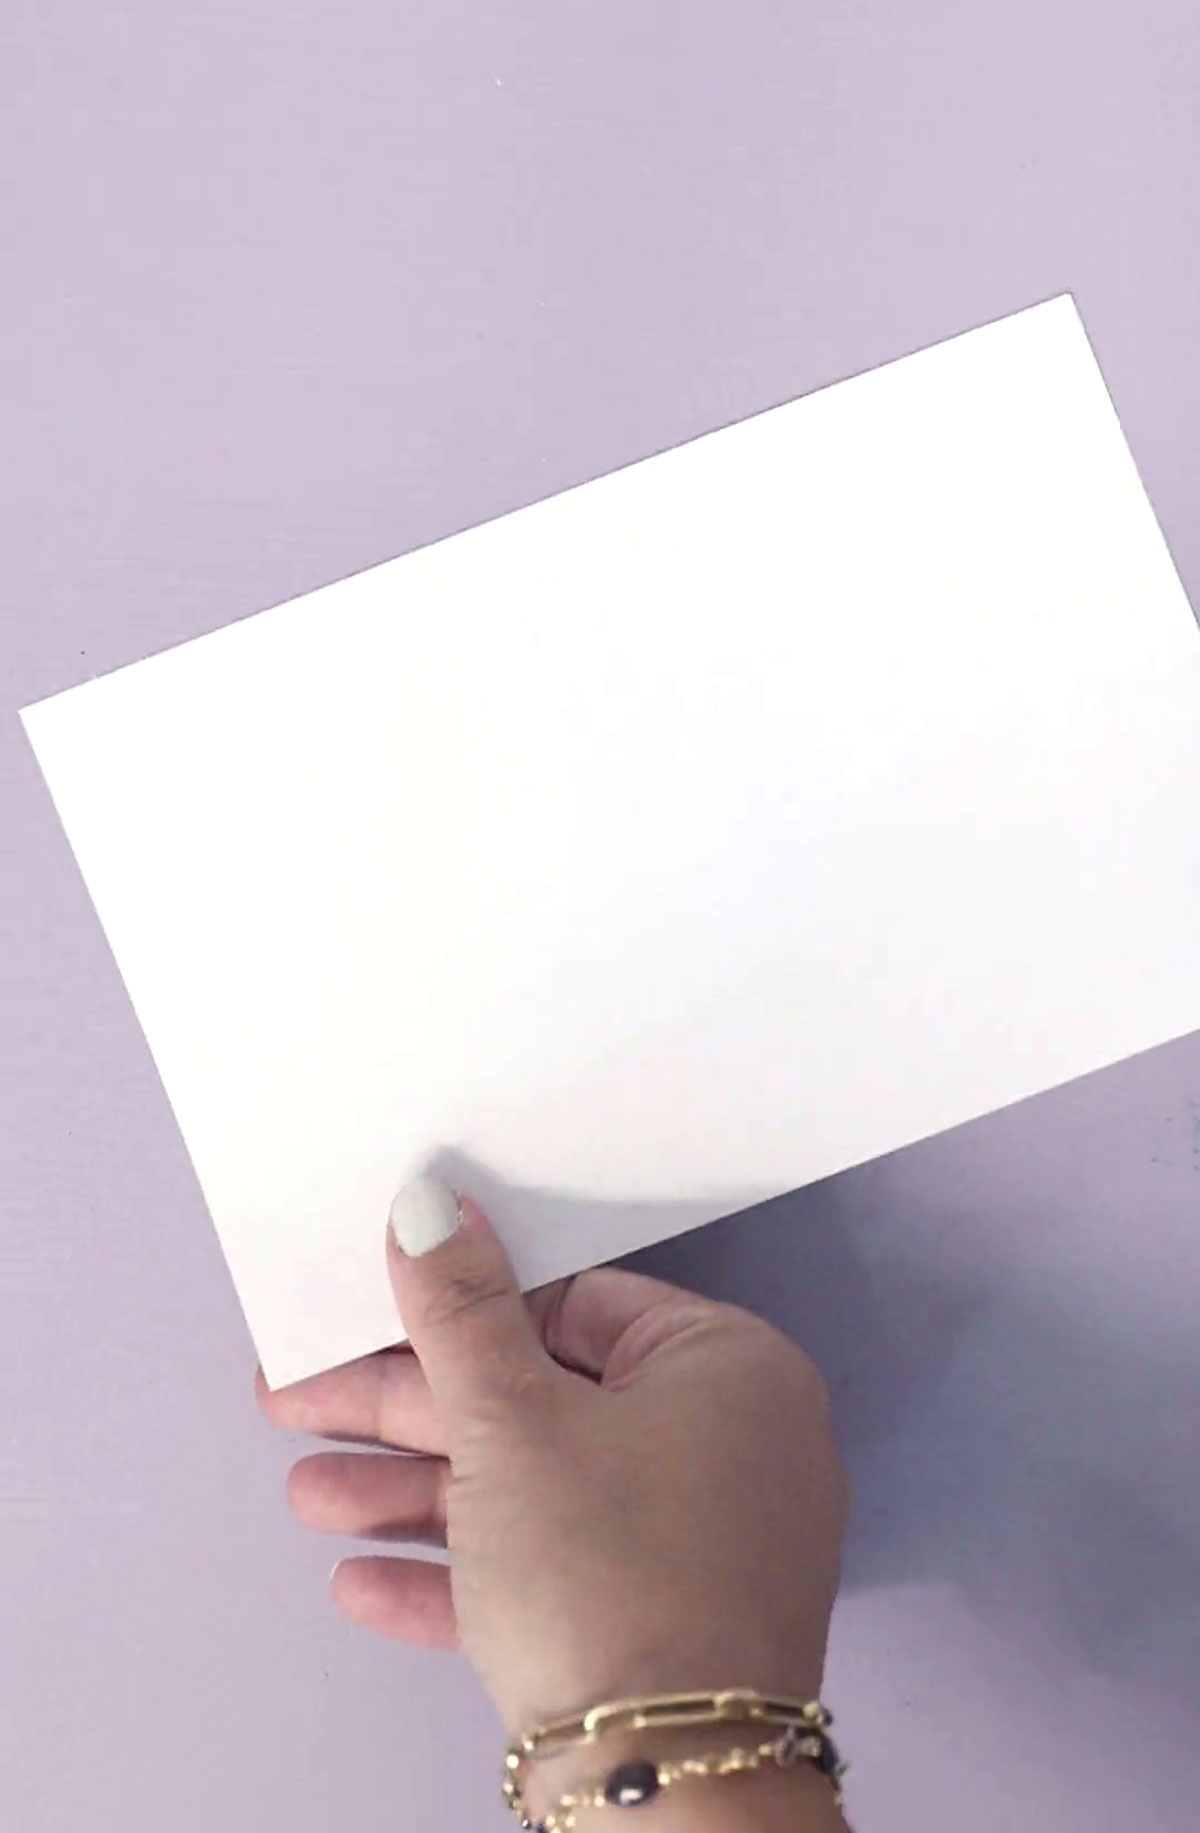
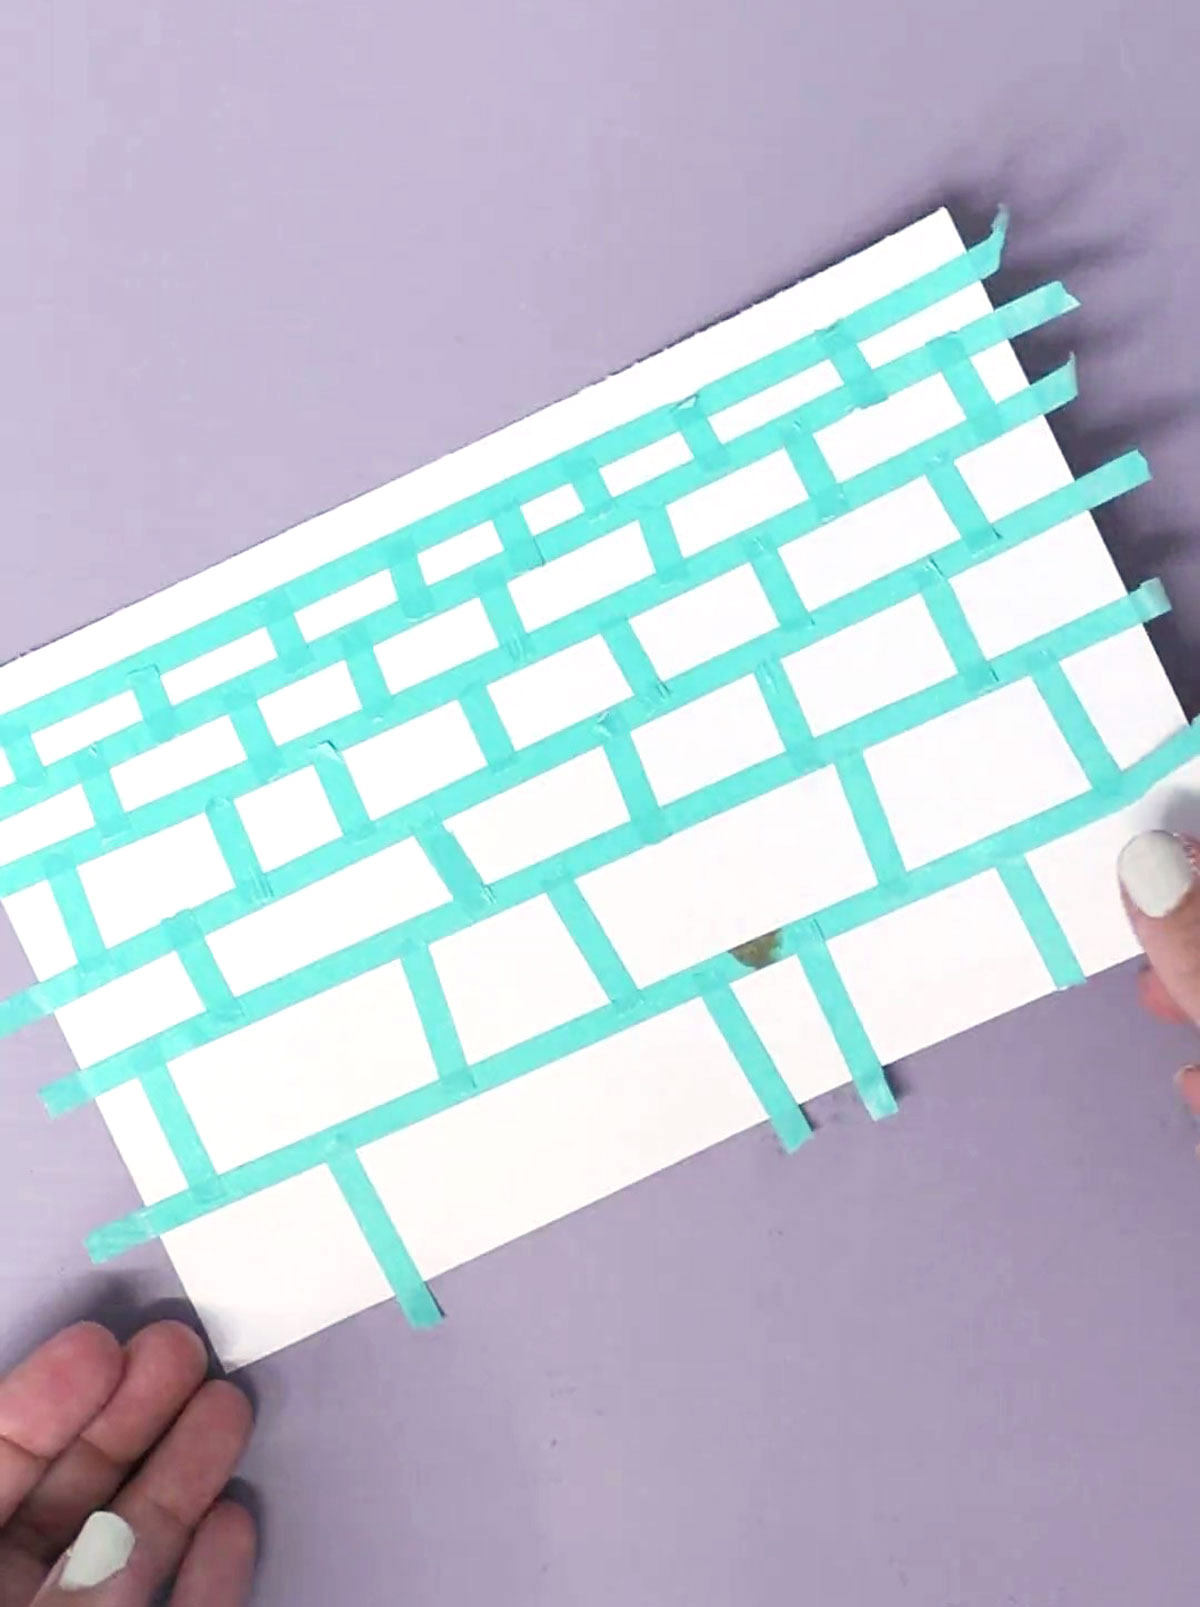
2. We’re going to frame out our Kotel stones using washi tape. Start by placing lines horizontally across. You can have a photo of the Kotel handy if you want it.
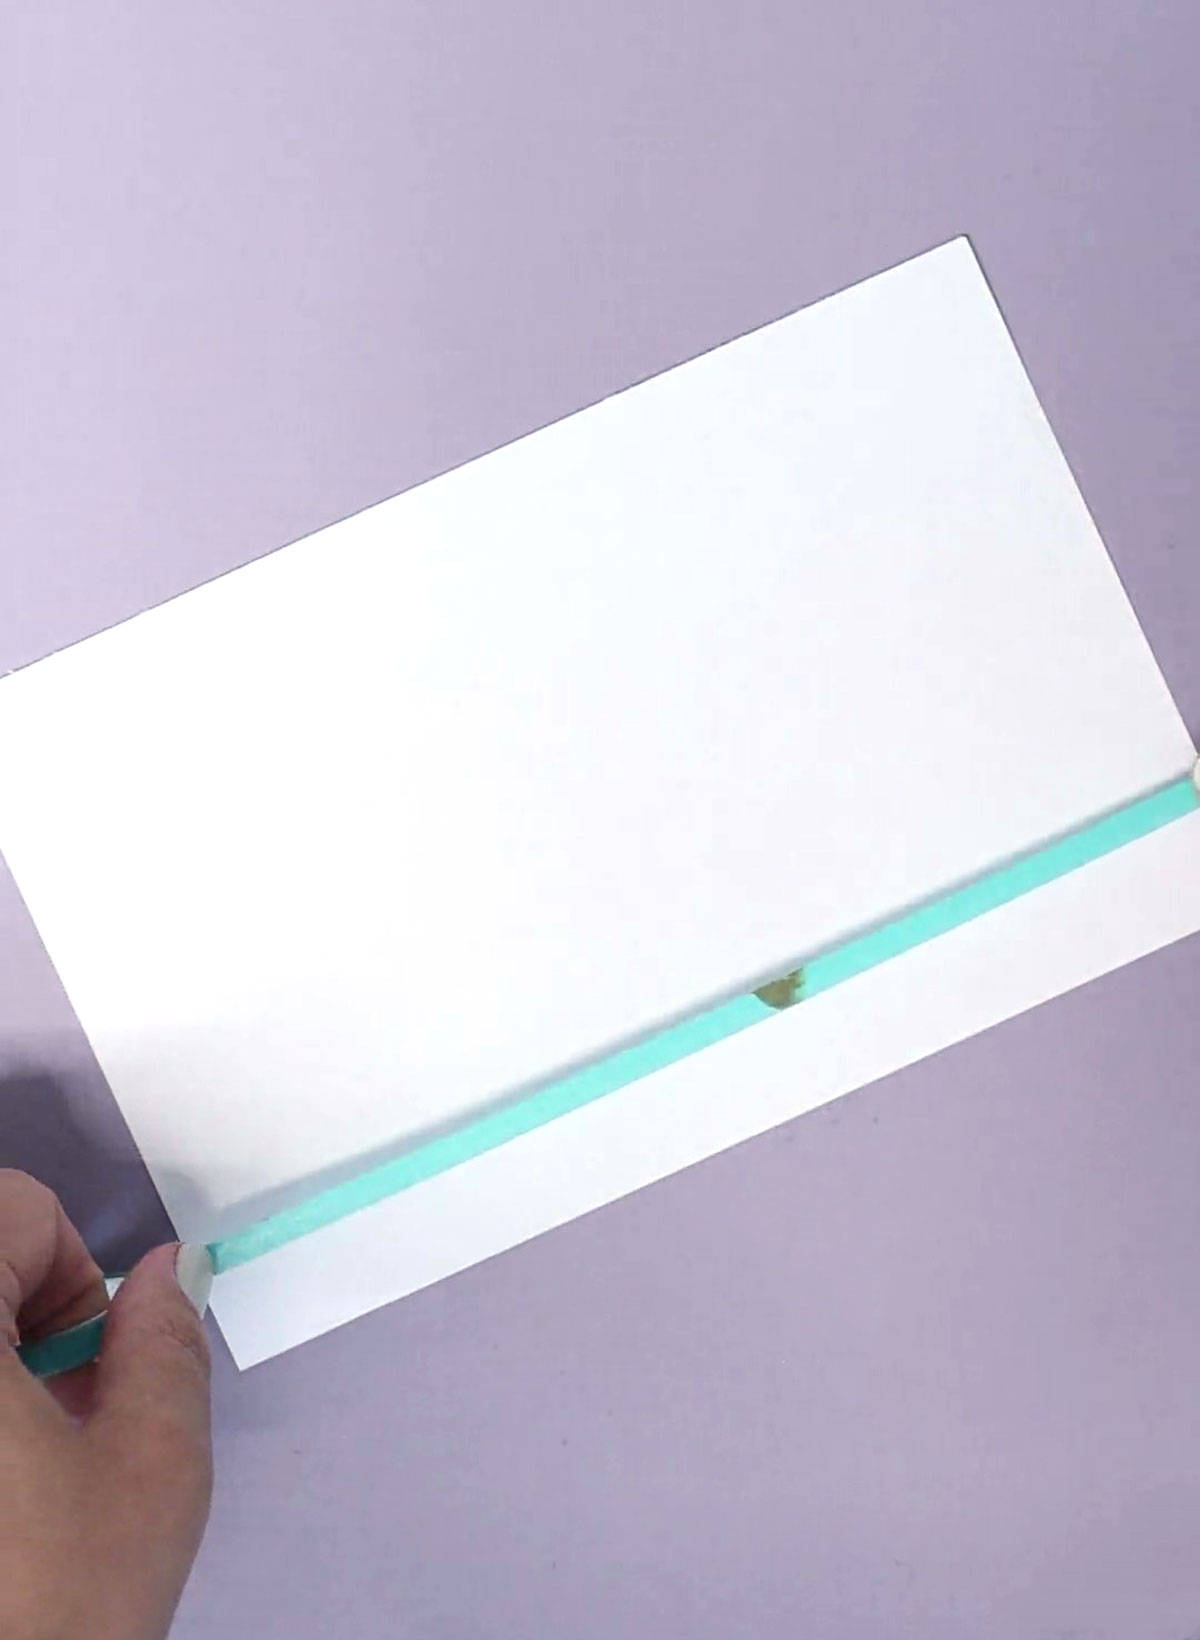
The trick is to keep them wider apart at the bottom and get closer together at the top. I placed a total of six horizontal washi tape lines.
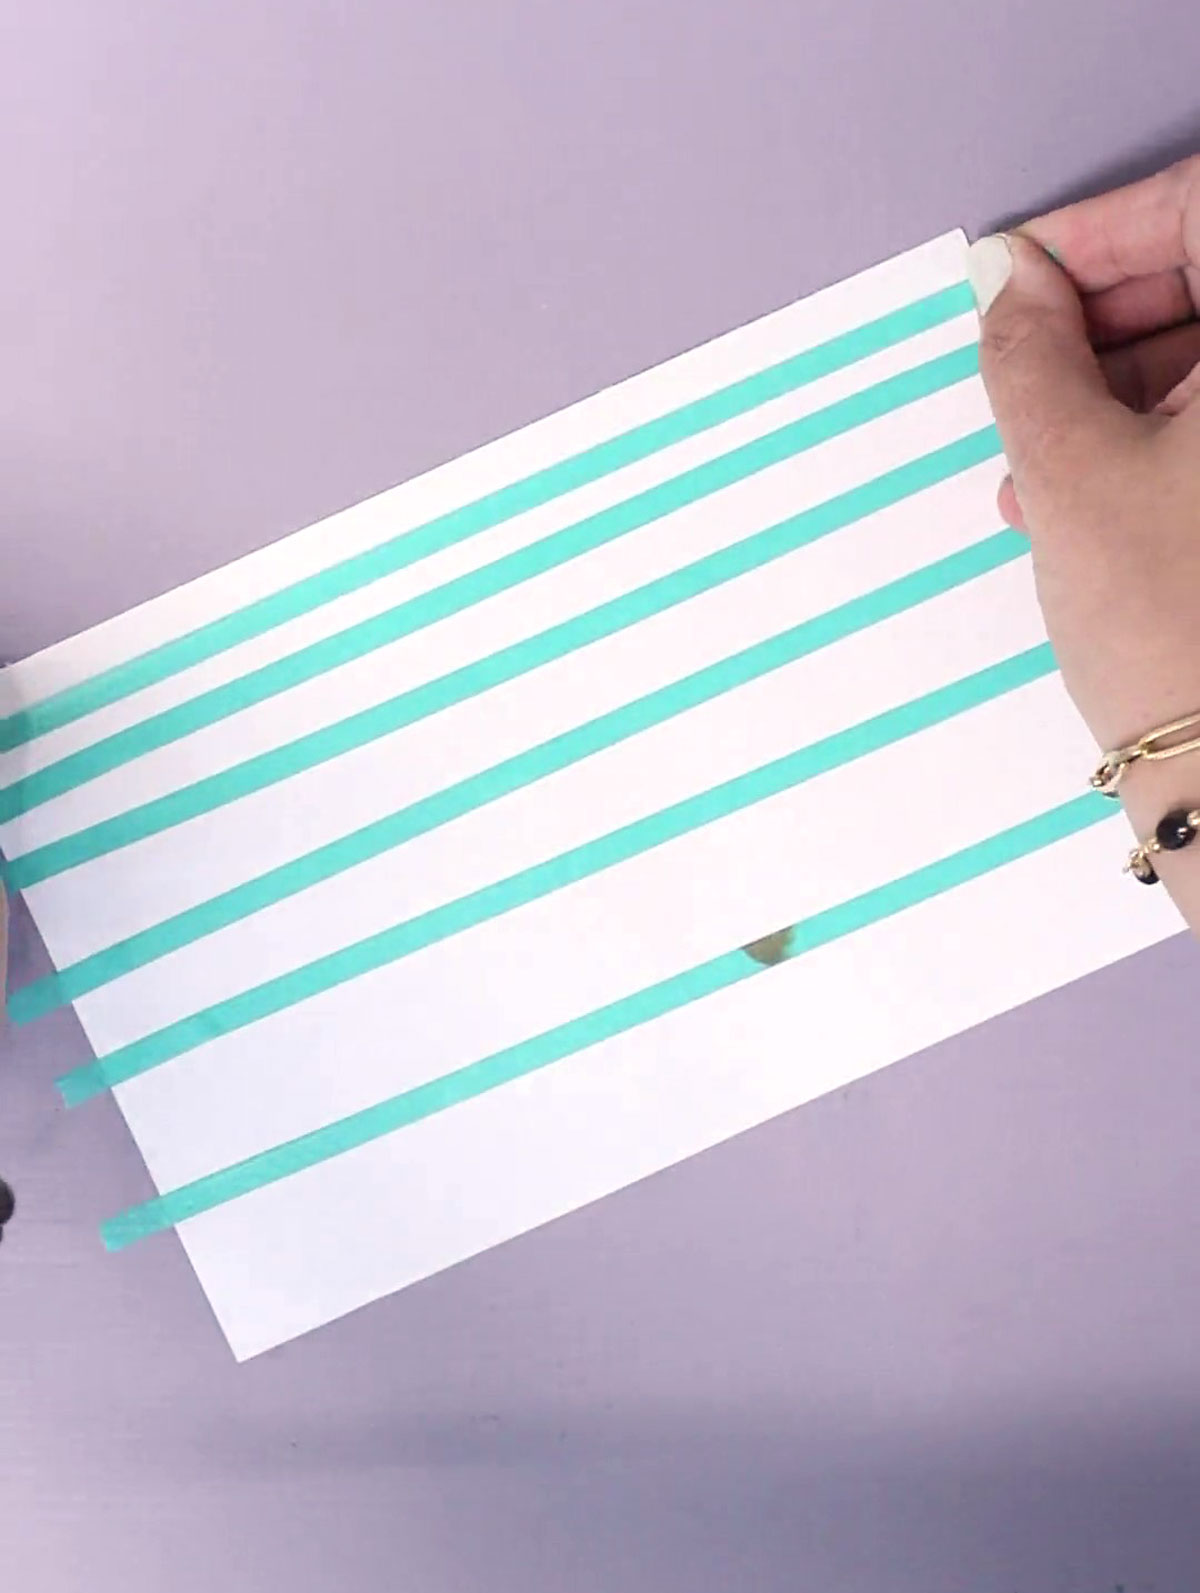
3. Now tear off small pieces of washi tape to place vertically between the rows to make bricks. The Kotel bricks are very uneven. There are even some that look like a brick was placed standing up. Place all your vertical lines, making sure that they don’t go past the horizontal lines, and there are no two vertical lines directly on top of each other. Leave the top row empty for the sky.
4. Color your sky blue. Color in your bricks in shades of brown and tan.
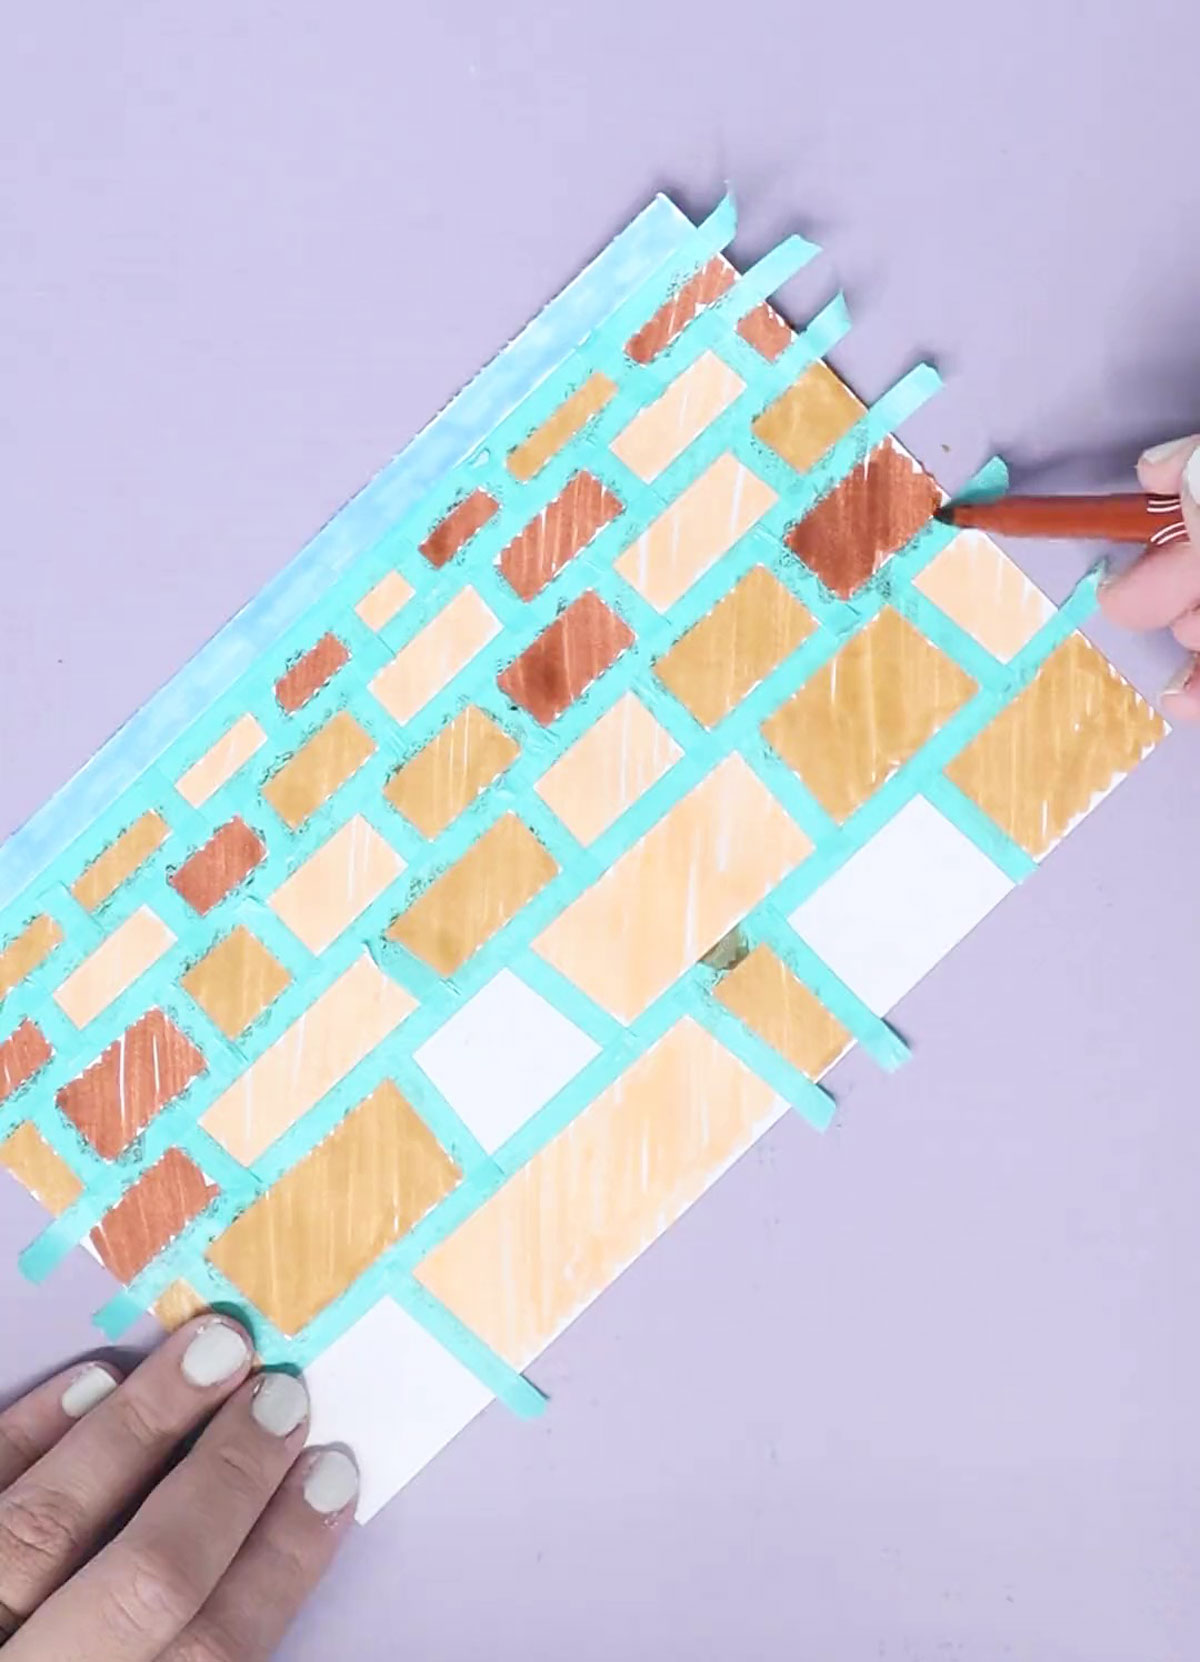
5. Peel off the tape gently.
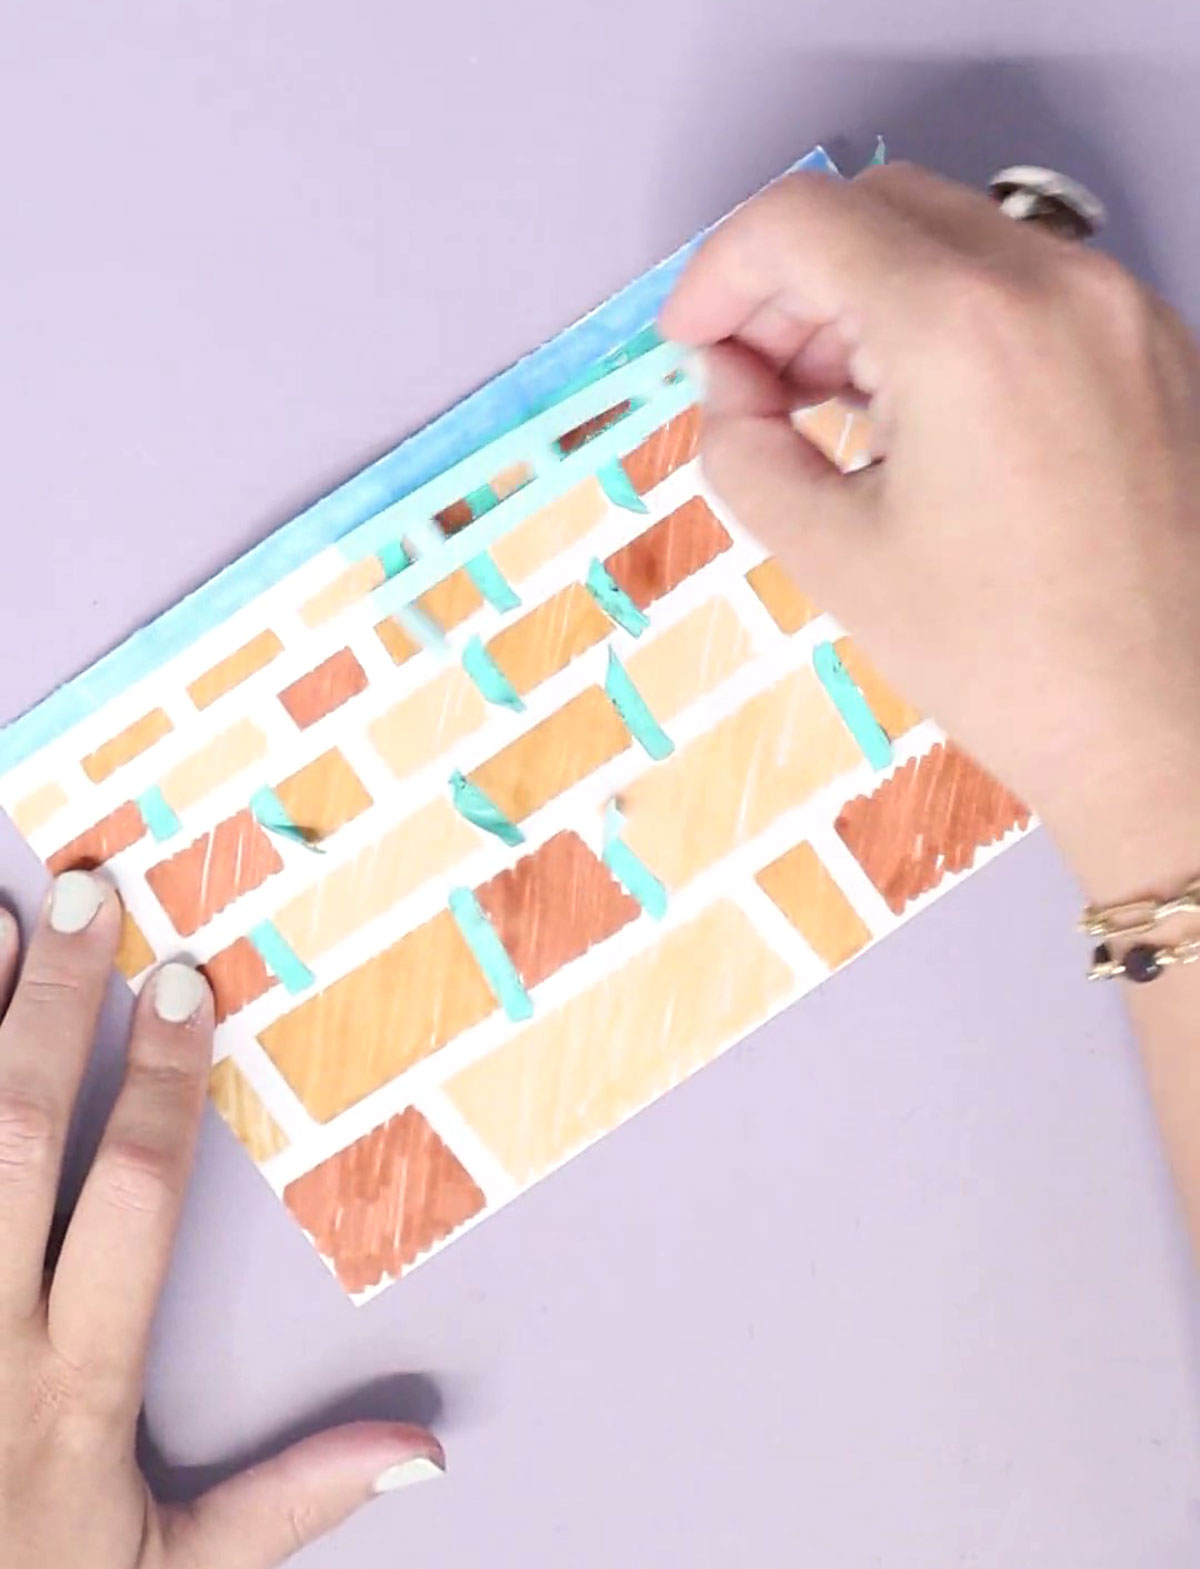
6. Make a few messy groups of lines as grass clusters.
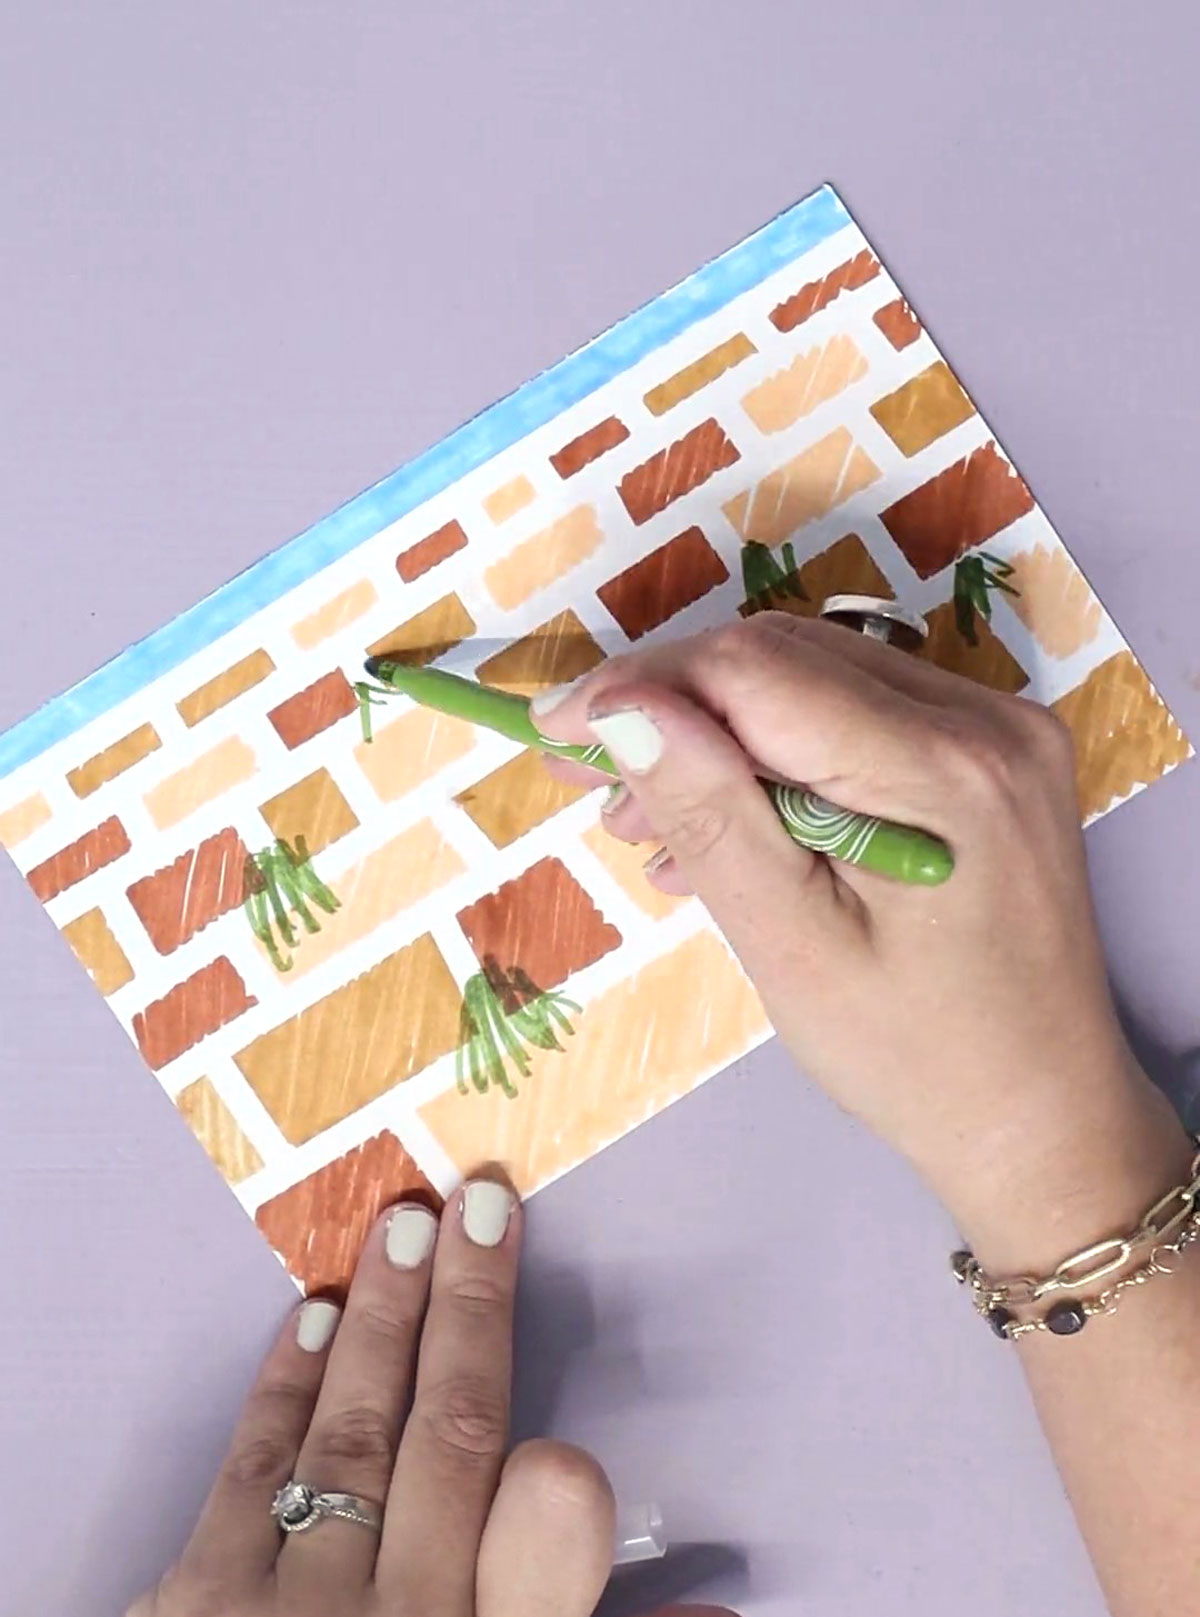
7. Take a cotton ball and clip a clothespin on the edge as a handle.
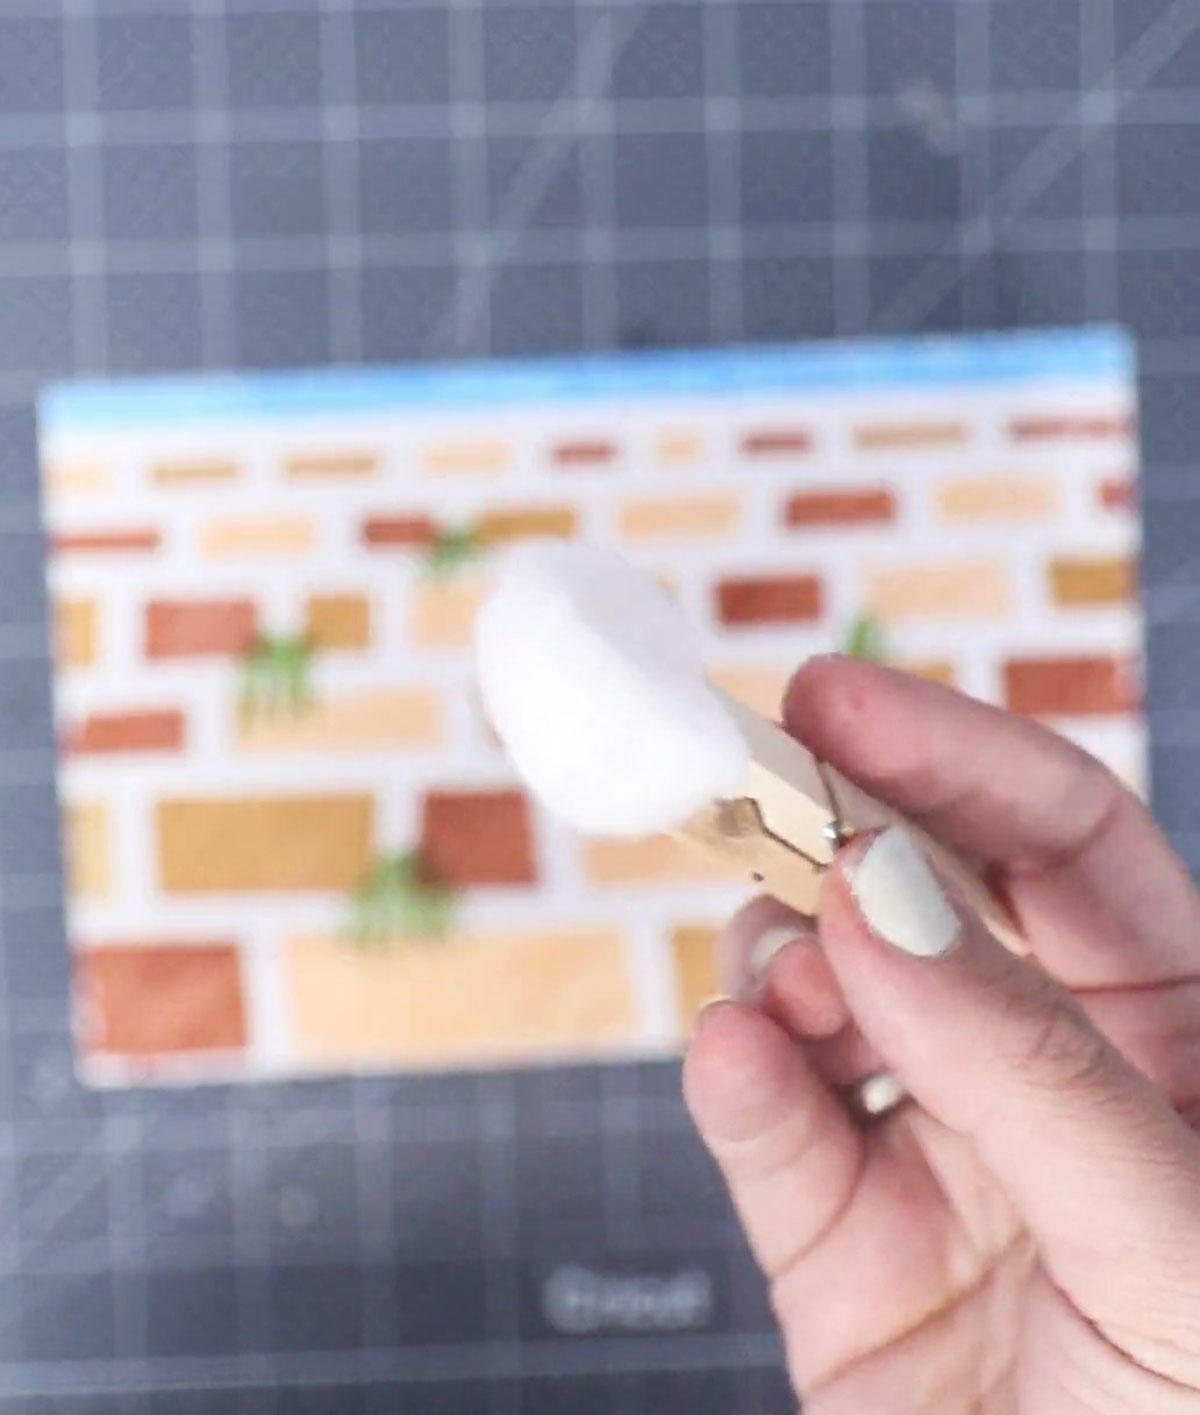
8. Dip it into baby oil (or pour it on carefully) and dab it onto your Kotel suncatcher.
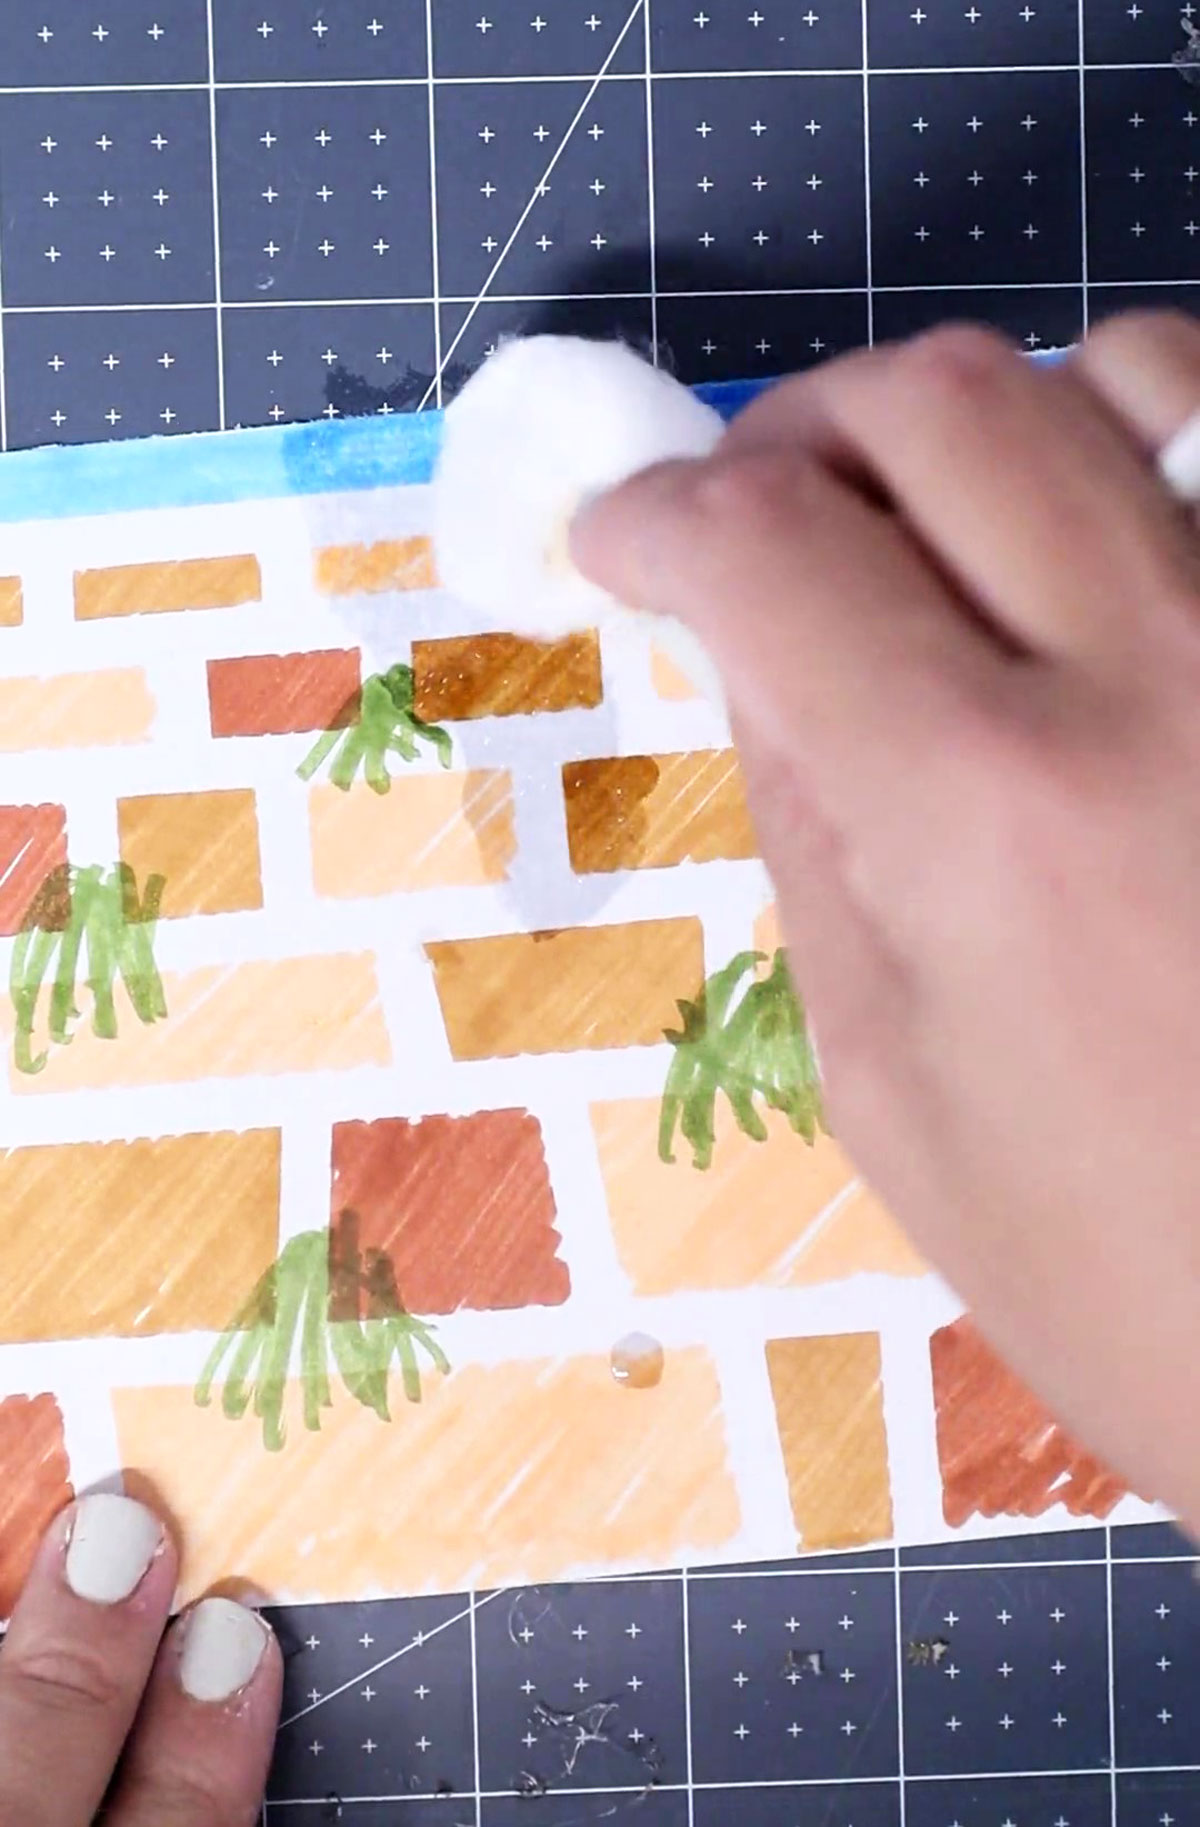
Keep going until your whole Kotel art is covered.
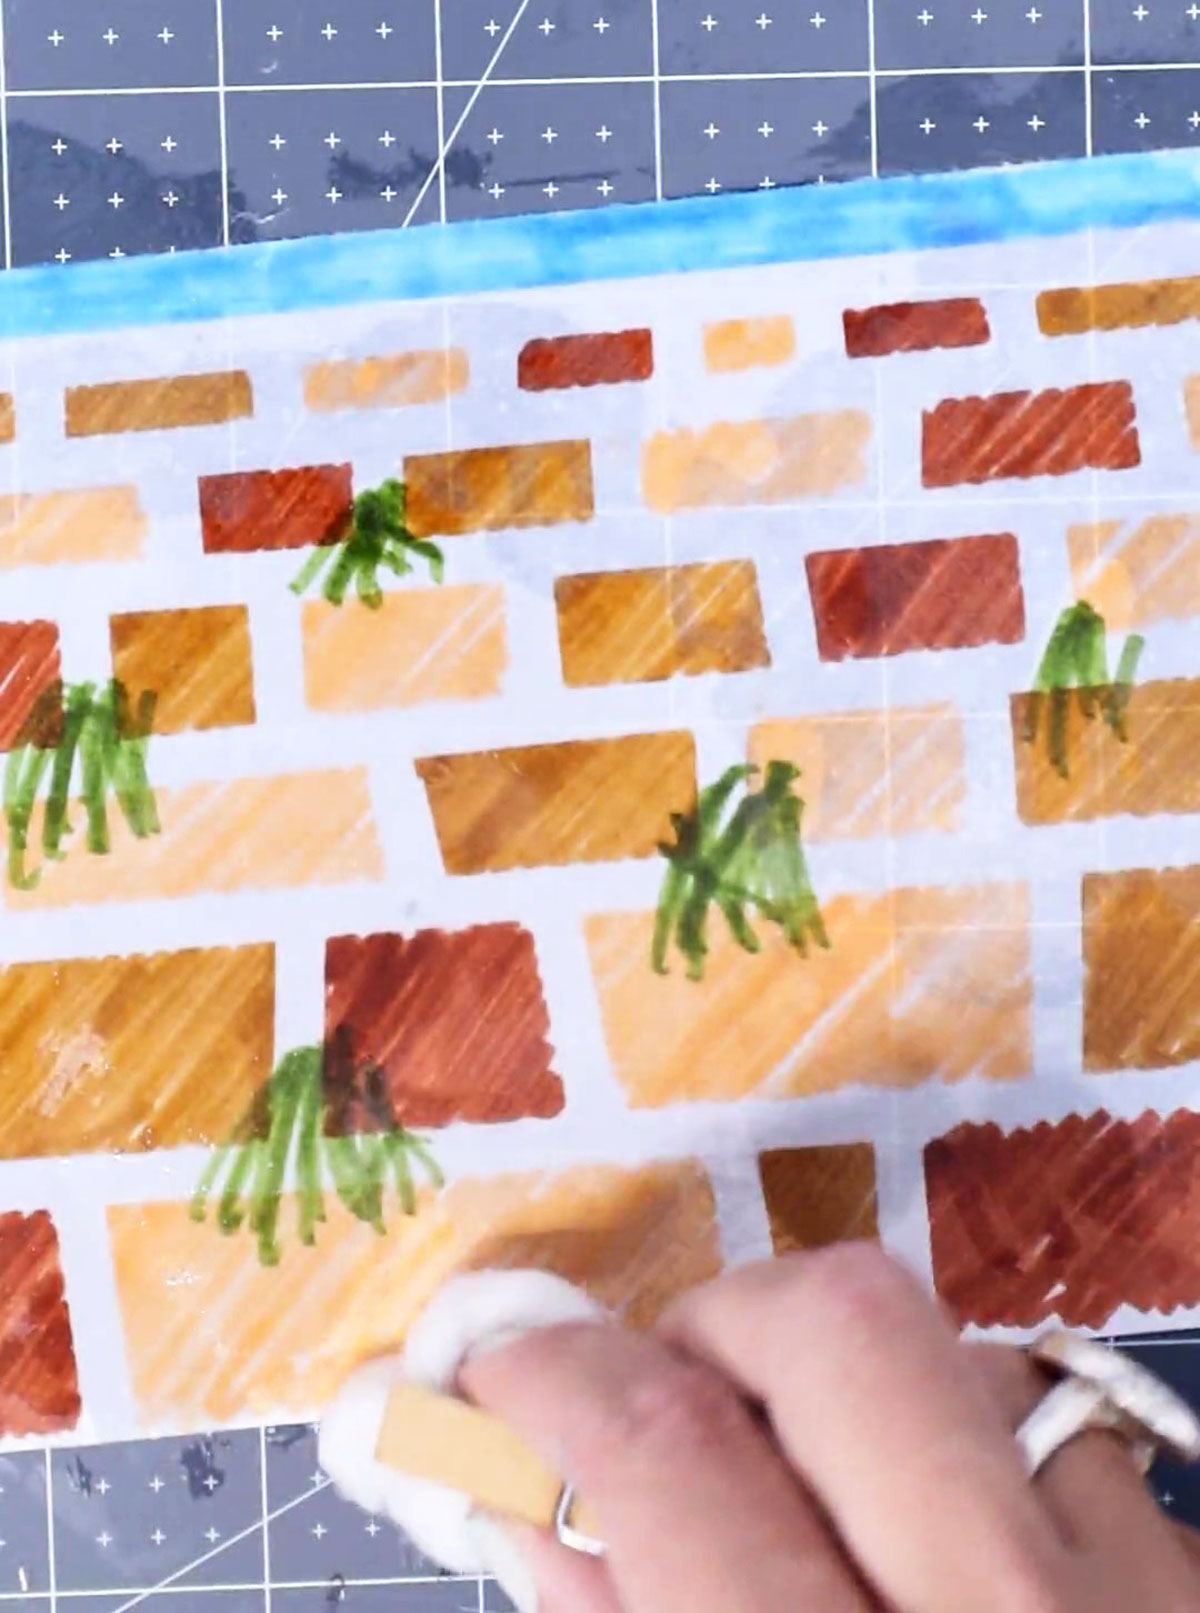
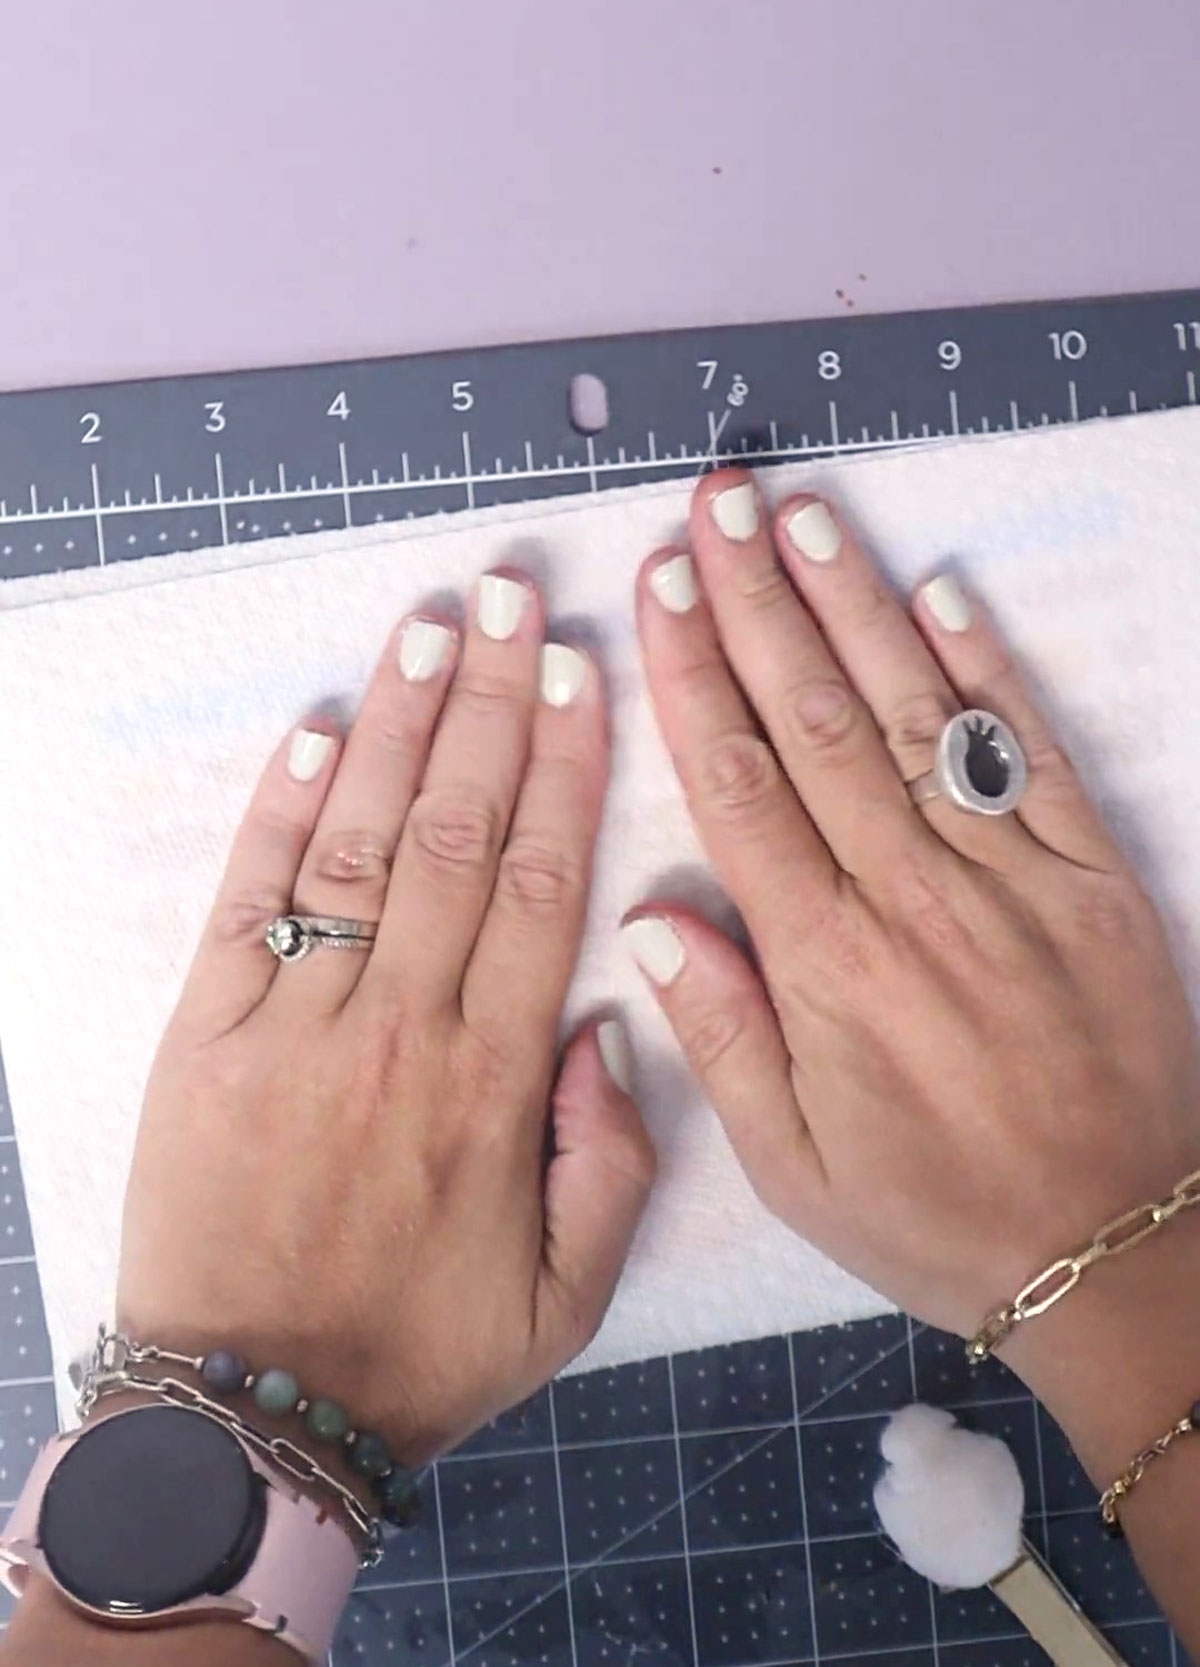
9. Let it sit for a few minutes in the oil so that it can absorb fully and pat off any excess with paper towels.
10. Cut a black cardstock frame. It should overlap the the art slightly (enough to allow for stapling it together) and be about an inch thick all around. Staple it to the corners of your Kotel art.
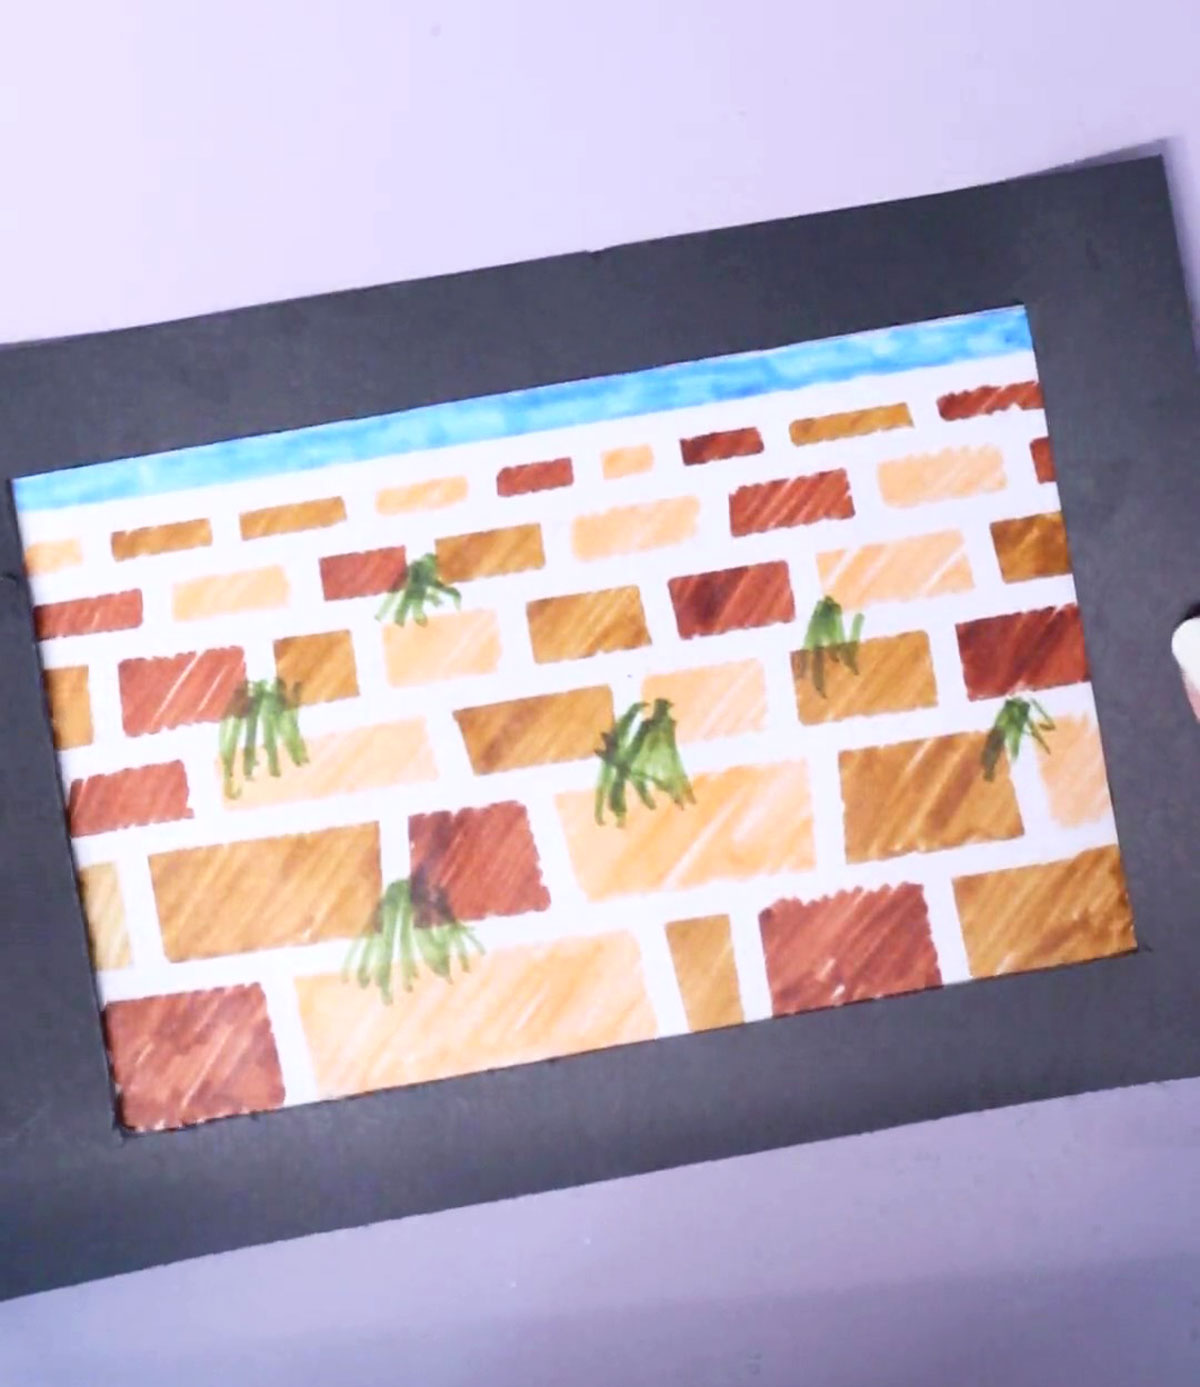
Your Kotel suncatcher art is complete! Hang it from the frame to any window! (The paper itself will remain a bit greasy and be harder to hang). If you want to get rid of the grease, you can laminate it – definitely send it home from camp or wherever you’re making it in a Ziploc bag!