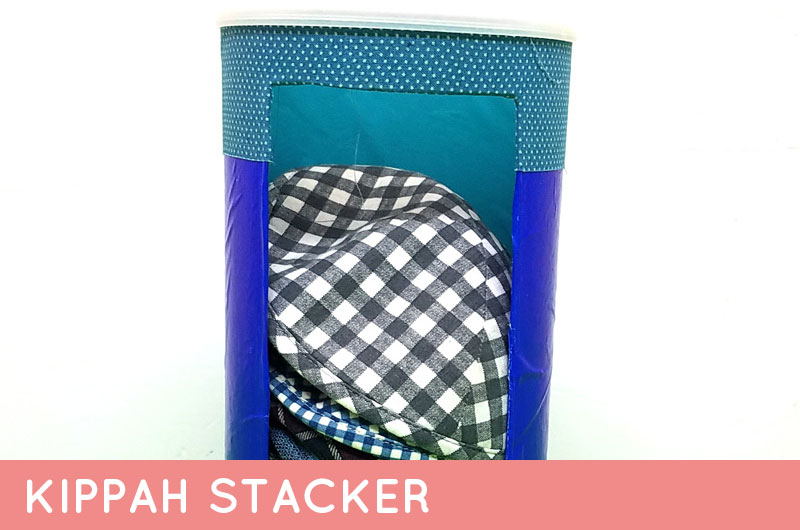
Kippah Storage – Make a DIY Yarmulke Stacker
When you have little boys around, you know that kippahs are practically disposable and for some reason so hard to store. I made this DIY Kippah storage solution using easy materials from the craft closet and recycling bin. Disclosure: this post contains affiliate links.
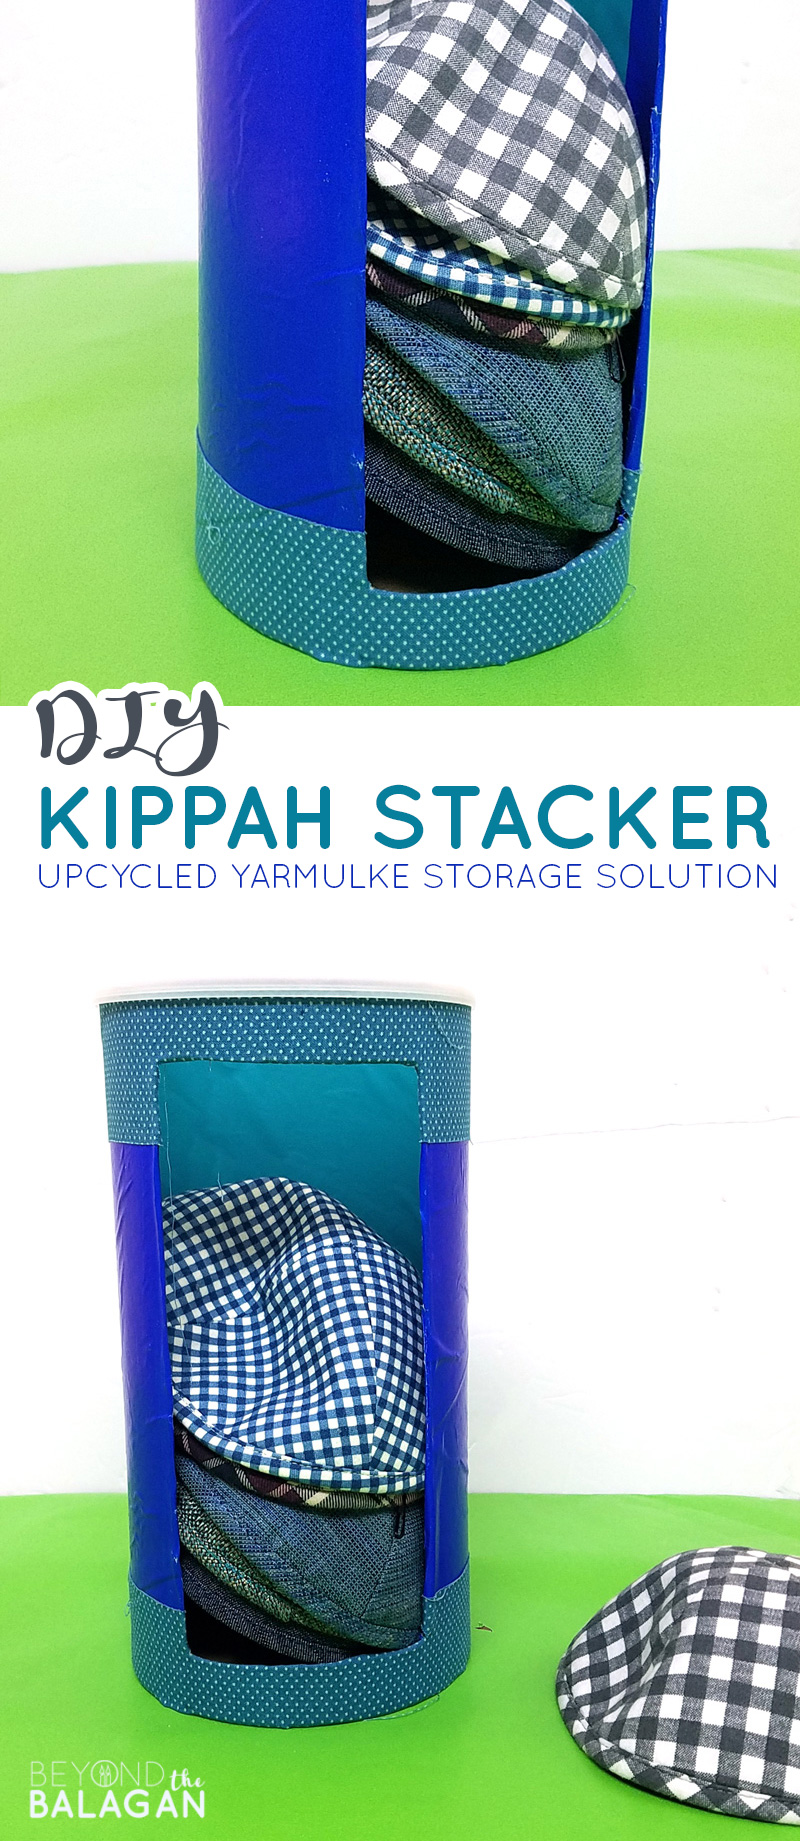
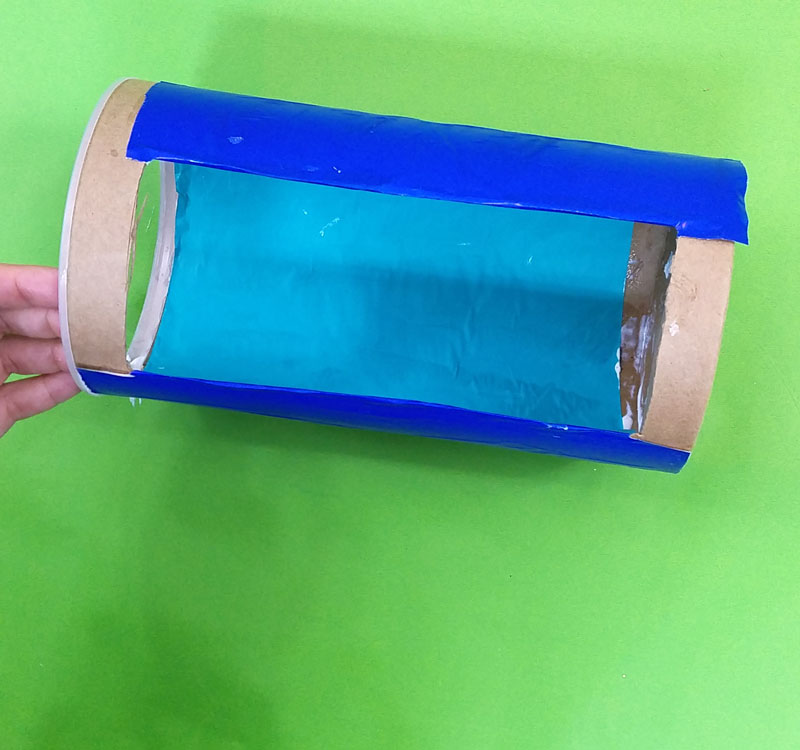
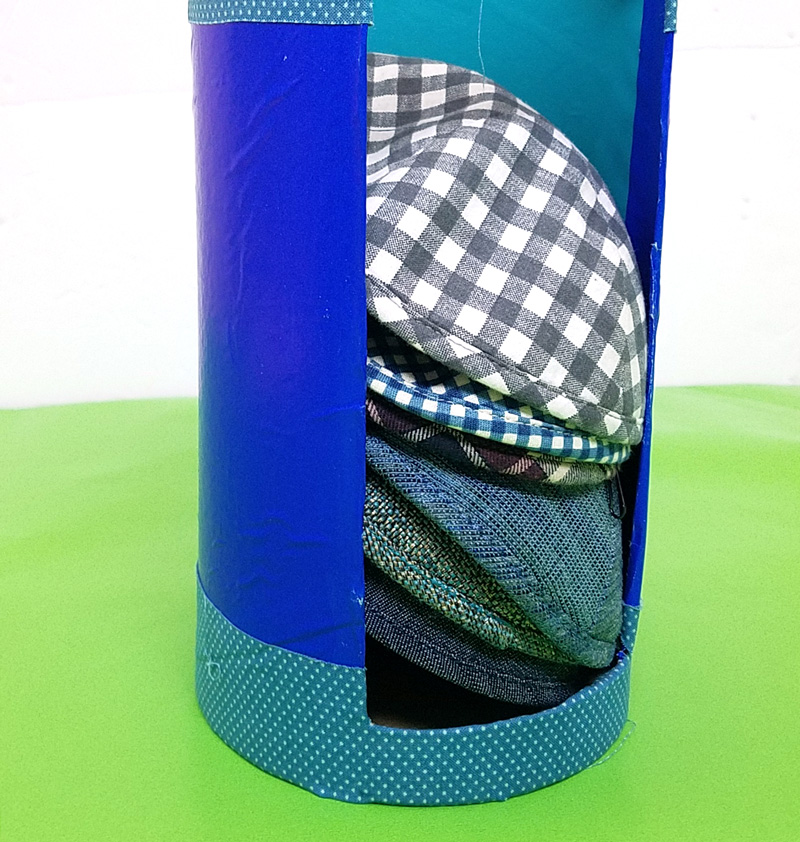
I used an oatmeal container to make this DIY Yarmulke stacker. It’s a really simple storage solution and took under half an hour to make. I’ll confess: it’s not perfect. I should have made my opening smaller and I should have used a larger container. But it works and by learning from my mistakes, you can make yours better than mine.
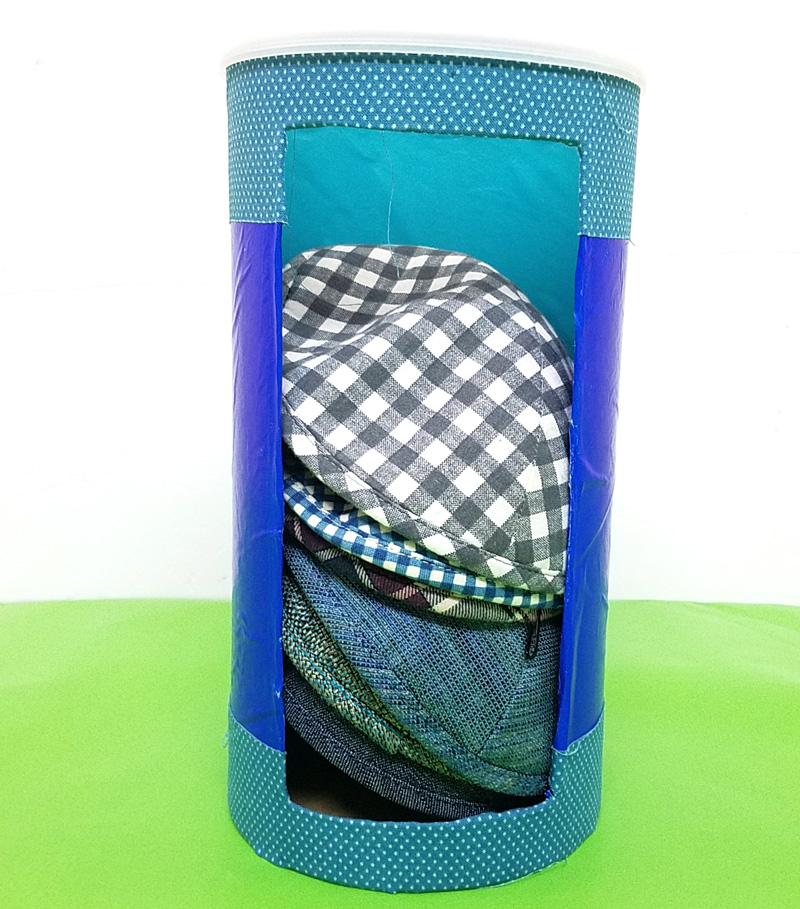
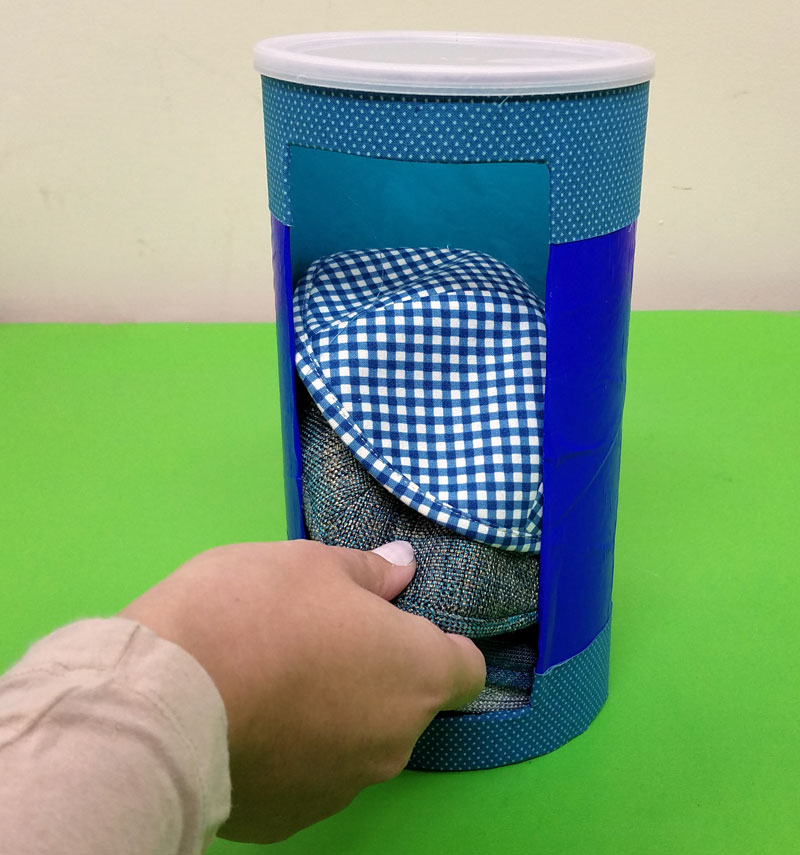
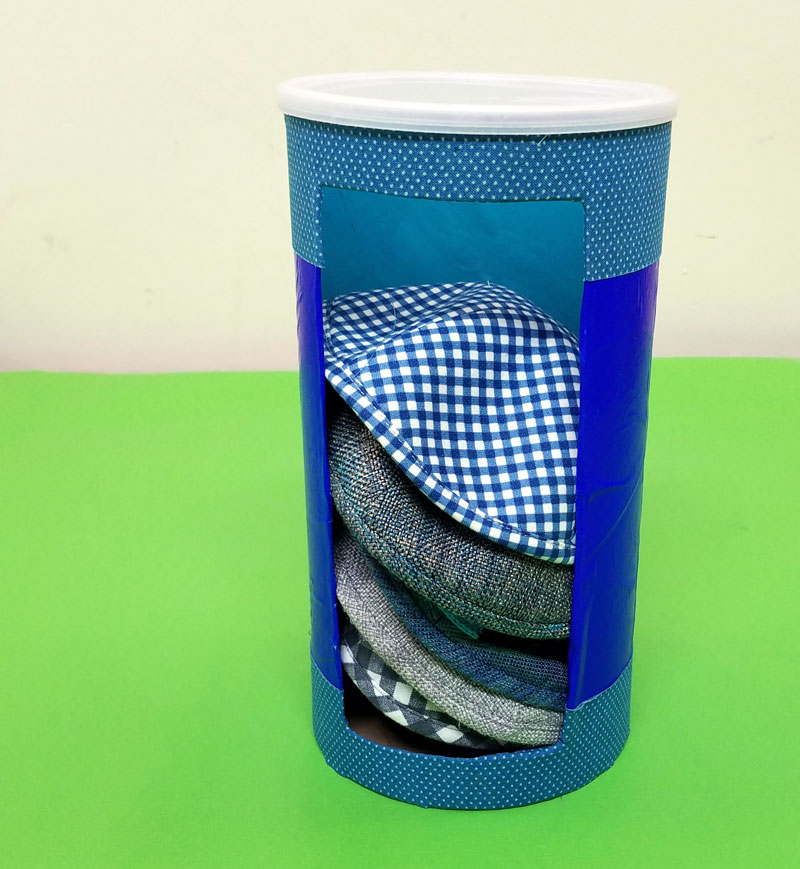
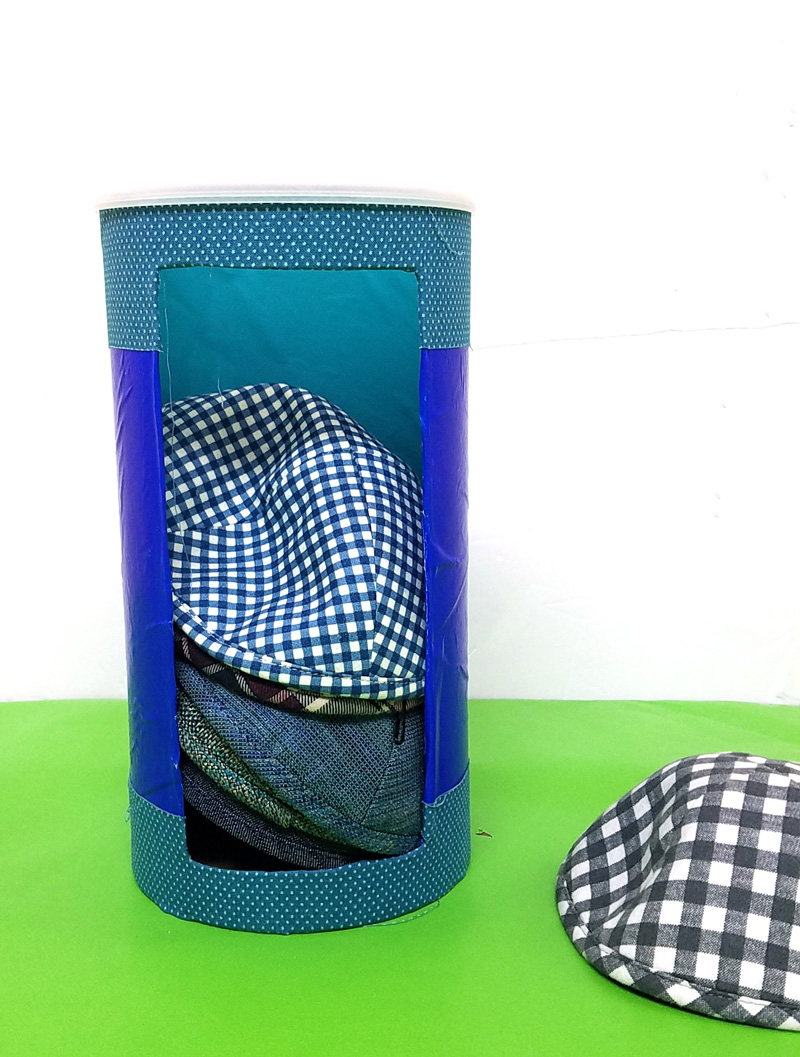
The kippahs in this kippah storage solution simply stack up. Open the lid to replace your kippah after you use it. You can see what you have and pull out the one you want to use via the window cut out in the front. That’s about it!
I covered it with wrapping paper using decoupage glue to make it pretty. Fabric tape – one of my absolute favorite craft materials – finishes it off. It’s literally a thin, flexible fabric that sits nicely on the cardboard. It has adhesive on the back, so that you can easily finish your crafts off with some real texture.
What you need to make kippah storage:
- An oatmeal container – cleaned out with the label removed
- A utility knife
- A ruler and pen
- Scissors
- Wrapping paper (or scrapbook paper)
- Mod podge and a foam brush
- Fabric tape (or trim and a hot glue gun)
[show_boutique_widget id=”667009″]
How to make a Kippah storage solution:
1. Measure the size that you want your hole to be. Don’t make it too wide – make it just large enough to slip out a kippah.
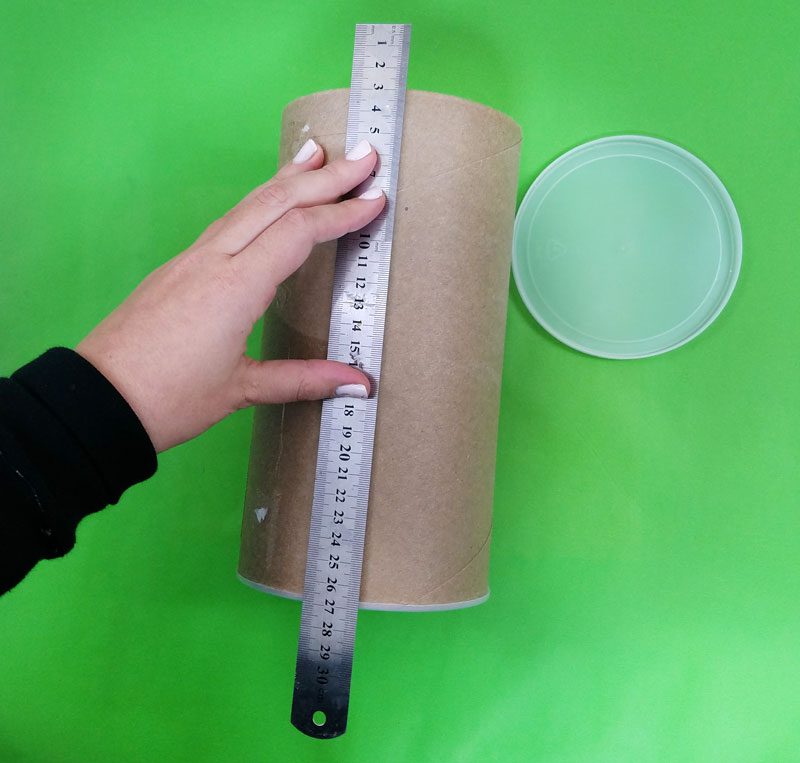
You should leave a little on the top to keep your kippah storage solution sturdy, and a little on the bottom to keep the bottom kippah in place better – since that will ensure the stability of the whole stack.
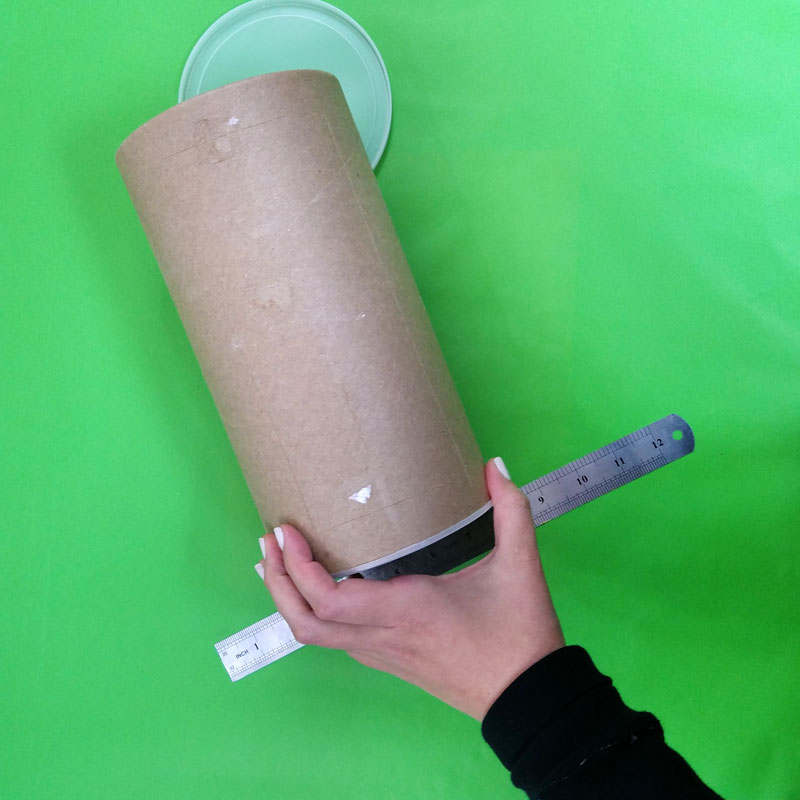
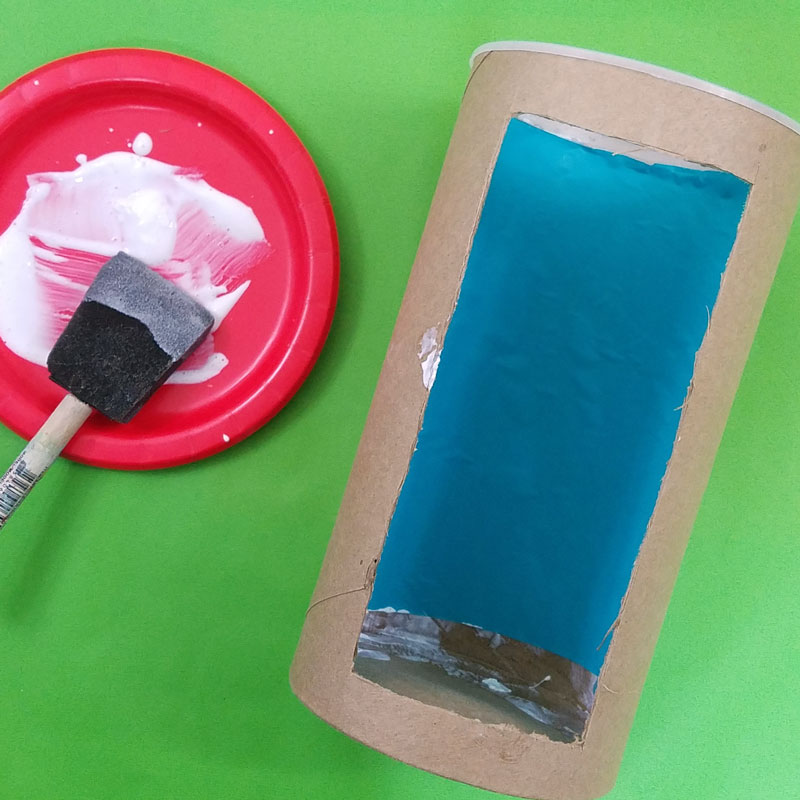
2. Use a utility knife to cut out your hole.

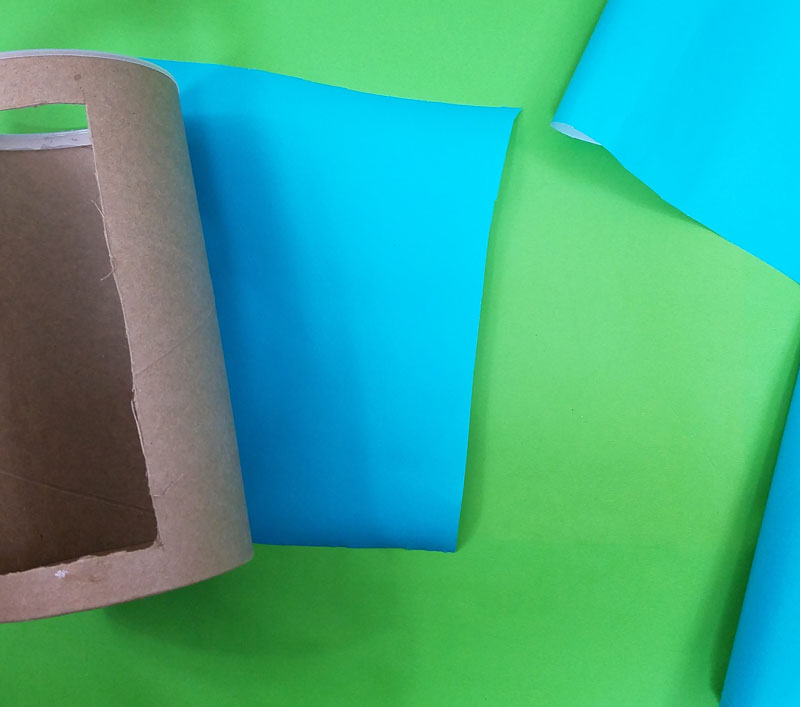
3. Measure a piece of wrapping paper large enough to cover the section of the inside that will show through your hole.
4. Apply a thin, even layer of mod podge to the inside using a foam brush.
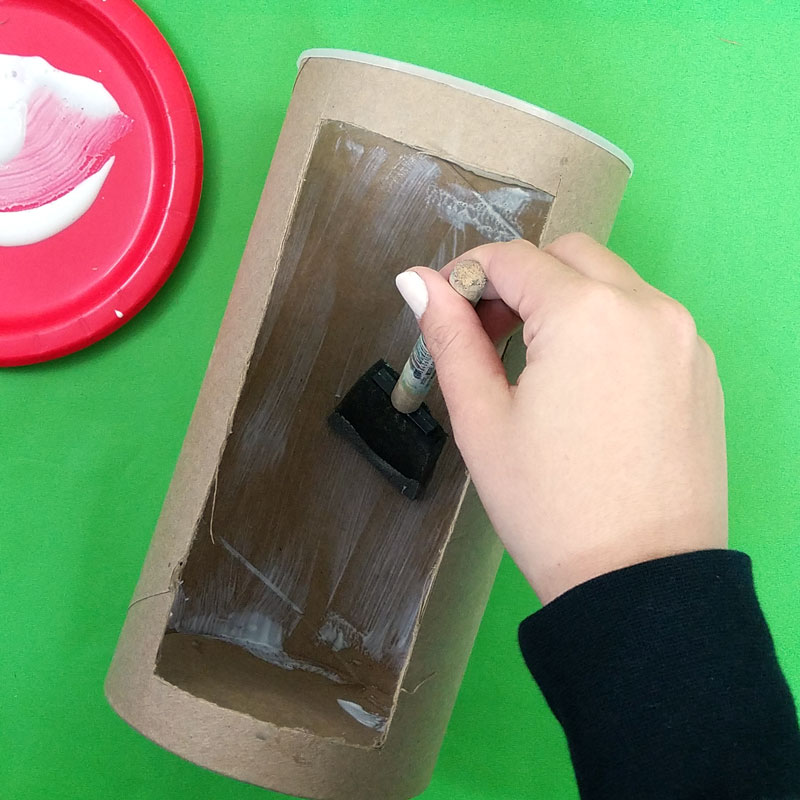
5. Paste on your wrapping paper, smoothing out any air bubbles, and making sure all the ends are glued down well.
6. Measure a coordinating piece of wrapping paper to fit around the outside of your oatmeal container. It doesn’t have to be perfect, since you’ll be adding trim or fabric tape around the rim.
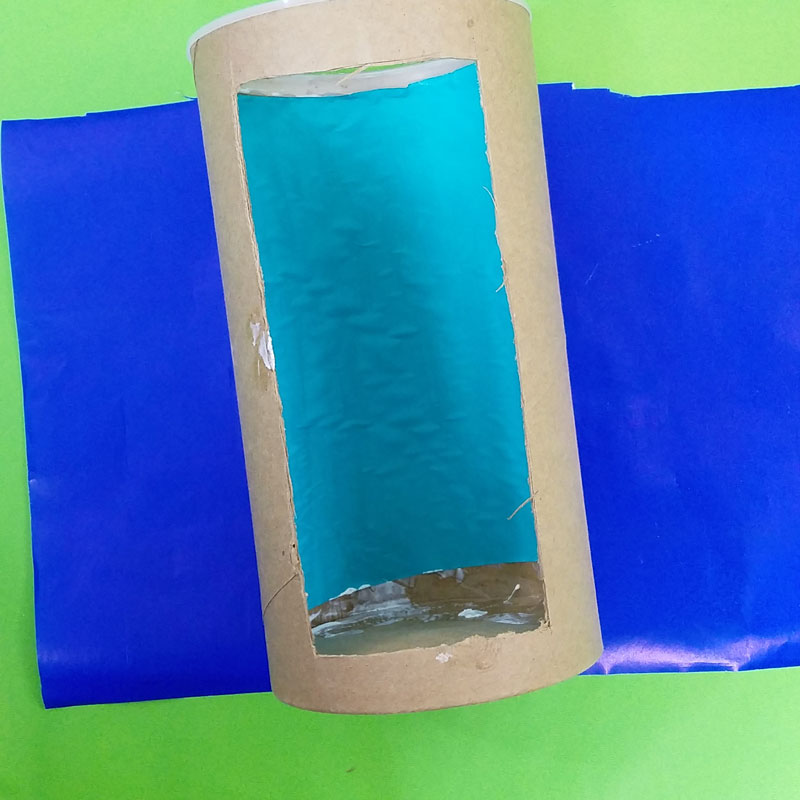
7. Start from one side of your hole, add a thin, even layer of mod podge, and glue on your wrapping paper. Work in small portions of a few inches to keep it workable.
Continue until you’ve wrapped your container.

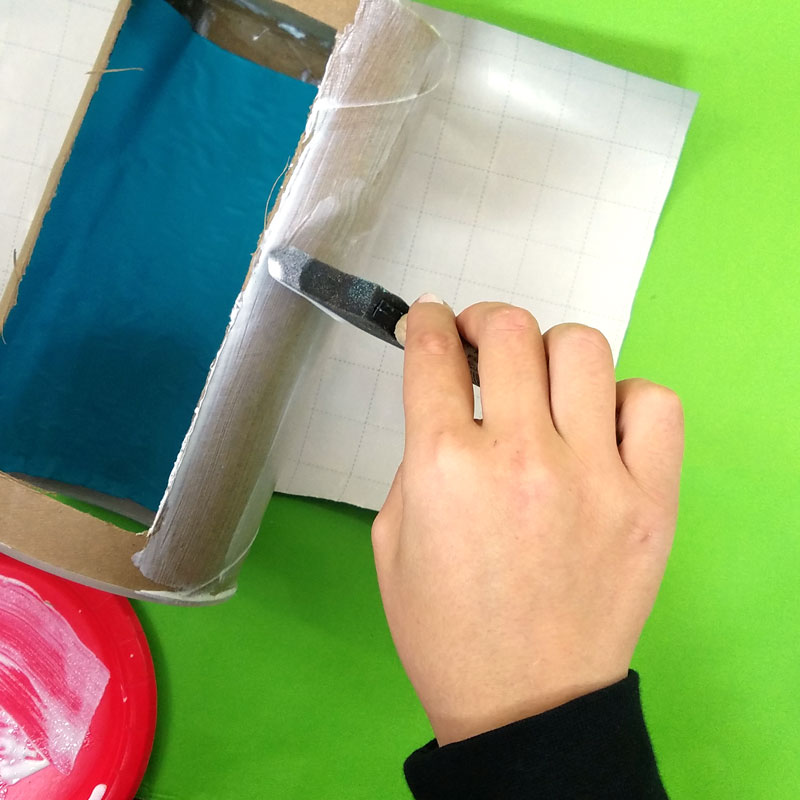
8. Snip off the corners of your outside wrapping paper and glue the end flaps in to seal off the hole and cover the rough edges from your cutout.
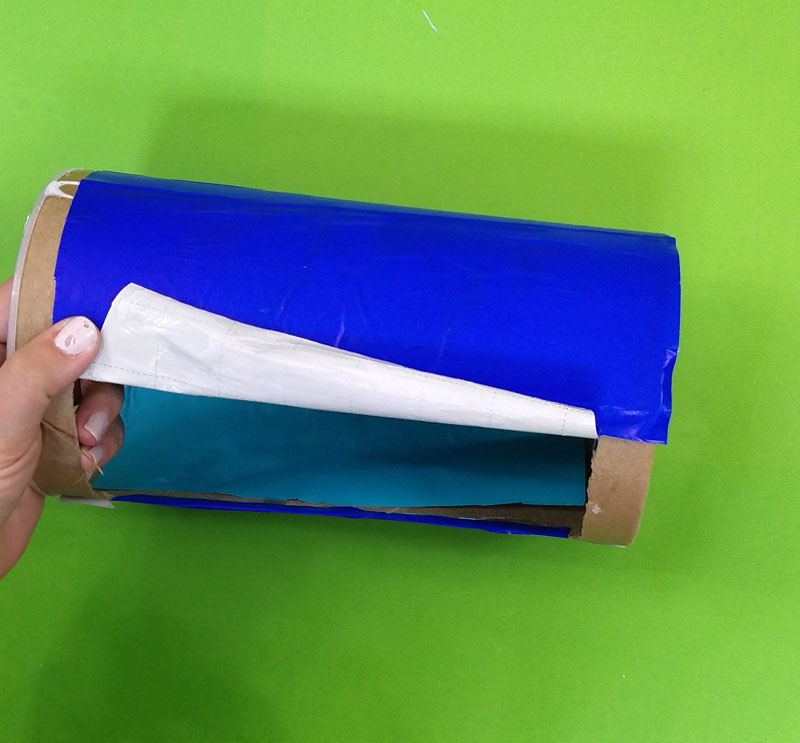
9. Cut two pieces of fabric tape that will fit around the edge of your oatmeal container. Starting from the back, apply it so that there’s a bit of overhang over the edge of your container. Fold the overhang down over the edge. It’s a very thin tape, so it adapts easily to the shape – you don’t need to notch it to go around the curve.
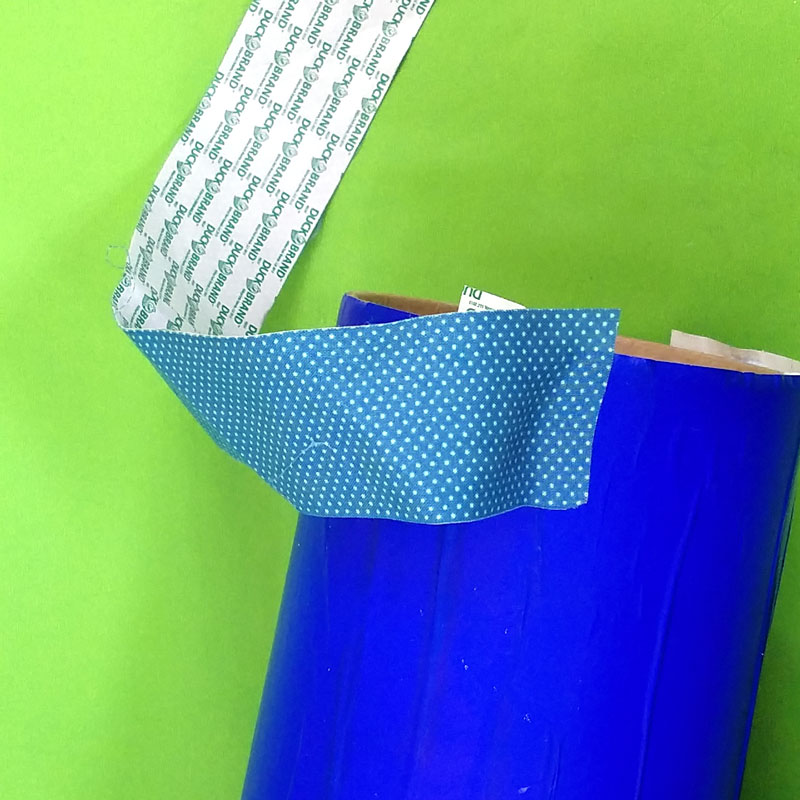
10. When you get the the front, cut a slit at your corners where it overlaps the hole.
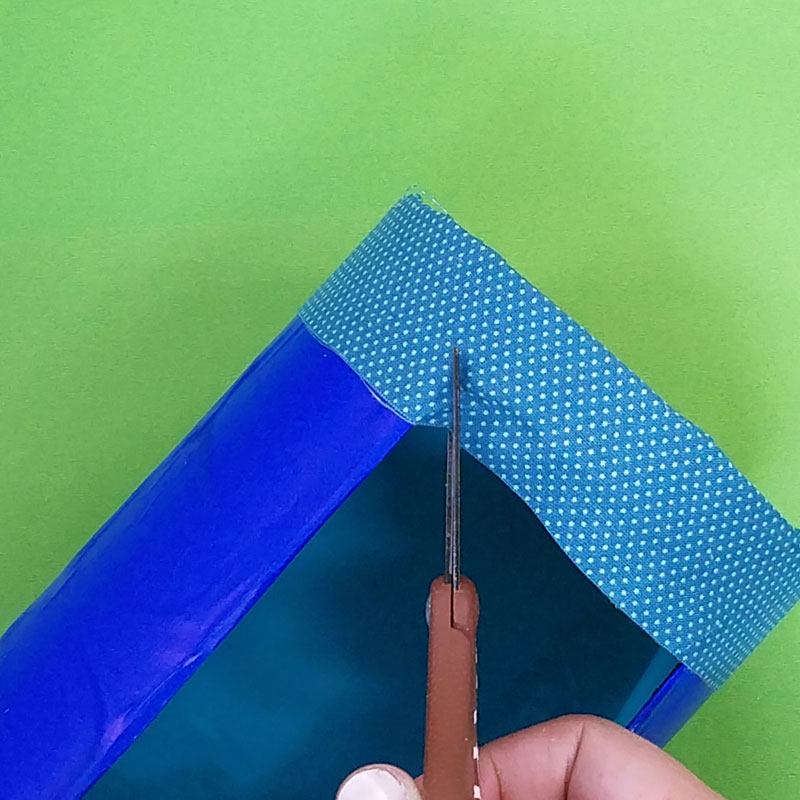
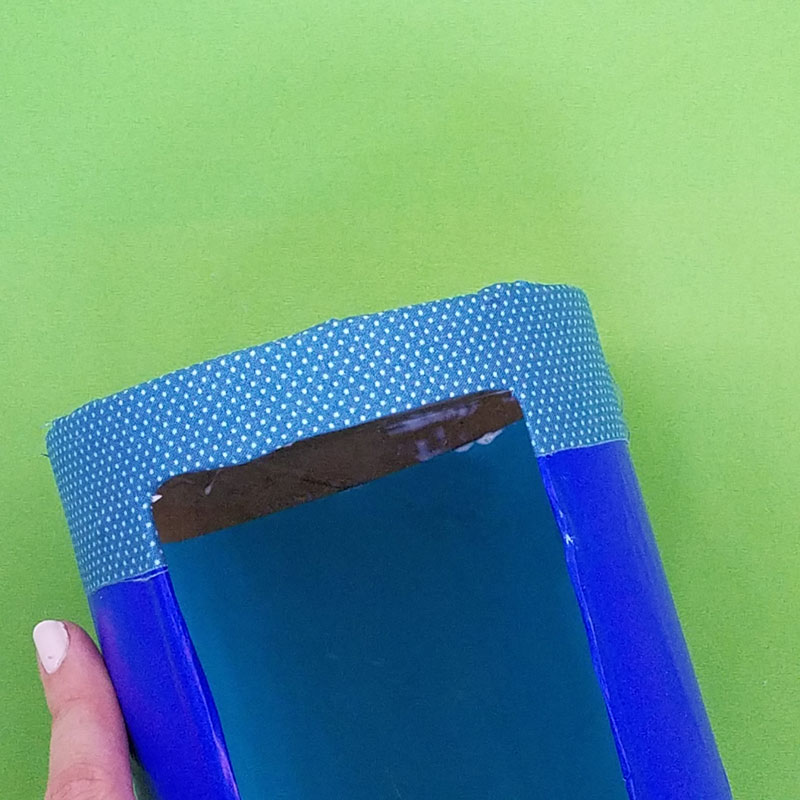
11.Fold the overhang inward so that you’re covering the rest of your rough cut edges.
Stack up your kippahs and find the one that matches! You can see what’s inside, take out what you need through the hole, and when you’re done, replace it neatly via the lid on top. Easy peasy!
You can place your kippah stacker on a dresser or even in a drawer to corral all those yarmulkes!
What is your favorite kippah storage solution? Comment below!