Mazel Tov Banner – Free Printable Template + Cut File
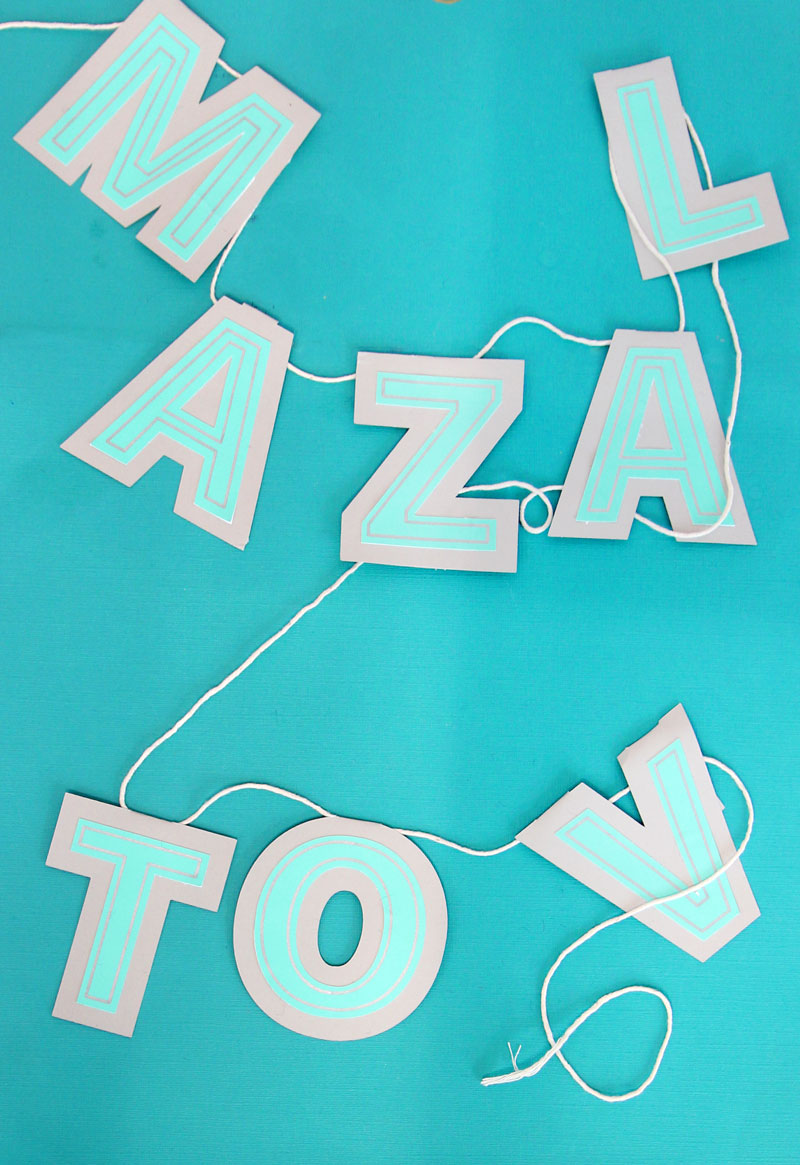
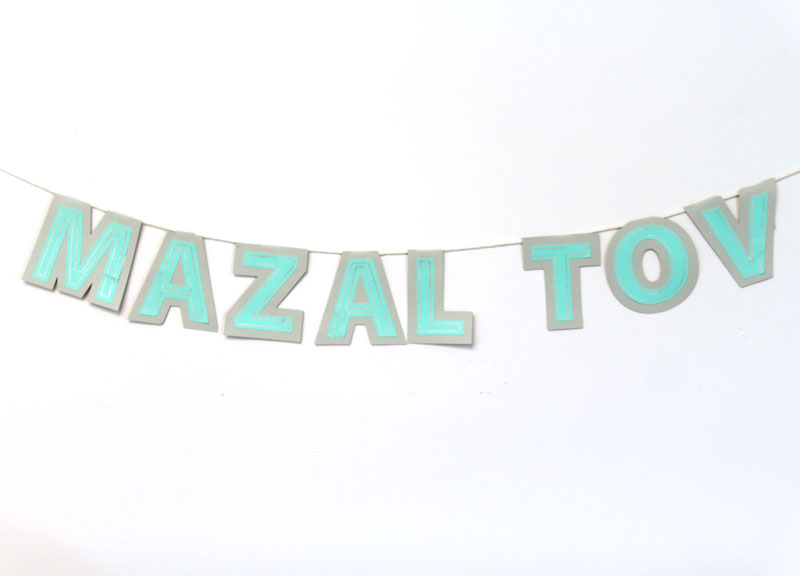
This Mazel Tov banner is so easy to make and perfect for a Kiddush, engagement party/vort, Bar Mitzvah, or any Jewish celebration! It’s similar to my Happy Purim banner and will take on the style of the paper you use. This post contains affiliate links.
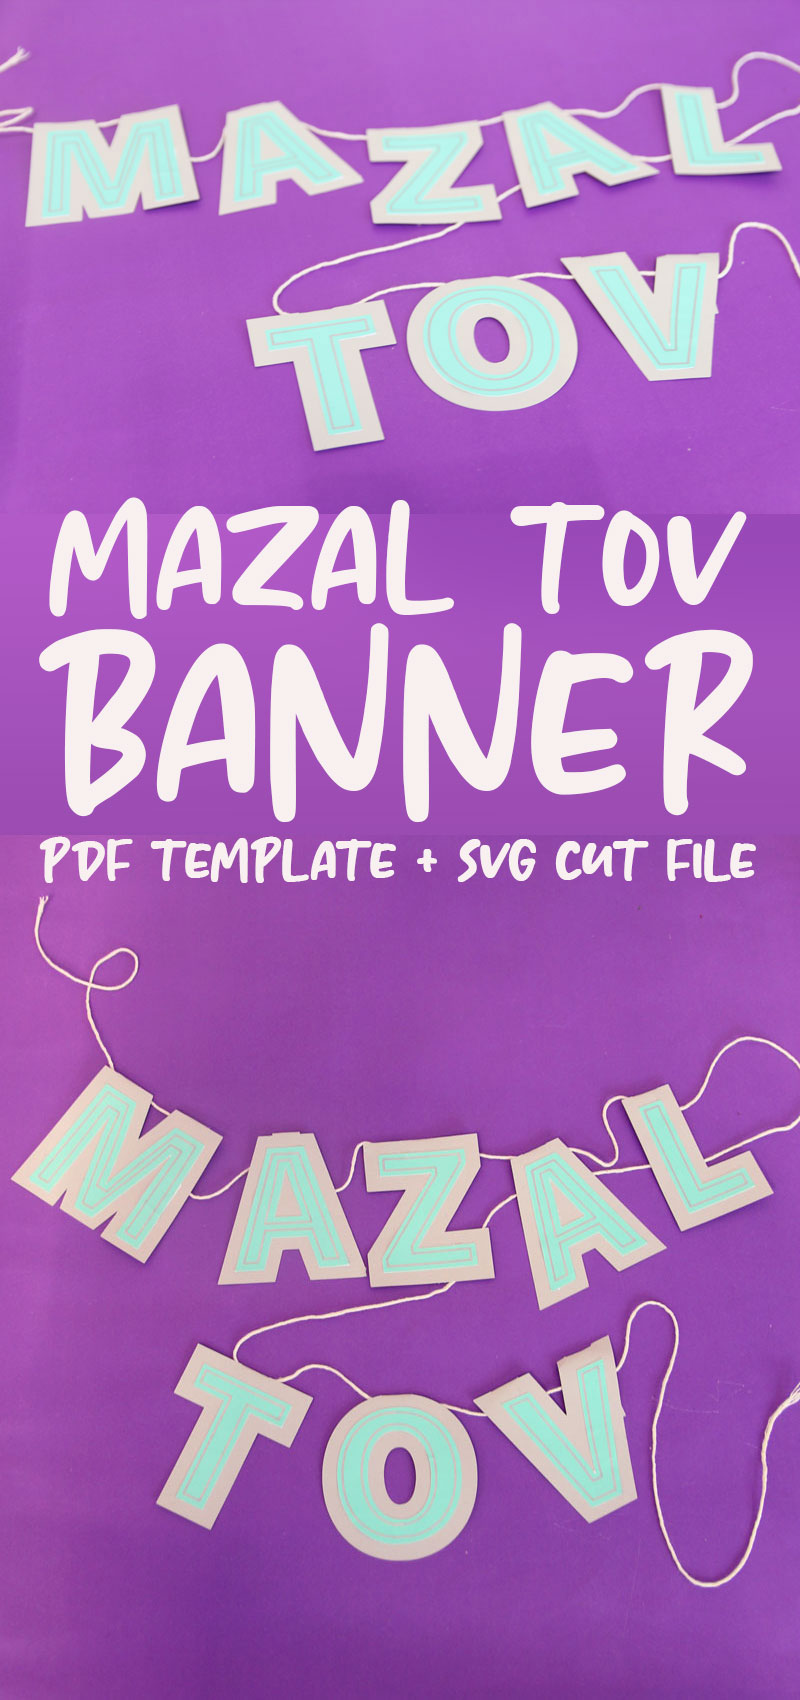
If you’re looking for a fun way to dress up any Jewish celebration, a Mazel Tov banner is a flexible solution! I designed this one originally for a friend’s Bar Mitzvah and I’m excited to be able to offer it to you now, for whichever celebration you need it for!
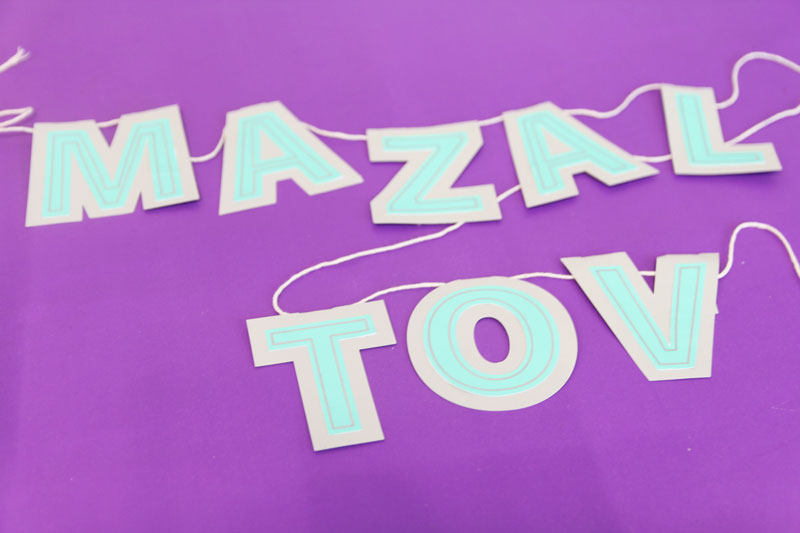
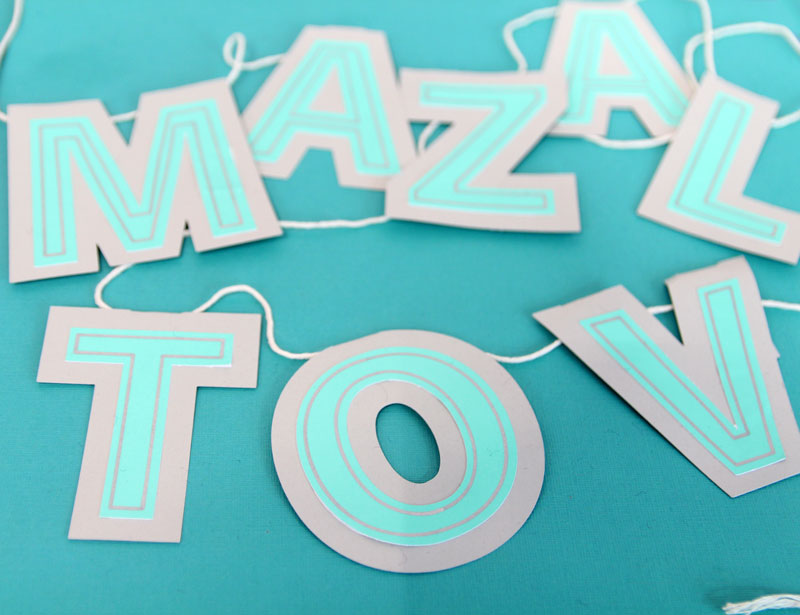
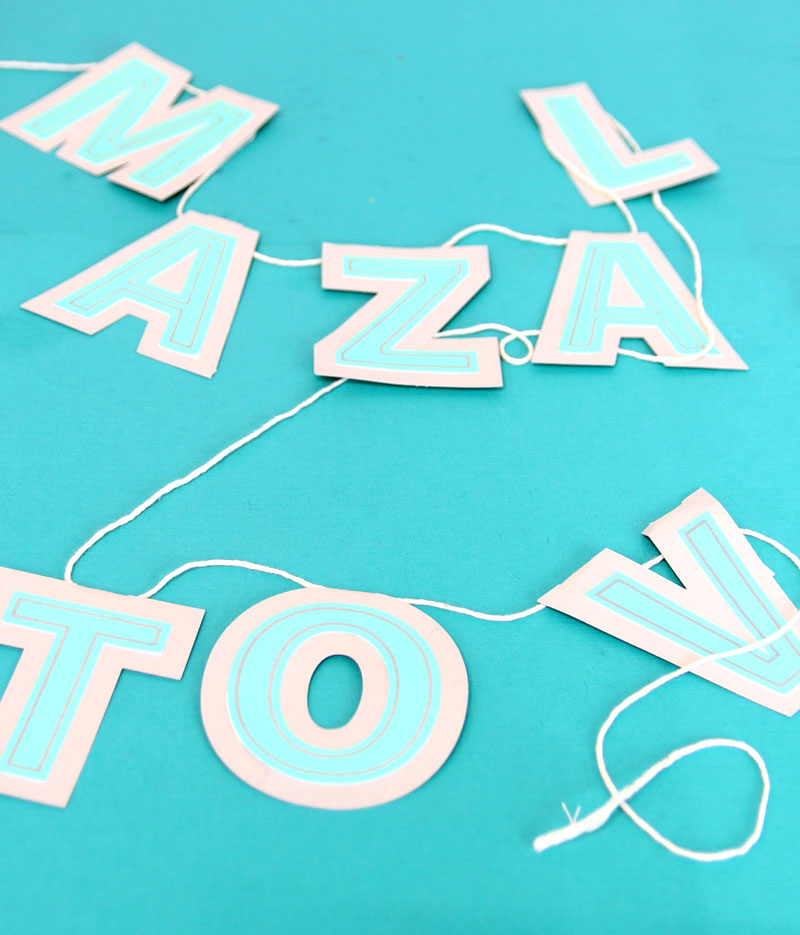
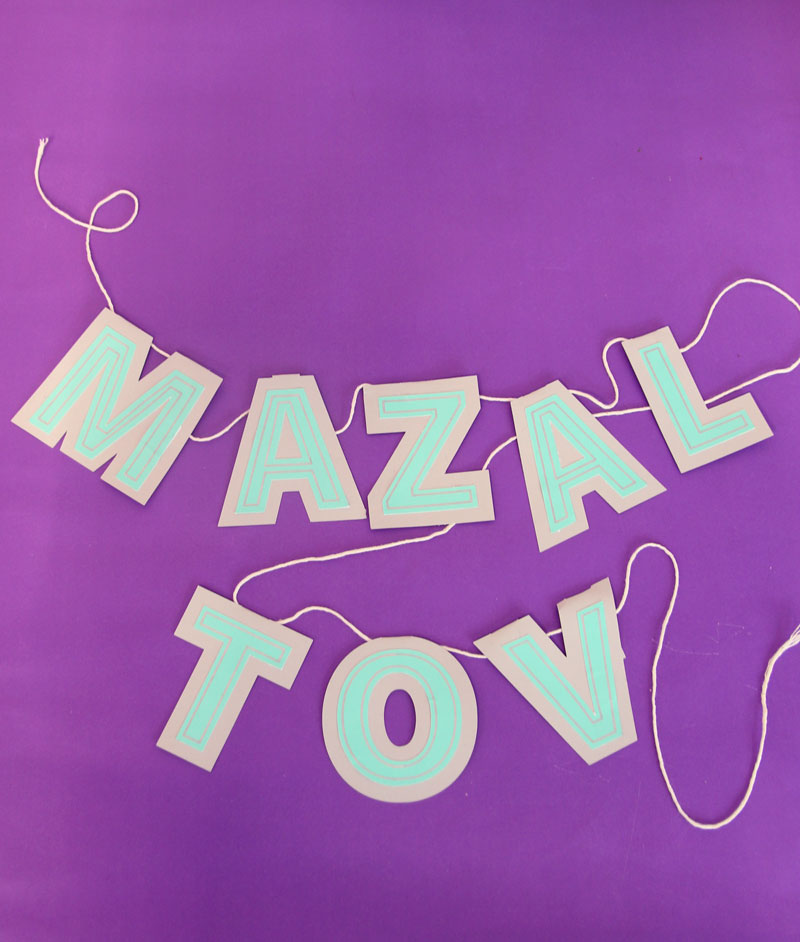
While I created mine as a Mazal Tov banner – with two A’s, the template and cut file come with an E too so that you can write Mazel Tov if you prefer!
And yes, I included a printable PDF for those of you who don’t have a Cricut or similar cutting machine. Plus, there’s an SVG file for those of us who do have one to make it much more easily!
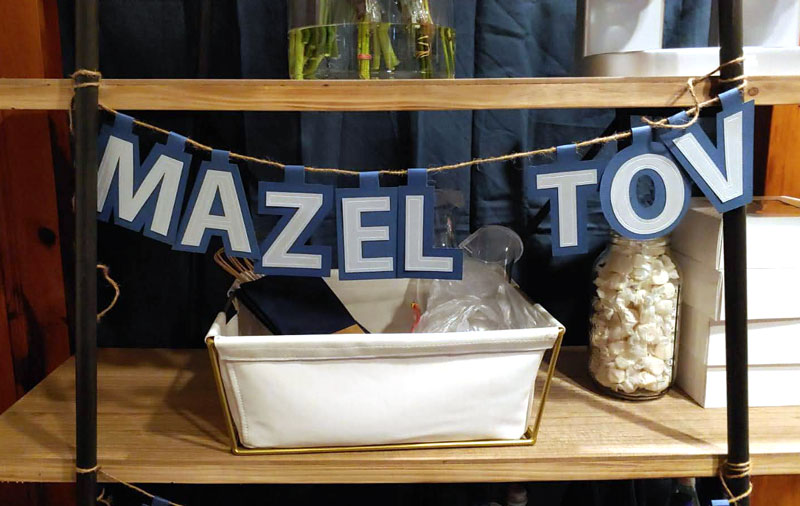
I crafted mine in mini since it’s easier to photograph that way. The mini version is great for hanging from a table or a set of open shelves with treats, like we did for that Bar Mitzvah I was talking about earlier…
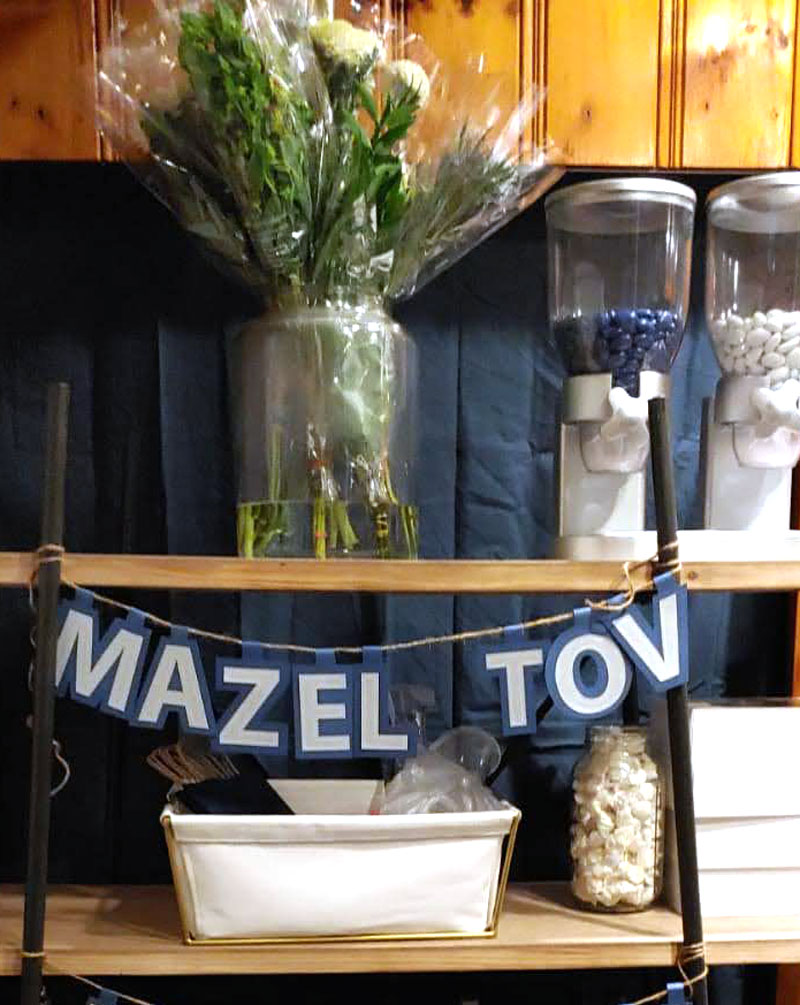
Or, make it in any size you want, to fill more space – or less! You can even make it really mini to use as an alternative to ribbon on a gift wrap!
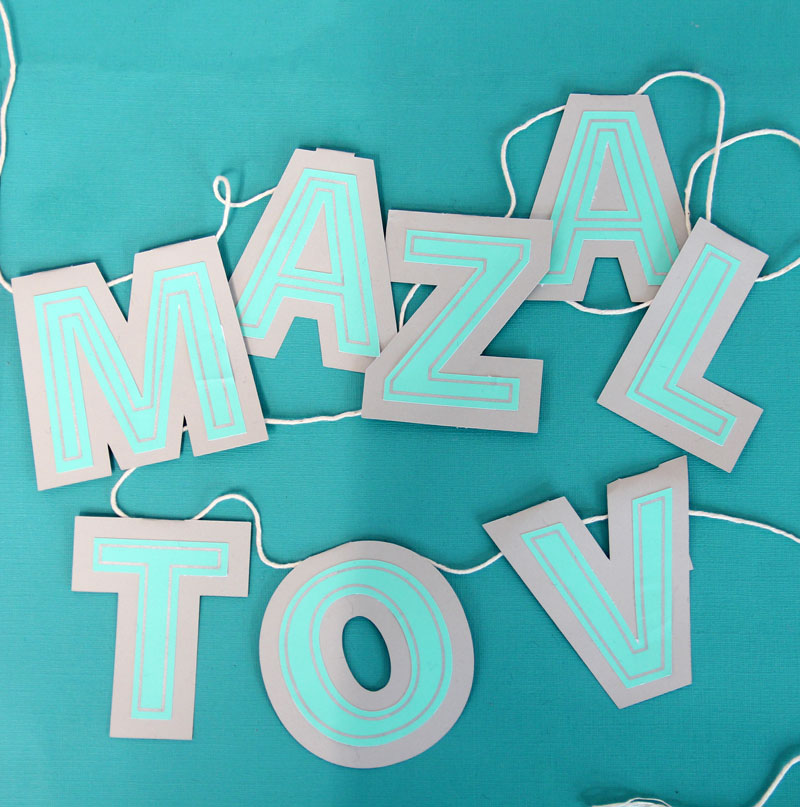
How to make a Mazel Tov Banner for every celebration
Adapt this to your celebration! This is purely text based, meaning that it’ll take on the paper you’re using as the core design focus. Choose paper packs in your color scheme to make all your paper decorations (such as Cricut place cards).
For generic themes, not based on your color scheme, here are some ideas:
Baby Girl Kiddush:
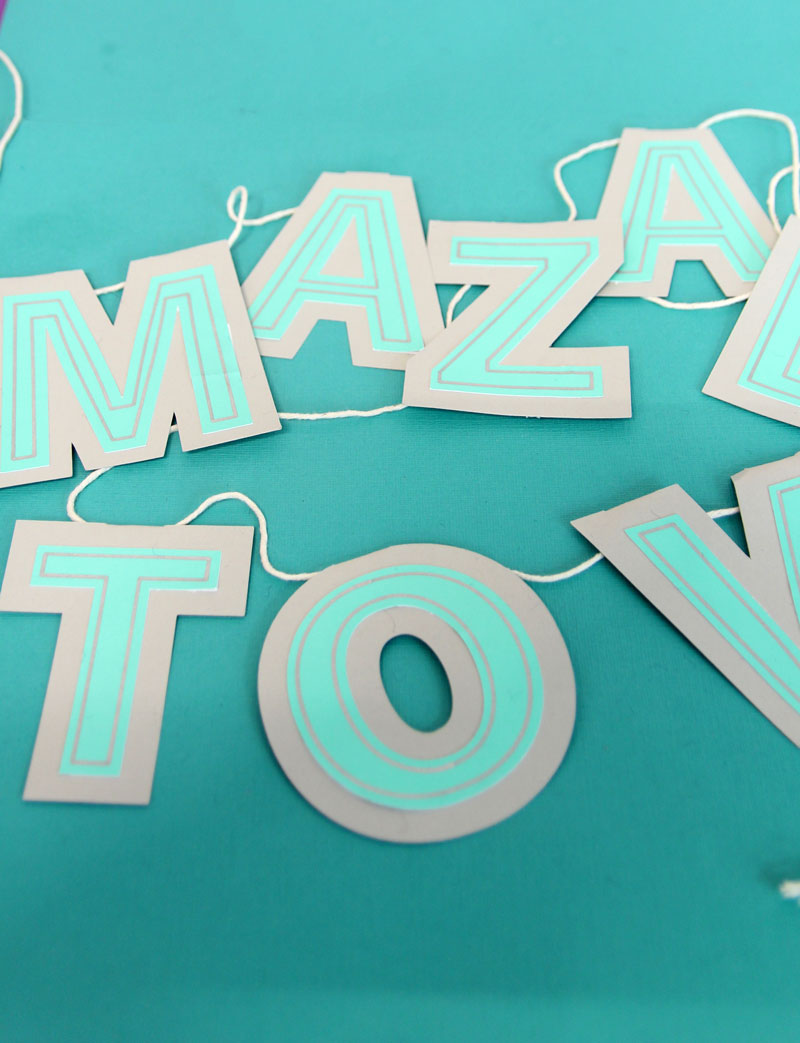
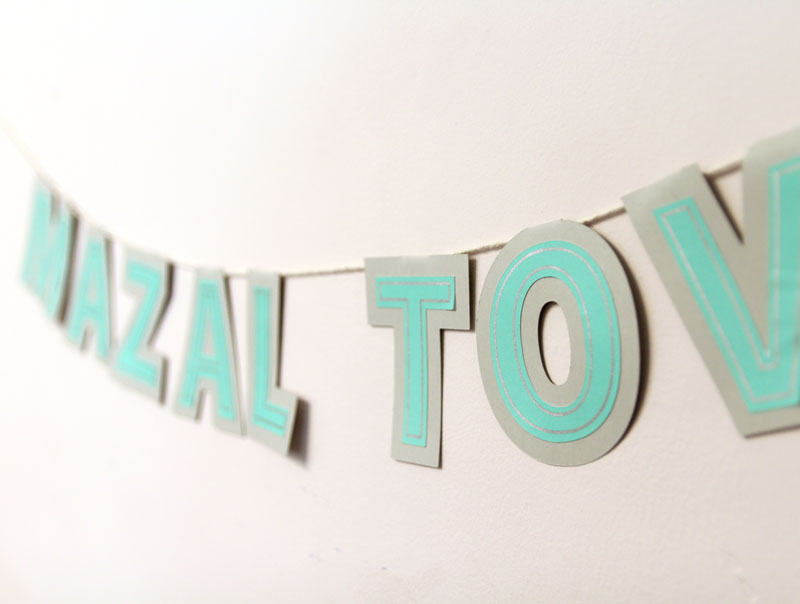
Soft teals like the ones I used, obviously purples and pinks, paired with gray, silver or cream make for a fun, feminine look. Glitter cardstock can make a fun base!
Baby Boy Brit:
If you want a break from baby blues, royal blues, bright teal, combined with white, silver, or gold can be fun and still playful.
Bat Mitzvah:
Glitter cardstock is such a fun look for this! Anything on the rainbow can work if you’re using glitter!
Bar Mitzvahs:
Rusty oranges and autumn shades are a cool break from the traditional. For a more typical approach, go for shades of black and silver, including gunmetal or dark silvers. Navy and silver, like we used for the Bar Mitzvah above is classy and timeless. Avoid black and gold as that takes on a “graduation” vibe.
Engagements/vorts:
Really anything can go, but you can go for rose shades, shades of red, and whites for a bridal vibe.
Tips for assembling your Mazel Tov banner
The template includes three layers of text. The middle layer is the “real” one. So that should be your main color. The inner layer is not meant to be cut from paper. It’s an accent layer. So you can deboss using your Cricut, or write that layer.
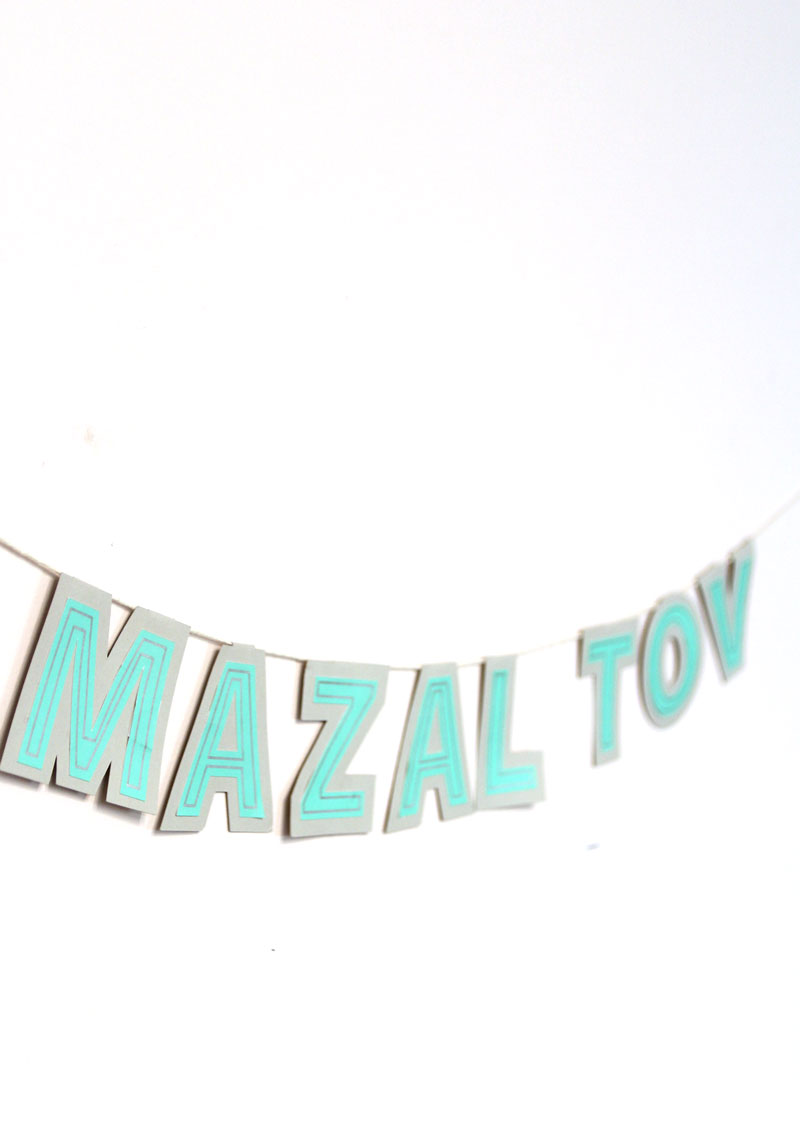
If you’re doing it by hand, you’ll want to start with the outer layer, trace, and cut it out. Move on to the middle, and then use the inner layer to outline directly on to the template. You can use a hand-debossing tool for this or marker.
If you’re debossing, make sure to use a paper that’ll take well to it. I love foil coated and metallic papers for debossing.
Download the free templates
Download your free template! It’ll arrive right in your inbox. By downloading, you’re subscribing to our FREE newsletter with updates on cool printables like this, ideas to simplify Jewish life, and more. Unsubscribe at any time at the bottom my emails. I respect your privacy and the law, and won’t share or sell your email address.
Supplies needed
If using a Cricut:
- Cricut cutting machine
- Cricut Marker (I used the silver one from the metallic pack) or debossing tool (Maker only)
- LightGrip mat for cardstock, or StandardGrip mat for glitter cardstock
- Brayer to adhere material to your mat well
- Spatula tool to help you lift your pieces up.
Hand cutting:
- Scissors
- Optional: hand embossing tool
- Optional: marker in contrasting color
- The template, printed on cardstock or paper
- A pencil
Assembly:
- Cardstock in your choice of shades
- Optional: I used SmartPaper Adhesive paper (compatible with Maker 3 and Explore 3 machines) for my top layer
- Double sided tape (or your choice of adhesive)
- Twine such as baker’s twine or sisal twine for a more rustic look
How to make a Mazel Tov banner
1. Cut out your parts. You can do this by hand or with your Cricut. If doing it by hand, start by cutting out the template on the outer edge. Trace it on your base color. Then cut out the middle level of the template and trace it on your main color paper. Then, if you want to add the details, cut out the inner edge, place on your main letter, and trace that design with a contrasting color marker or embossing tool.
If using a Cricut, upload the SVG to Design Space, resize, ungroup, and change line types to the correct ones (so the top layer should be deboss or write.) Attach each letter of the top layer to the letter you’re writing it on. Now make it!
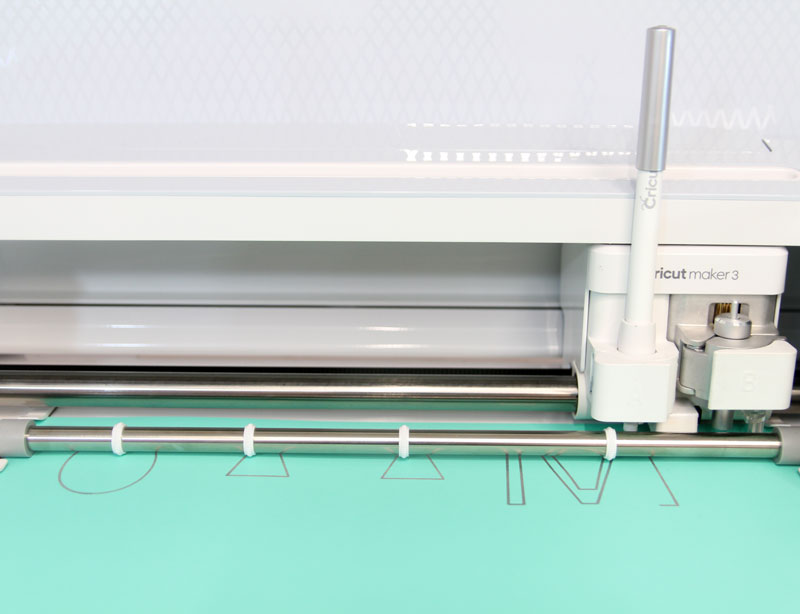
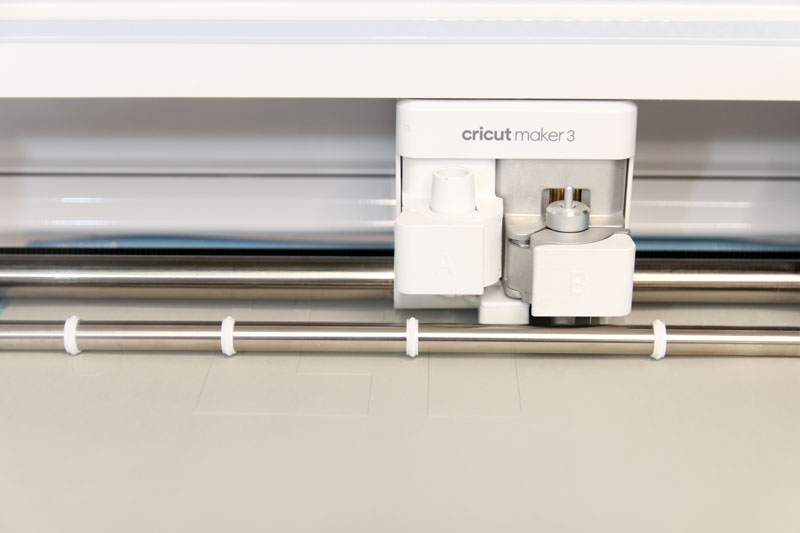
2. Center your main letters on the backgrounds and attach using double sided tape or glue.
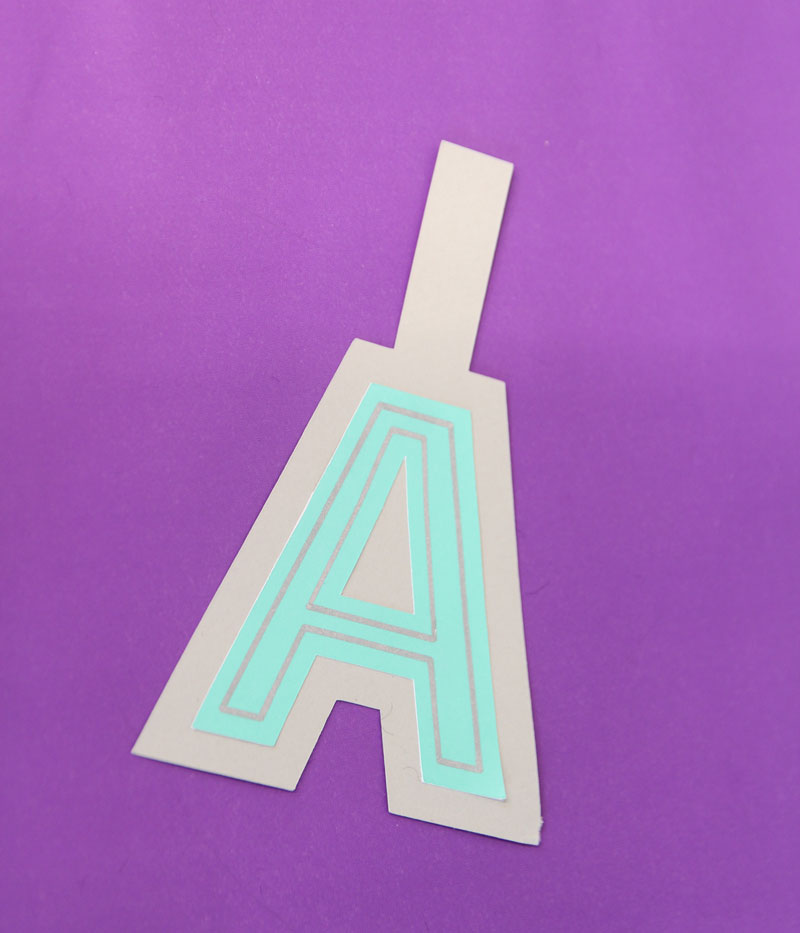
3. Flip it over. Place the letters in the correct order and string a length of twine across them. Fold over the flaps and tape down with double sided tape. Tip: you can make the tabs invisible, or let them loop above the letter. If the tab is too long, trim it.
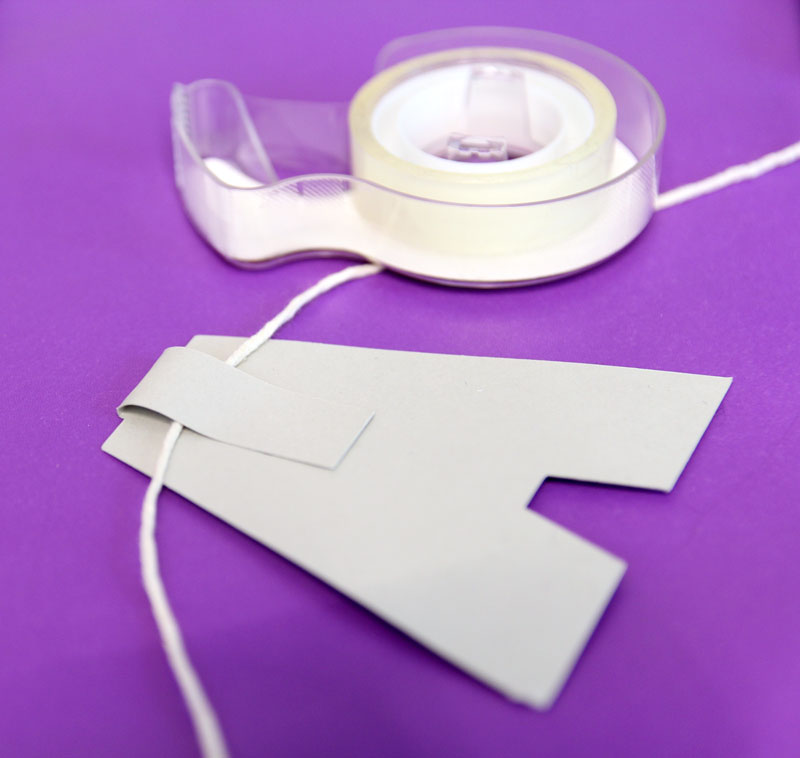
4. Arrange the letters with the appropriate spacing and hang!
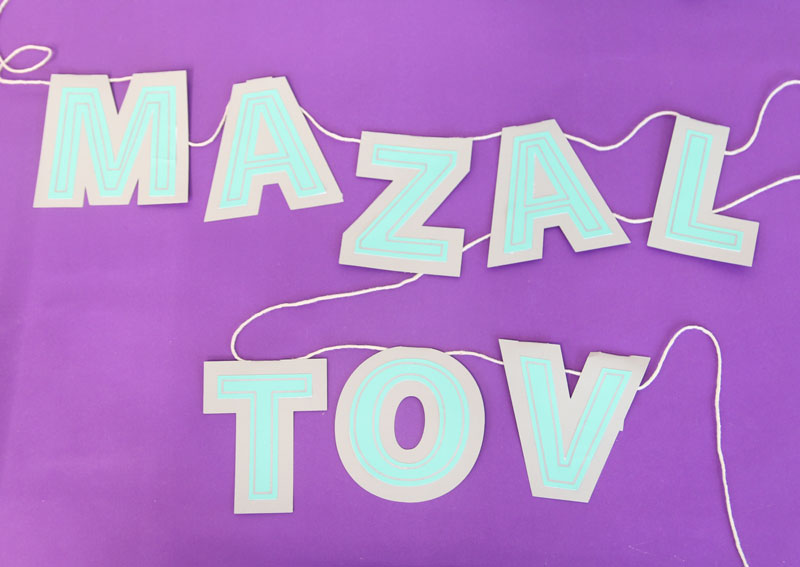
Your Mazel Tov banner is complete! Which occasion are you making it for? Which colors? Comment below!


I cannot get this . I try and download, but no email arrives
Please help
HI,
I tested and it should be working. Please check your spam folder and if you still don’t see it, email me at [email protected] so that I can send it to you directly.