Moon Phase Craft
A super fun moon phase craft that’s perfect for demonstrating lunar monthly cycles and Rosh Chodesh! This post contains affiliate links.
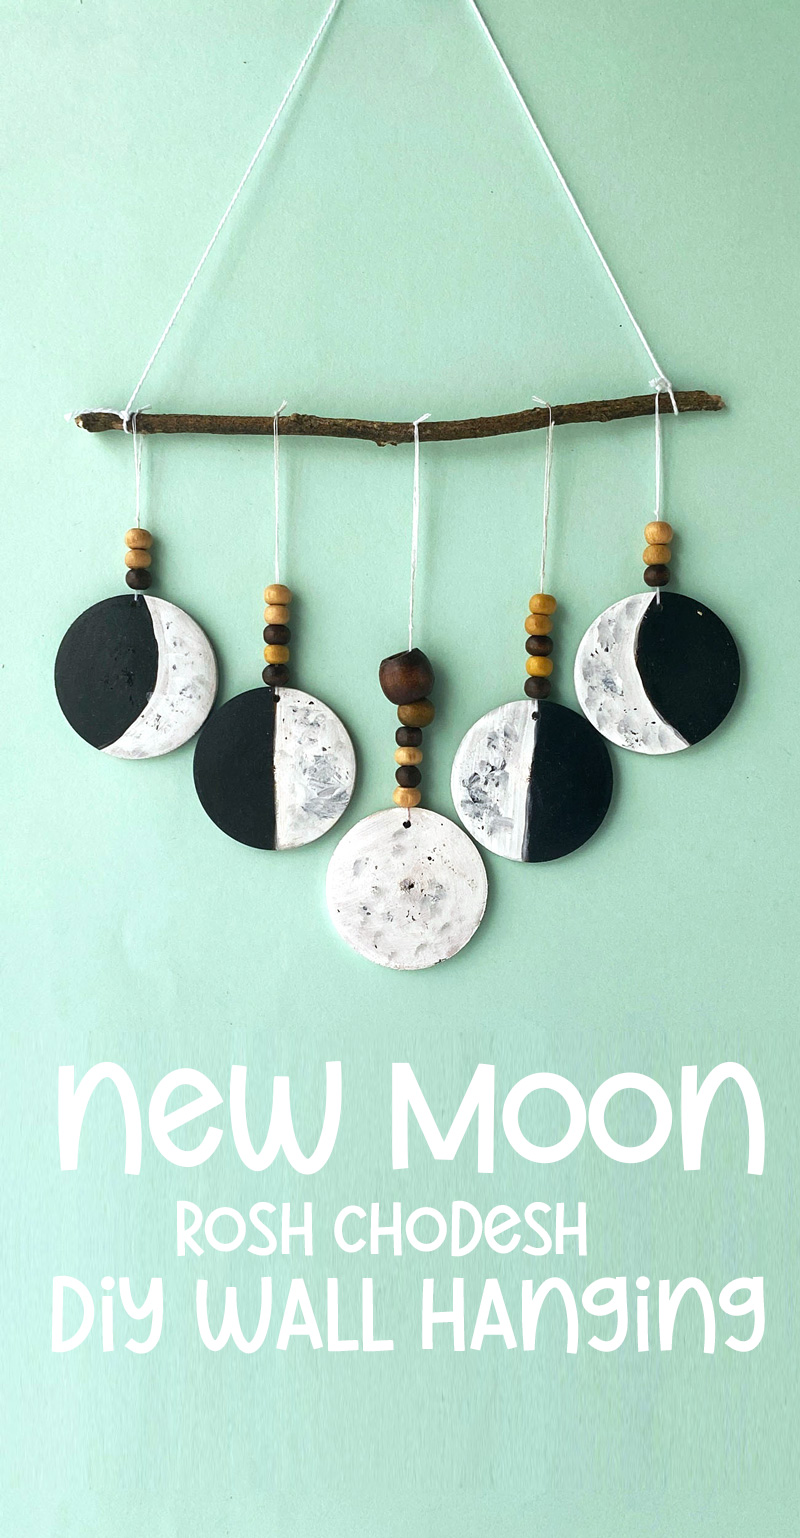
The Jewish calendar follows the moon – that is, it’s a lunar calendar. The new month follows the cycles of the moon. When teaching about the concept of a lunar calendar, a visual display of the phases of the moon can be really helpful!
You can estimate when the new month will be coming based on a visual and understanding of the phases of the moon. This moon phase craft is a visual tool that’ll look gorgeous in any classroom or home!
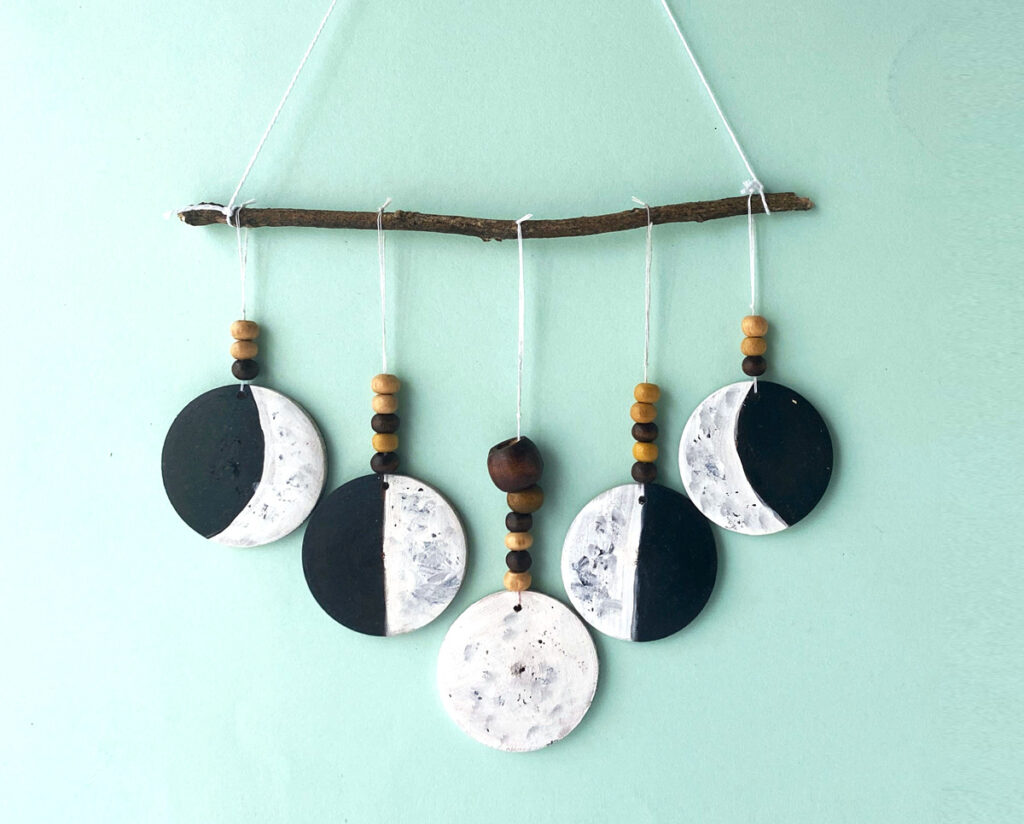
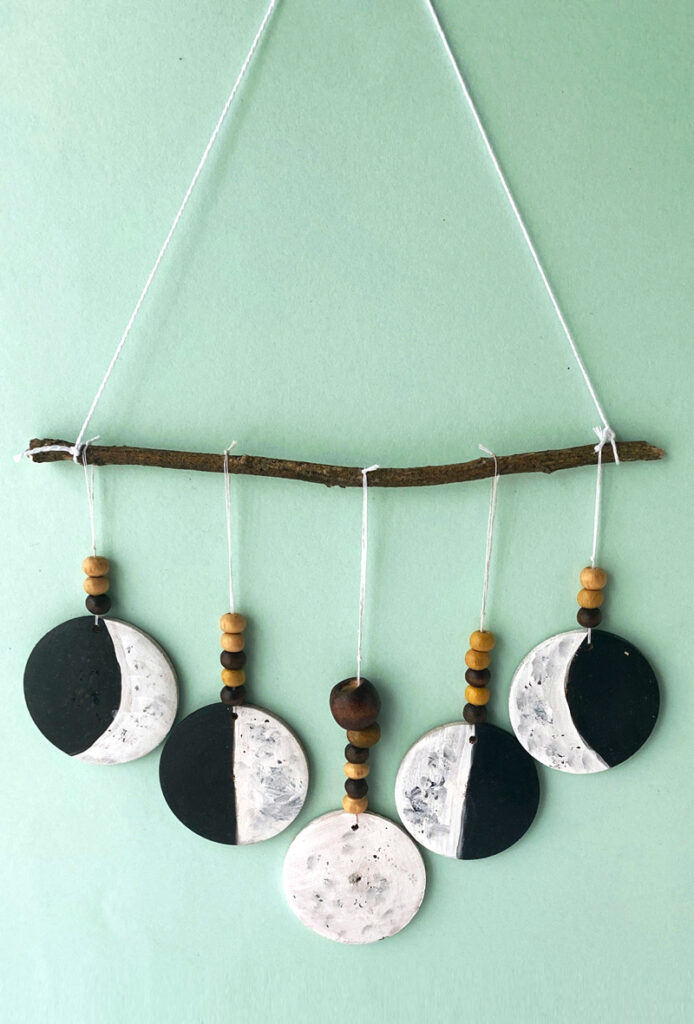
The new month is celebrated in a mini holiday called “Rosh Chodesh” – literally the head/beginning of the month. Everyone celebrates differently. This ranges from forgetting about it entirely to dressing up a little, having treats, and refraining from household chores.
Our family celebrates by having a special treat in the morning. Some people do special dinners. My boys’ school encourages them to wear white shirts and the PTA provides treats.
I always forget to ditch the laundry…
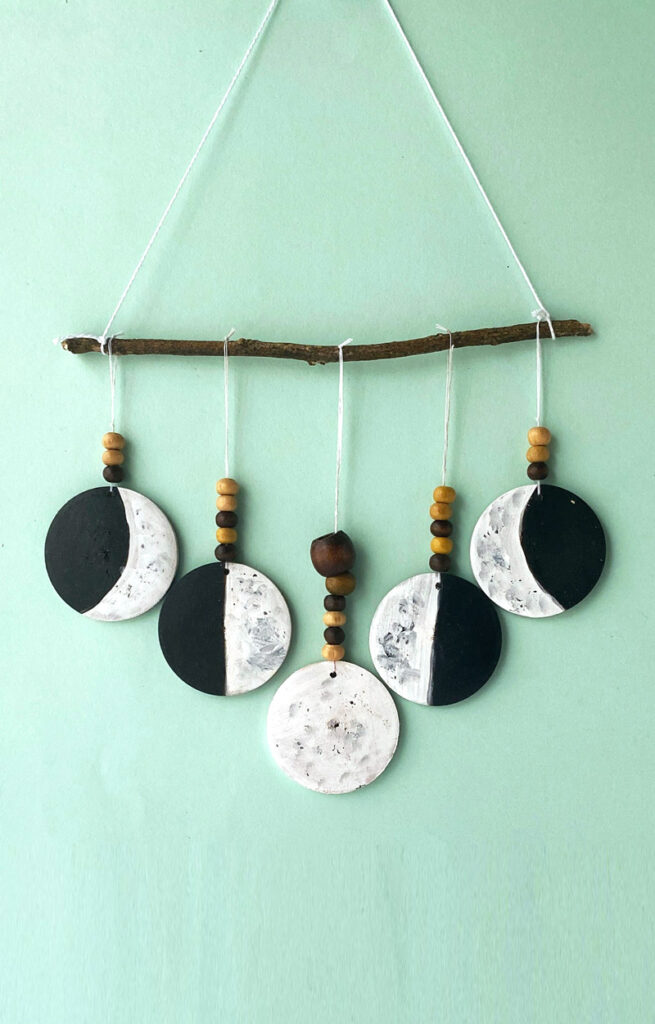
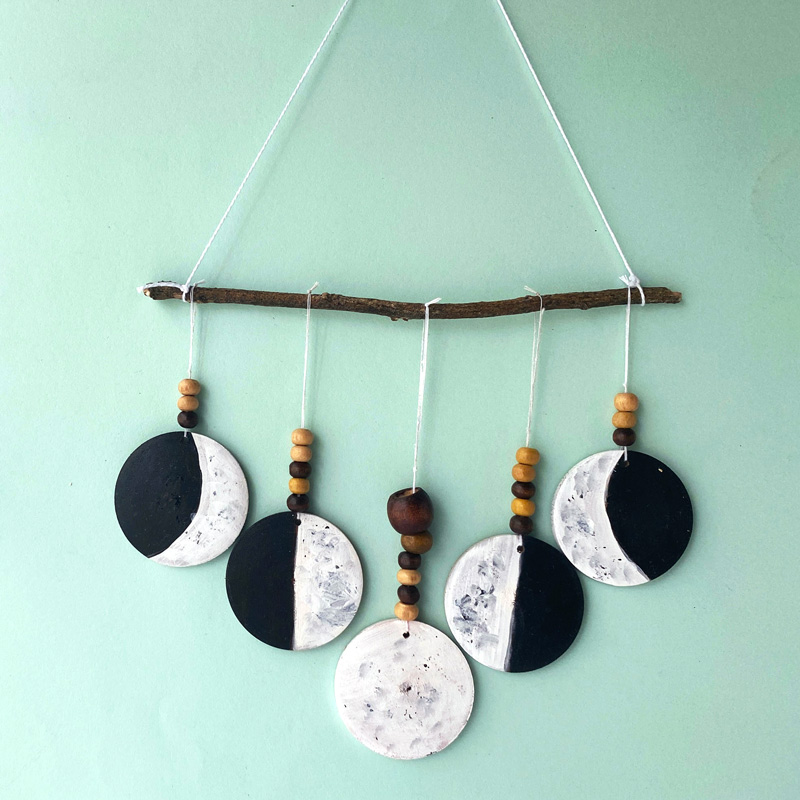
Whether you’re making a decoration for your own home, creating a visual display for the classroom, or working on a take-home project for tweens and teens to make, this moon phase craft is loads of fun!
What you need:
- Wooden Circles – the size you get will determine the size of your craft. I recommend at least 3 inches in diameter. You can use unfinished coasters. This tutorial uses five, however you can use more to show more phases! Ideally, use pre-drilled ones.
- Optional – if using undrilled wooden circles: Hot Glue Gun
- Optional – if drilling your own circles: rotary tool – use the drill bit
- Black, white and grey acrylic paint
- Paintbrushes
- Pencil
- Ruler
- Scissors
- Wood beads in different sizes
- String – I like cotton twine
- Needle (optional)
- A branch or dowel
How to make this moon phase craft
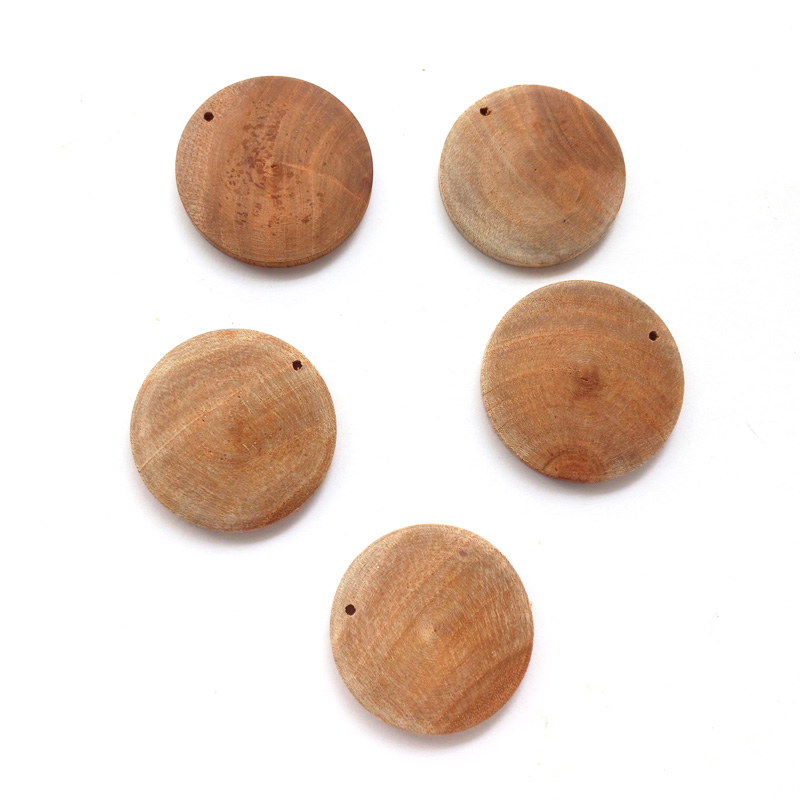
1. Select 5 round wooden rounds for your moon phase craft.
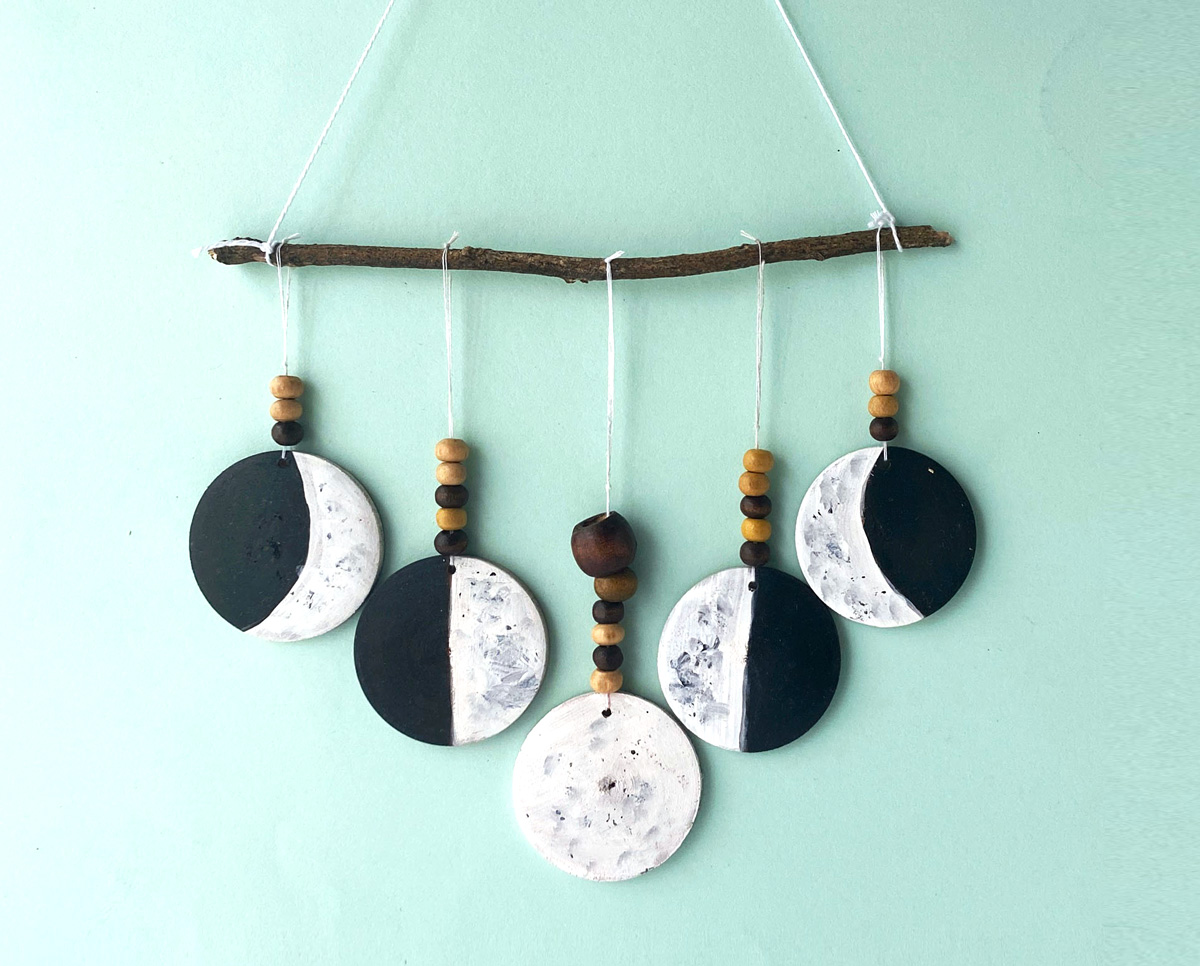
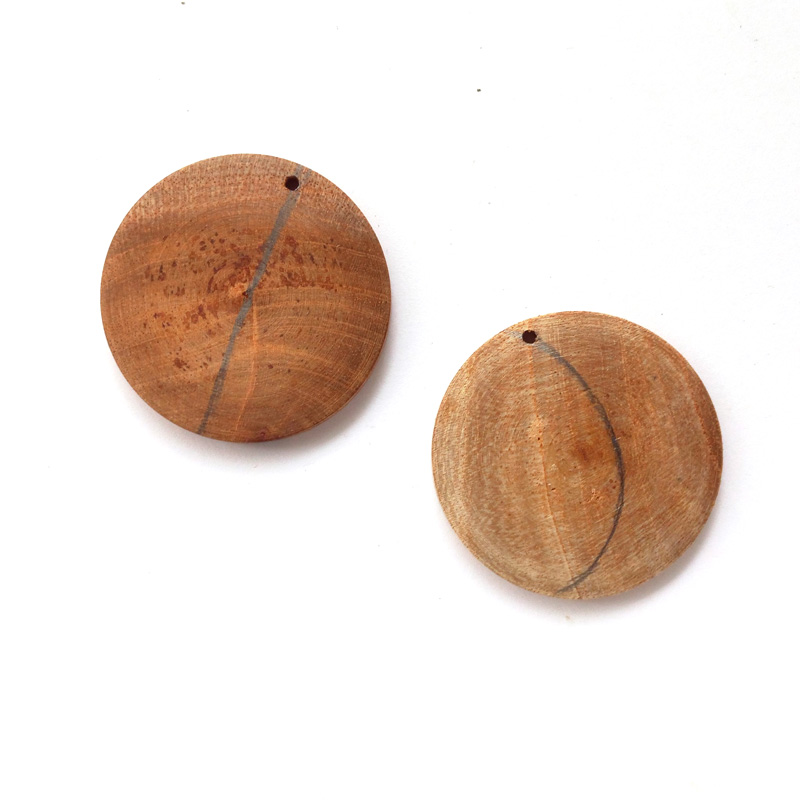
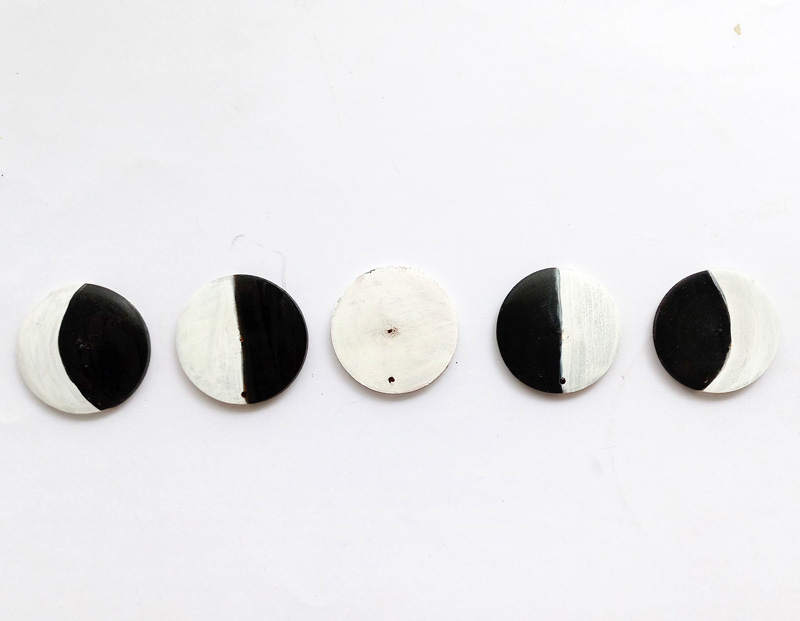
2. Use a pencil to draw a crescent on two of your wood circles. Your crescents should be mirrored – each one should face the opposite direction. On two, use a ruler to draw a line down the center.
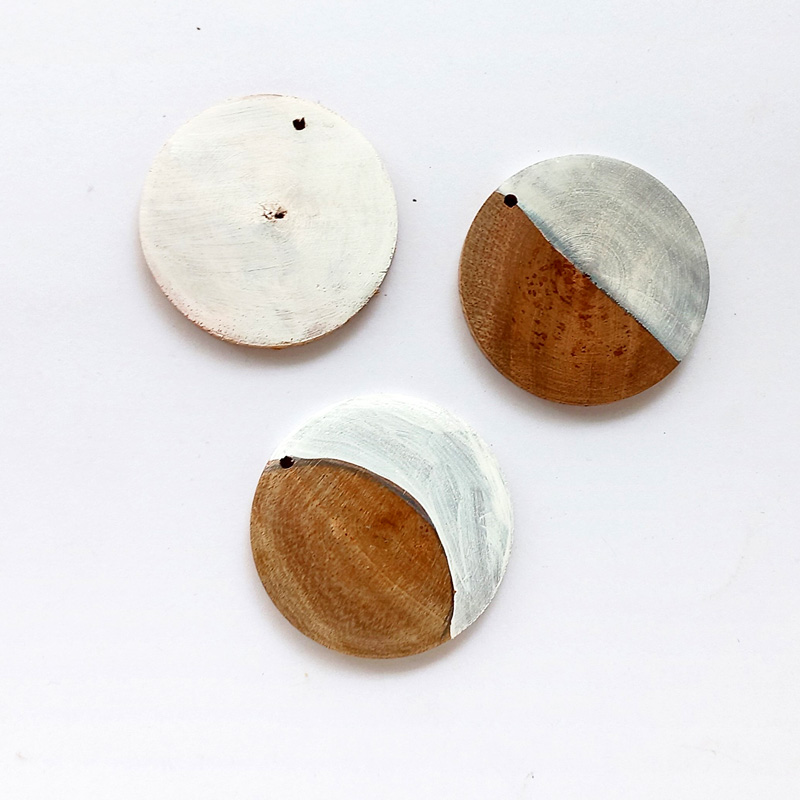
3. Use white paint to fill in the moon part on each (the half moons should be on opposite sides), and then paint your center circle completely white. You can blend in some gray paint if you’d like for texture.
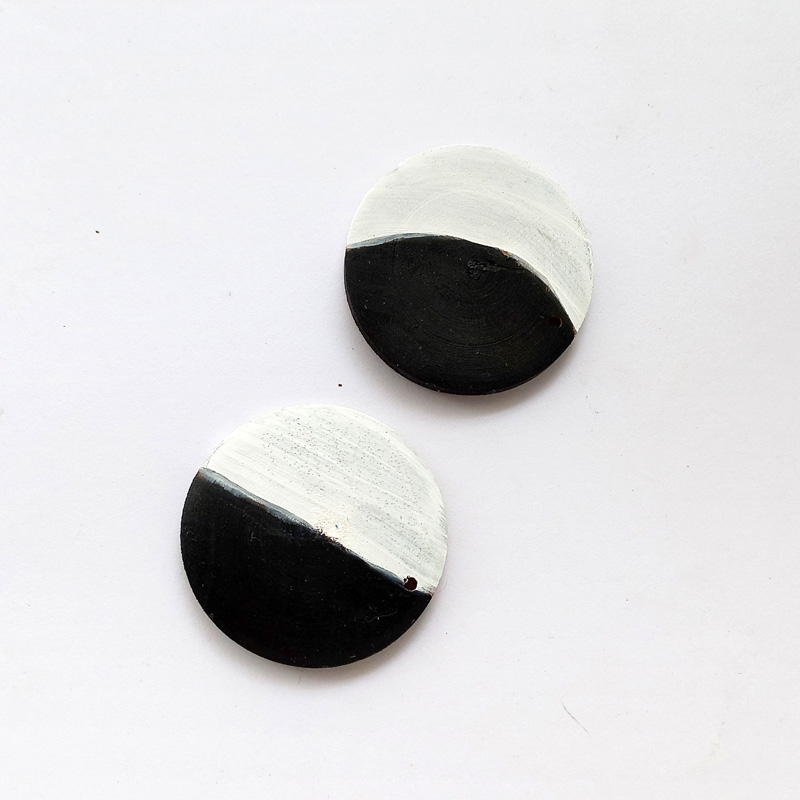
4. Once your white paint has dried, paint the rest of the circle black.
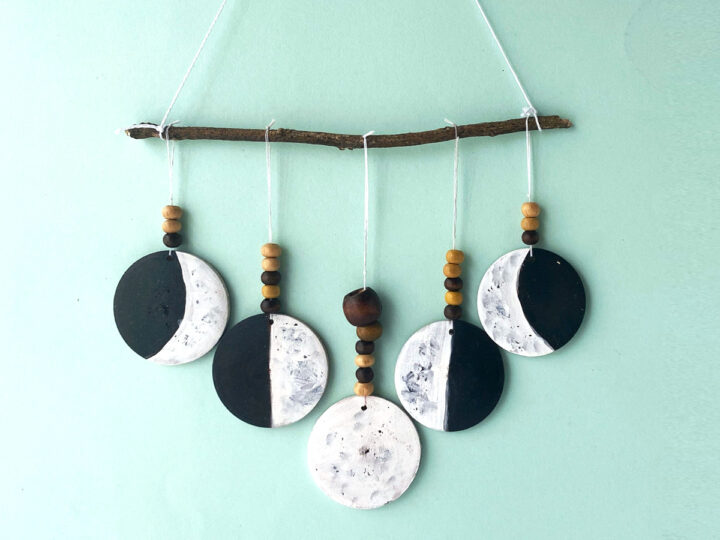
5. Your wood circles will be arranged as follows: Crescent on the left, white half on the left, all white, white half on the right, and crescent on the right.
6. If using wood circles with holes, thread a piece of string through each and tie. If you’re not using drilled ones, you can hot glue it to the back instead.
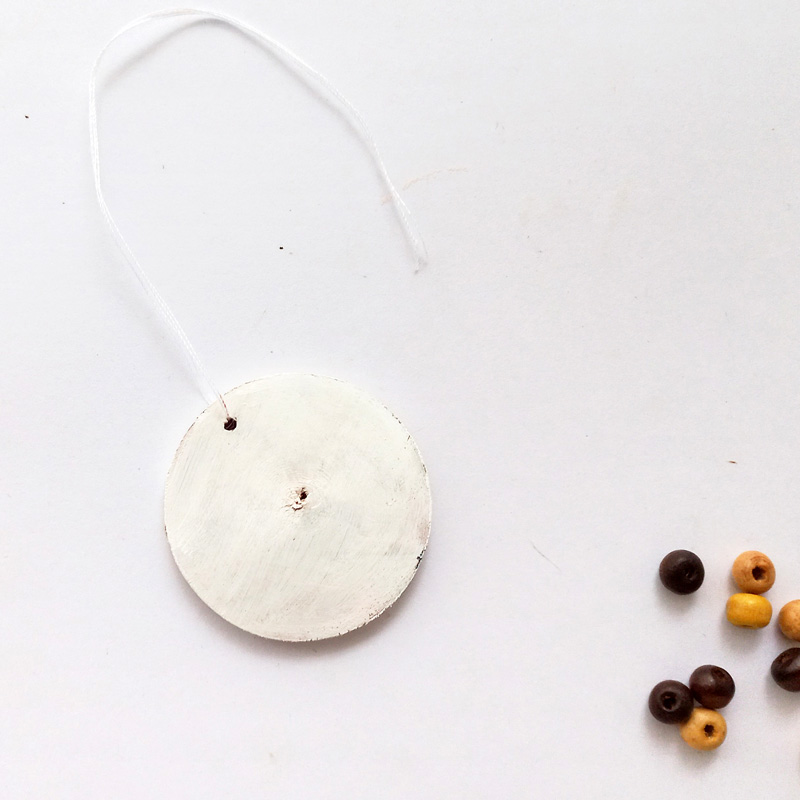
7. String some beads onto the thread.
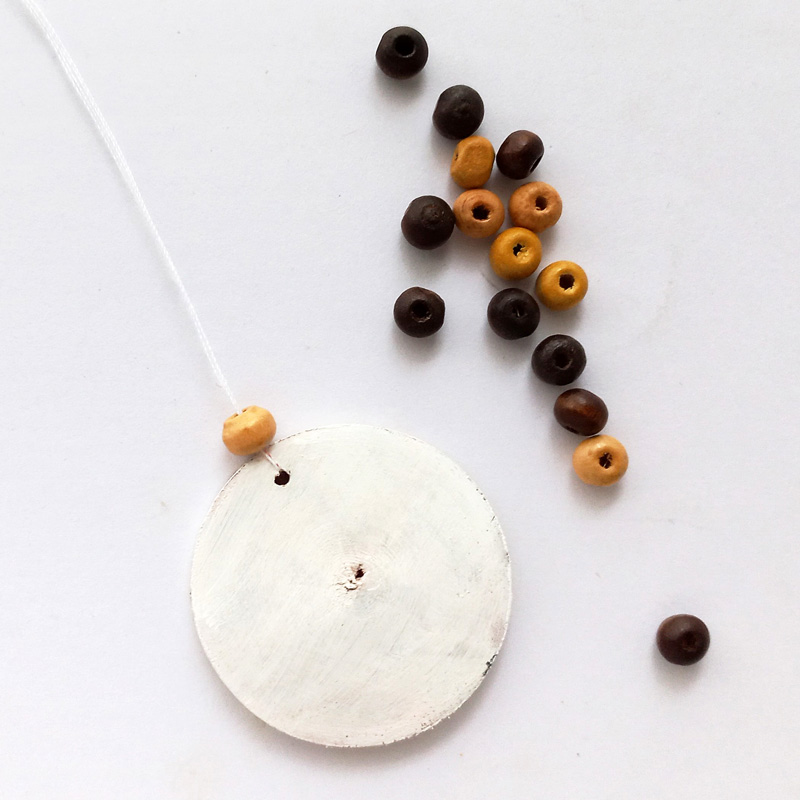
8. Prepare all your moon phases like this.
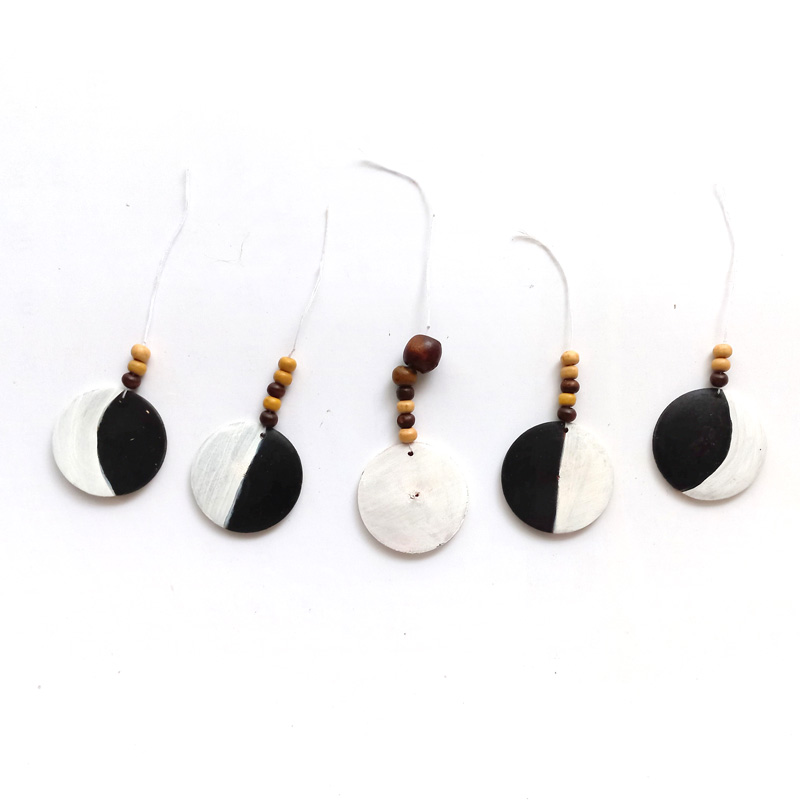
9. Arrange your strings along the stick to measure where you want to tie them. Tie them on one at a time, starting with the center.
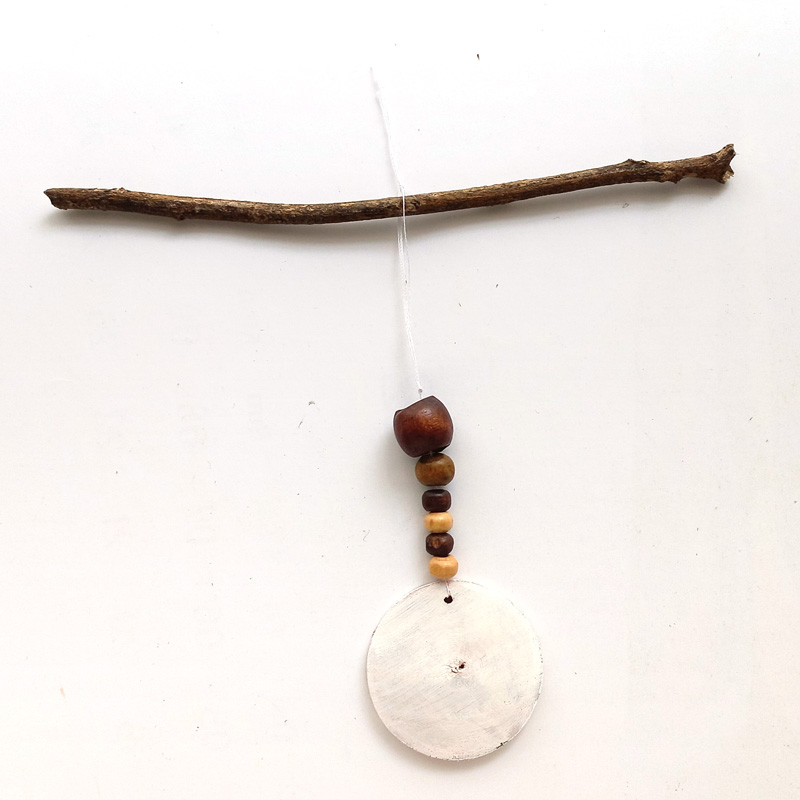
10. Then one by one tie the rest of the moon phases on.
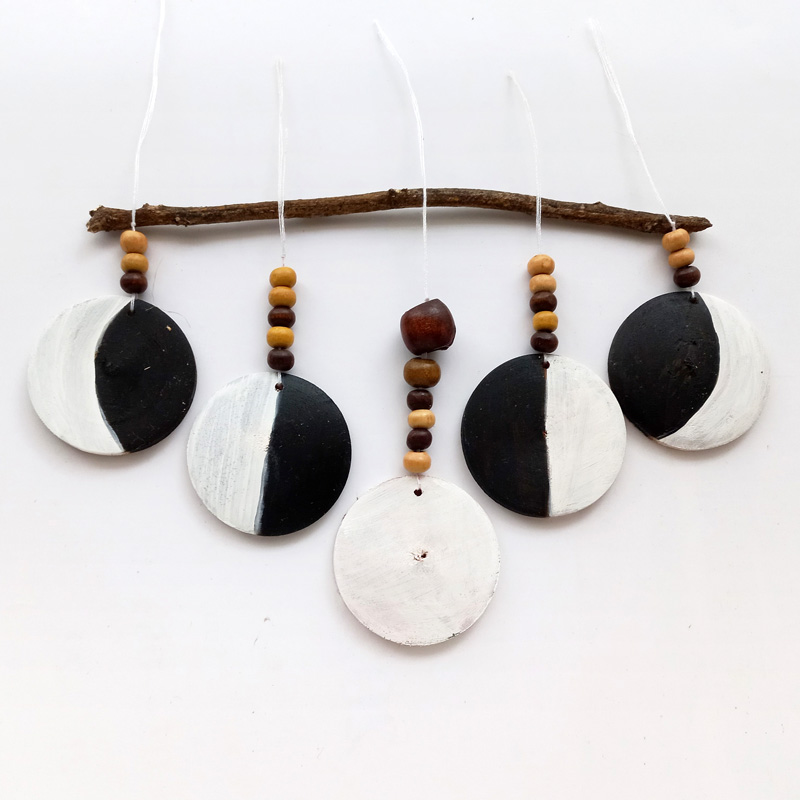
Your moon phase craft is complete! Share the love by pinning any image in this post, sharing it to your favorite Facebook or WhatsApp group, or emailing it to a friend! Then check out this fun Shabbat time craft.

