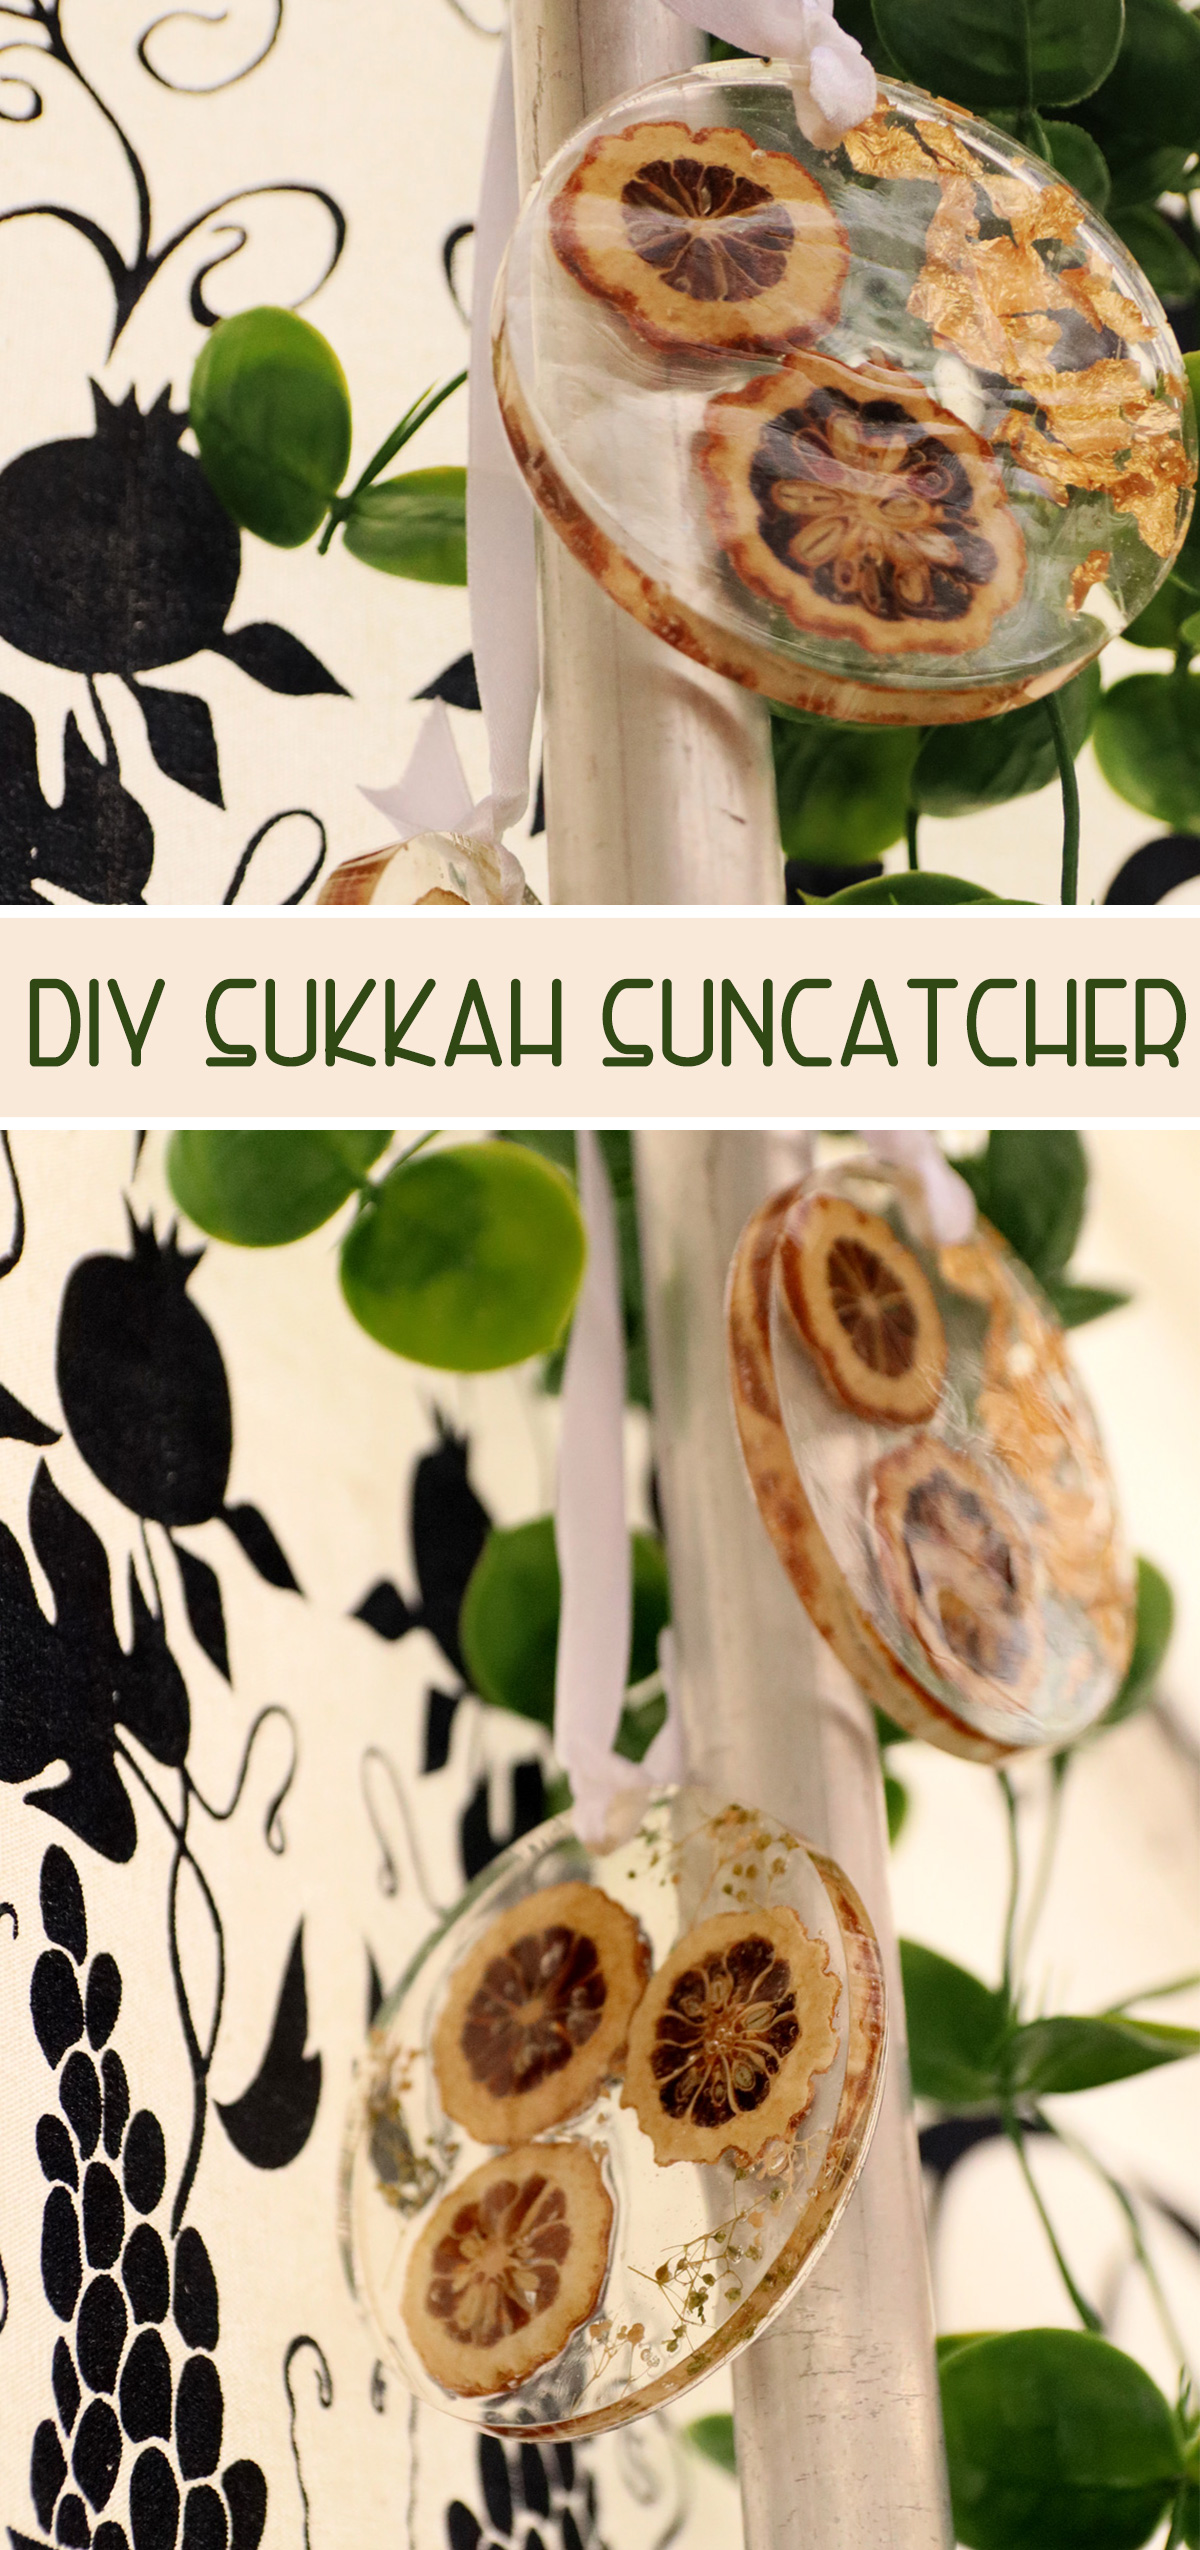
Resin Etrog Suncatcher – Sukkah Decoration
Looking for a fun Sukkah decoration craft to make with adult-level crafters? Resin Etrog suncatchers are meaningful and beautiful! When you’re done, check out these pomegranate sukkah decorations too. This post contains affiliate links.
I’ve shared in the past – particularly on this etched glass honey dish tutorial – how I feel about sharing very specific adult Jewish crafts. On the one hand, there are so few solid Jewish ideas out there for us adult crafters. On the other, the demand is just not that high.
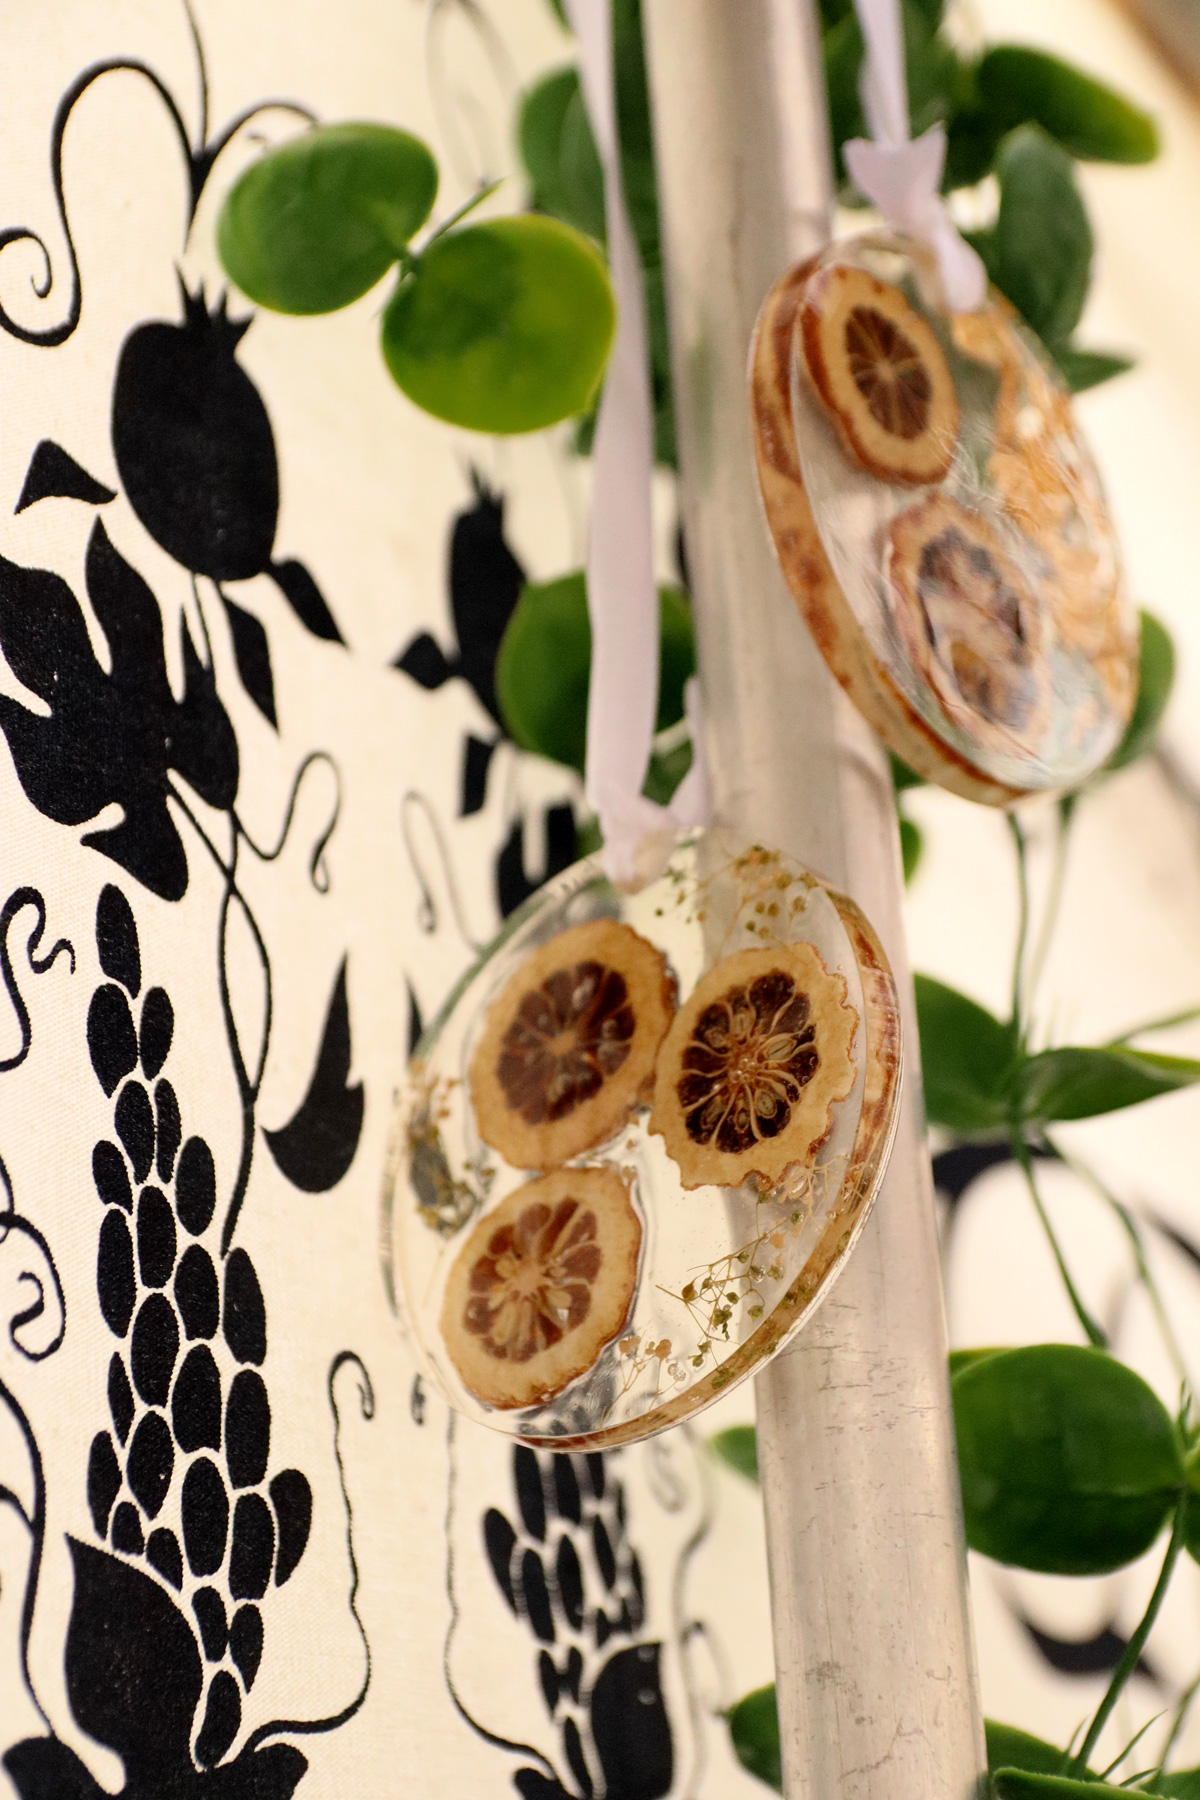
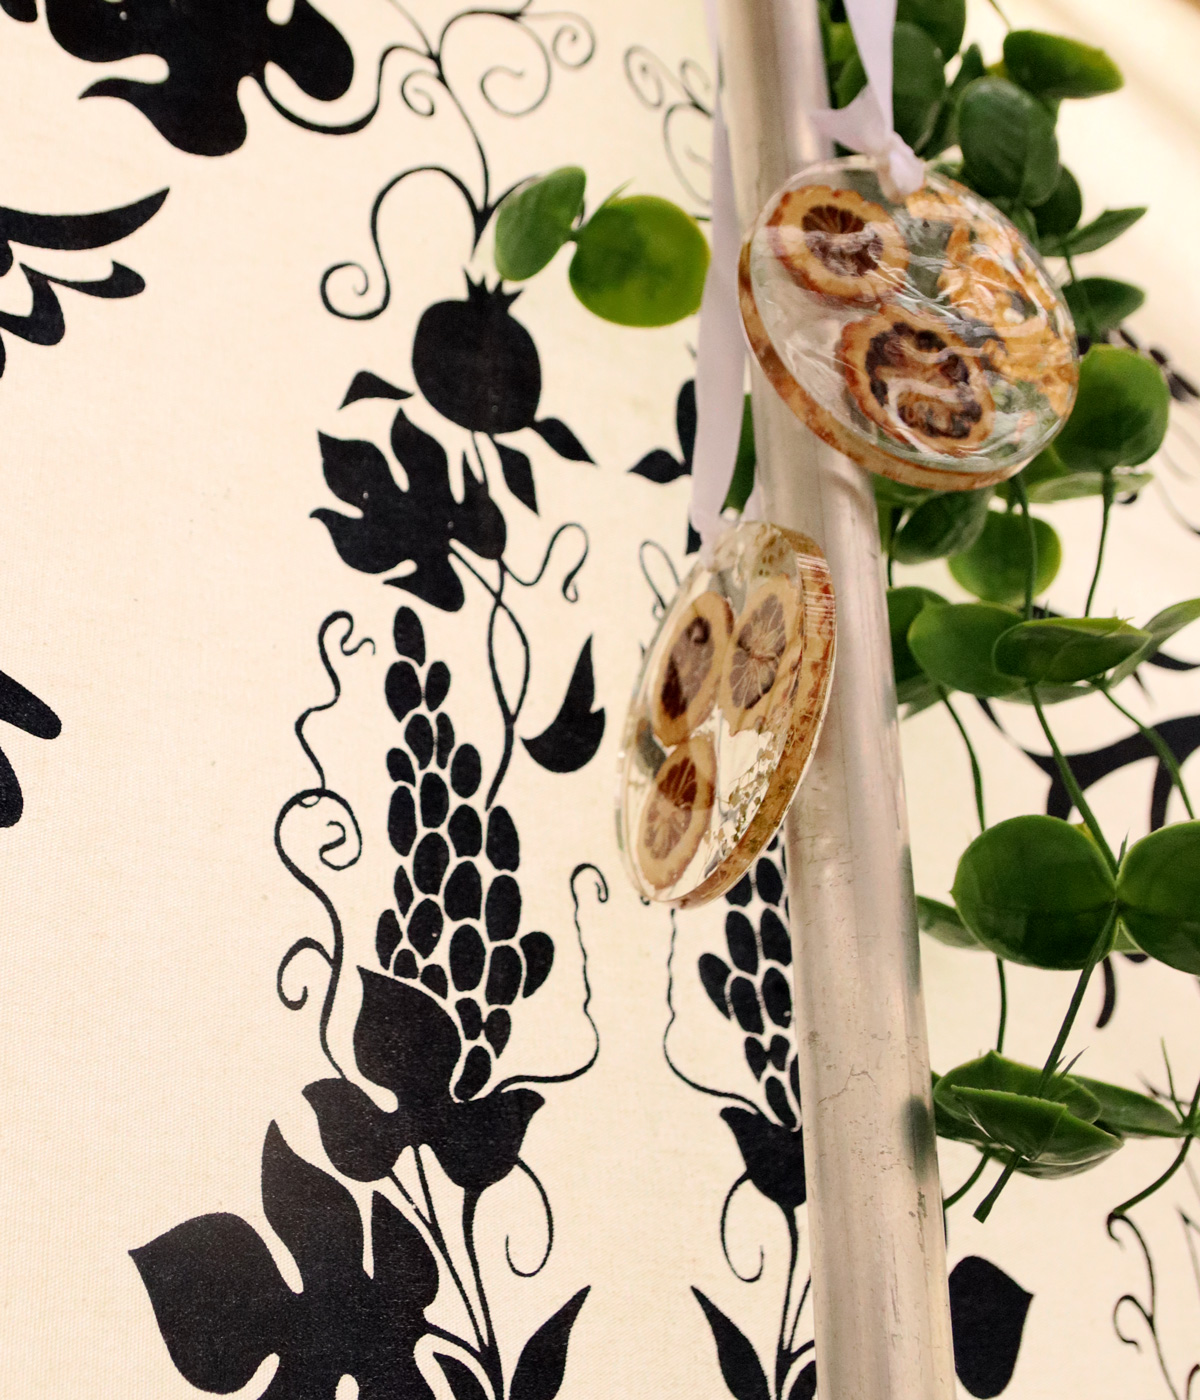
However, as I create things that are doable, I do like to share them, and since I made these for my own Sukkah, I figured I’d share.
In fact, resin workshops are quite popular, and so these can be a really great option for a more advanced craft workshop in a Sukkot theme.
Using Etrog for your resin suncatchers – Real & Alternatives
A bit of background: a few years ago, I had the brilliant idea to dry Etrog slices as a fun way to preserve old Etrogs that have been used for the holiday.
I believe that repurposing the Etrog to beautify the Sukkah, something we traditionally find praiseworthy, is a very meaningful thing. People have even passed on their old Etrogs to me to dry, and I have quite the collection of dried Etrog slices.
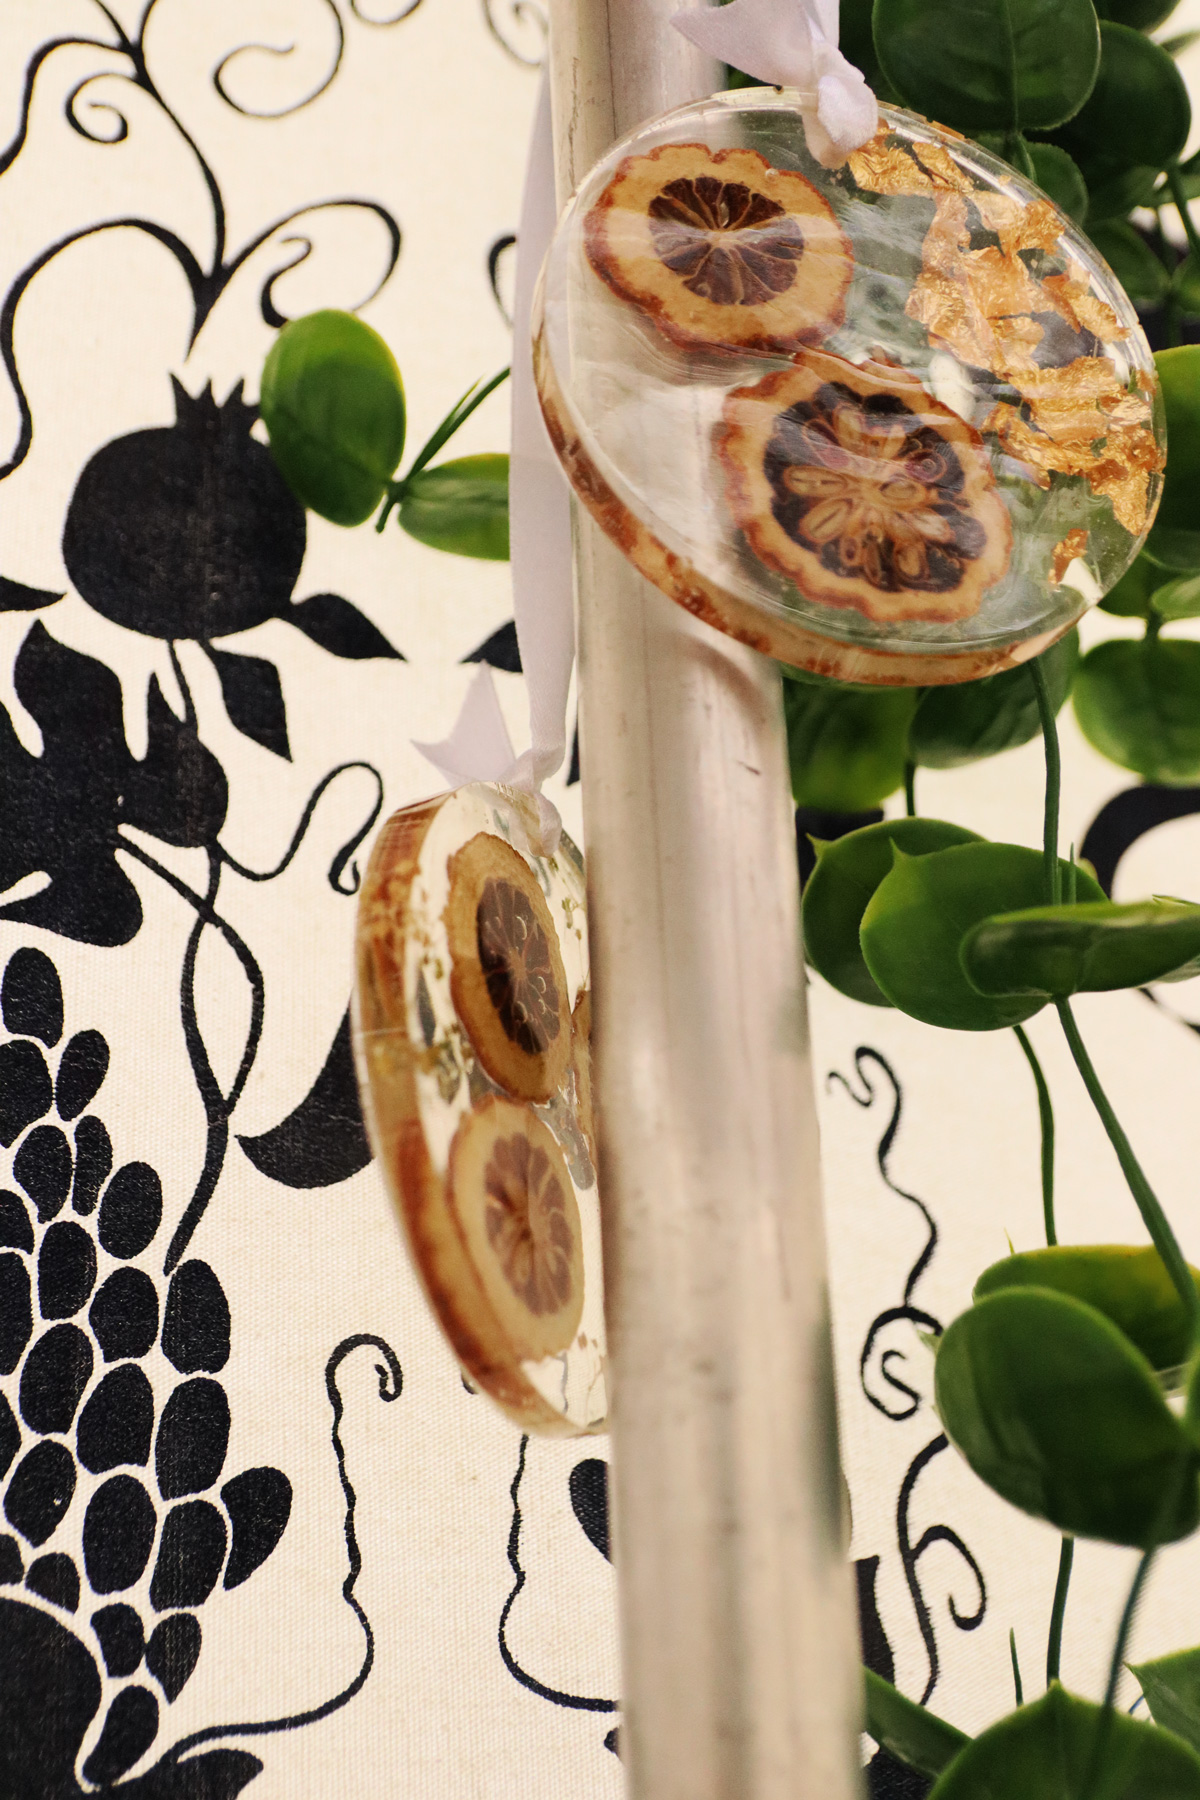
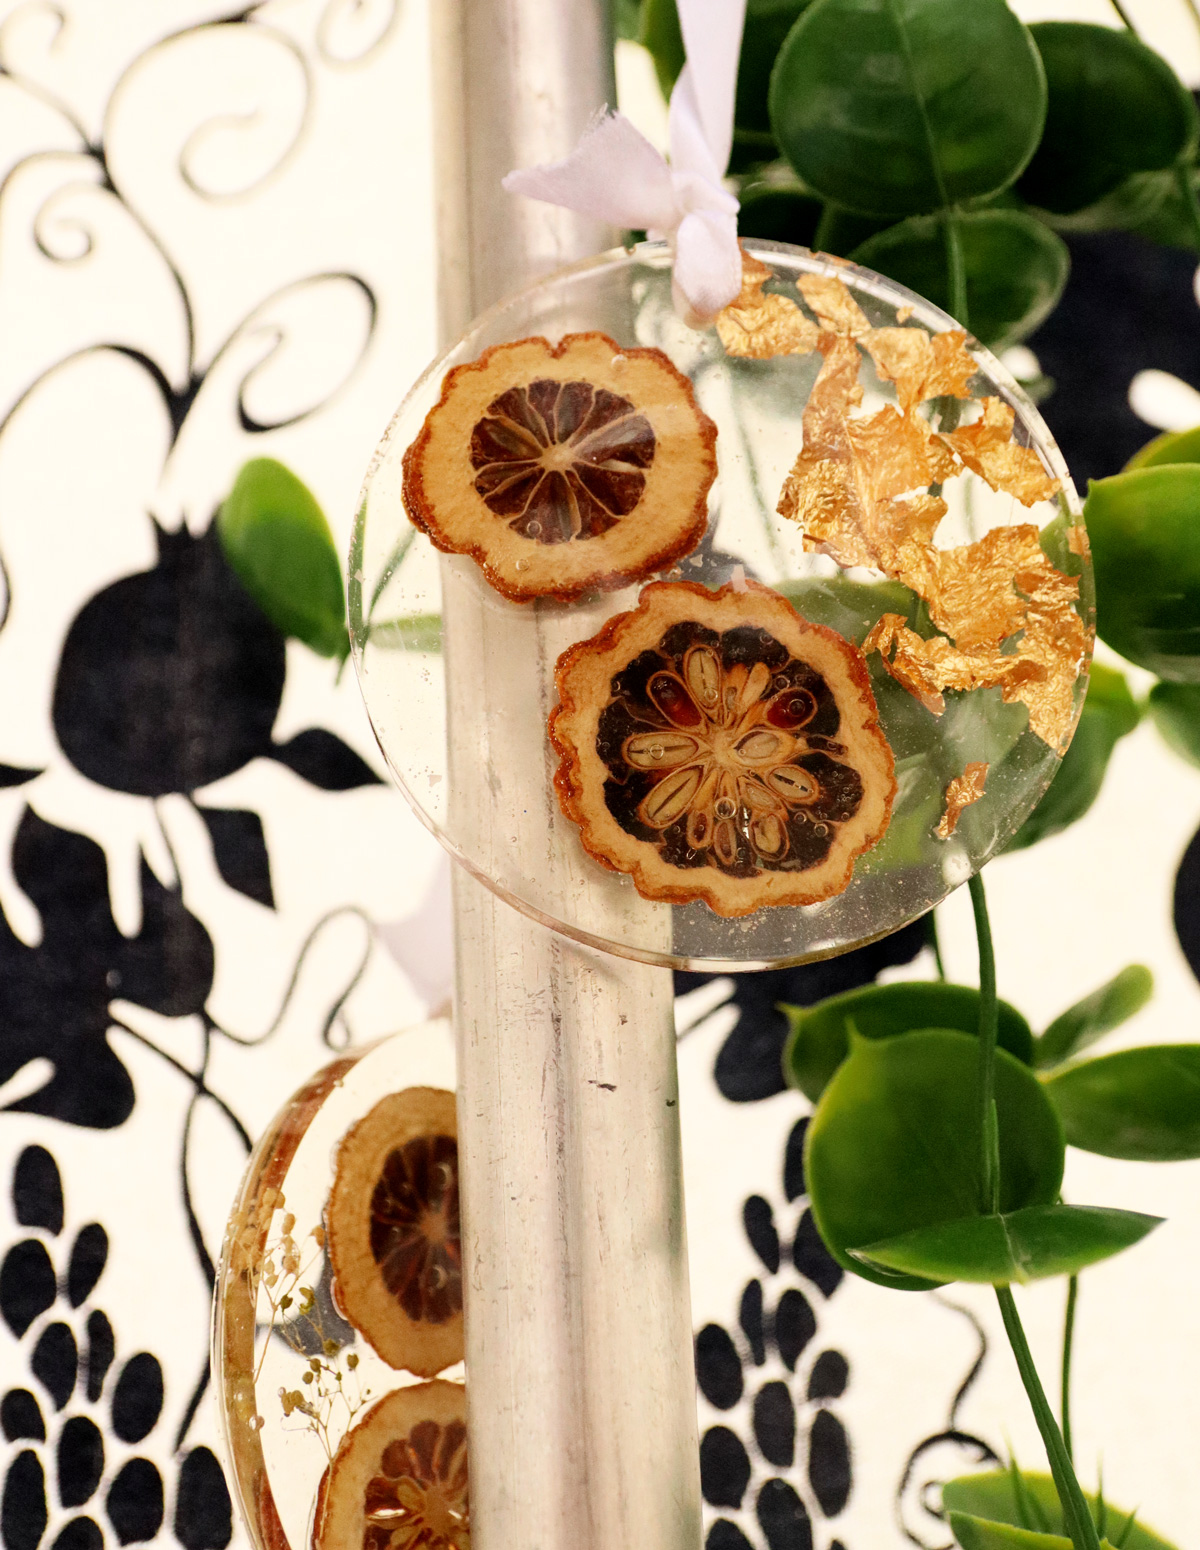
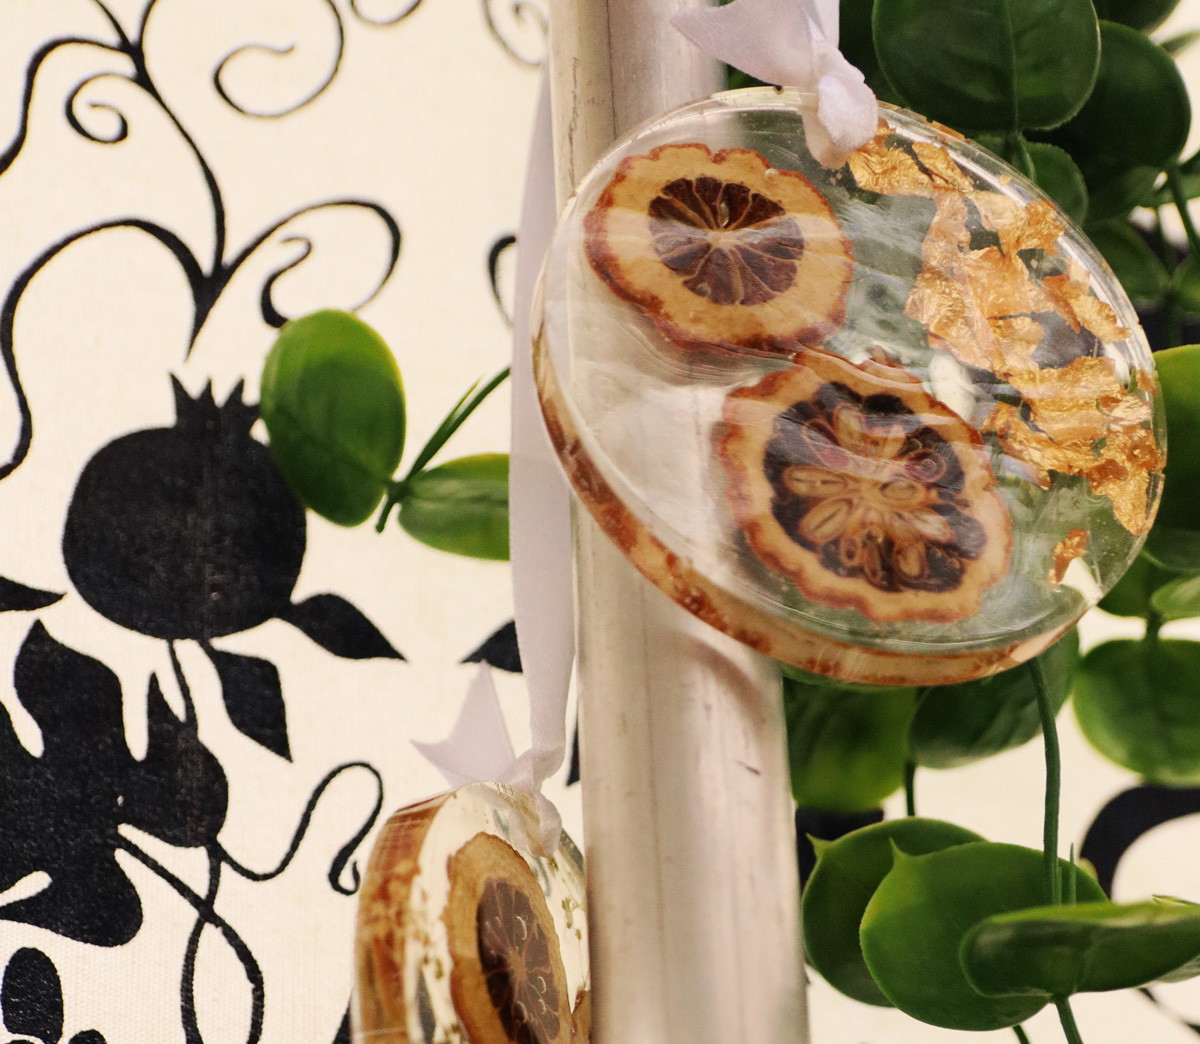
I’ve shared in the past how to turn them into gorgeous Sukkot napkin rings, as well as fall-inspired wall hangings. Since I got into resin crafting, I’ve been wanting to turn them into resin decorations too. So I made these resin Etrog suncatchers using the real Etrog that I dried.
I have also shared in the past some alternatives including:
- Try other fruit slices! Look for potpourri mixes as opposed to edible ones.
- You can also try making these with plastic lemon slices – just read the size details on anything you buy online! Make sure you’re buying full-sized ones and not tiny resin-filler ones.
- And if you’re great at crafting and/or painting, you can try making your own out of polymer or air dry clay and then embedding them in the resin.
Which age groups can craft resin Etrog suncatchers?
Age when it comes to adult crafts are a tricky thing. I like to think that a child that can safely use a hot glue gun or a knife can learn how to craft with resin safely.
The trick is: you need to be able to teach them how to use it safely.
Some pointers I can offer are:
- Always have proper ventilation
- Always wear proper skin protection (such as nitrile gloves) and avoid skin contact
- Always wear a respirator mask while crafting with resin
- Avoid crafting with resin while pregnant – there is little information on the safety for the fetus.
It’ll always depend on the individual child – or adult! – and there’s no age minimum where you don’t first need to learn the rules.
So if doing this with anyone make sure they have the maturity to follow rules, and the technical skills/agility to be careful.
How to Make a Resin Etrog Suncatcher
Materials Needed
- Clear casting resin (2-part)
- Coaster olds
- Measuring cup (disposable or silicone)
- Separate mixing/pouring cup
- Popsicle sticks for stirring
- Gloves
- Respirator mask
- Heat gun
- Something to drill holes with (I used my MakerX rotary tool)
- Dried Etrog slices (learn how to dry them here or see alternatives above)
- Optional other fillers: “gold” leaf flakes, mini baby’s breath…
- Ribbon
Instructions
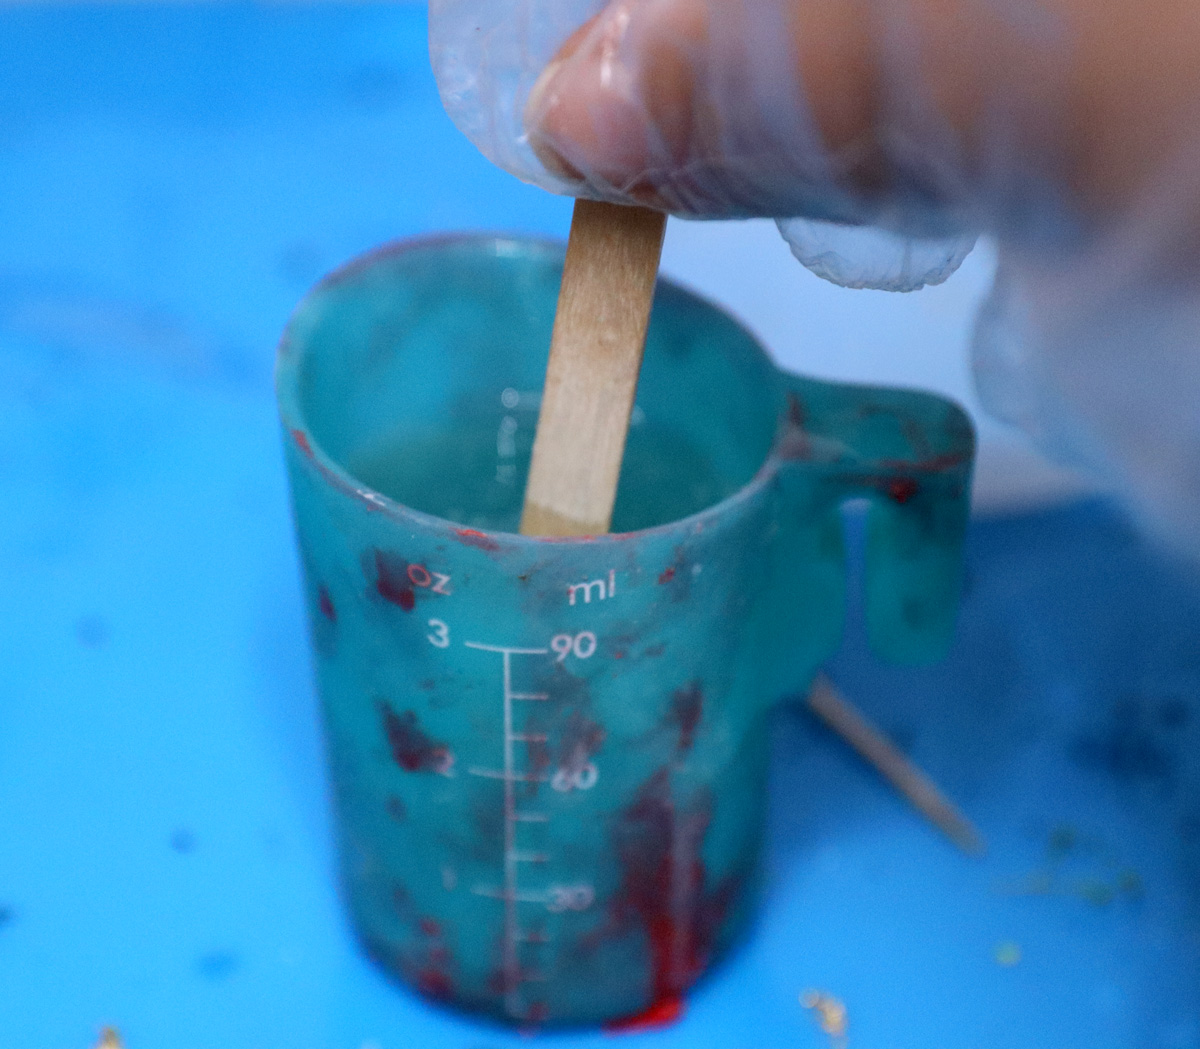
1. Mix up your resin according to package instructions. You don’t need a lot. A good way to measure how much you need is to fill your mold with water (if you have time for it to dry) or rice (but make sure no crumbs remain) and pour it off into a measuring cup to gauge.
Keep your resin clear or transparent to let the sun shine through (you can tint it if you’d like, I didn’t)
2. Pour a thin layer to cover the base of your mold.
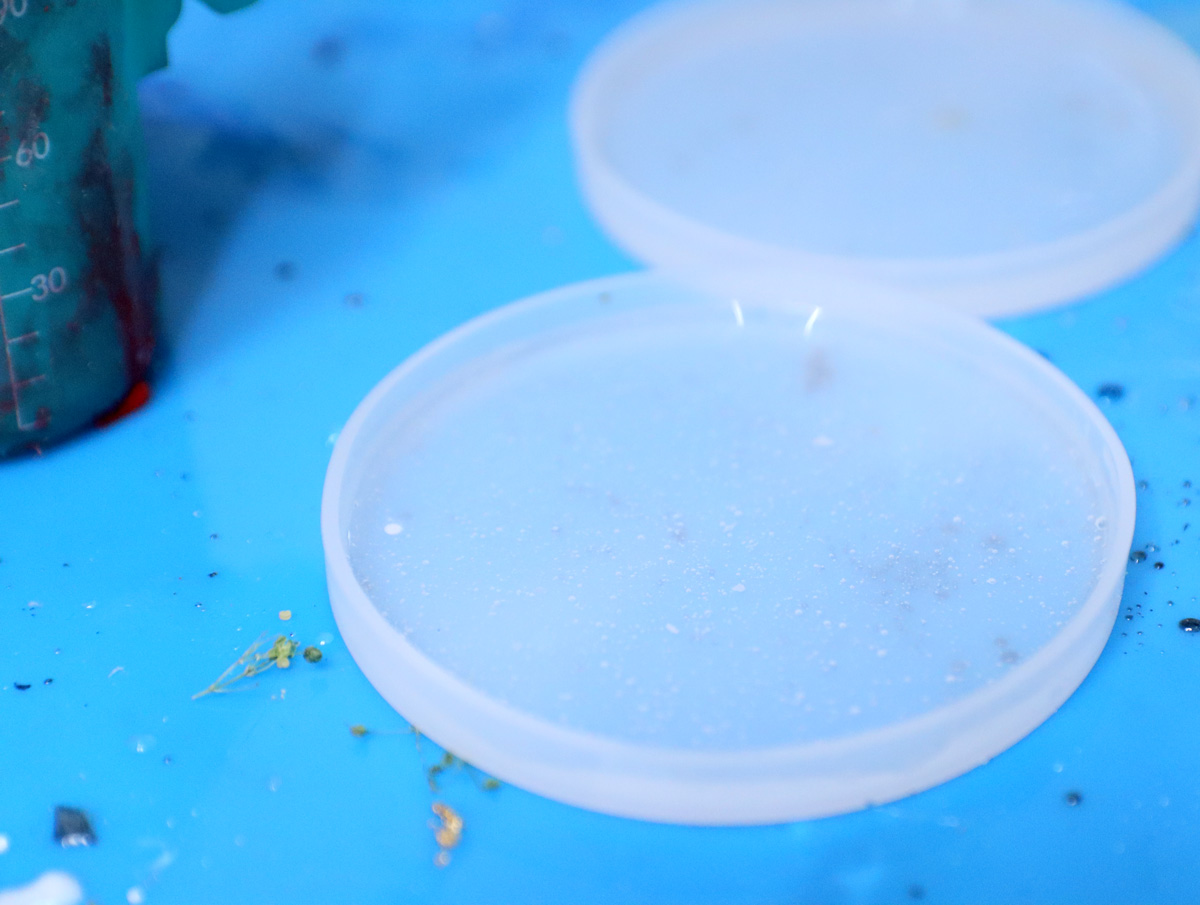
3. Use a heat gun to zap the air bubbles and push the resin into all the corners of the mold.
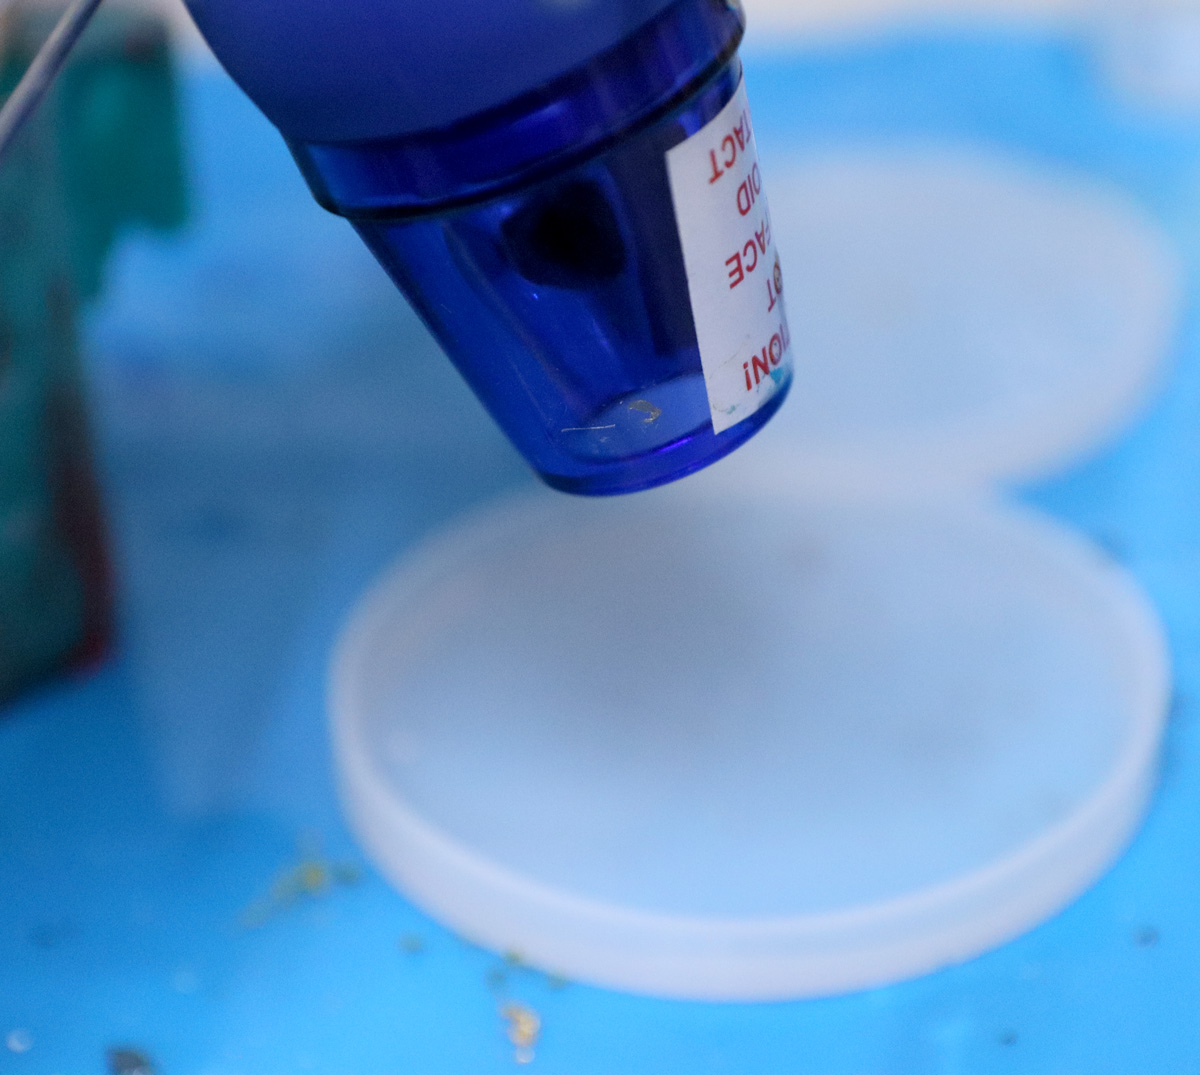
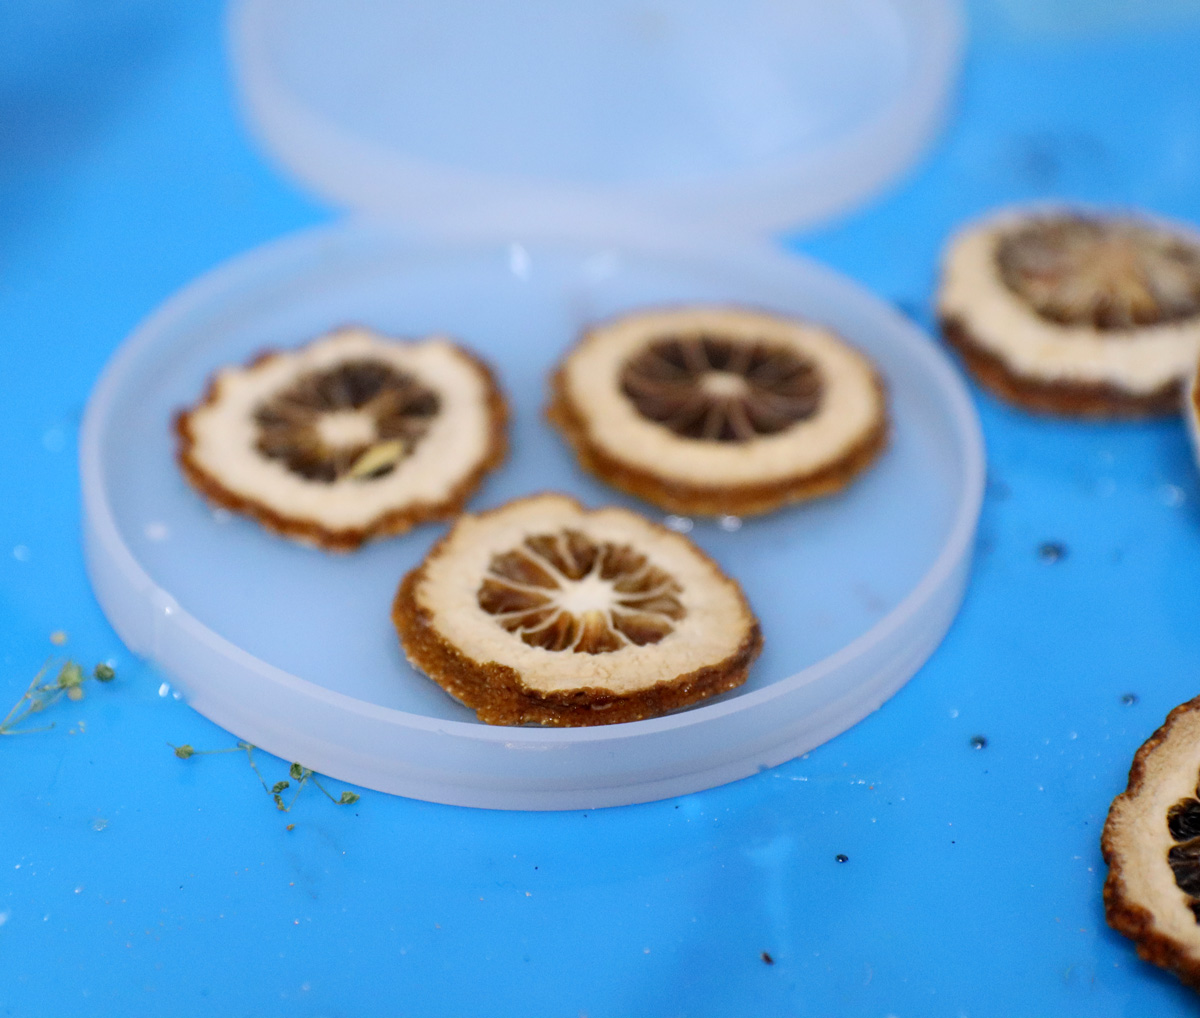
4. Place your Etrog slices. I used smaller ones (larger ones were used on the other crafts) and just a few. The base layer of resin will ensure all your slices are fully coated. Because it’s a suncatchers, both sides will probably show, so try to choose slices where both sides look nice enough.
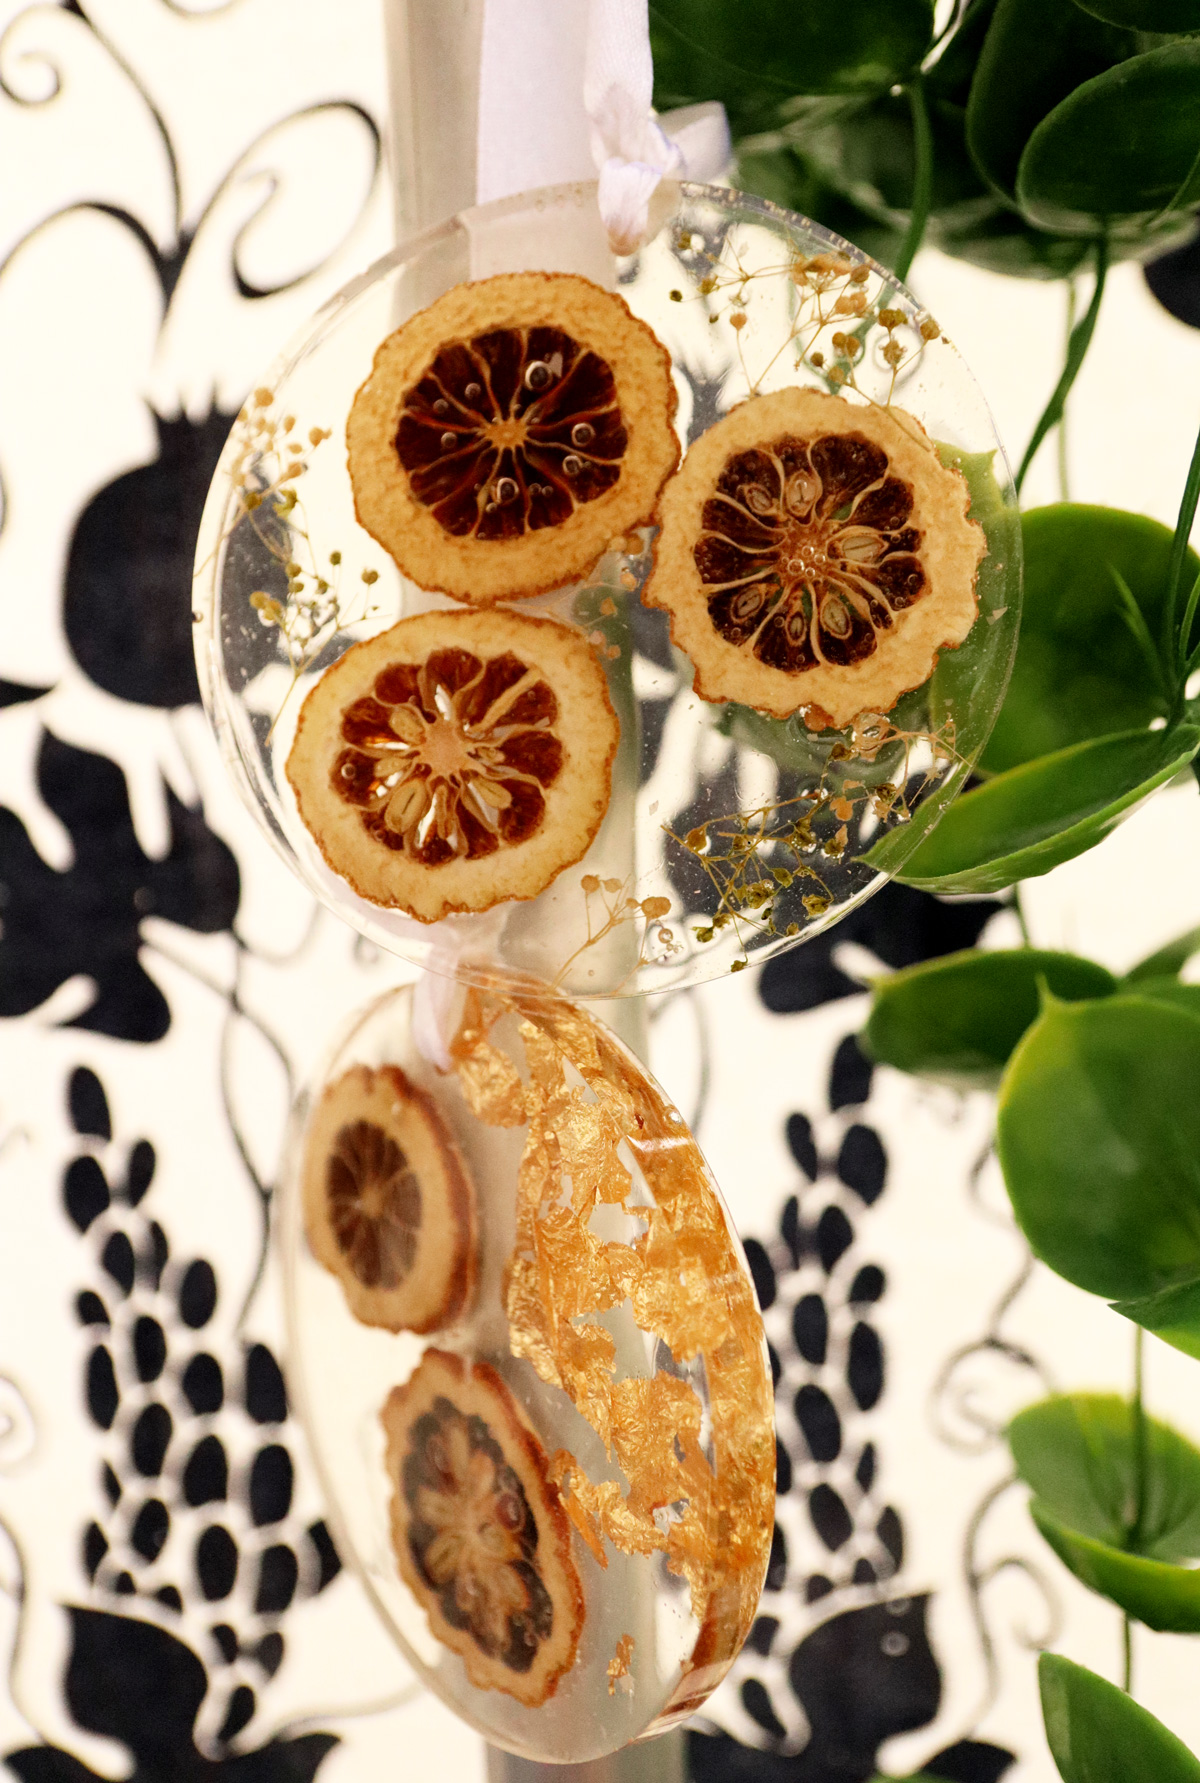
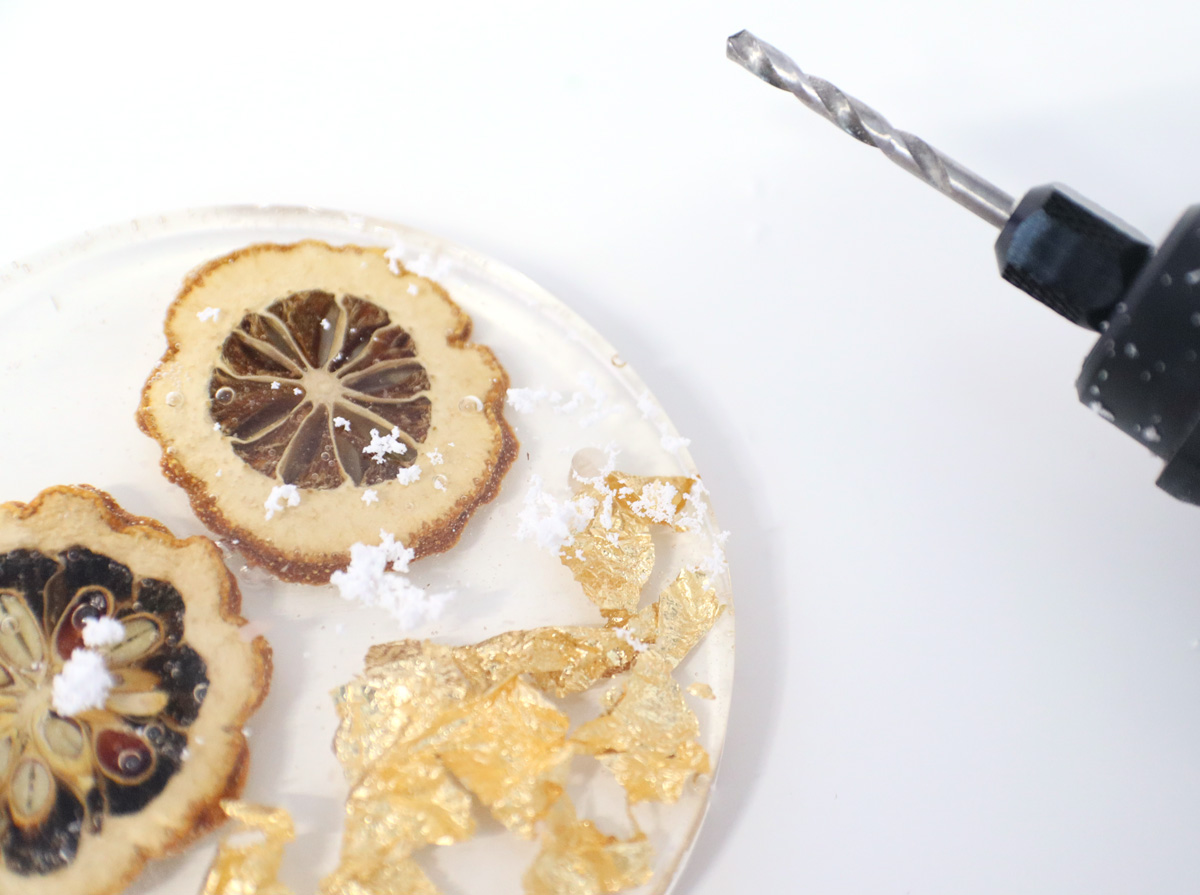
5. Add optional embellishments. The cool thing about resin is all the possibilities: you can add things in to make it look incredible! If you’d like, you can add fewer slices and fill in some space with gold flakes, for a more upscale look.
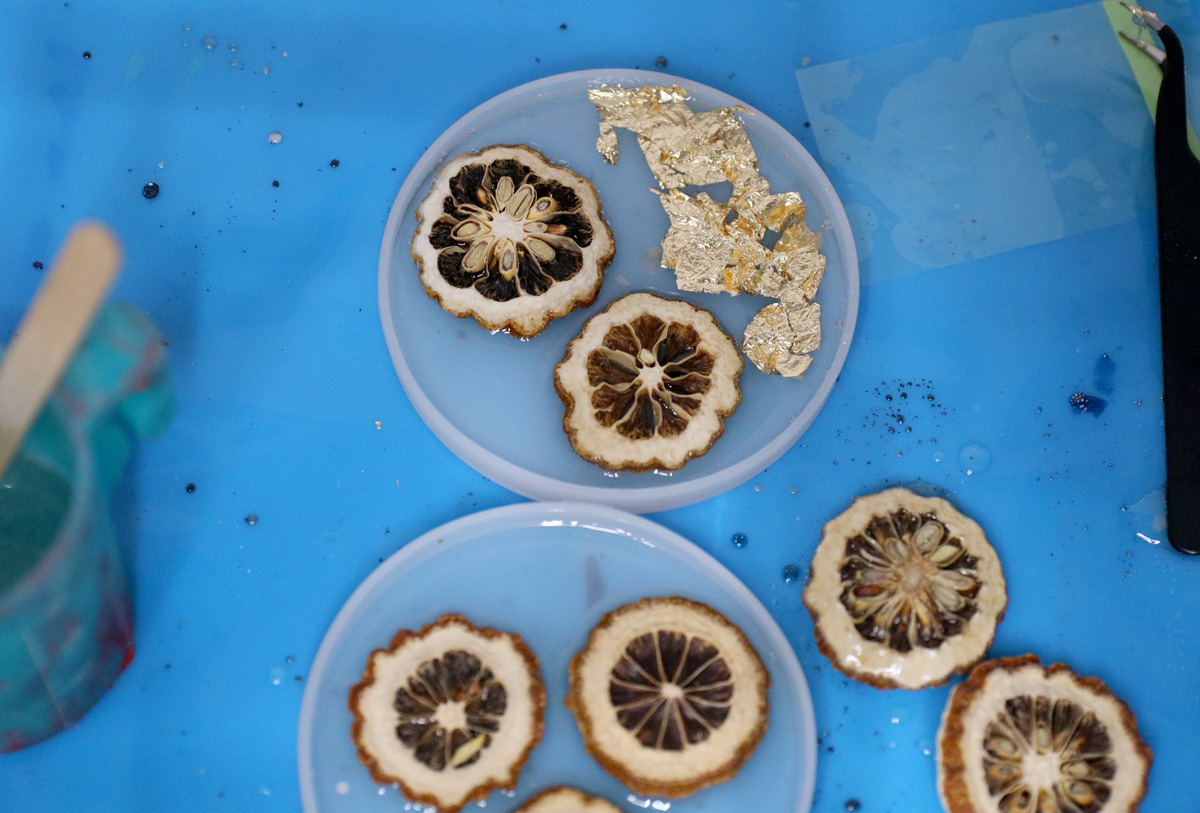
Or, for a more natural look, add in other mini greens, such as tiny baby’s breath.
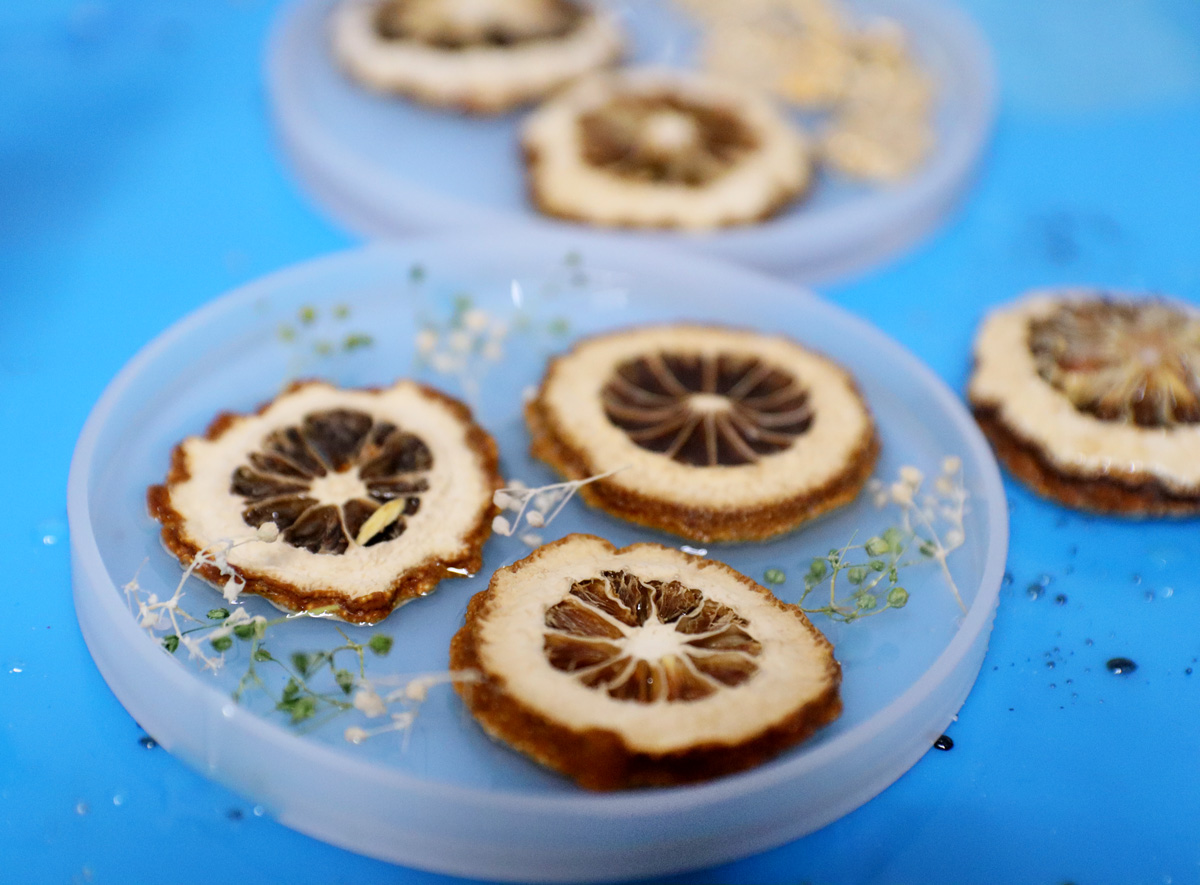
6. Pour a top layer of resin. Make sure everything is positioned as you’d like it and submerged in the resin. Zap with the heat gun to move the resin into all the holes and remove air bubbles. Allow to cure completely.
Note: If you’re having trouble with things being coated completely, you can allow it to half-cure and add a surface-tension coat of resin on top. This is a top coat that goes over your project. It slightly domes and doesn’t overflow if you do it carefully.
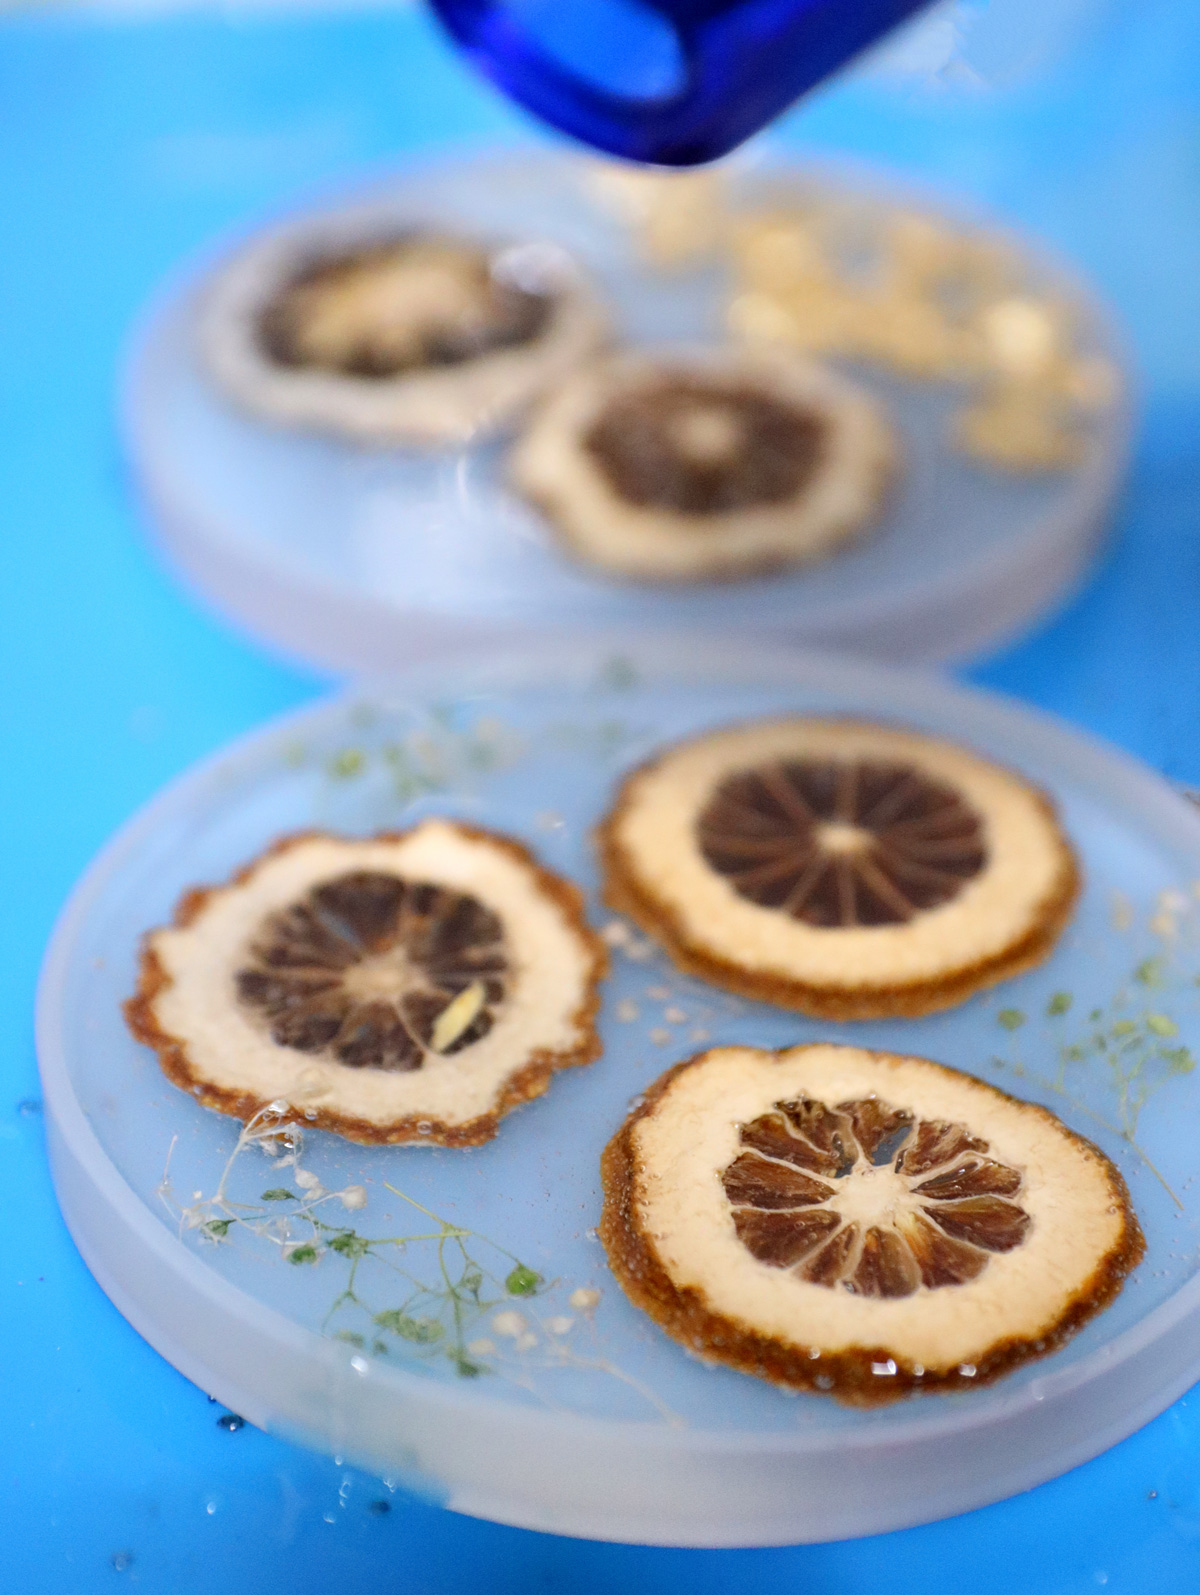
7. When completely cured, drill a hole CAREFULLY through a spot of plain resin.
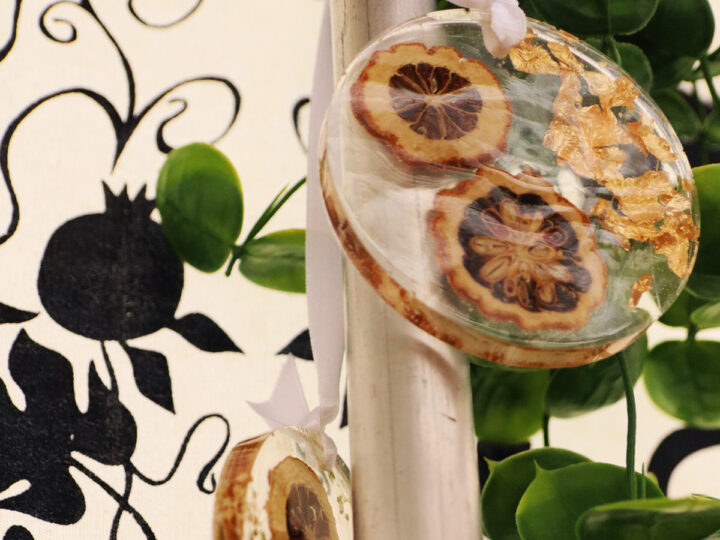
8. Thread a ribbon through, and hang it in your sukkah. It is so beautiful and will definitely be a conversation piece!

DIY Resin Etrog Suncatcher for Sukkah Decor
Materials
- Clear casting resin (2-part)
- Coaster olds
- Measuring cup (disposable or silicone)
- Separate mixing/pouring cup
- Popsicle sticks for stirring
- Gloves
- Respirator mask
- Heat gun
- Something to drill holes with (I used my MakerX rotary tool)
- Dried Etrog slices (learn how to dry them here or see alternatives above)
- Optional other fillers: "gold" leaf flakes, mini baby's breath
- Ribbon
Instructions
1. Mix up your resin according to package instructions. You don't need a lot. A good way to measure how much you need is to fill your mold with water (if you have time for it to dry) or rice (but make sure no crumbs remain) and pour it off into a measuring cup to gauge.
Keep your resin clear or transparent to let the sun shine through (you can tint it if you'd like, I didn't)
2. Pour a thin layer to cover the base of your mold.
3. Use a heat gun to zap the air bubbles and push the resin into all the corners of the mold.
4. Place your Etrog slices. I used smaller ones (larger ones were used on the other crafts) and just a few. The base layer of resin will ensure all your slices are fully coated. Because it's a suncatchers, both sides will probably show, so try to choose slices where both sides look nice enough.
5. Add optional embellishments. The cool thing about resin is all the possibilities: you can add things in to make it look incredible! If you'd like, you can add fewer slices and fill in some space with gold flakes, for a more upscale look.
Or, for a more natural look, add in other mini greens, such as tiny baby's breath.
6. Pour a top layer of resin. Make sure everything is positioned as you'd like it and submerged in the resin. Zap with the heat gun to move the resin into all the holes and remove air bubbles. Allow to cure completely.
Note: If you're having trouble with things being coated completely, you can allow it to half-cure and add a surface-tension coat of resin on top. This is a top coat that goes over your project. It slightly domes and doesn't overflow if you do it carefully.
7. When completely cured, drill a hole CAREFULLY through a spot of plain resin.
8. Thread a ribbon through, and hang it in your sukkah. It is so beautiful and will definitely be a conversation piece!
Notes
Age when it comes to adult crafts are a tricky thing. I like to think that a child that can safely use a hot glue gun or a knife can learn how to craft with resin safely.
The trick is: you need to be able to teach them how to use it safely.
Some pointers I can offer are:
1. Always have proper ventilation
2. Always wear proper skin protection (such as nitrile gloves) and avoid skin contact
3. Always wear a respirator mask while crafting with resin
4. Avoid crafting with resin while pregnant - there is little information on the safety for the fetus.
It'll always depend on the individual child - or adult! - and there's no age minimum where you don't first need to learn the rules.
So if doing this with anyone make sure they have the maturity to follow rules, and the technical skills/agility to be careful.

Hello ! I love receiving your e mails. More than that are your amazing craft ideas. Thanks so very much. Where do I buy all the necessary equipment? Love channa😃
I’m so sorry – i stopped getting notifications for comments and it looks like I missed a bunch. Supplies are always linked – You can get them on Amazon, Michaels, Blick